Skip to Main Content
  • Home
  • Adela to Edgar 1918
AGIUS WORLD WAR ONE
  • Home
  • About
  • Adela to Edgar 1918
  • About The Arthur to Dollie Letters
  • Who’s Who
  • Alfred
  • Arthur
  • Tancred
  • Richard
  • Winged Chariots
  • Gallery
  • Resources
  • About
  • Brothers & Others
    • Alfred
    • Edgar
    • Tancred
    • Arthur
    • Richard
      • 1914 – Dickie’s Countdown to War
    • Cousins and Colleagues
    • 3rd London Regiment
    • Armistice
    • Contact
  • Miscellany
    • Web Archive
    • Friends of Valletta
    • British Empire Exhibition 1924 – Malta Pavilion
    • Cottonera Hospital
    • Centenary Celebration
    • Family Trees
    • Worth – Priory, Abbey and School
  • Arthur To Dollie
    • The Arthur to Dollie Letters / Dickie’s Countdown to War / Countdown to Armistice
    • Arthur to Dollie – Monthly Archive
    • About The Arthur to Dollie Letters
    • Who’s Who
  • Winged Chariots
    • Winged Chariots
    • Resources
    • Contact
  • Log-In

Mary Muscat’s WW1 Photo Album (complete)

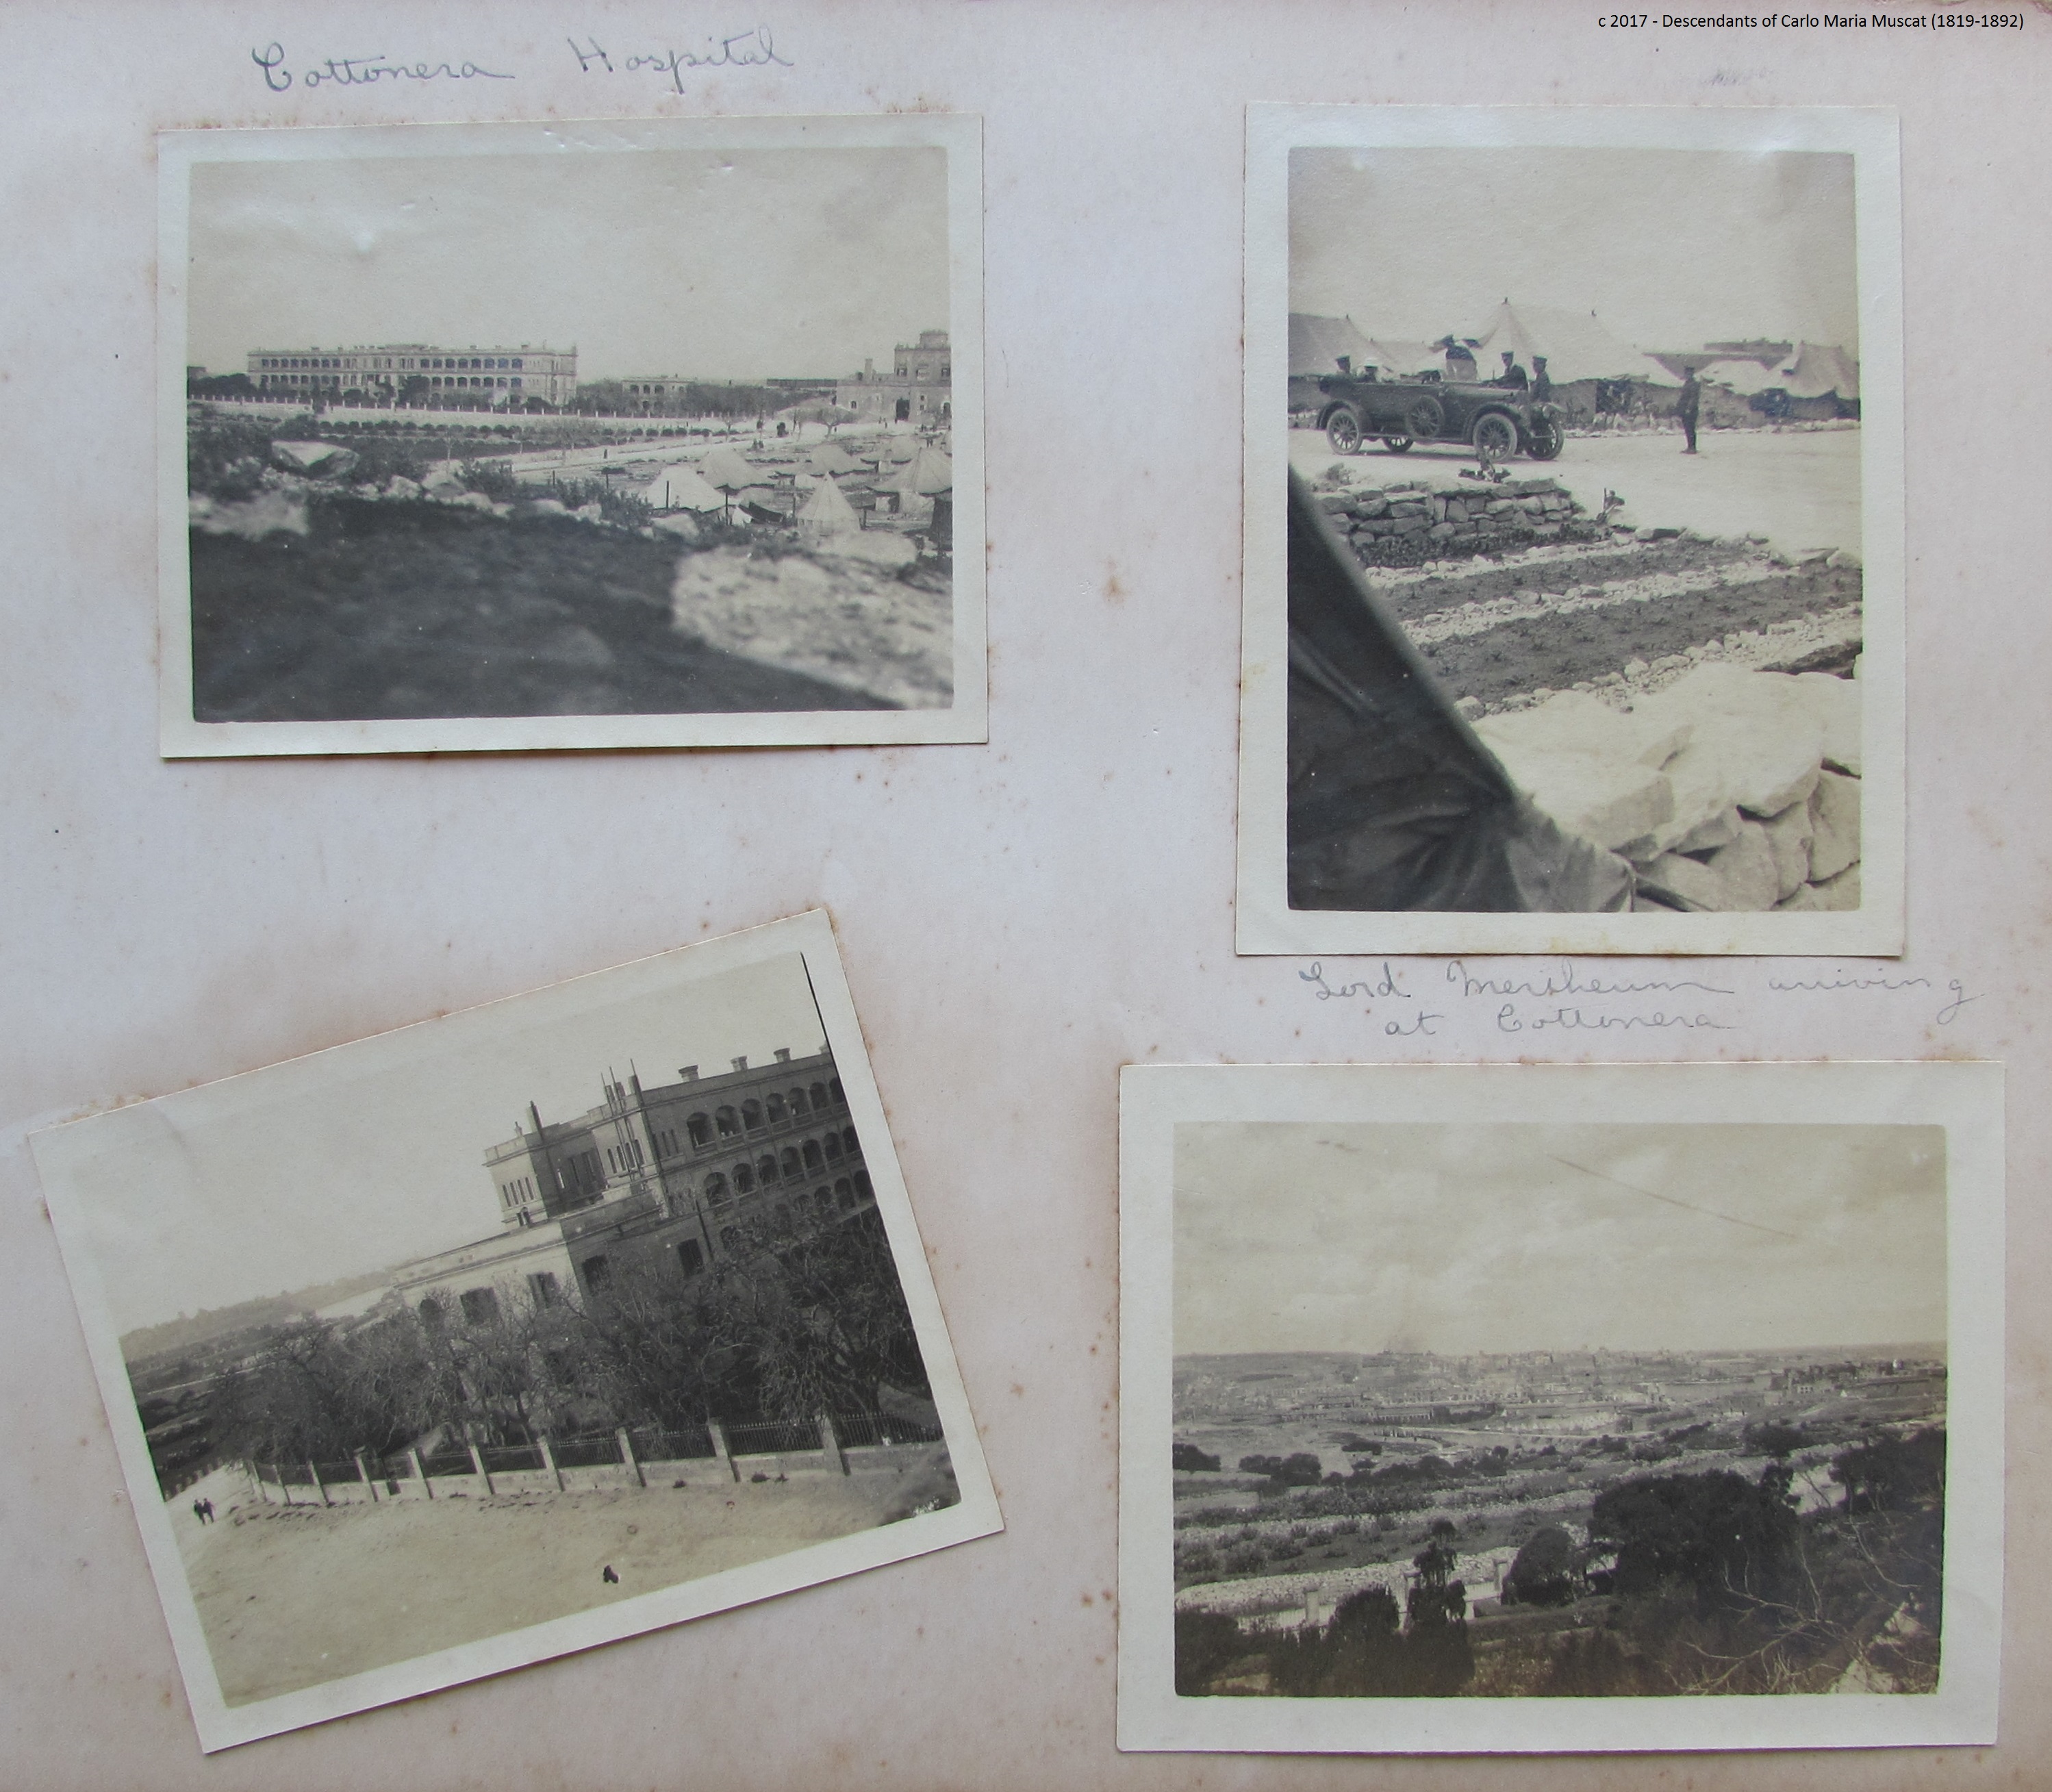
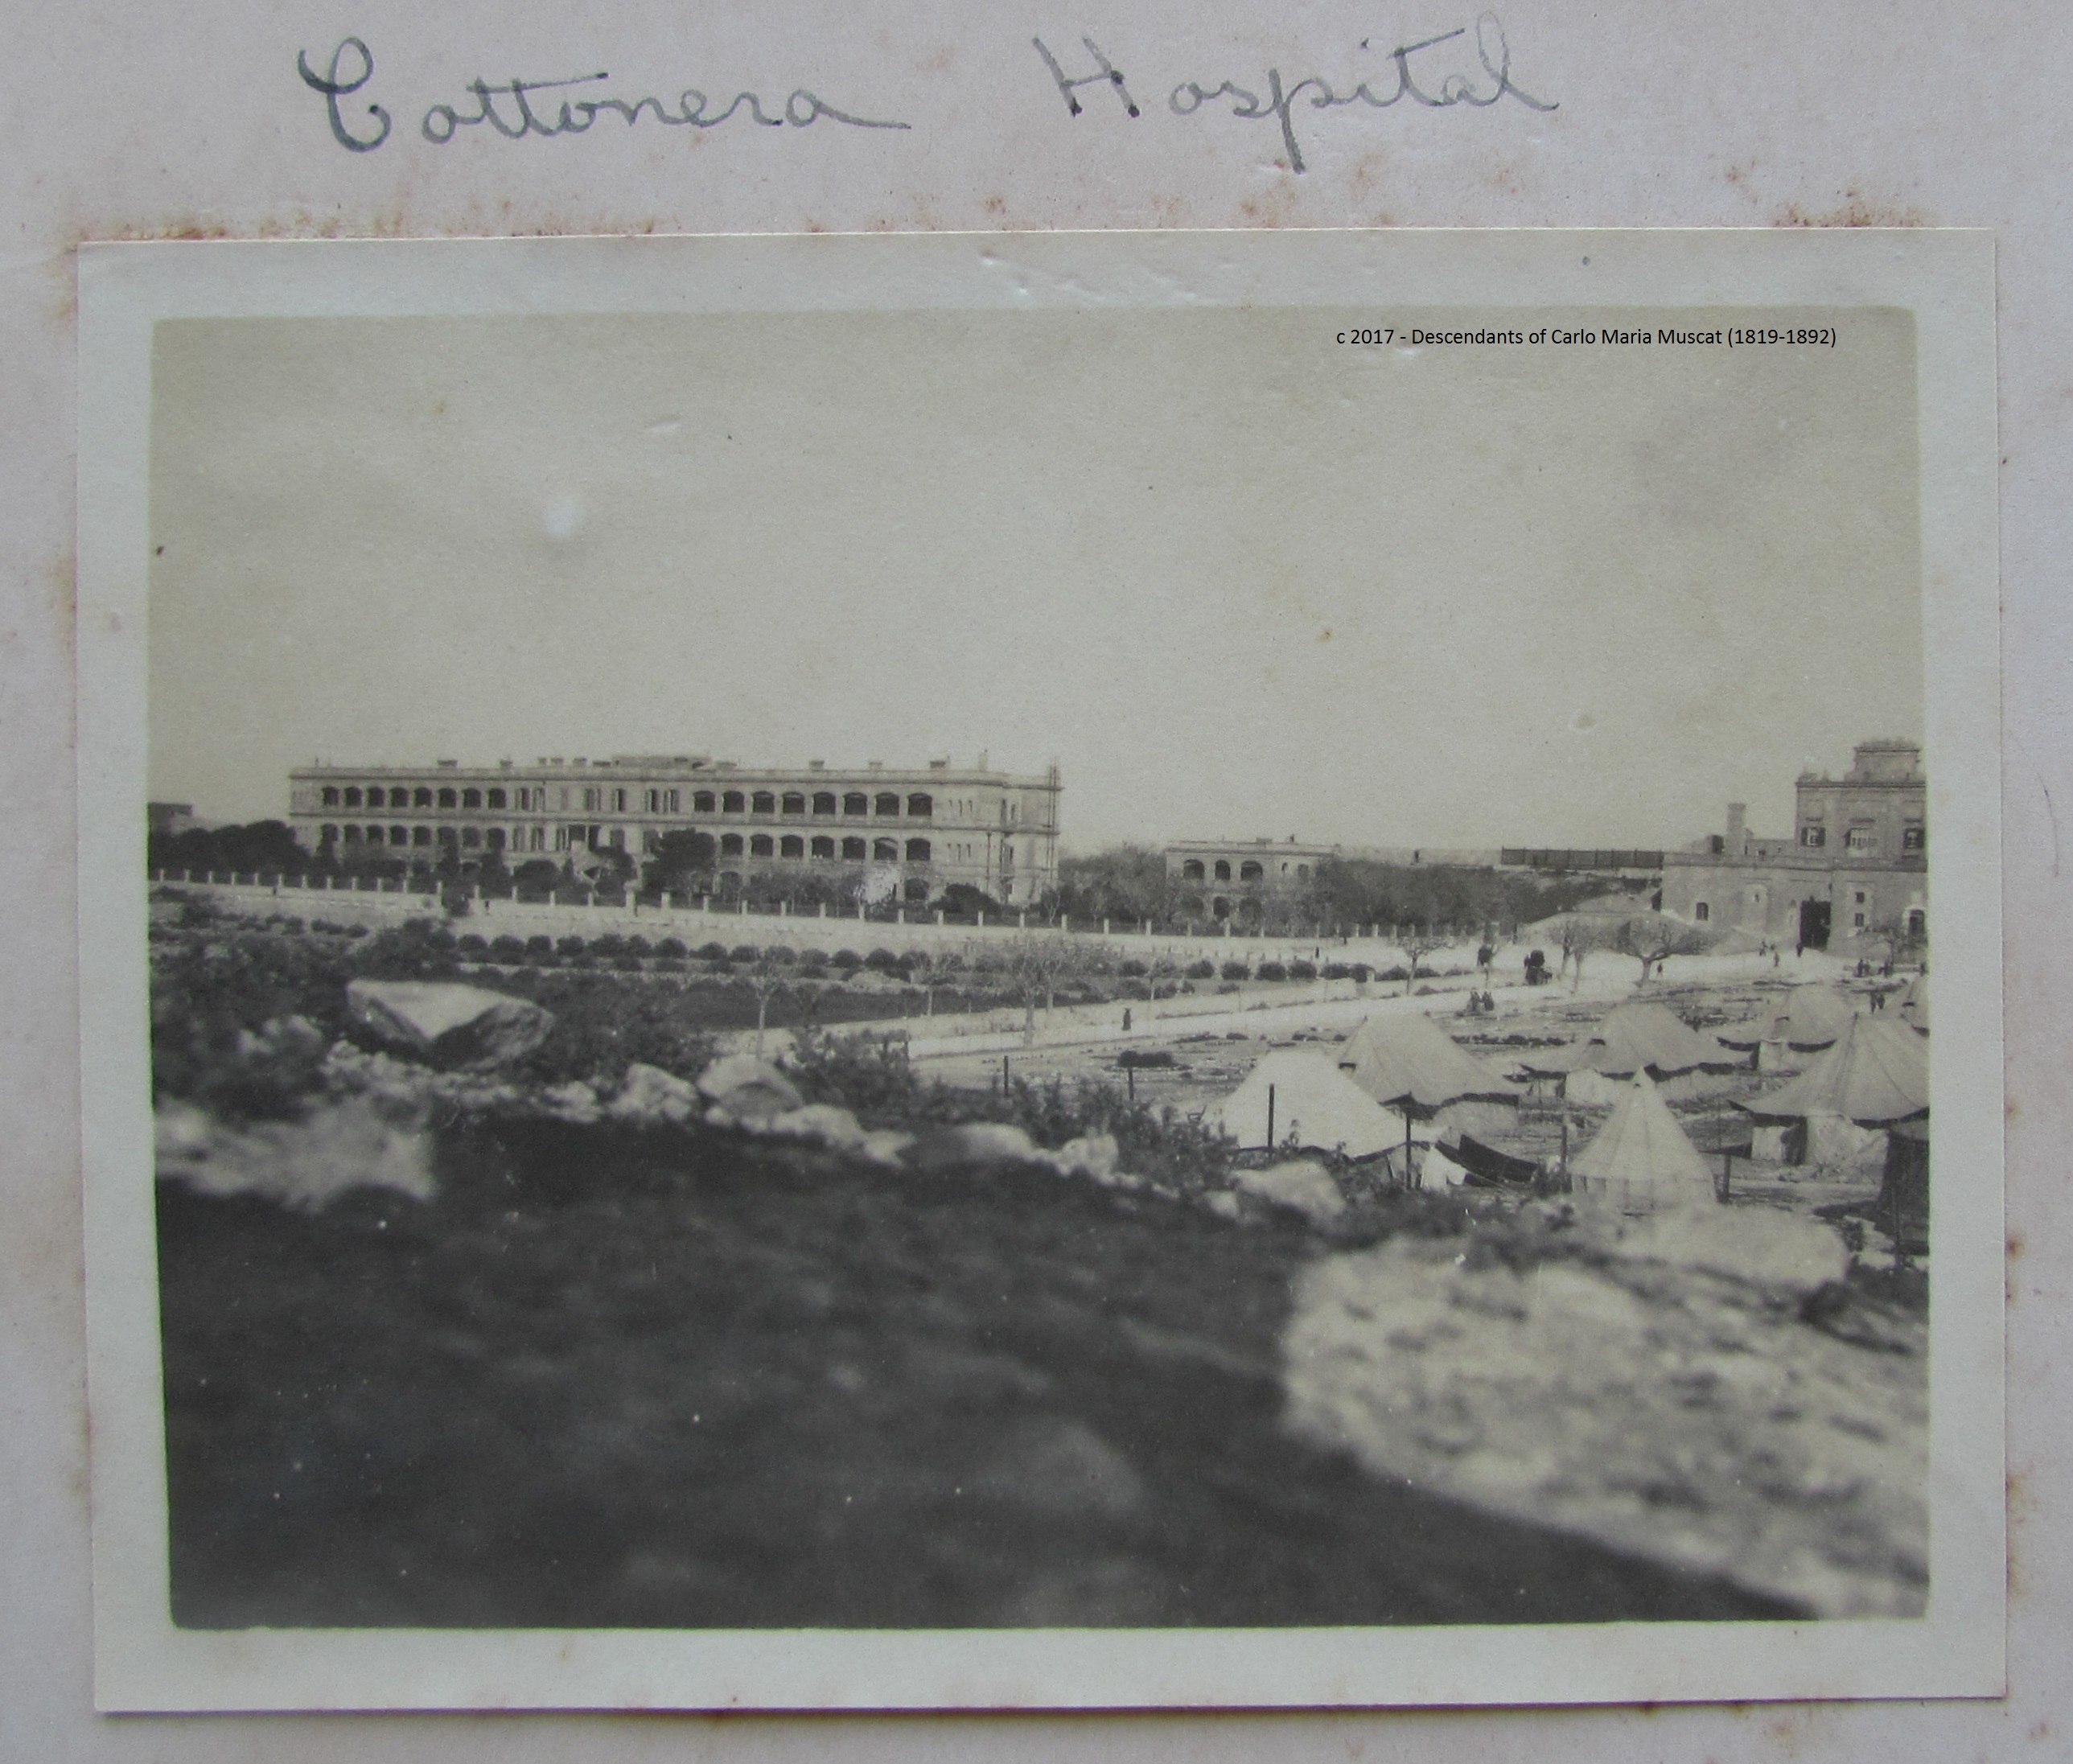
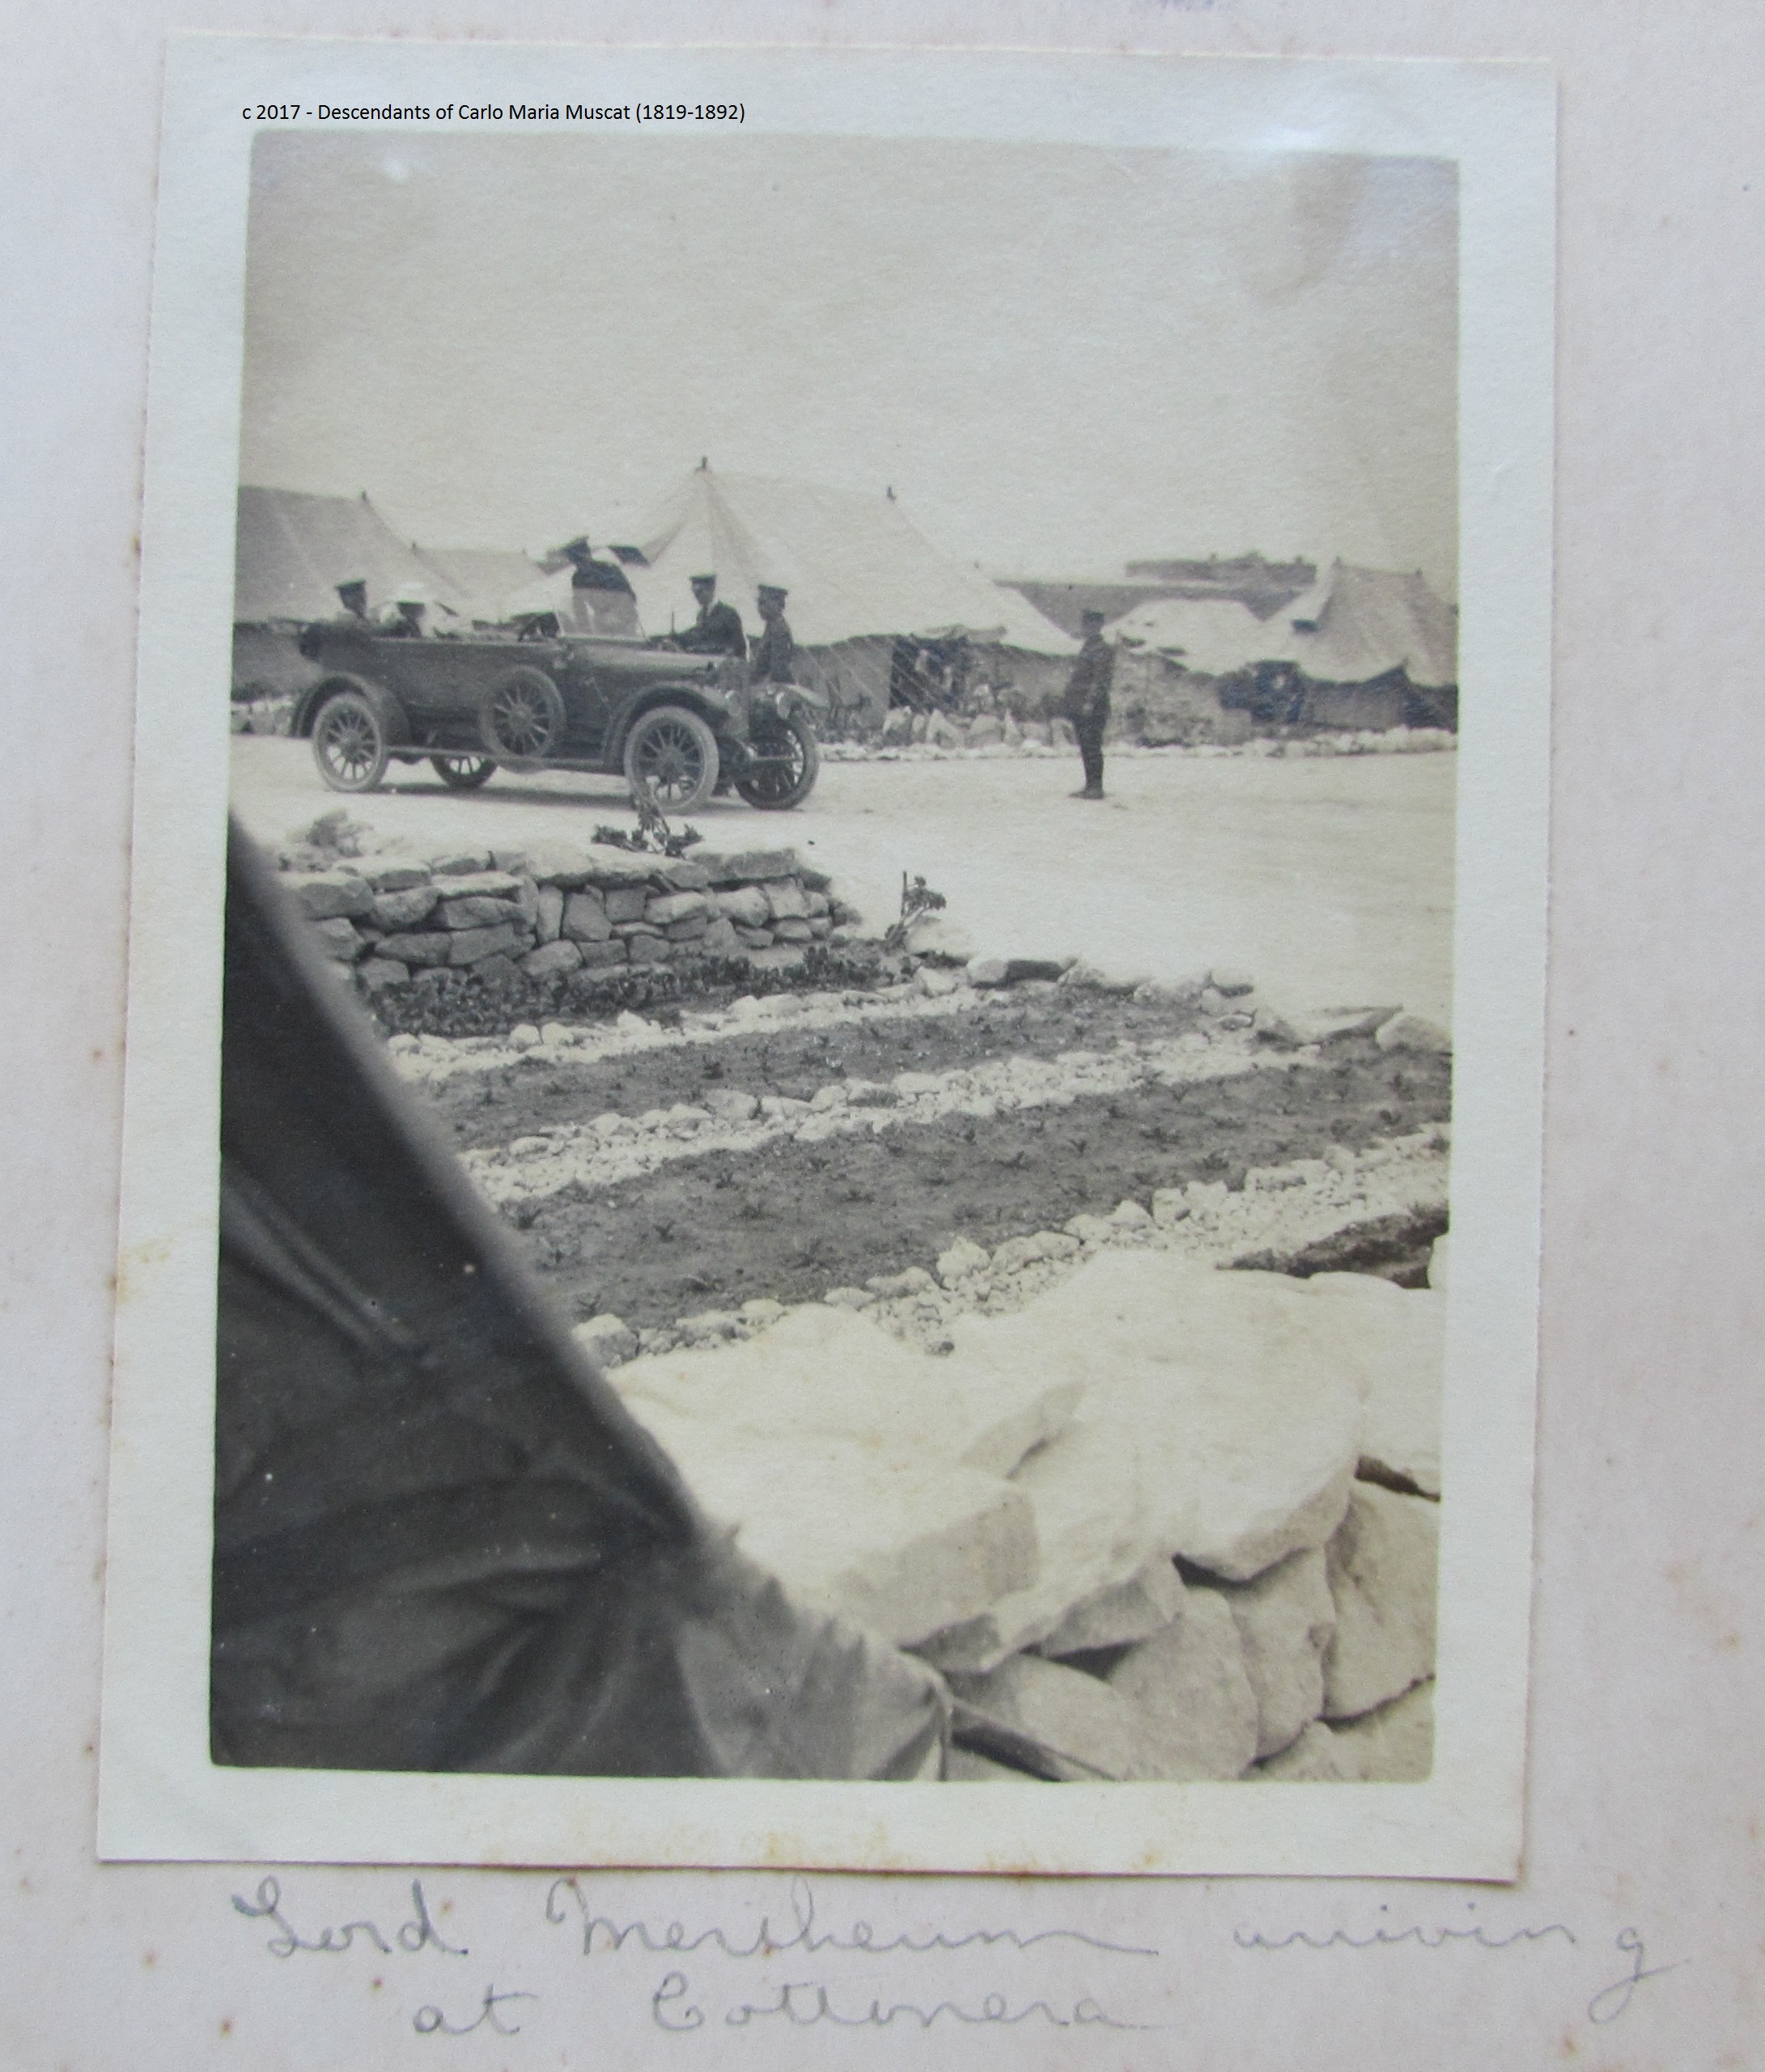
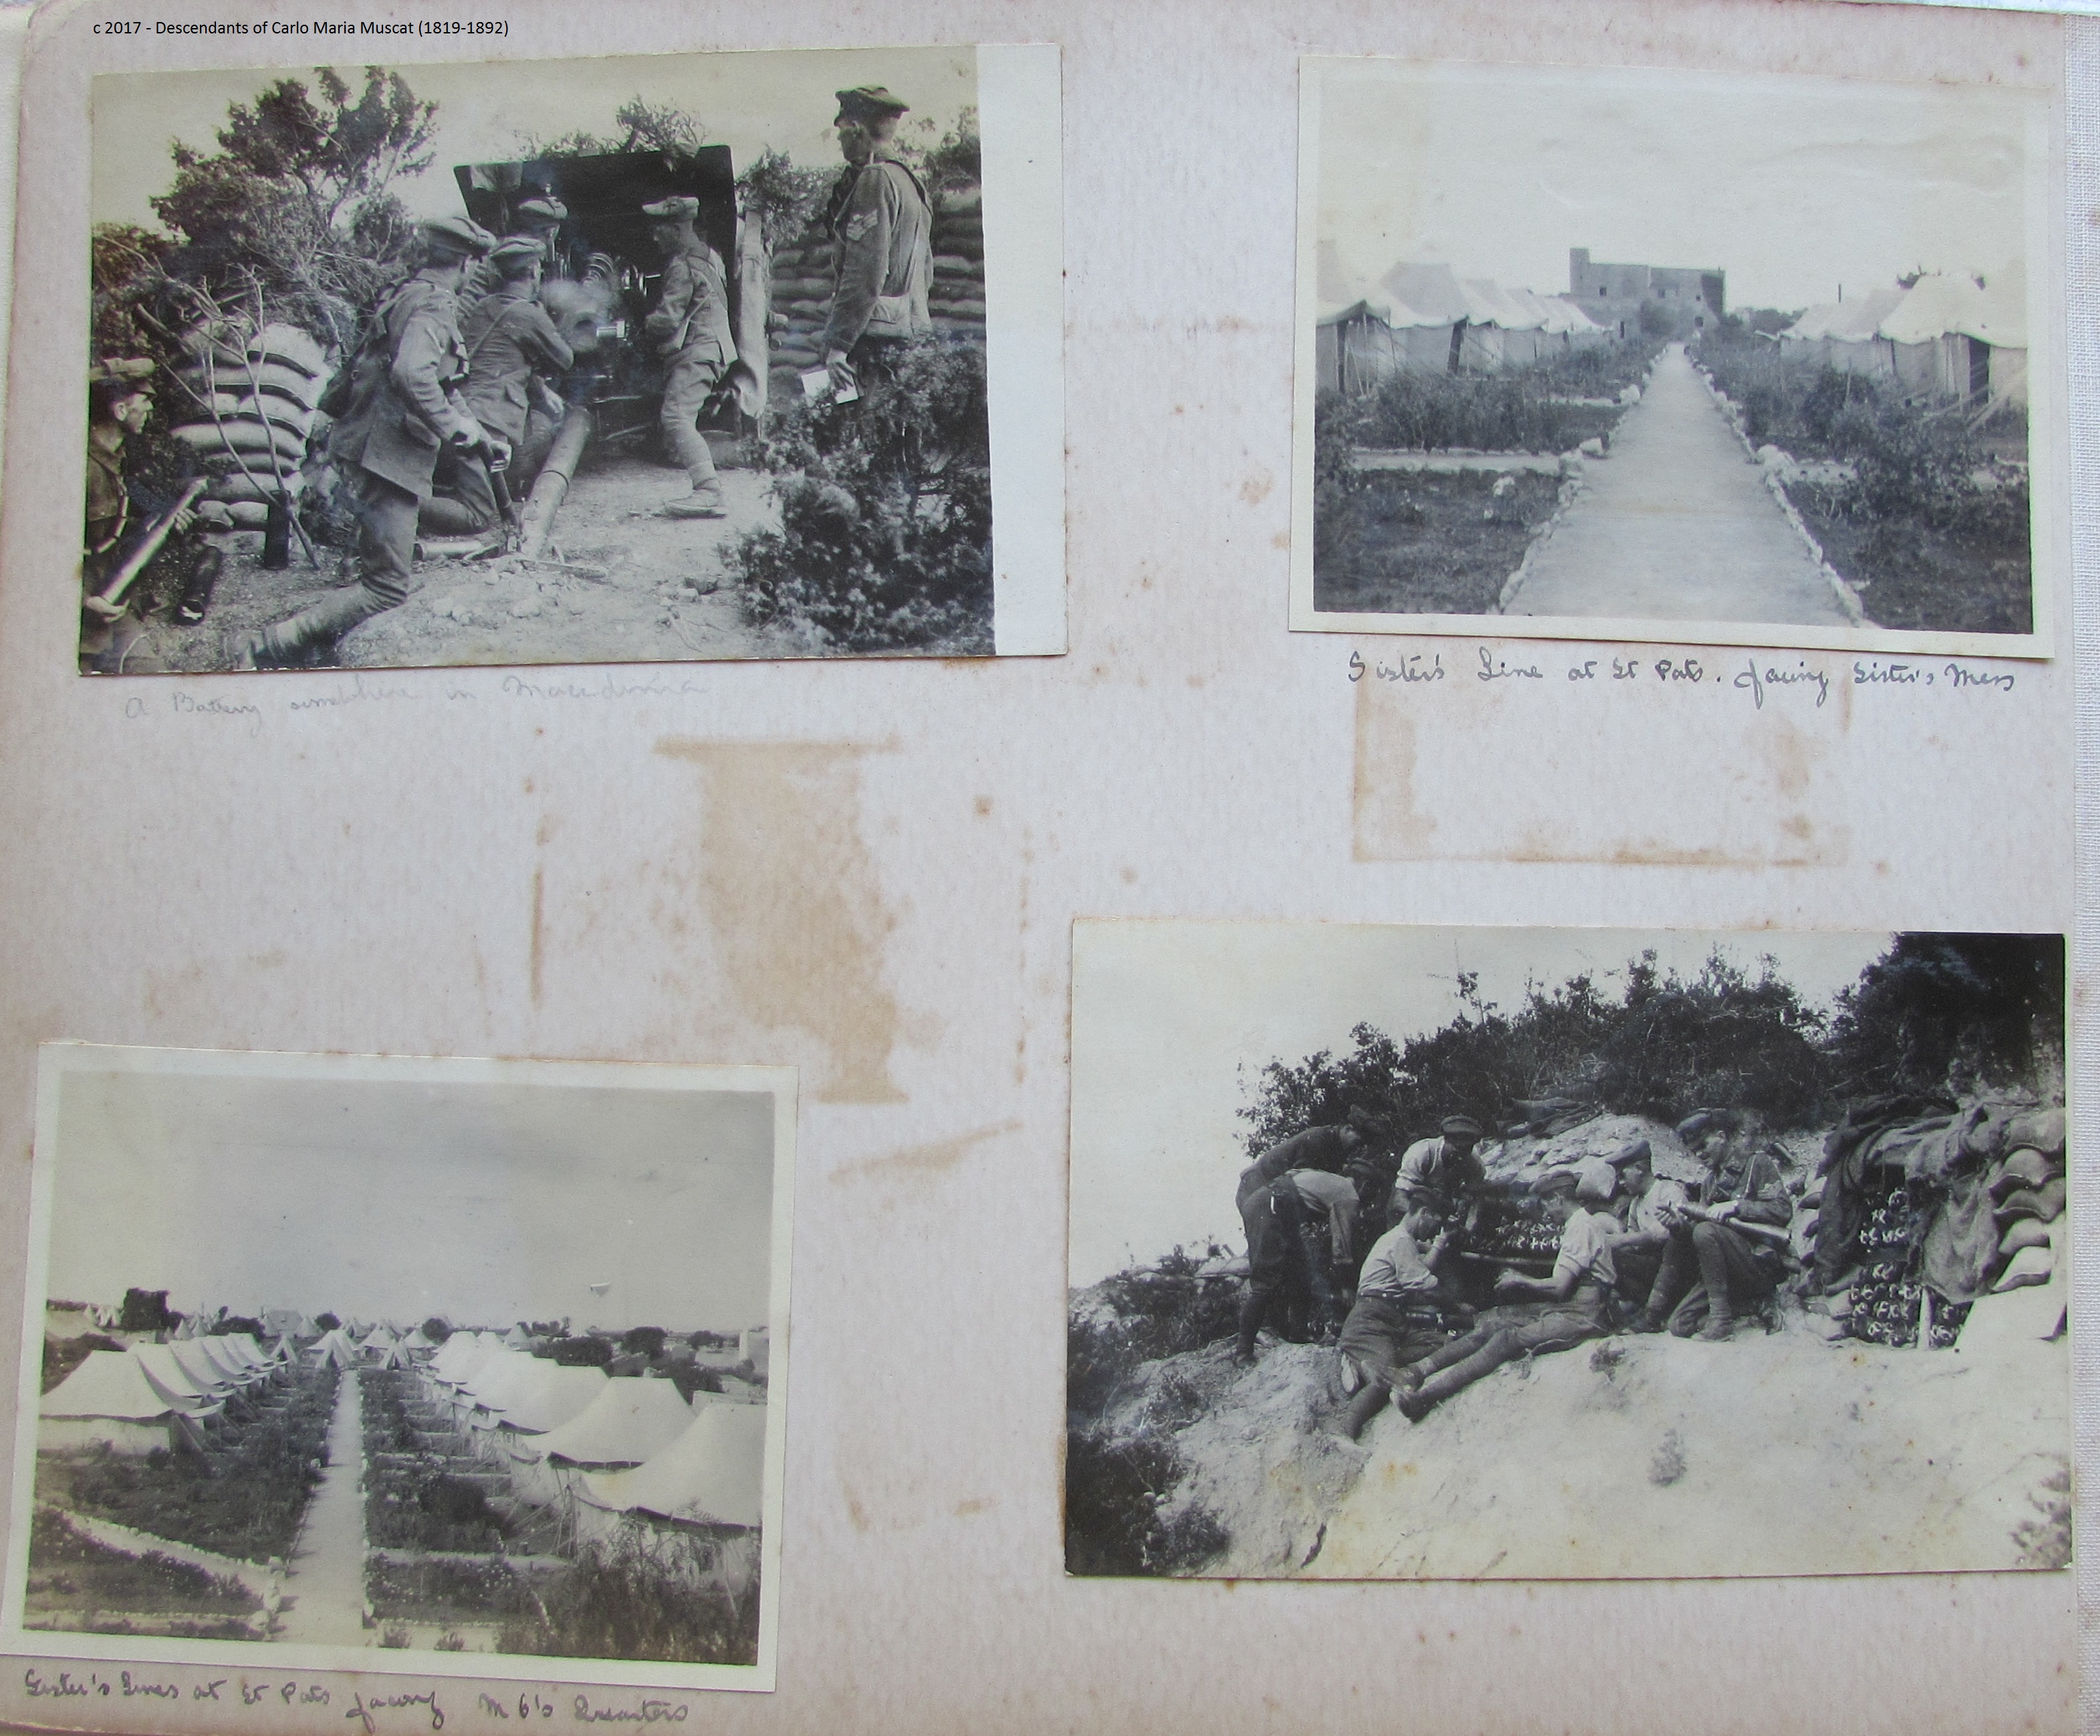
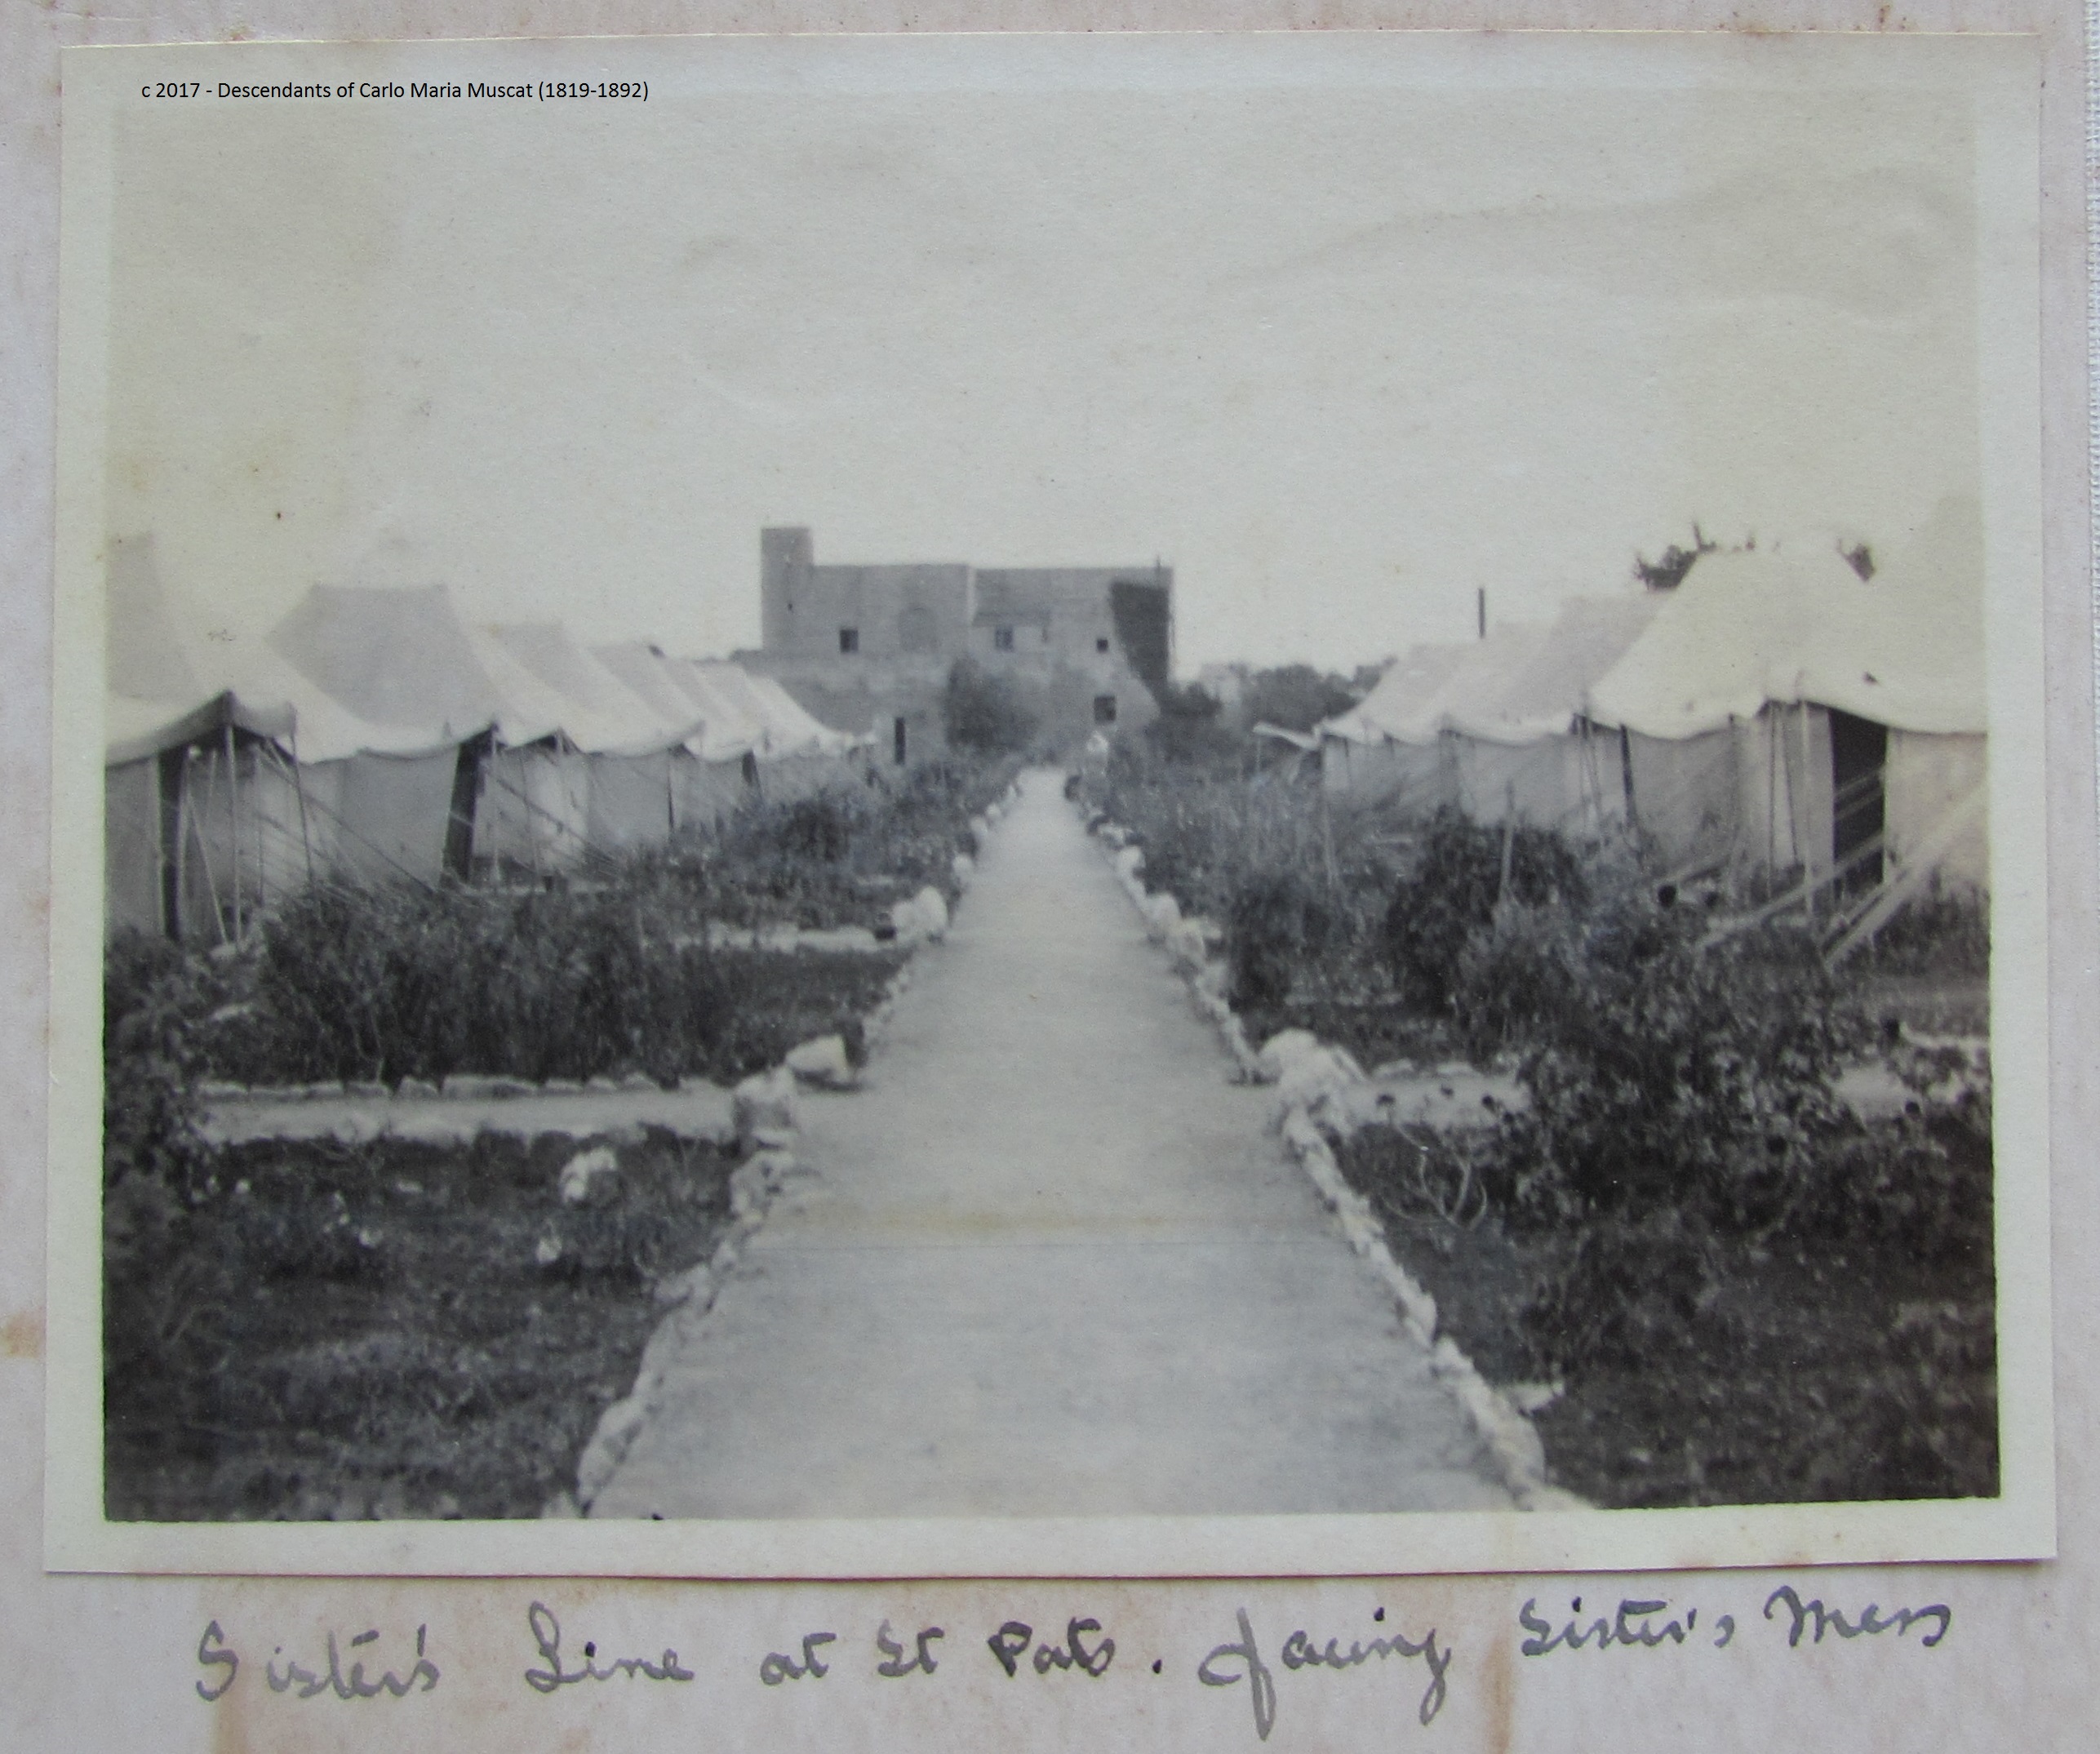
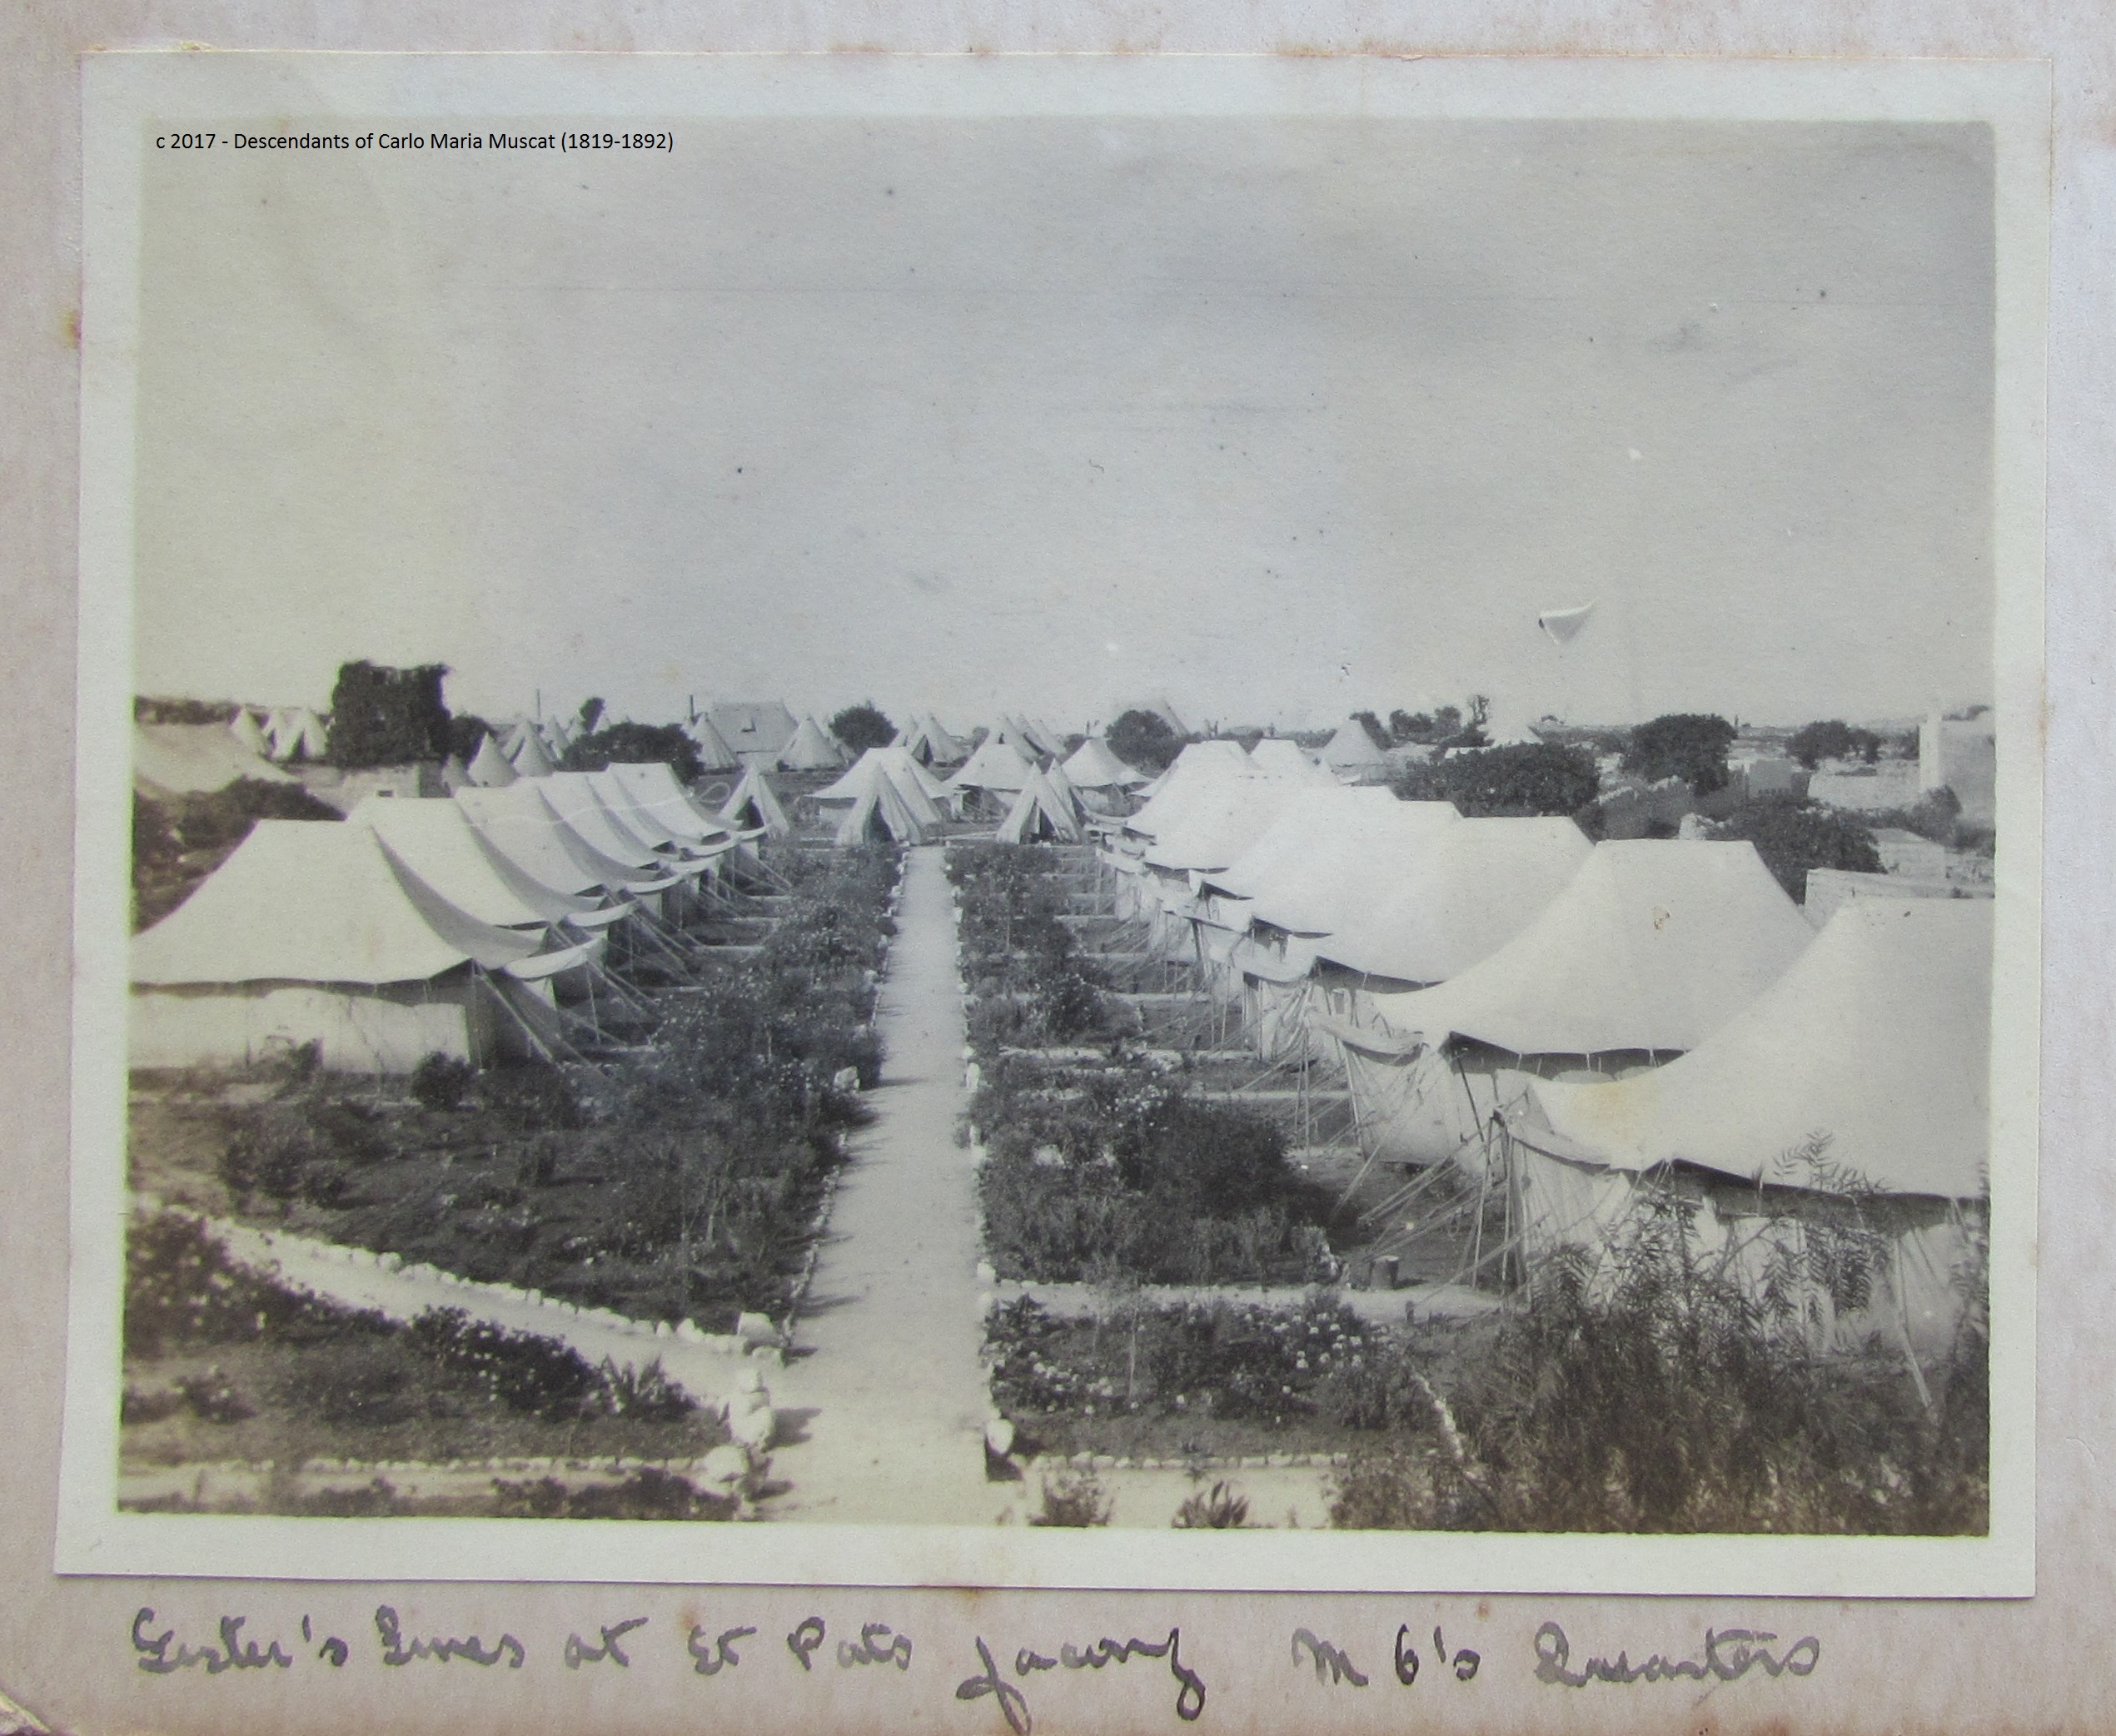
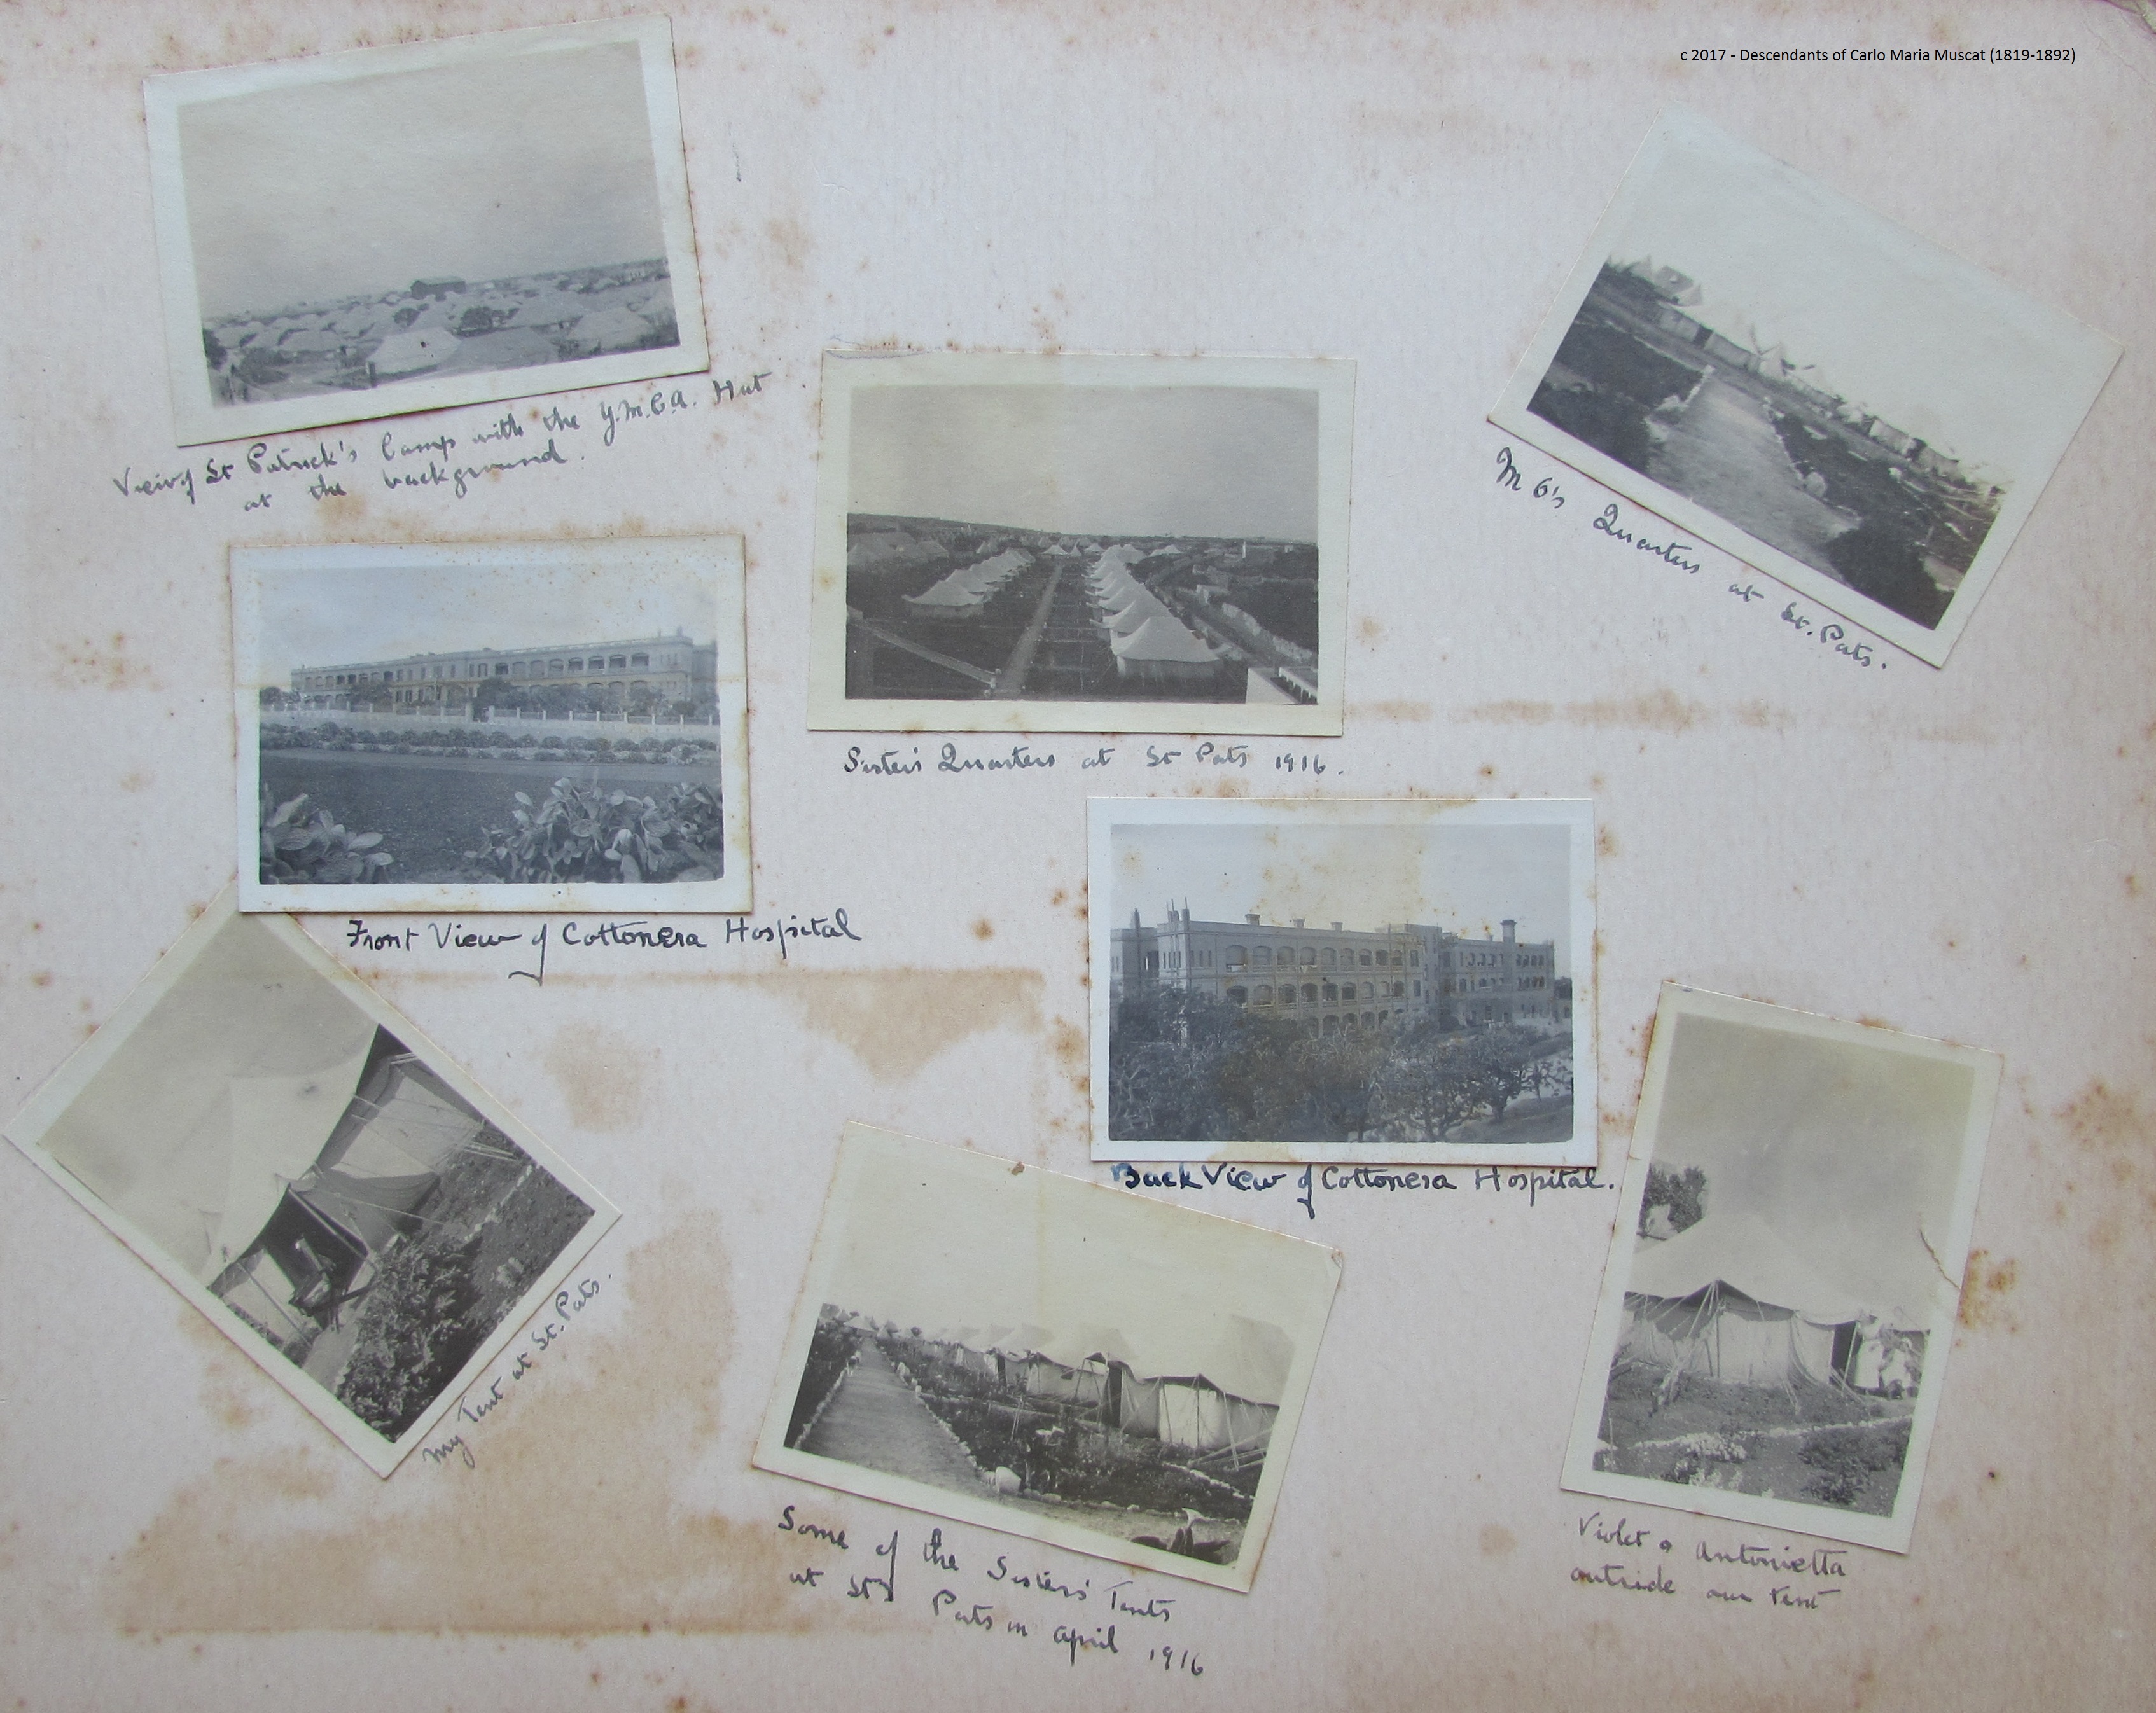
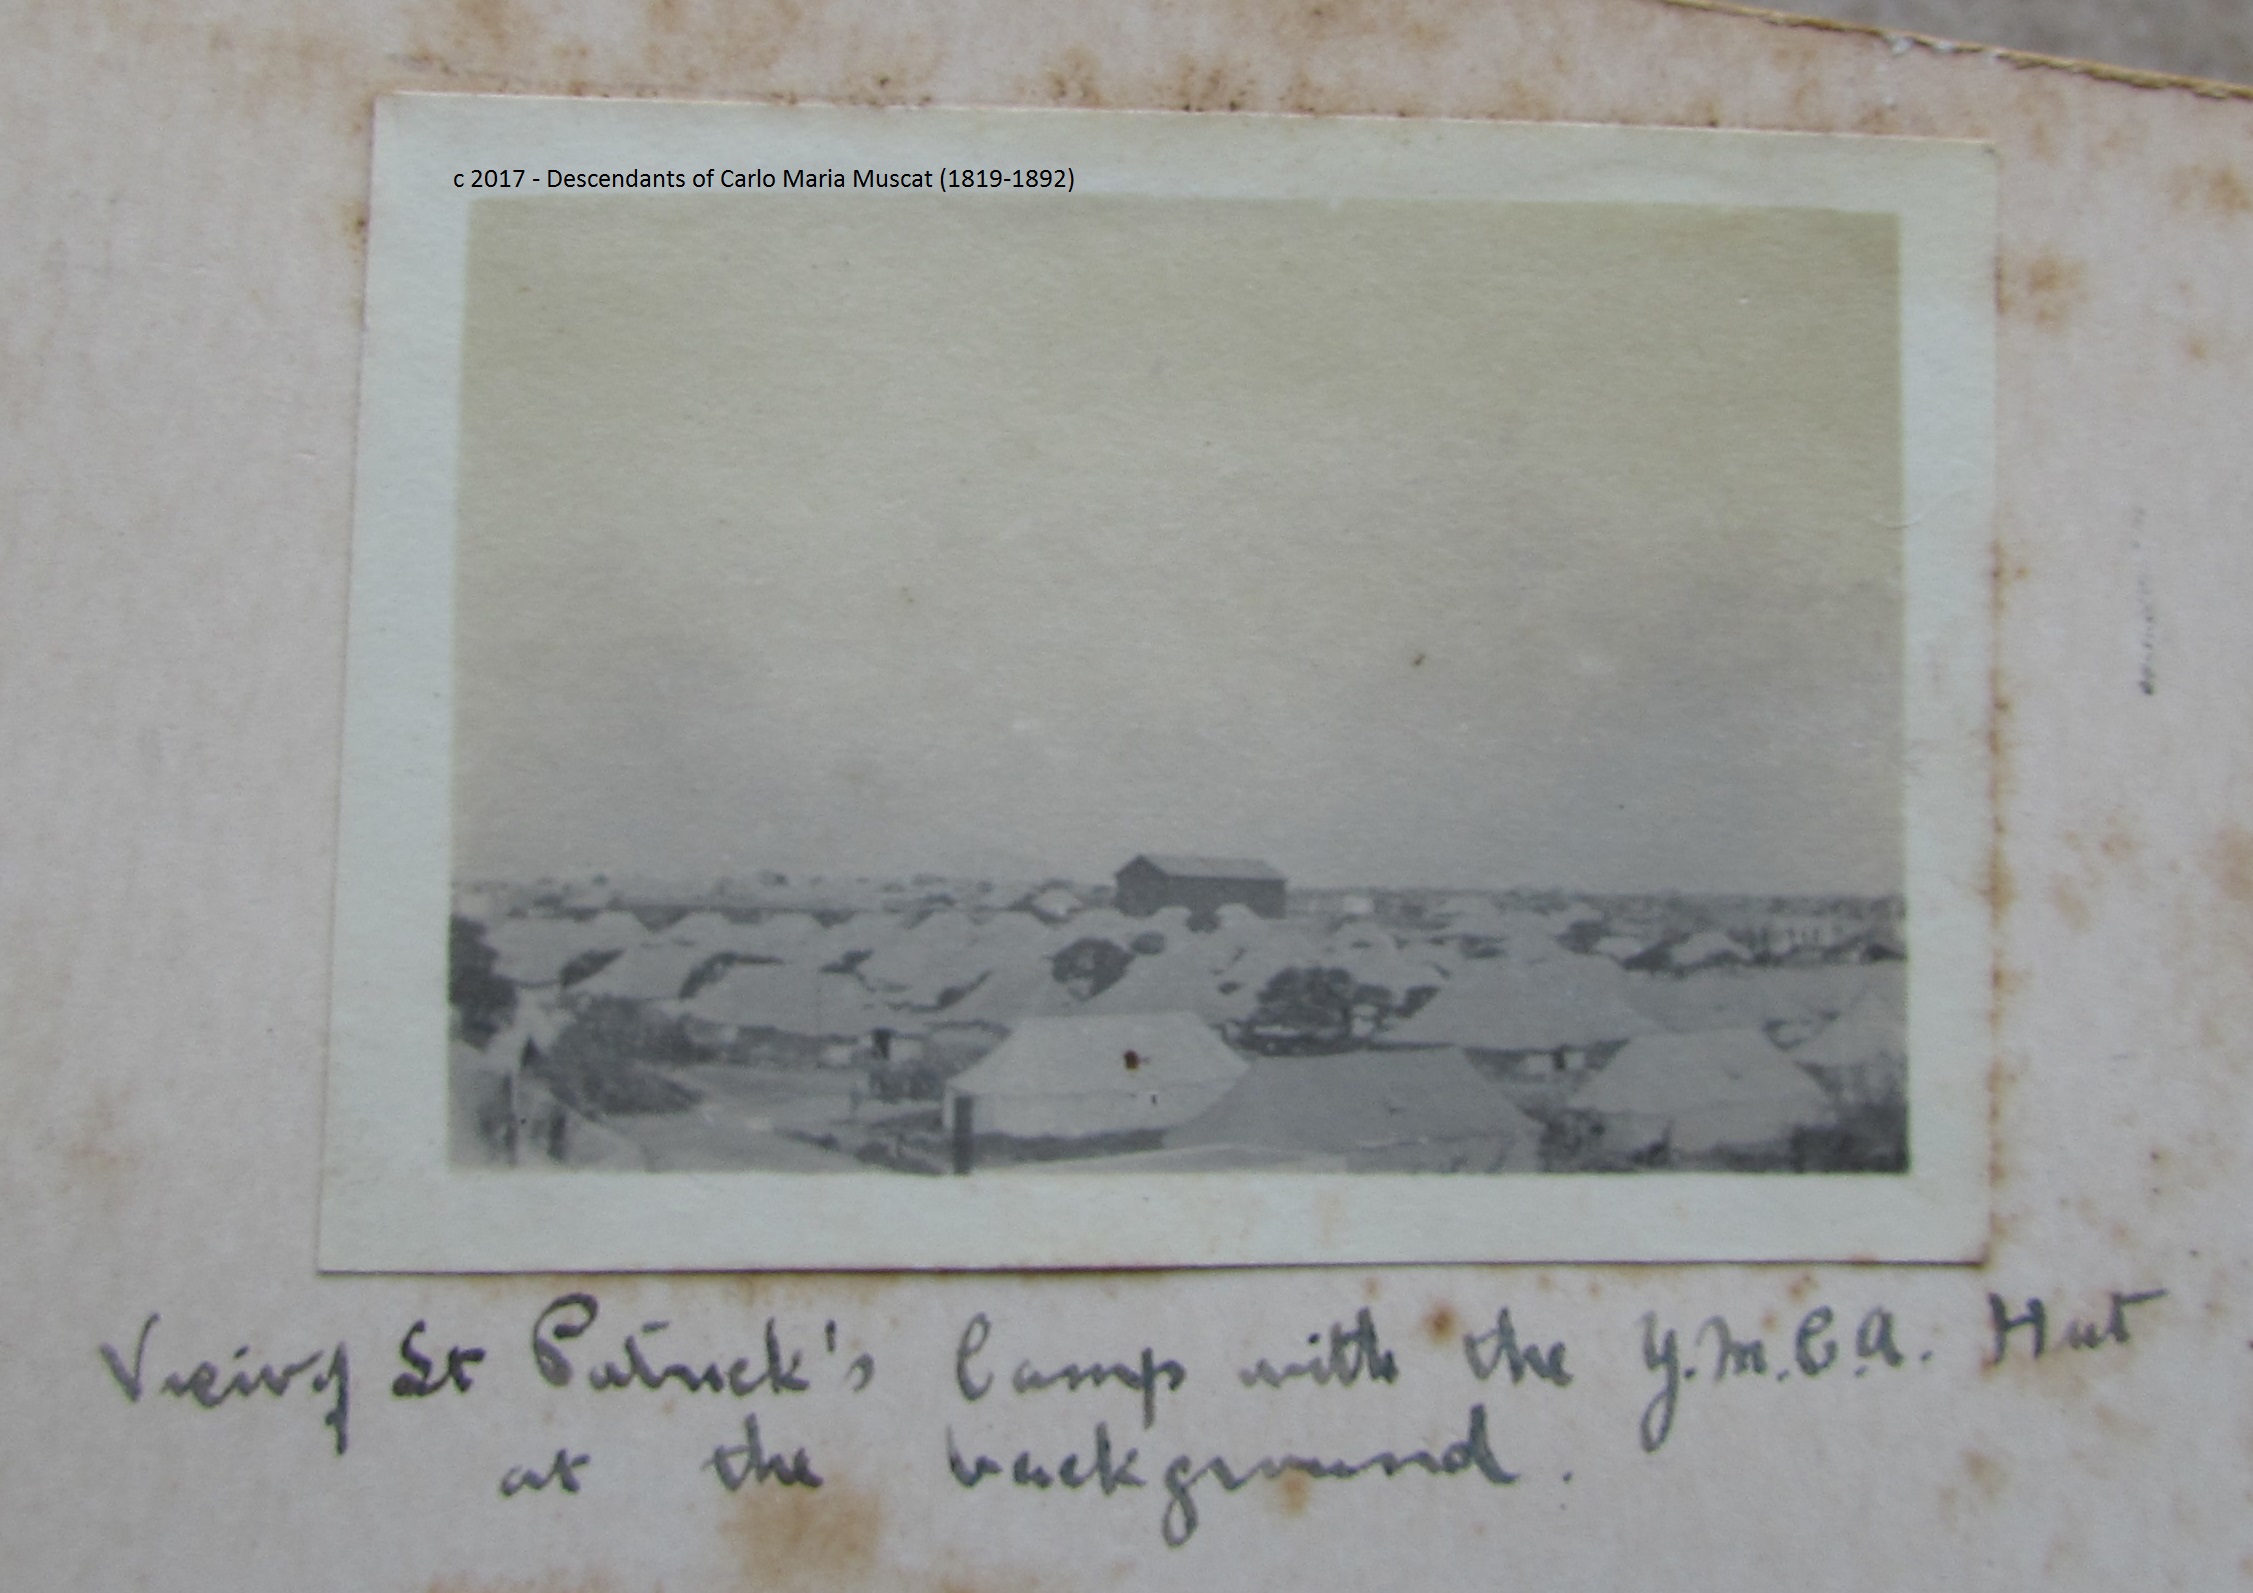
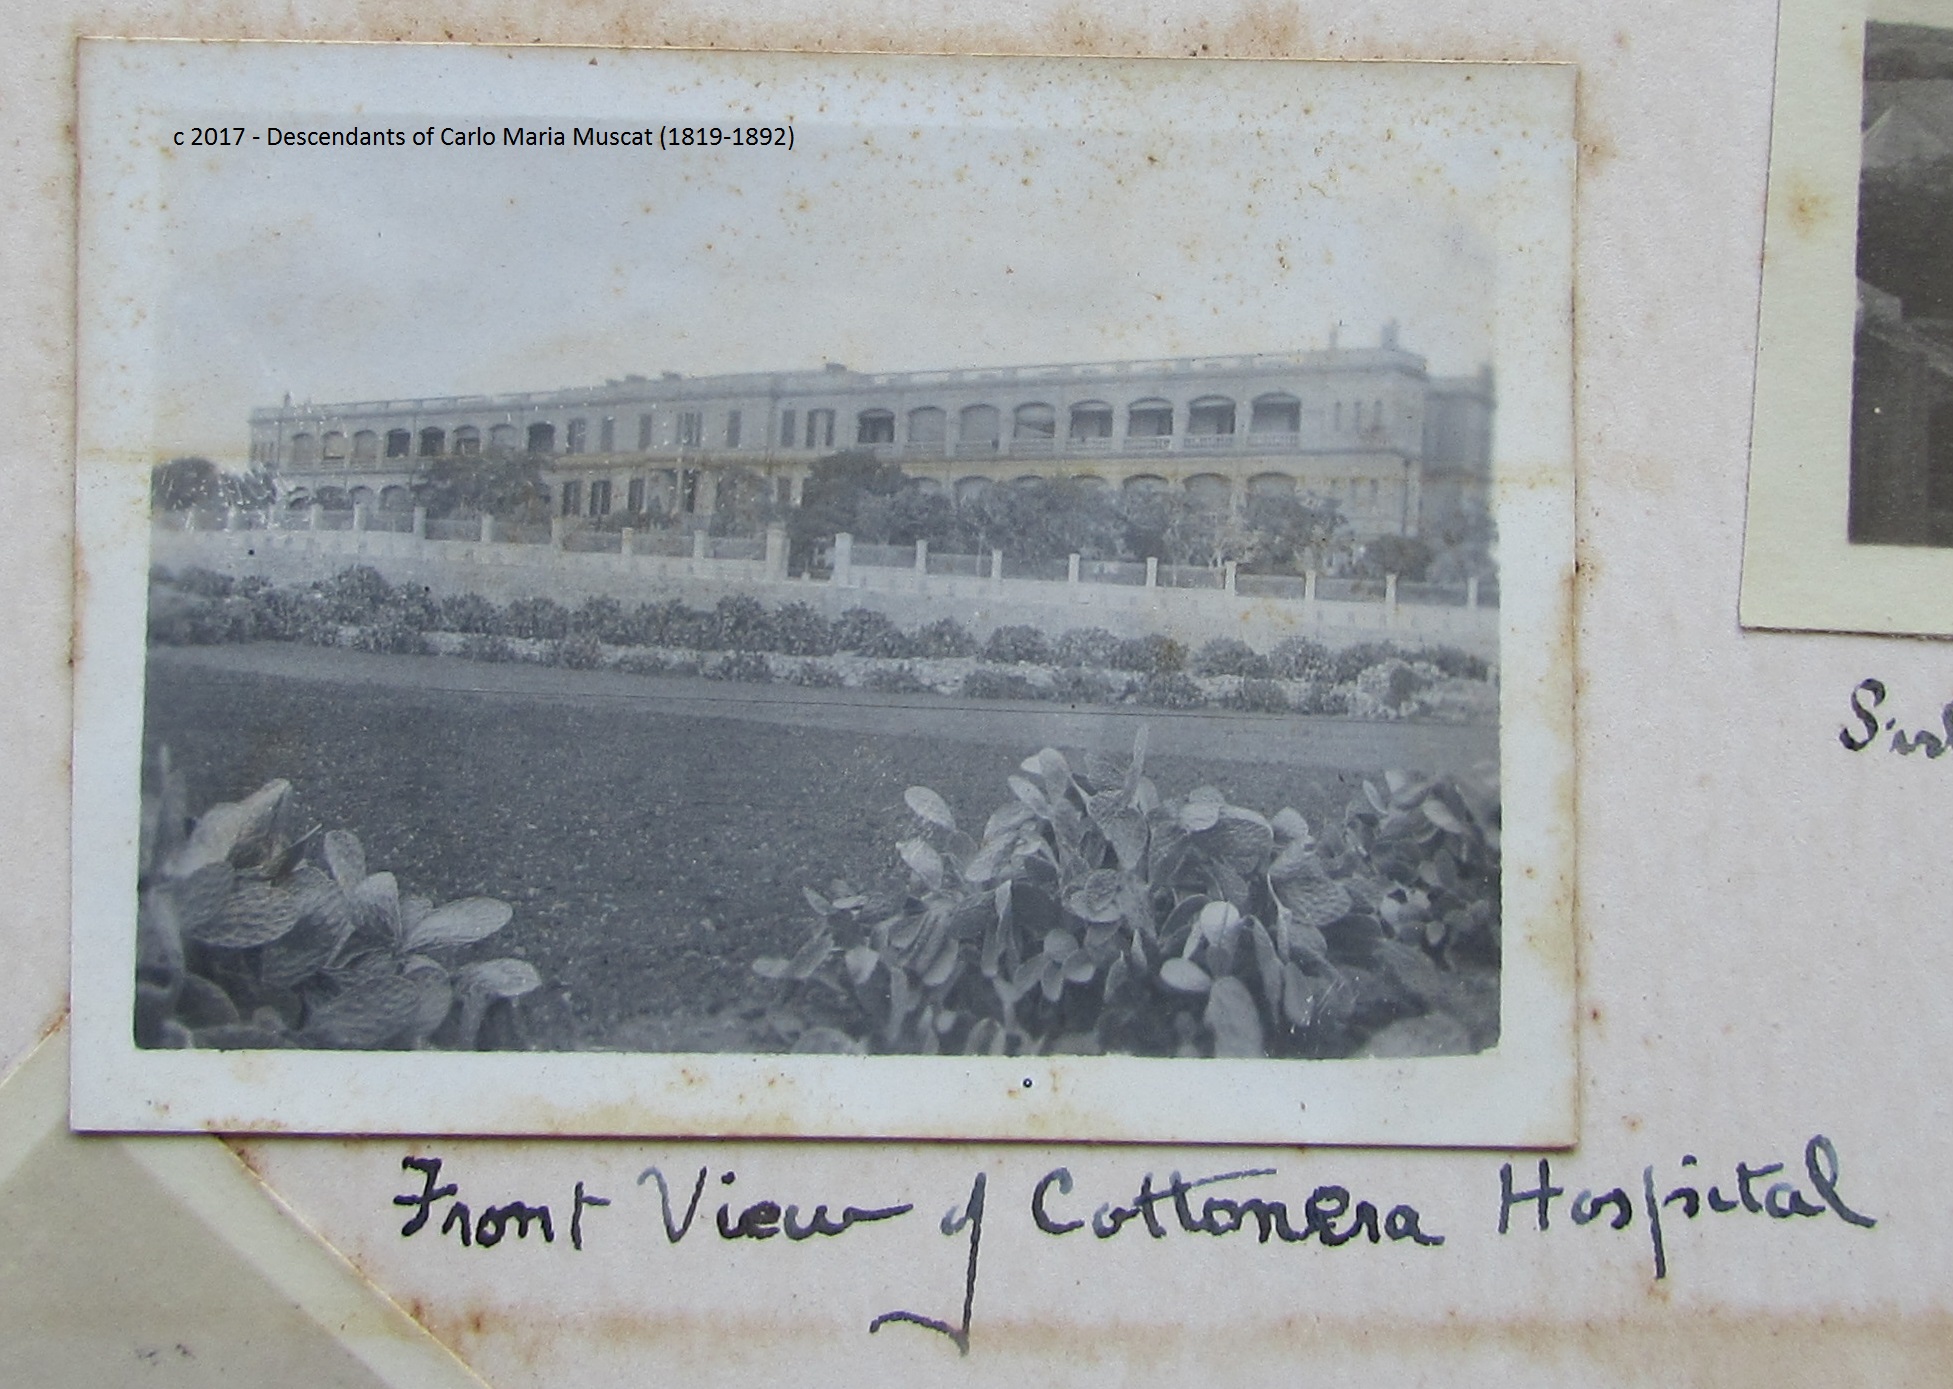
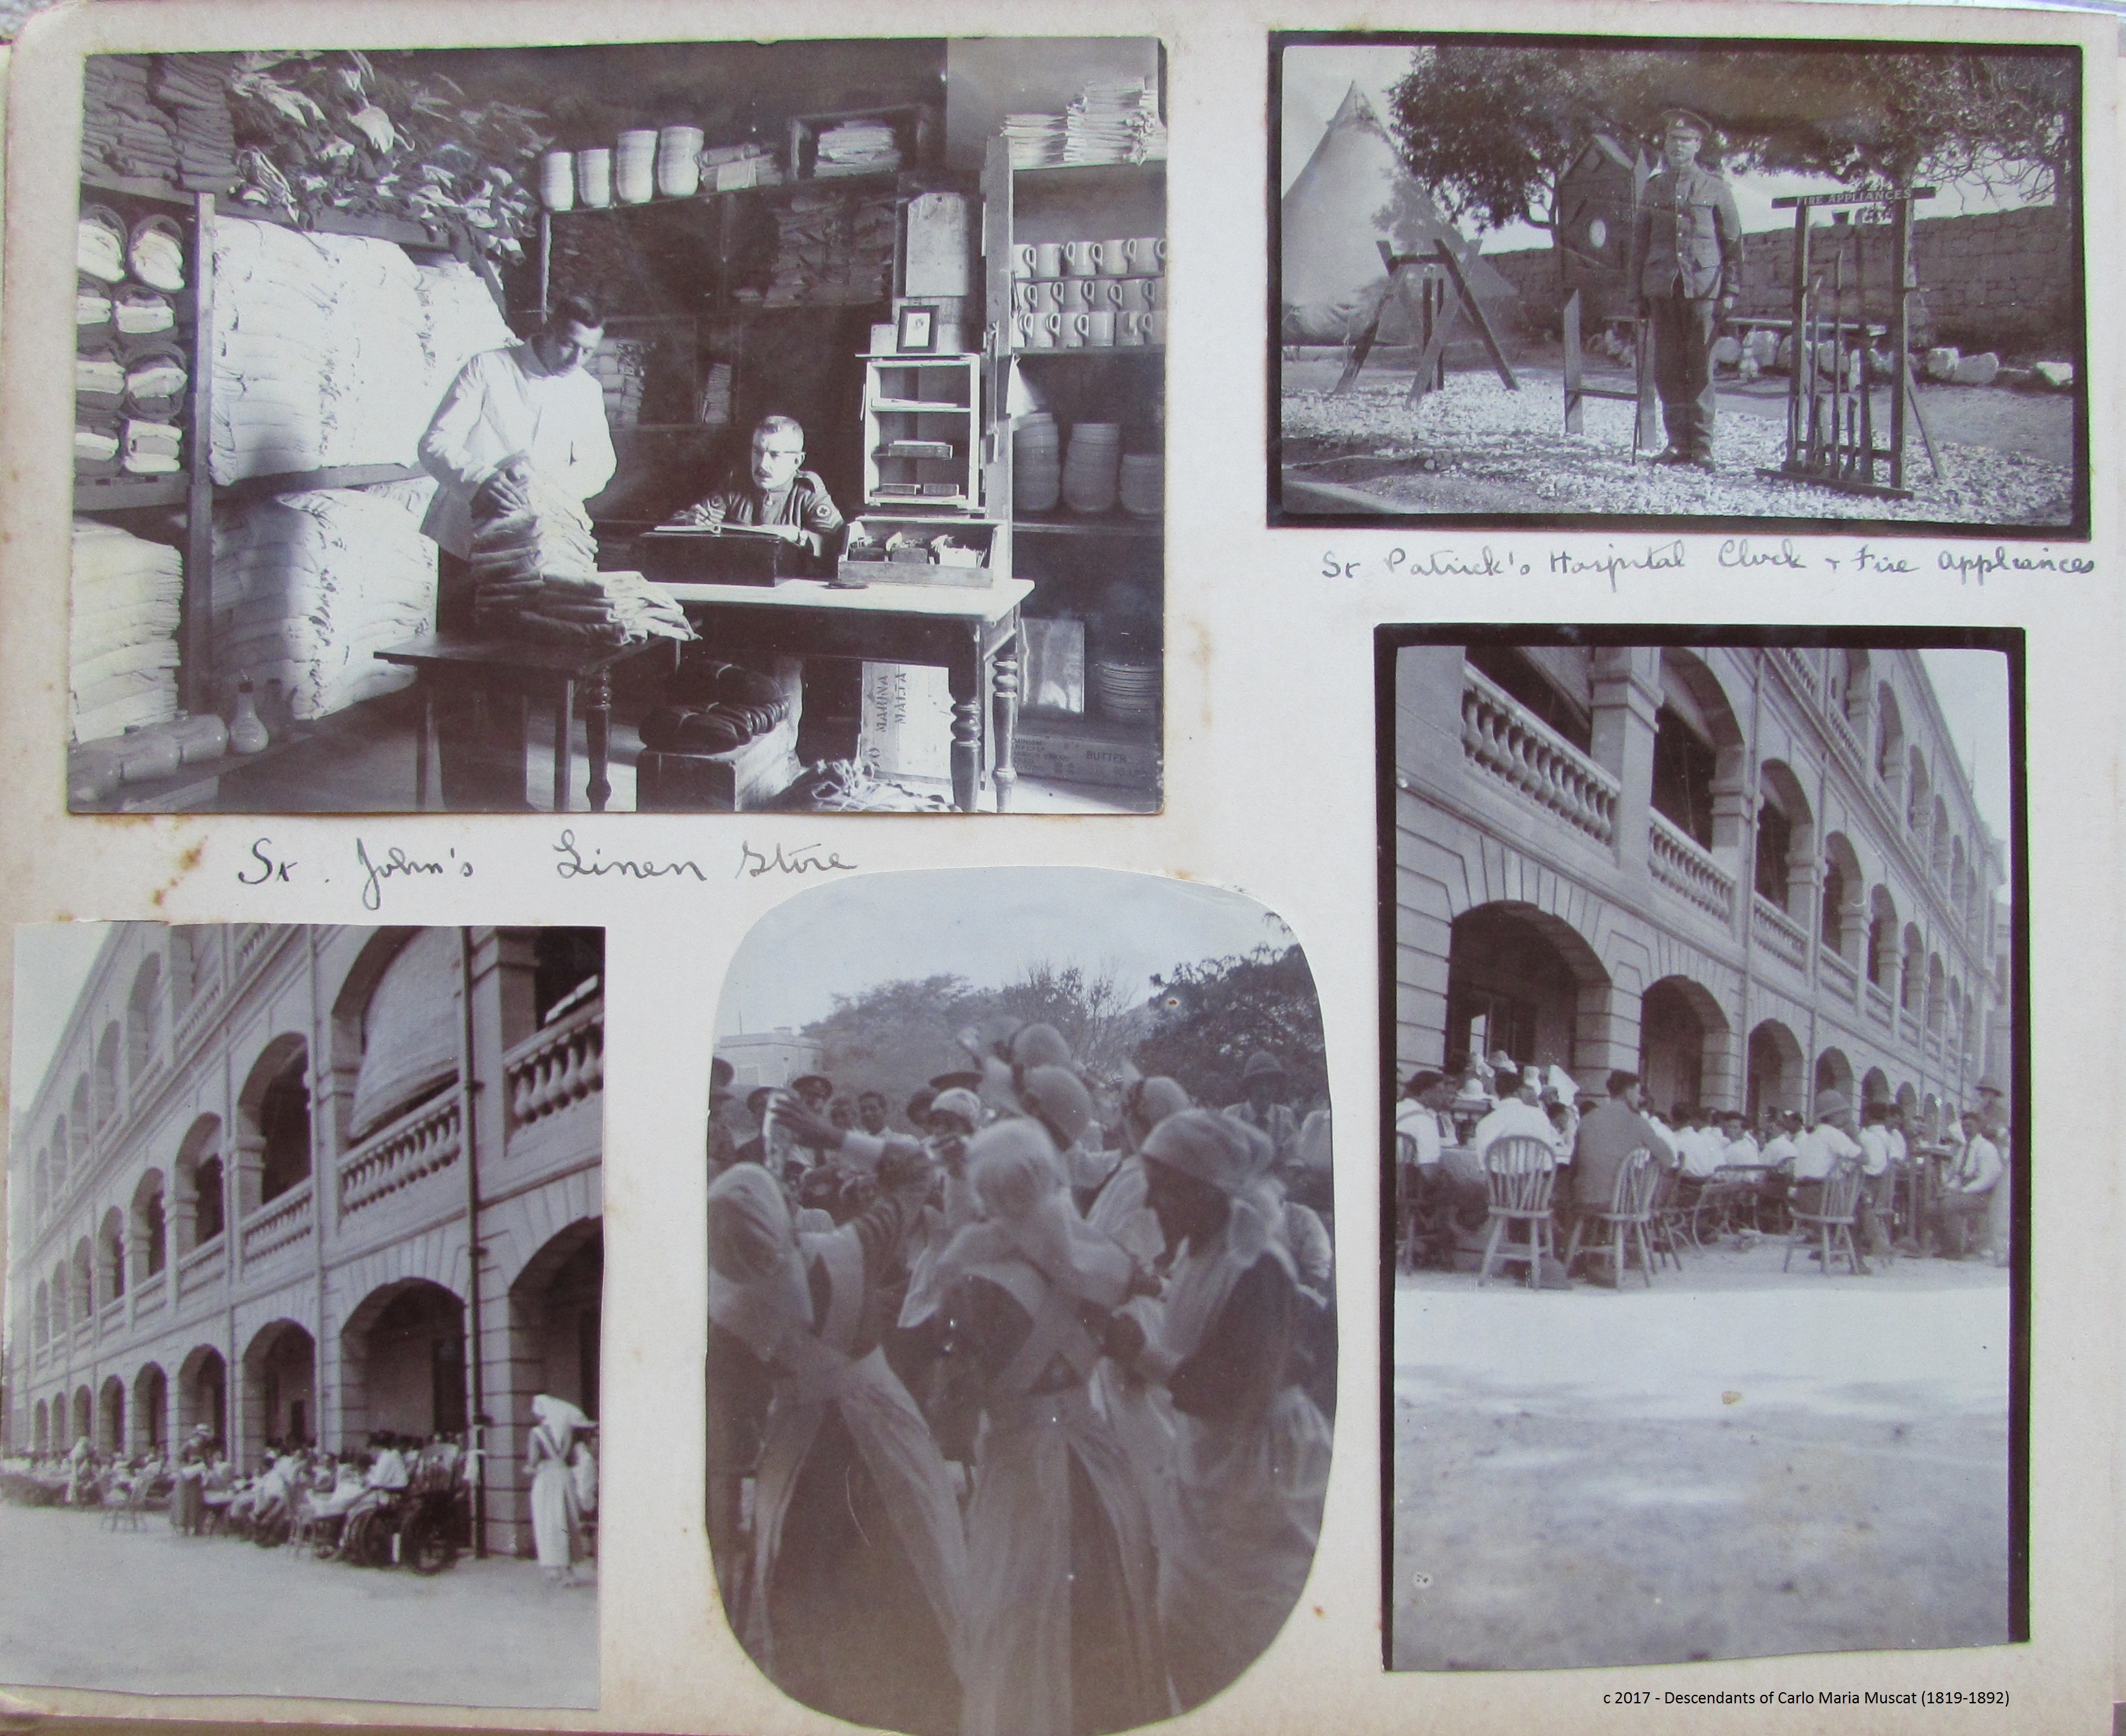
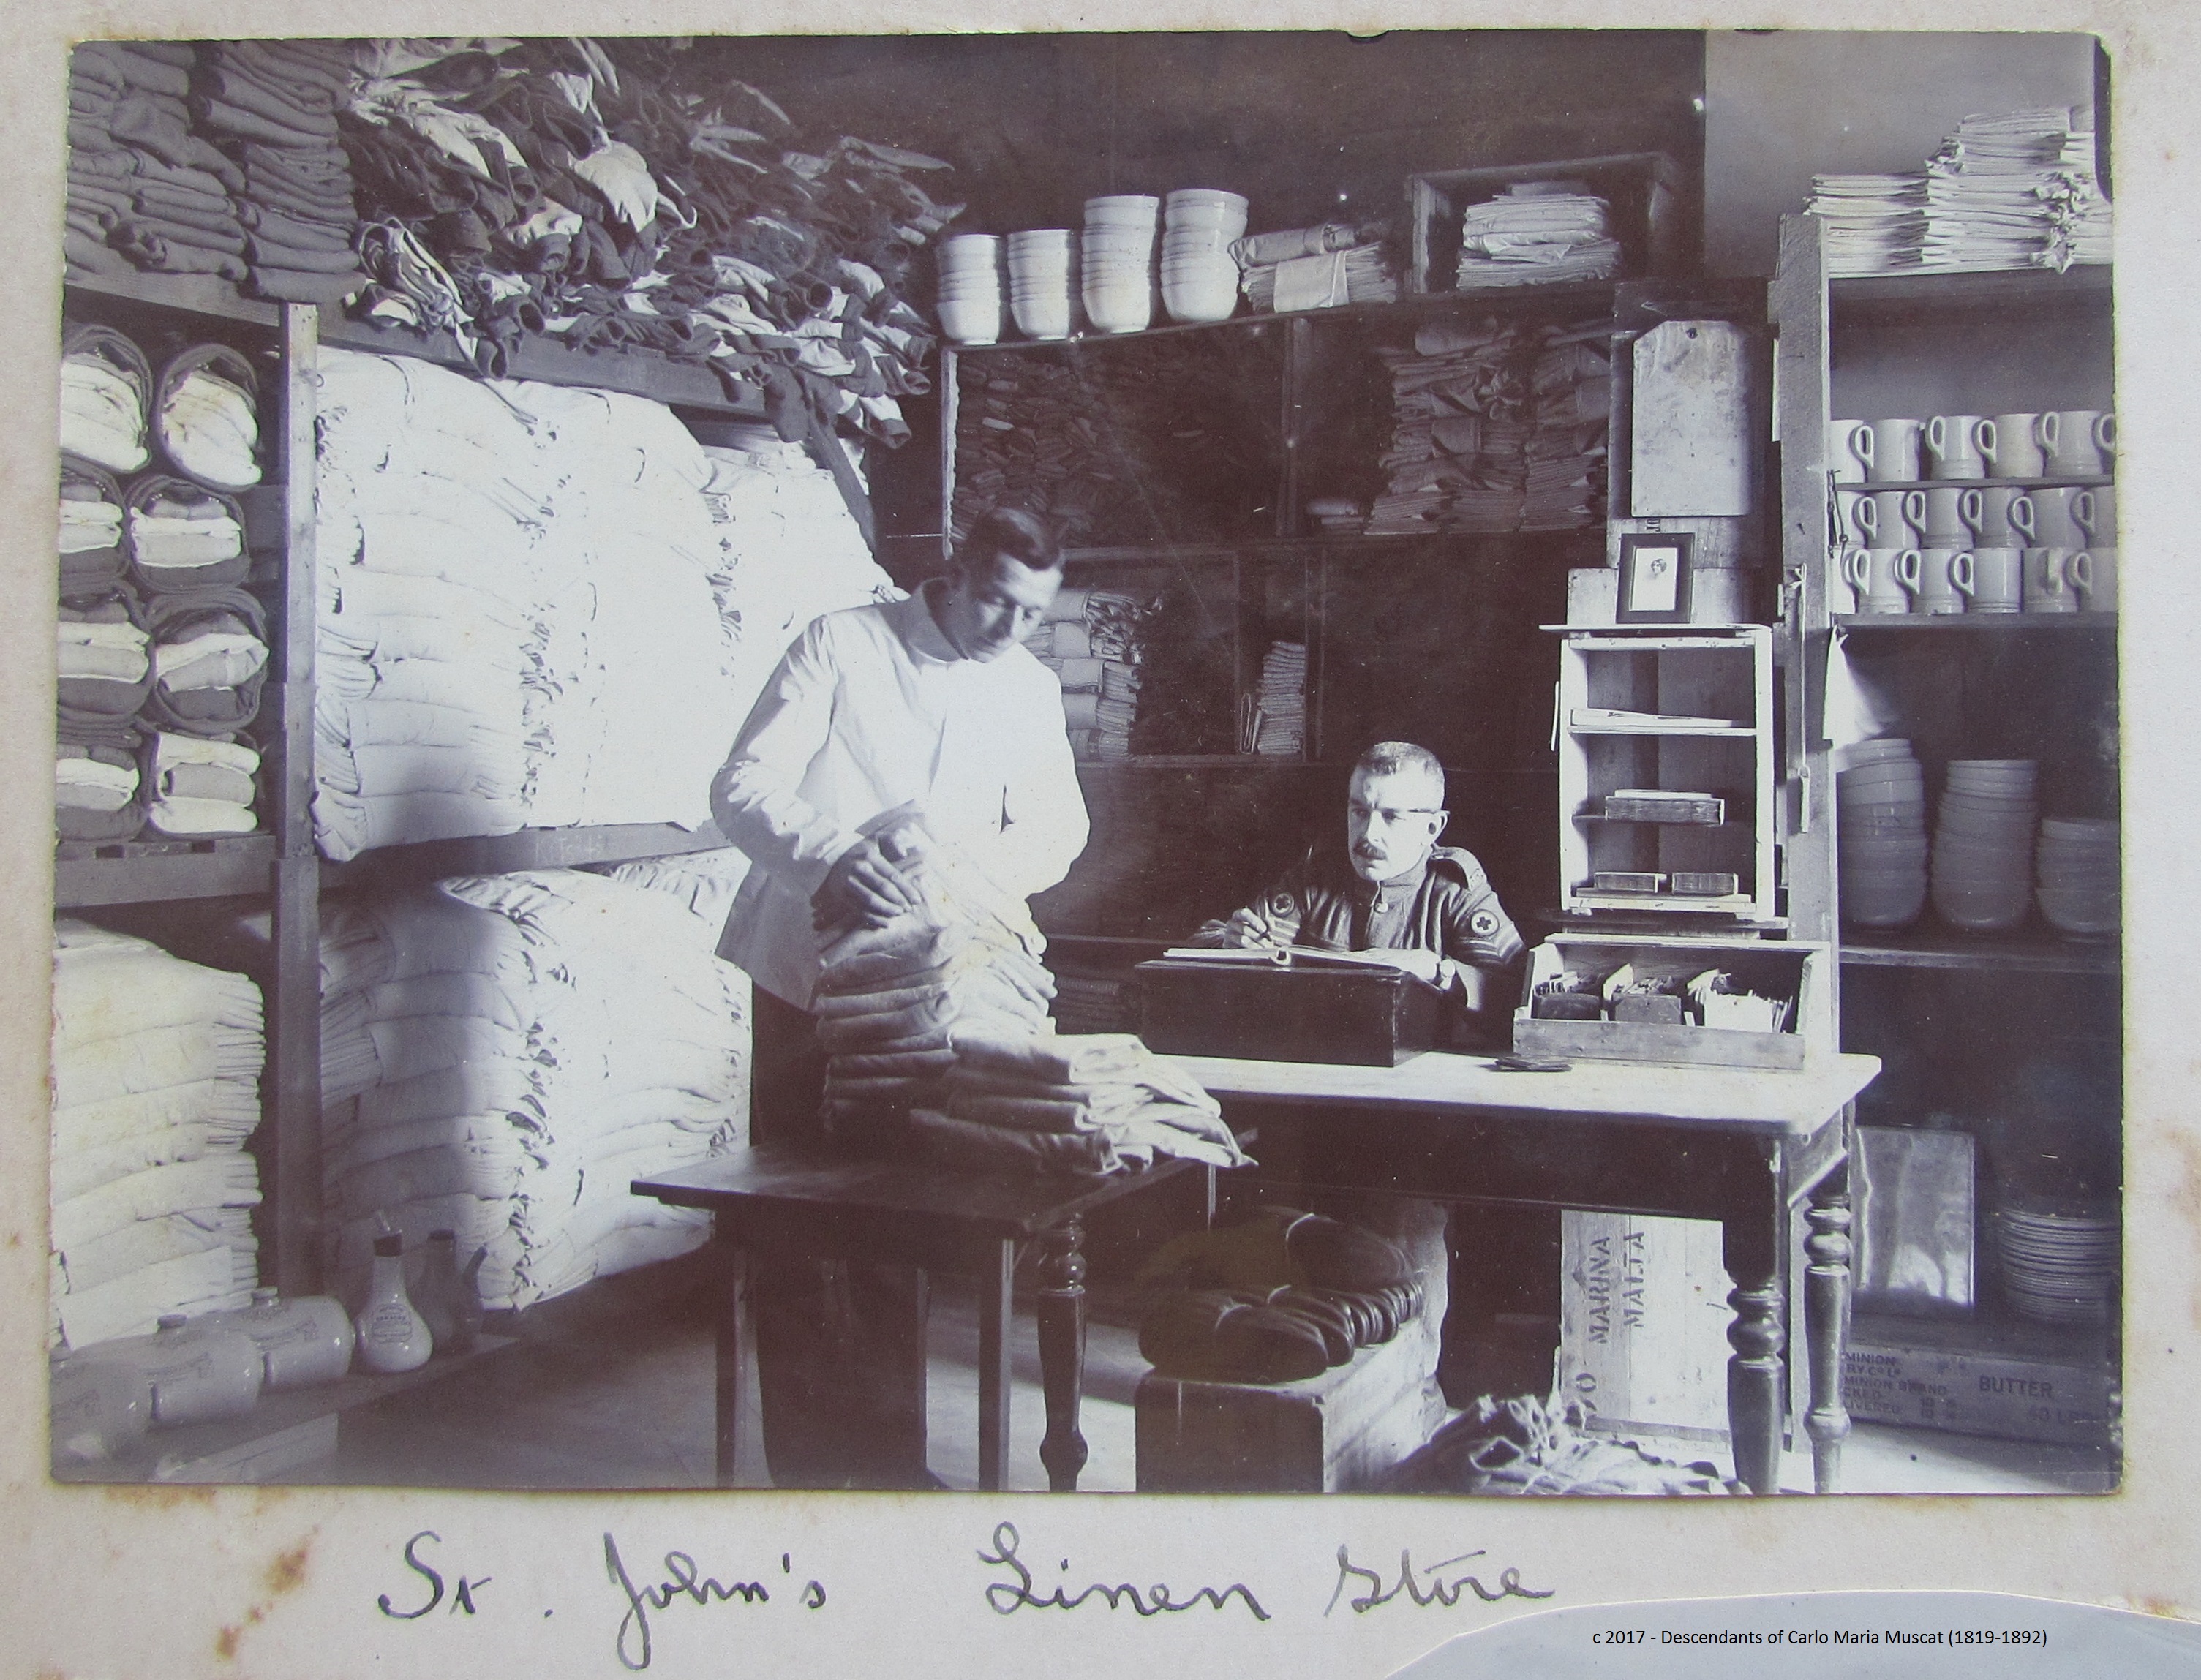
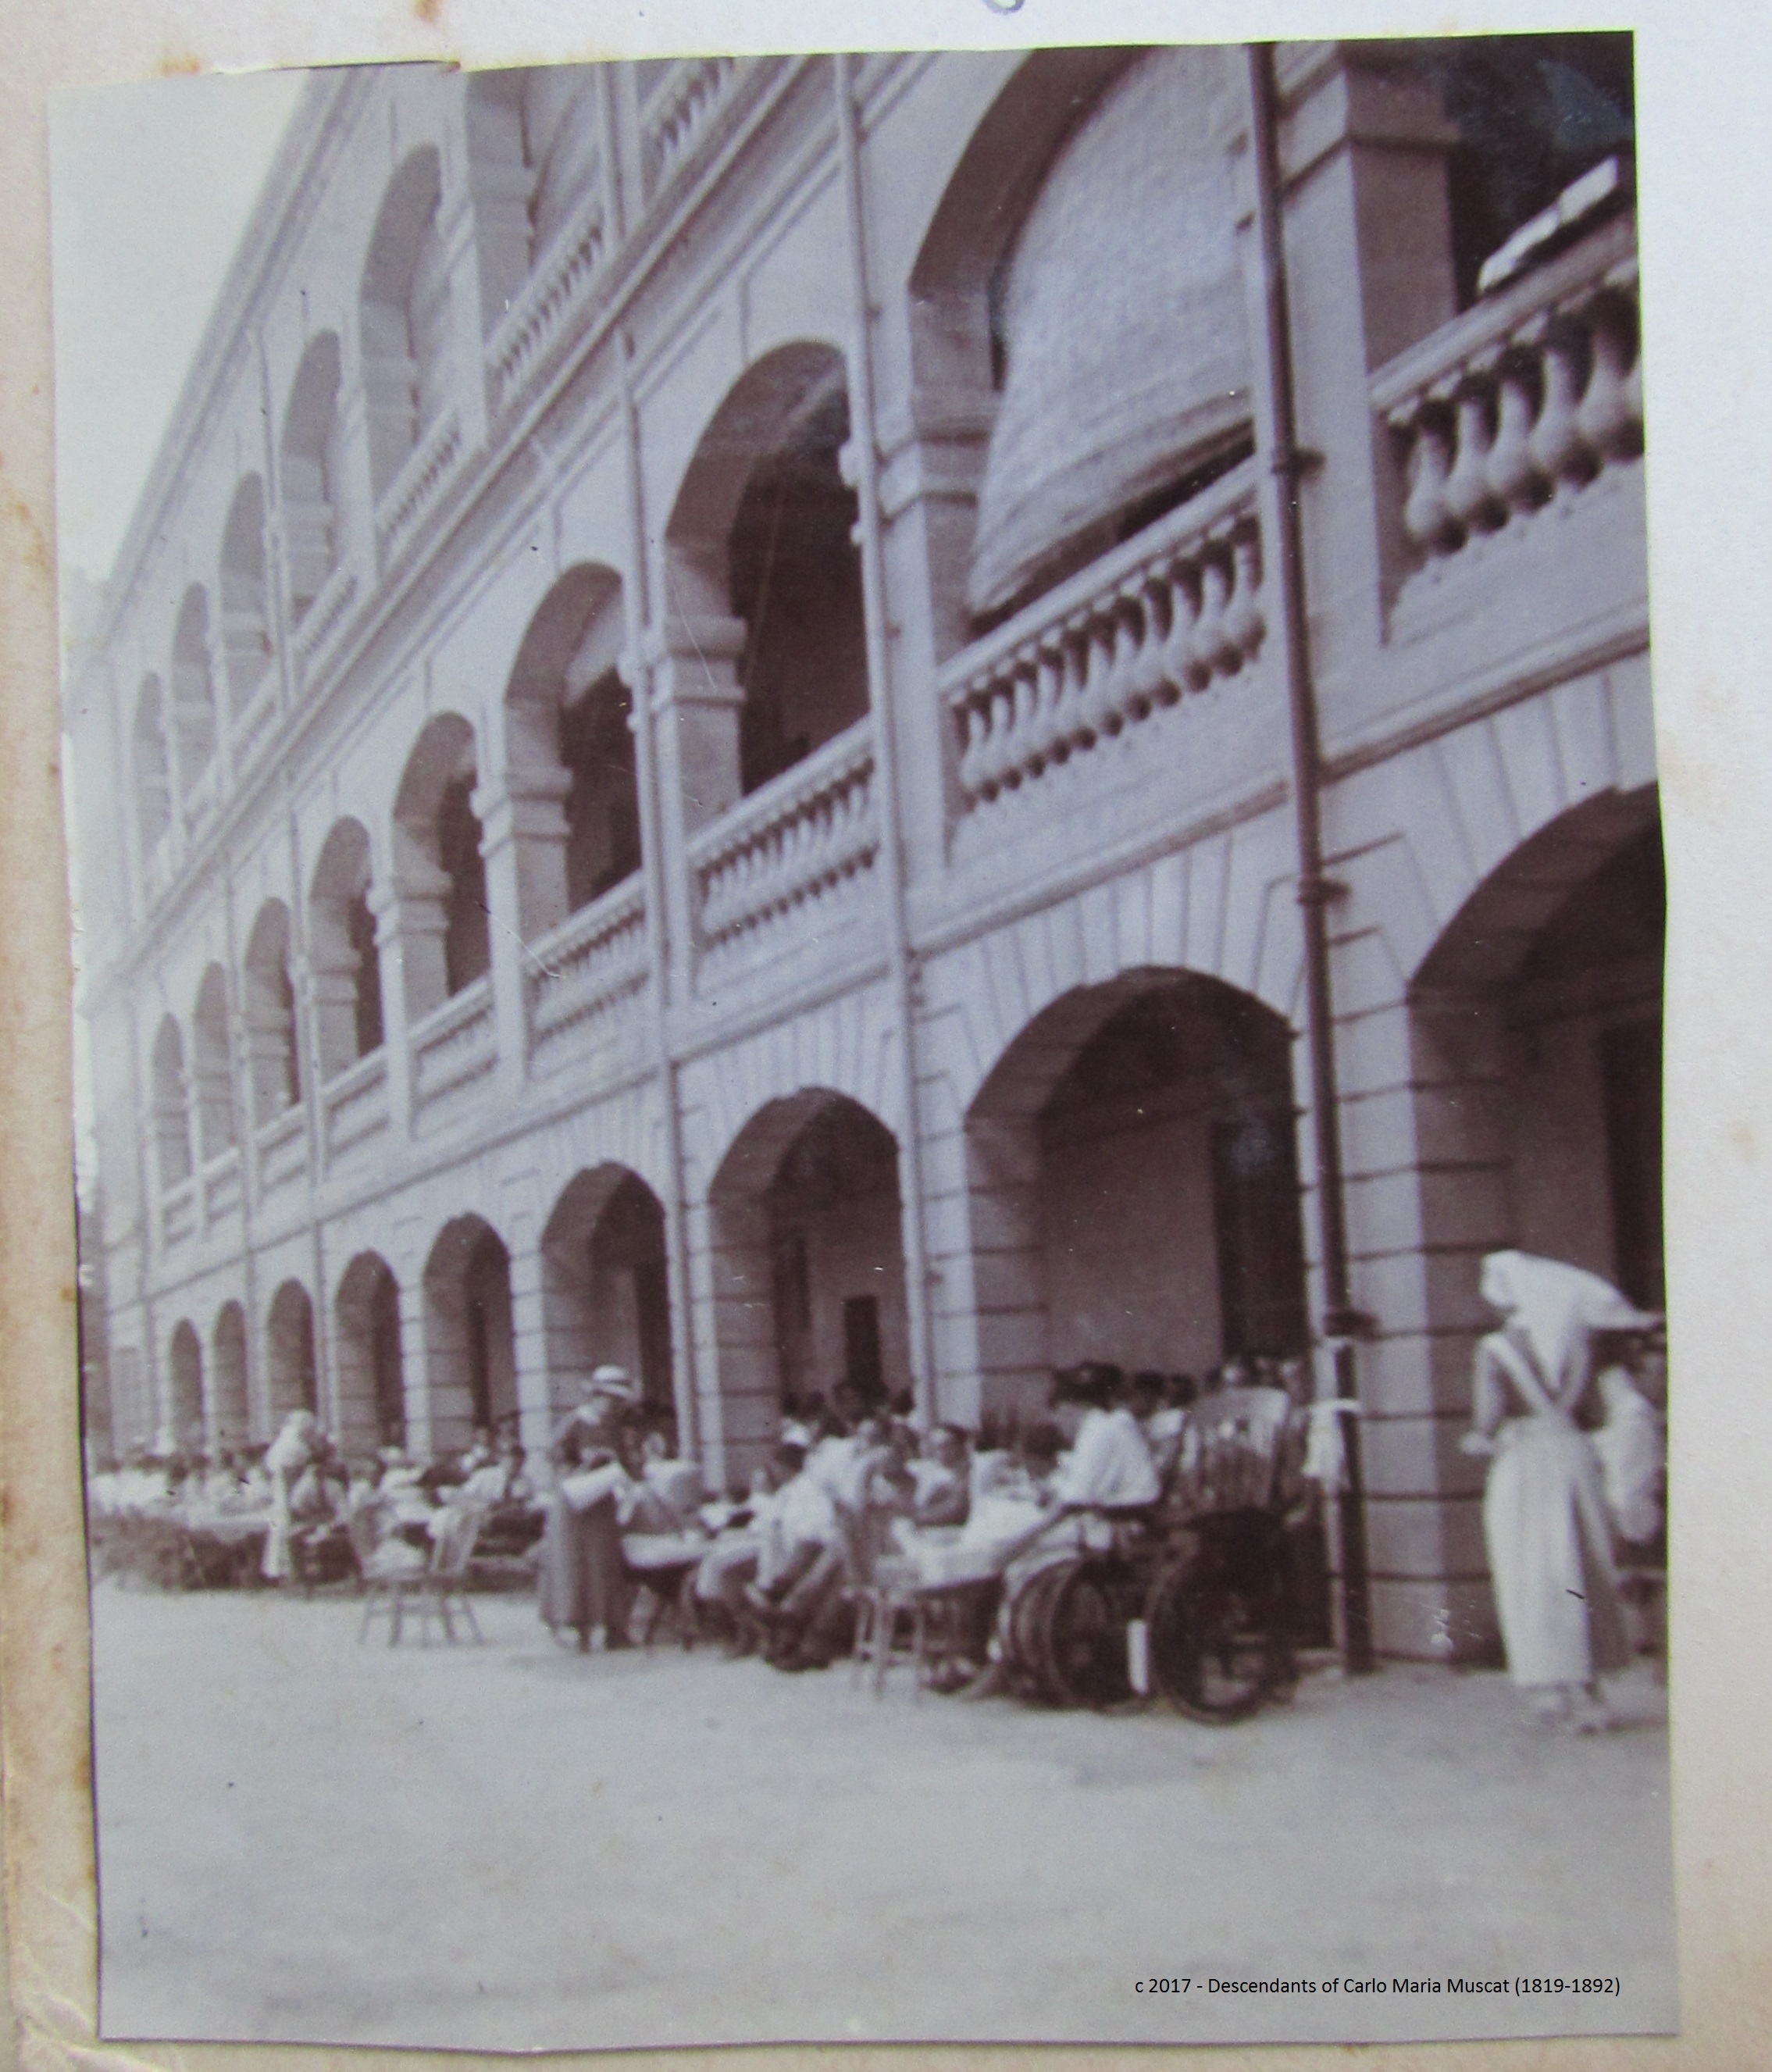
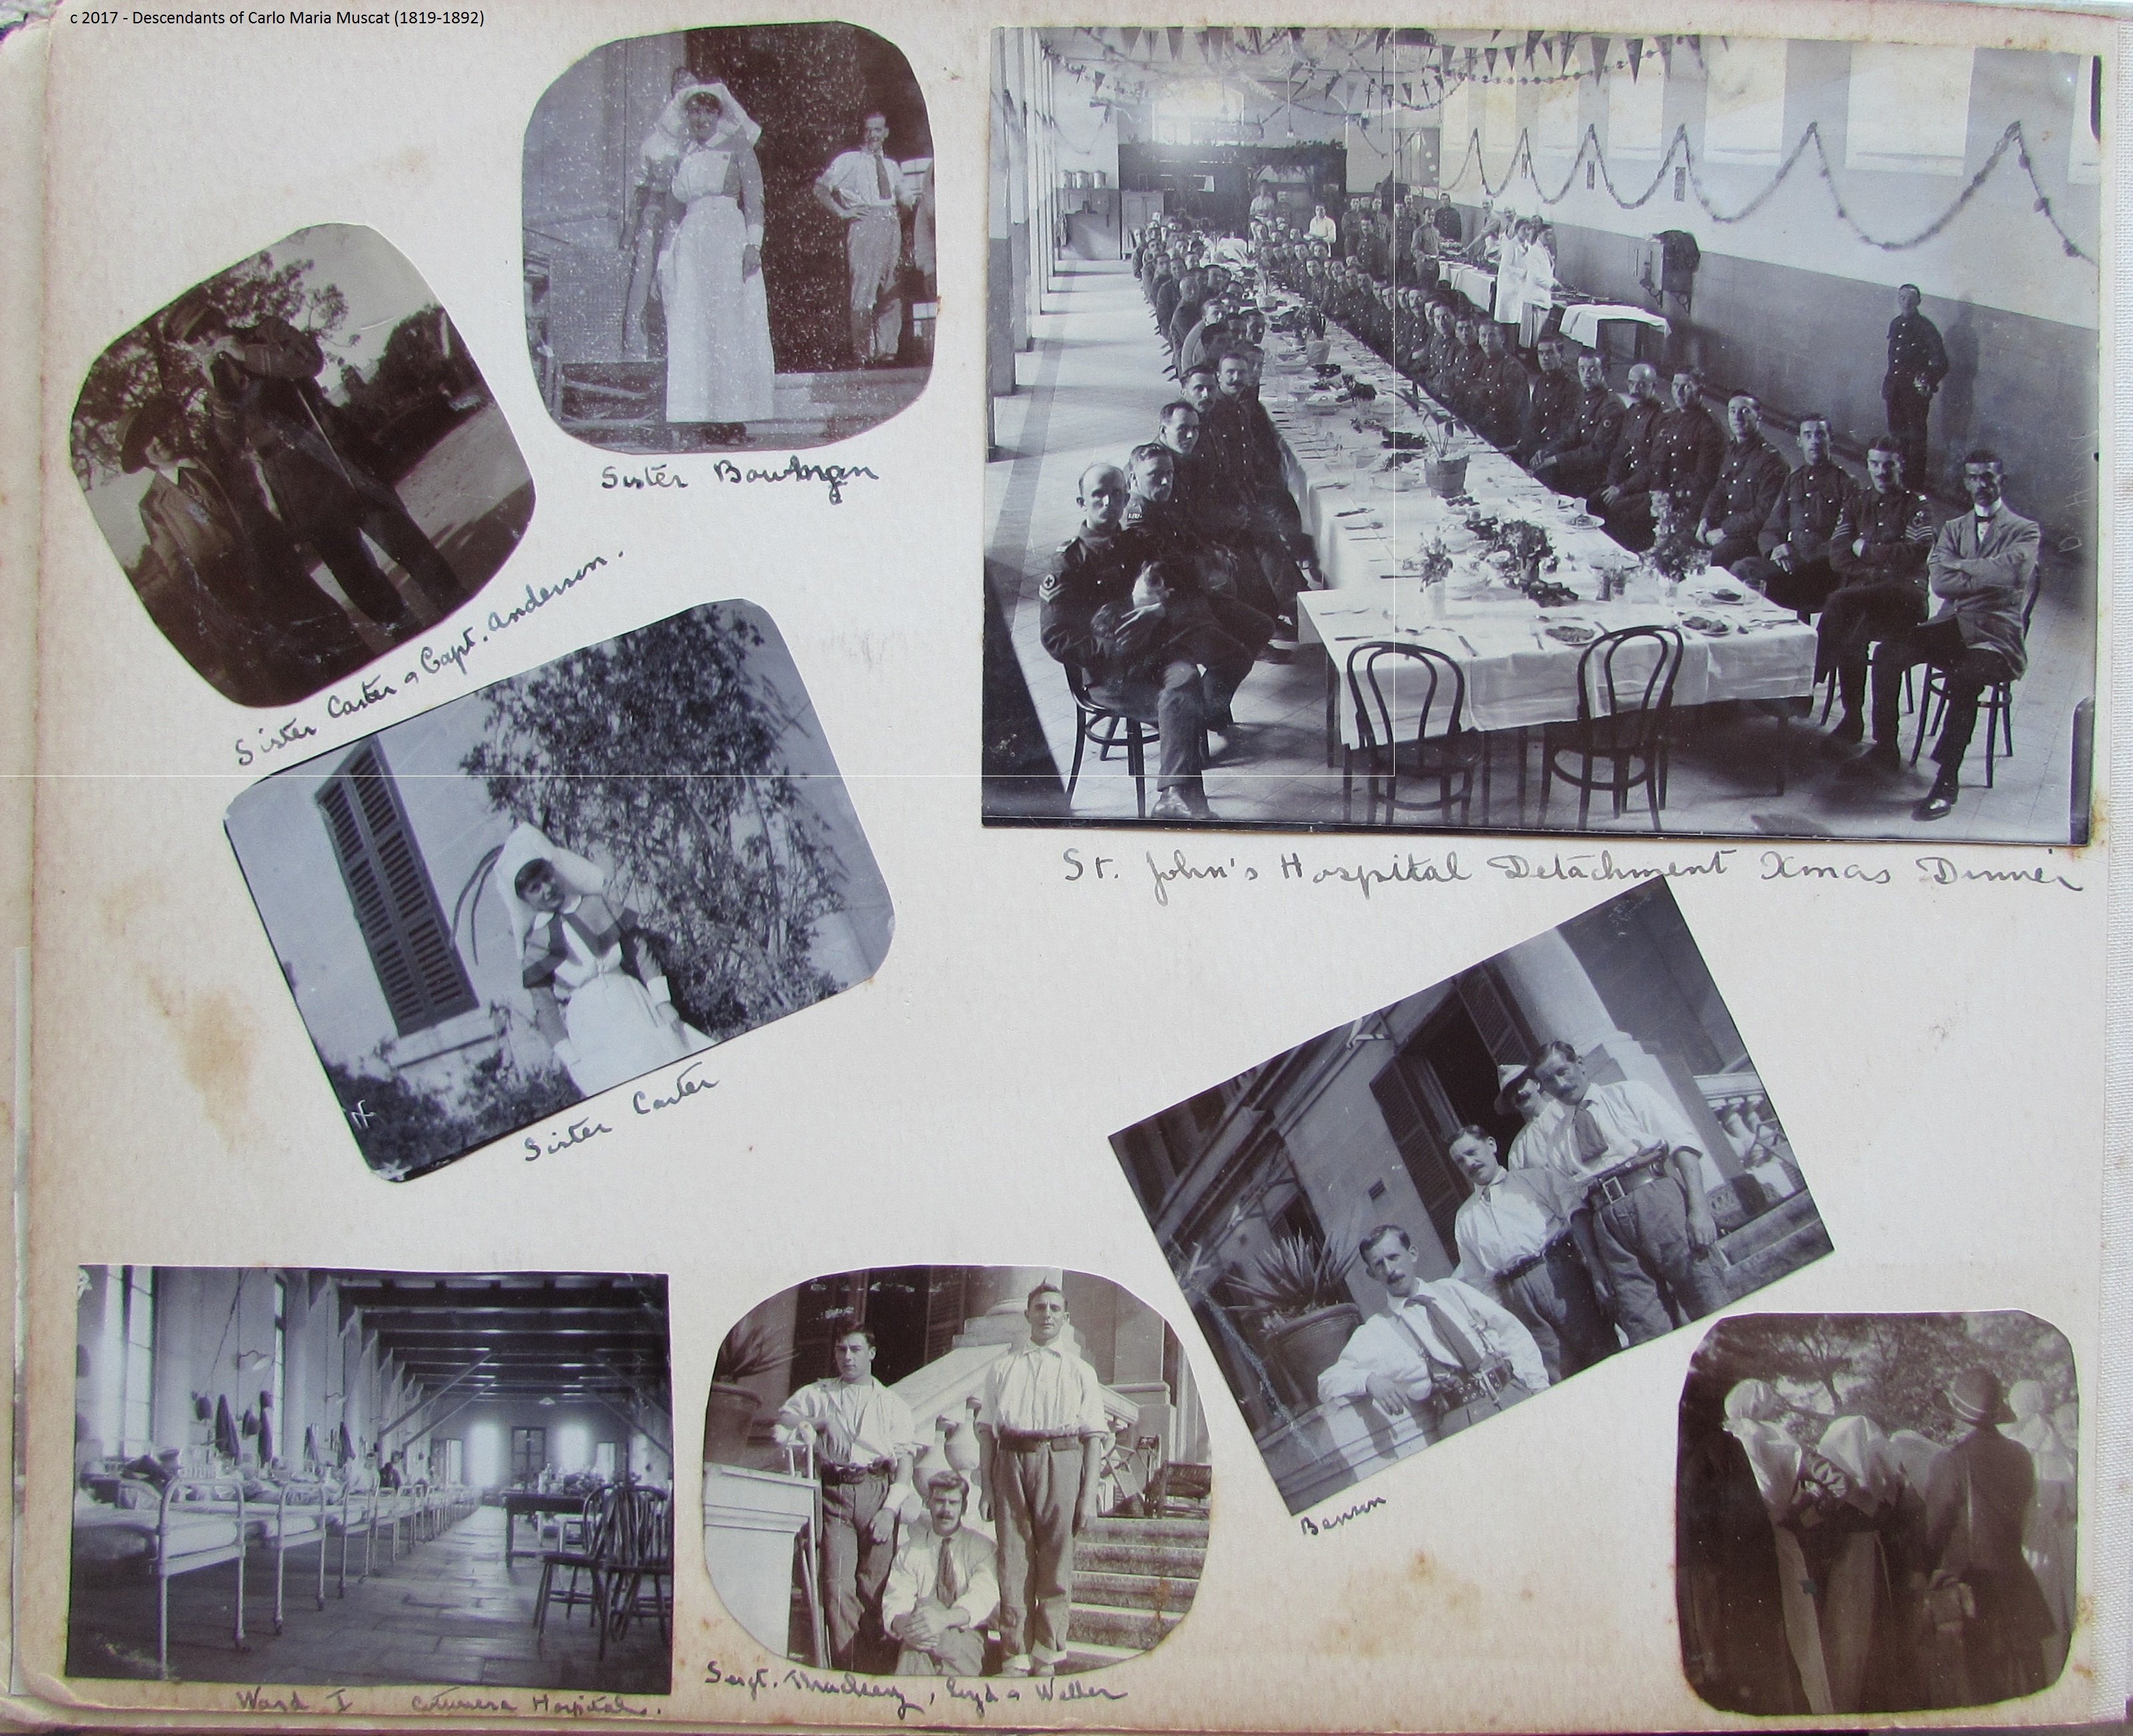
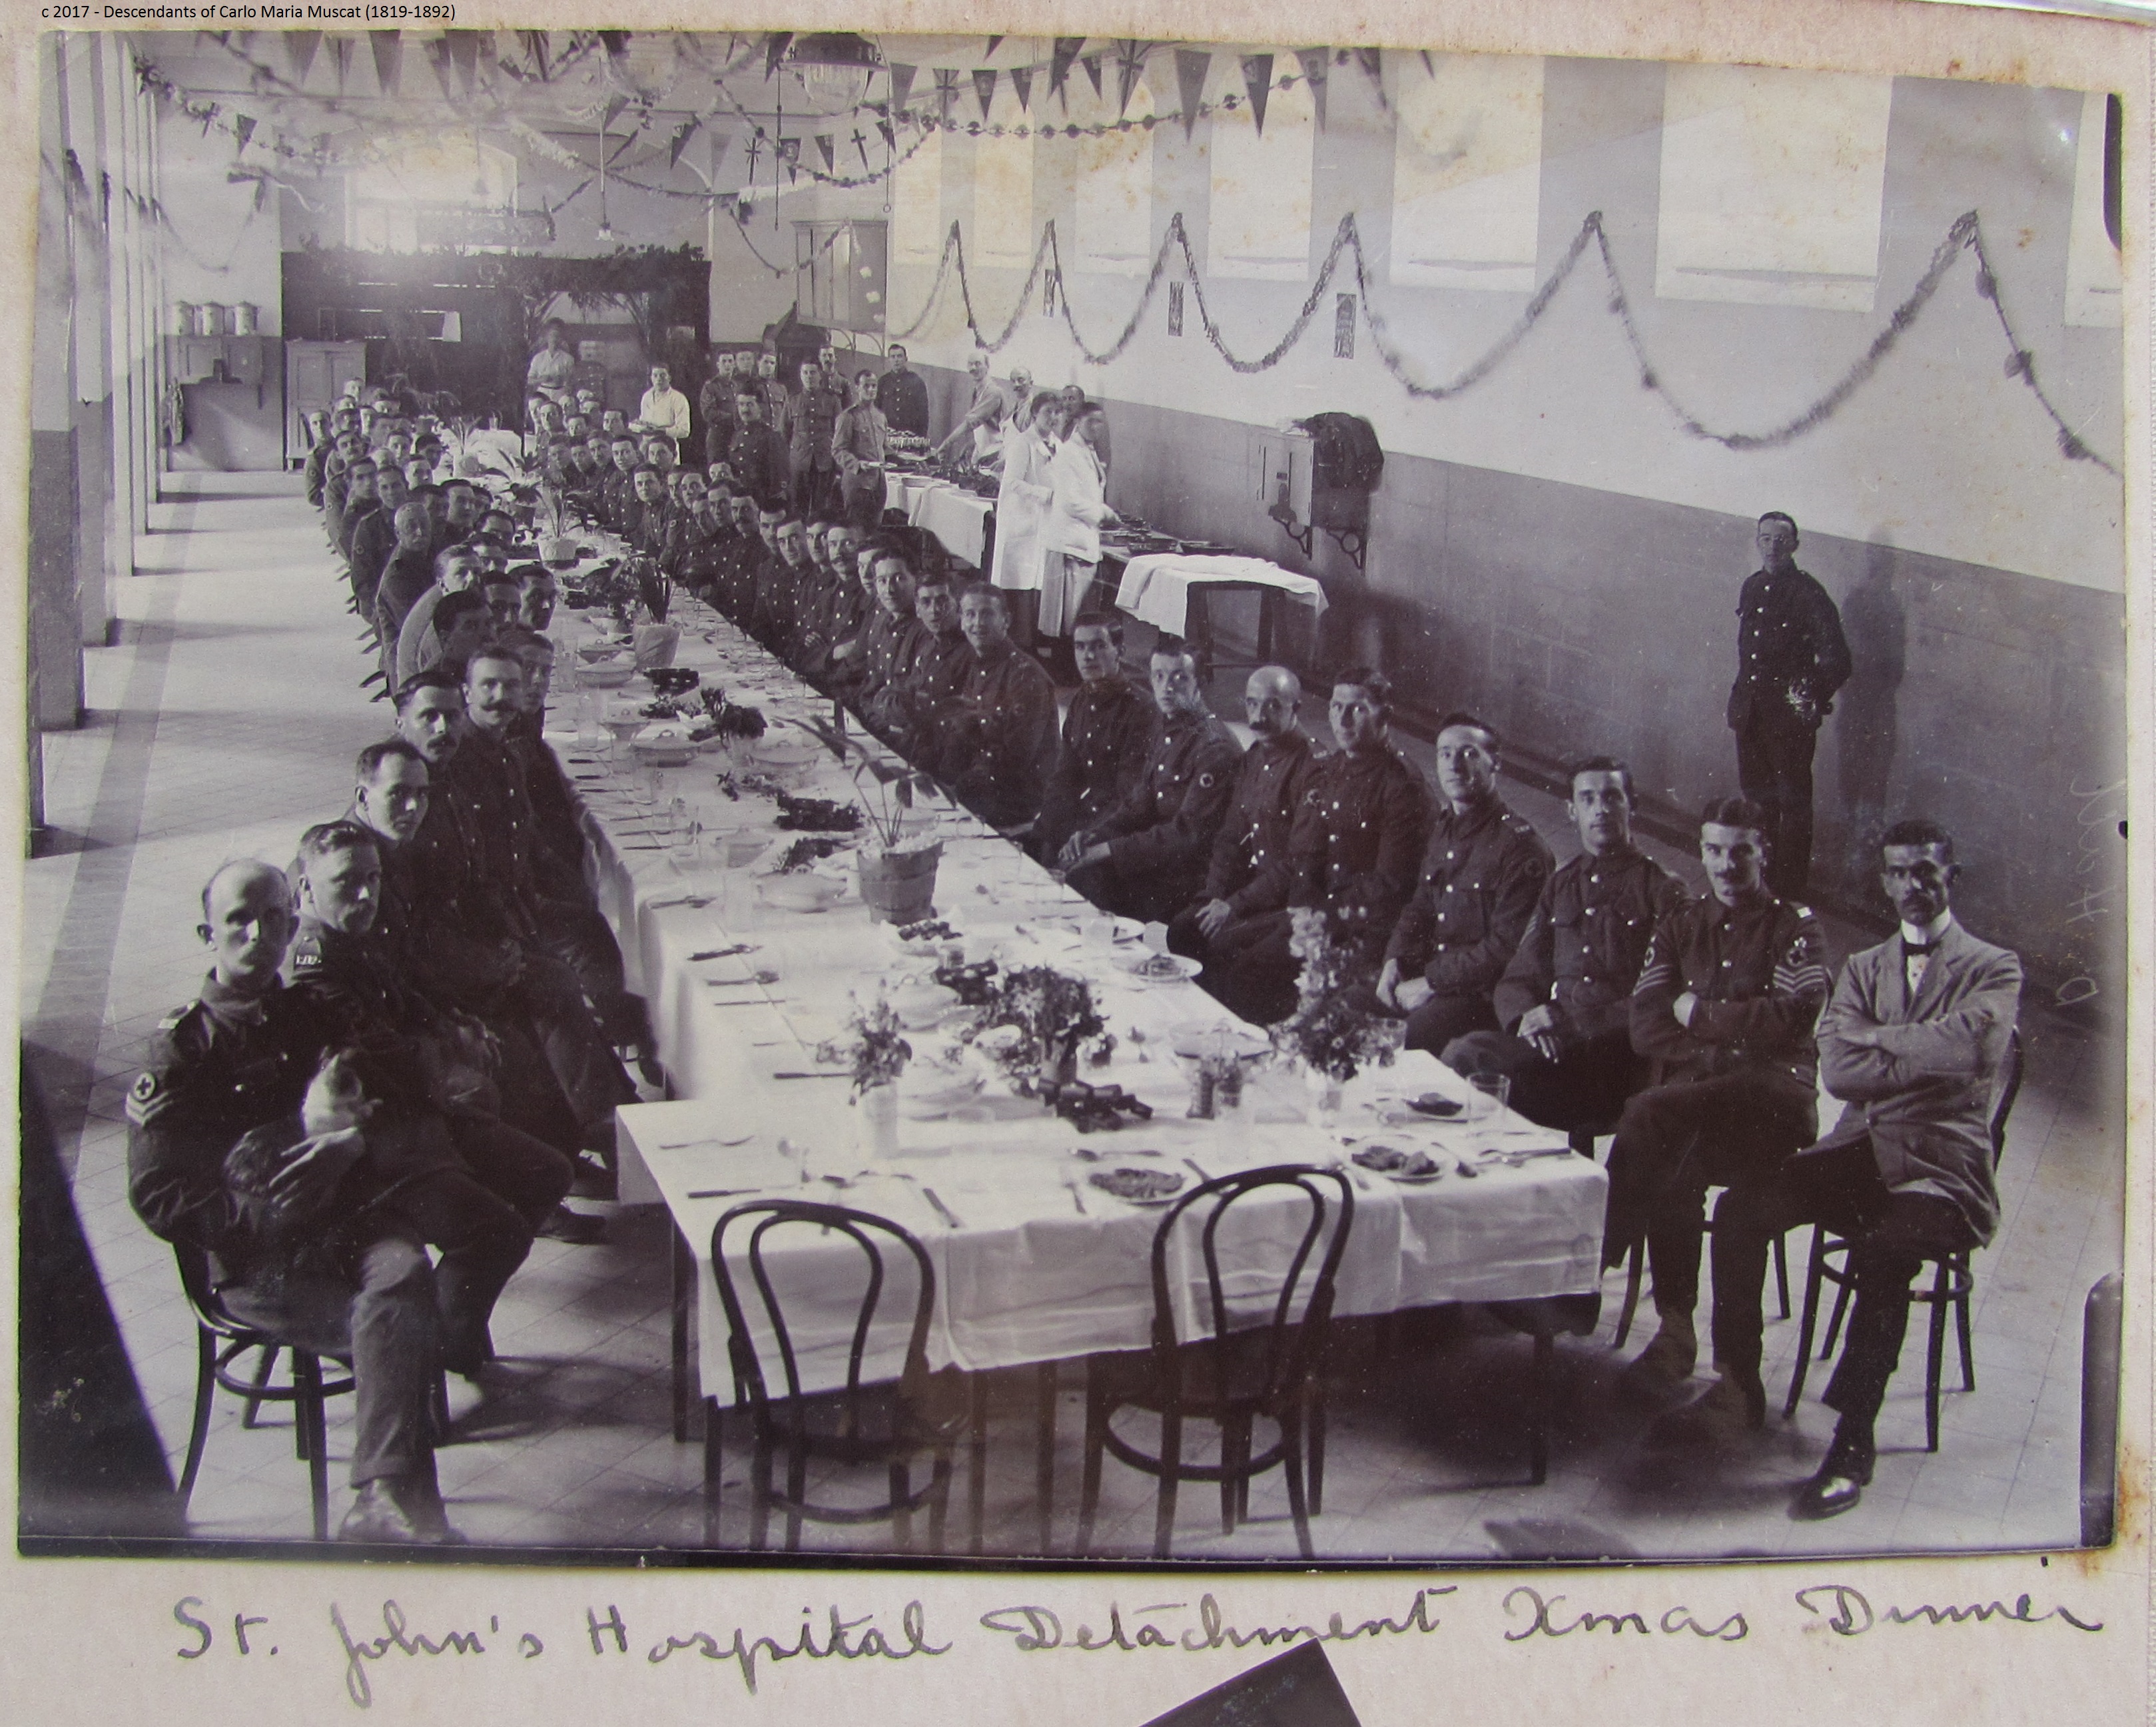
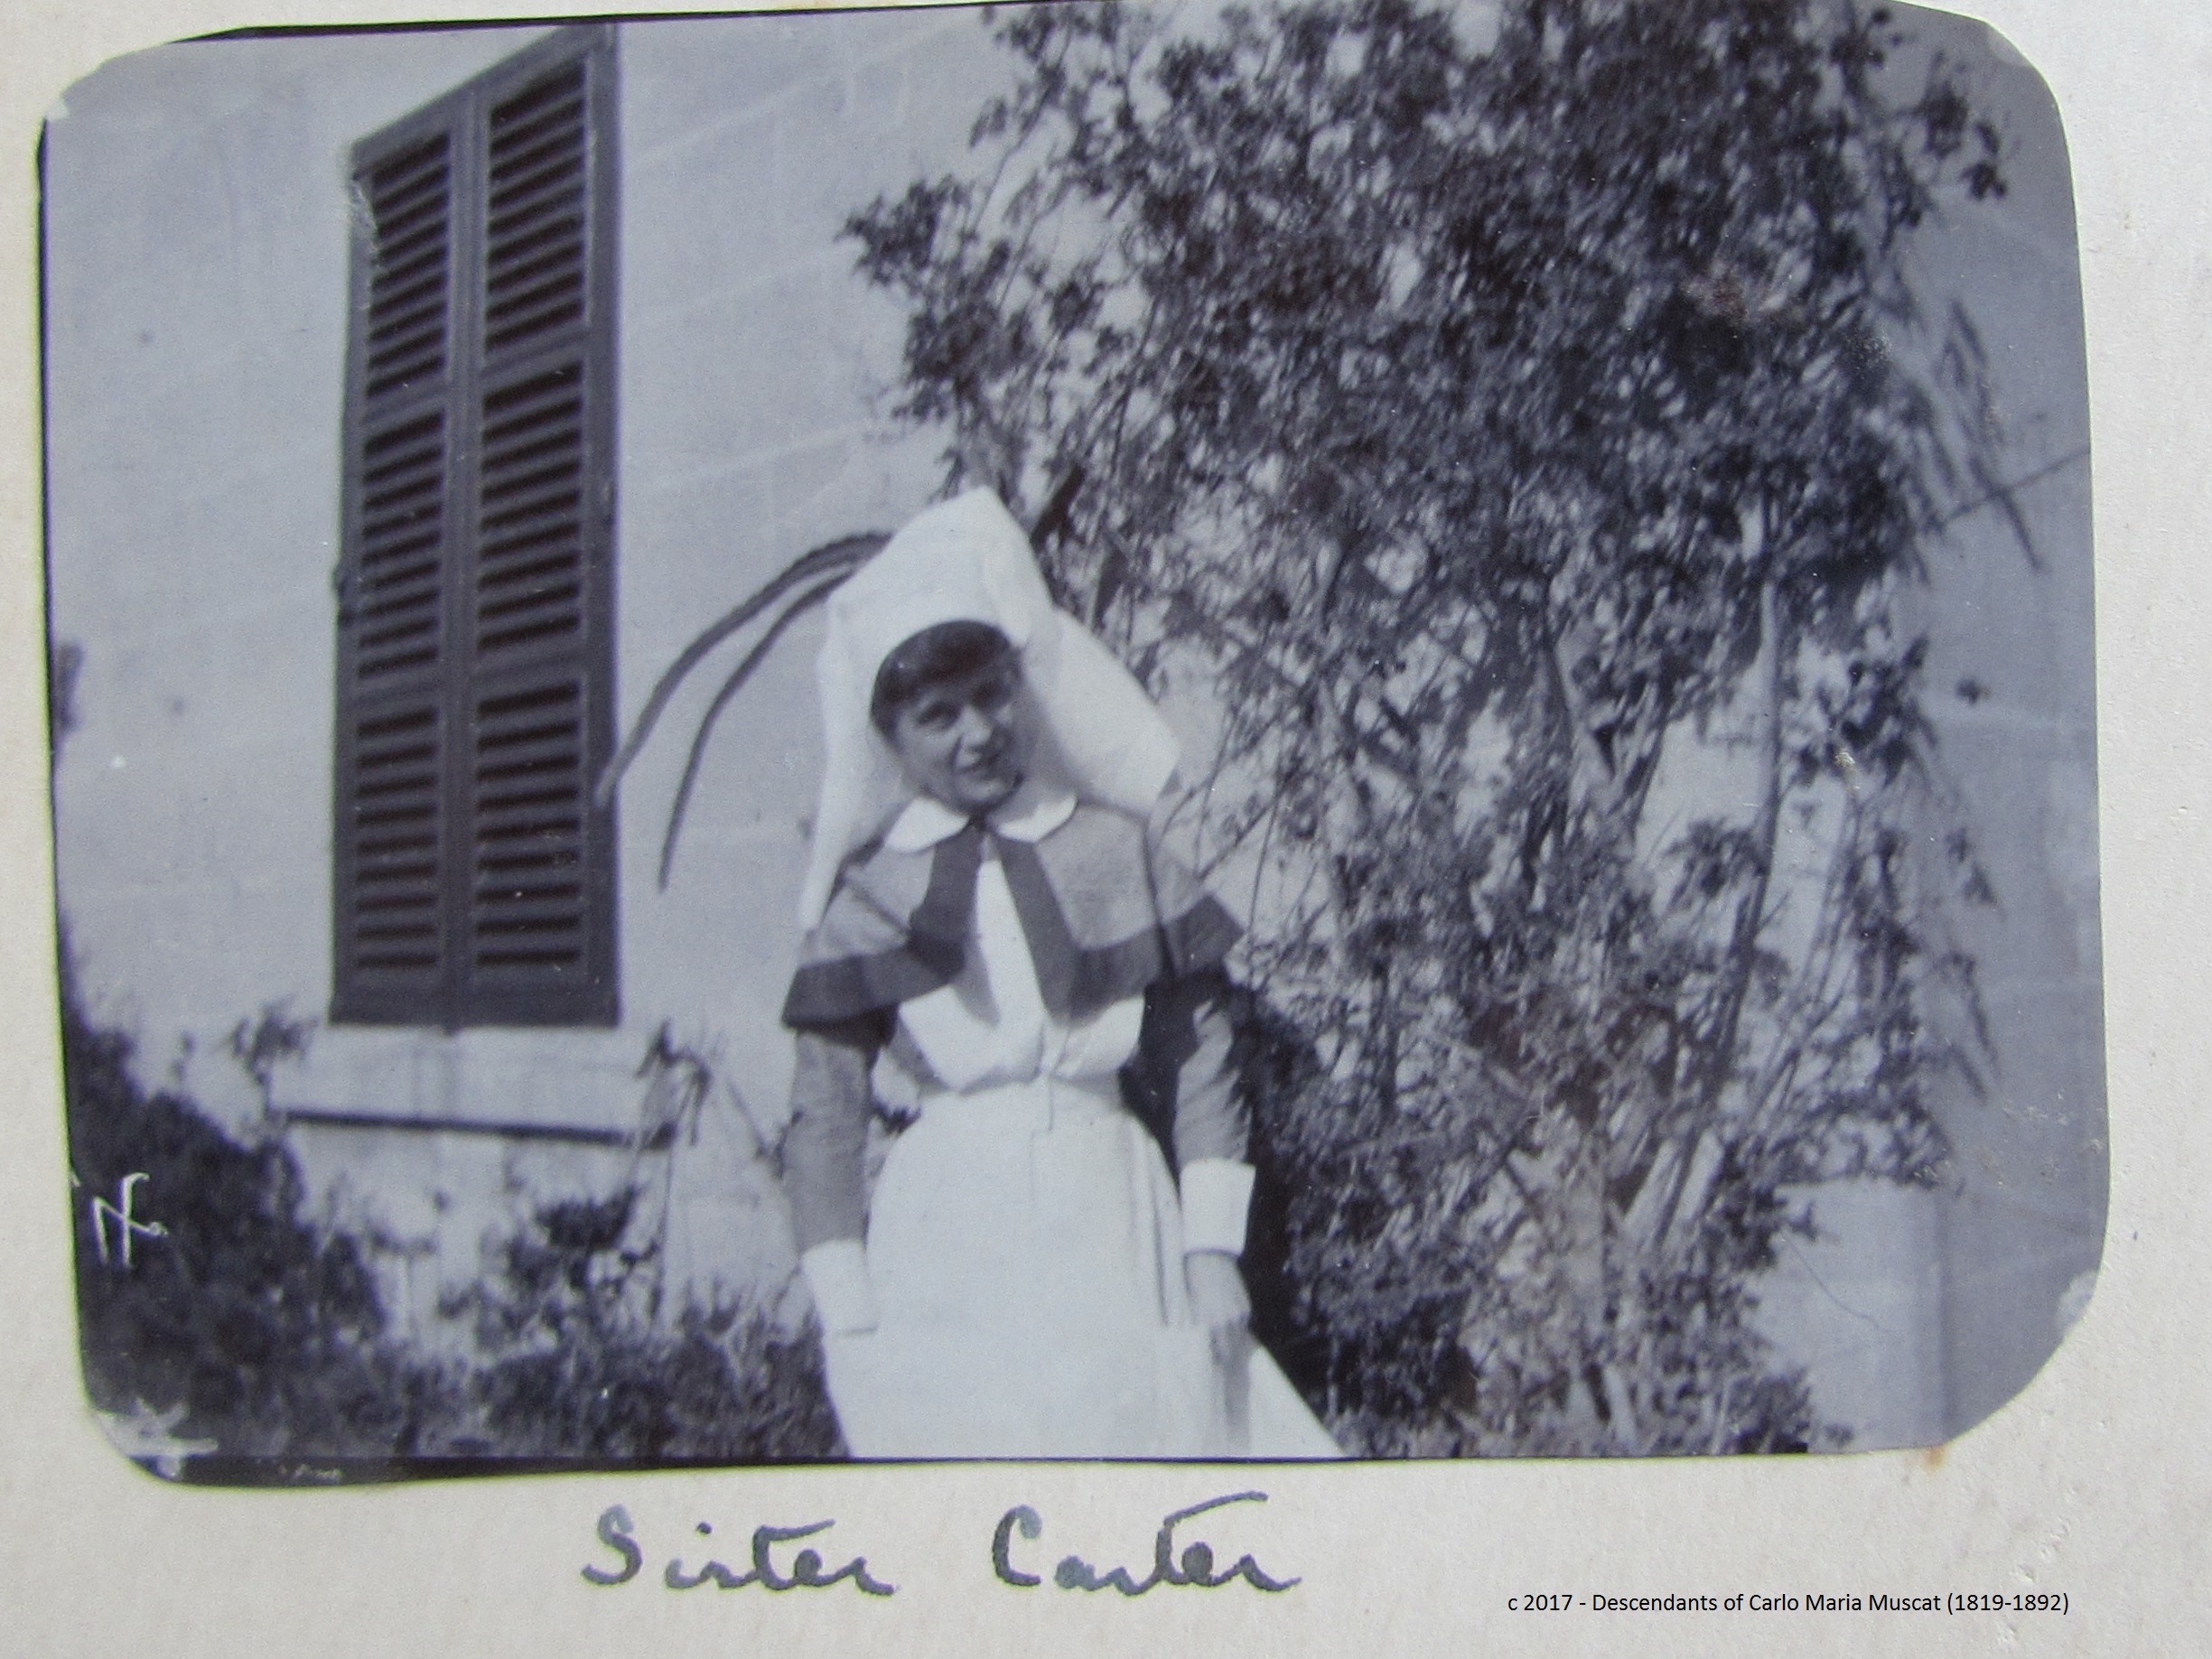
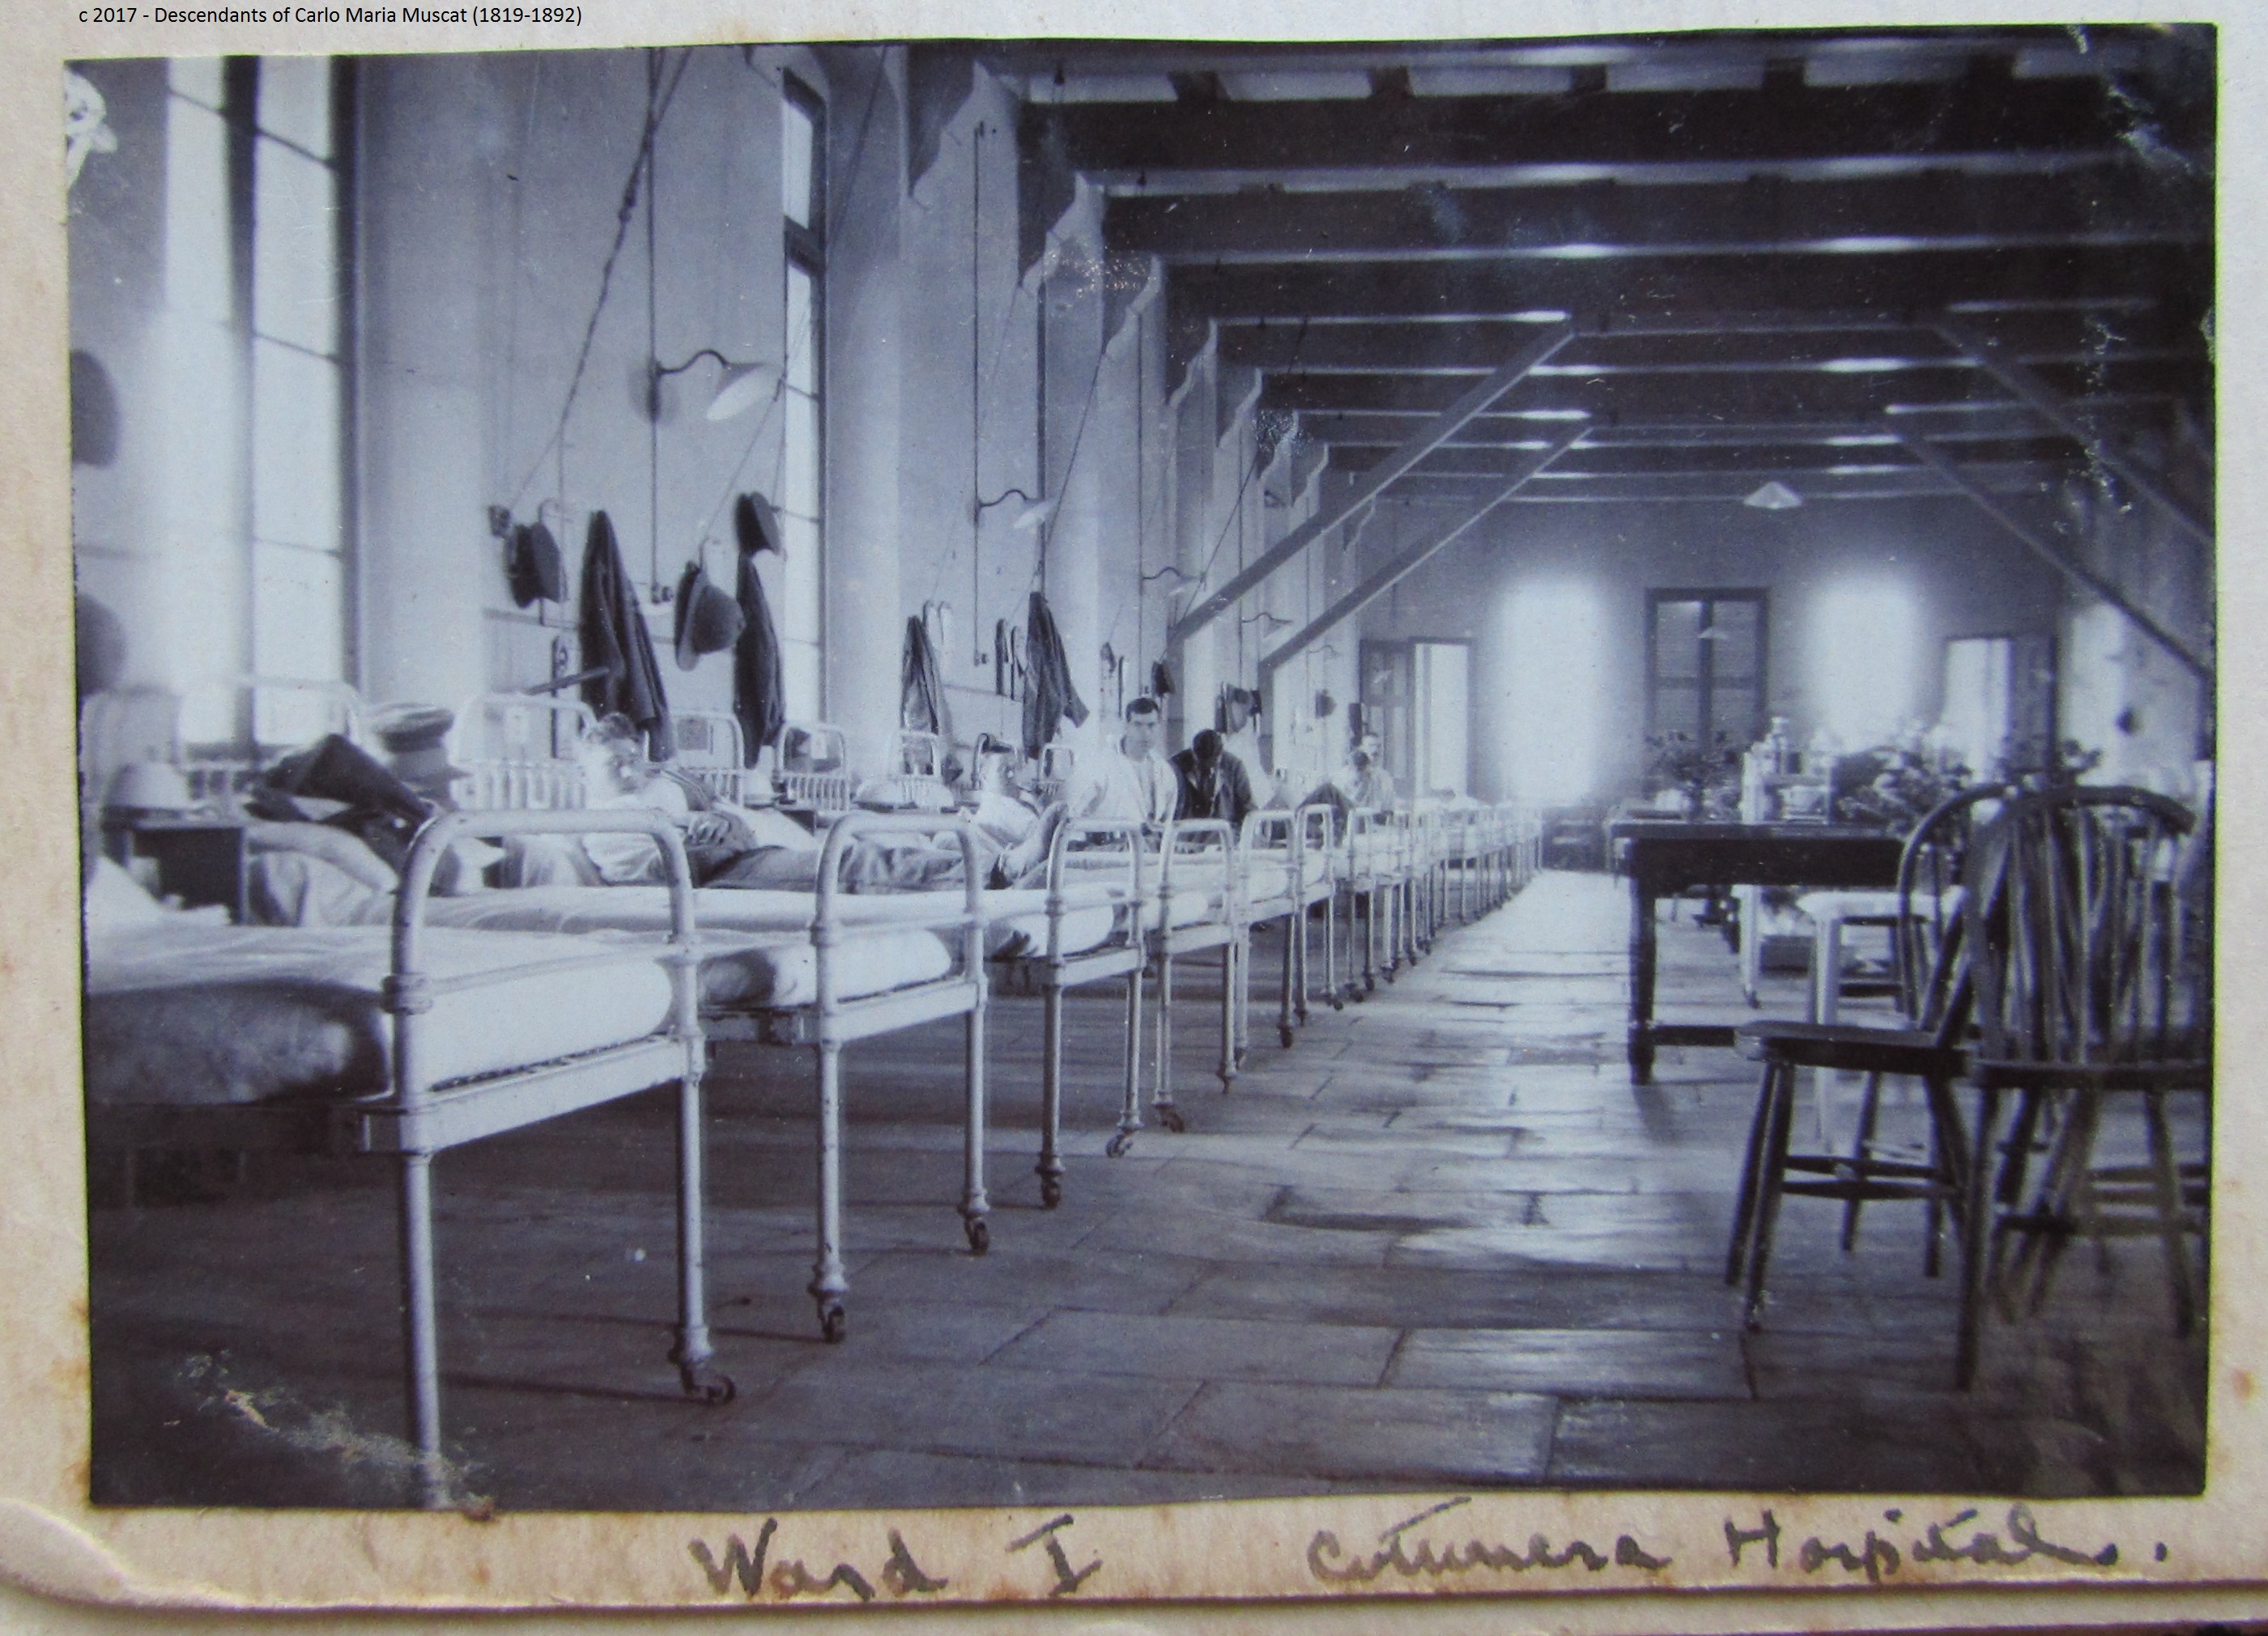
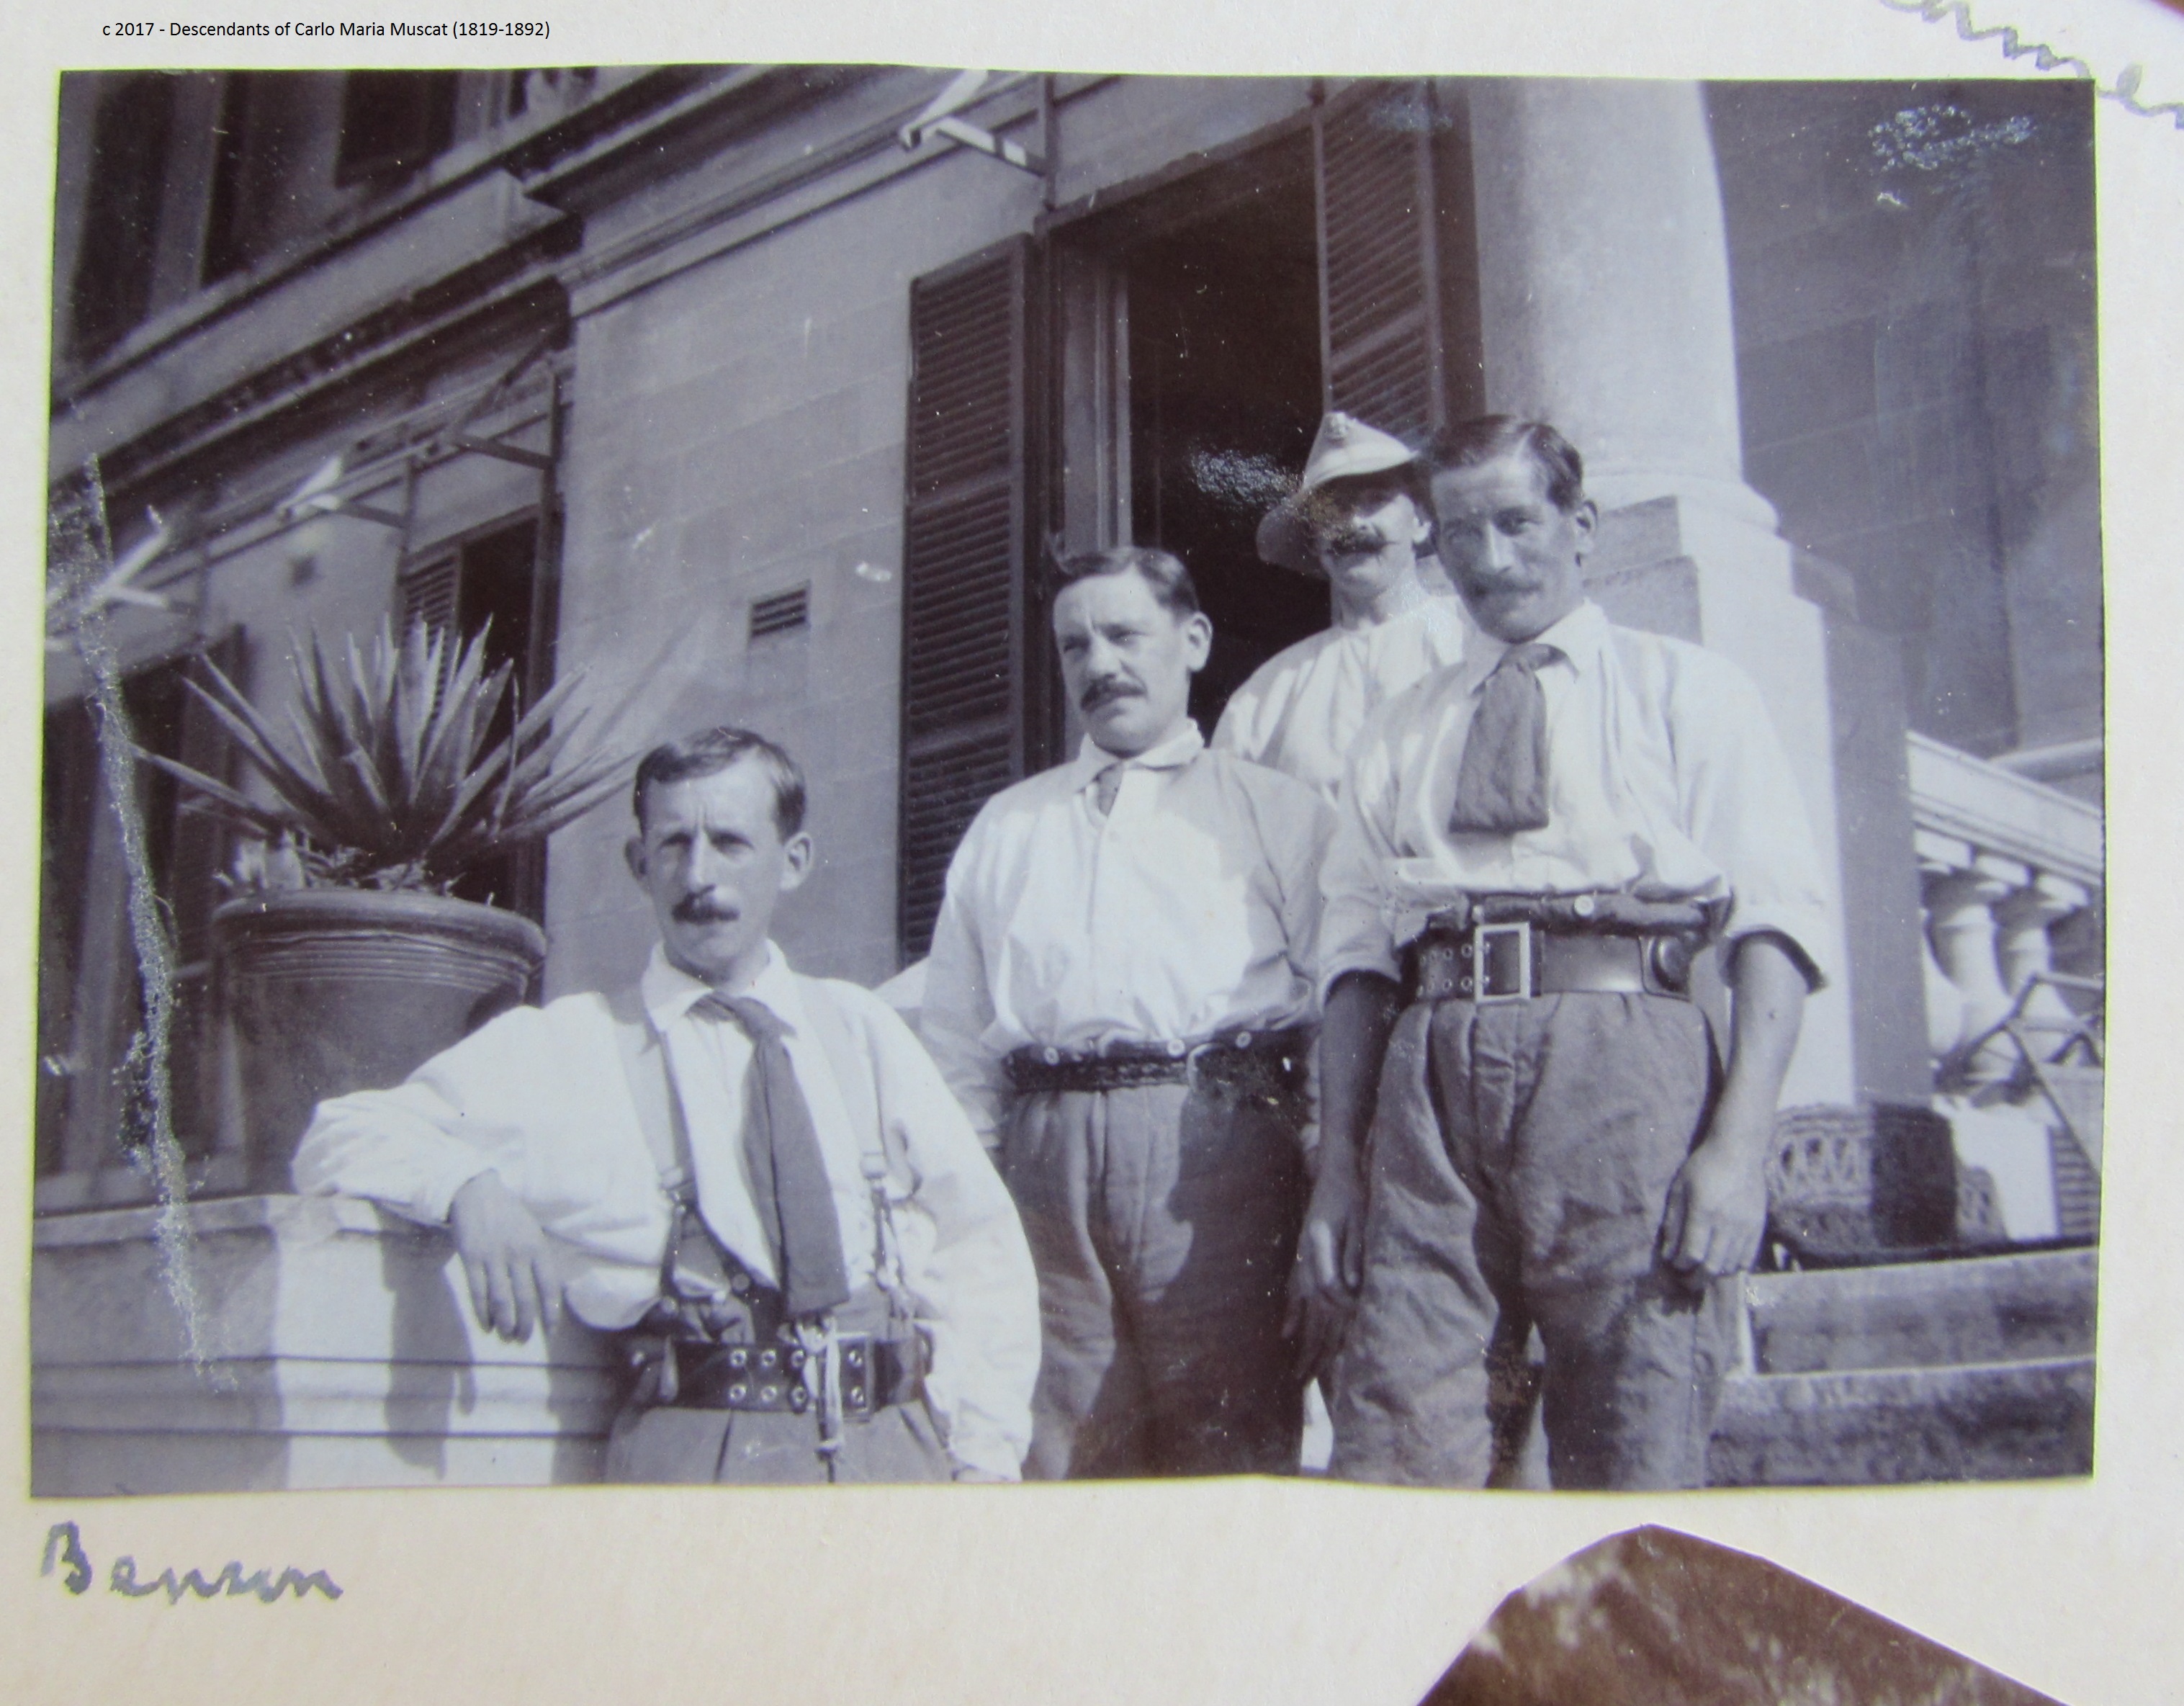
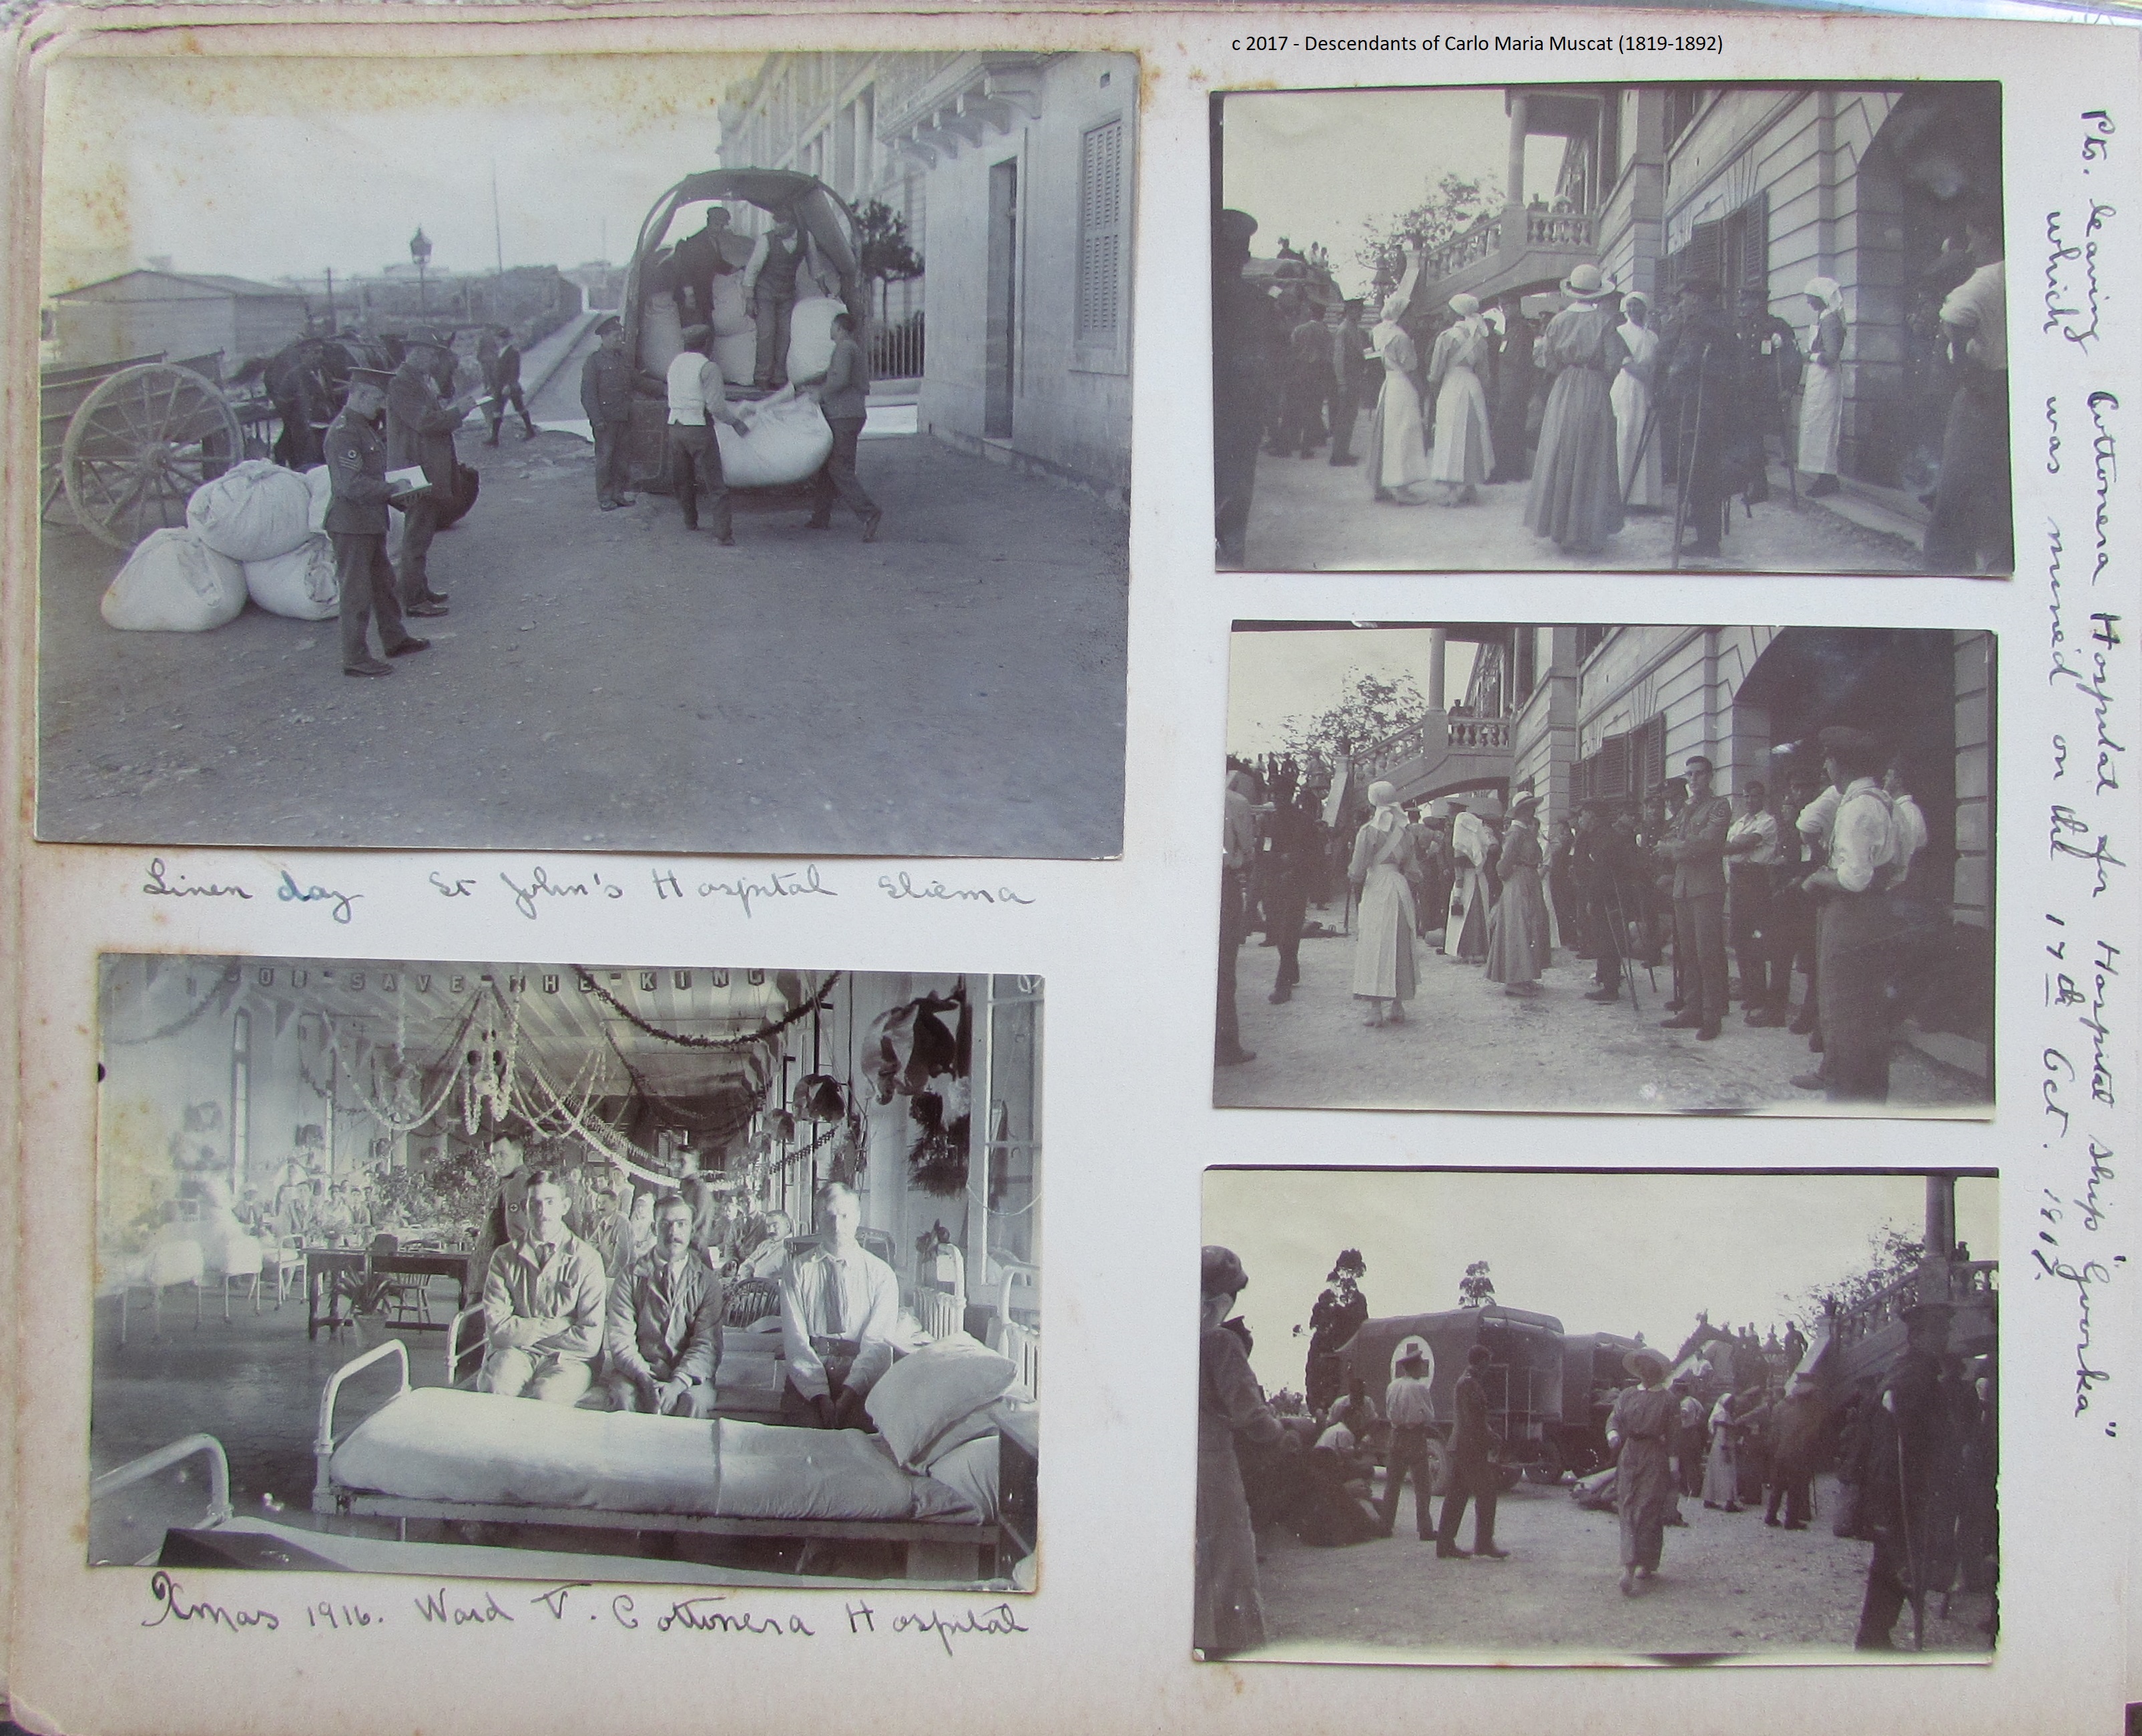
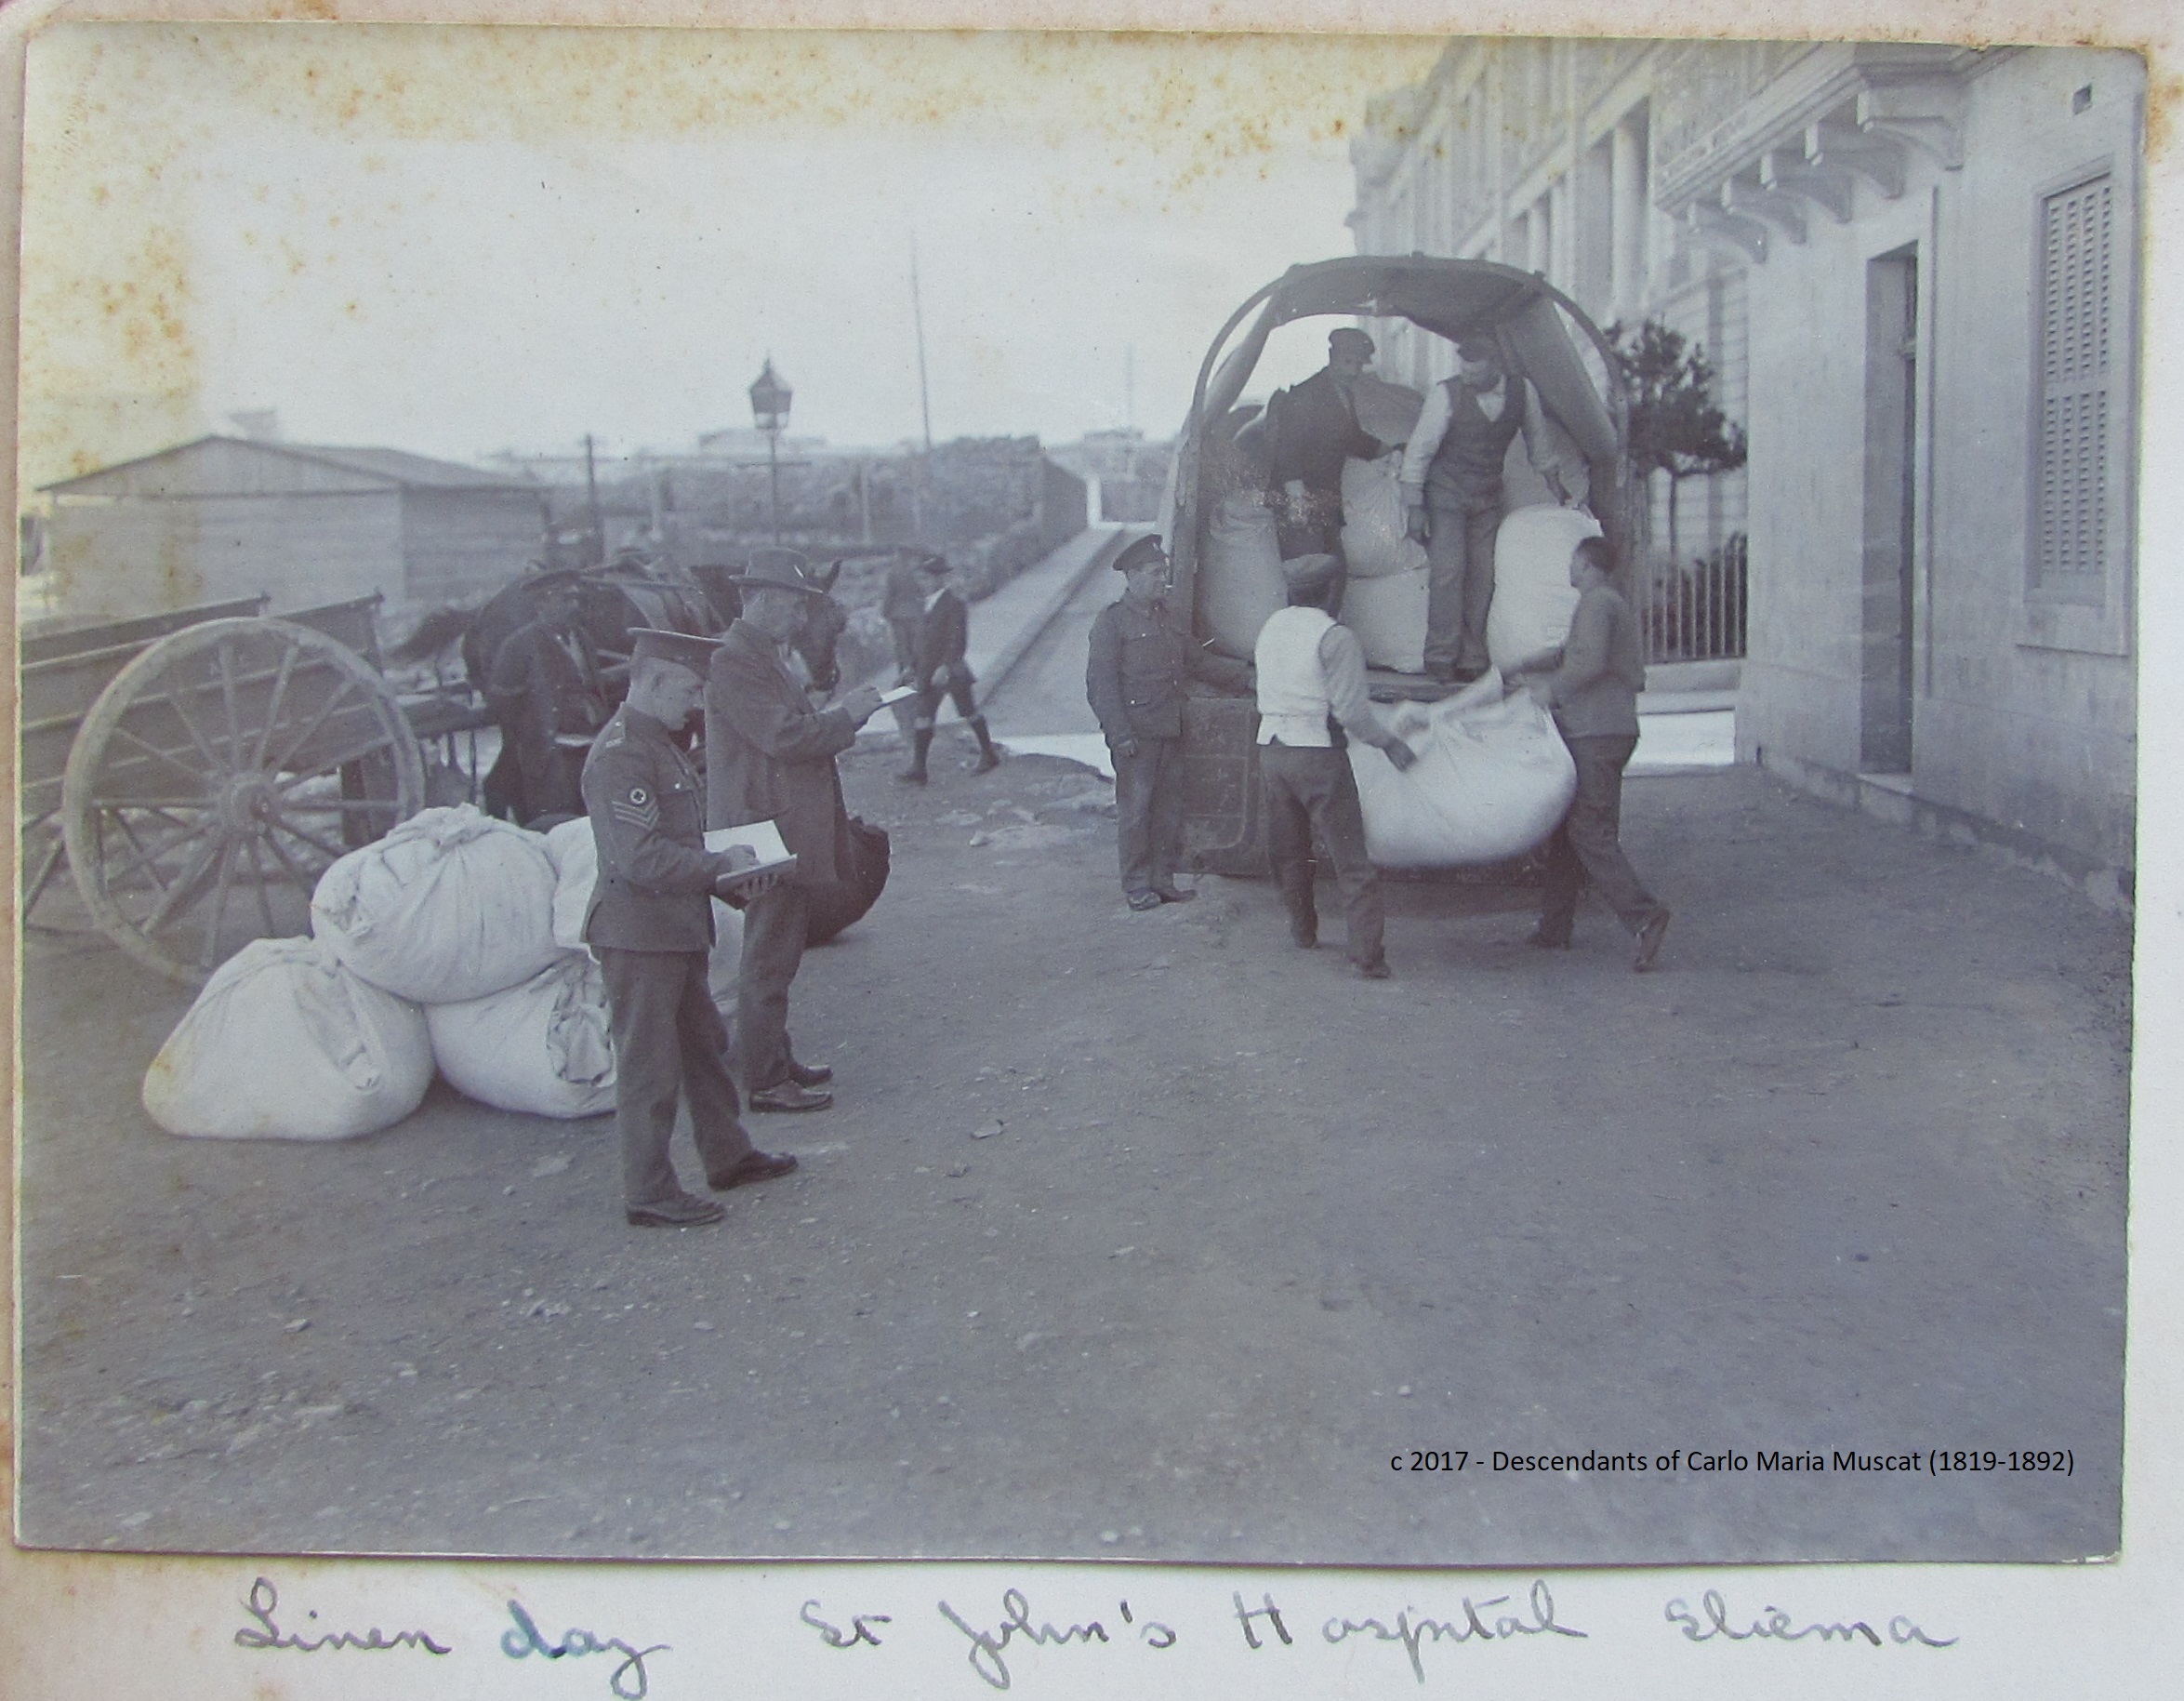
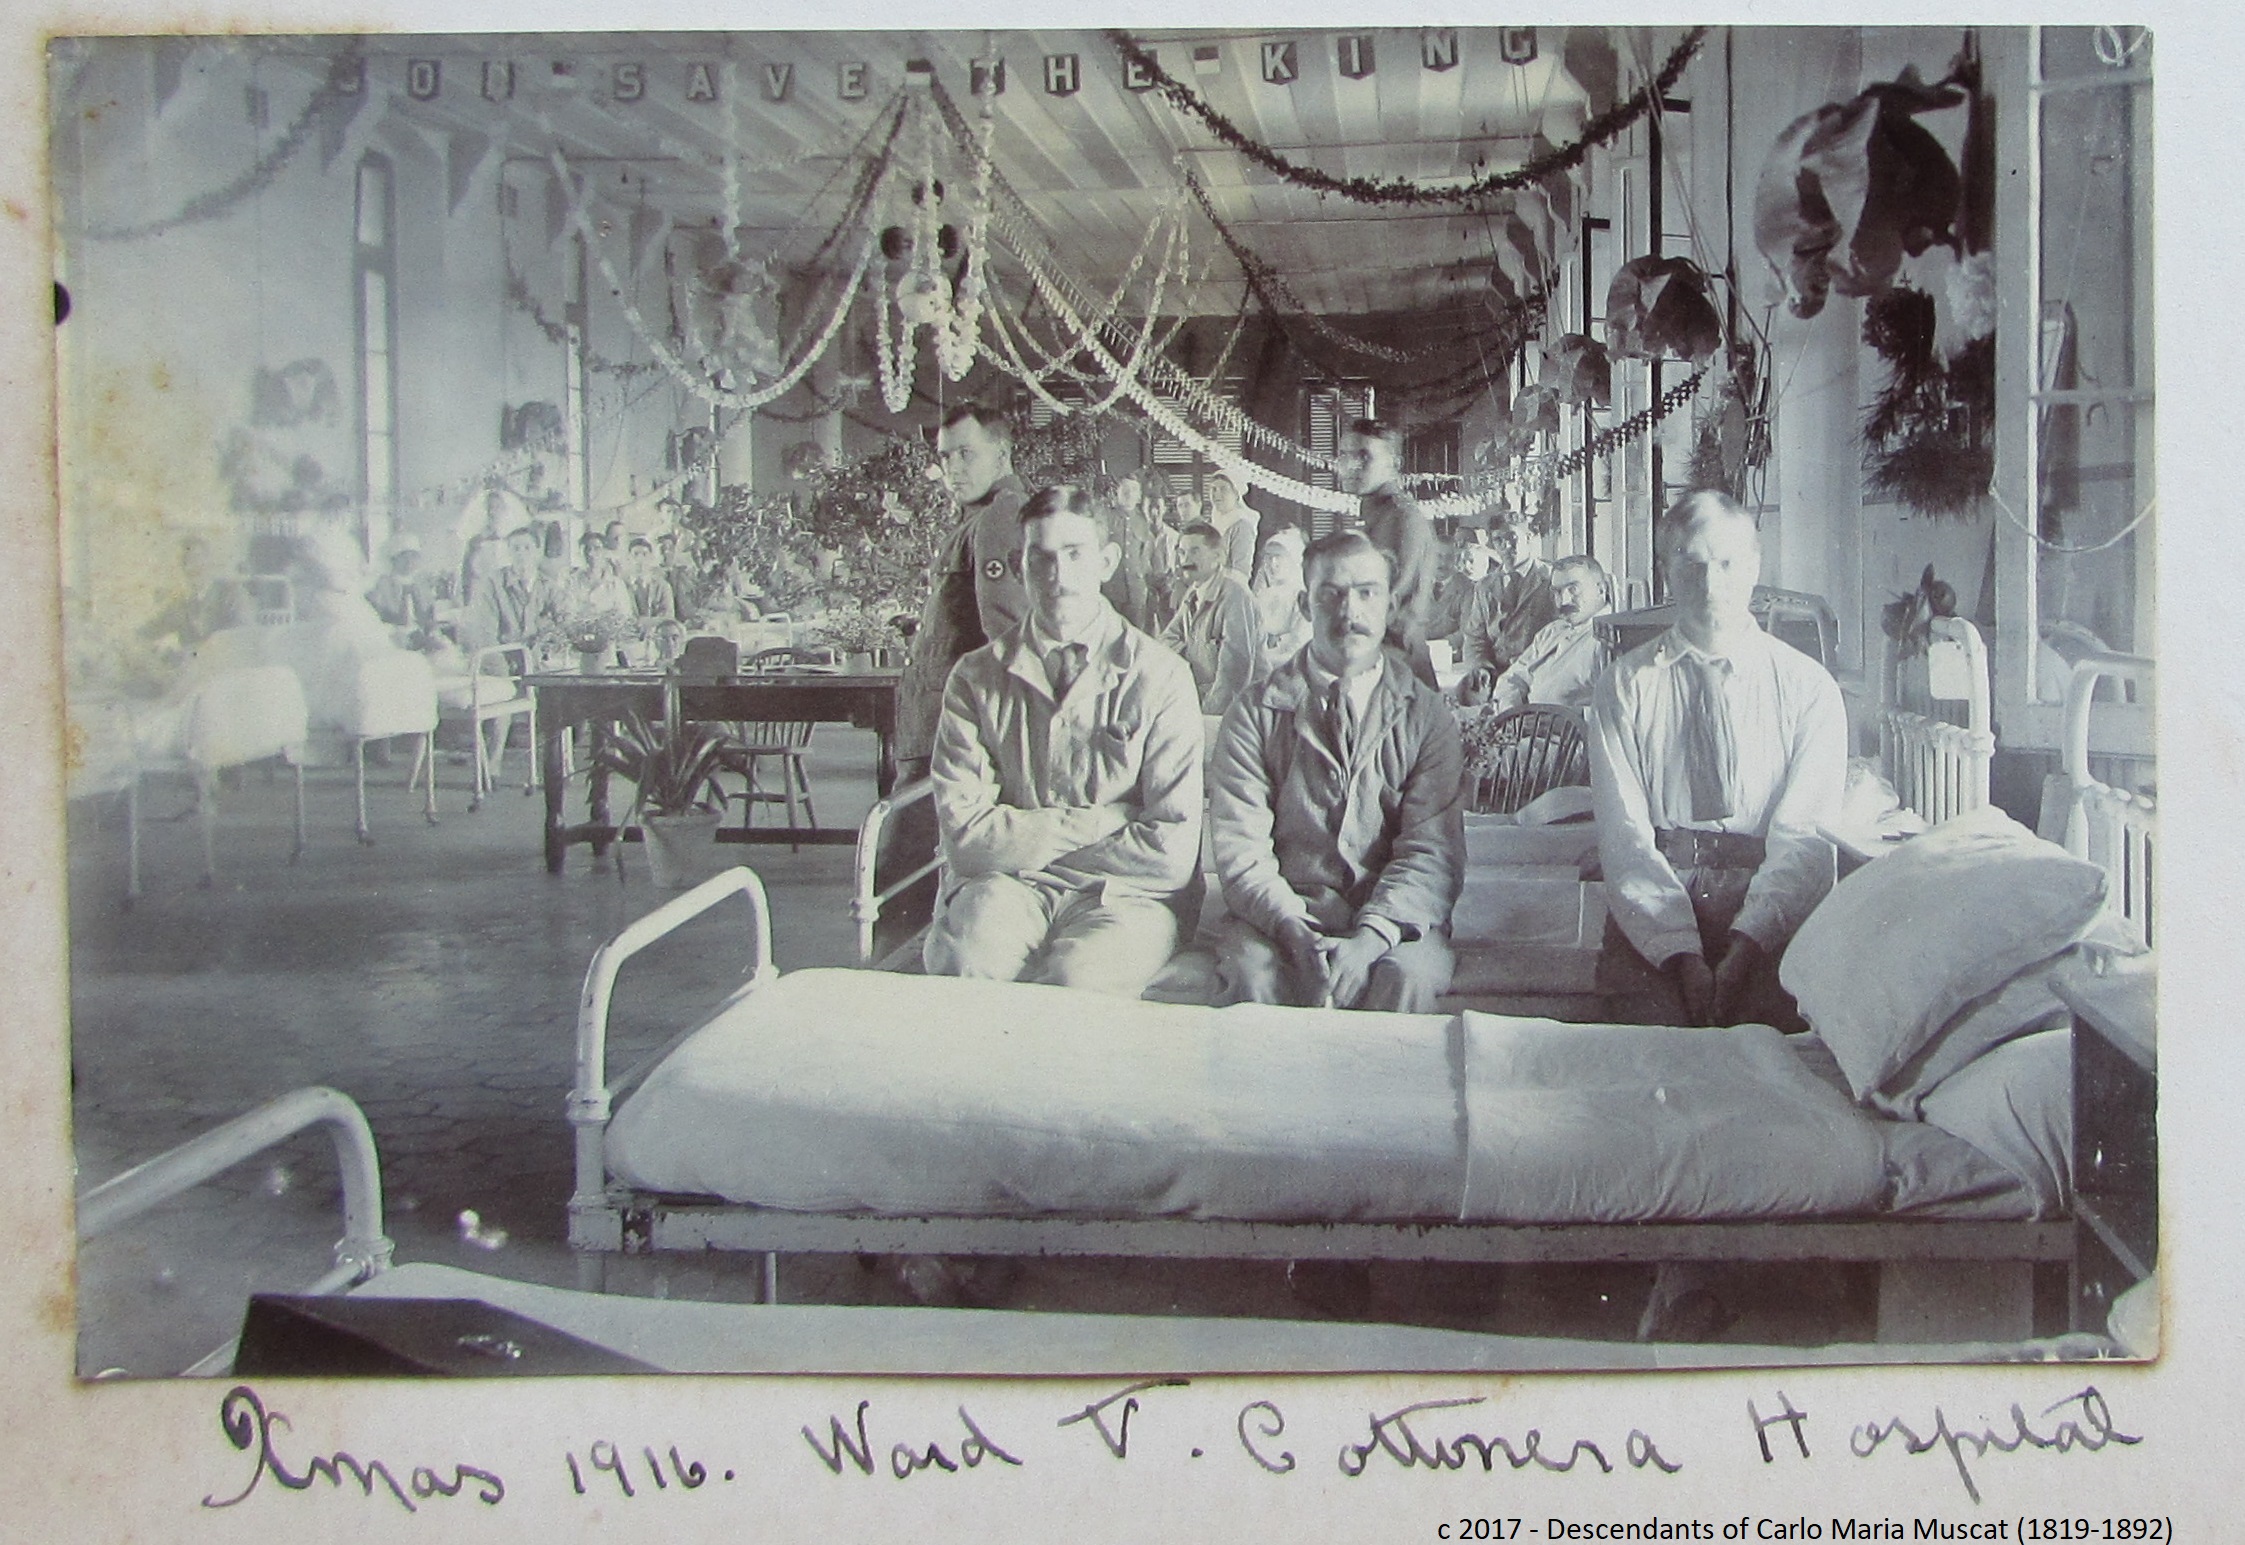
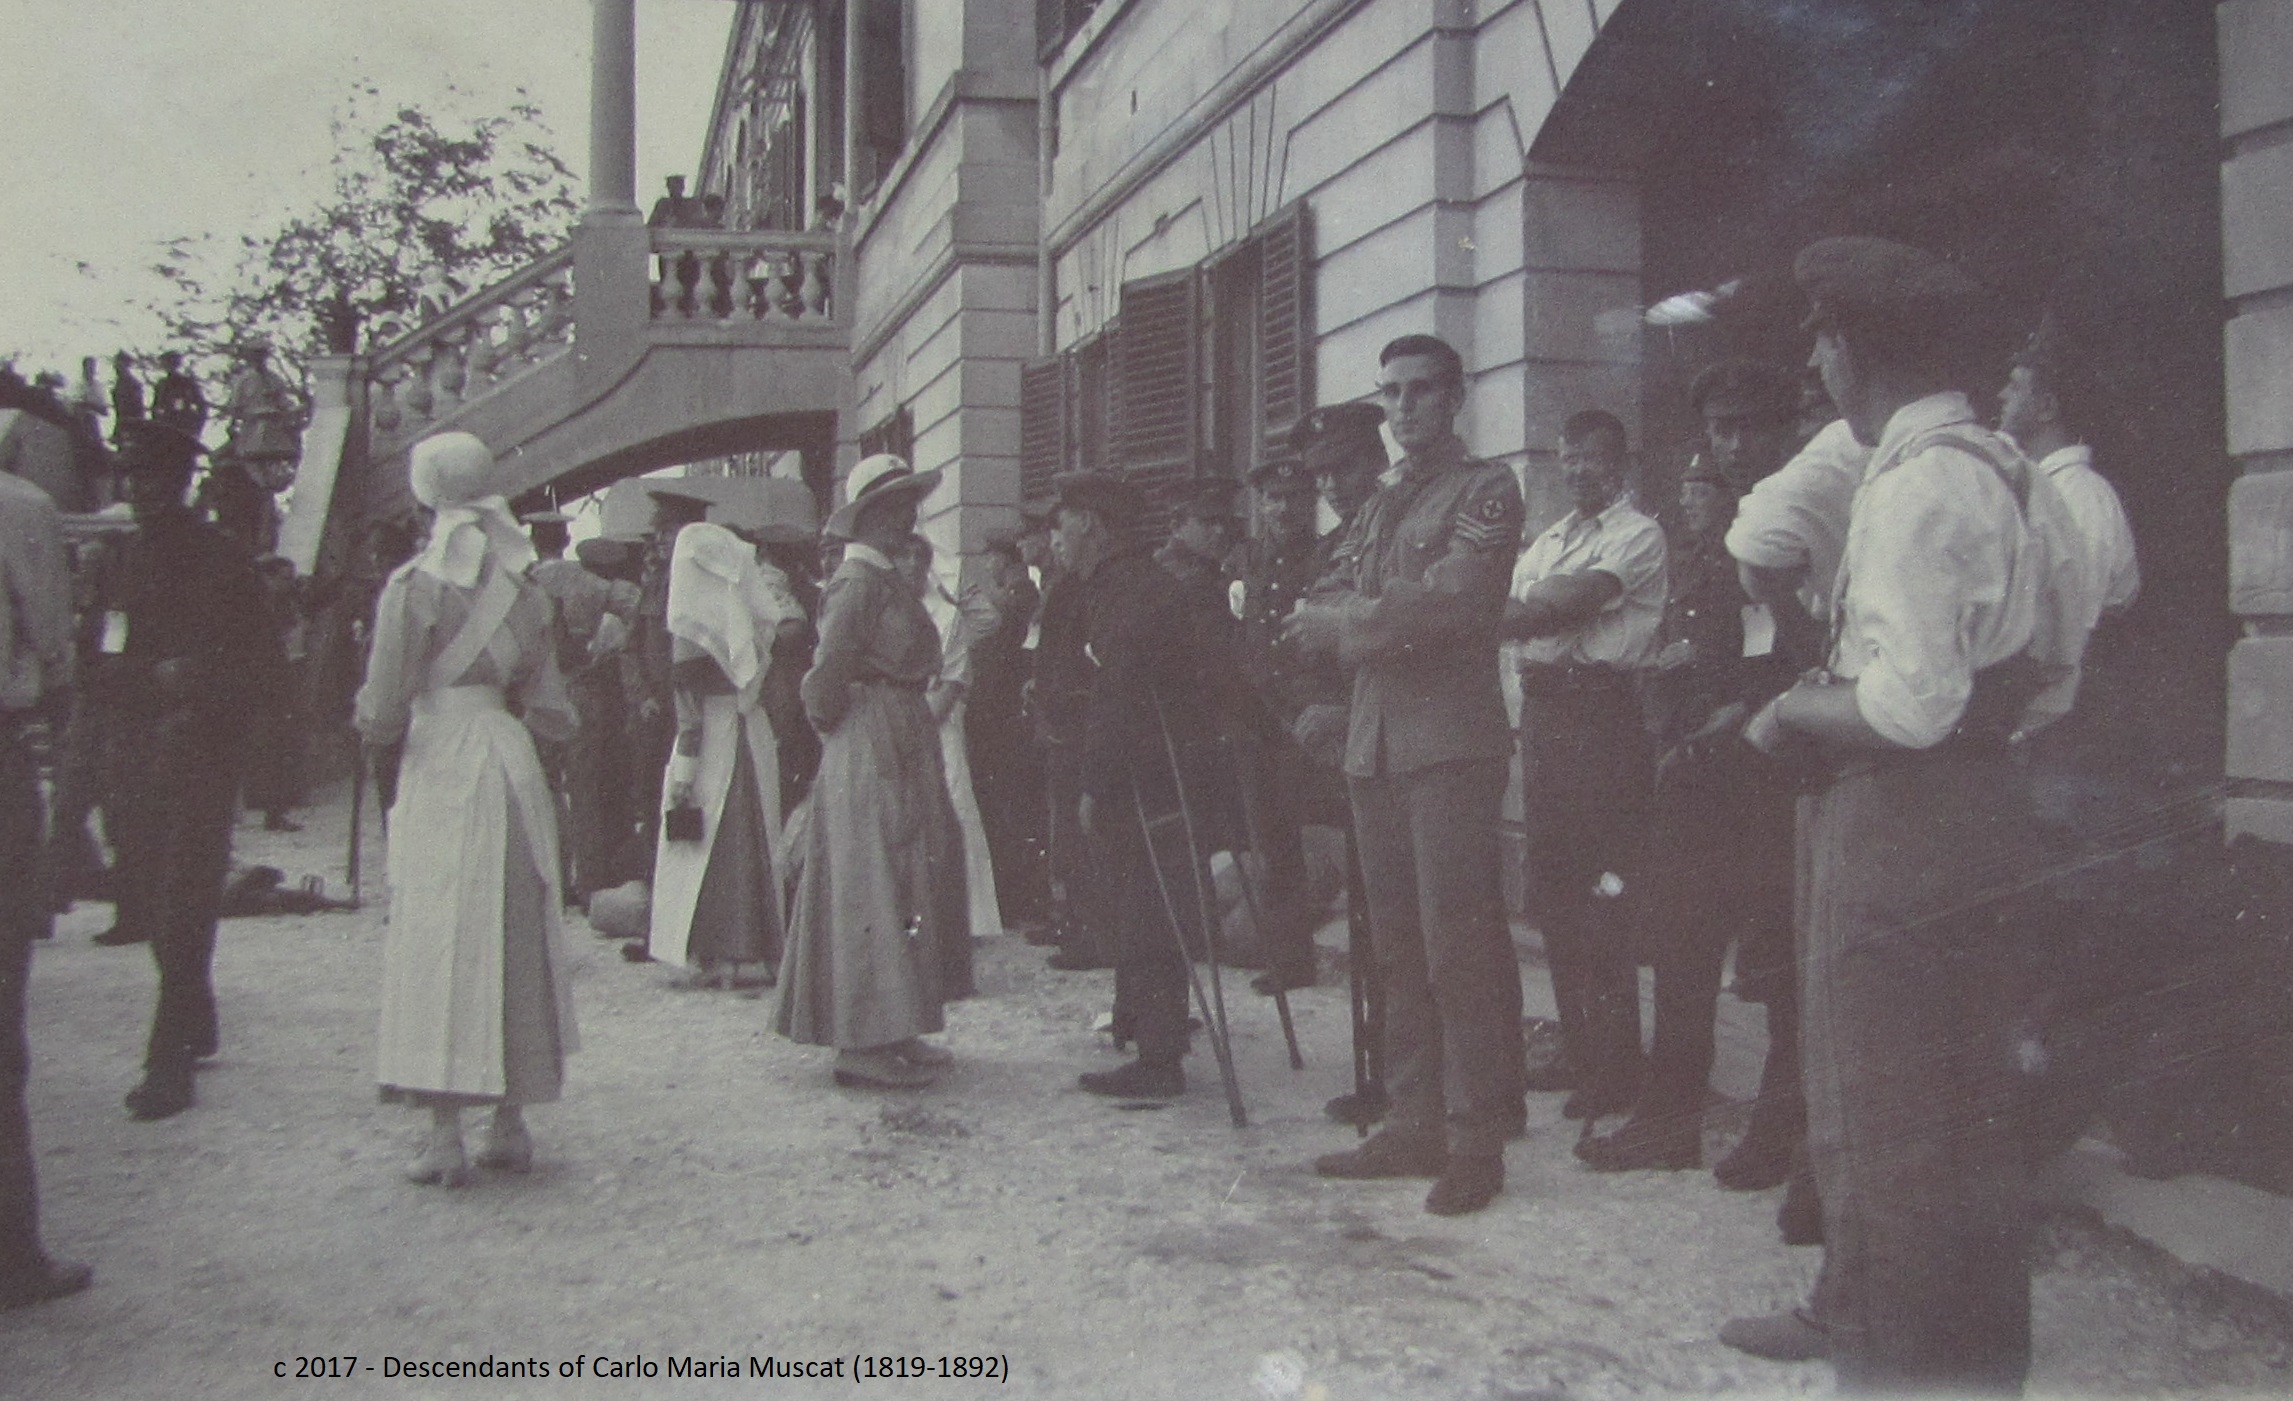
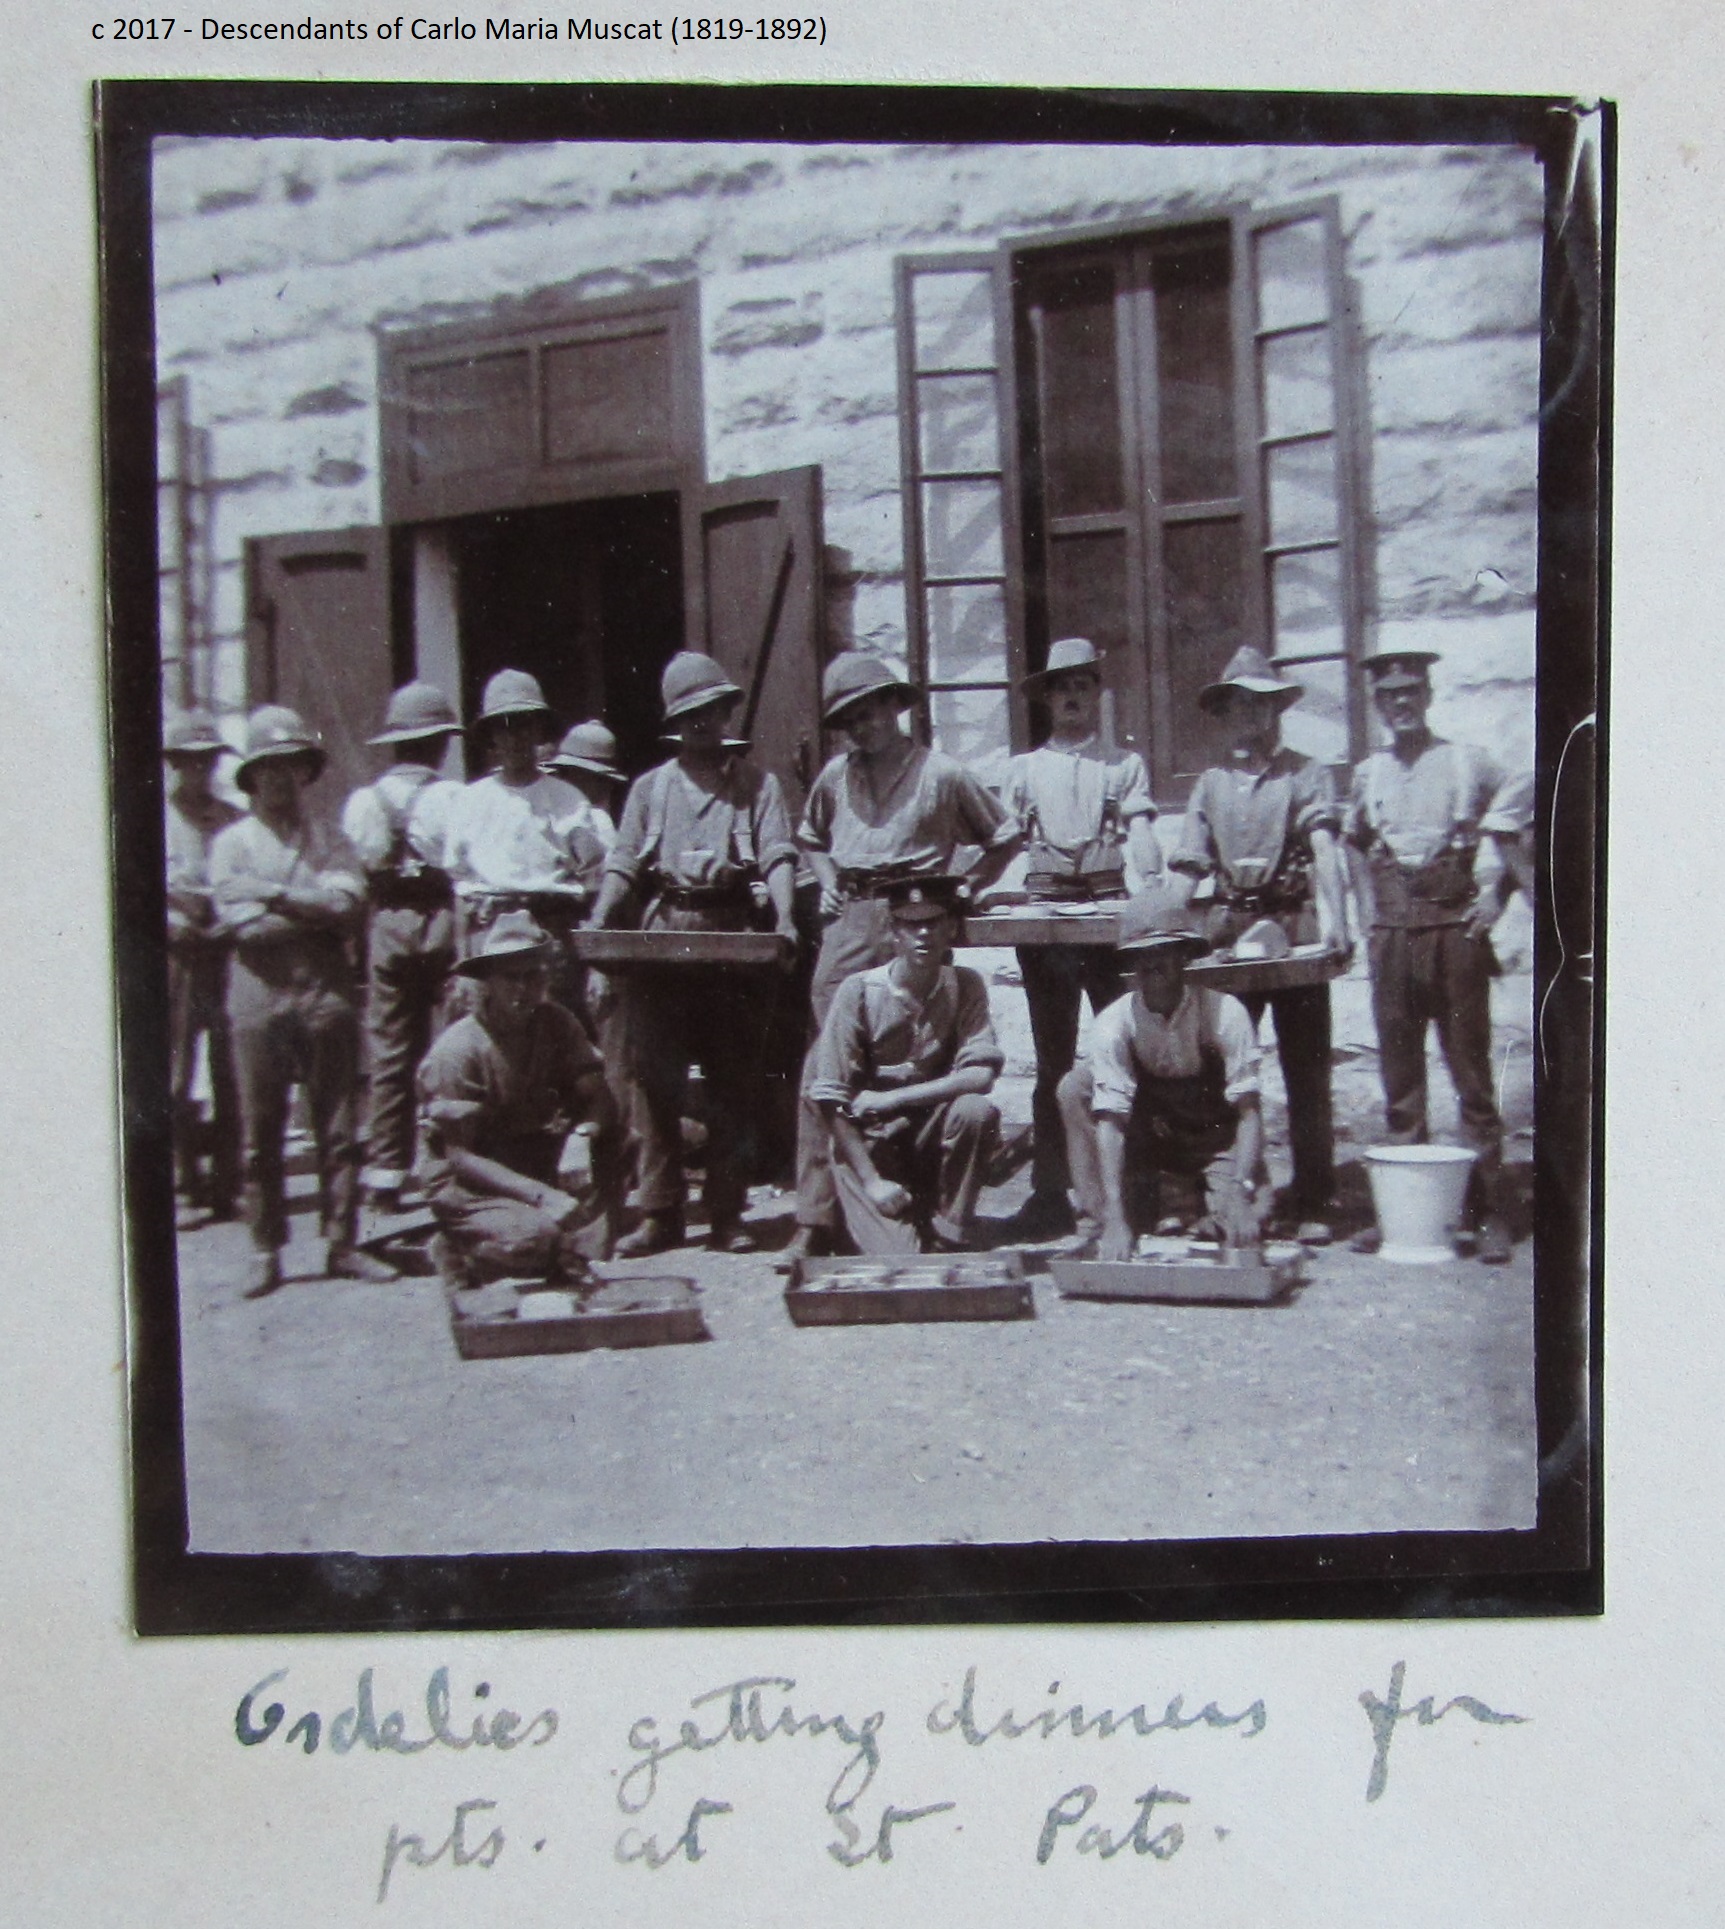
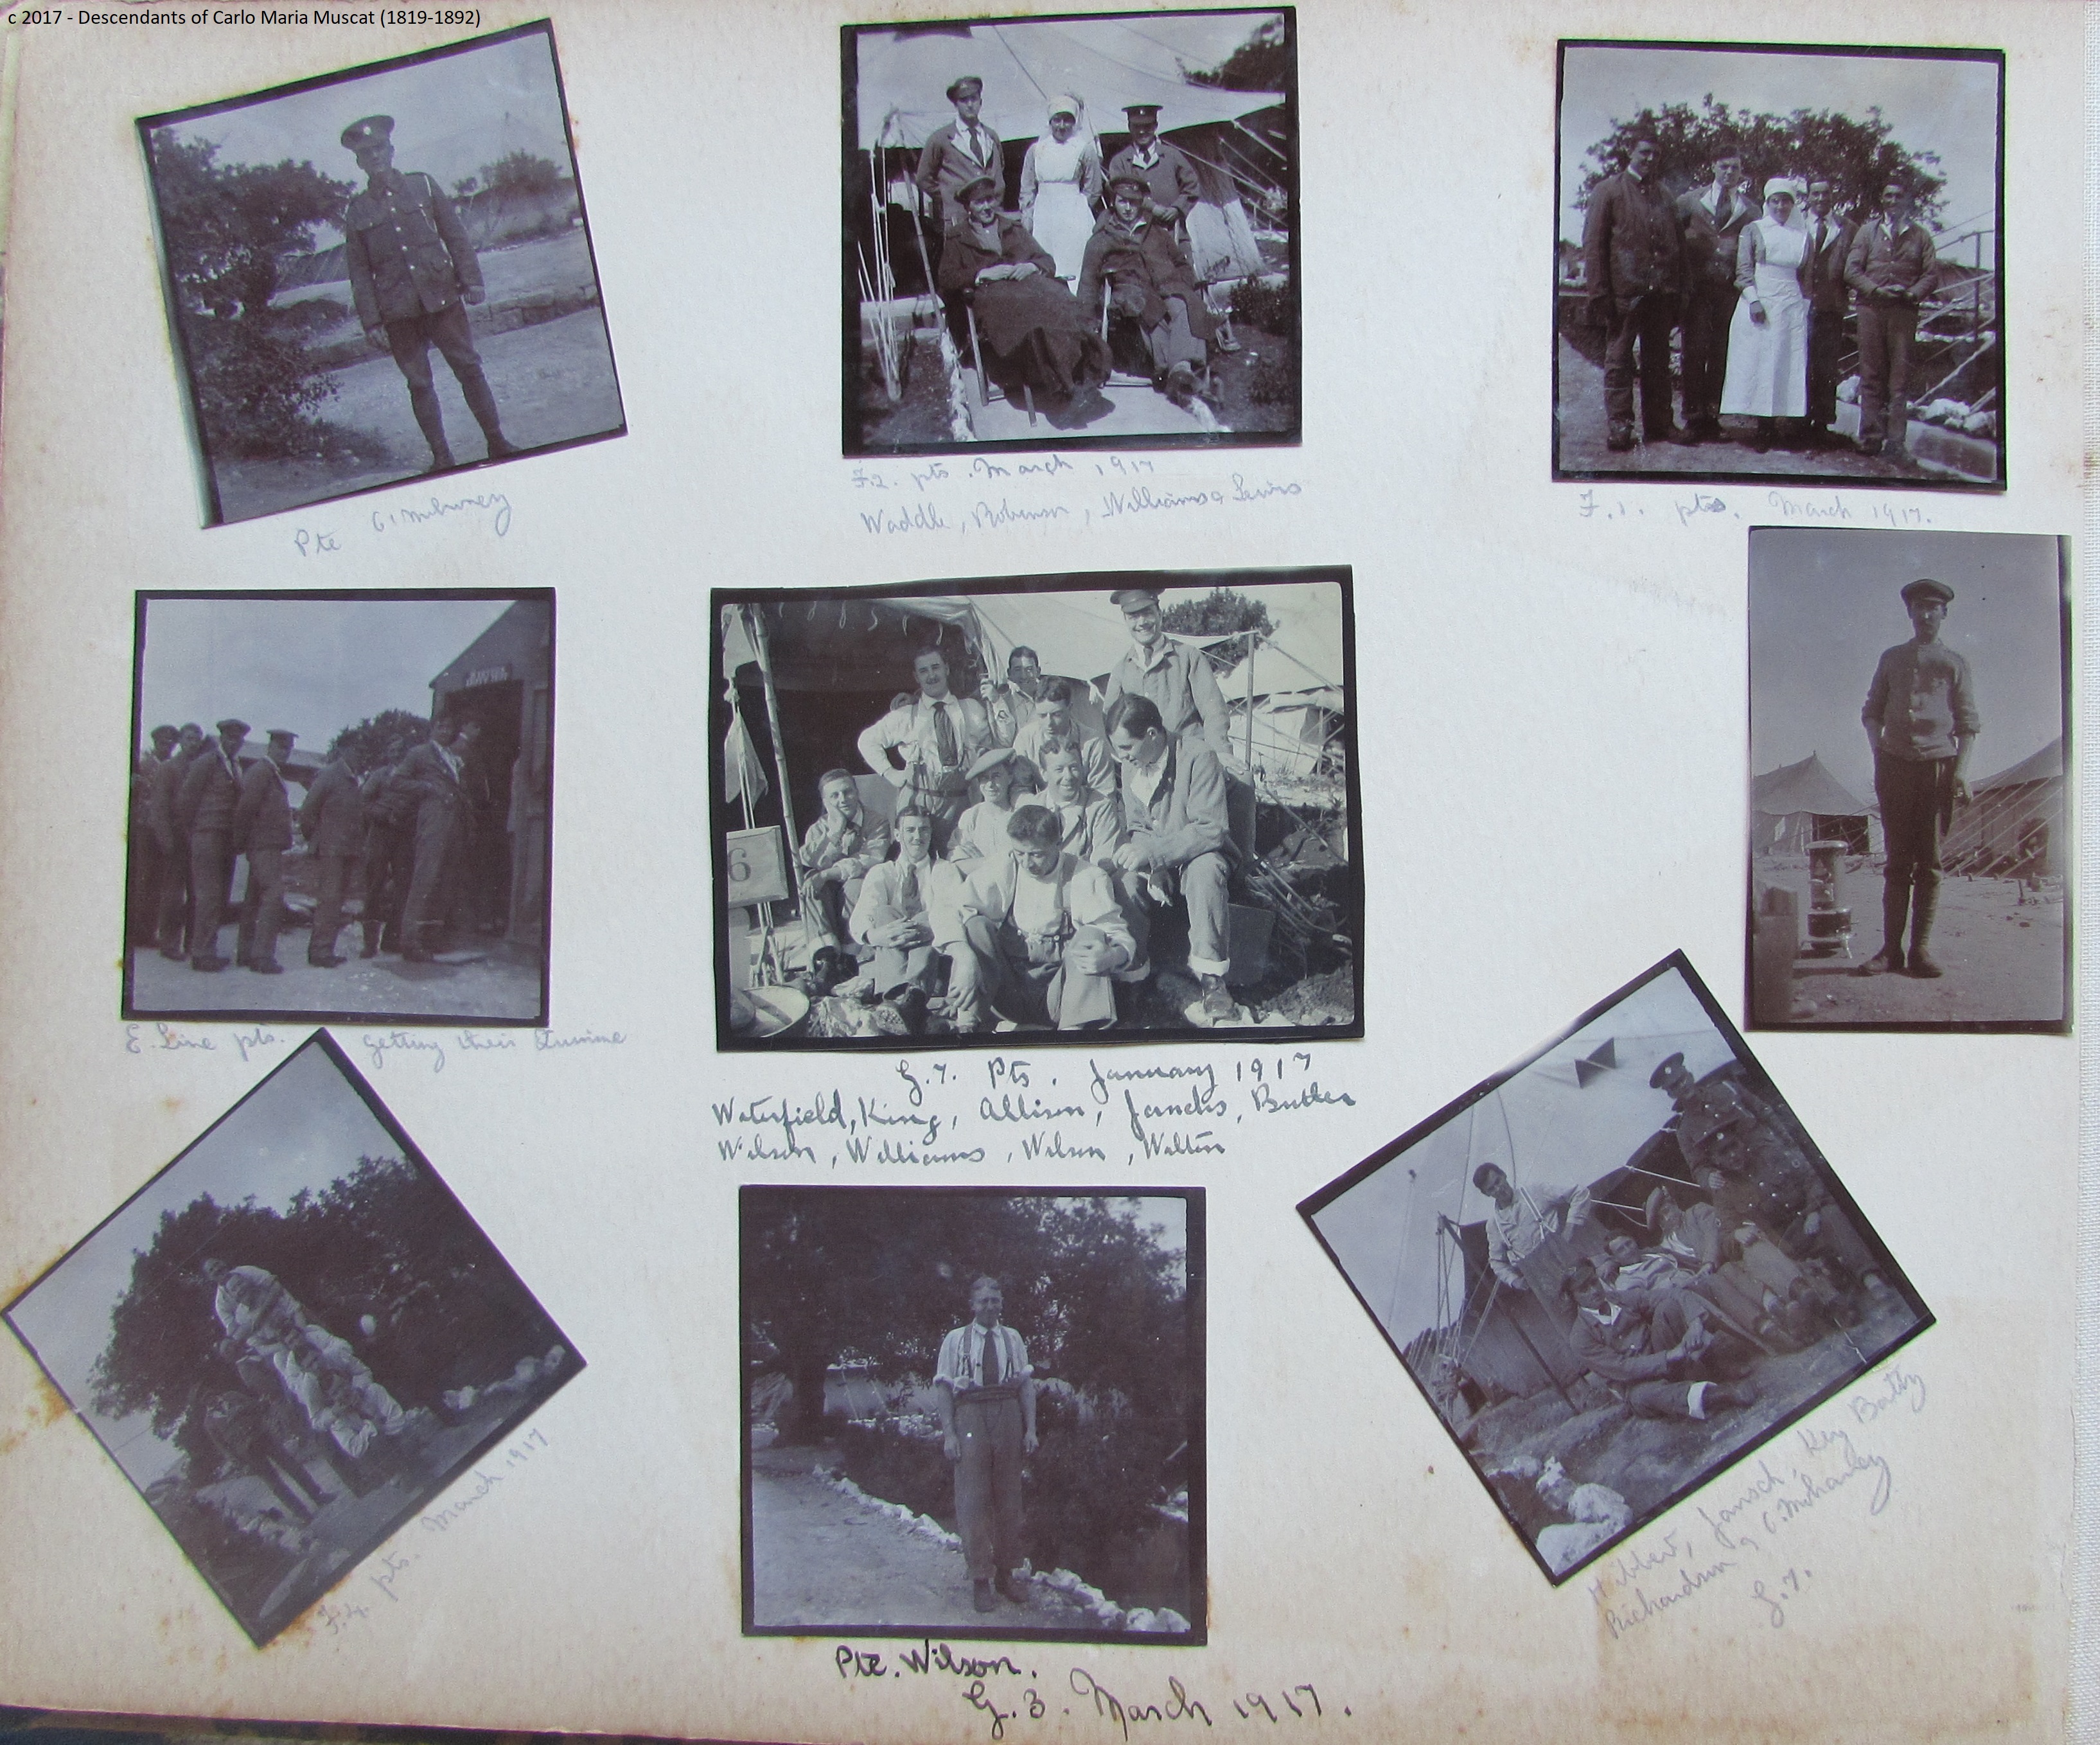
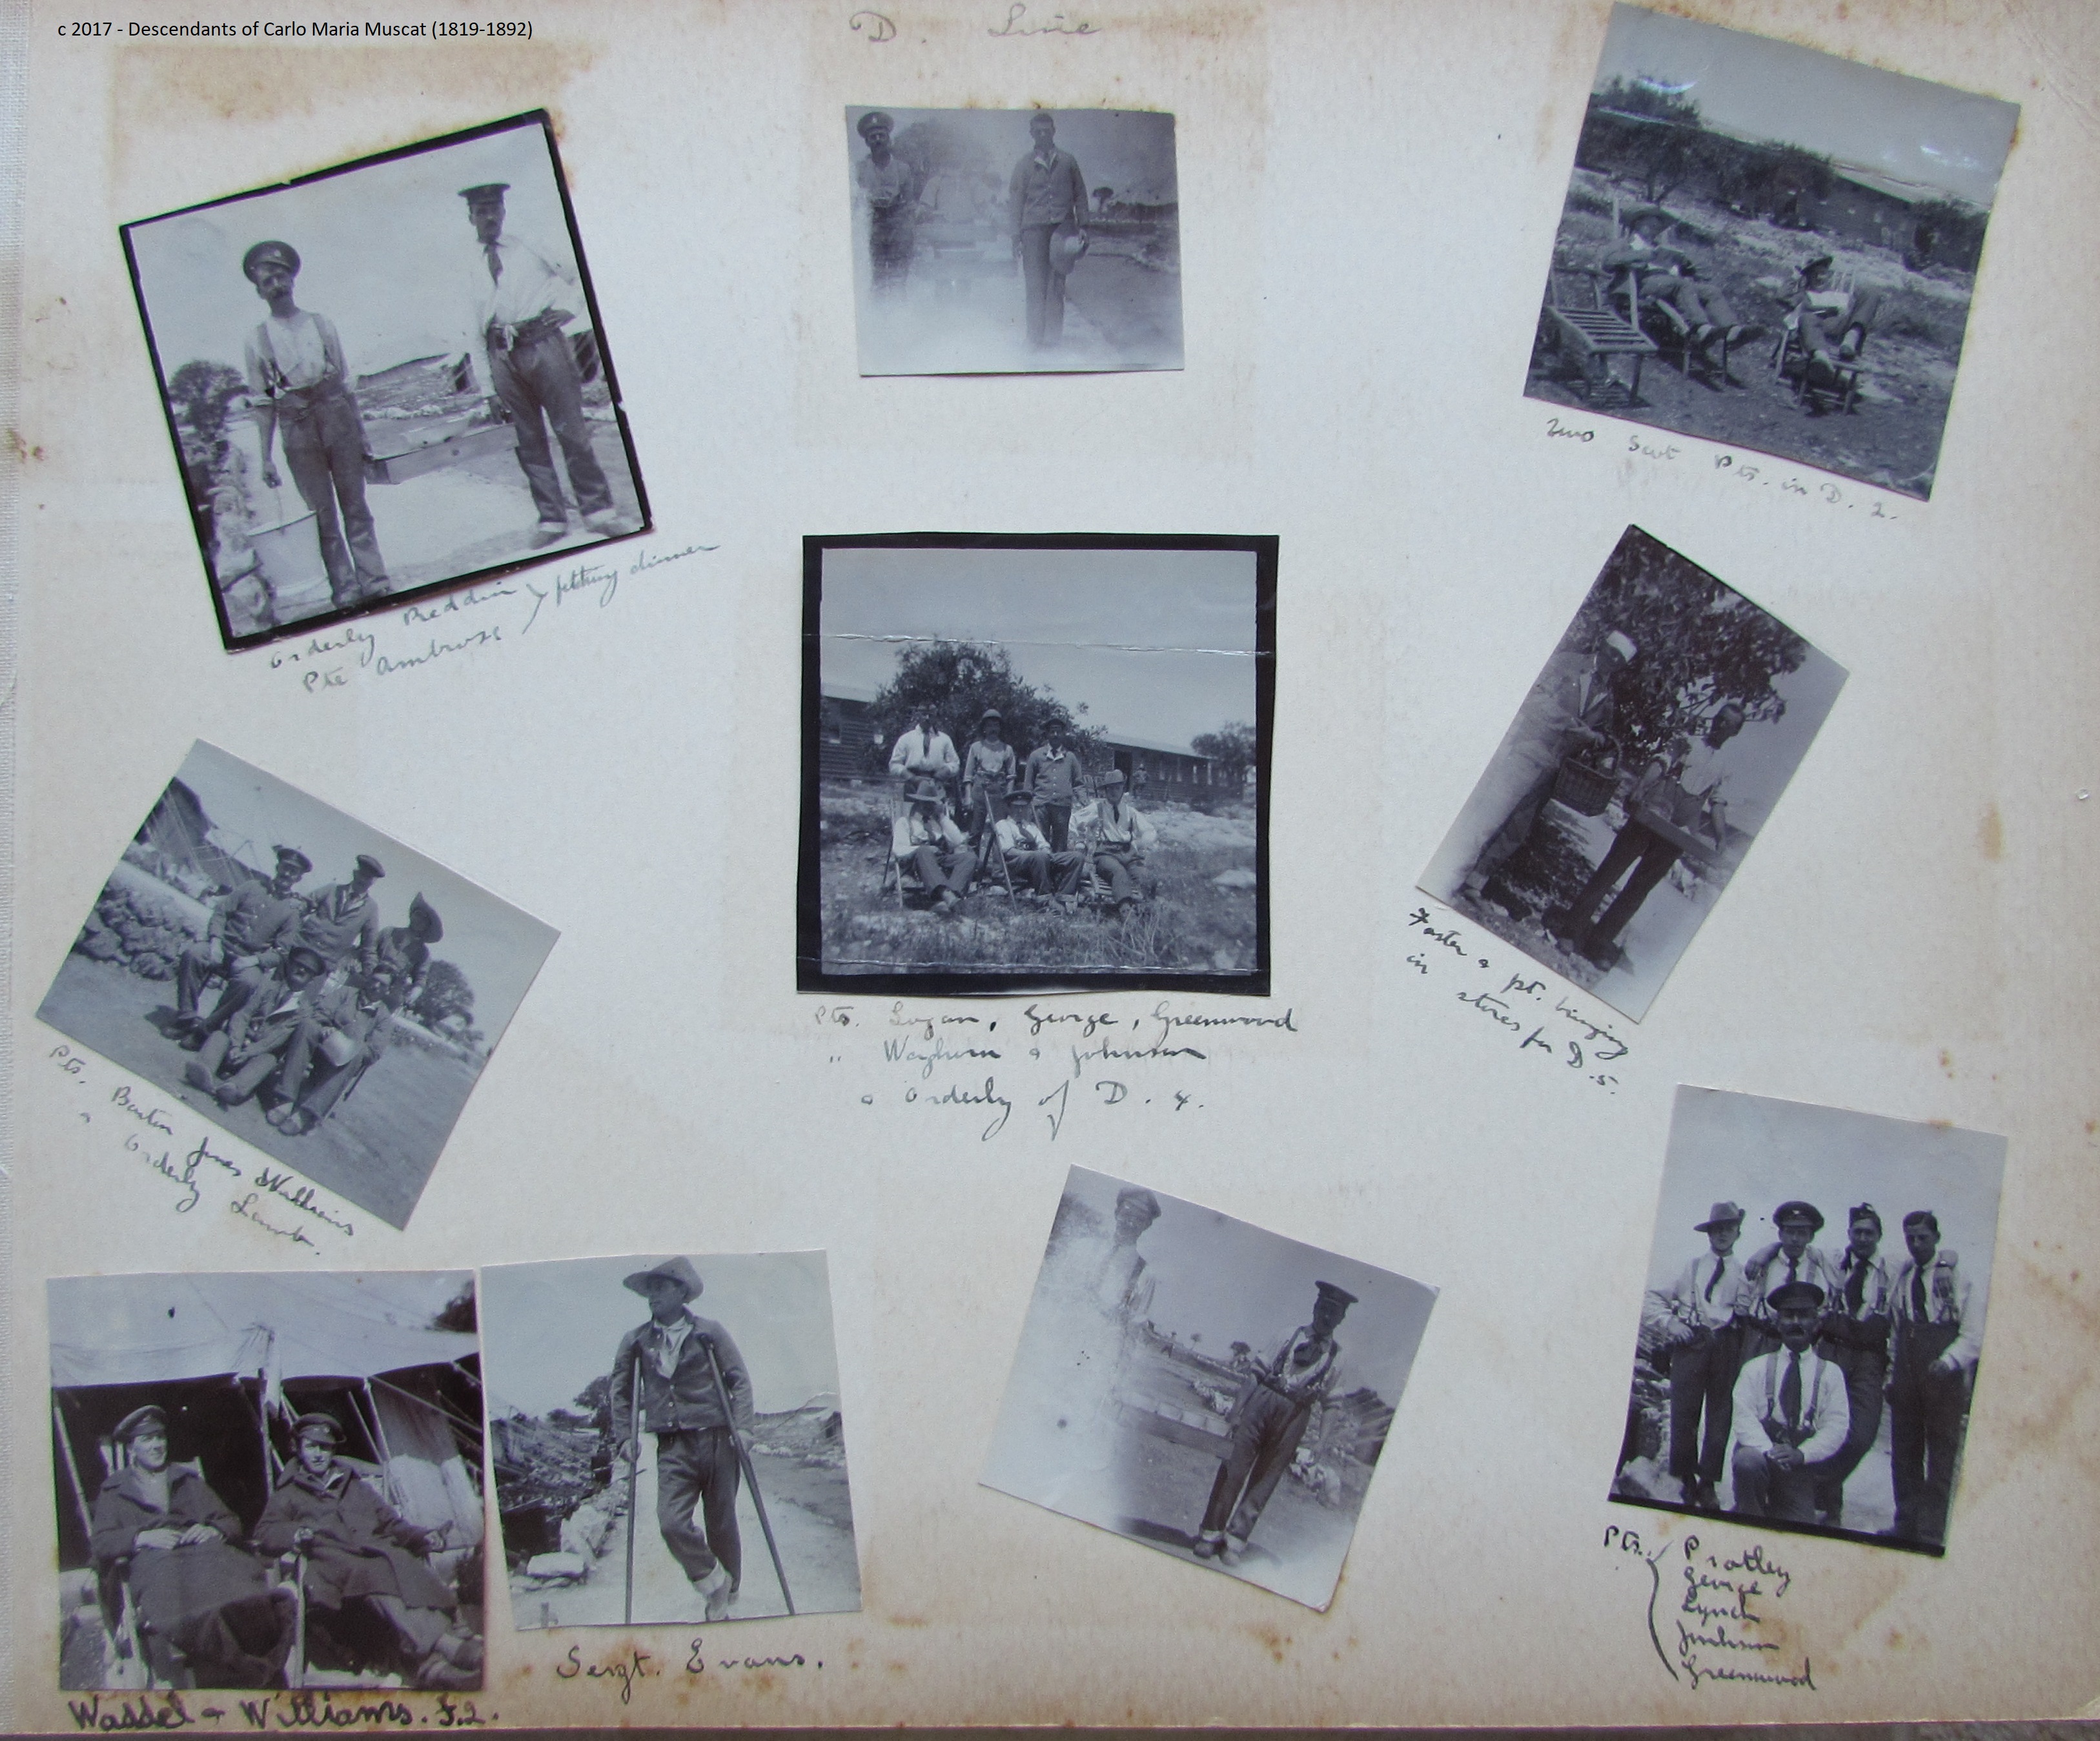
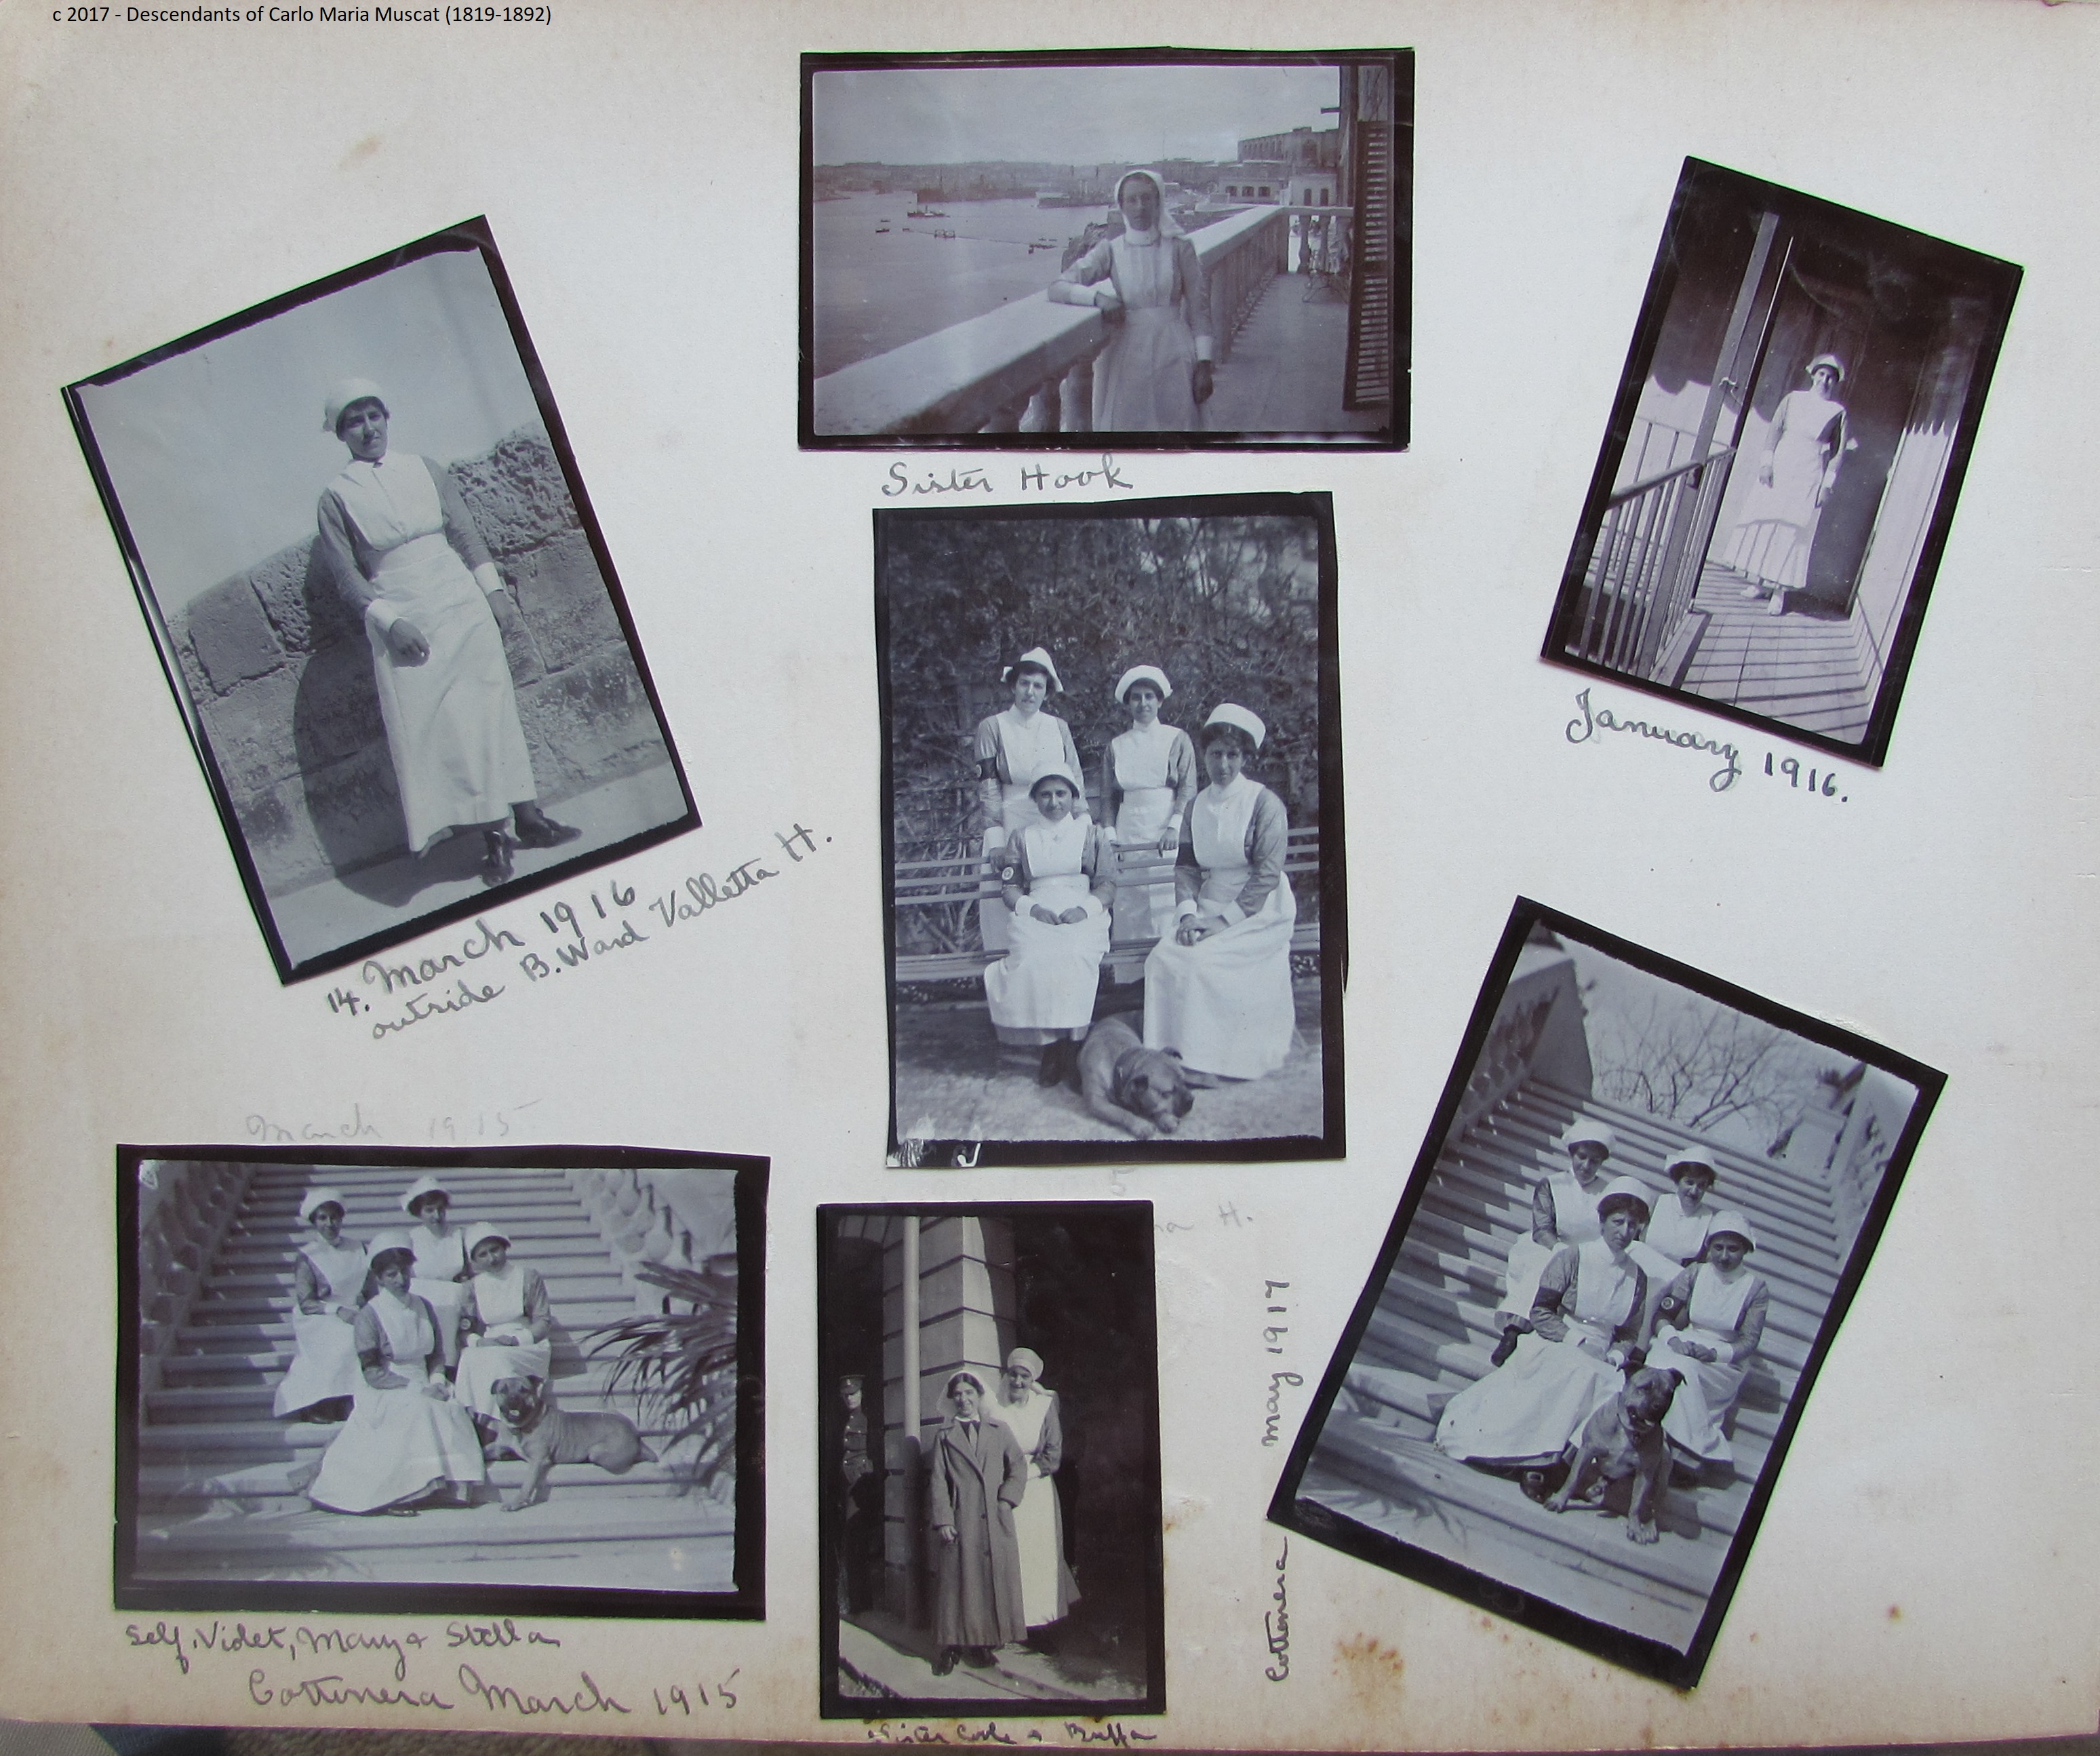
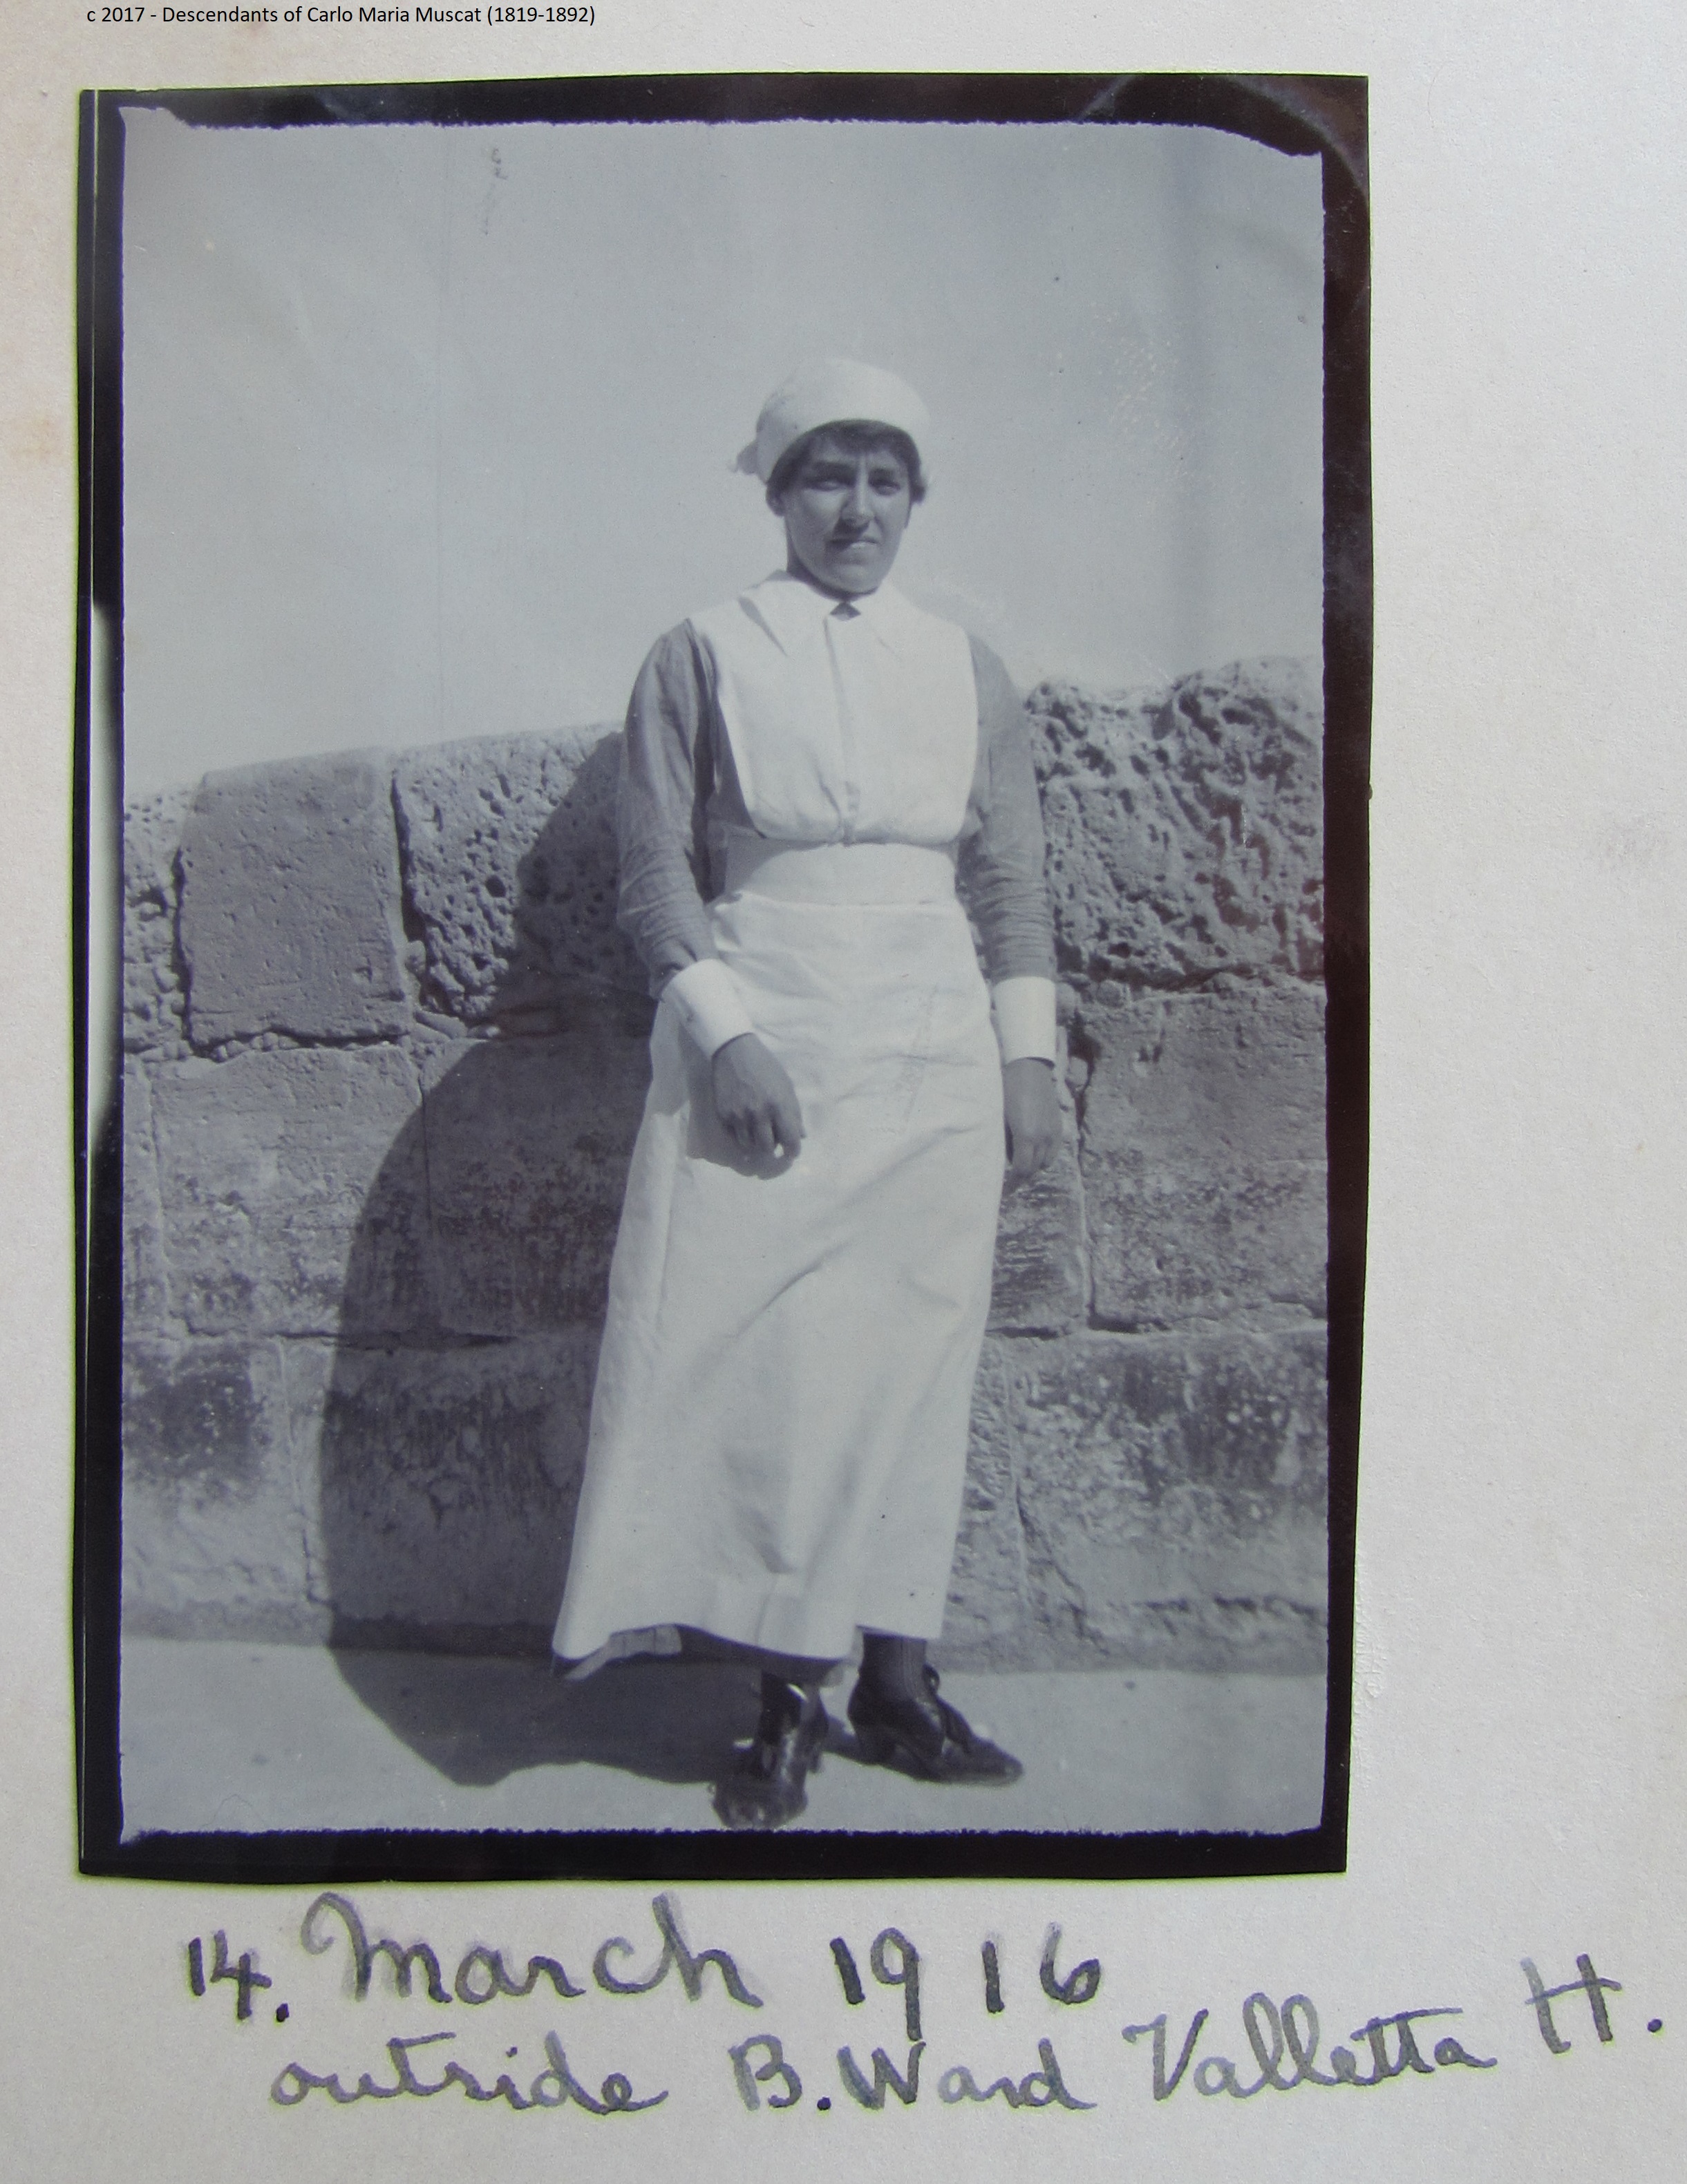
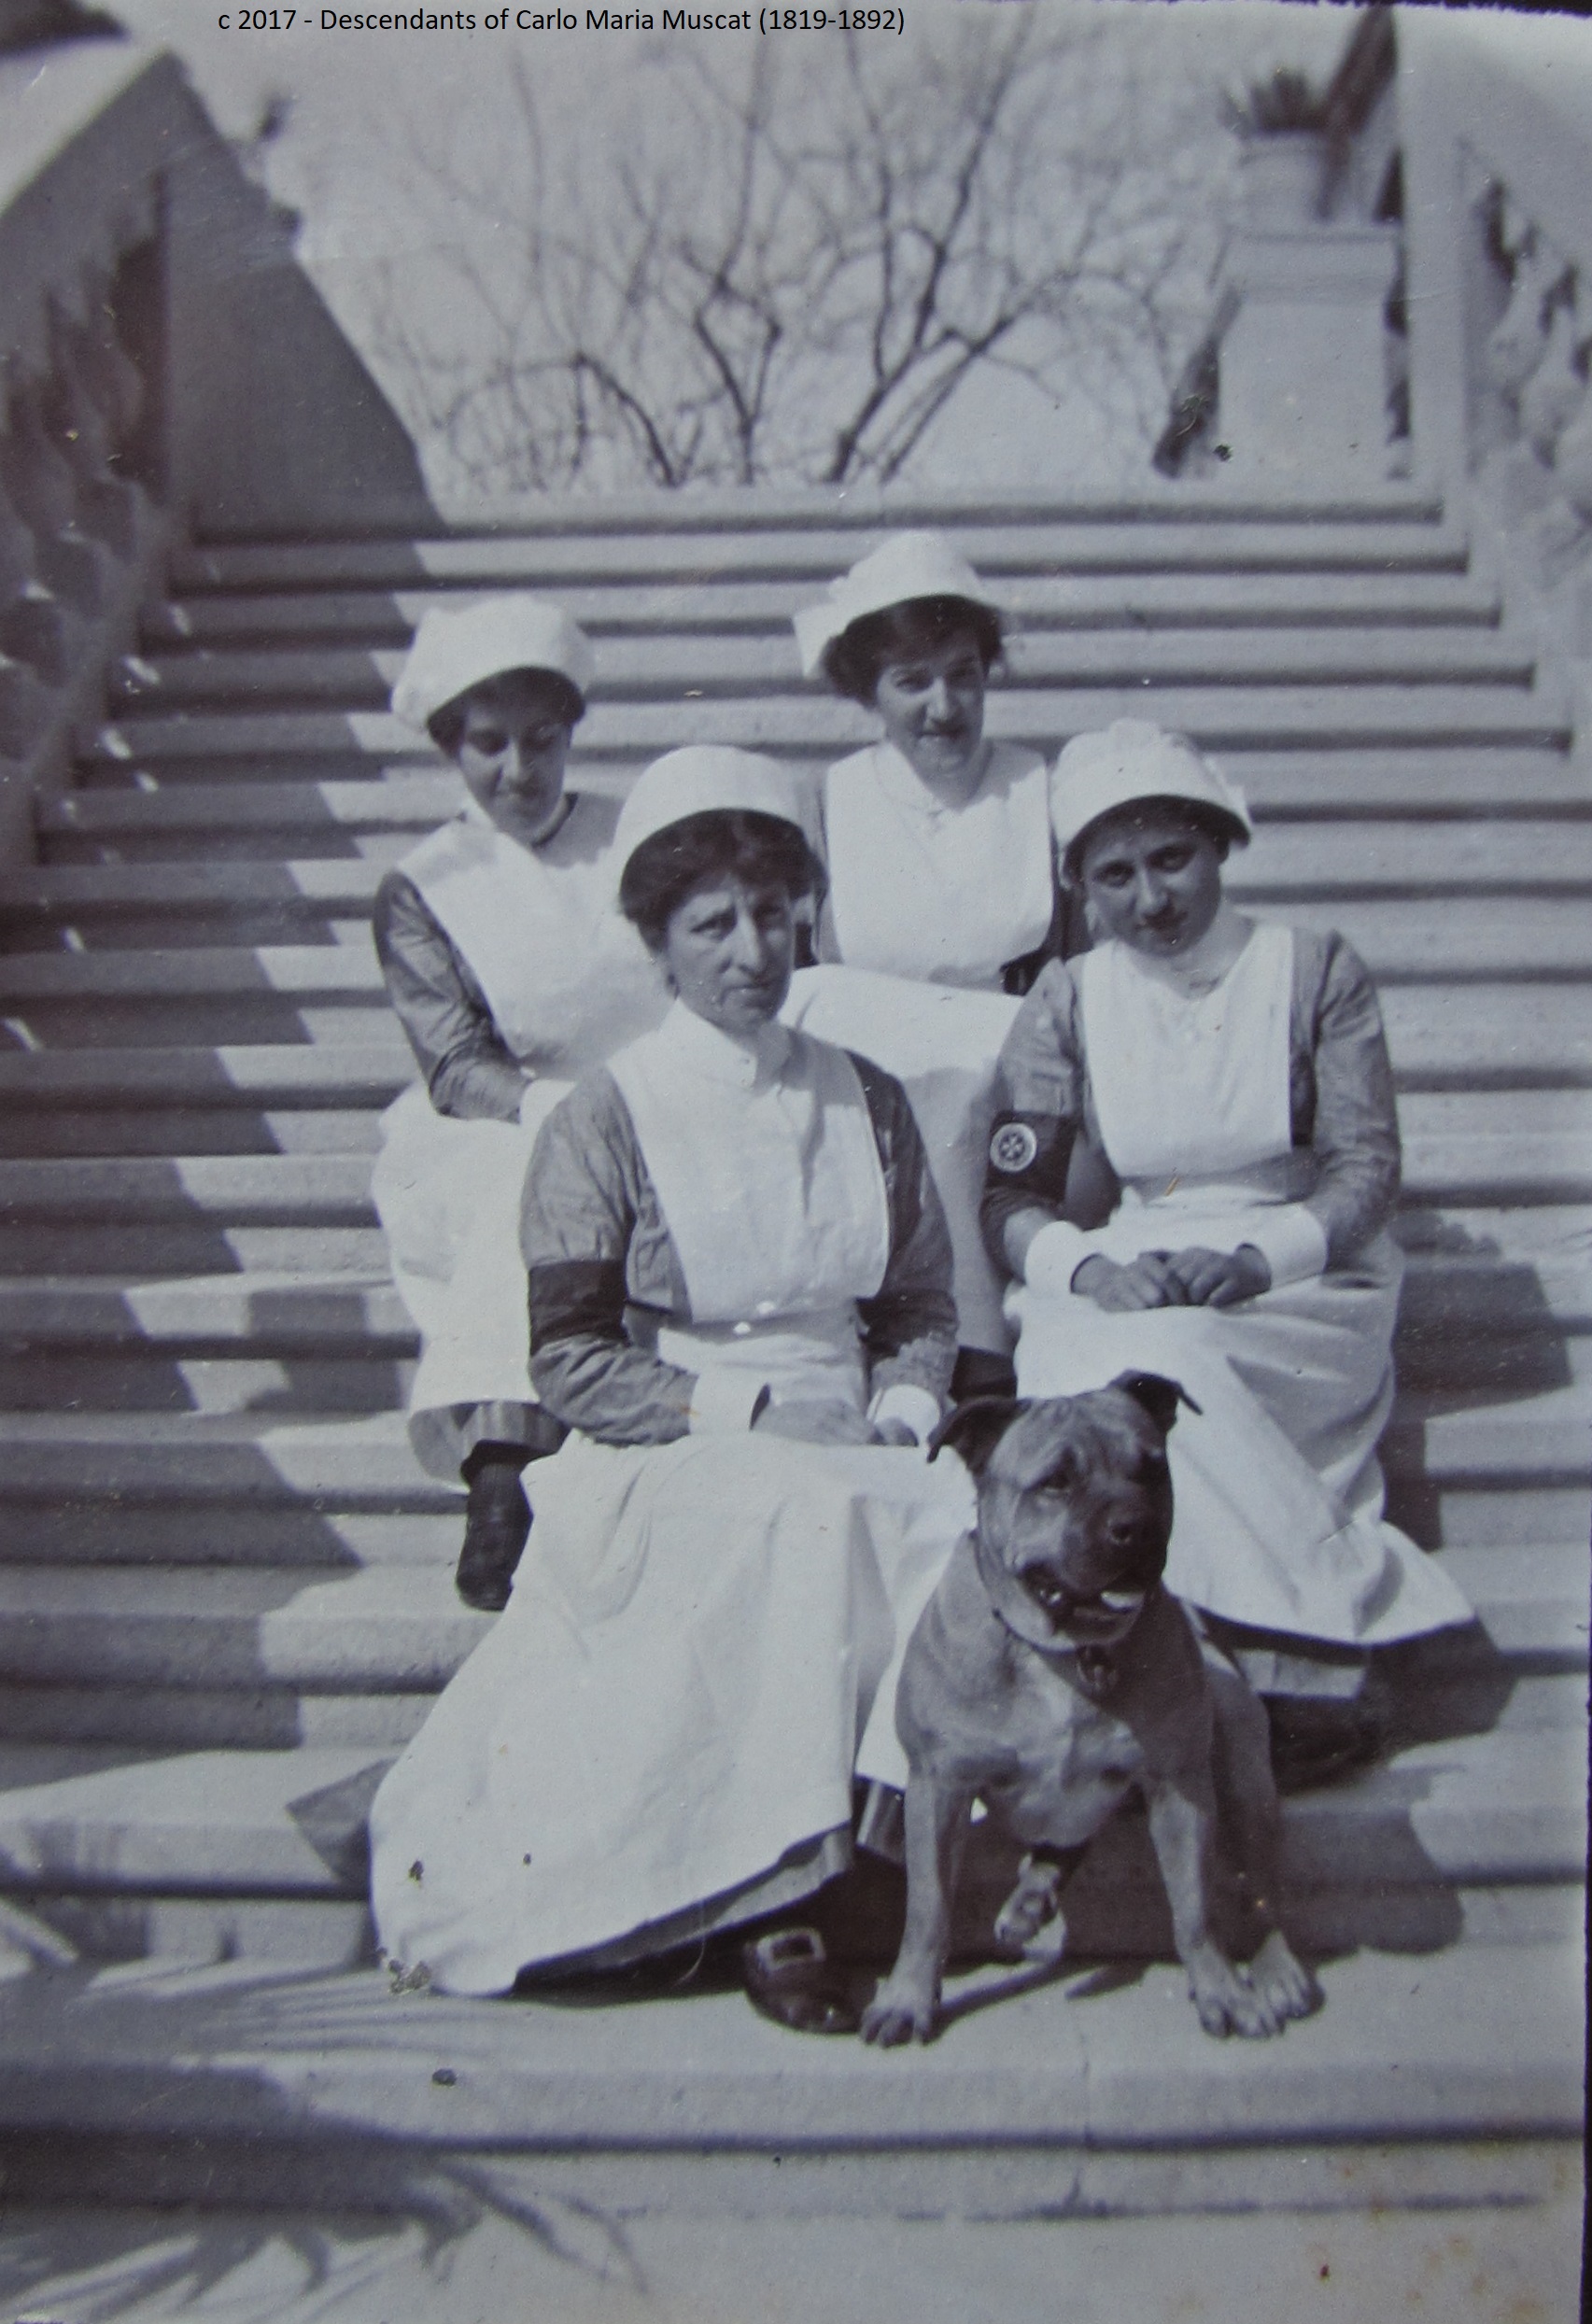
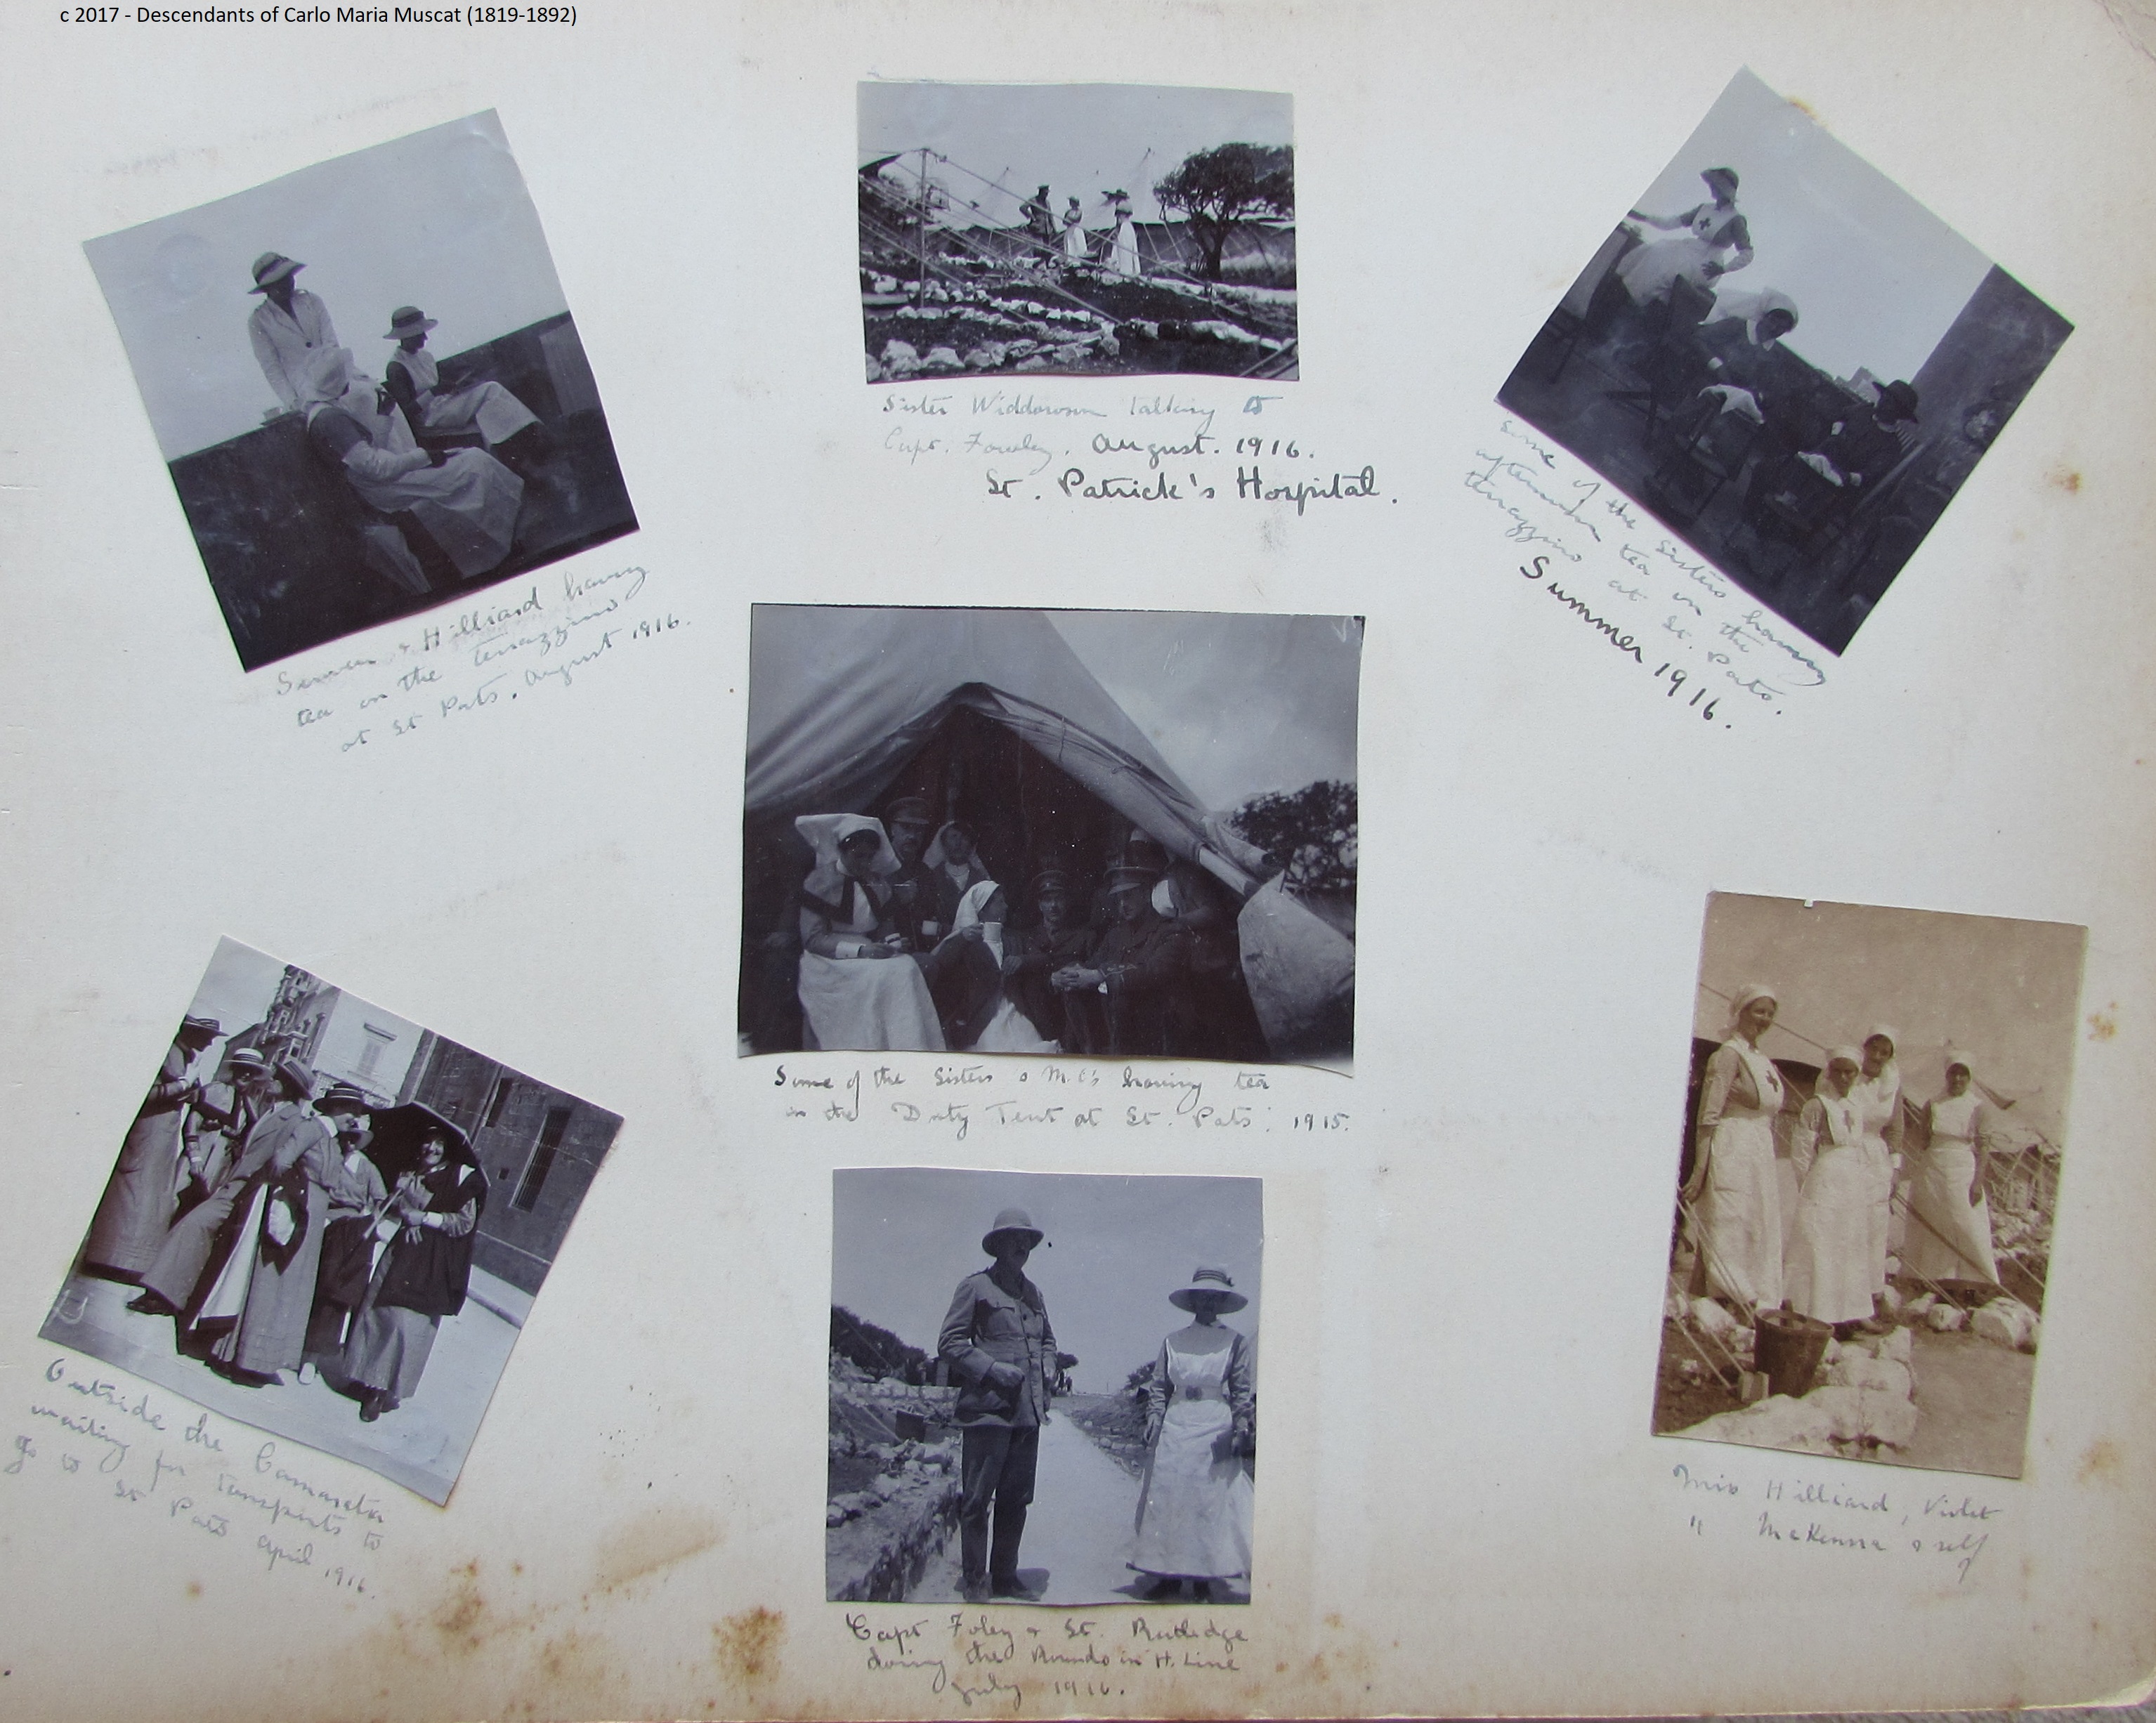
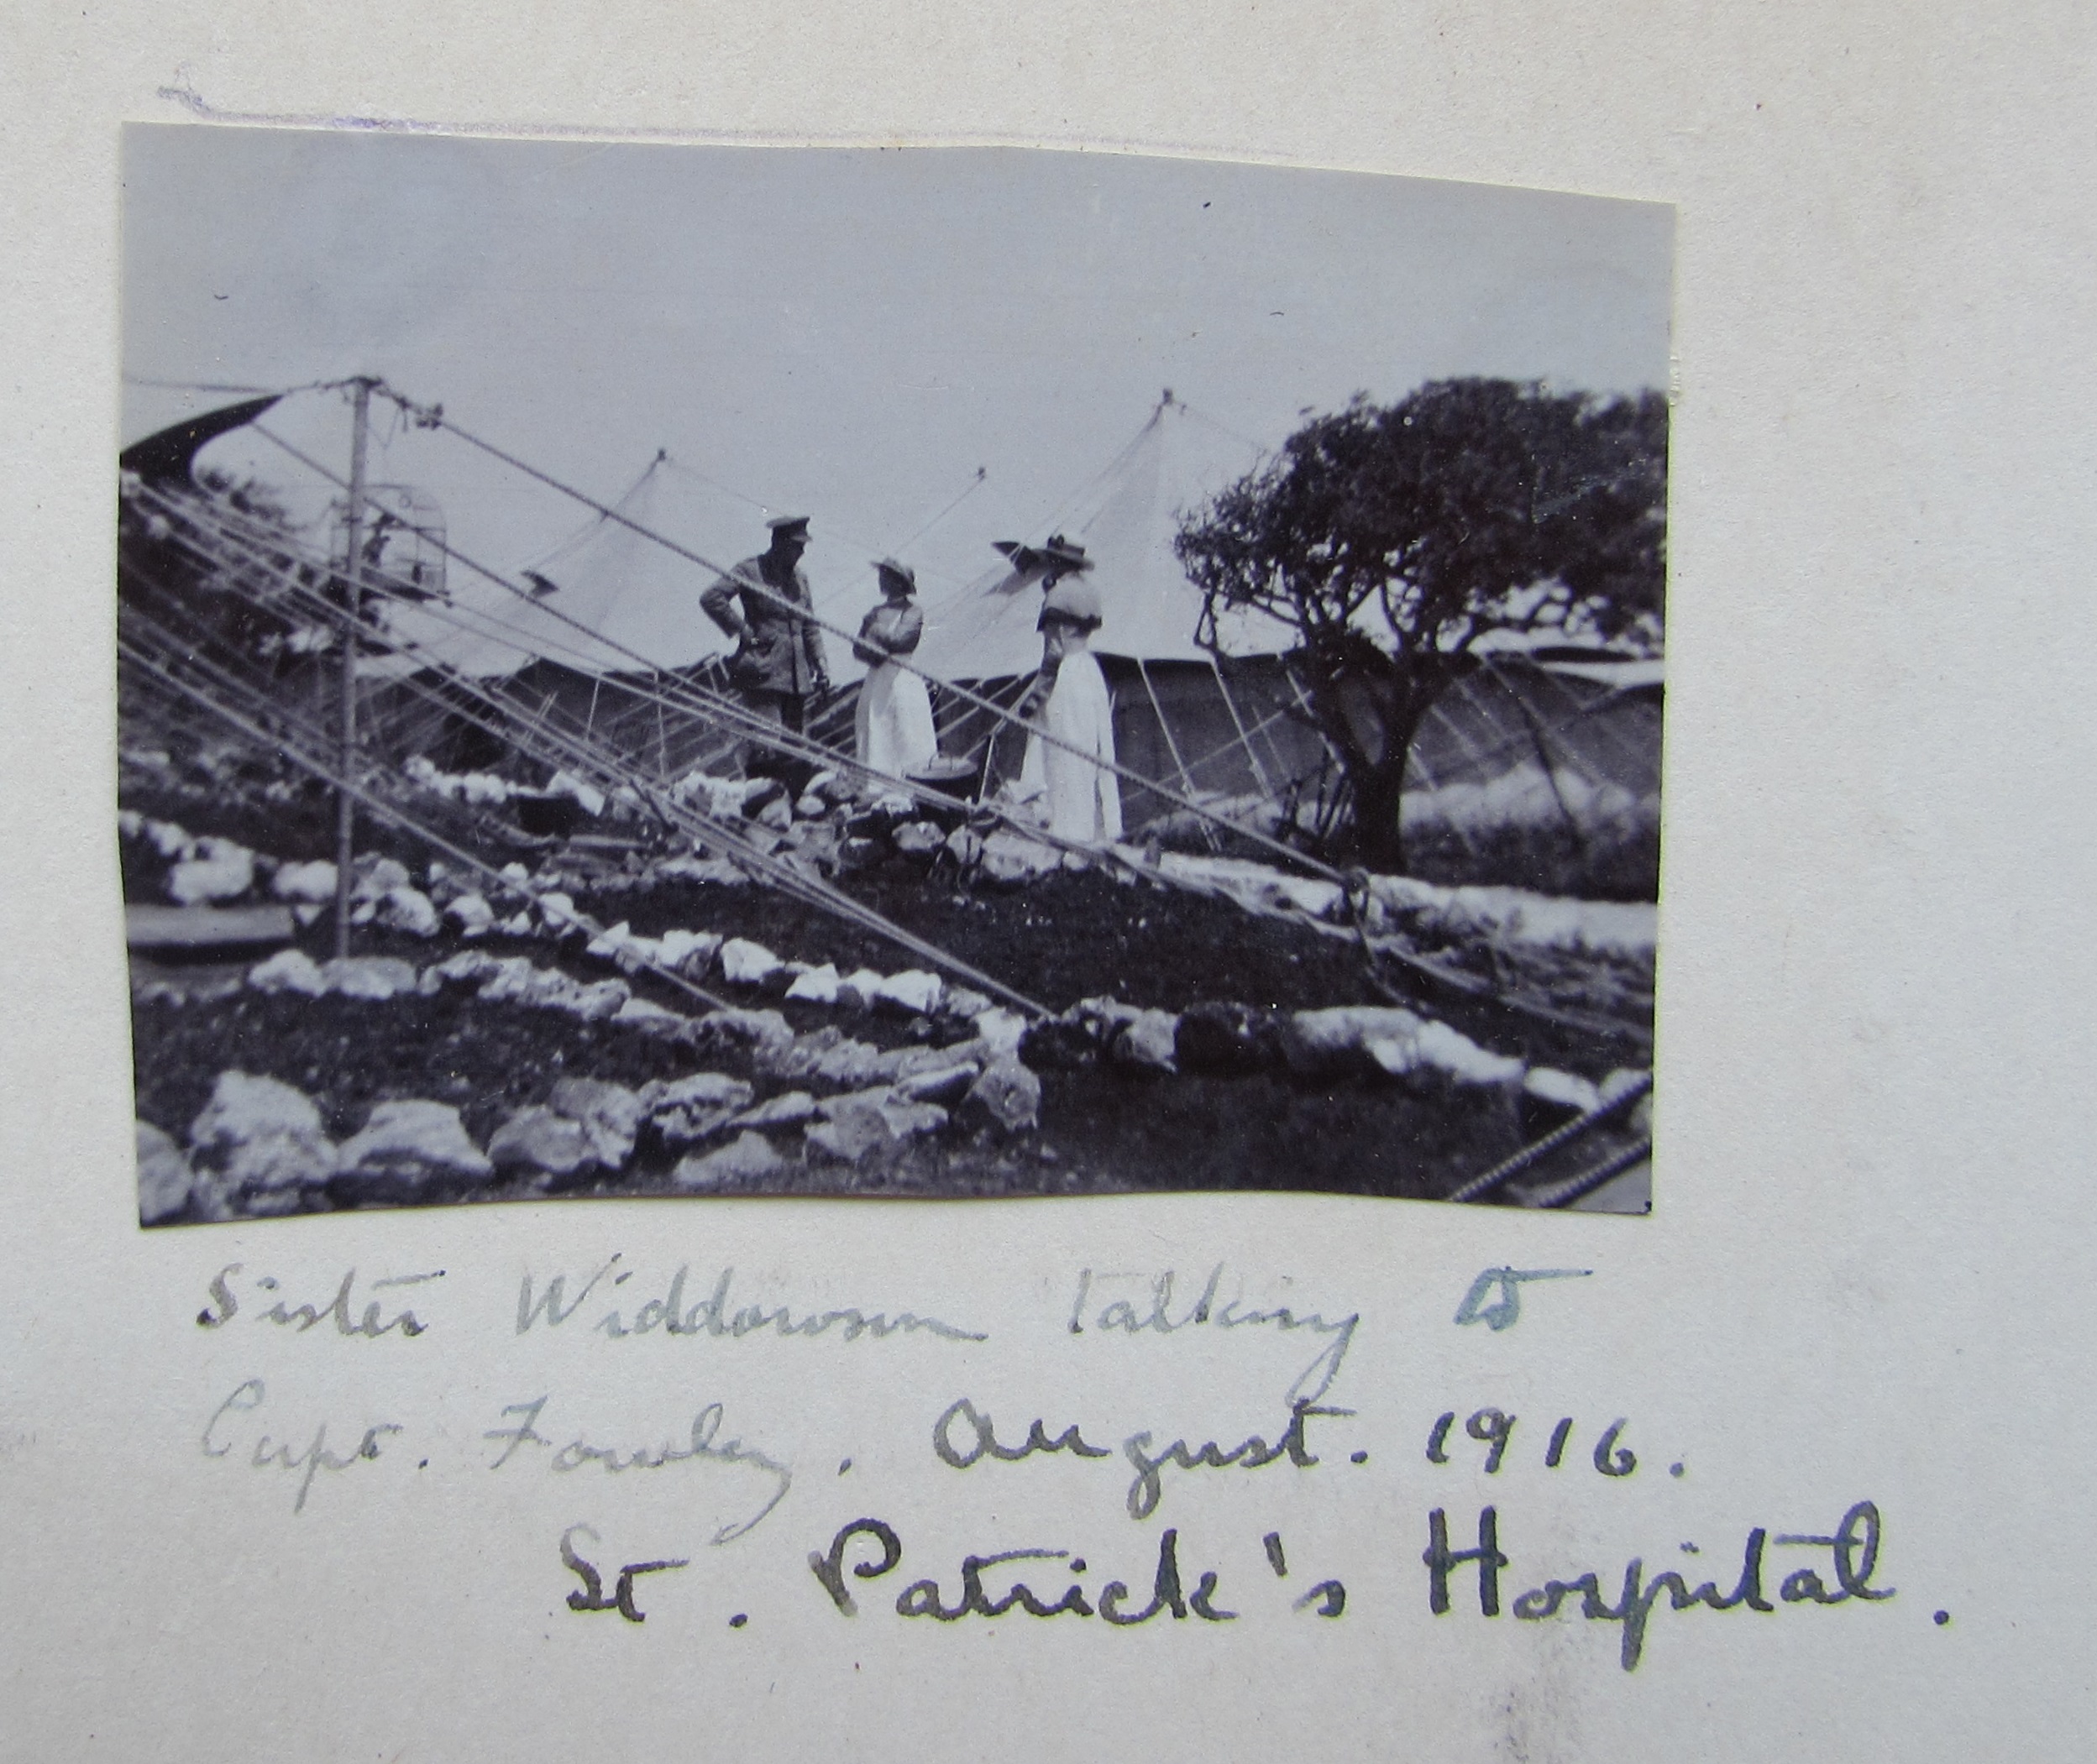
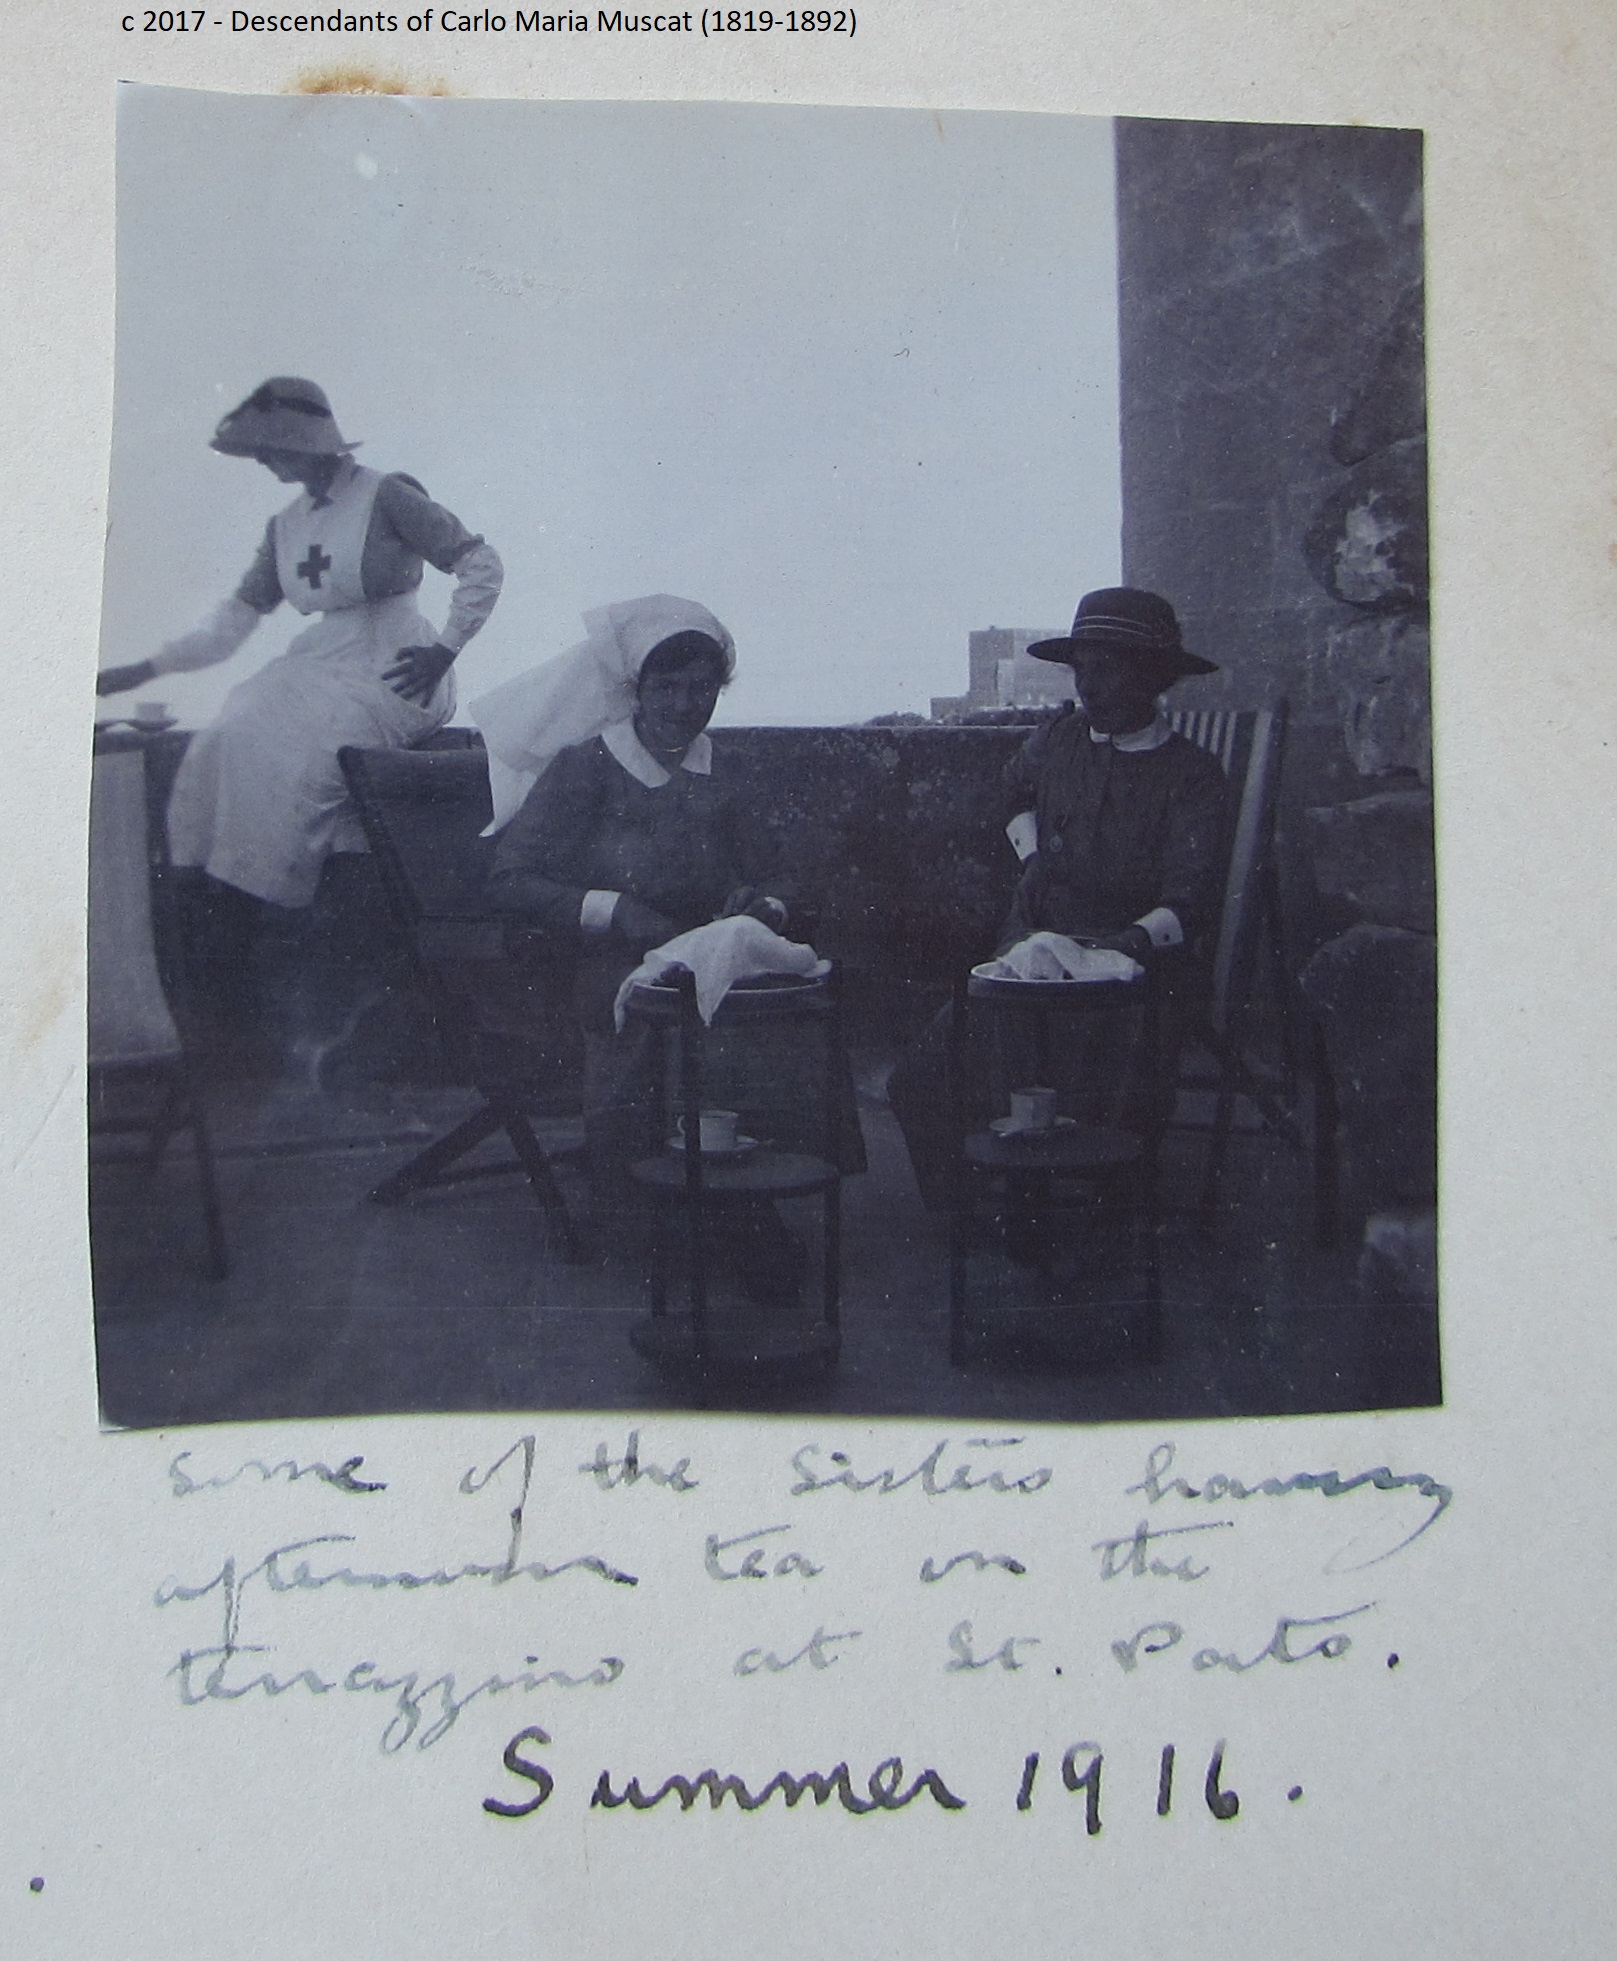
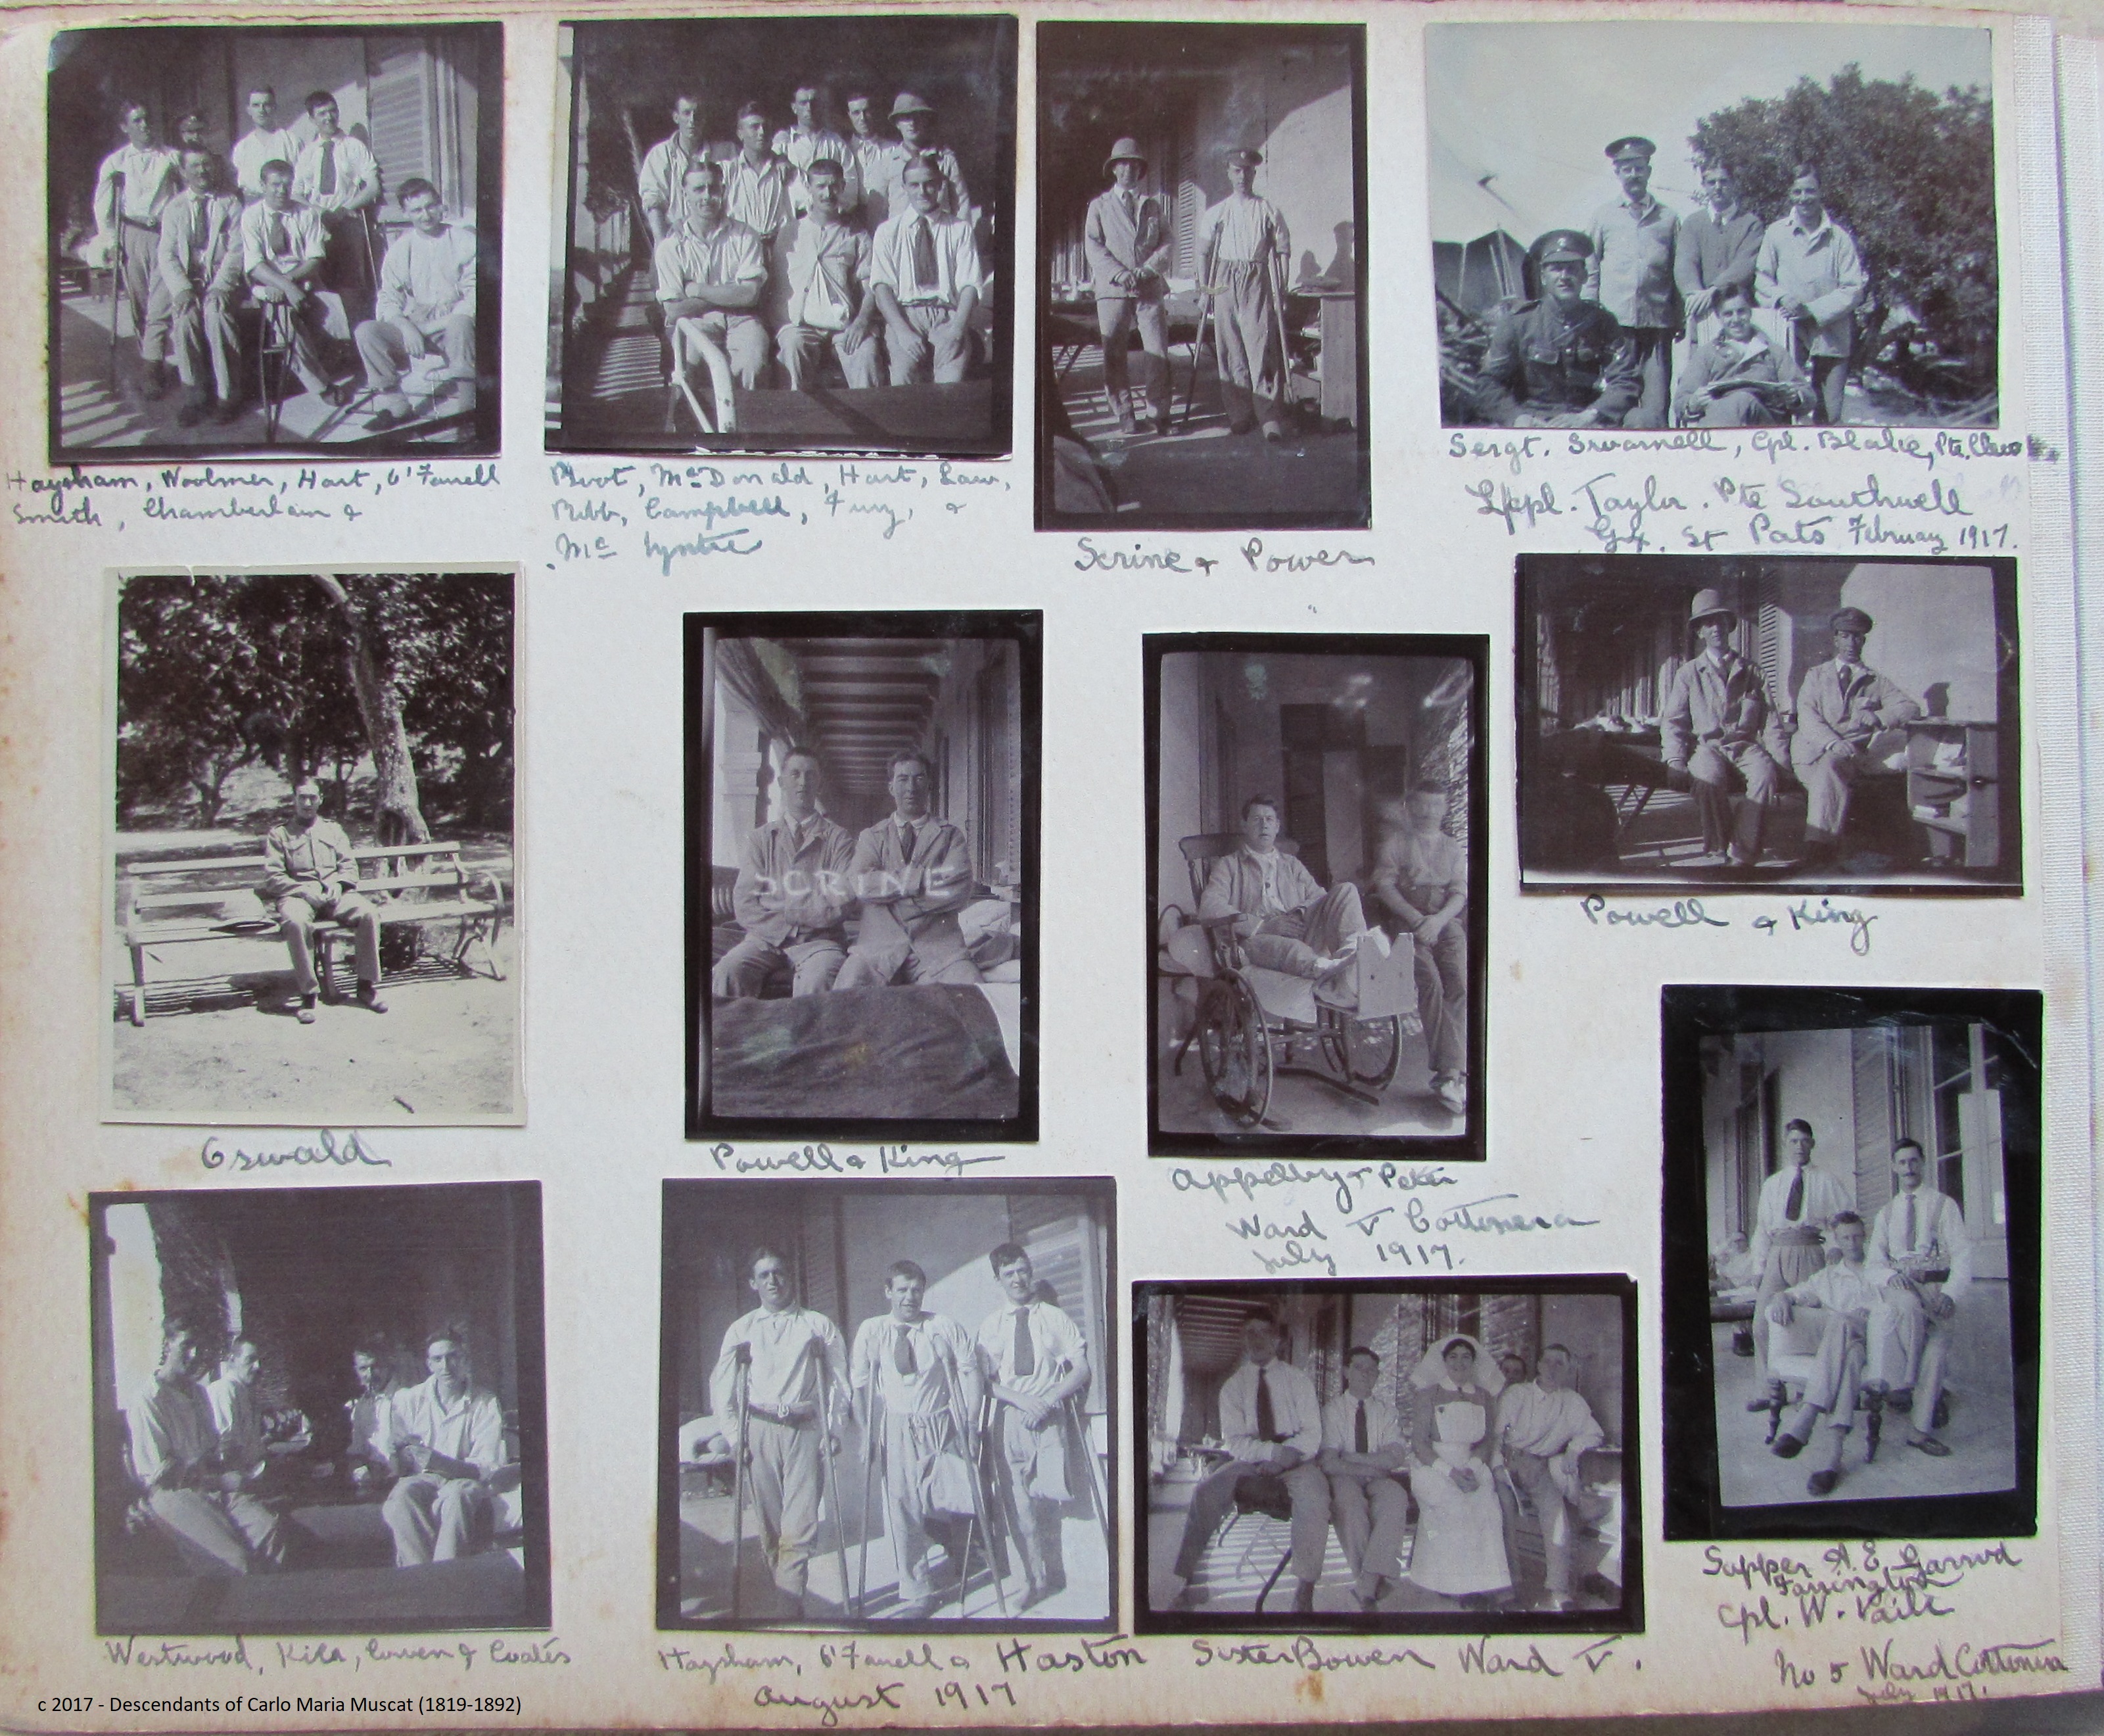
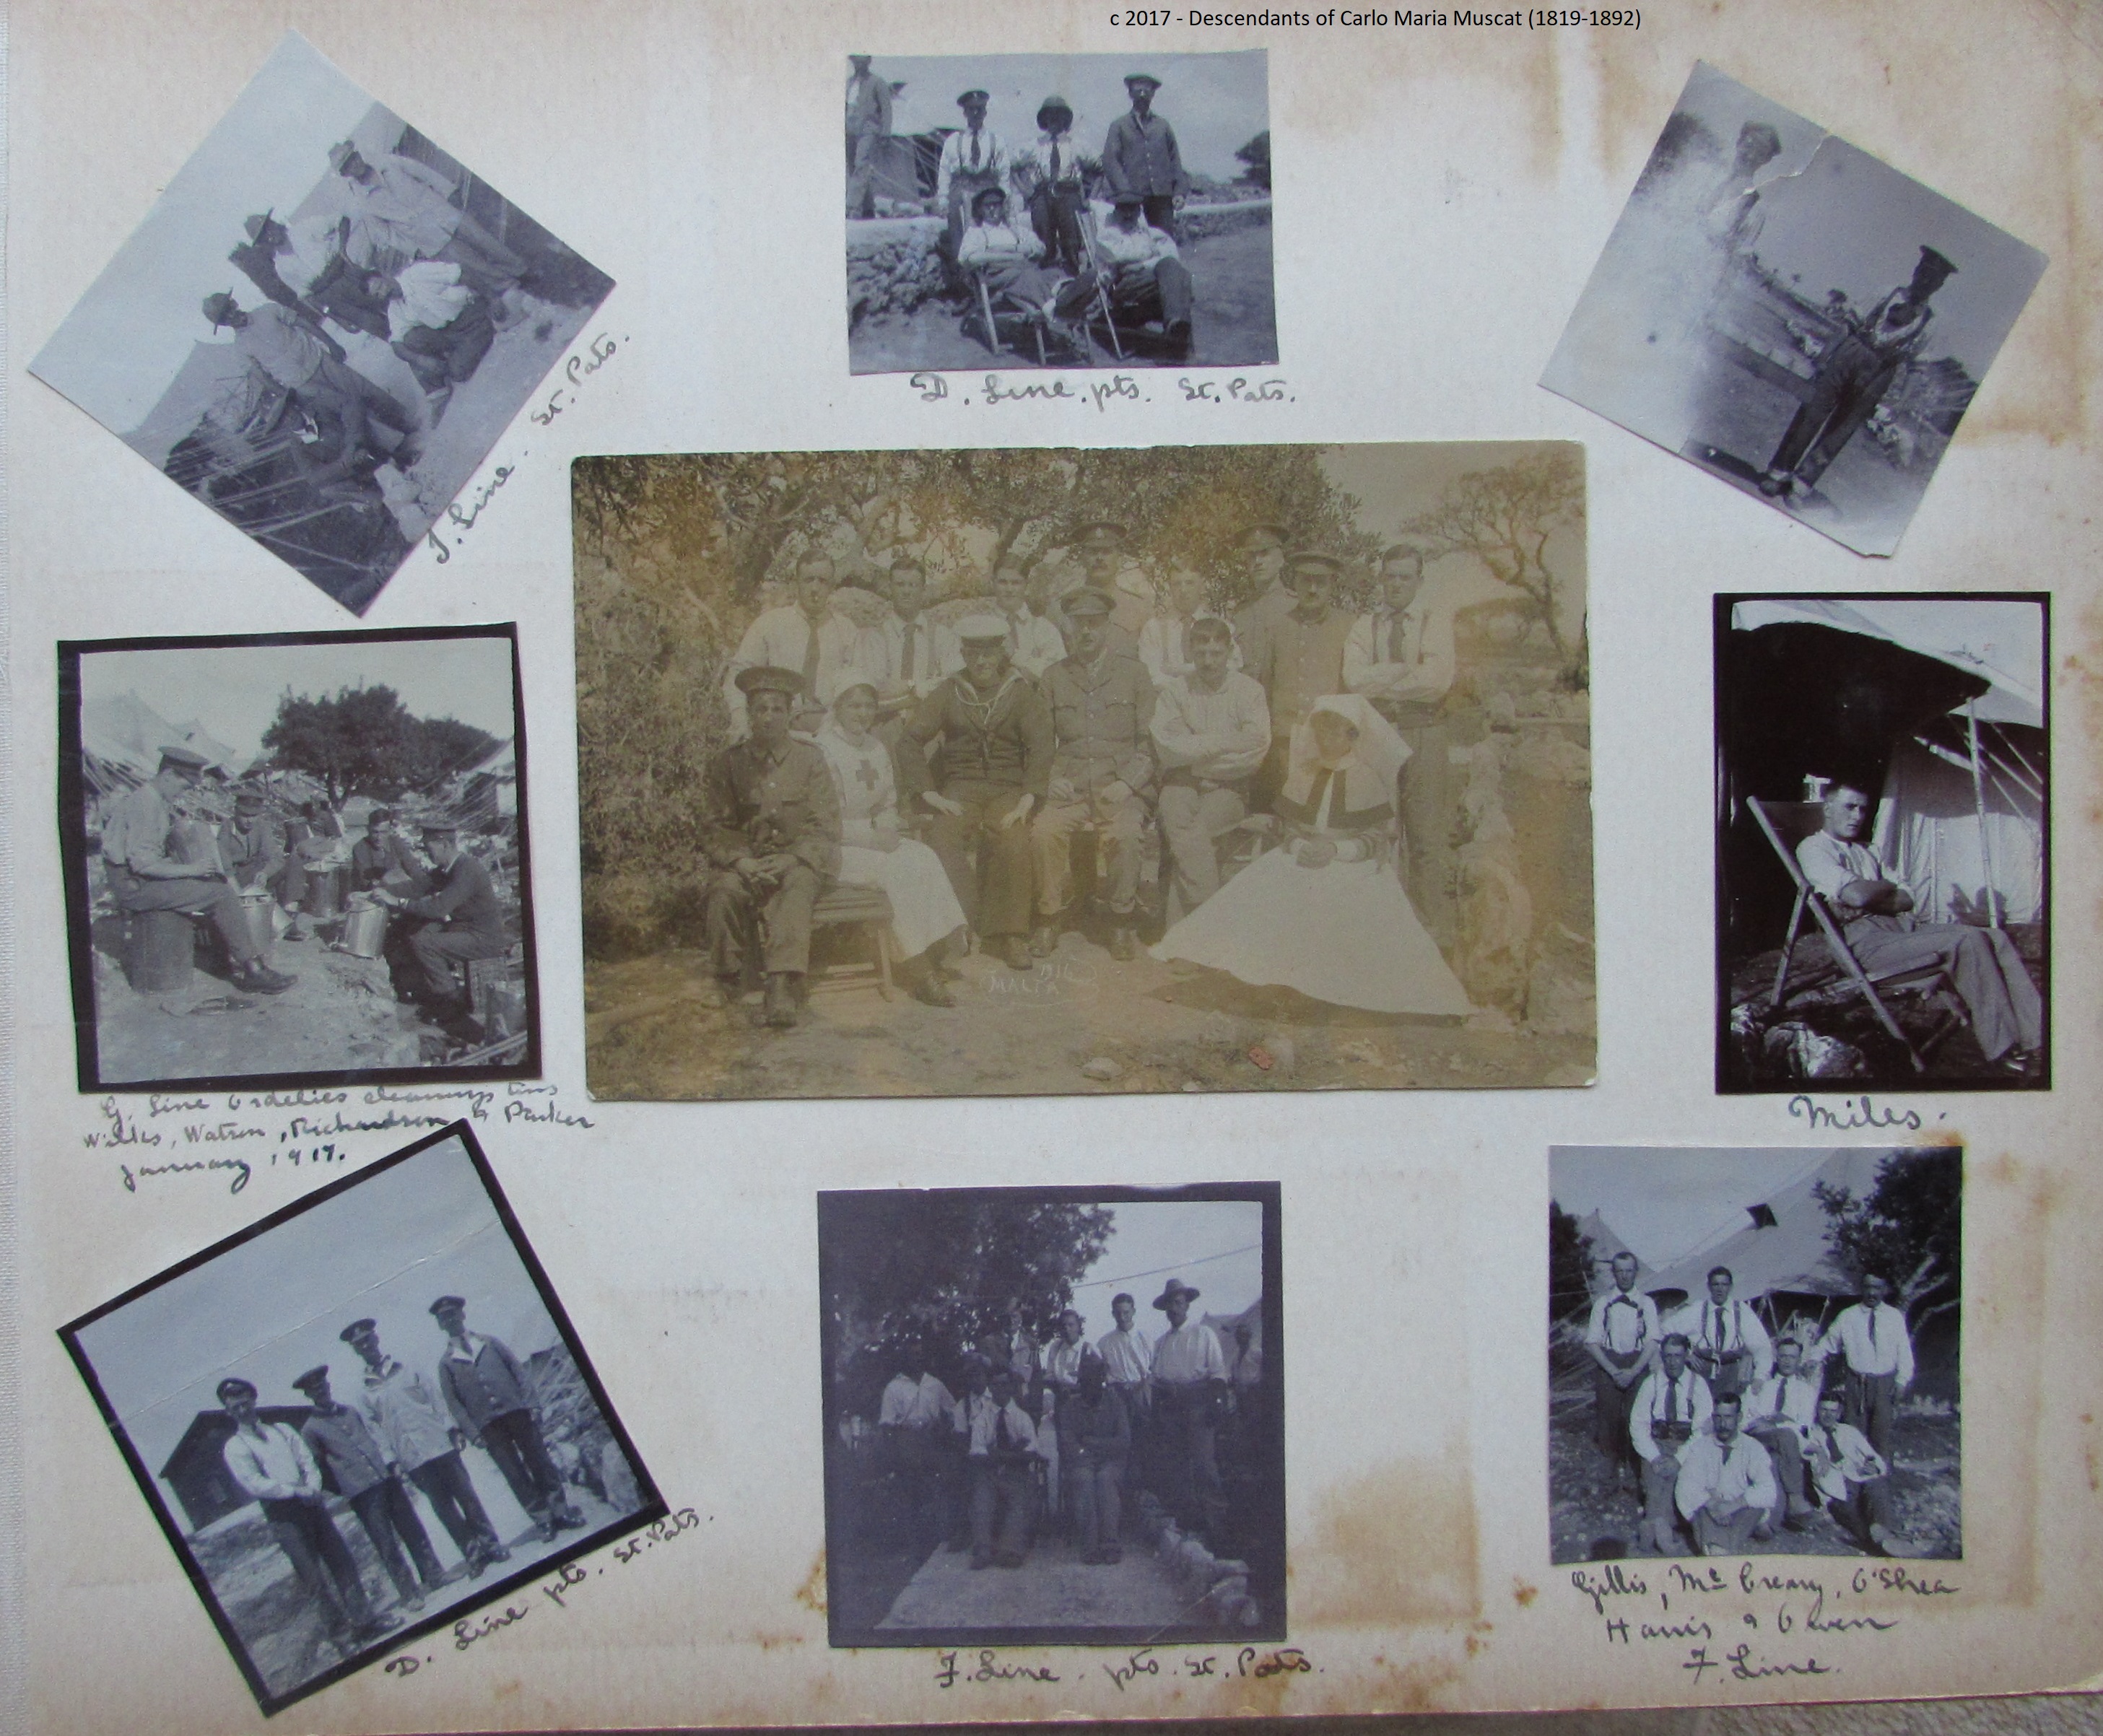
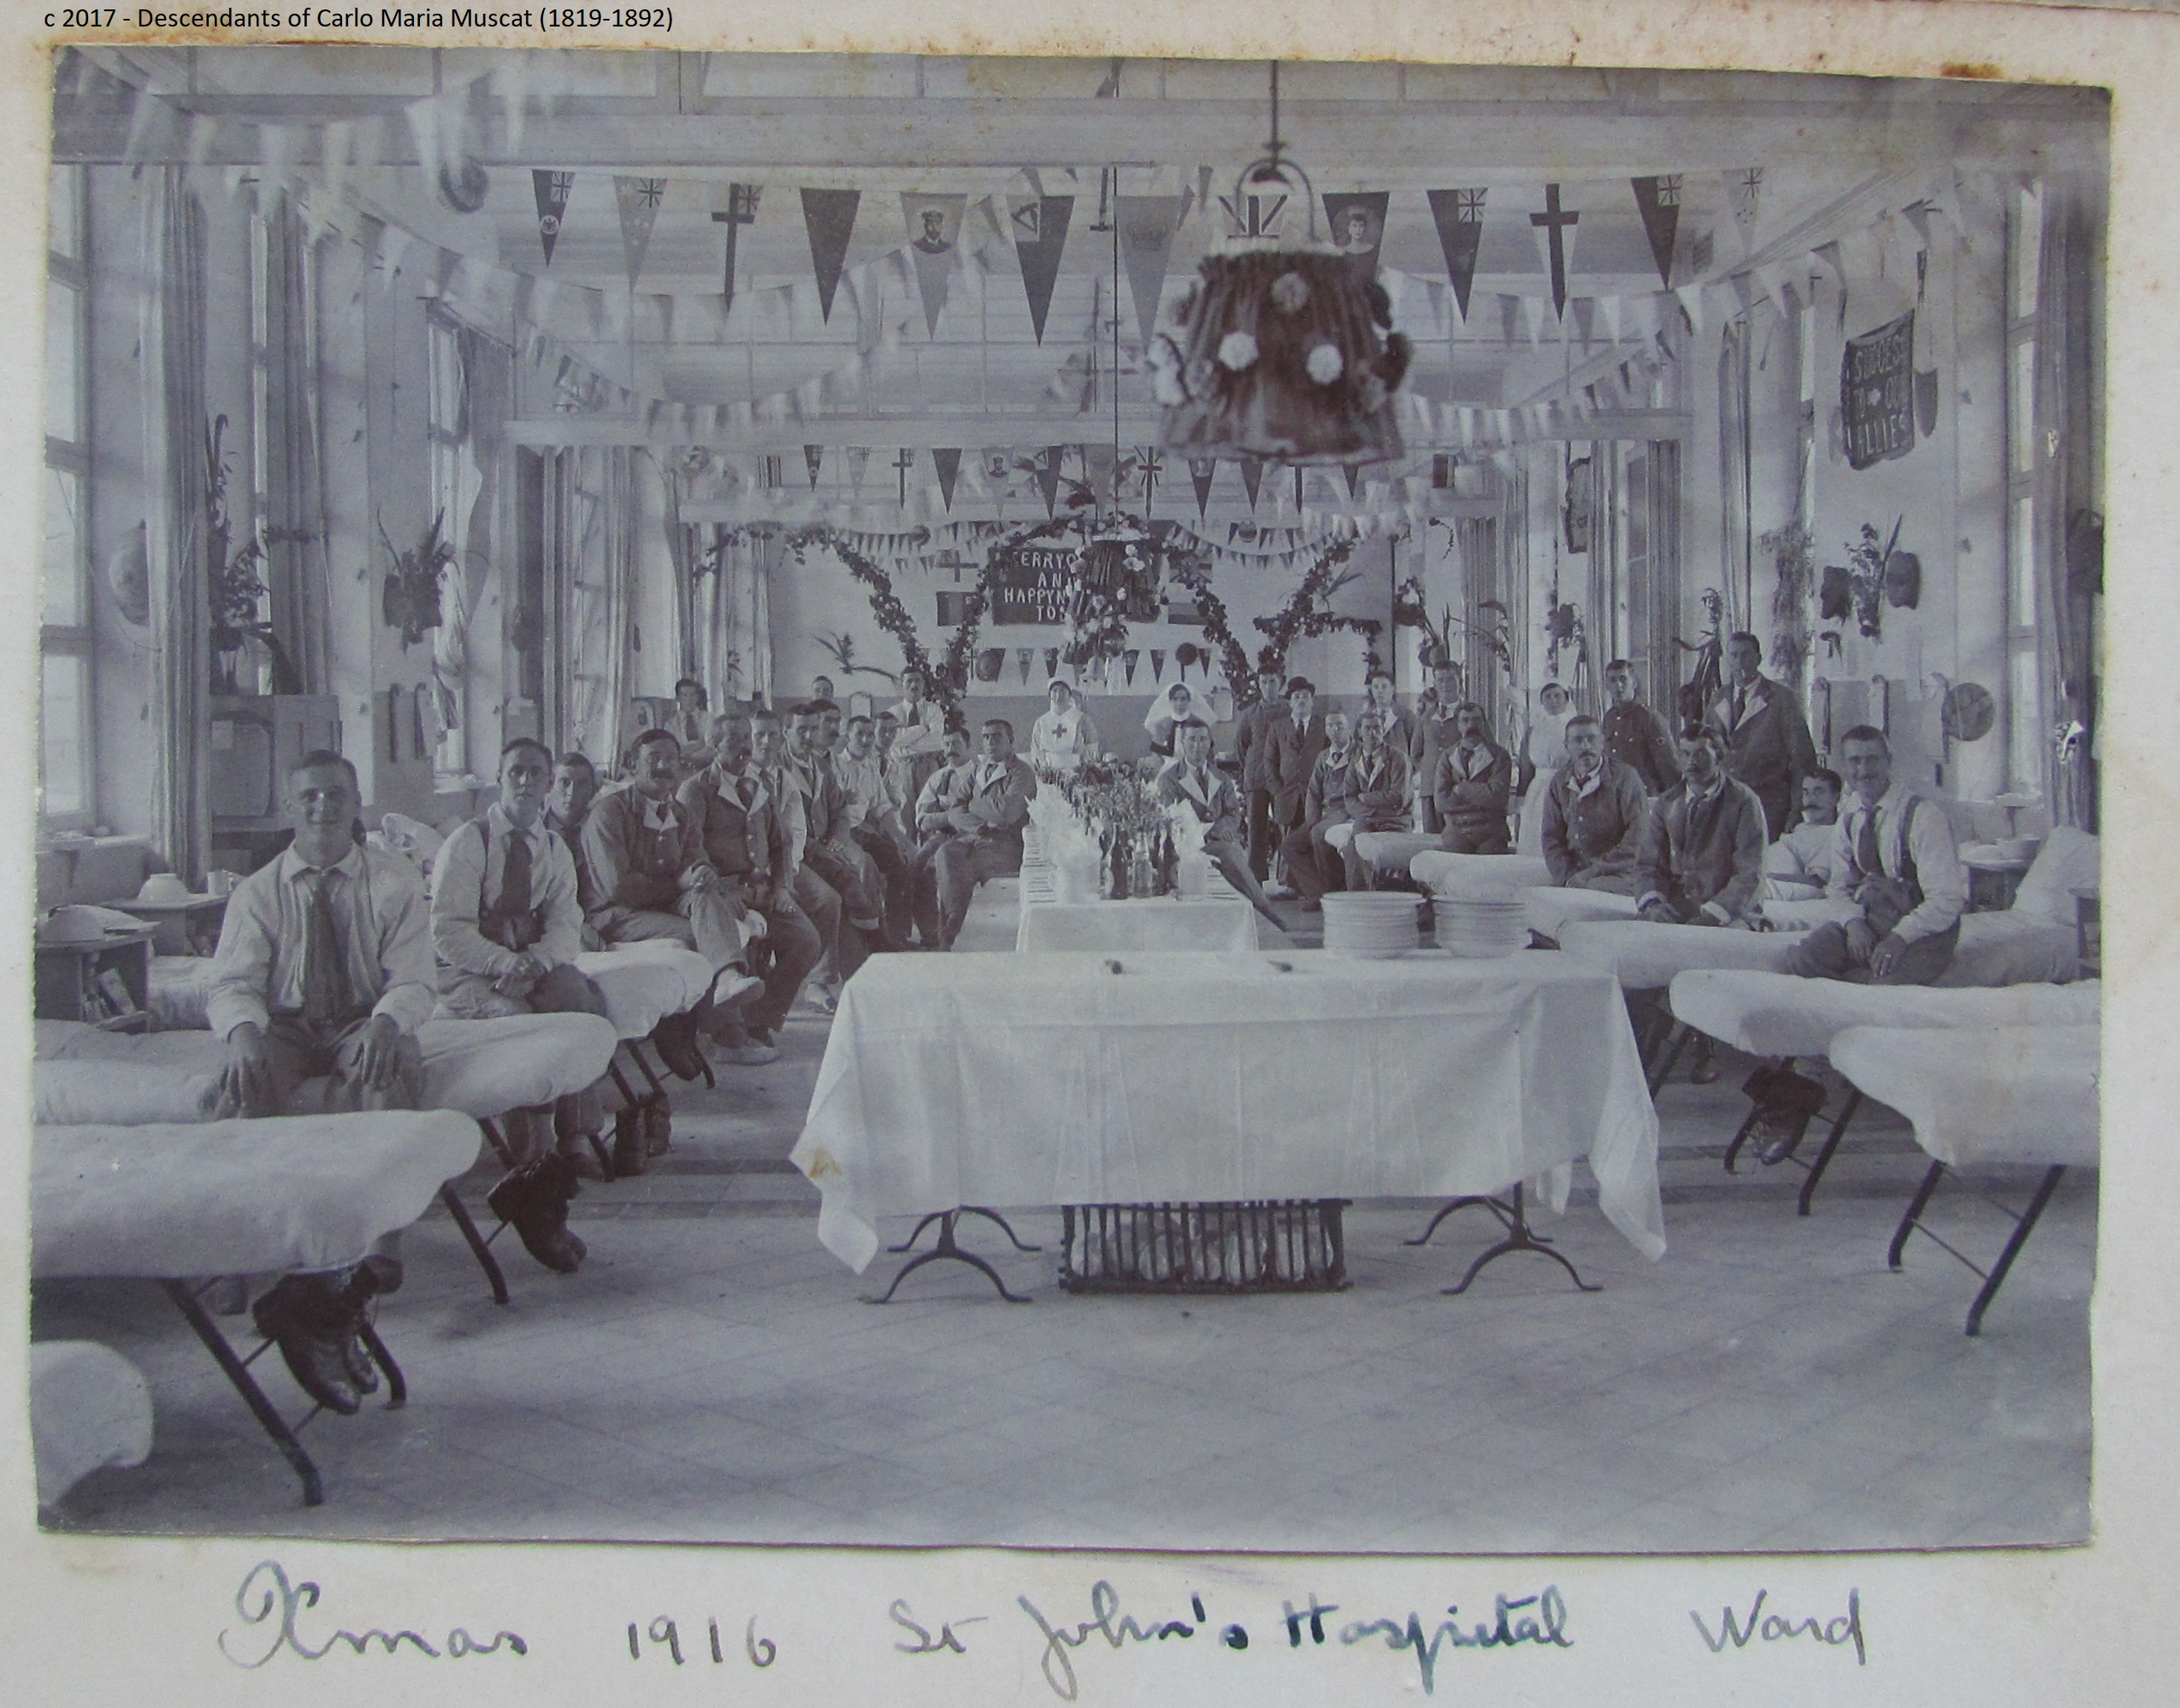
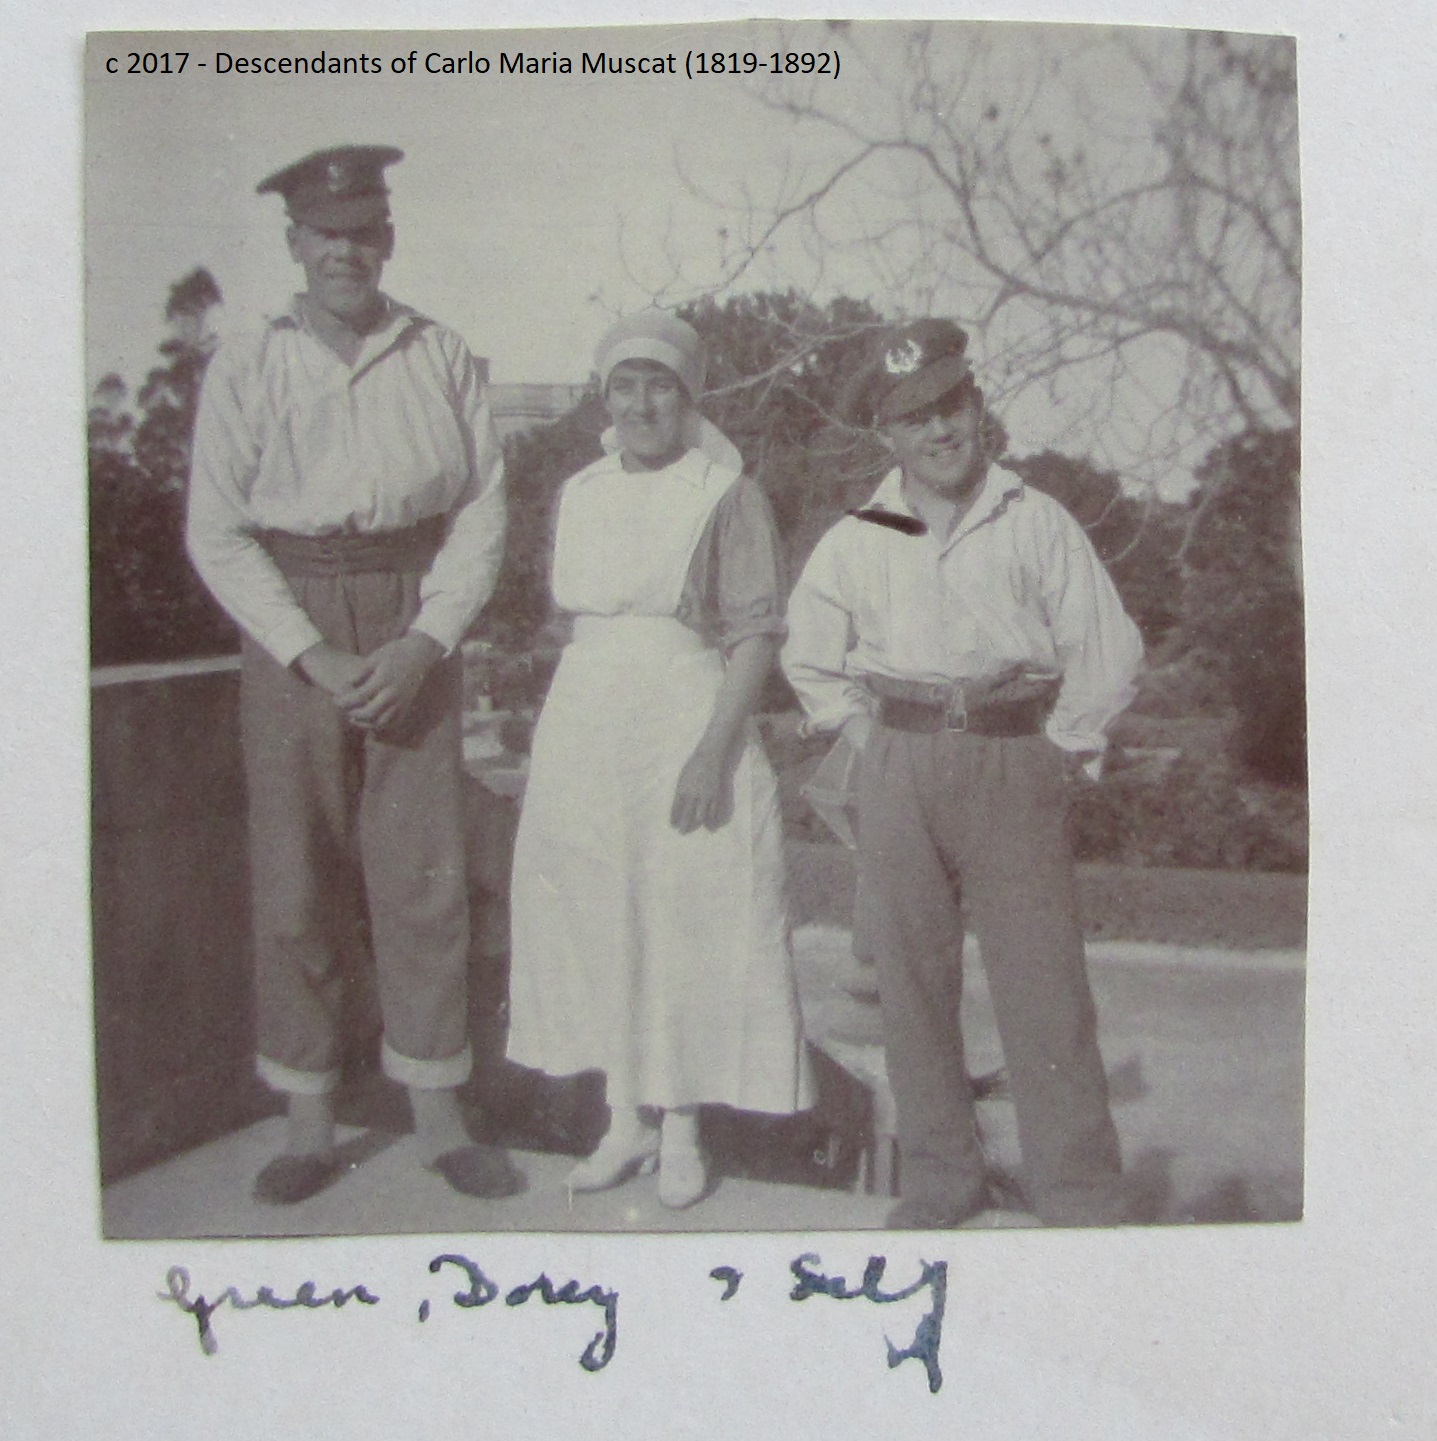
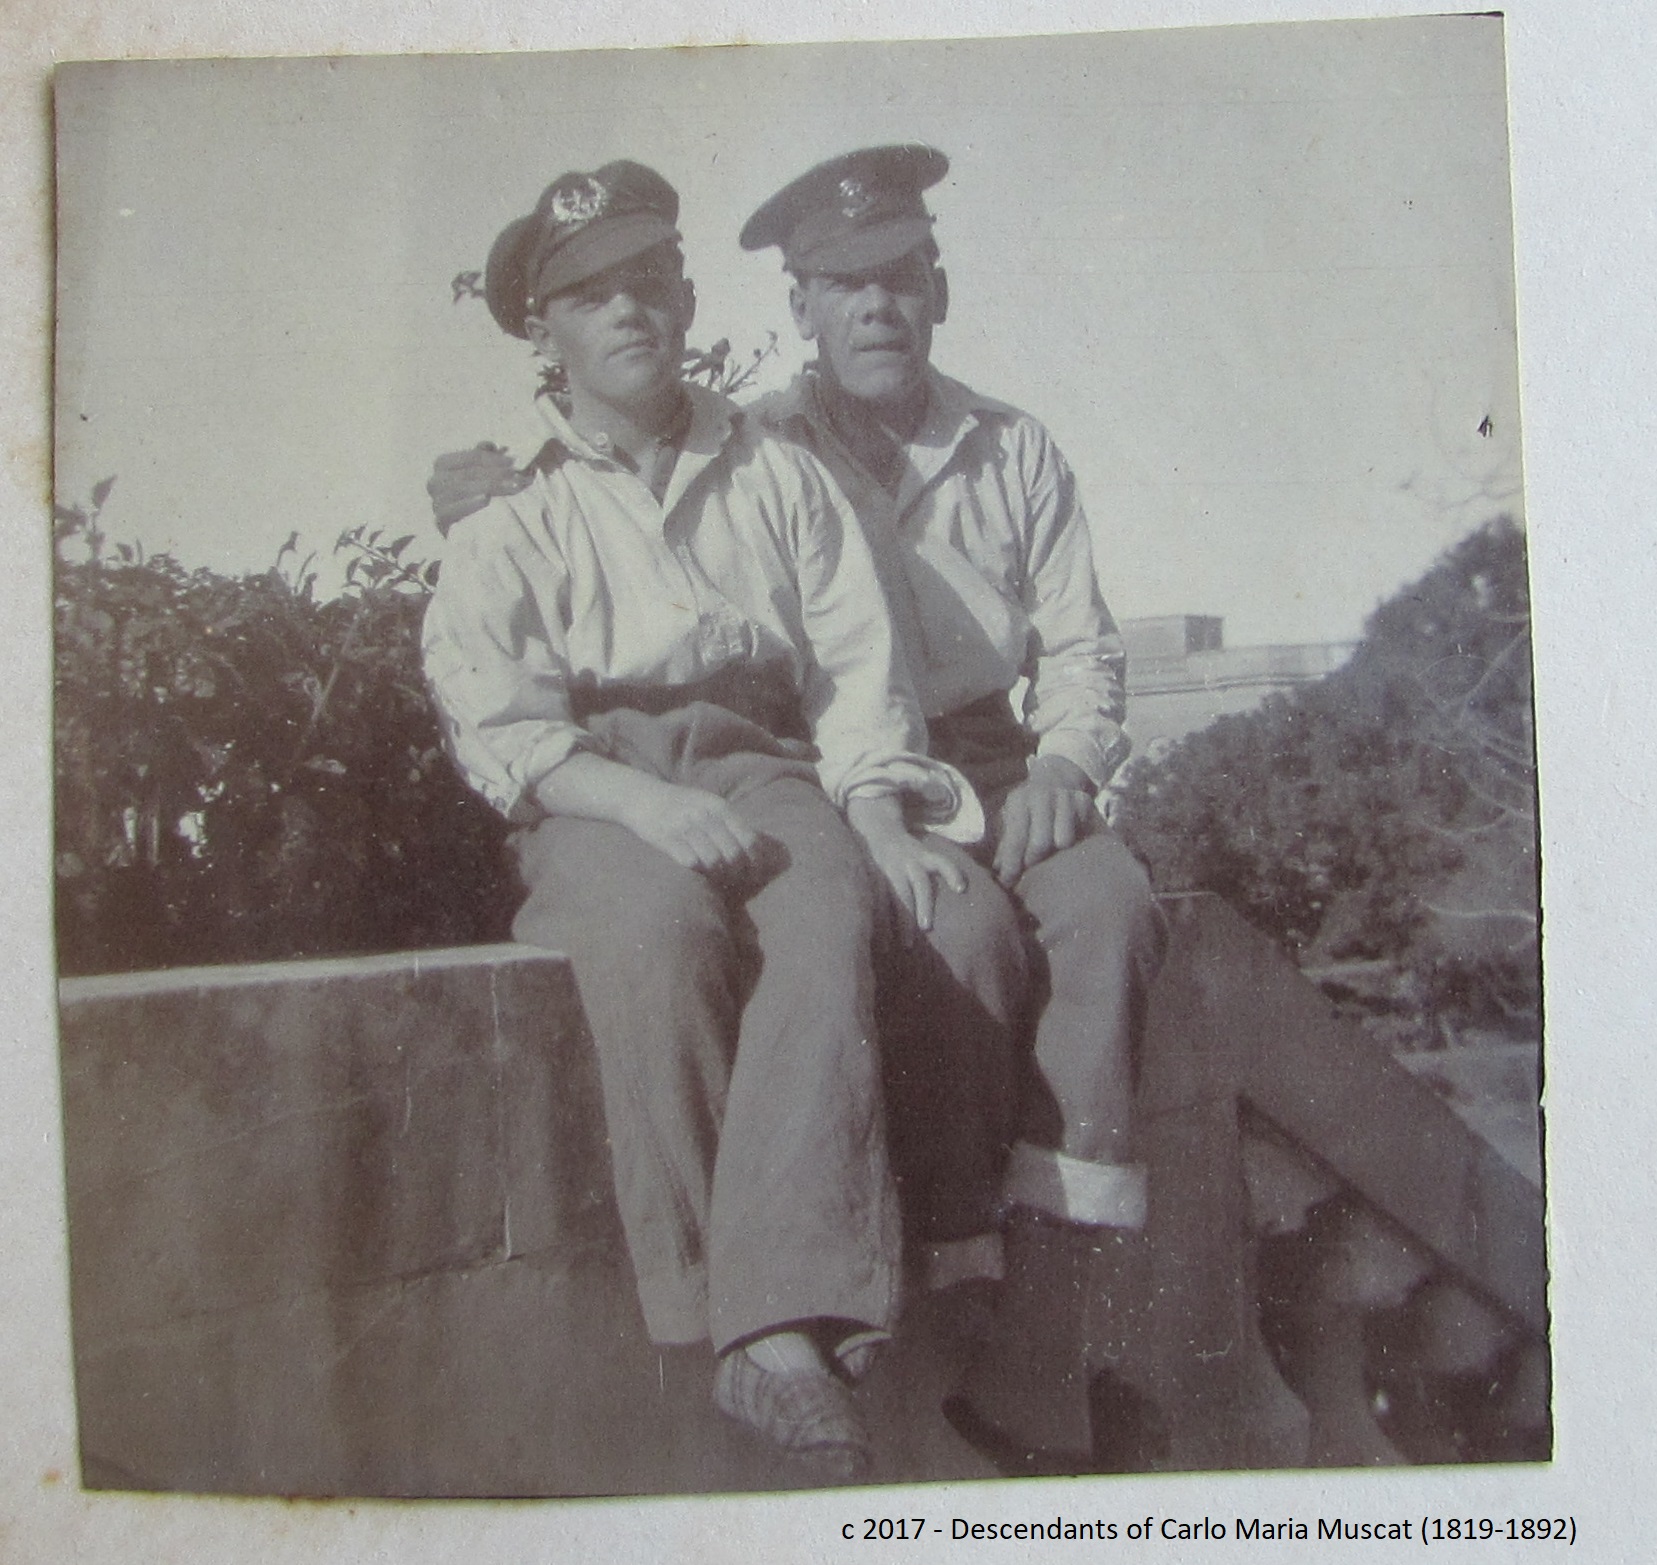
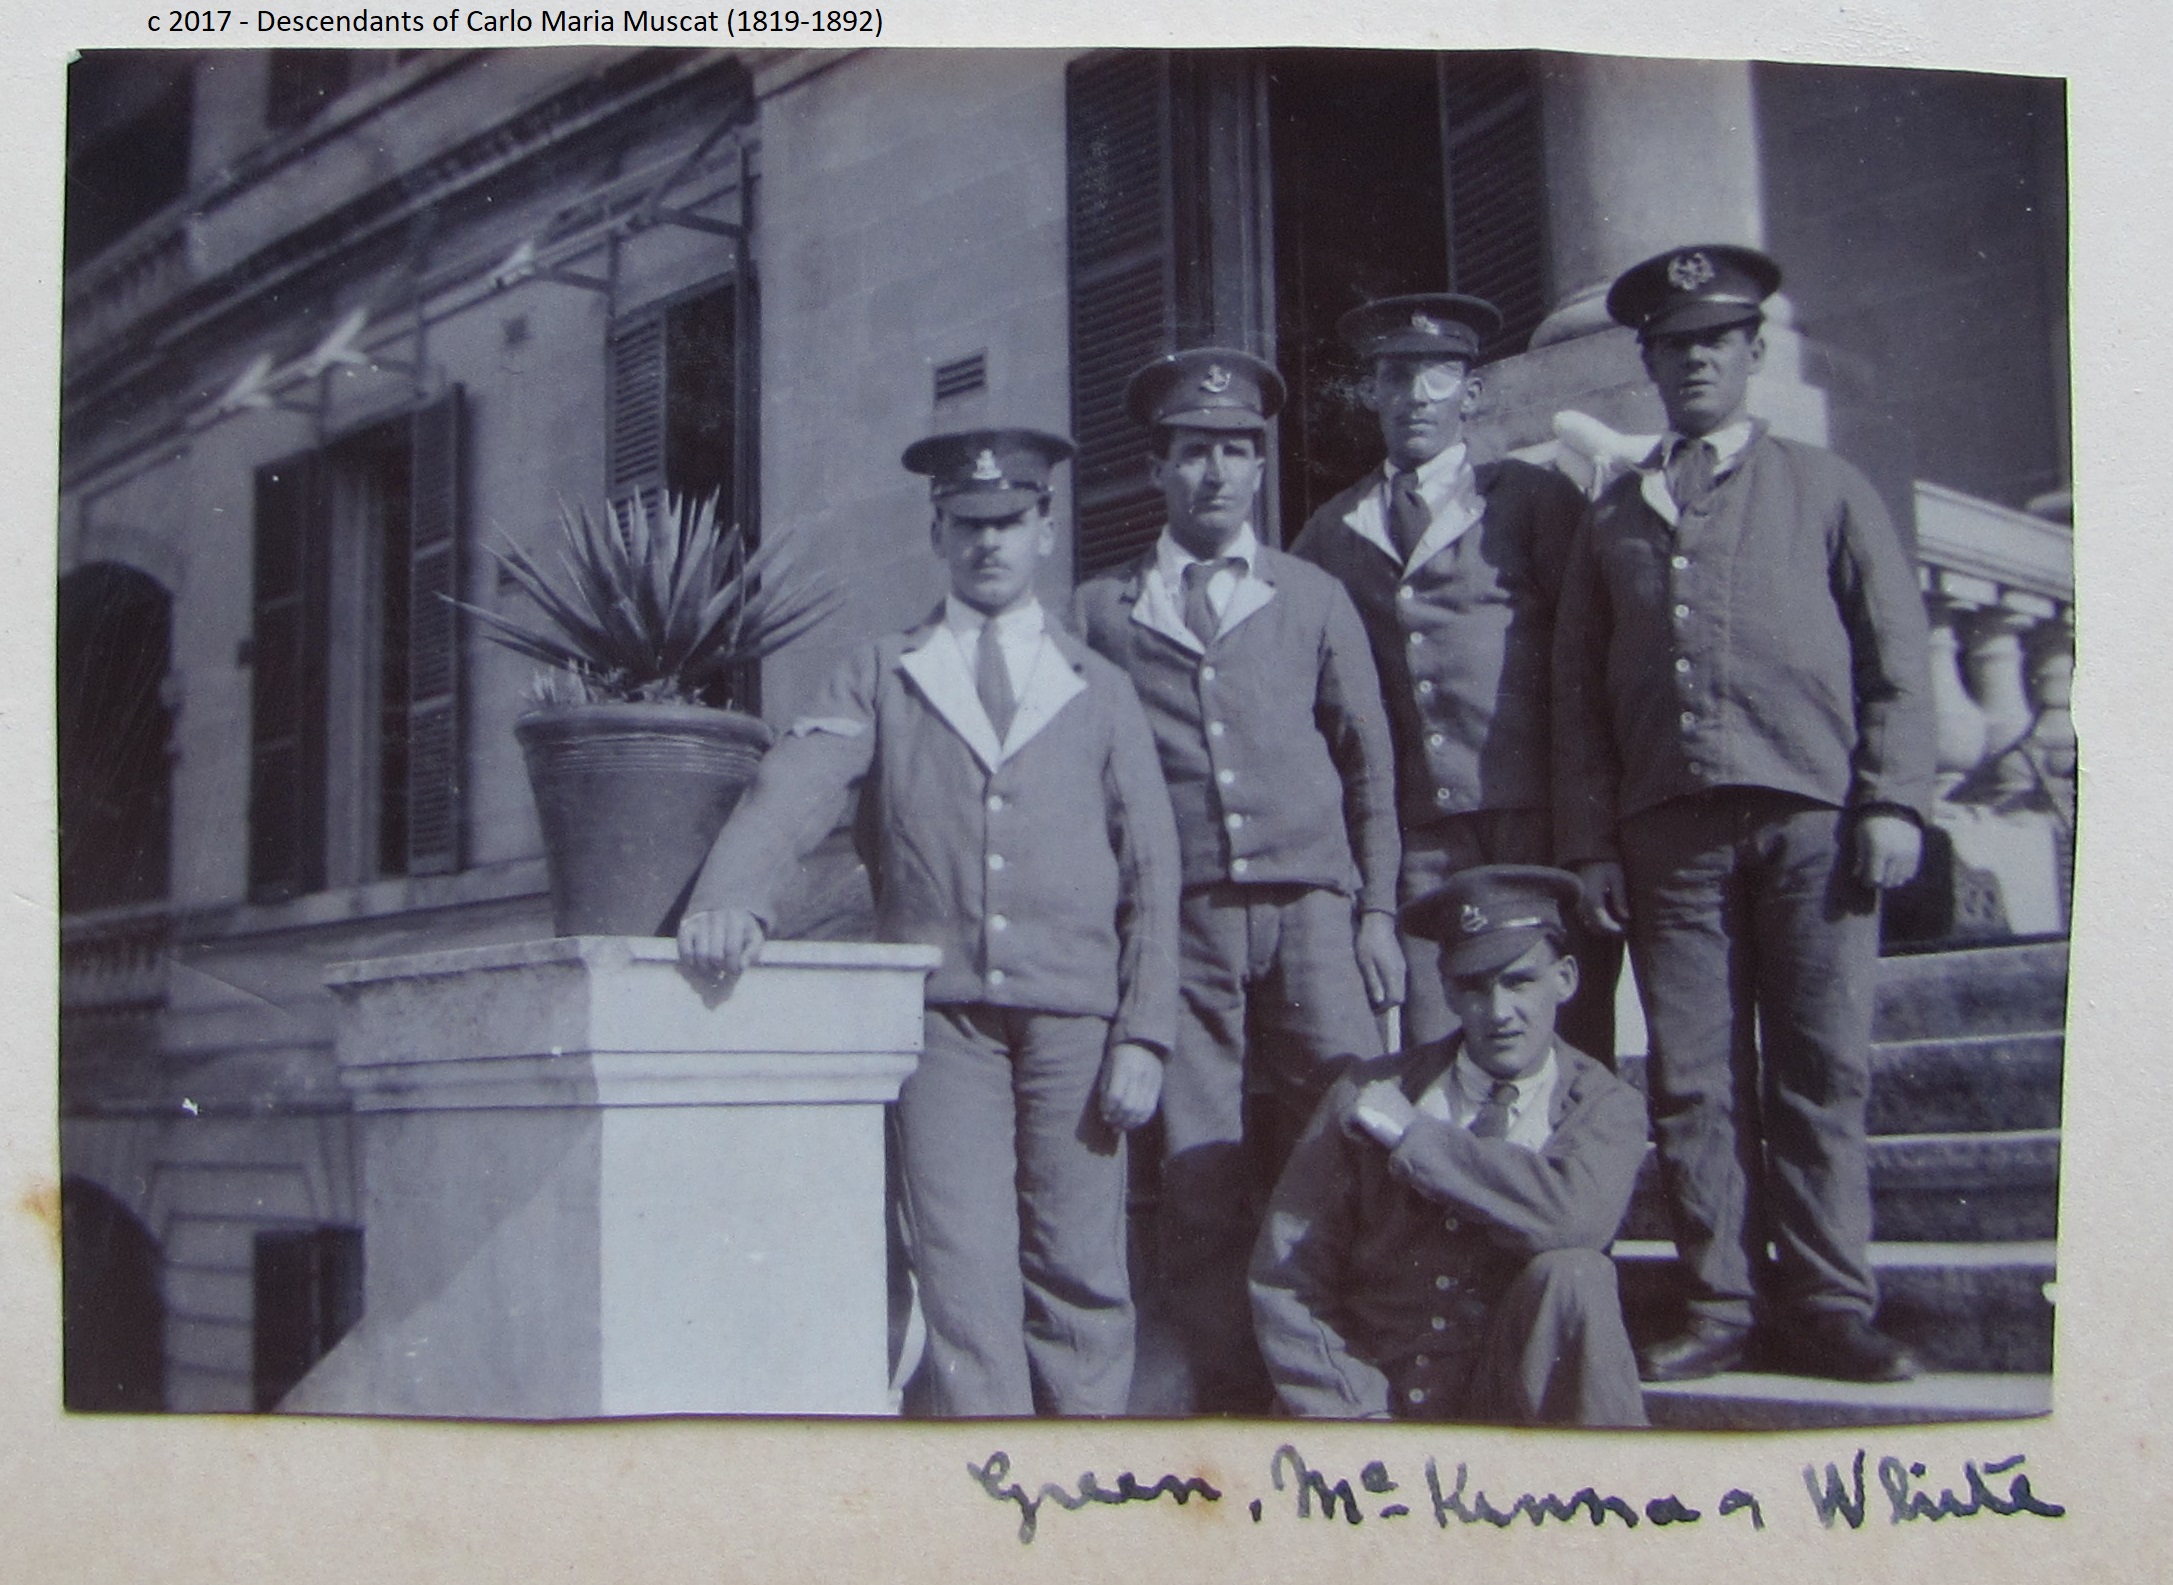
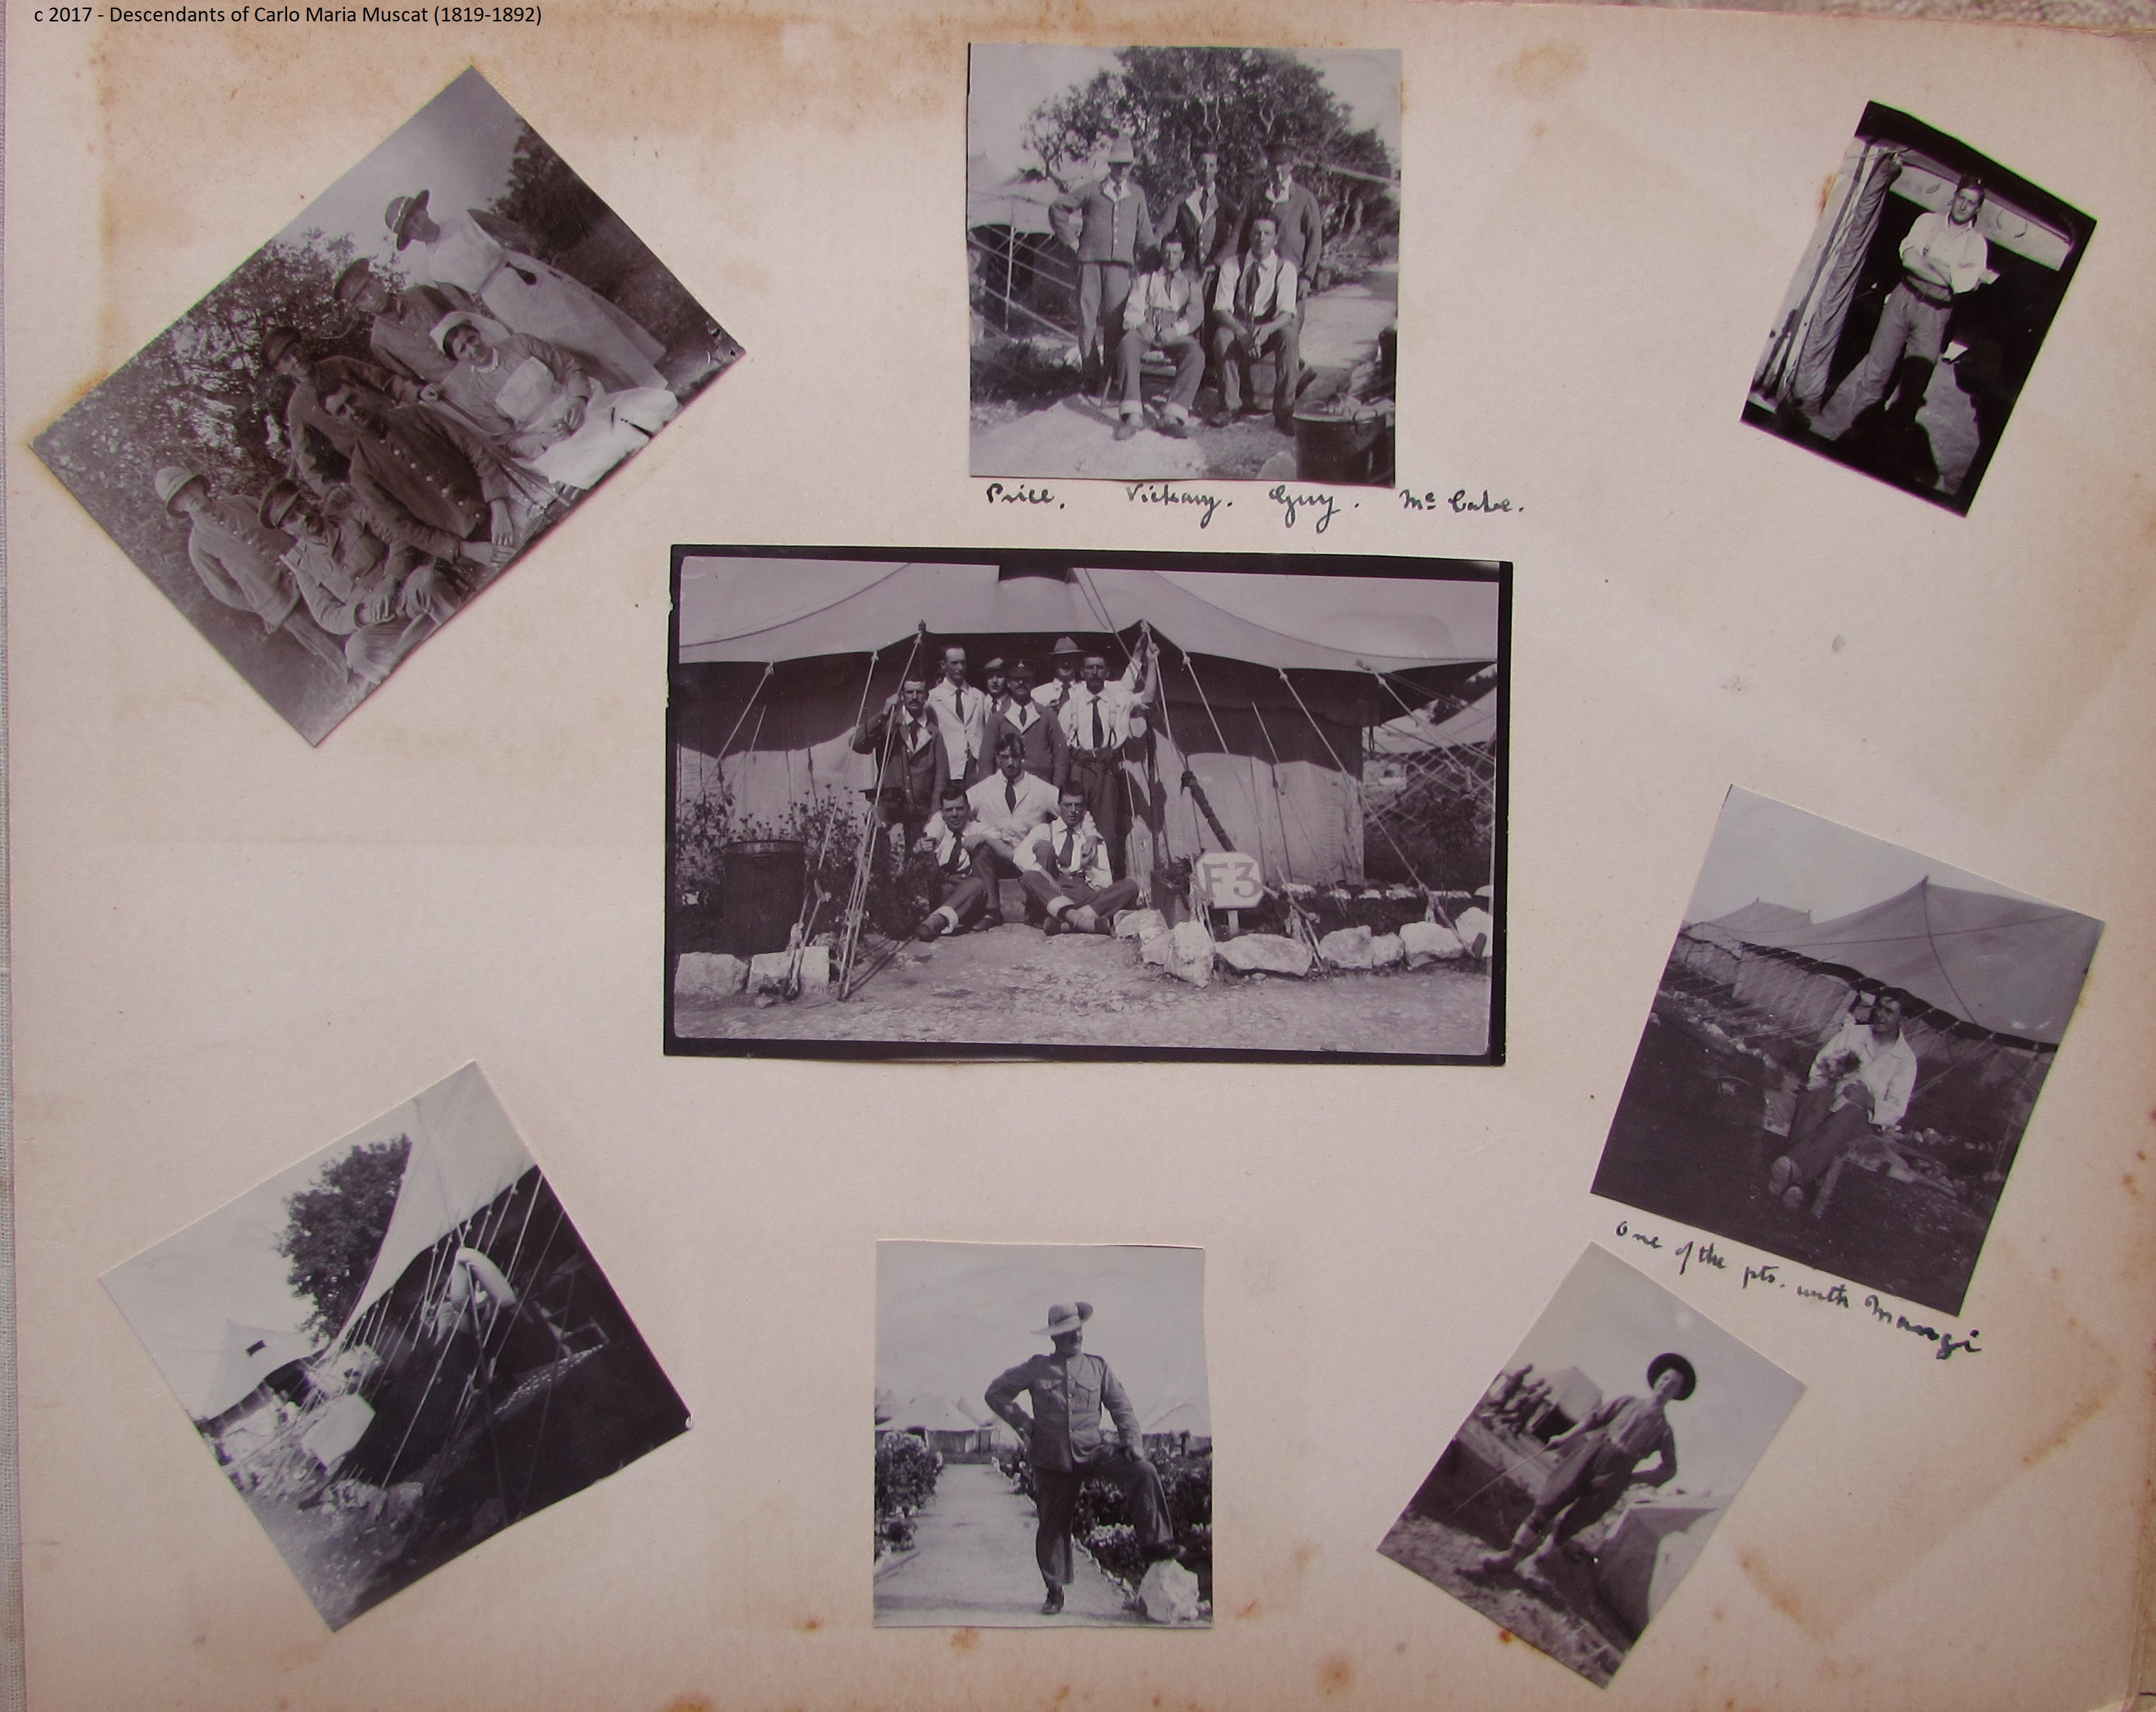
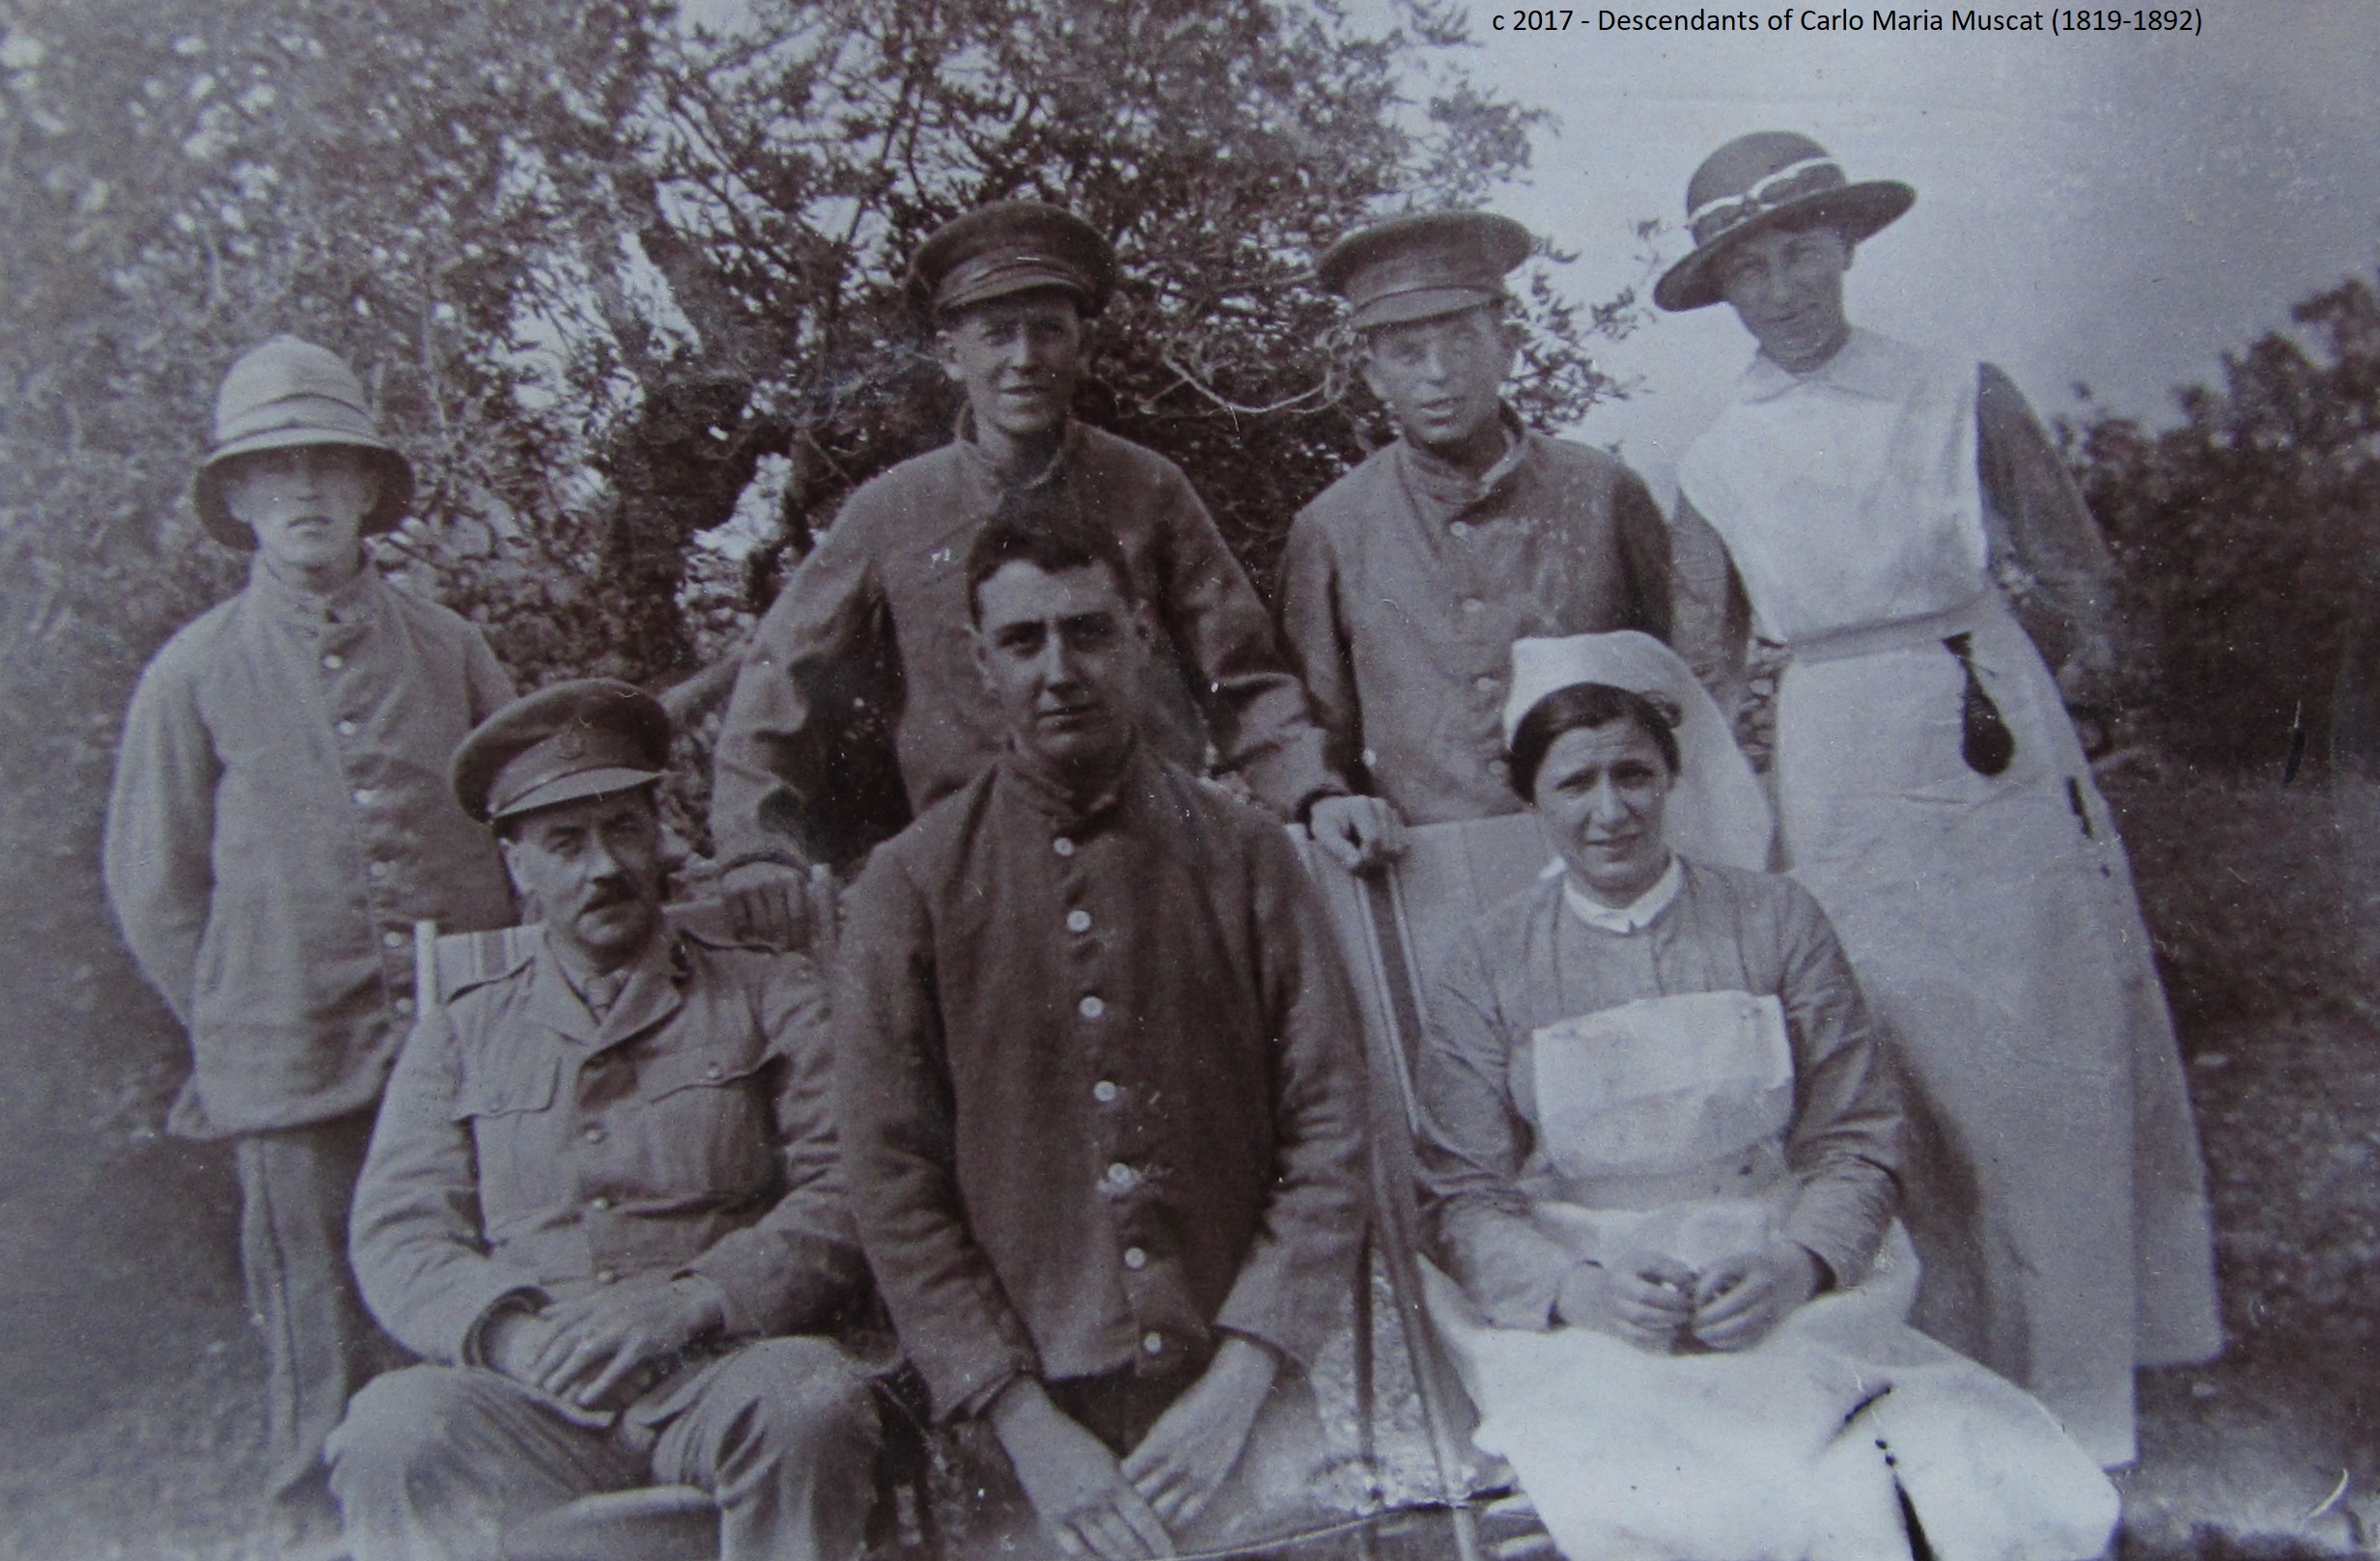
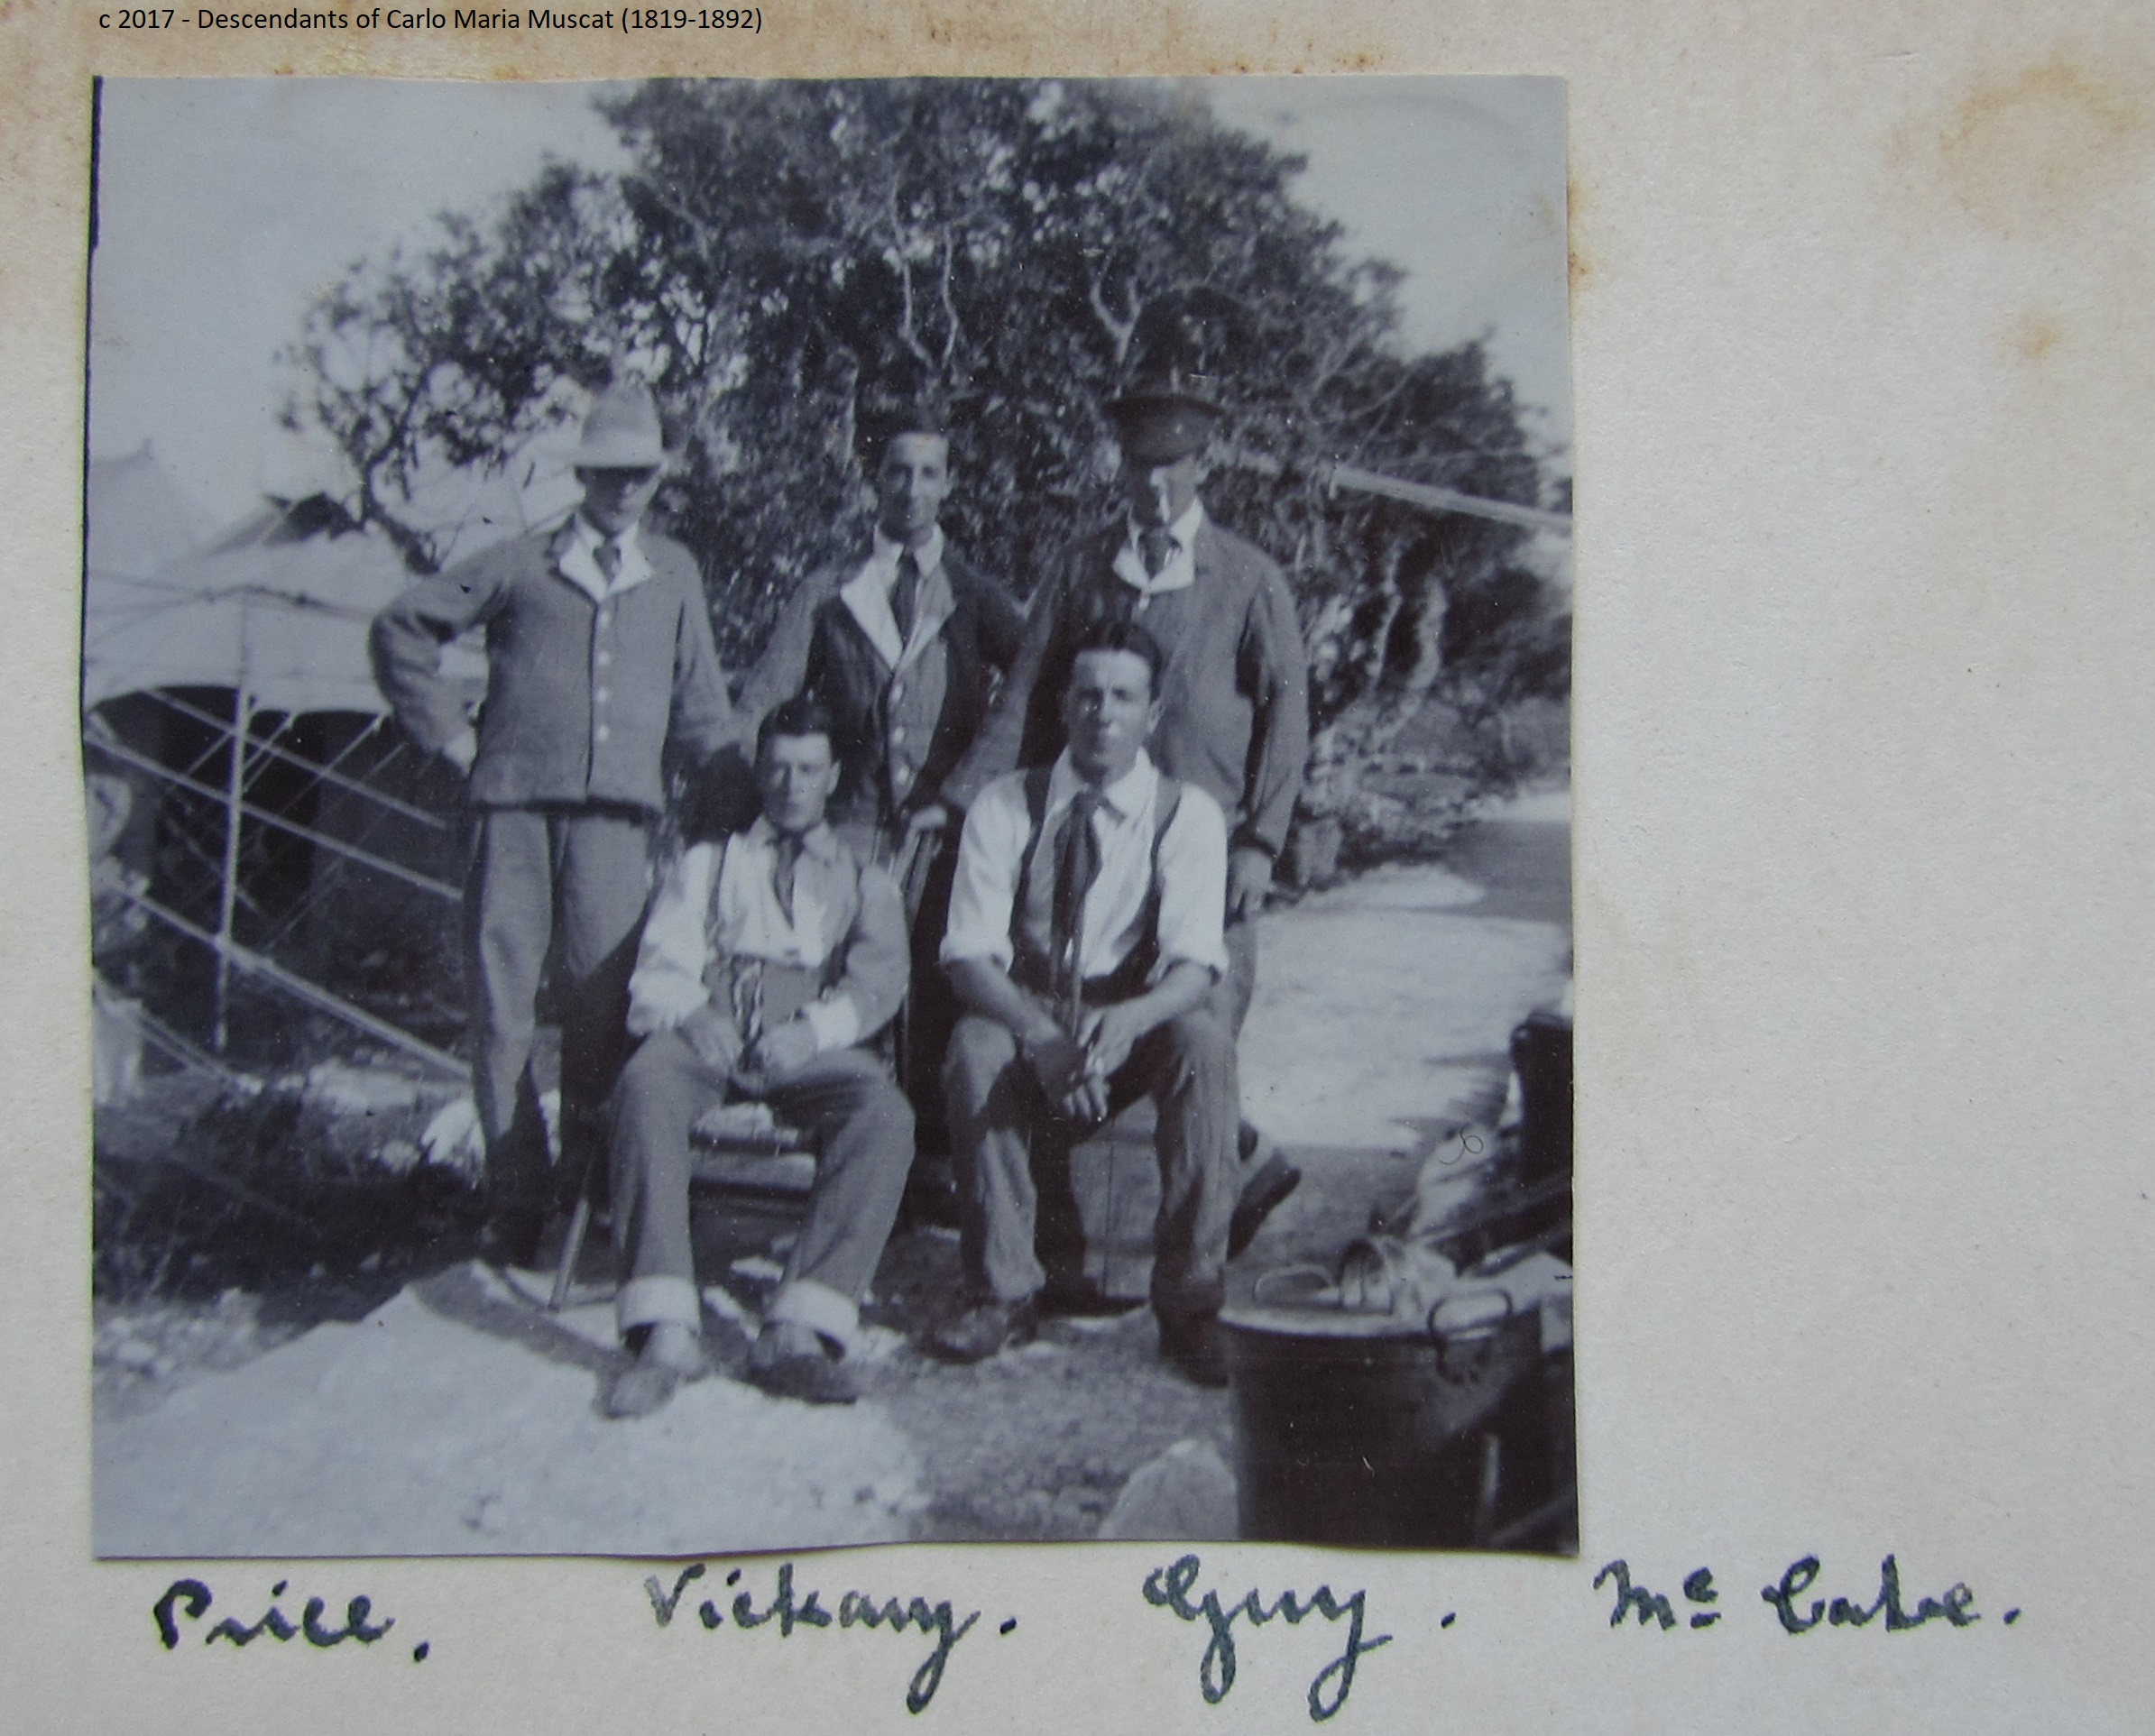
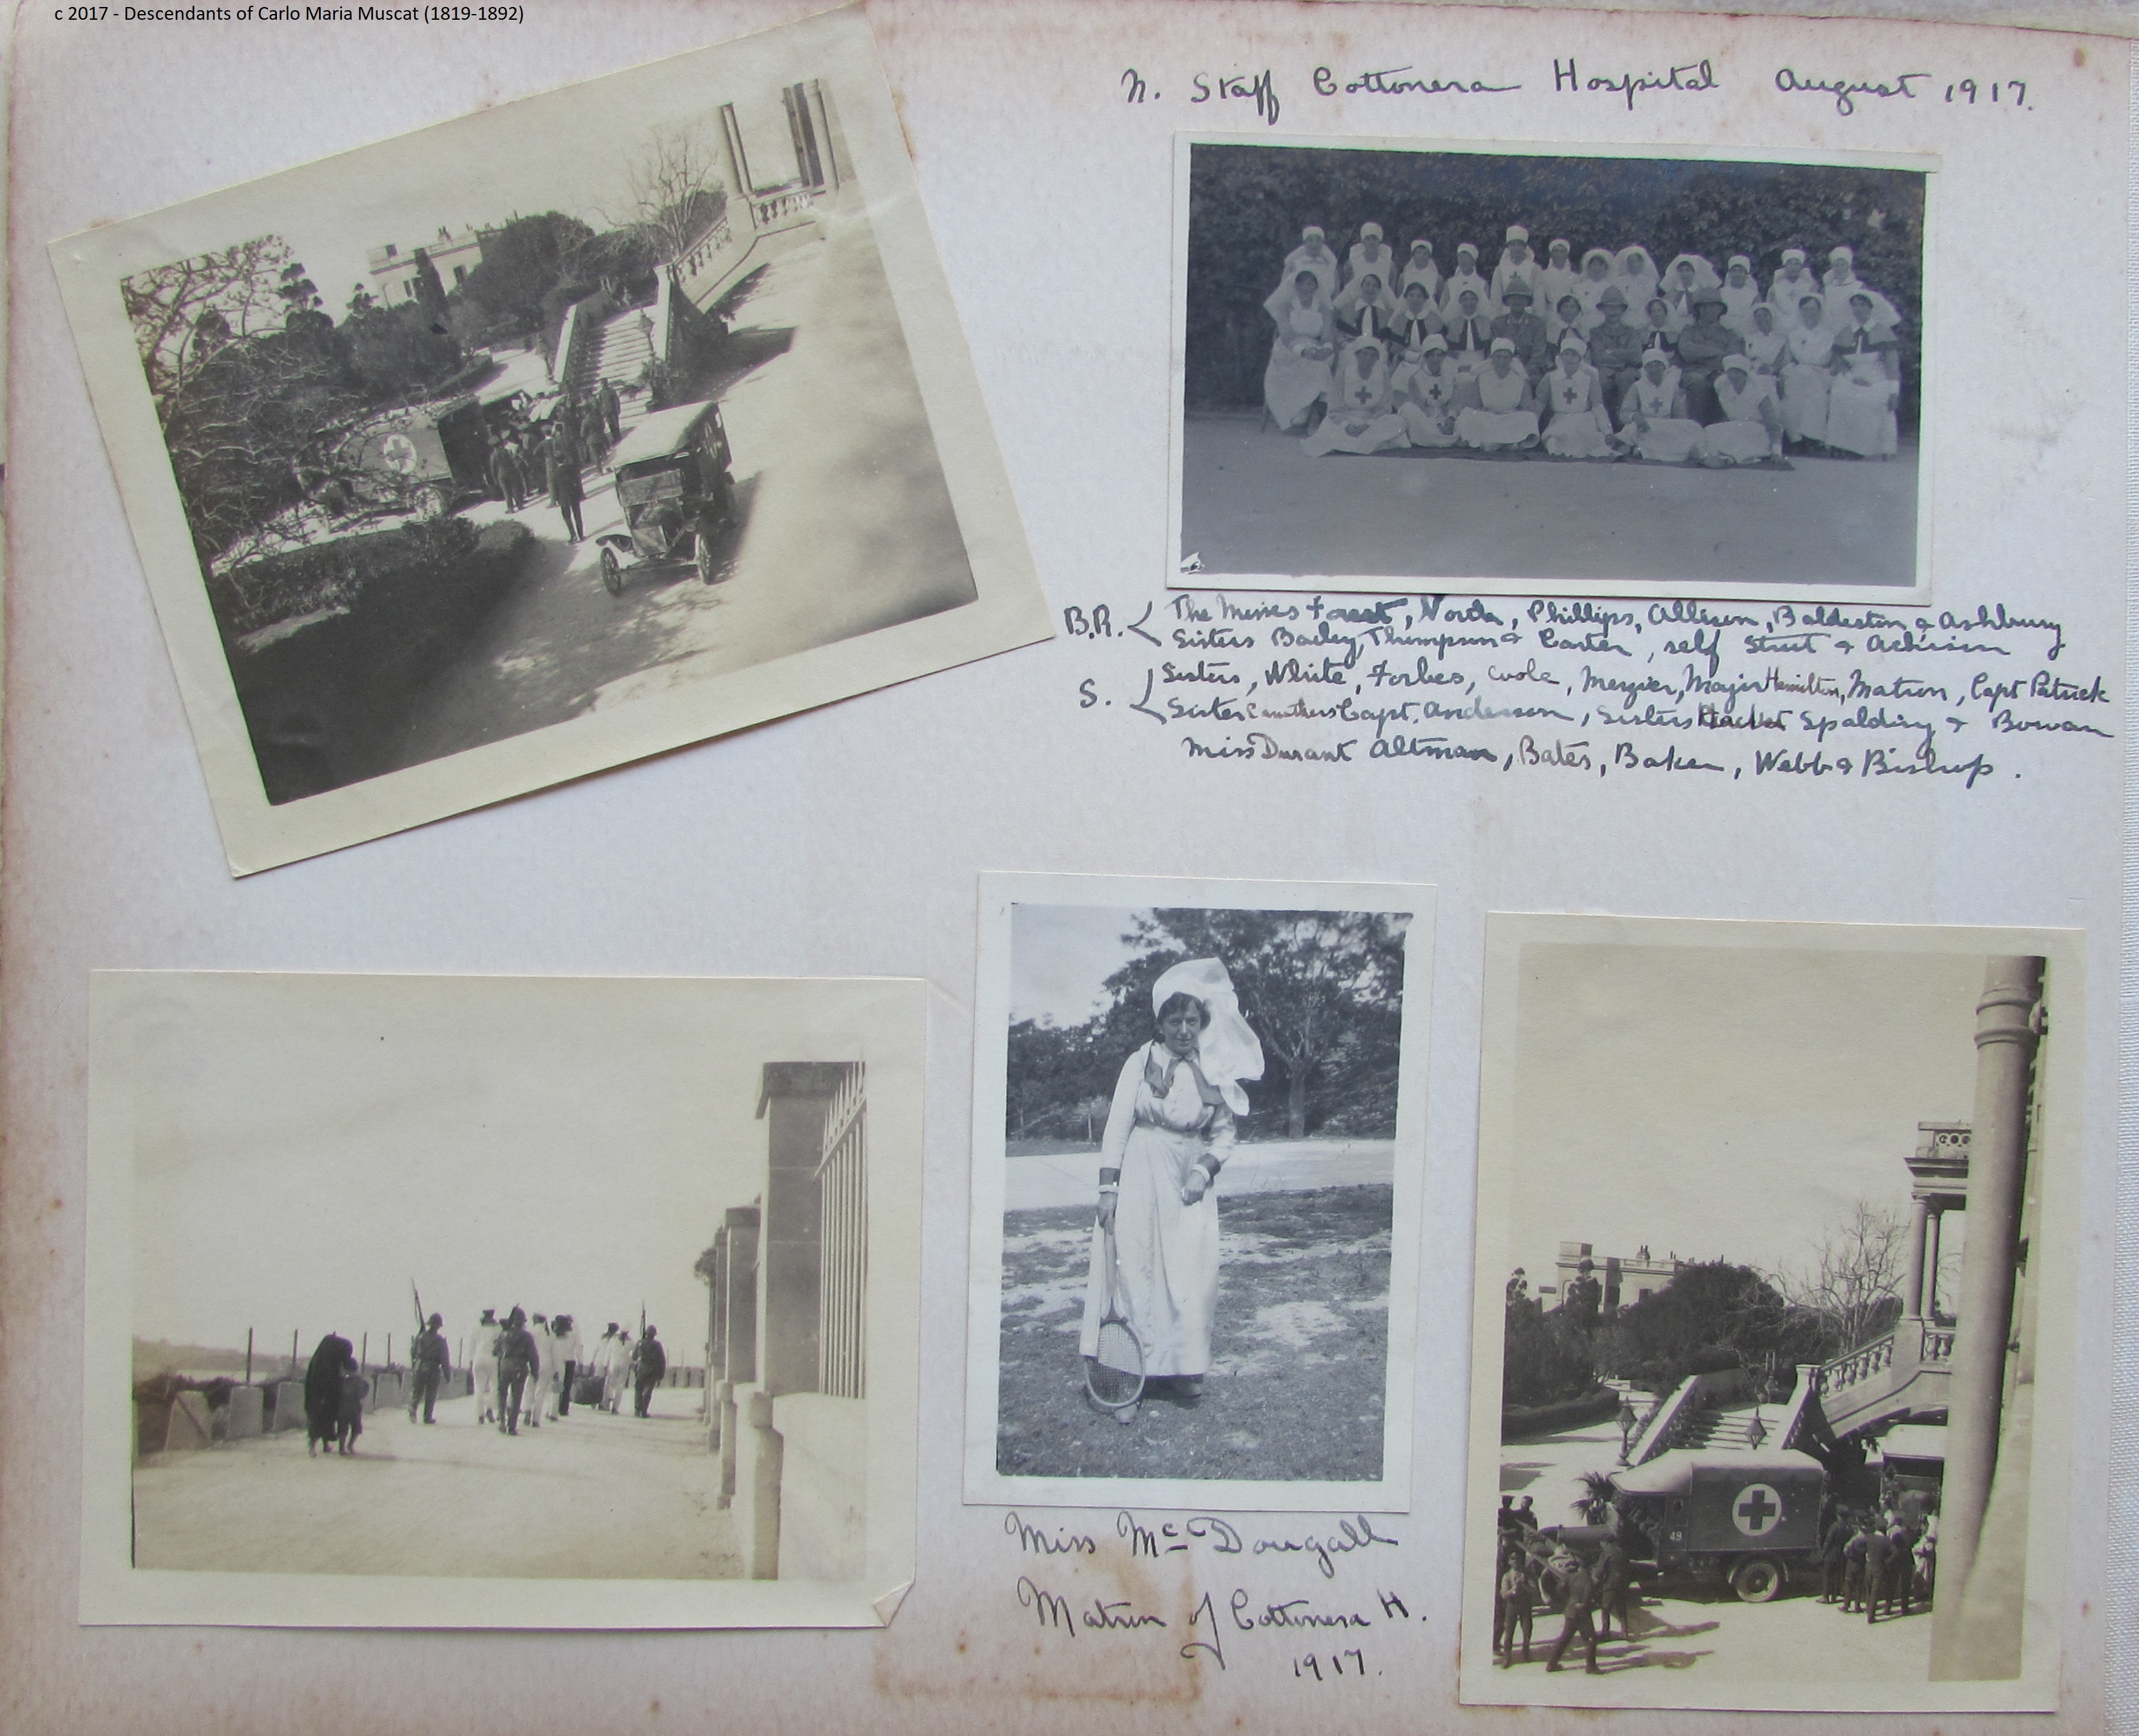
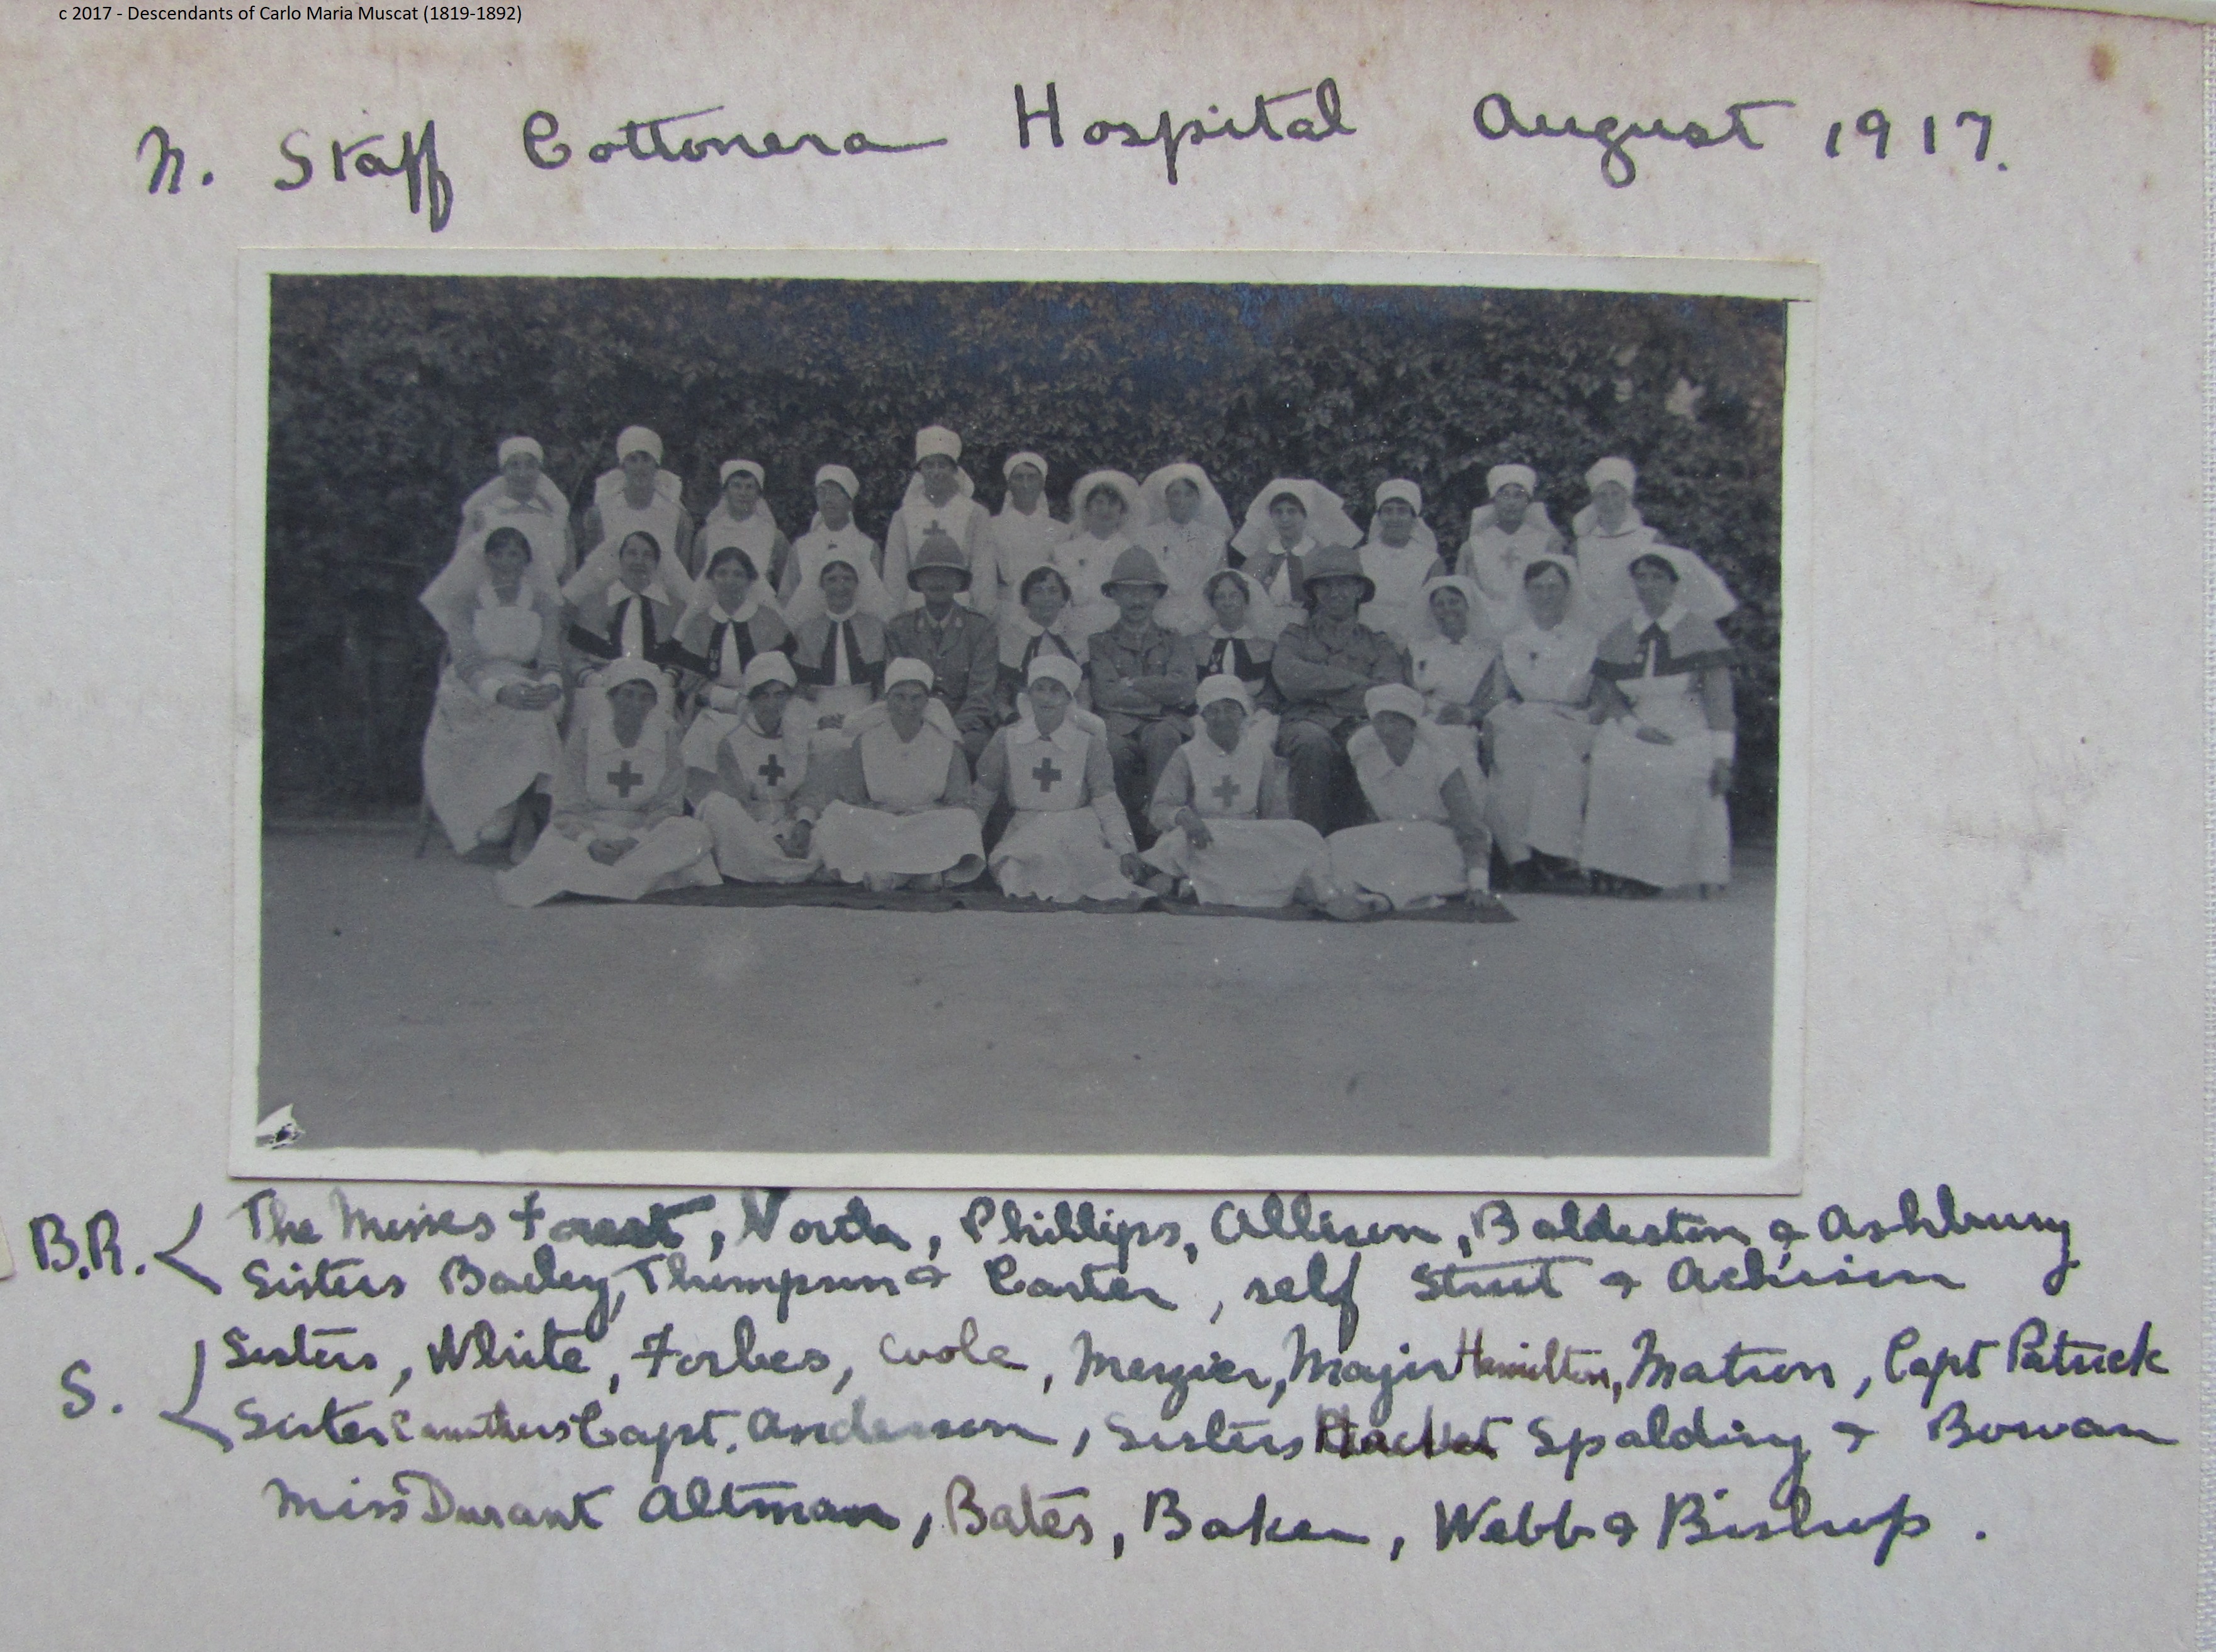
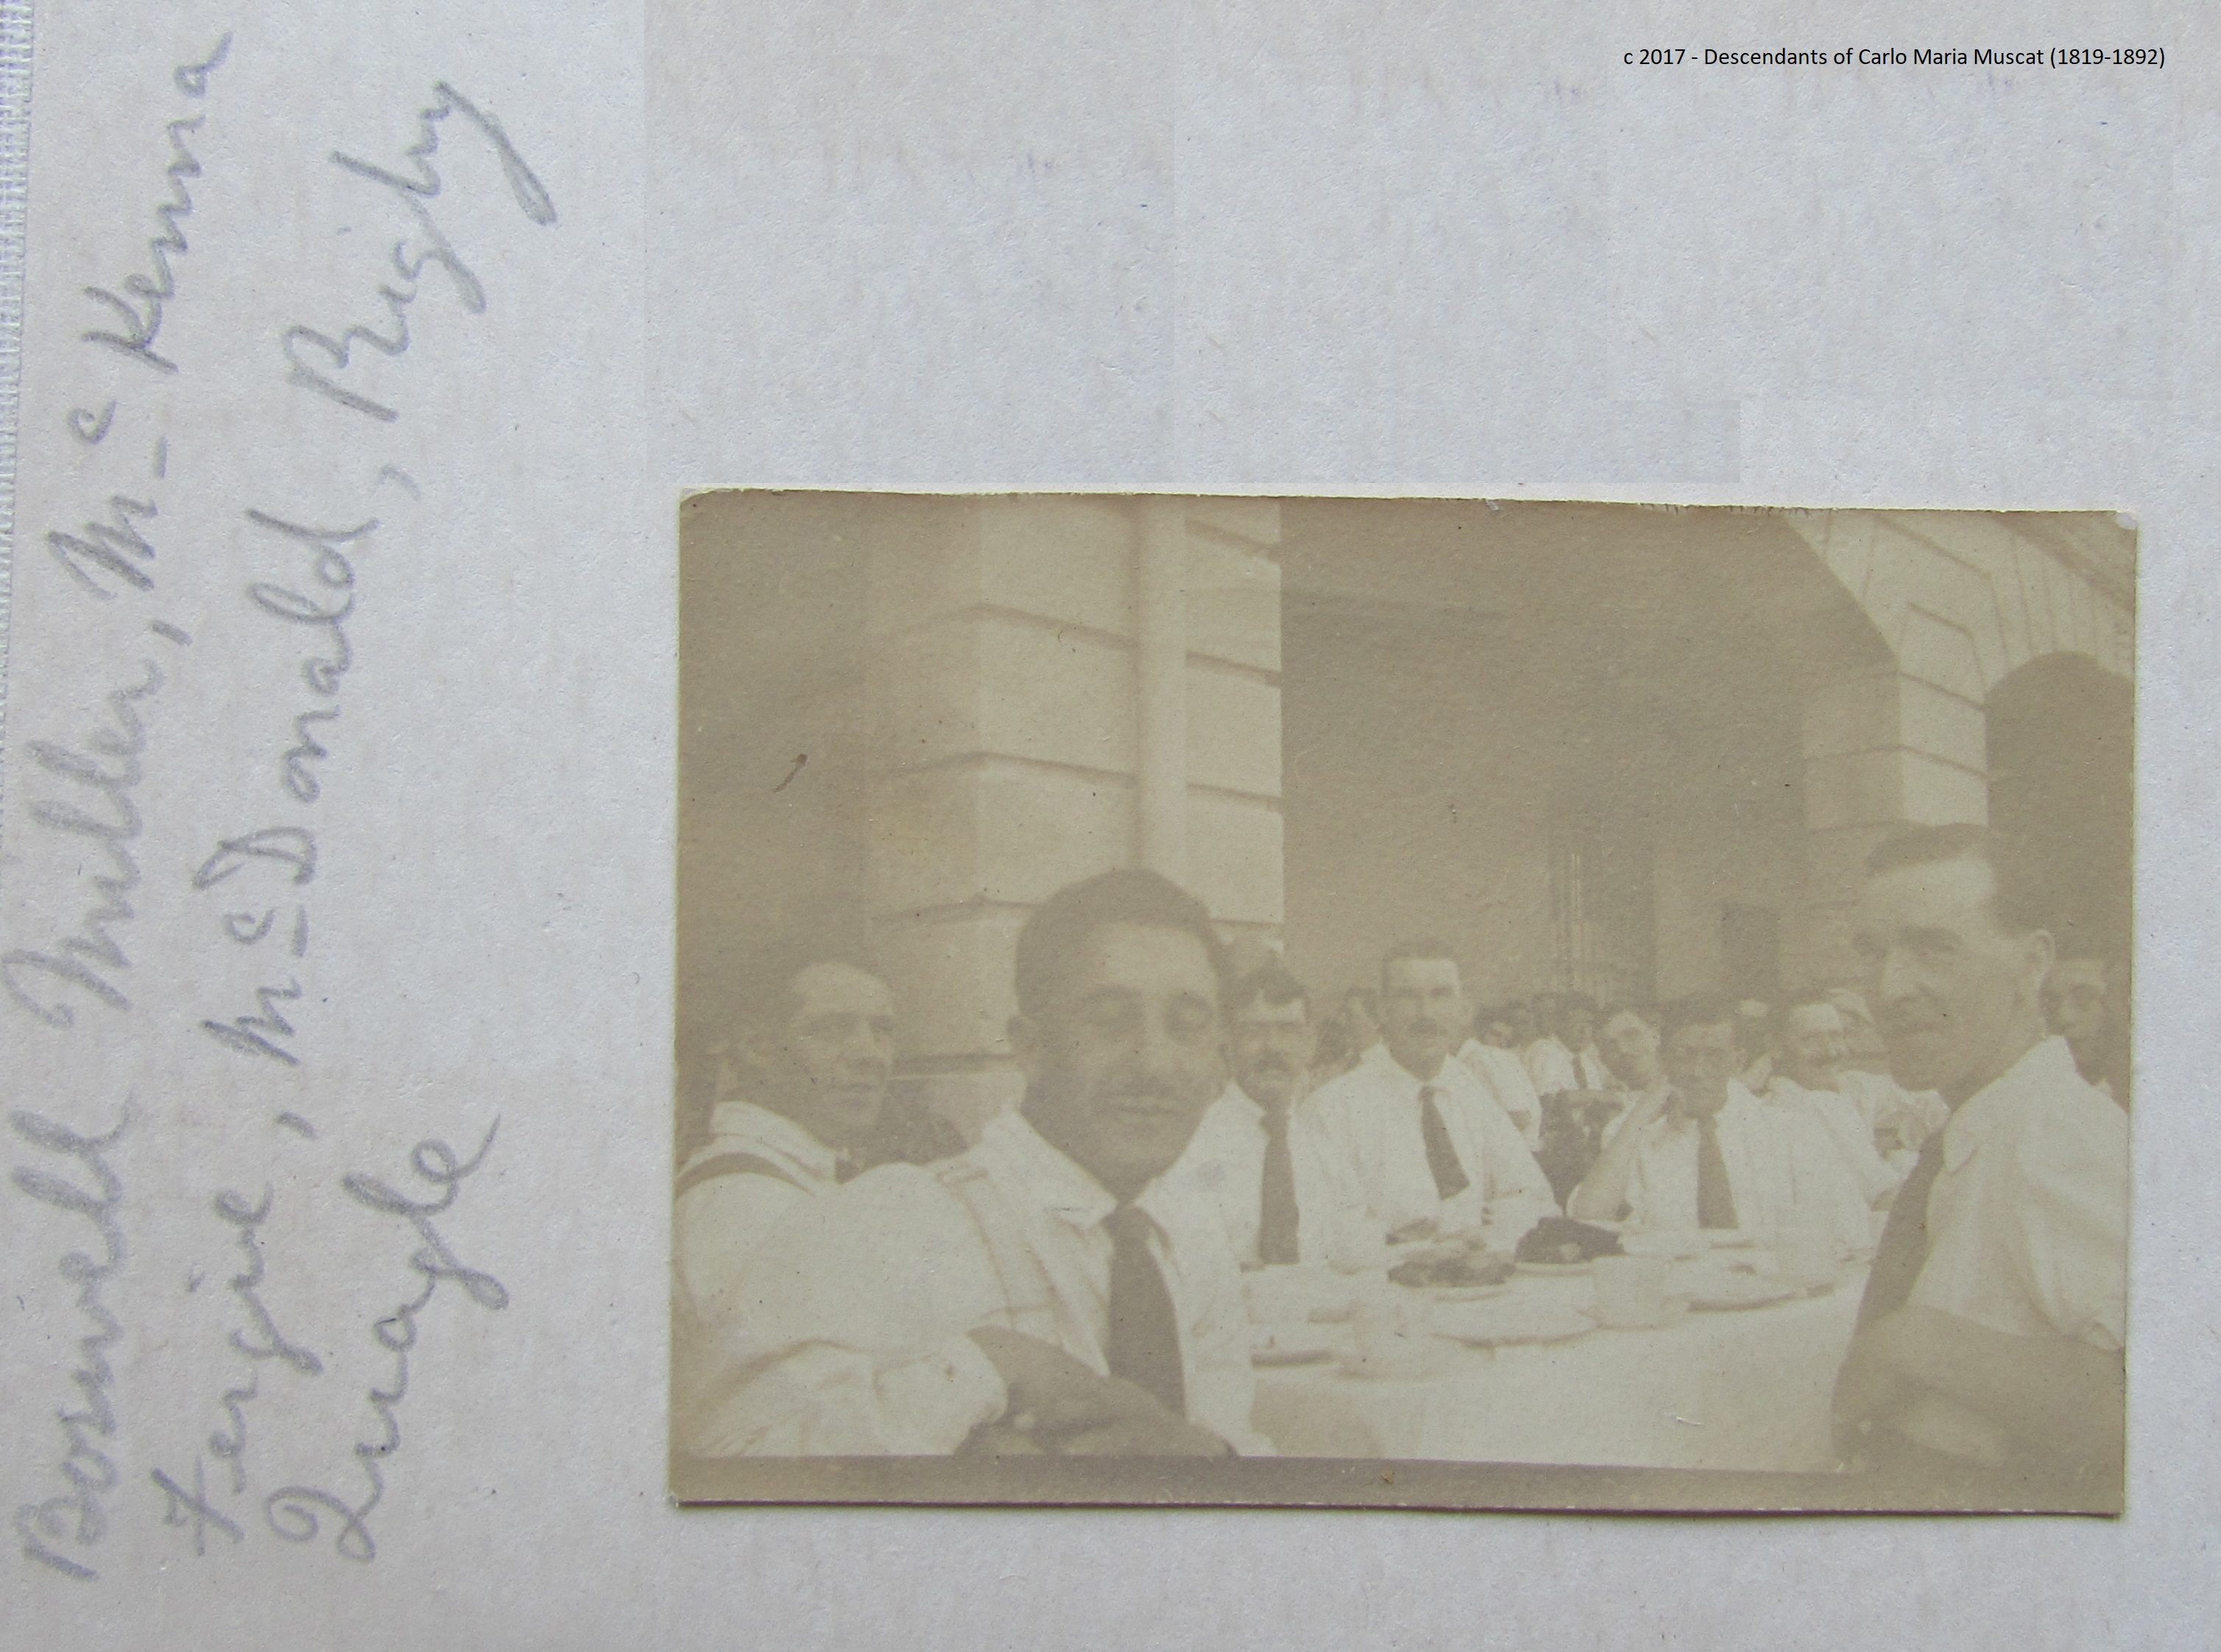
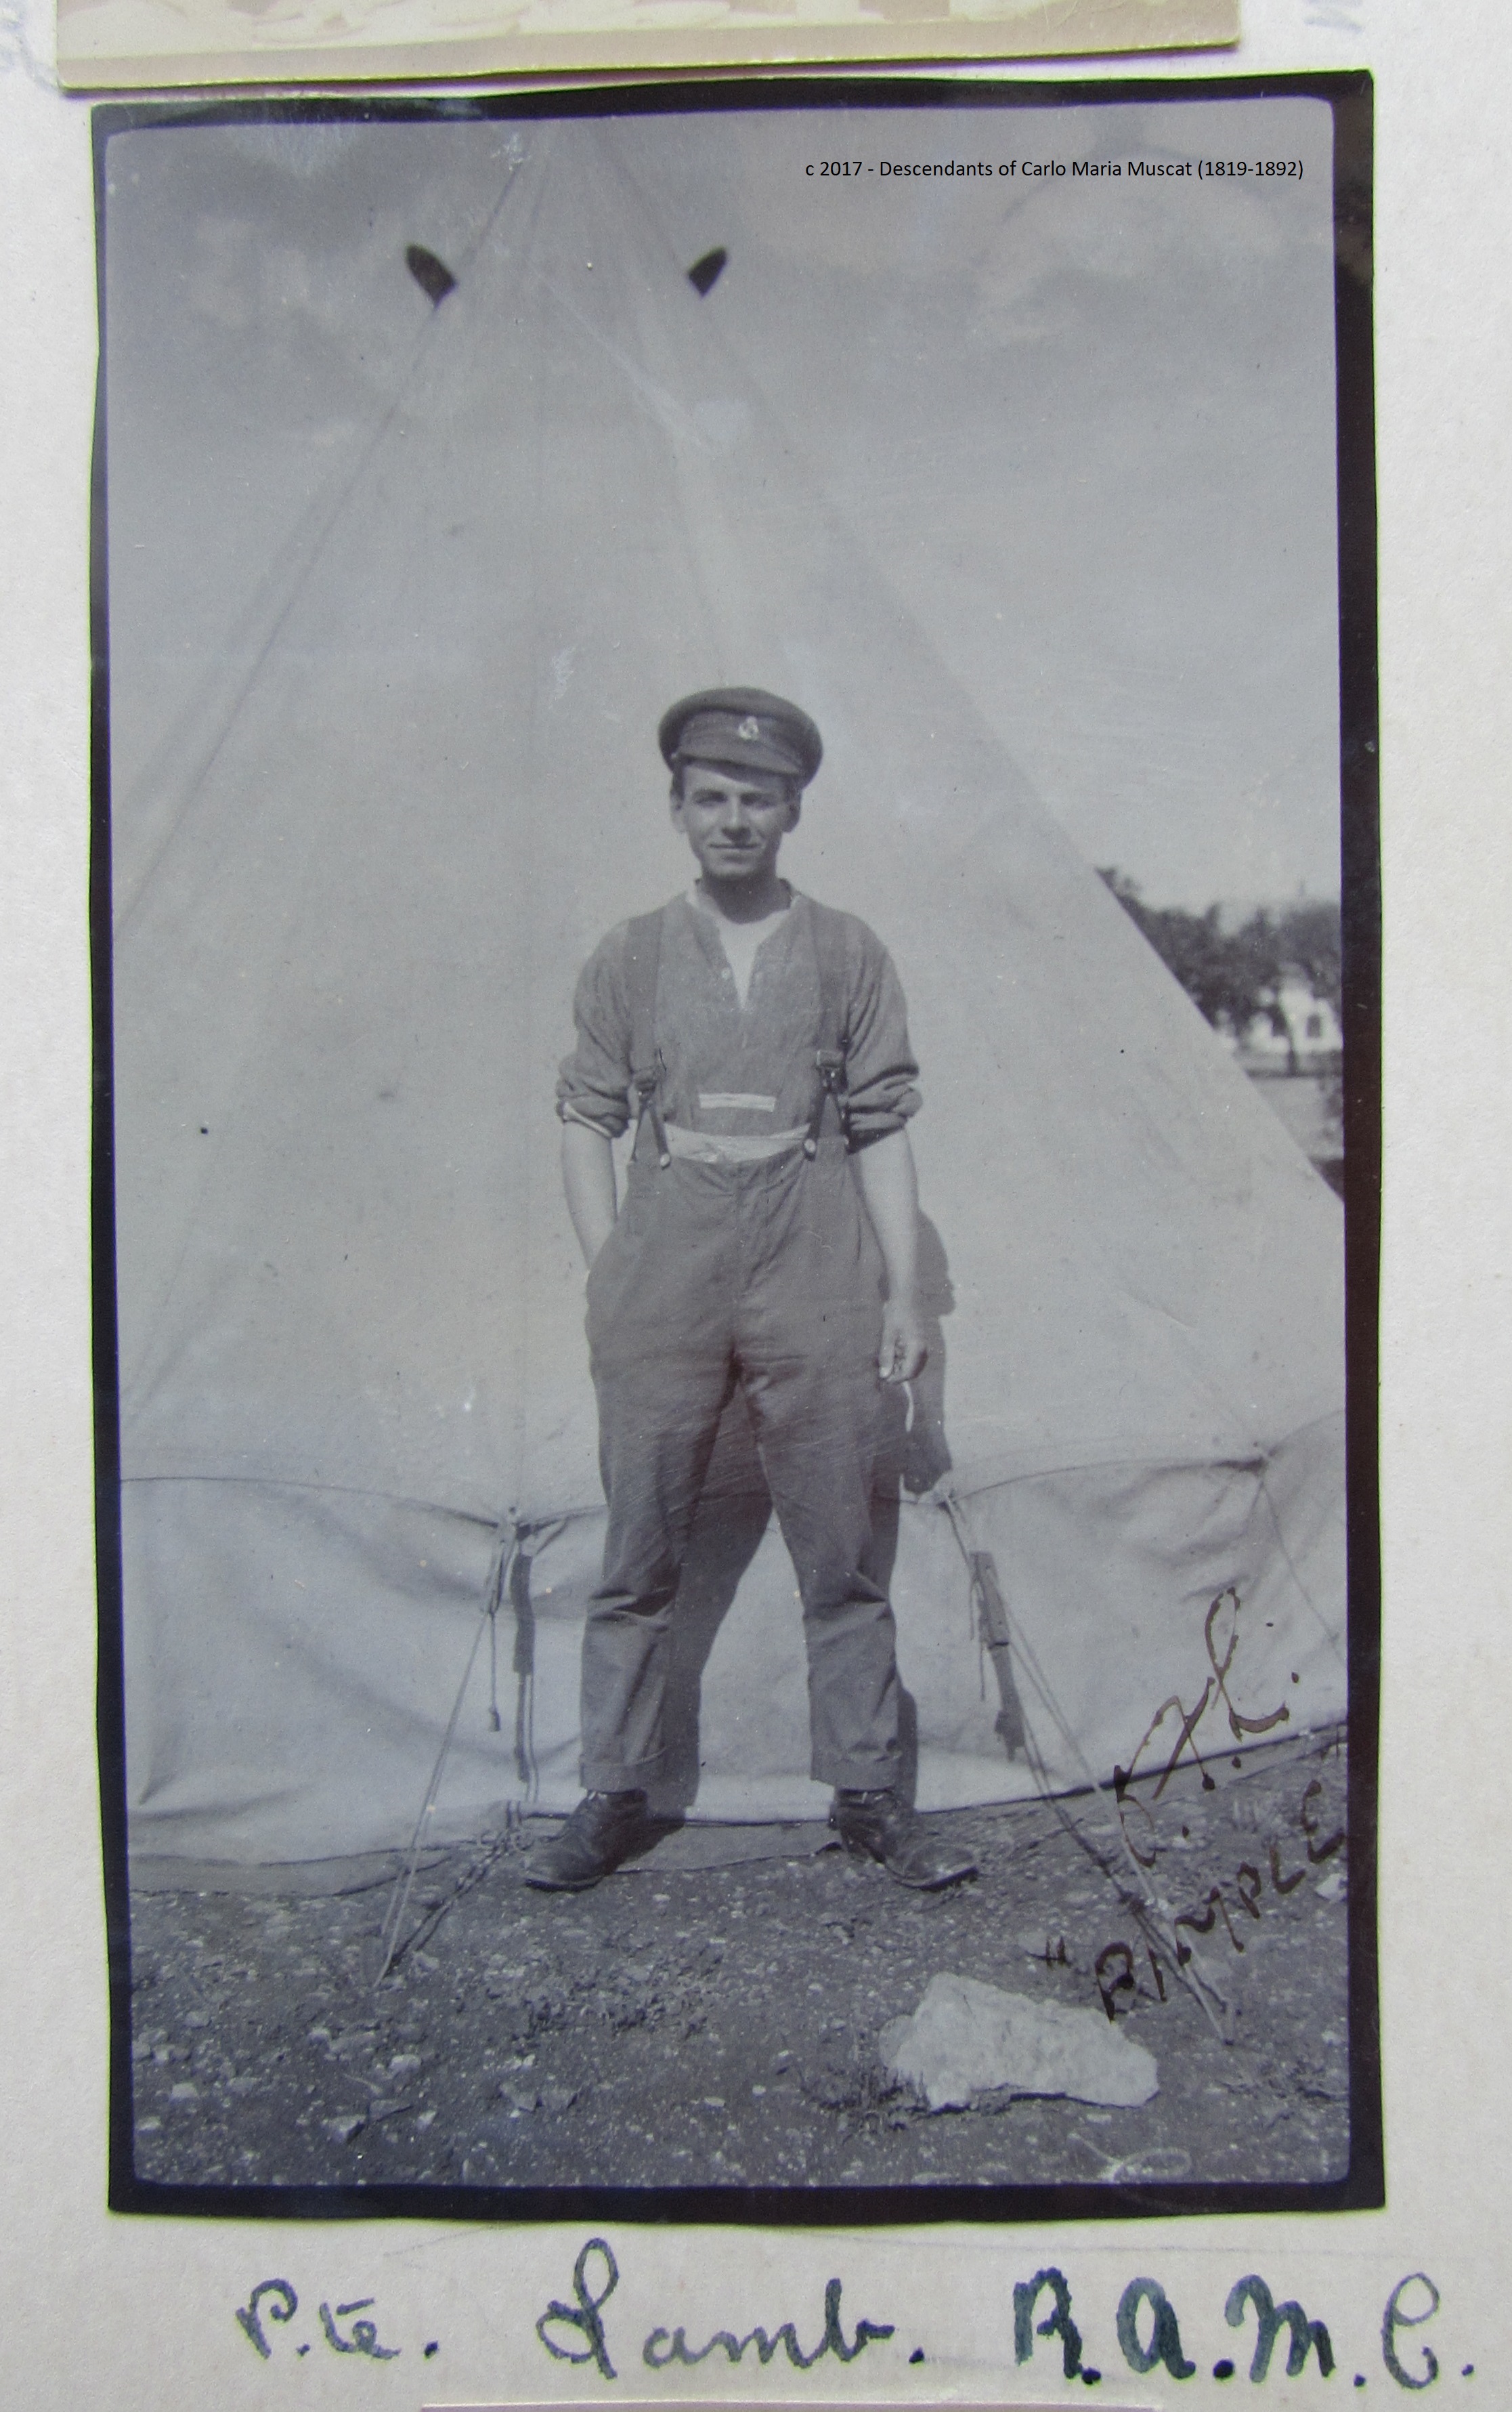
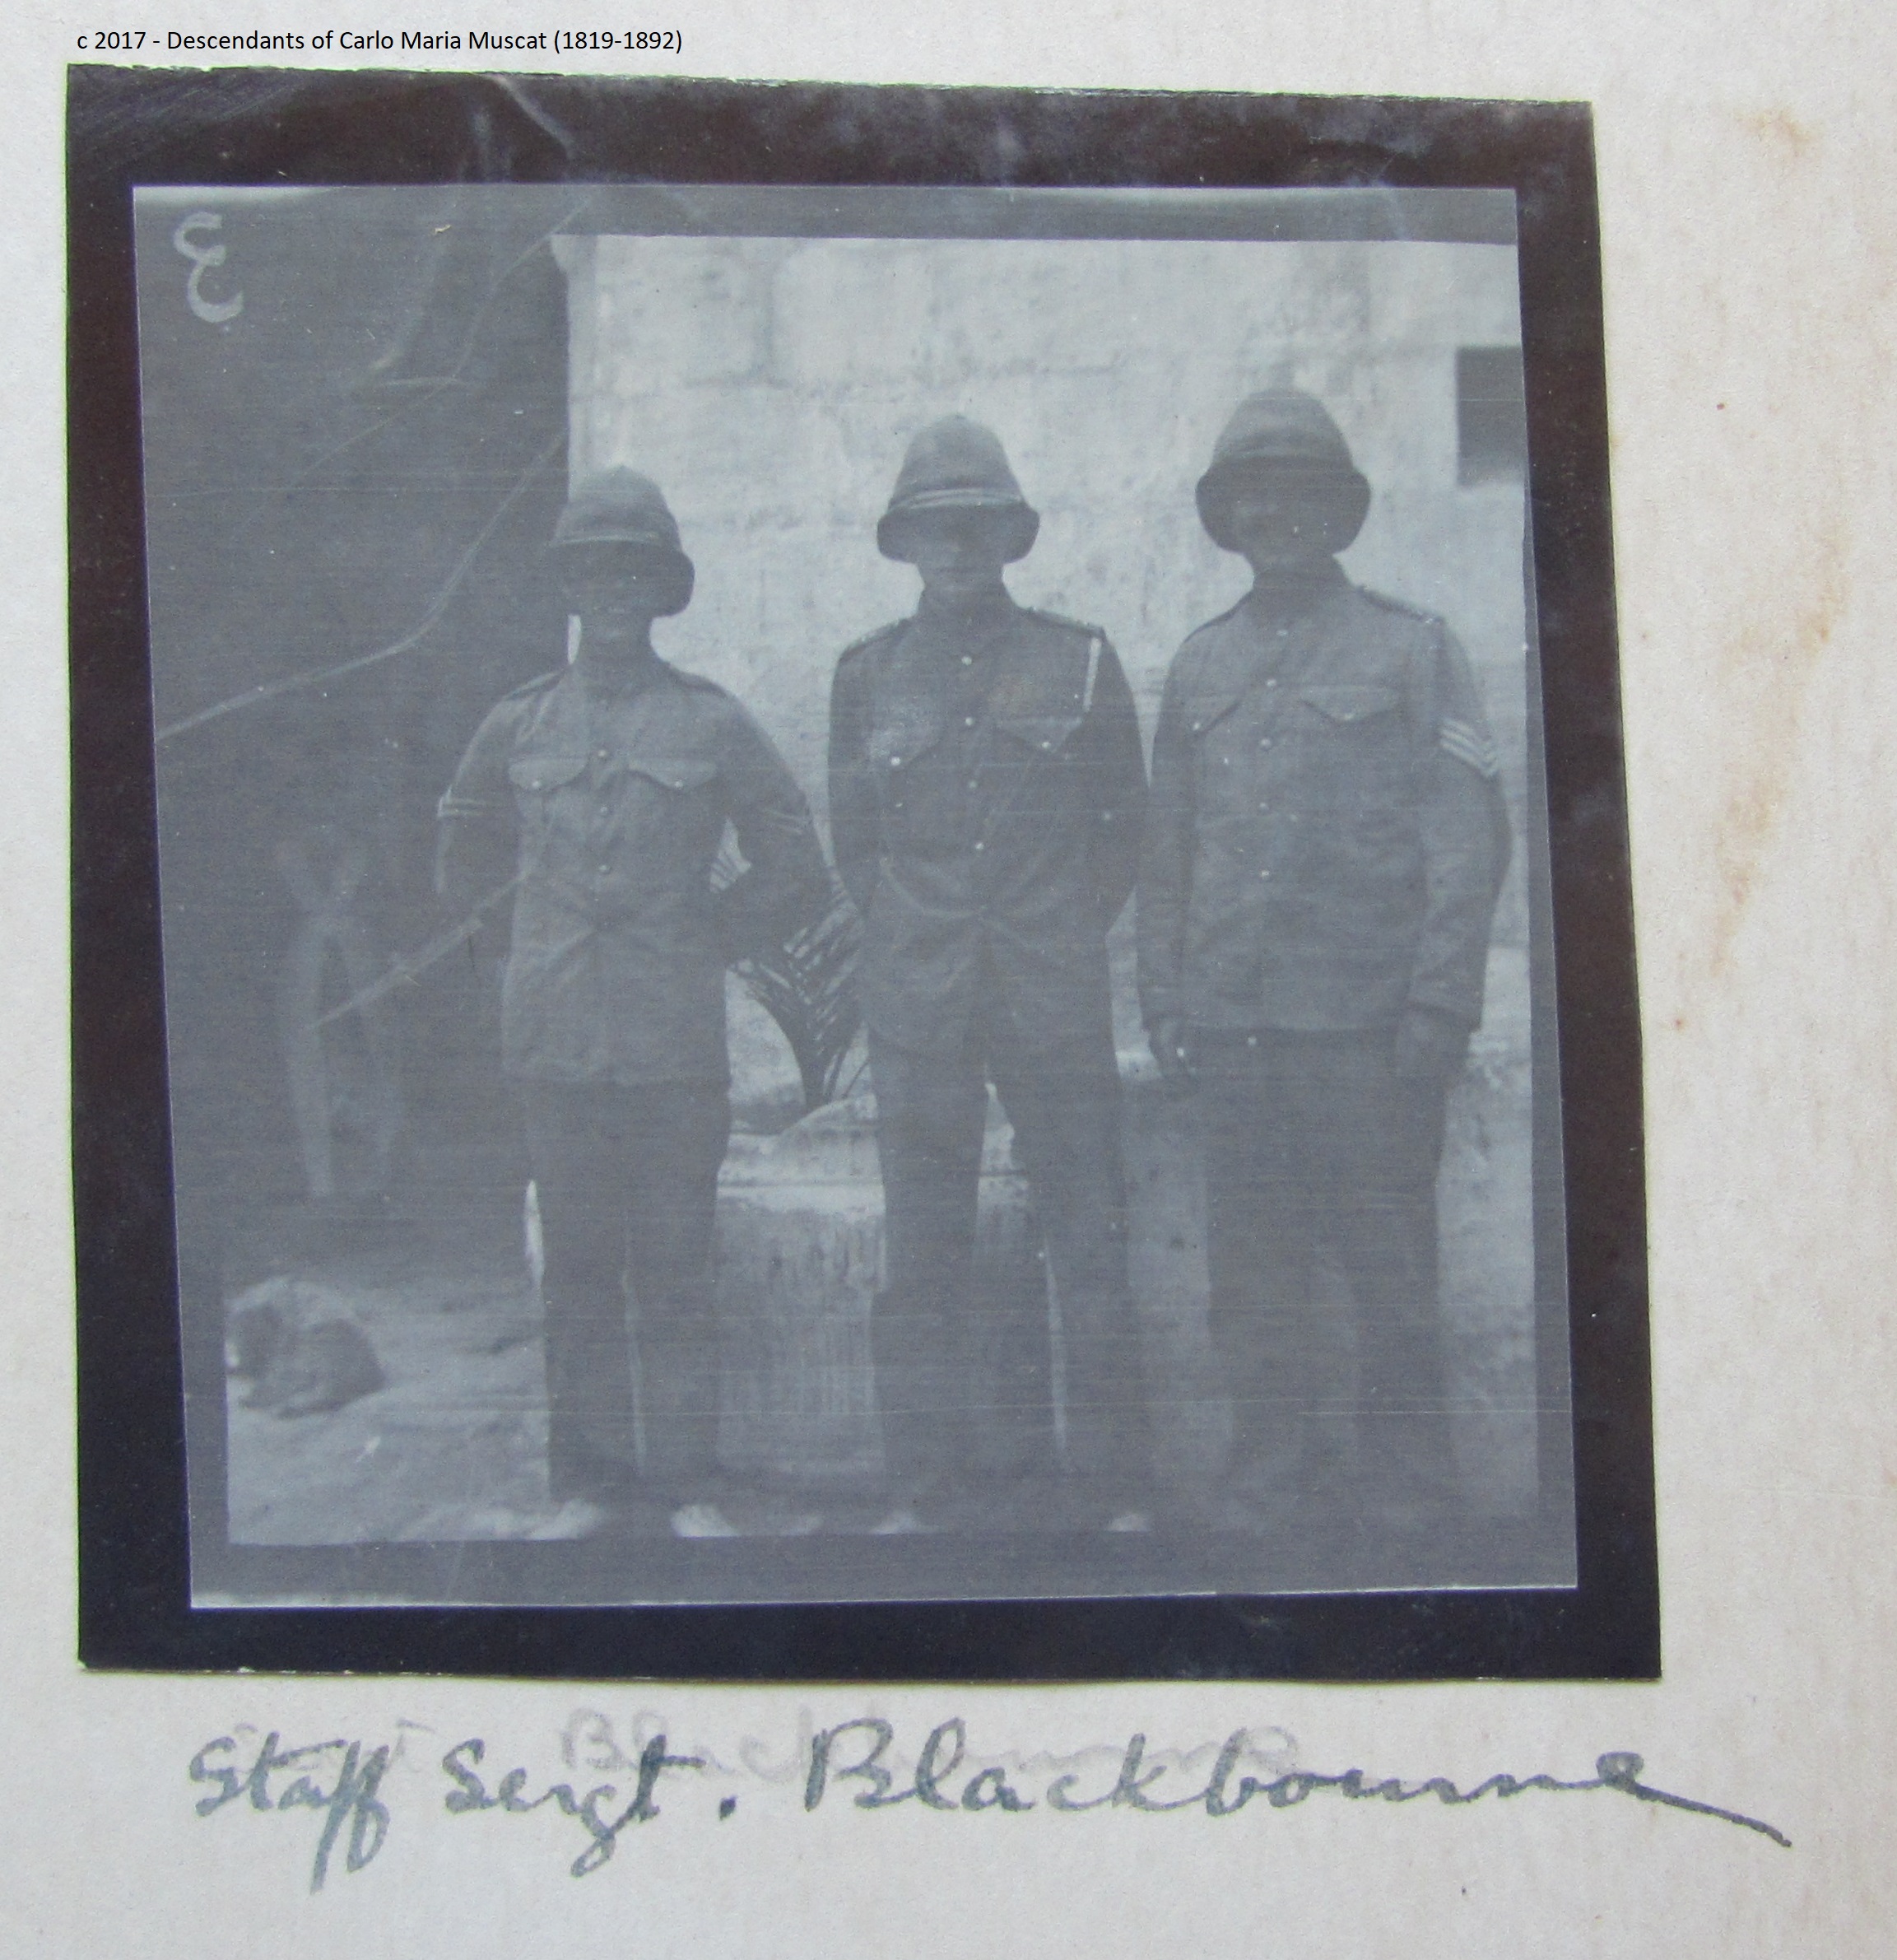
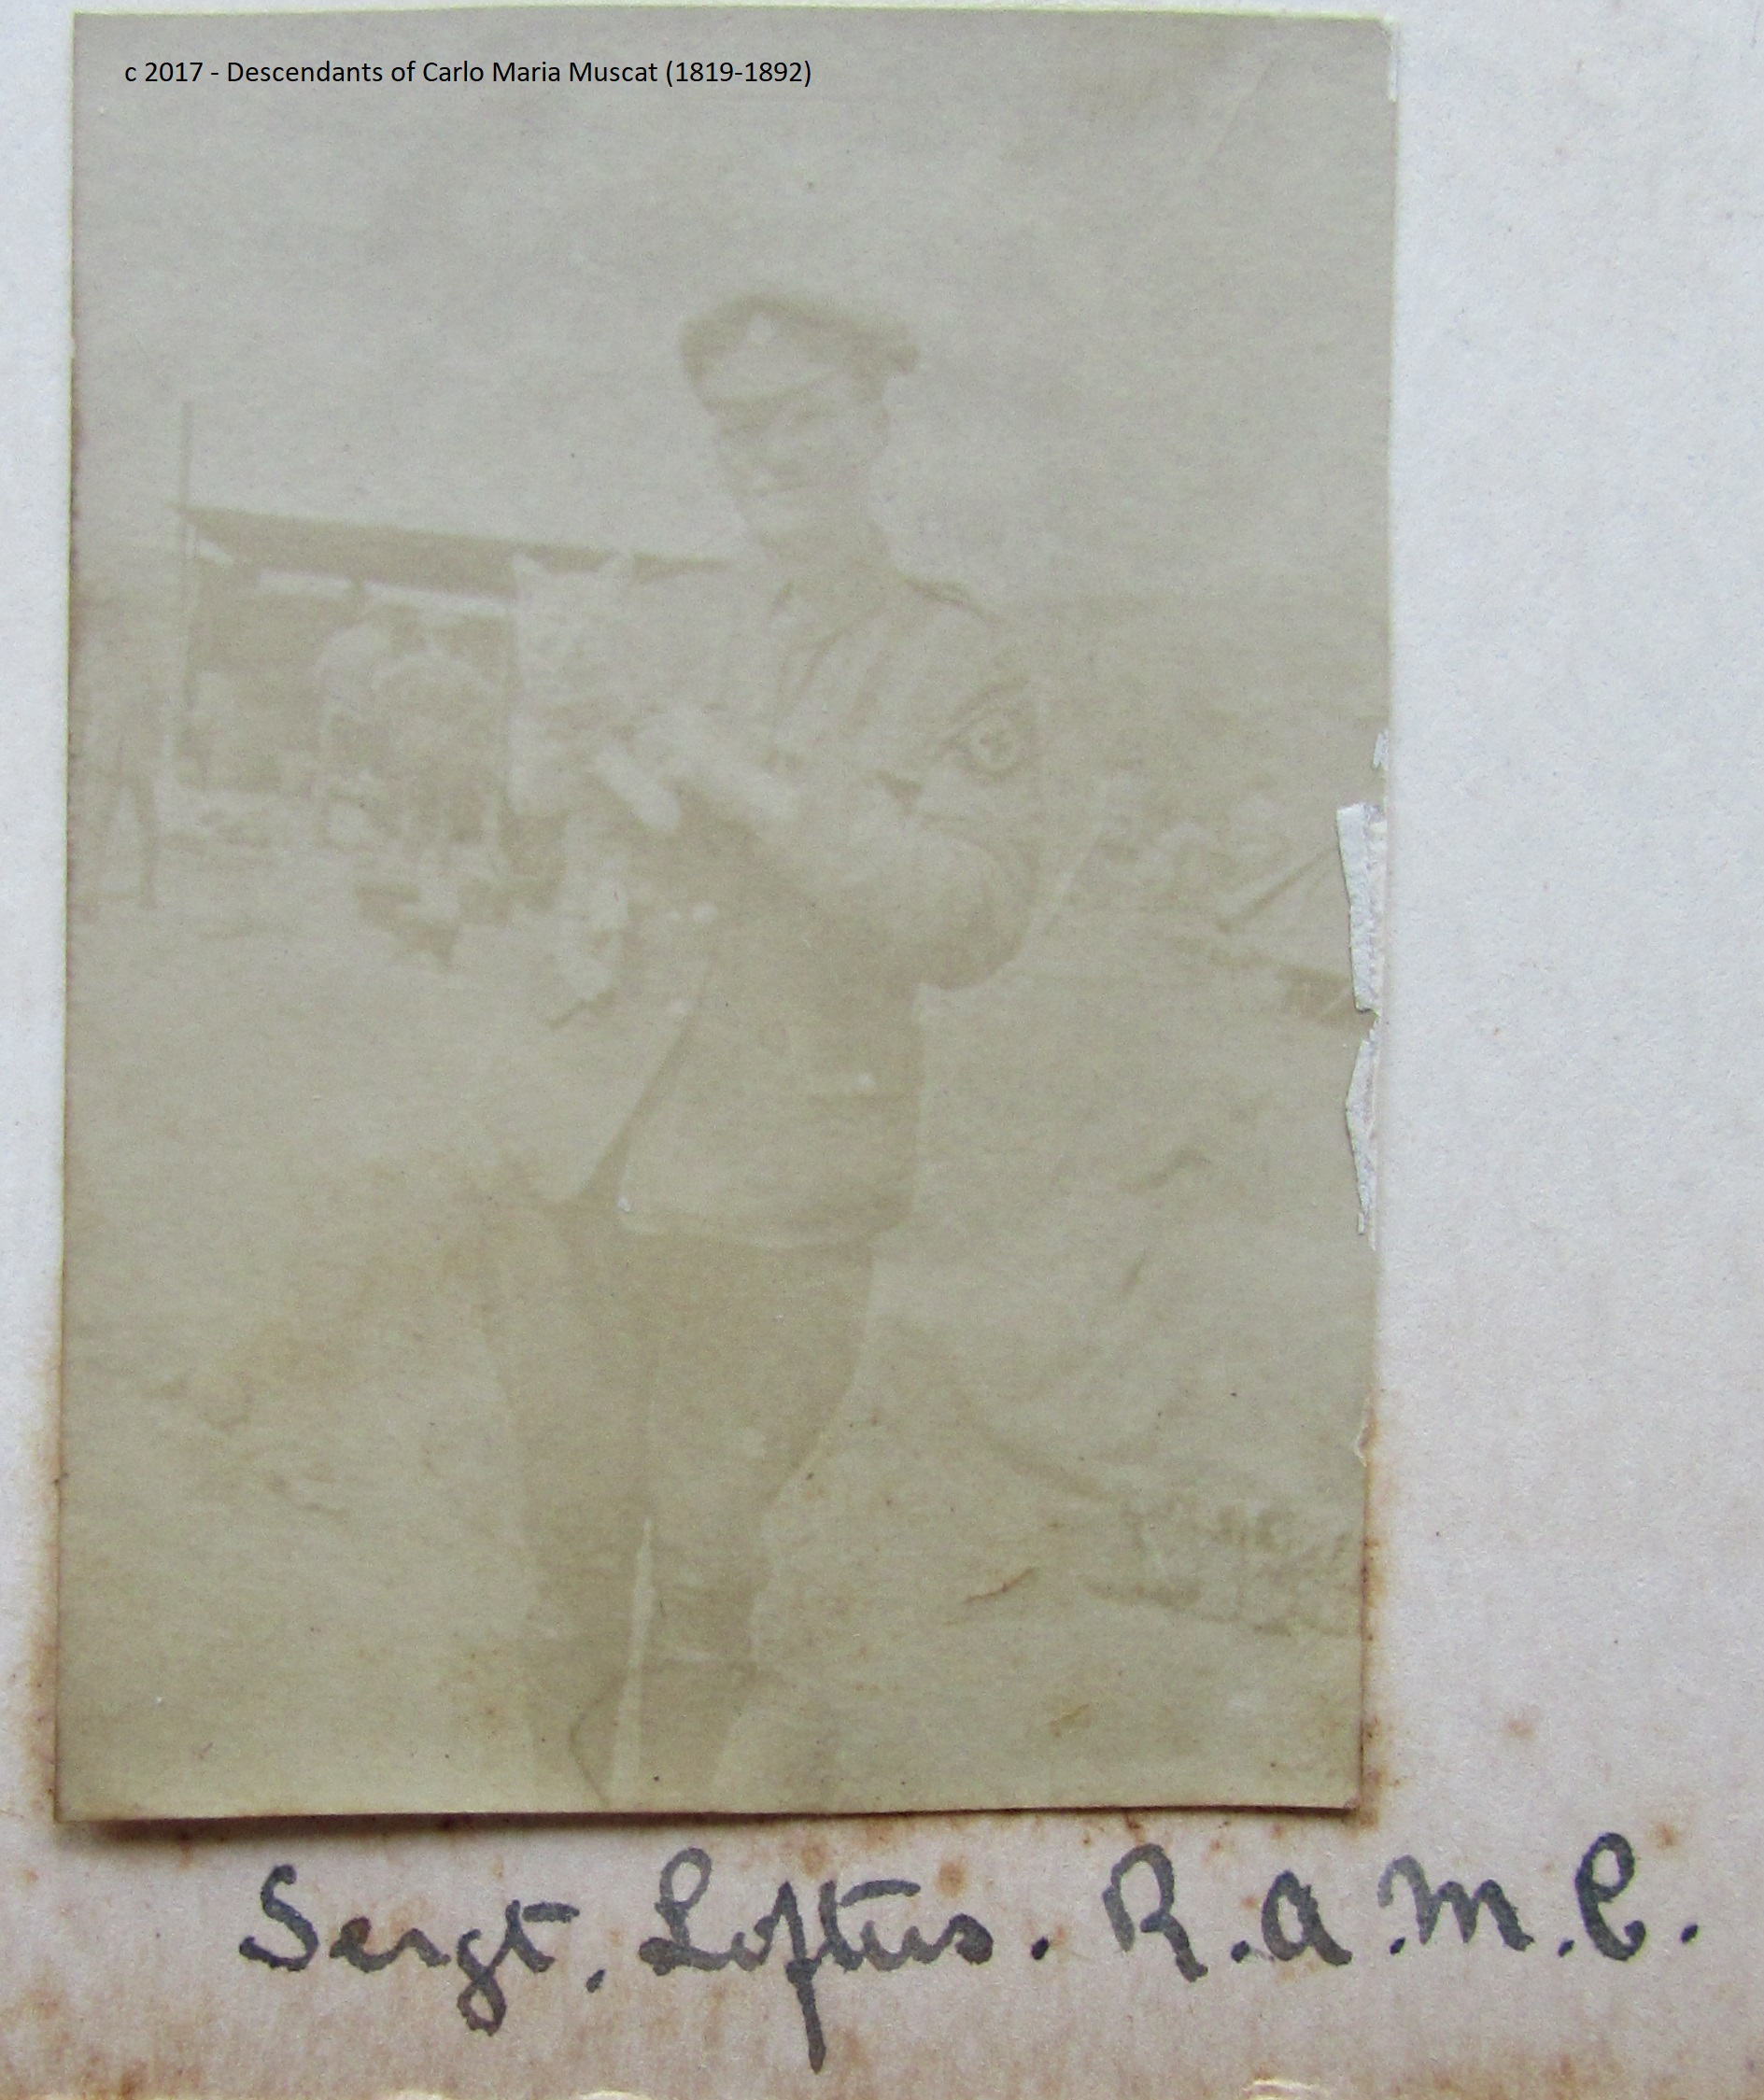
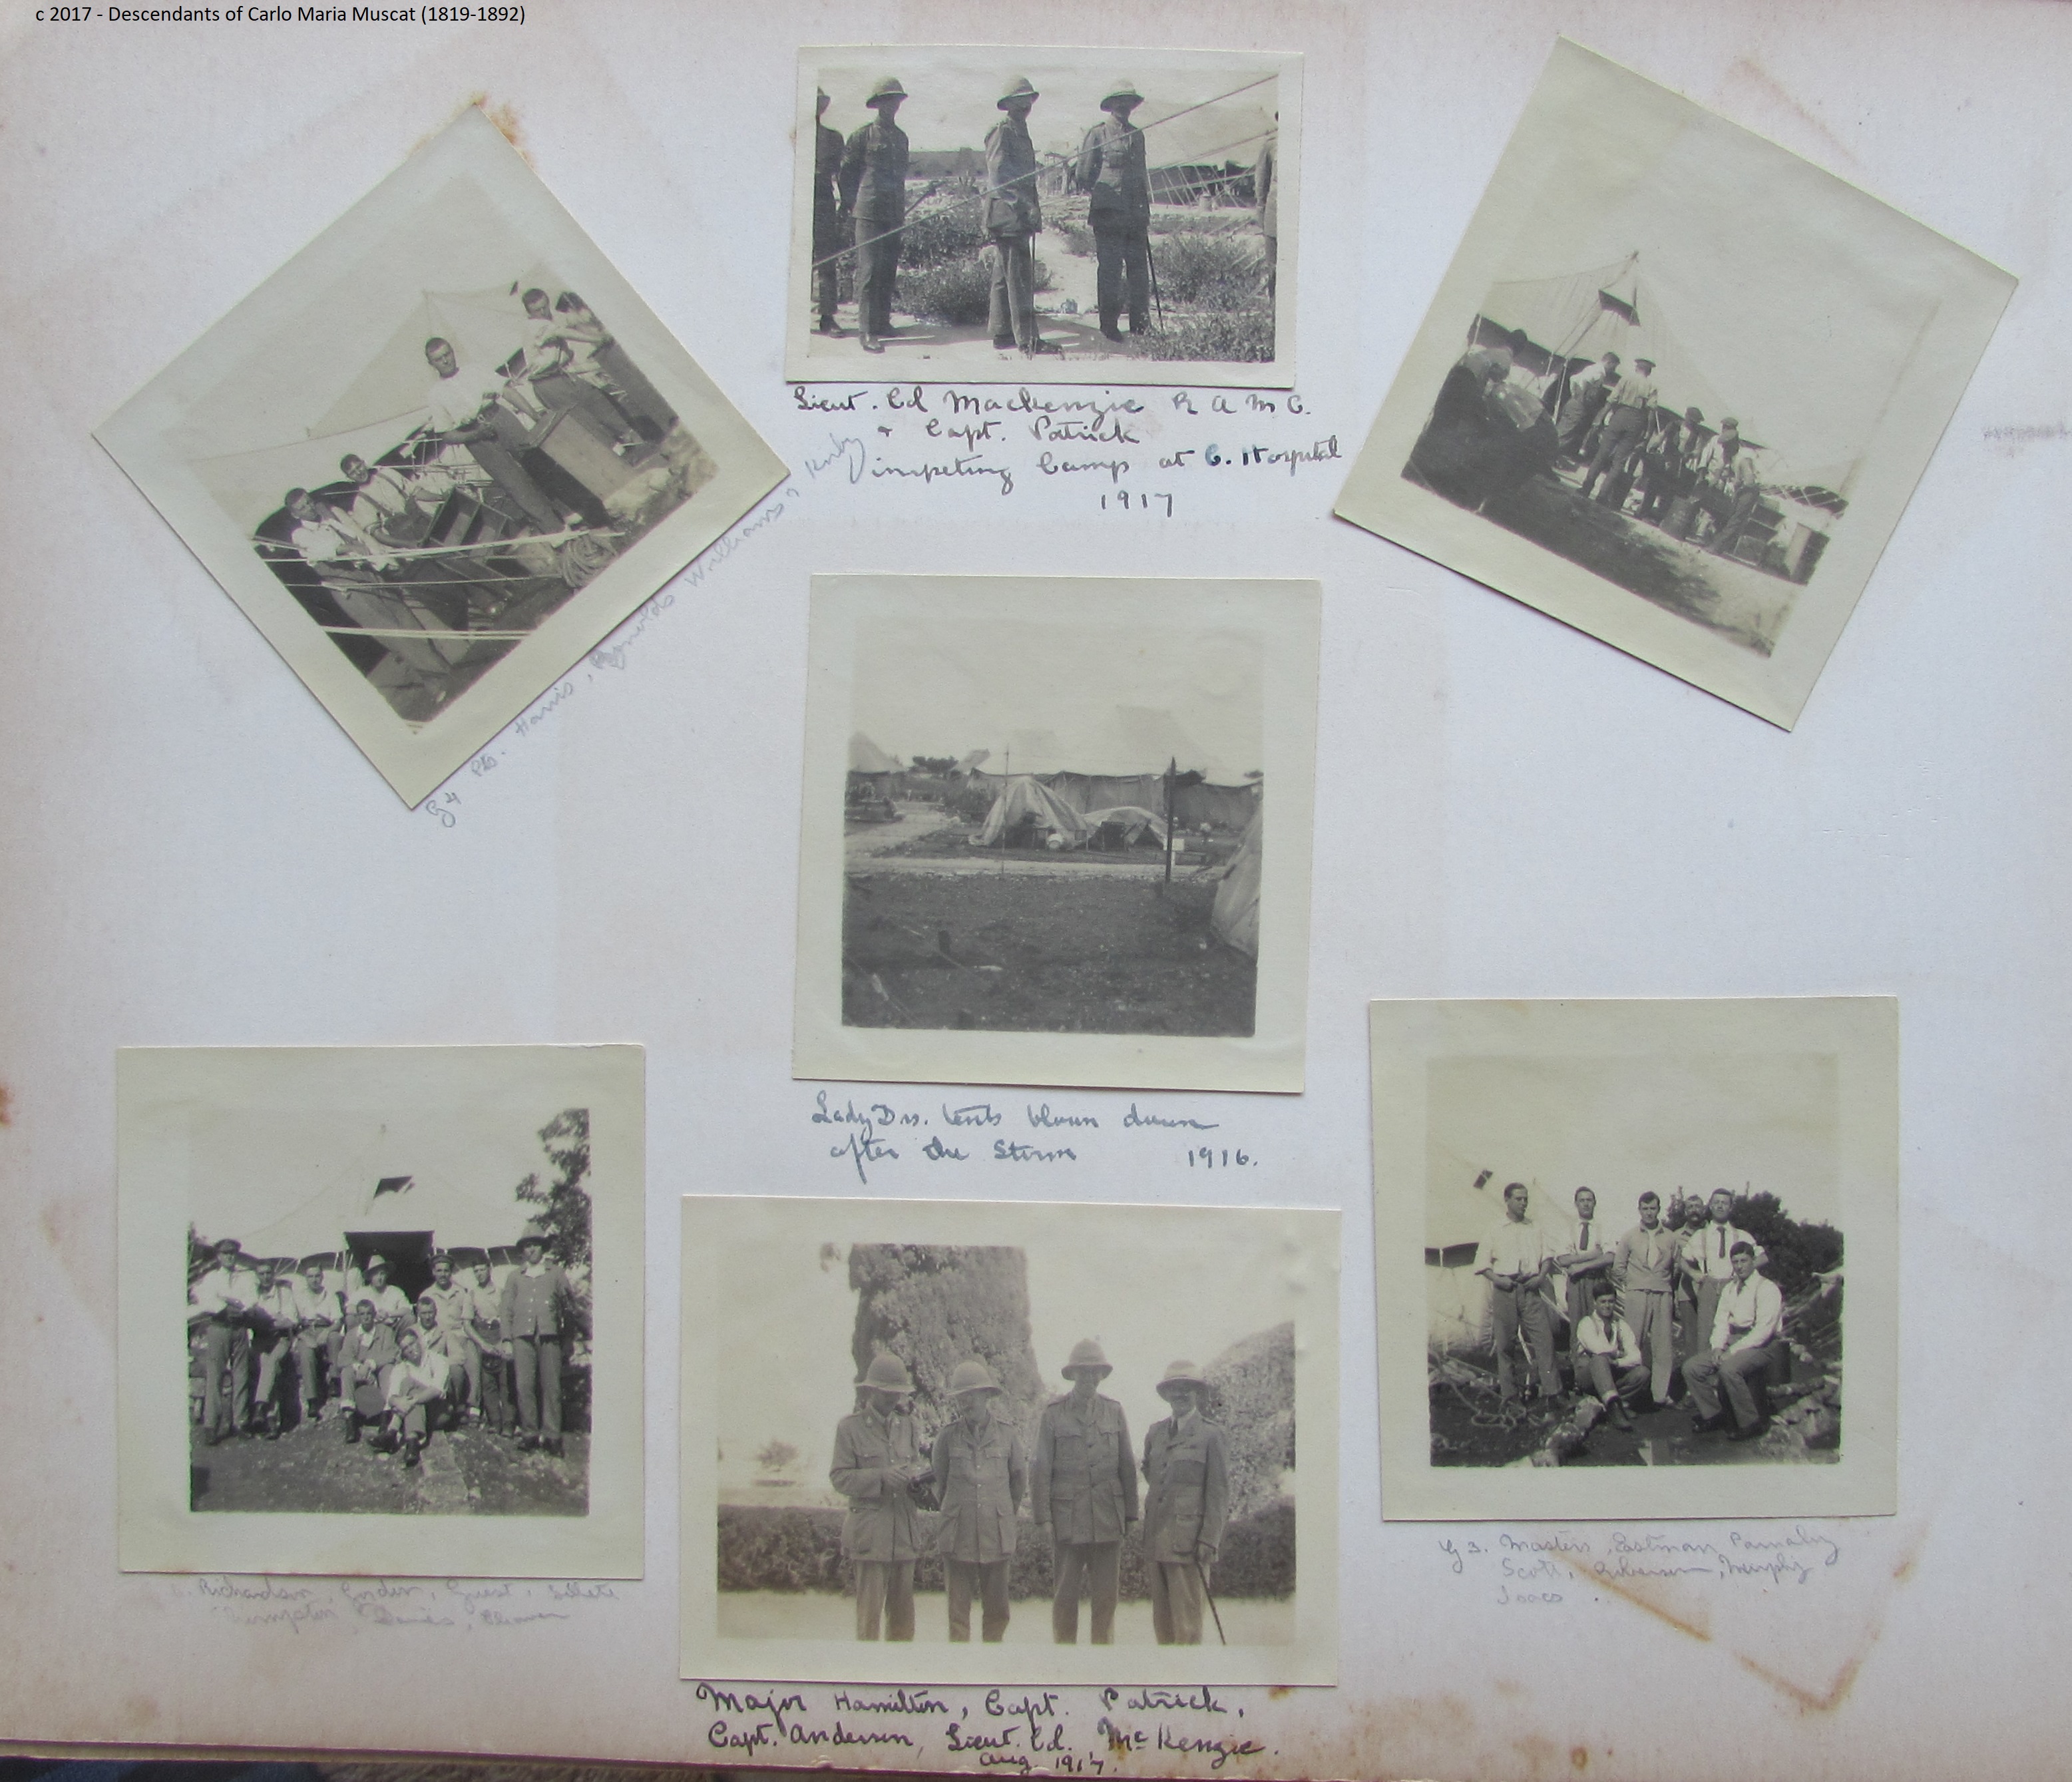
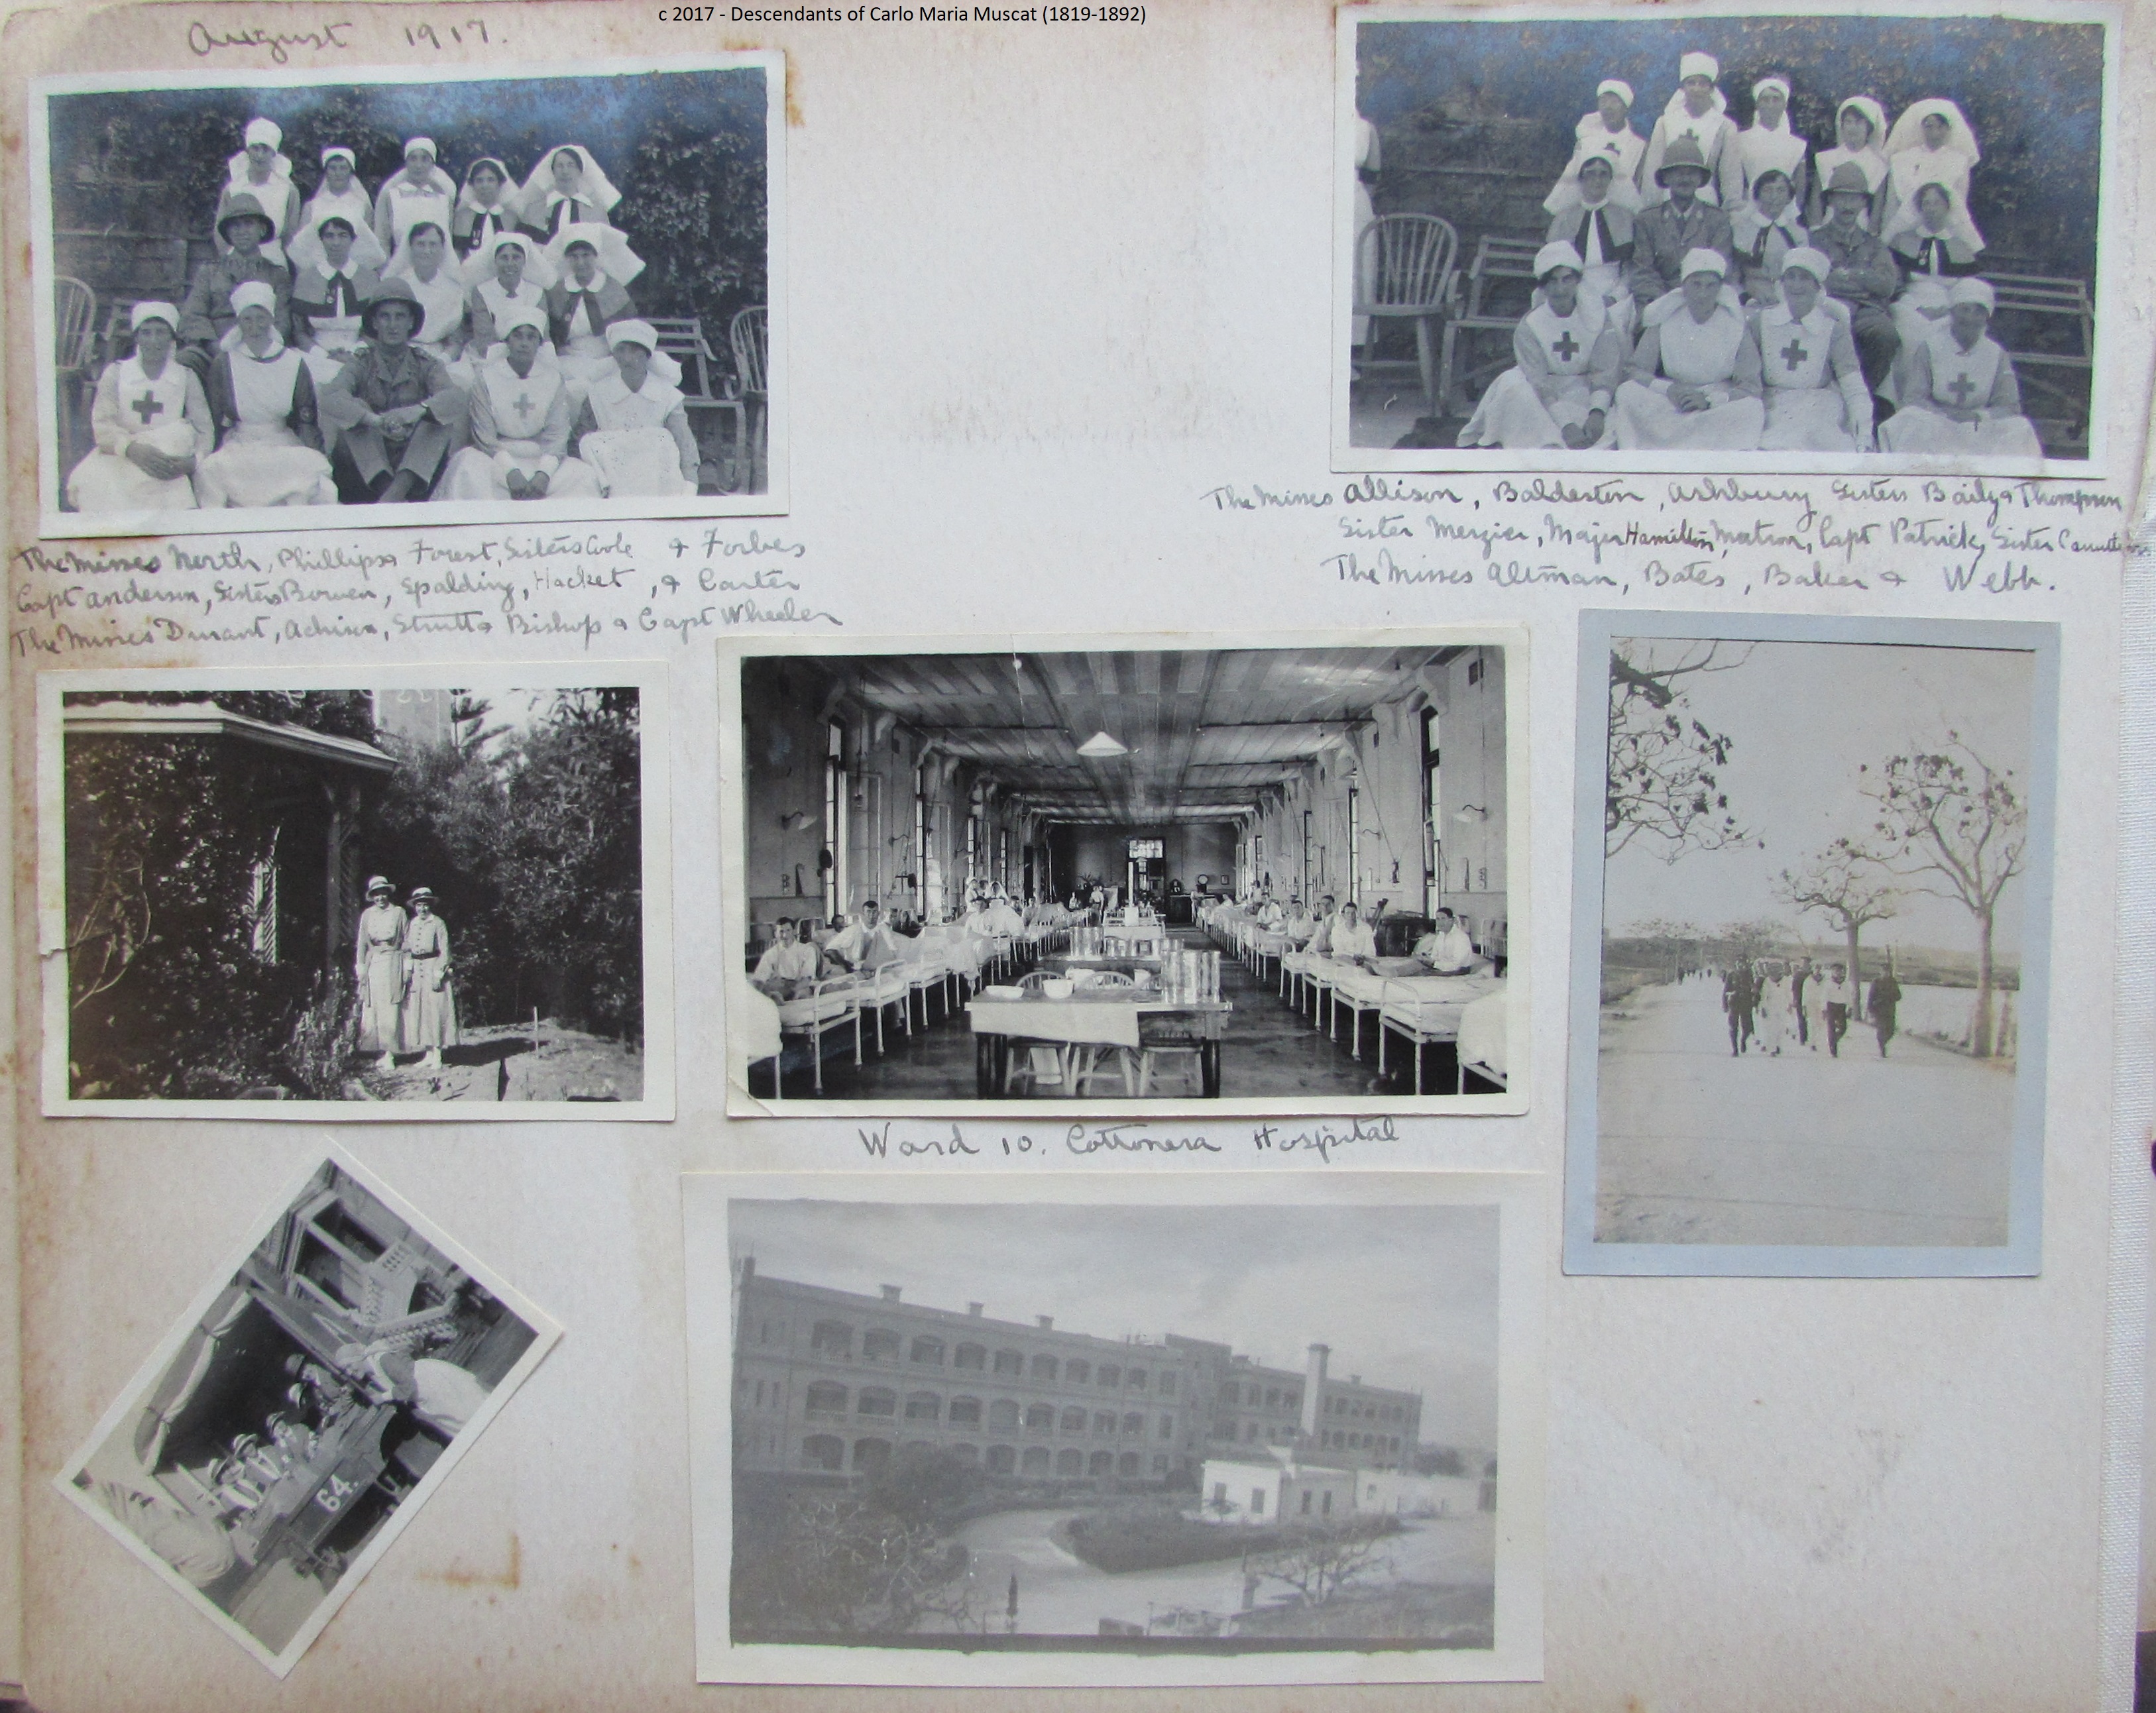
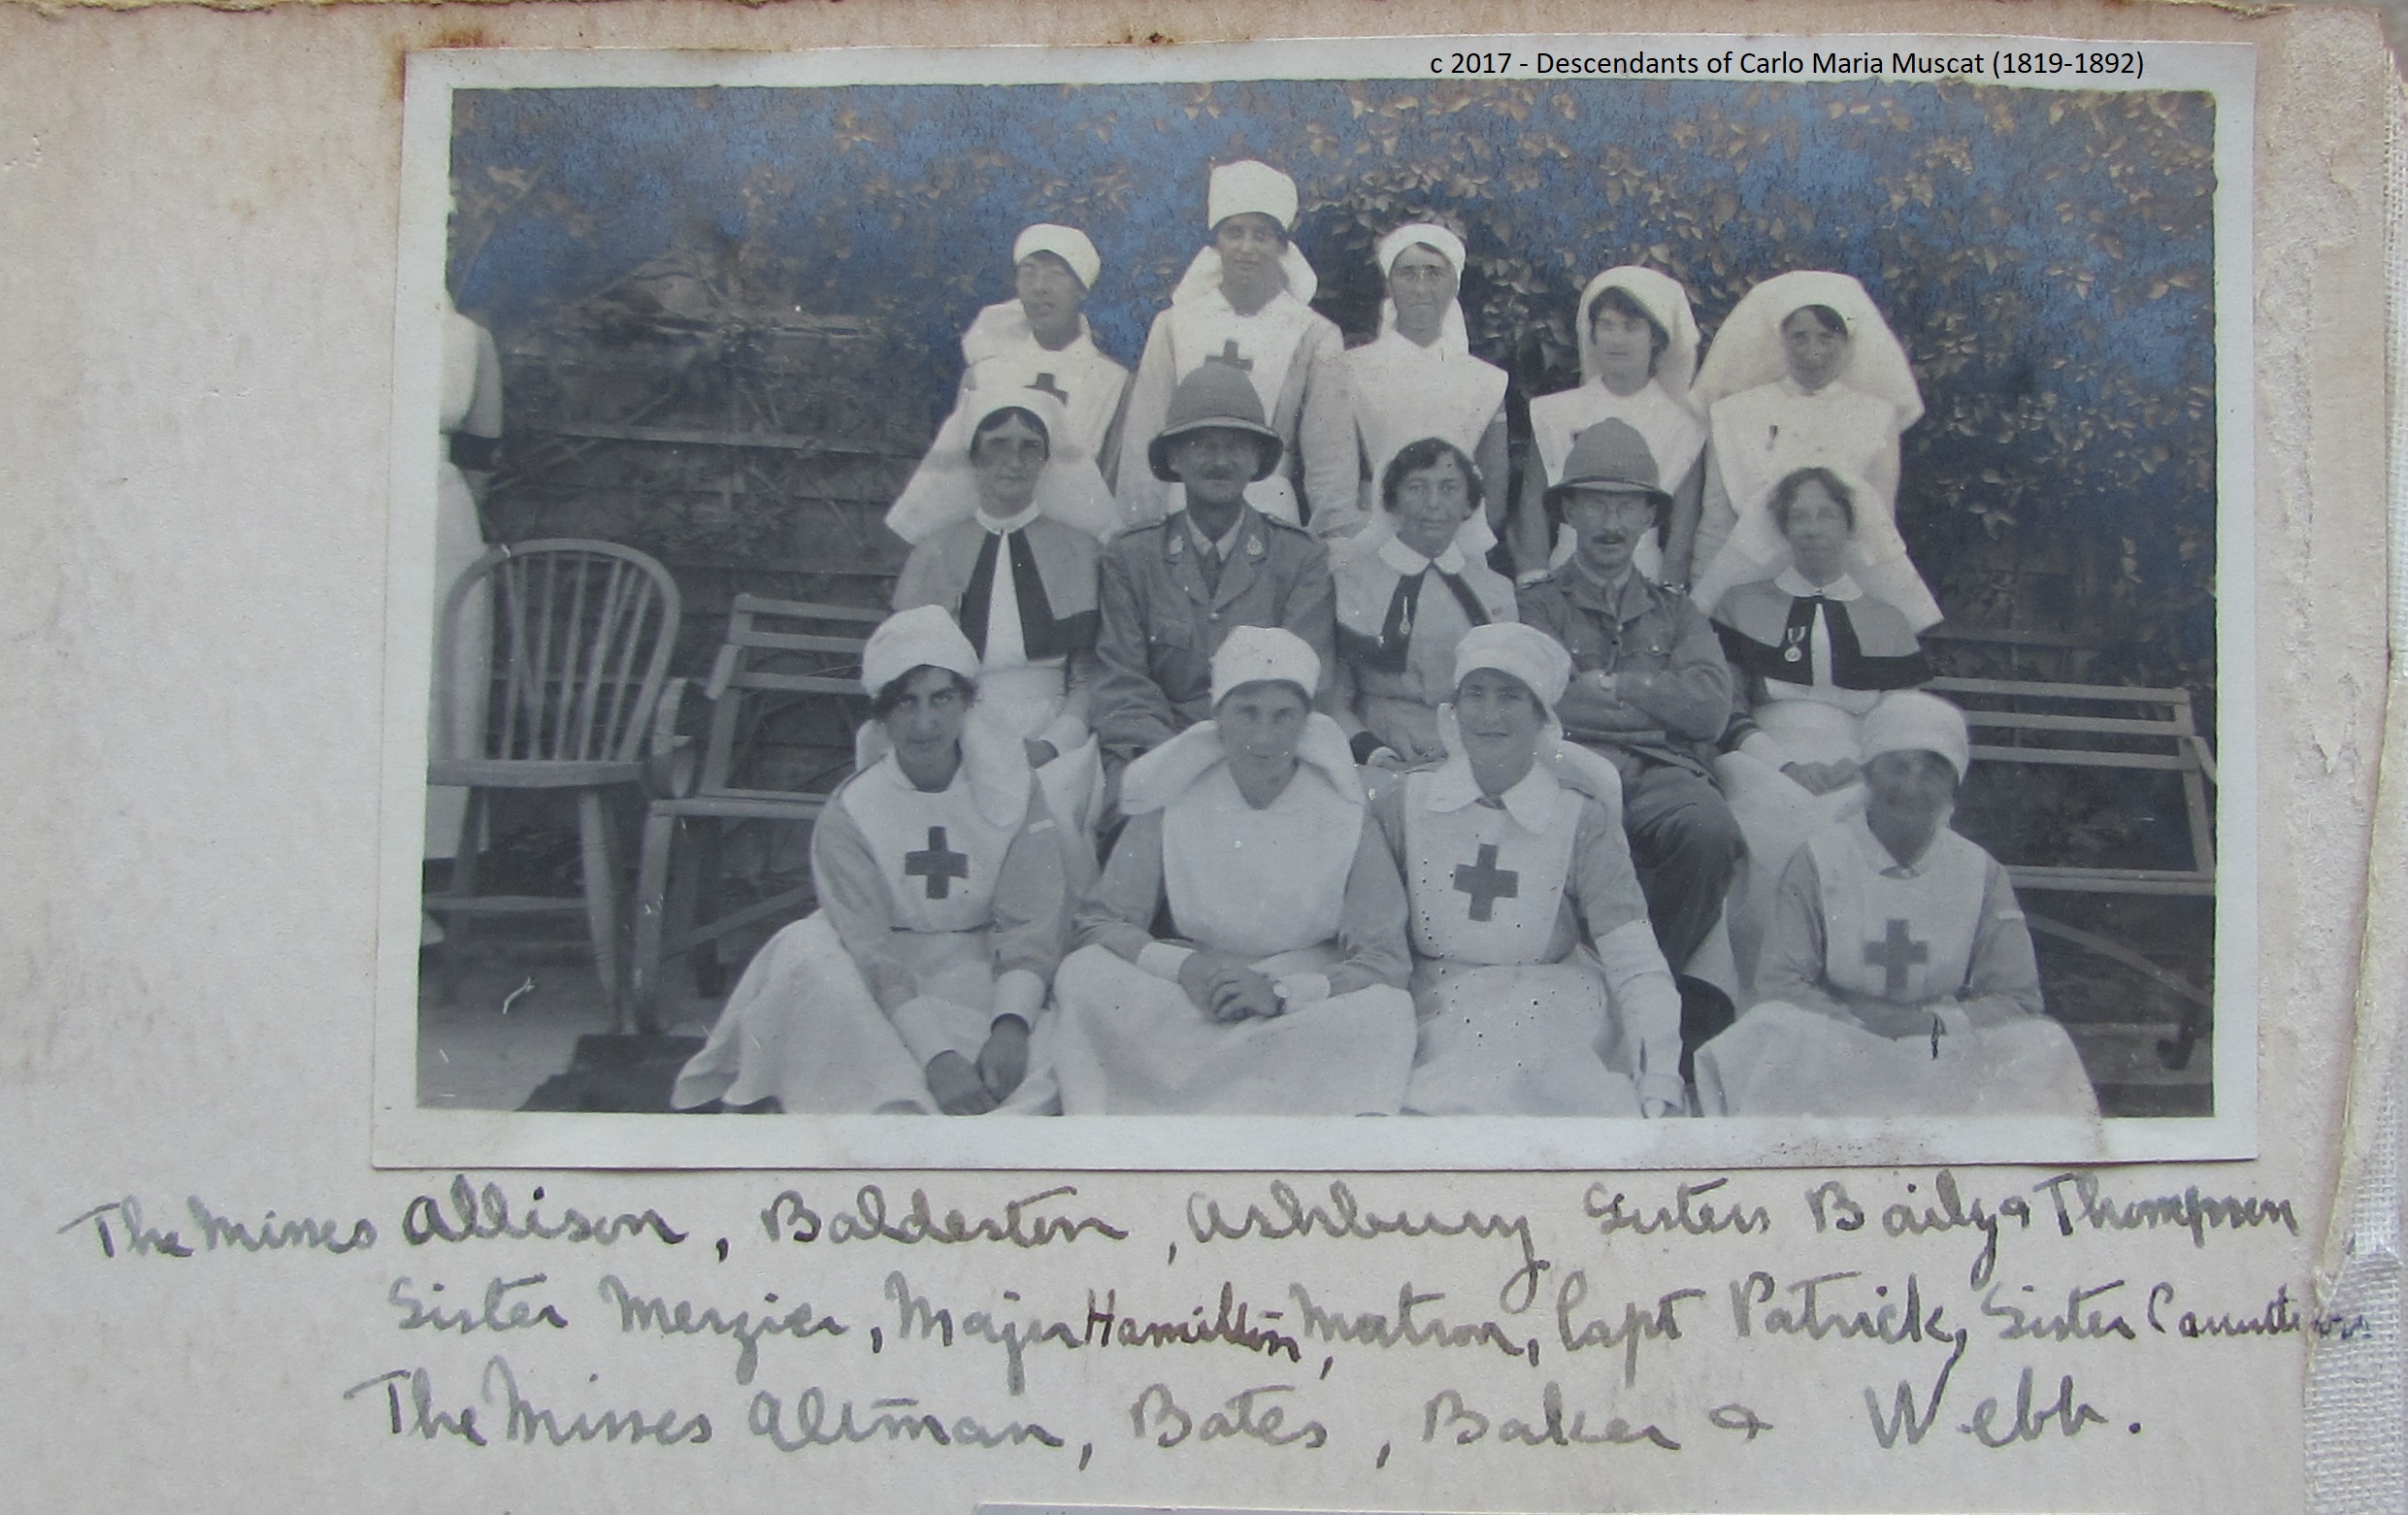
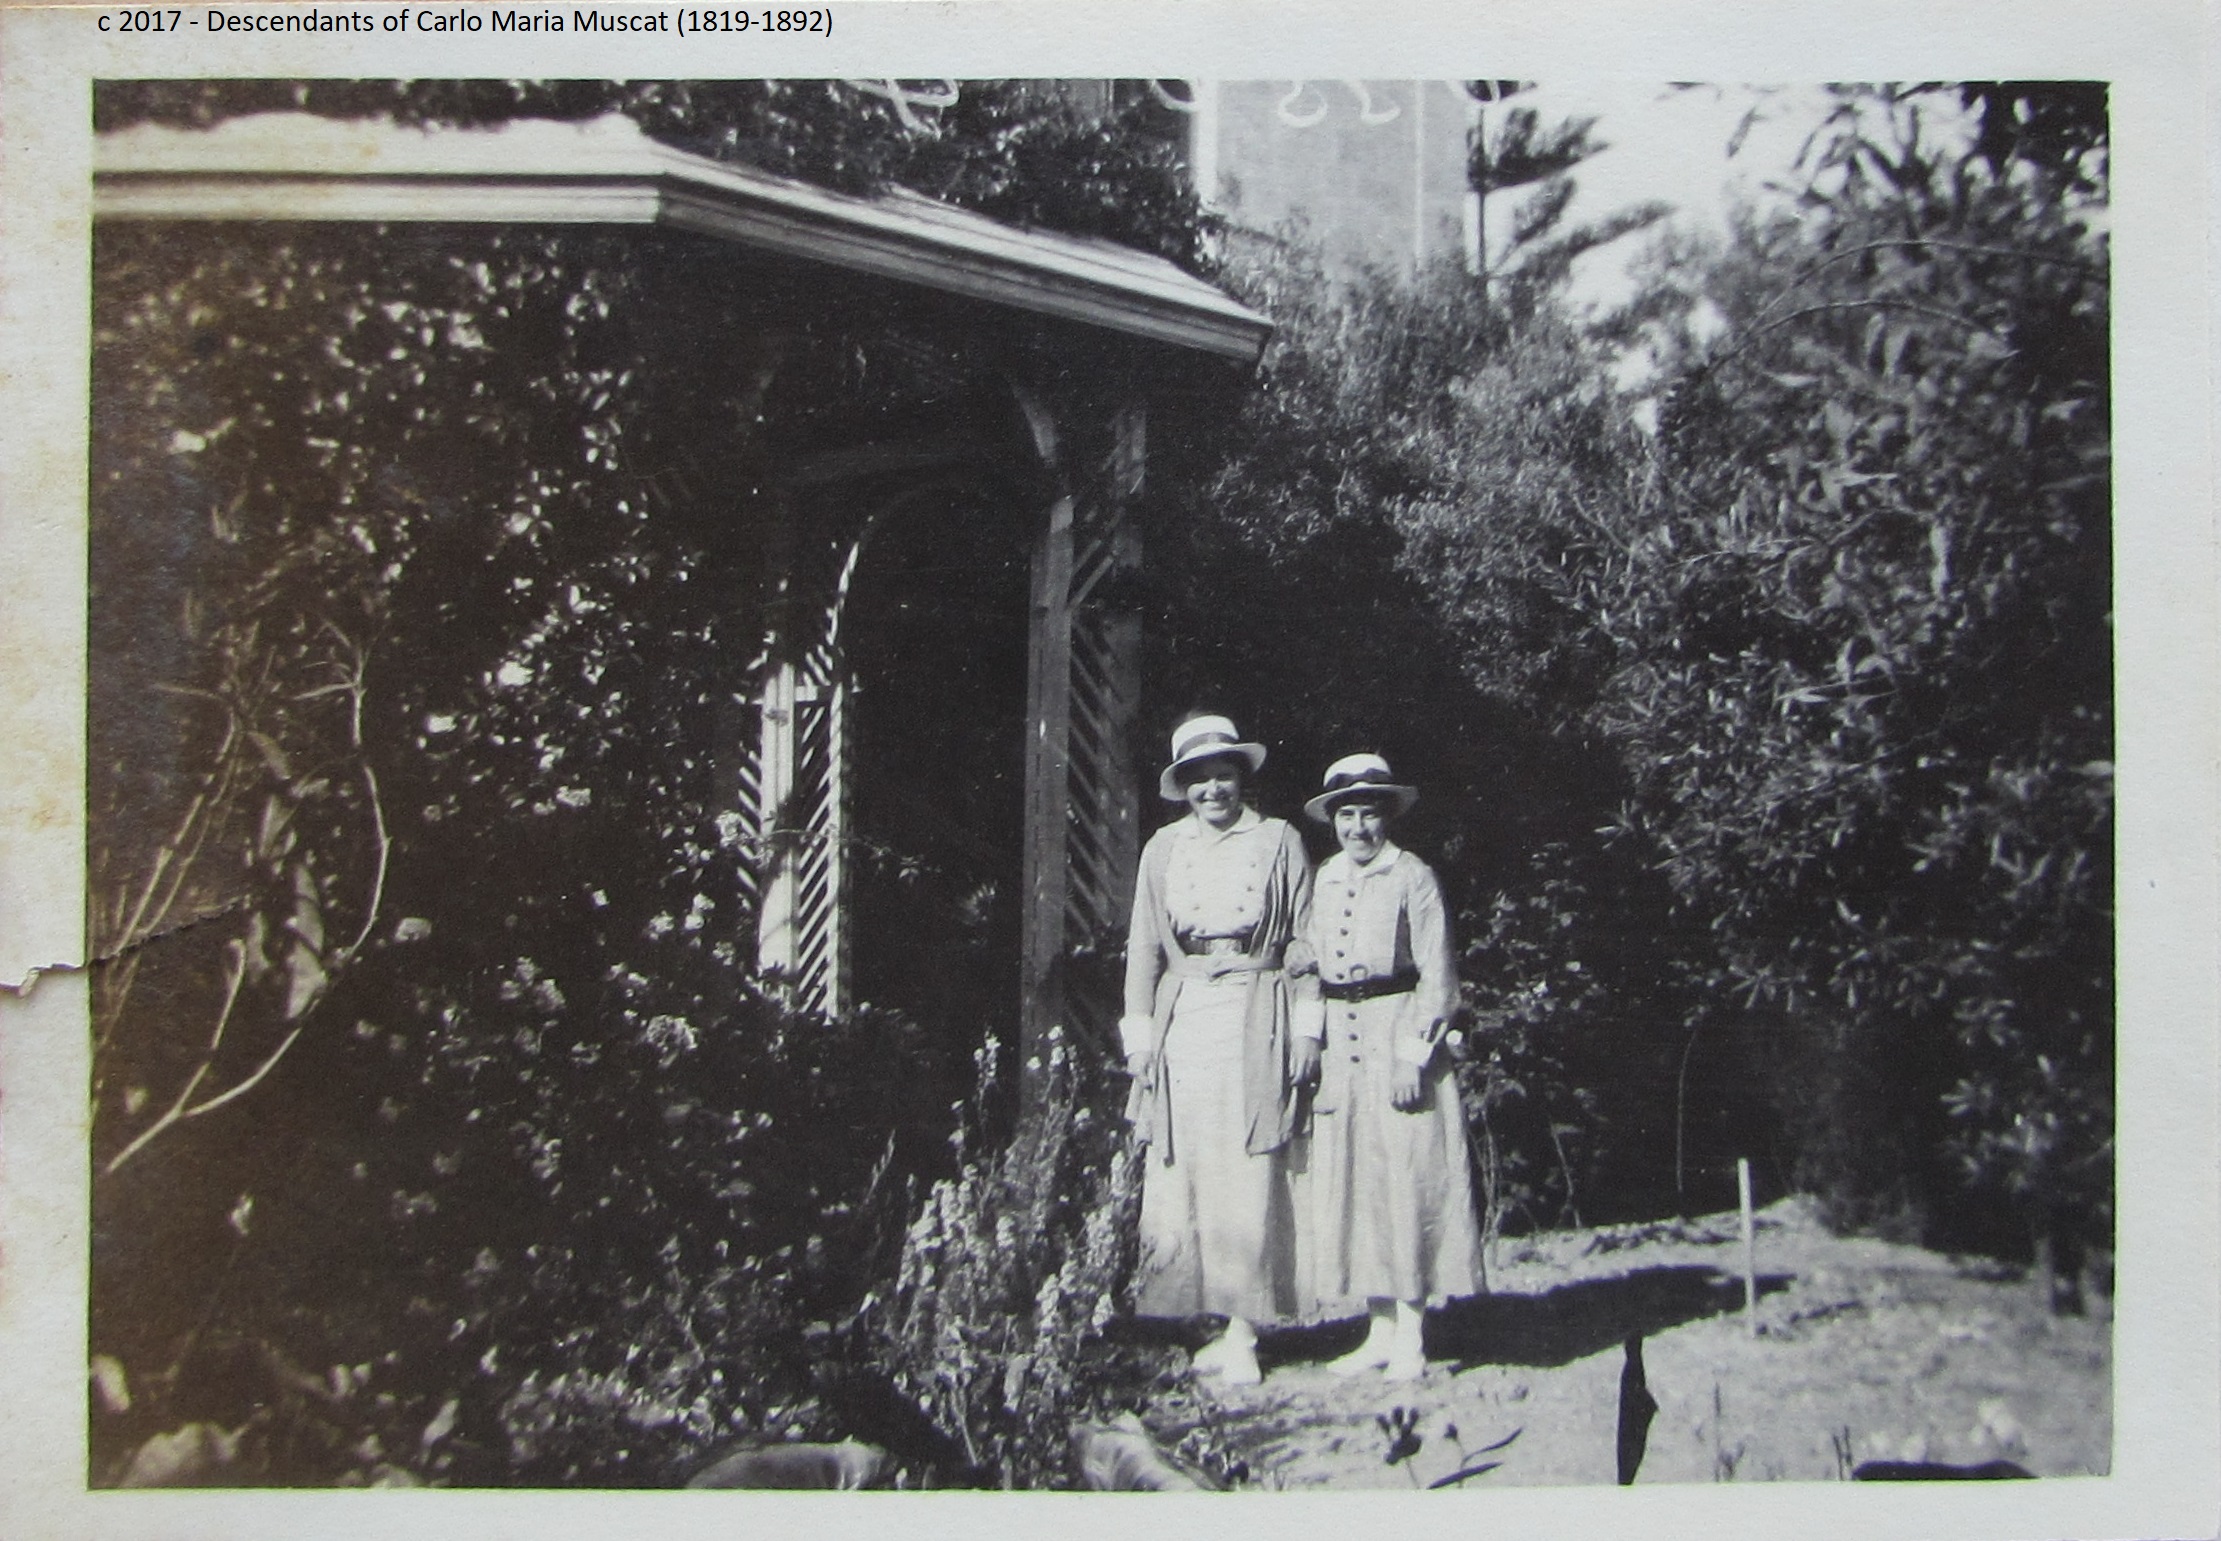
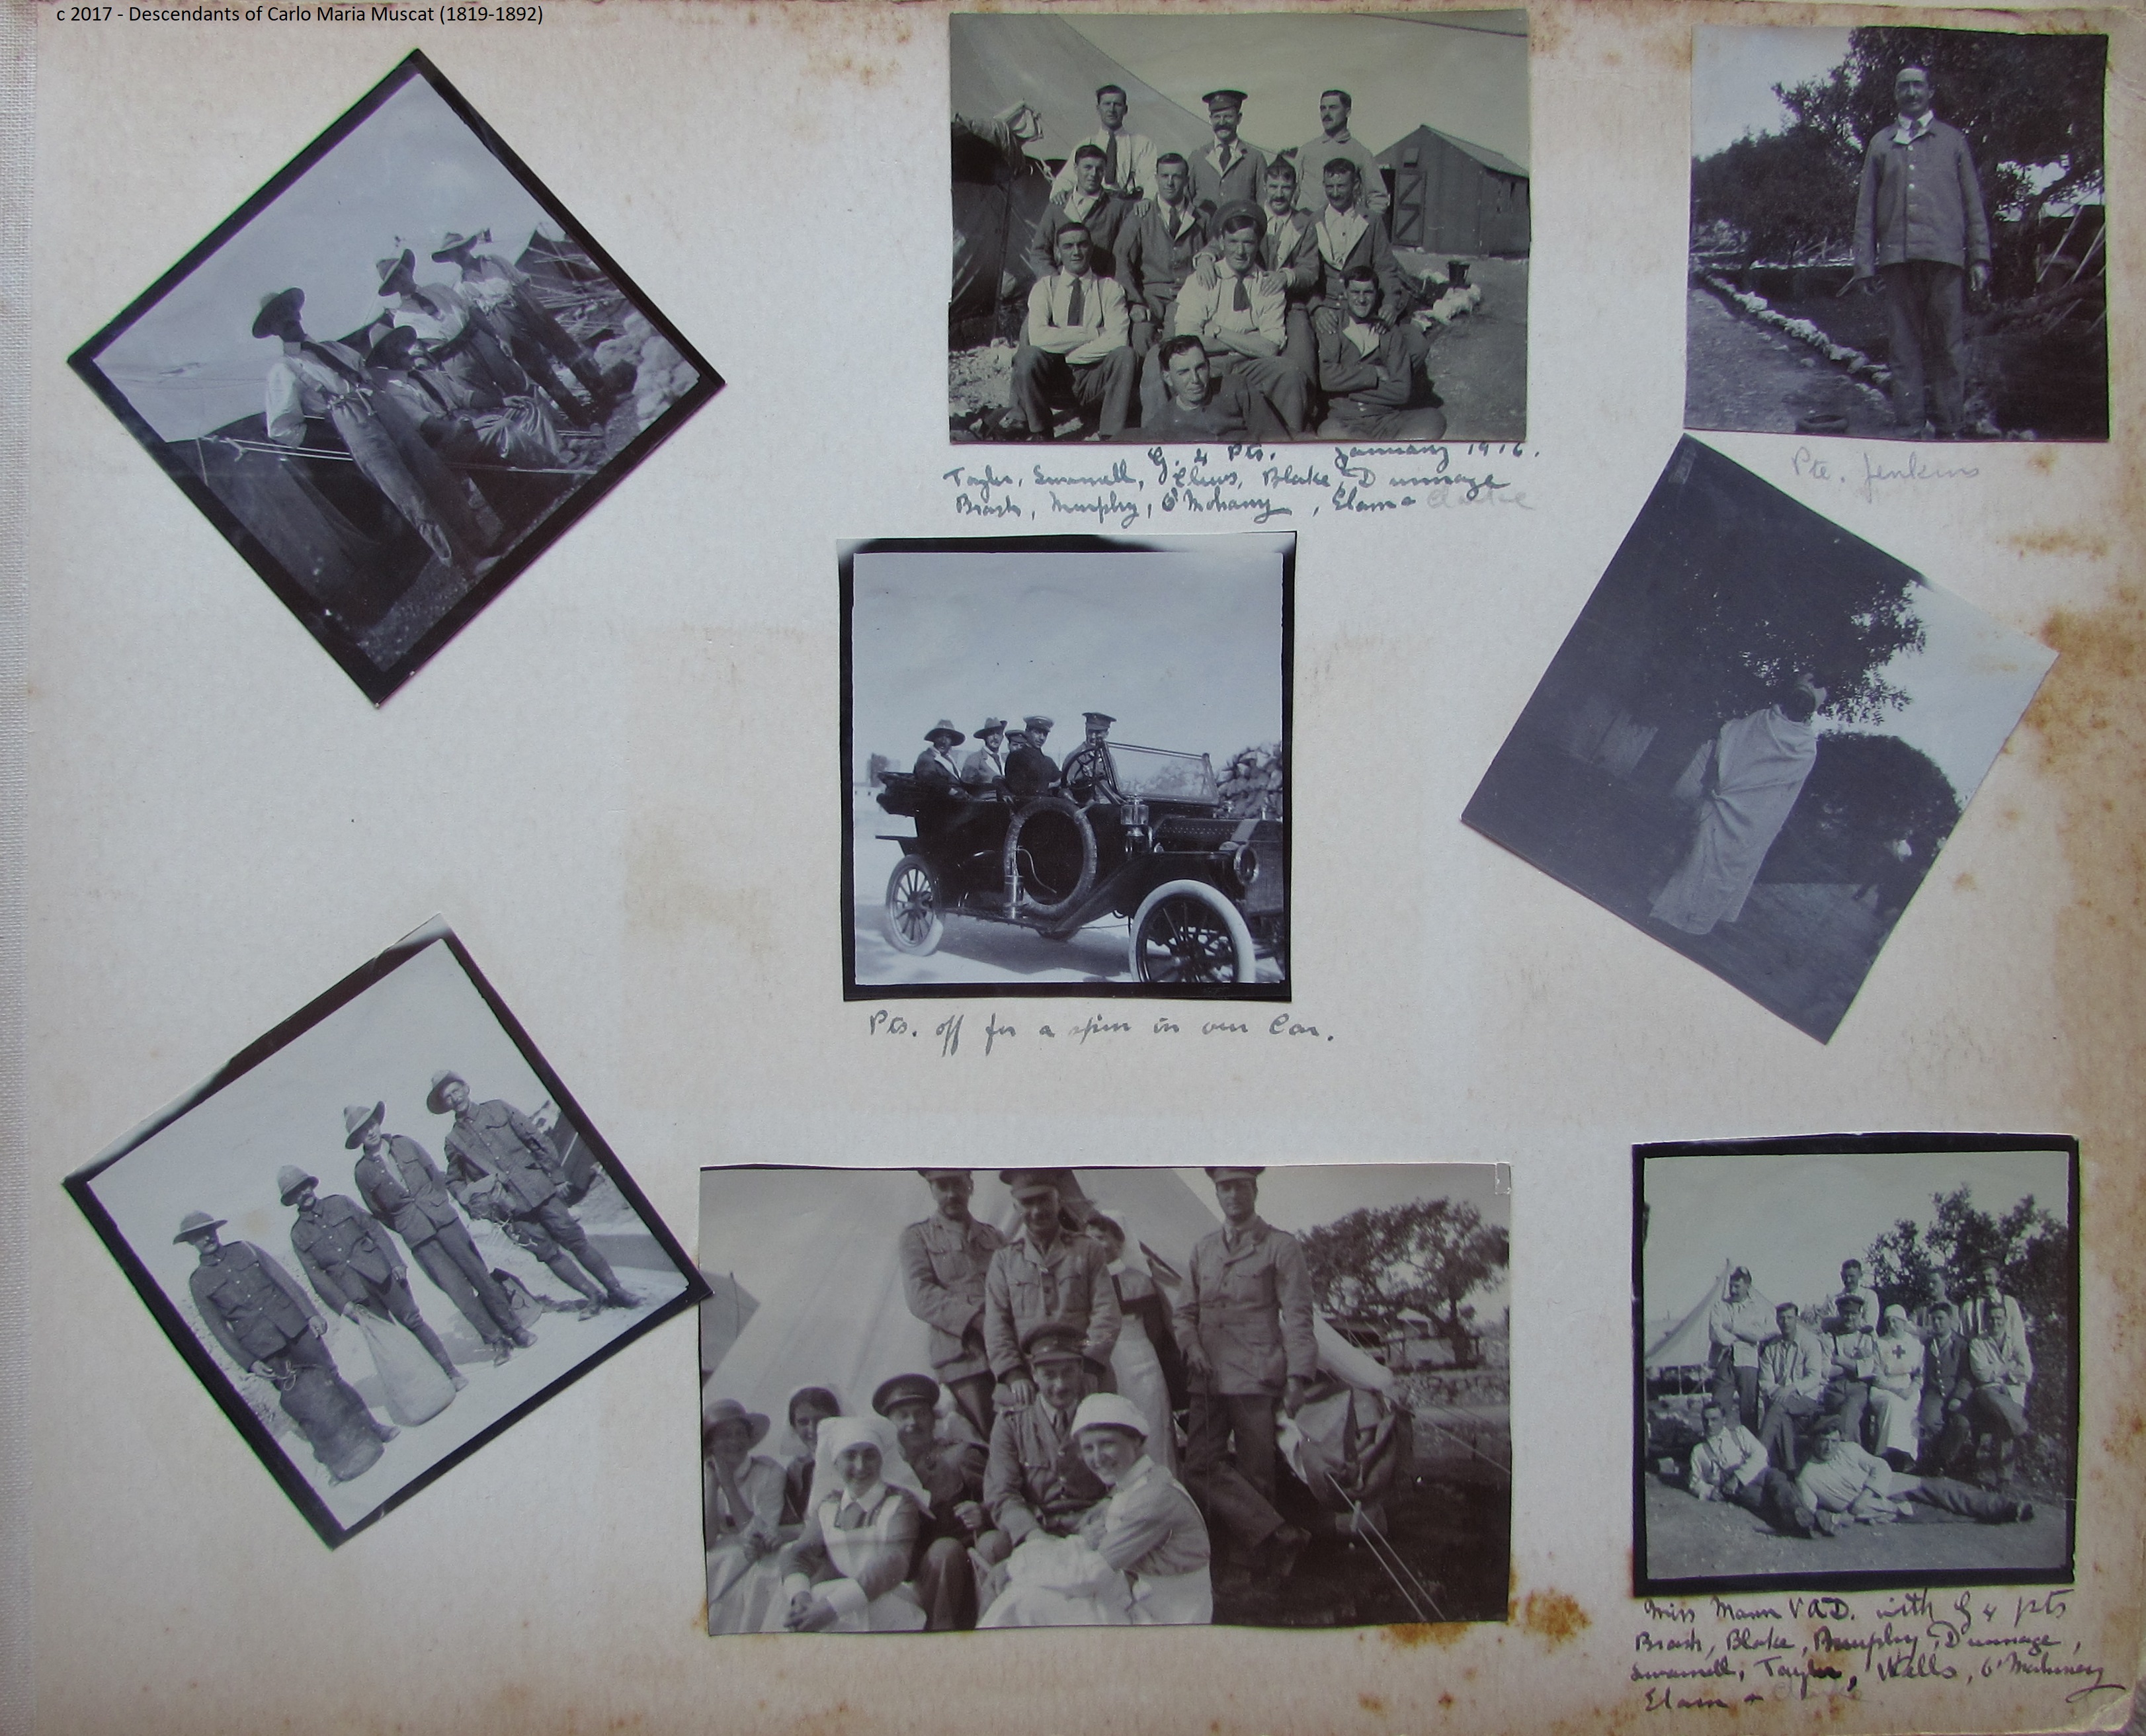
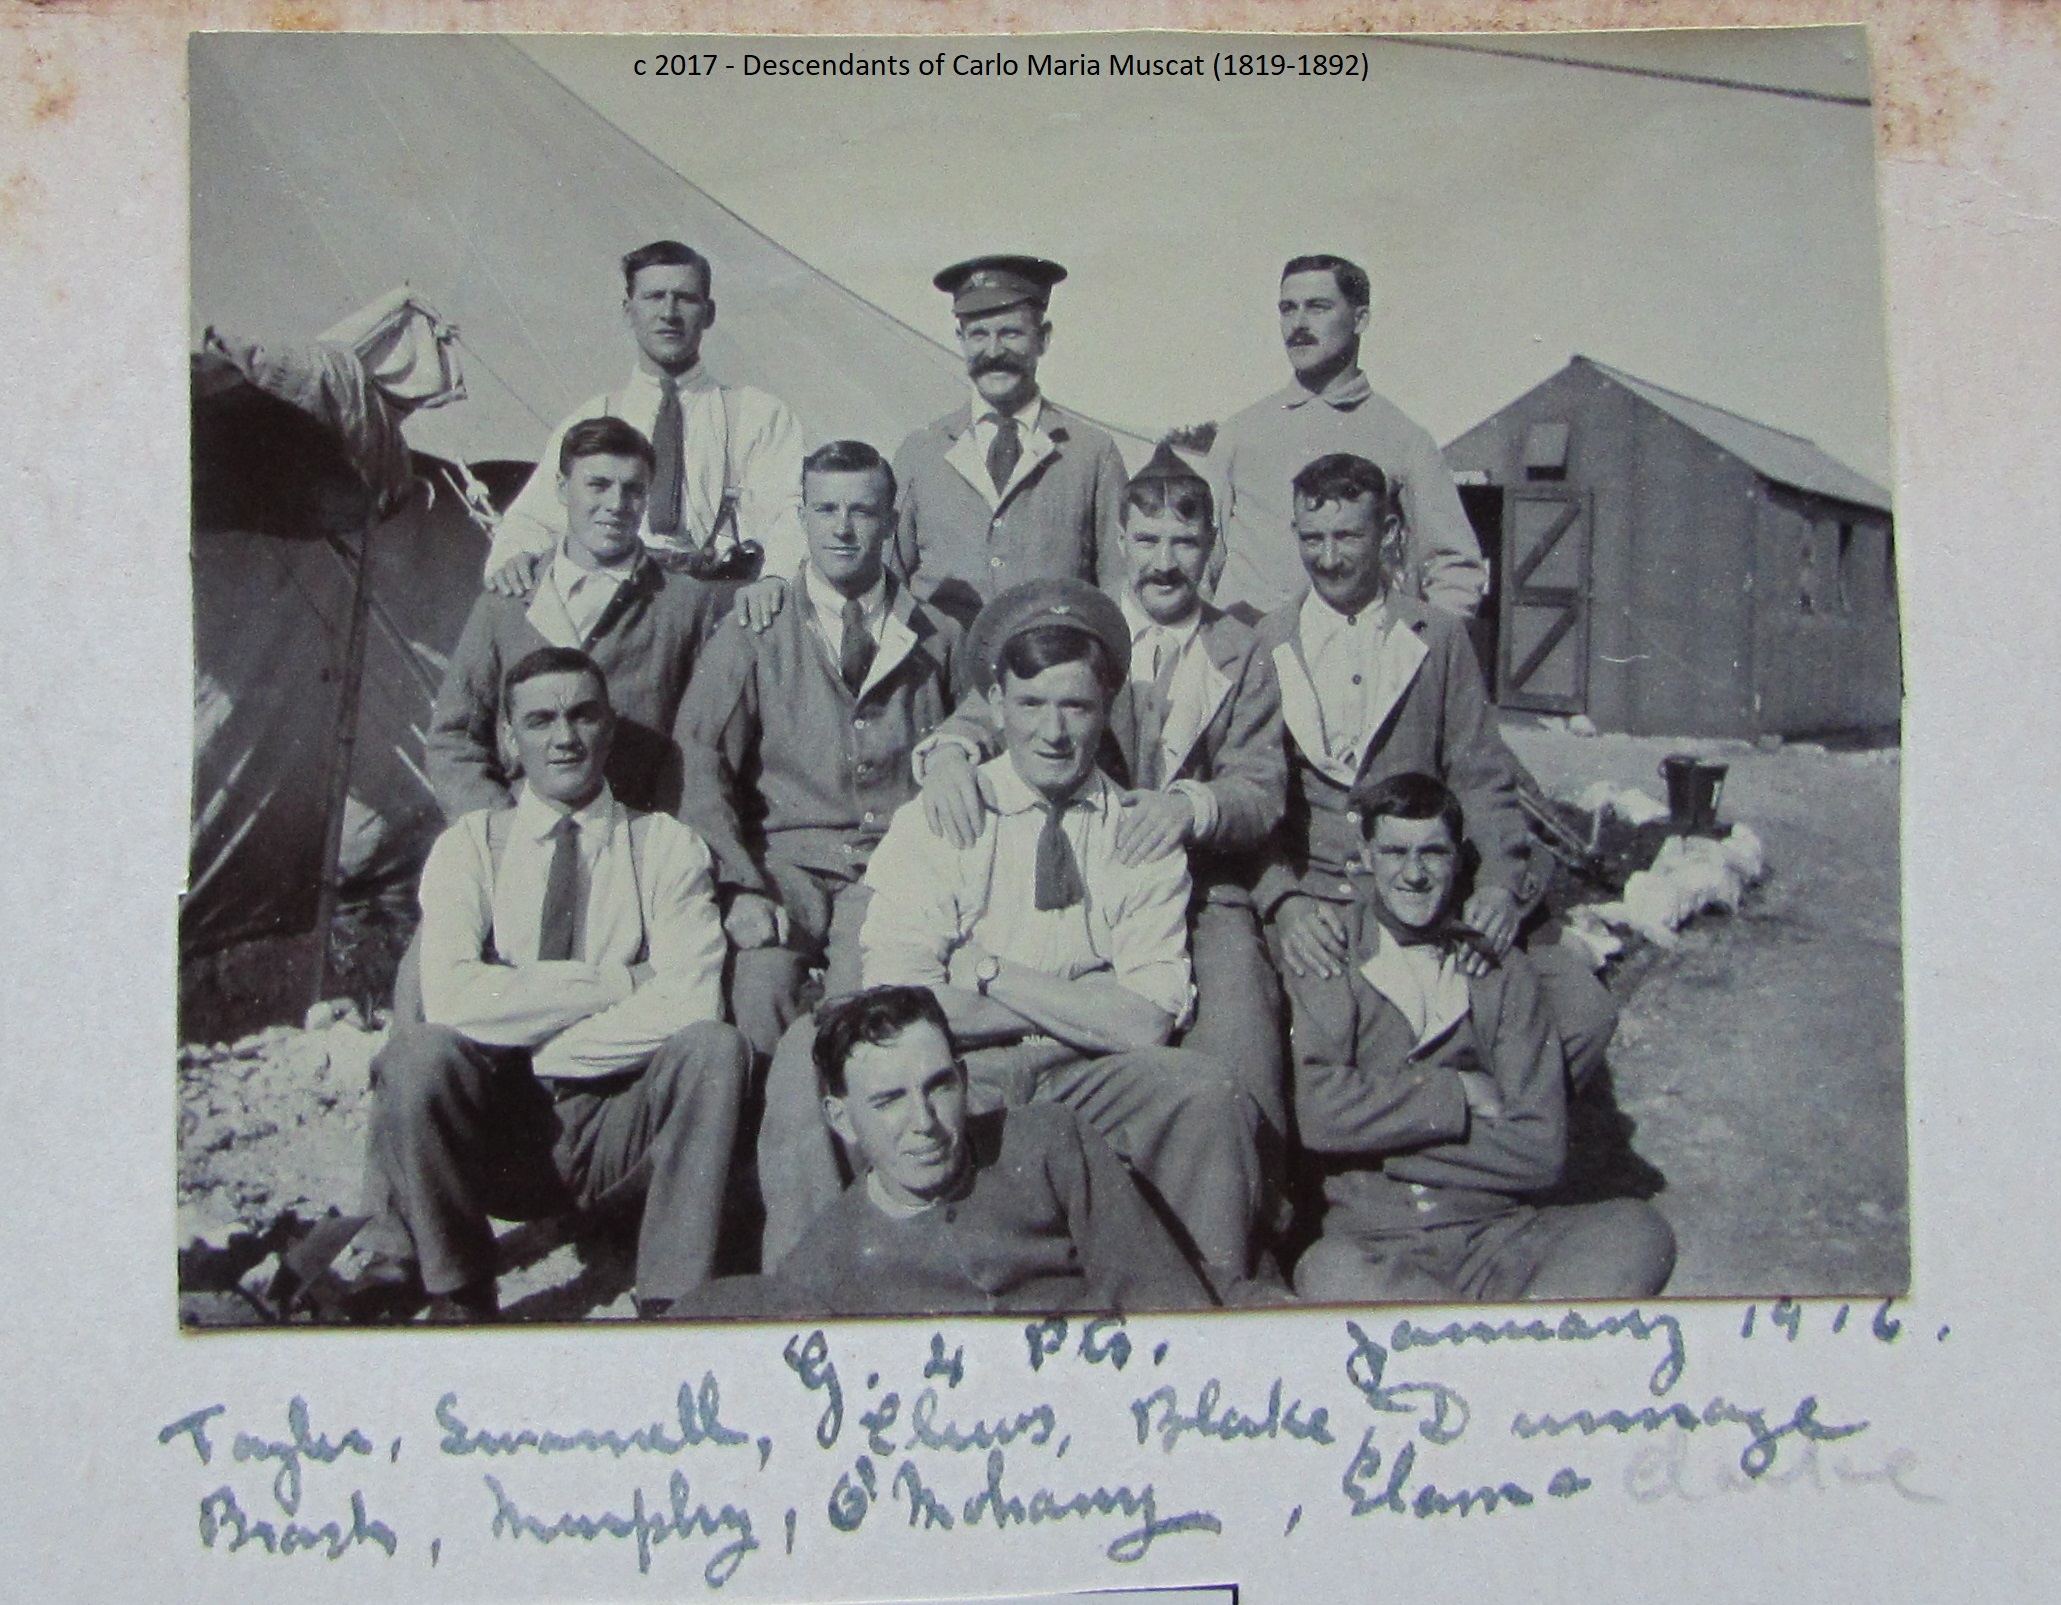
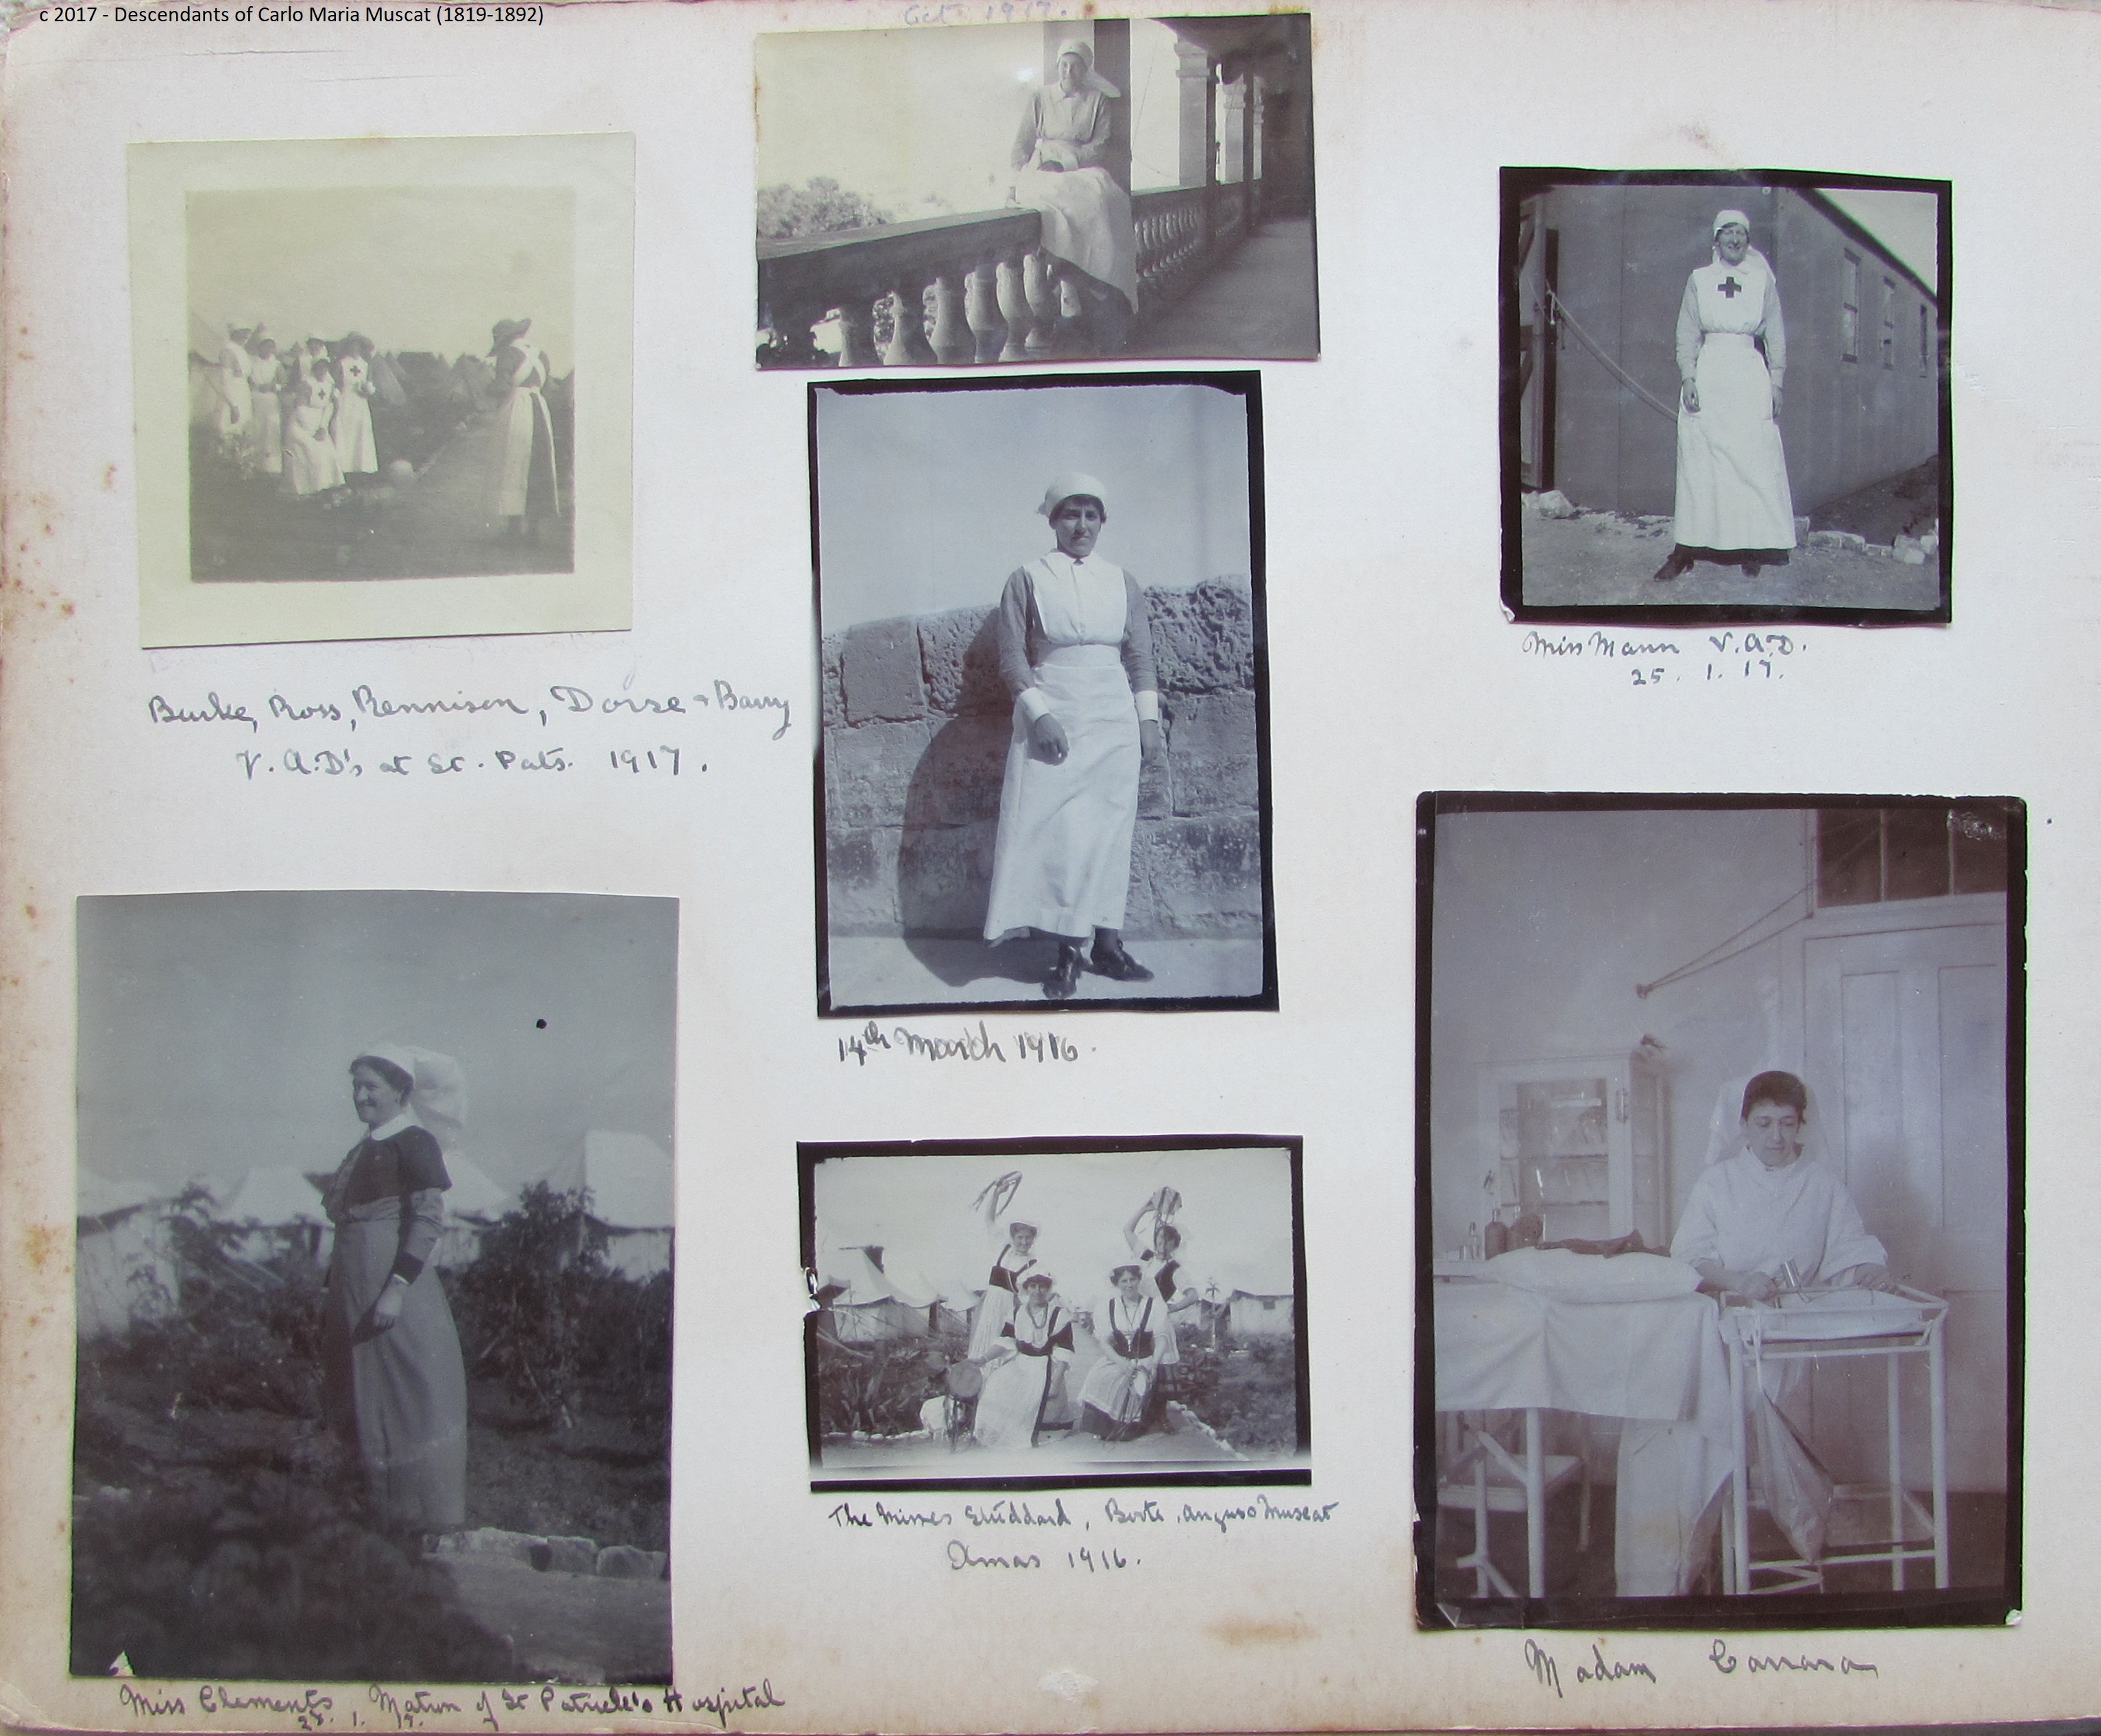
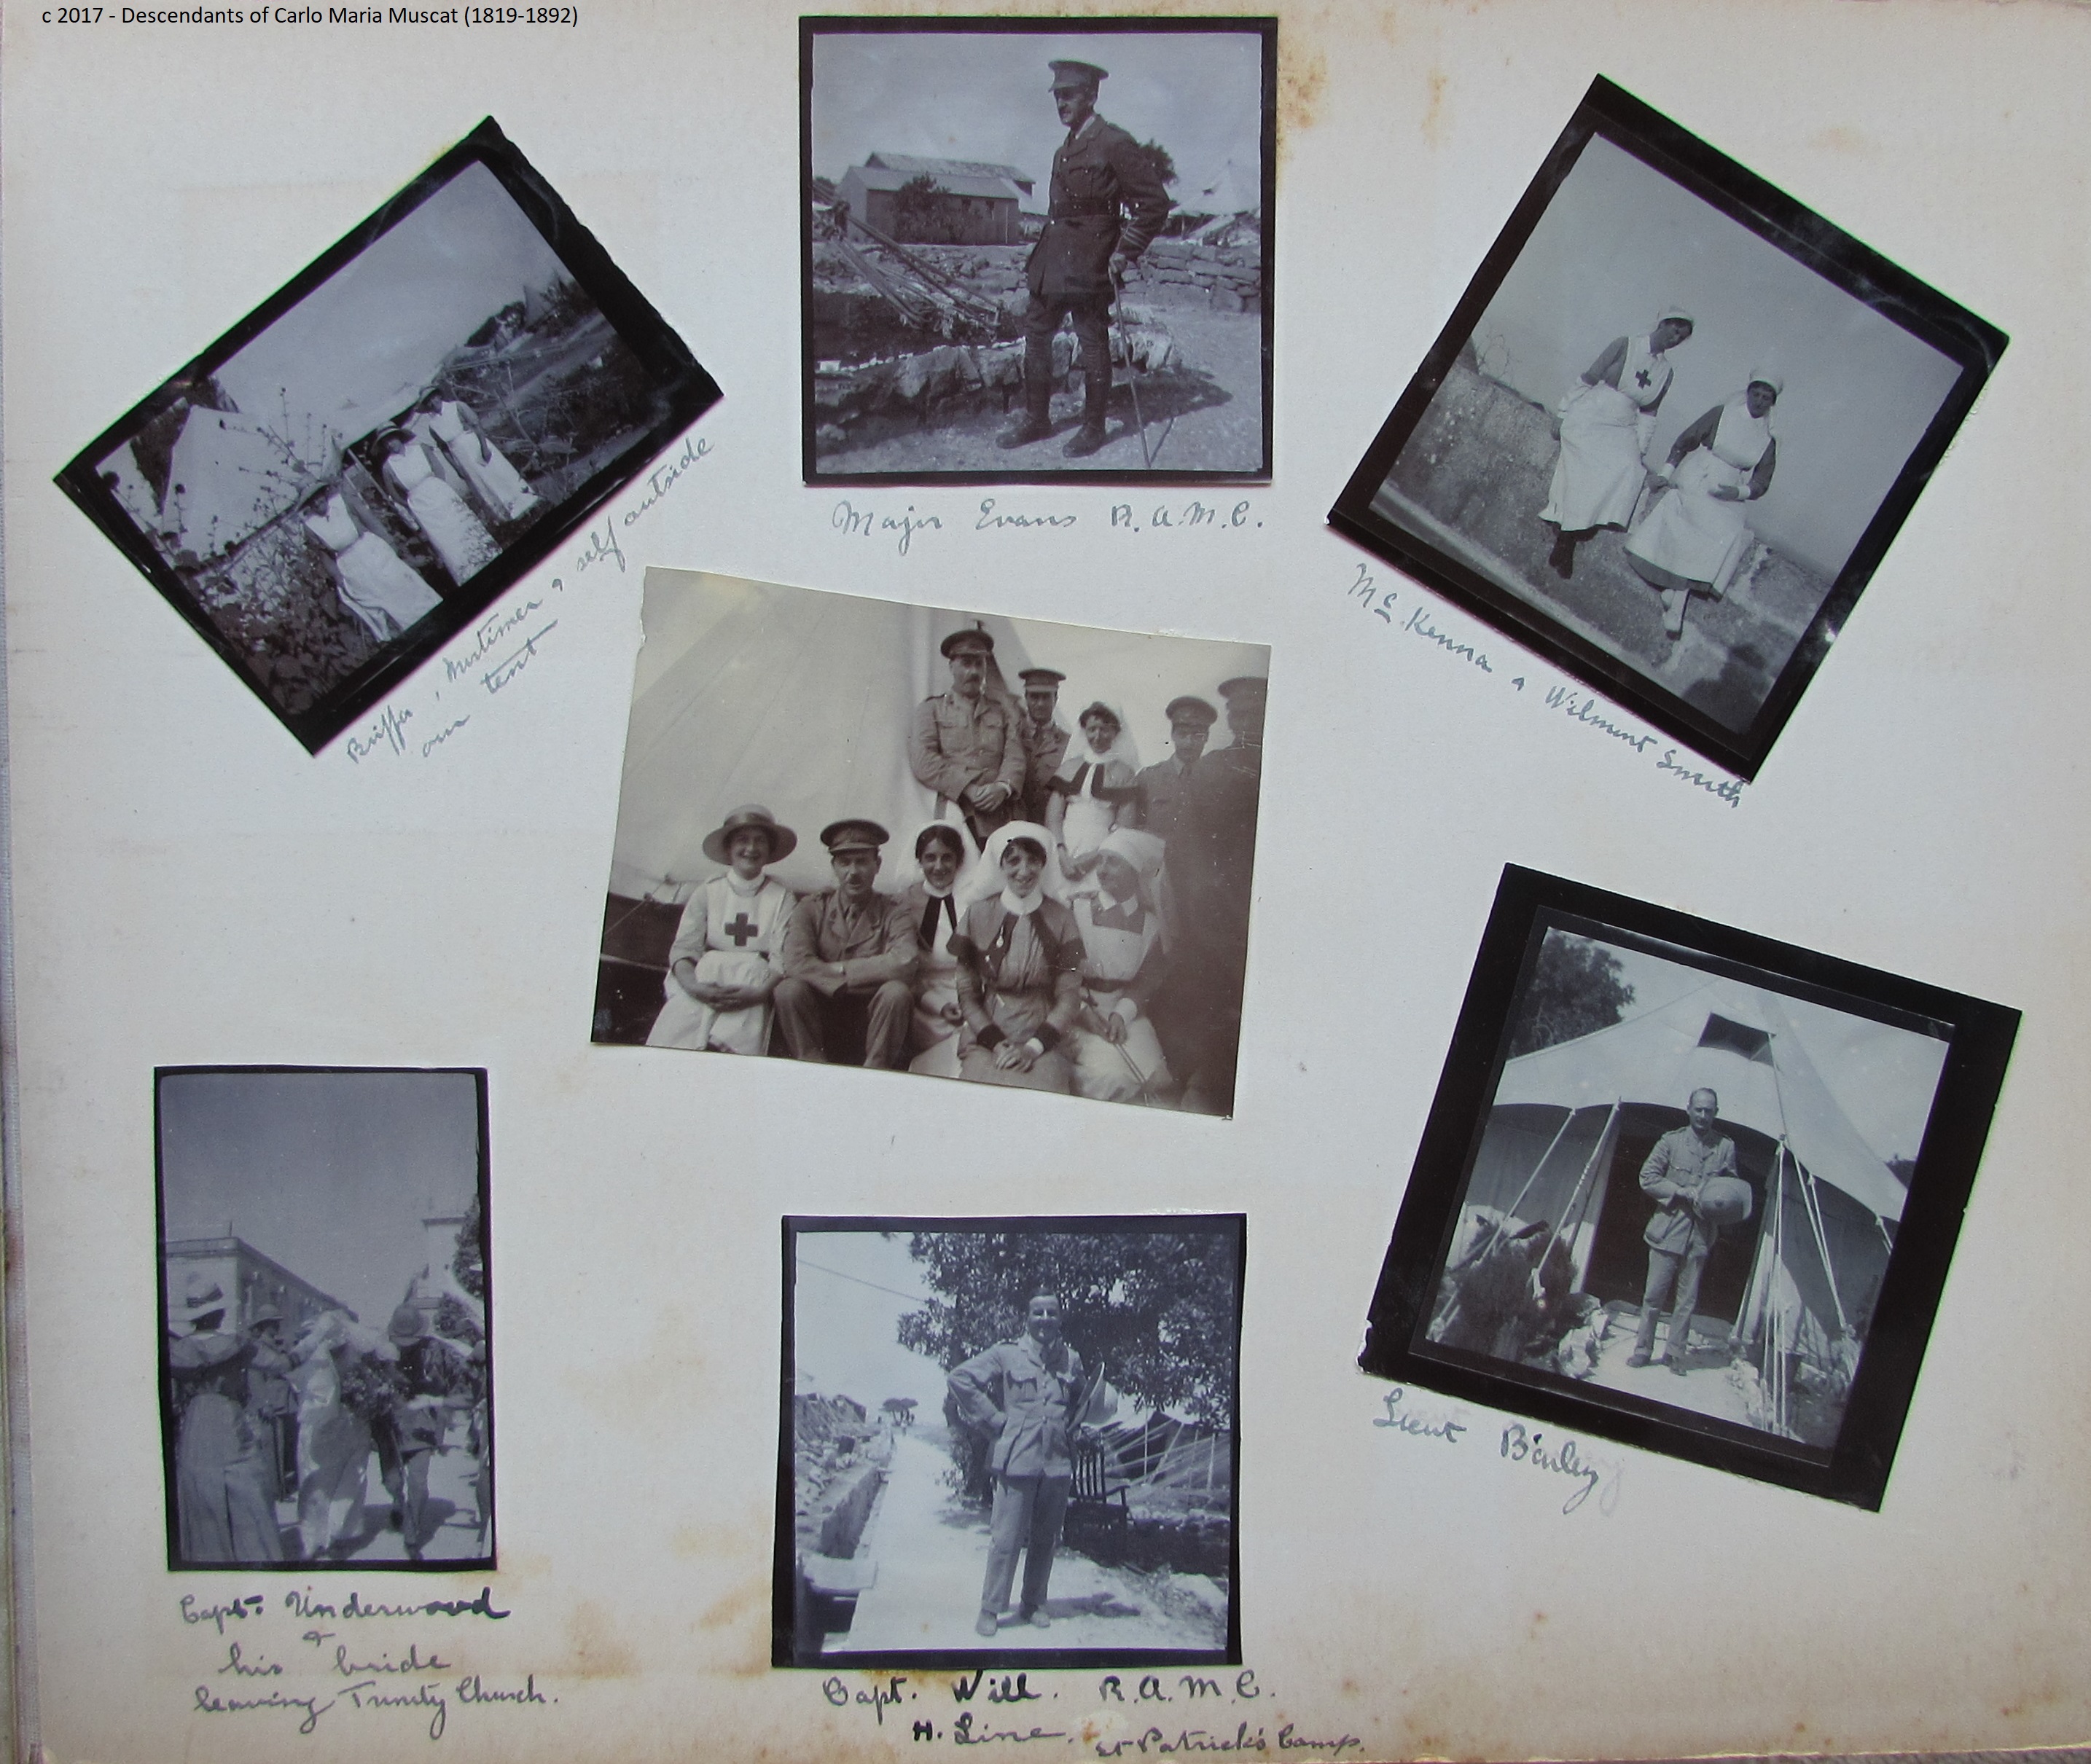
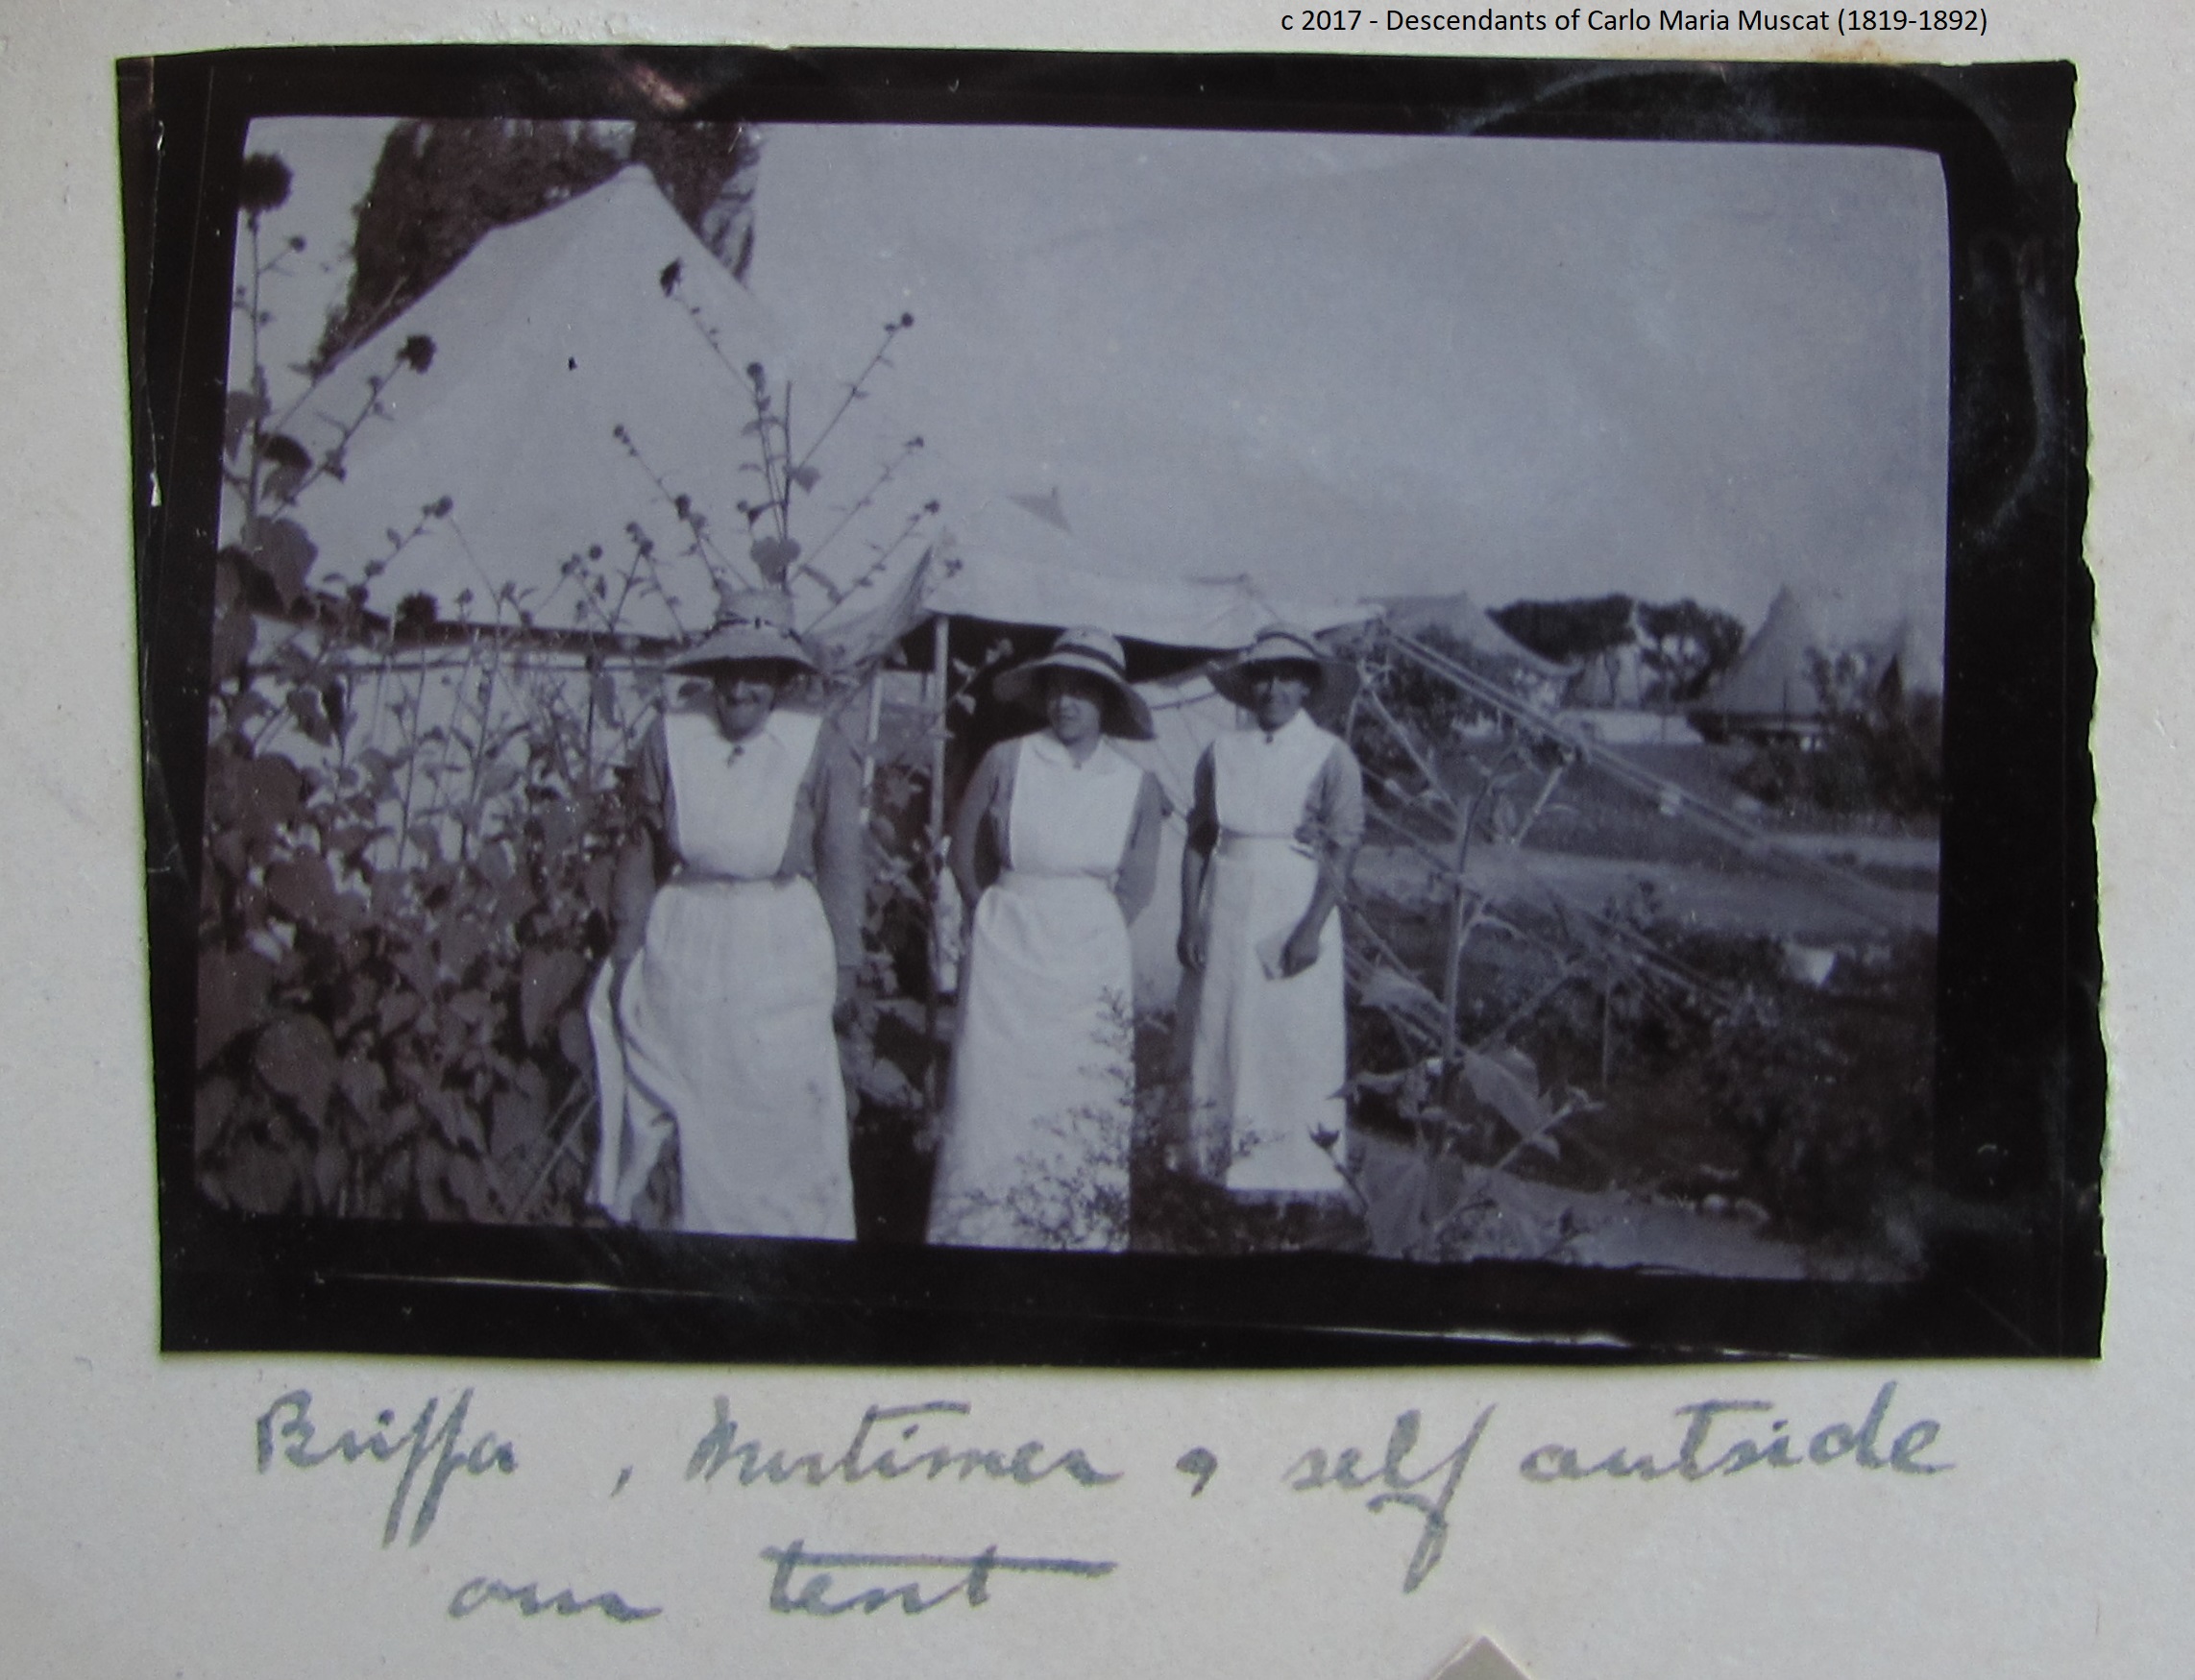
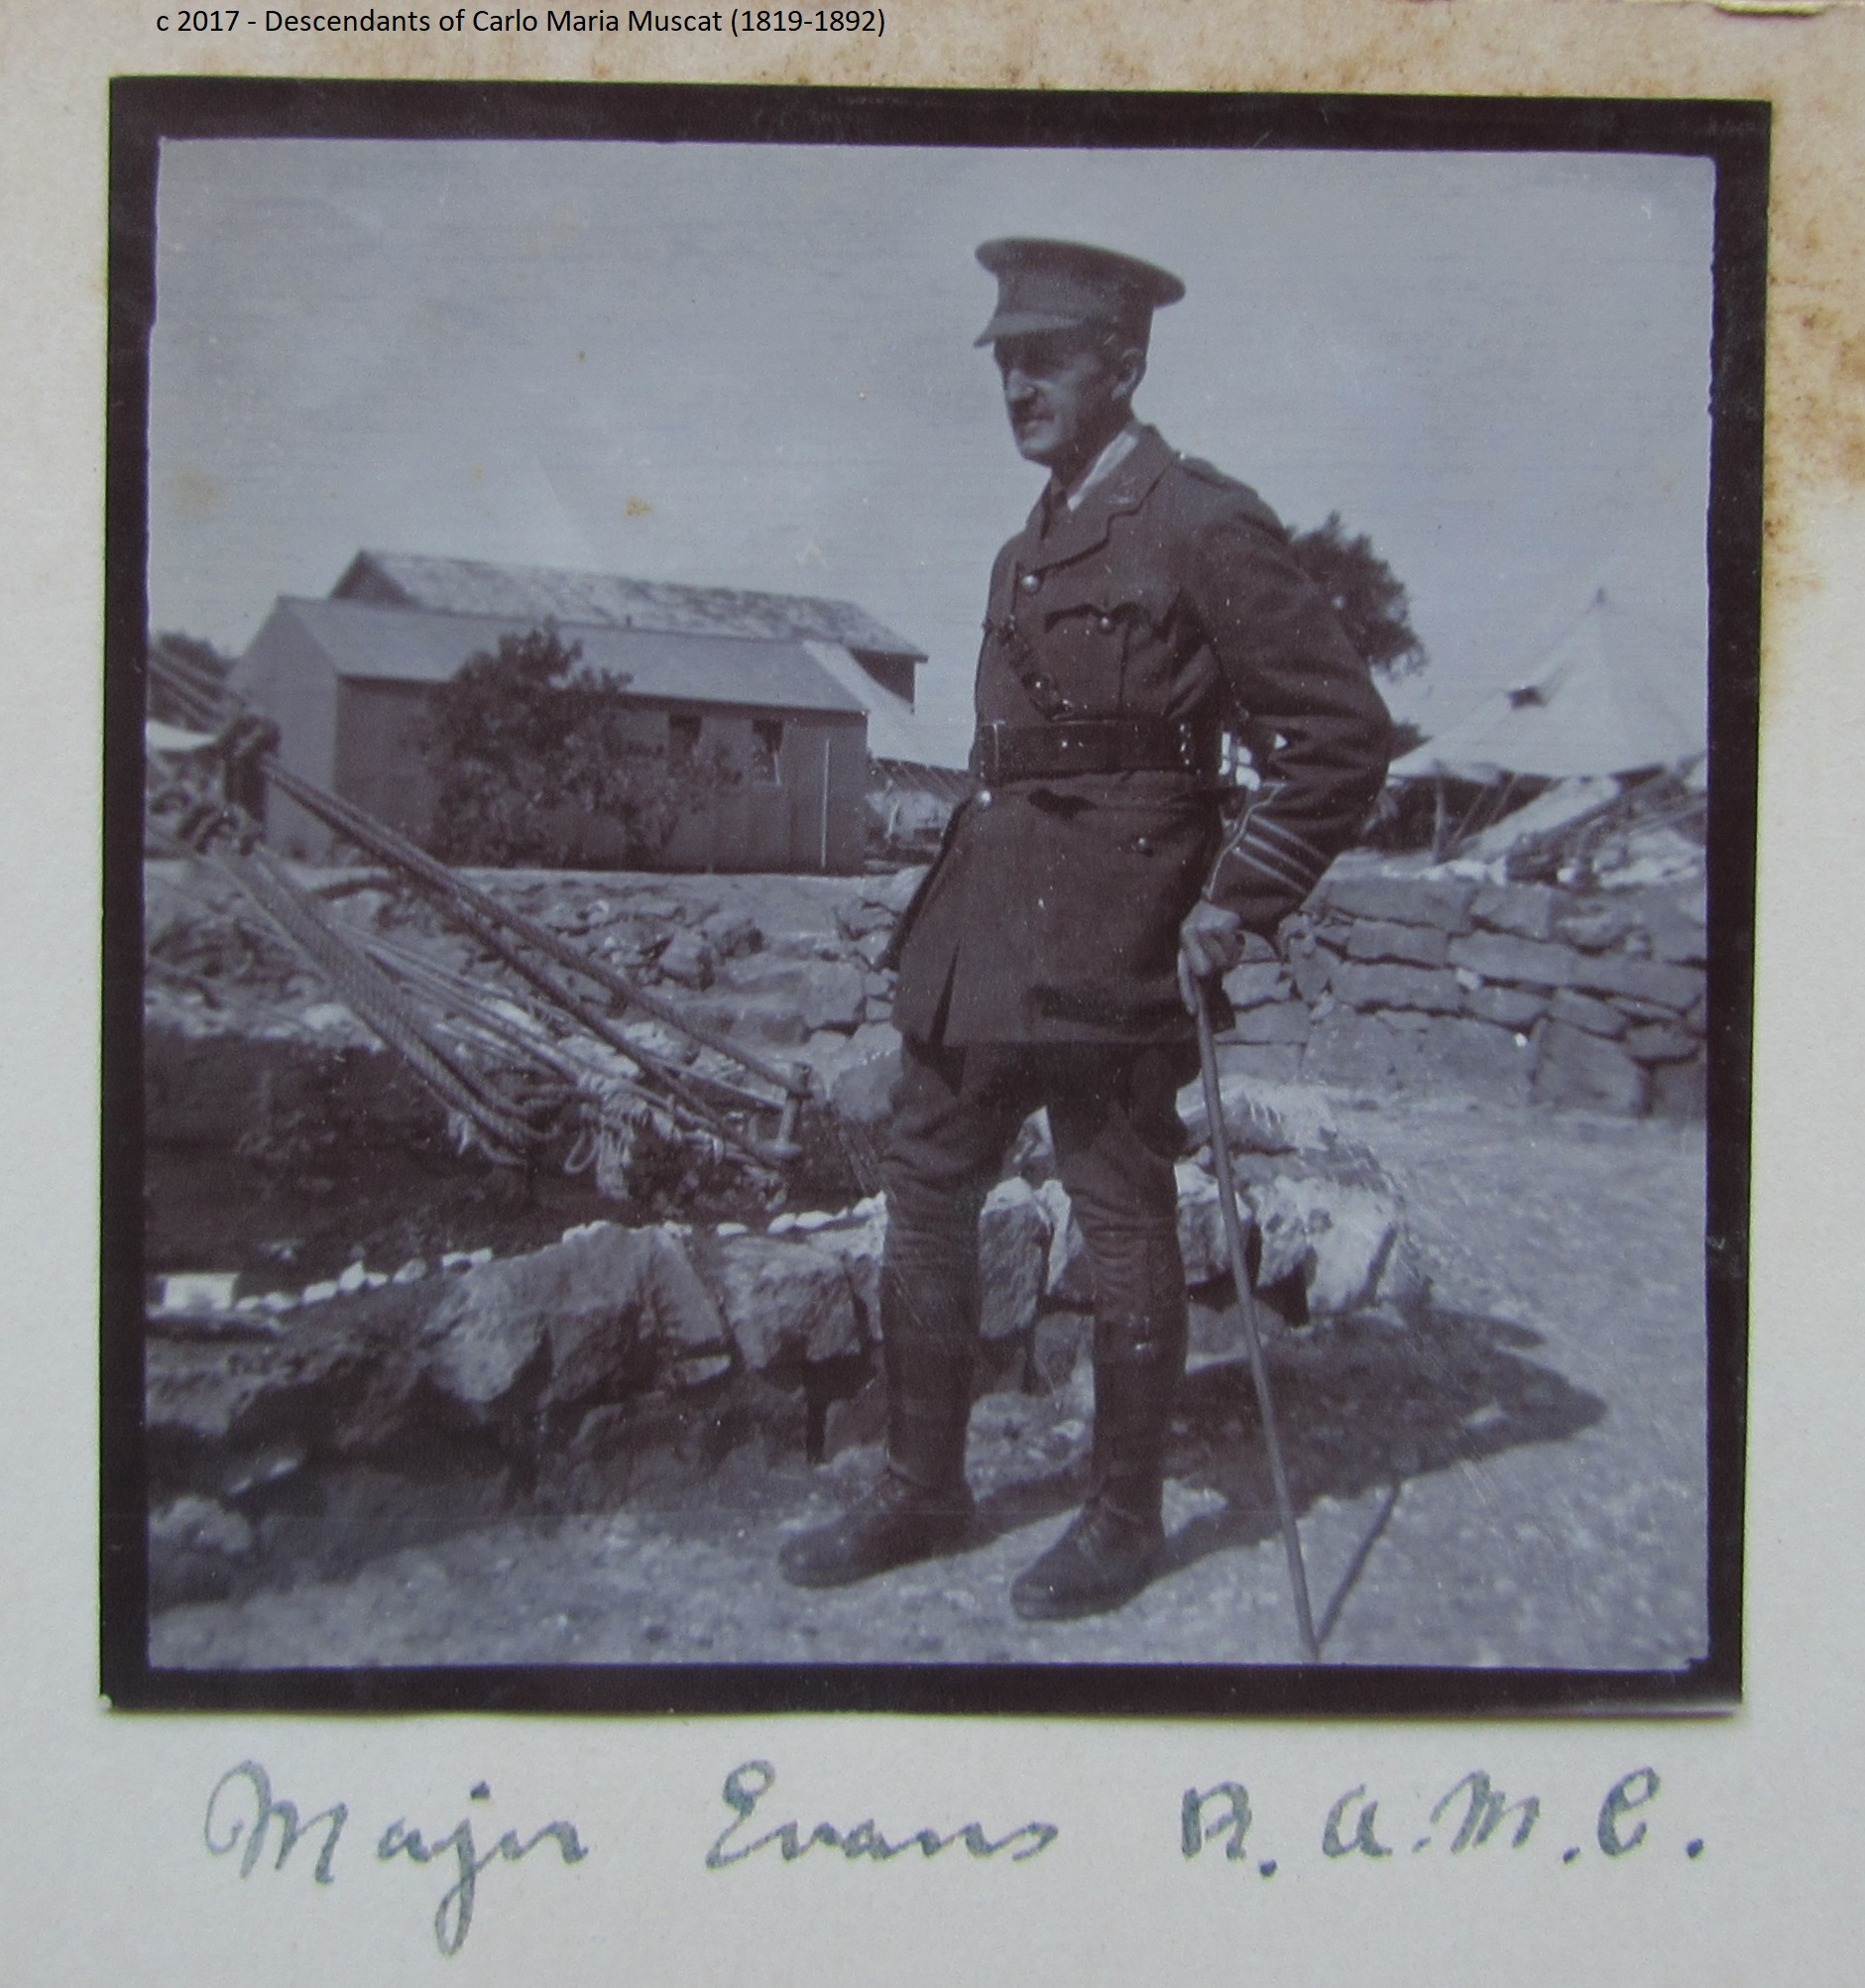
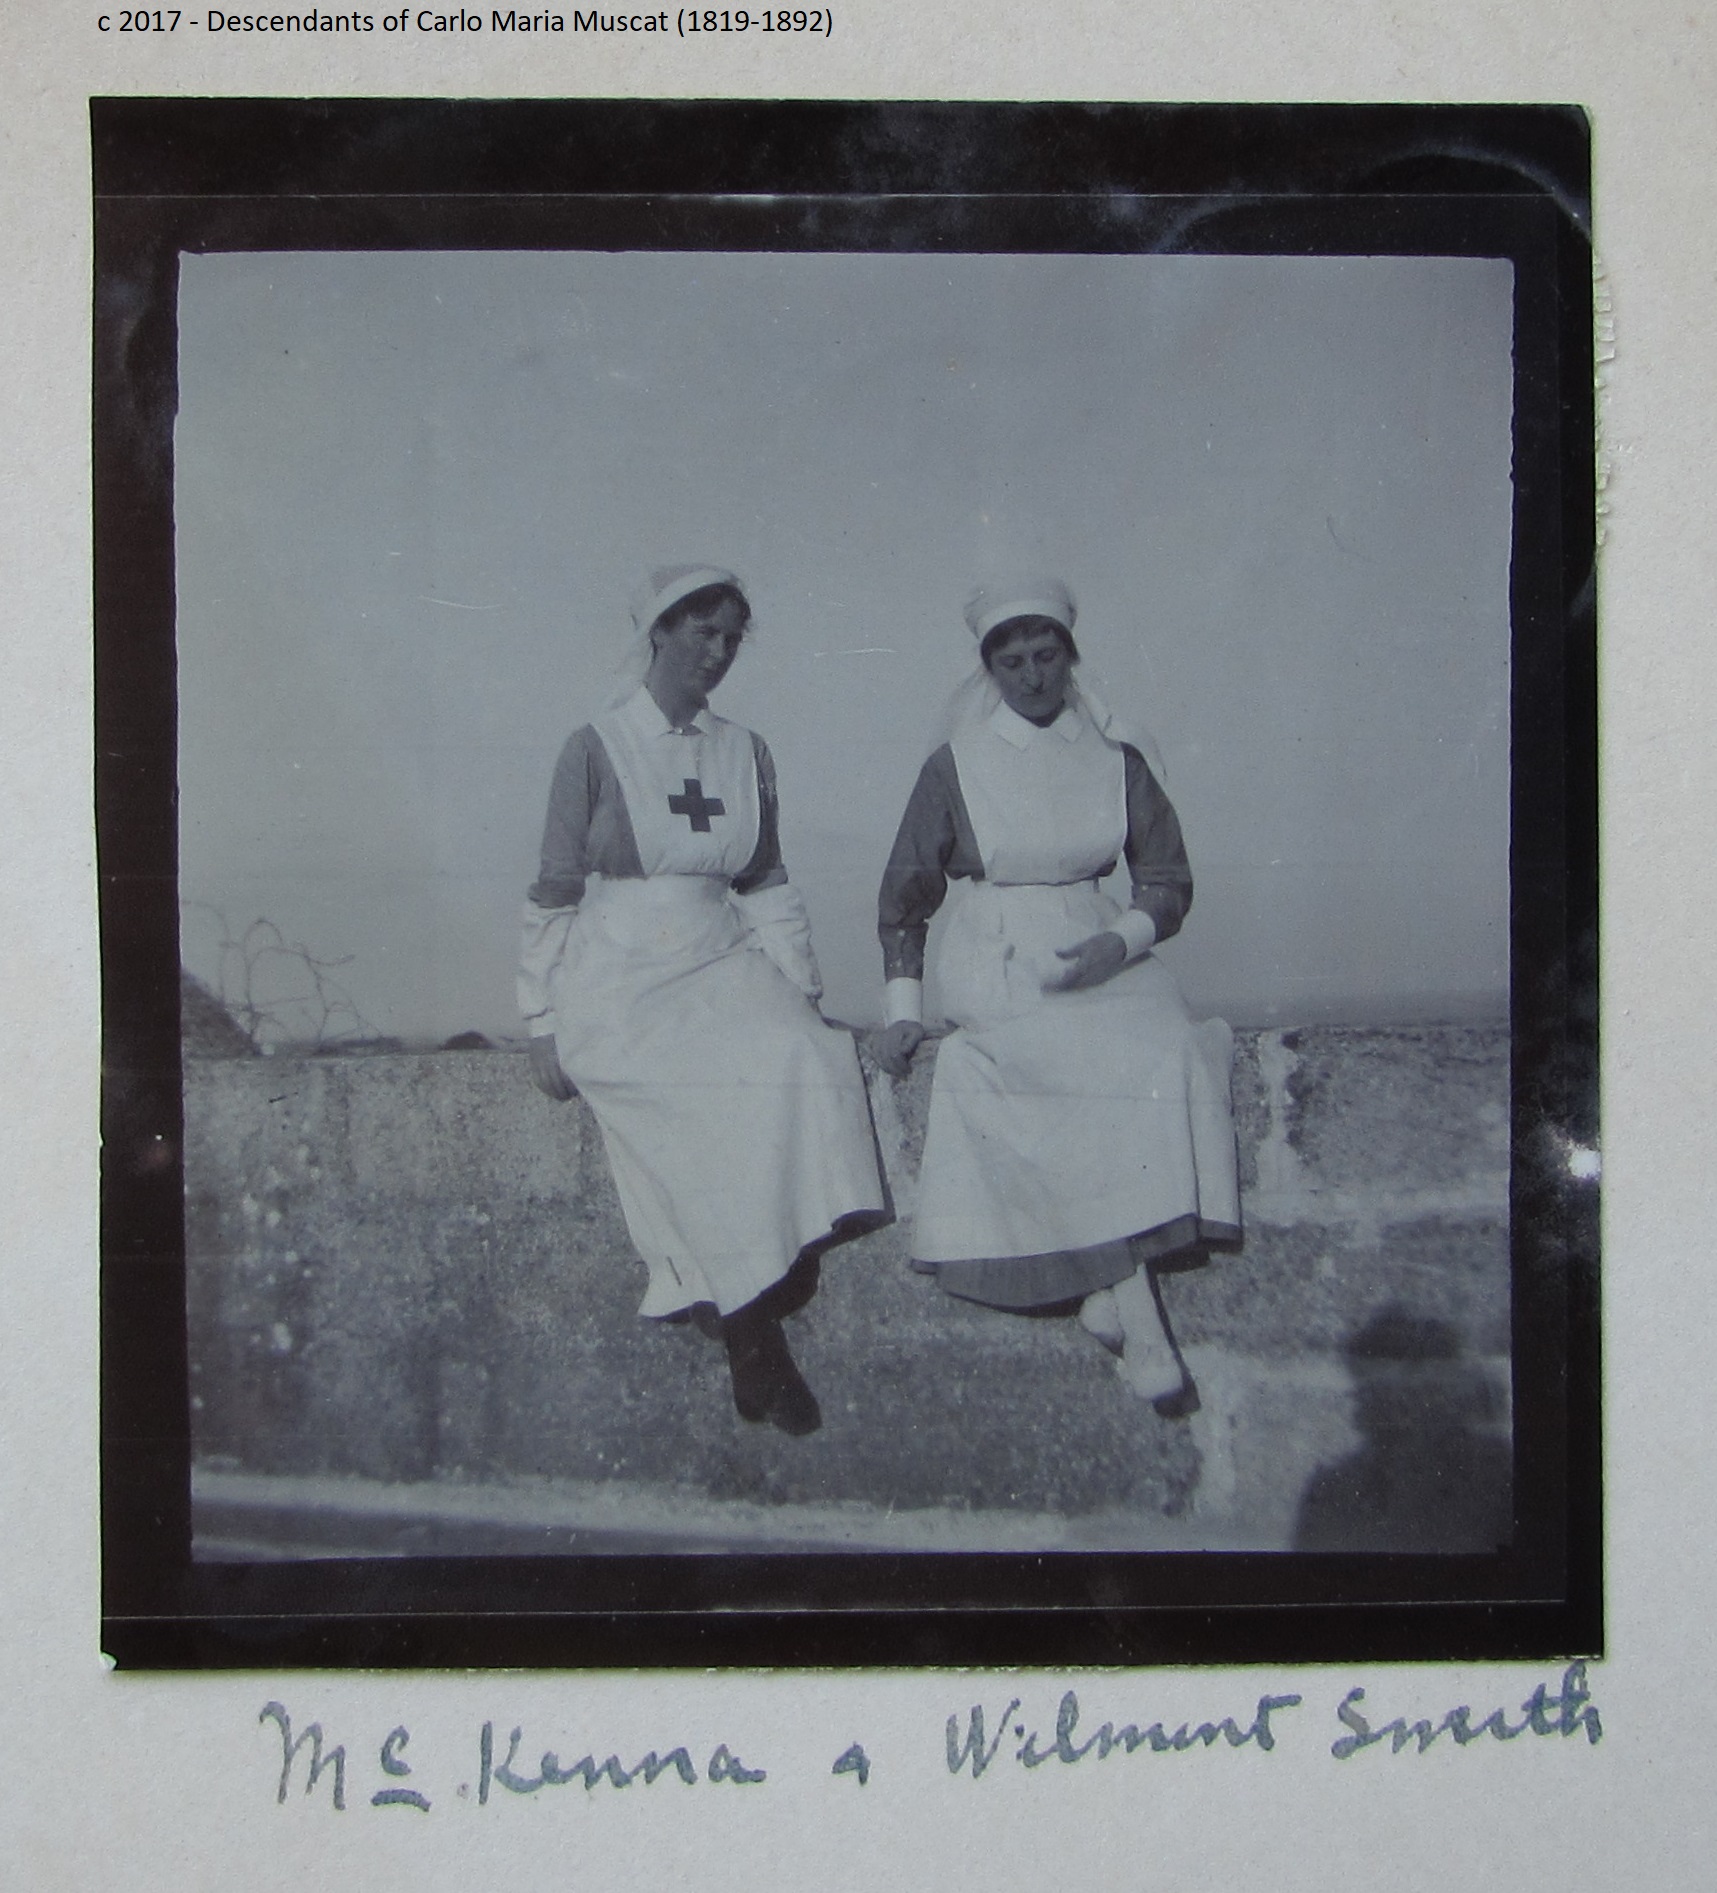
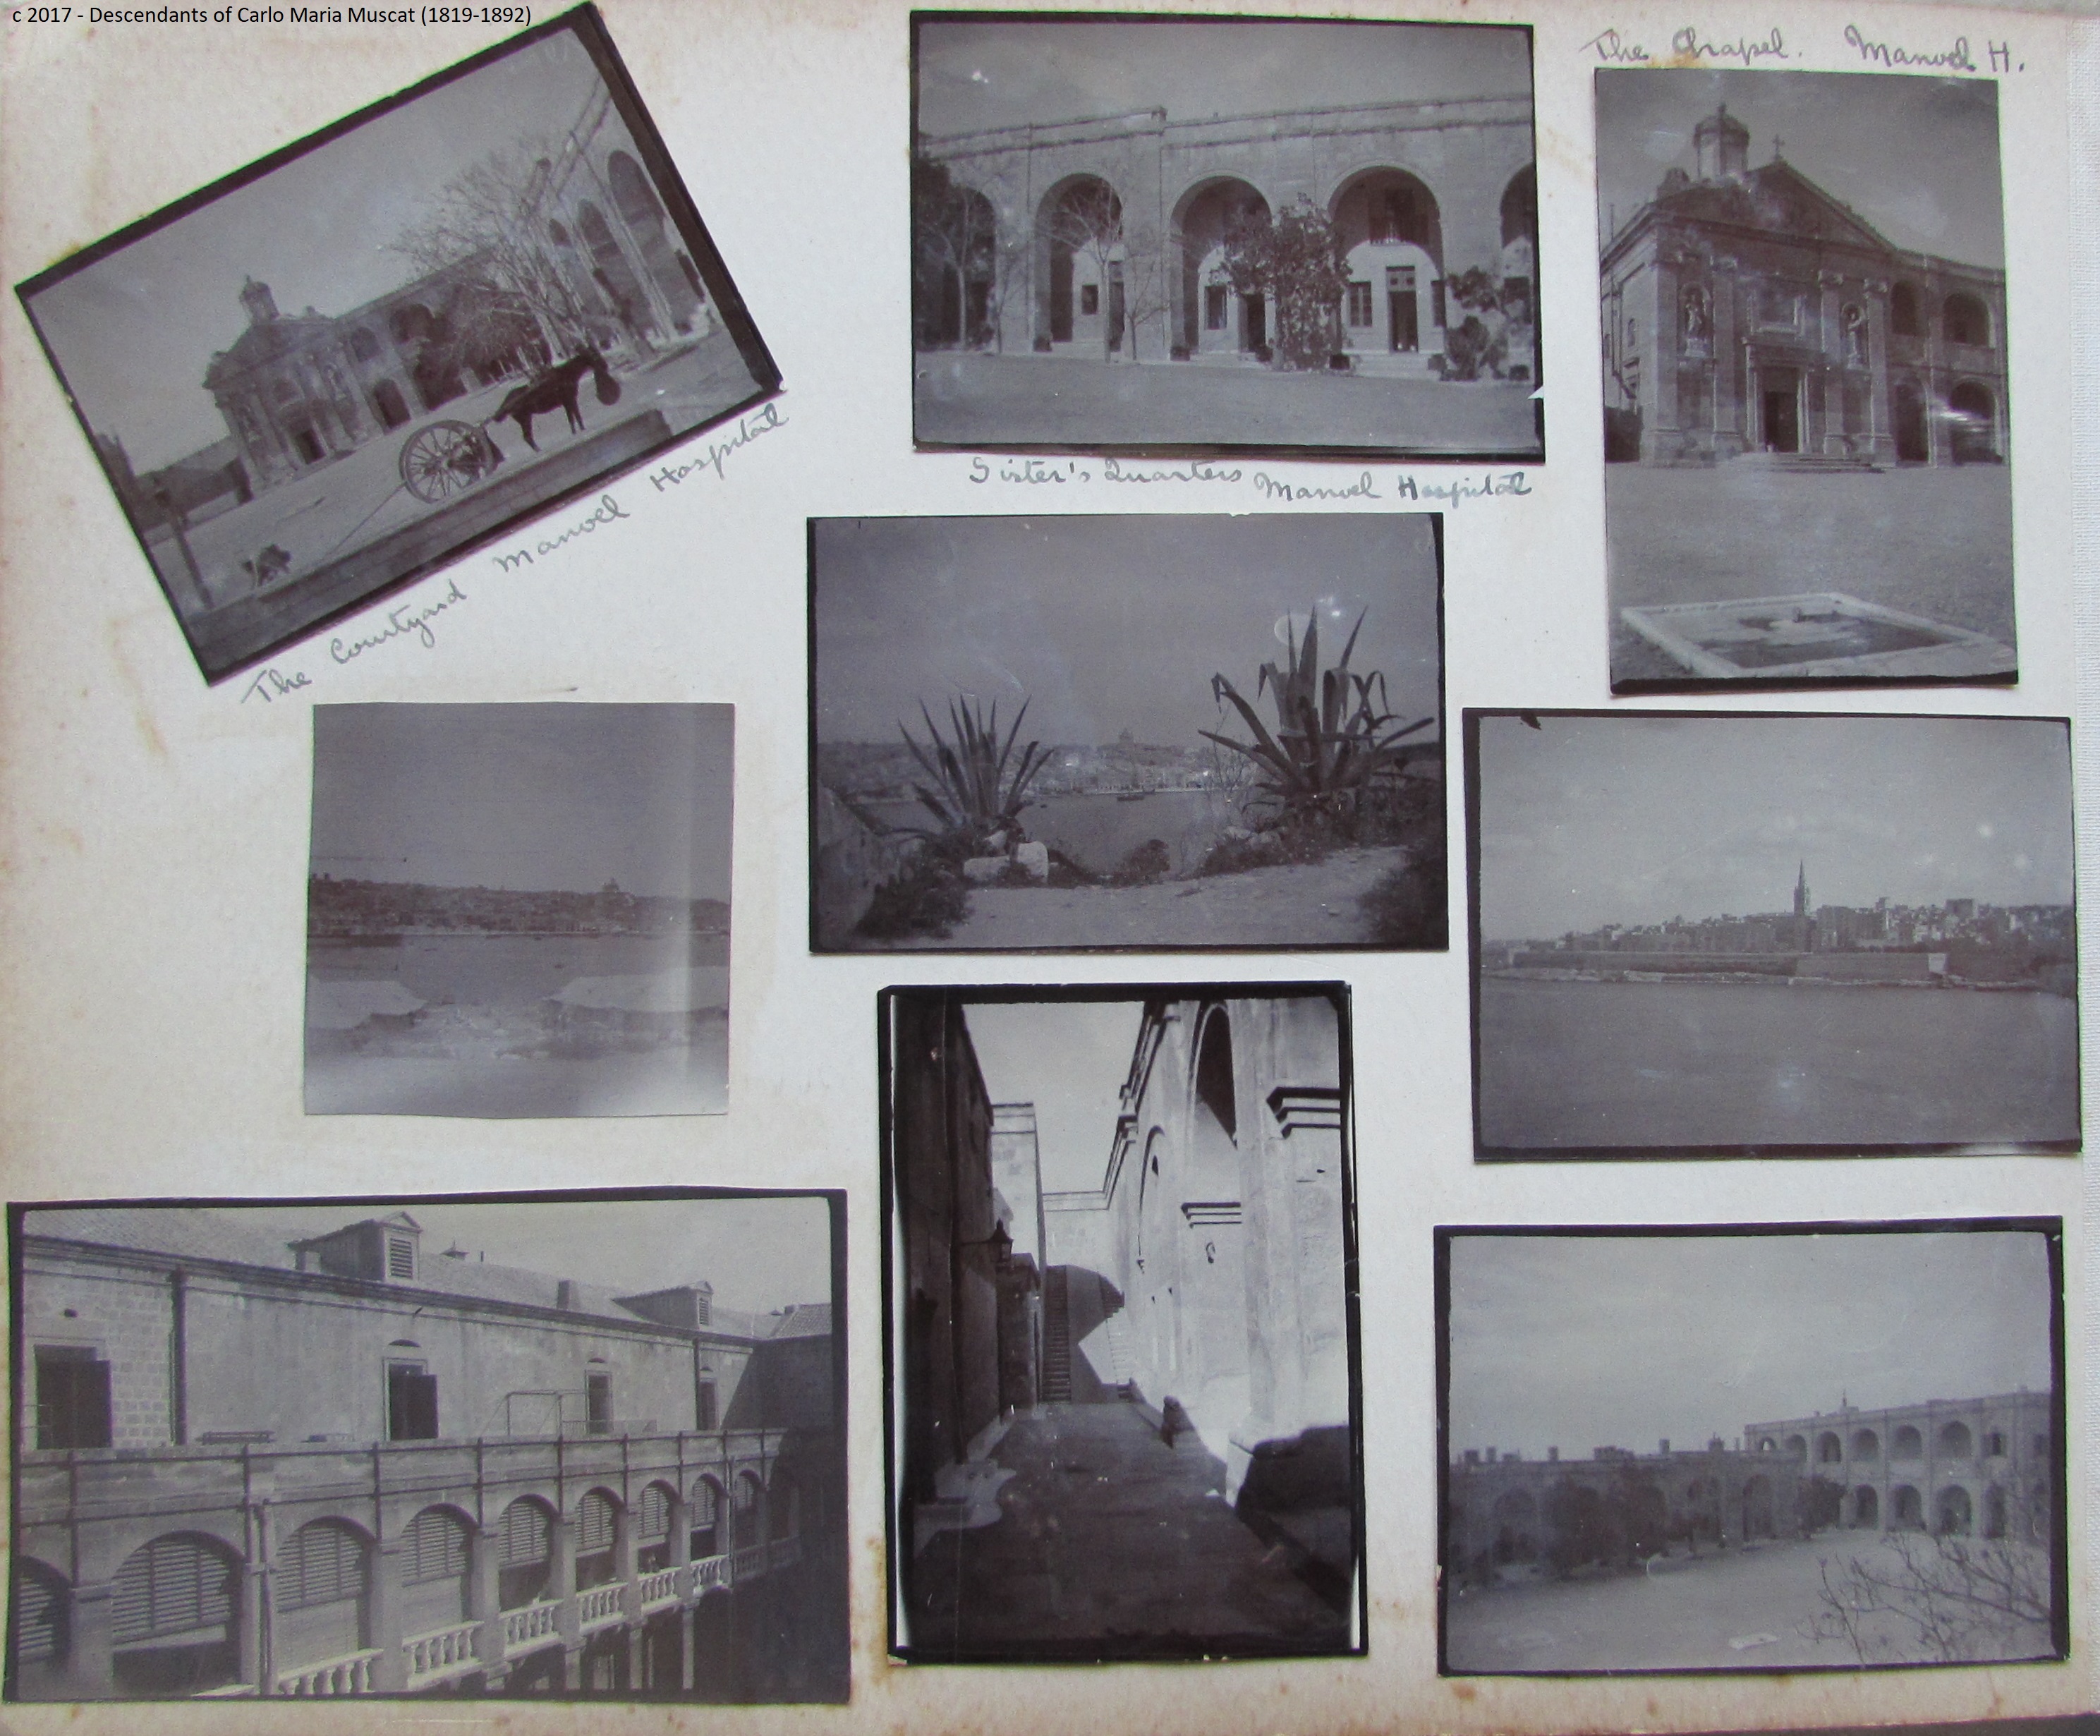
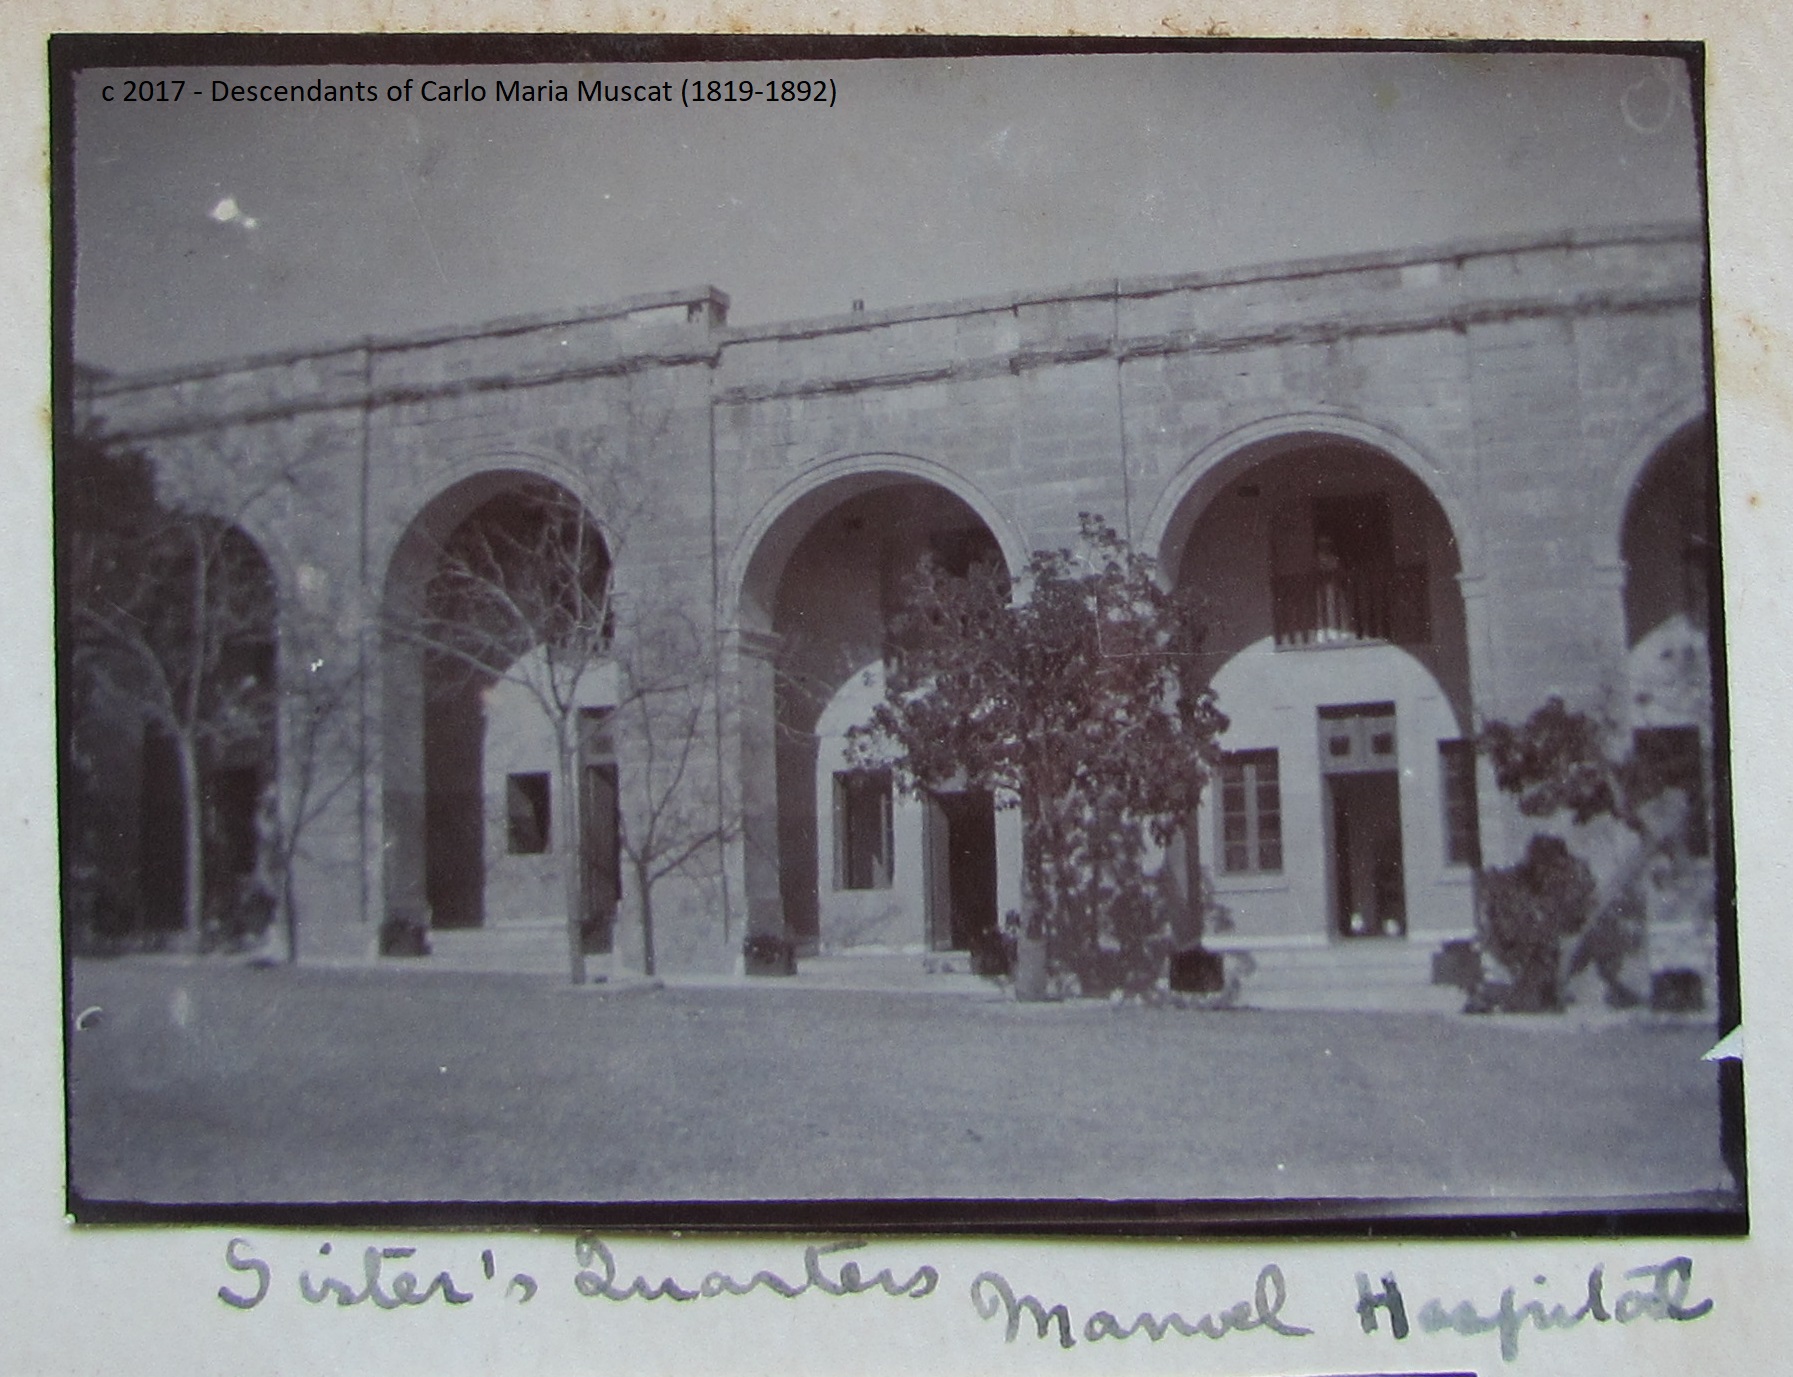
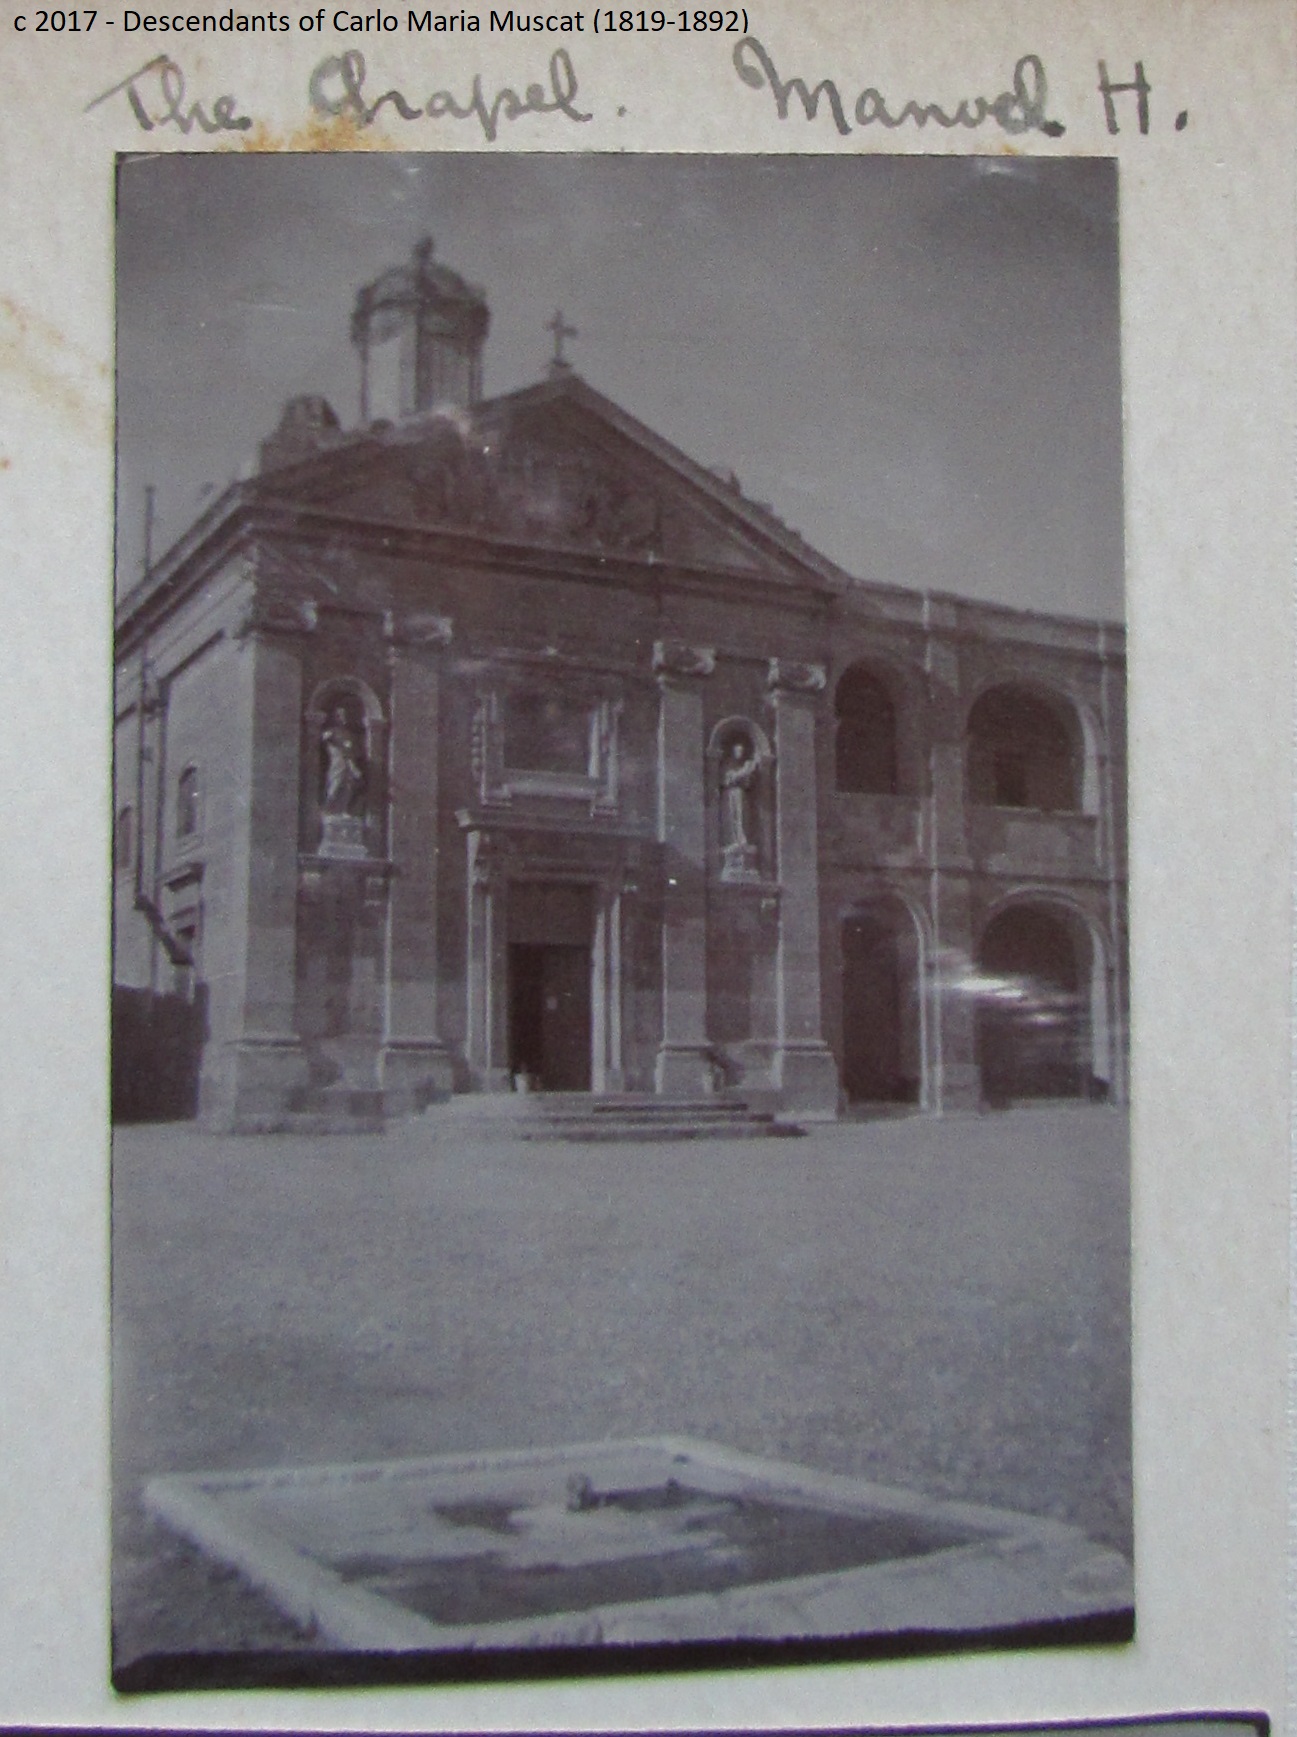
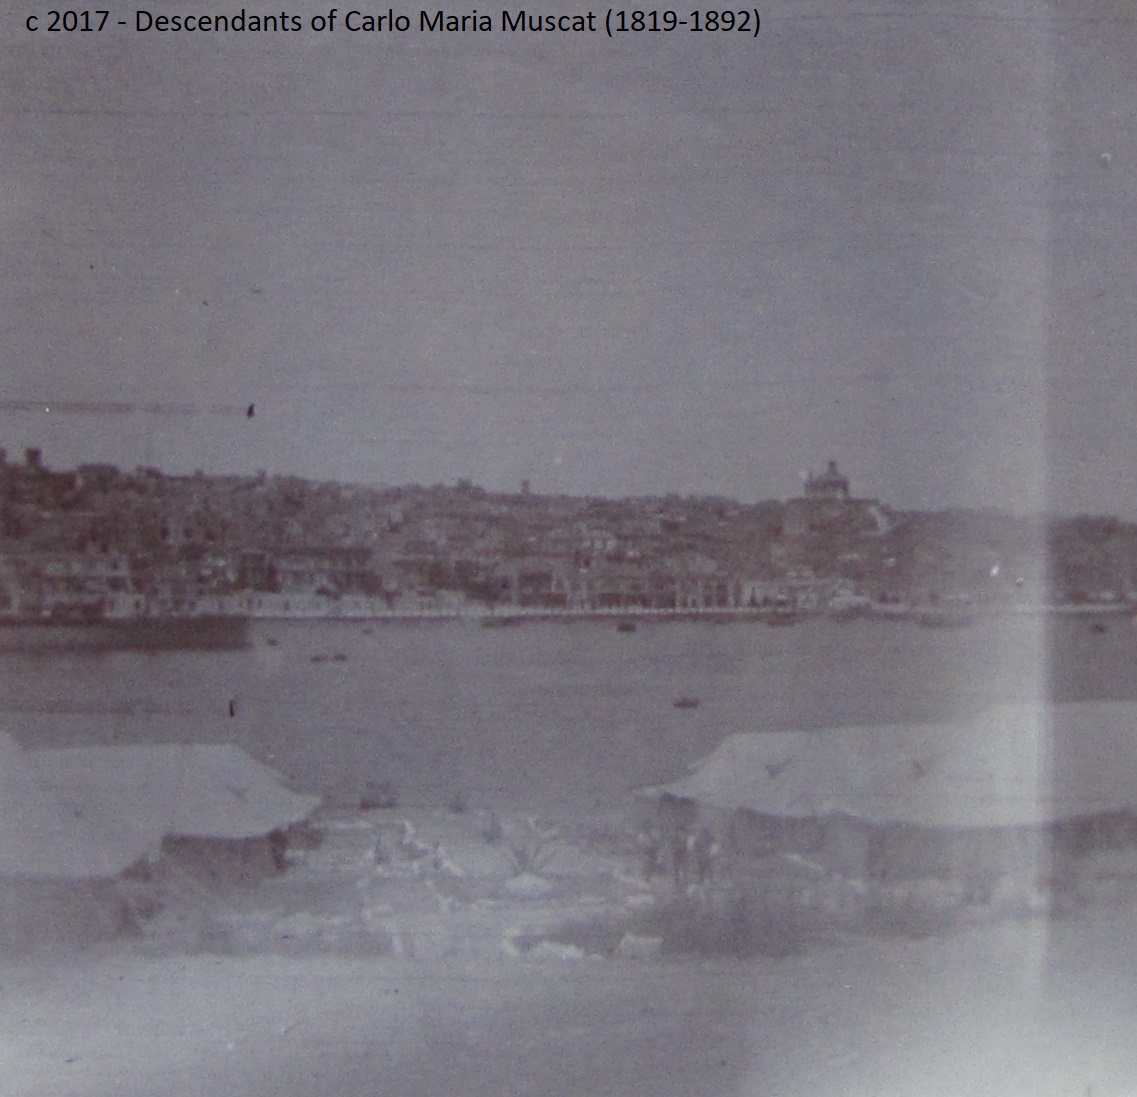
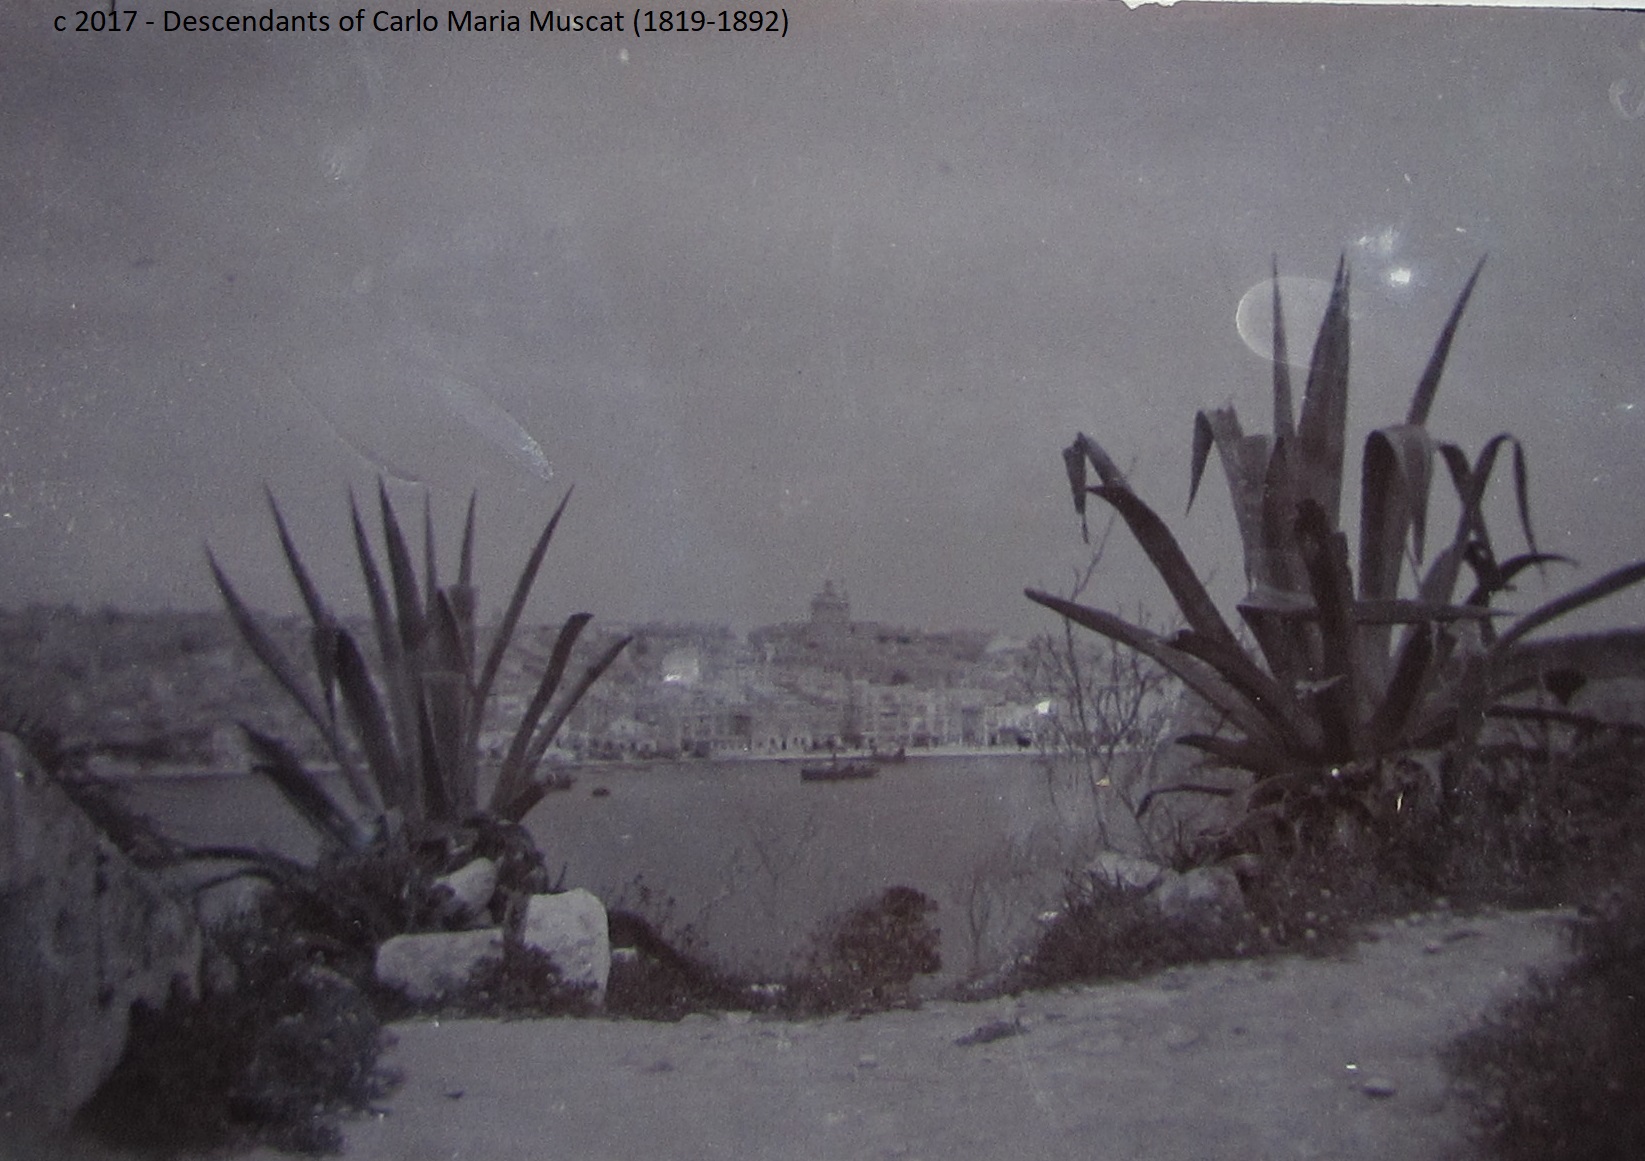
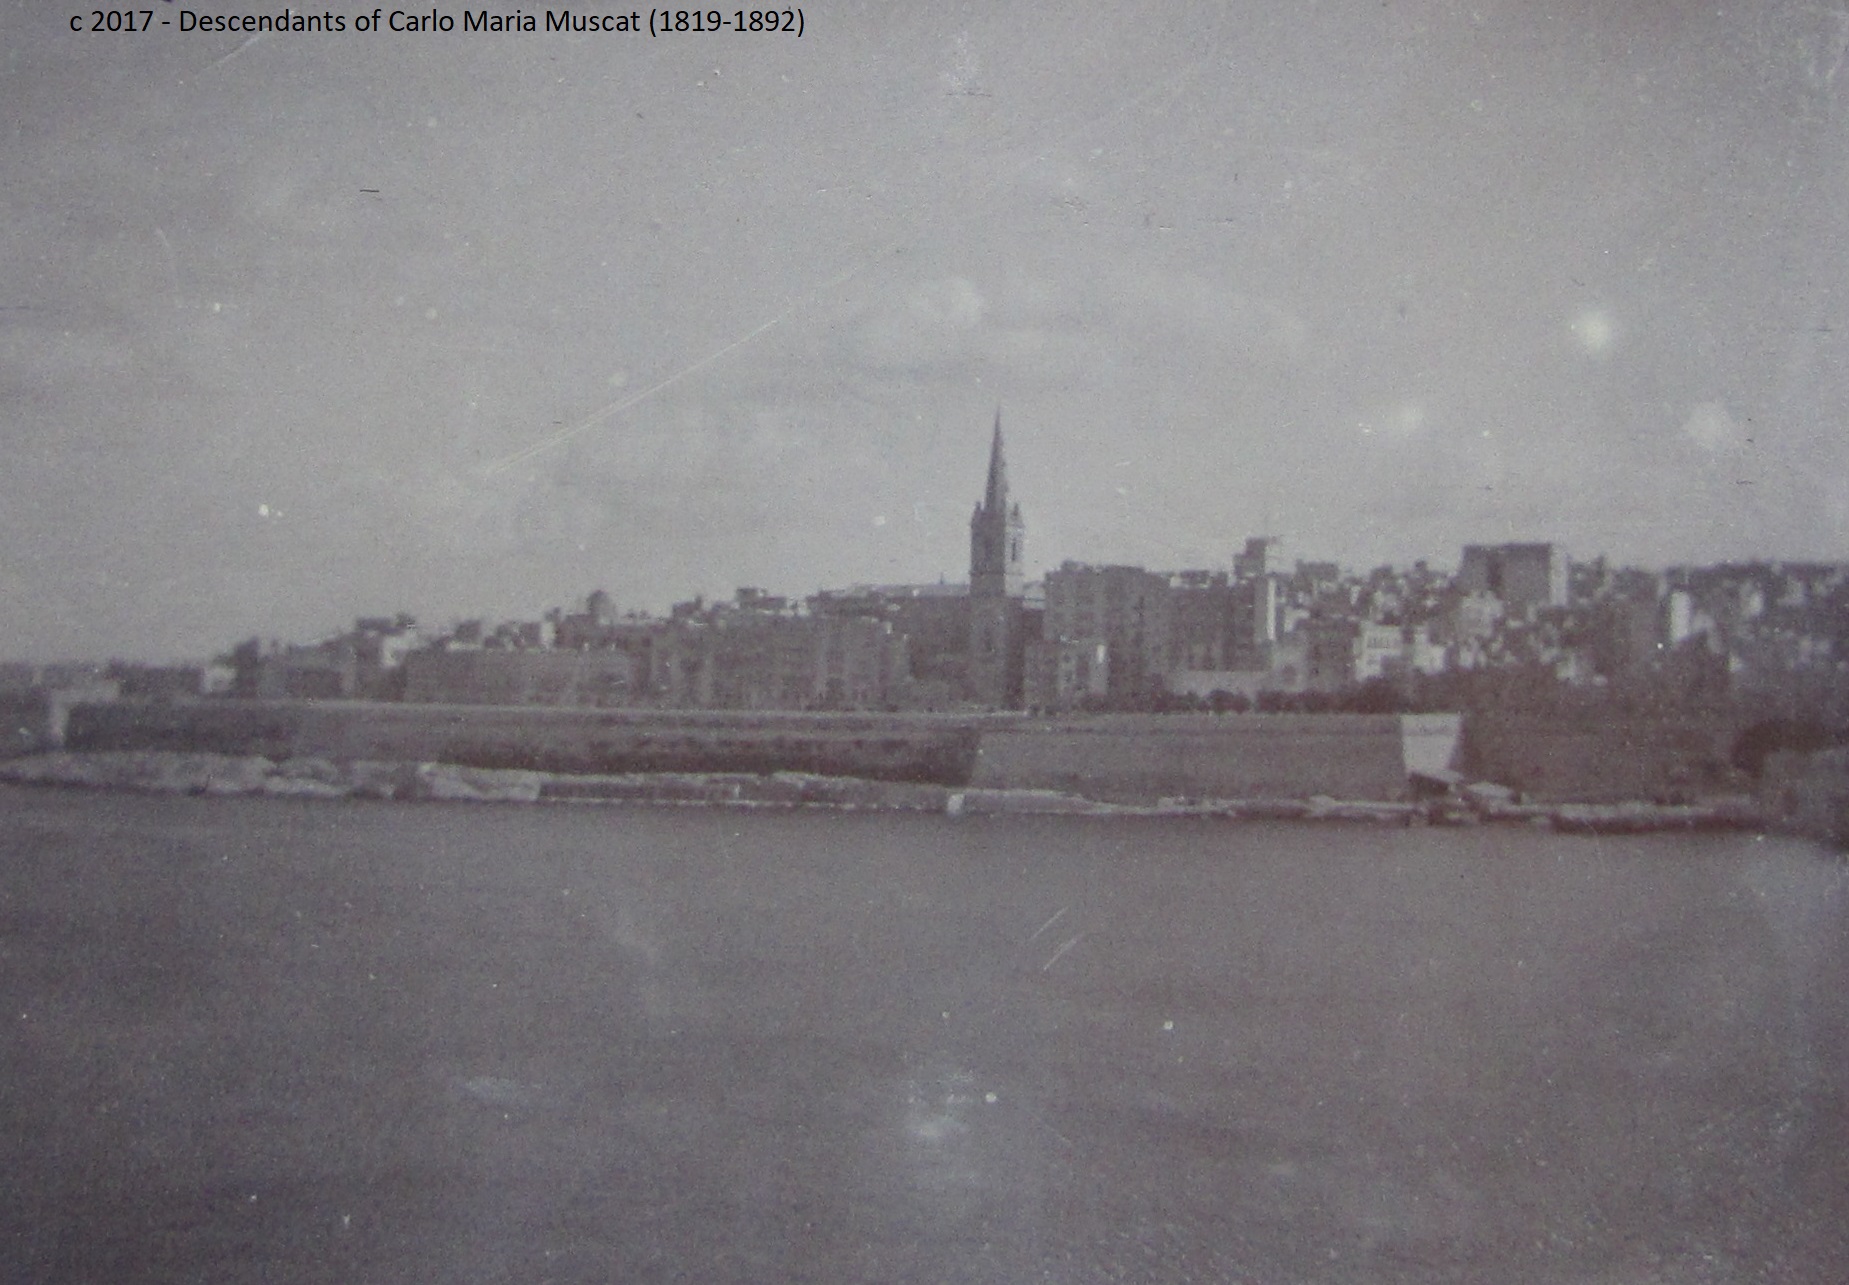
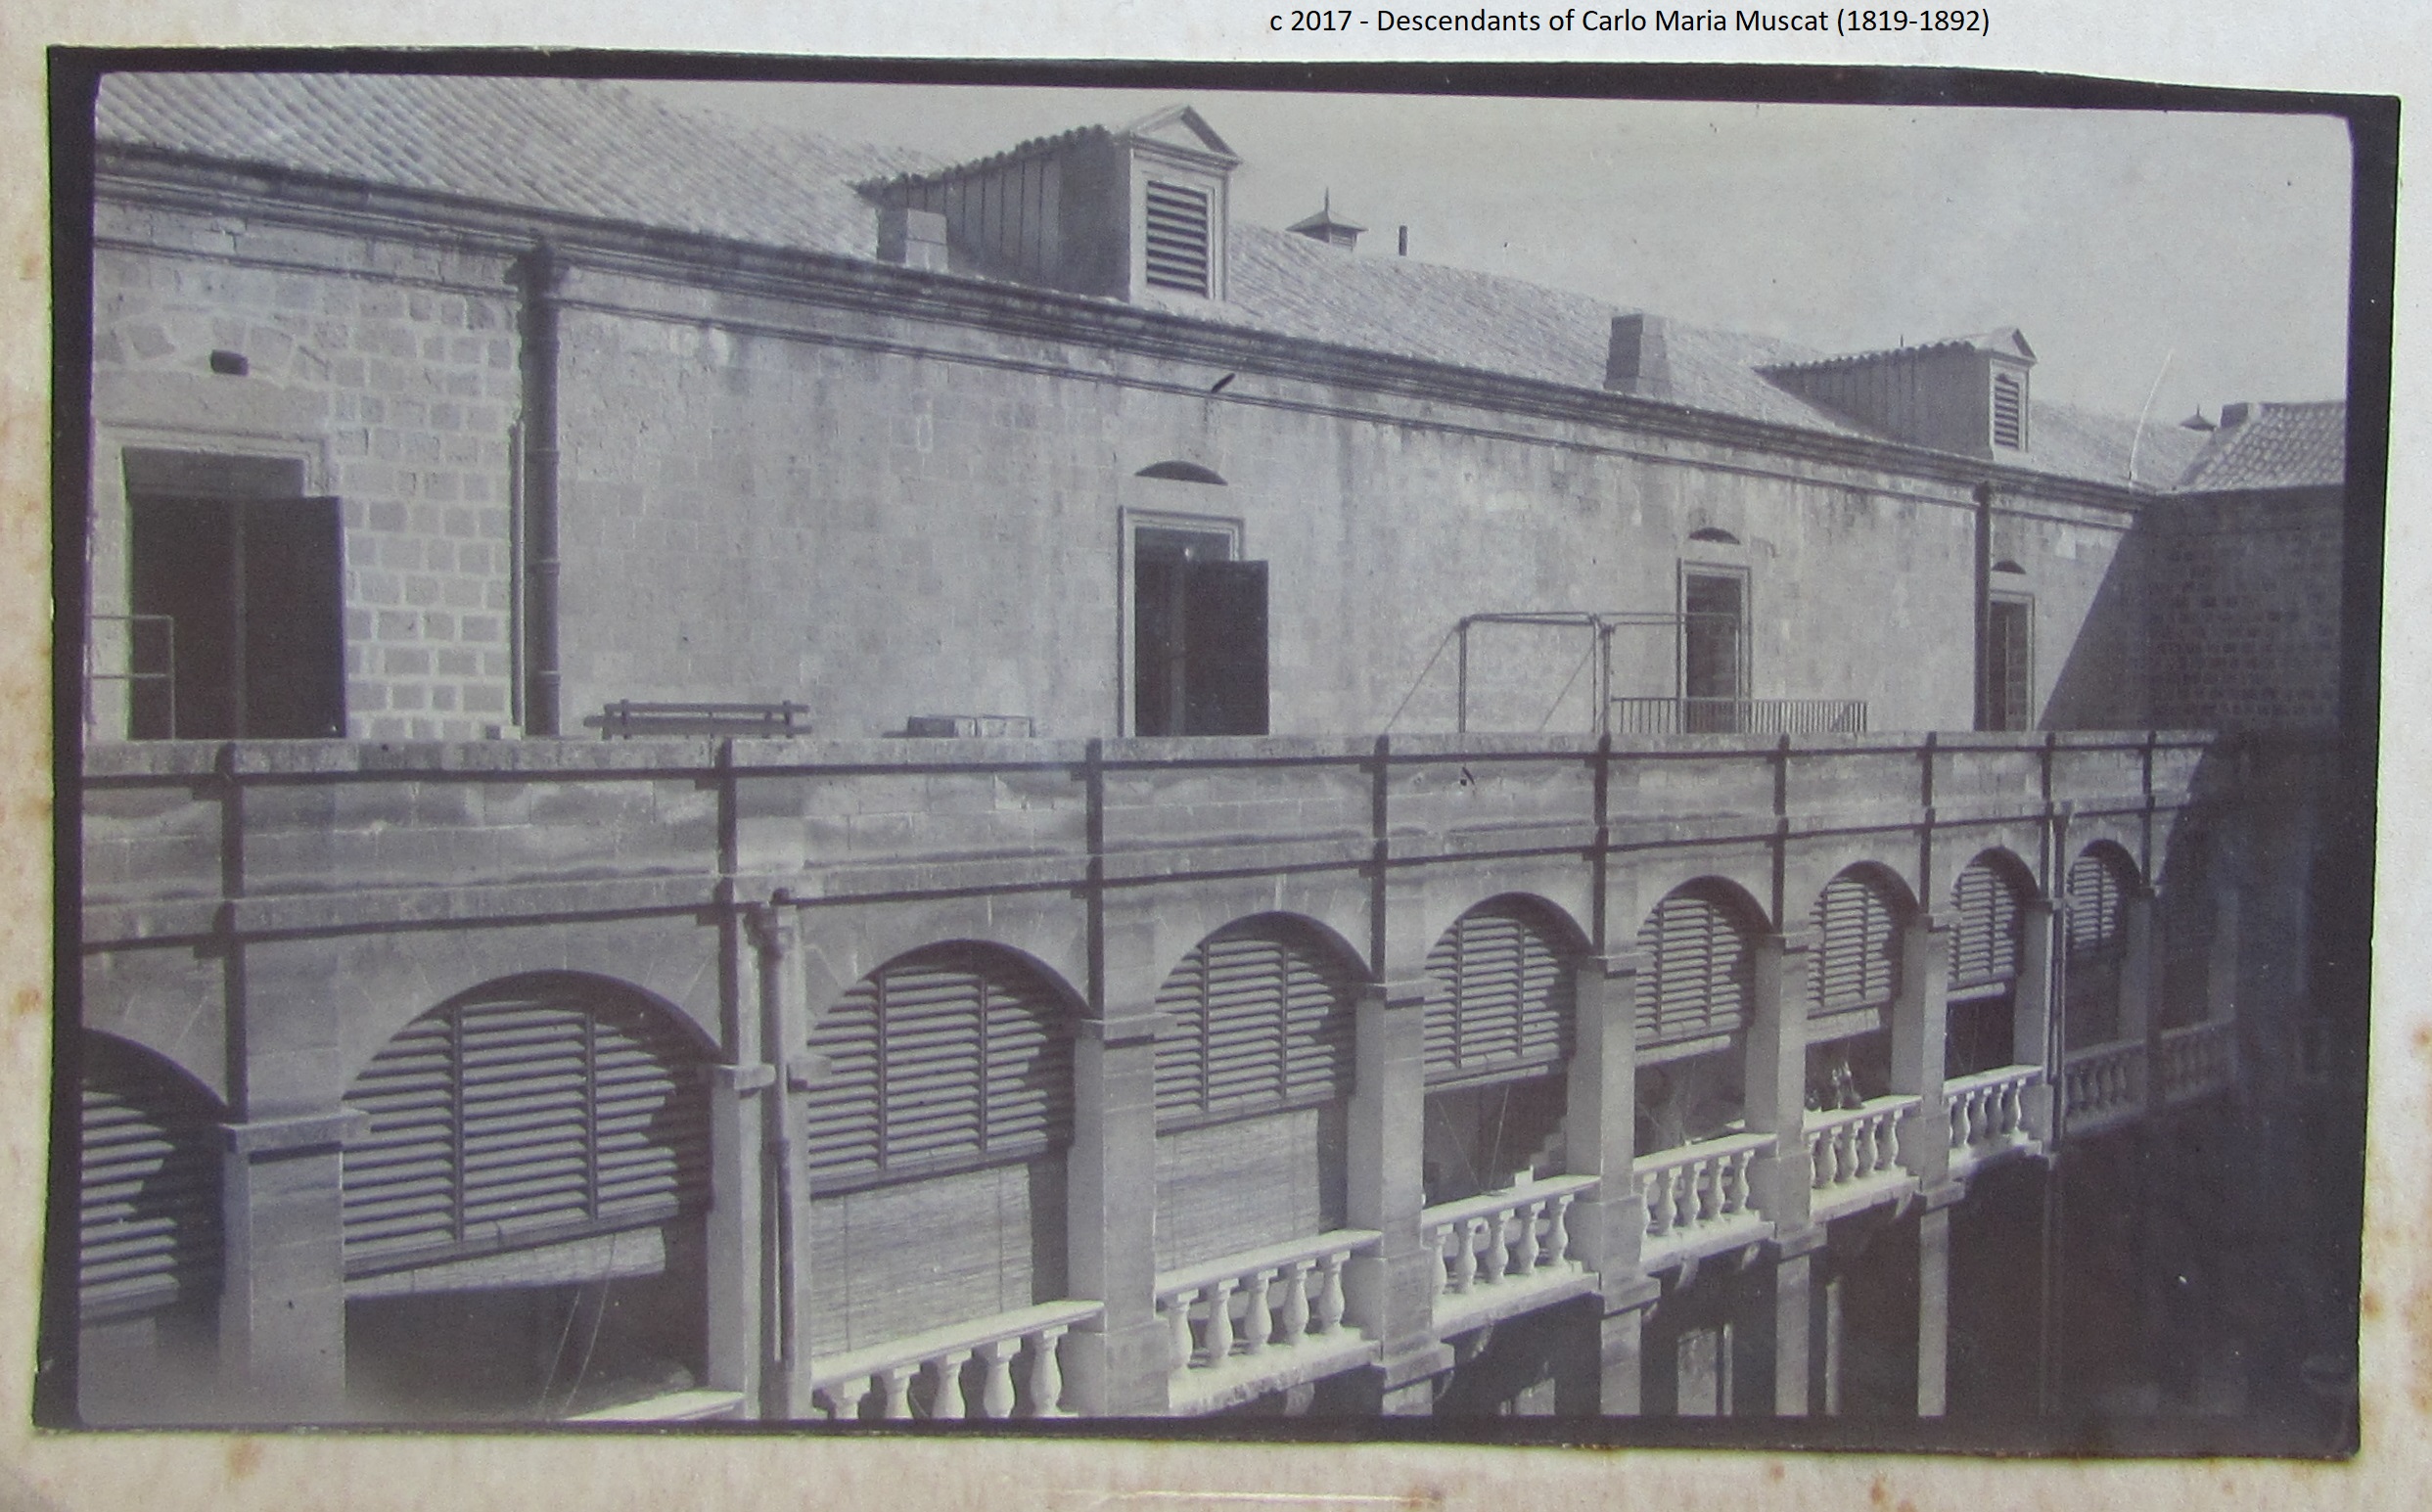
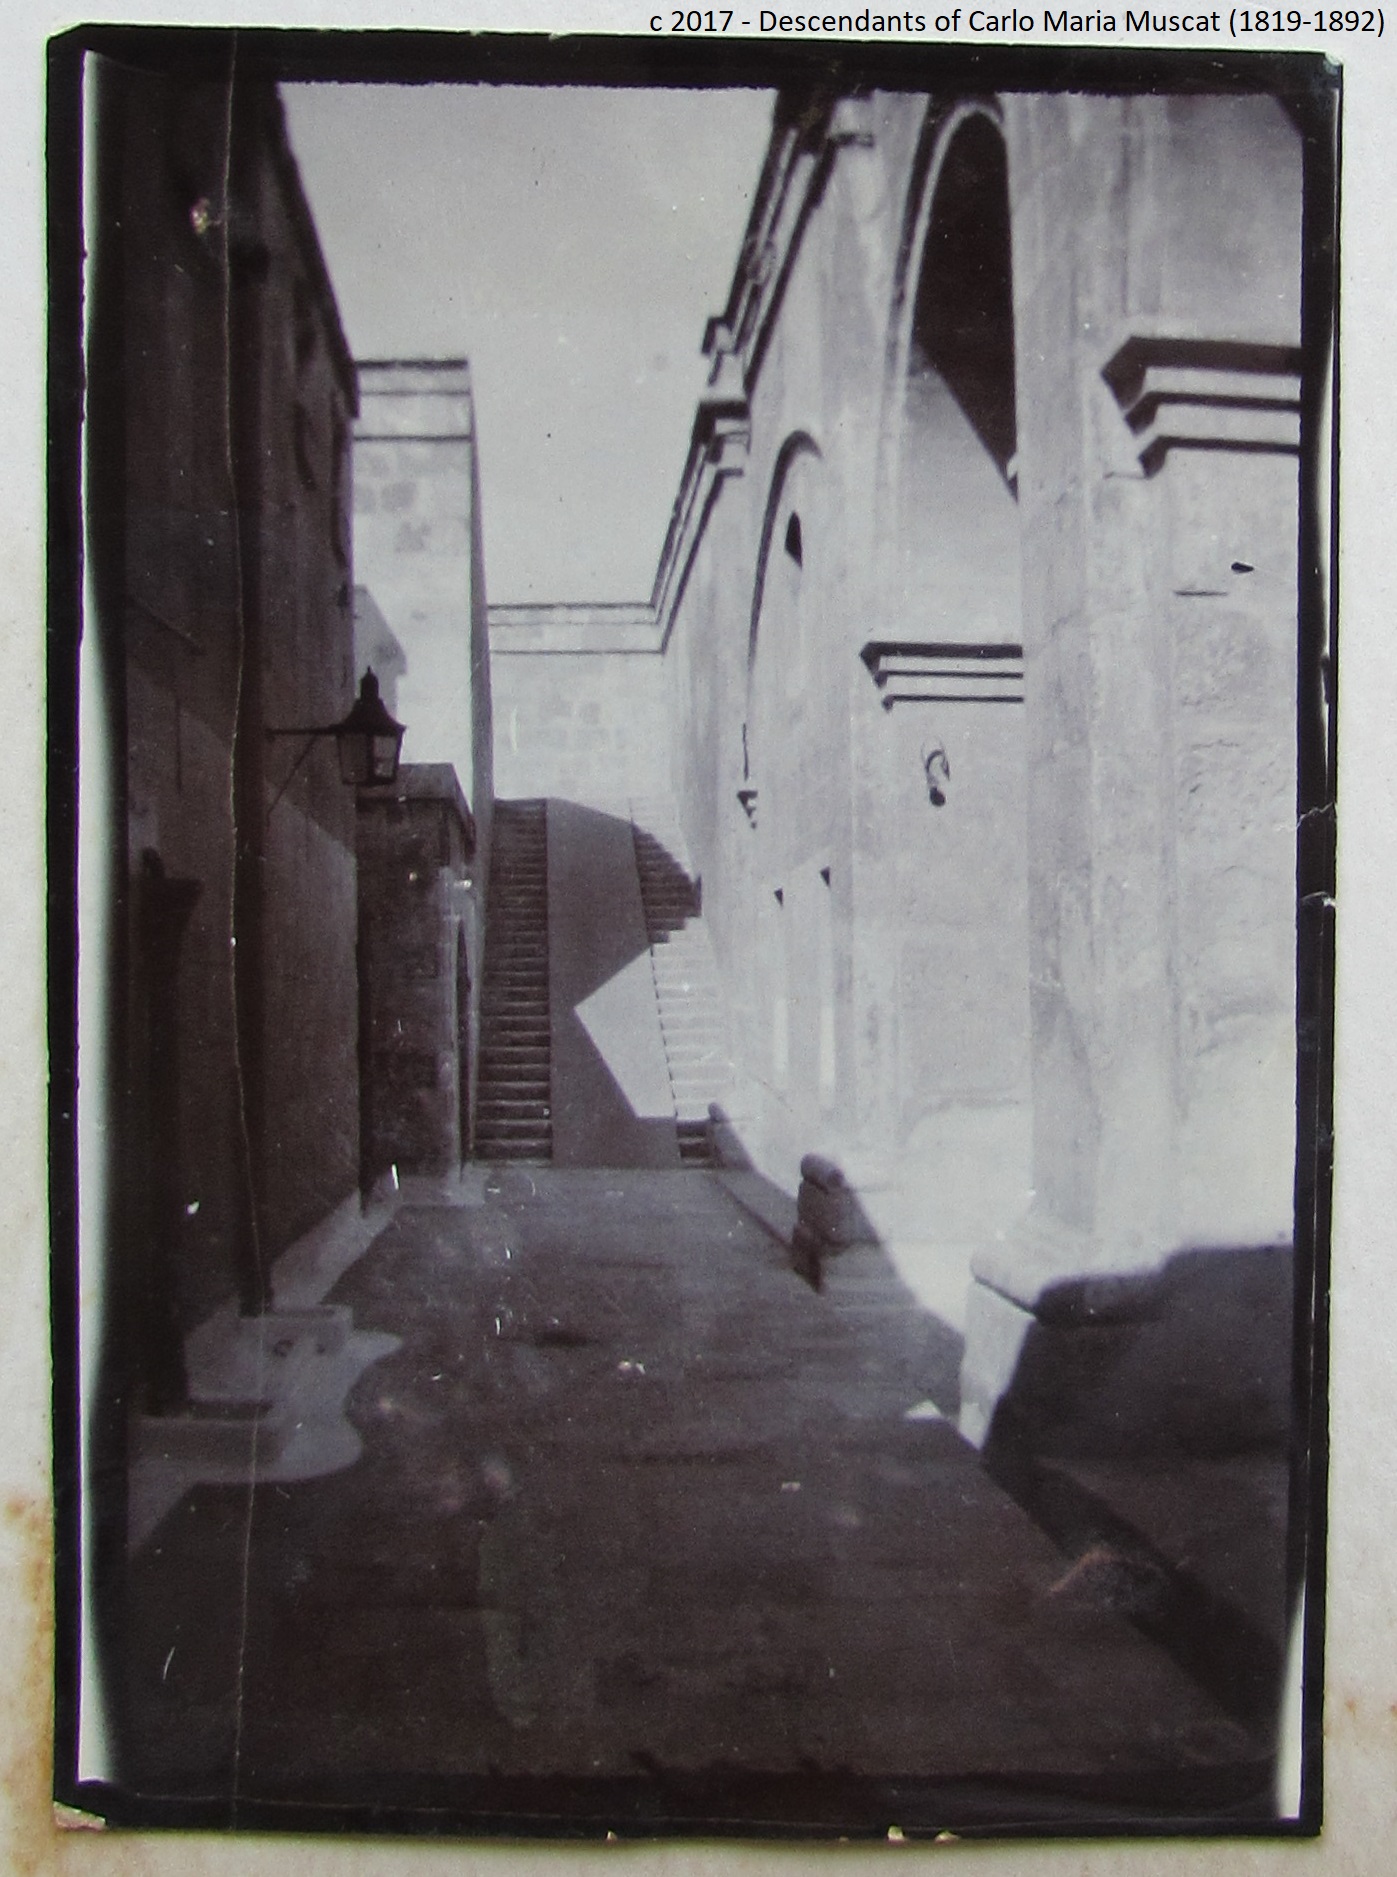
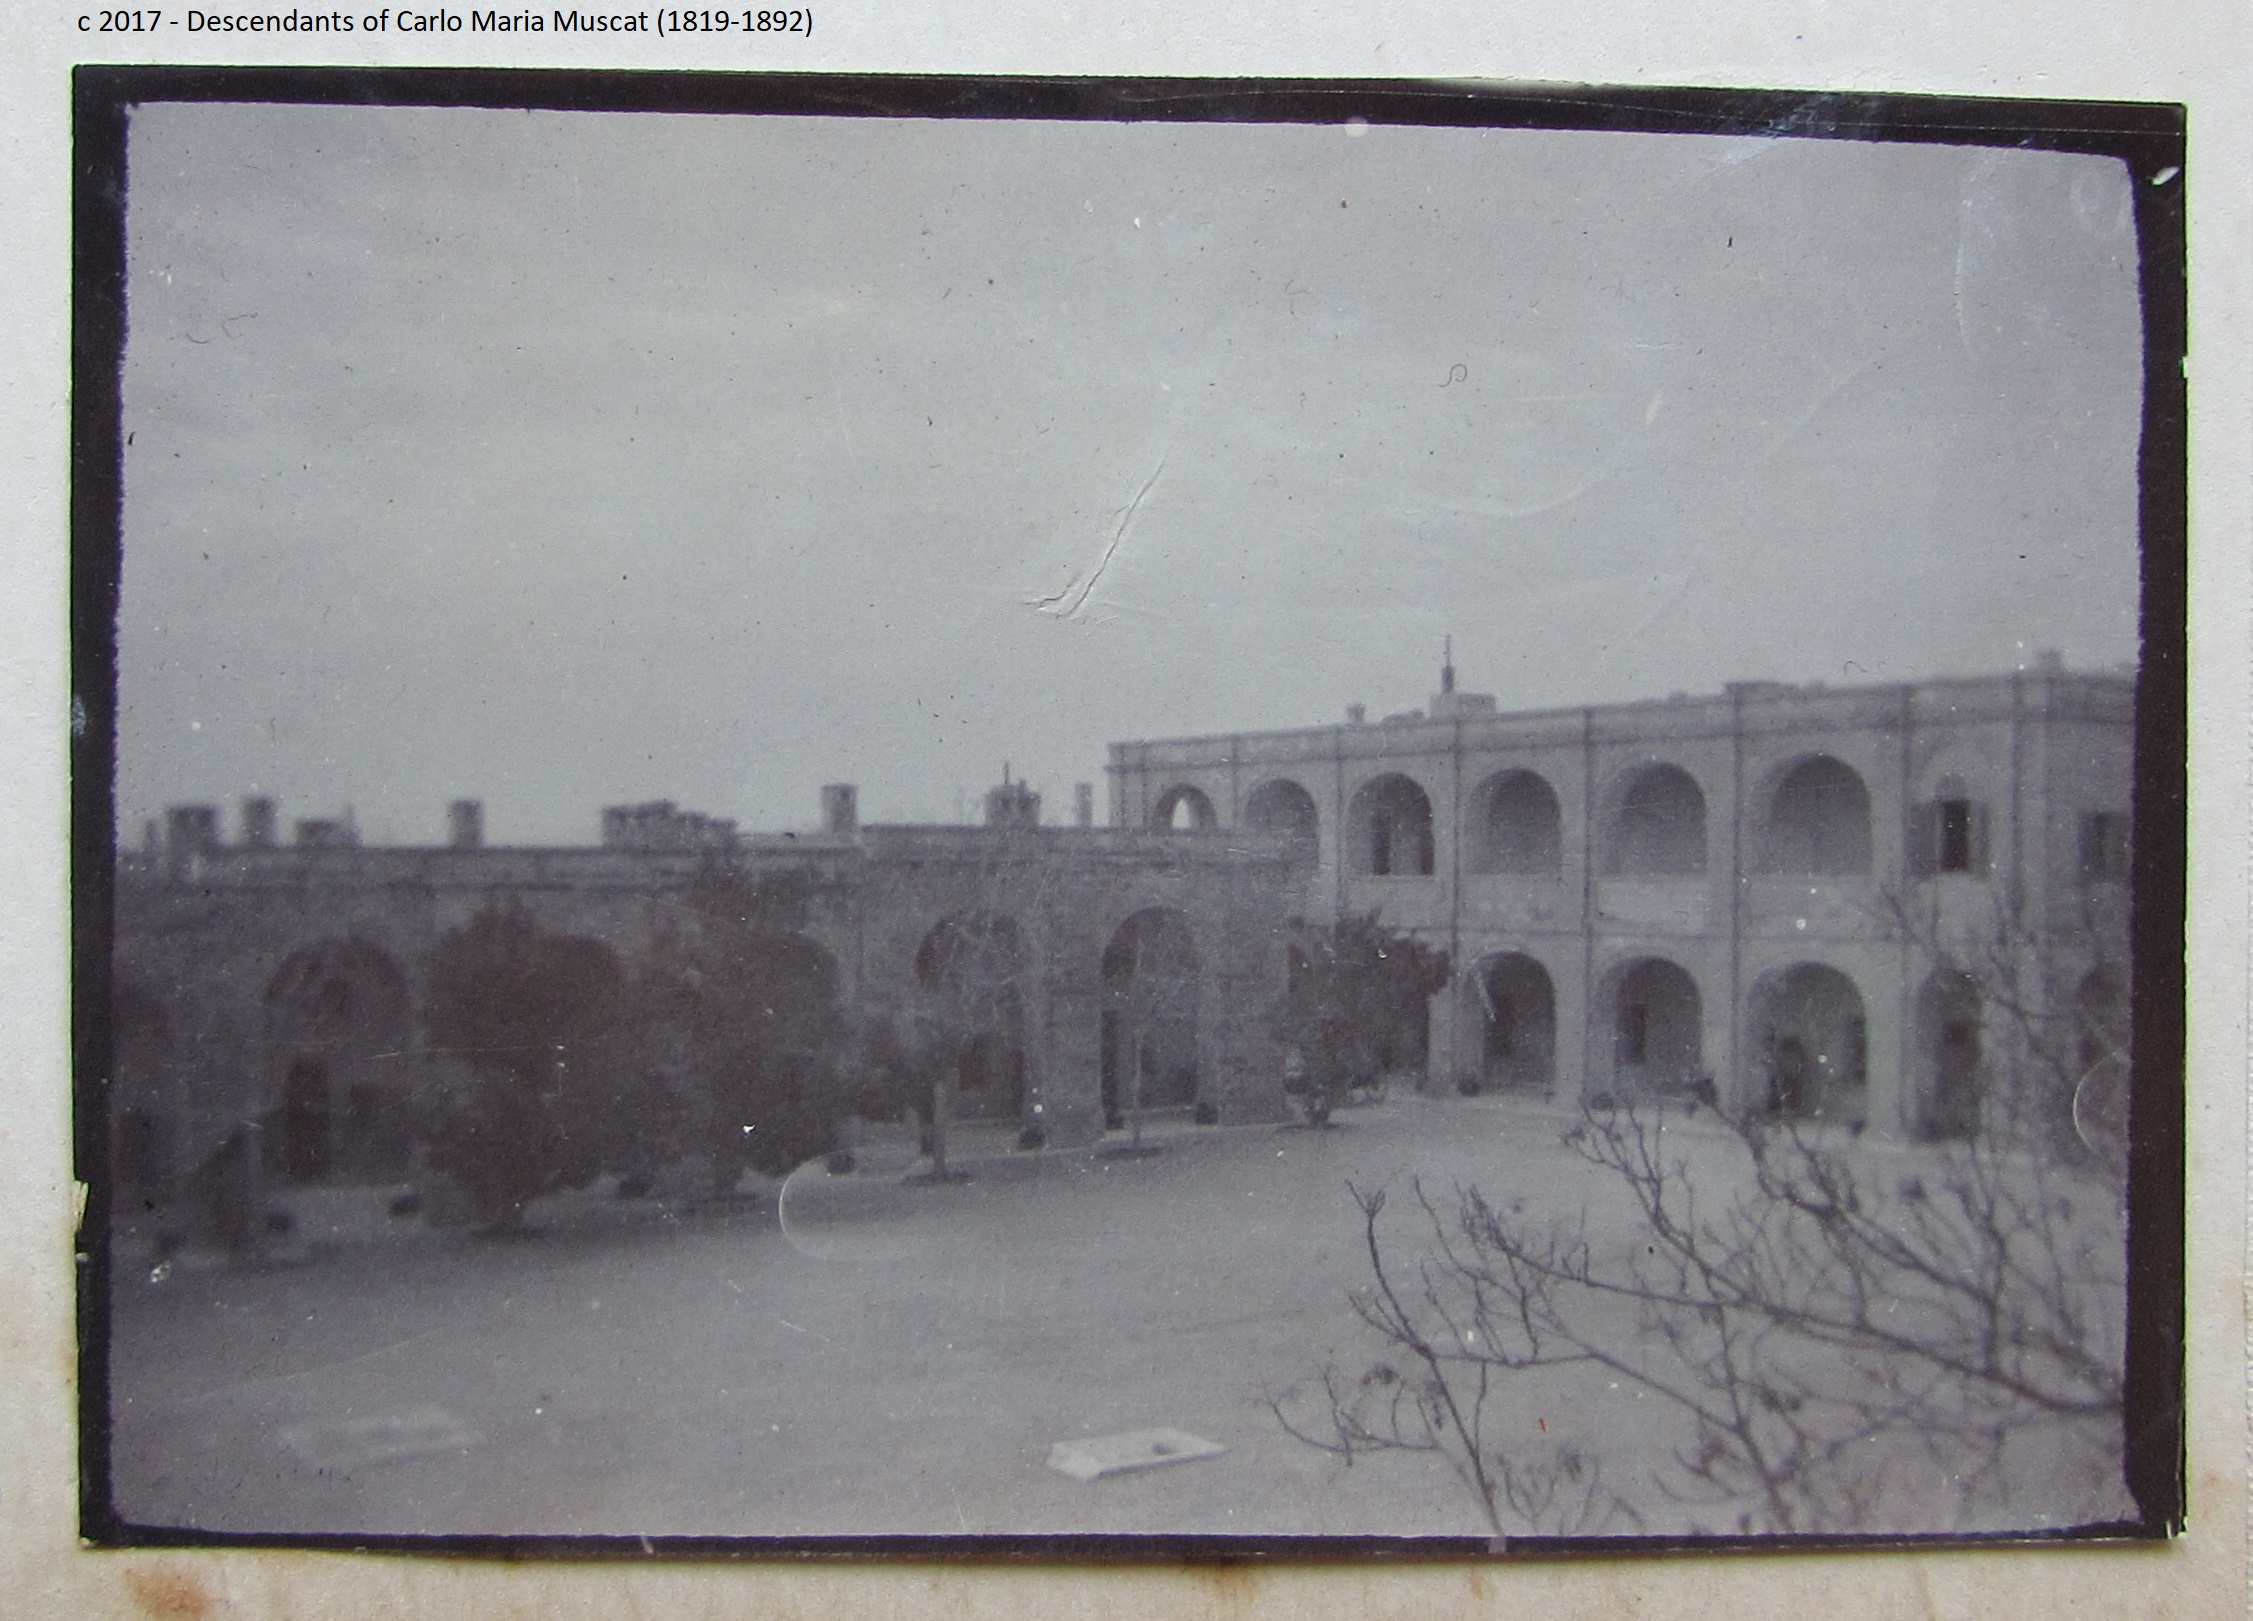
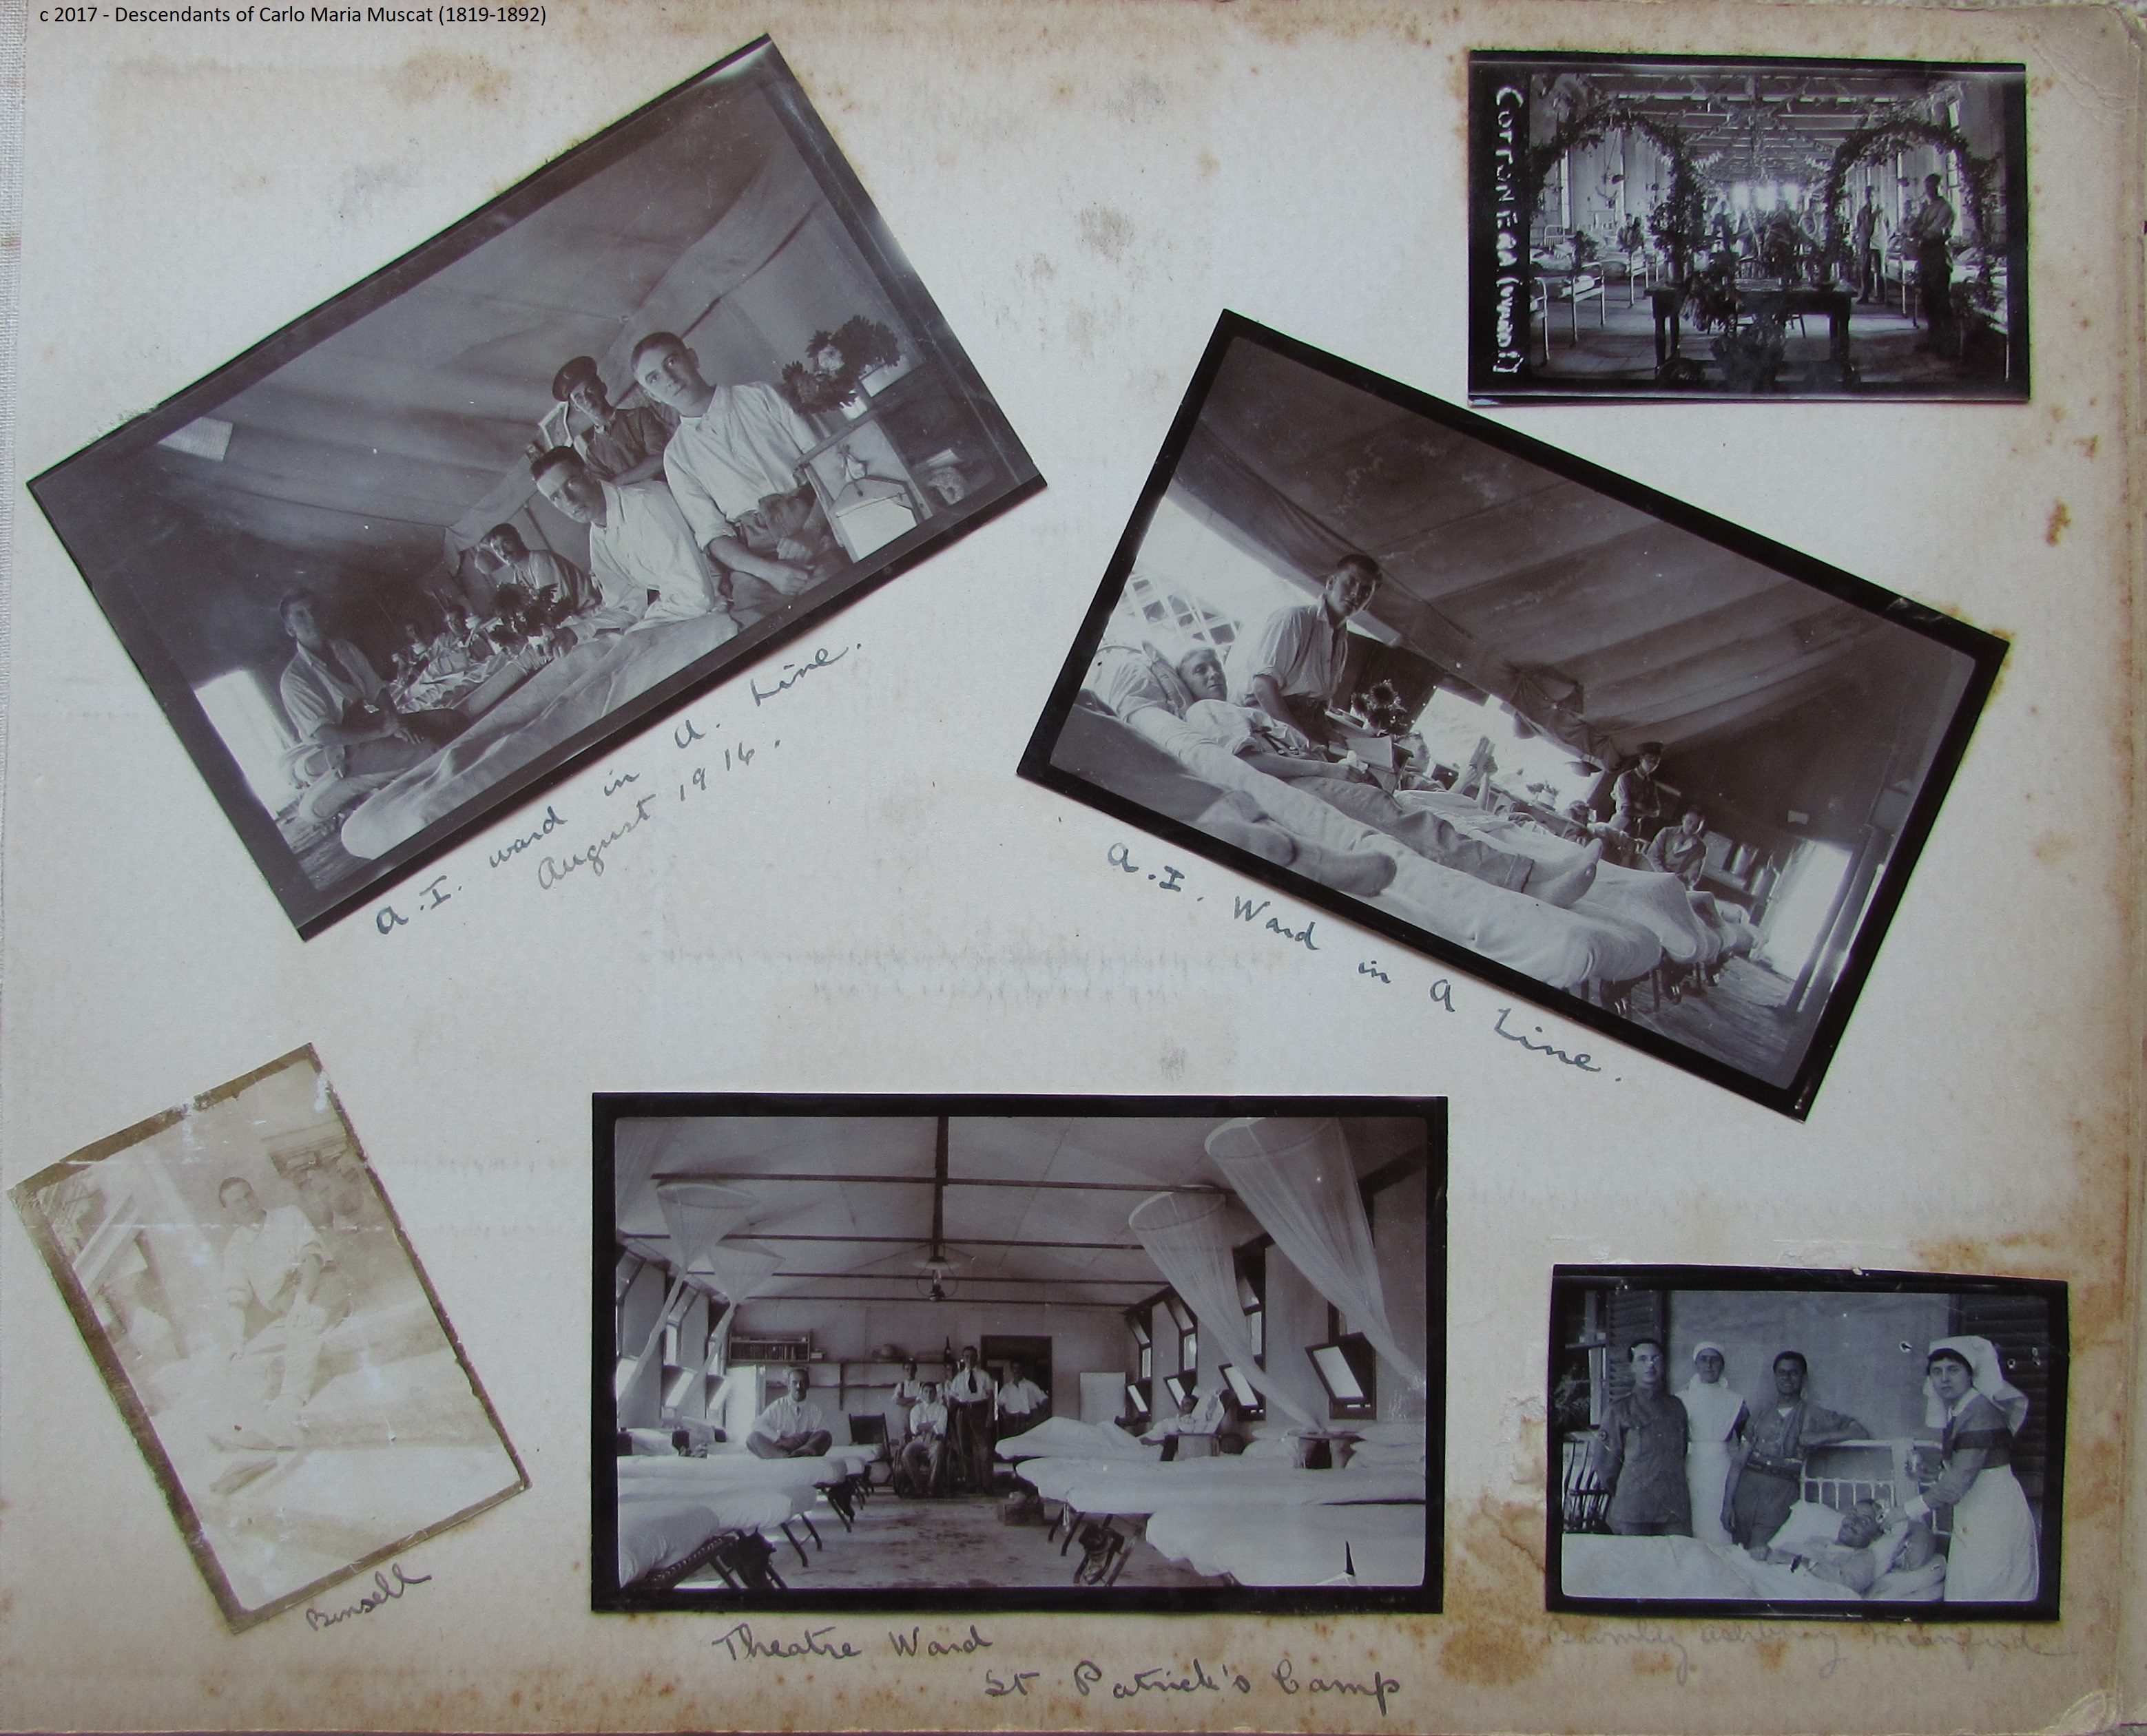
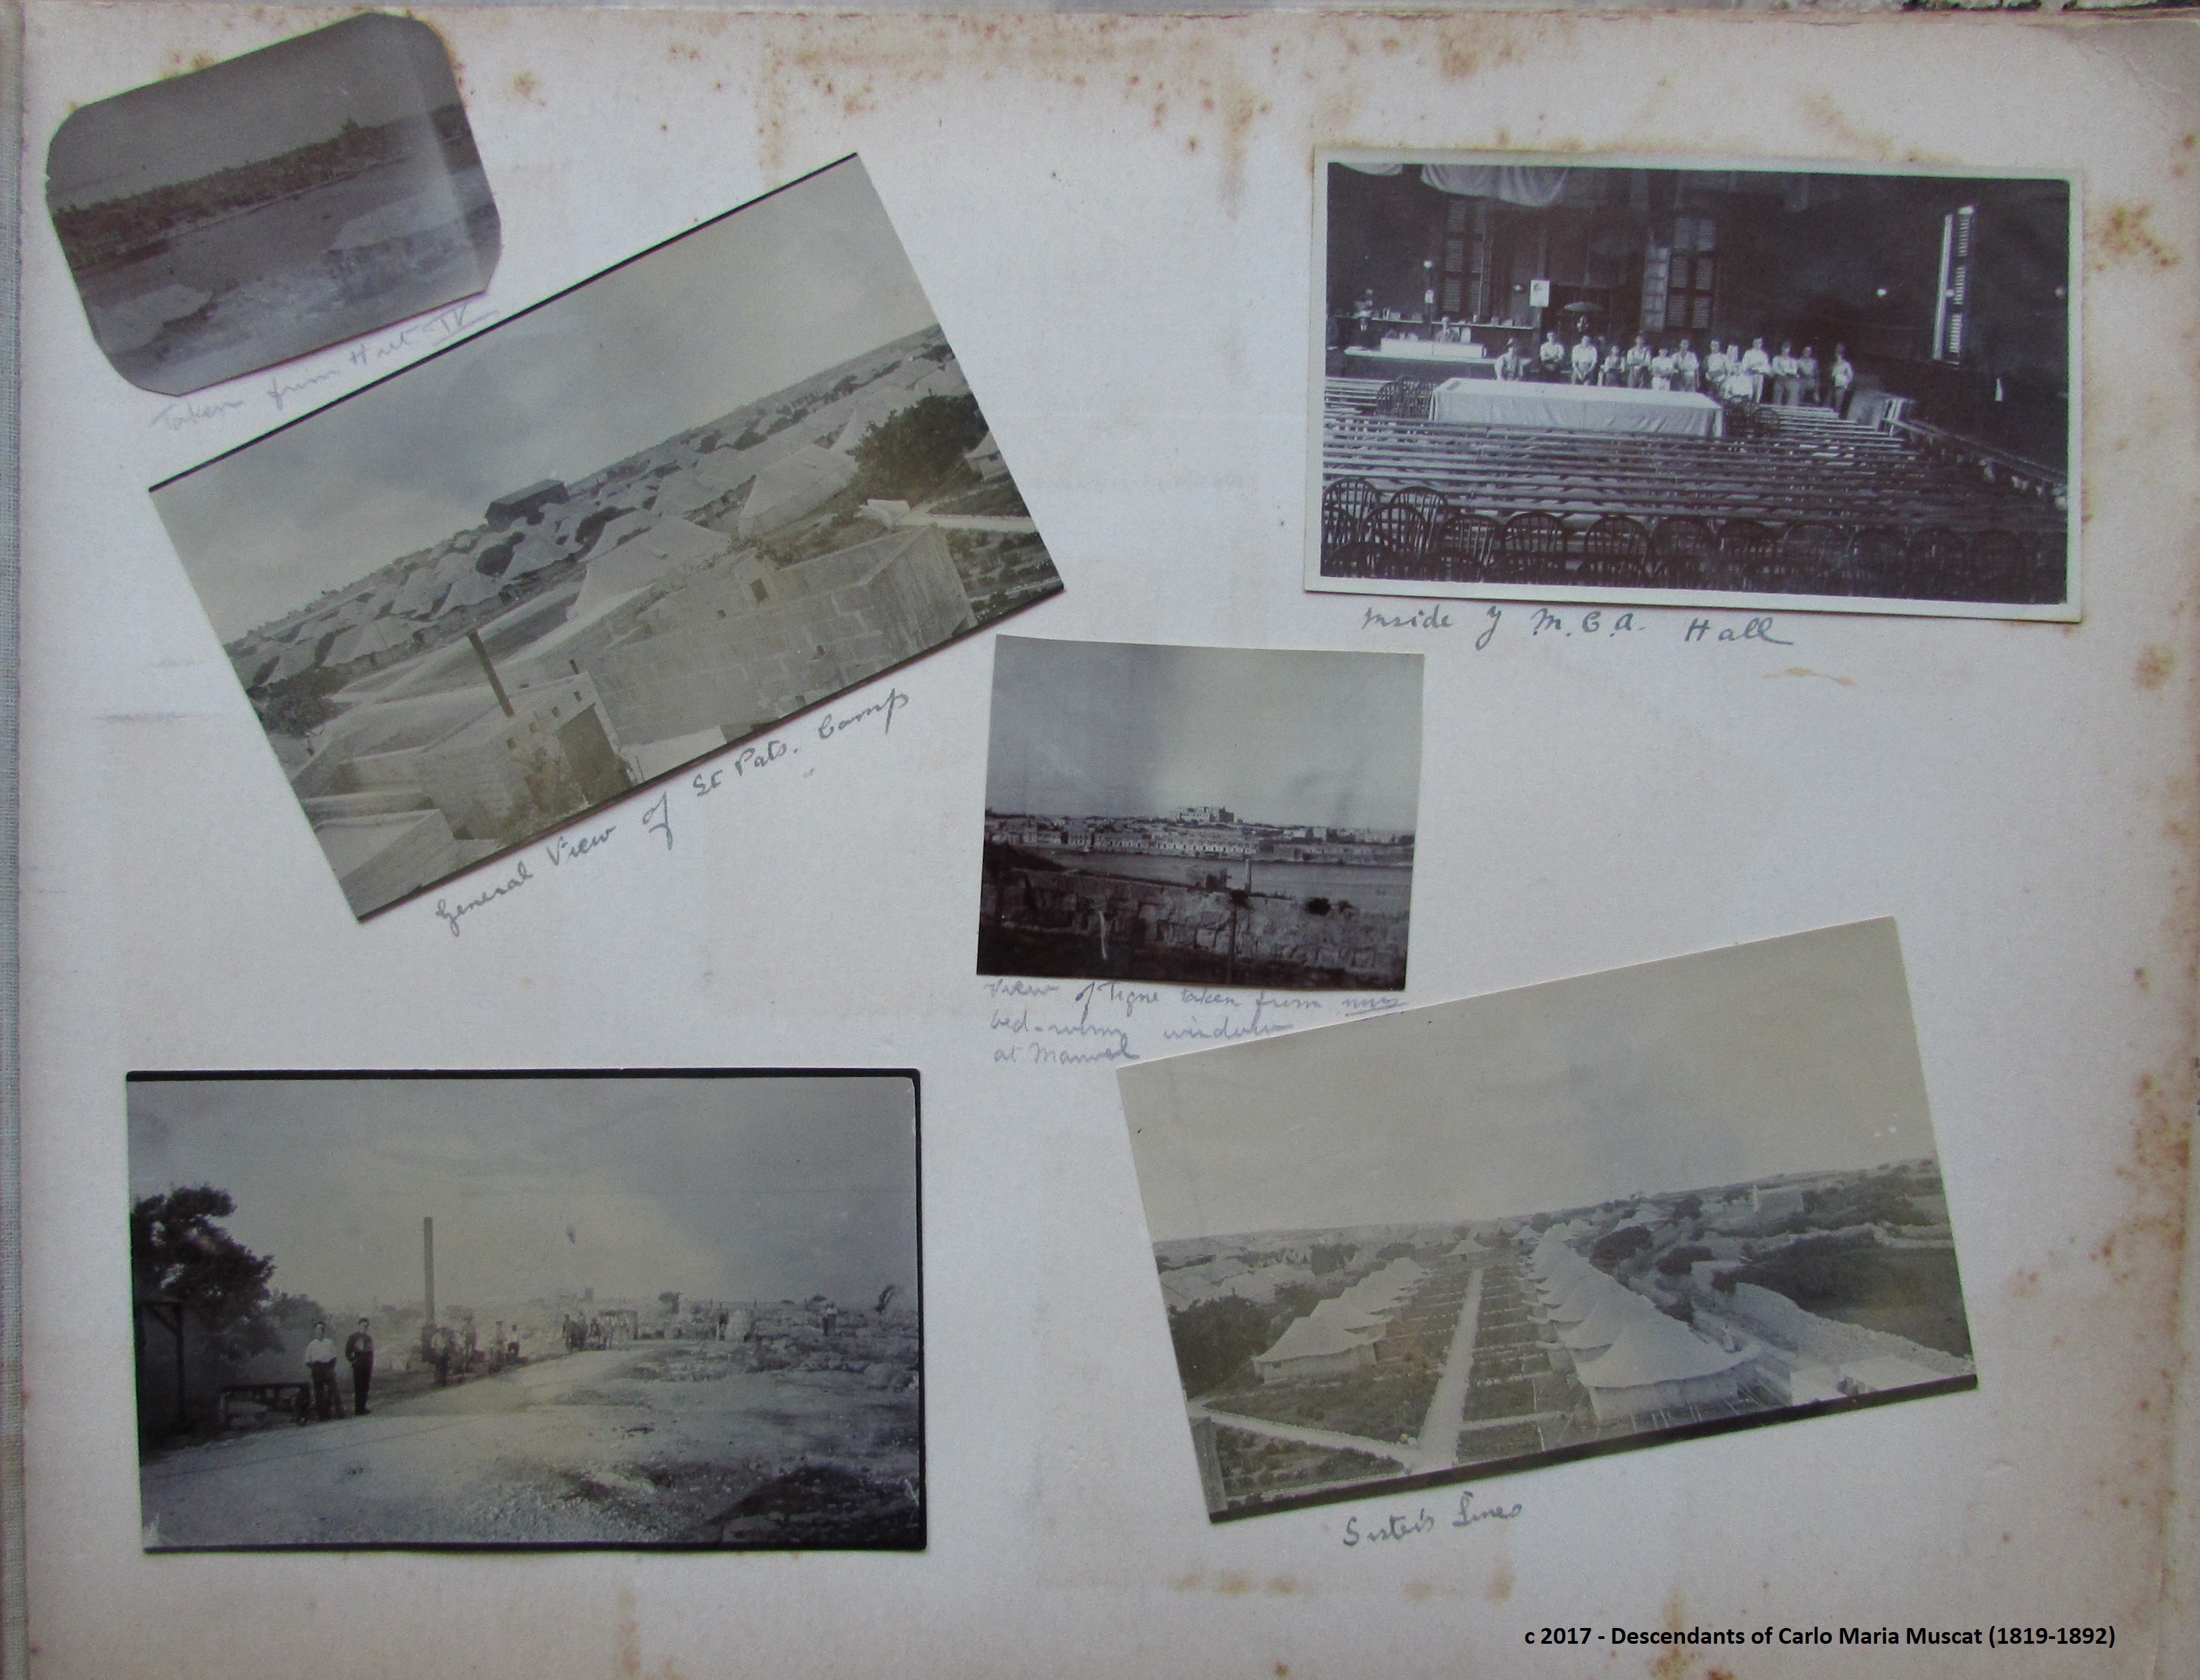
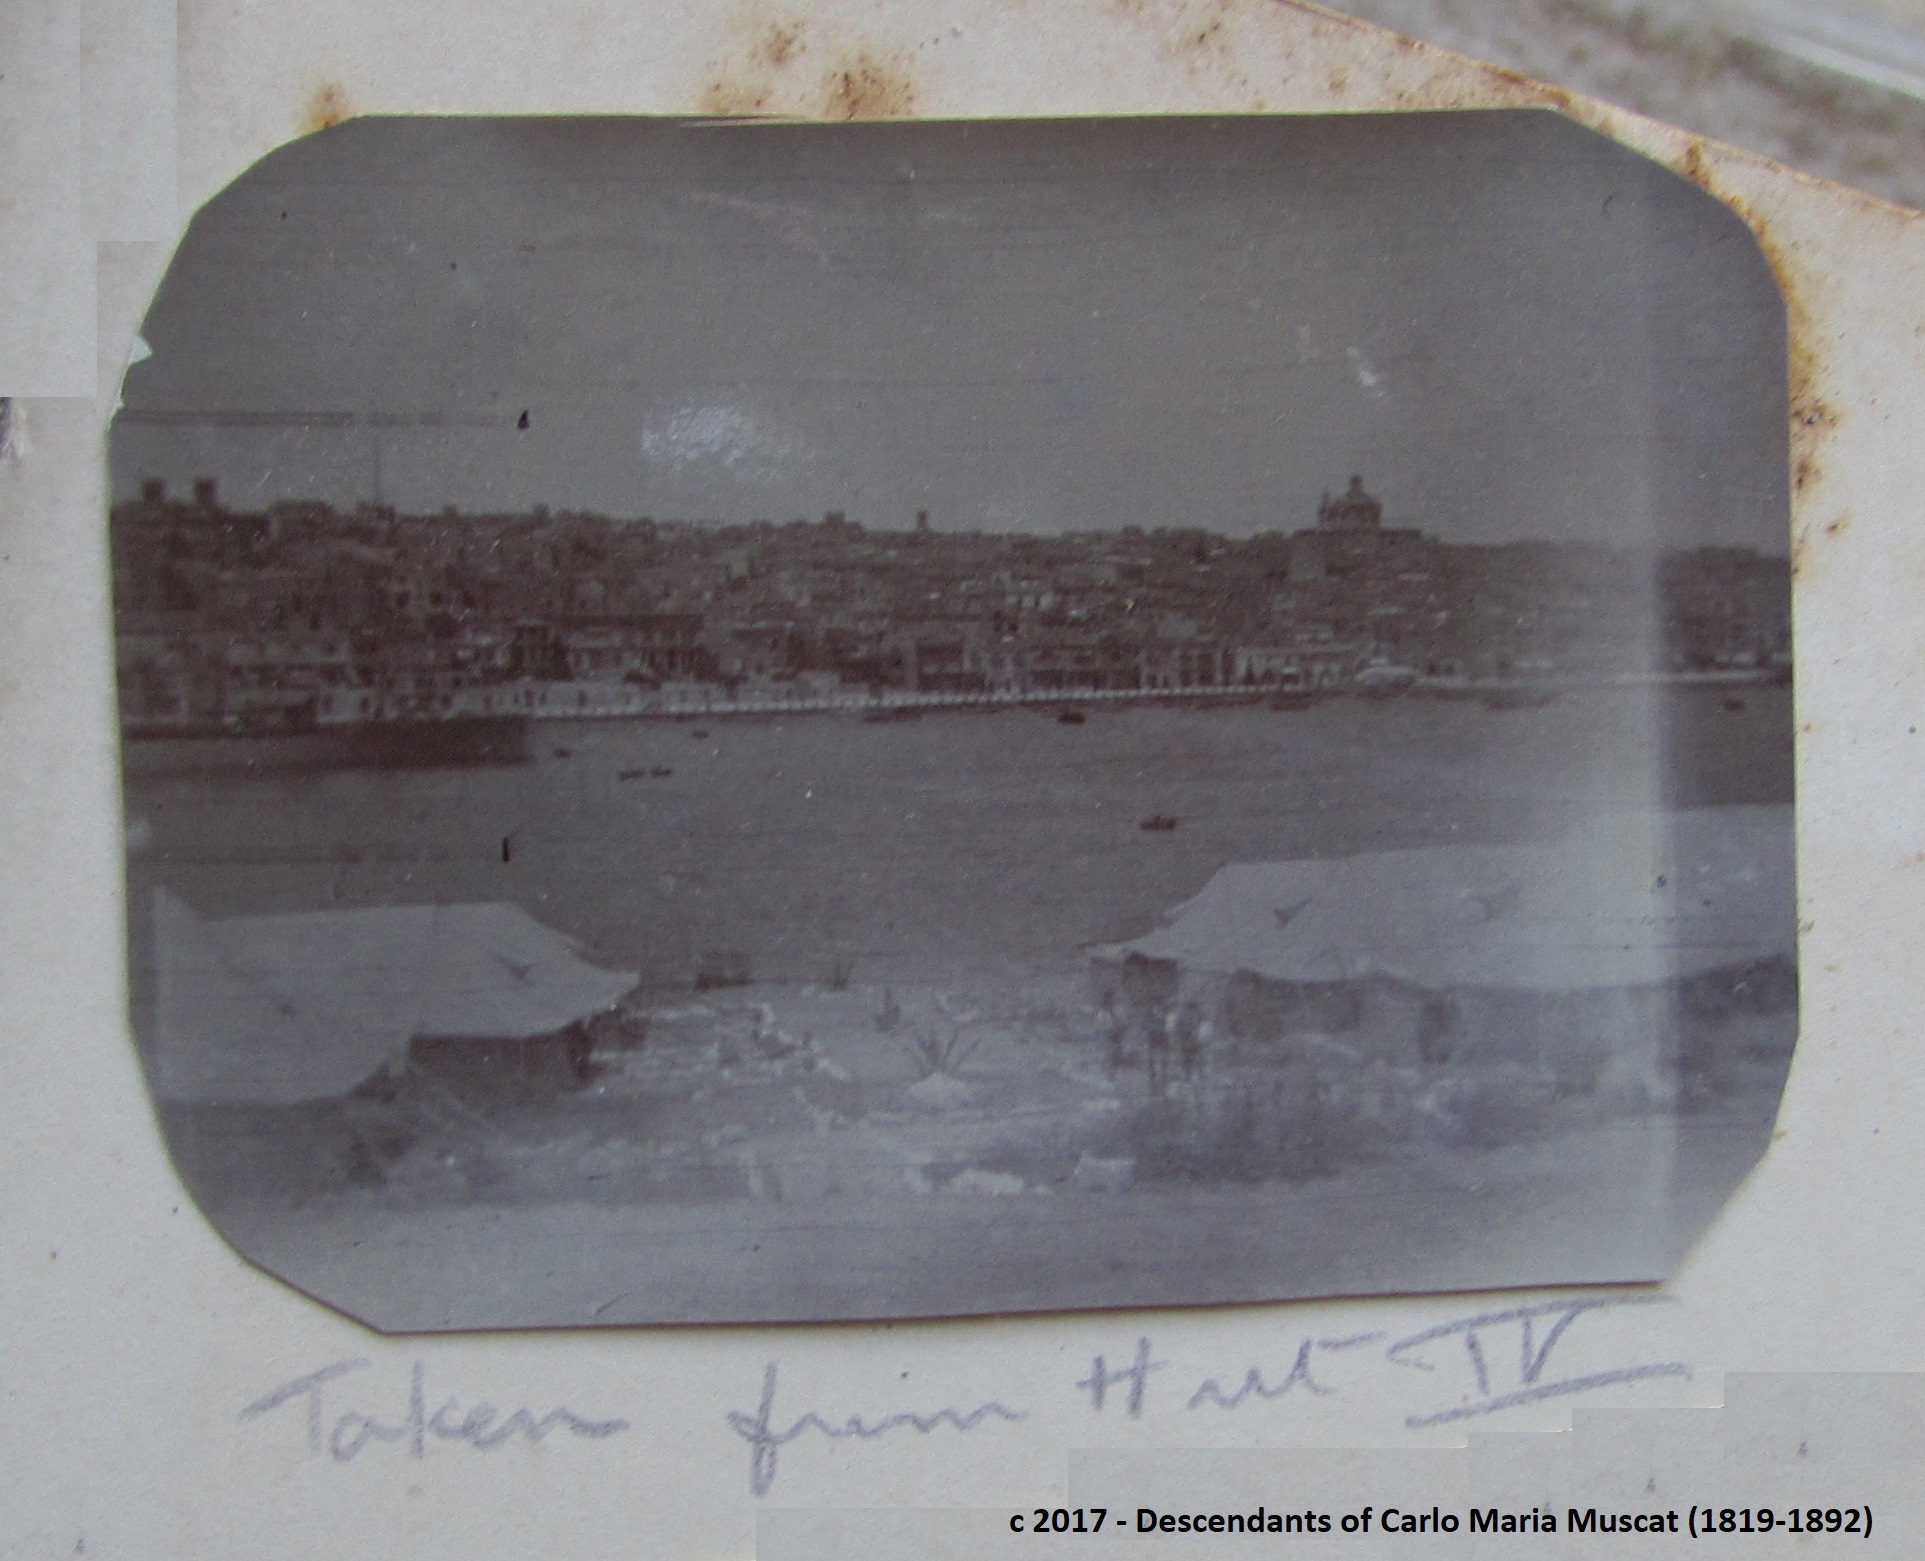
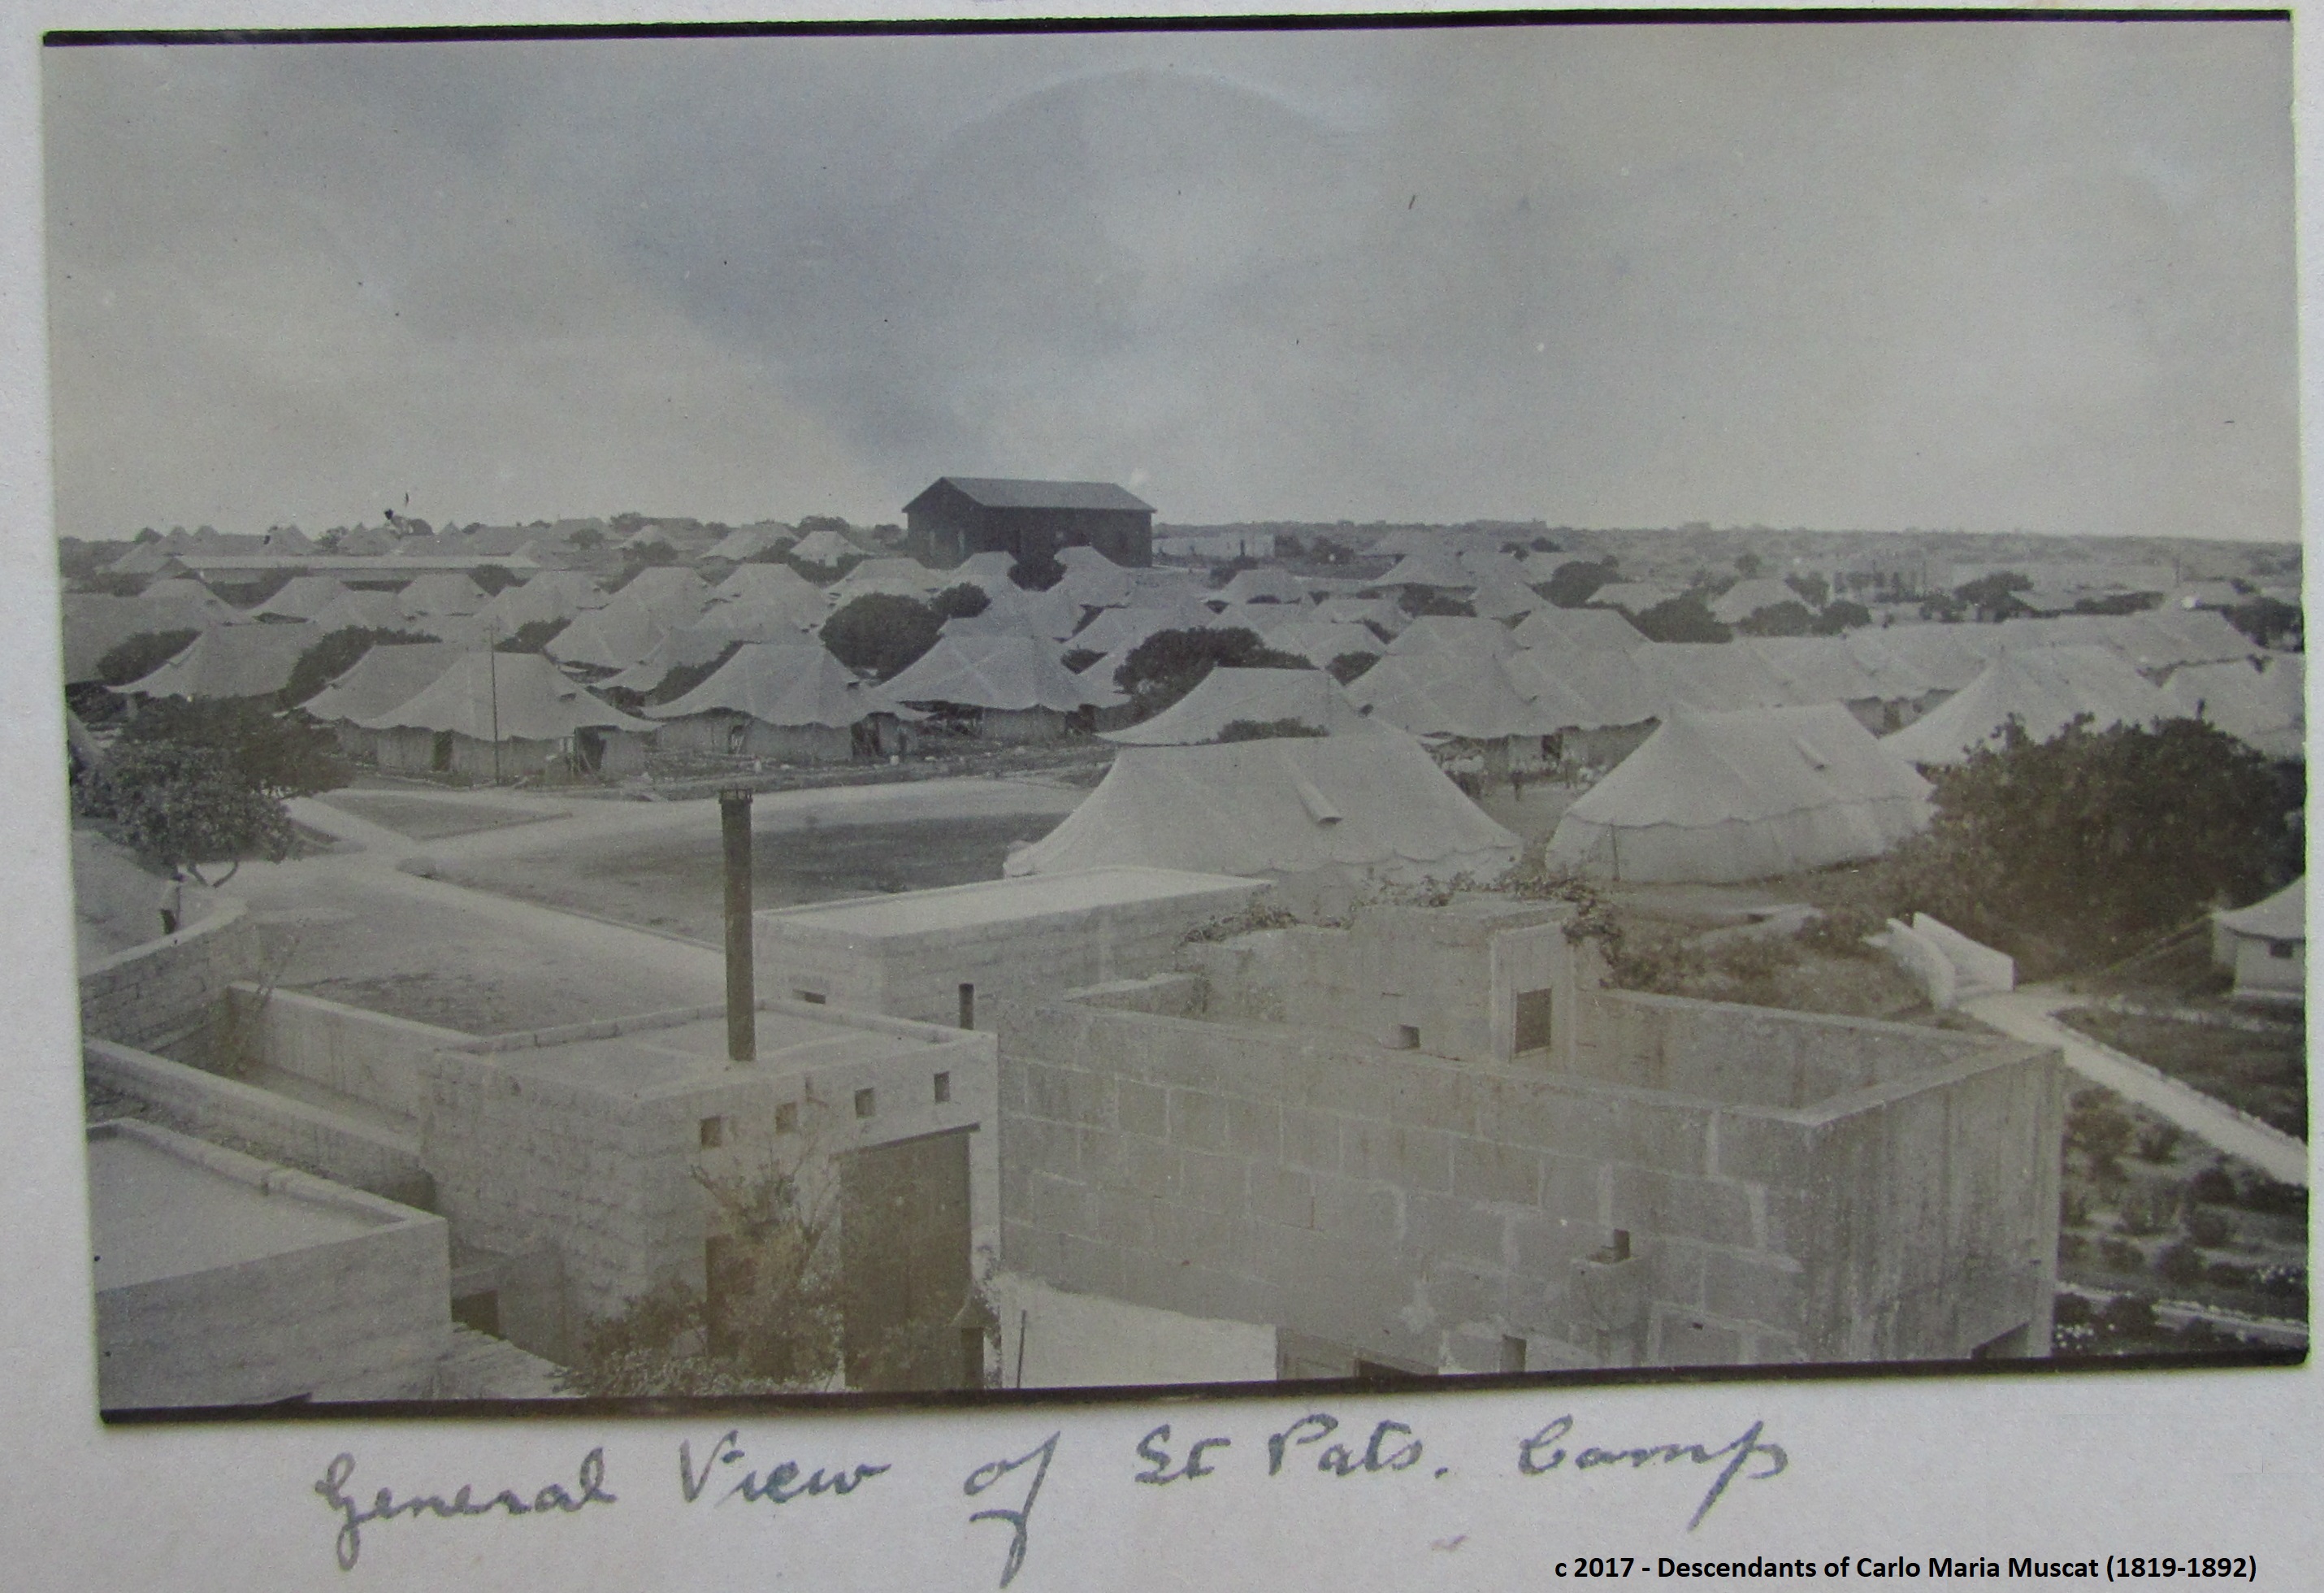
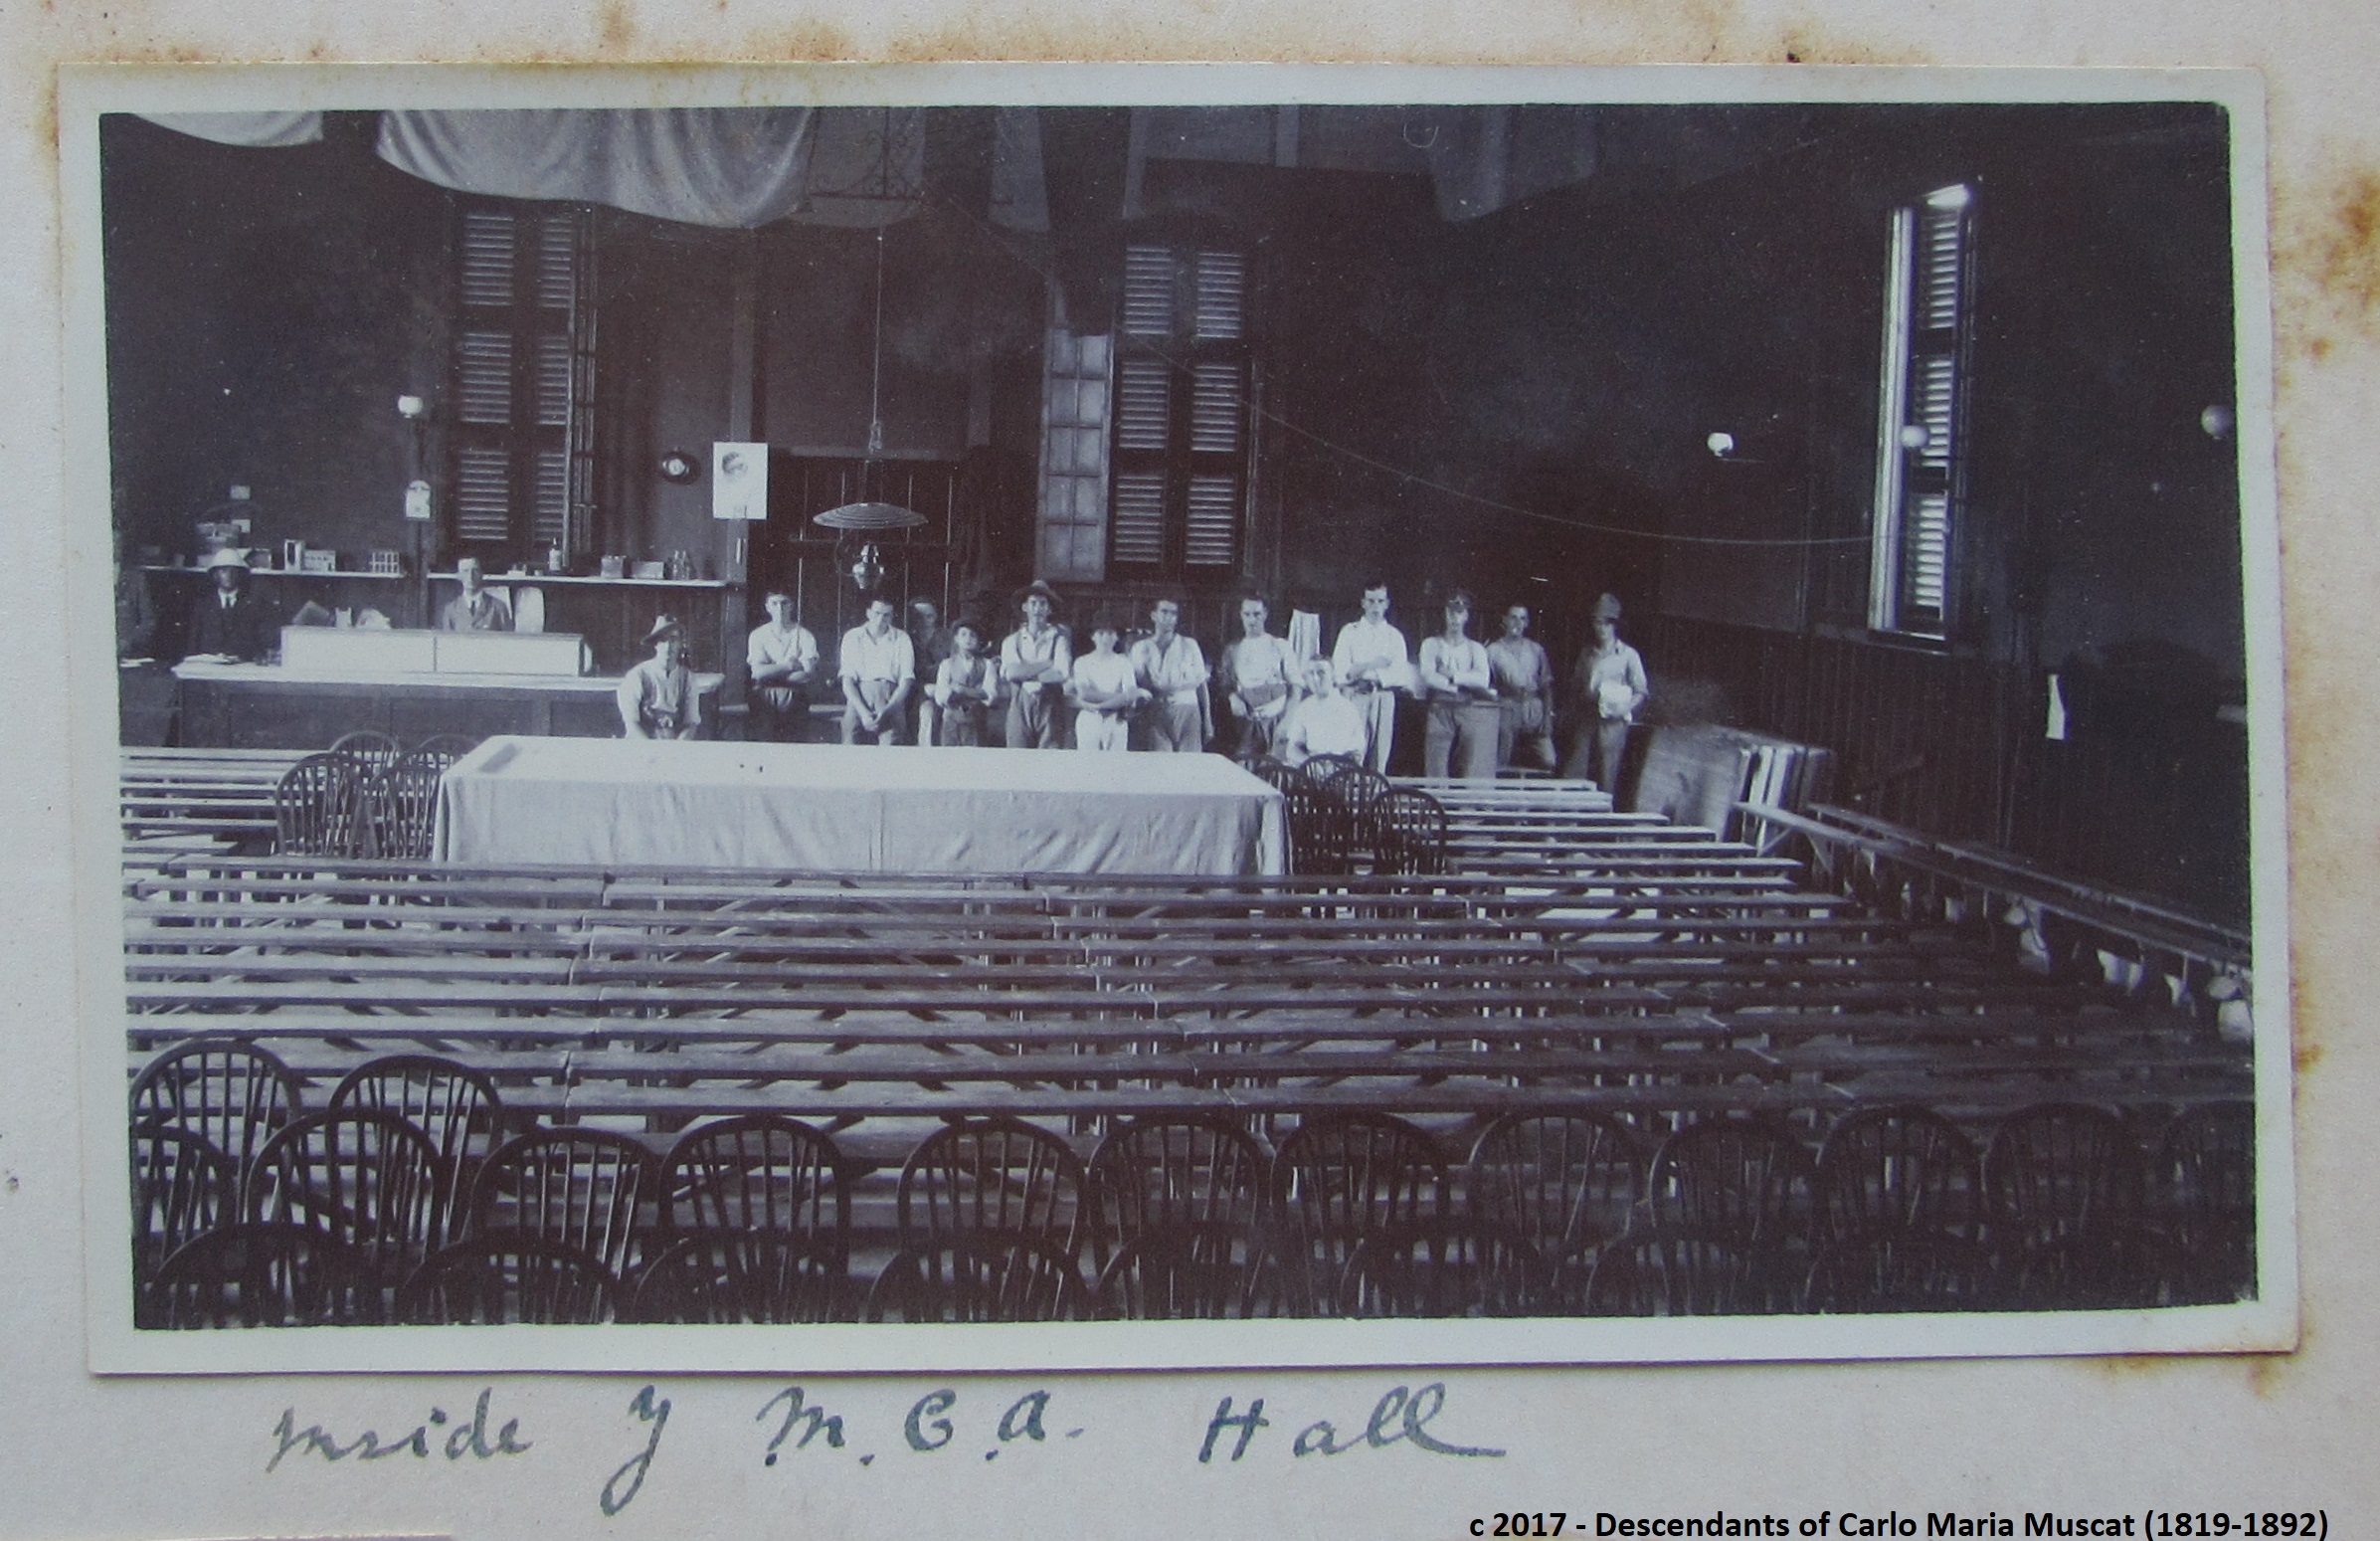
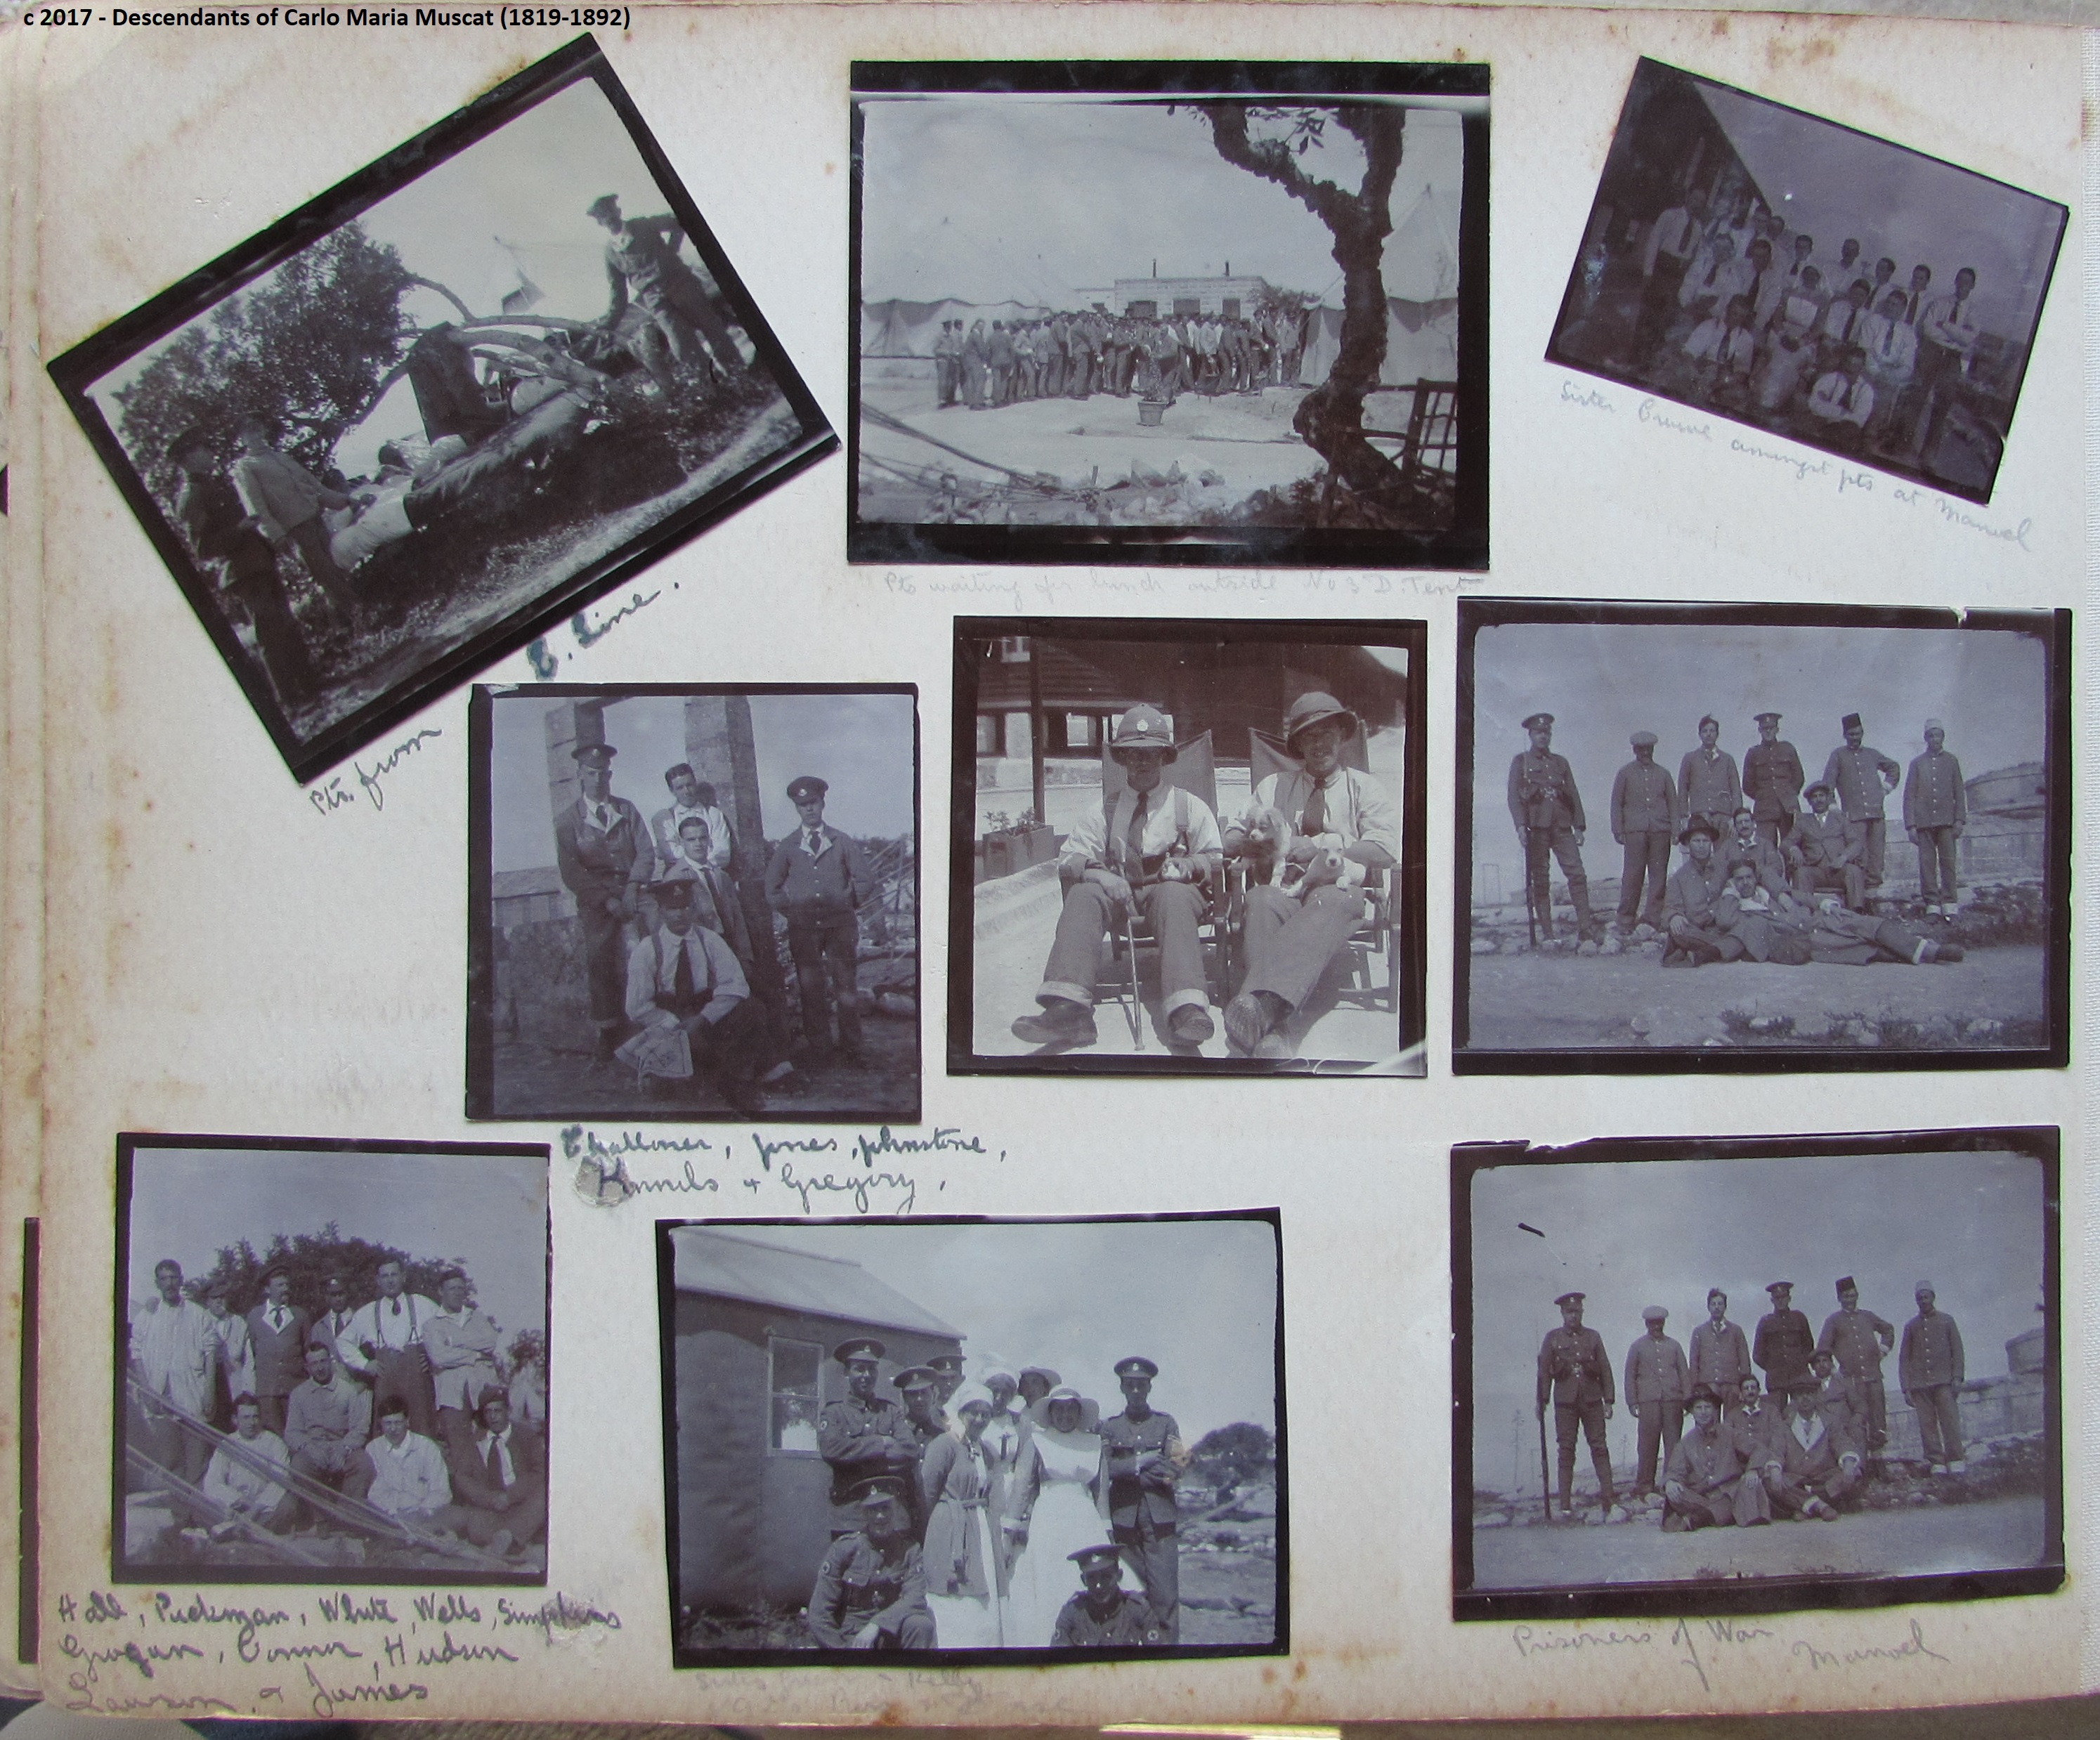
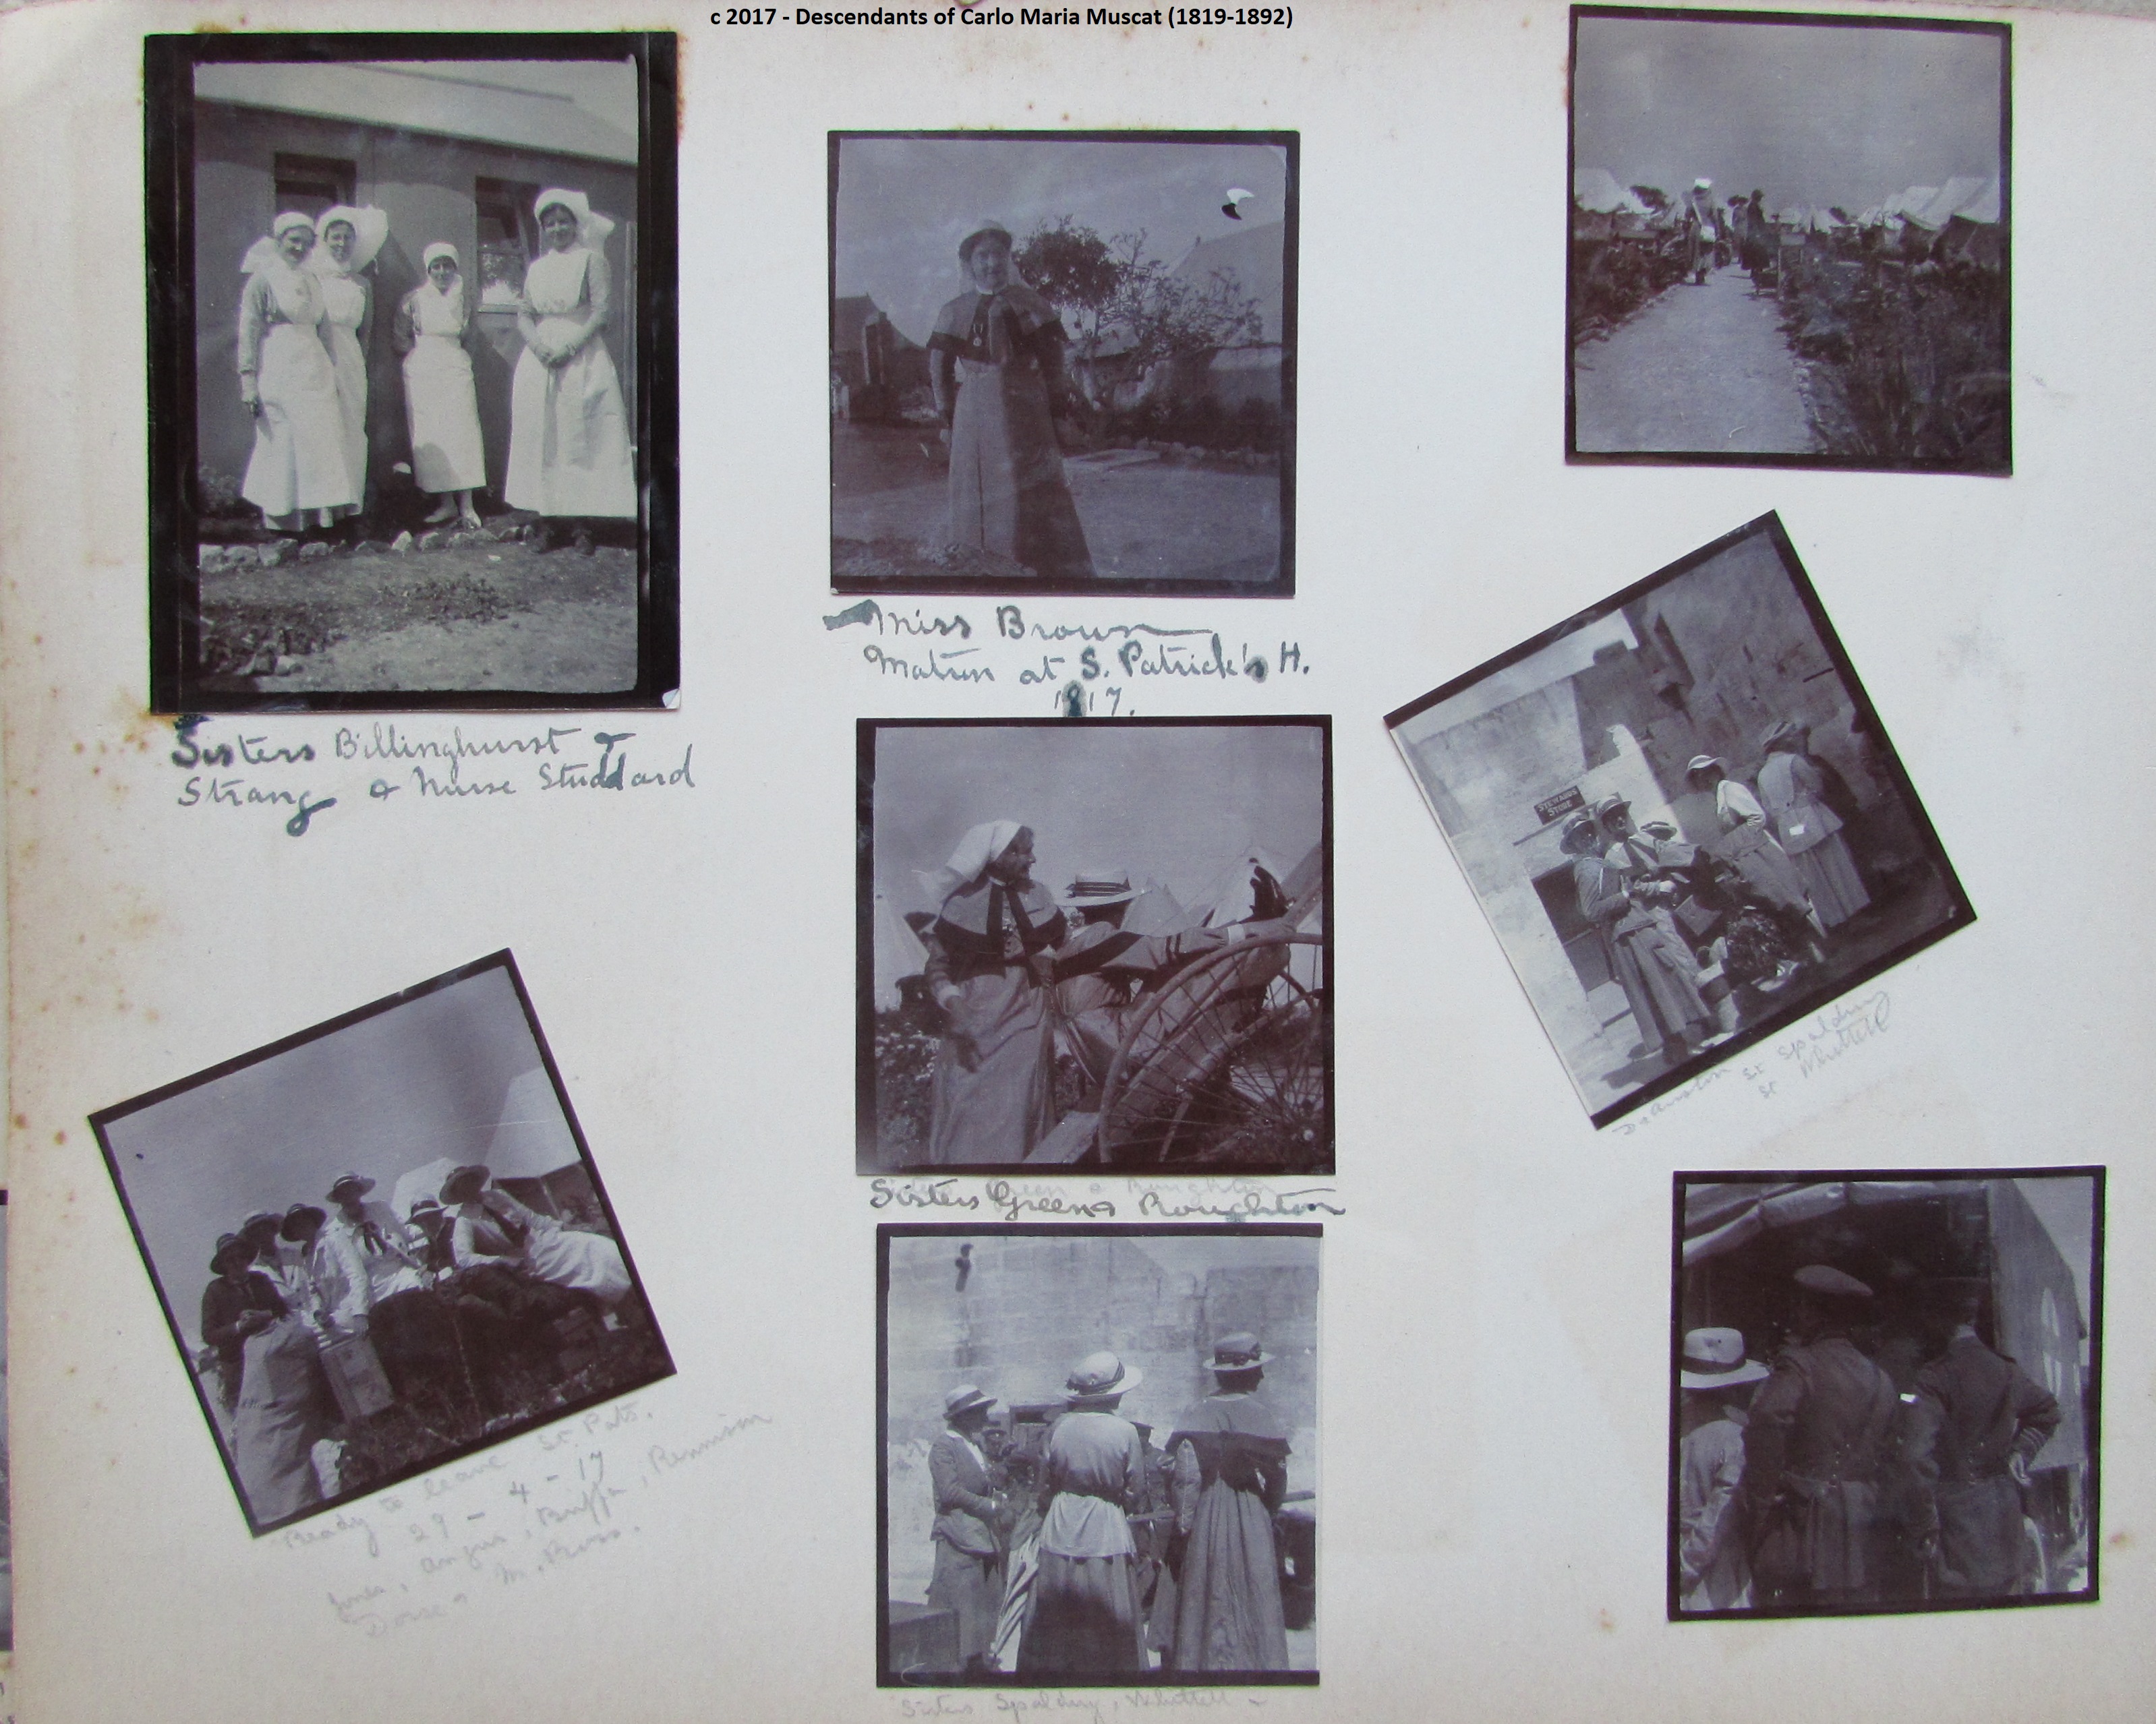
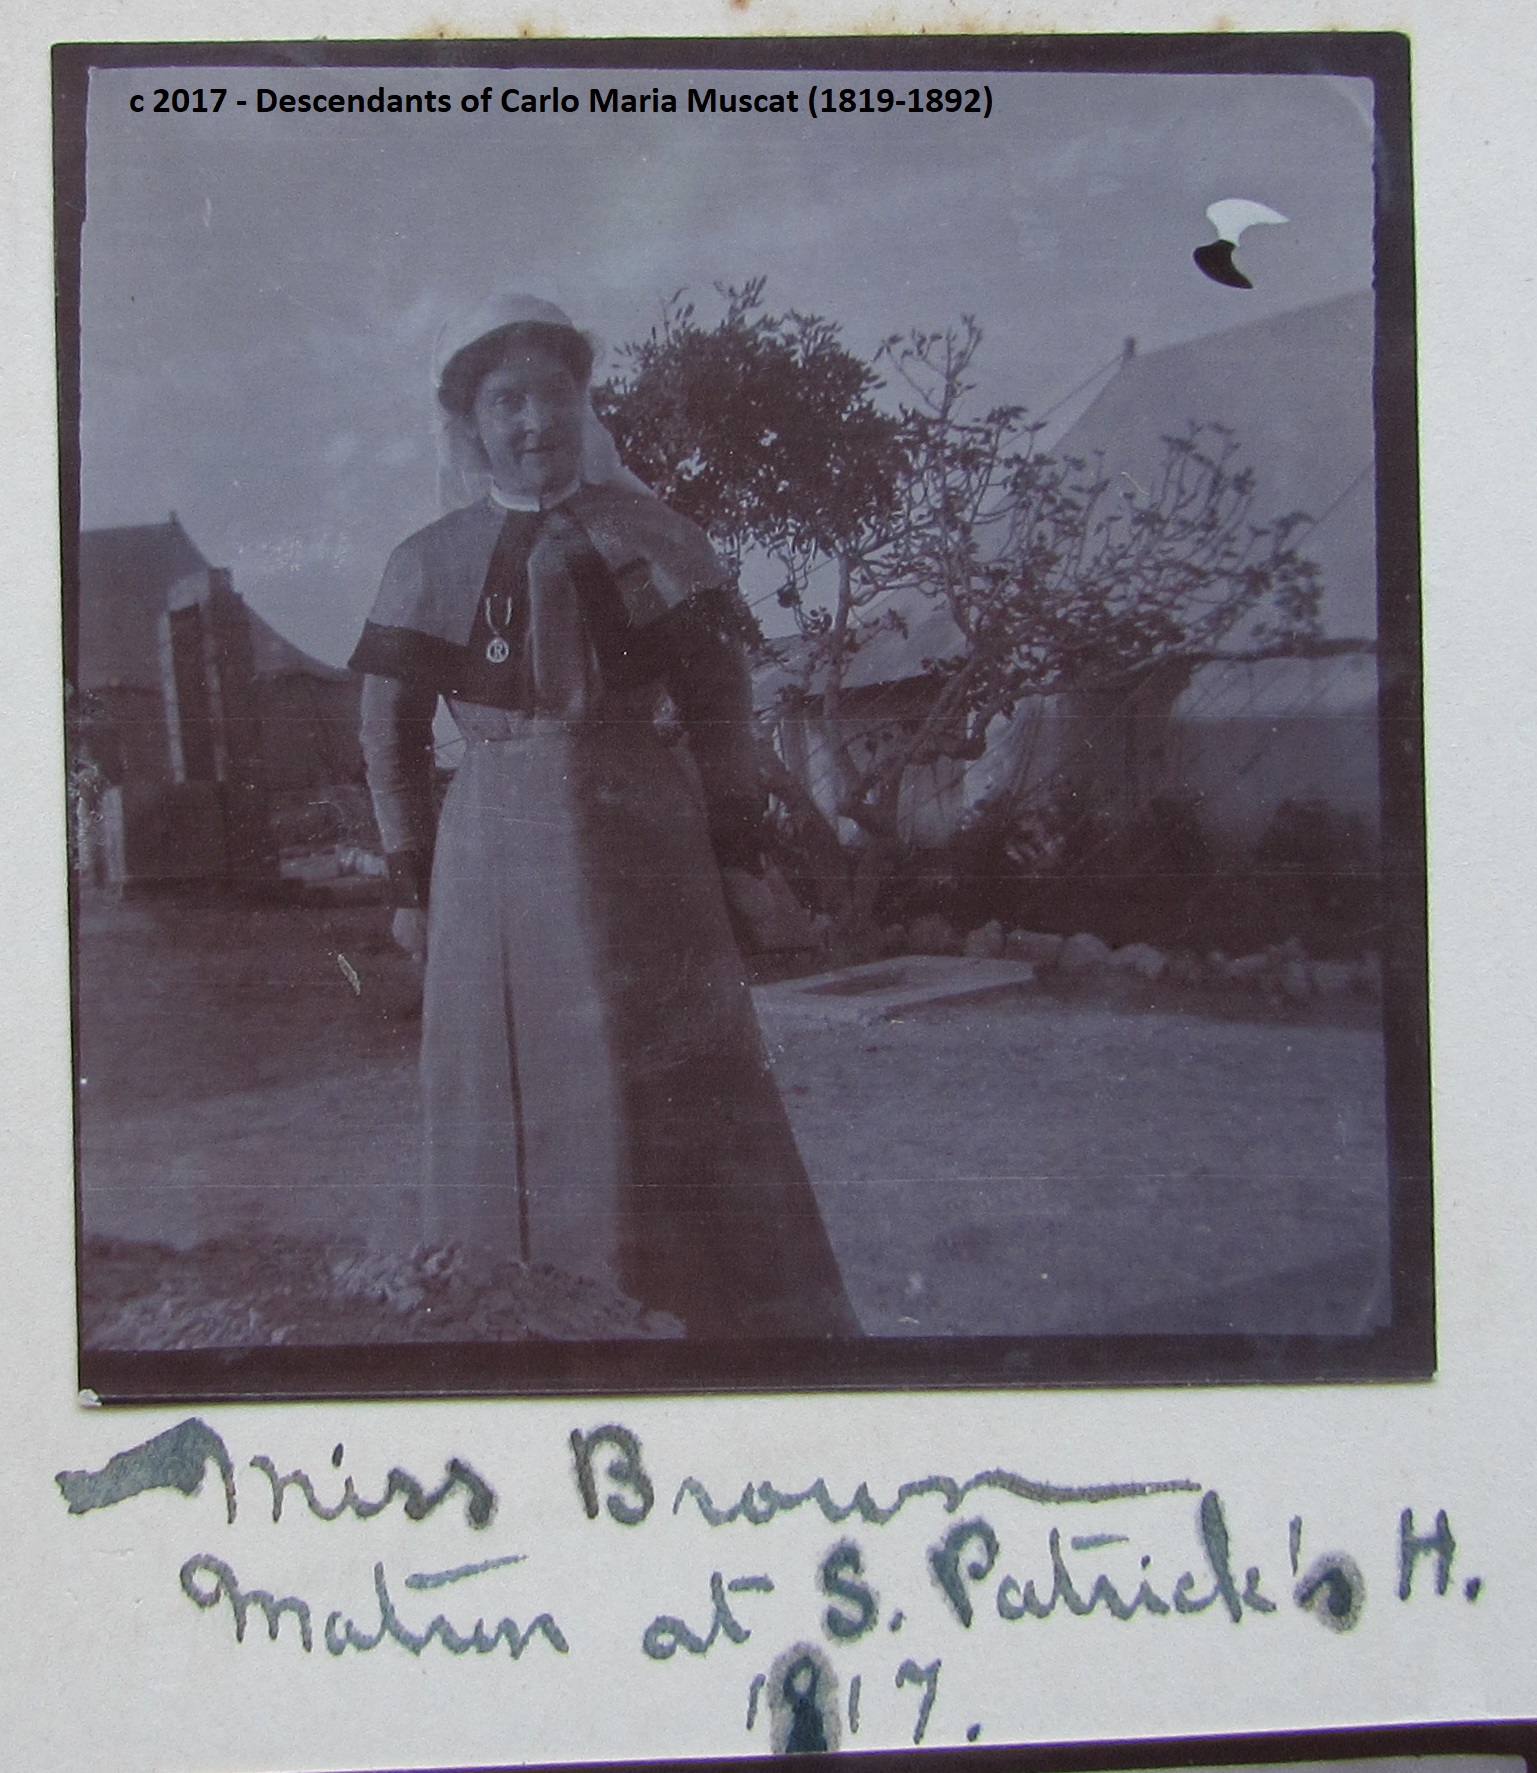
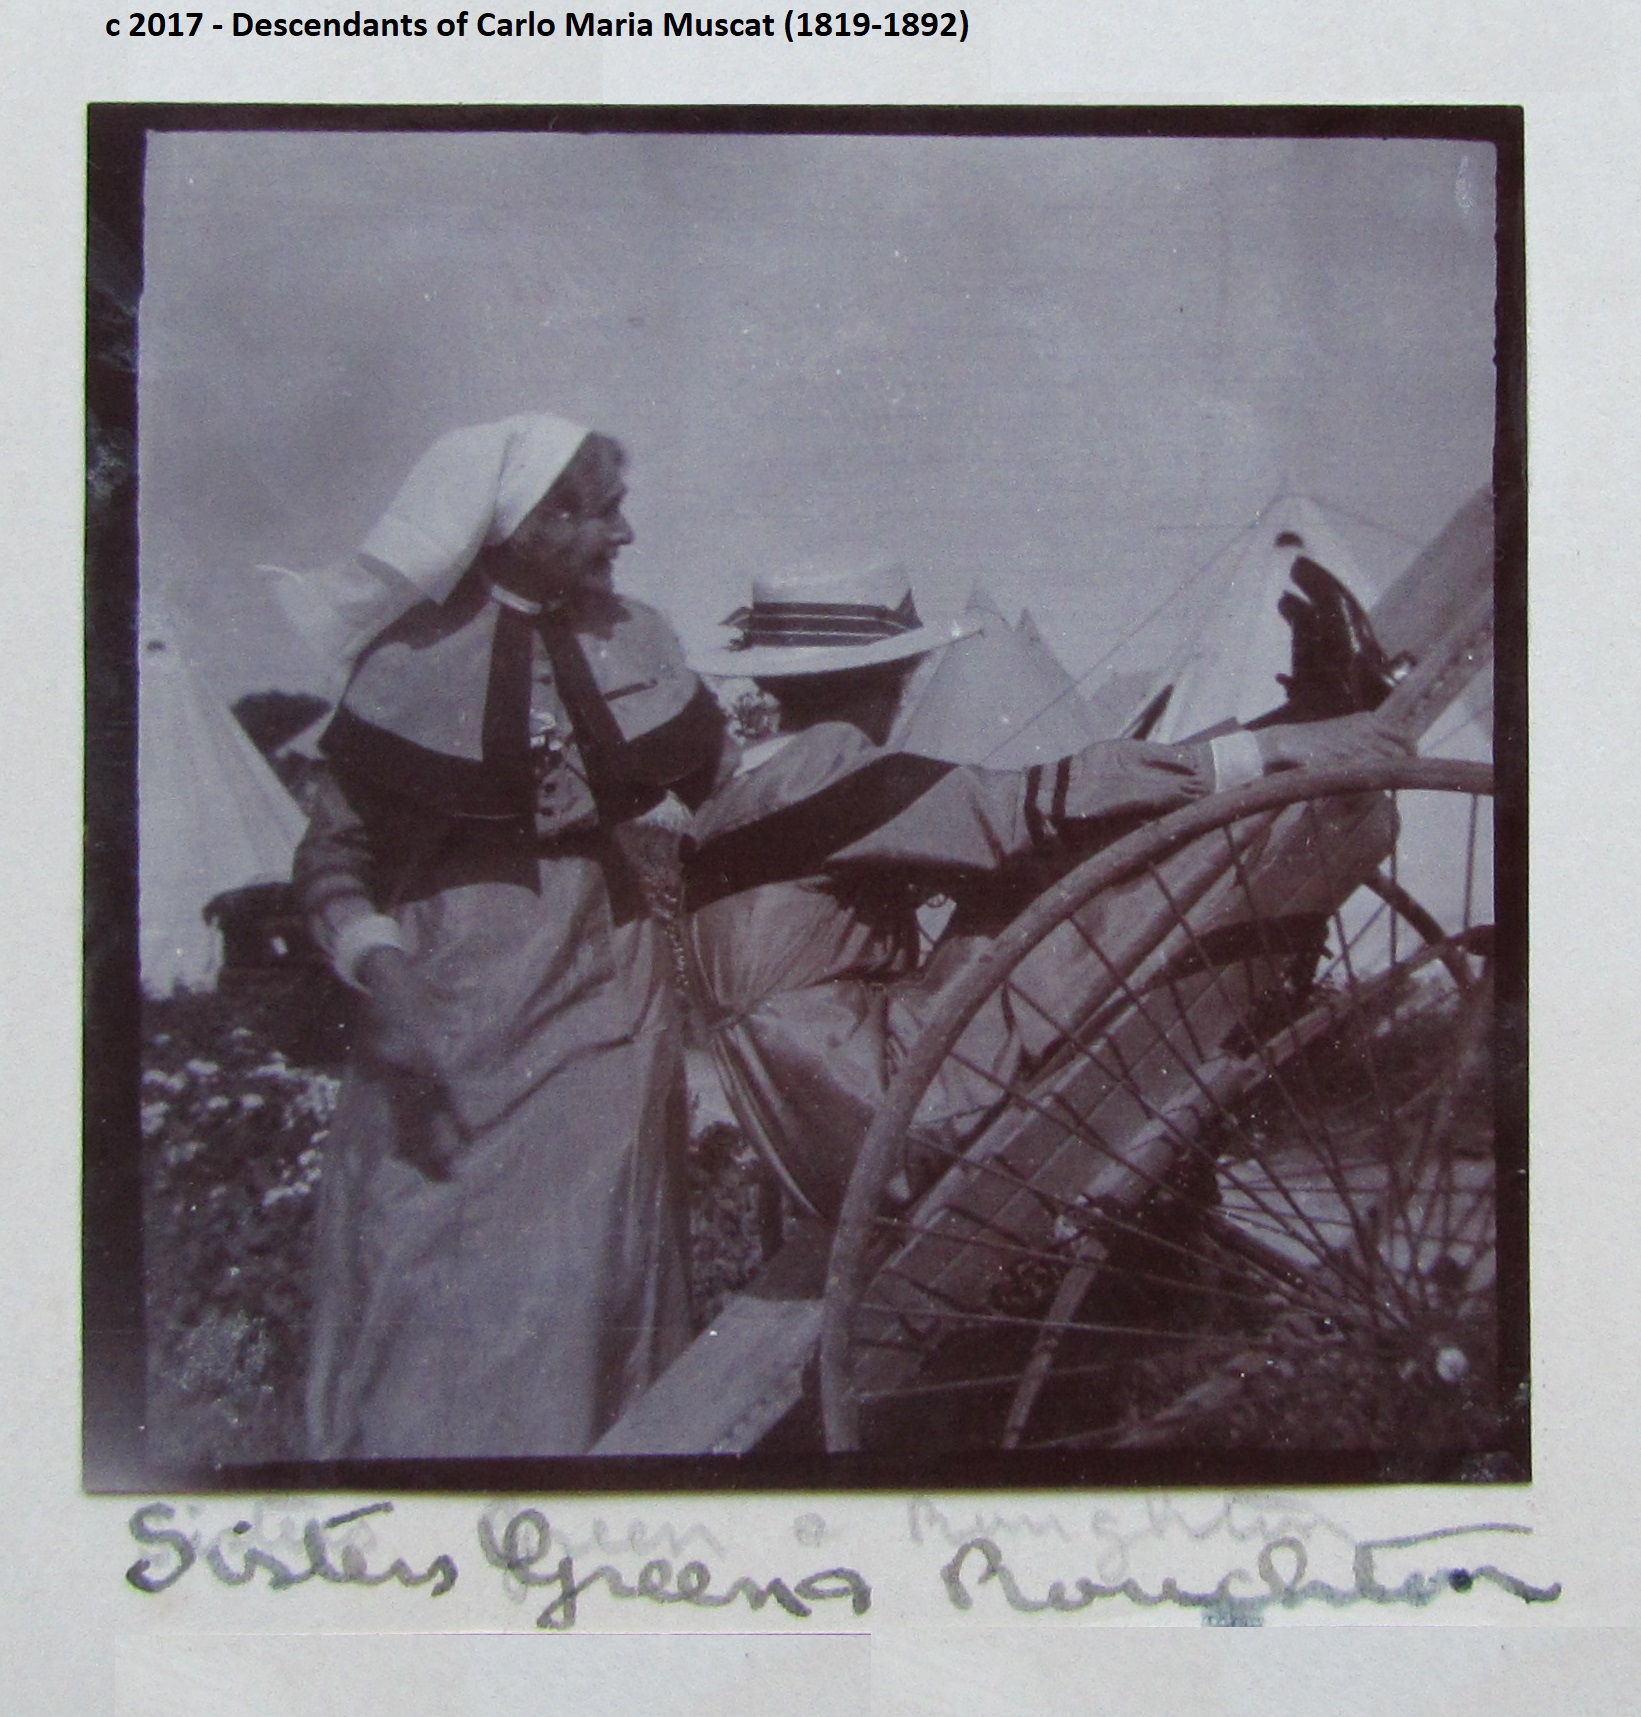
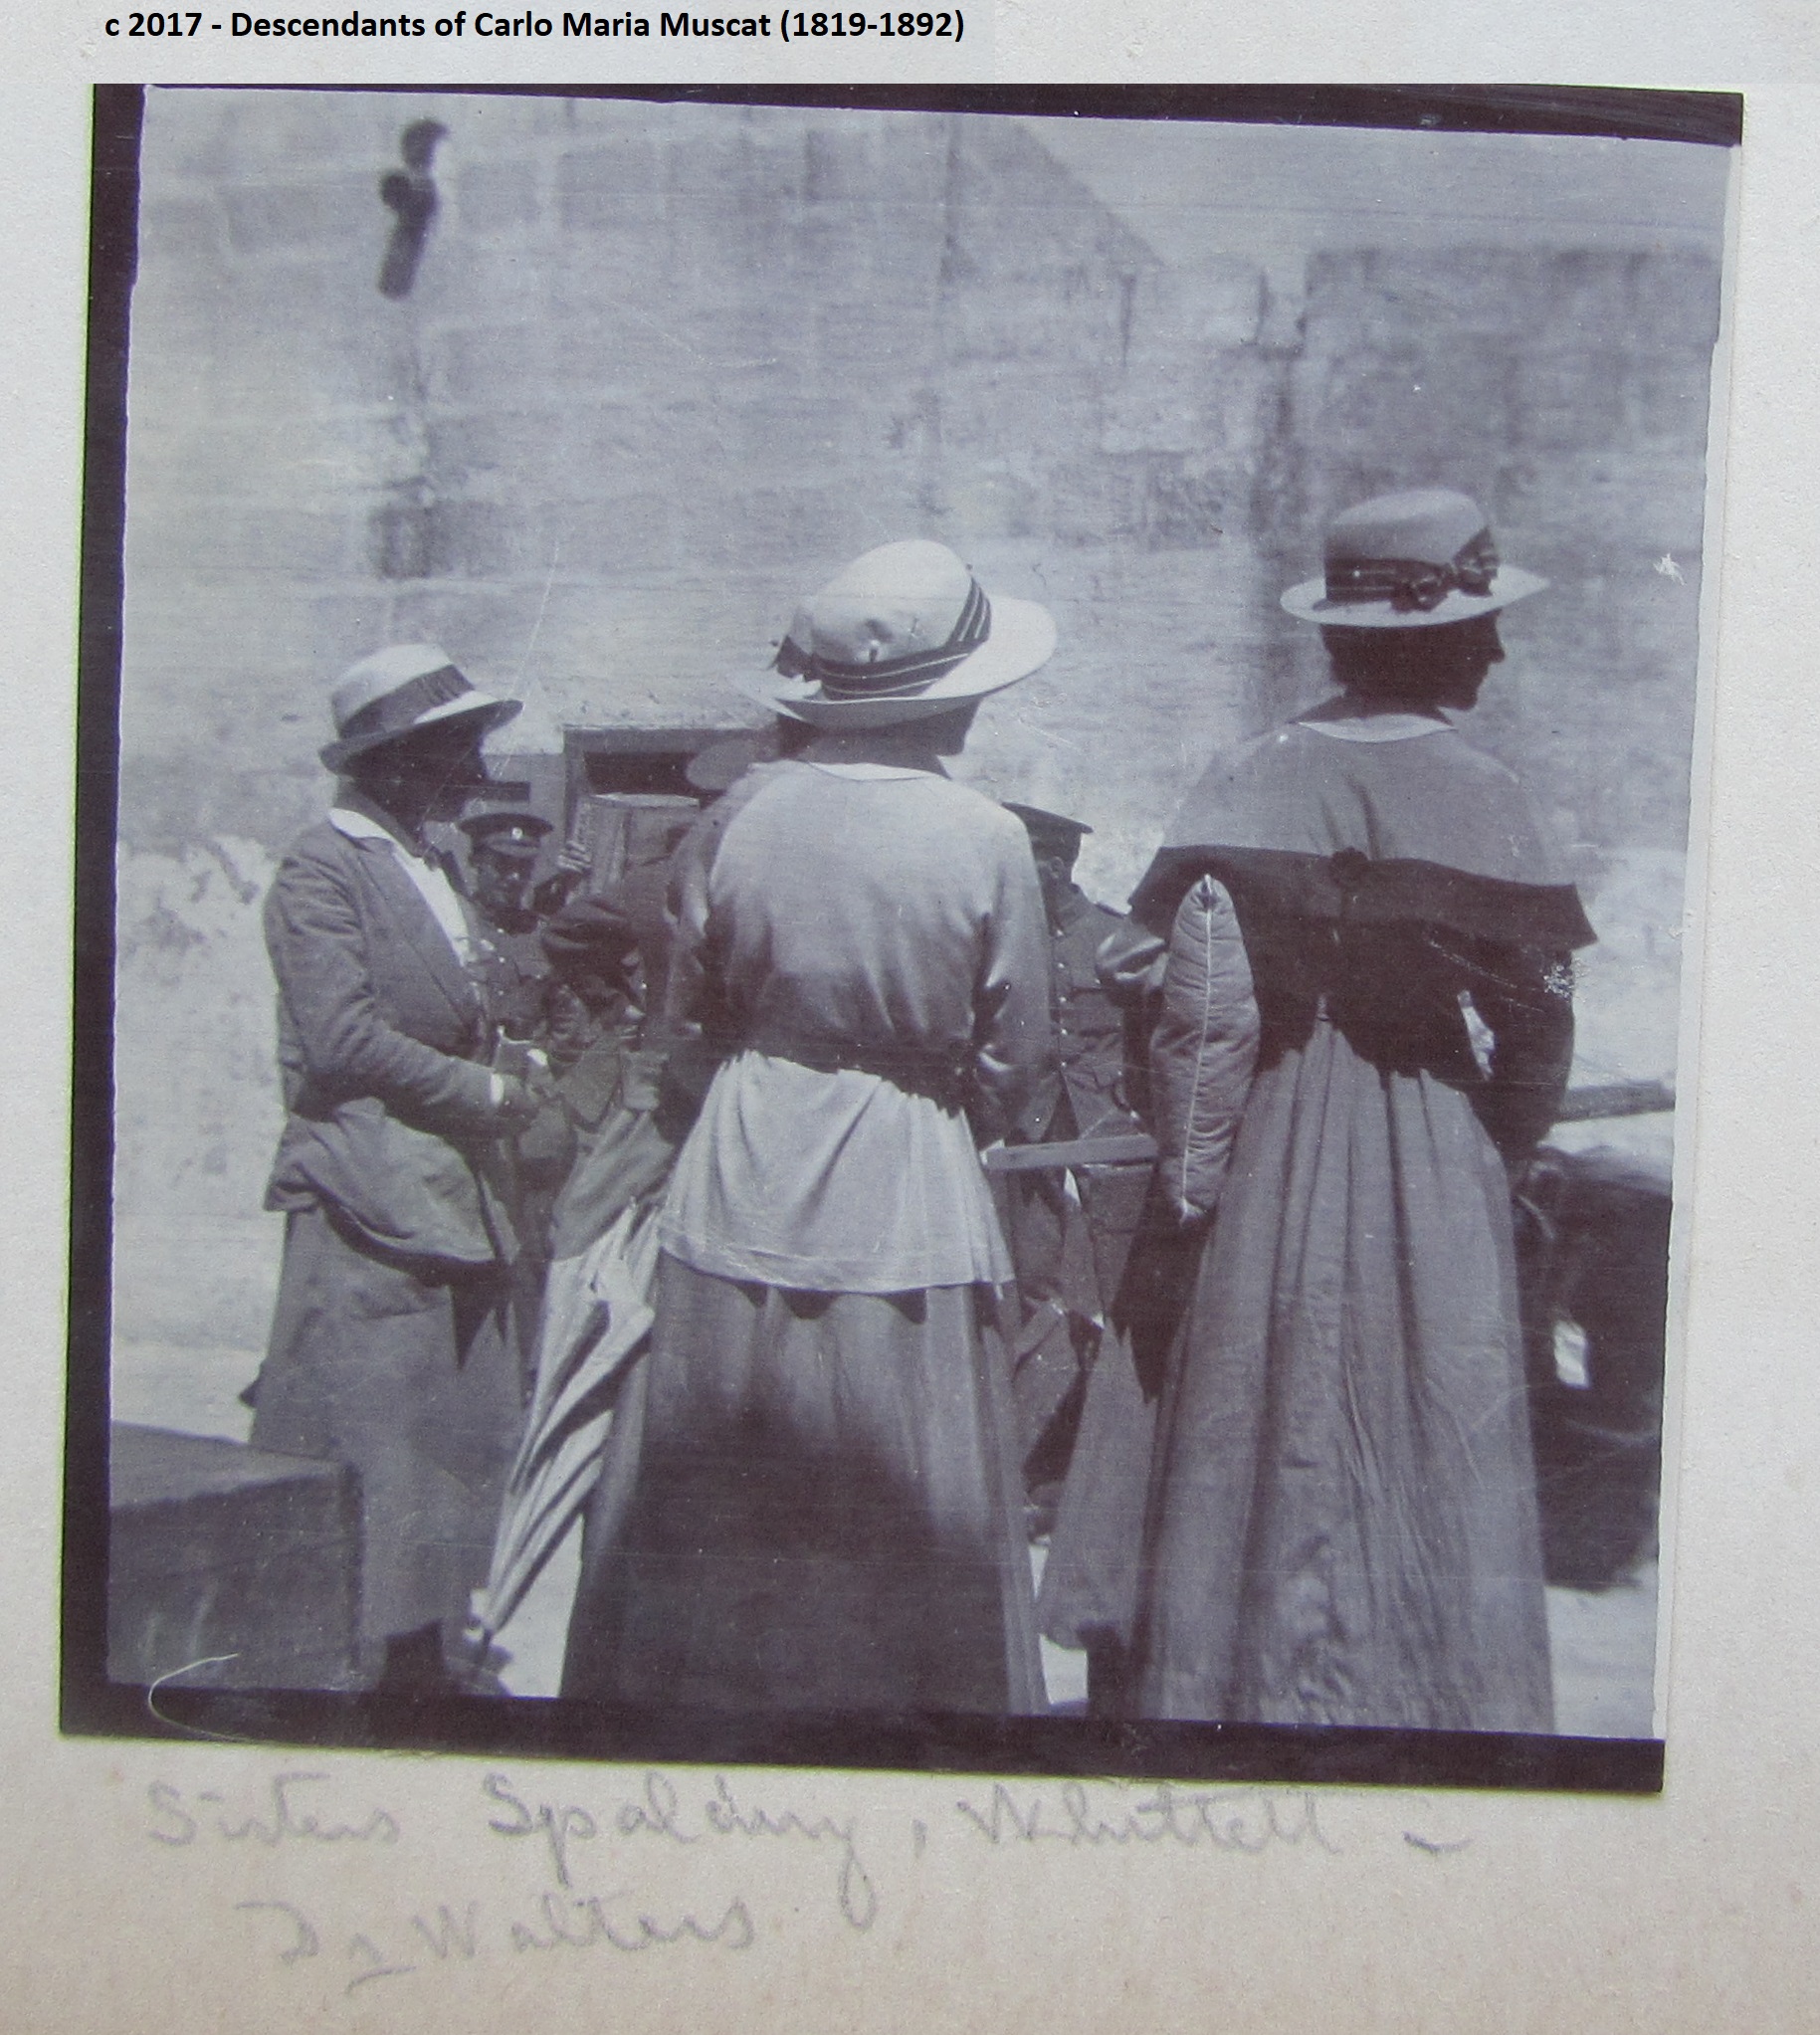
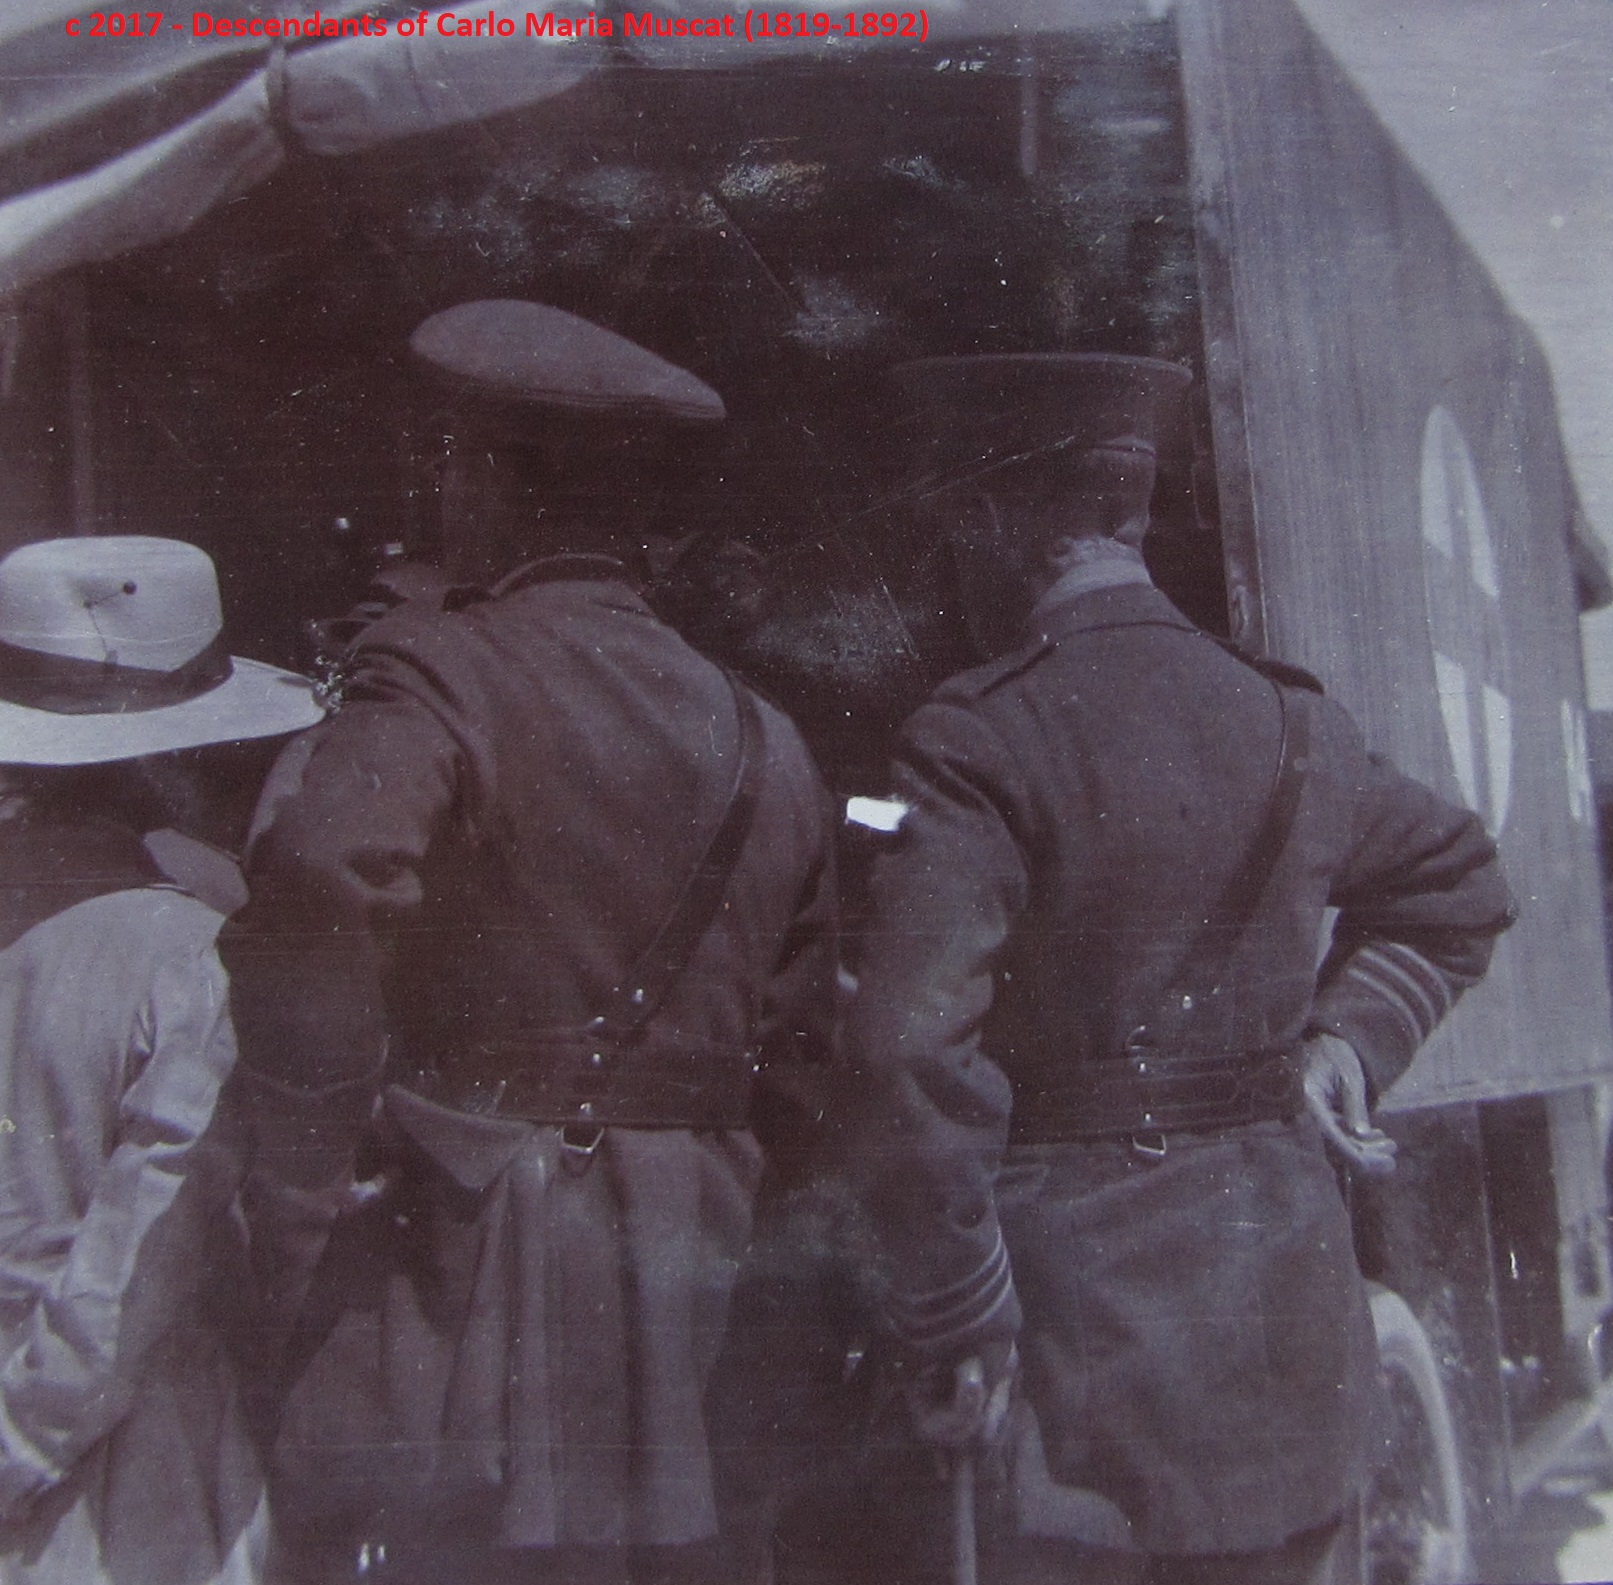
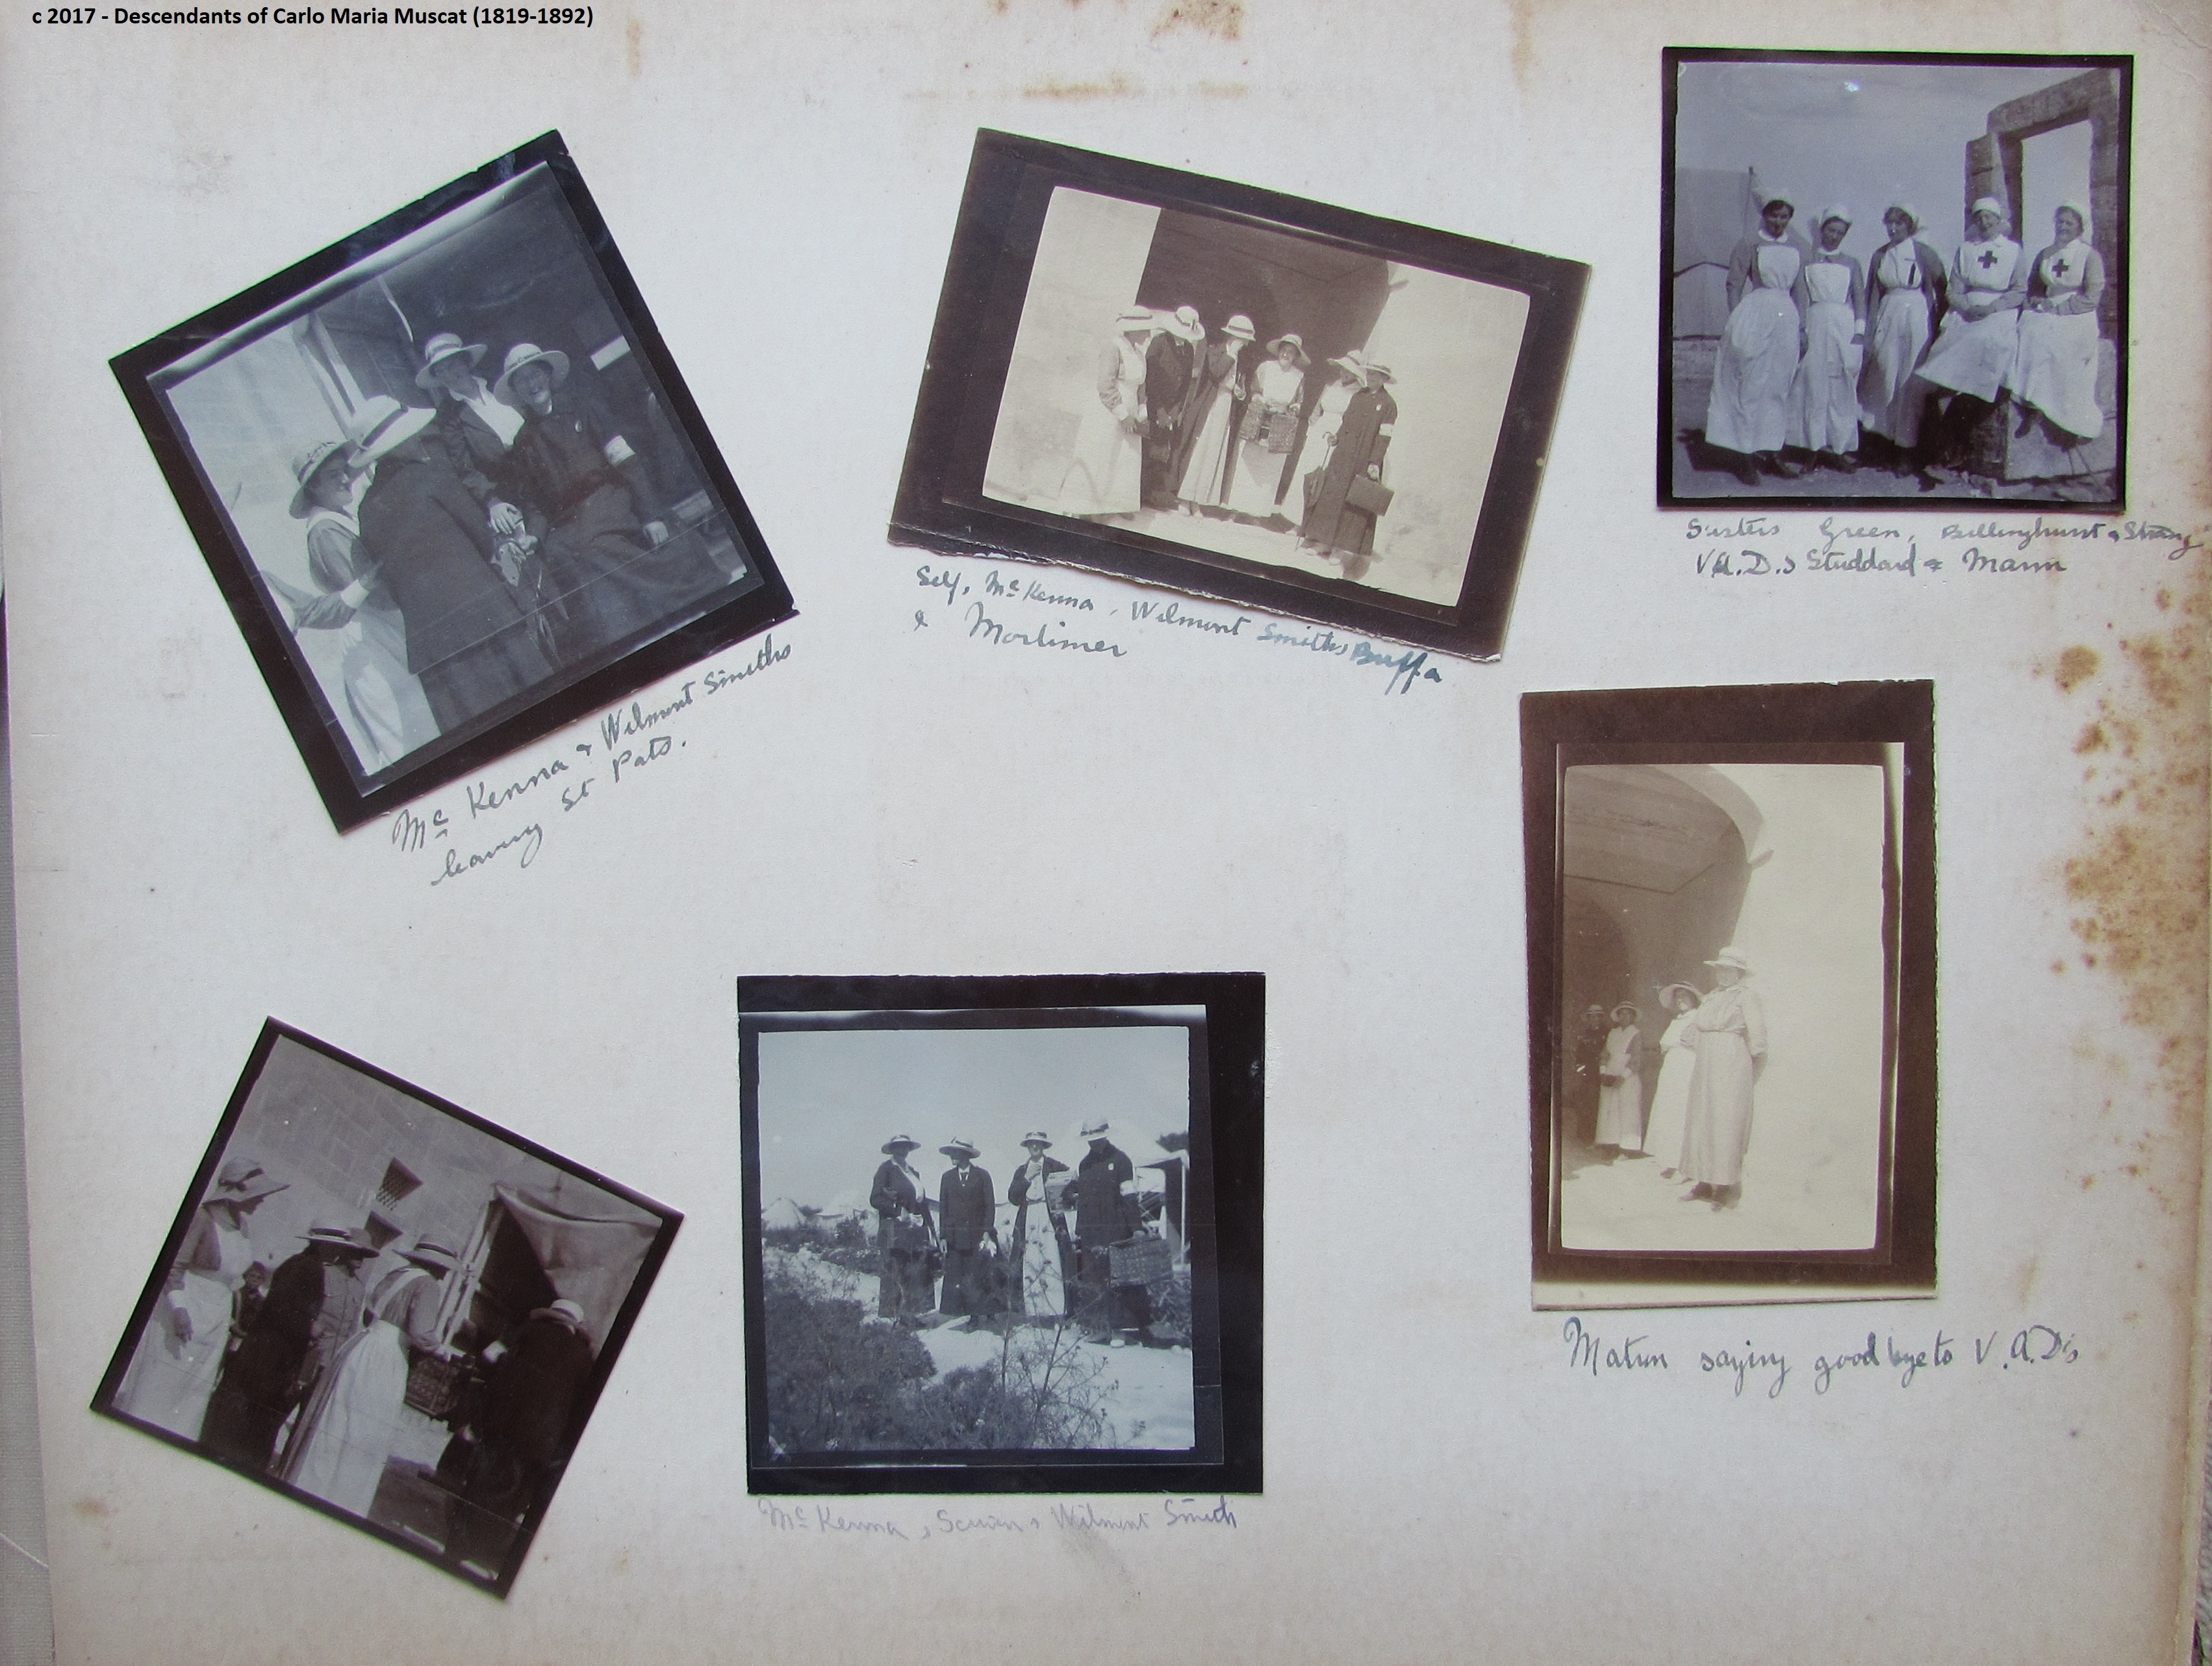
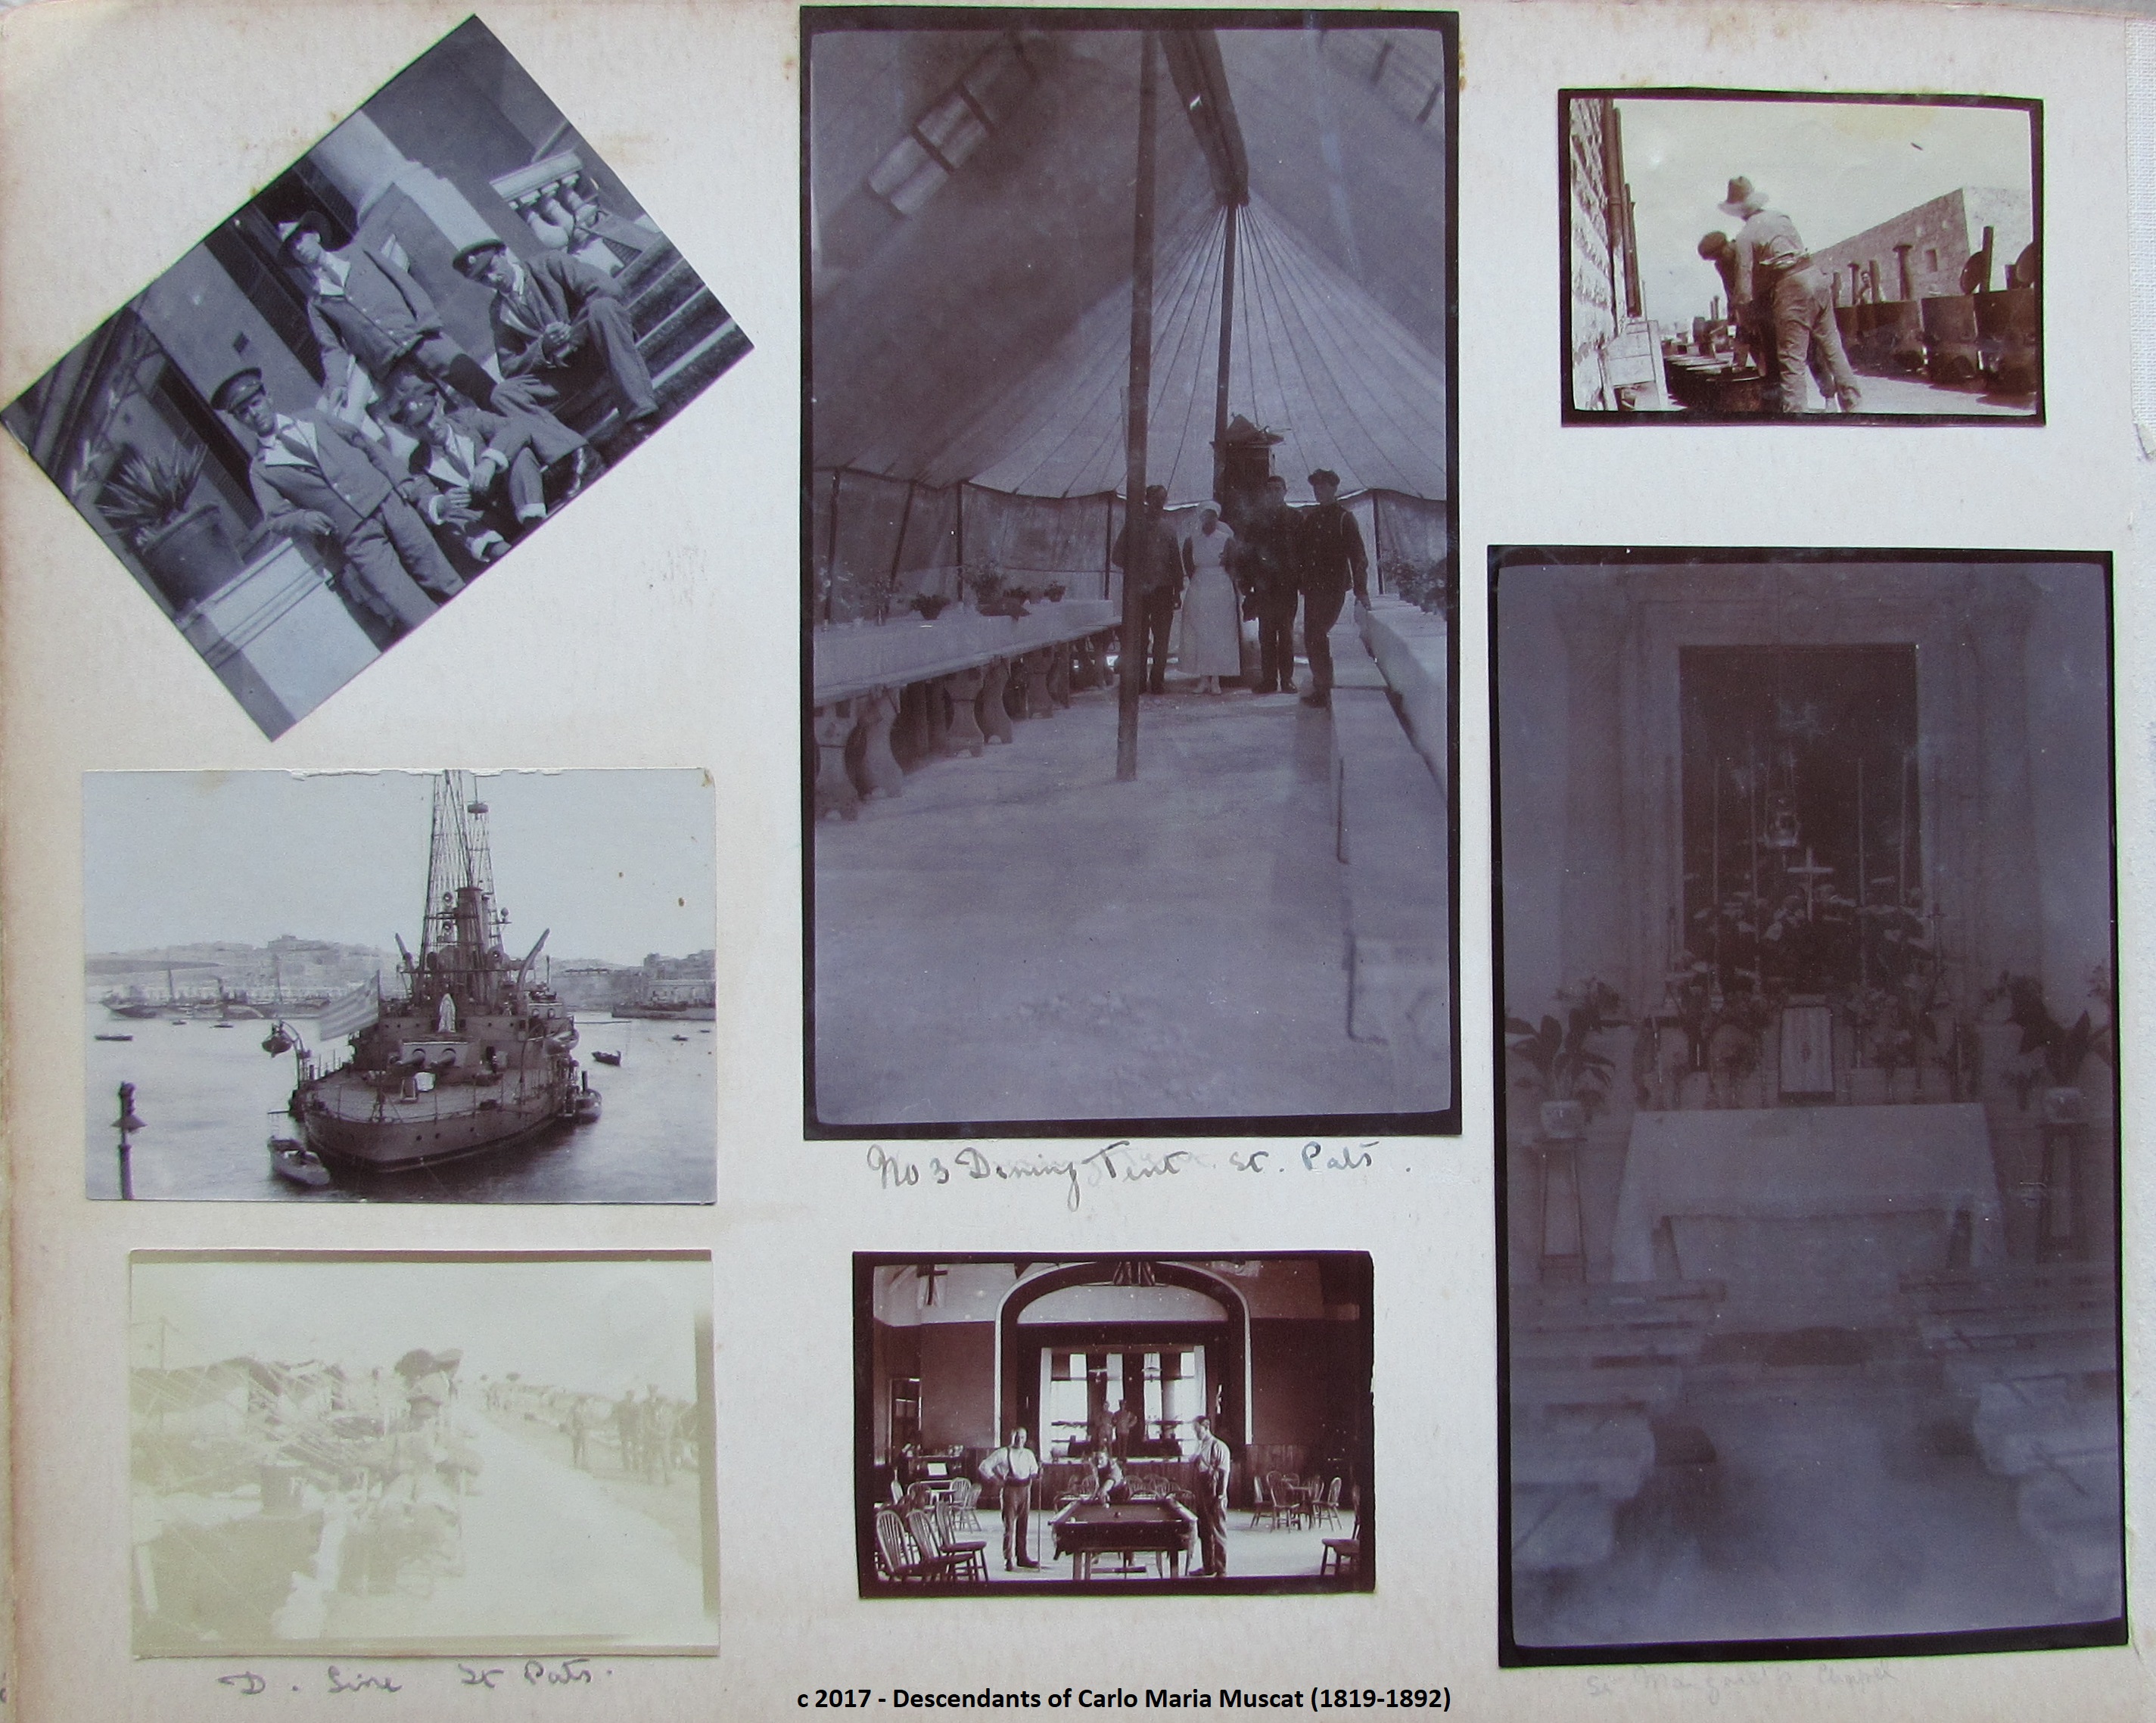
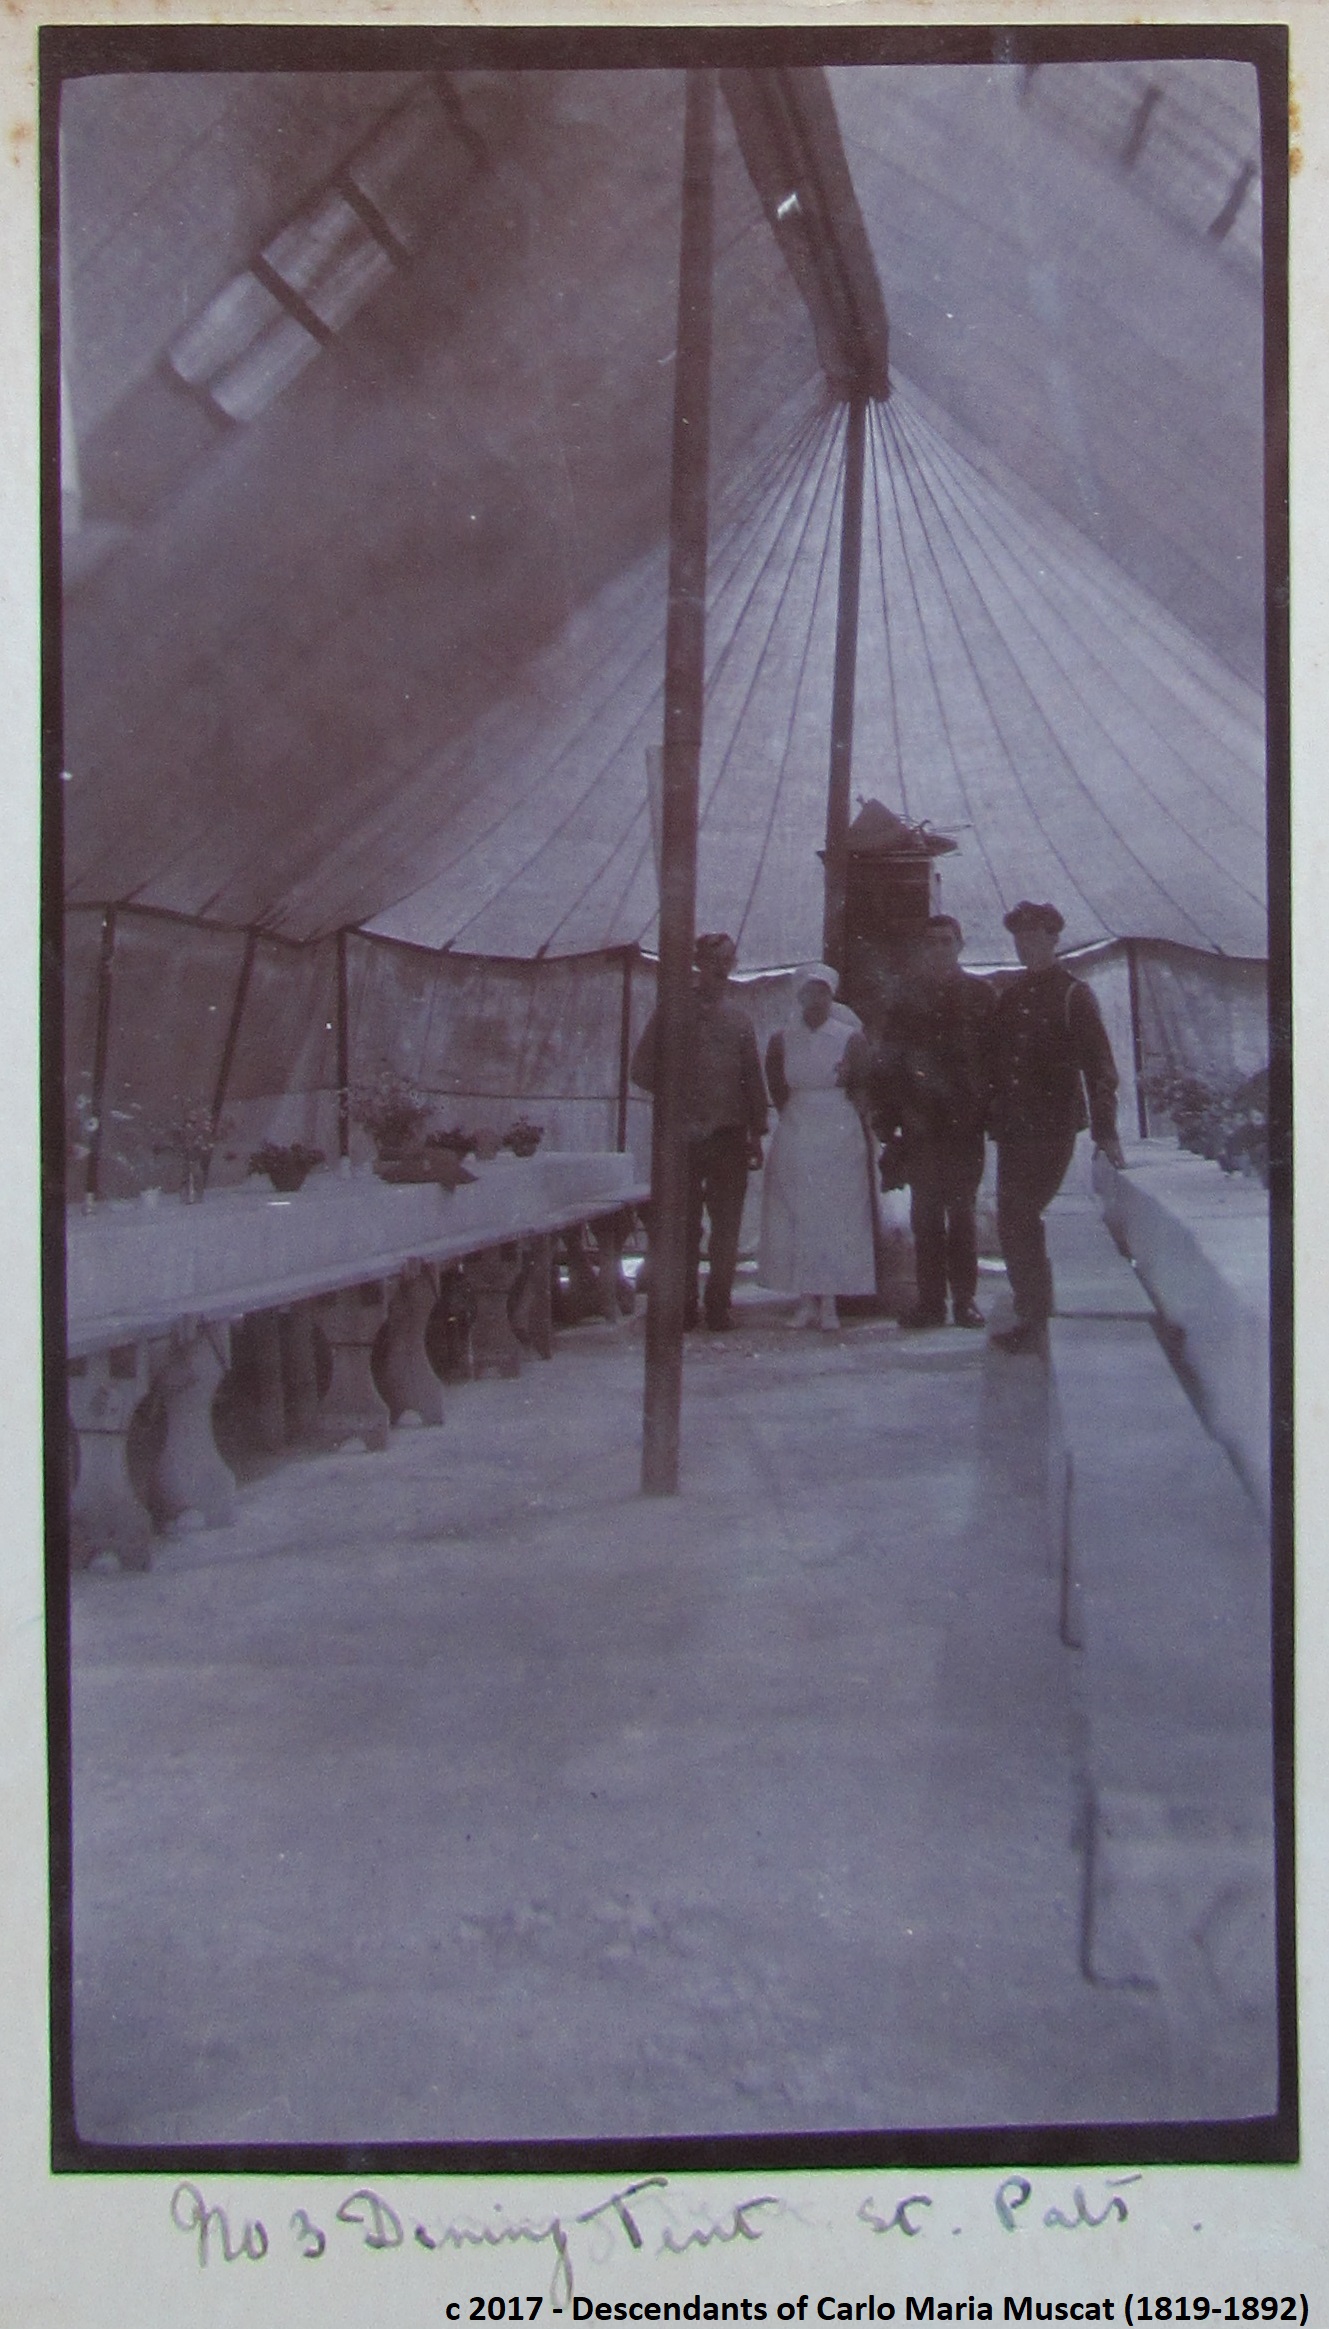
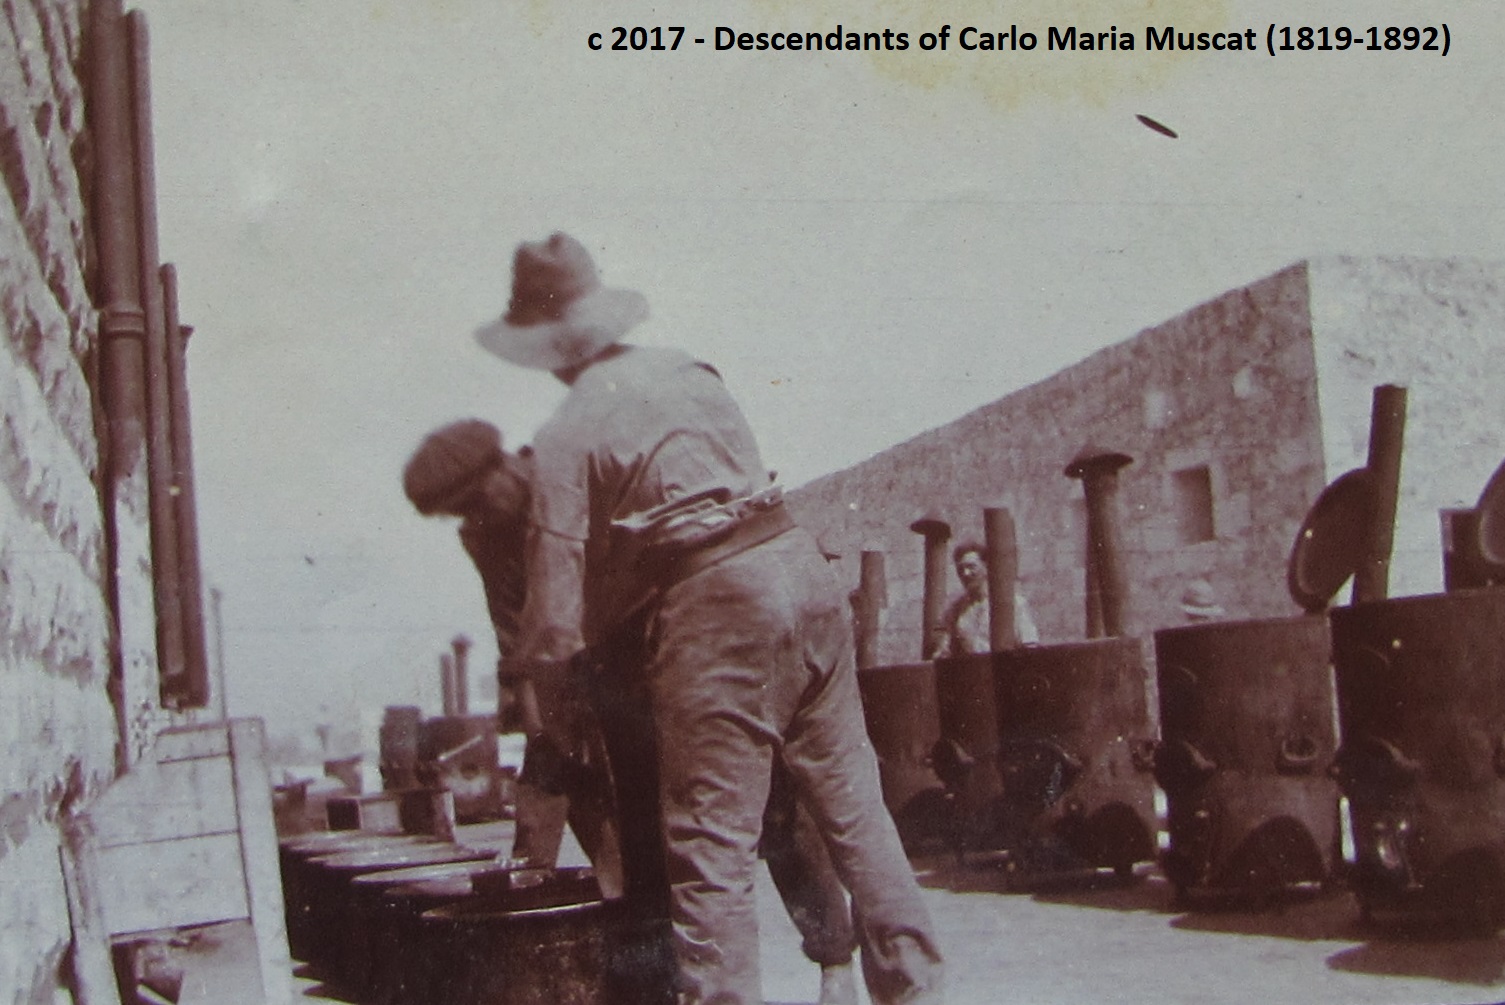
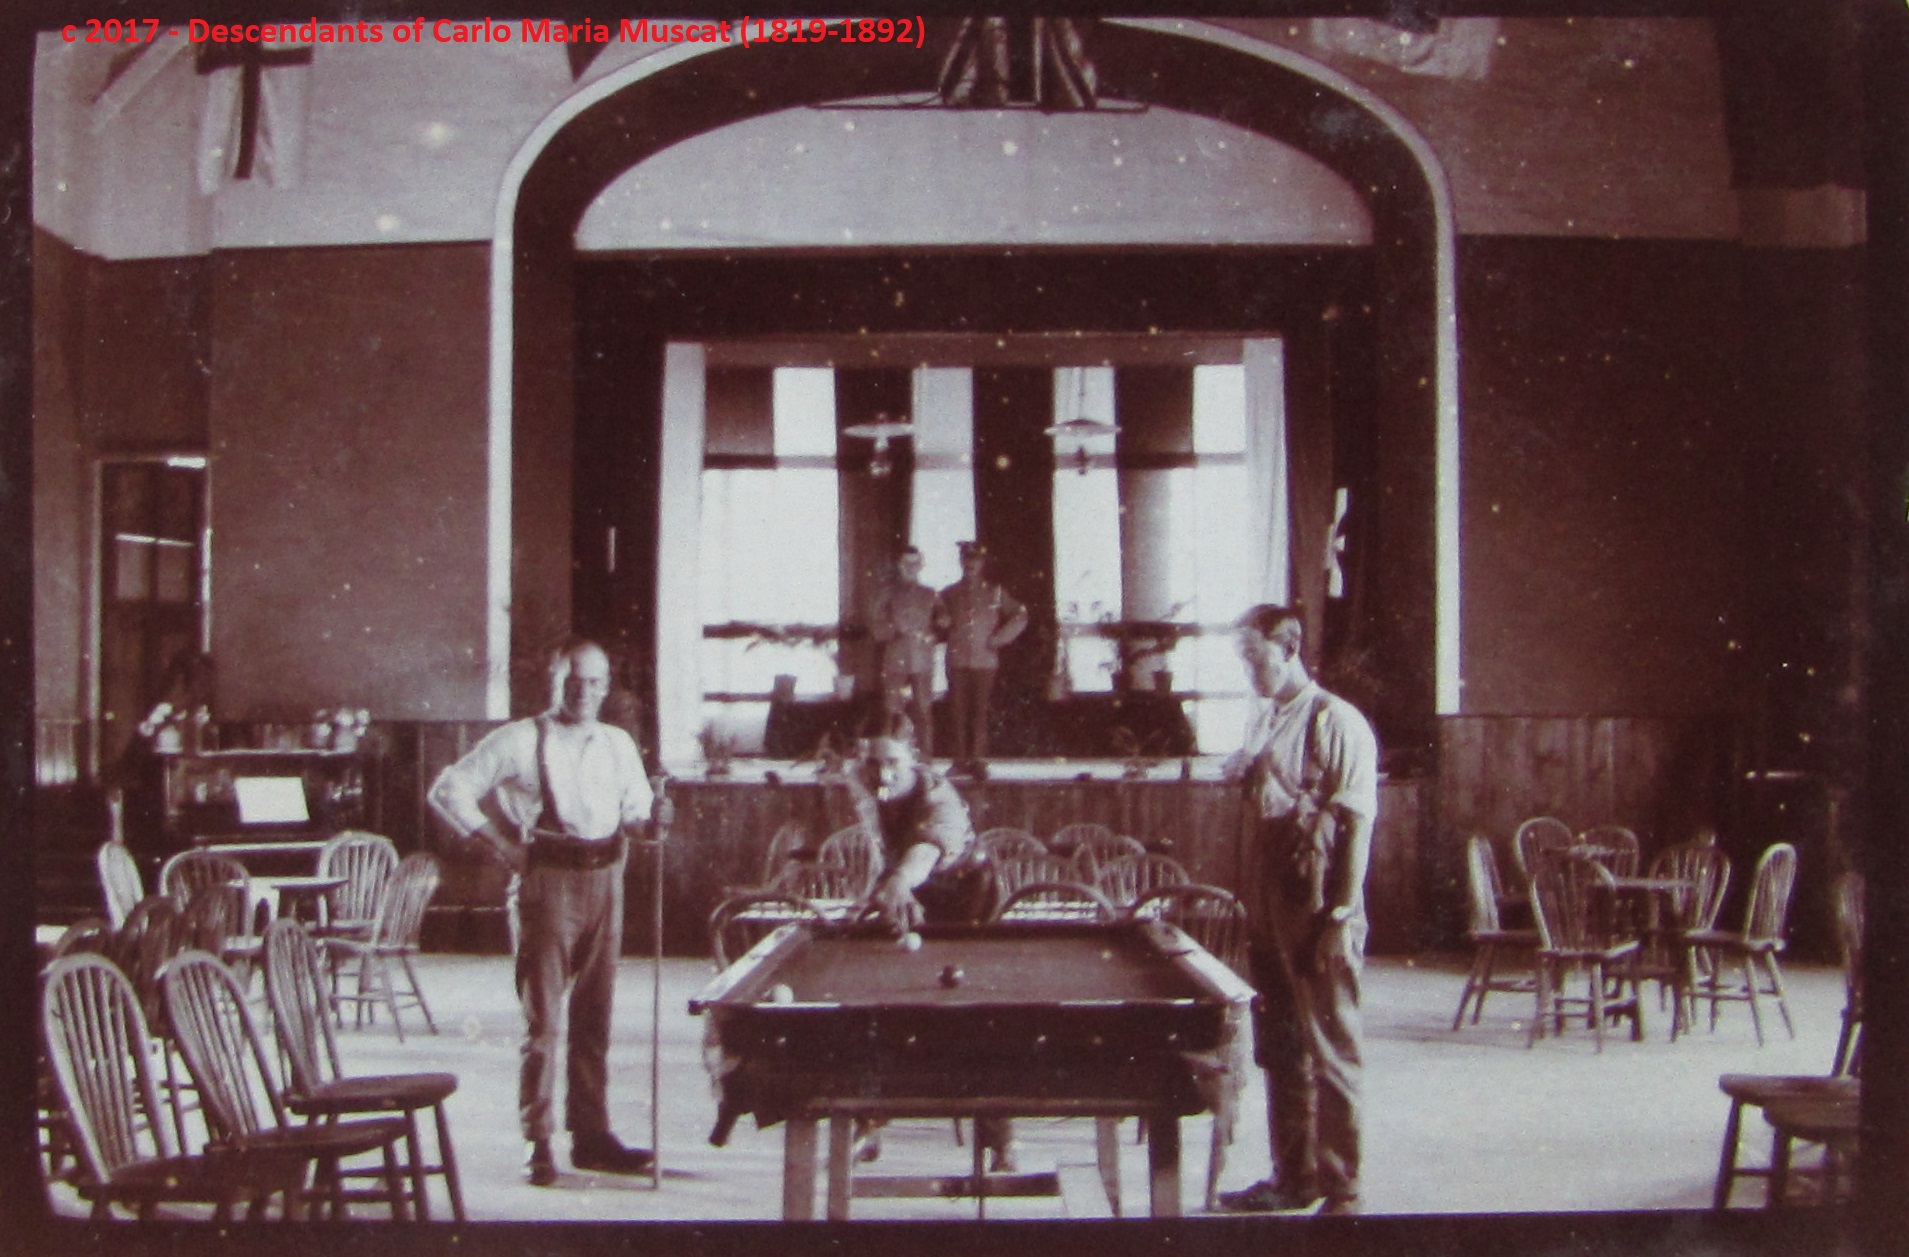
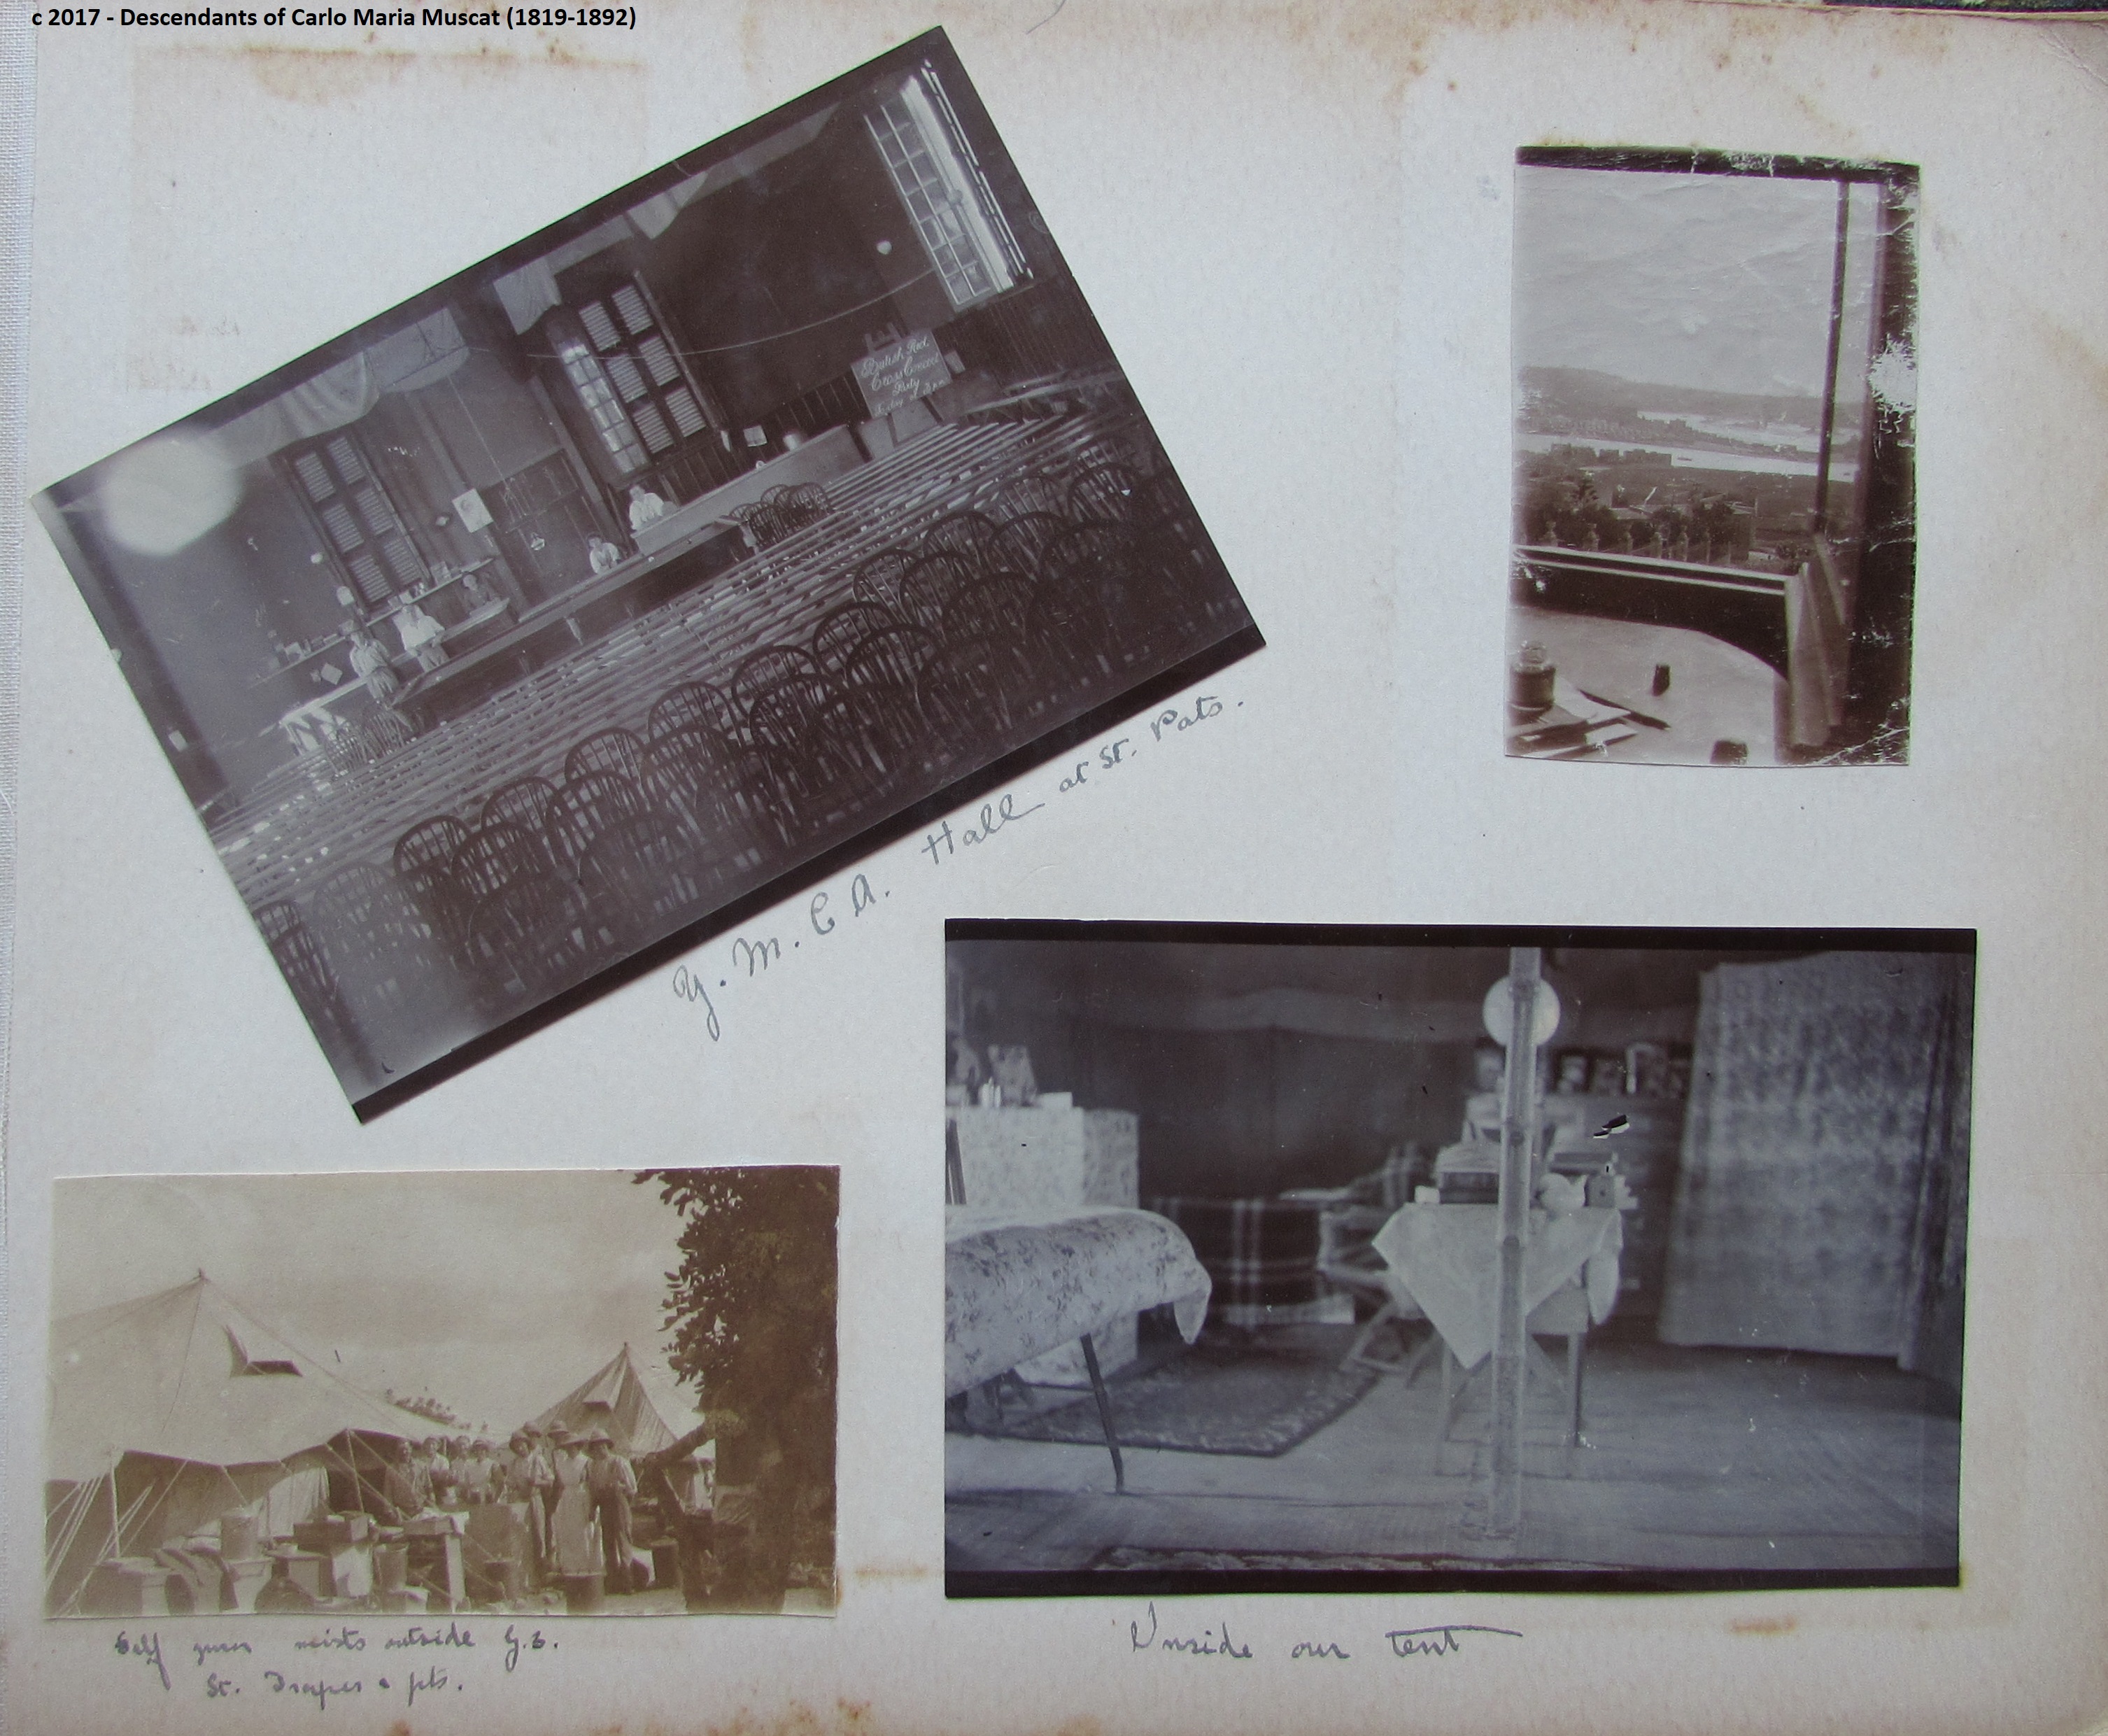
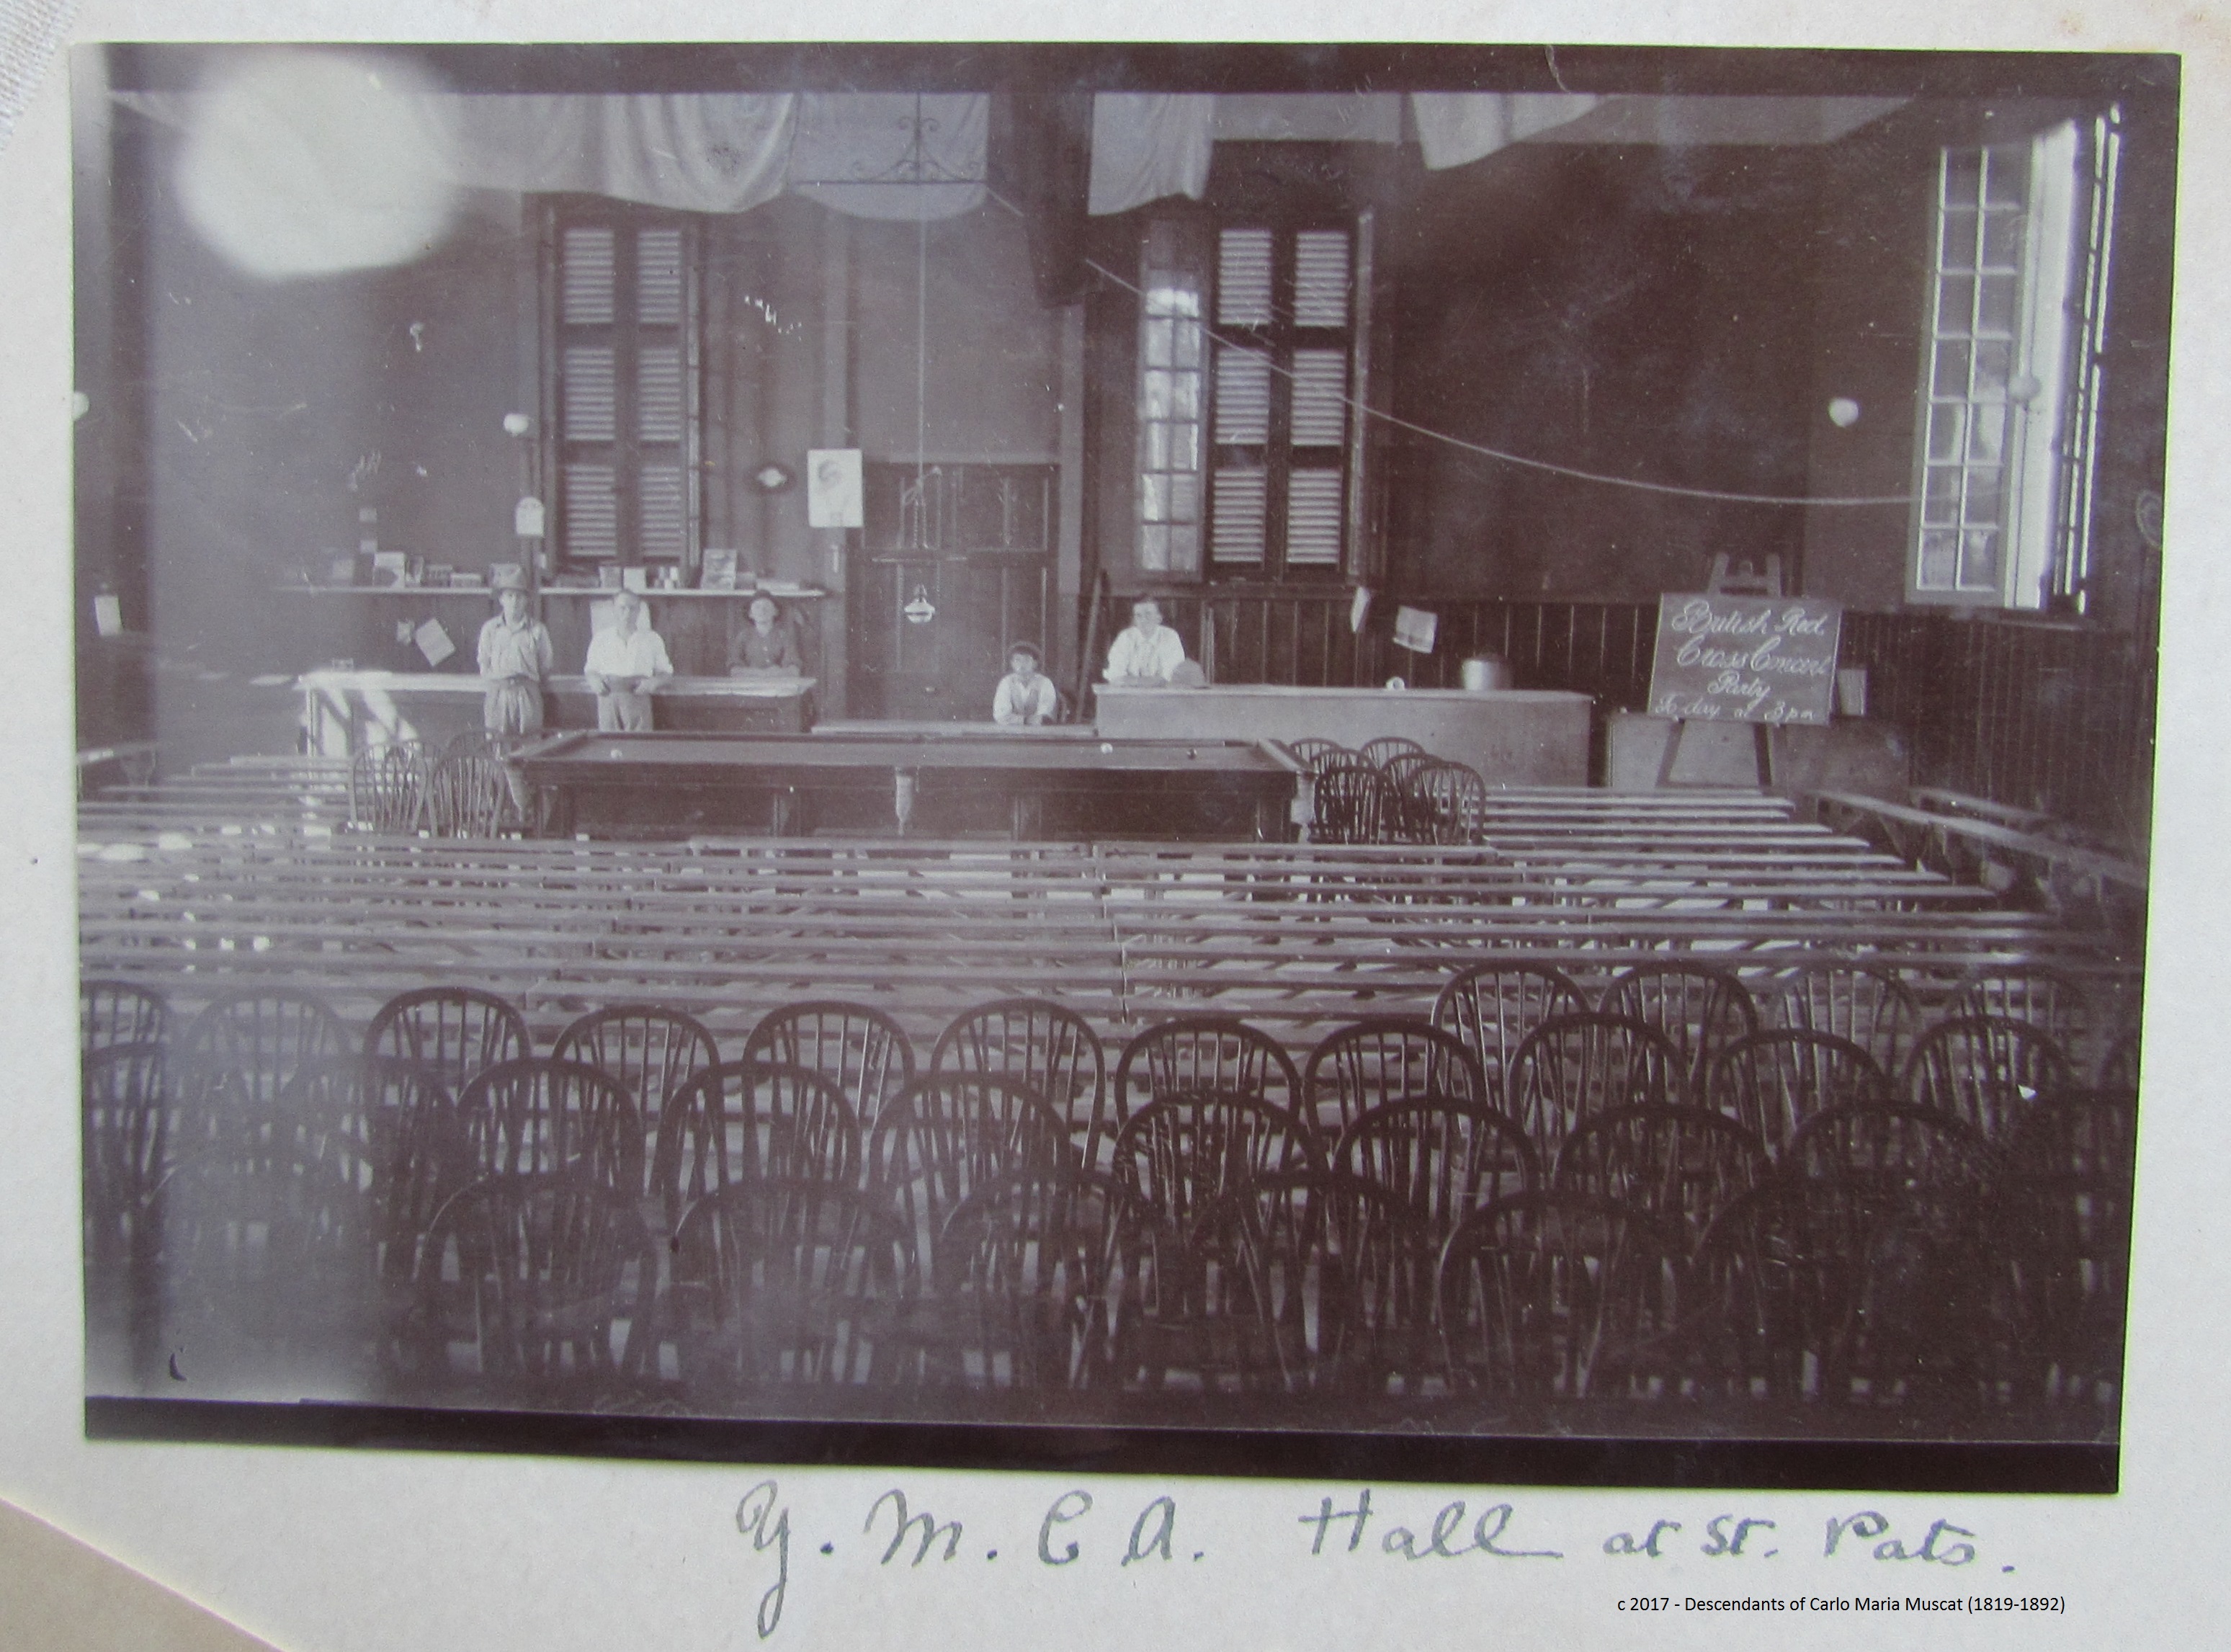
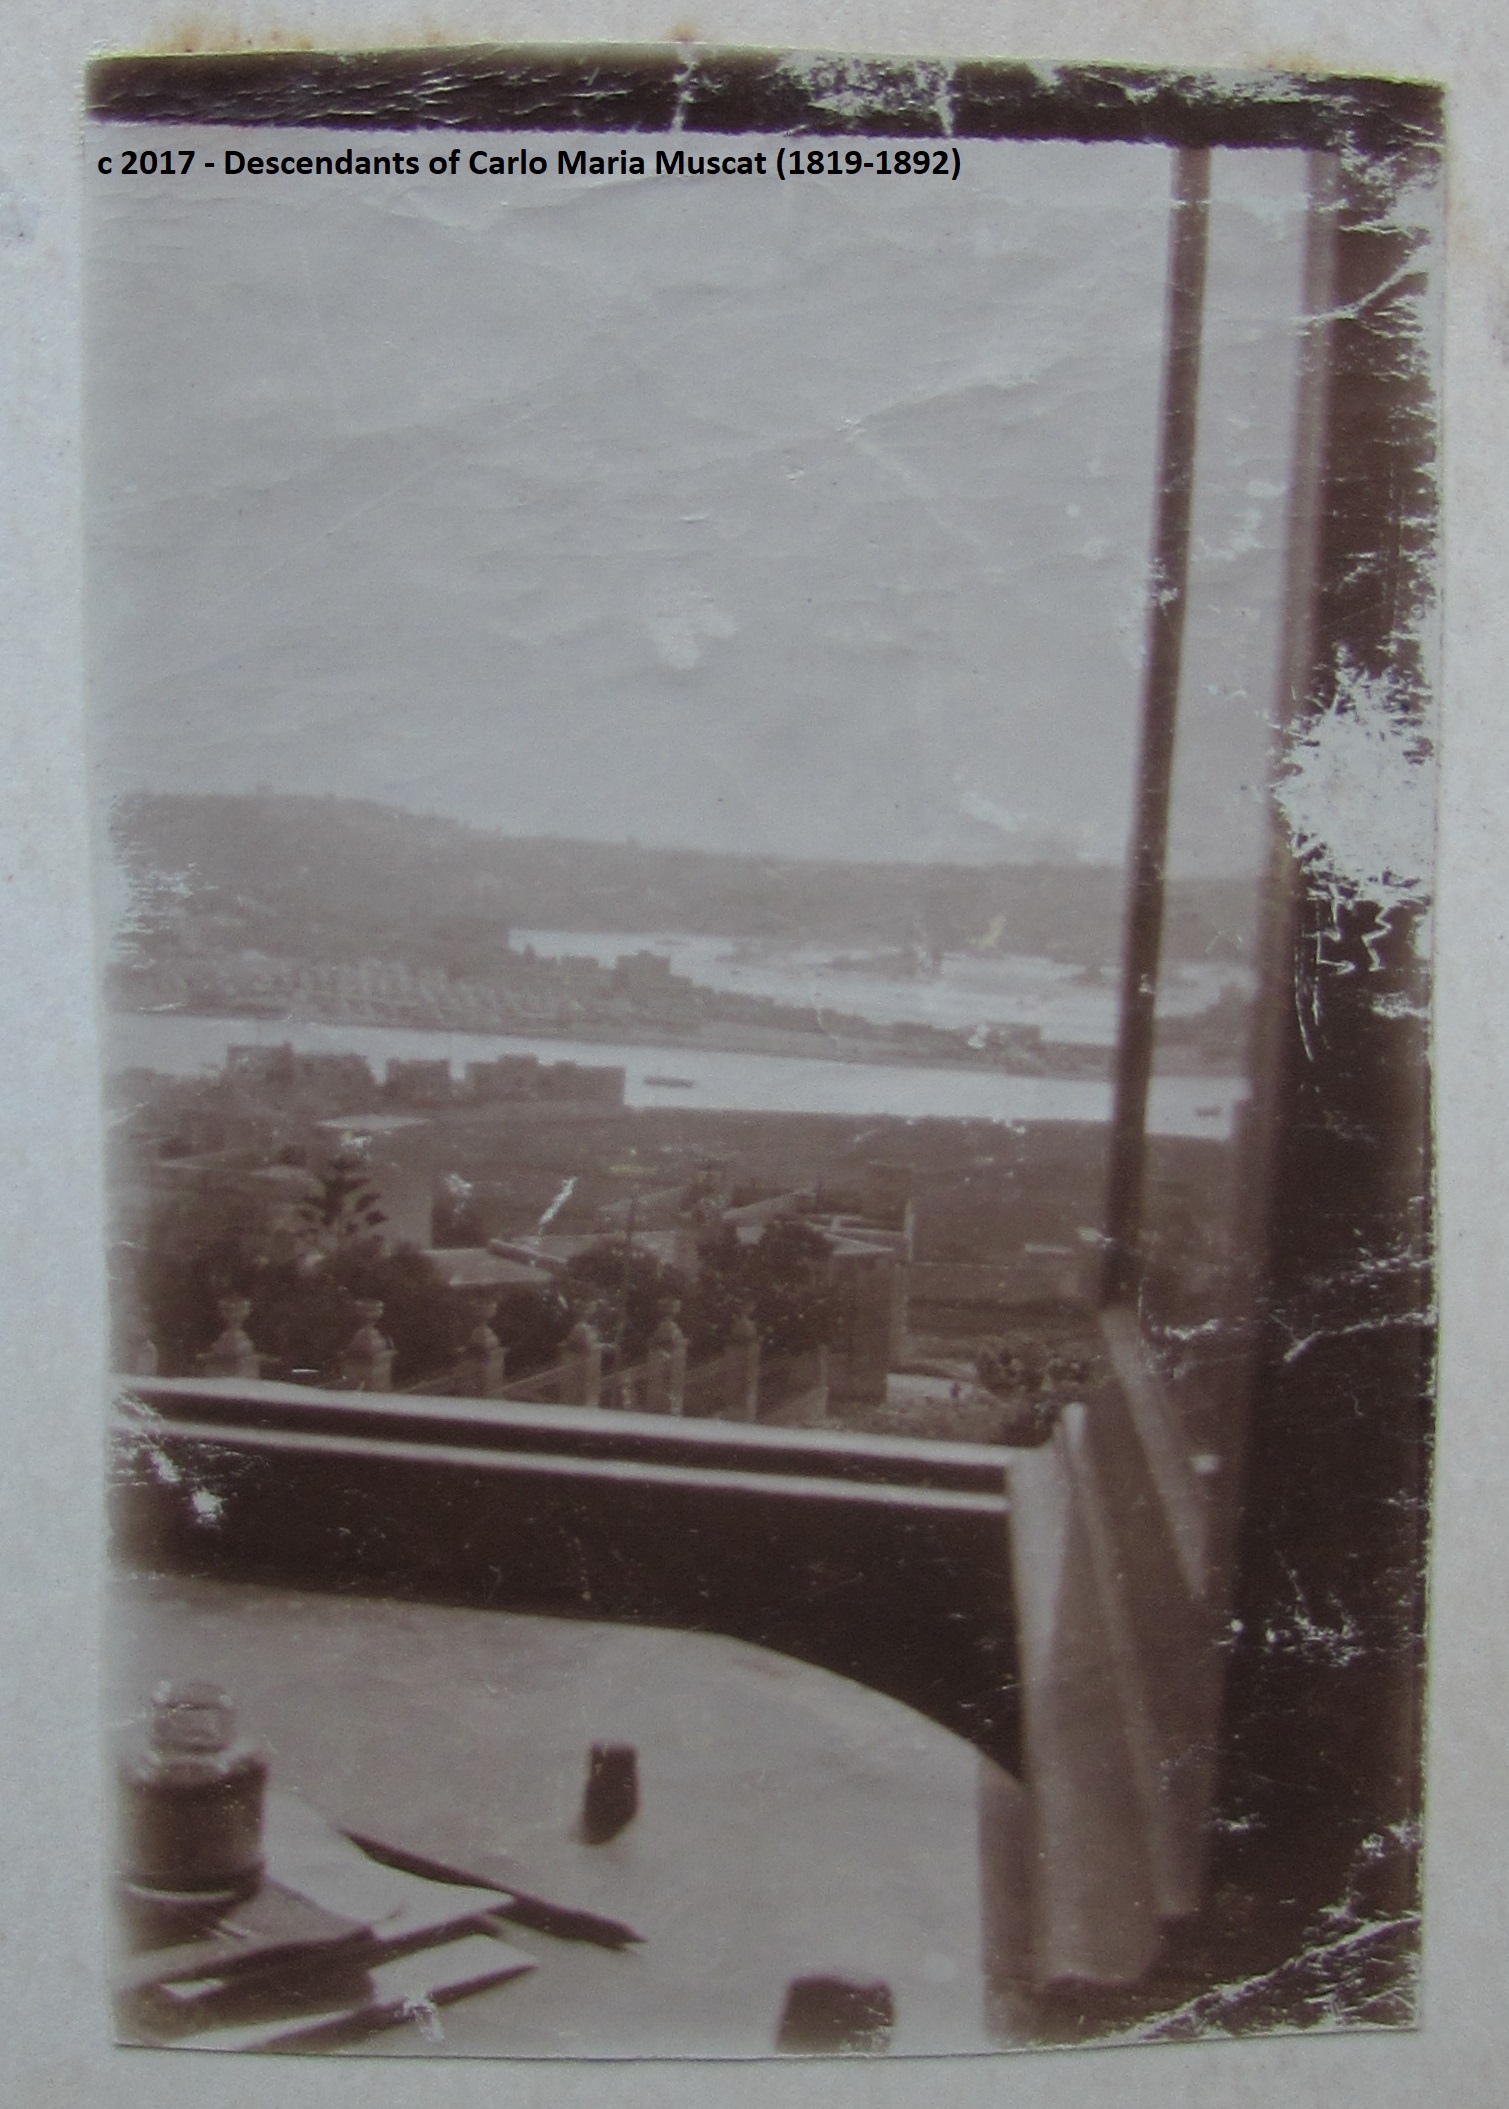
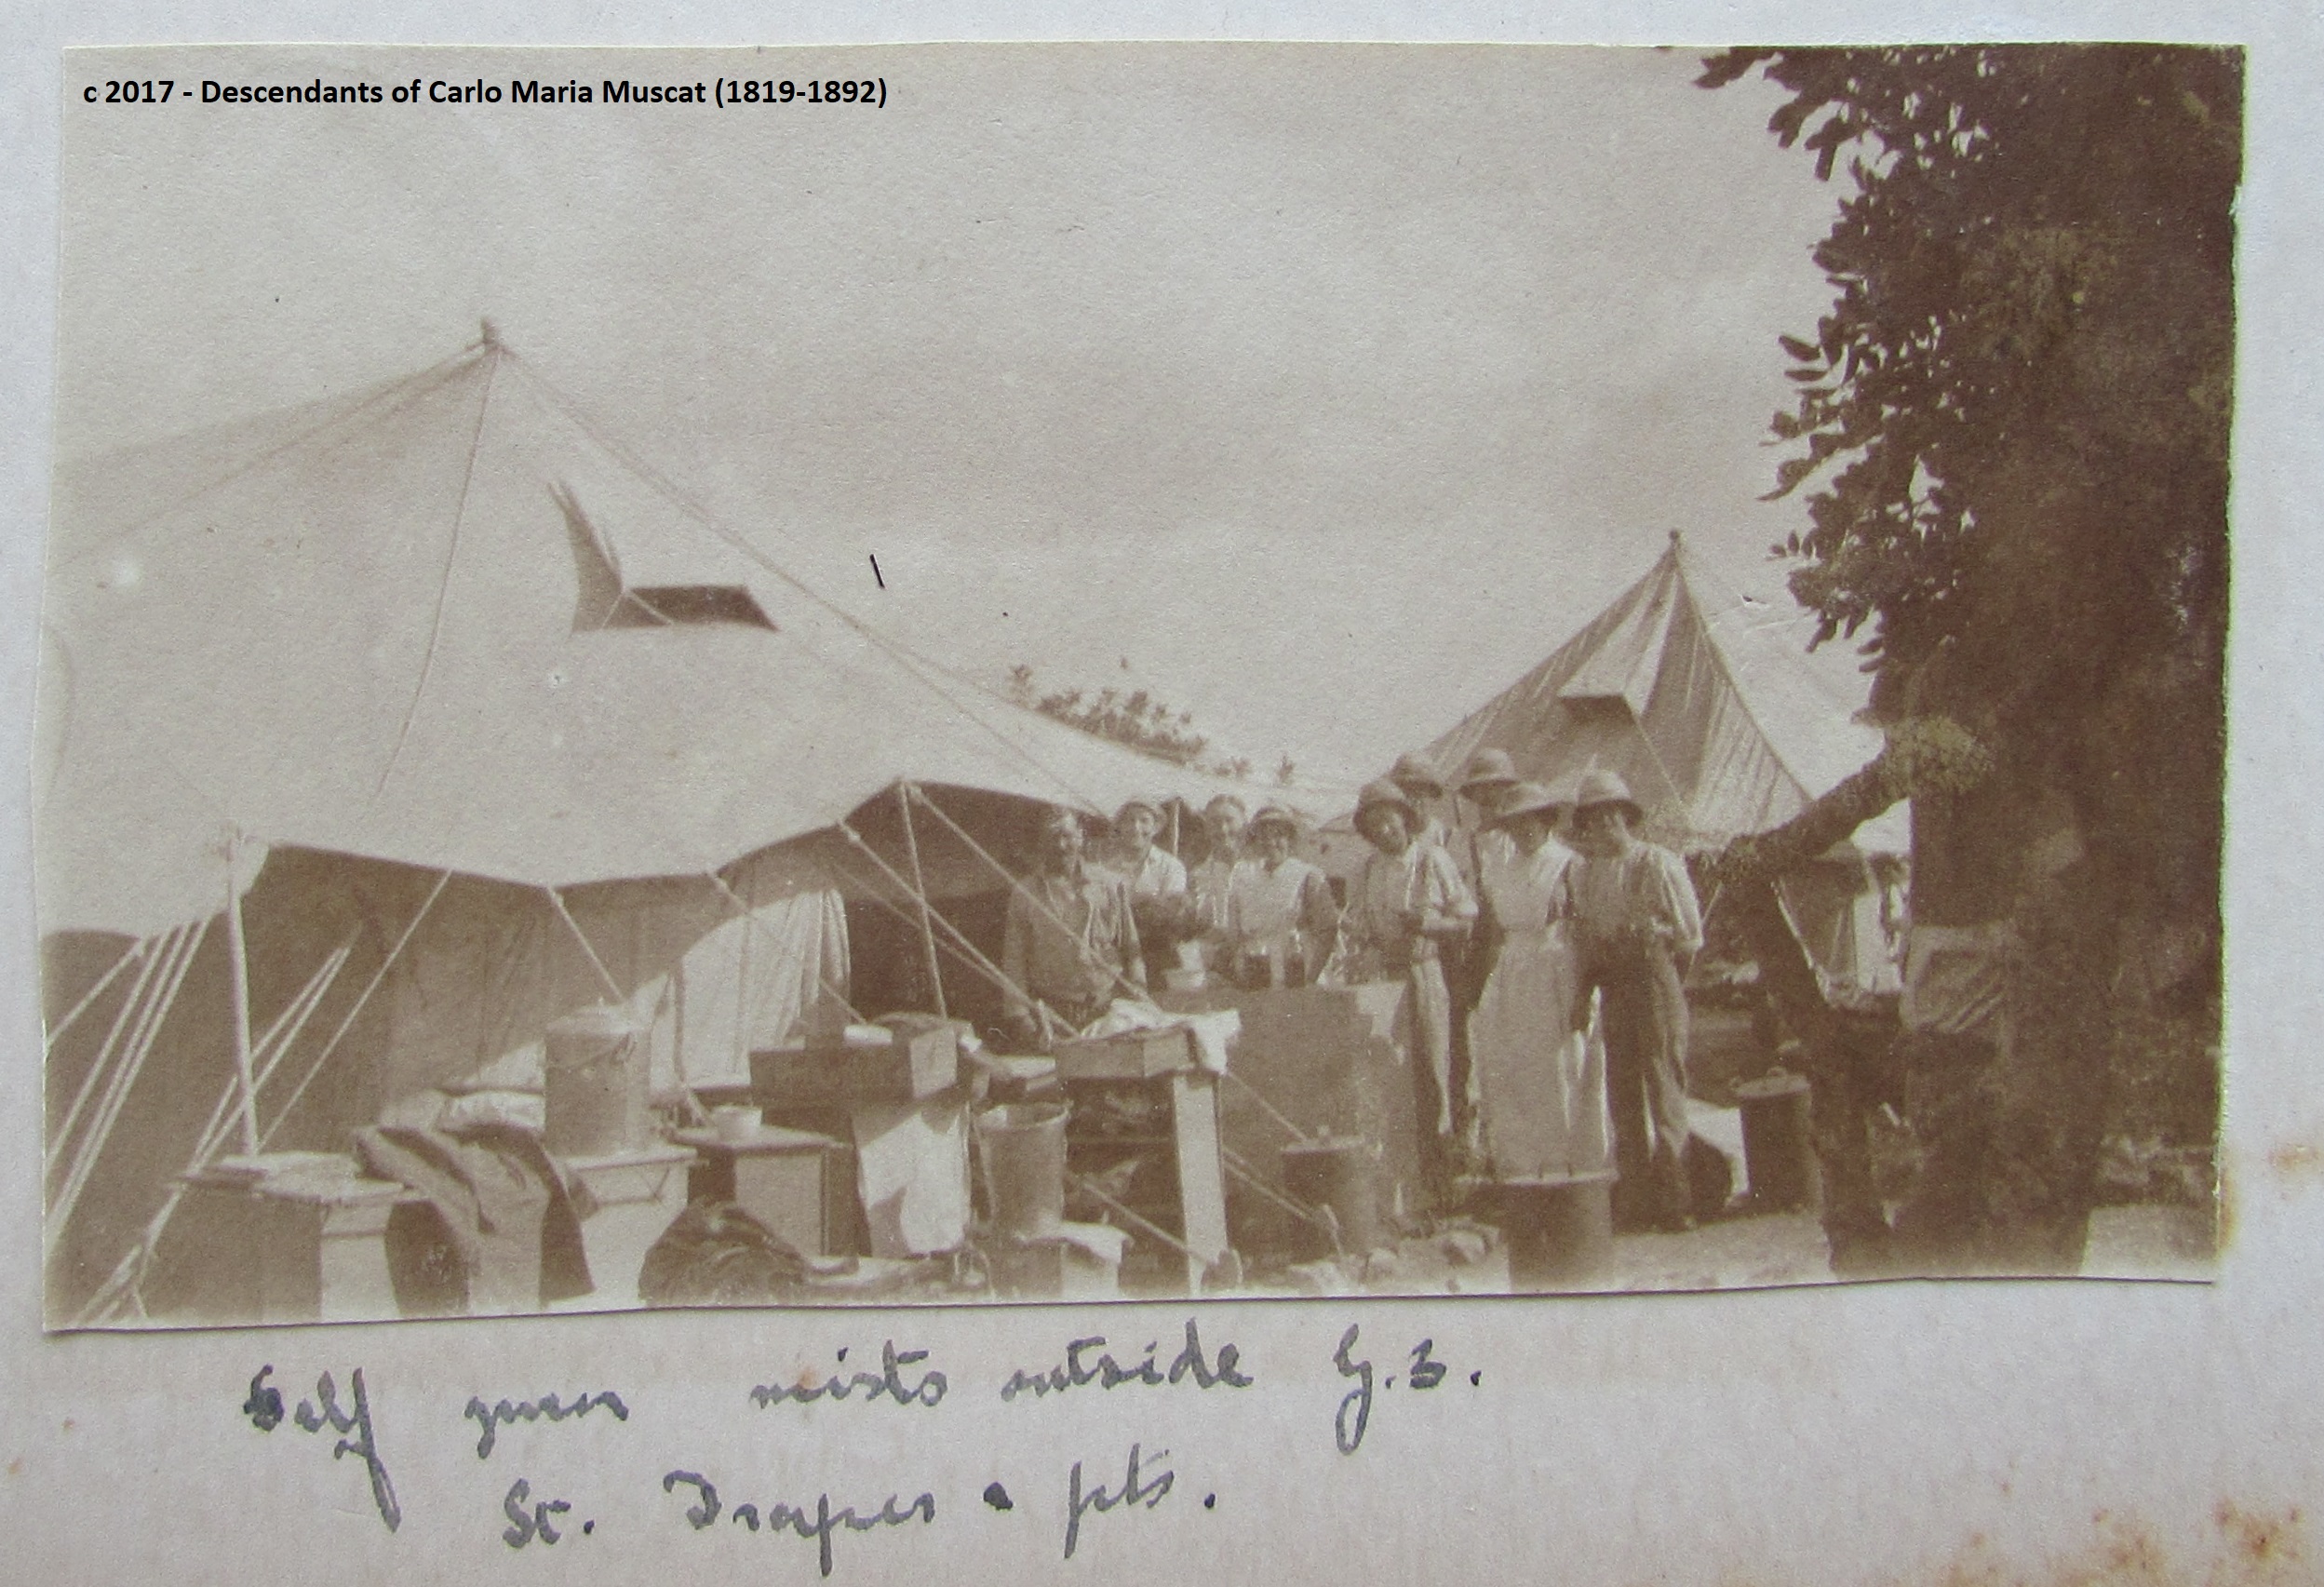
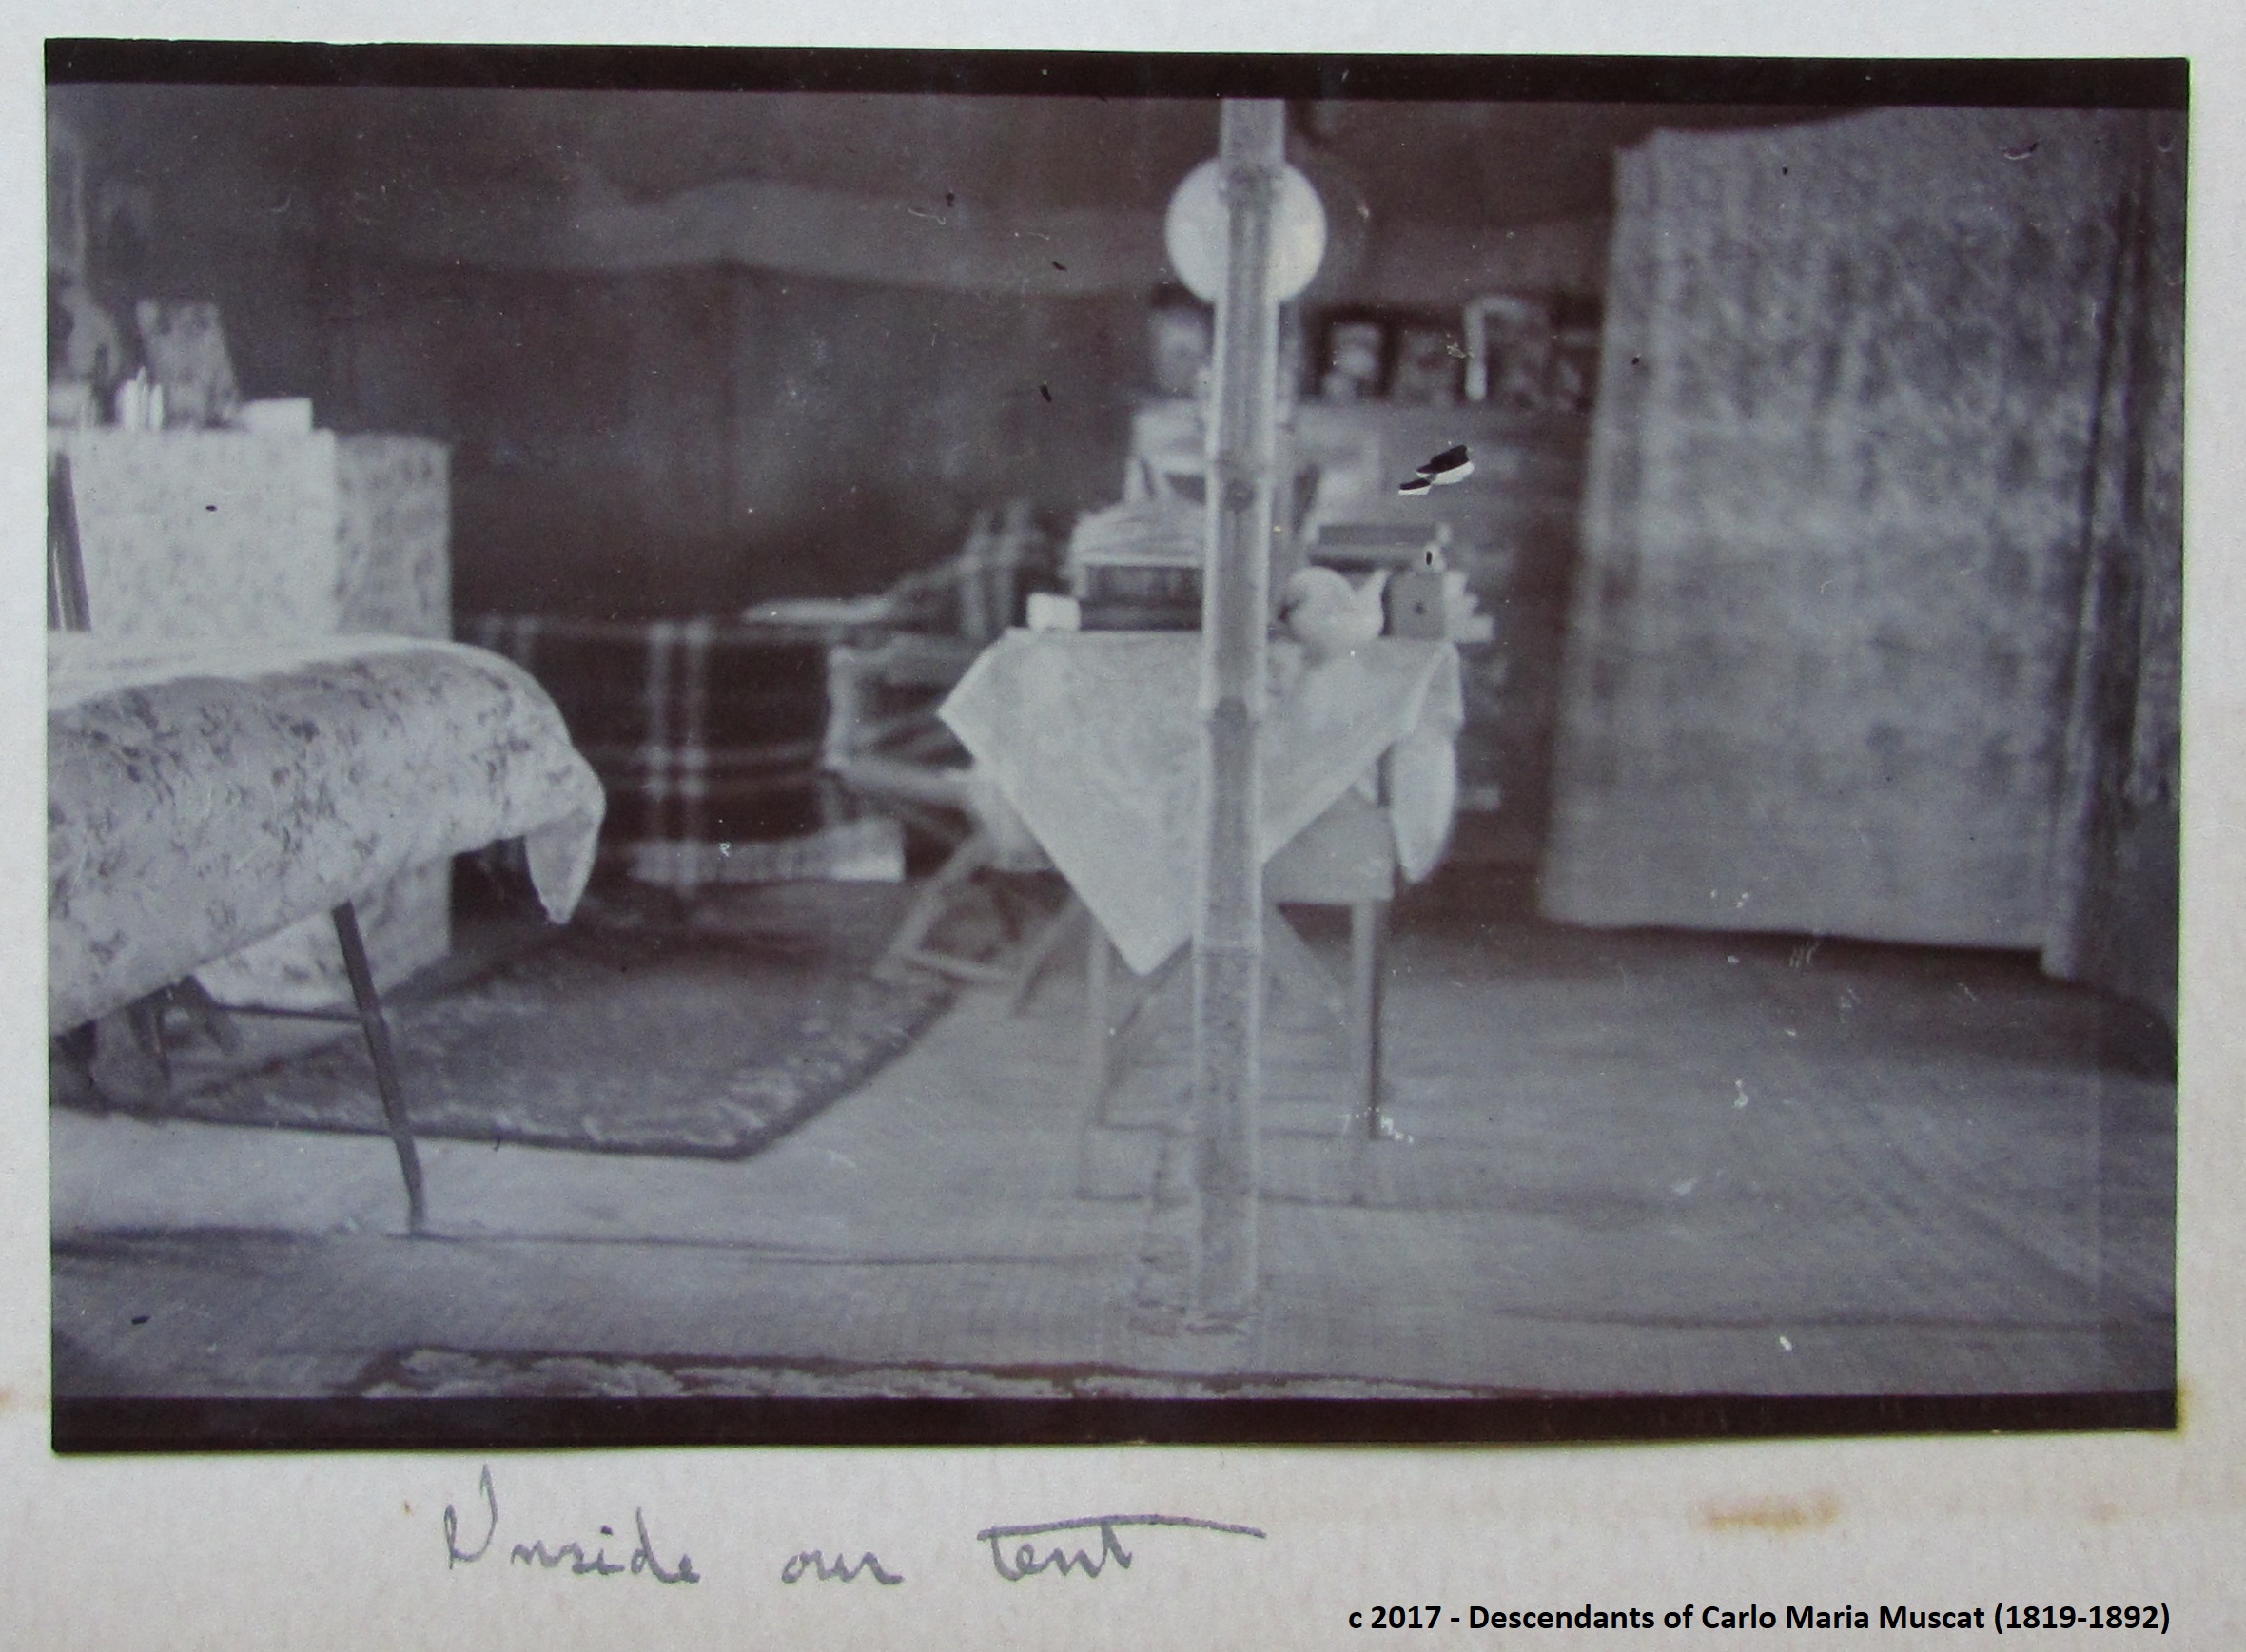
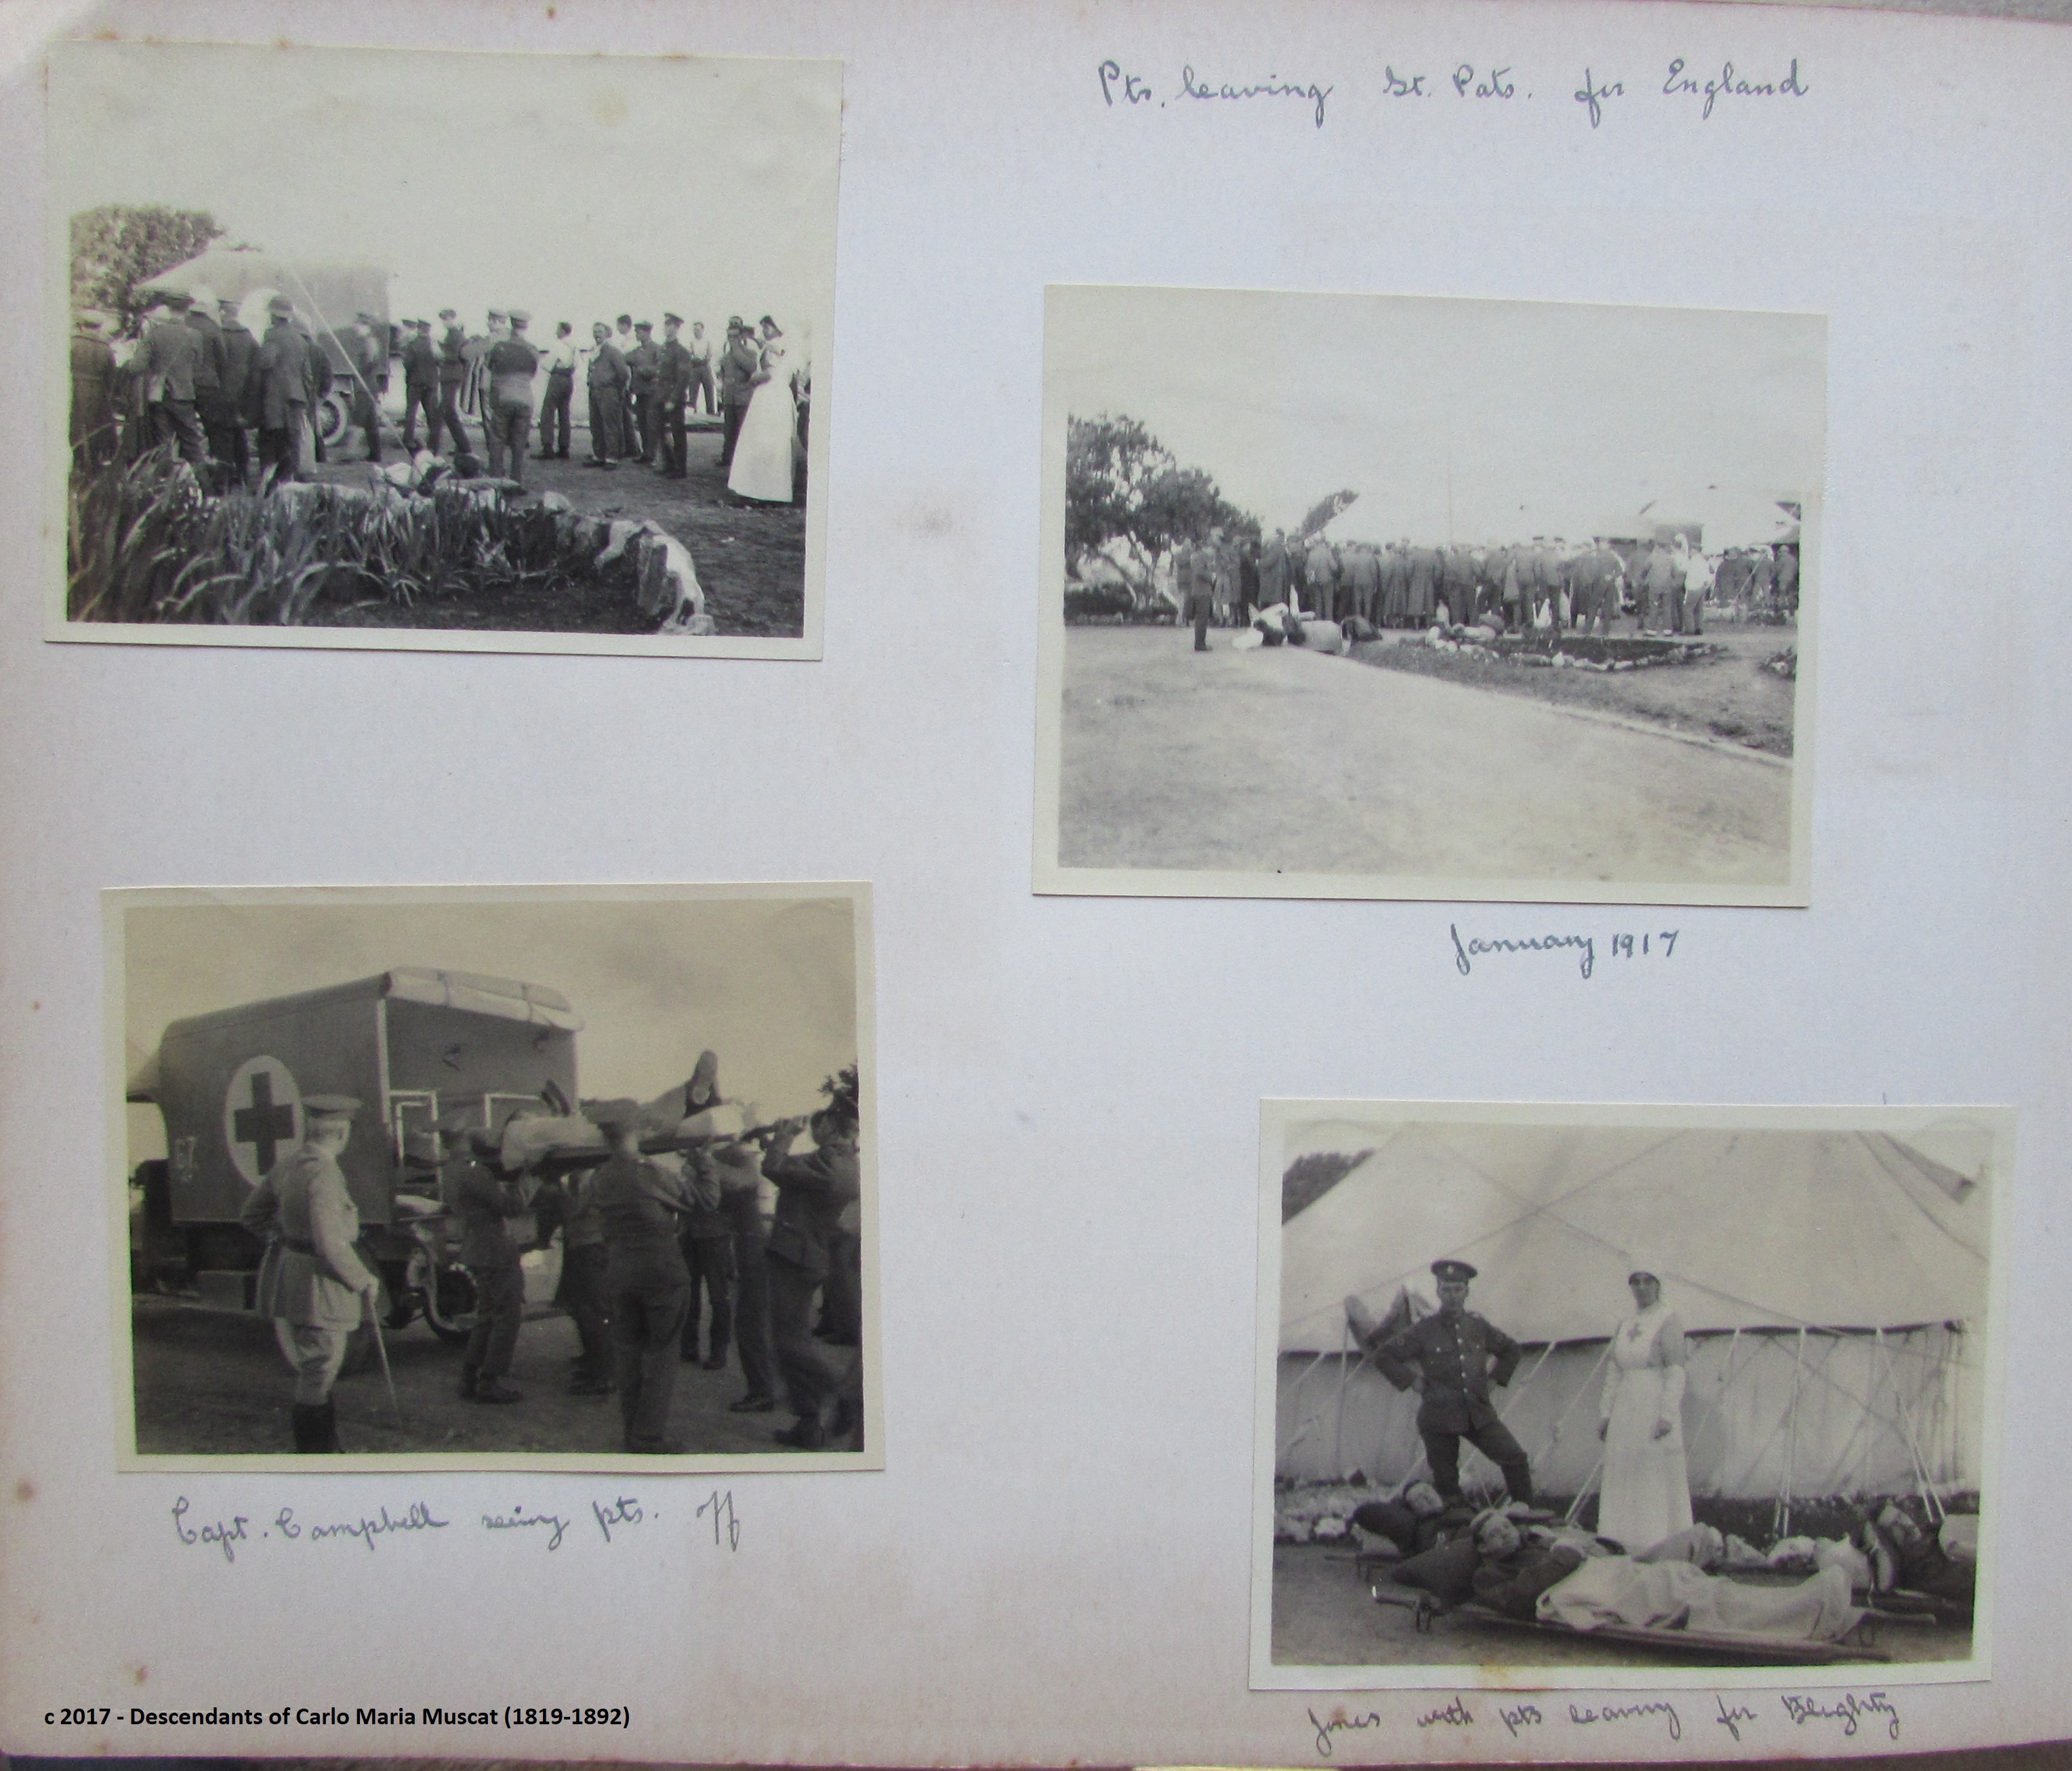
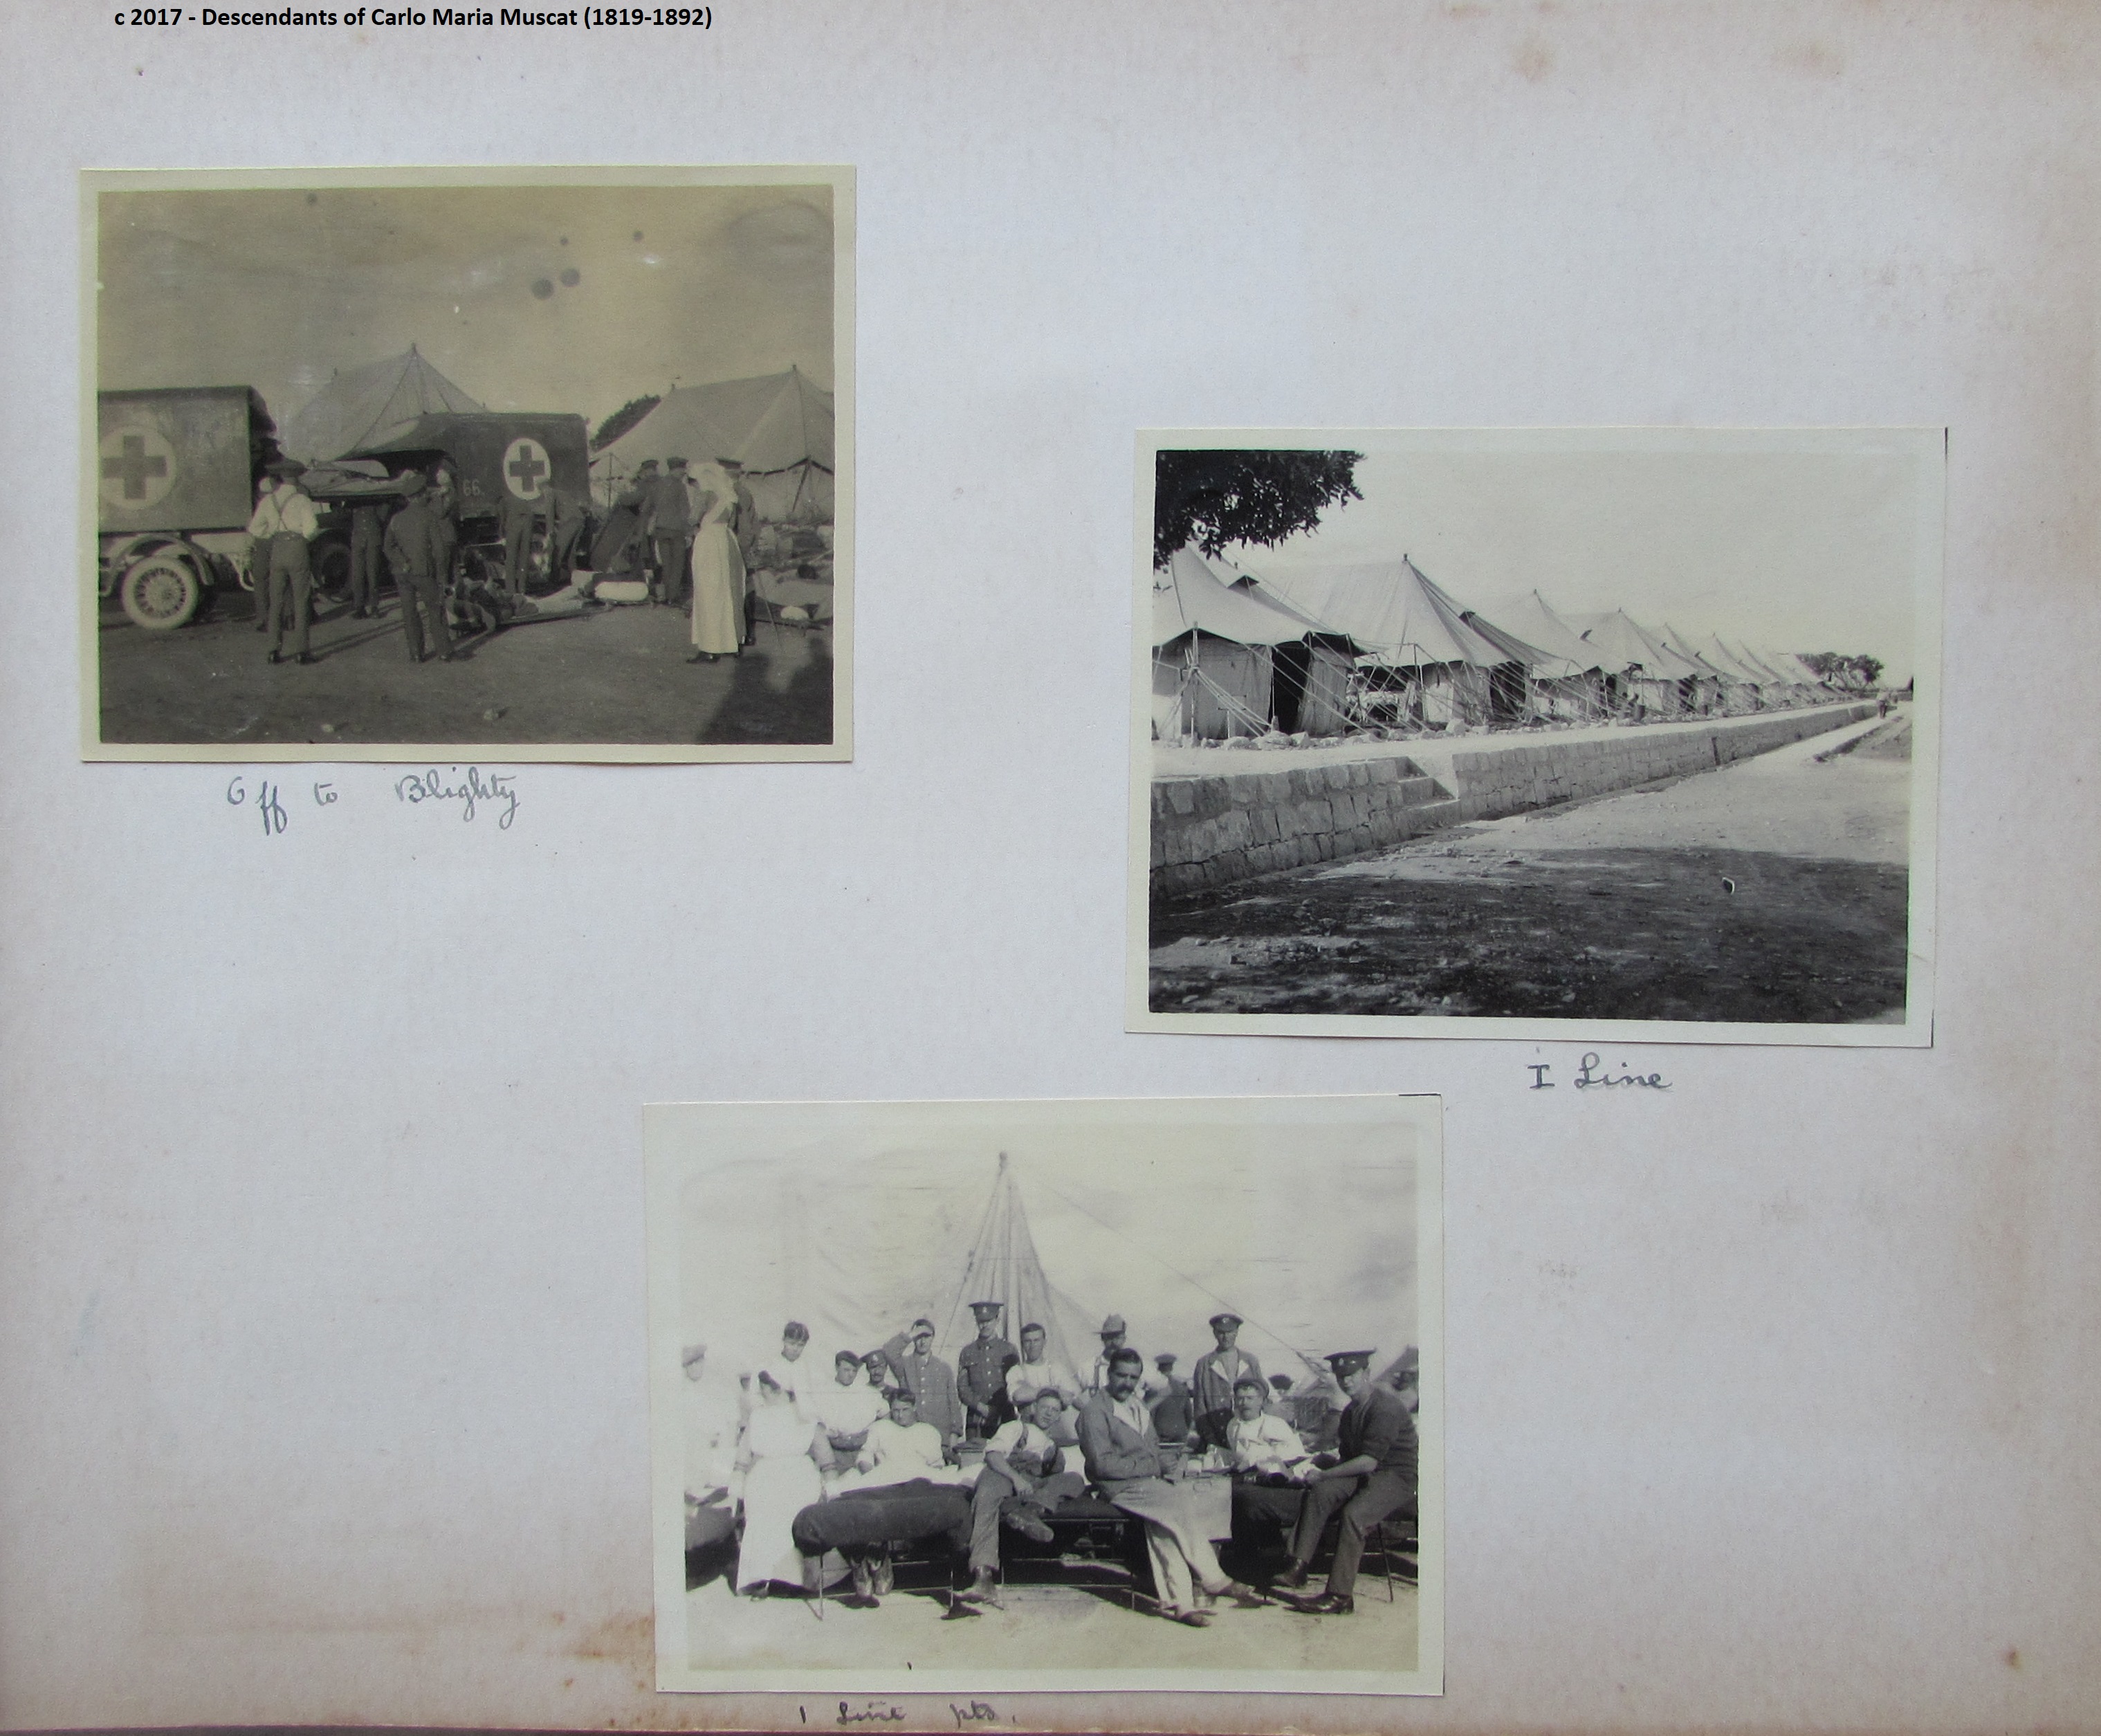
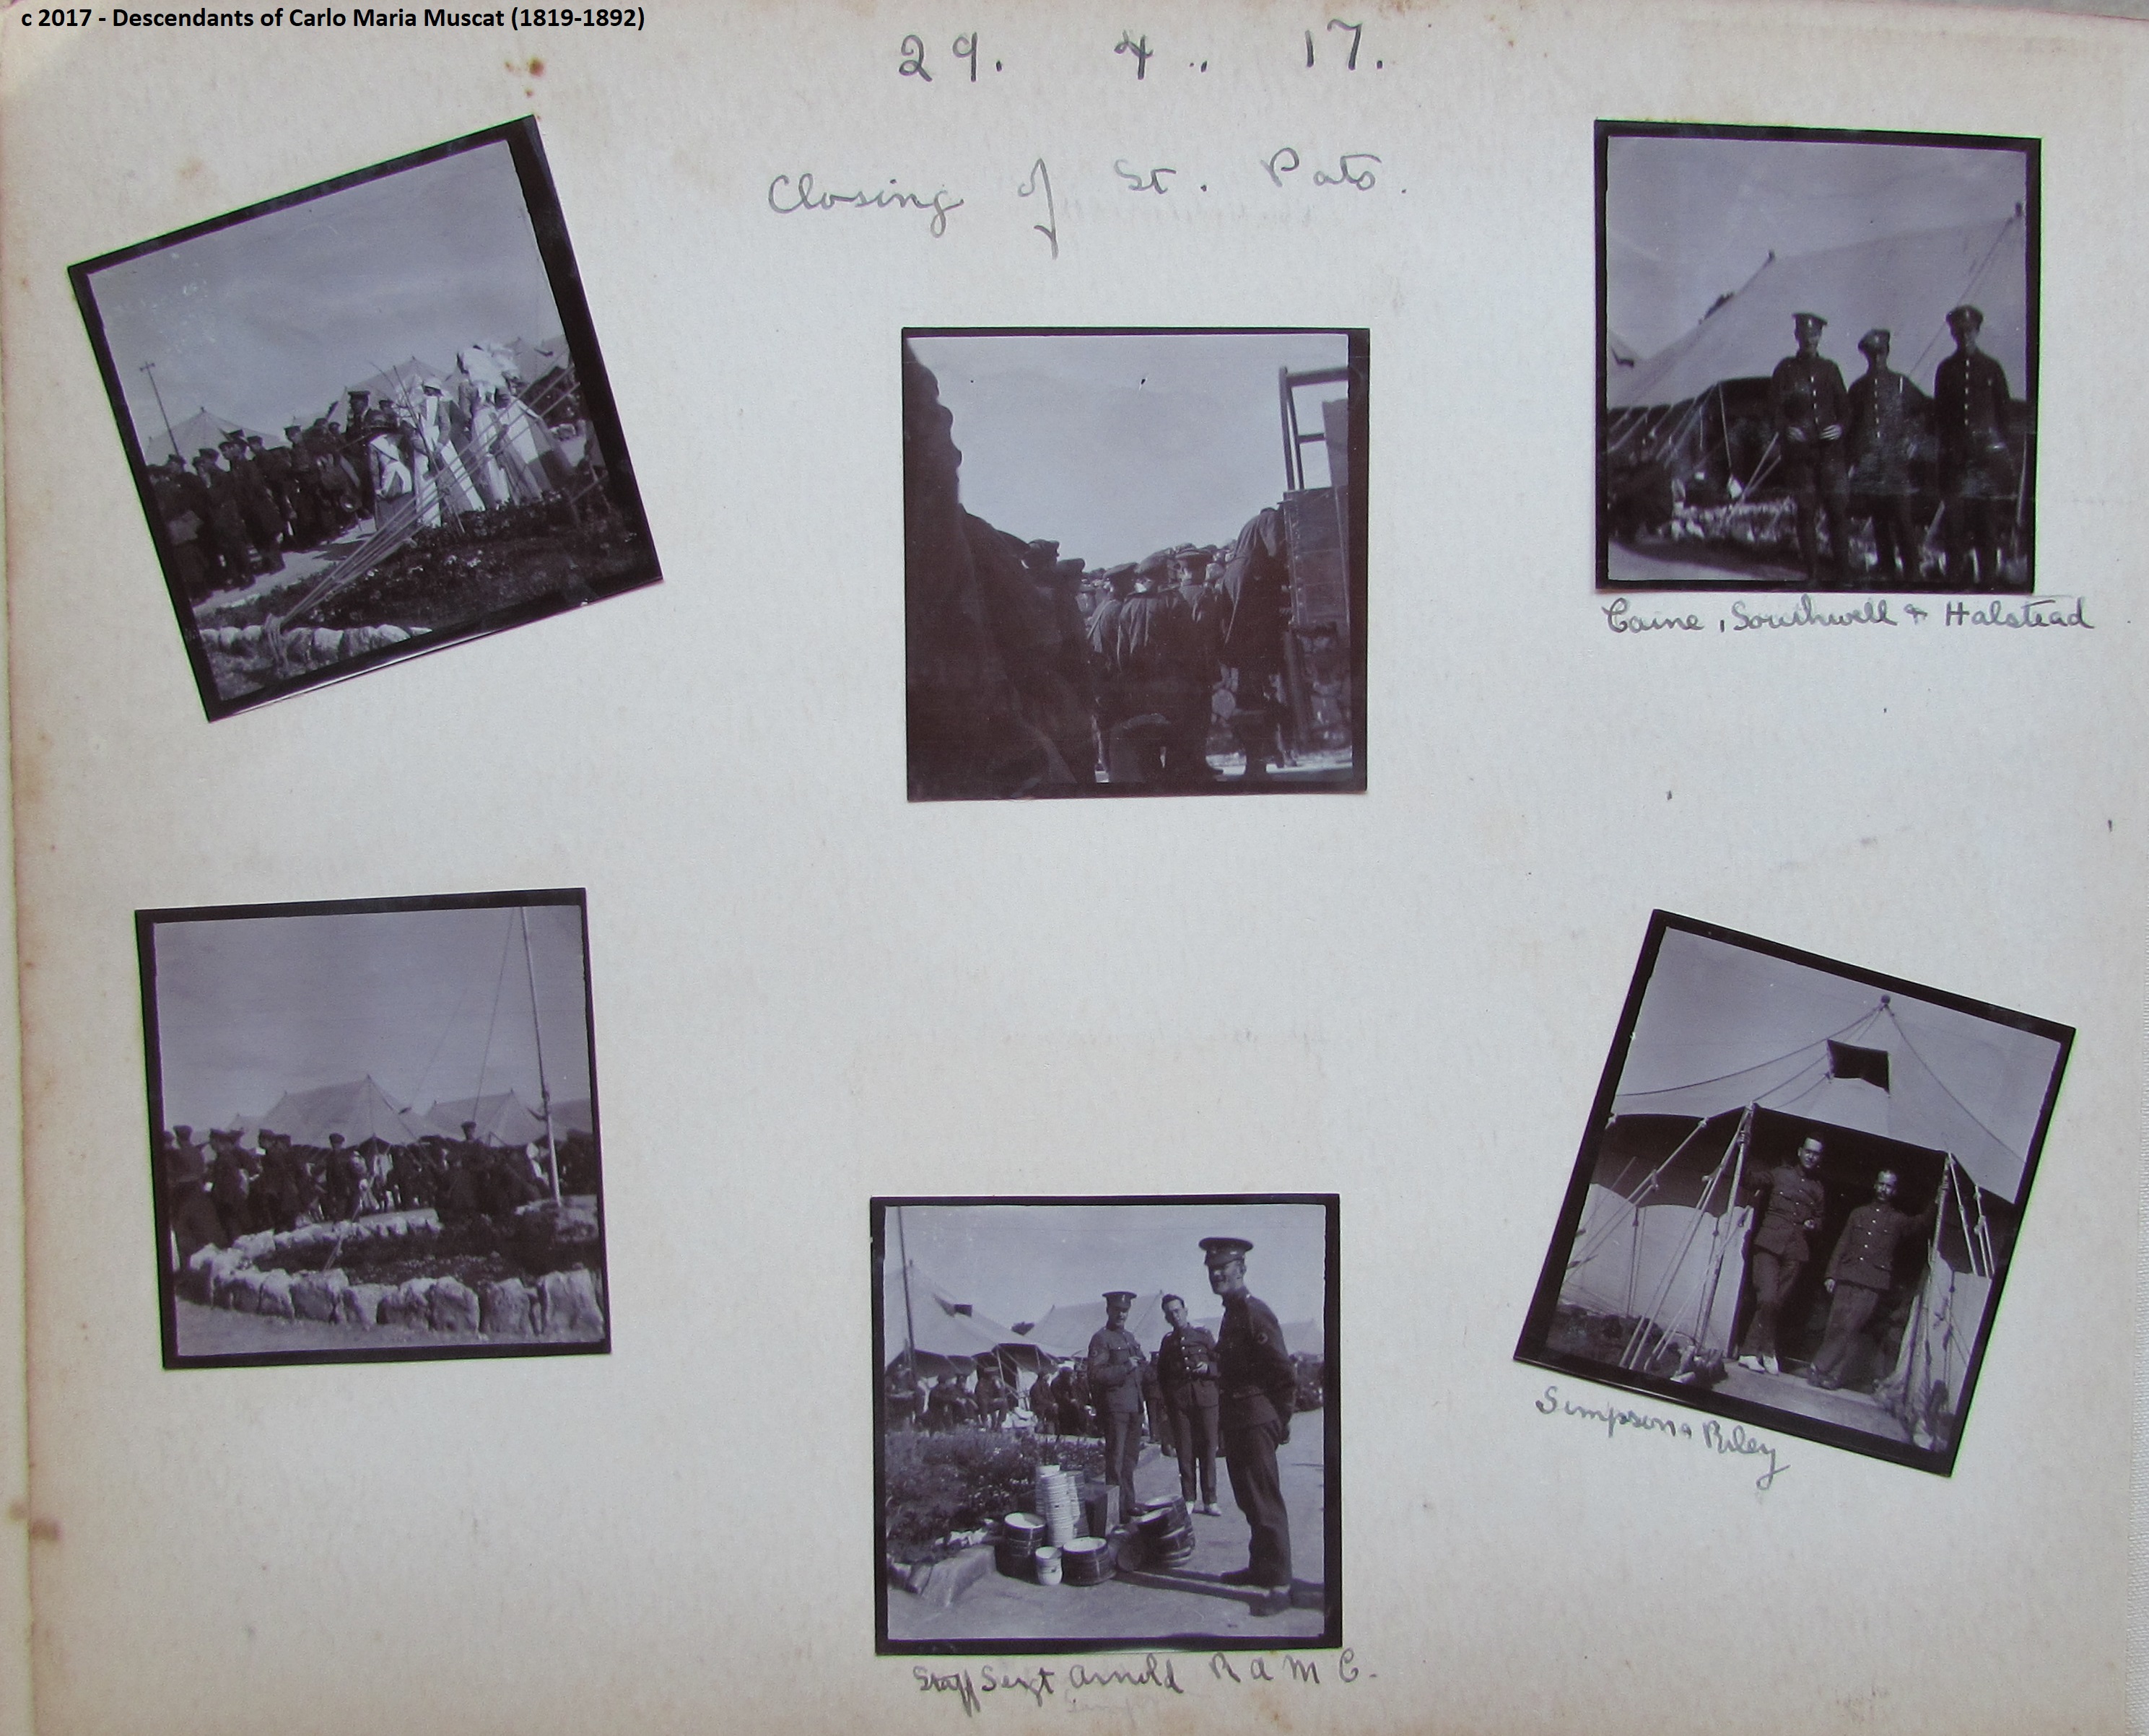
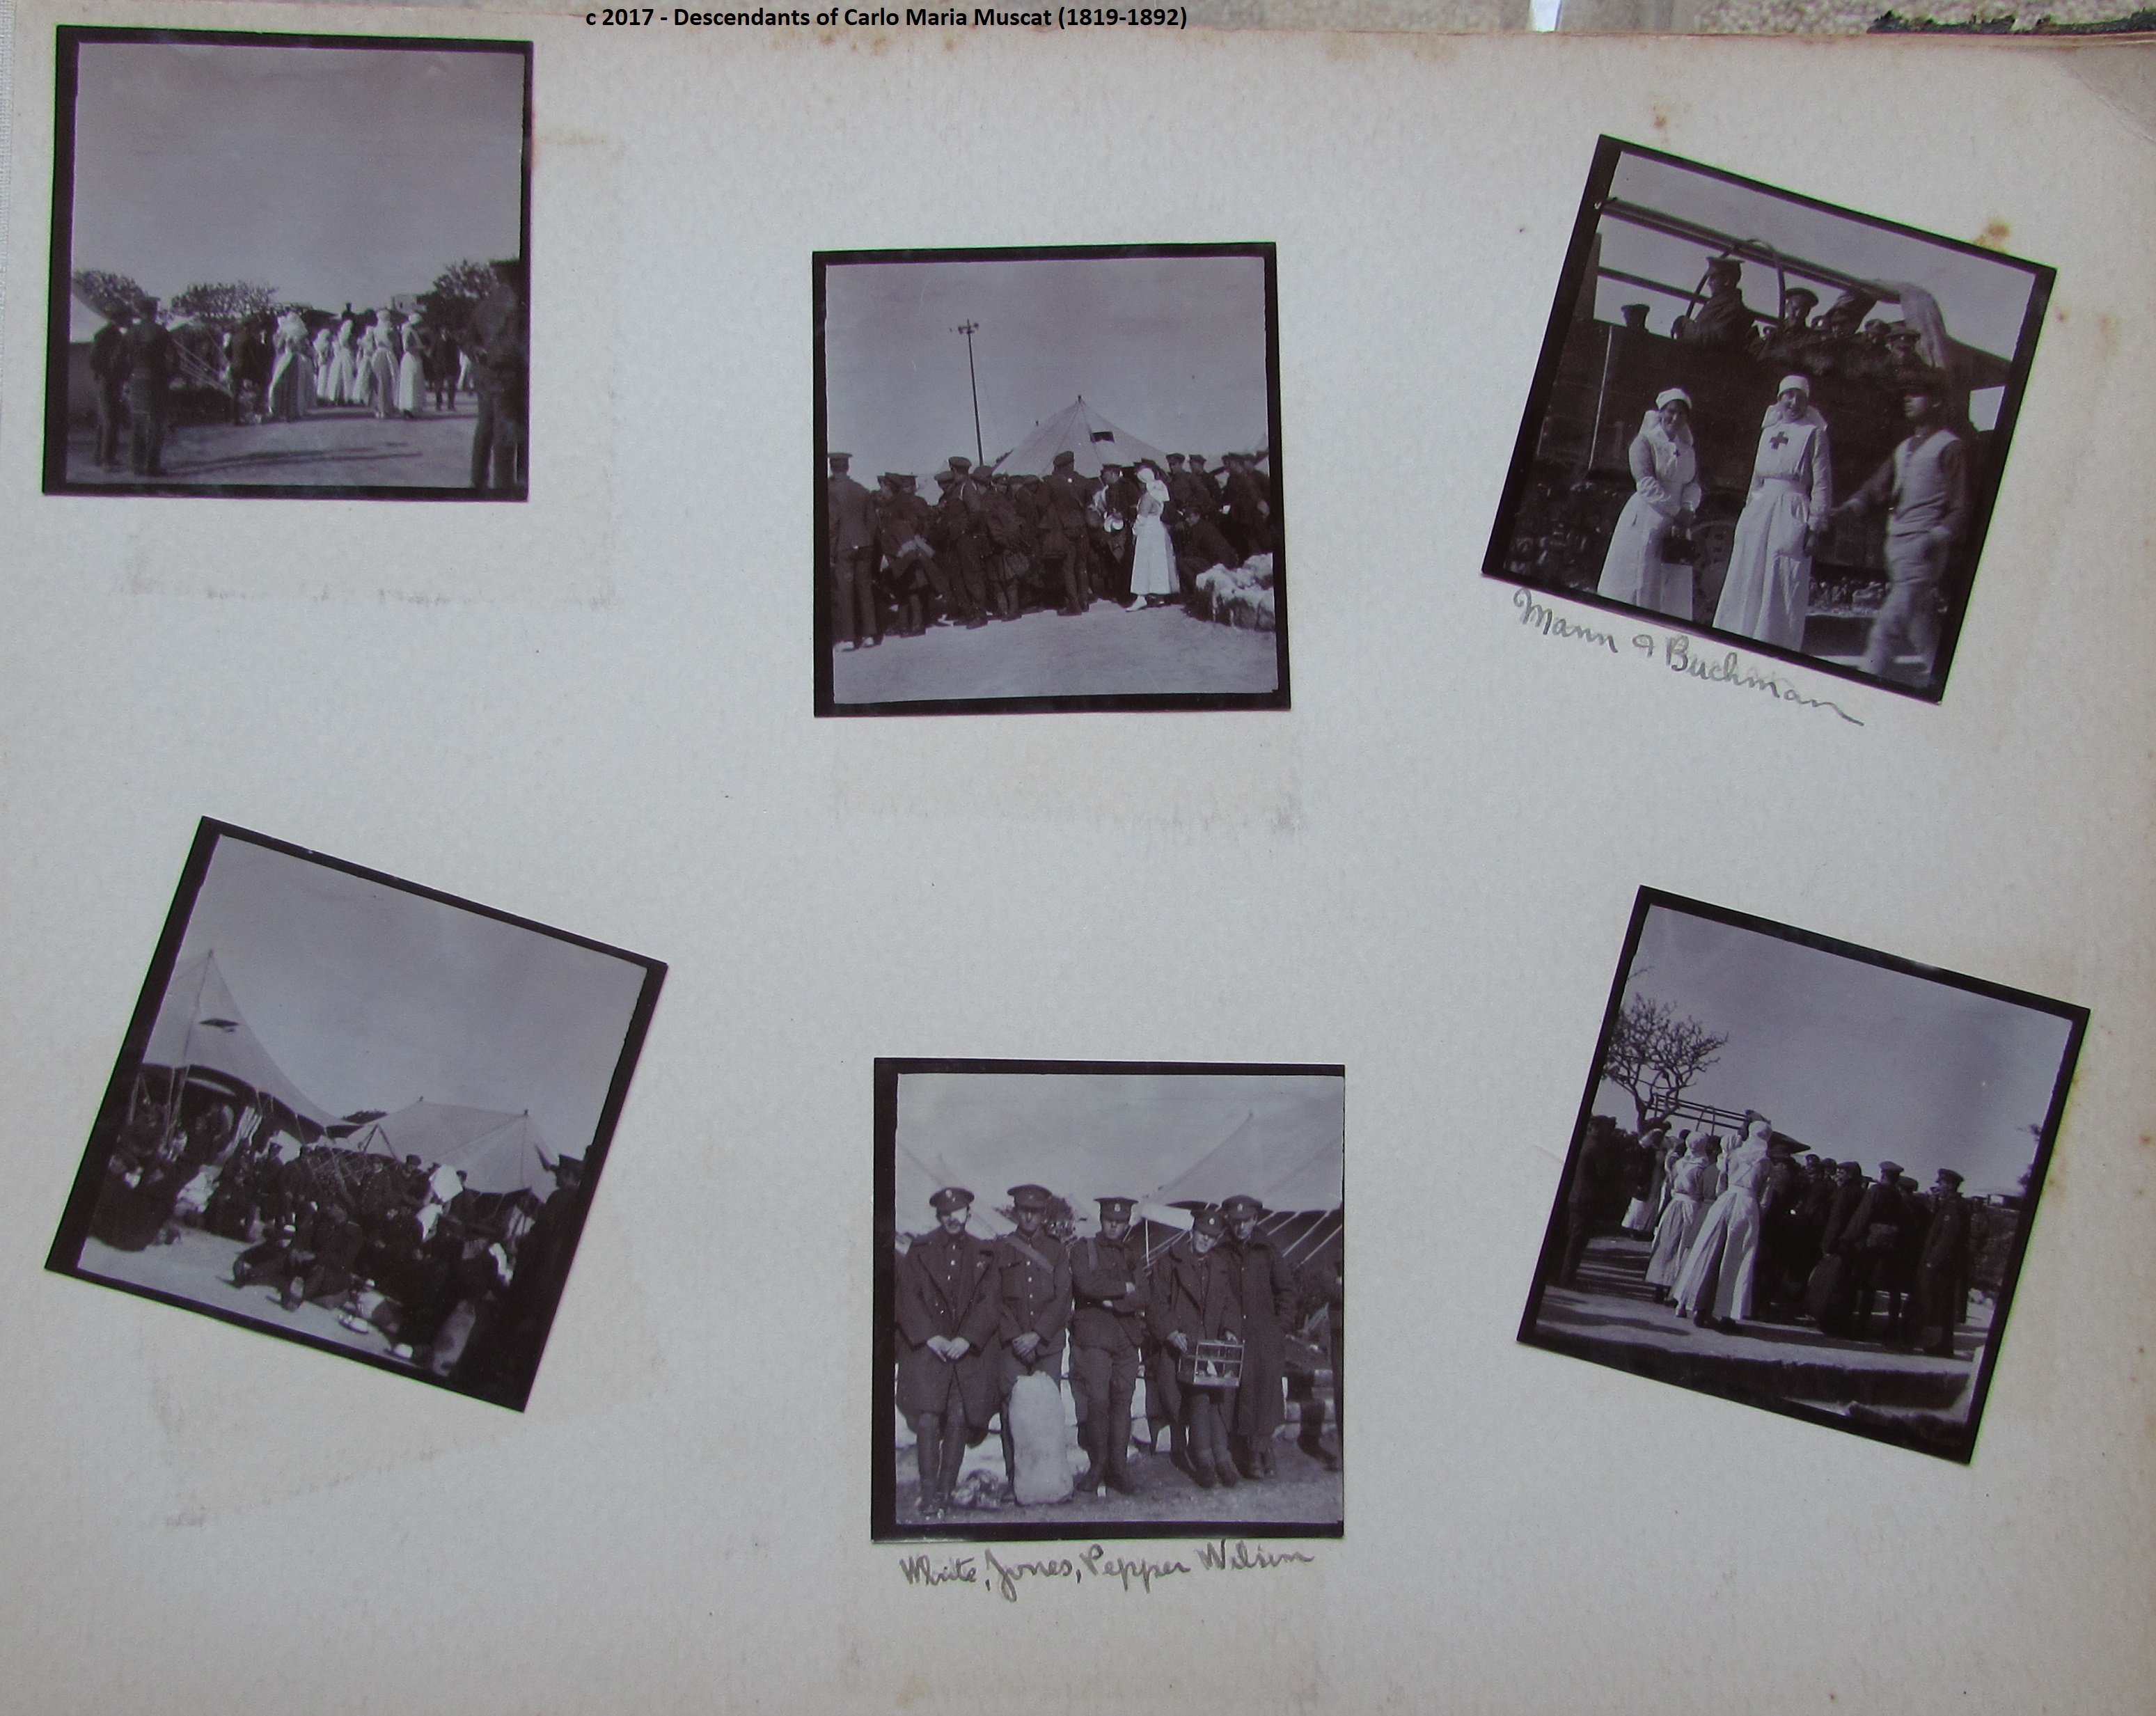
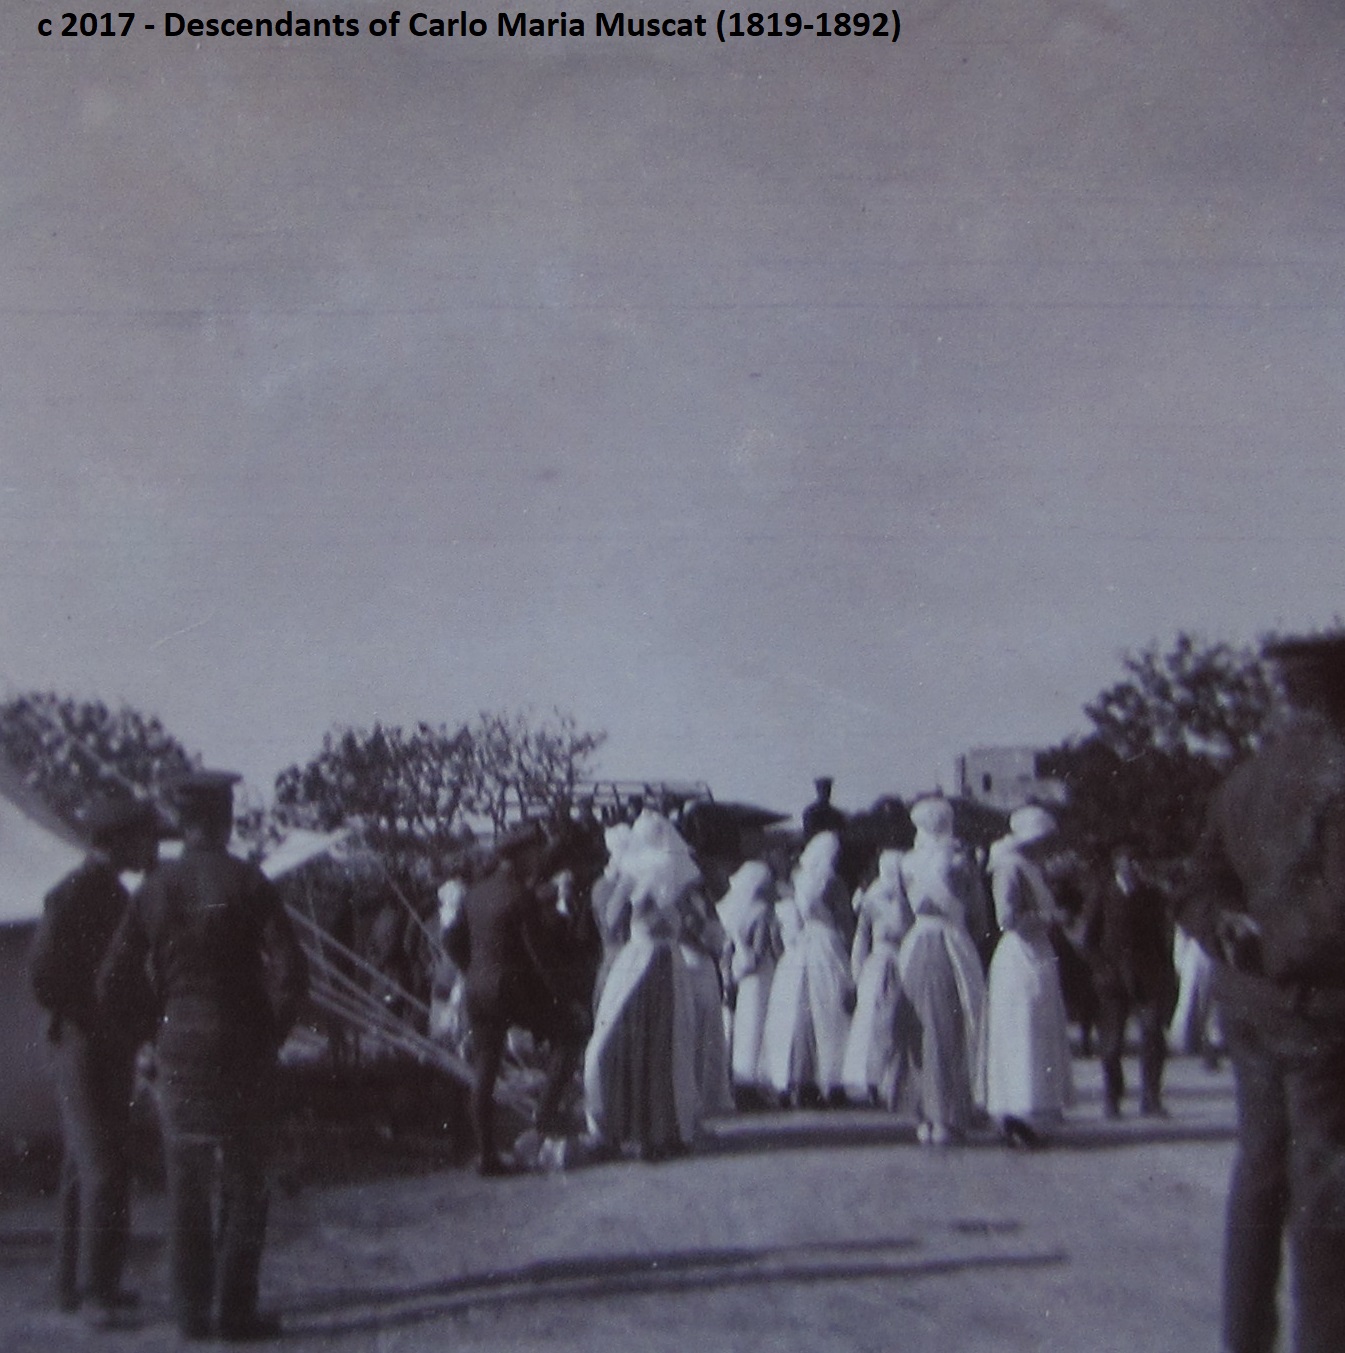
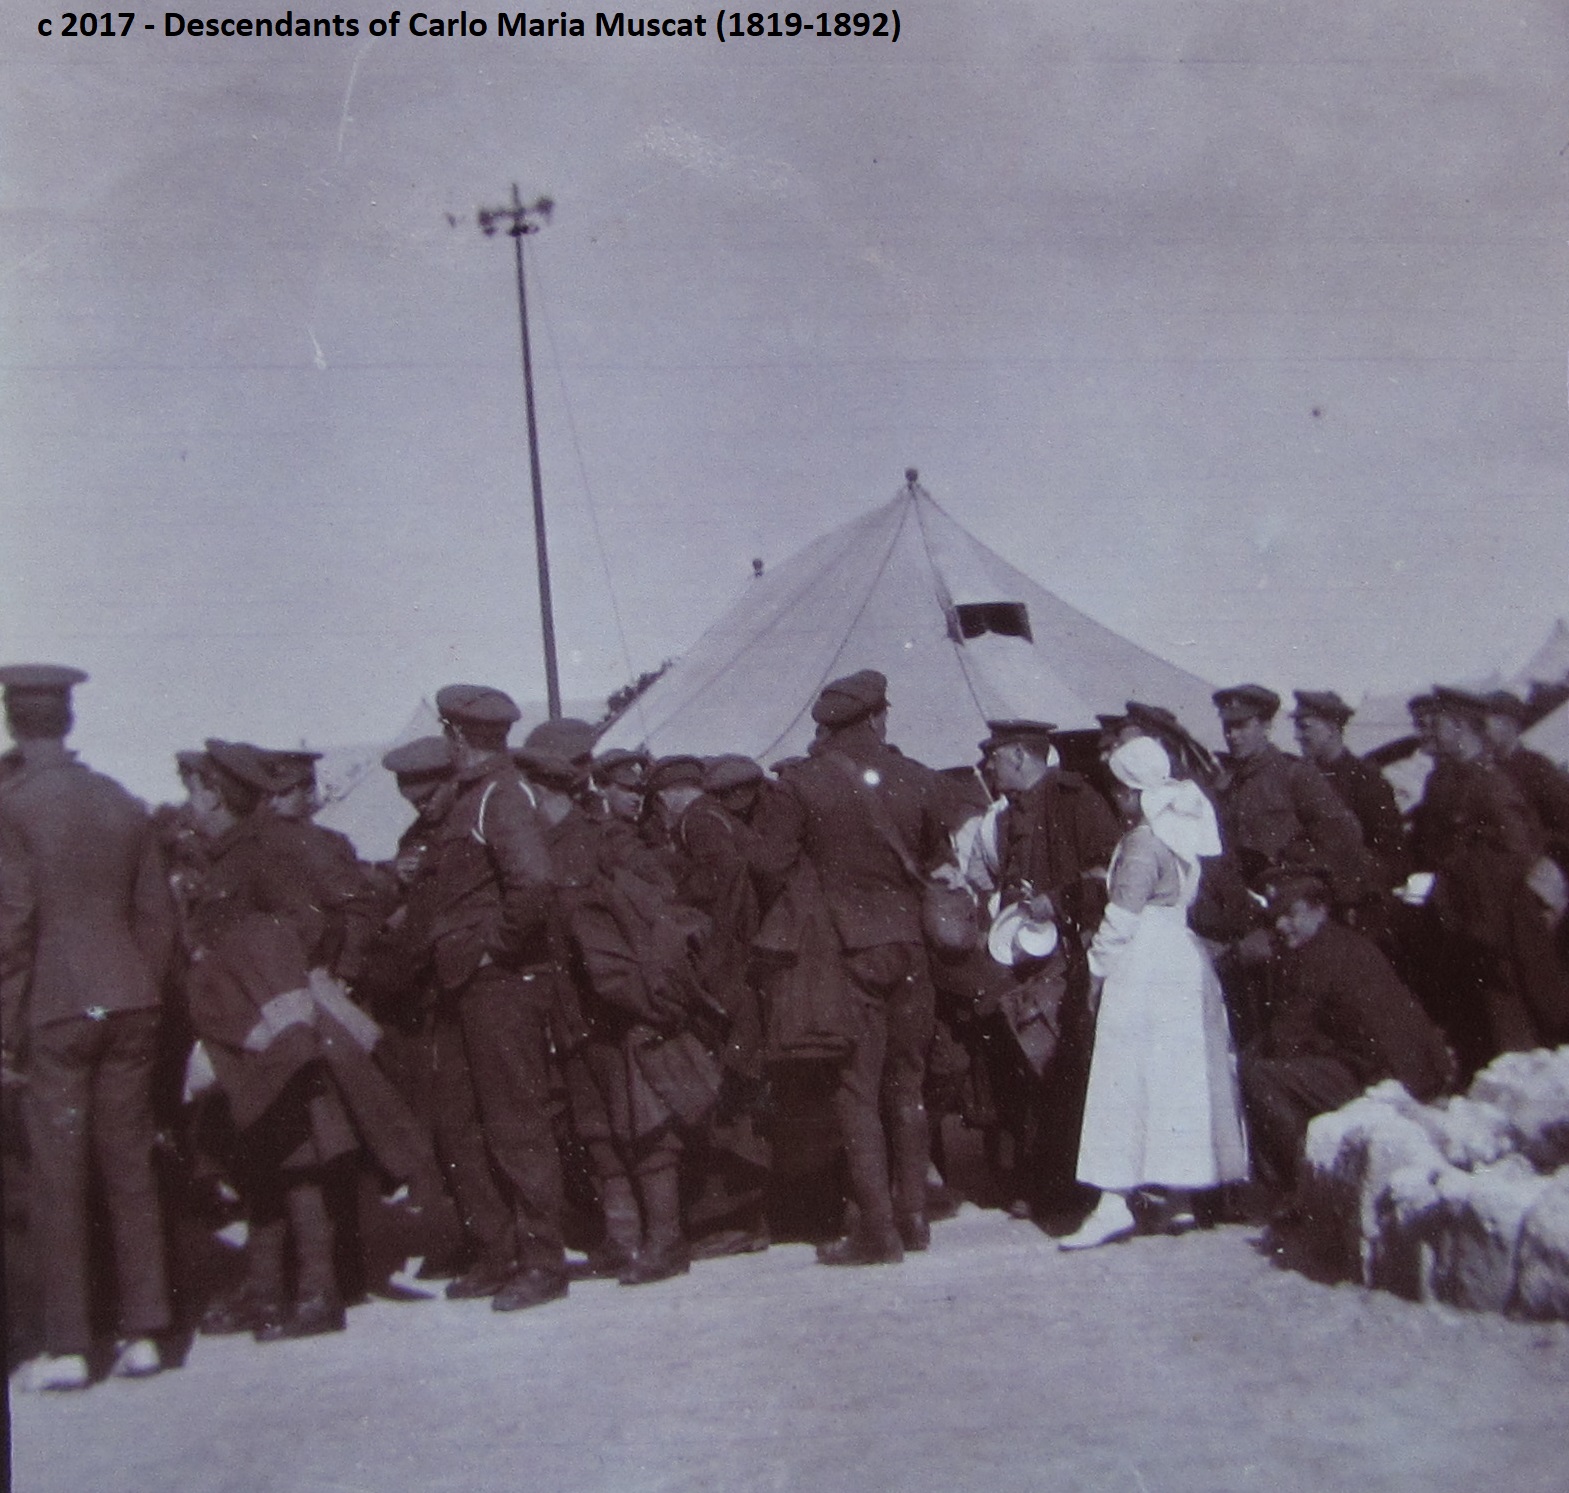
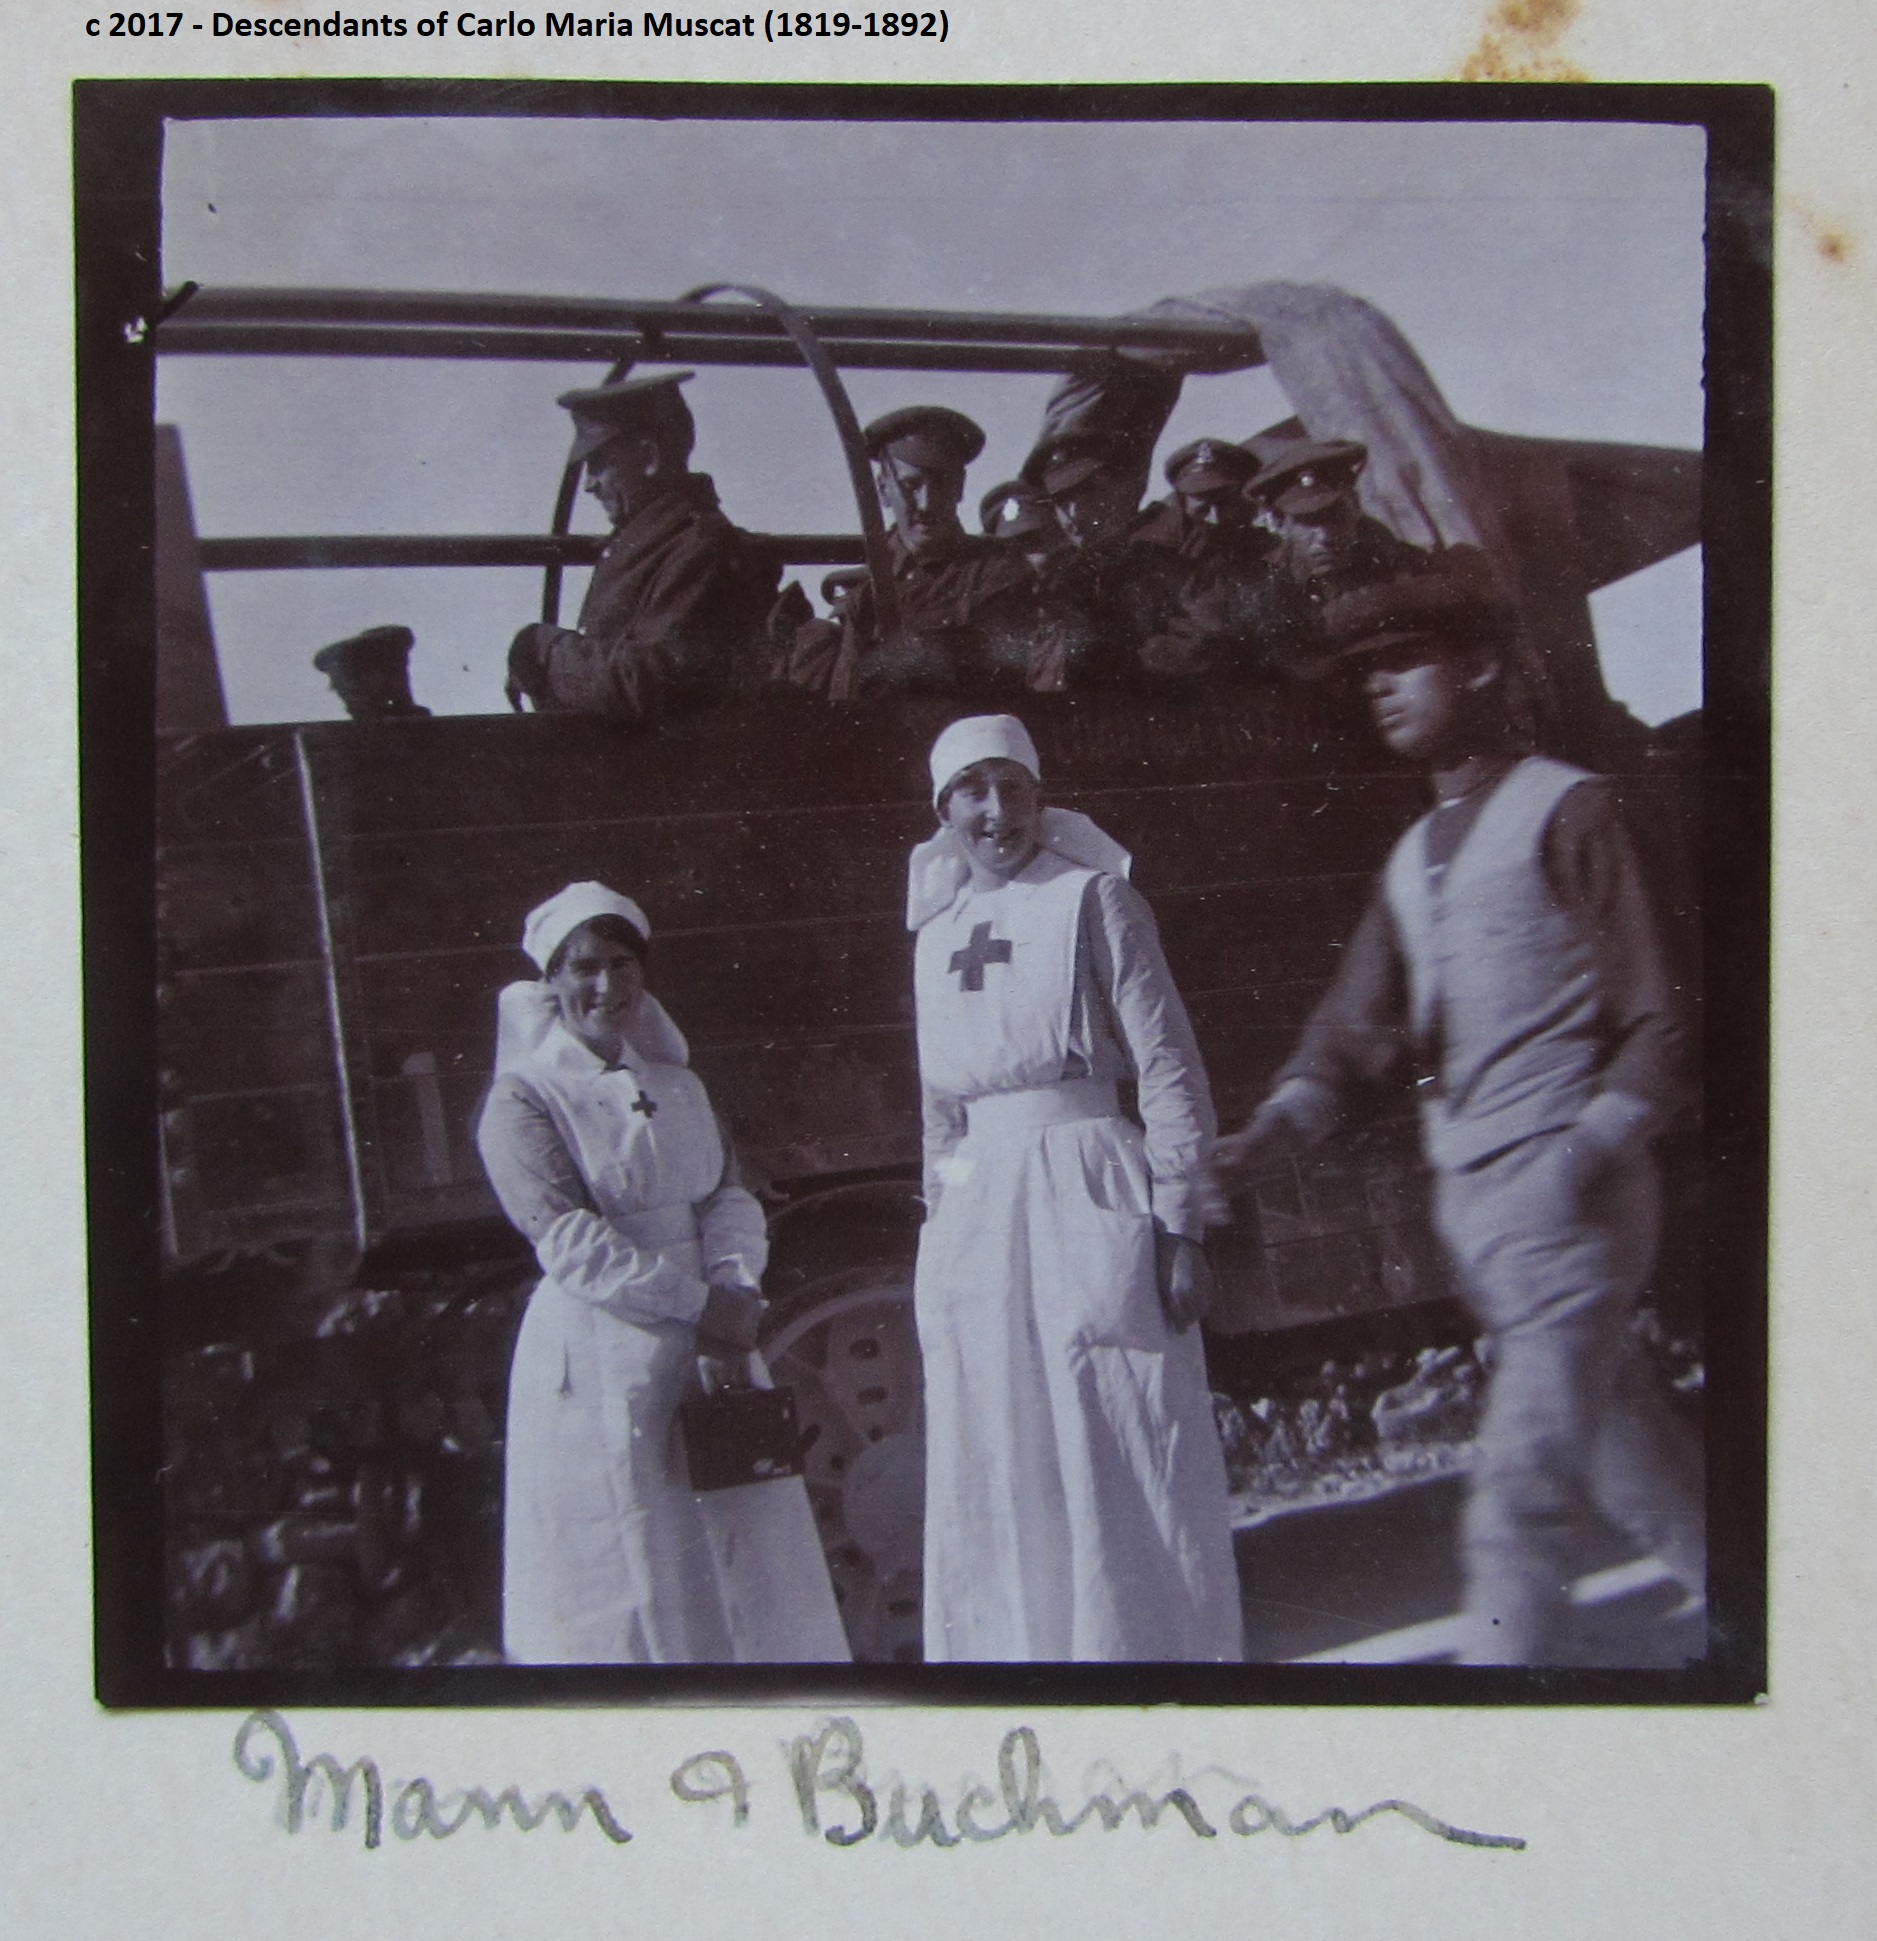
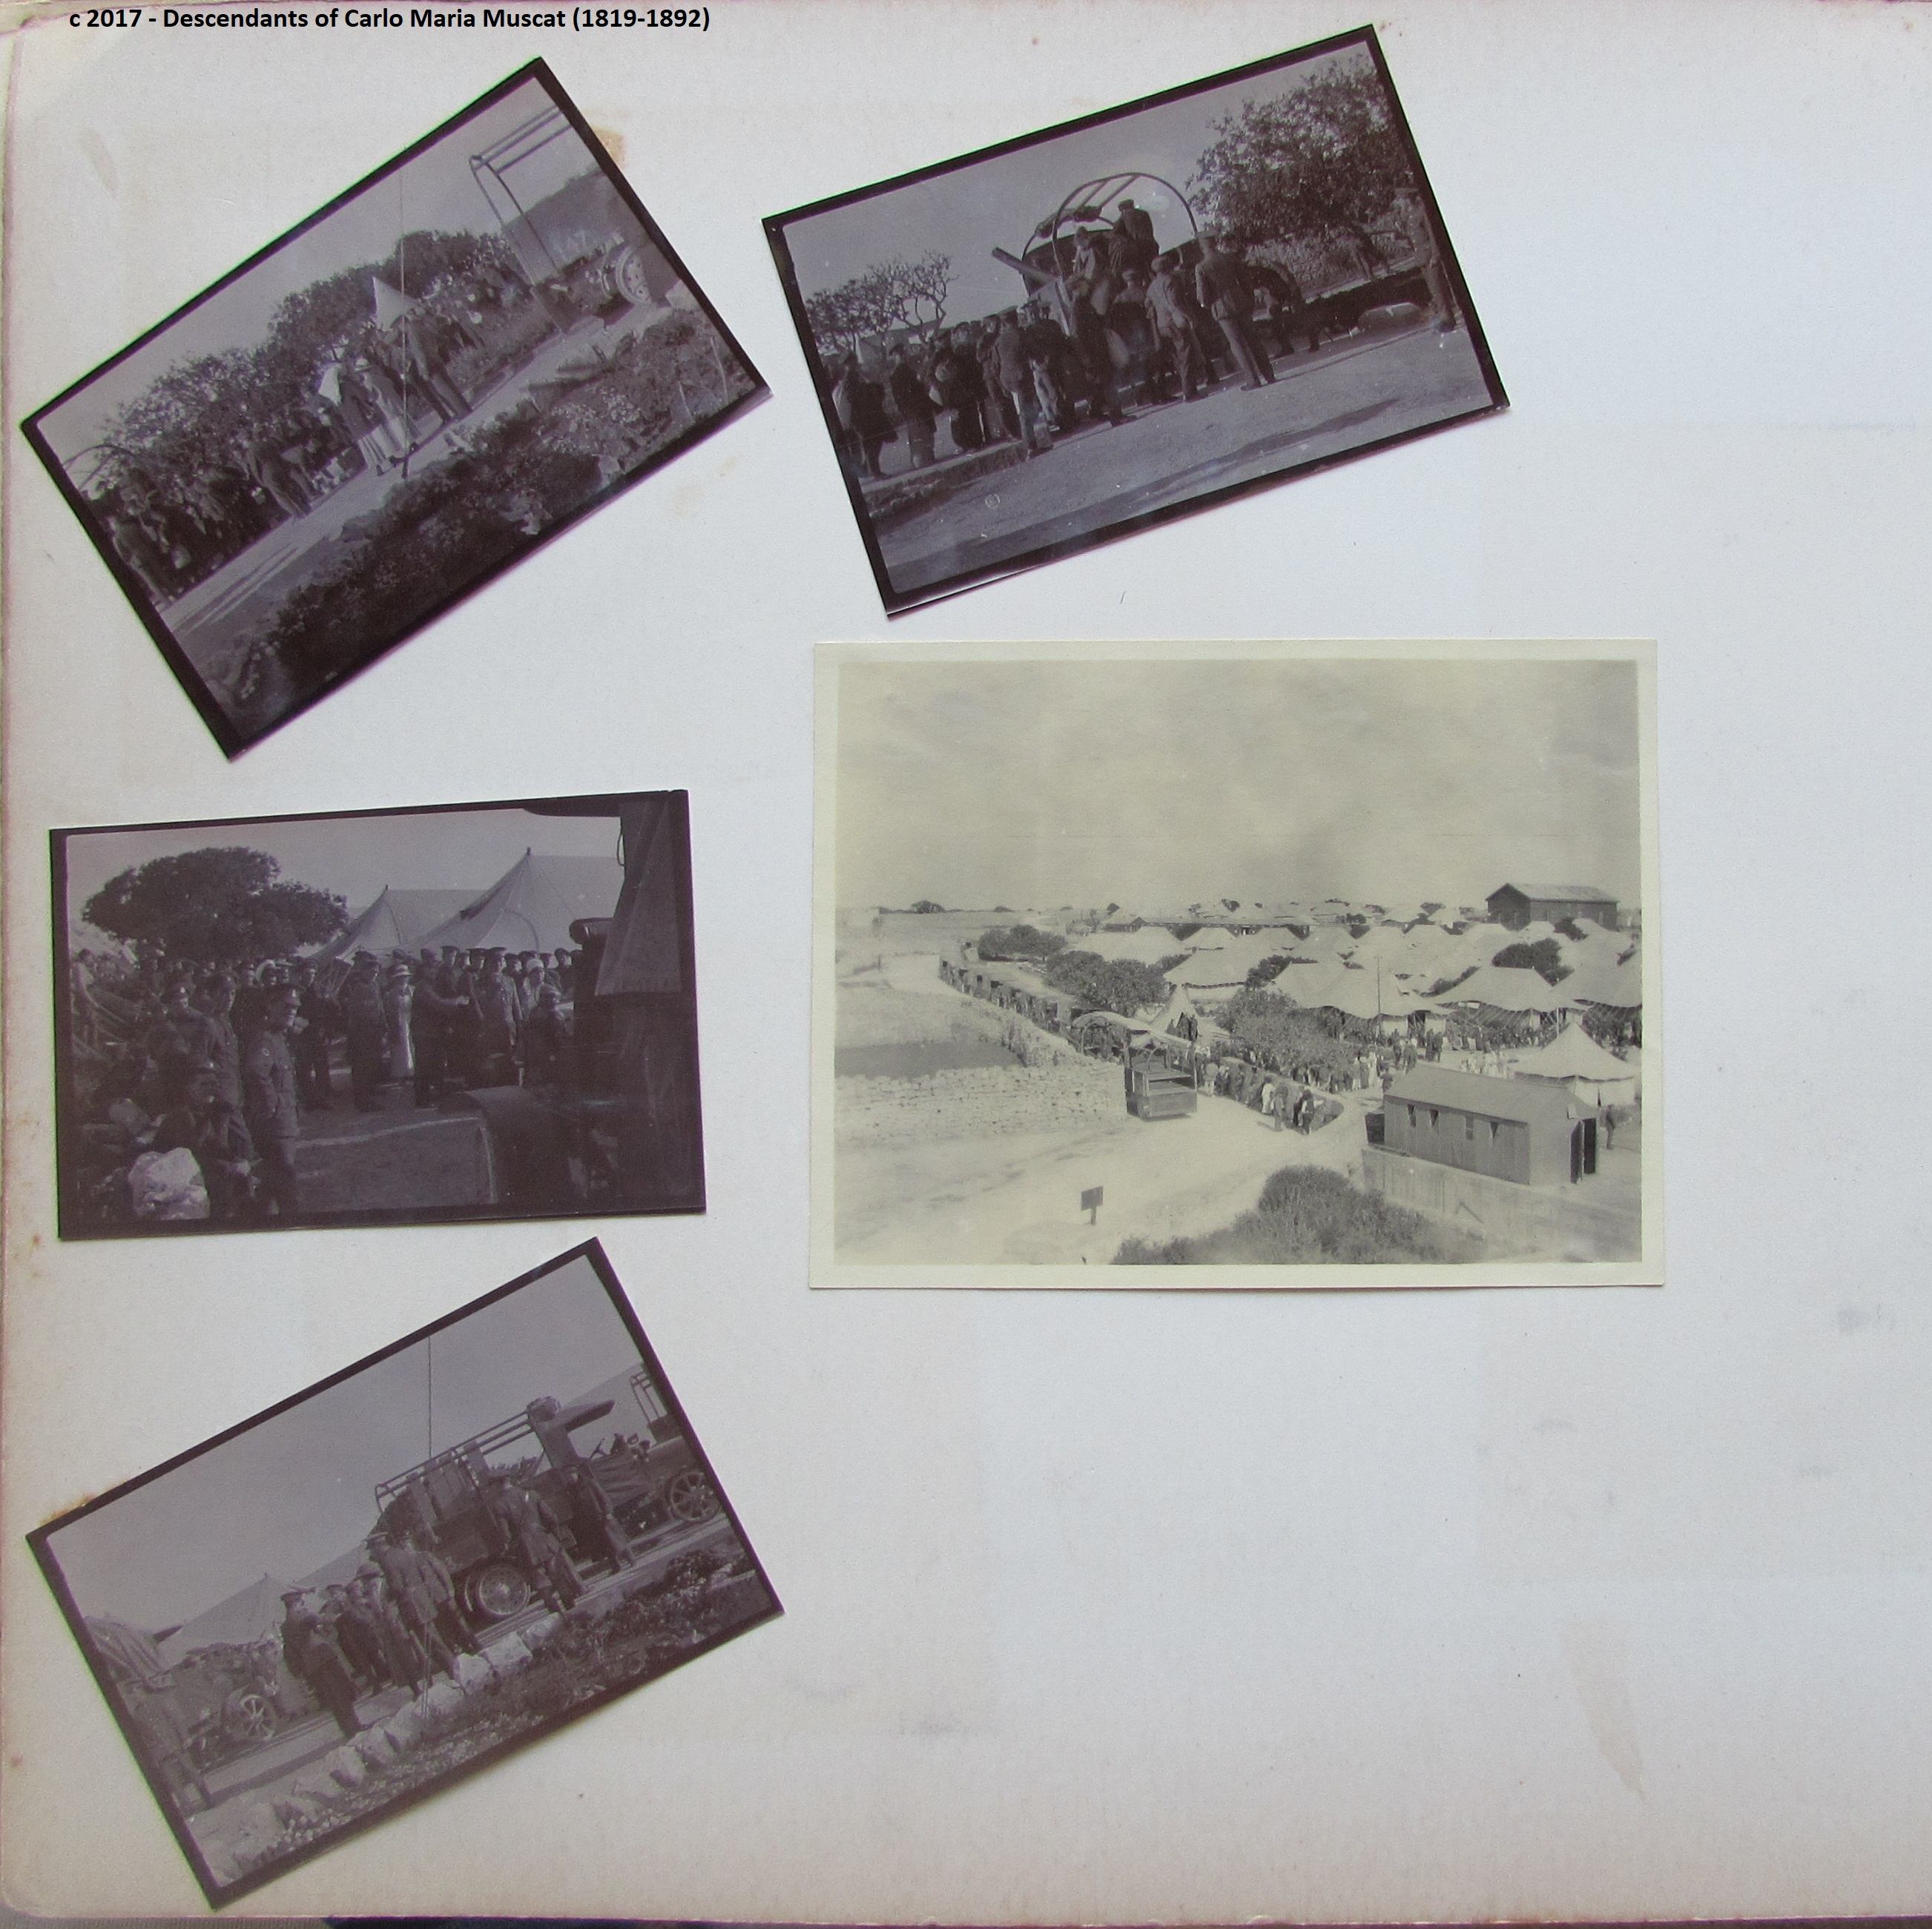
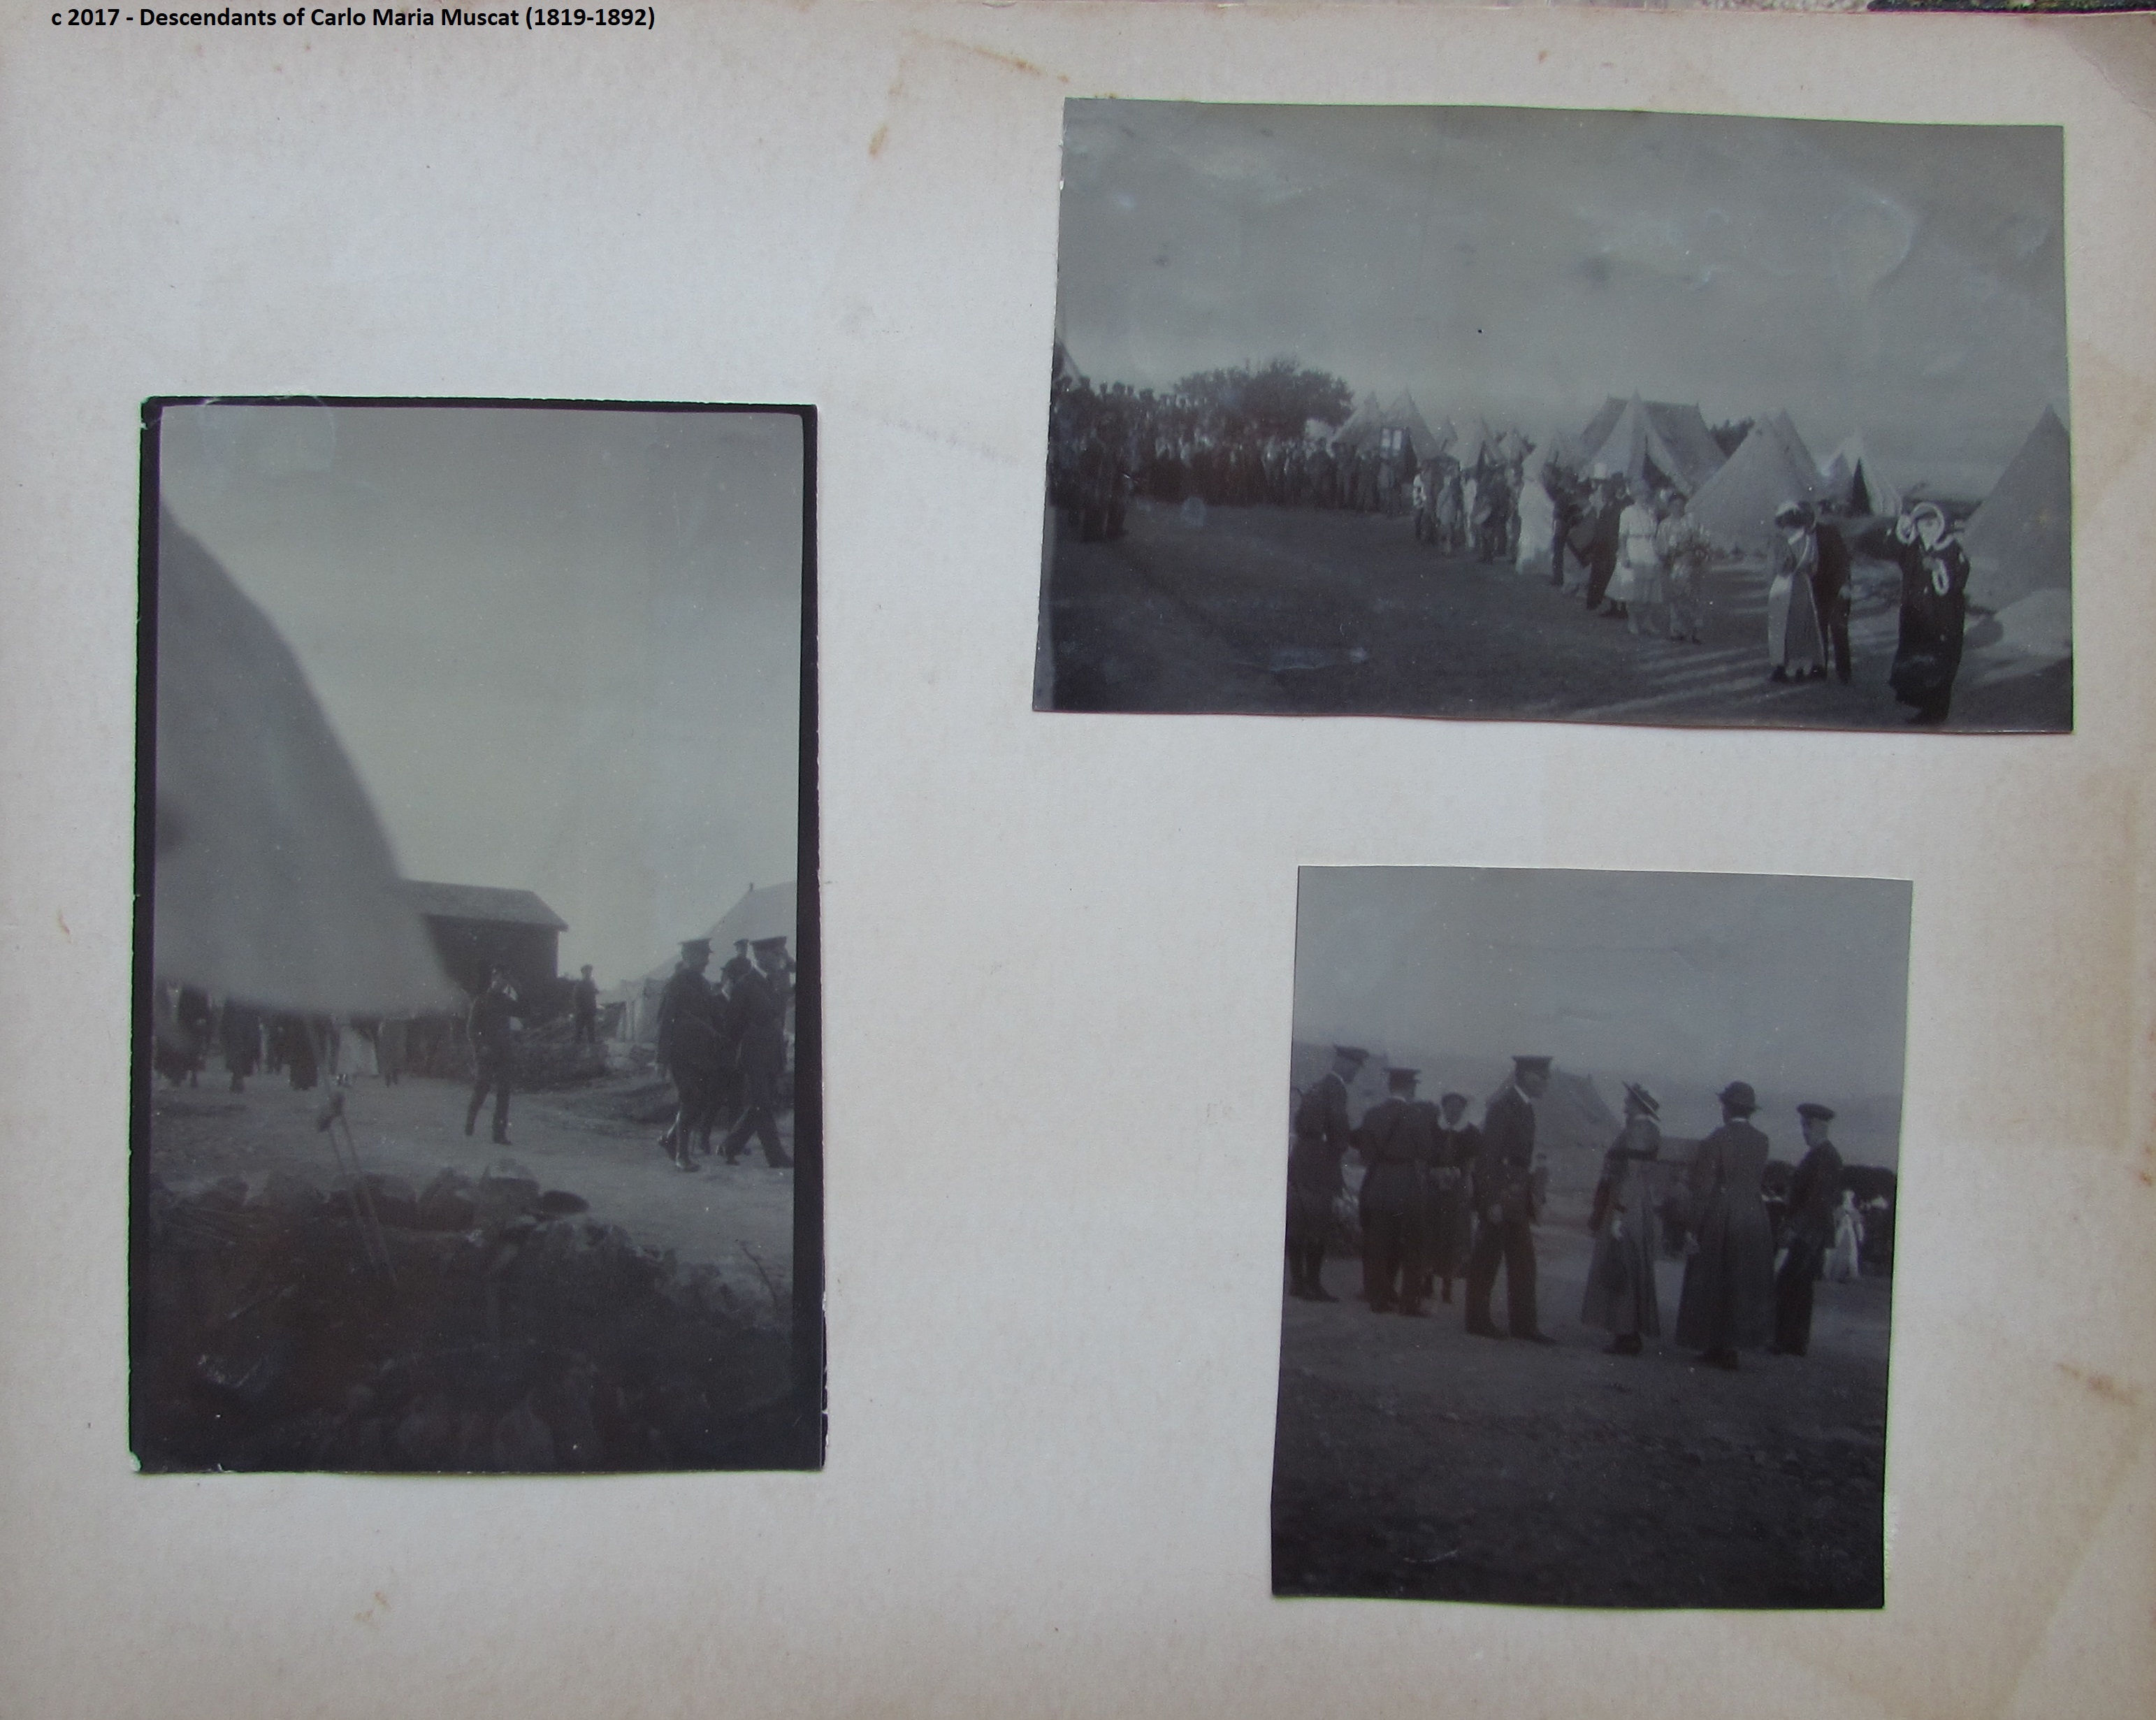
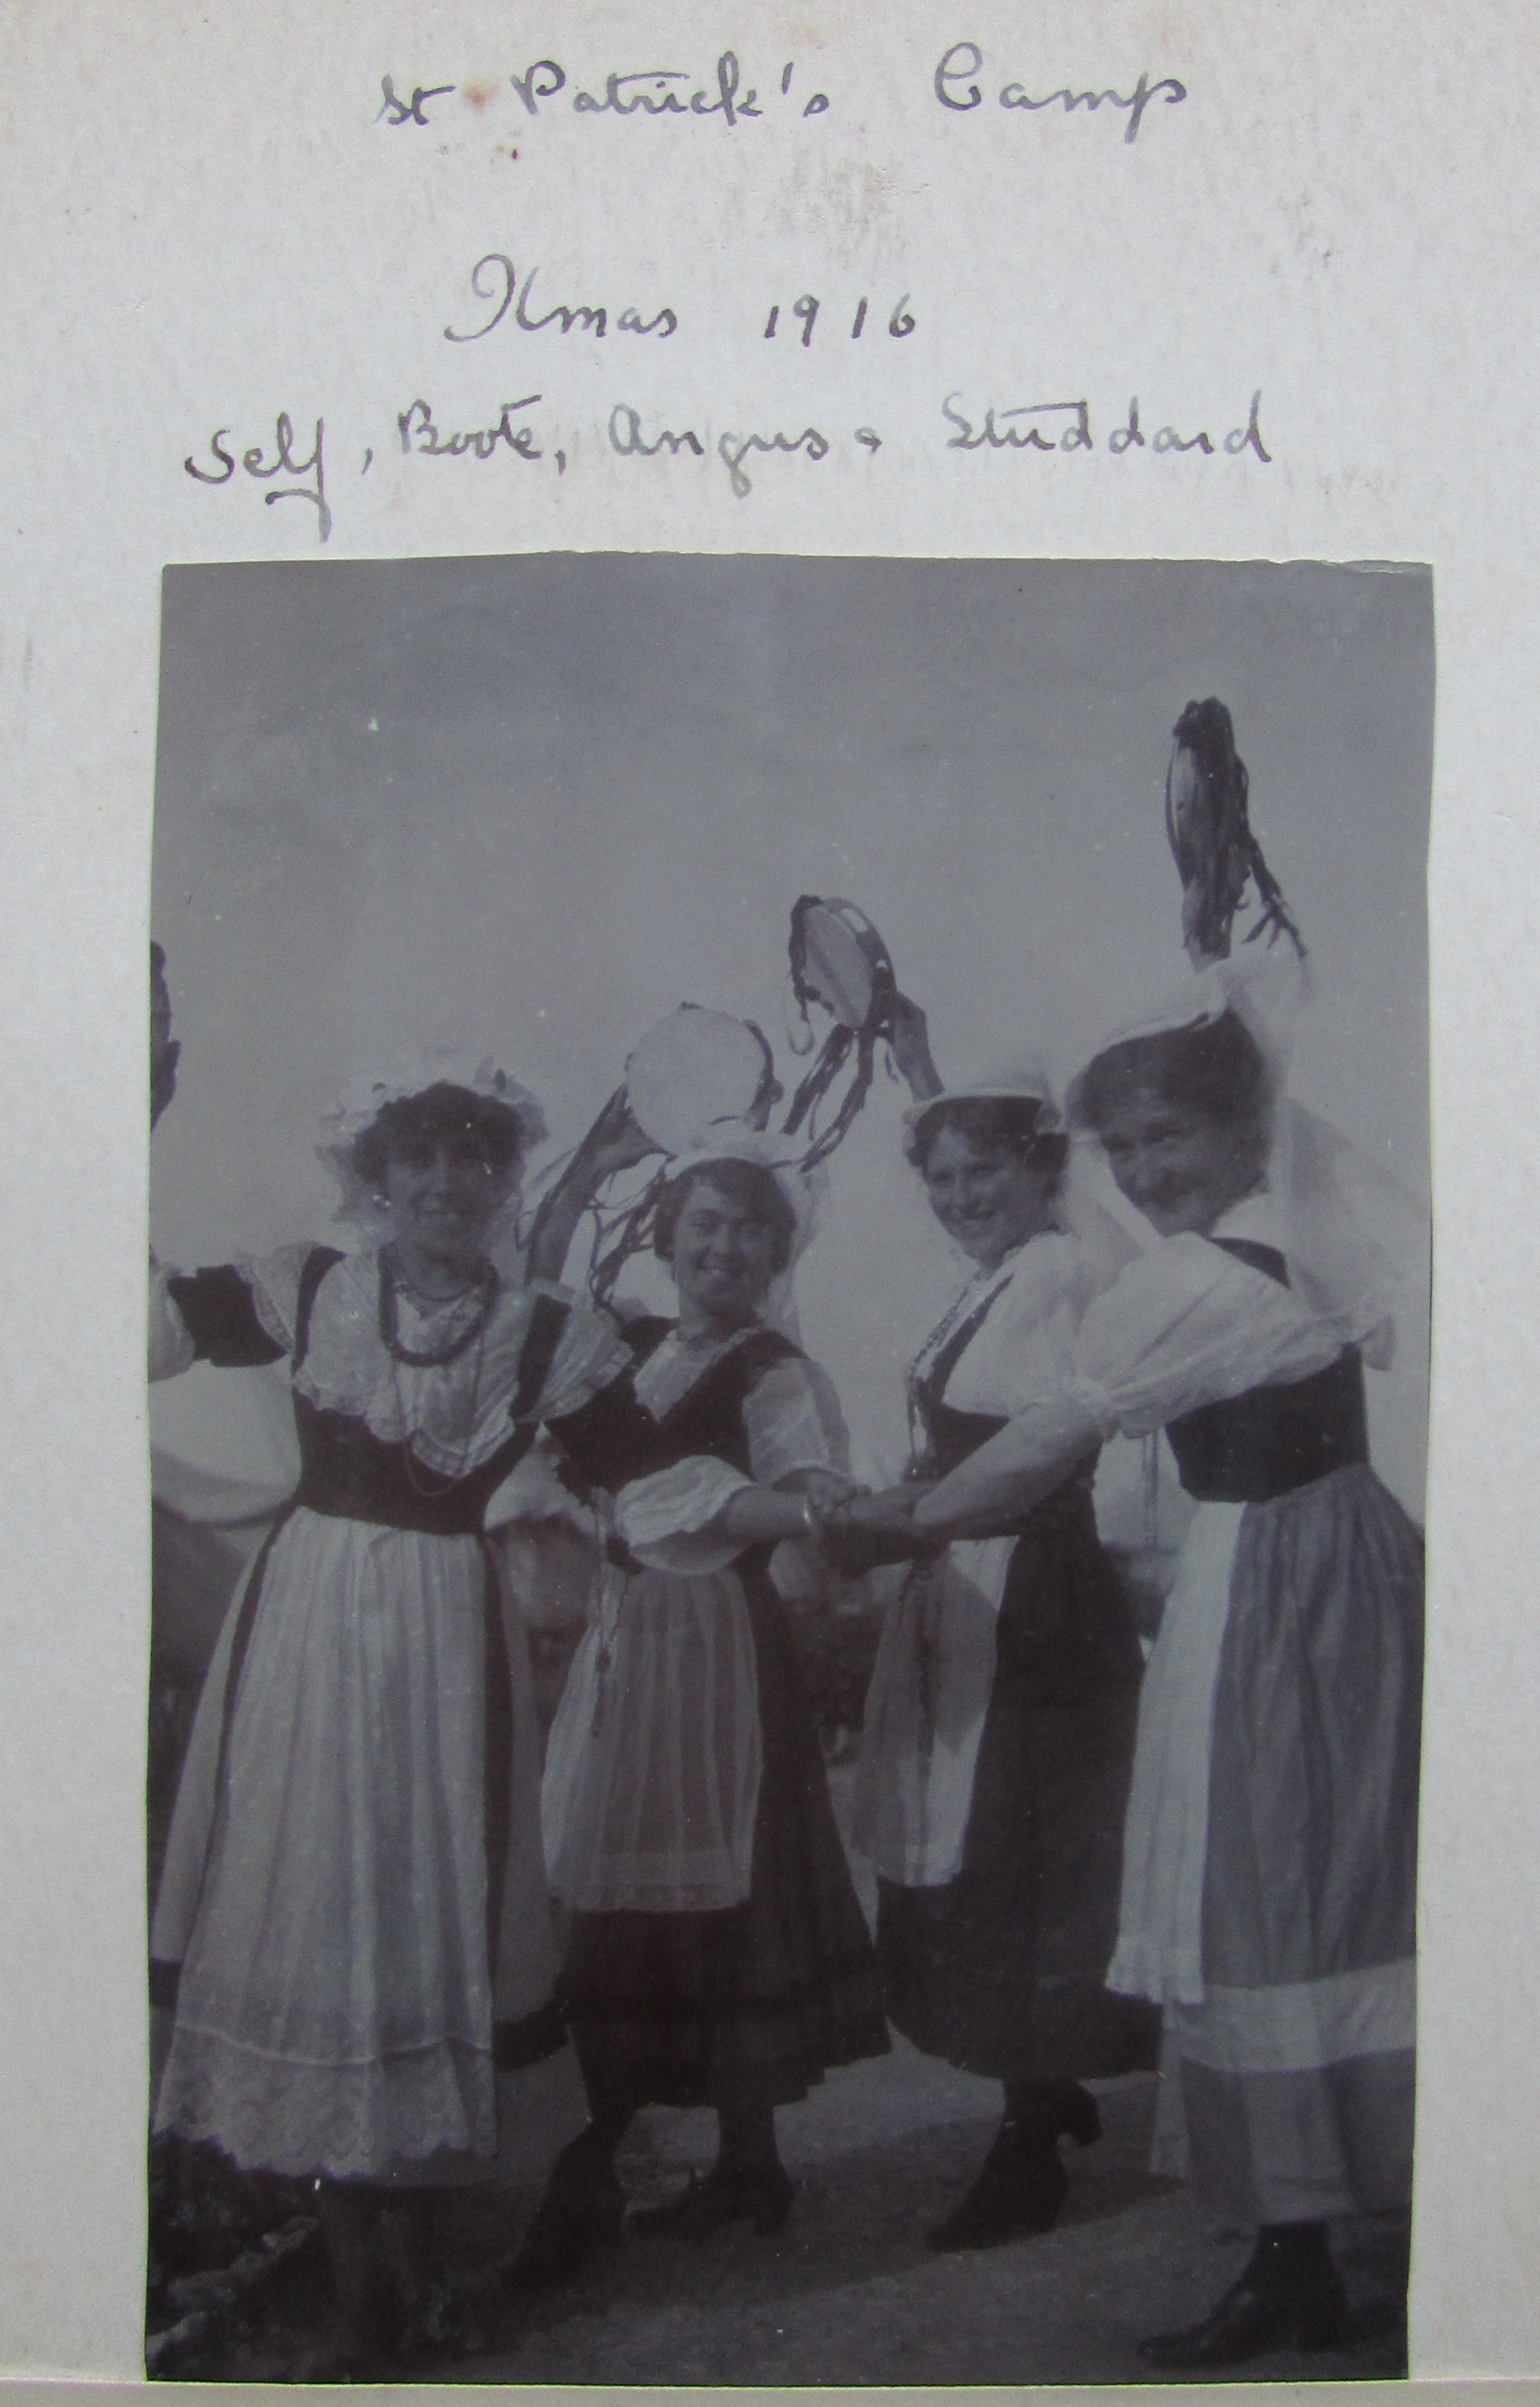
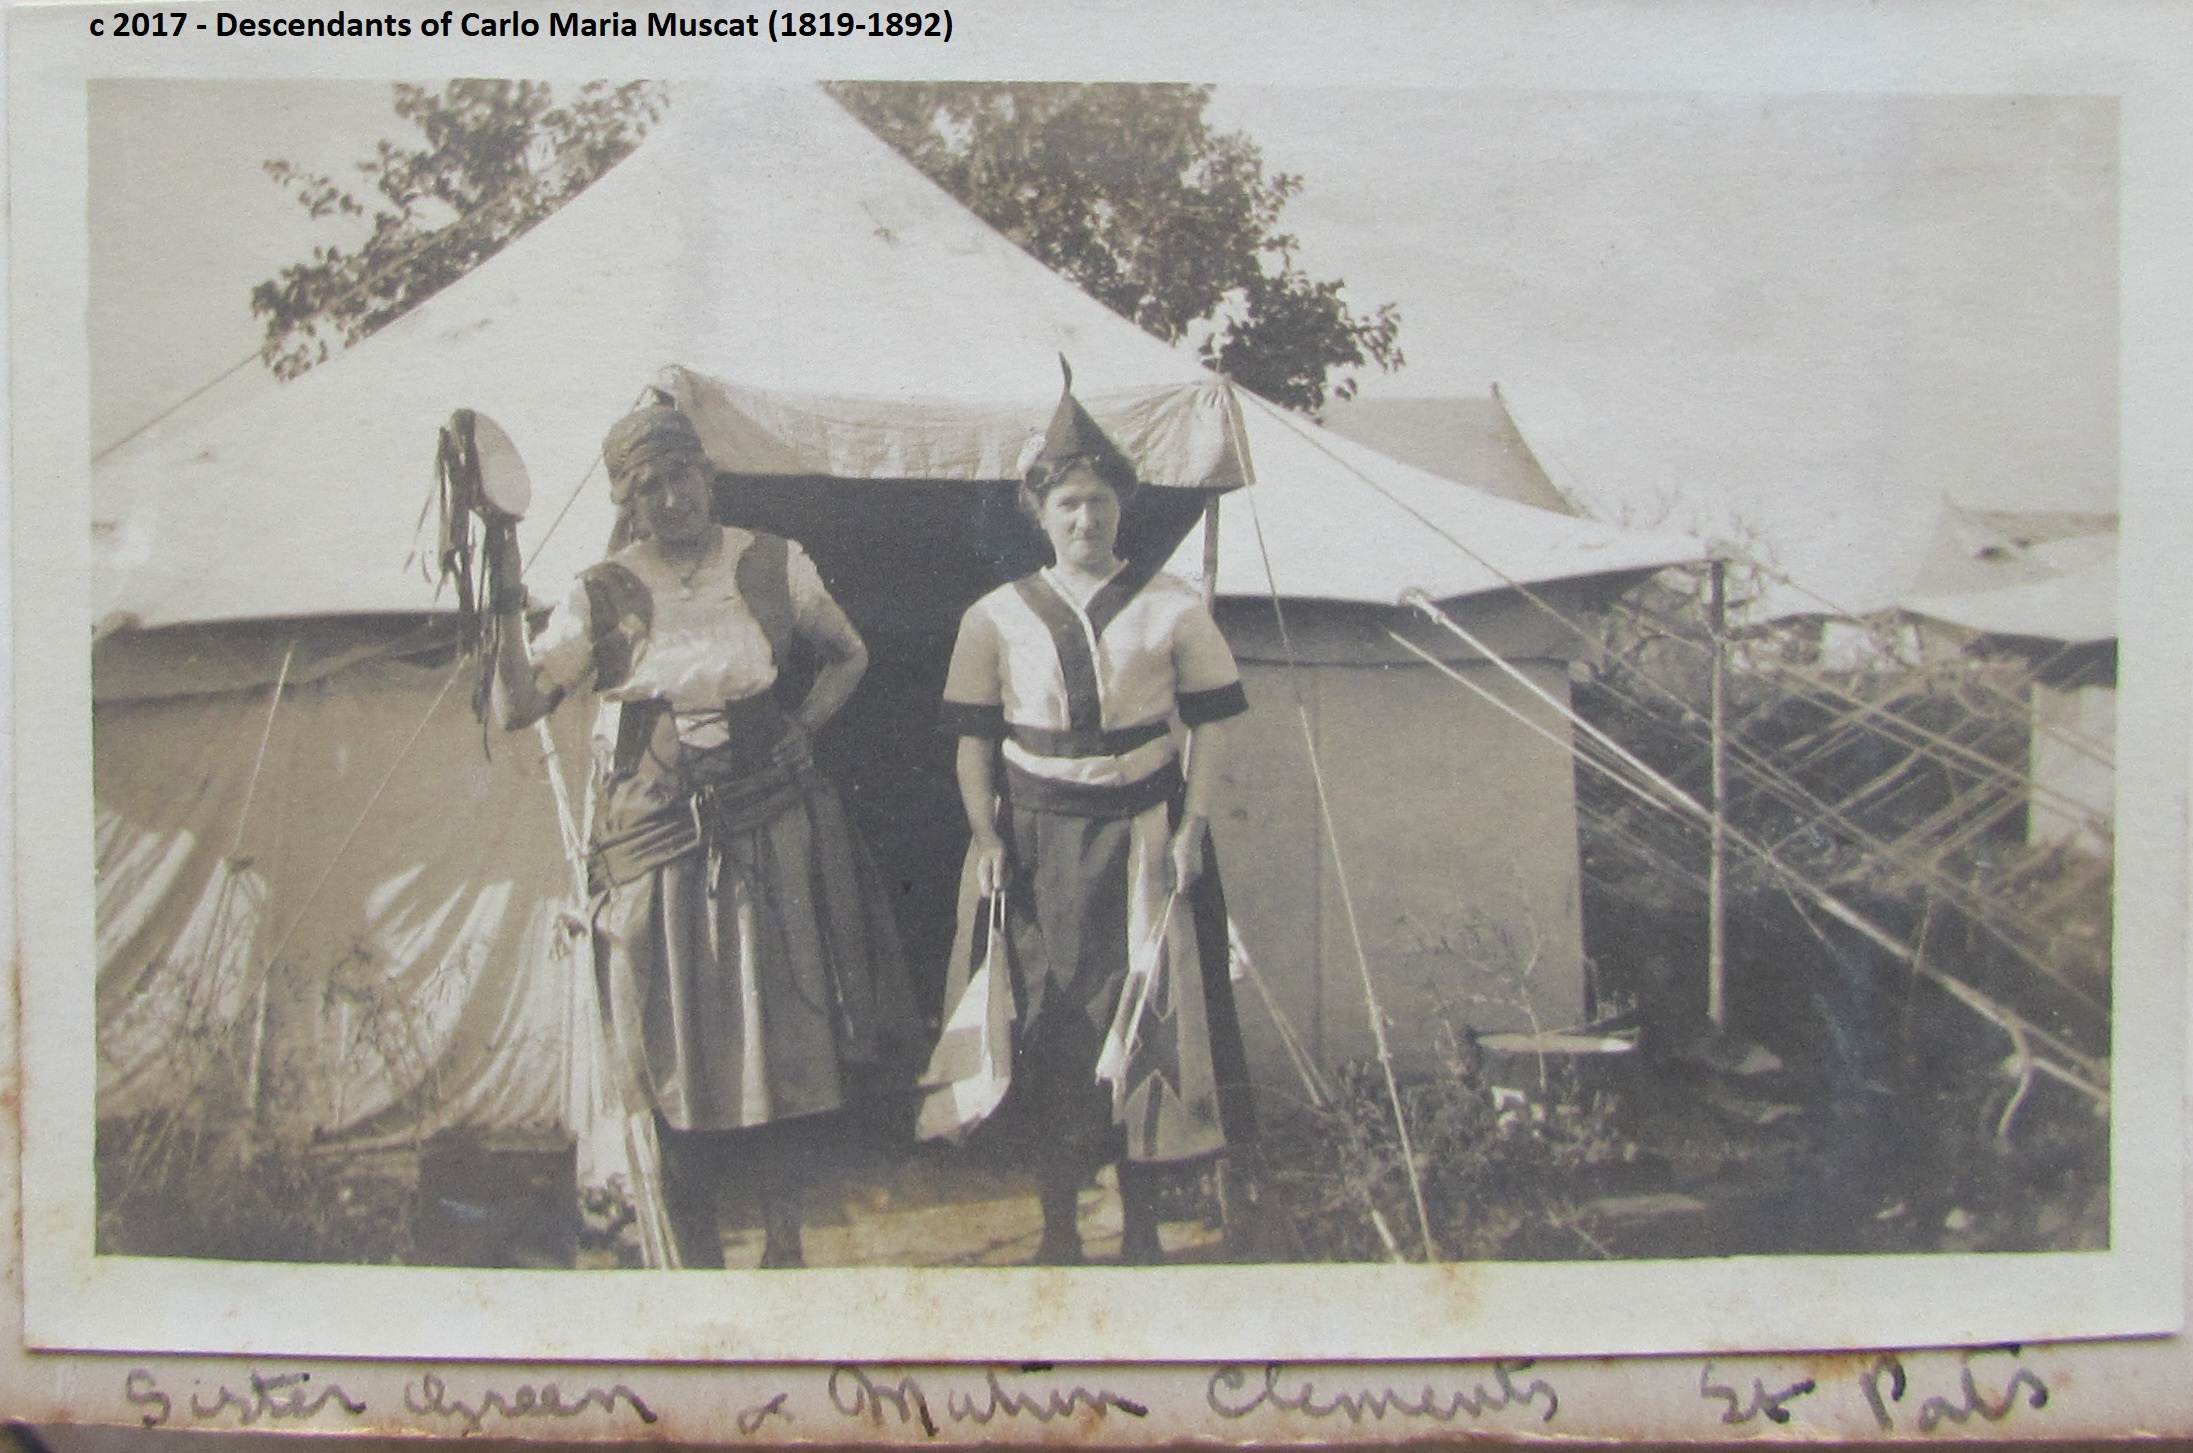
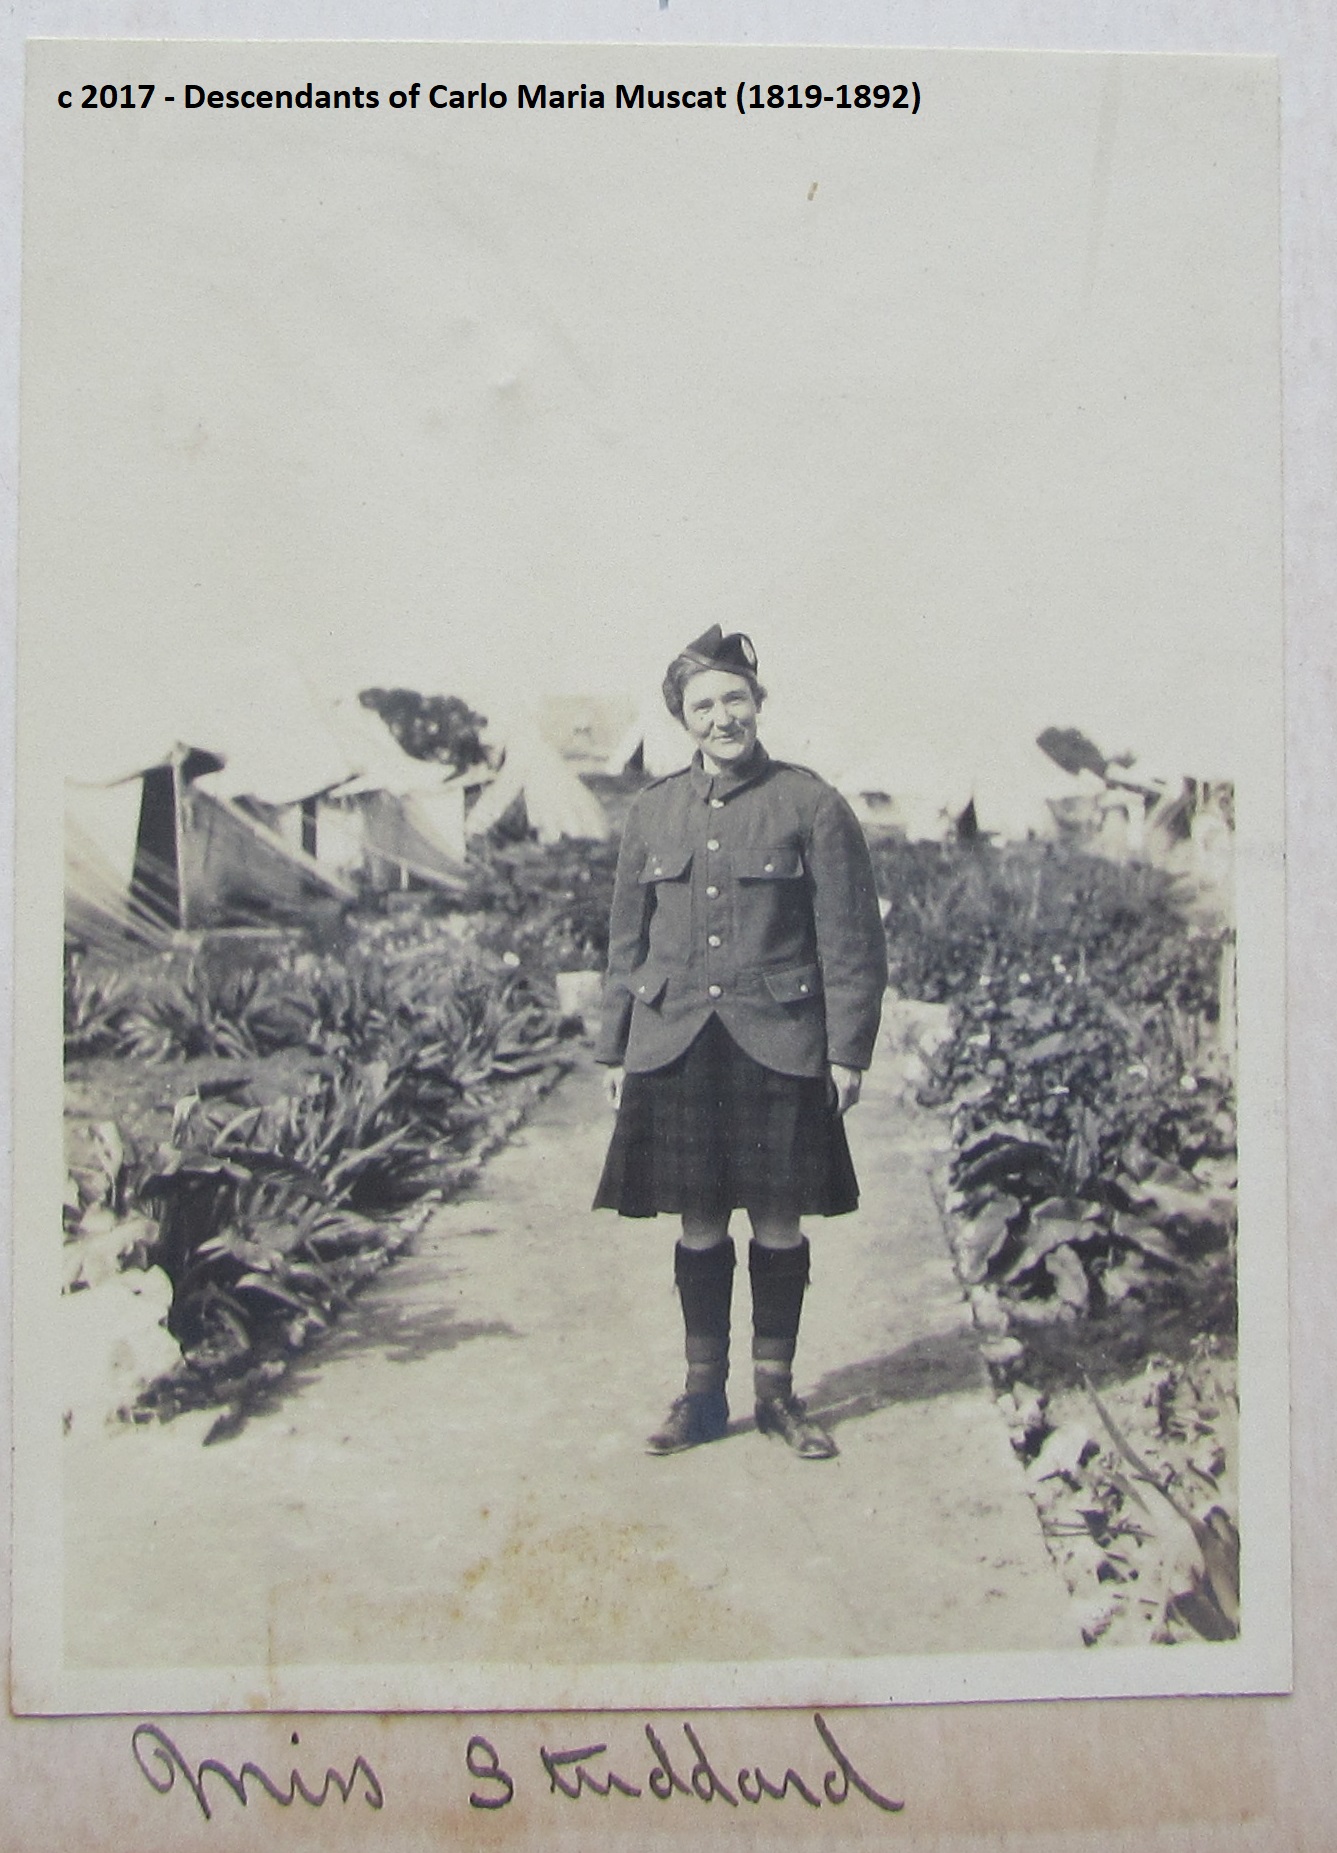
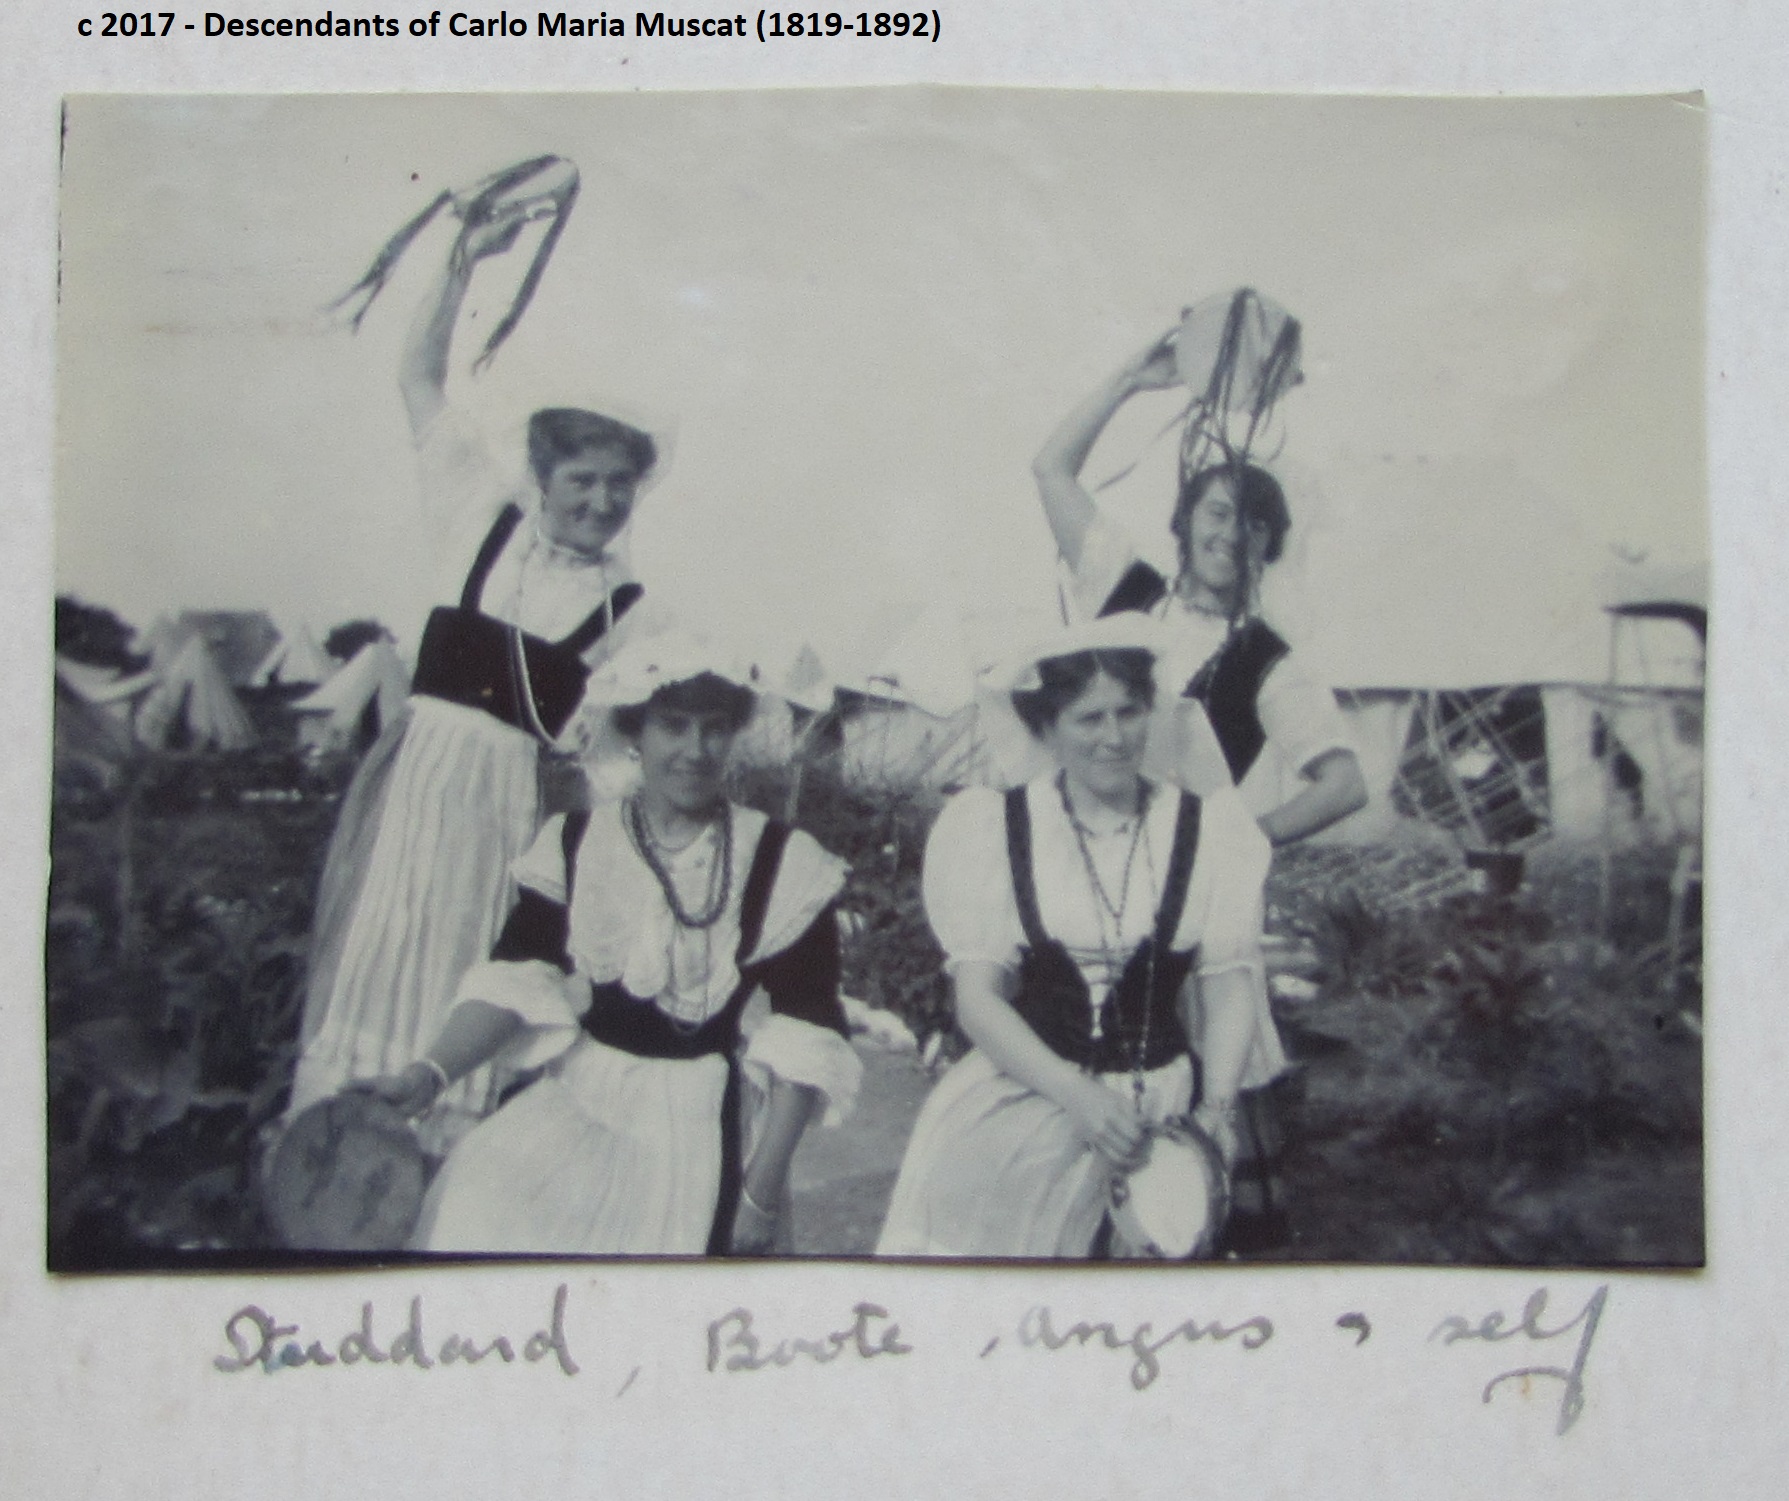
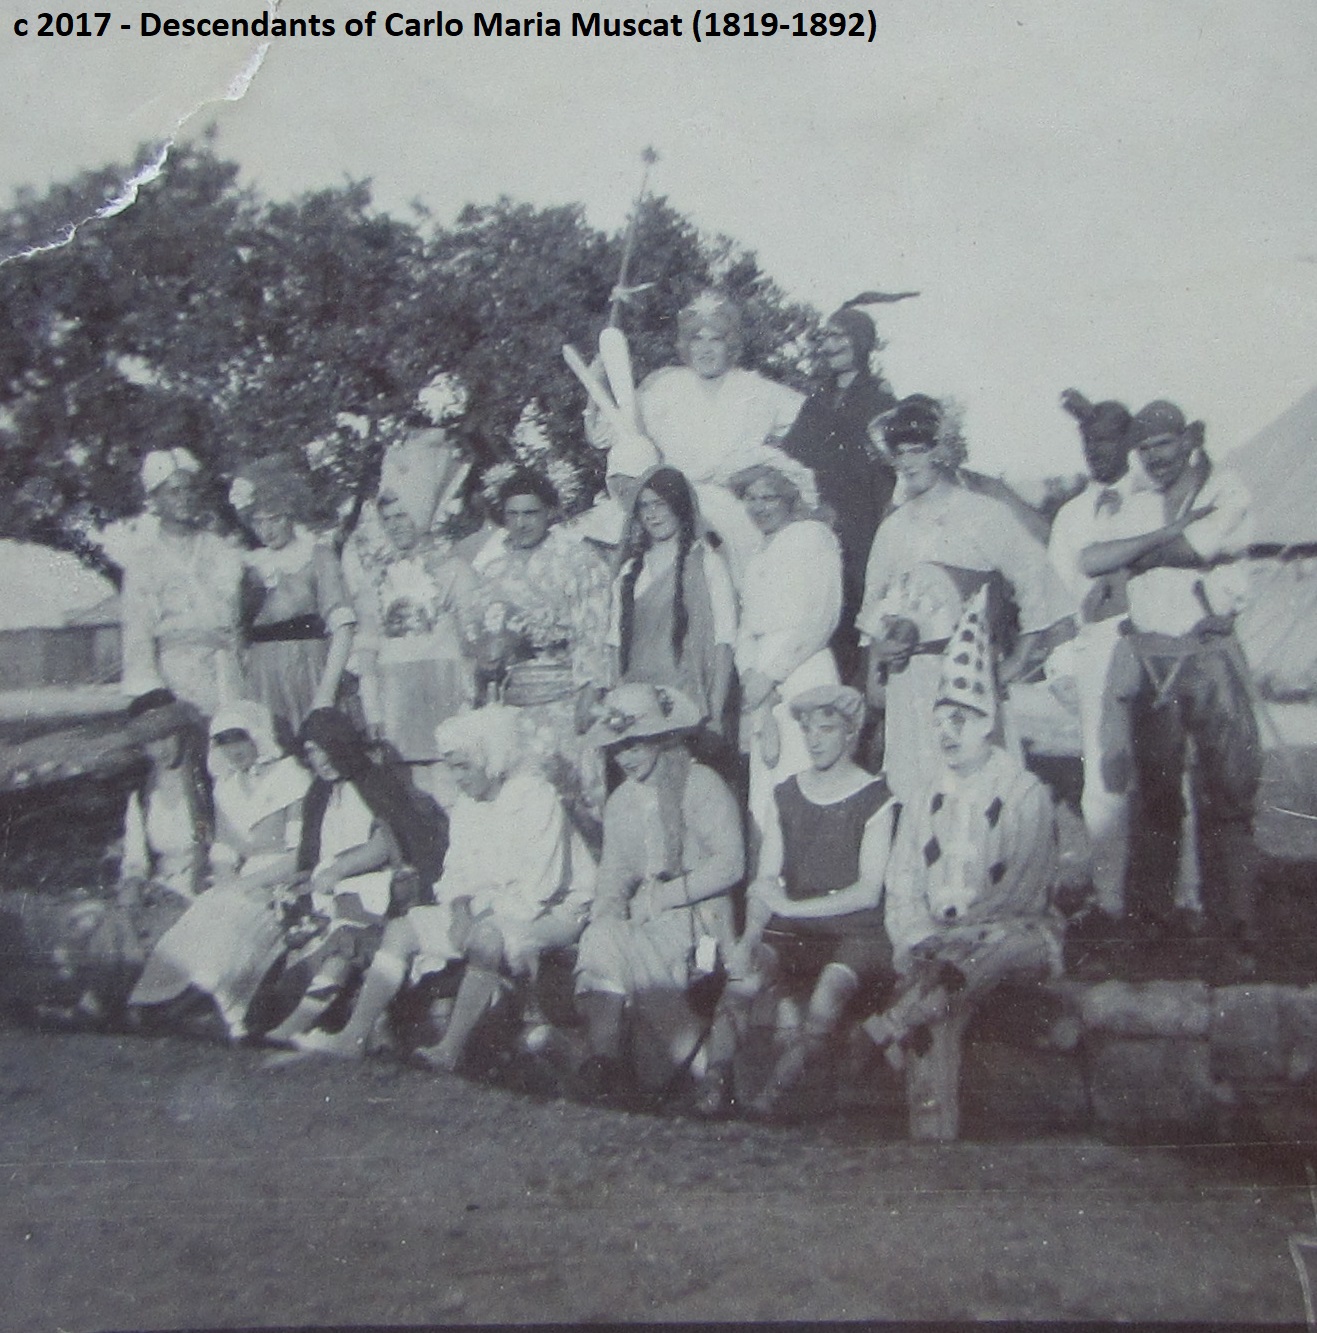
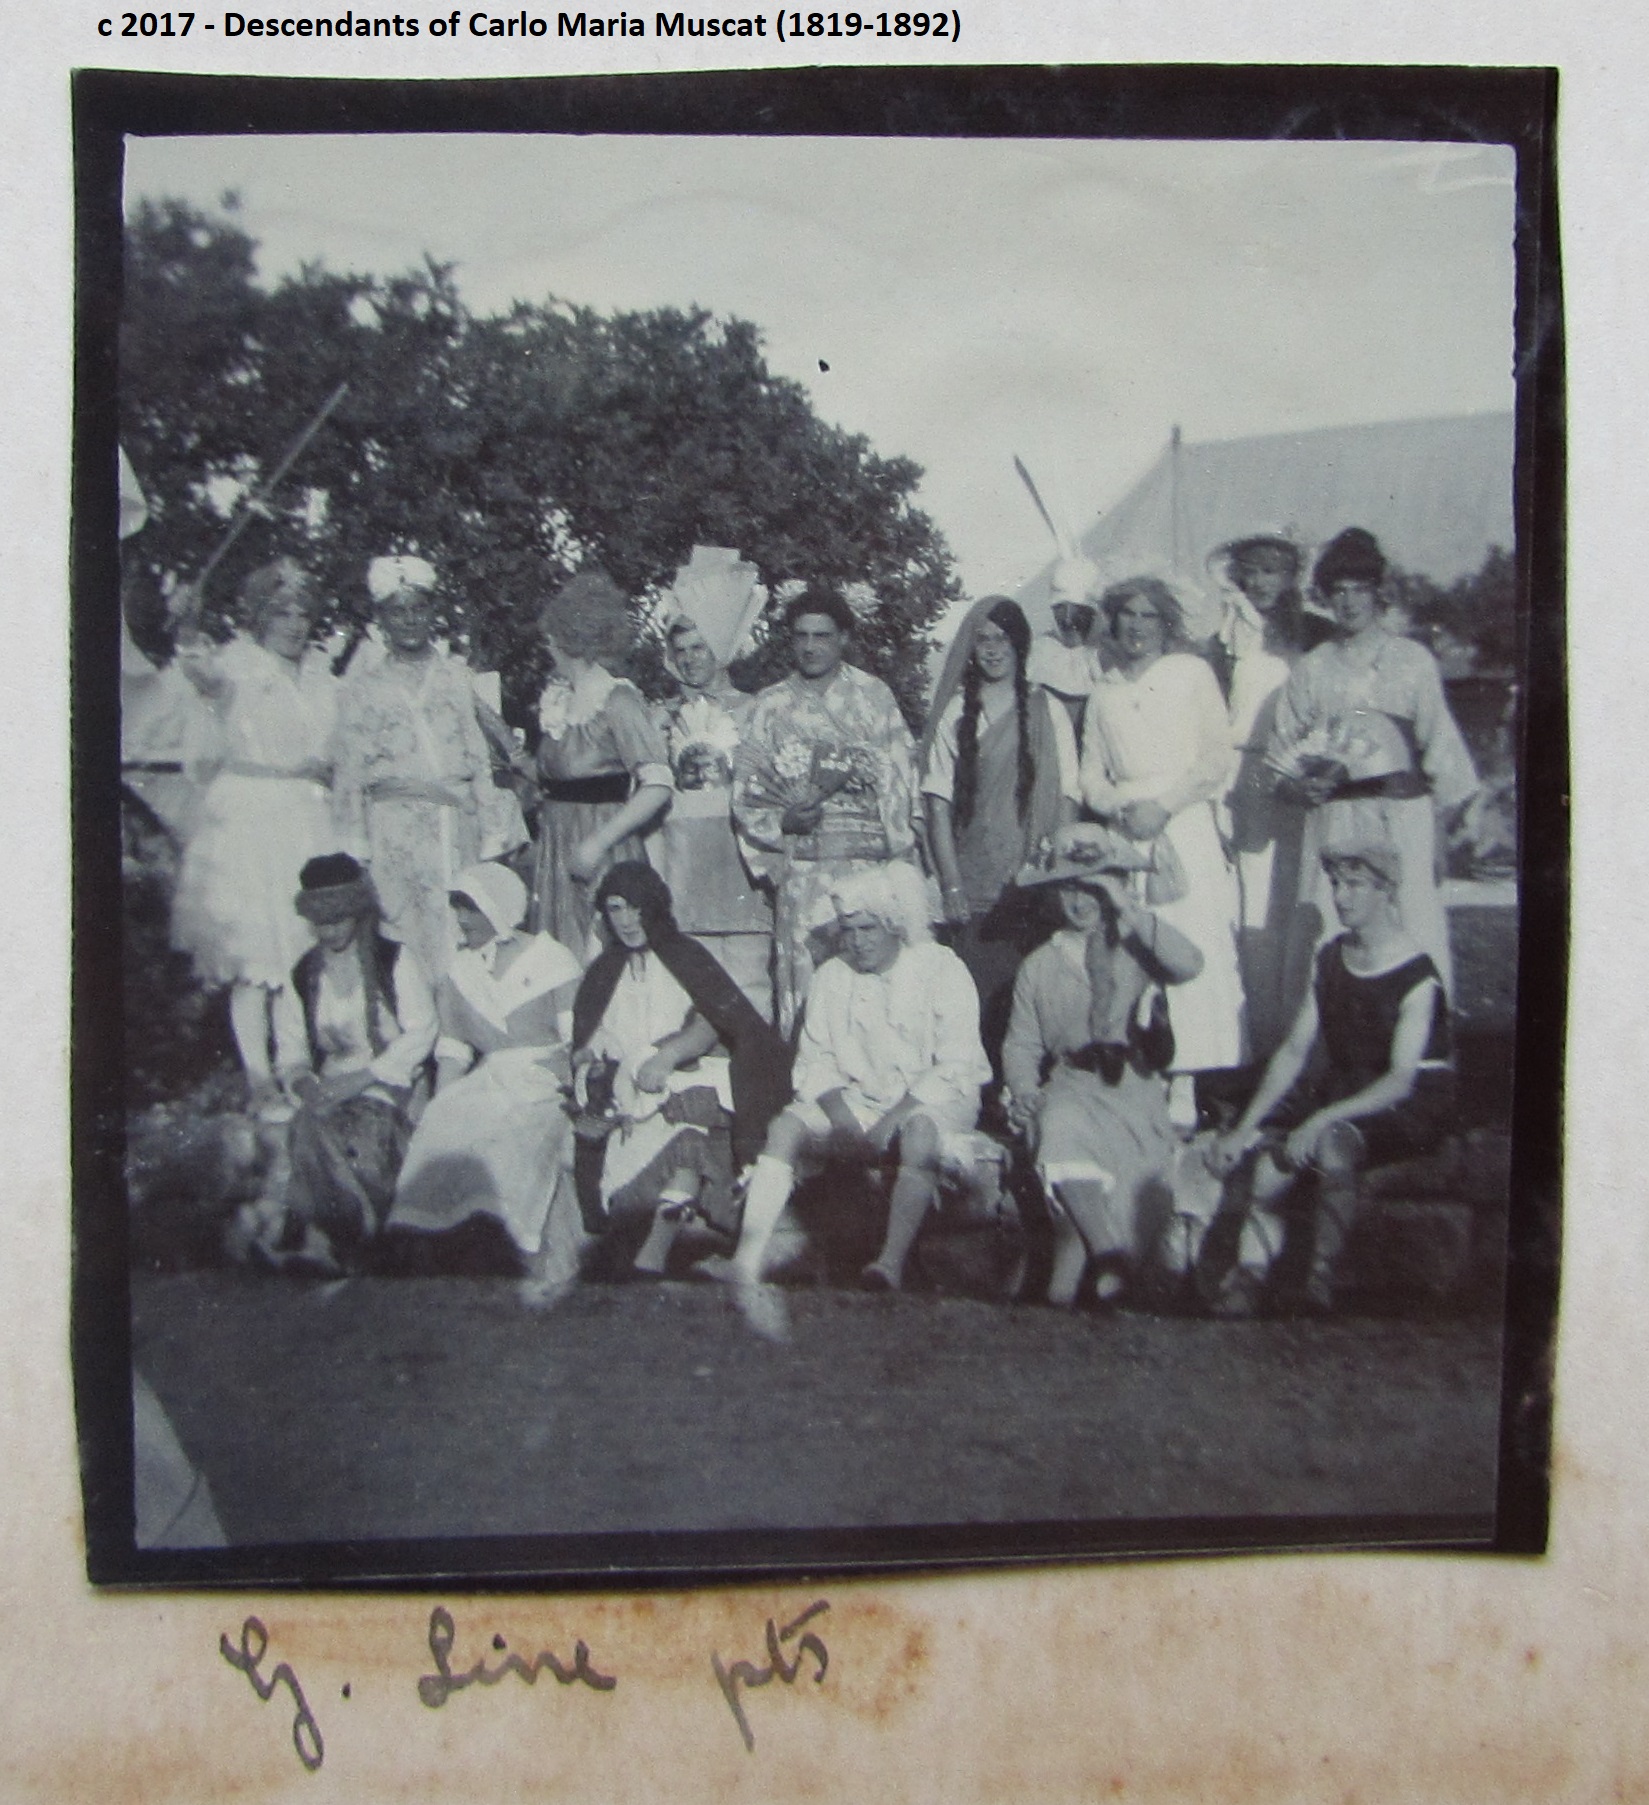
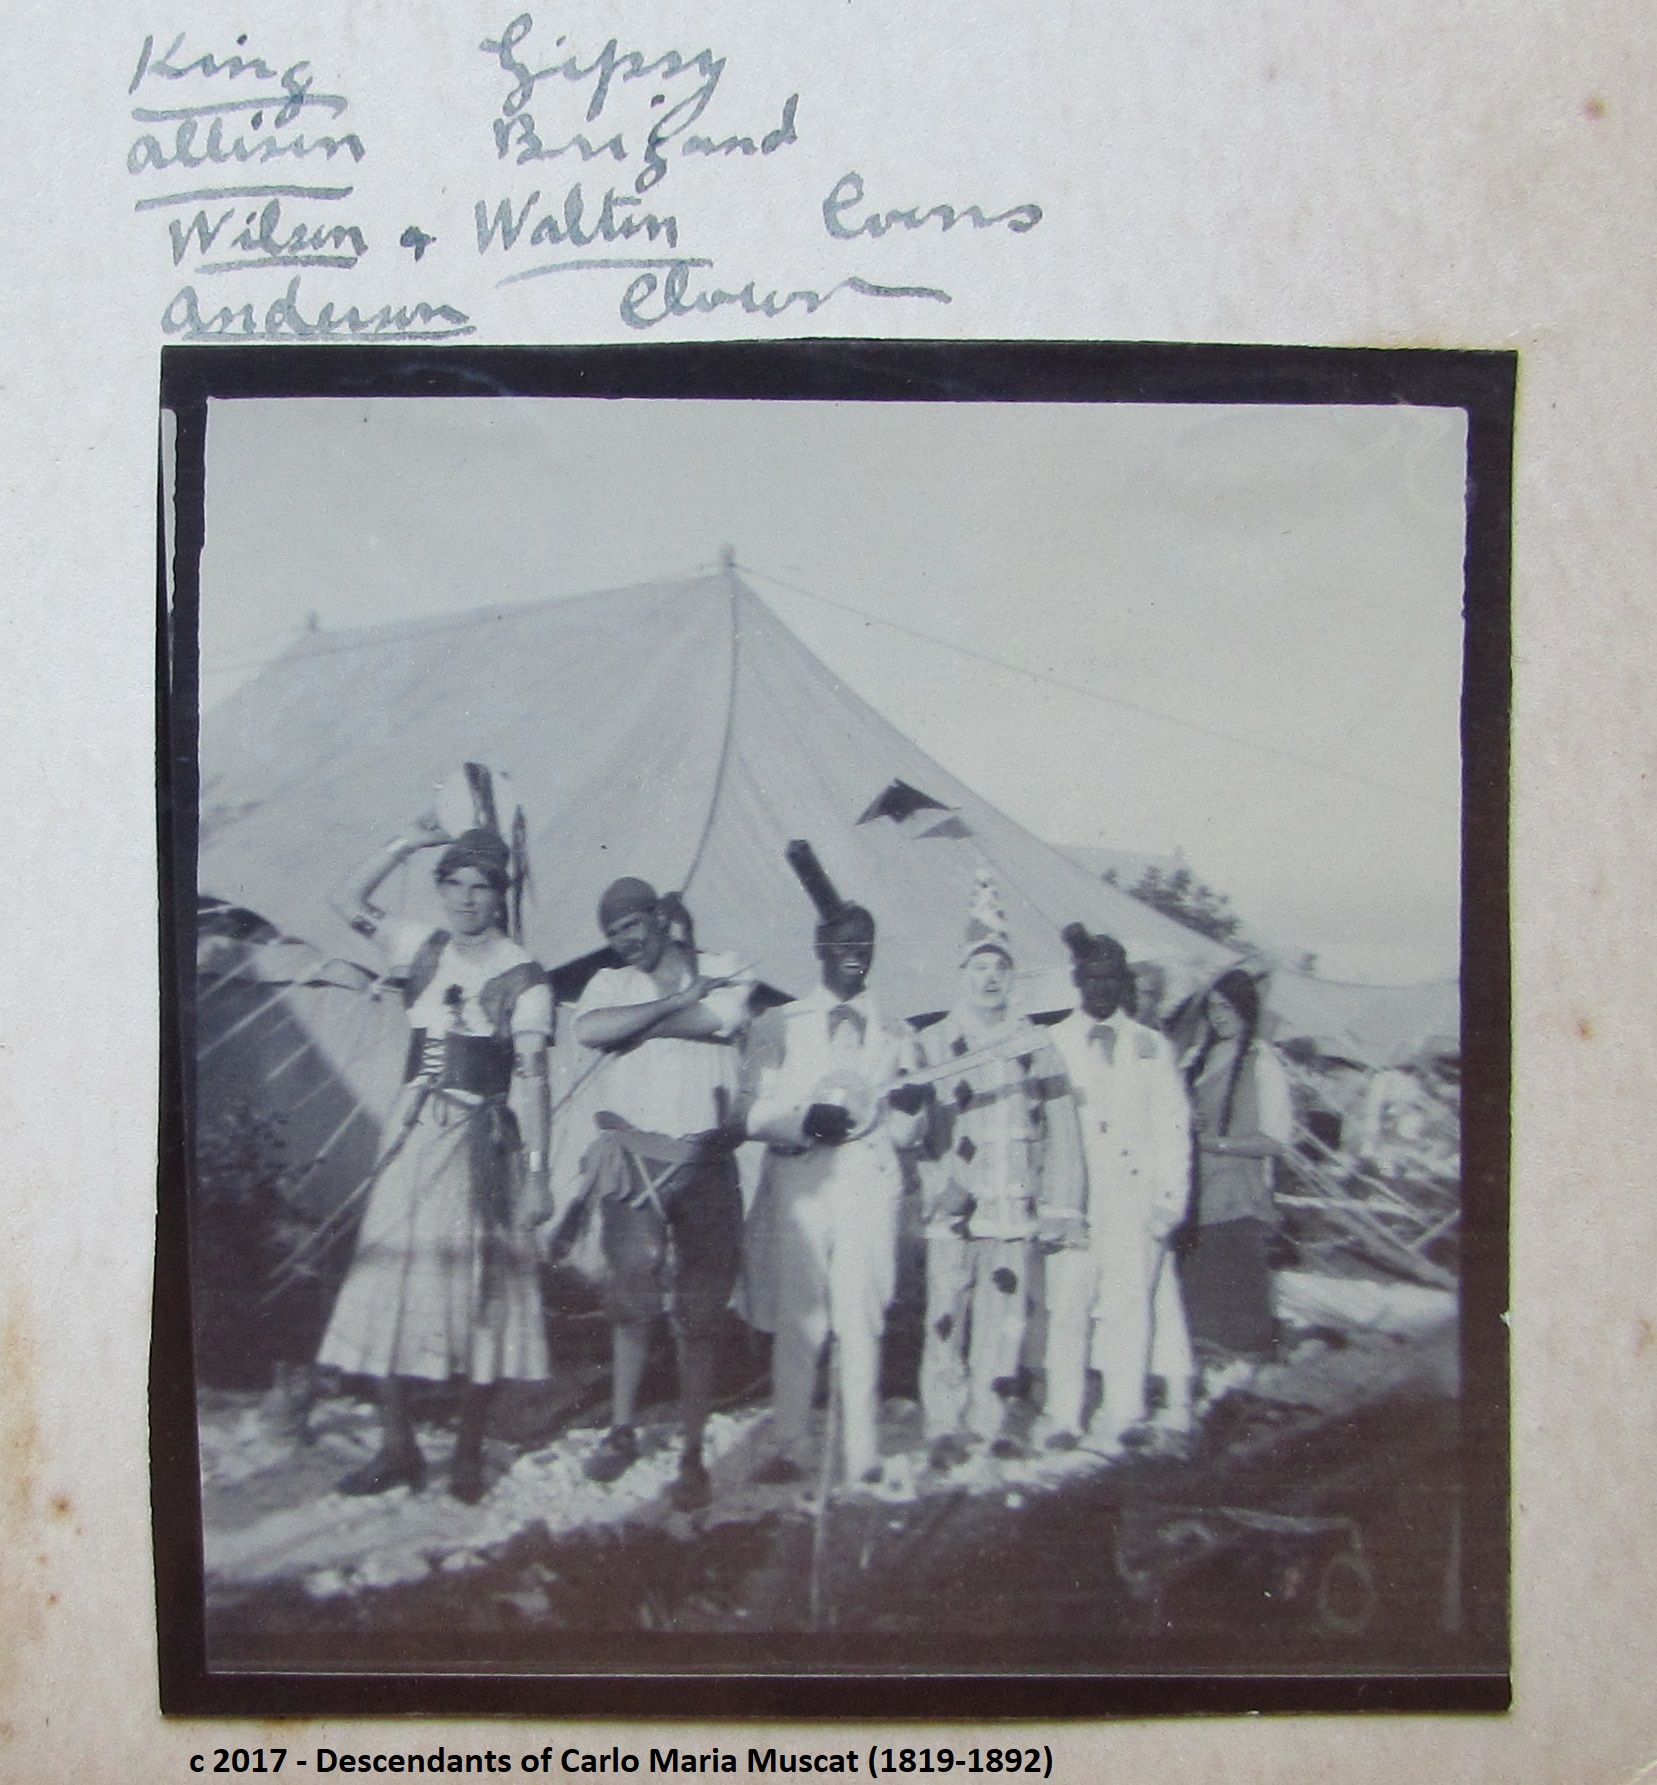
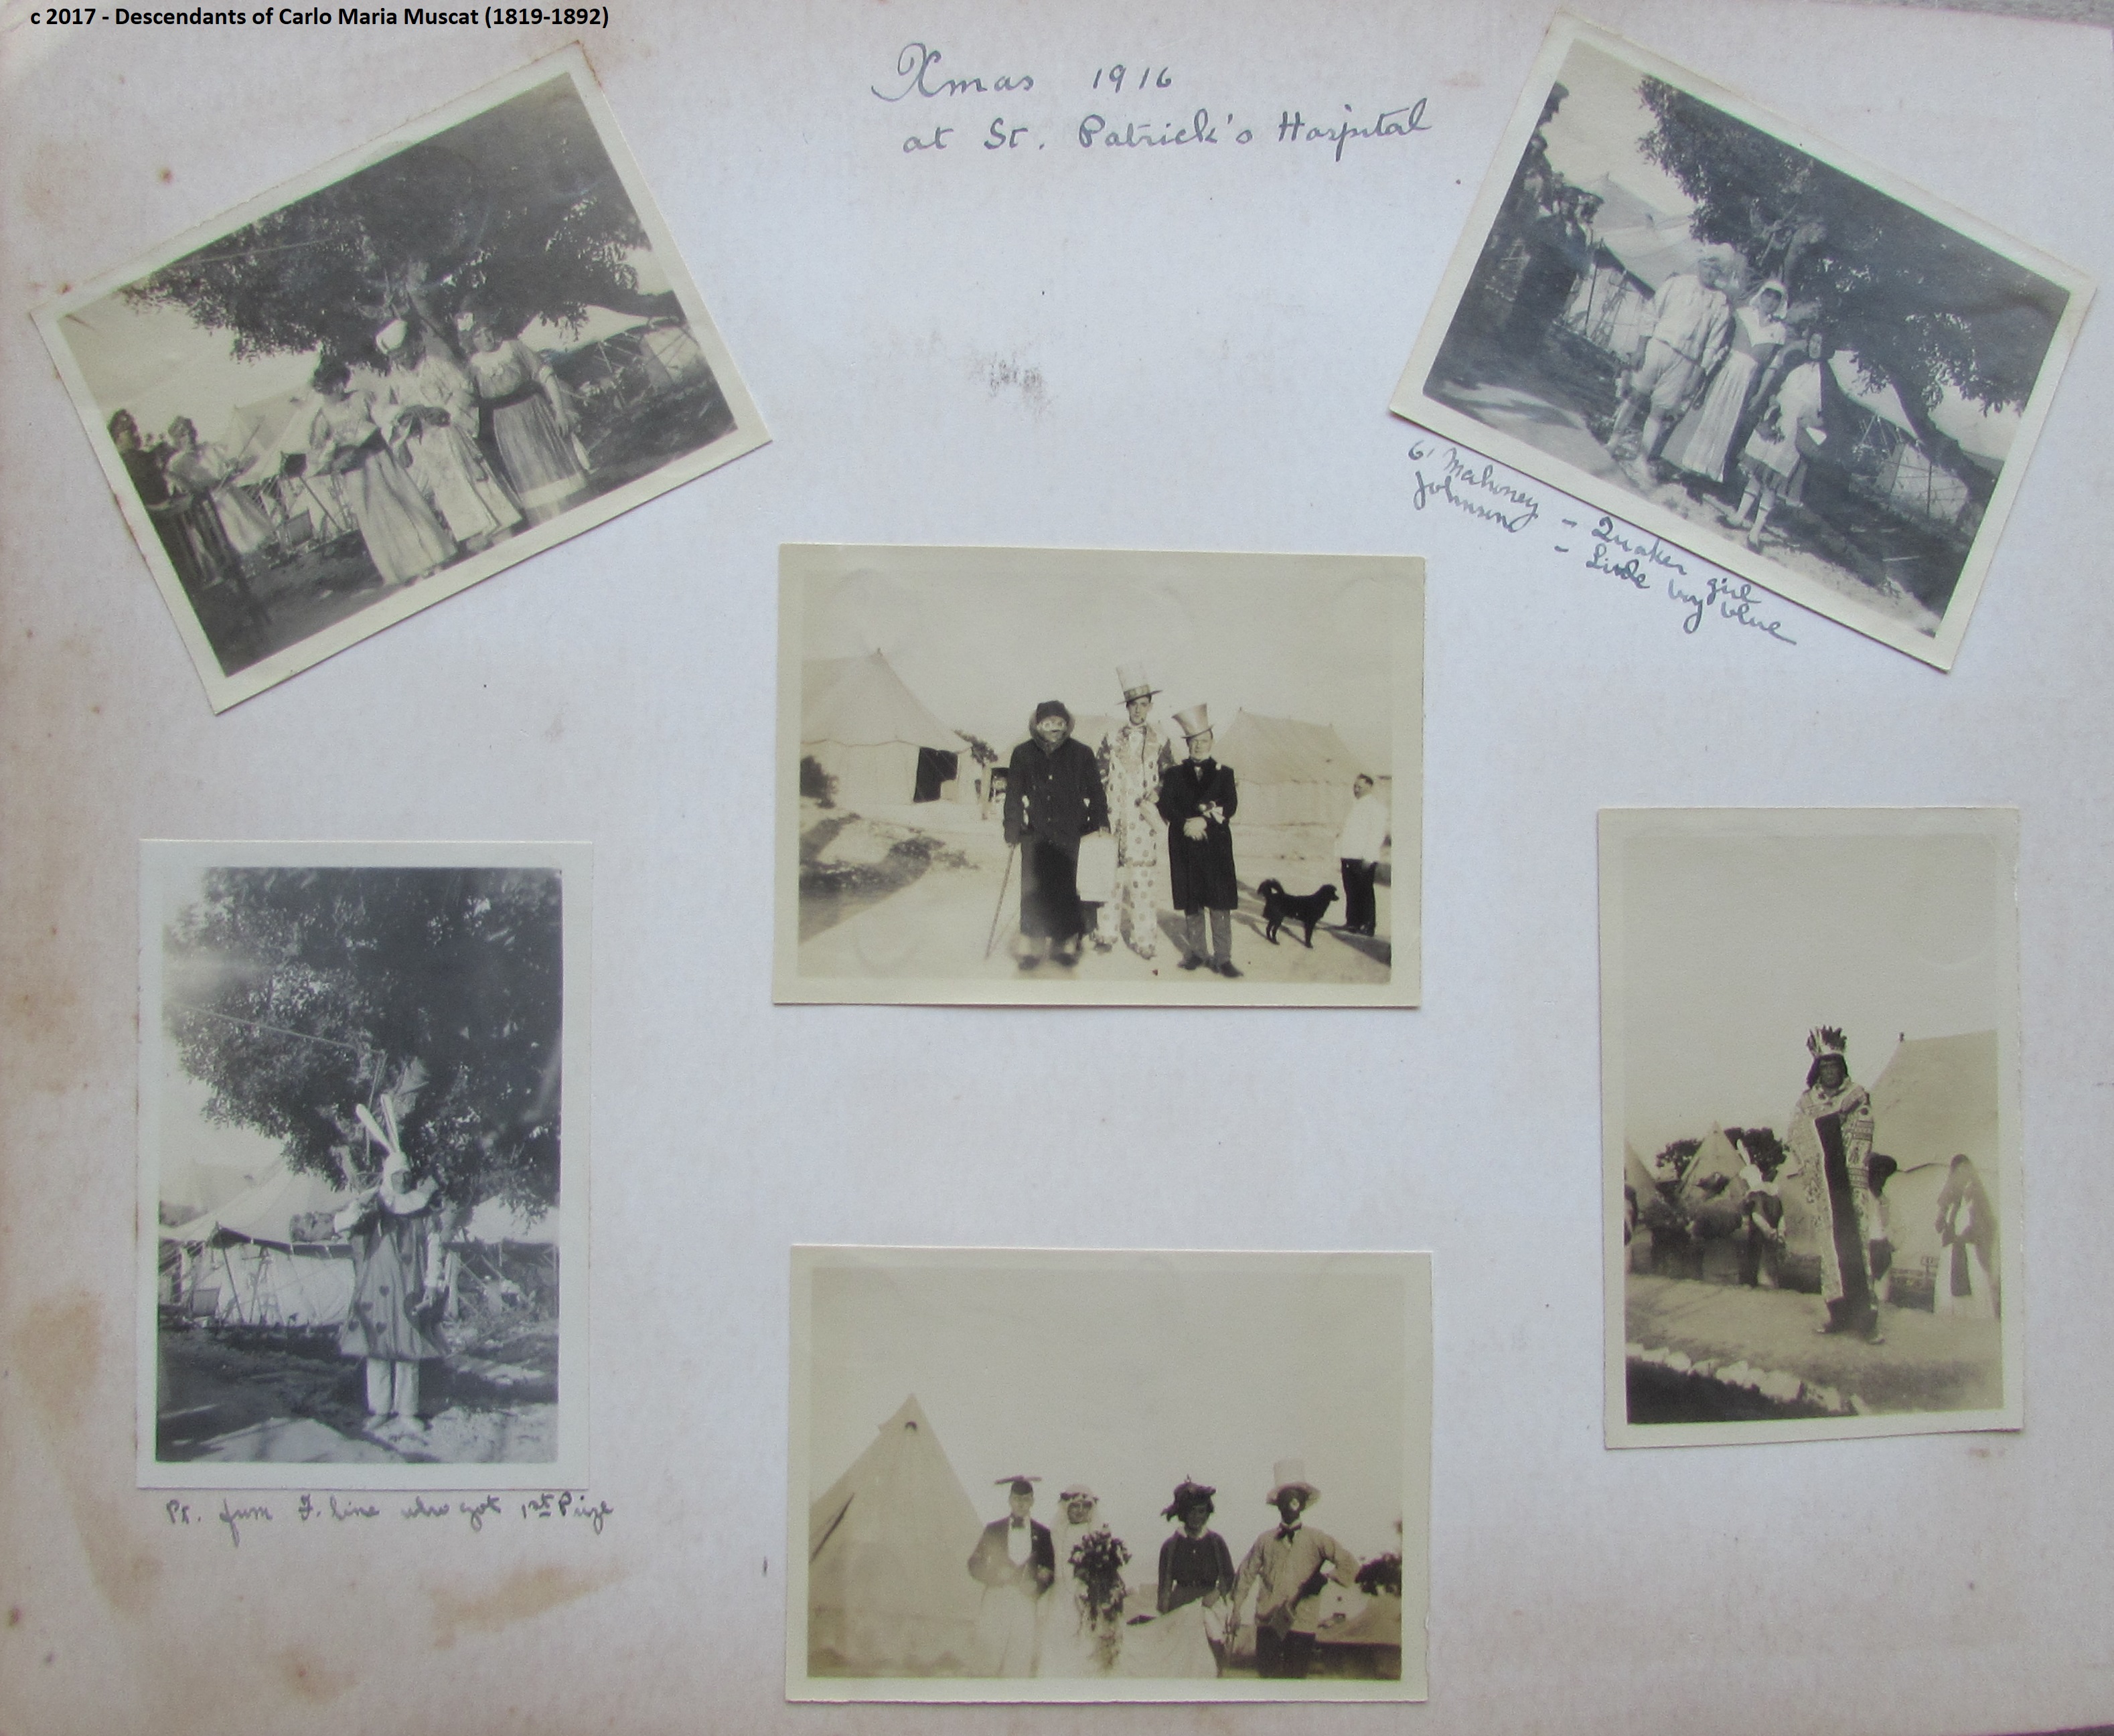
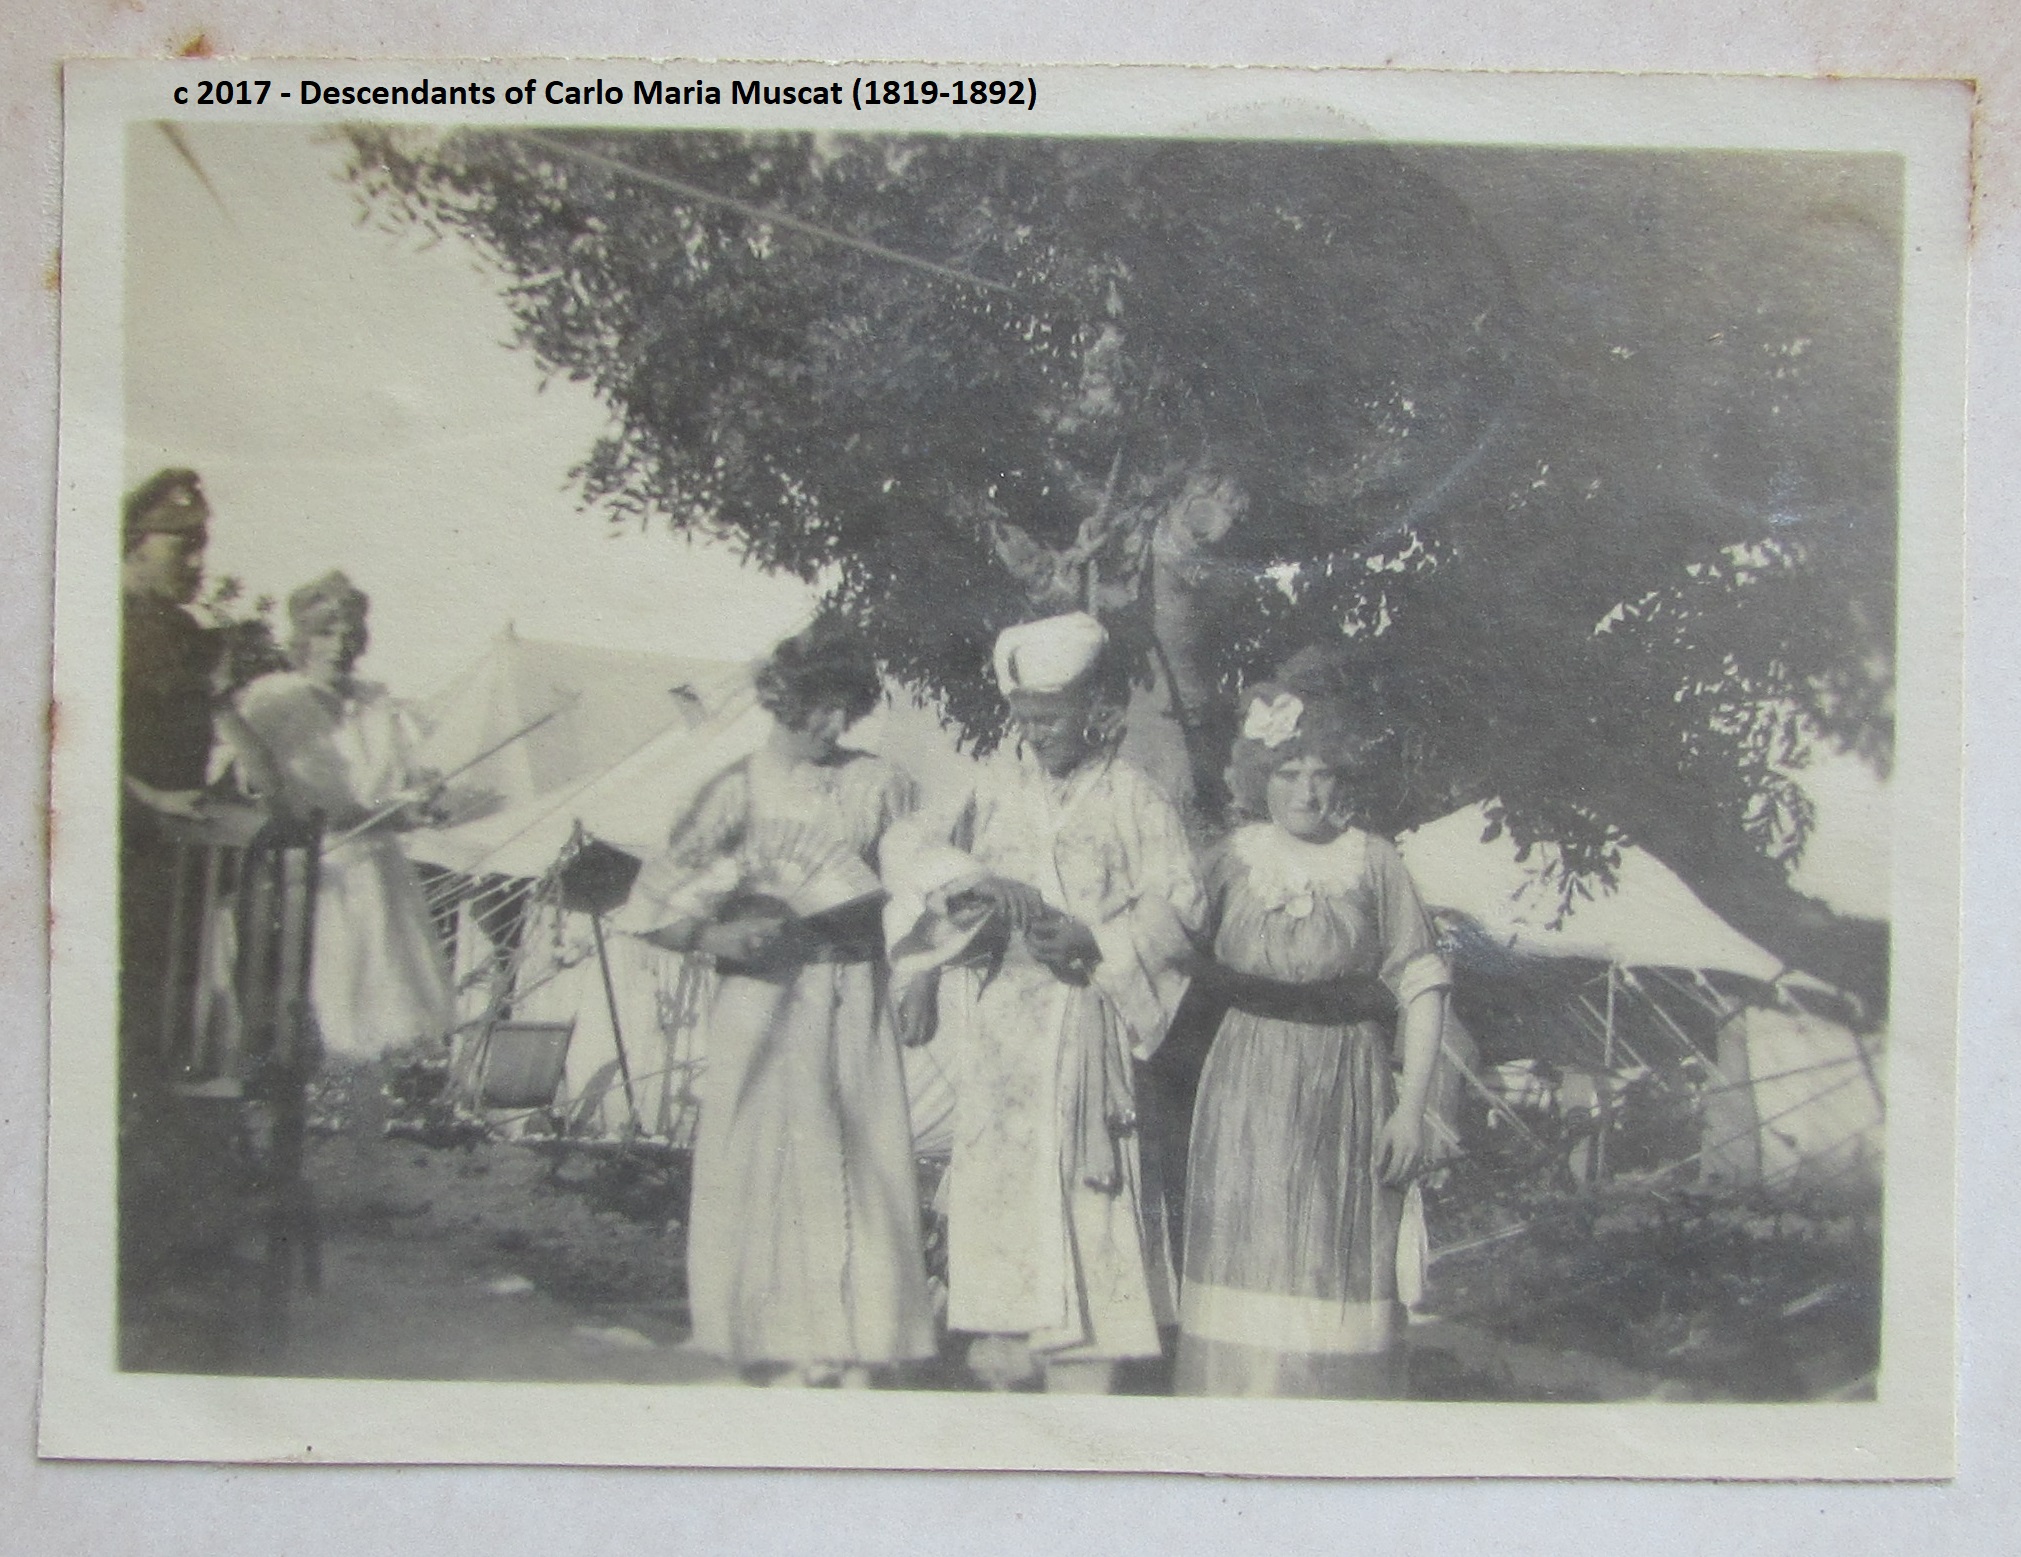
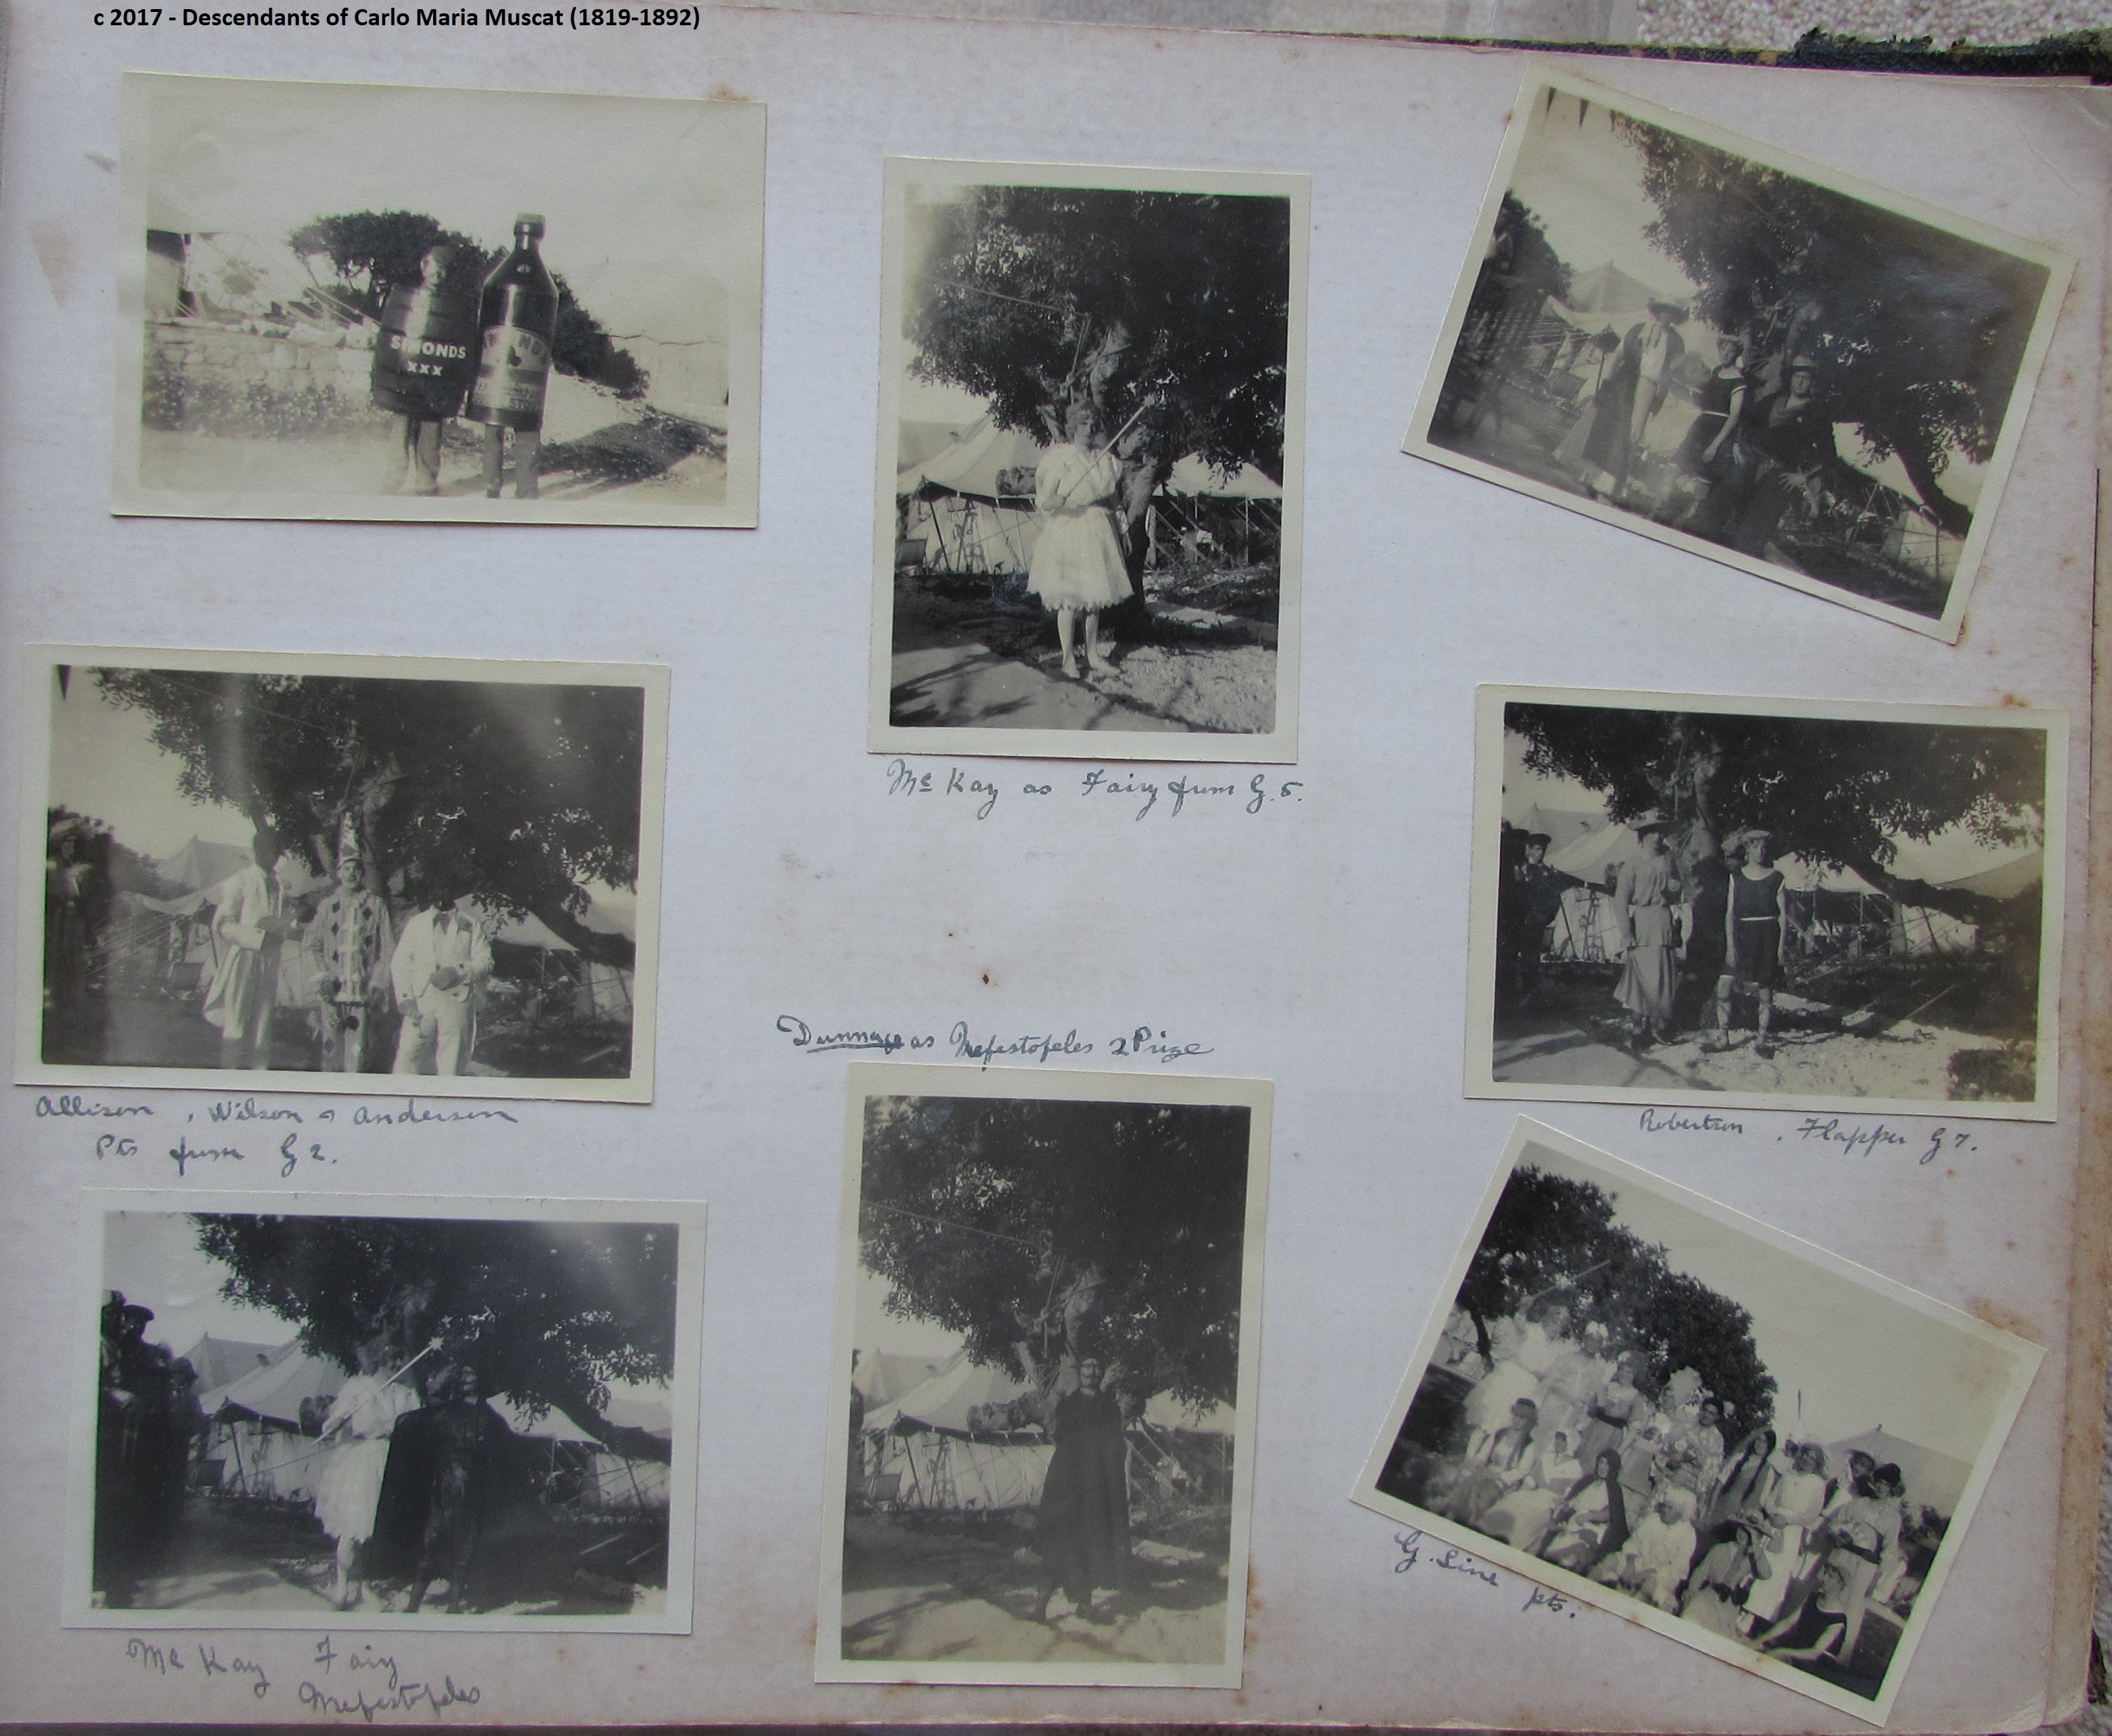
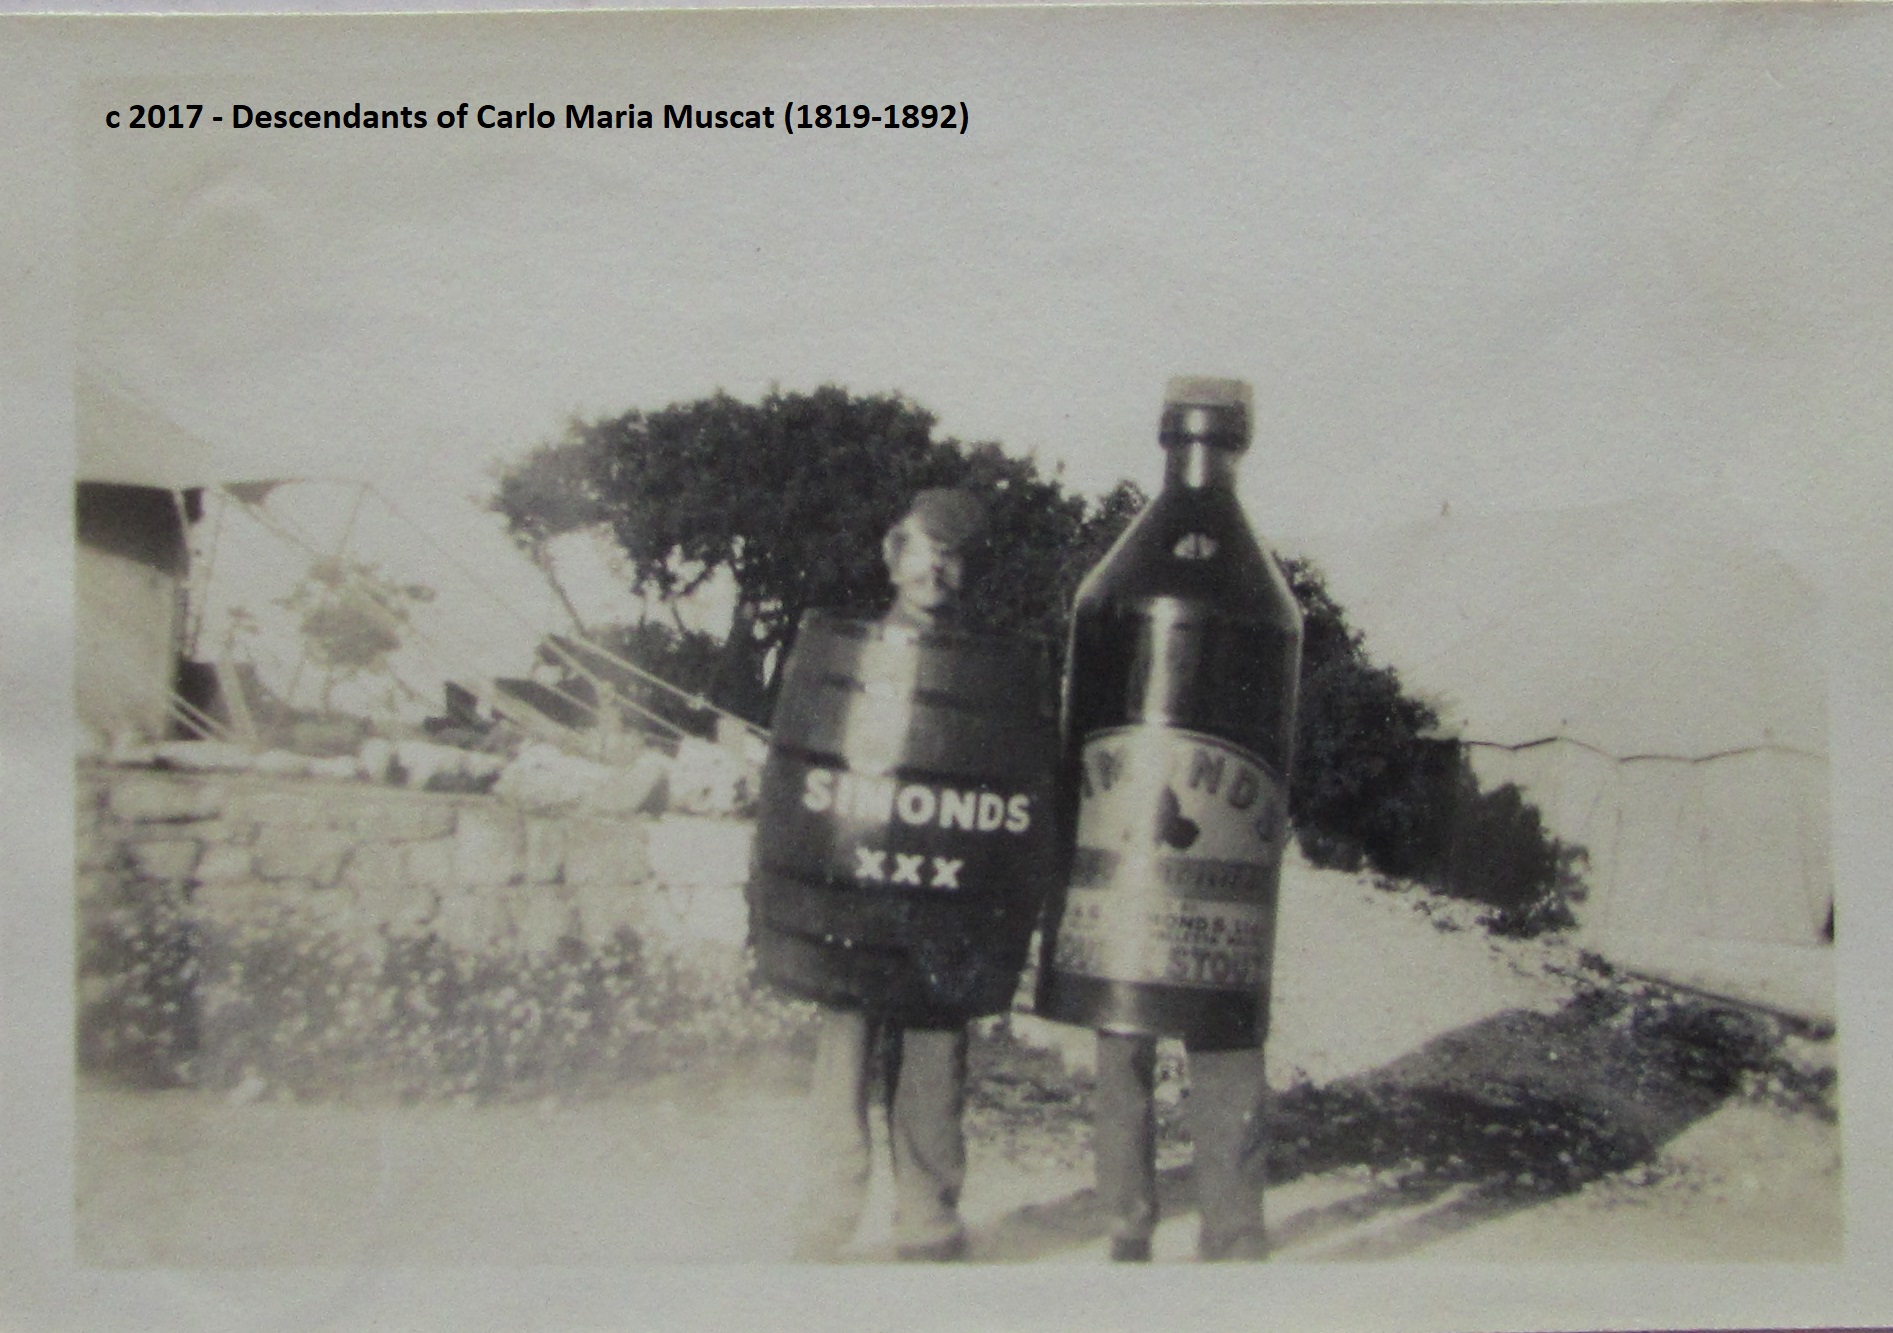
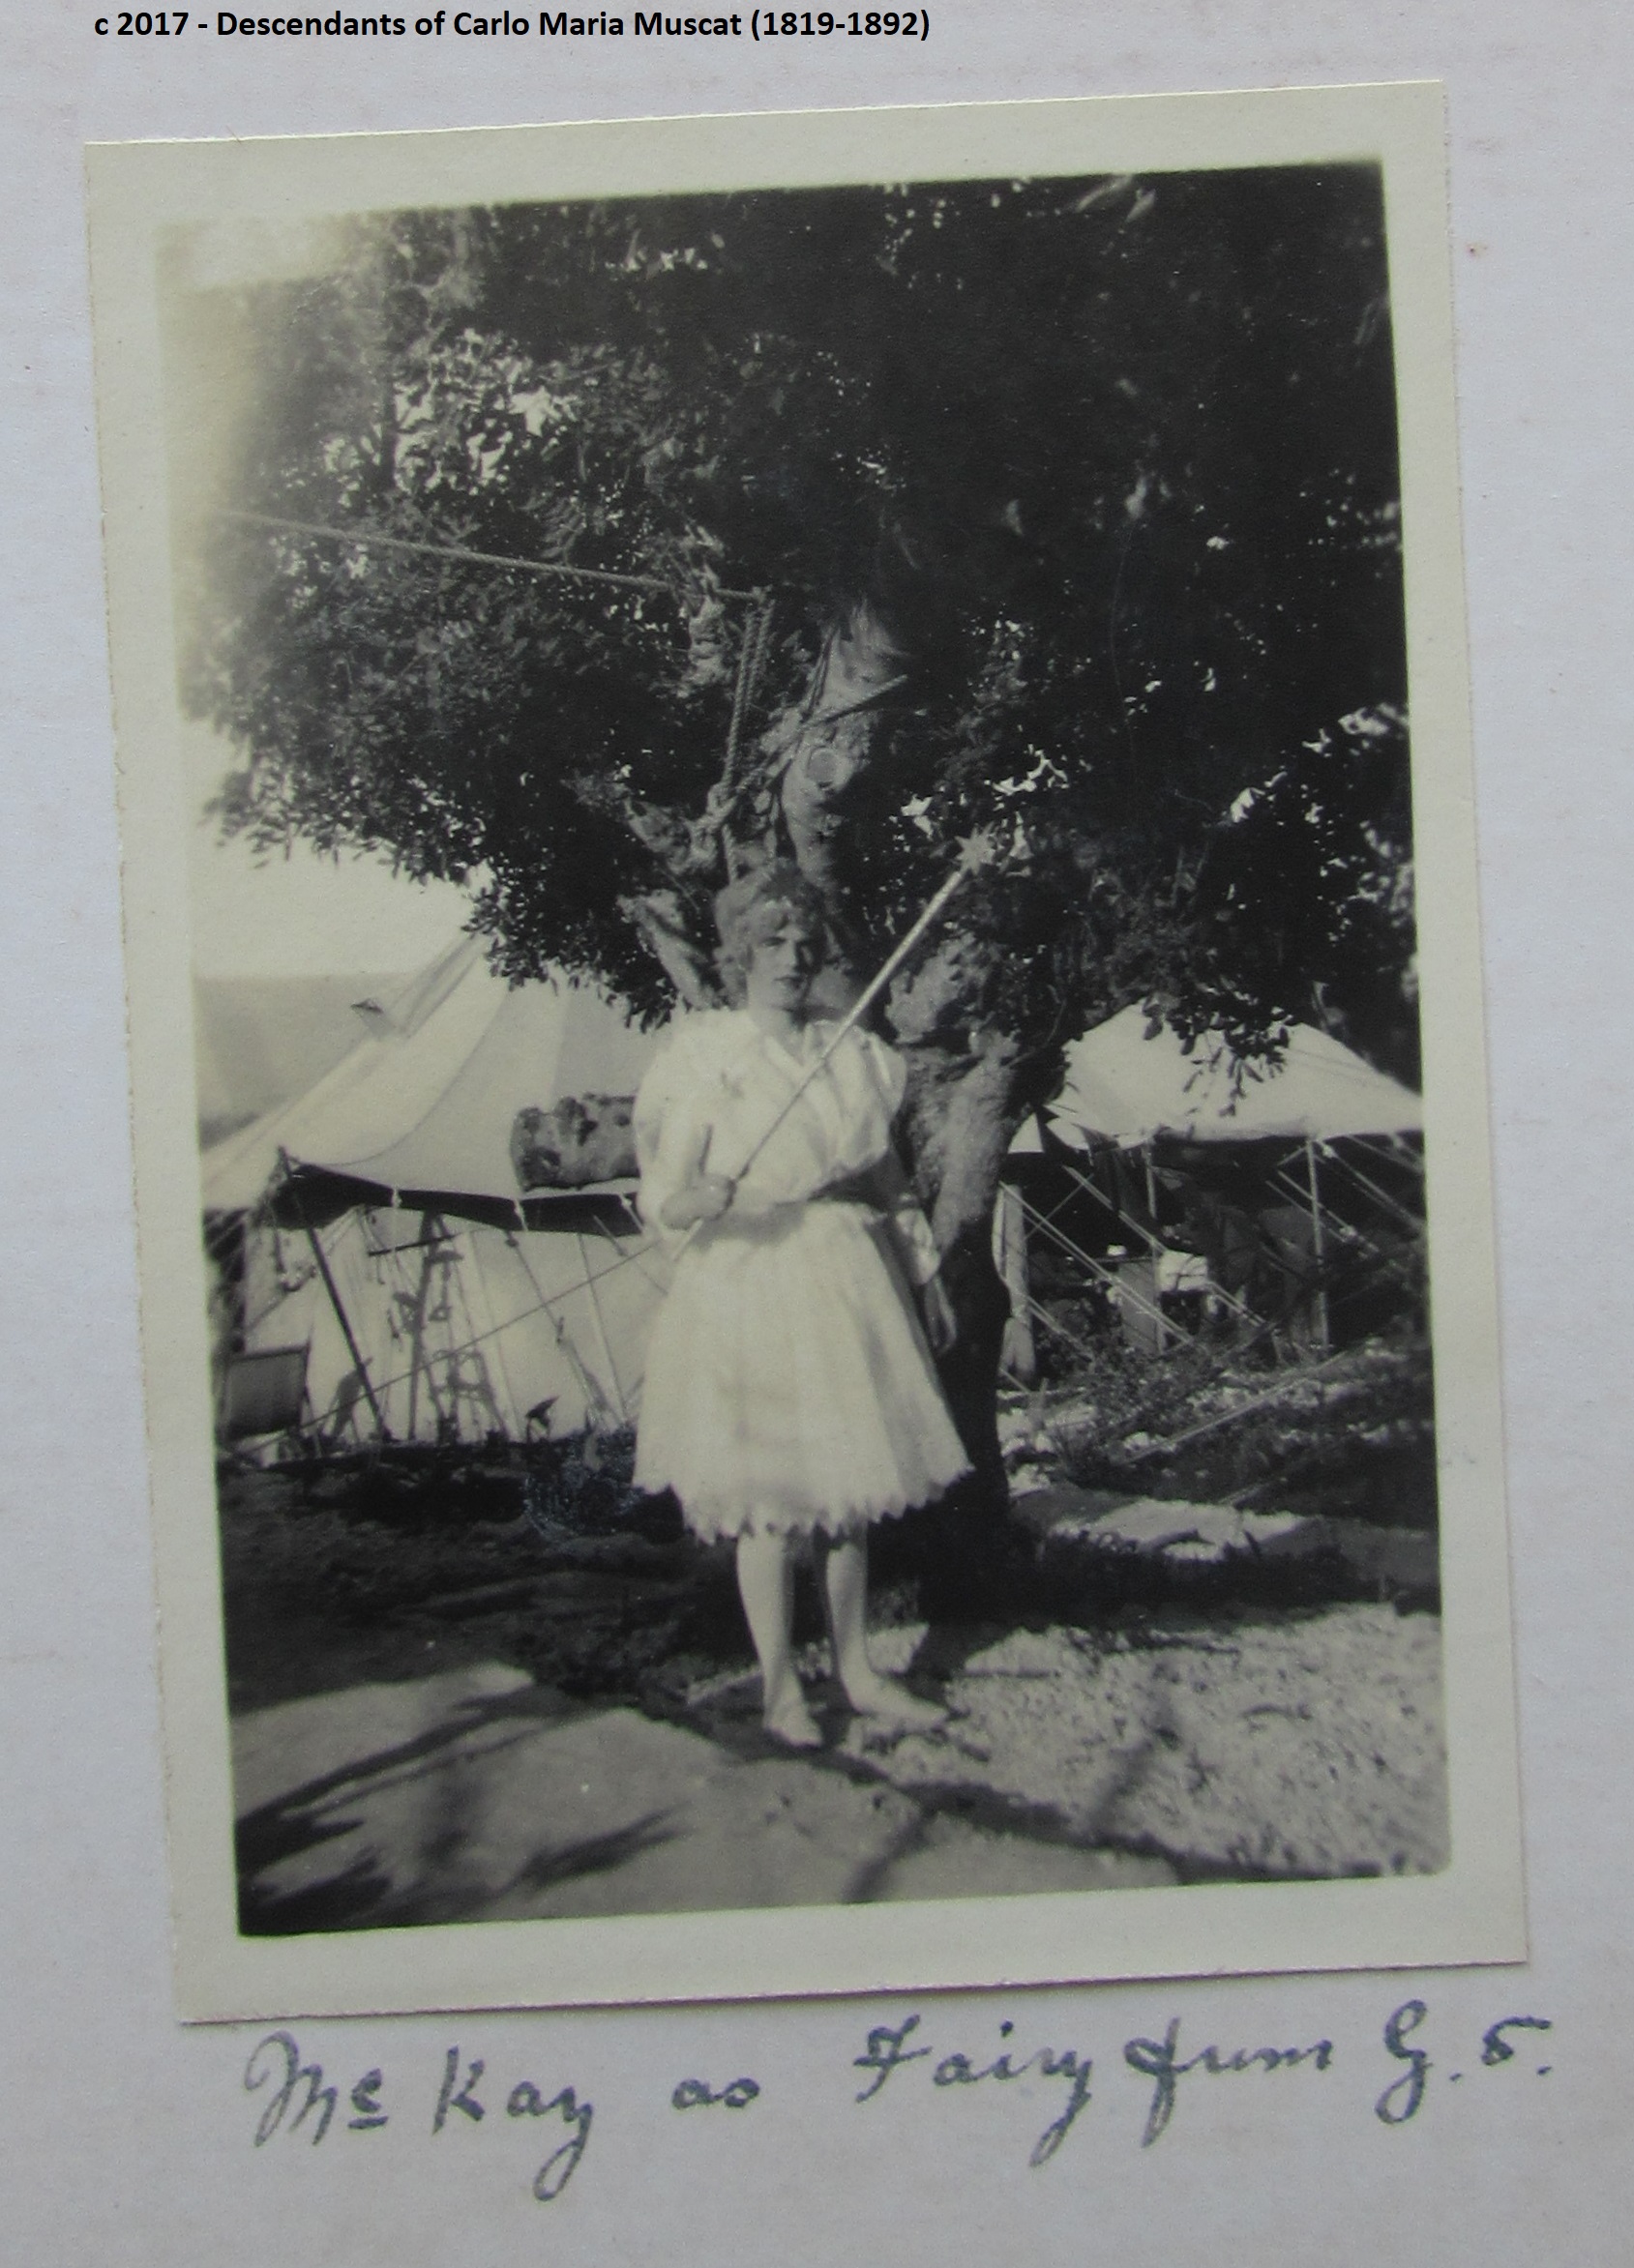
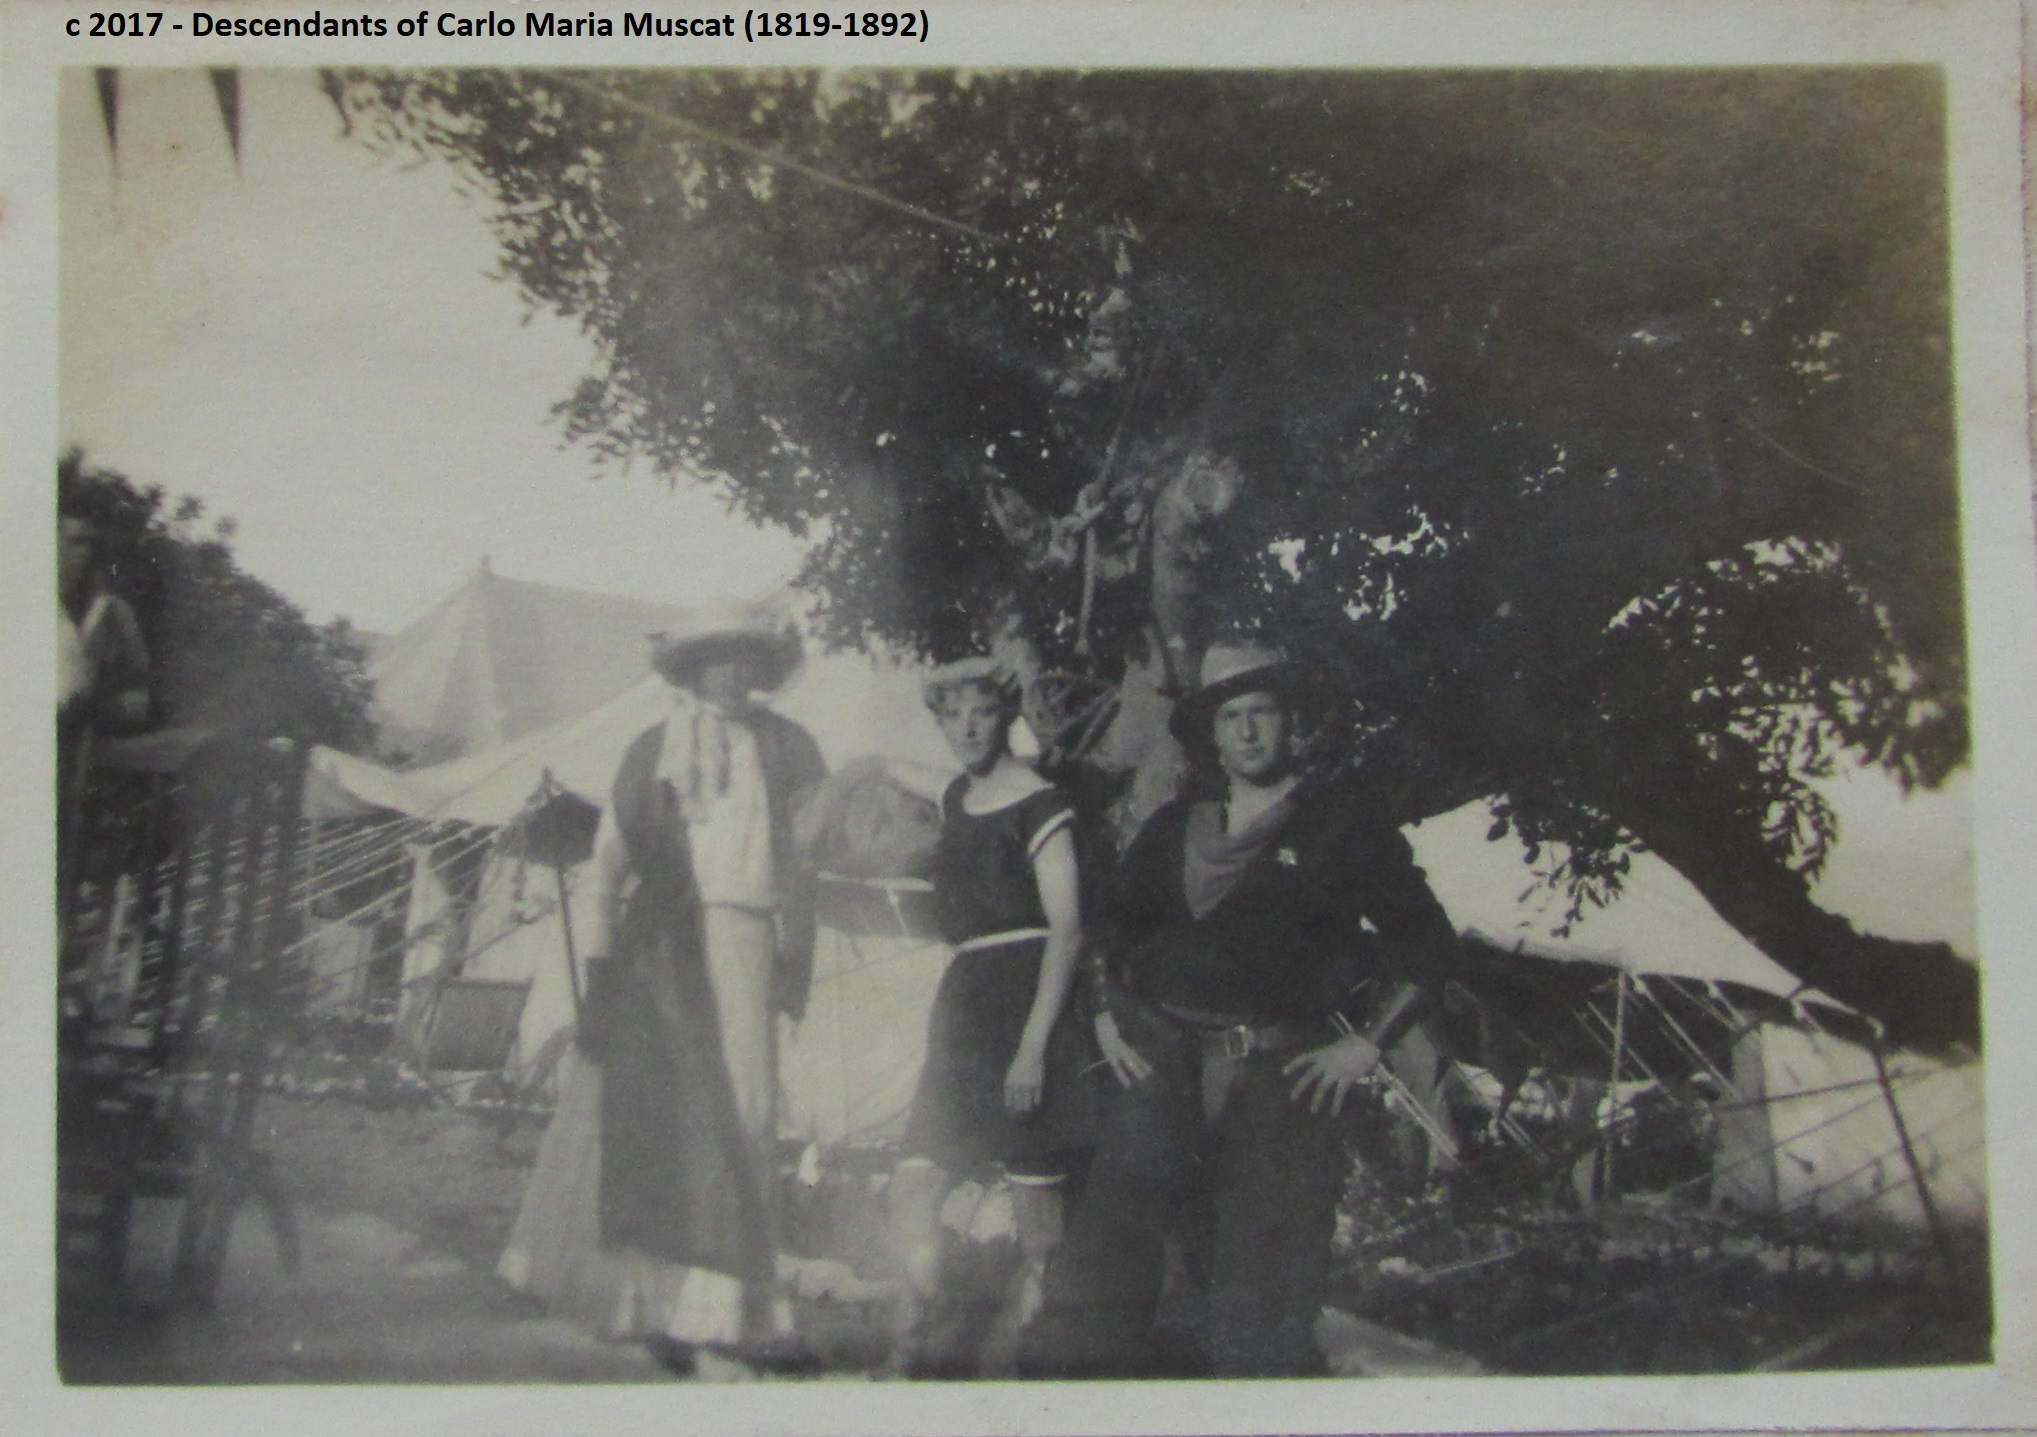
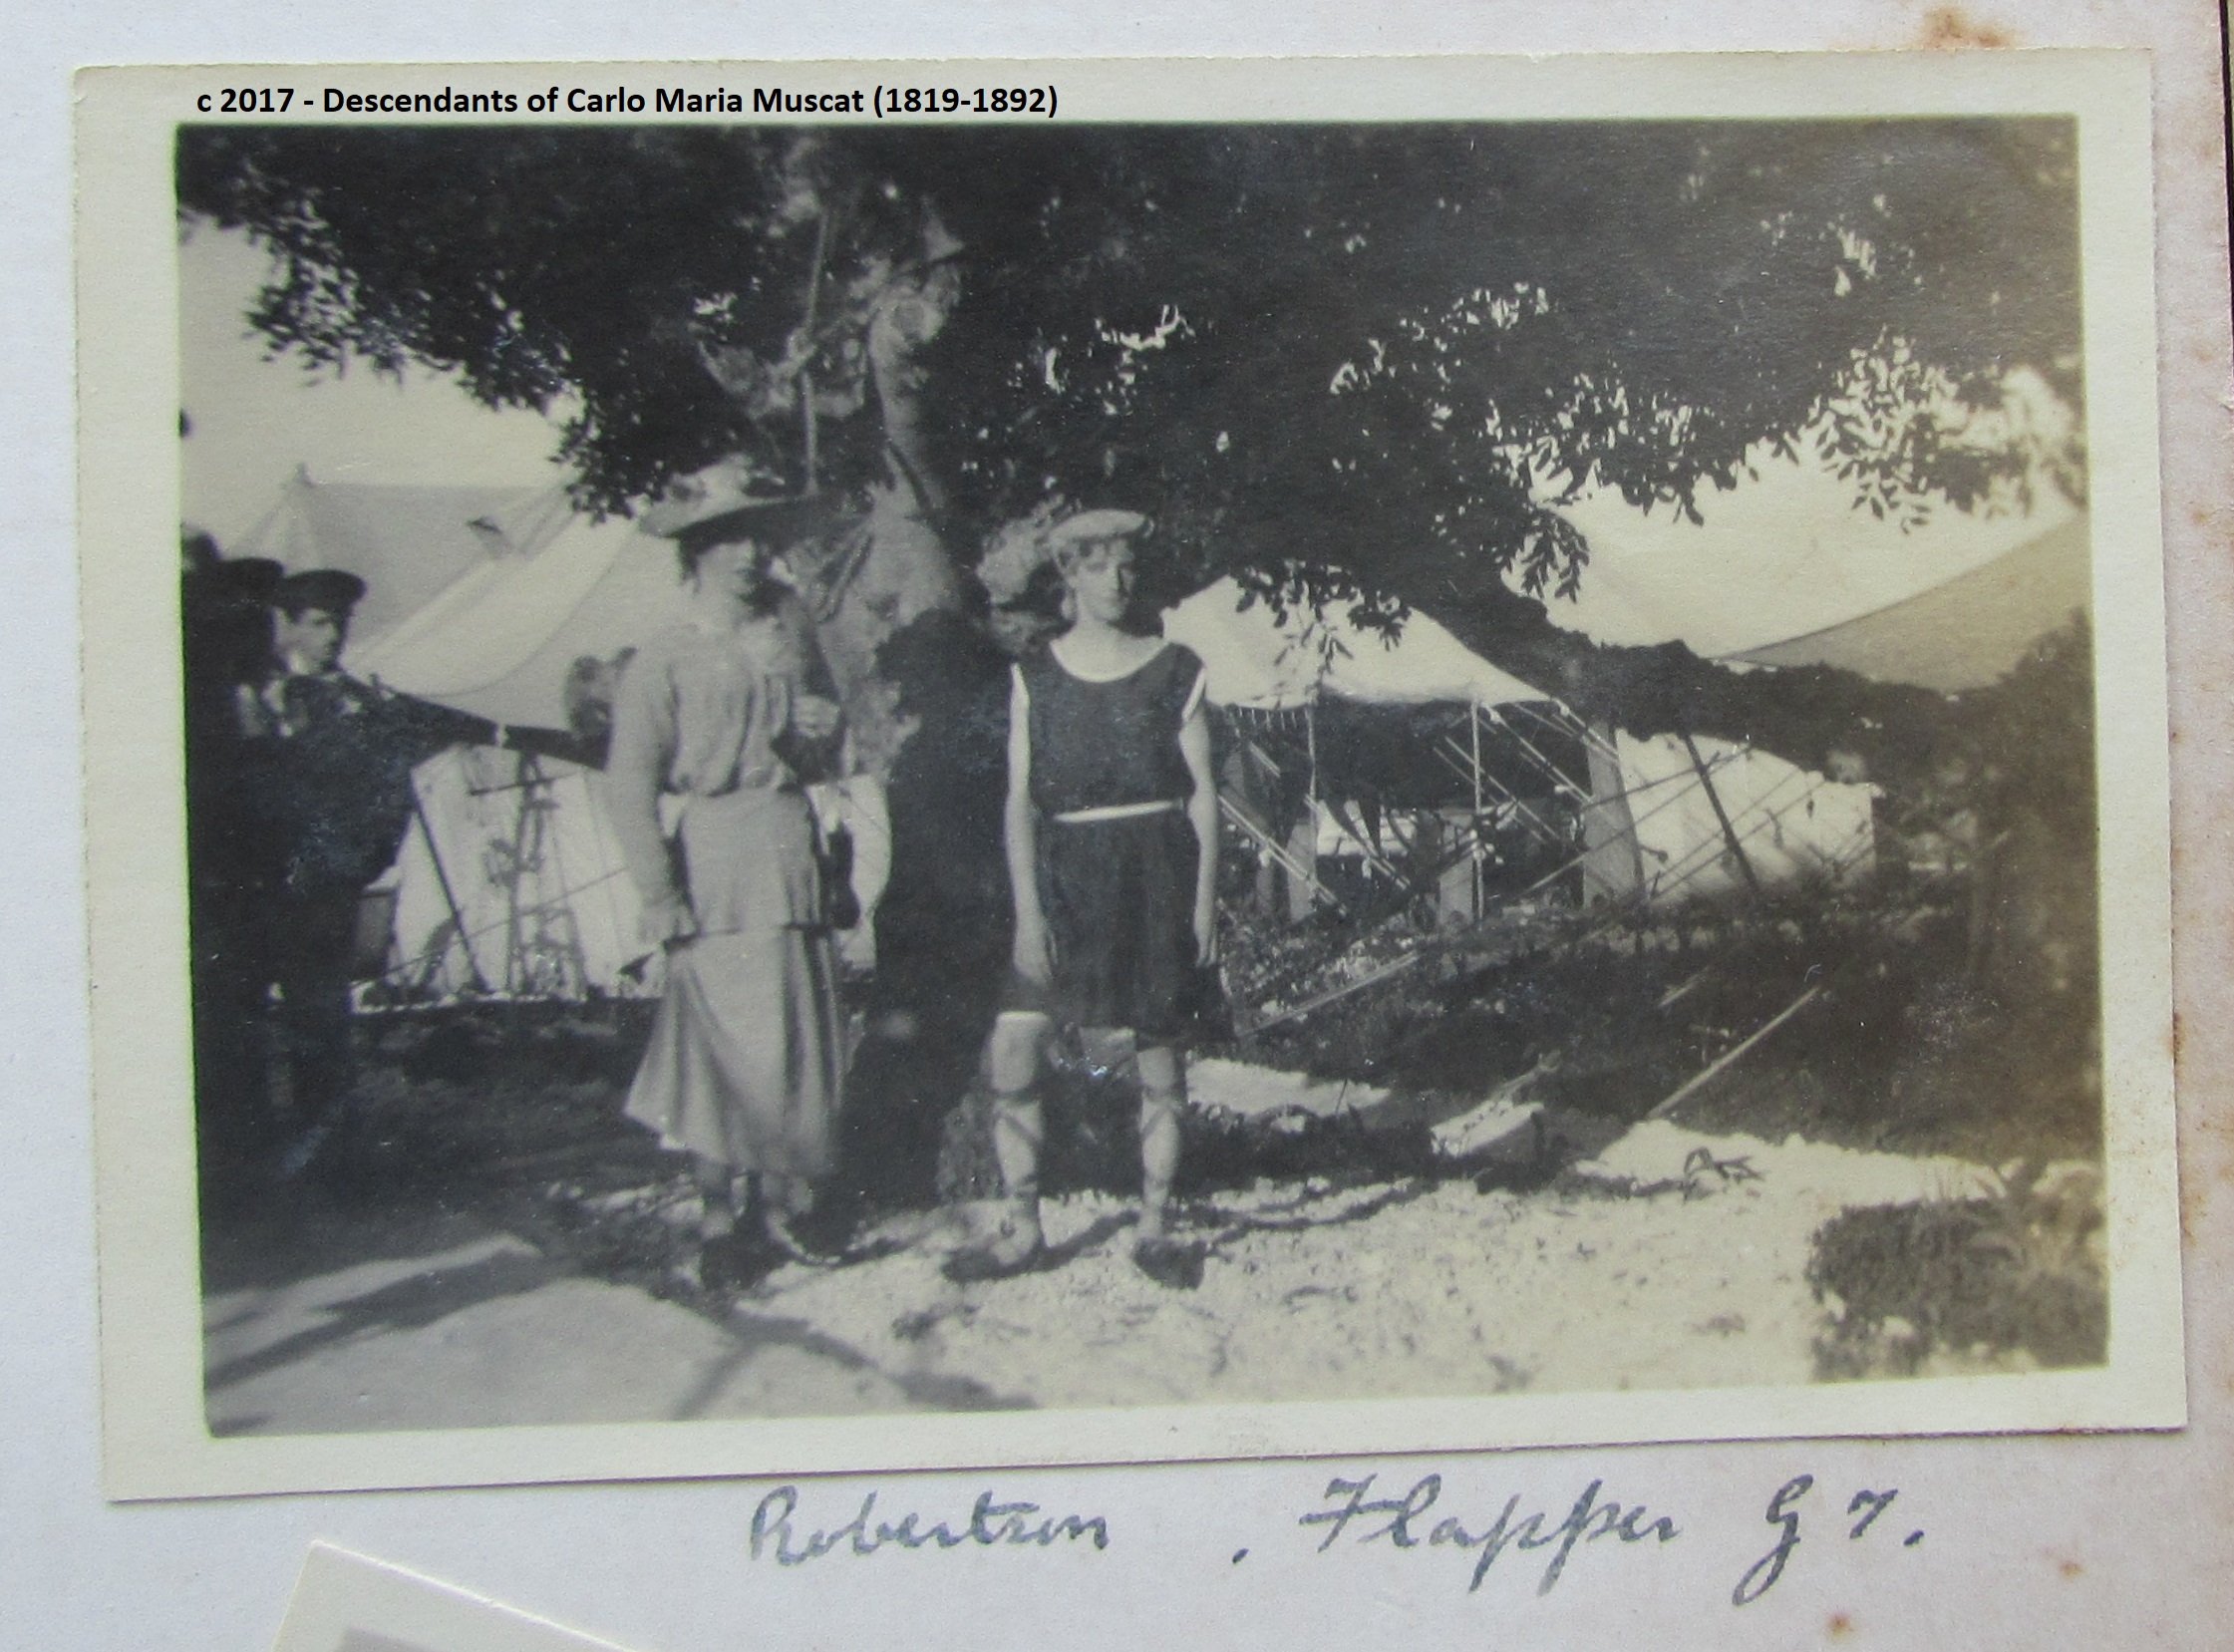
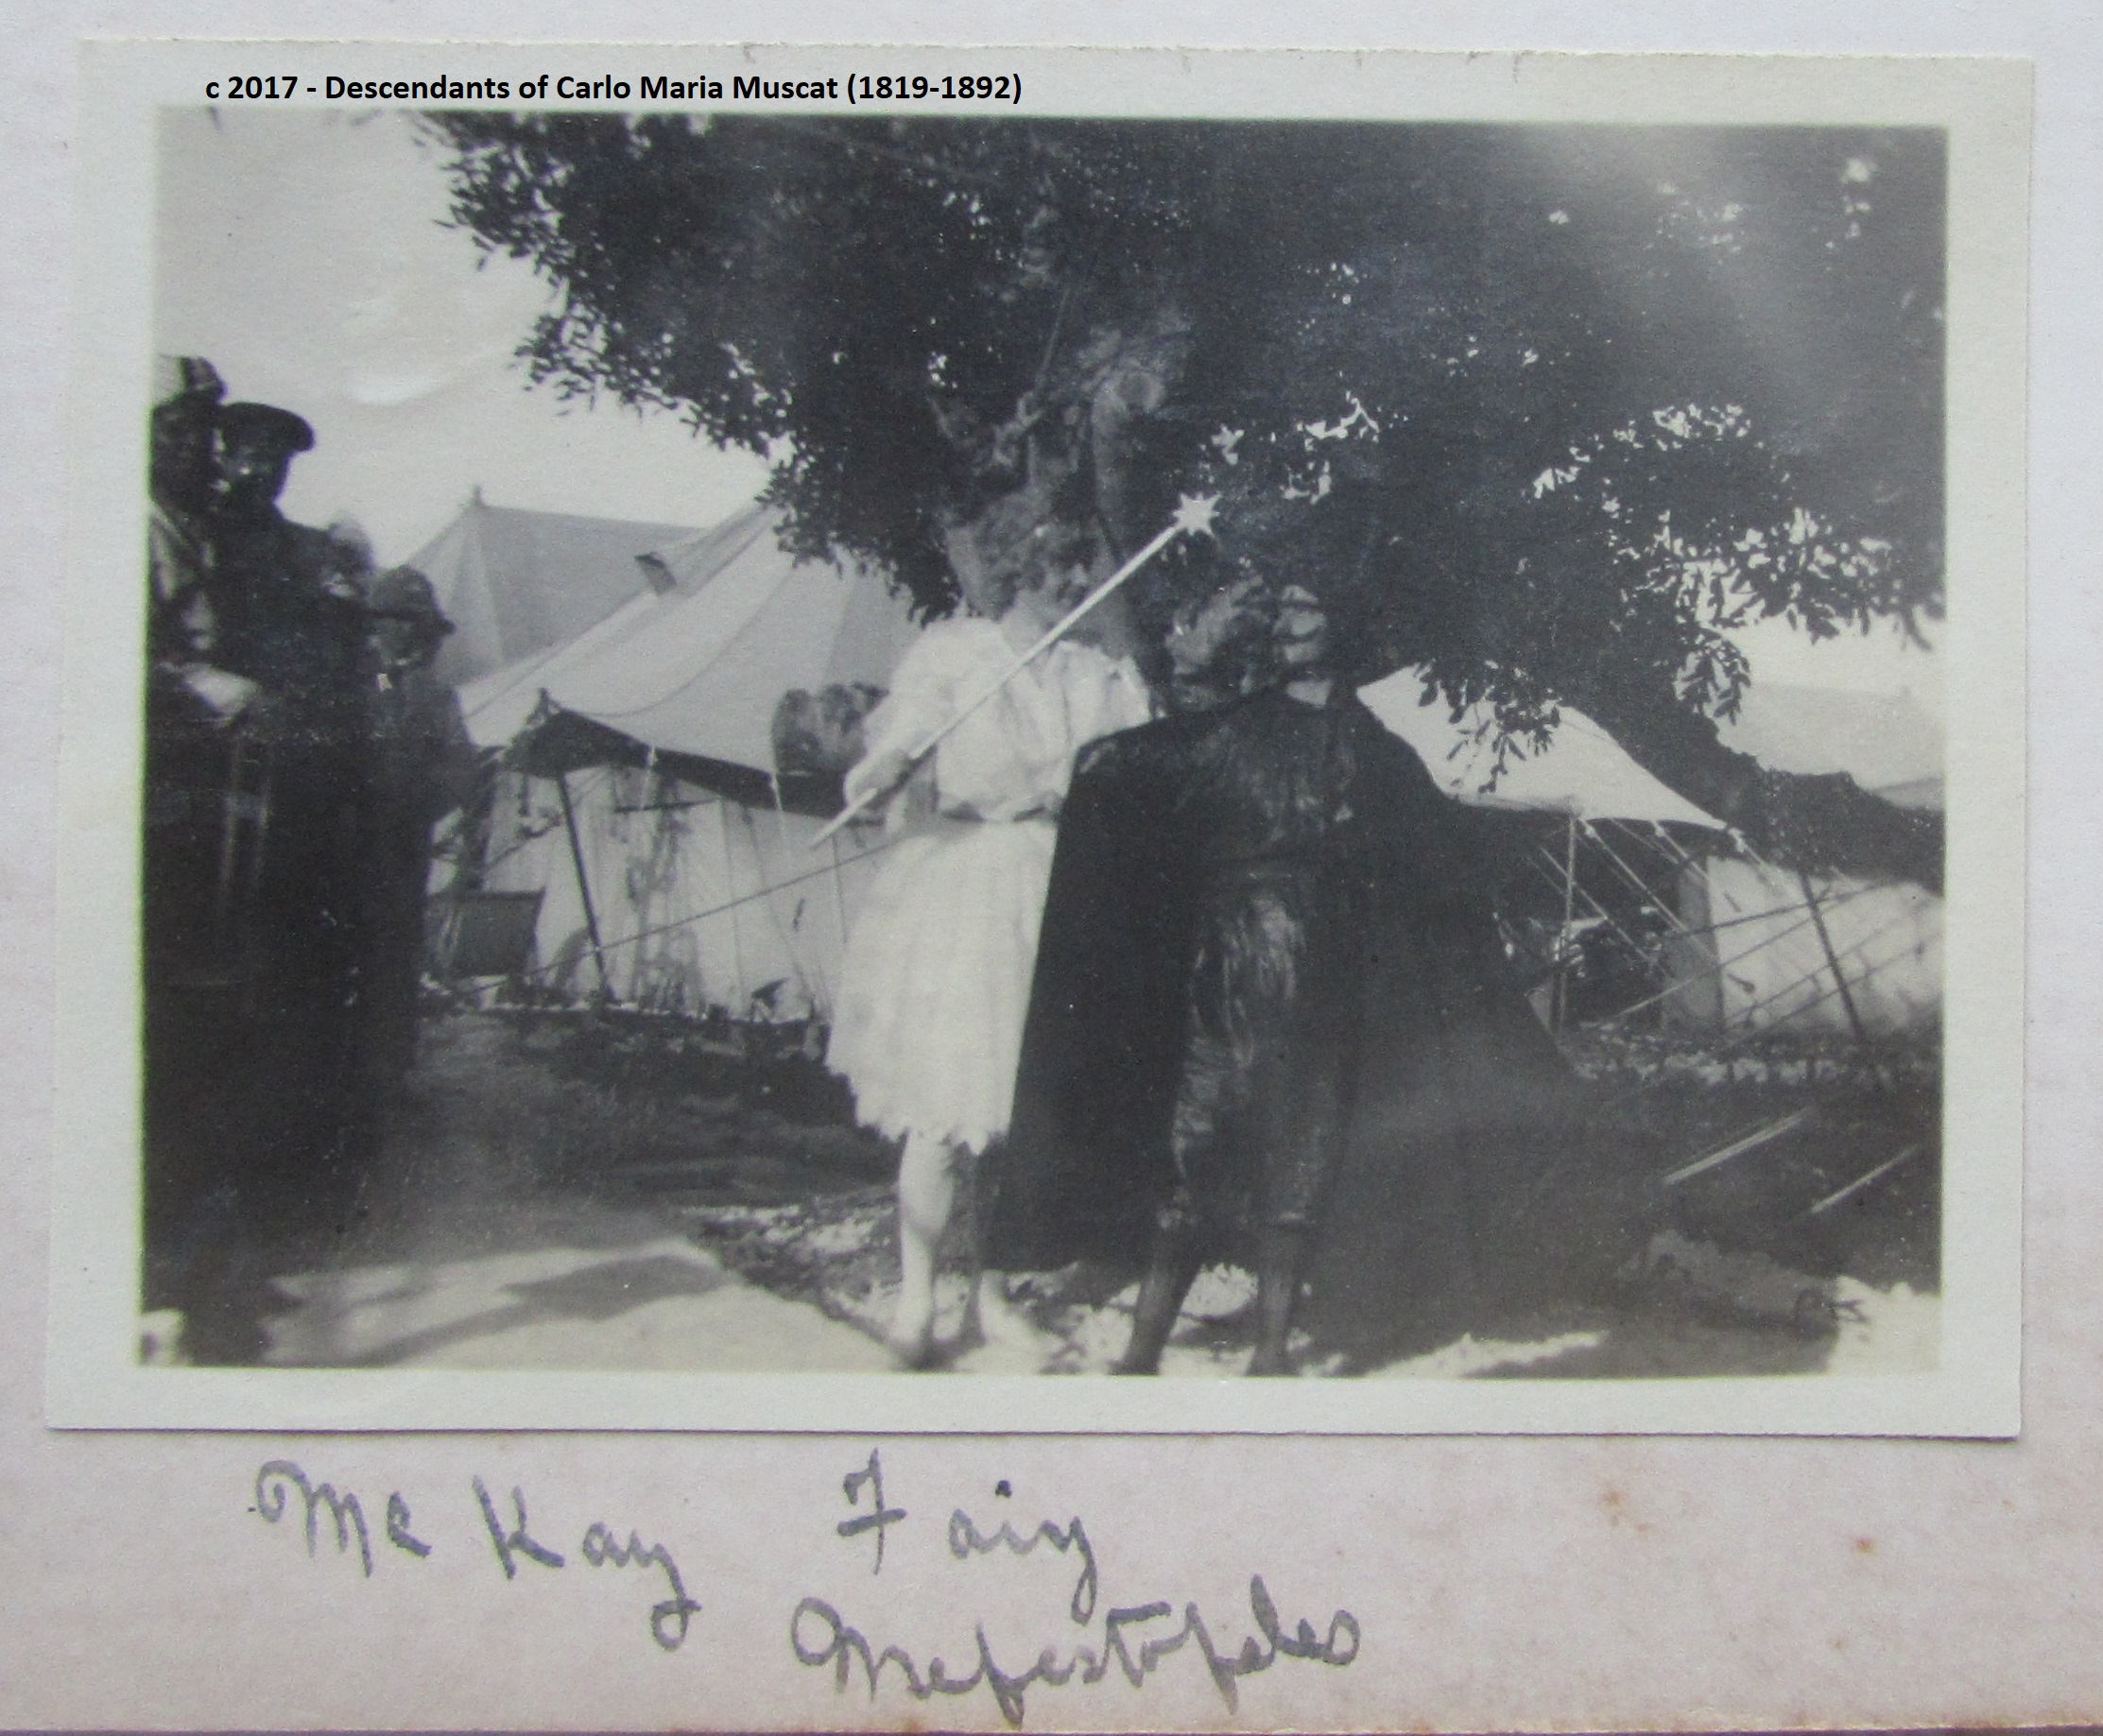
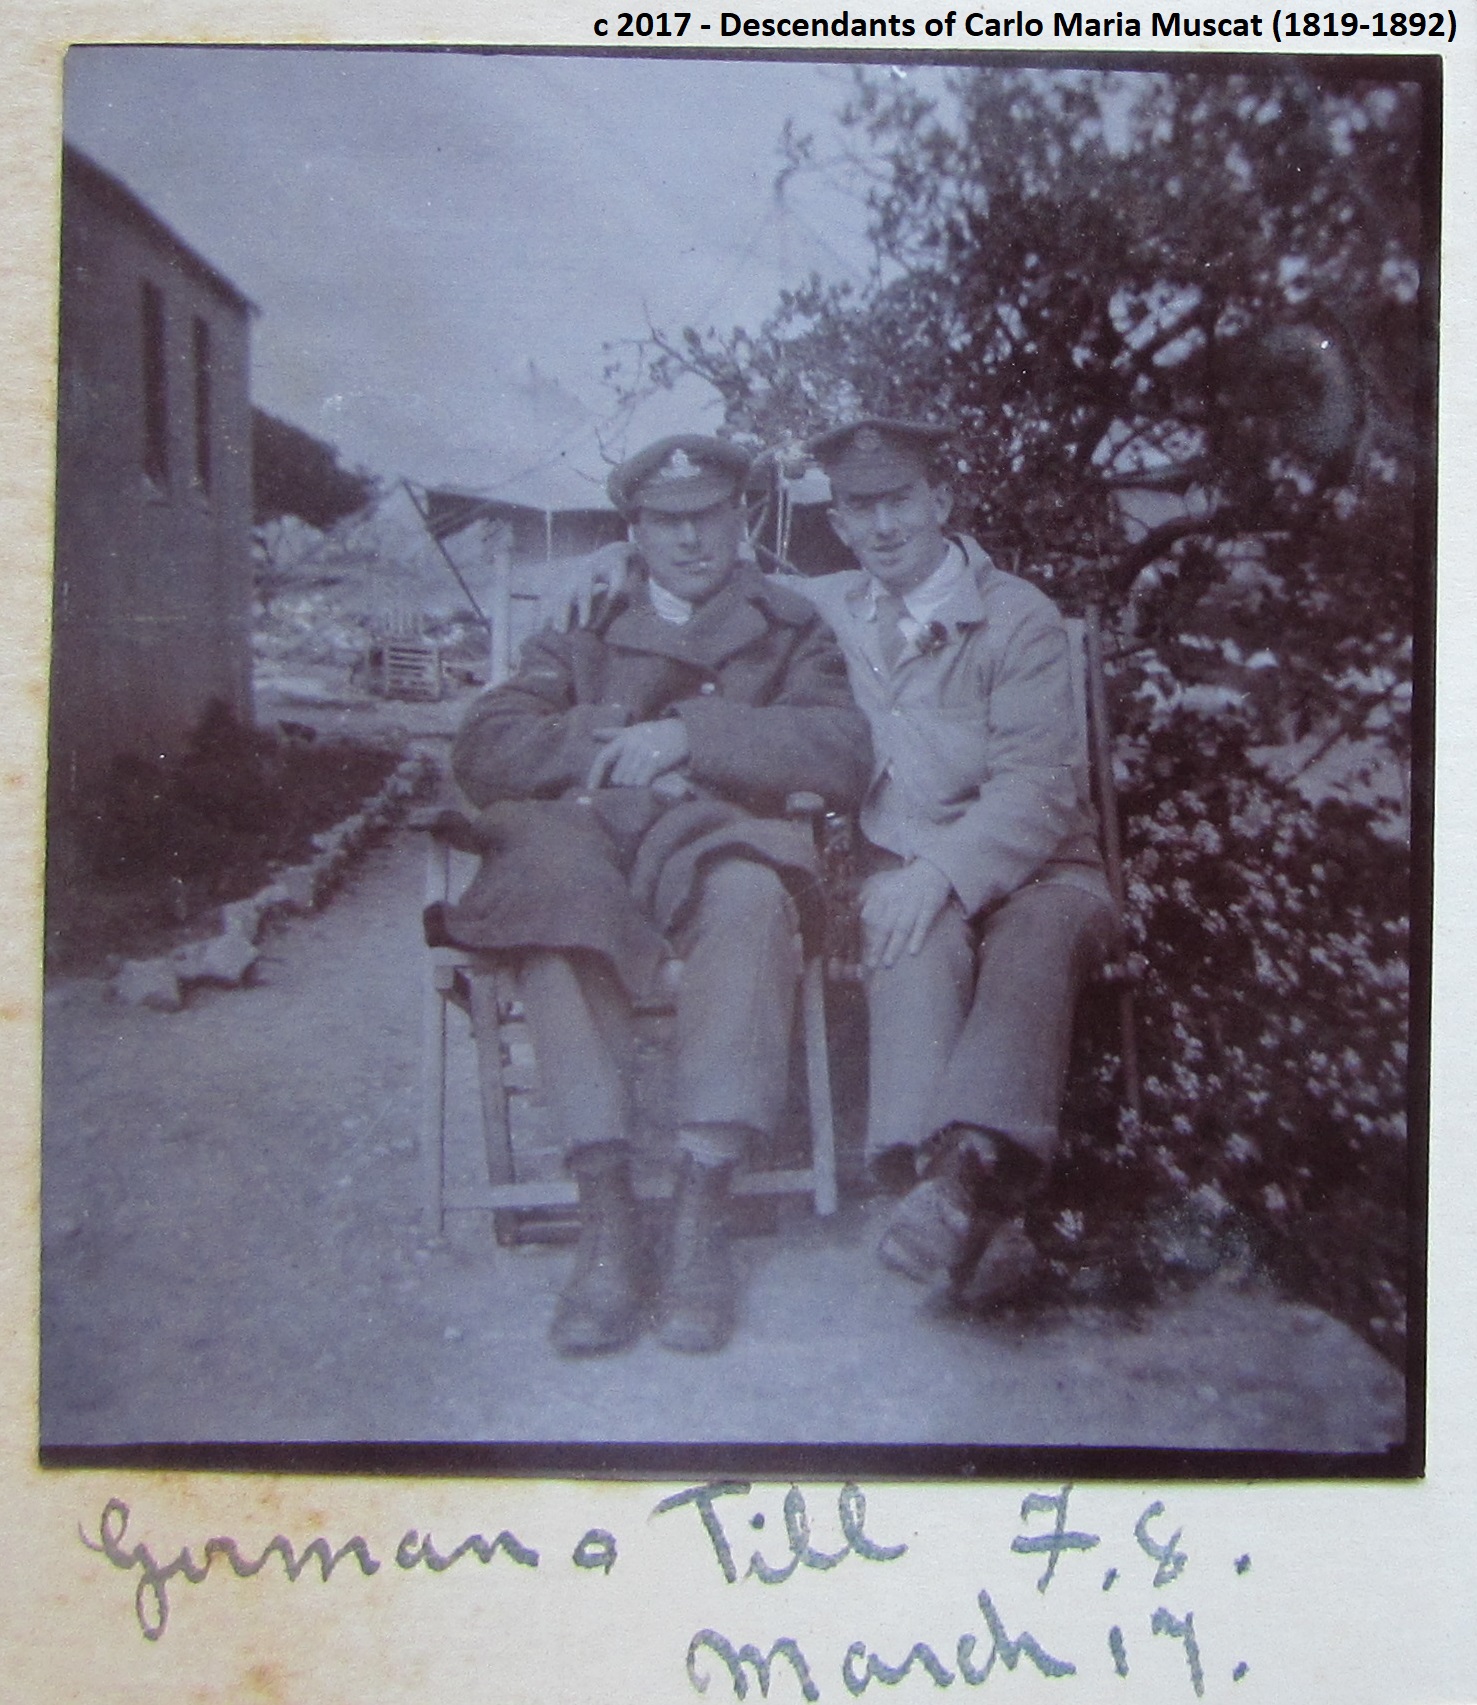
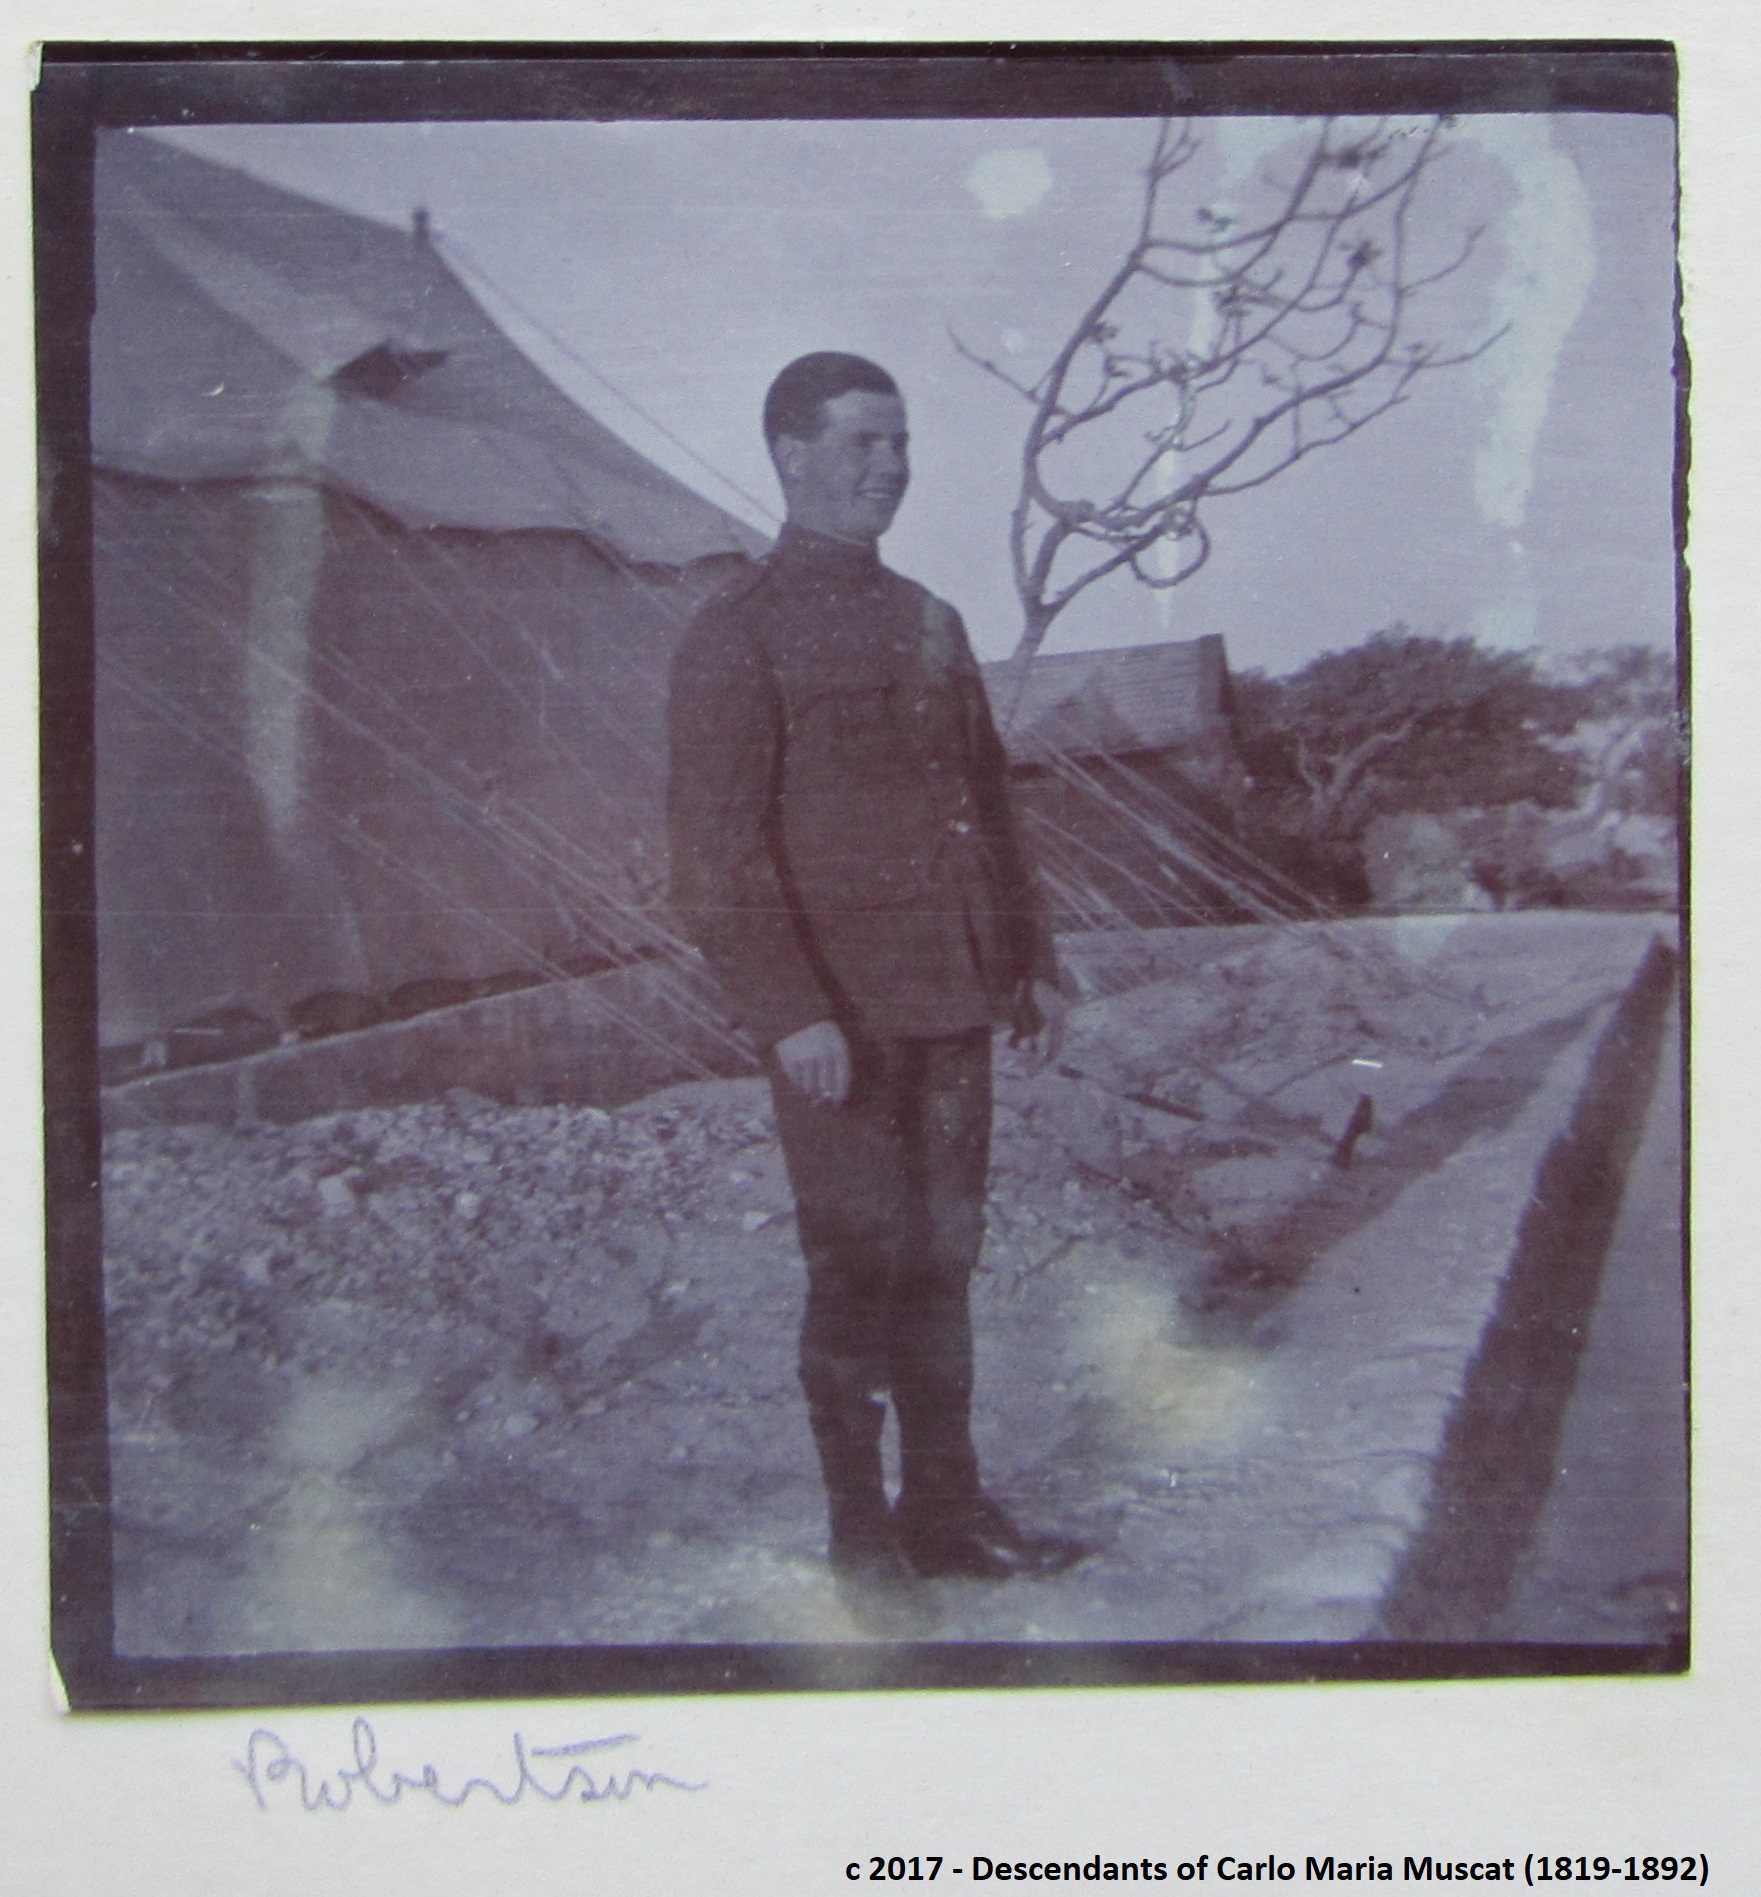
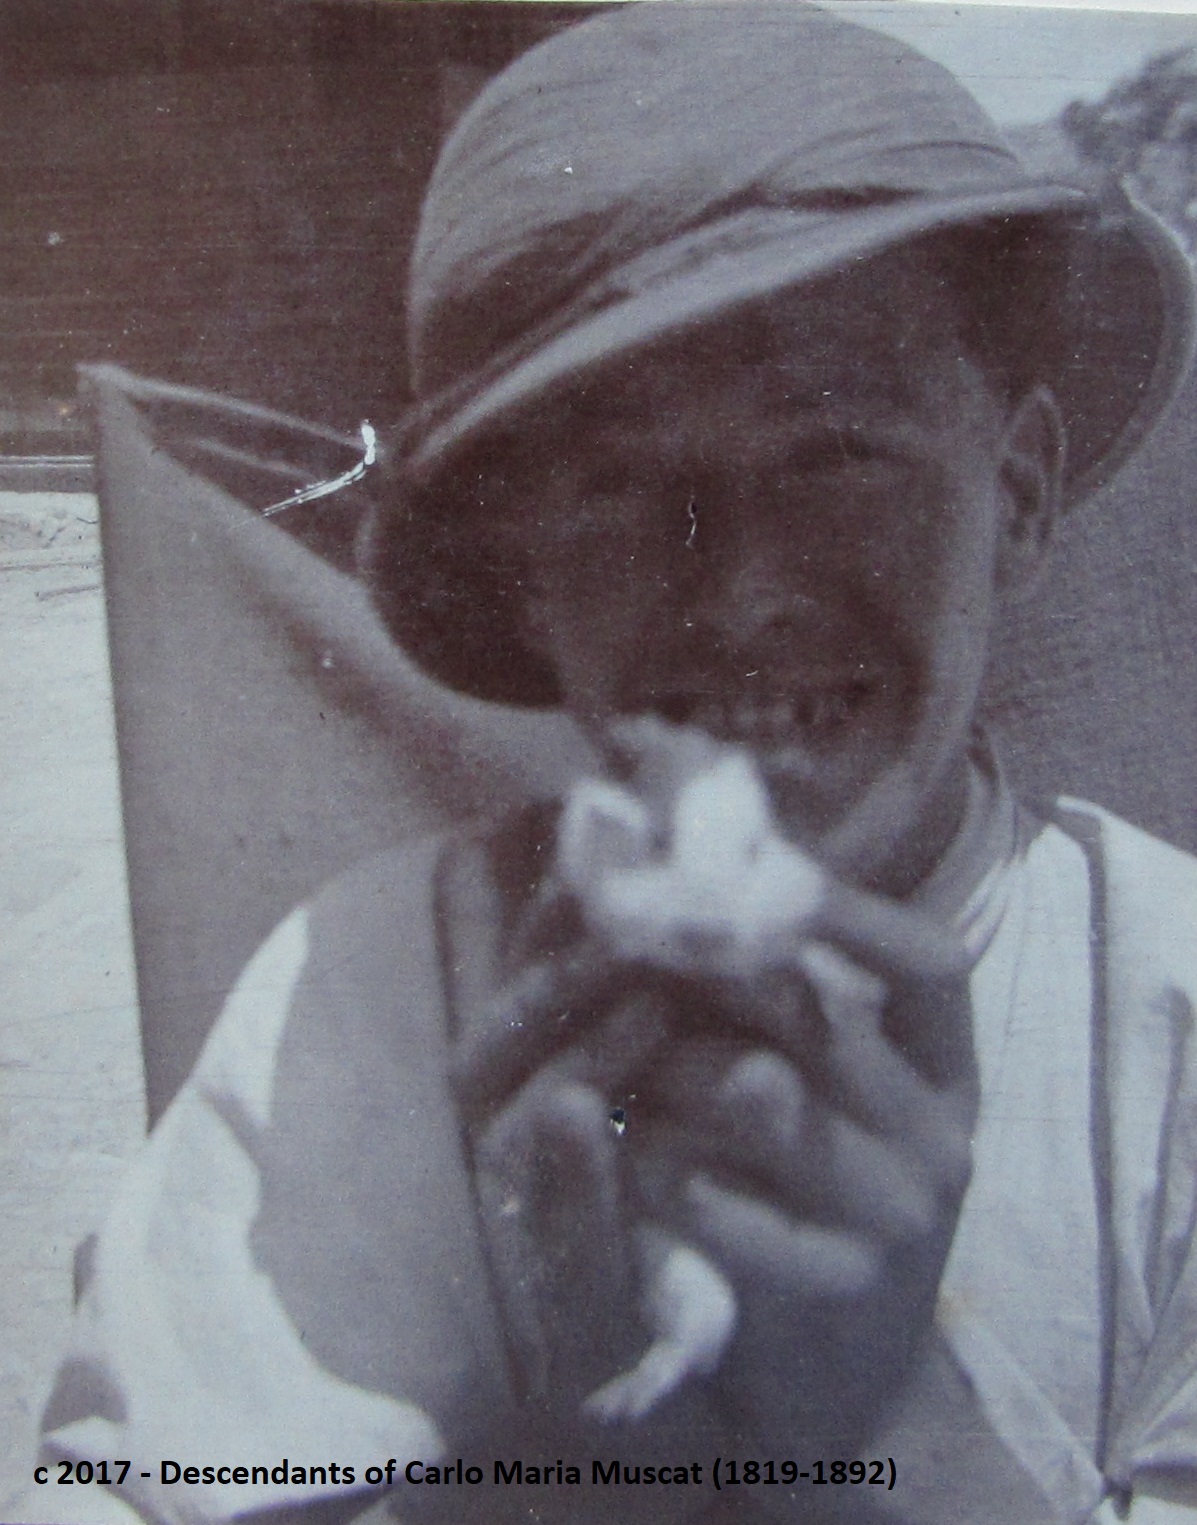
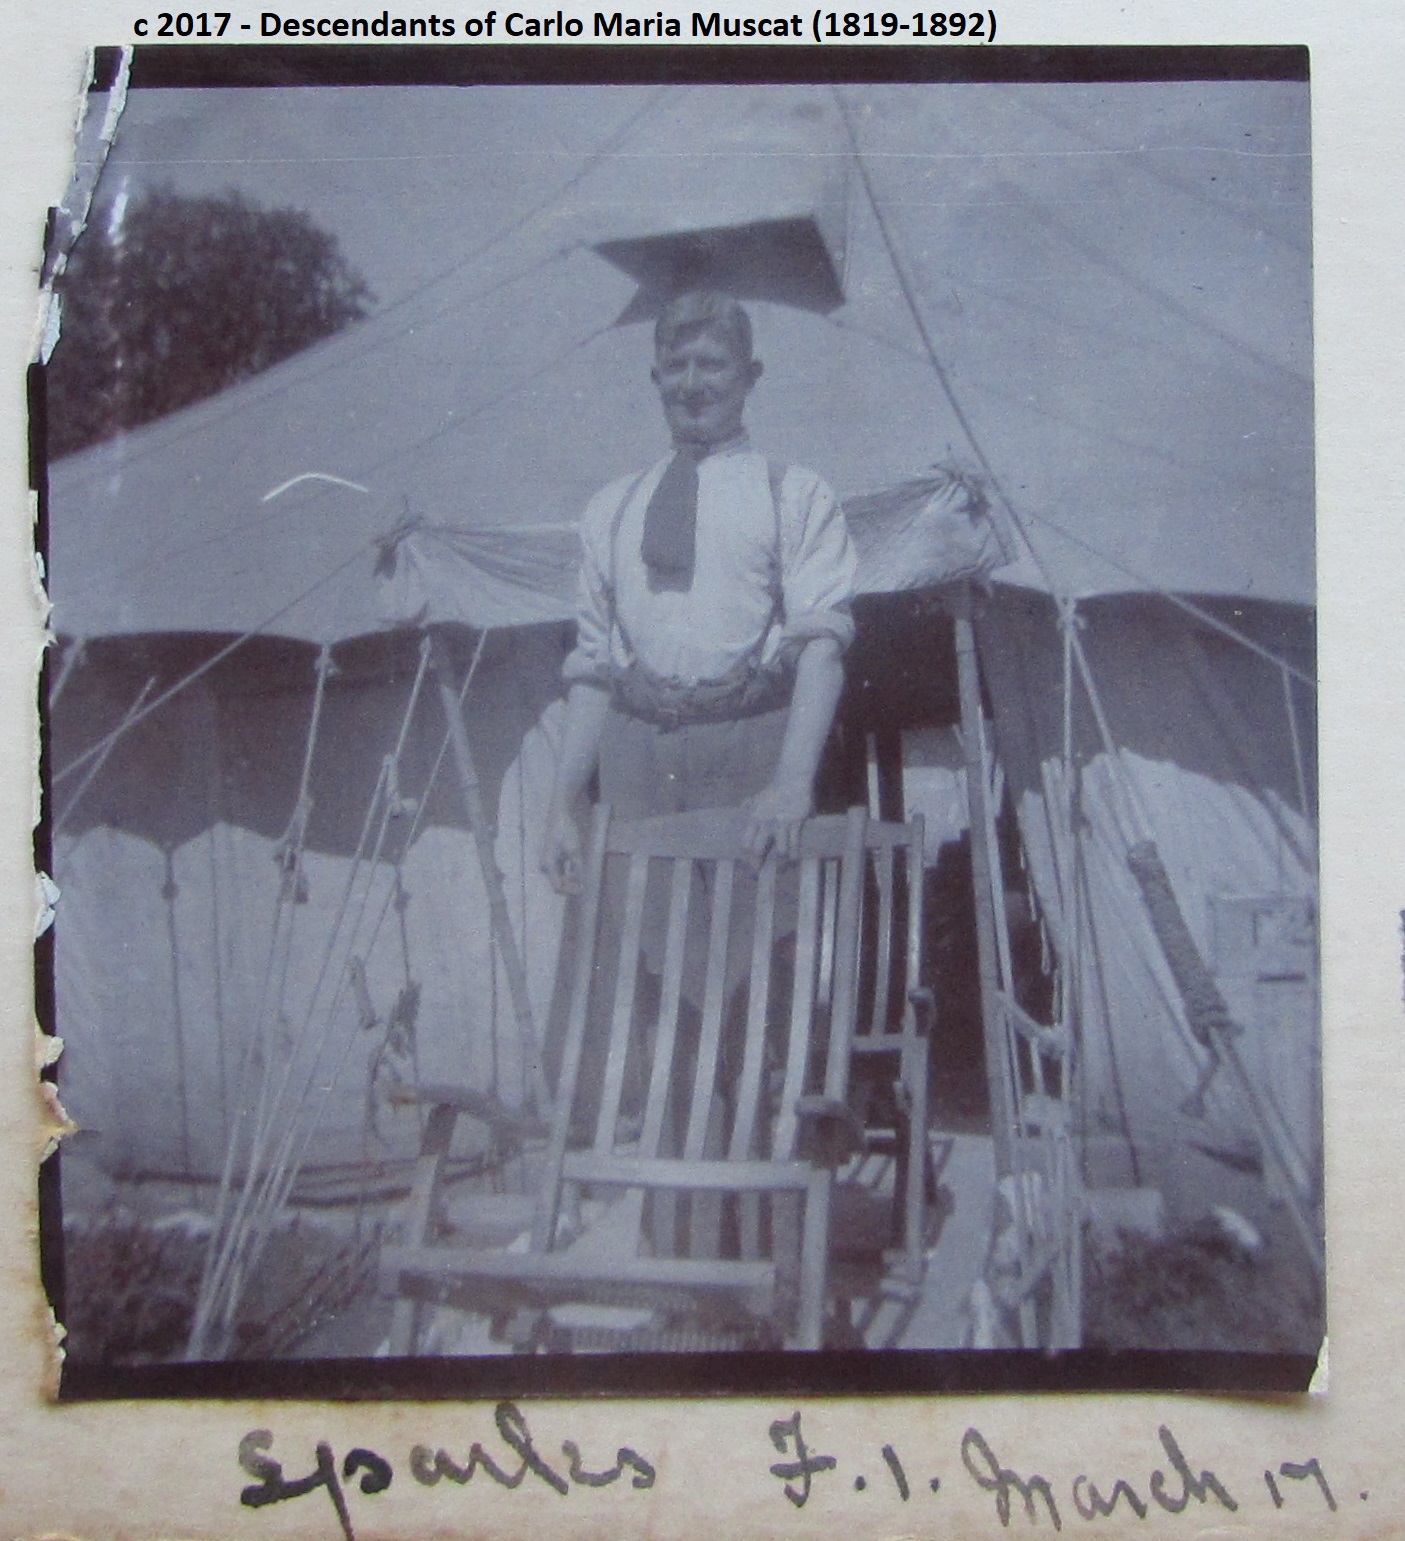
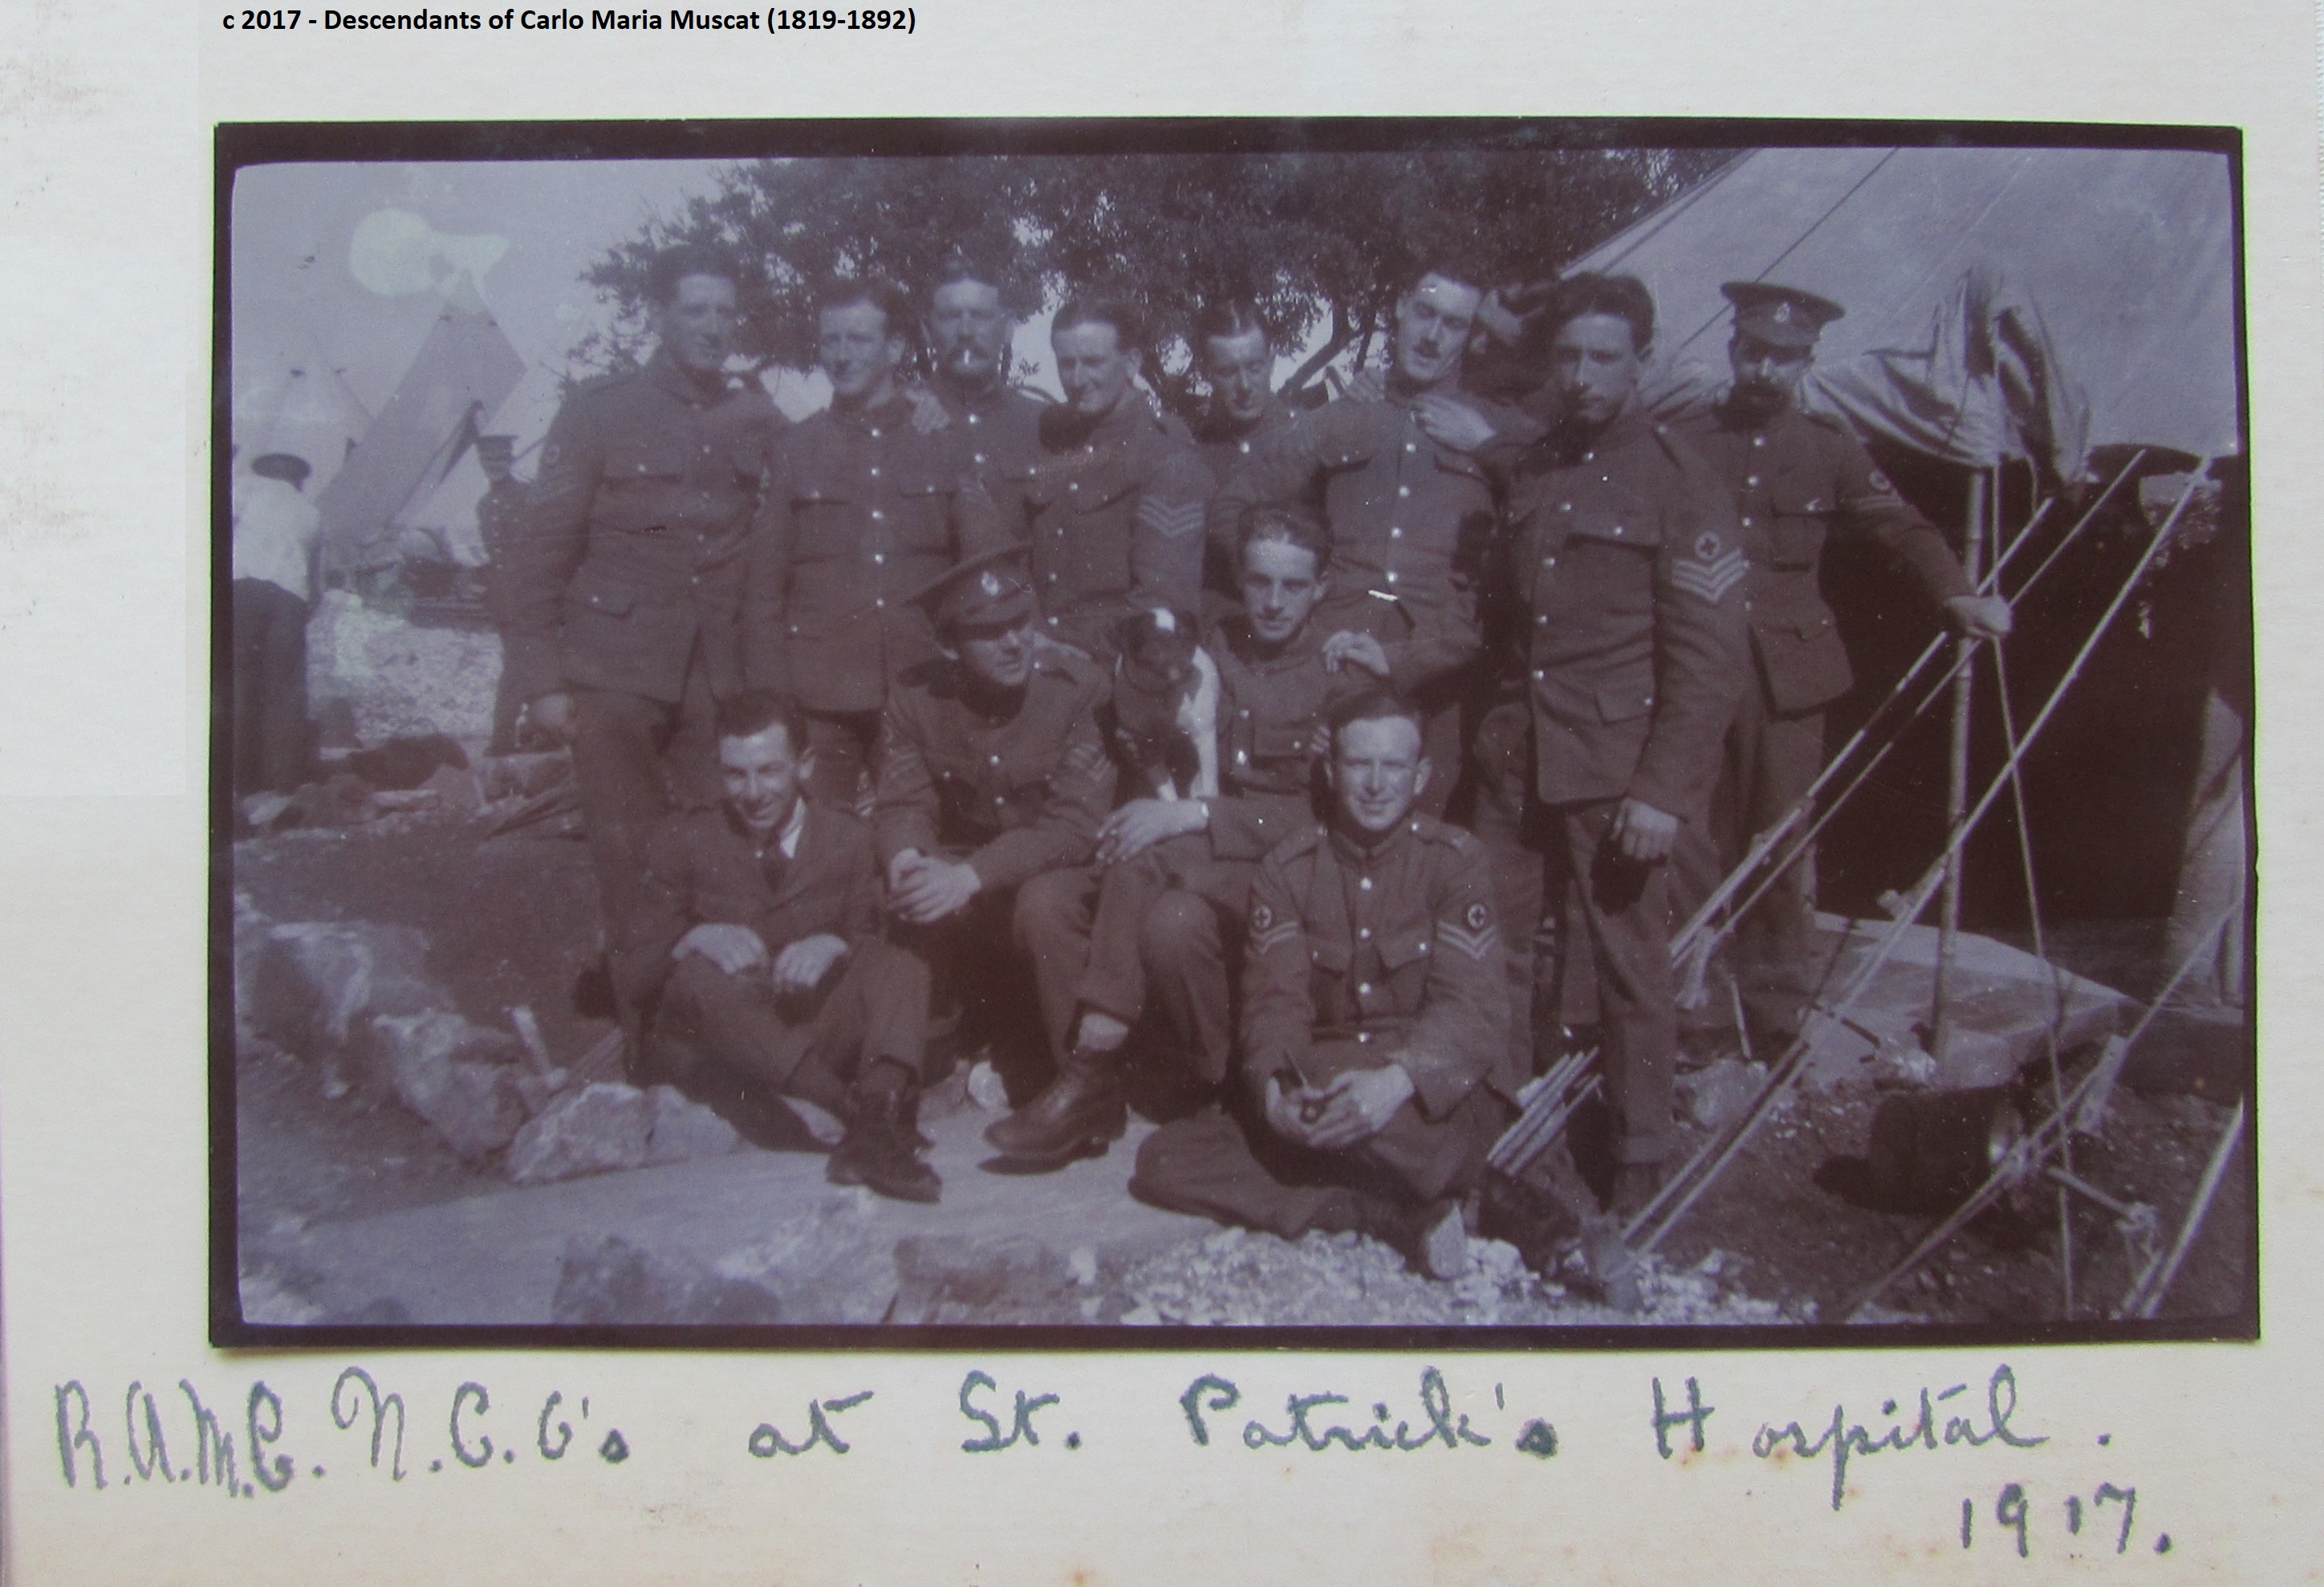
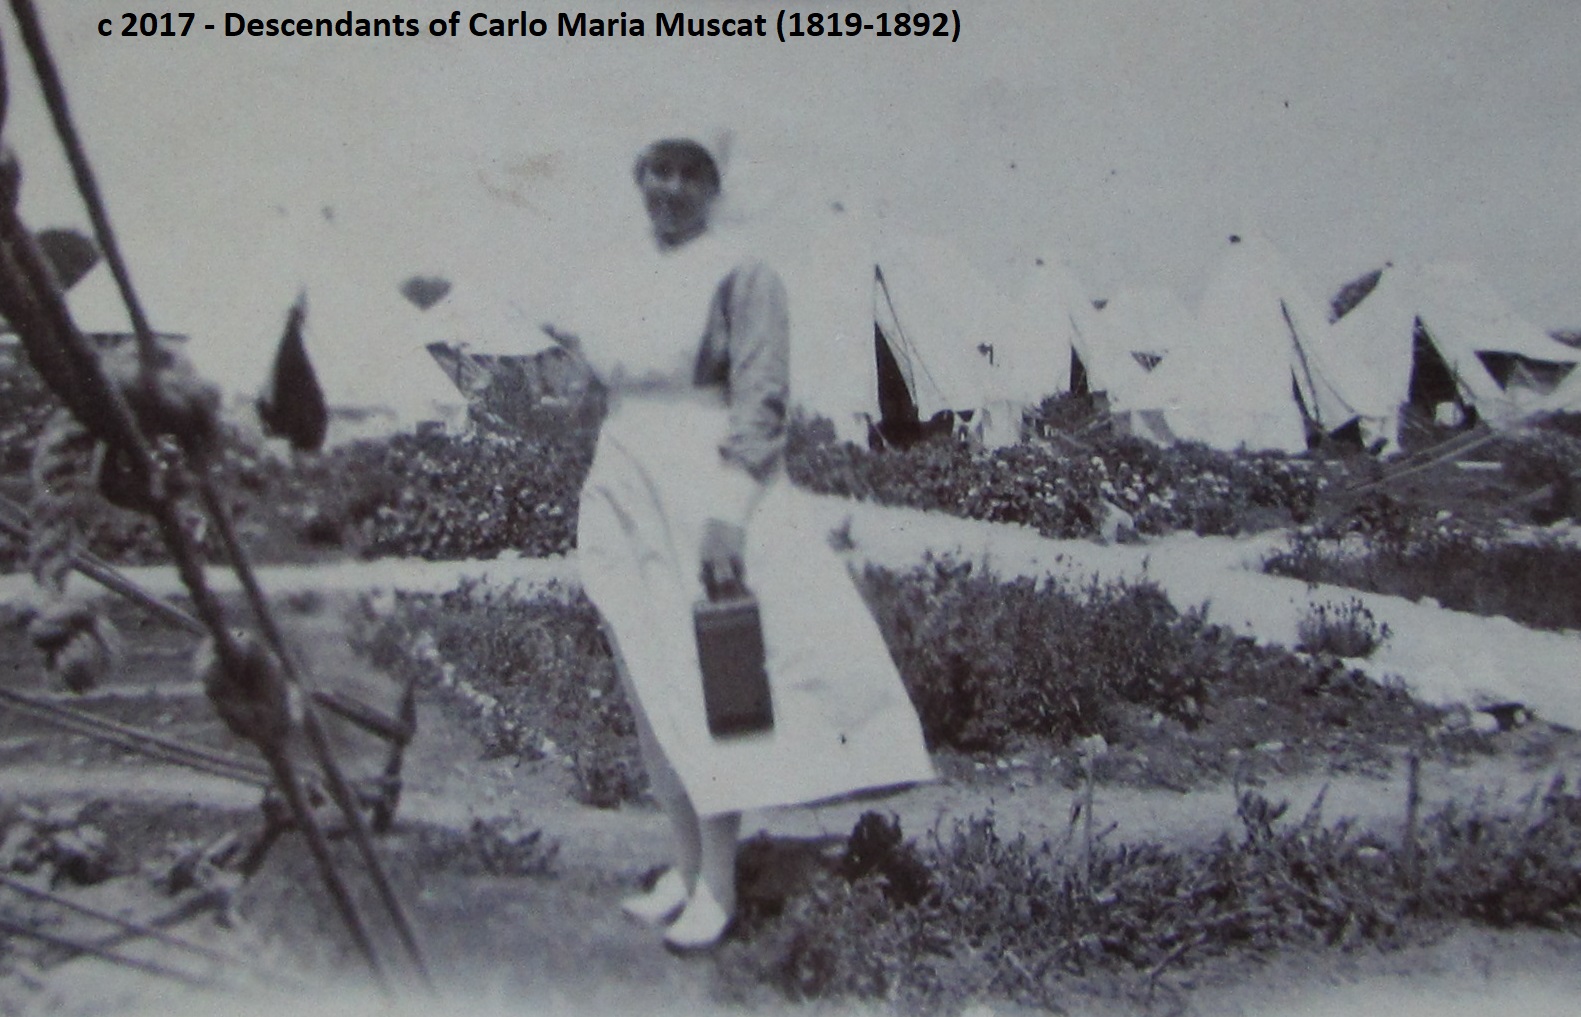
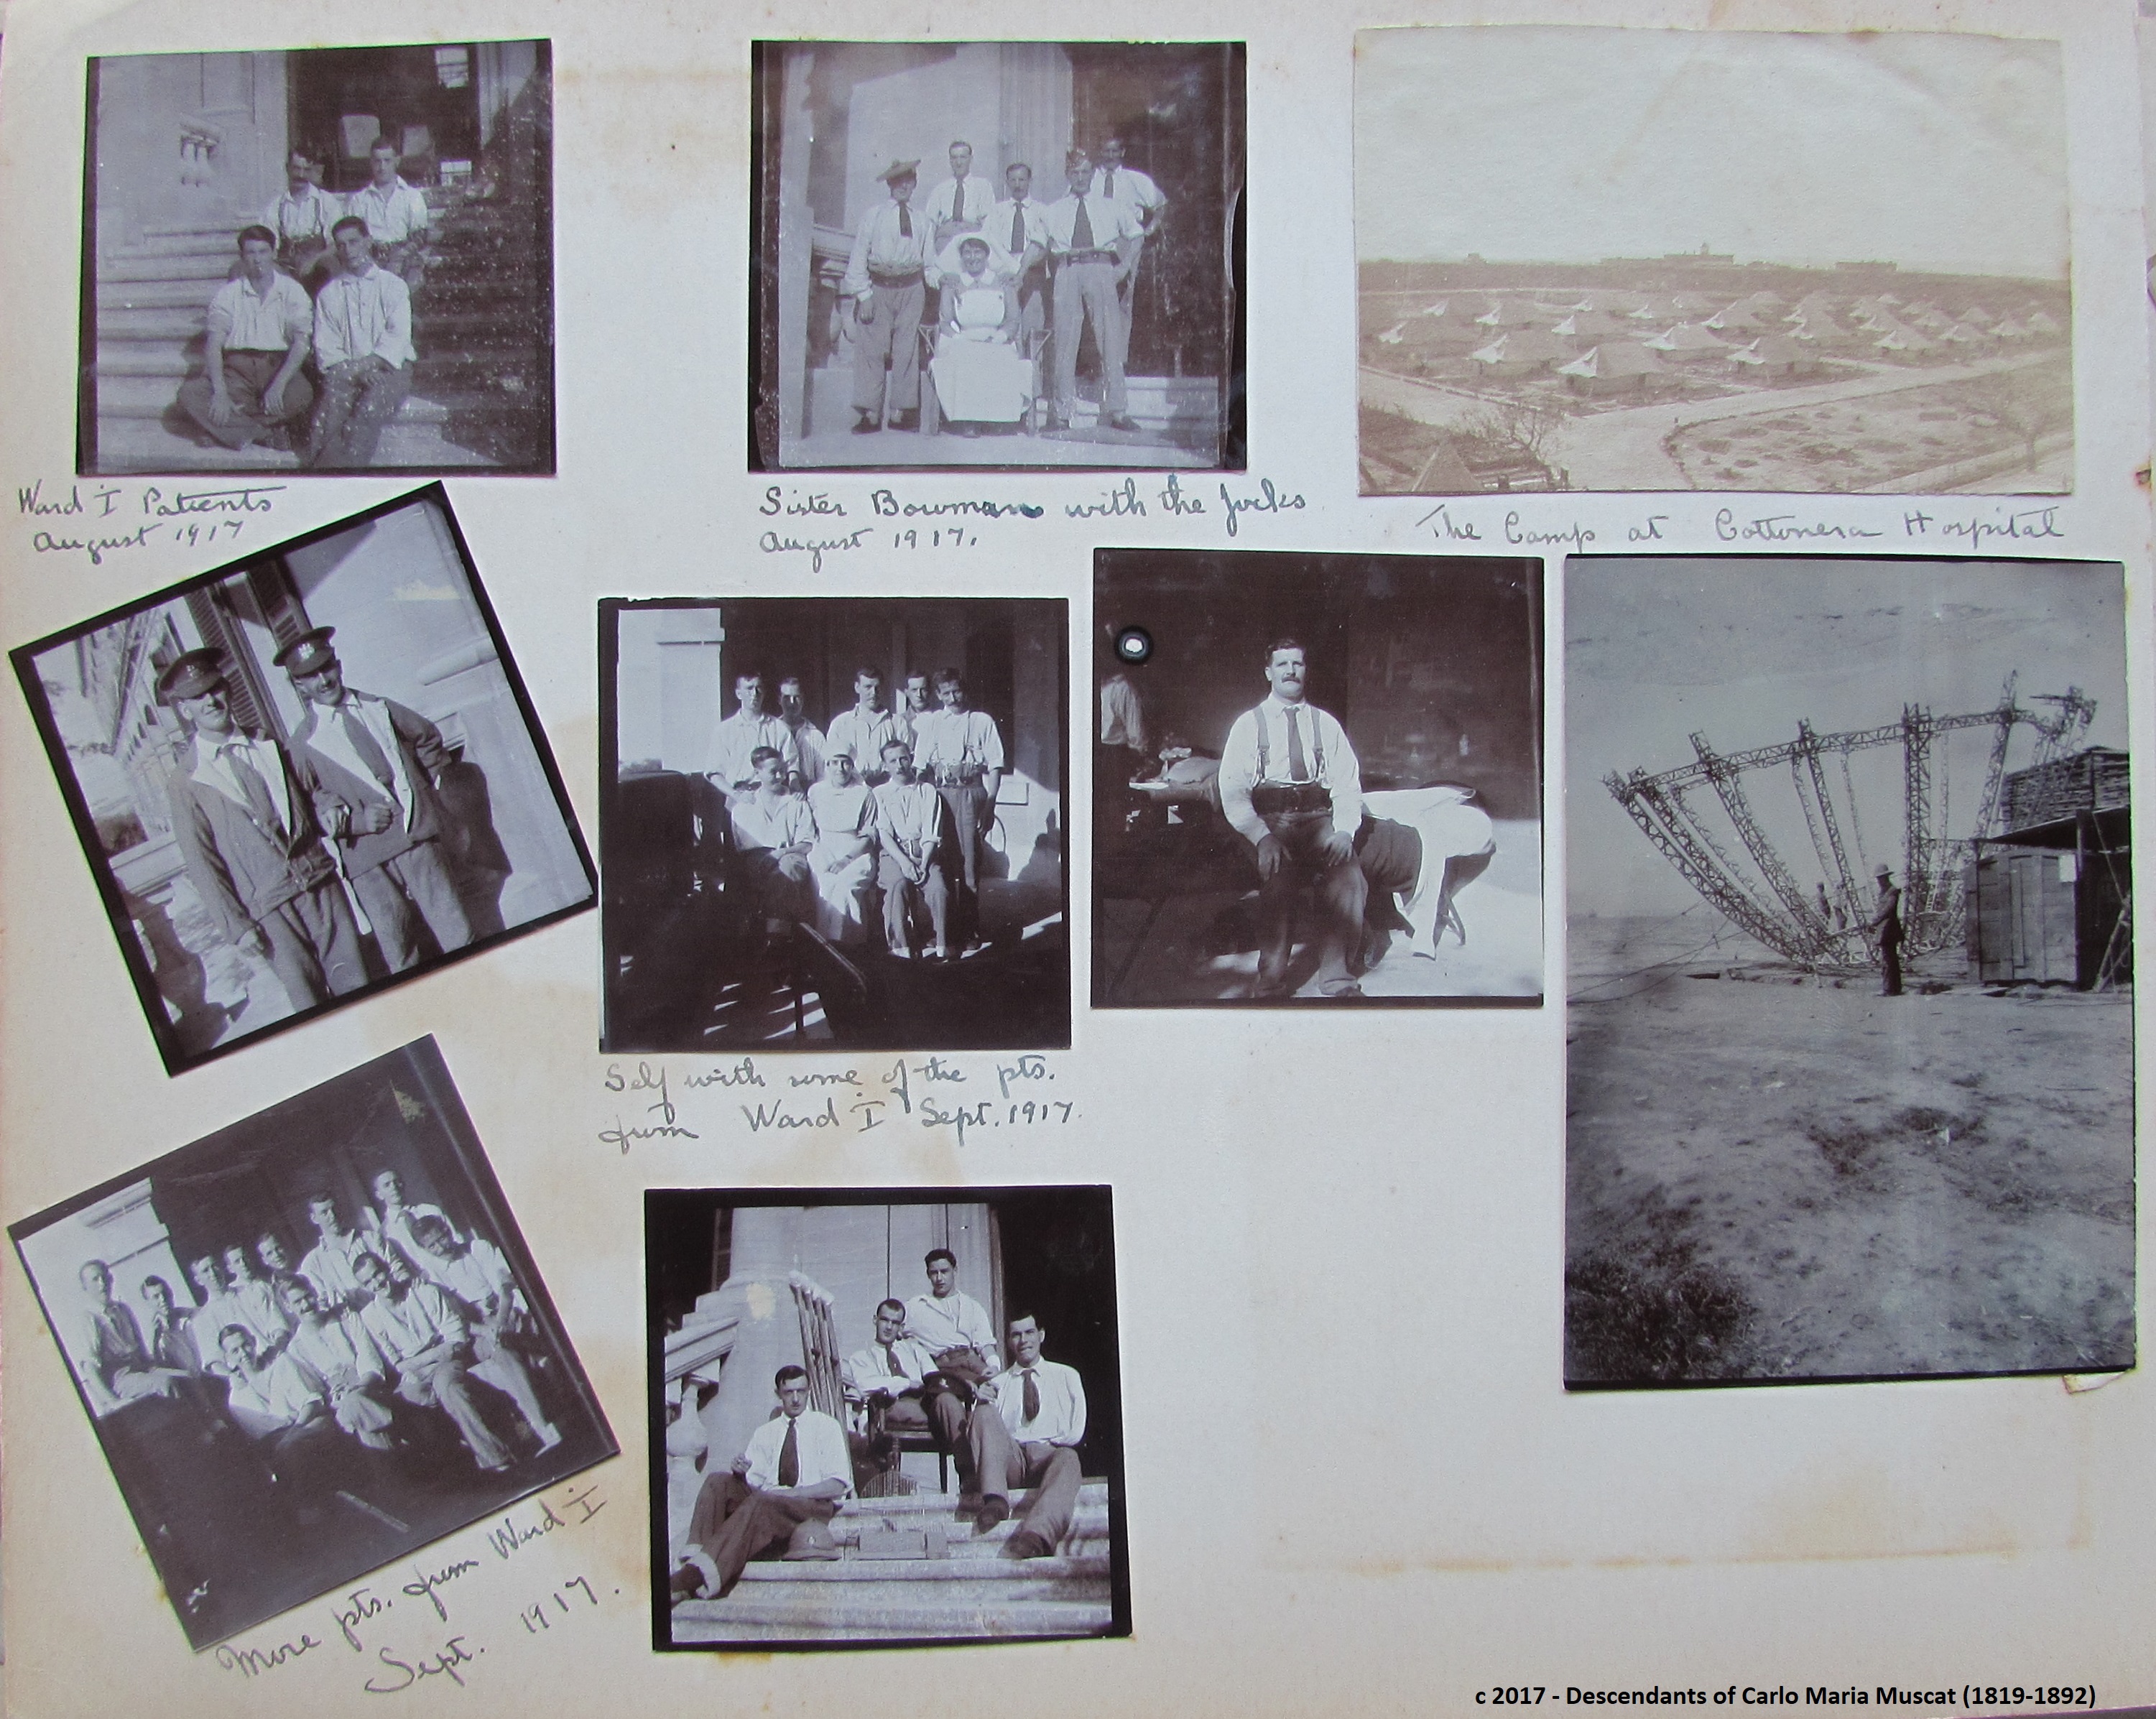
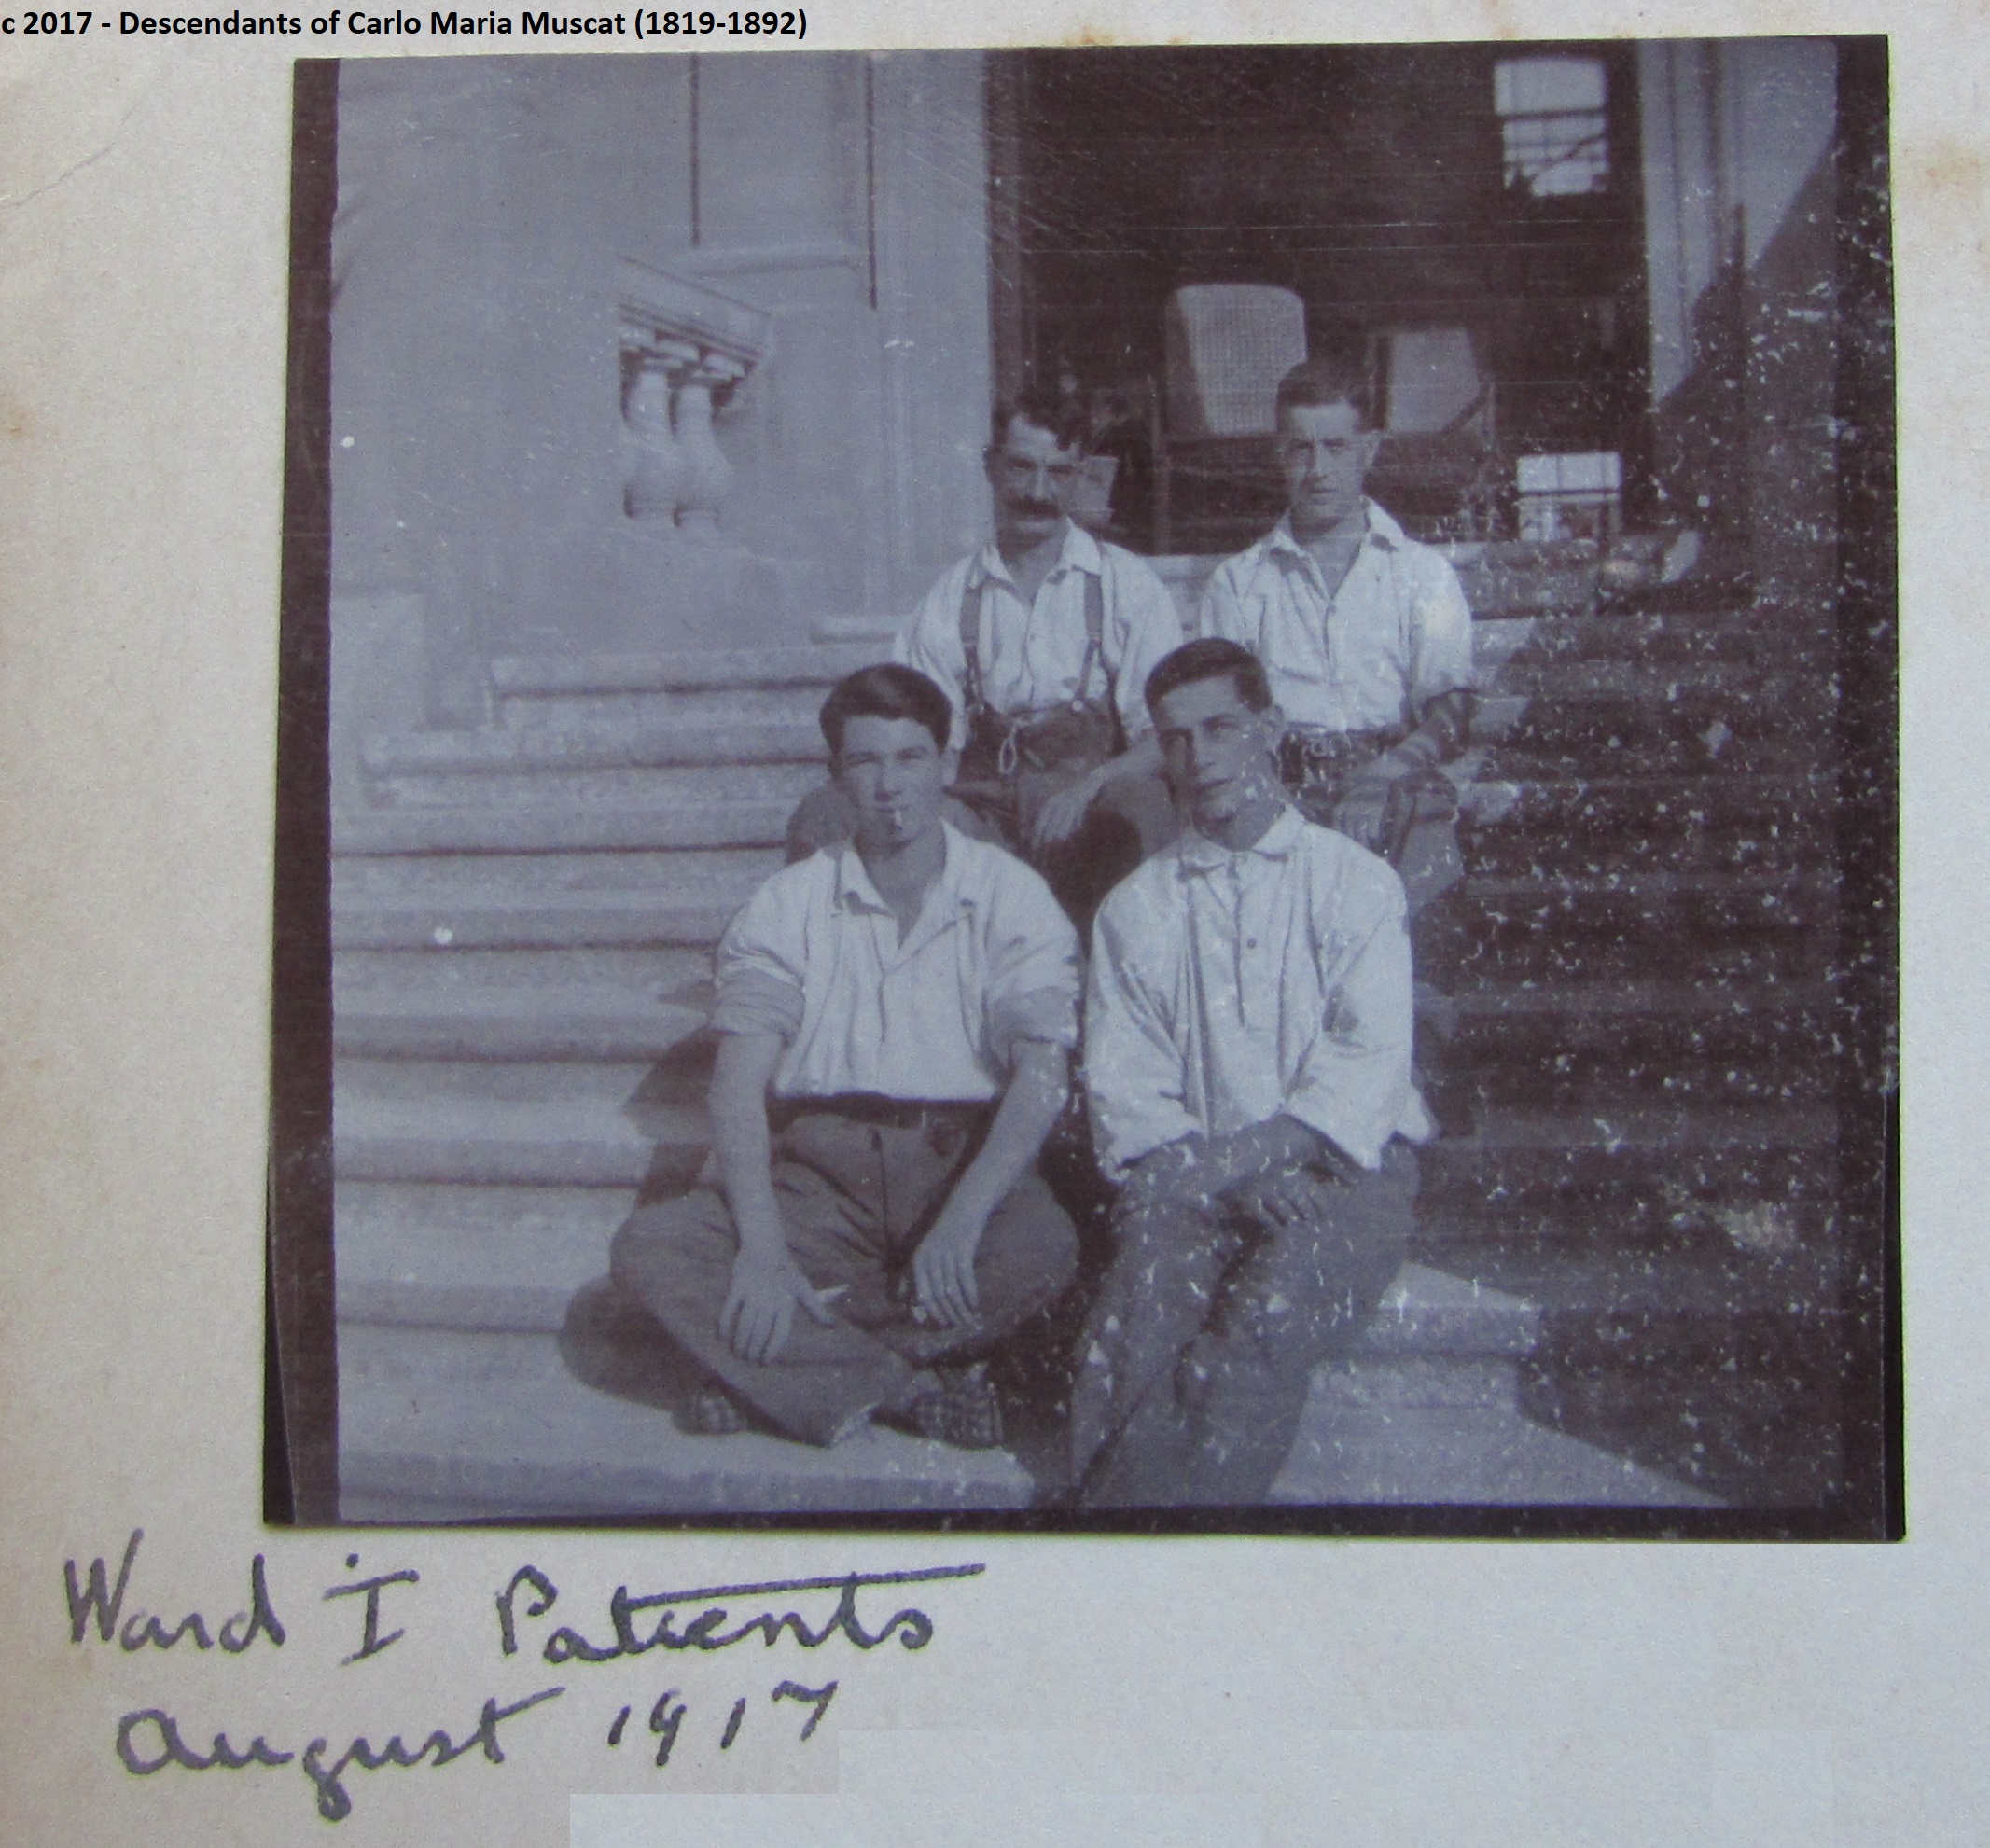
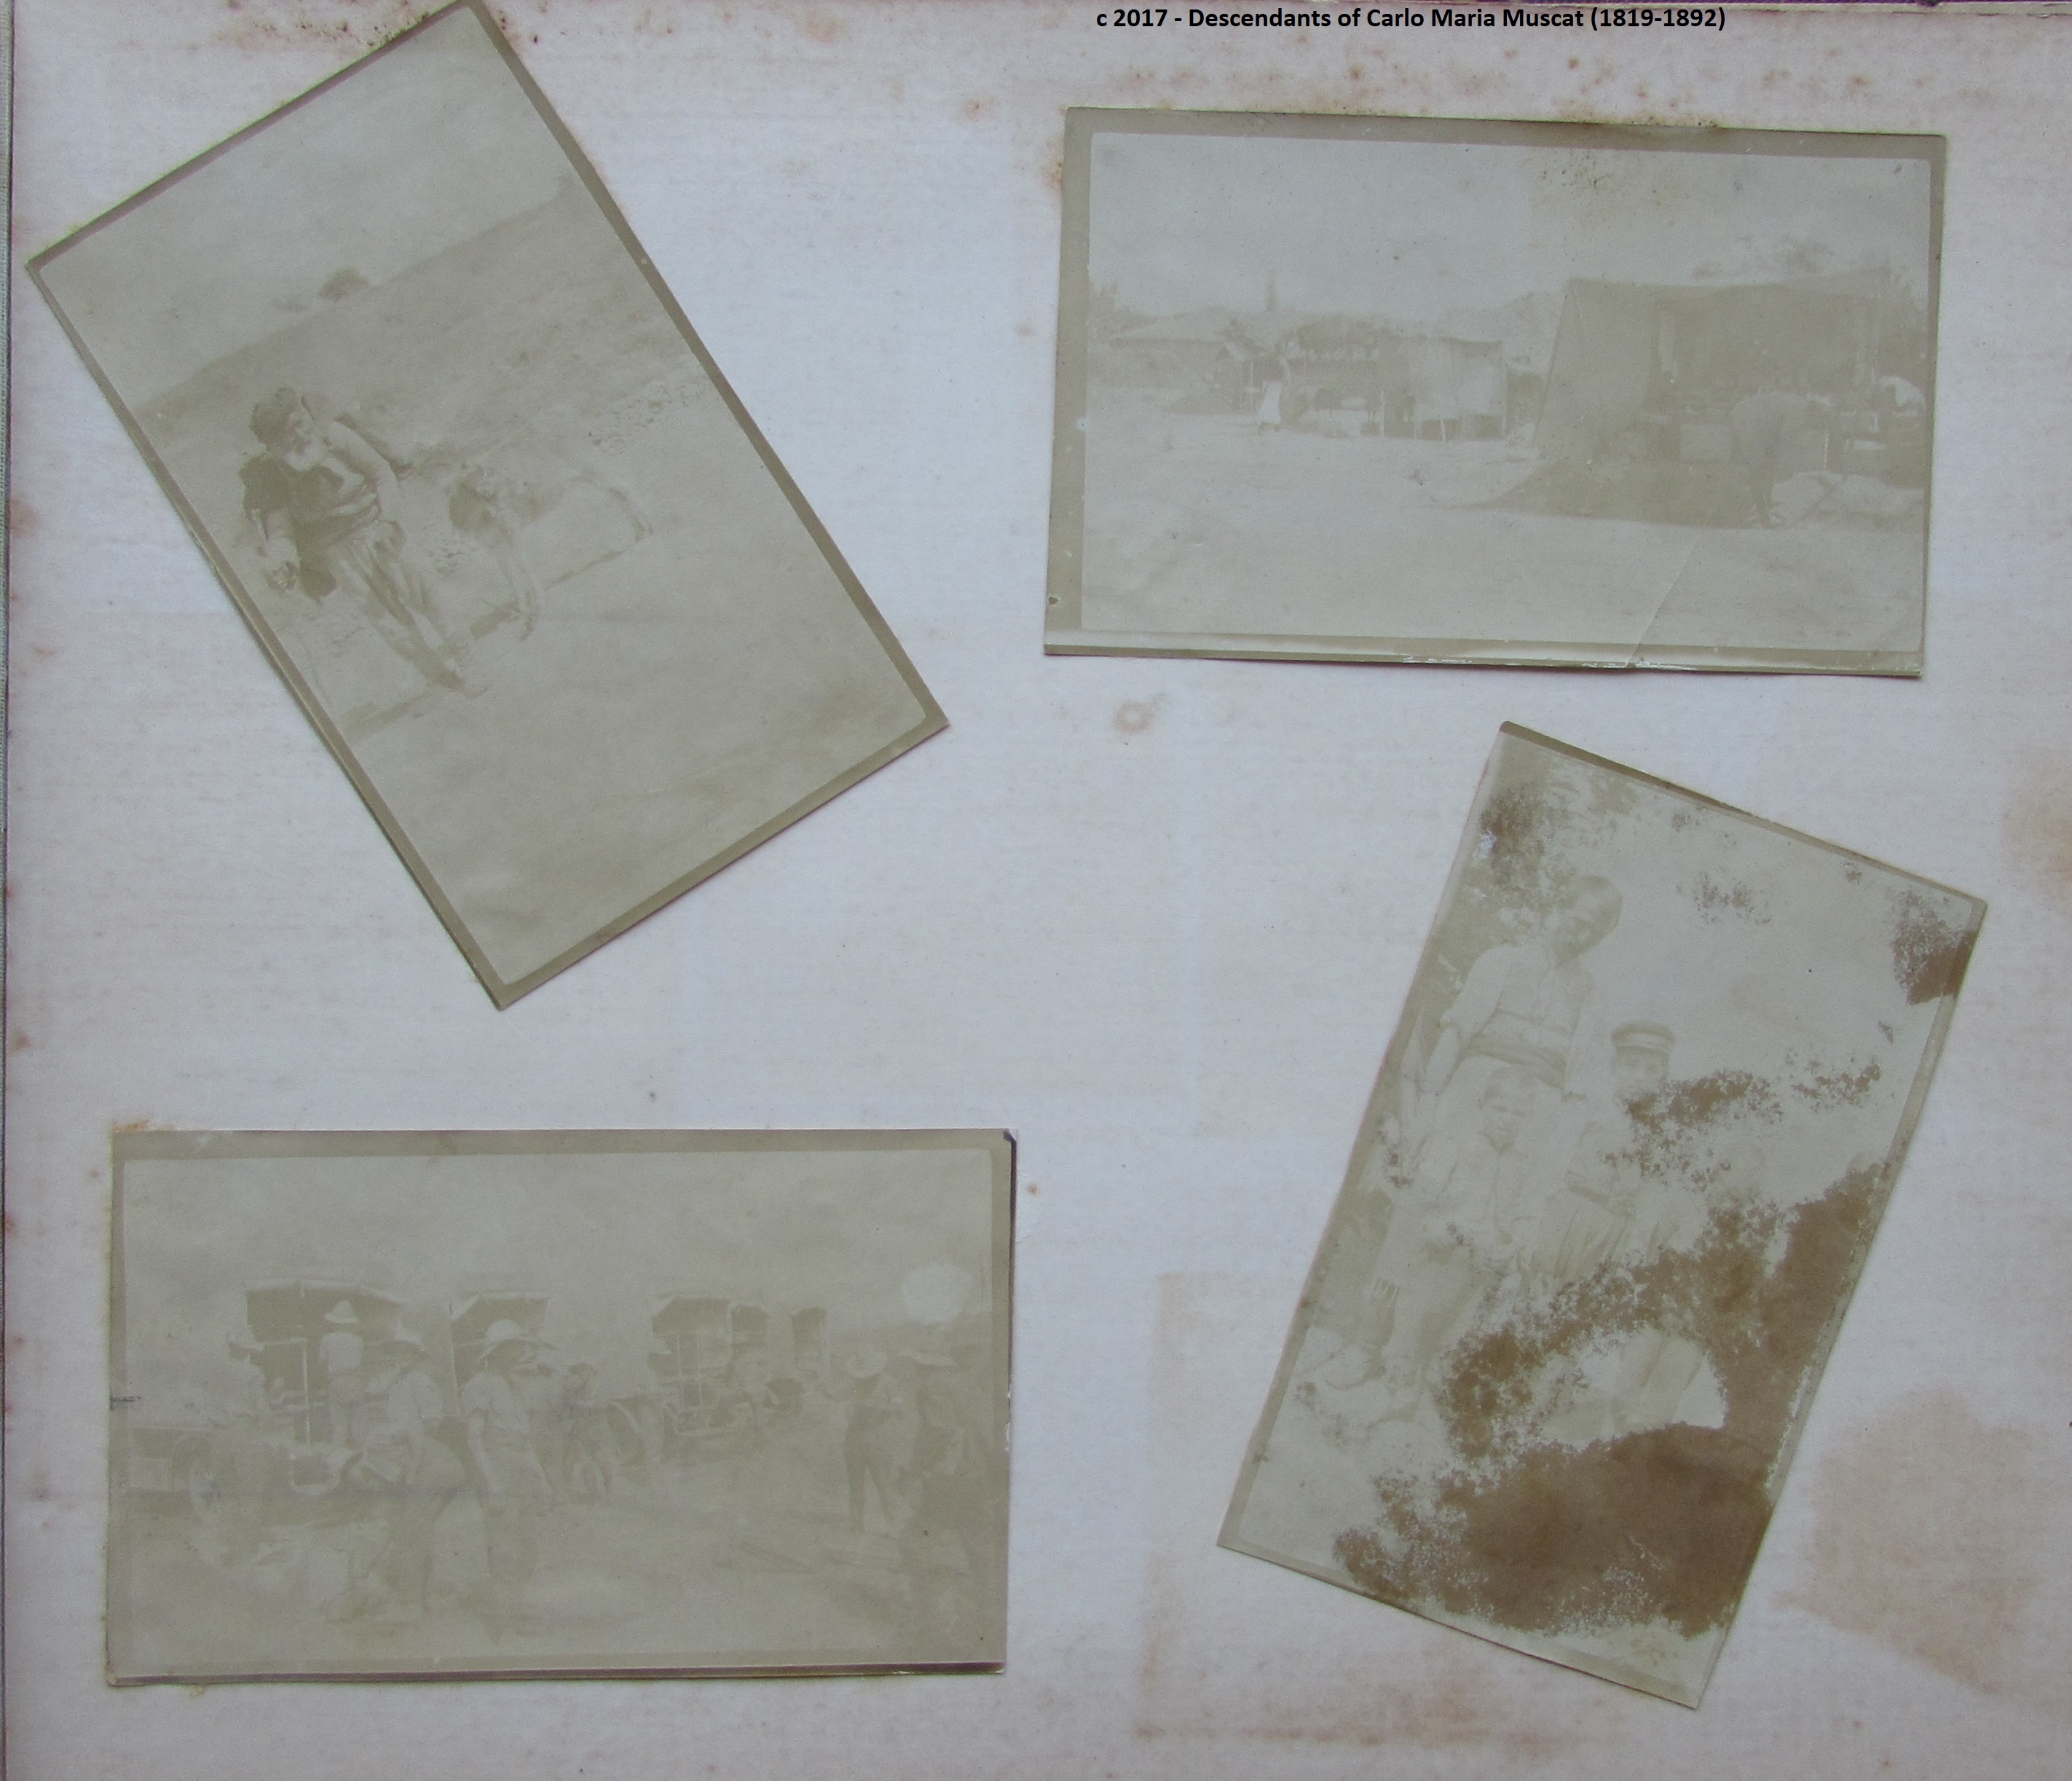
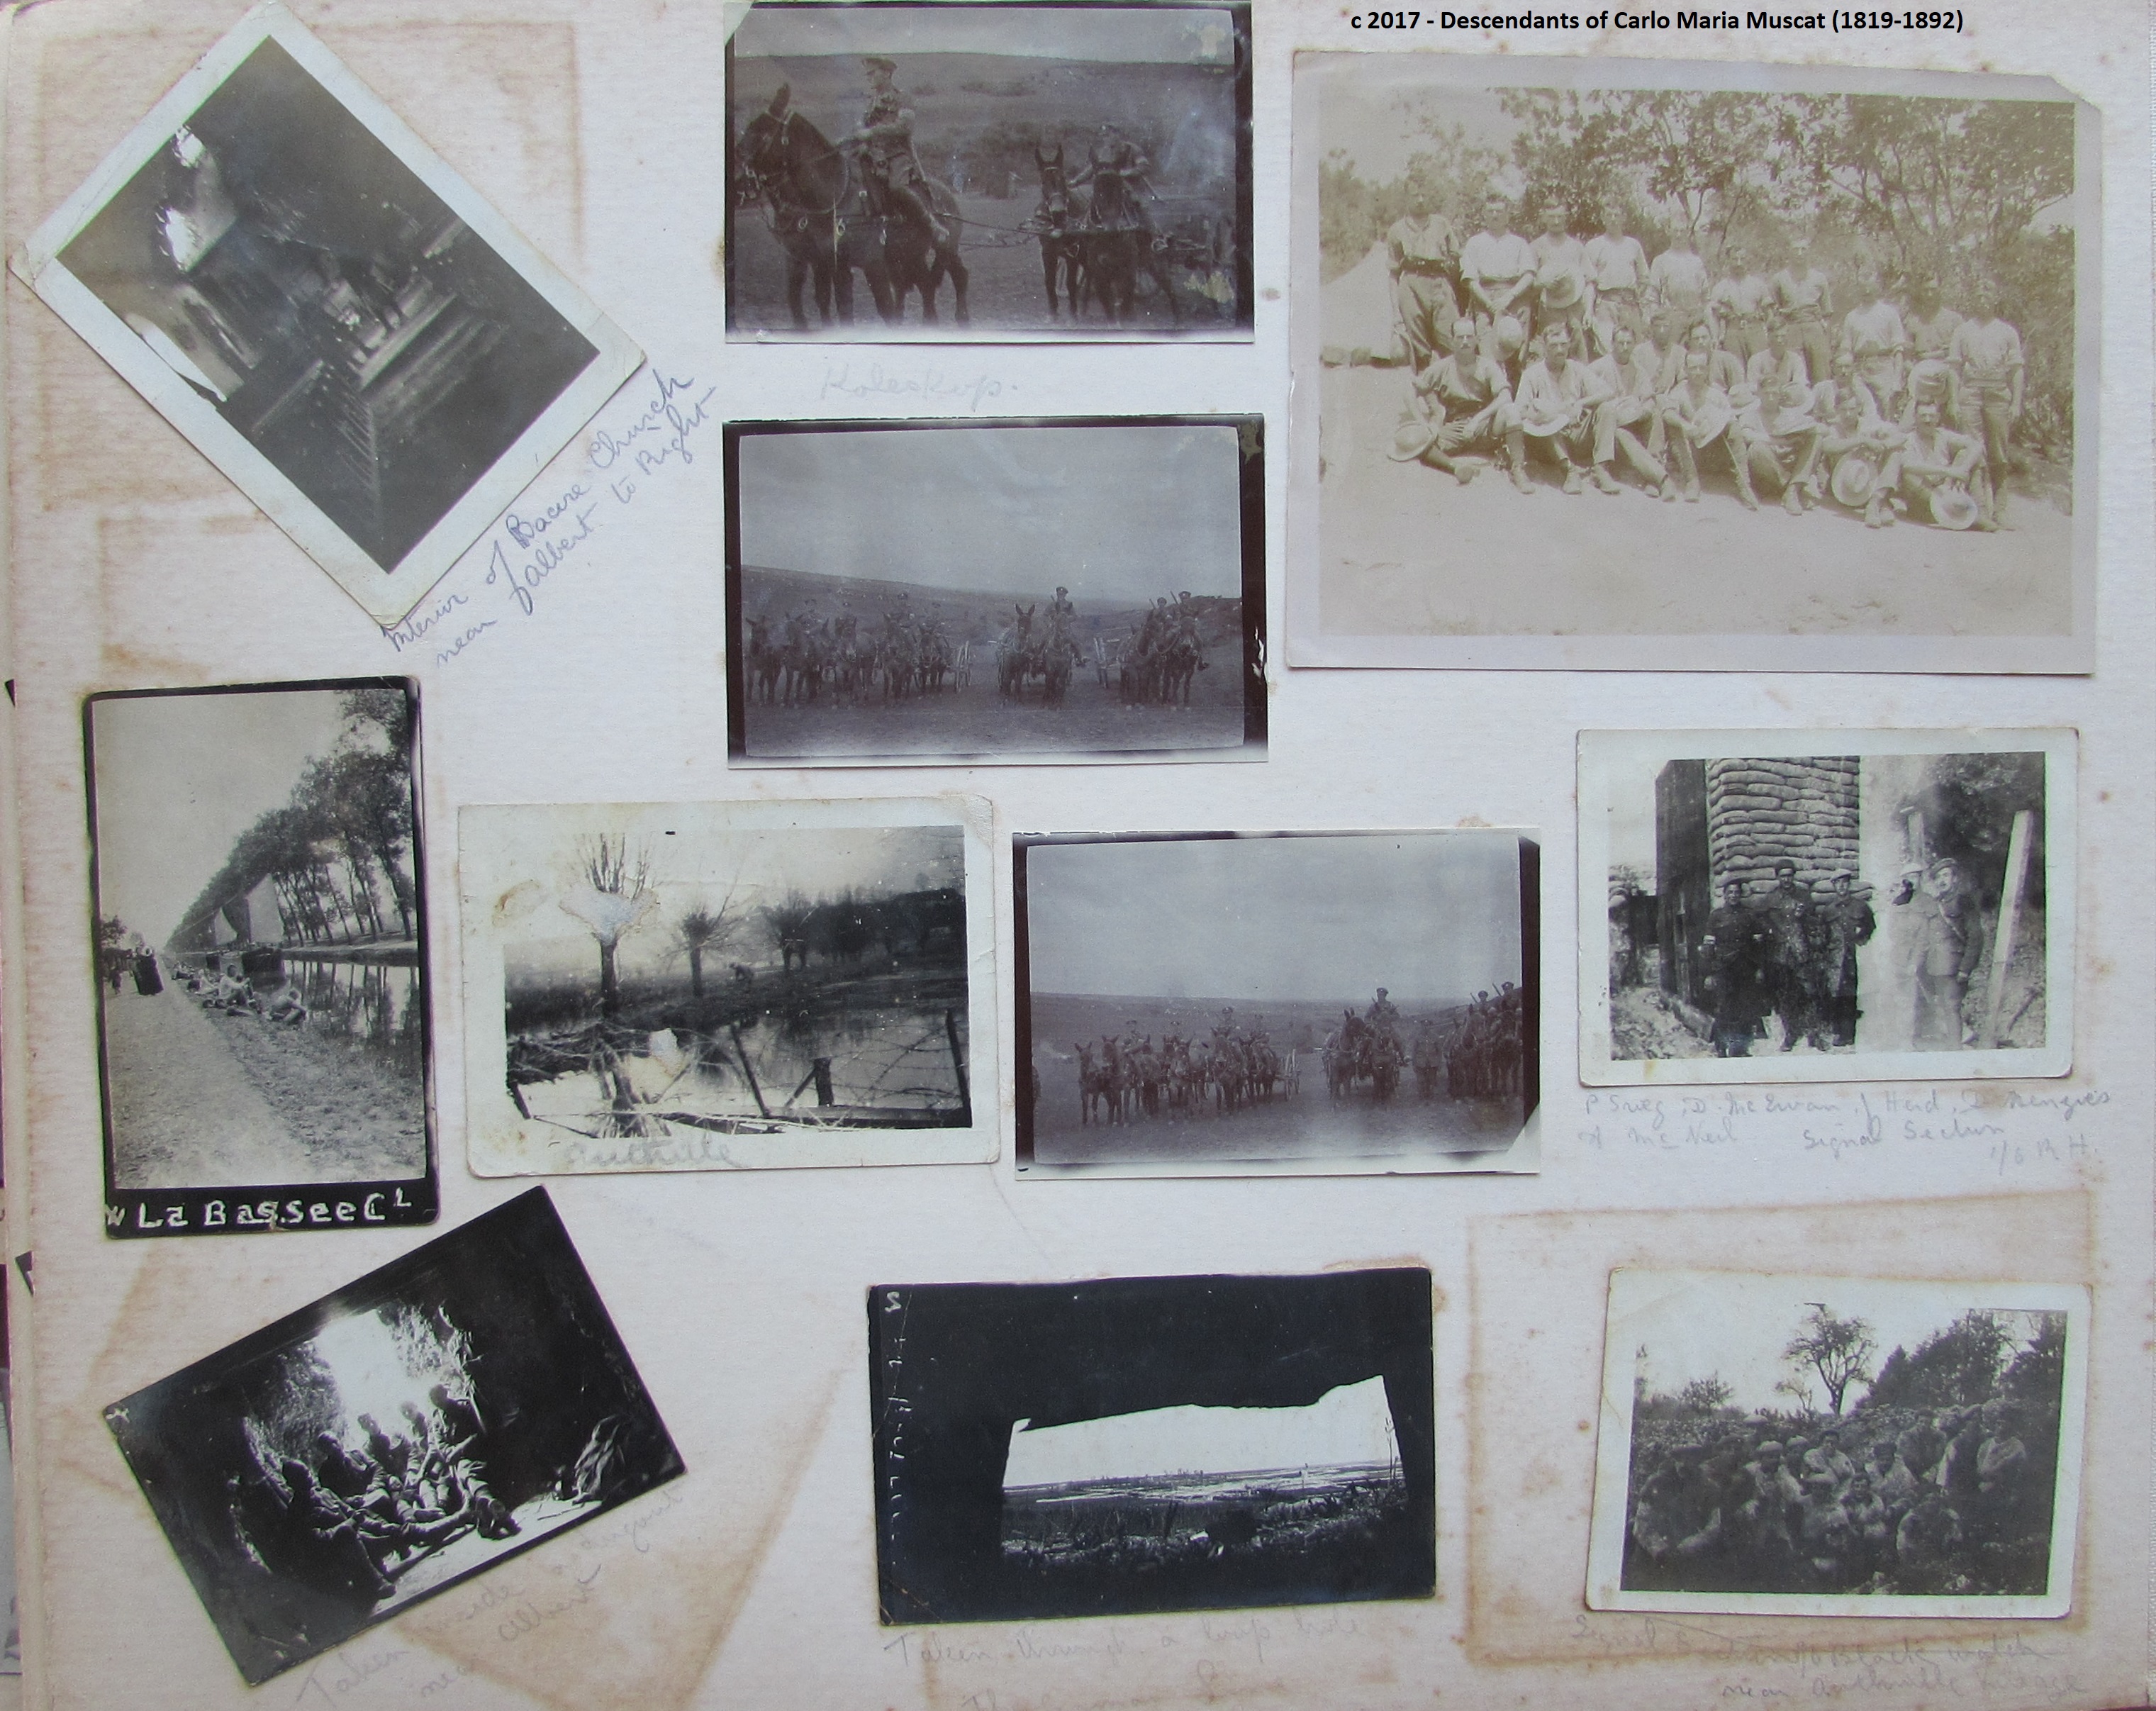
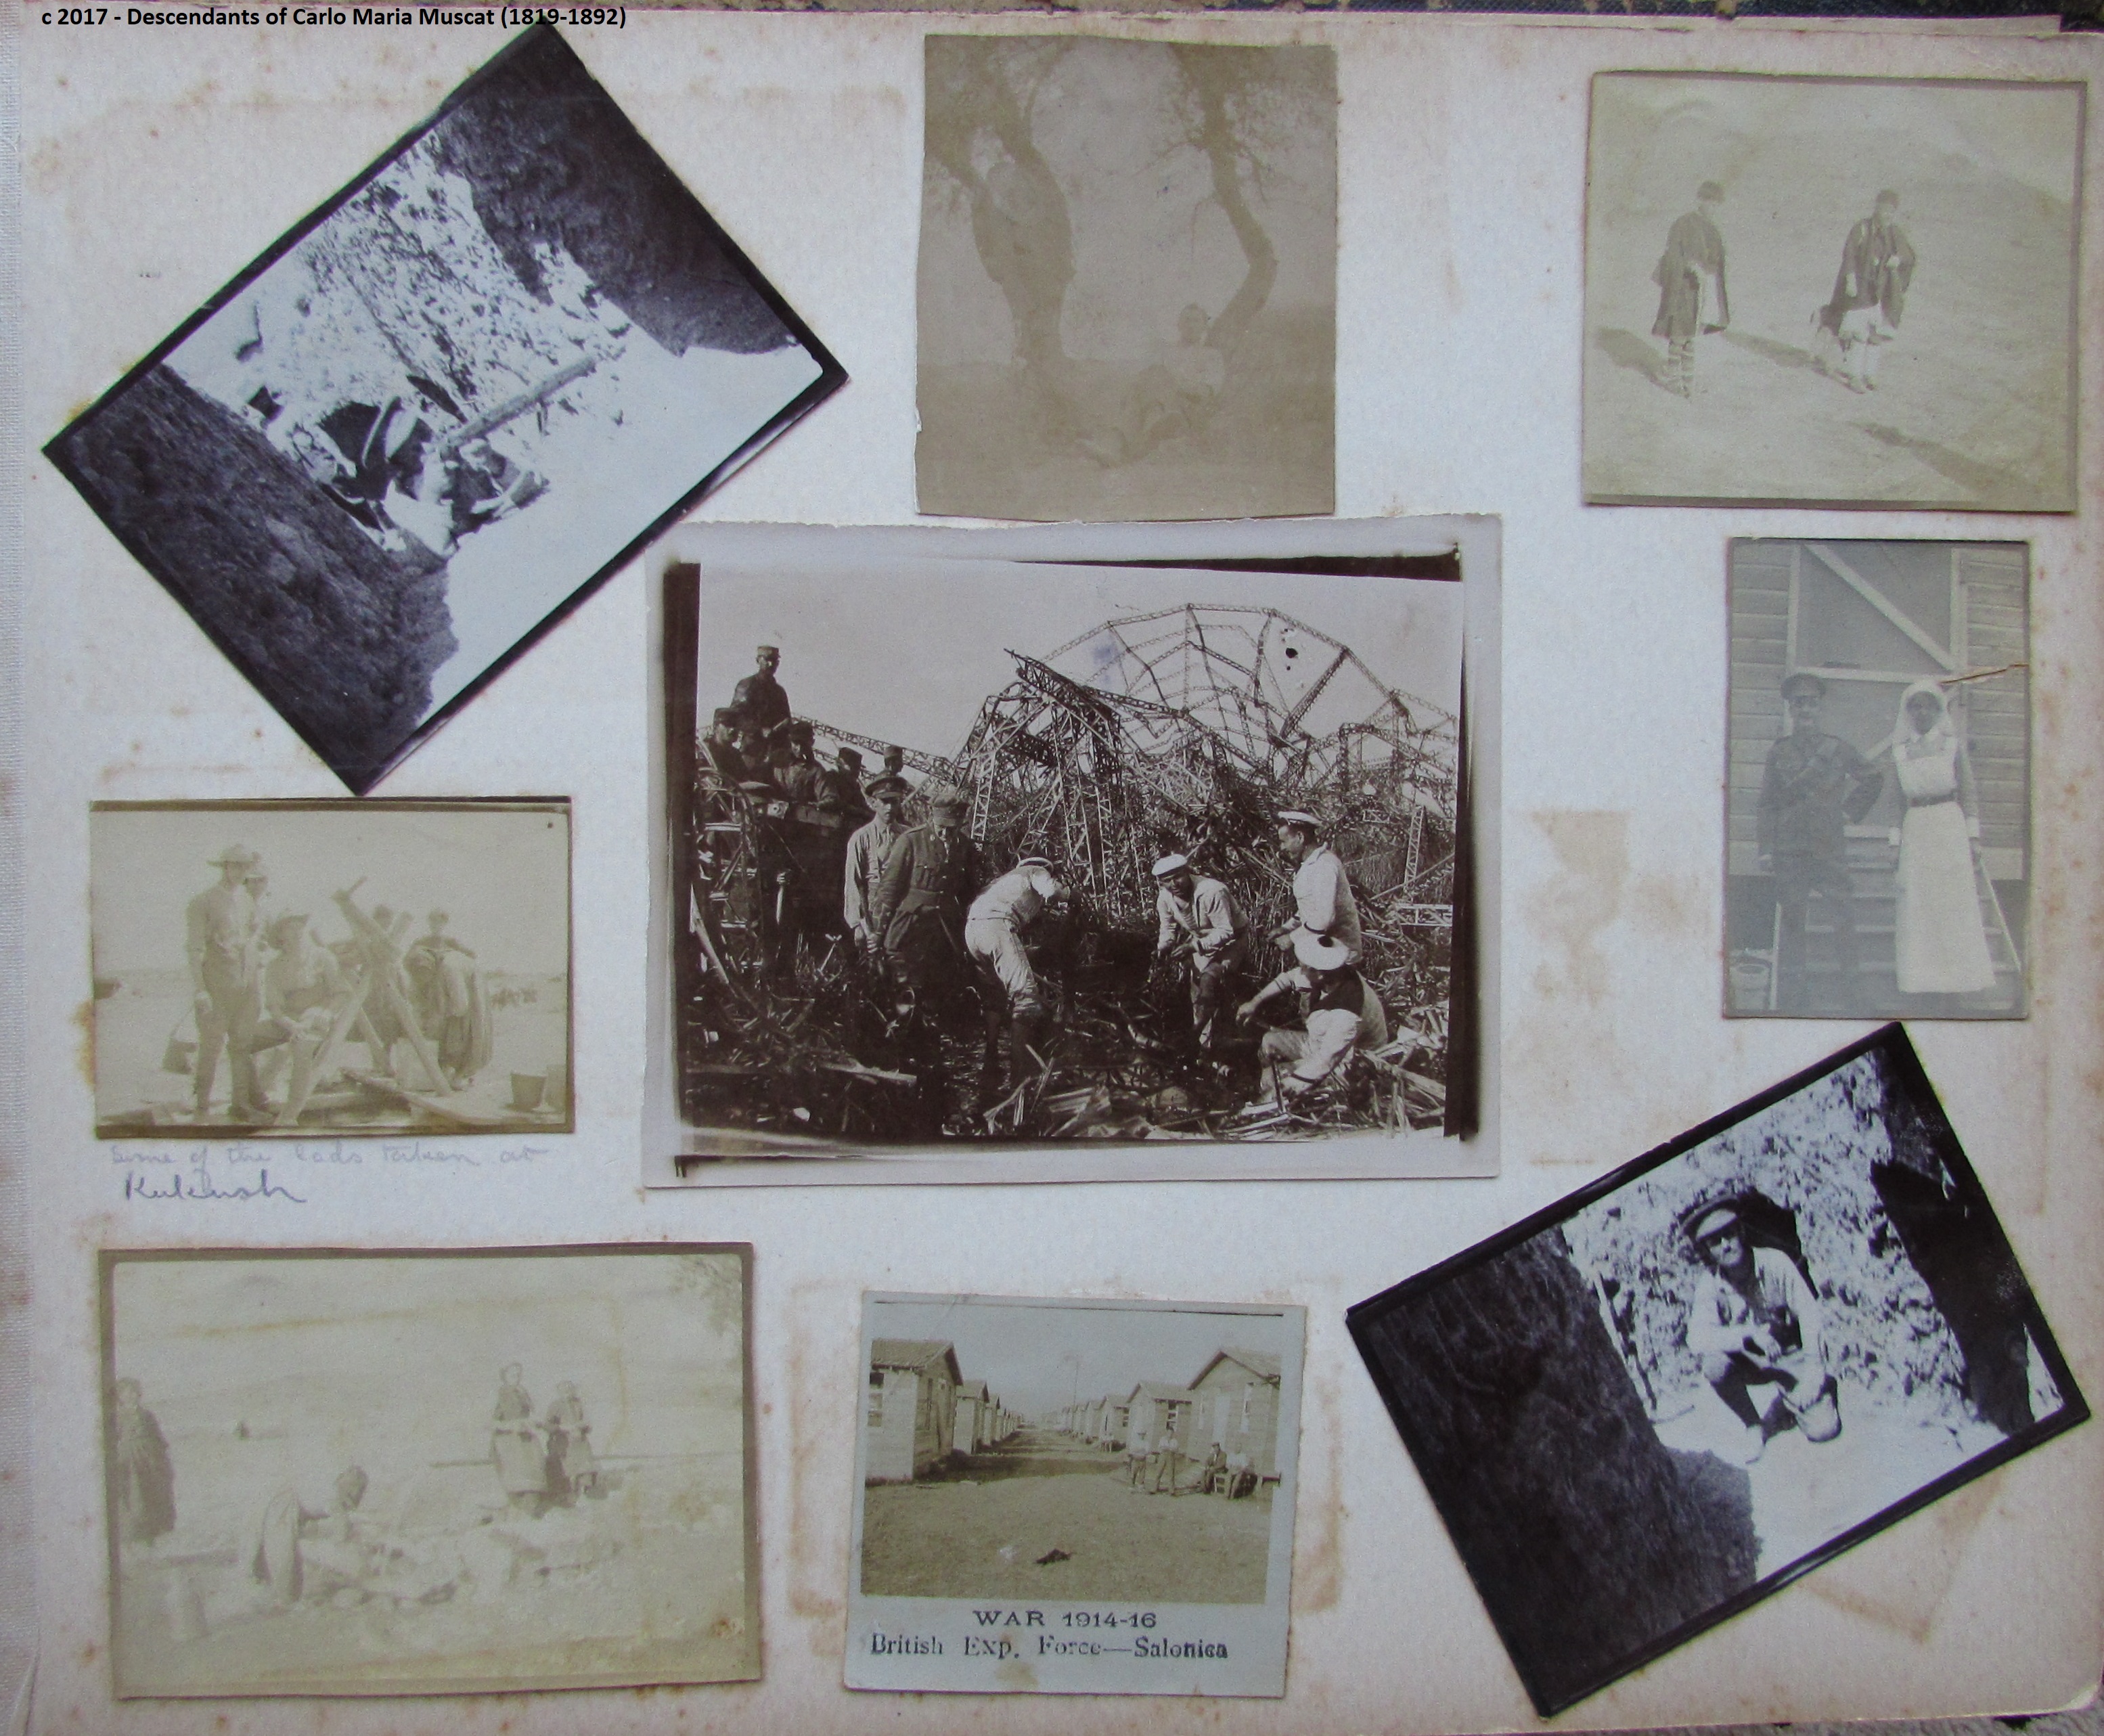
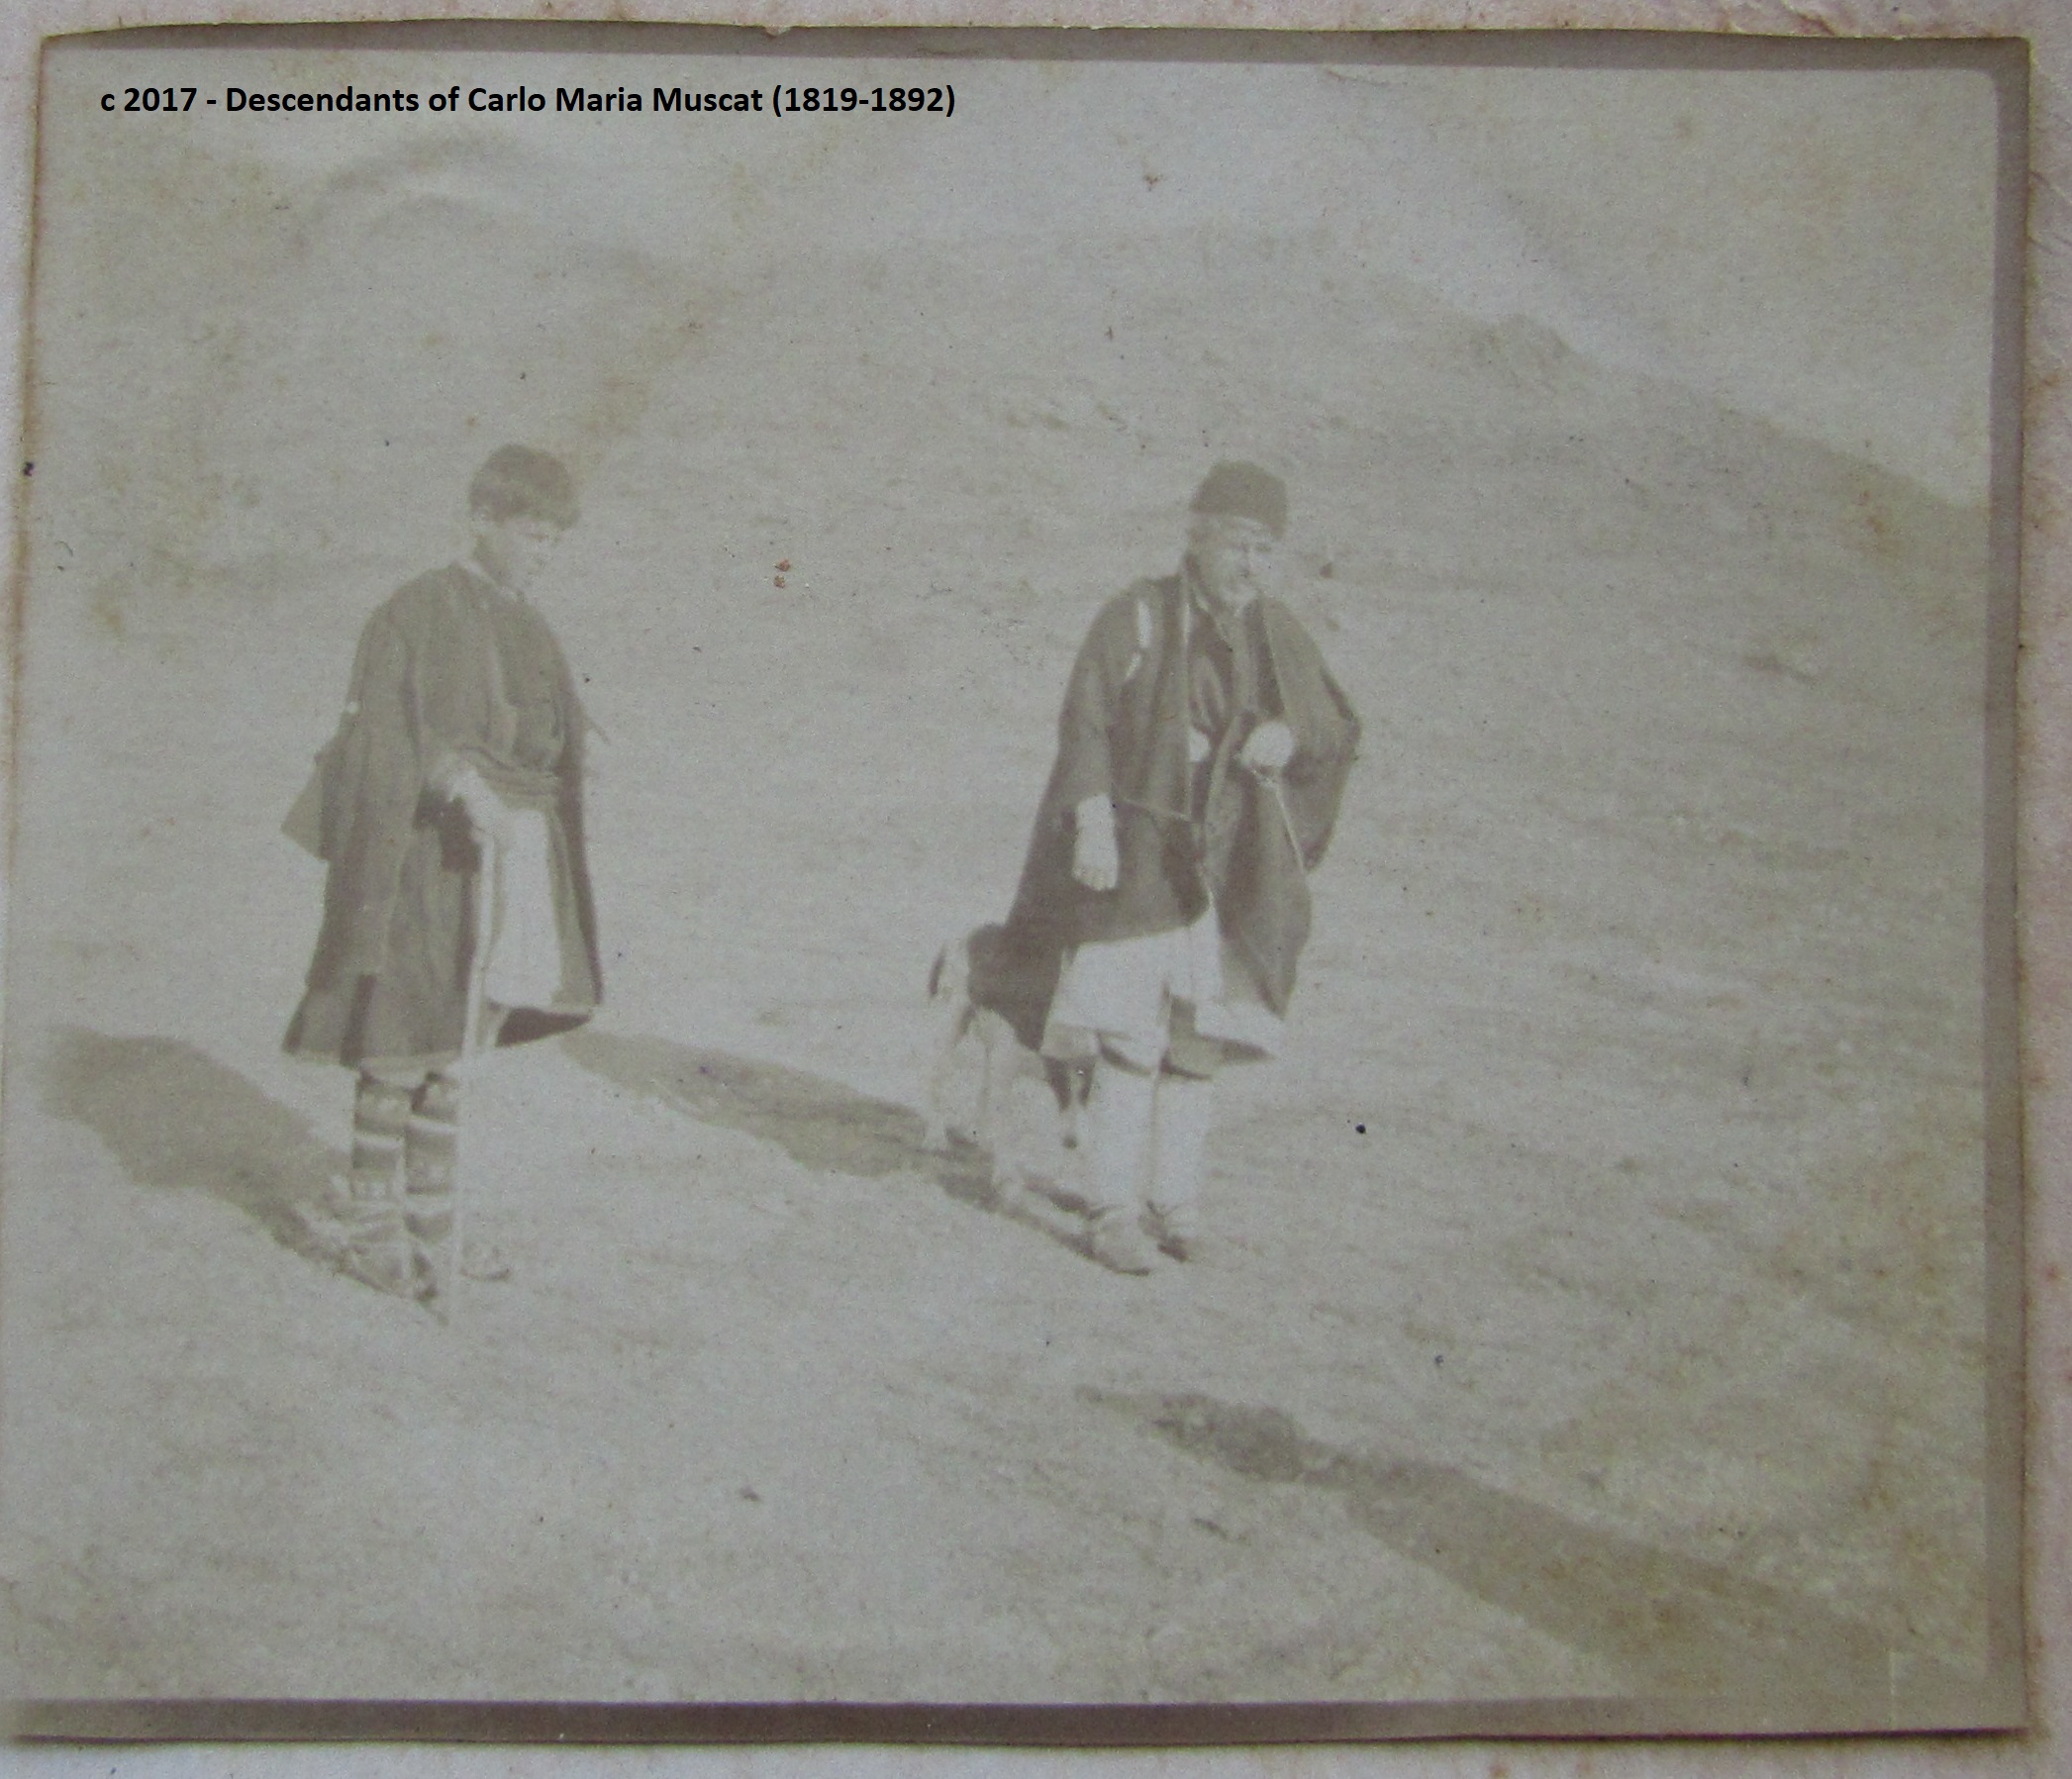
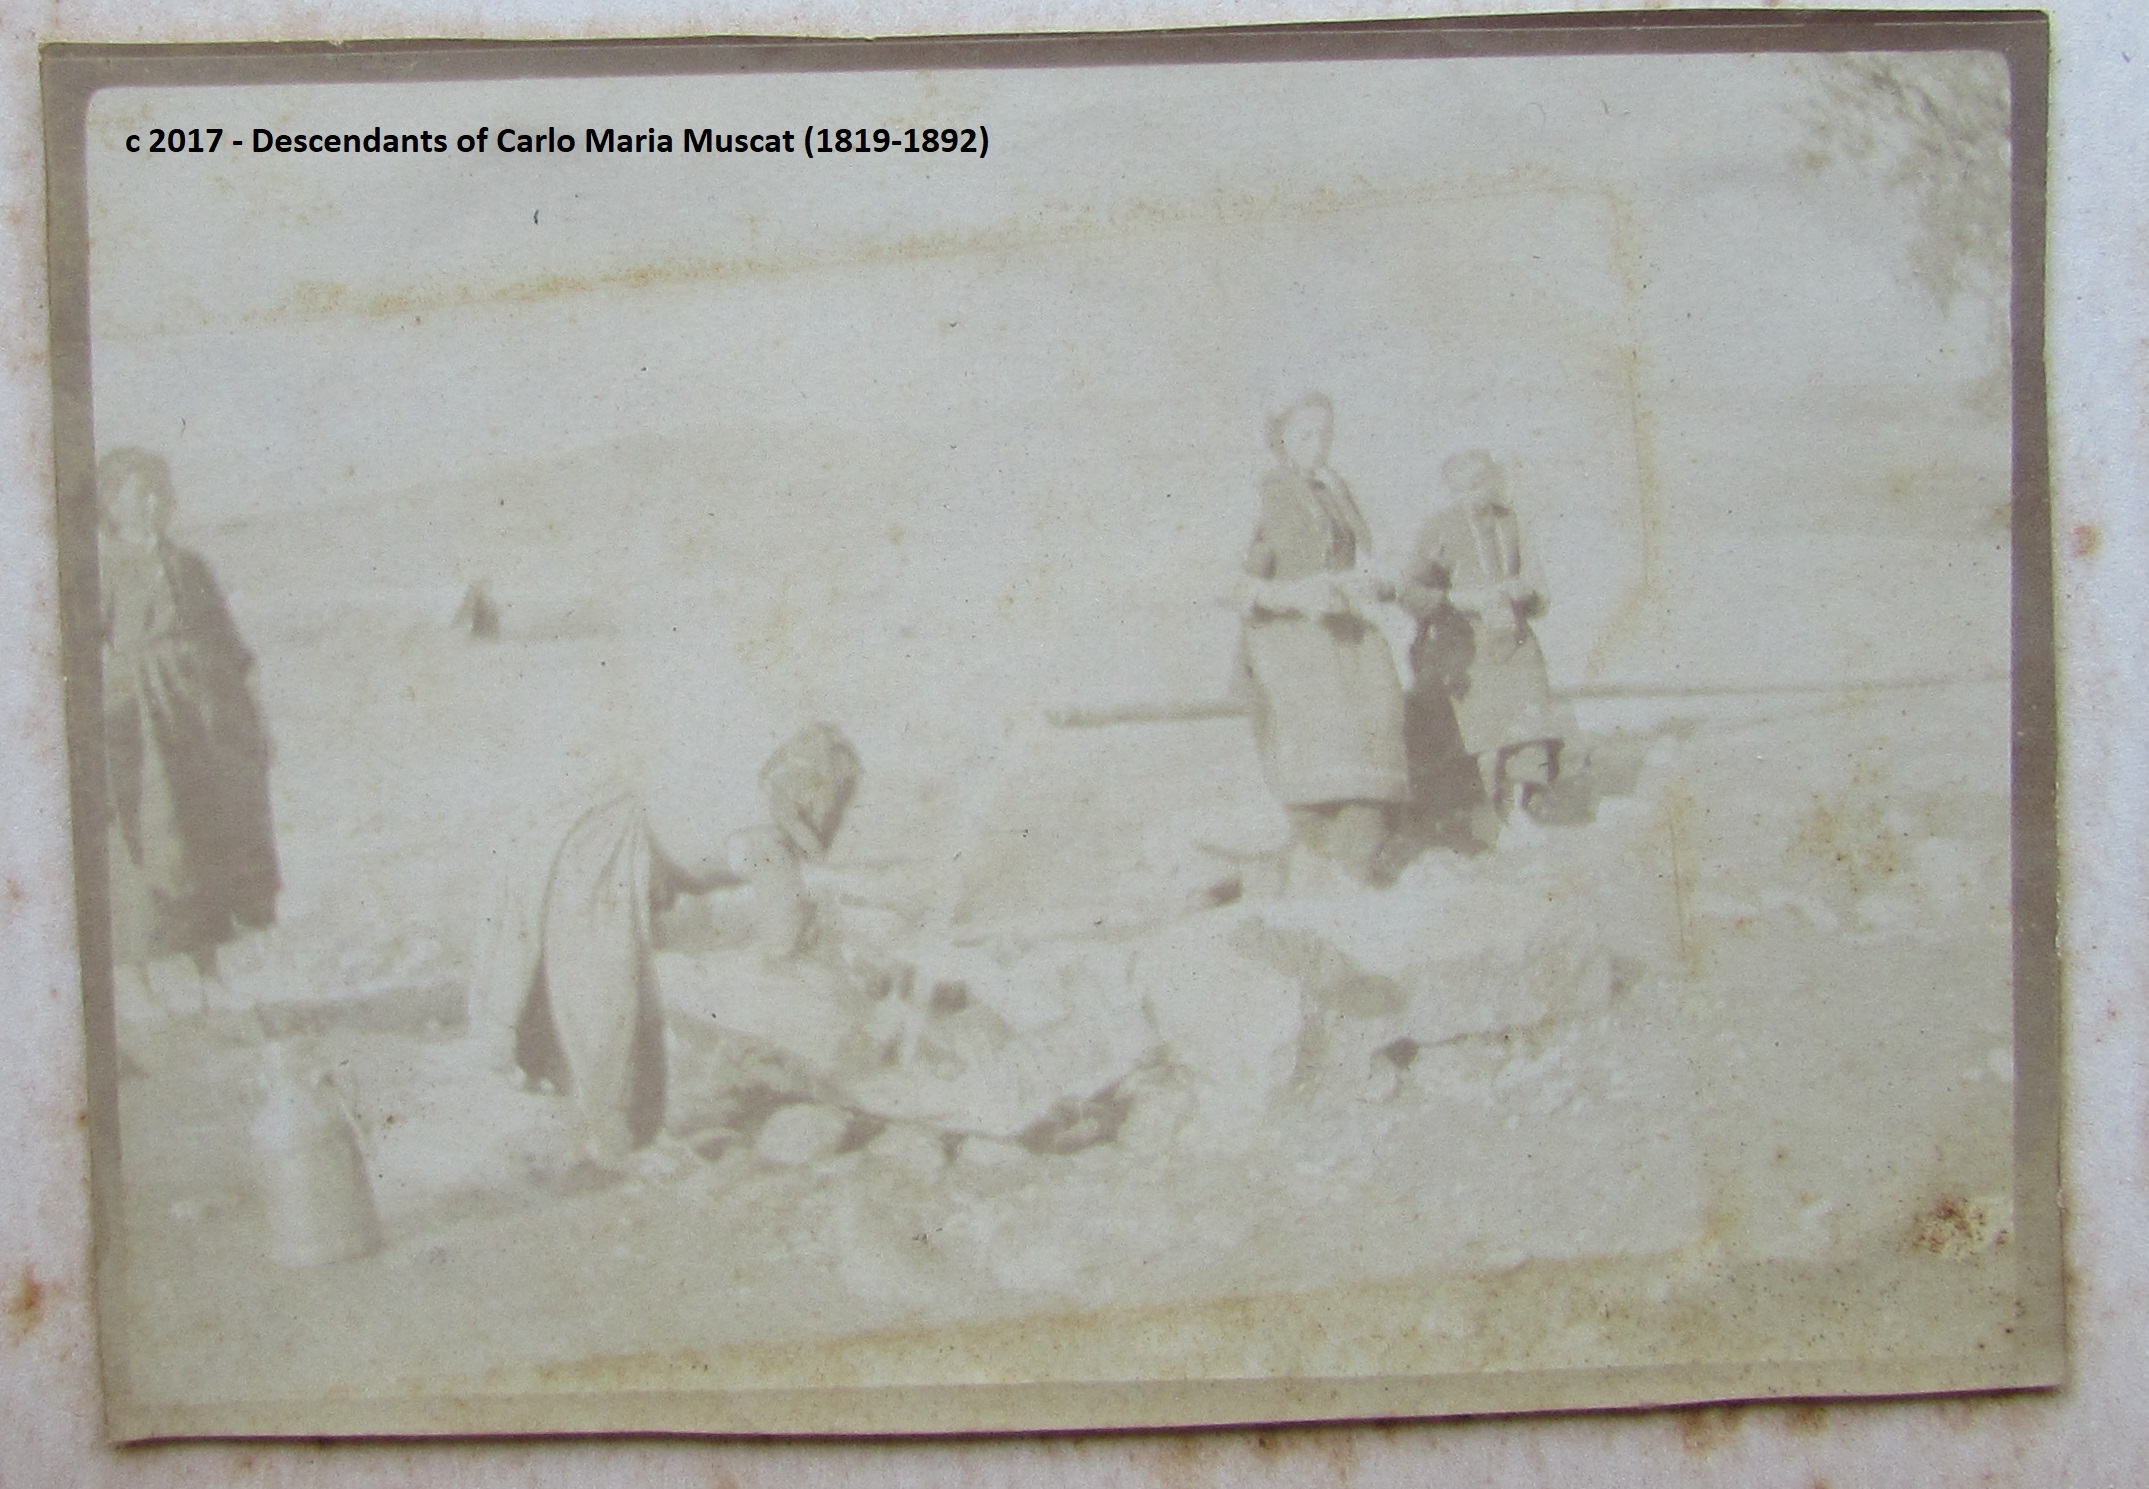
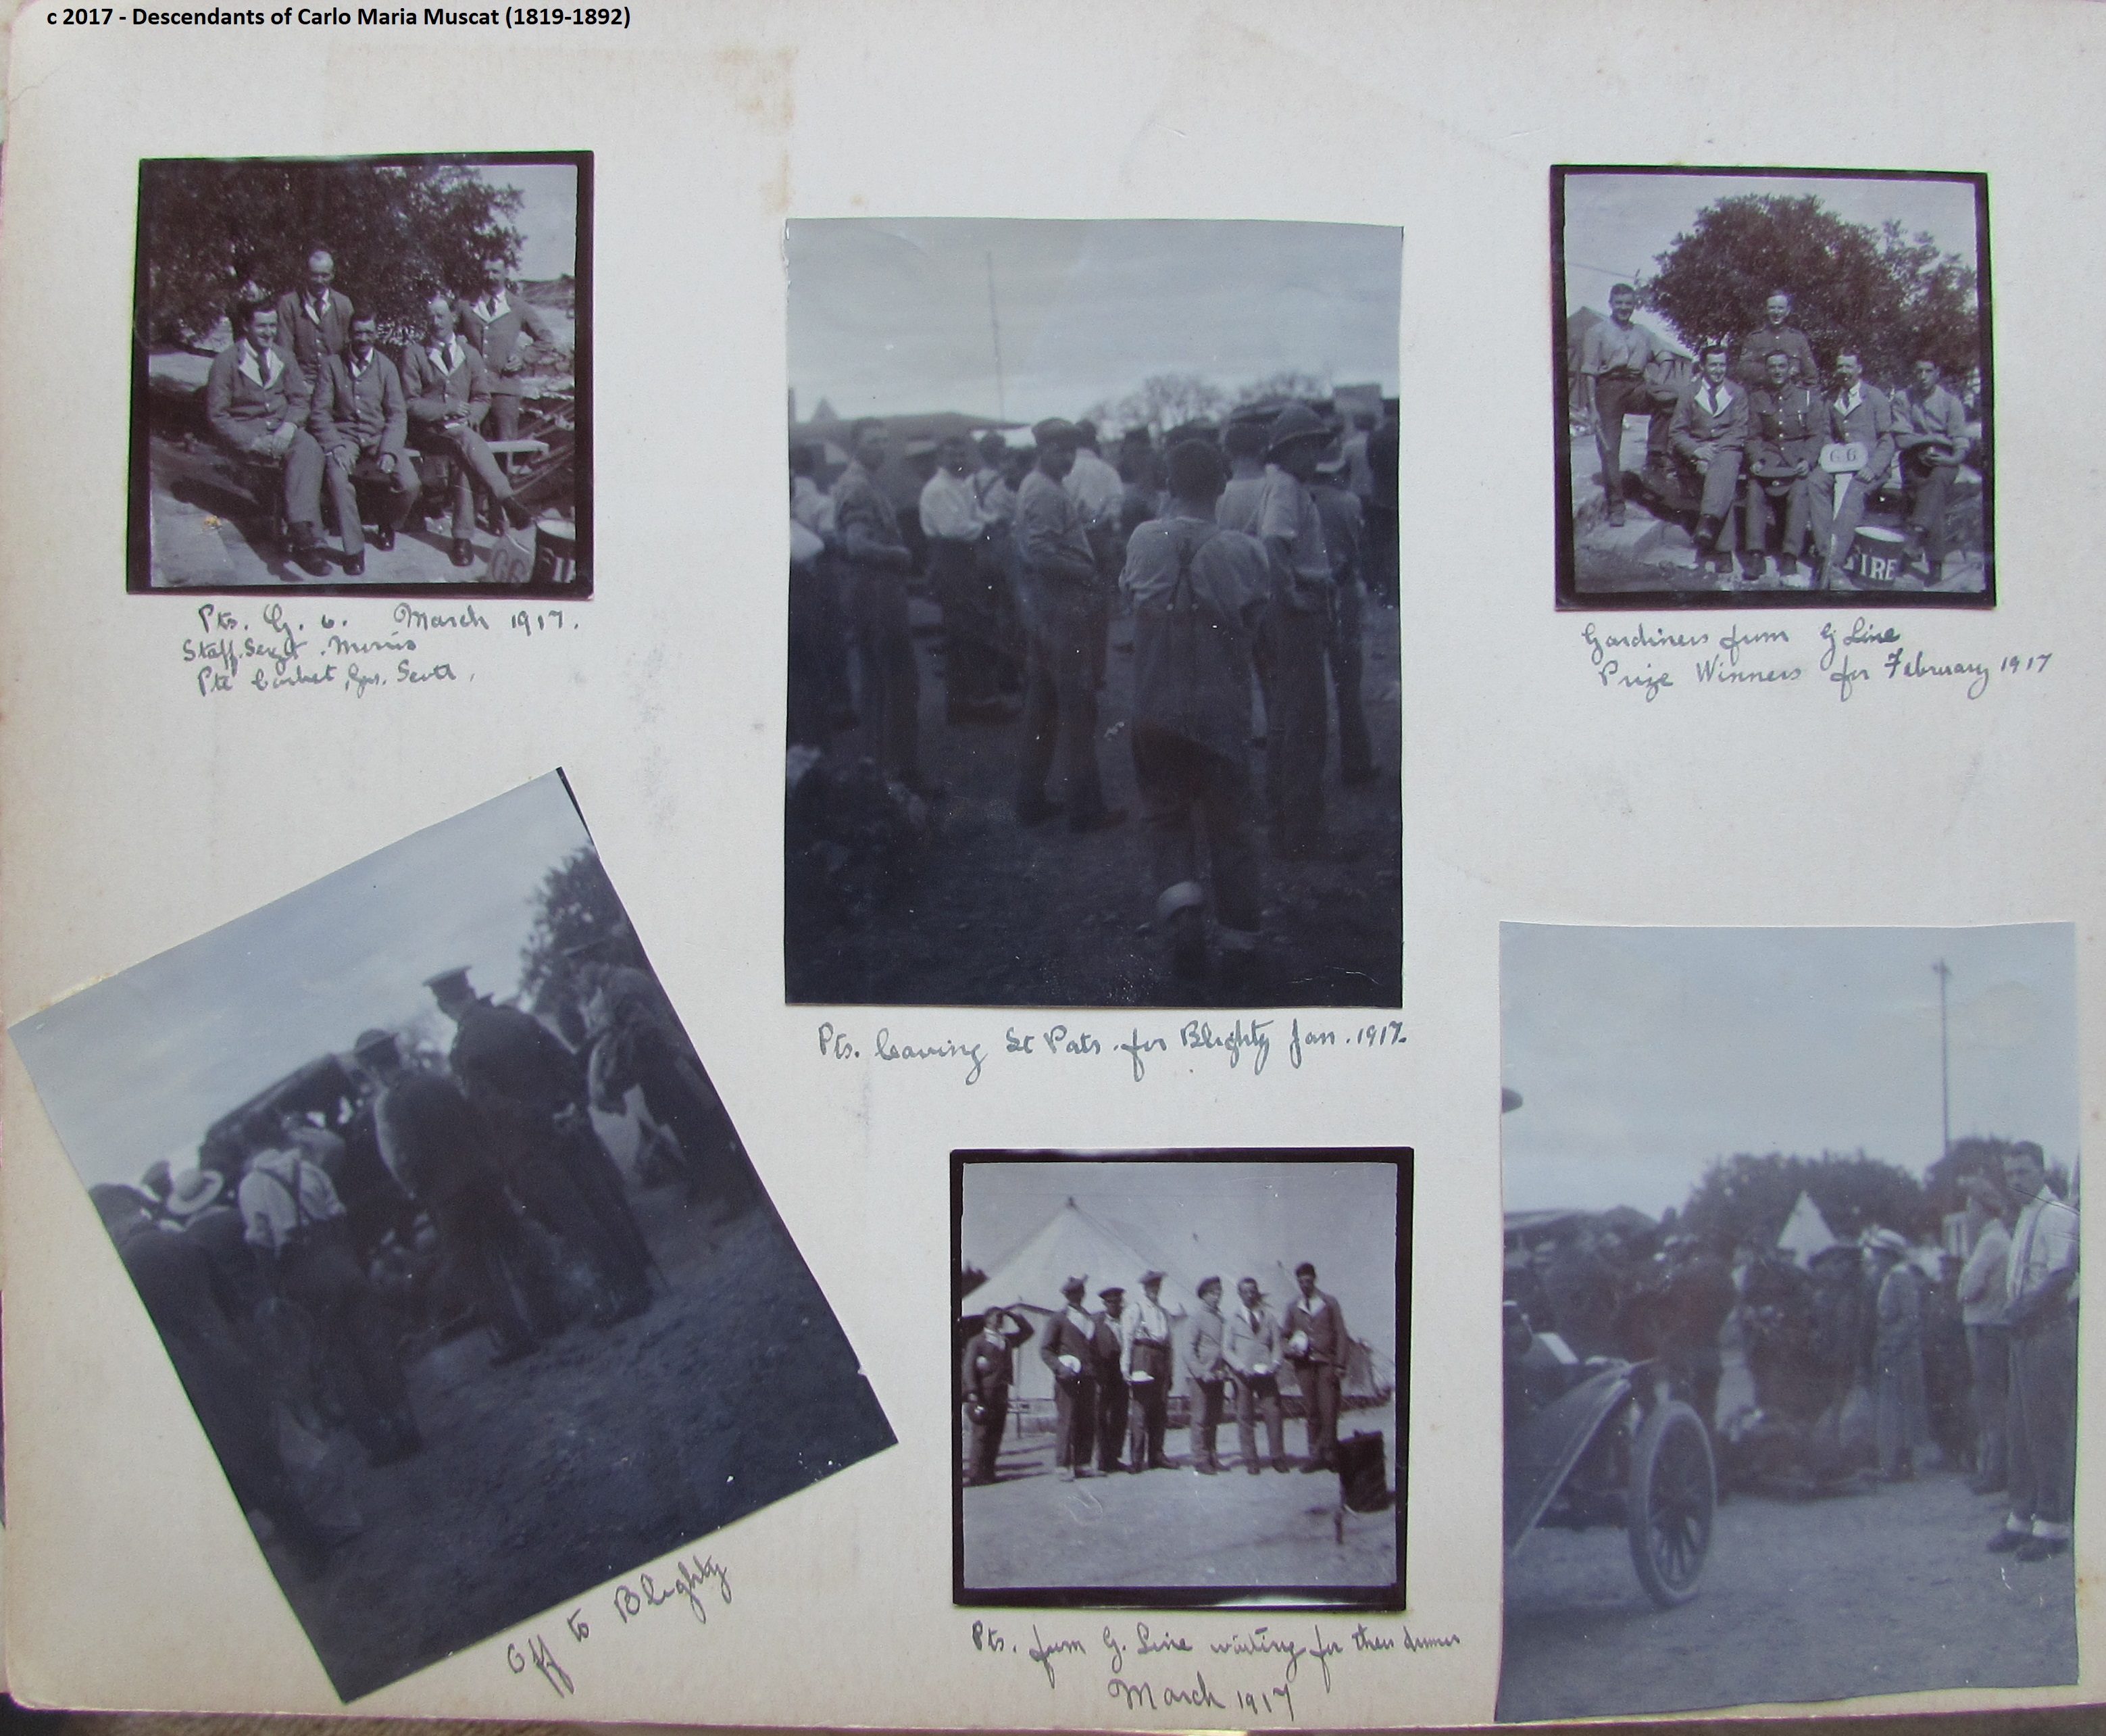
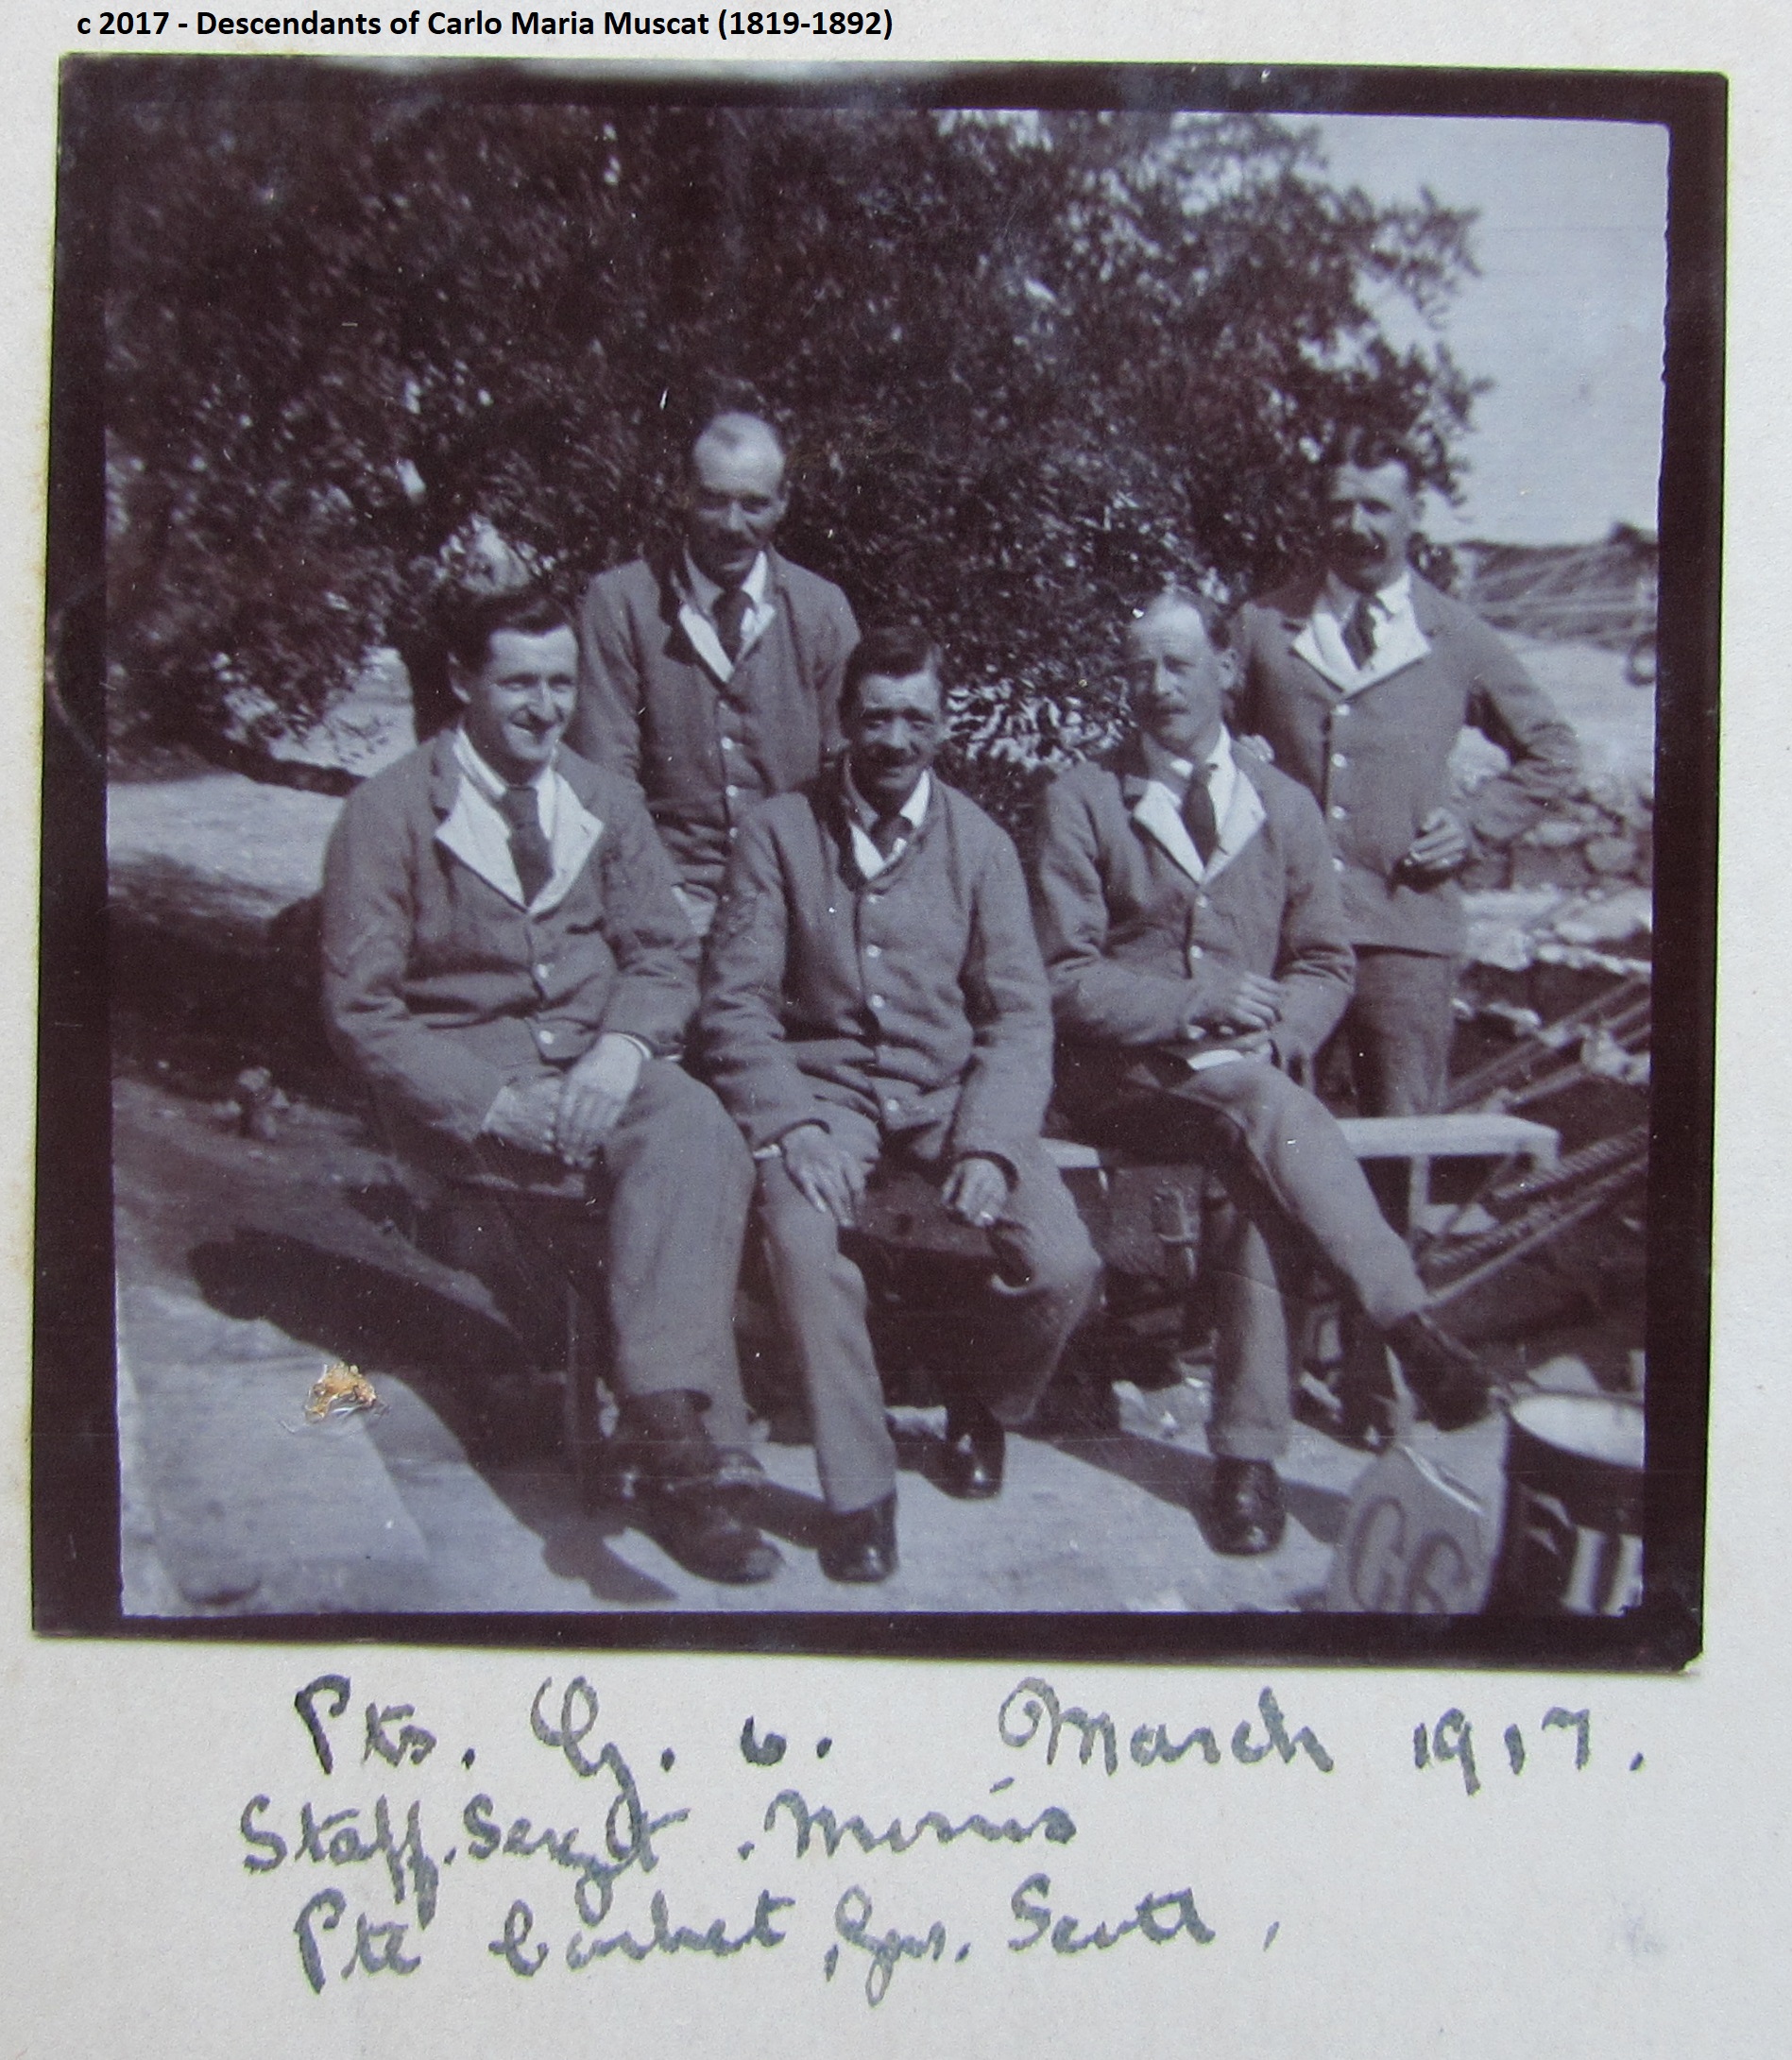
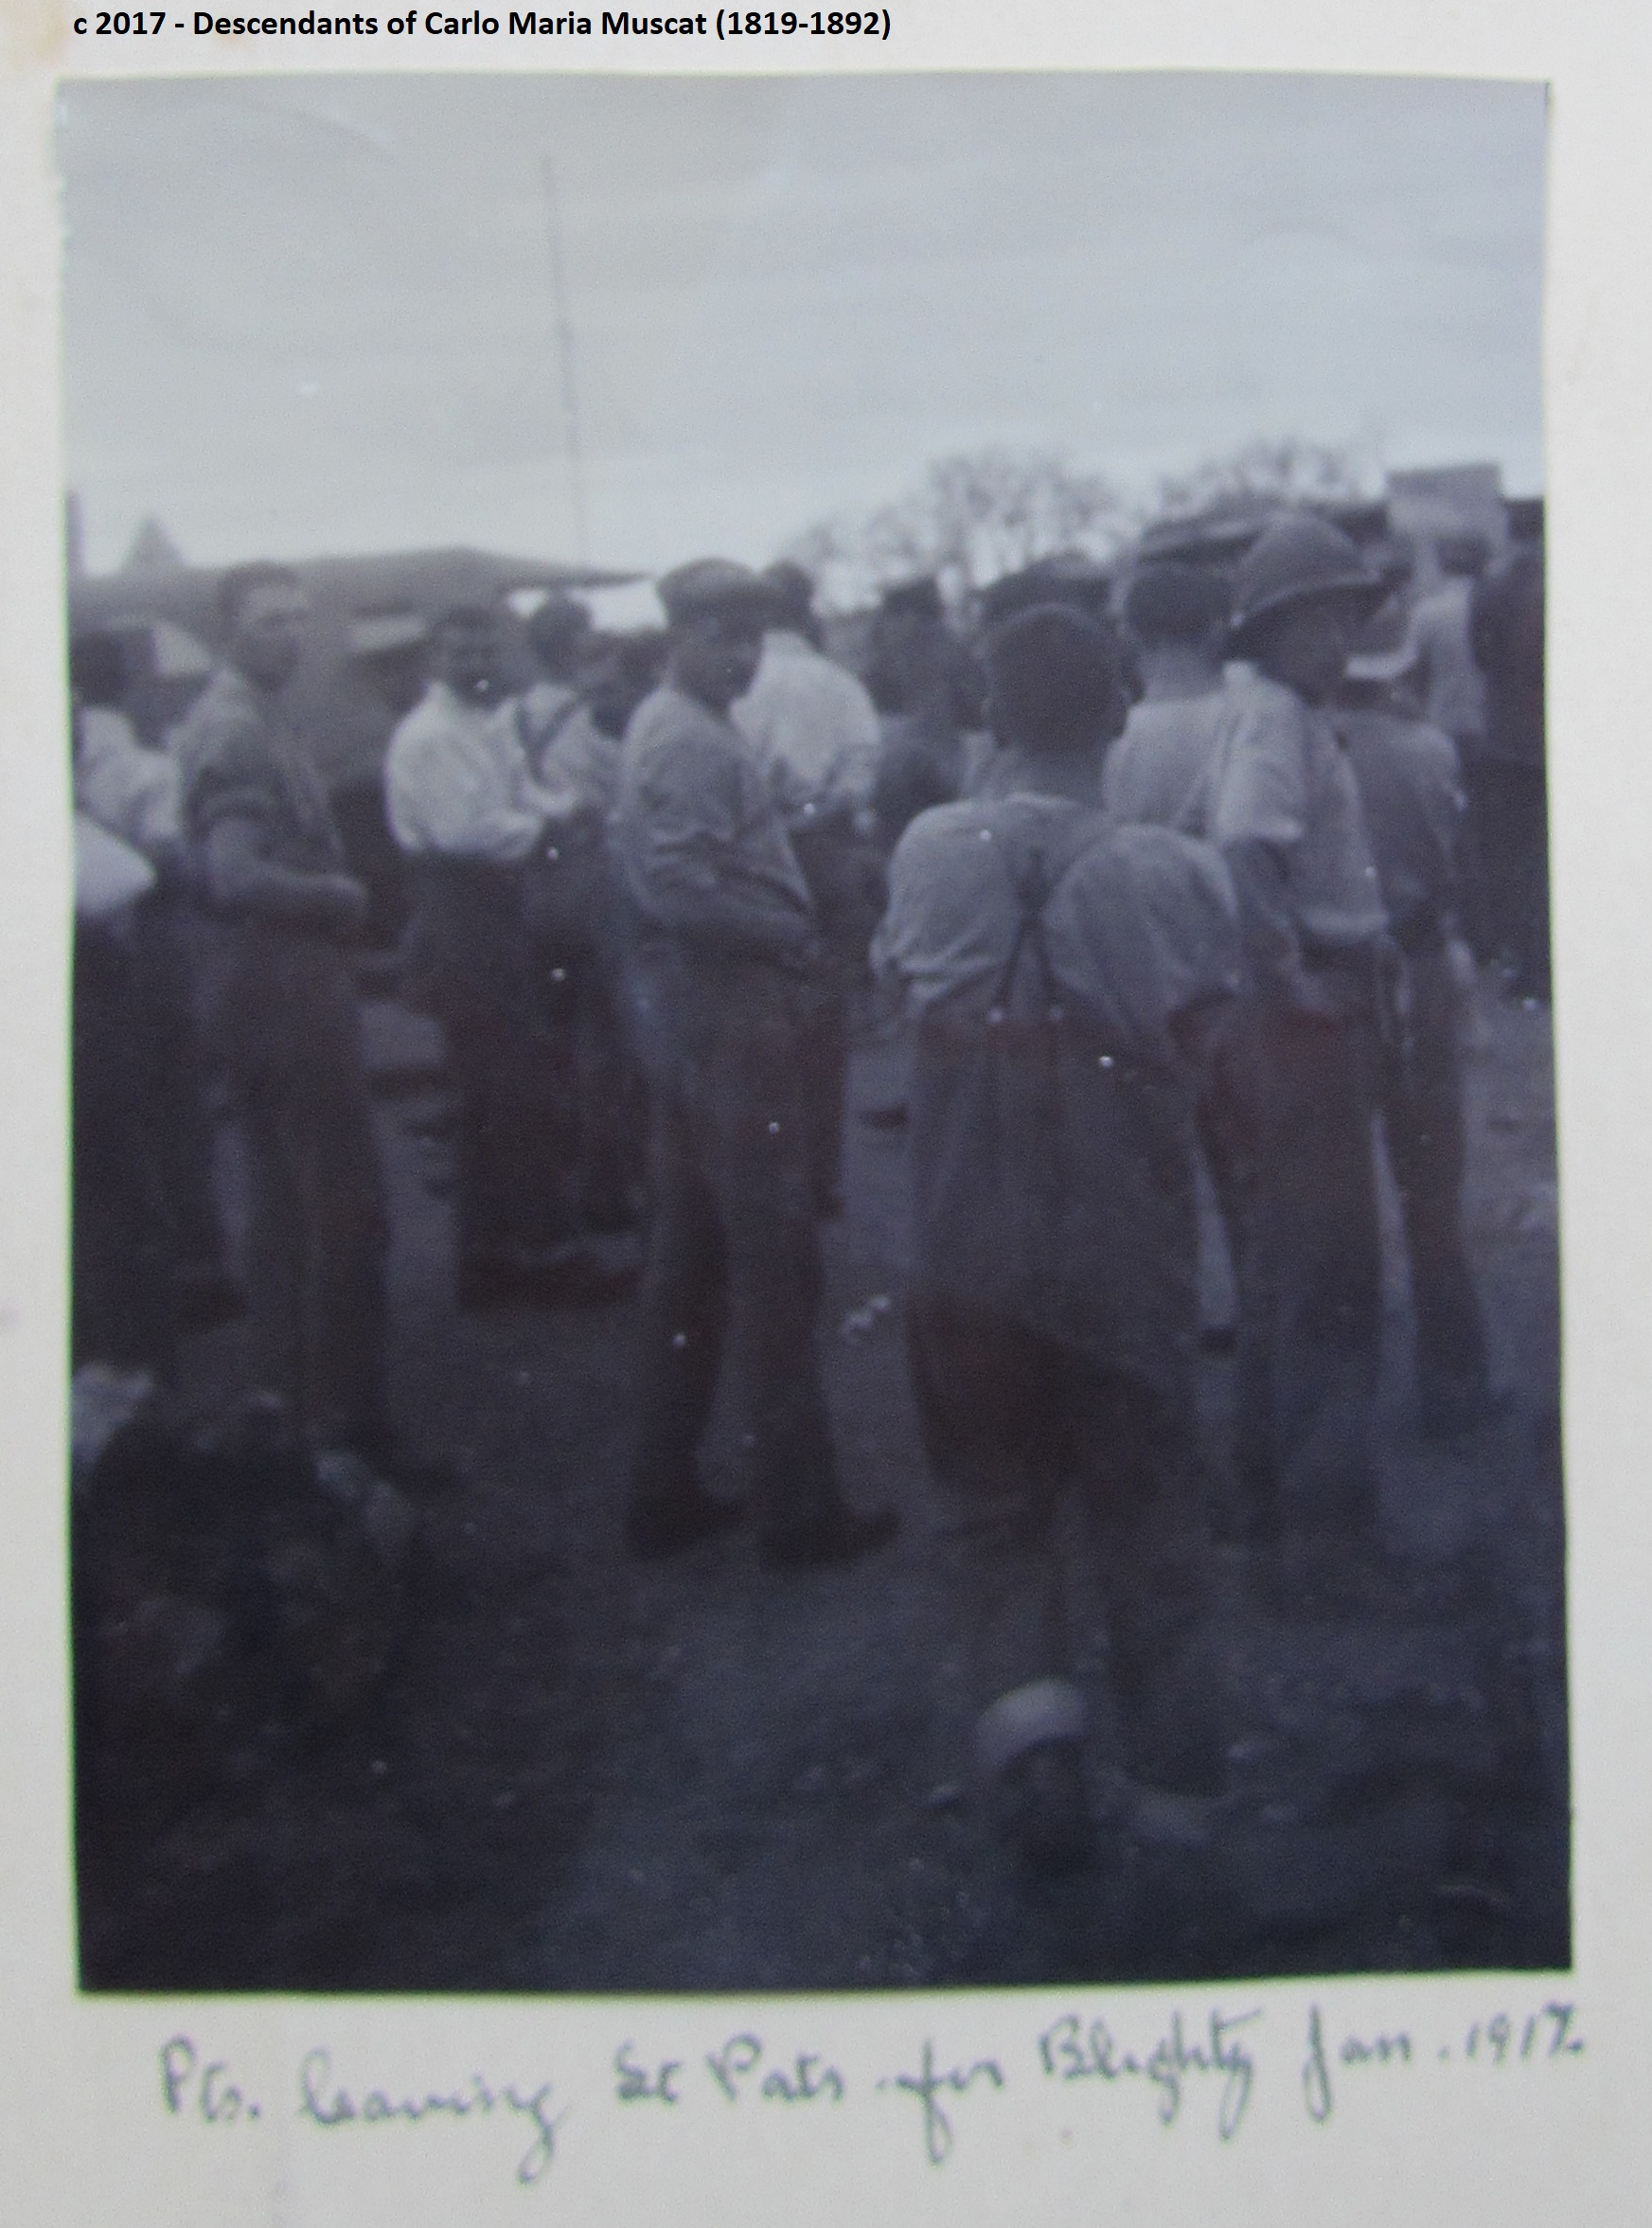
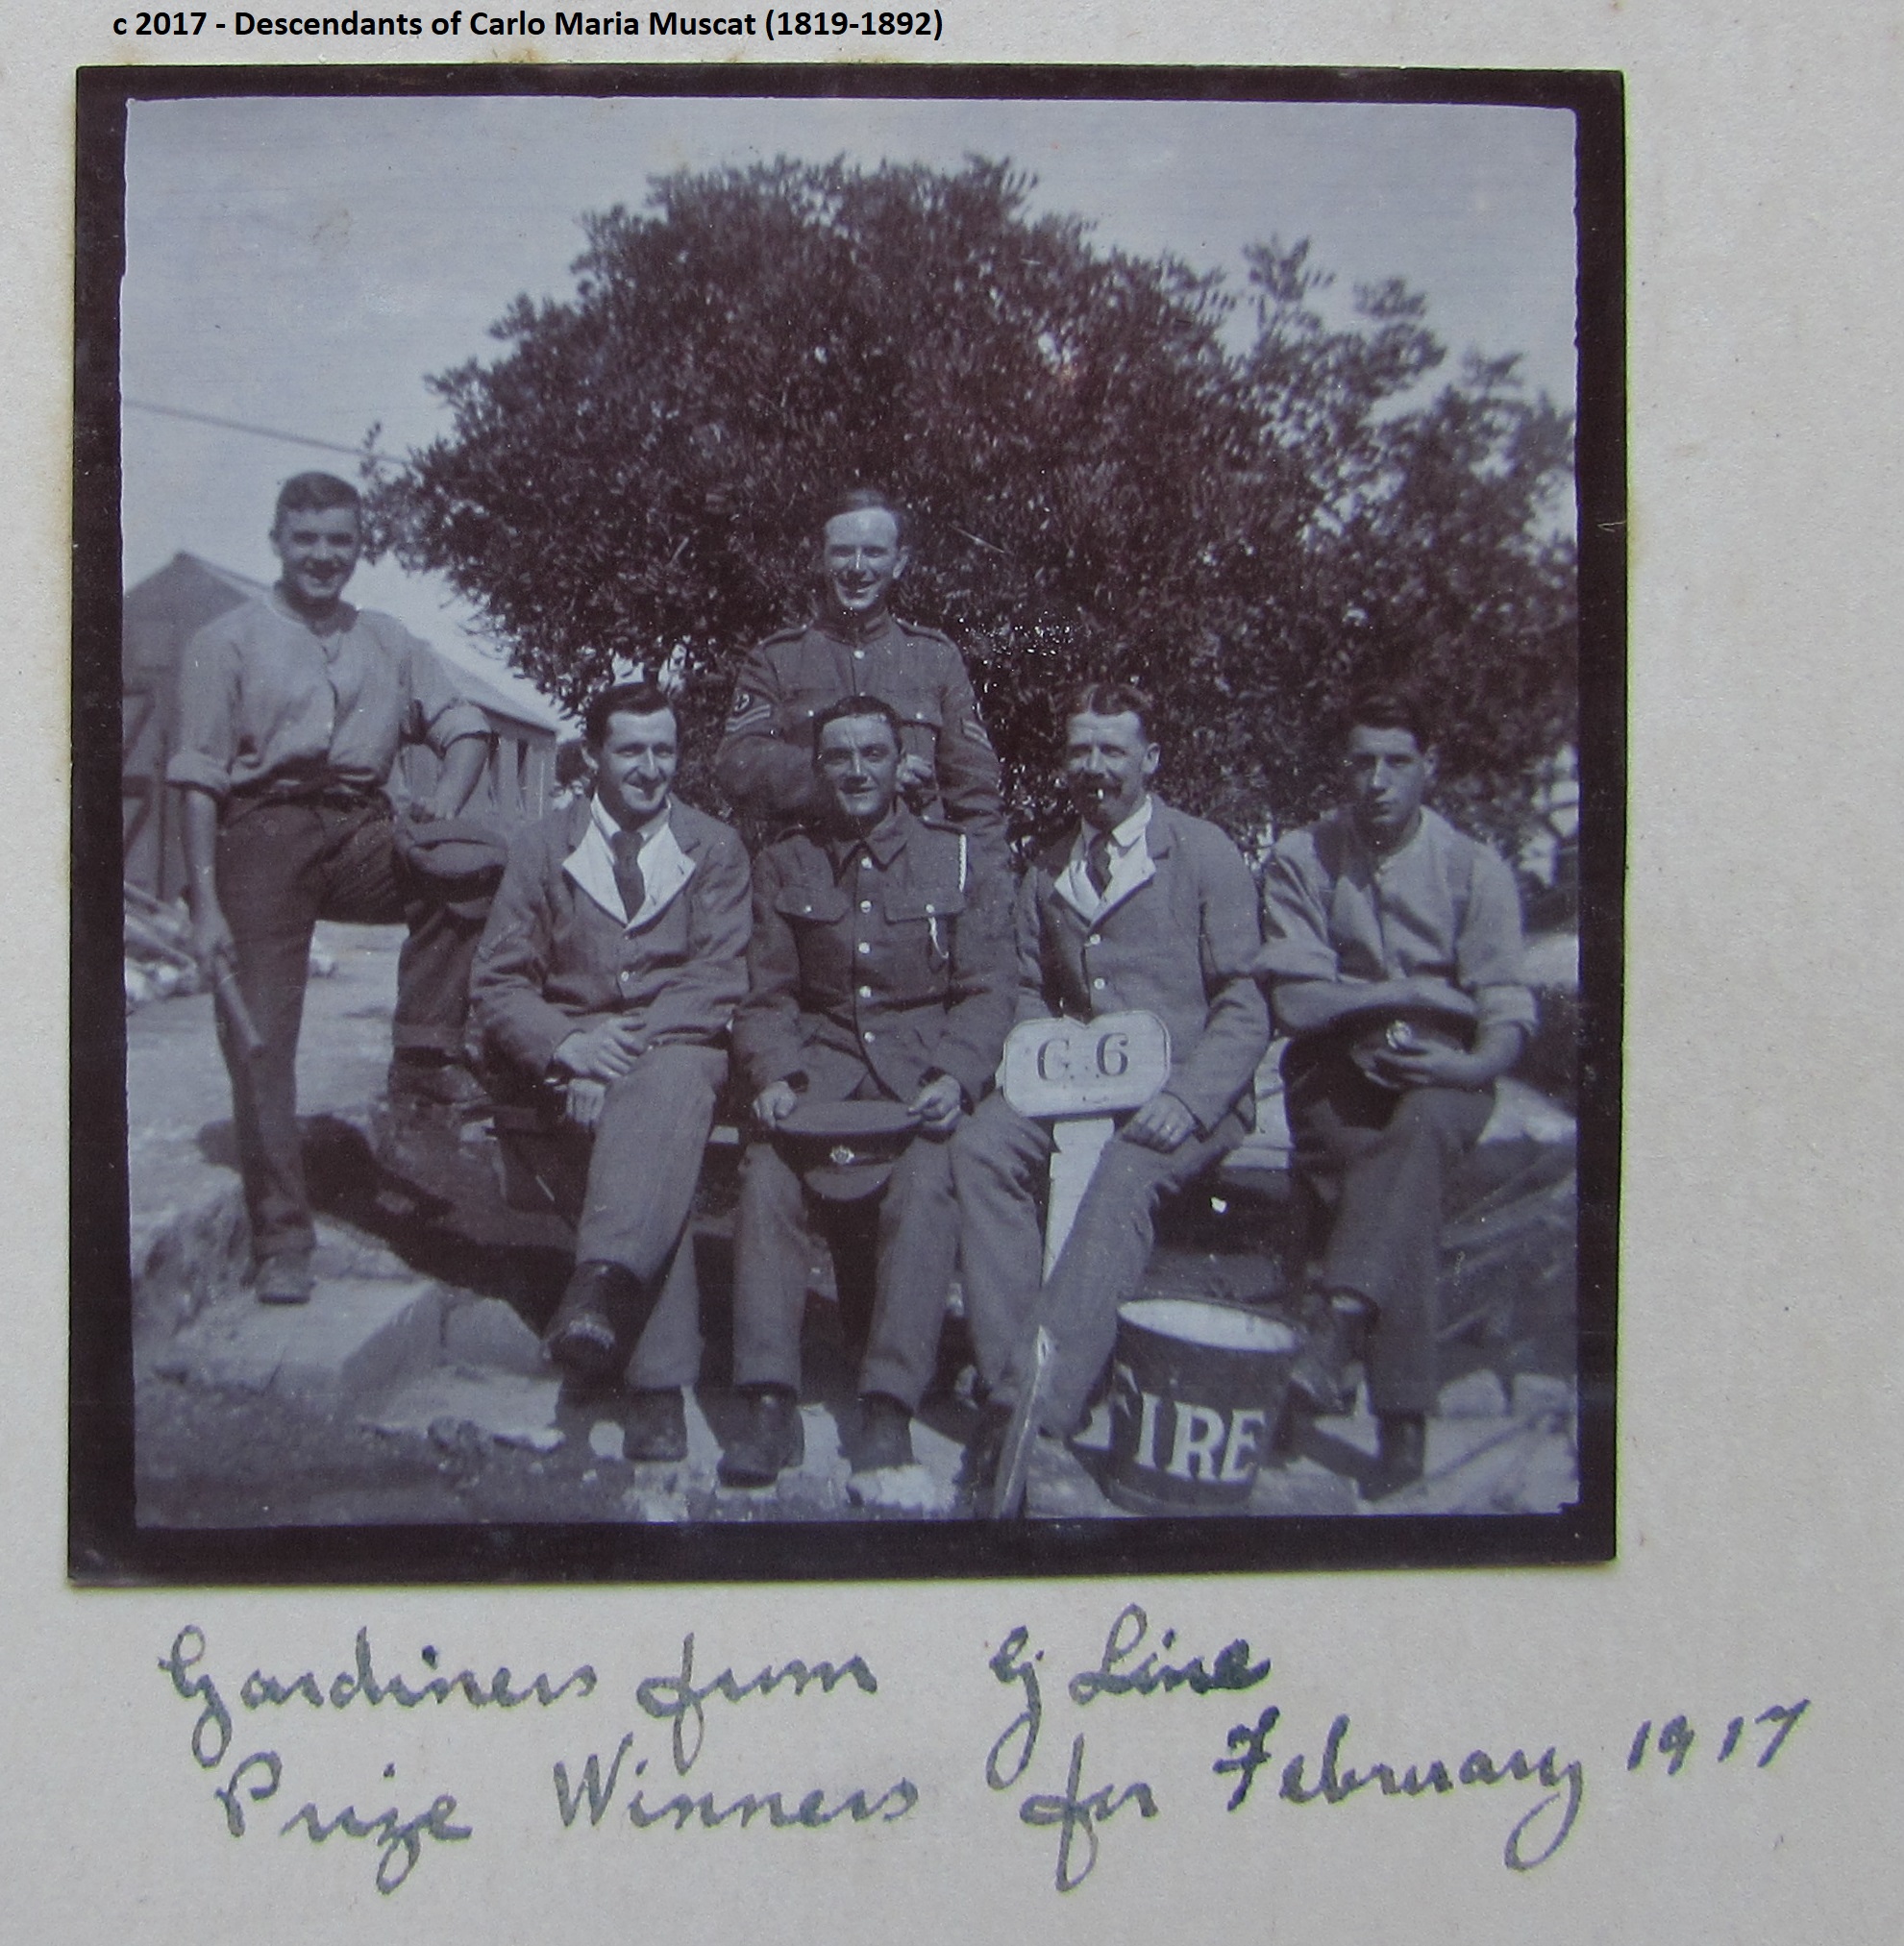
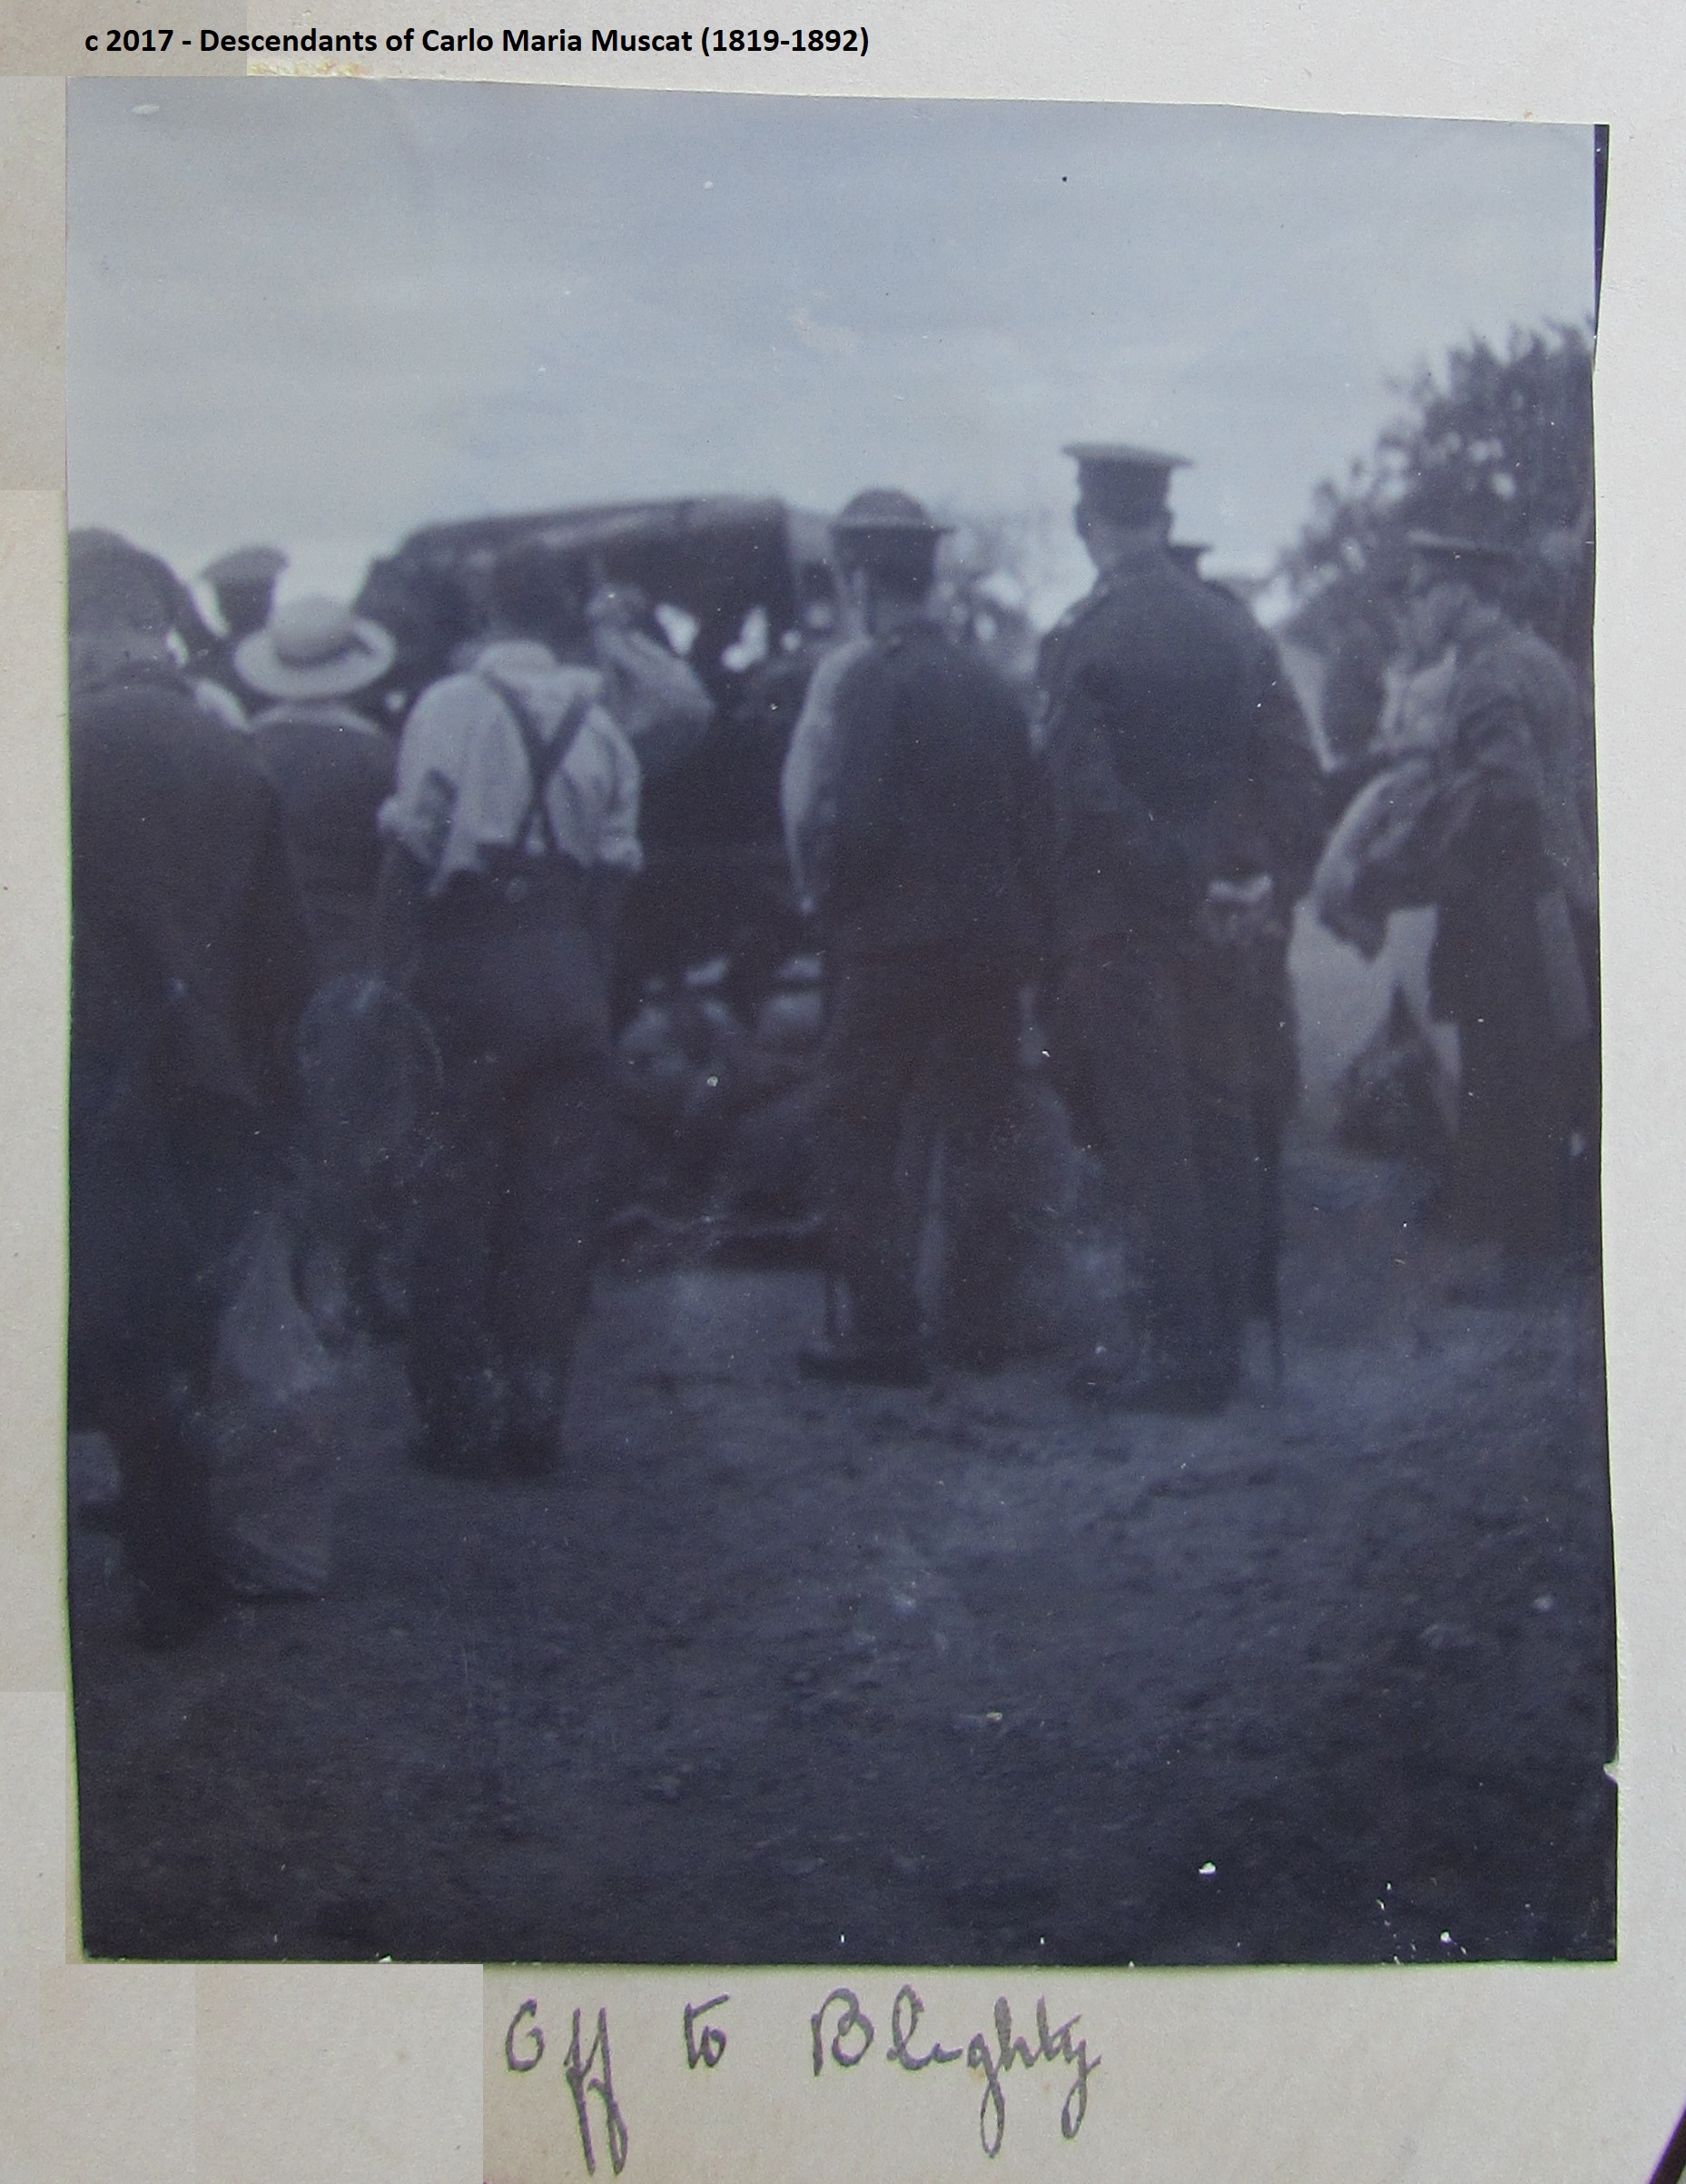
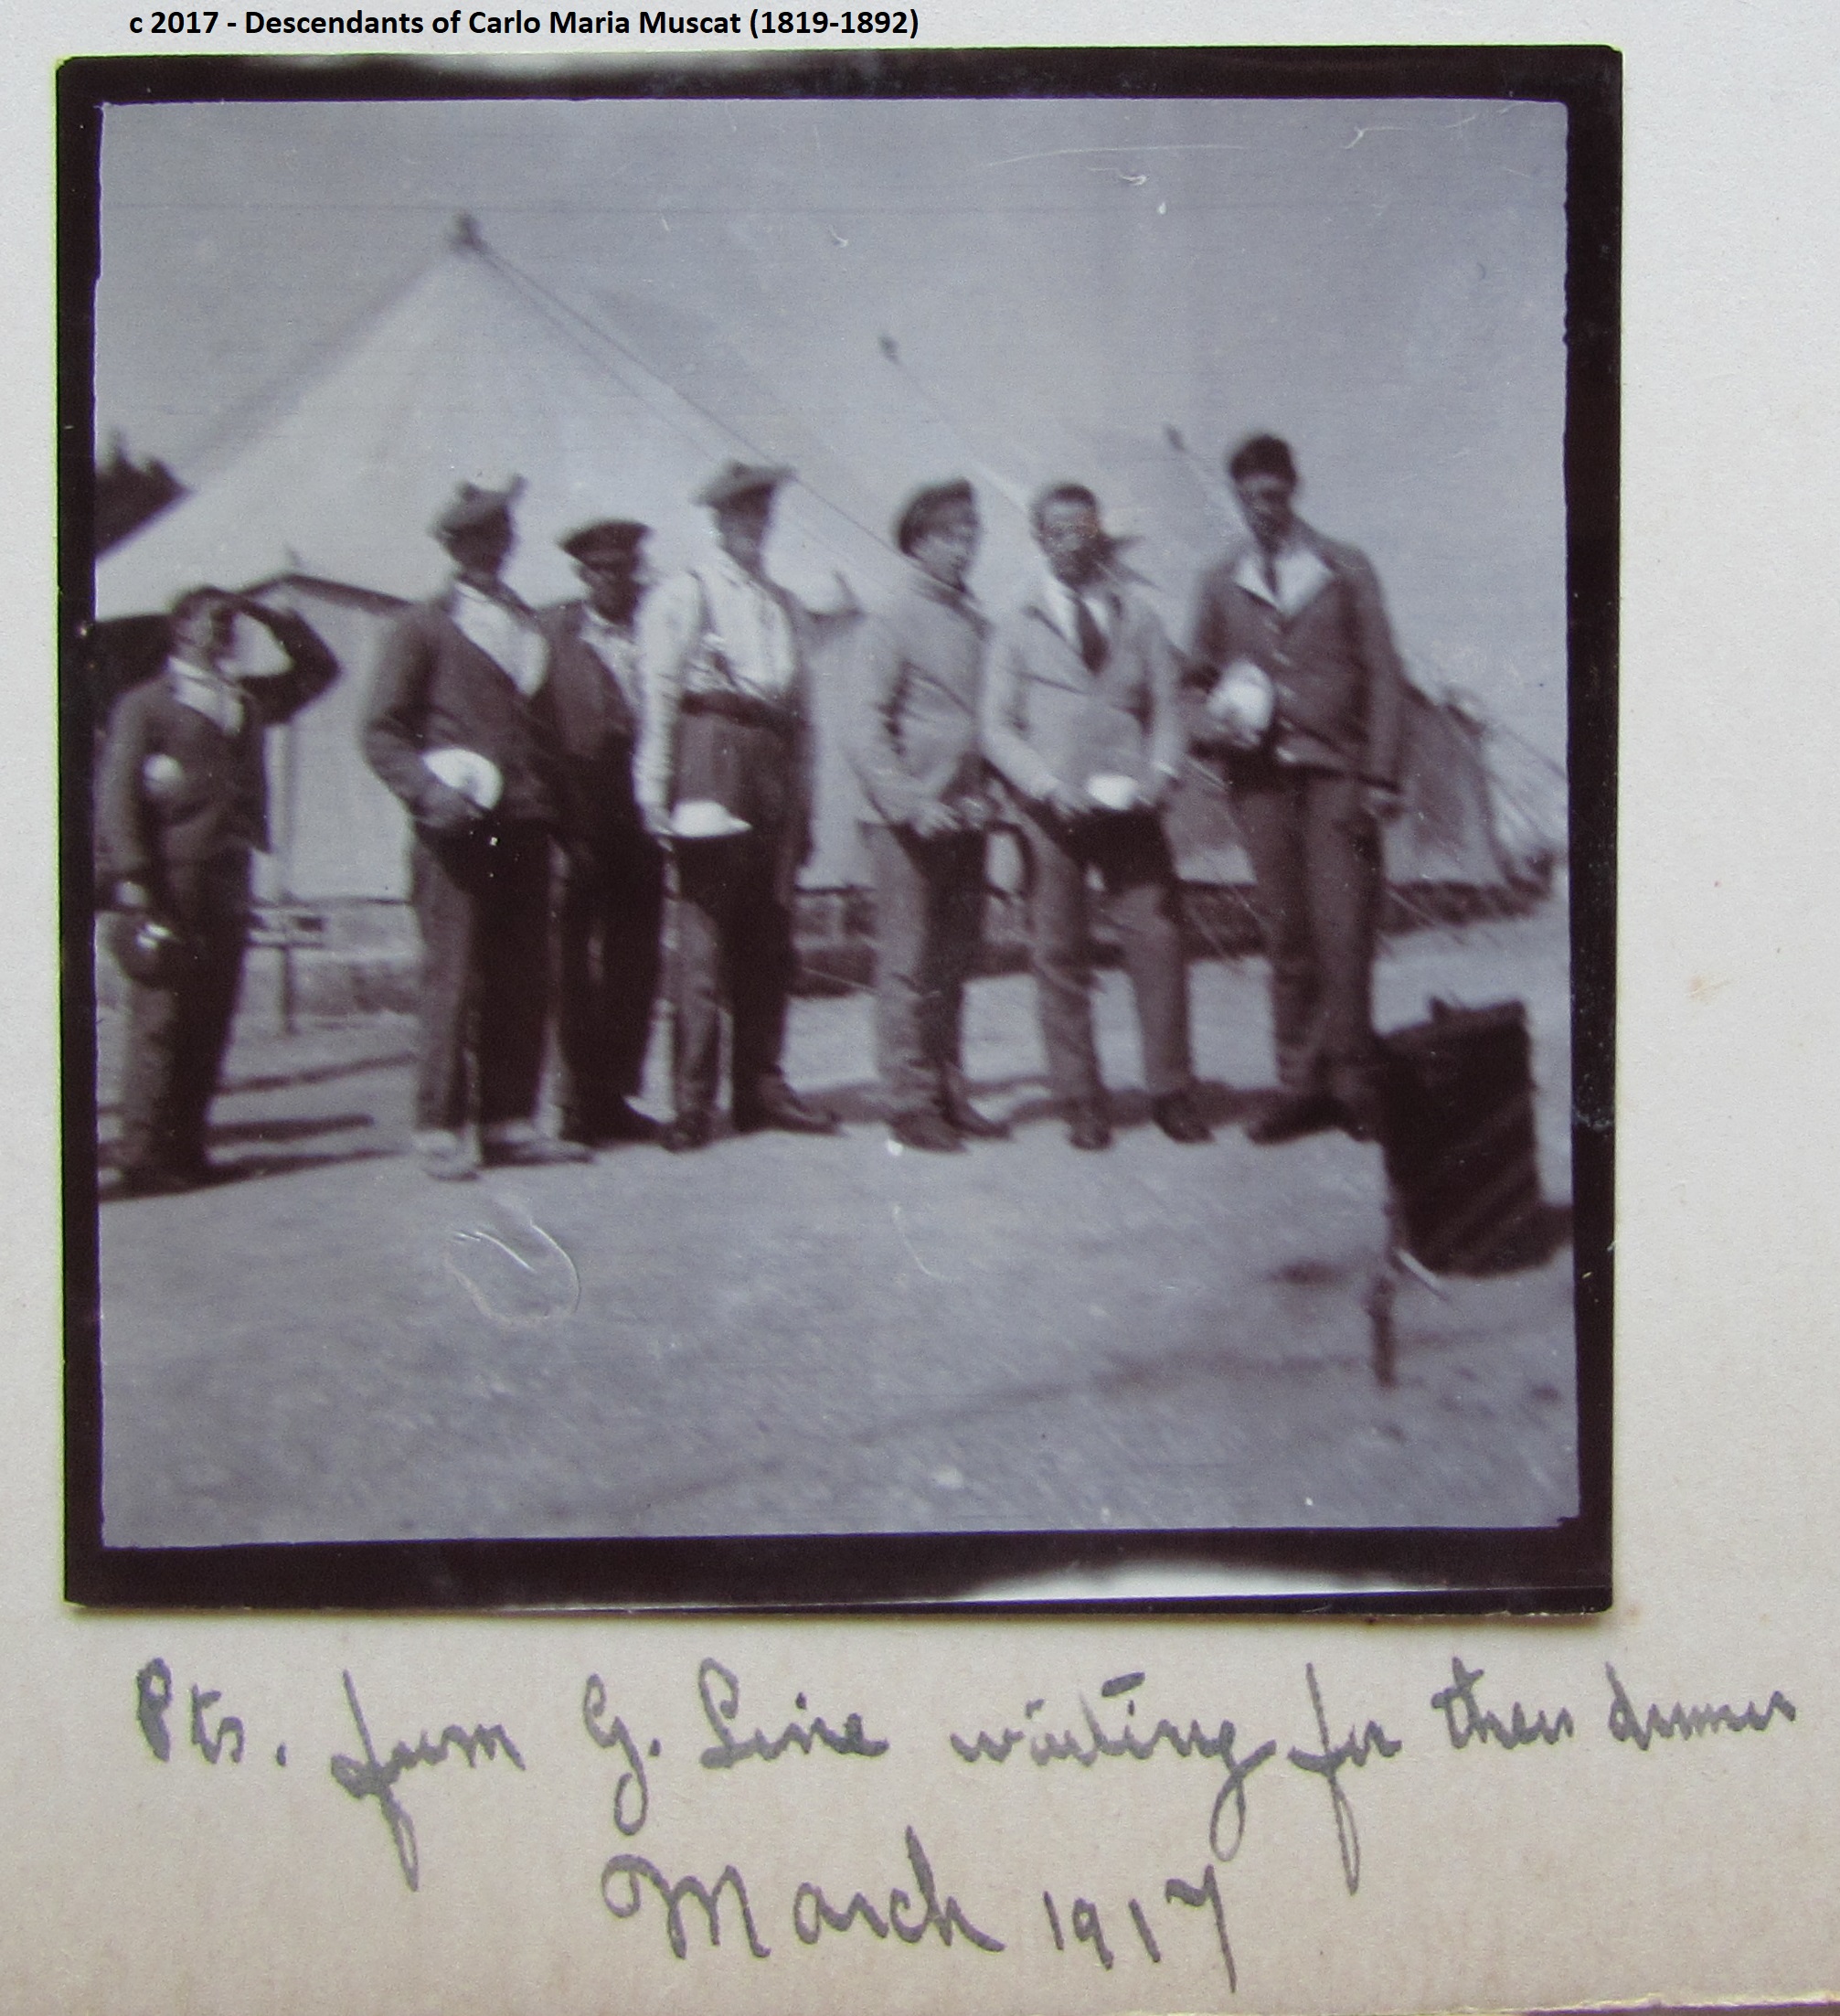
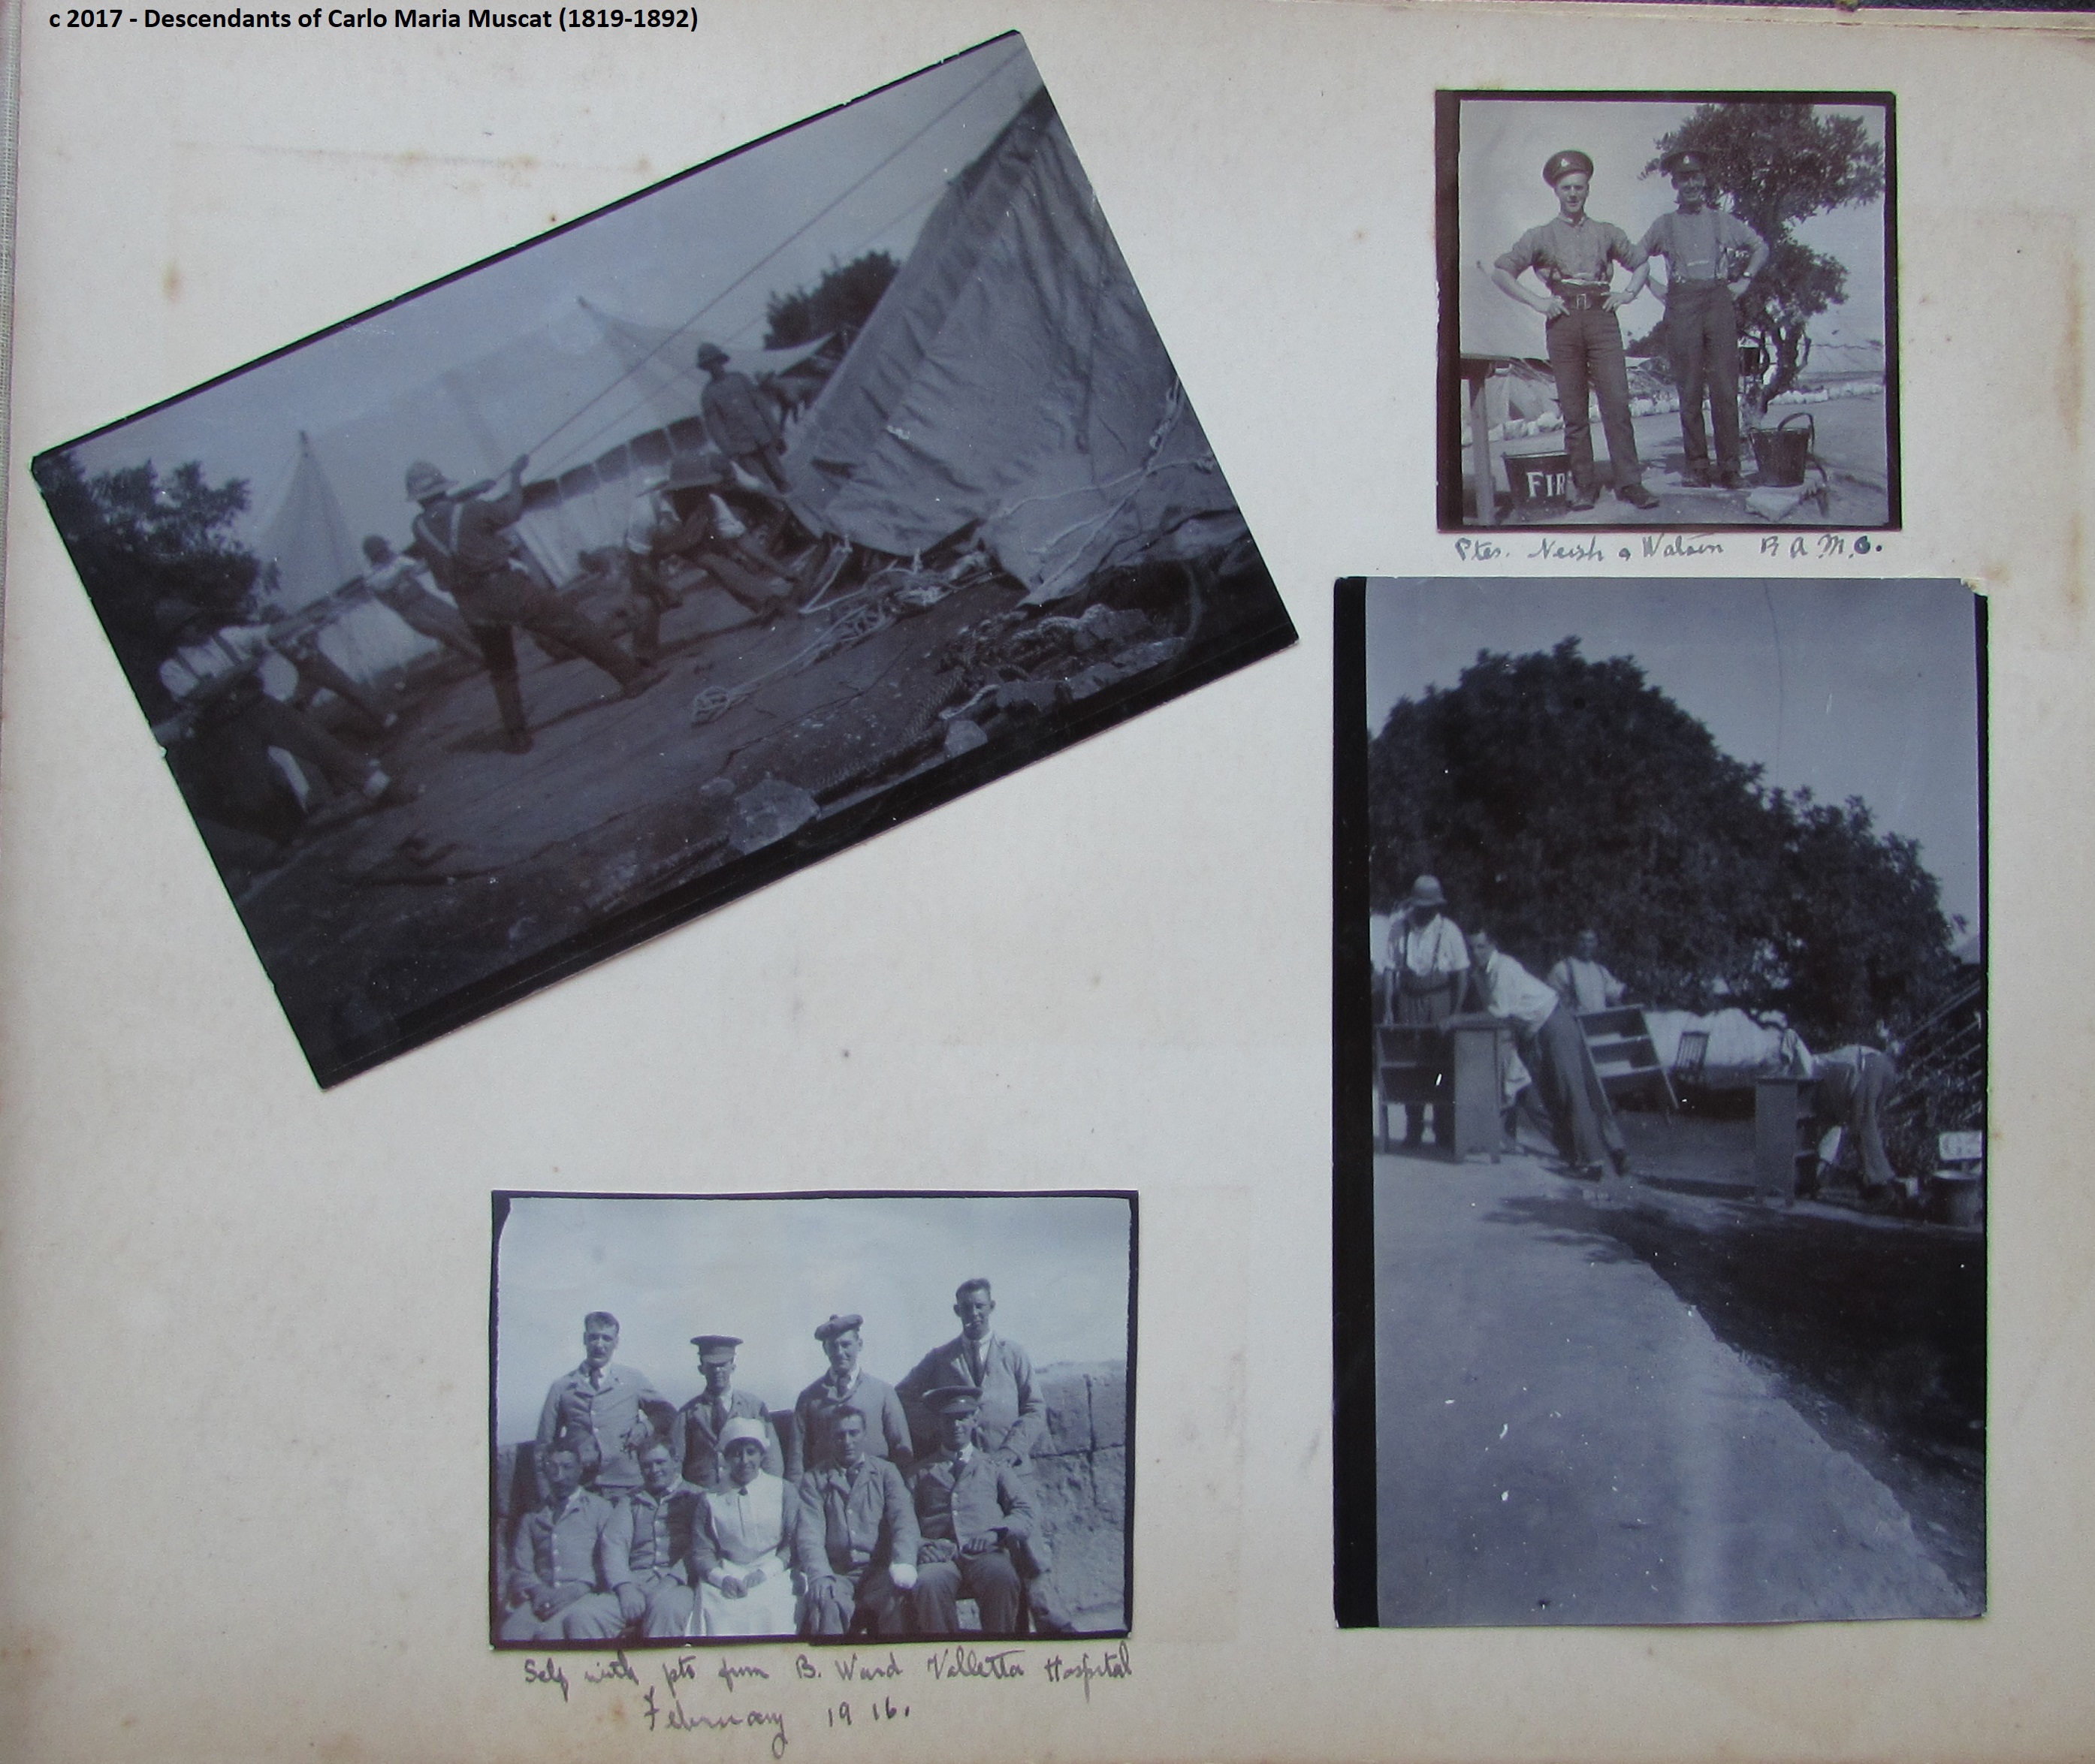
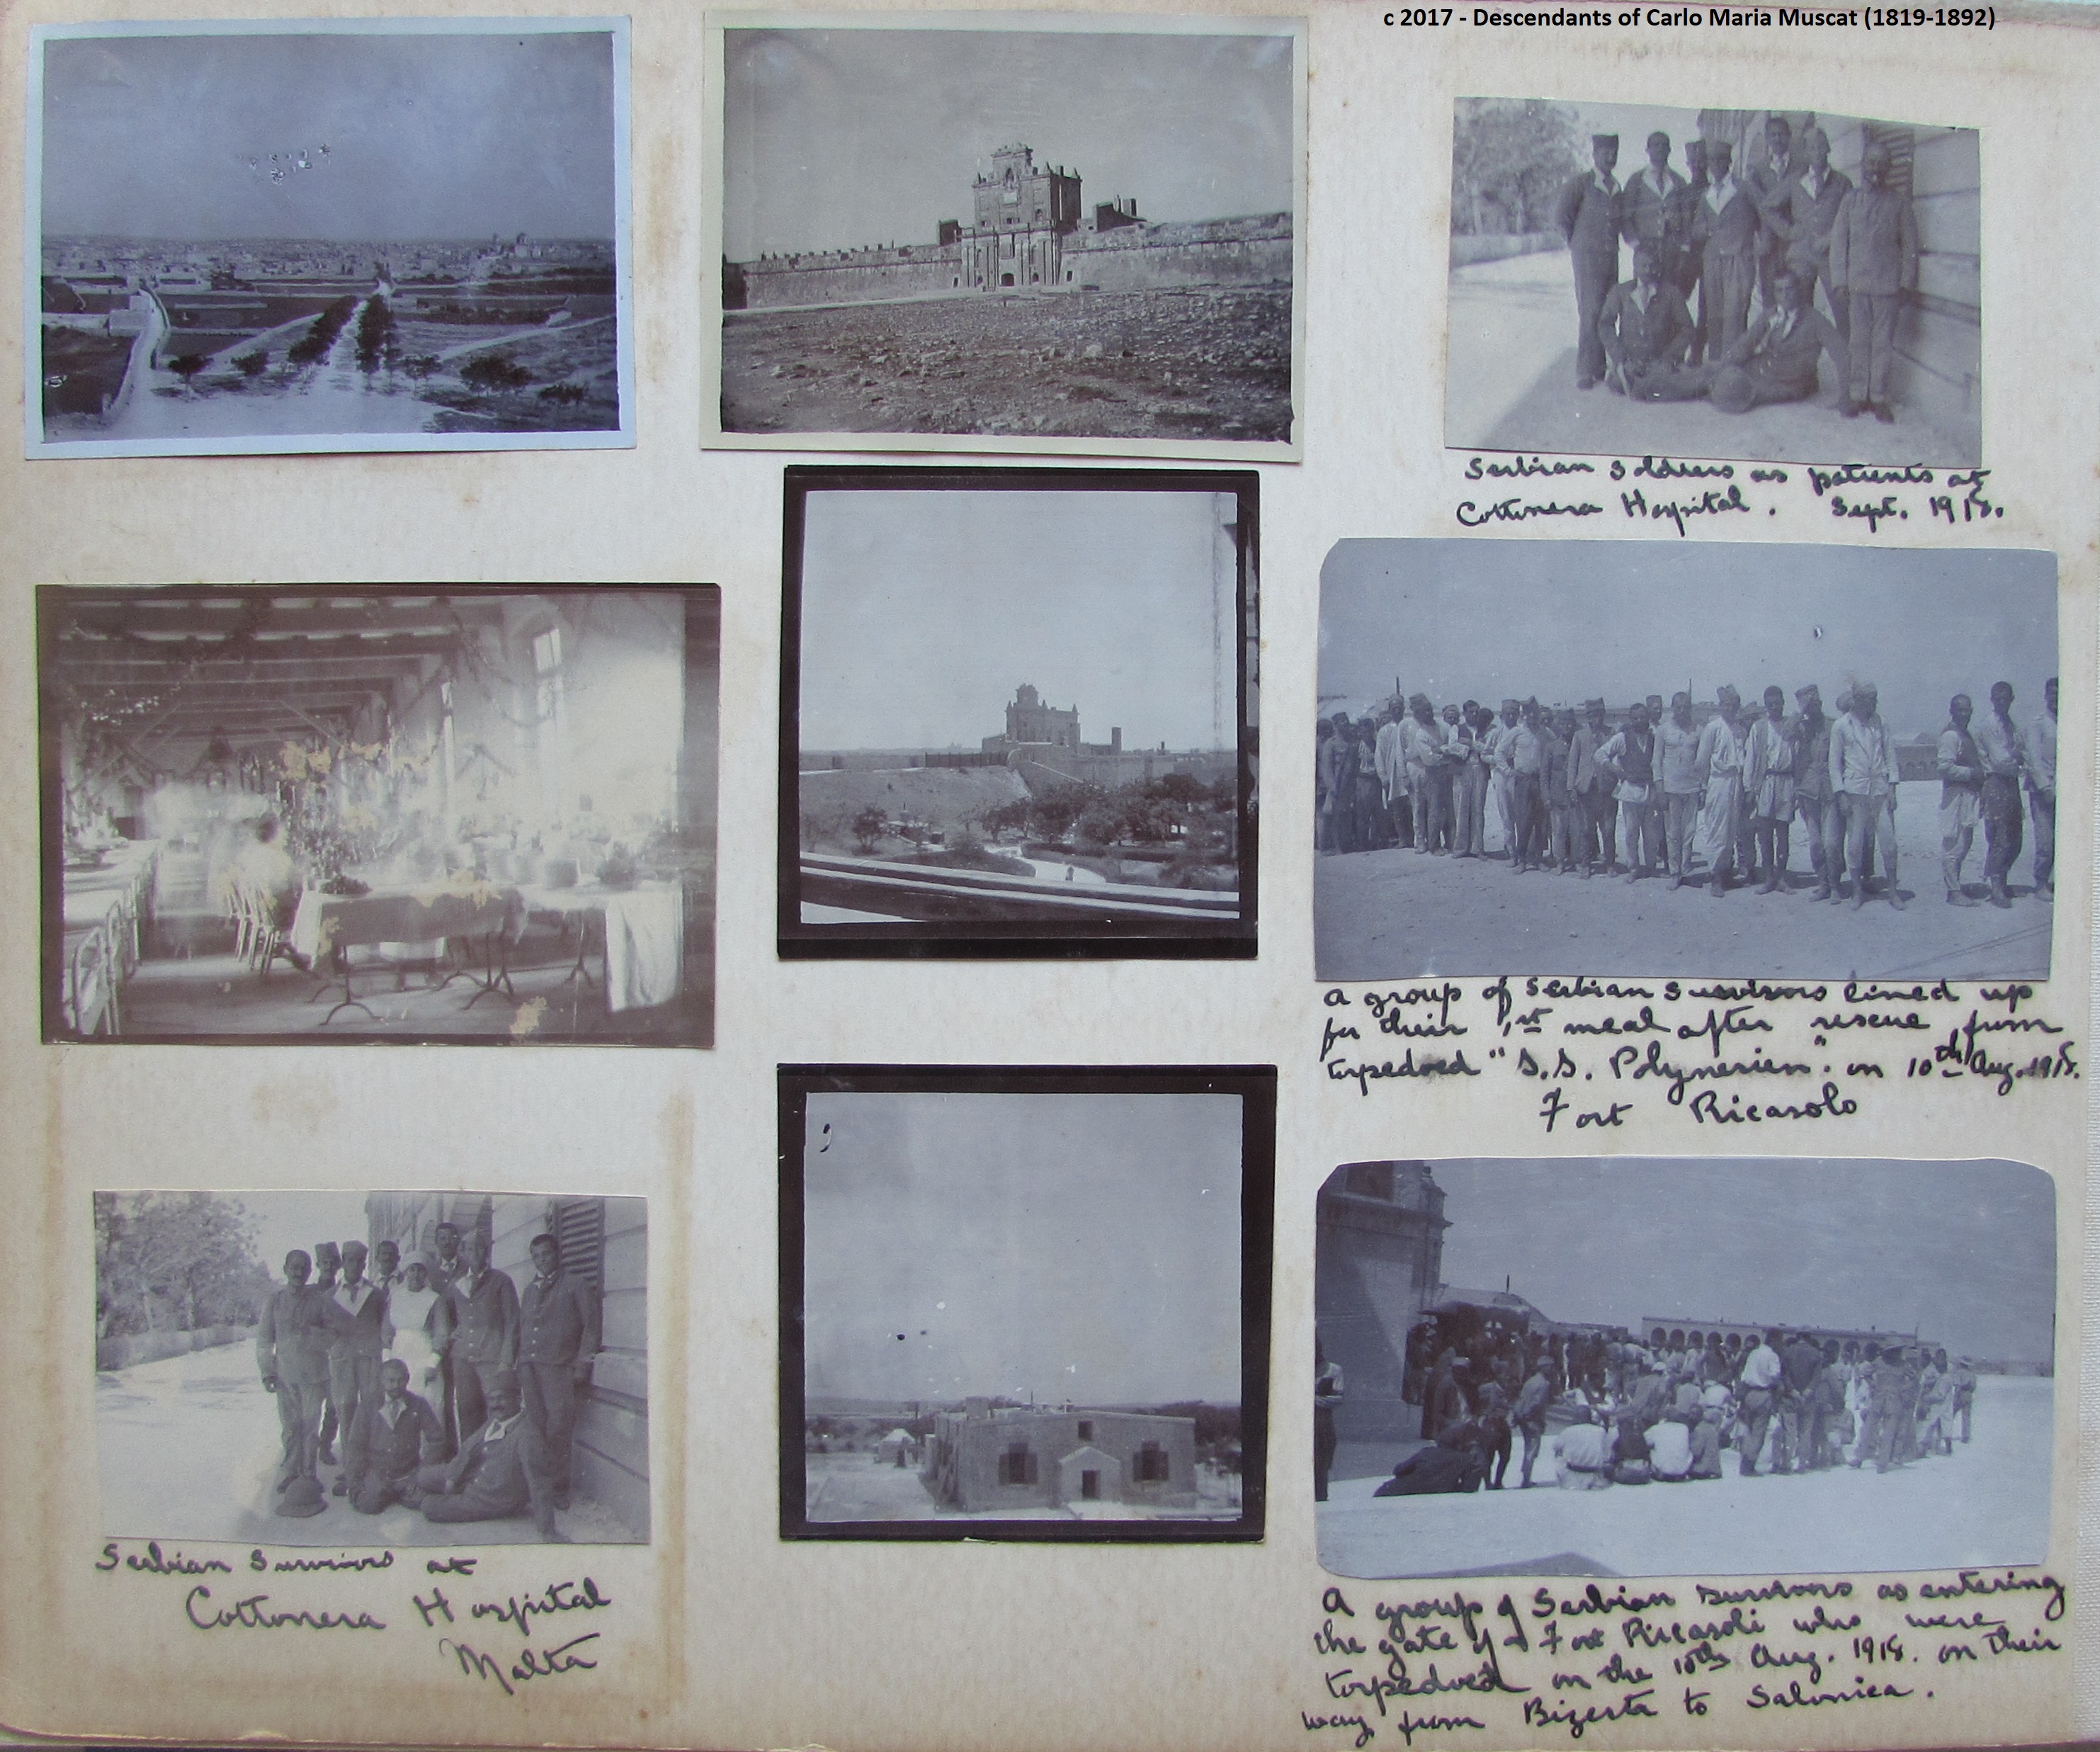
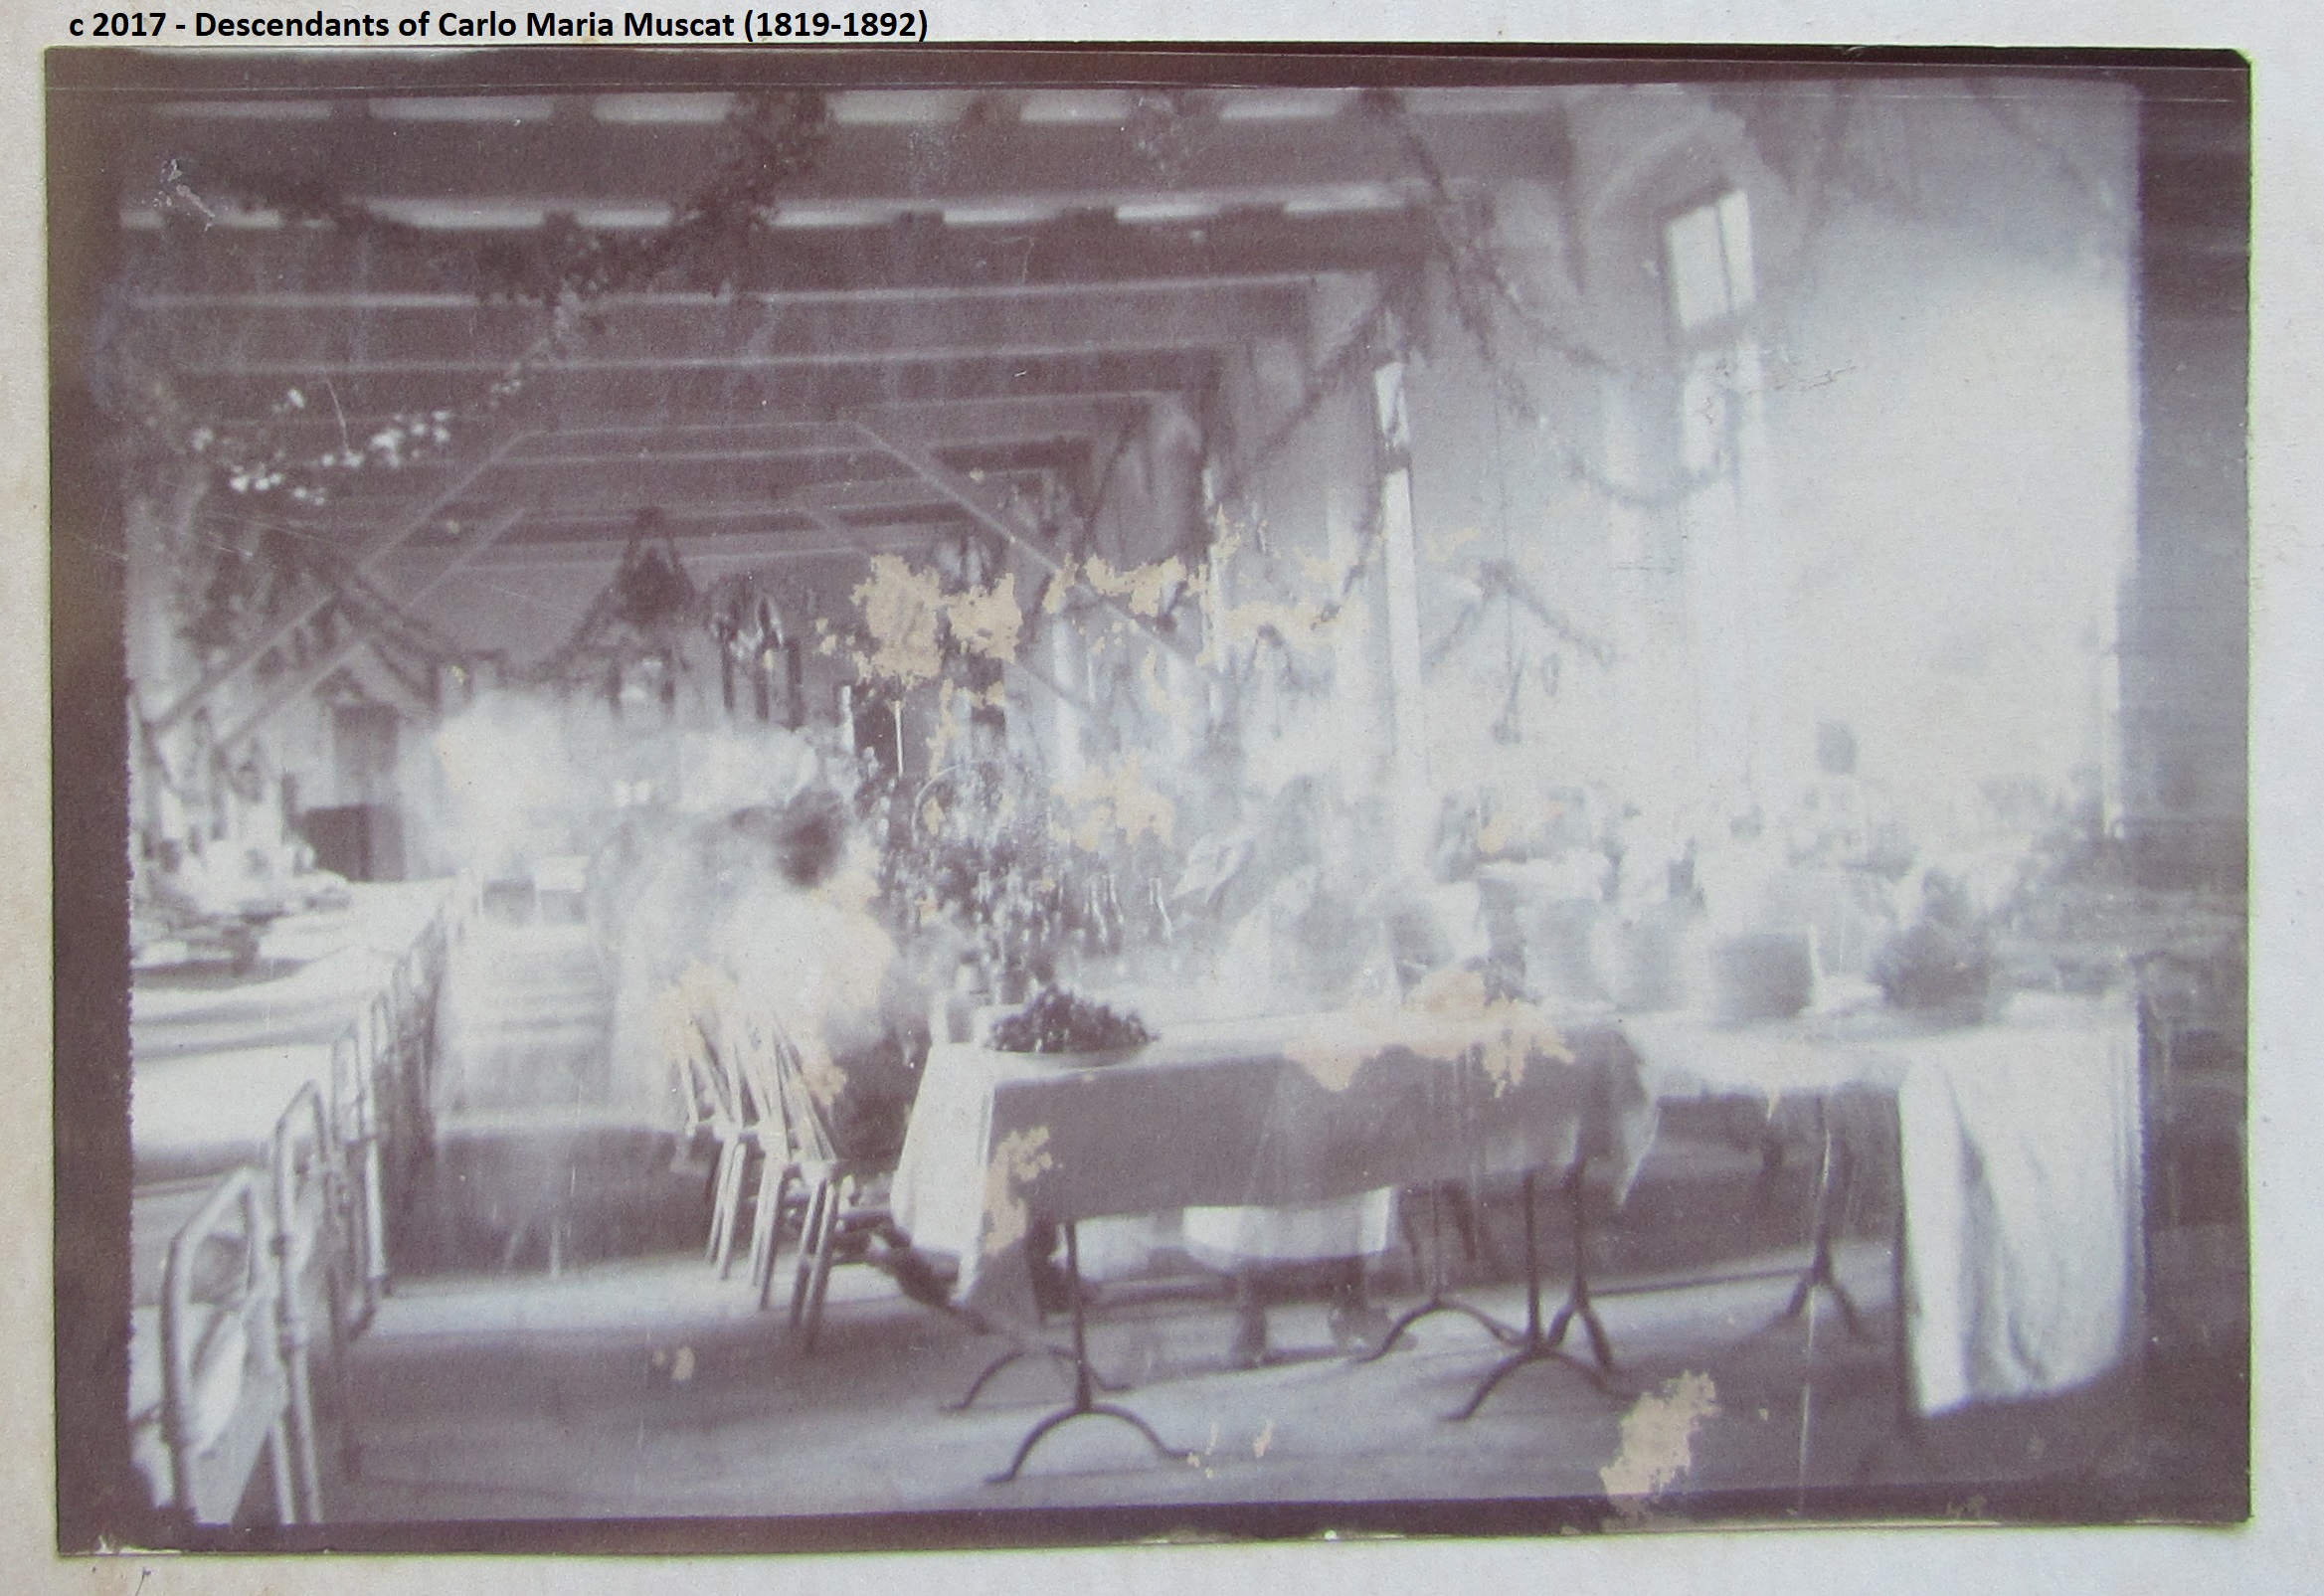
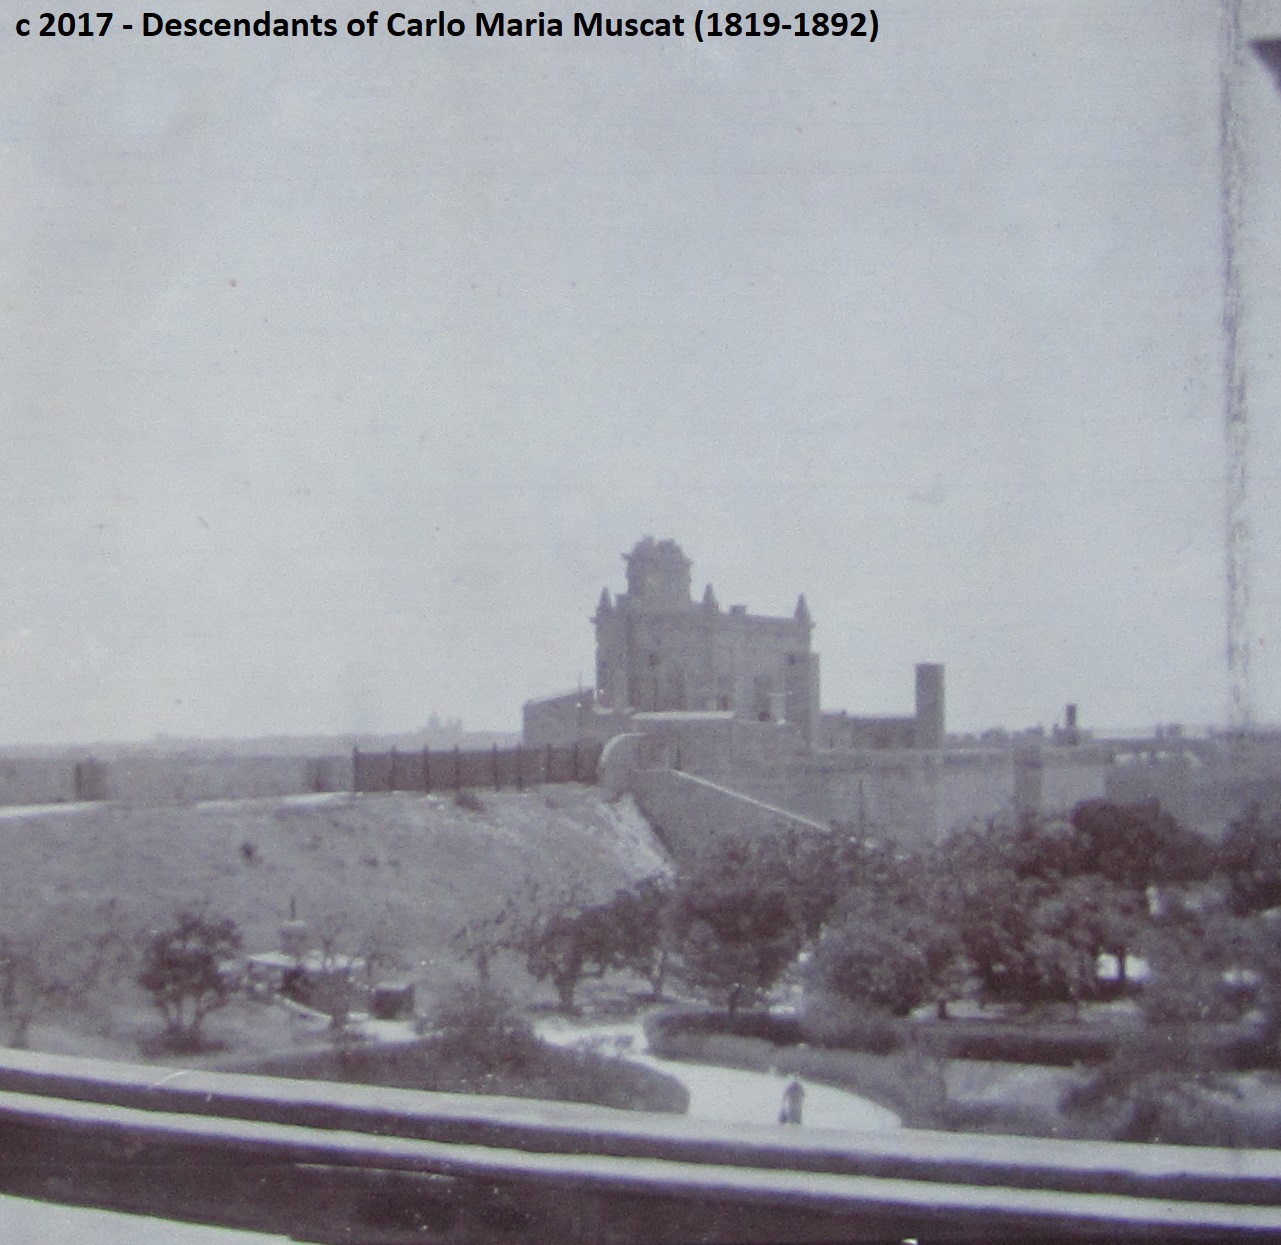
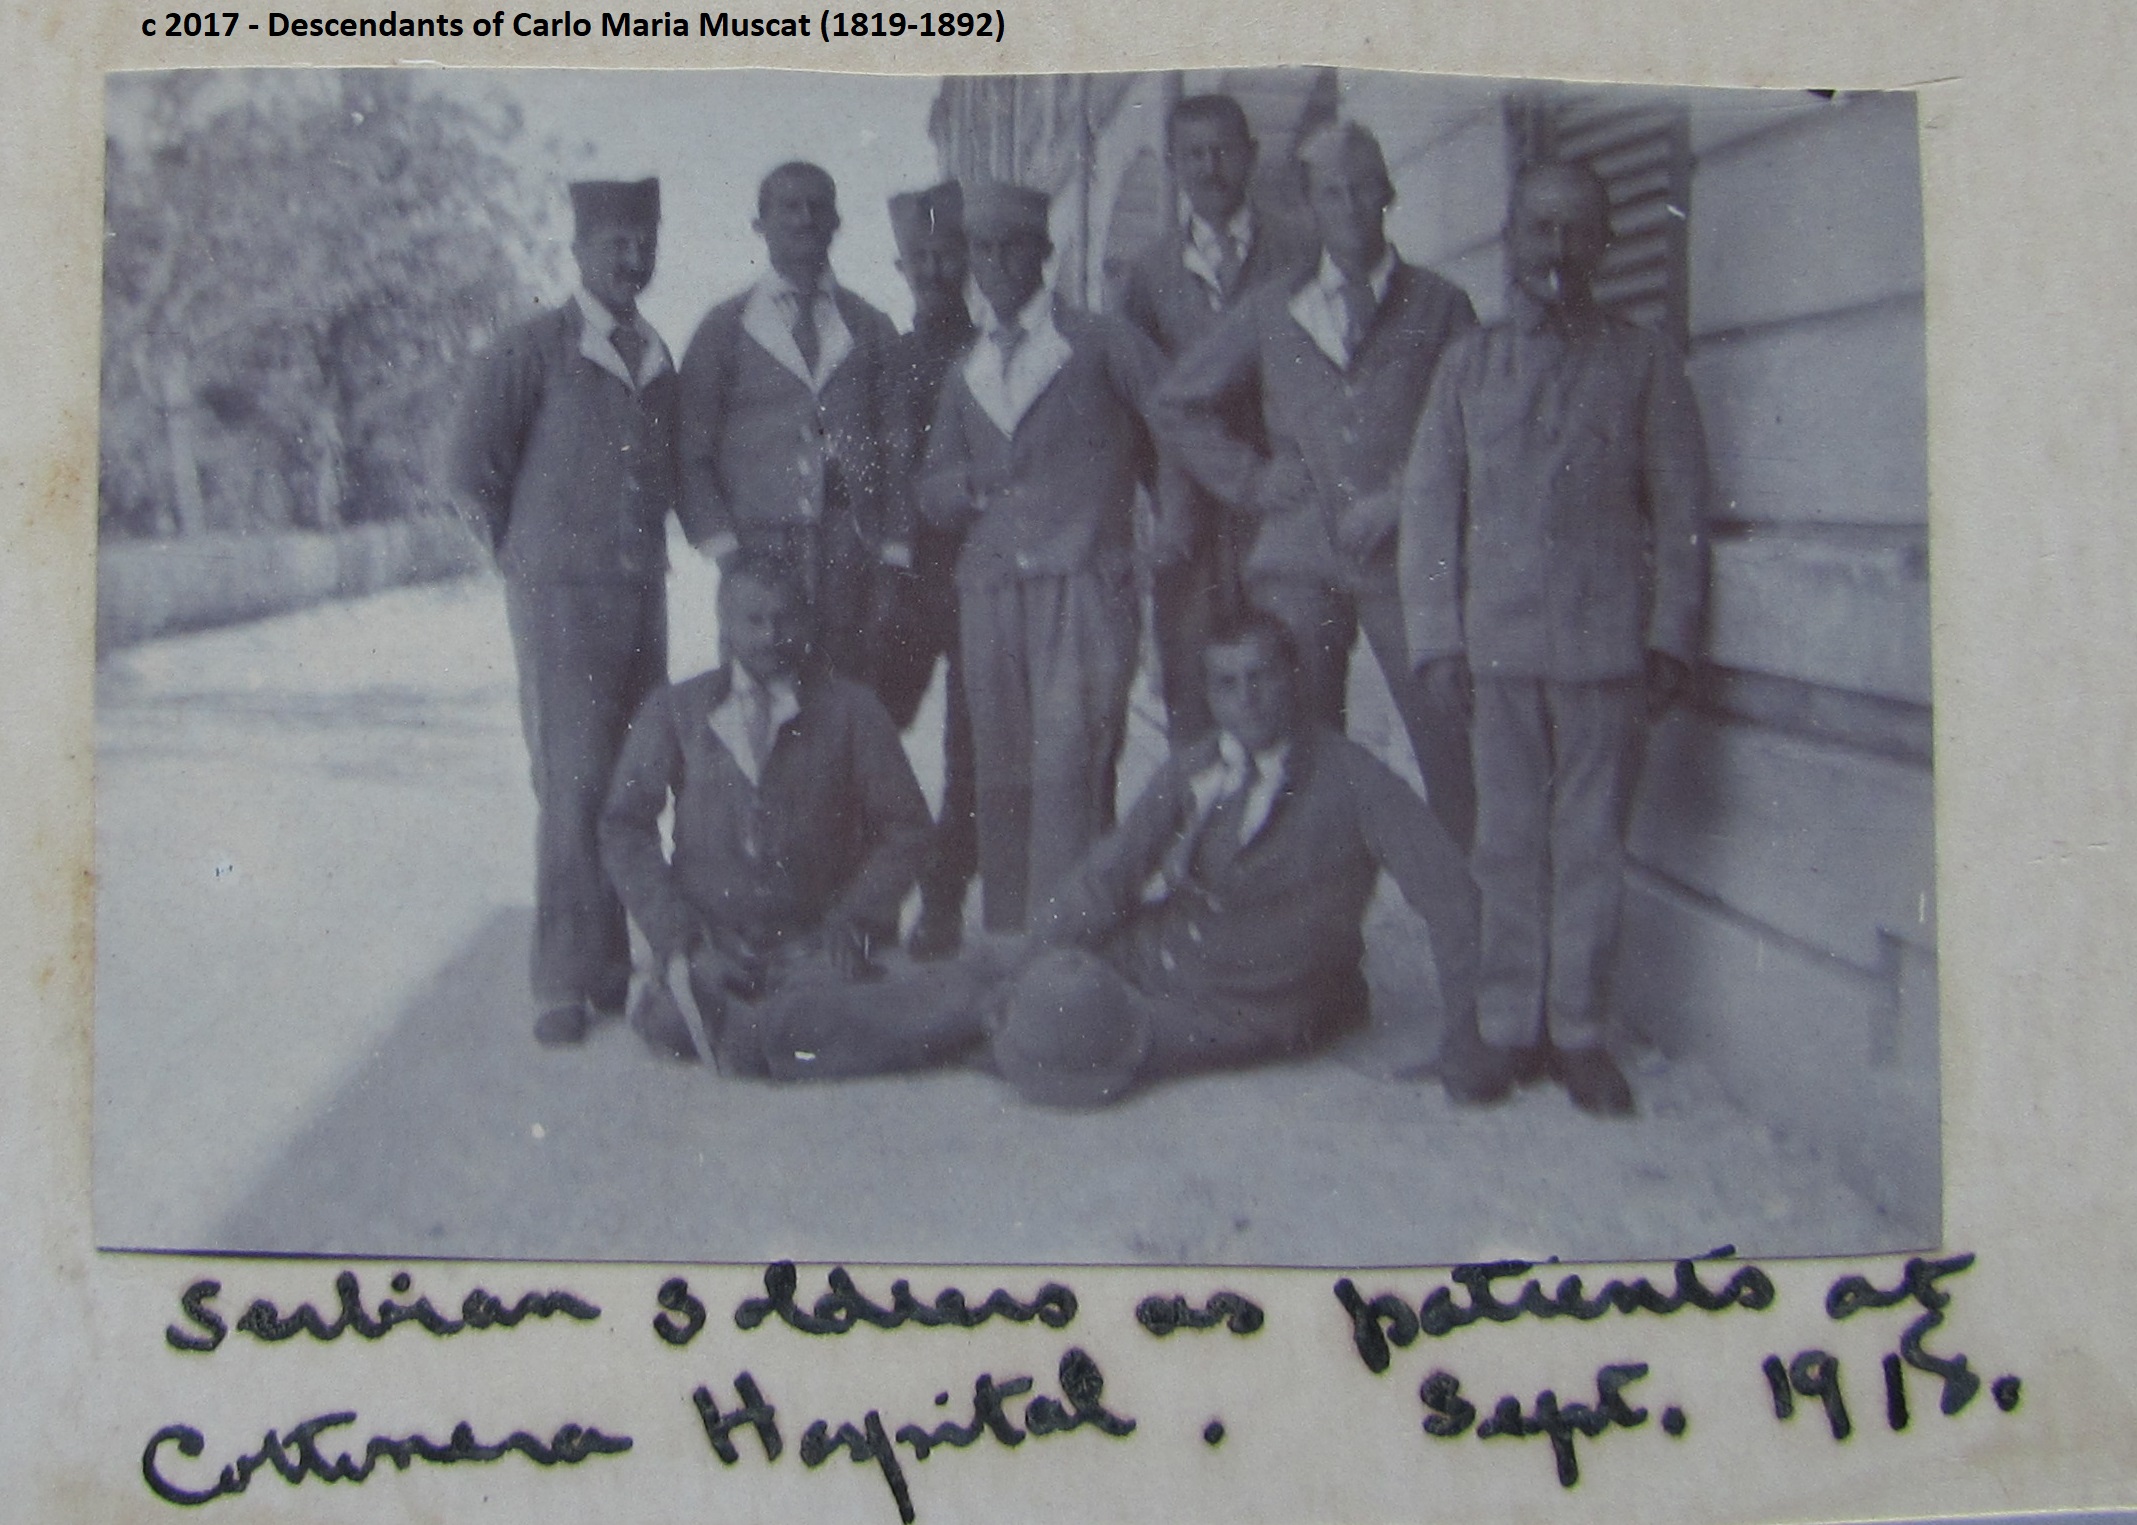
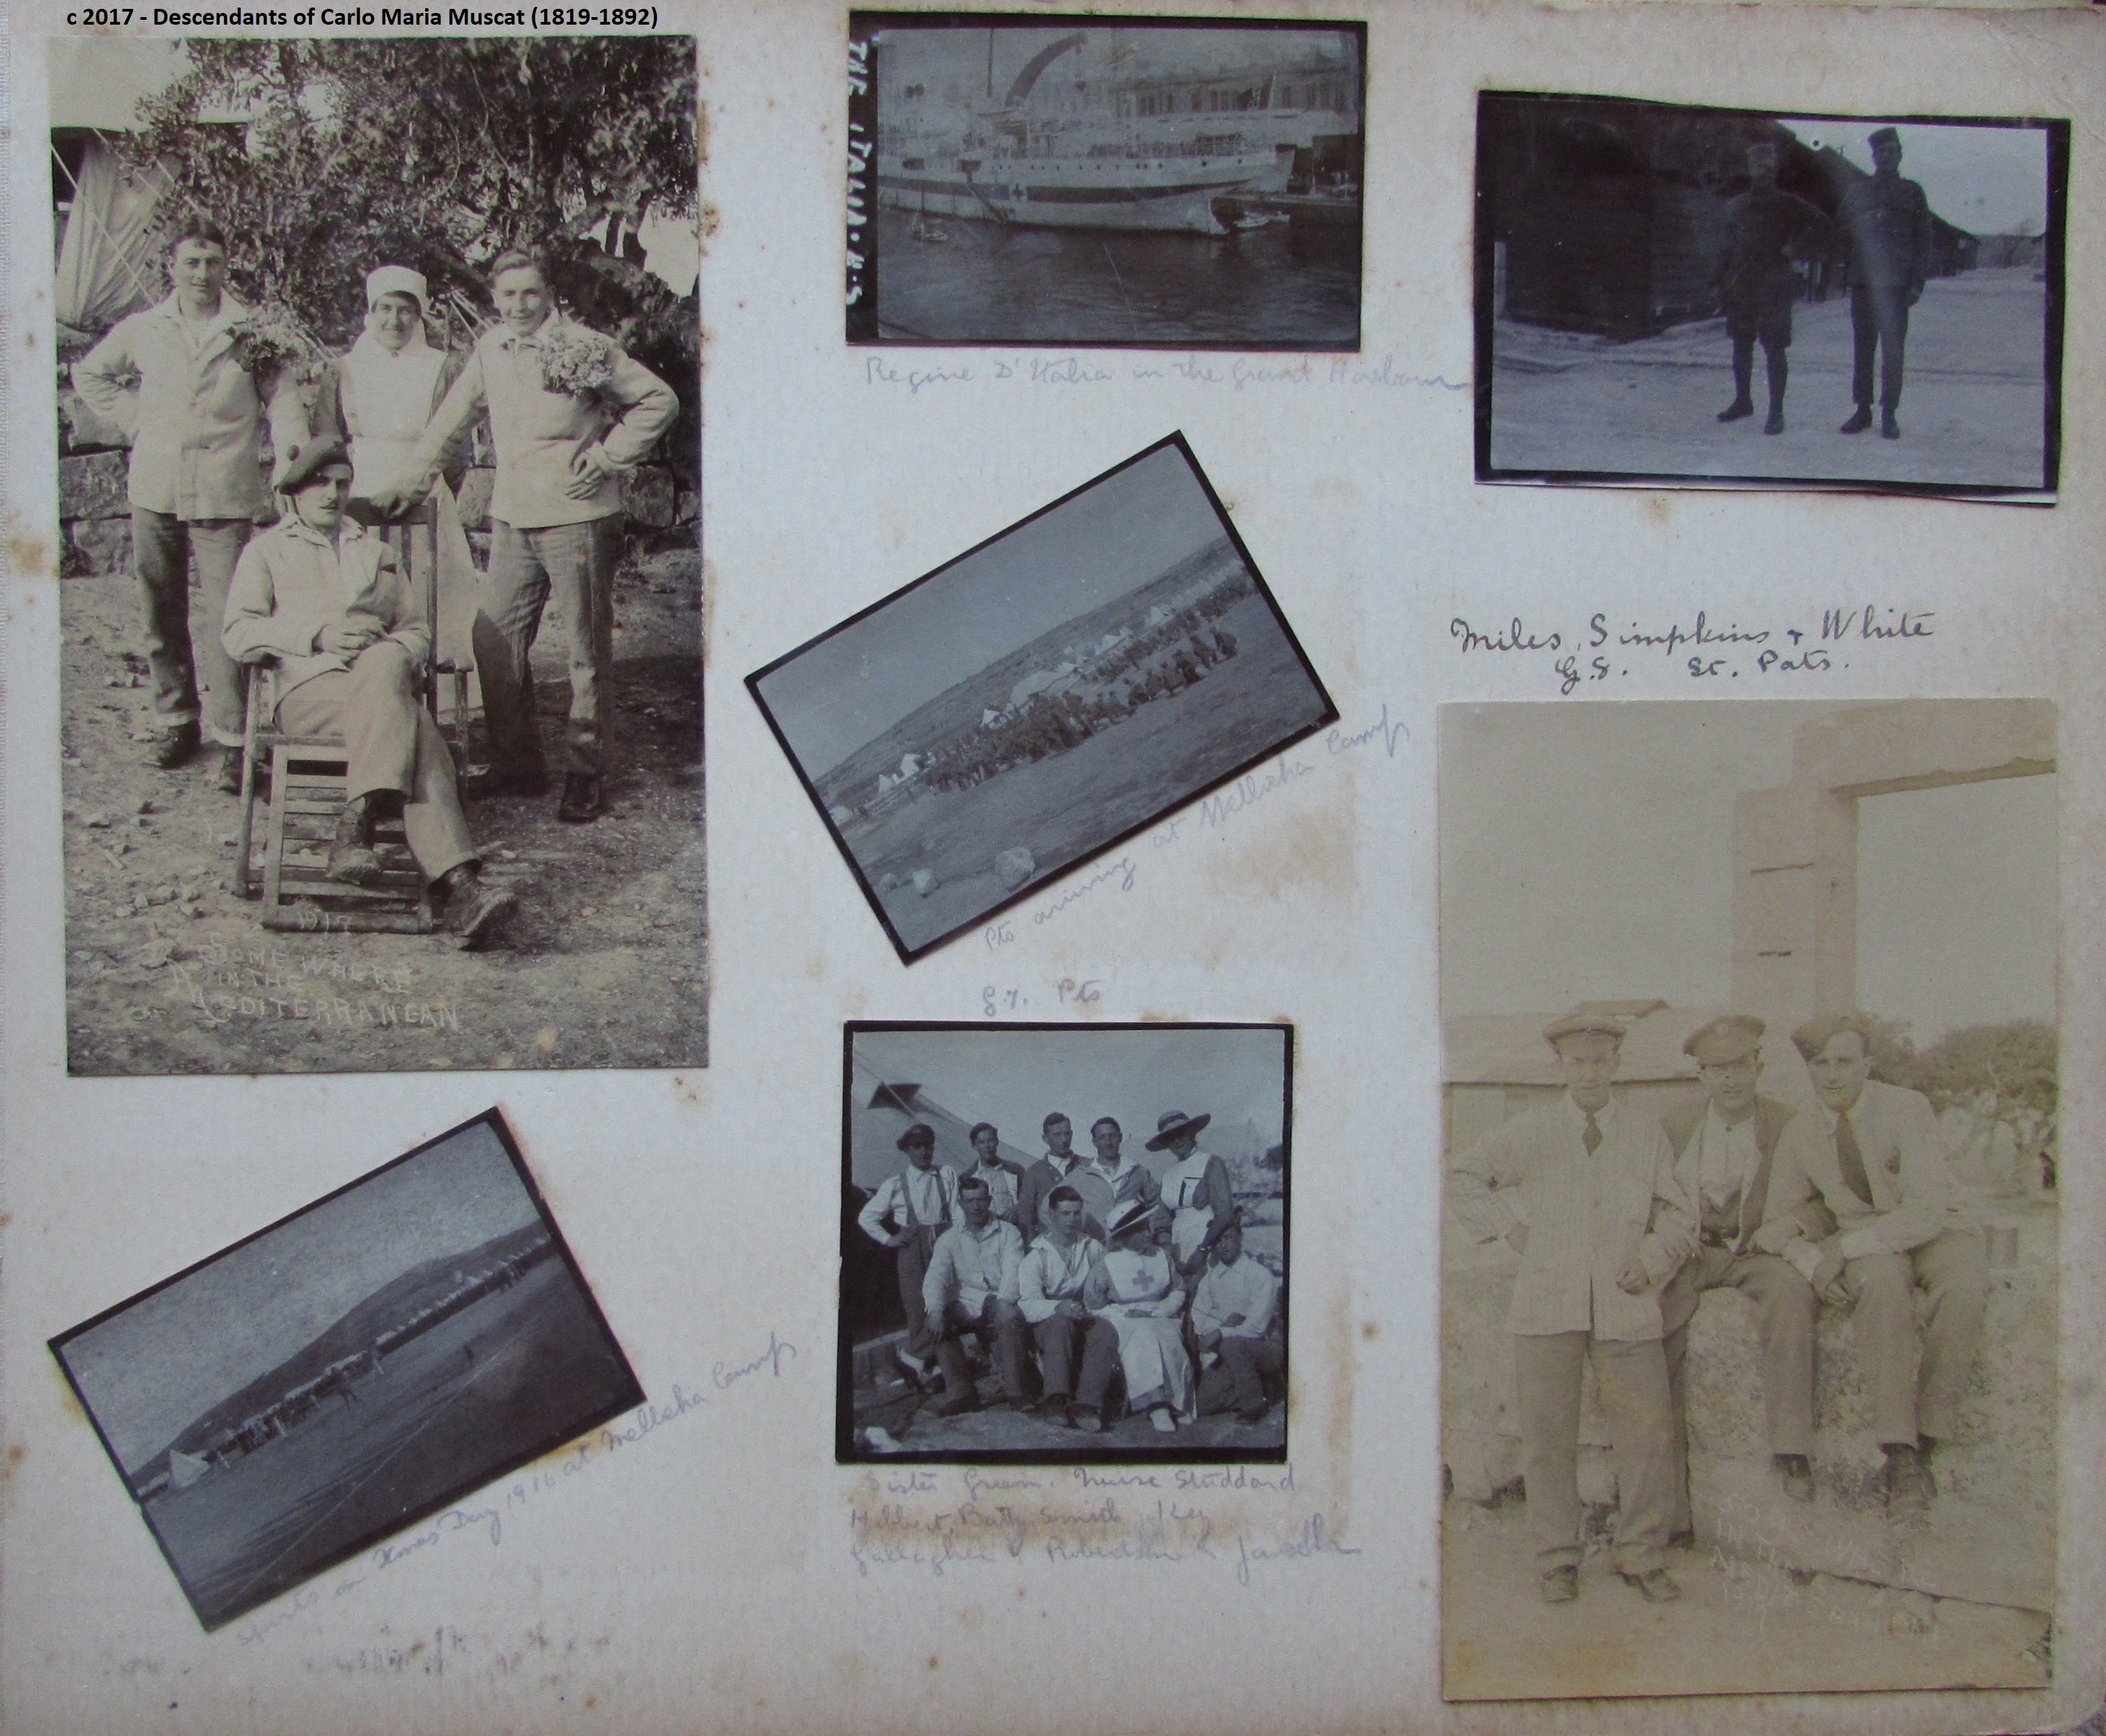
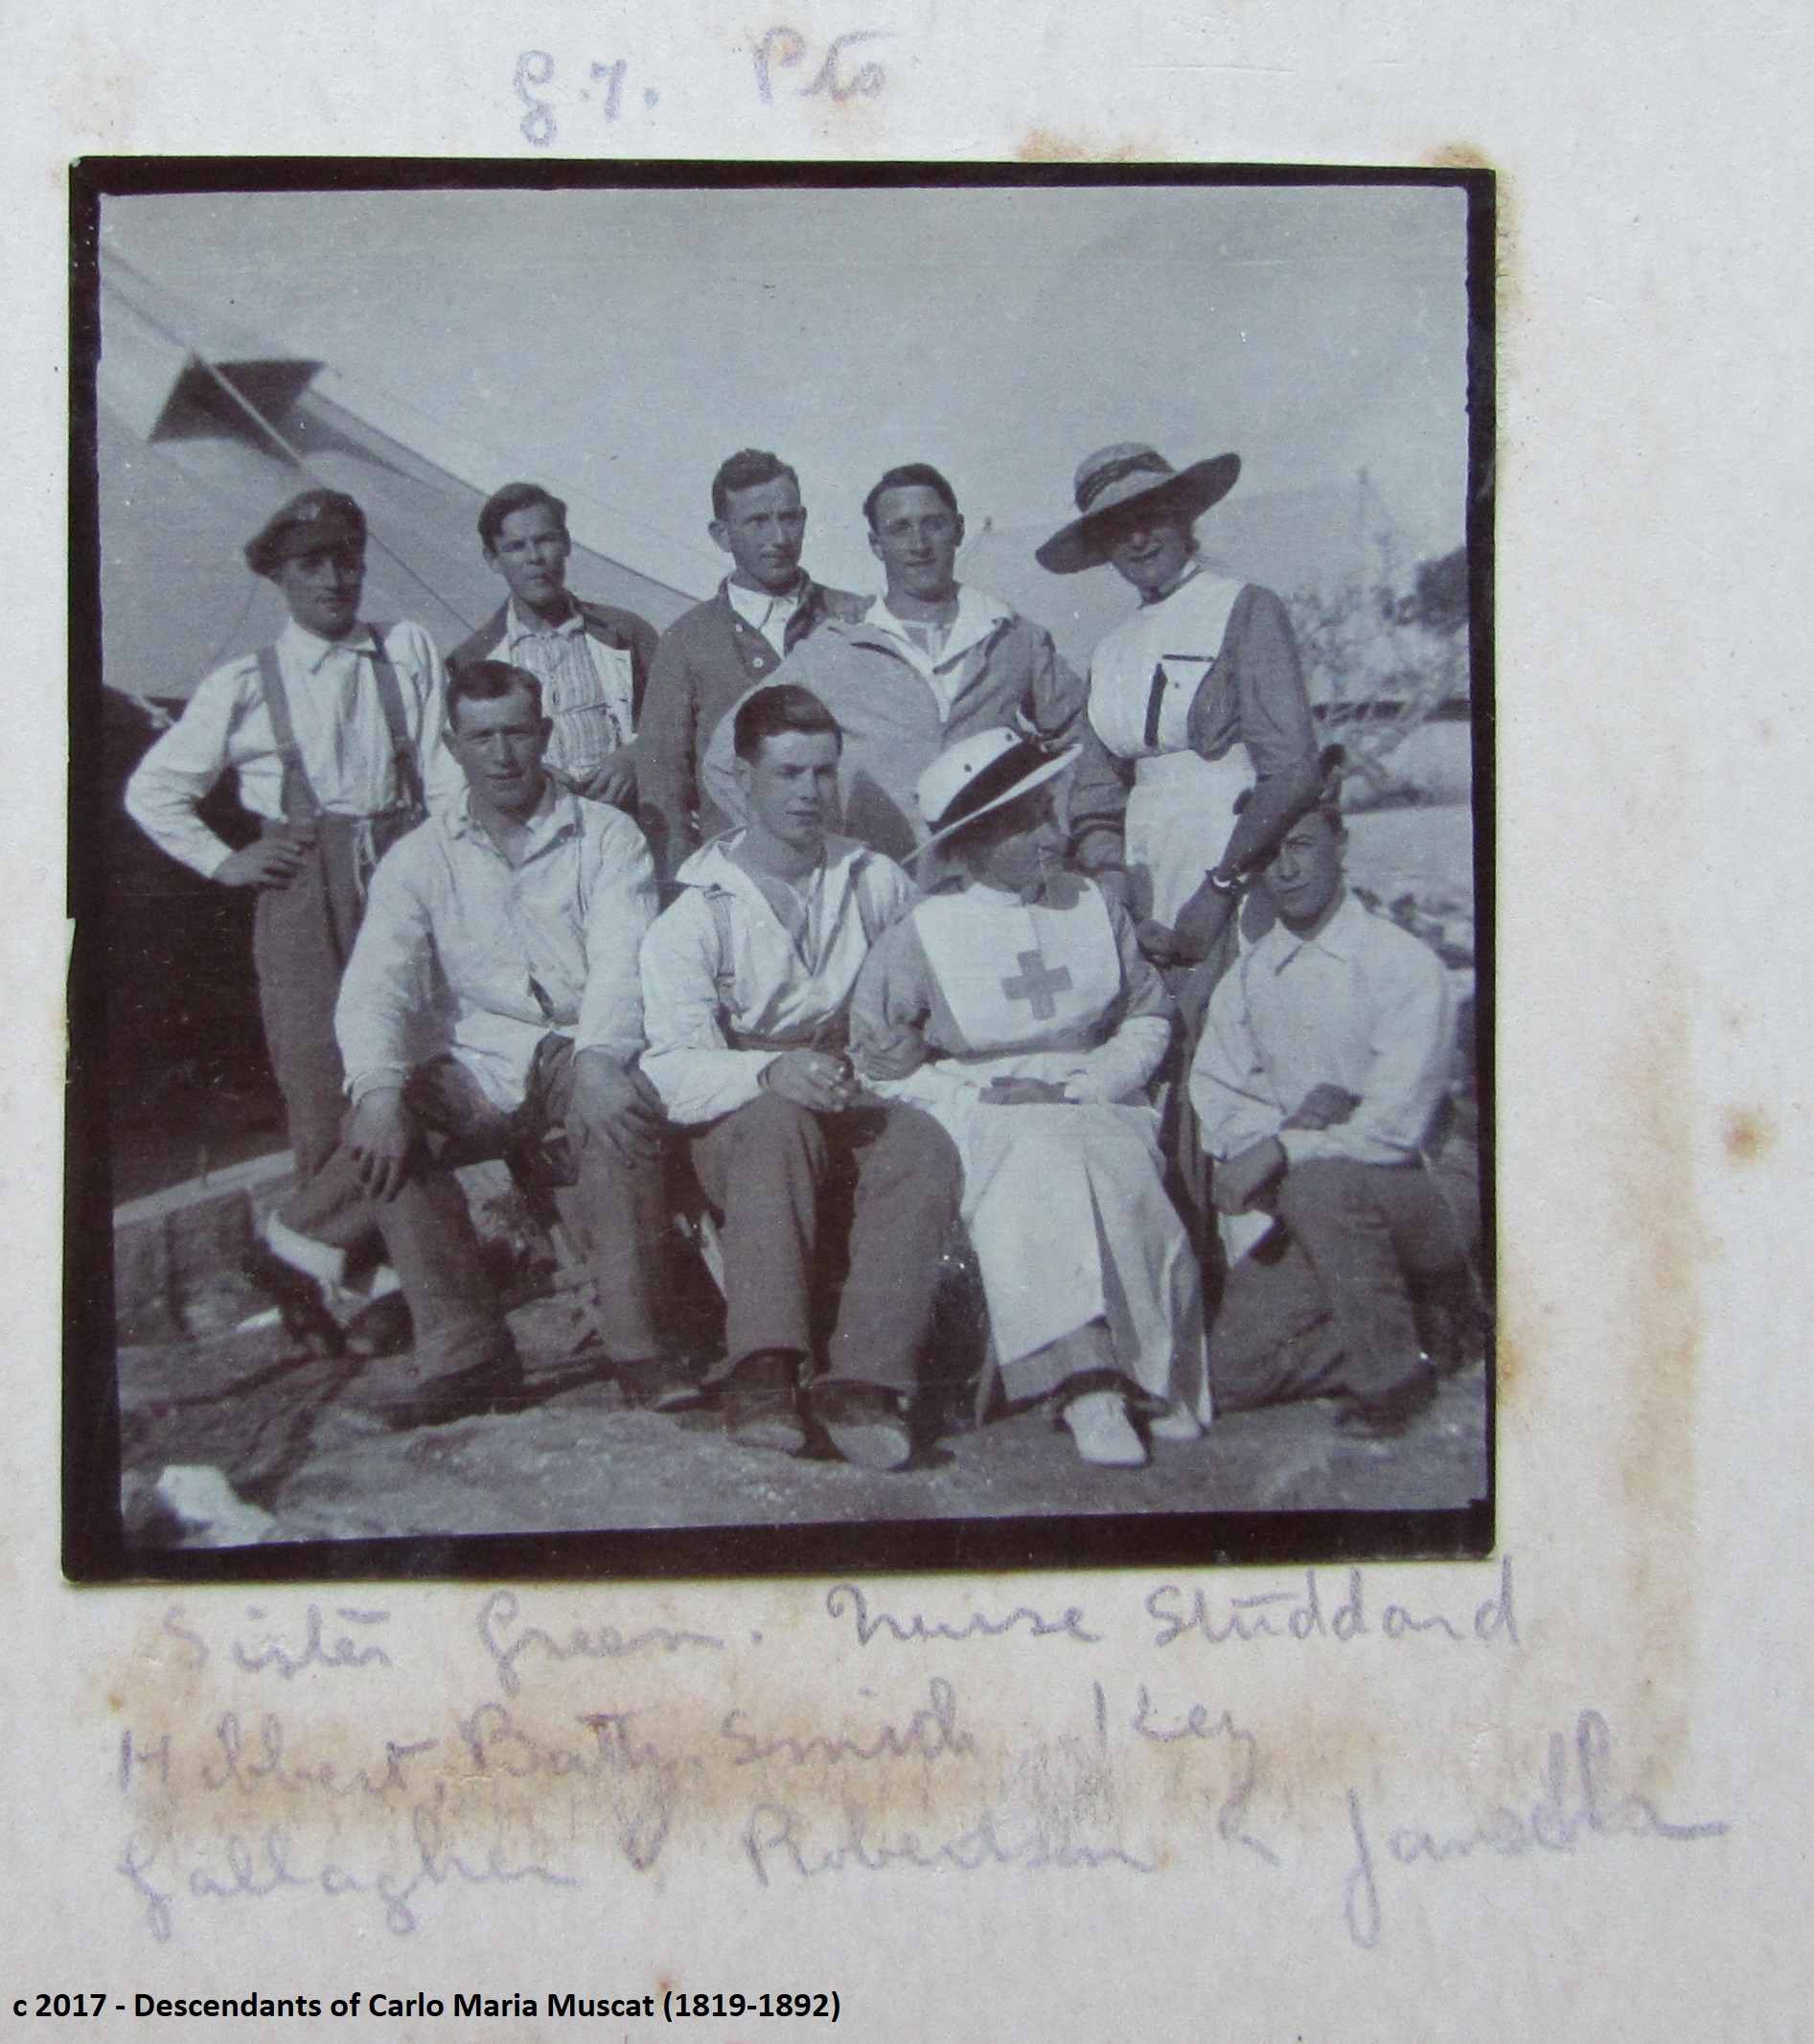
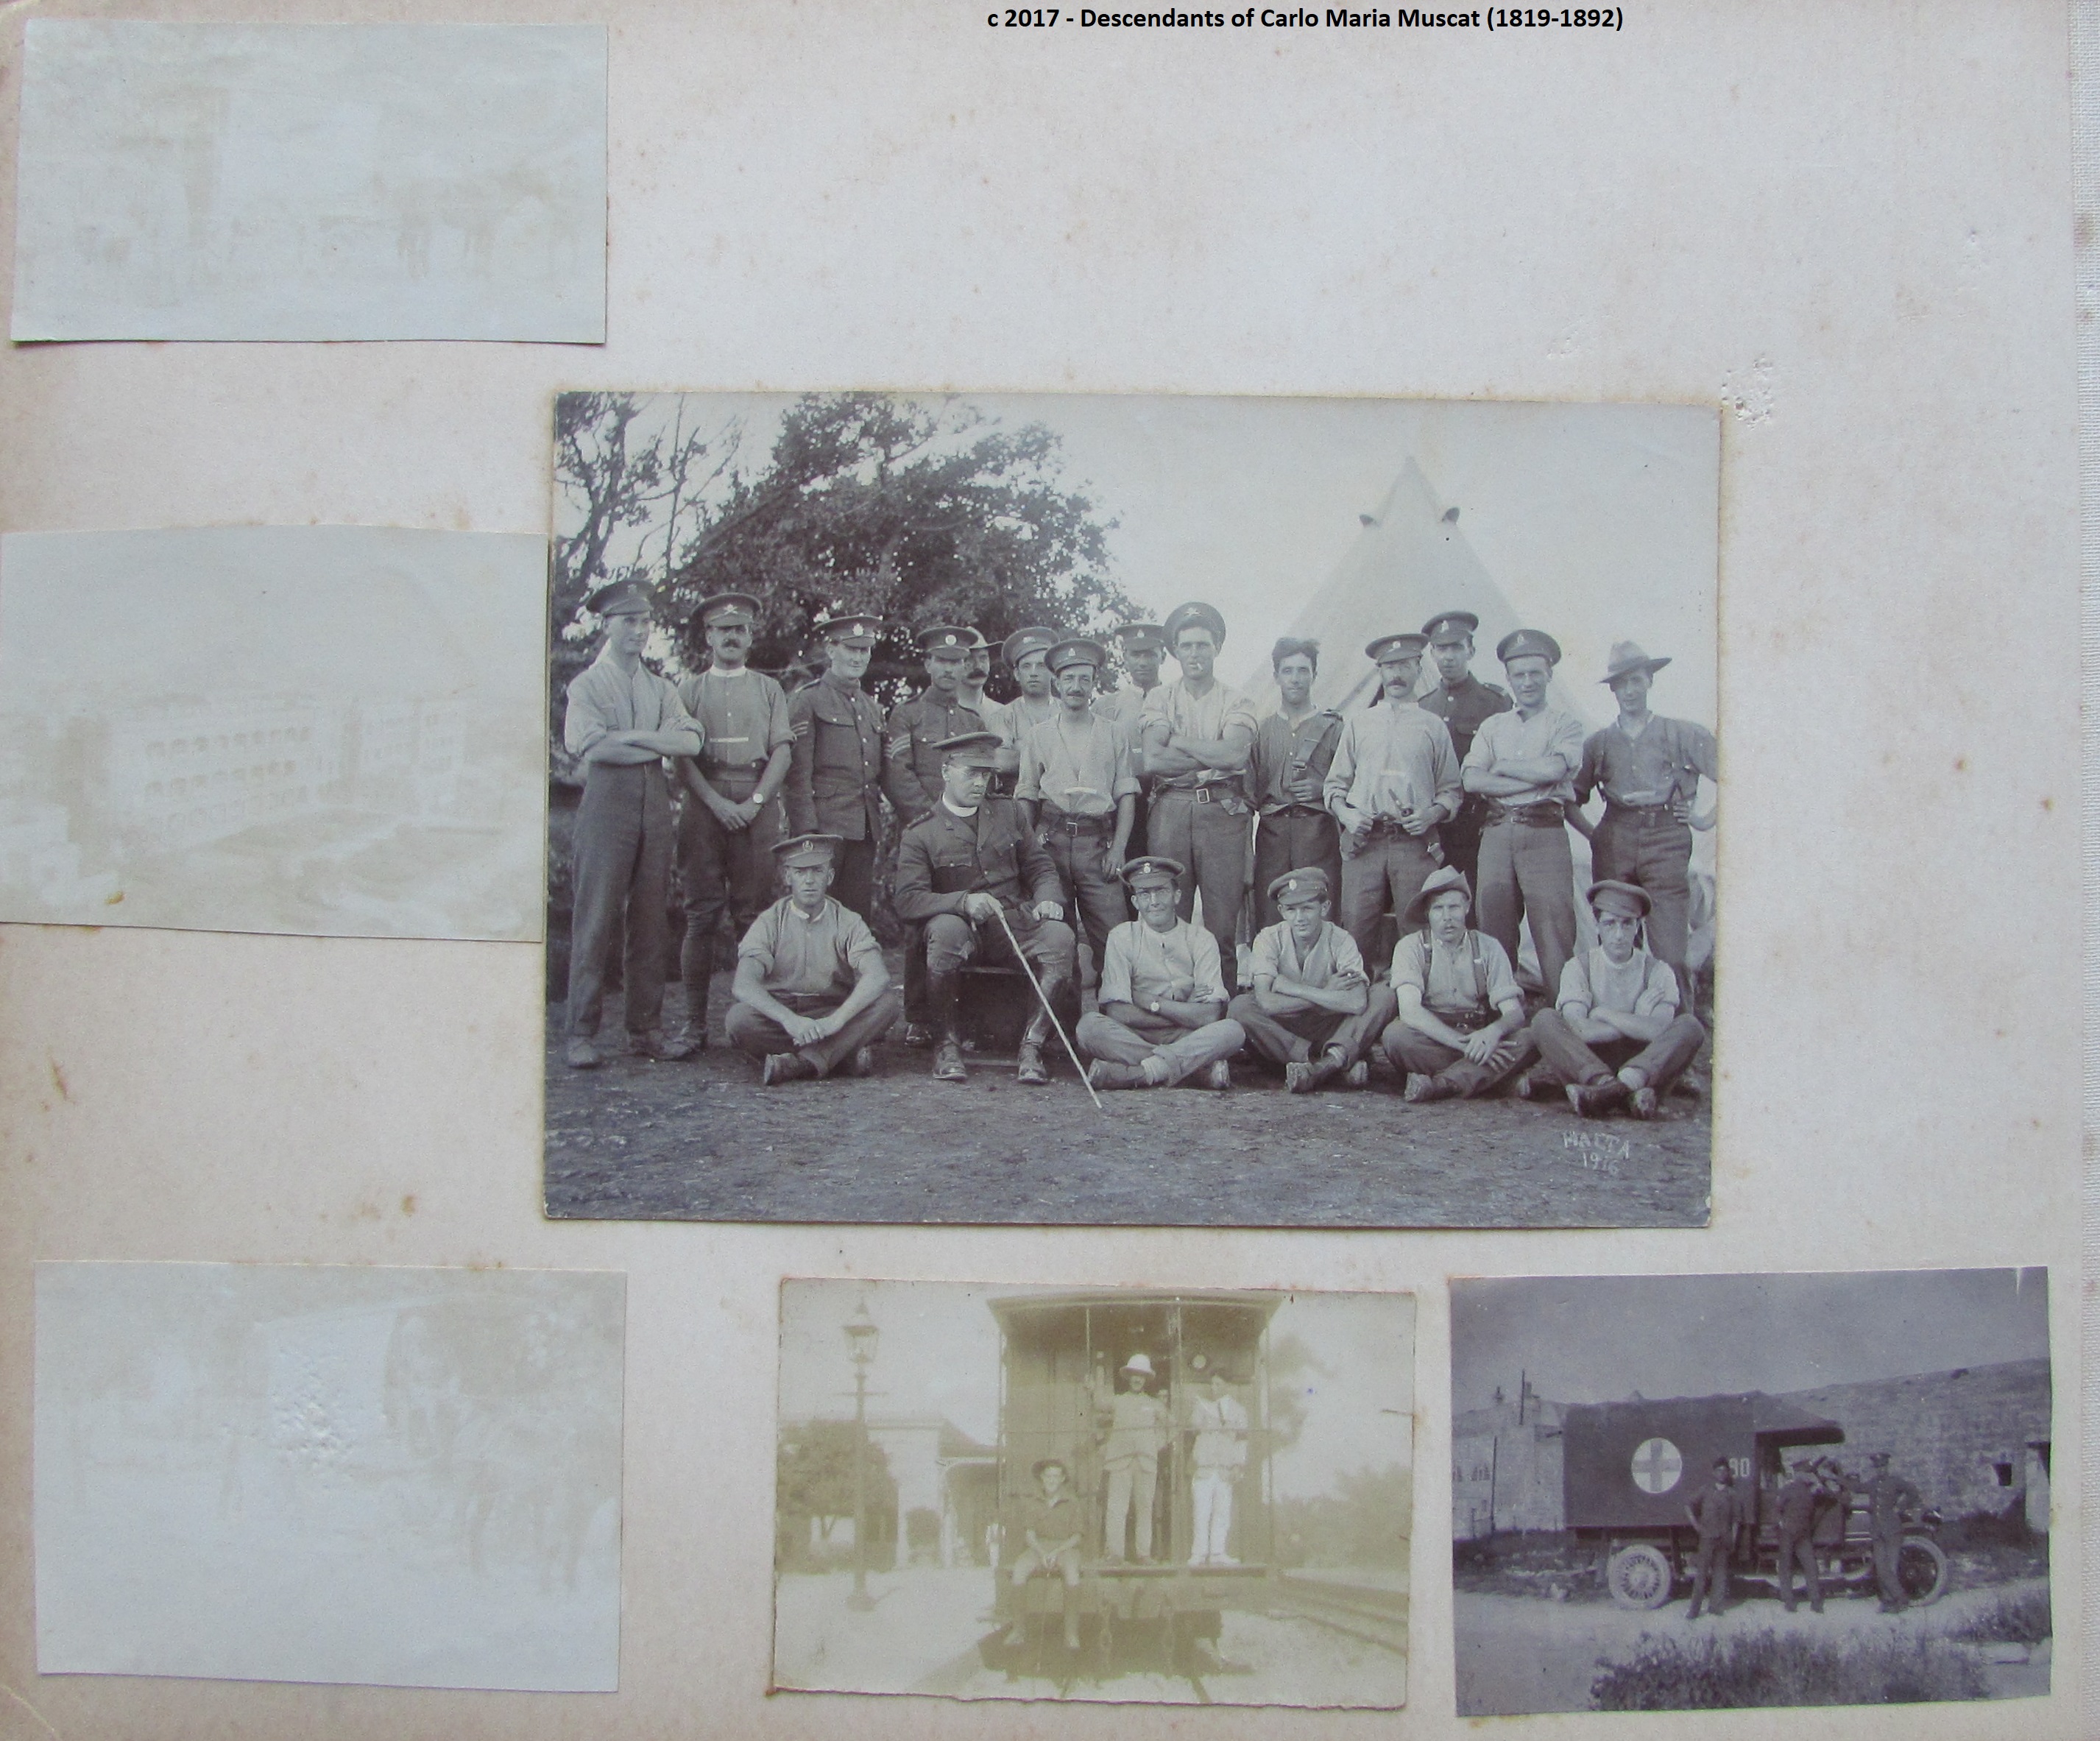
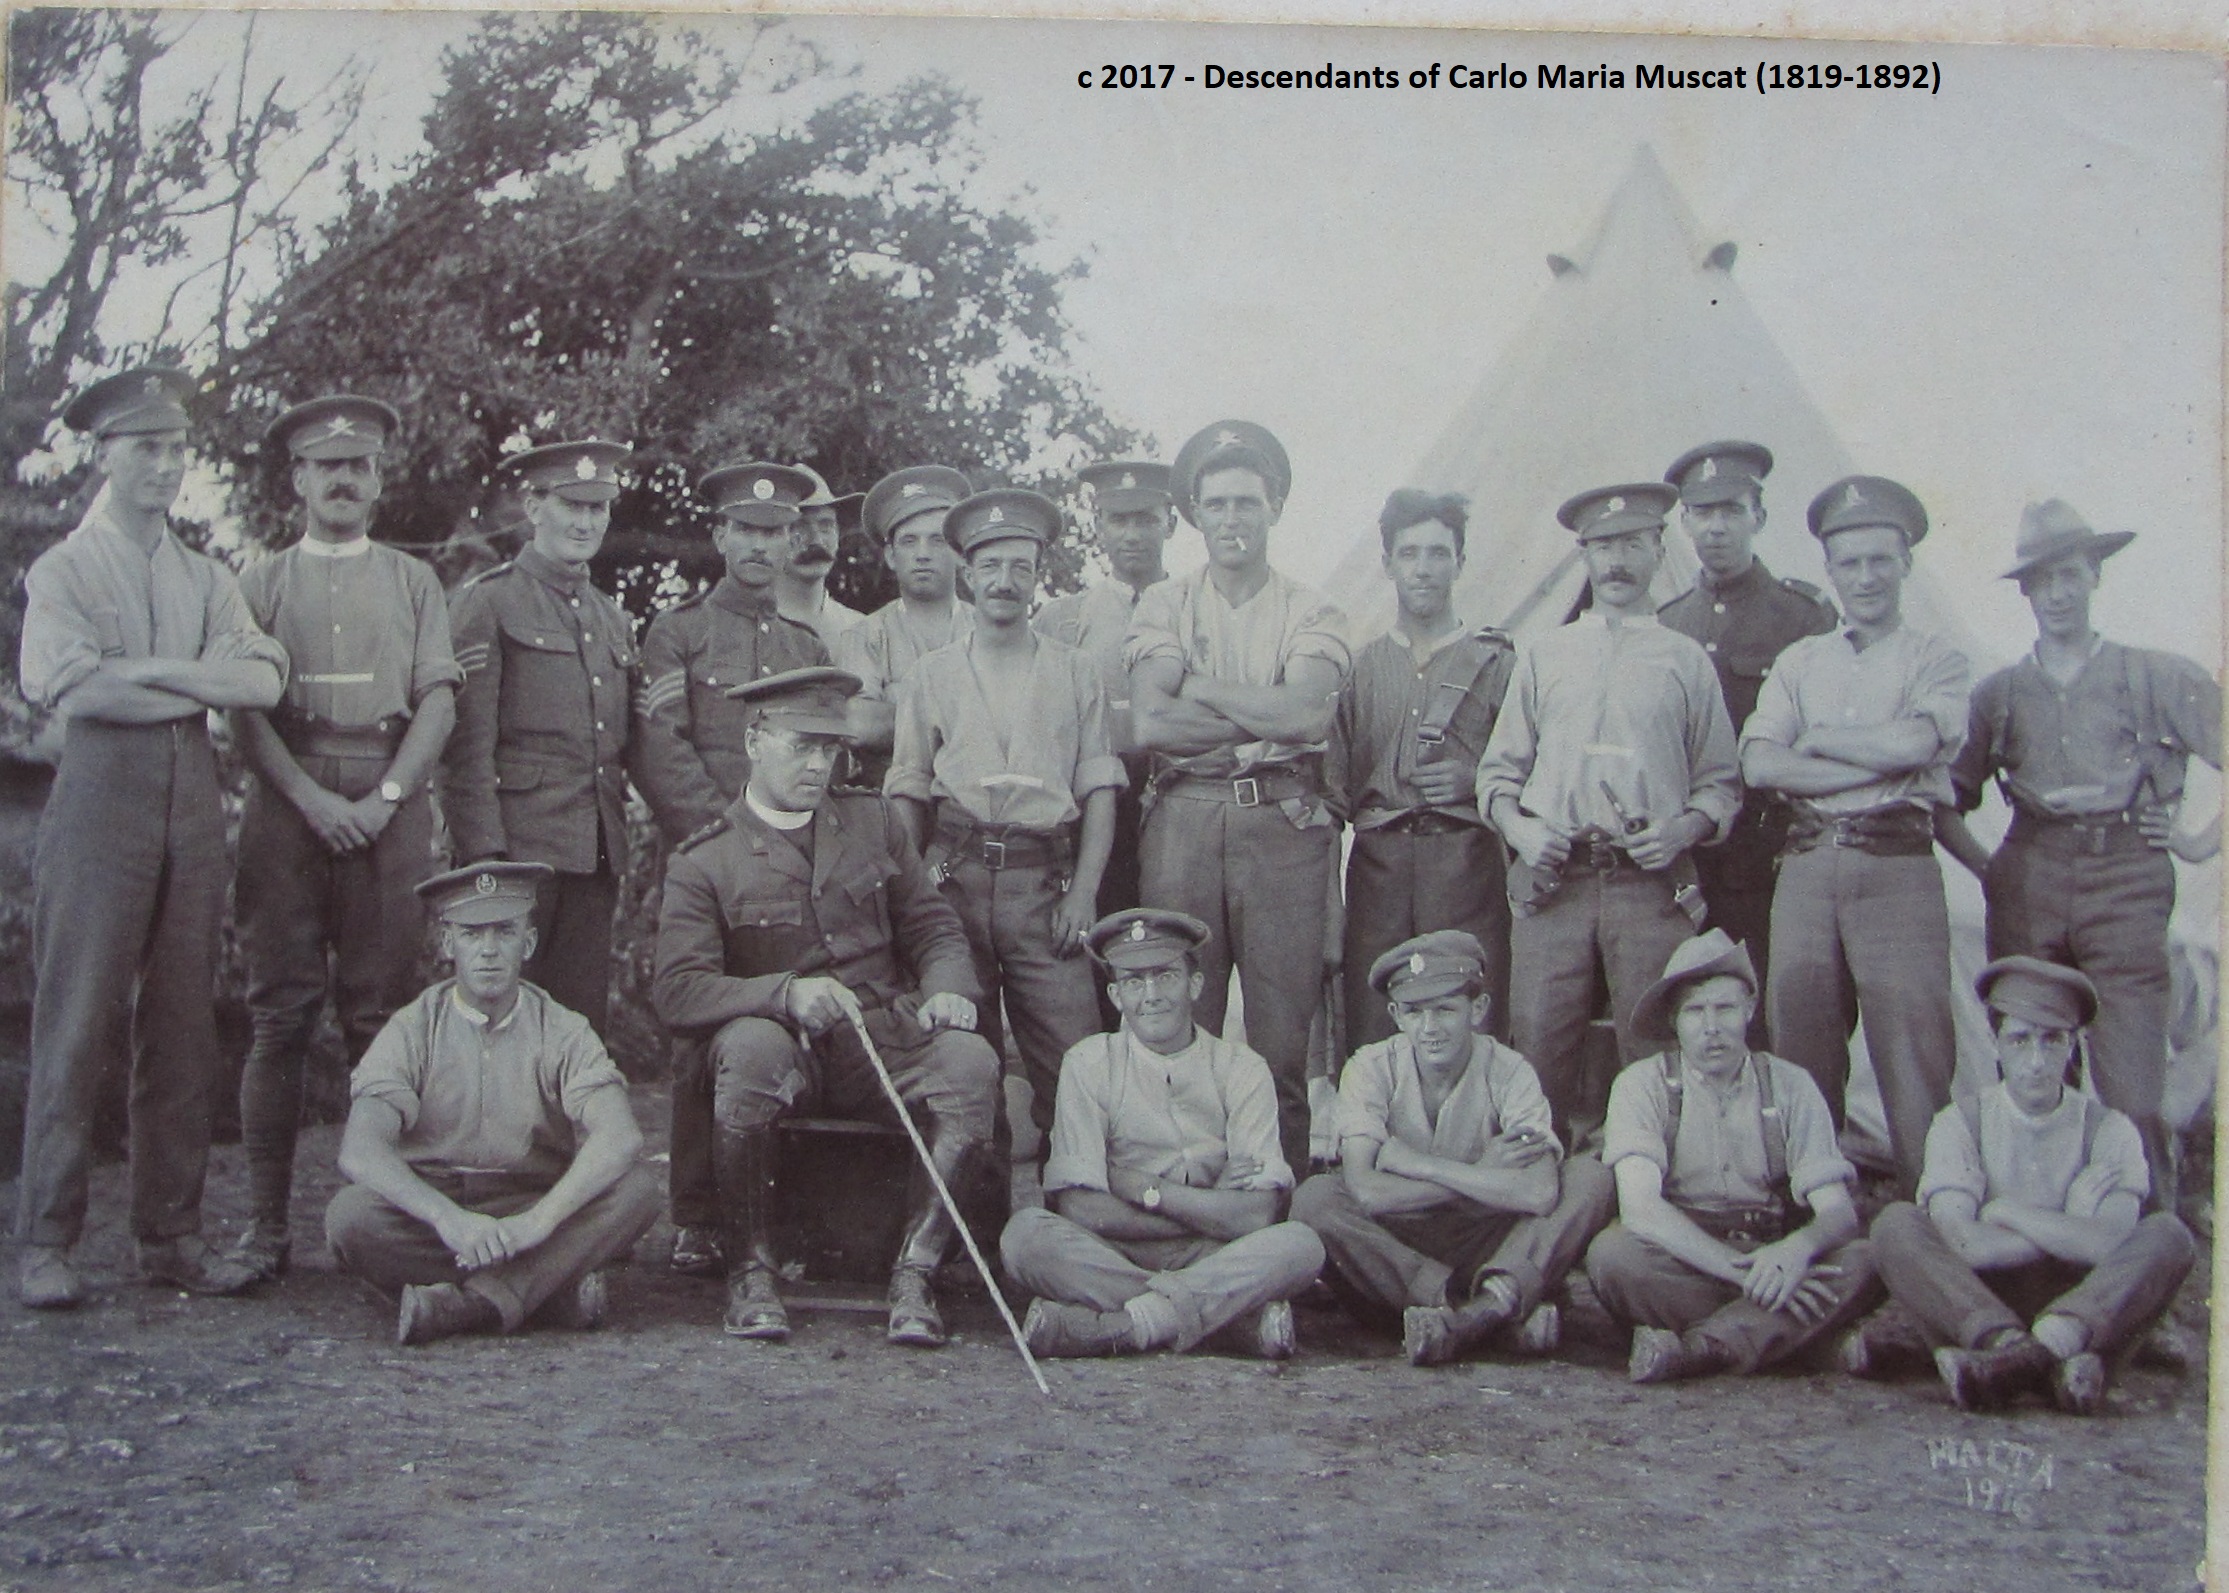
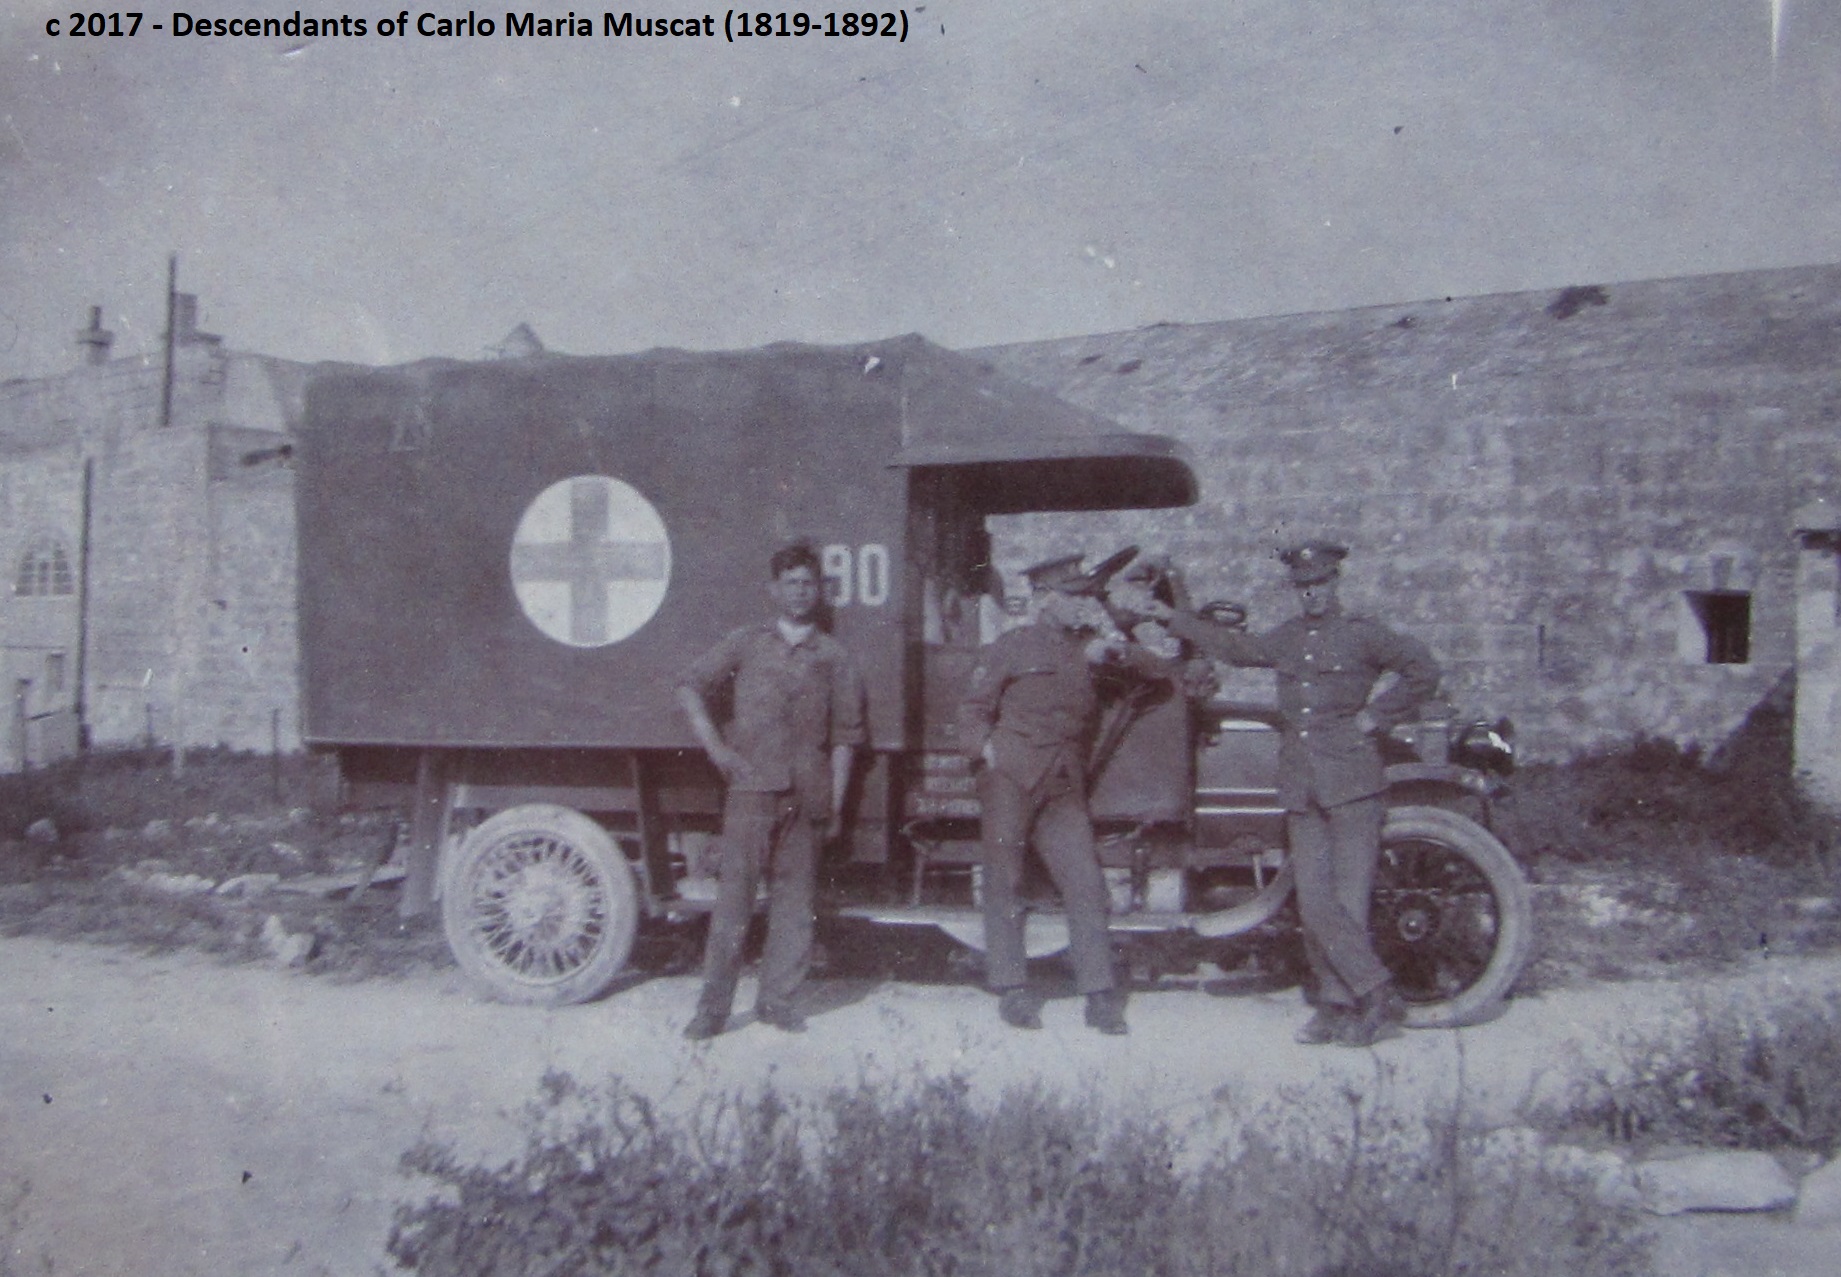
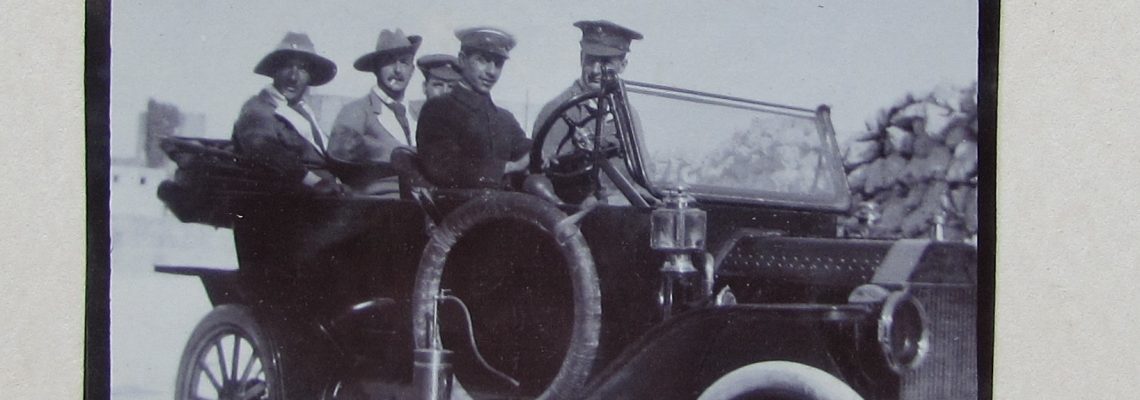
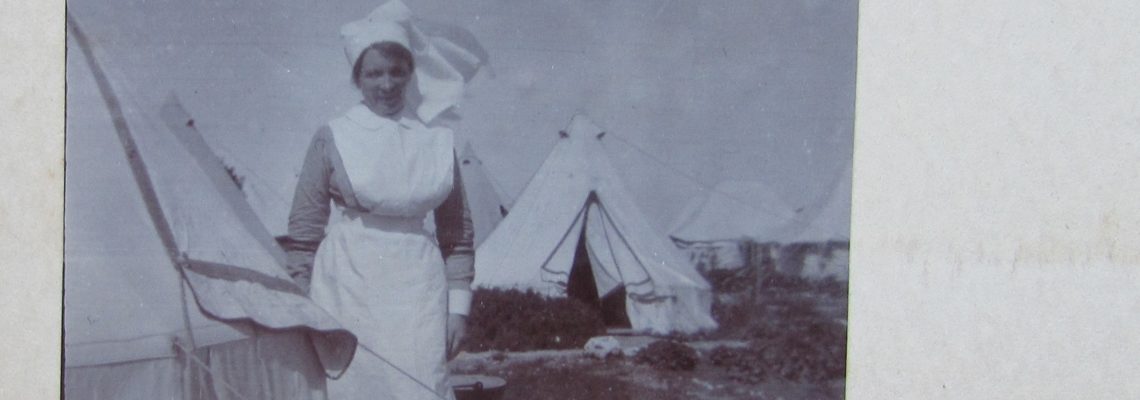
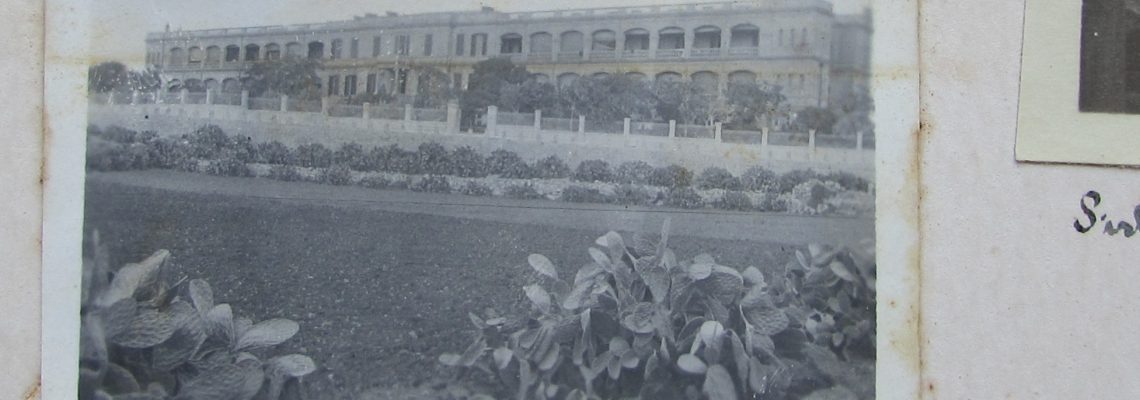
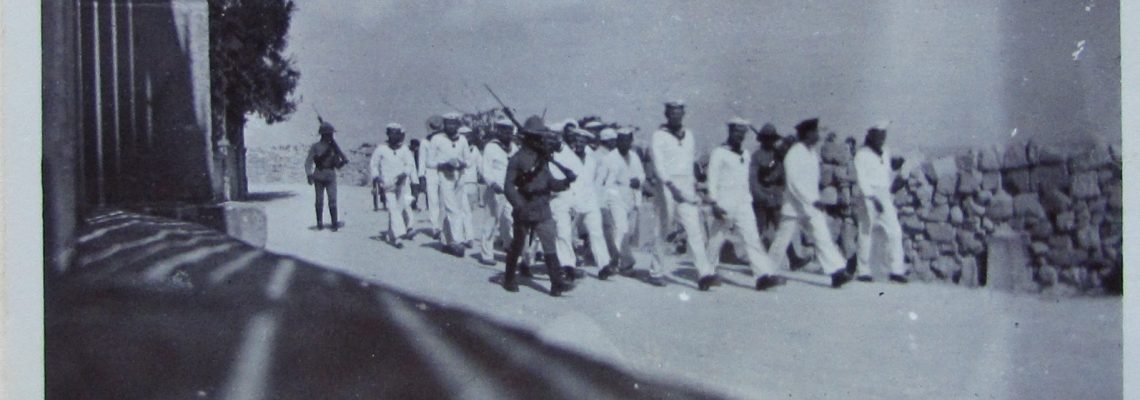
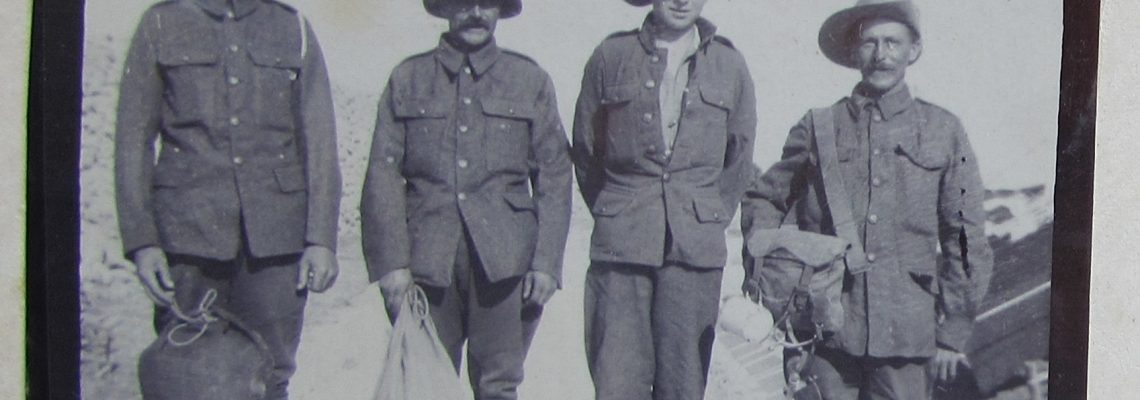
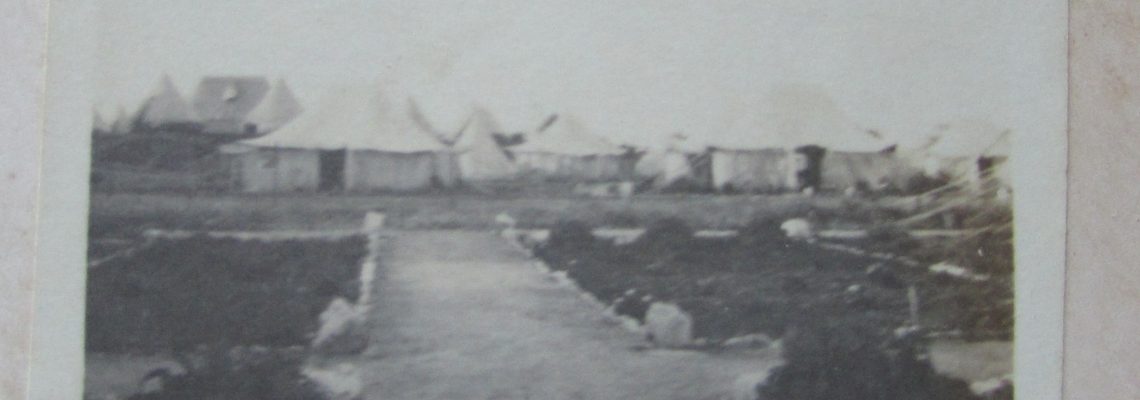
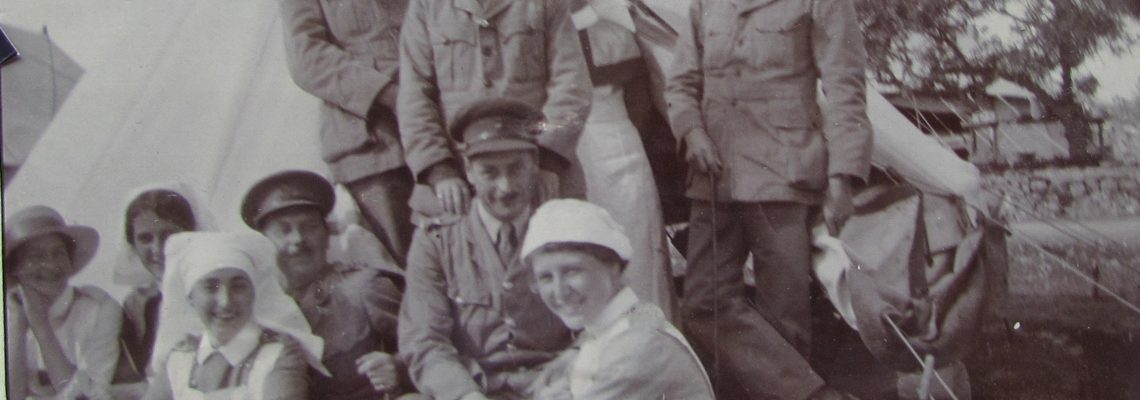
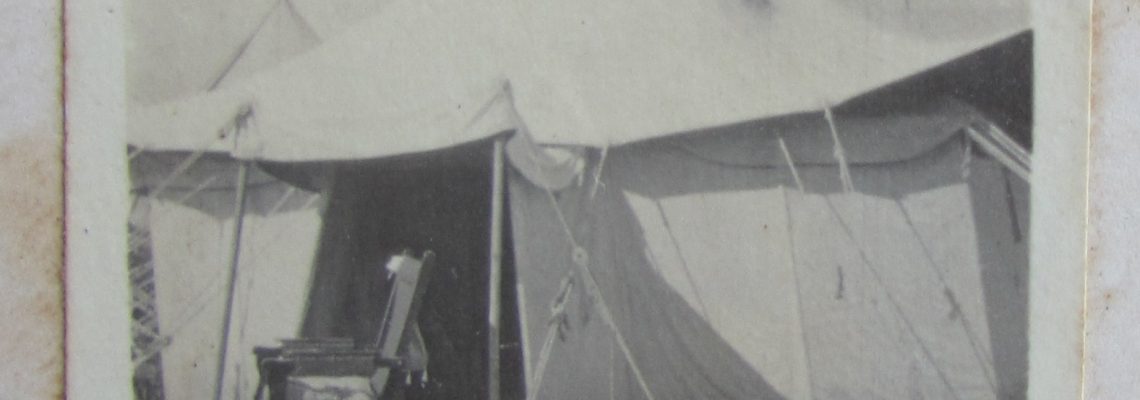
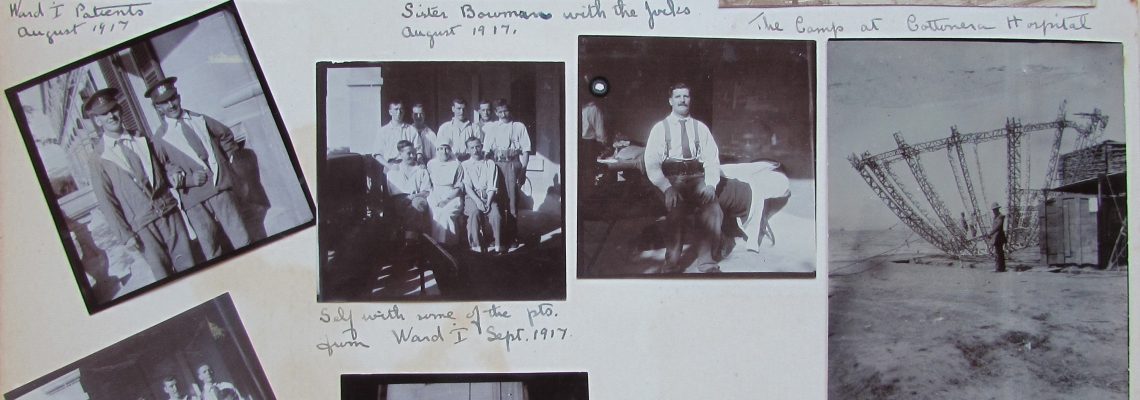
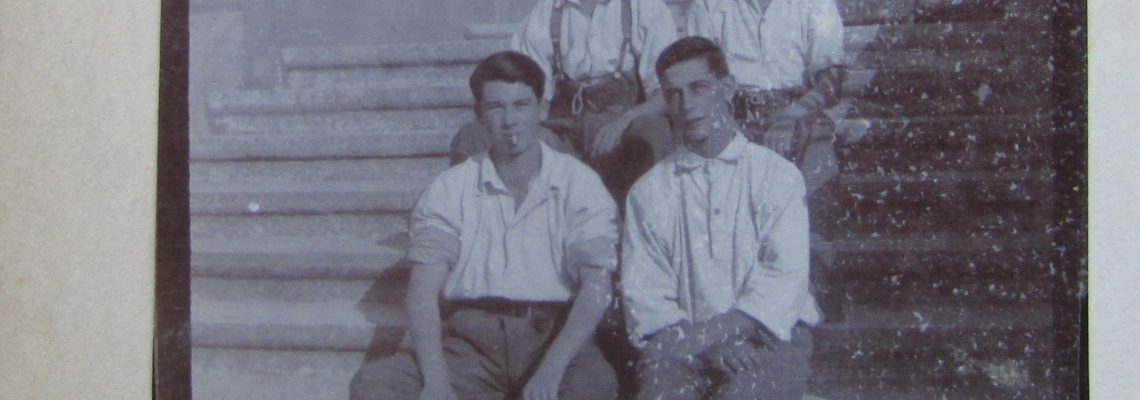
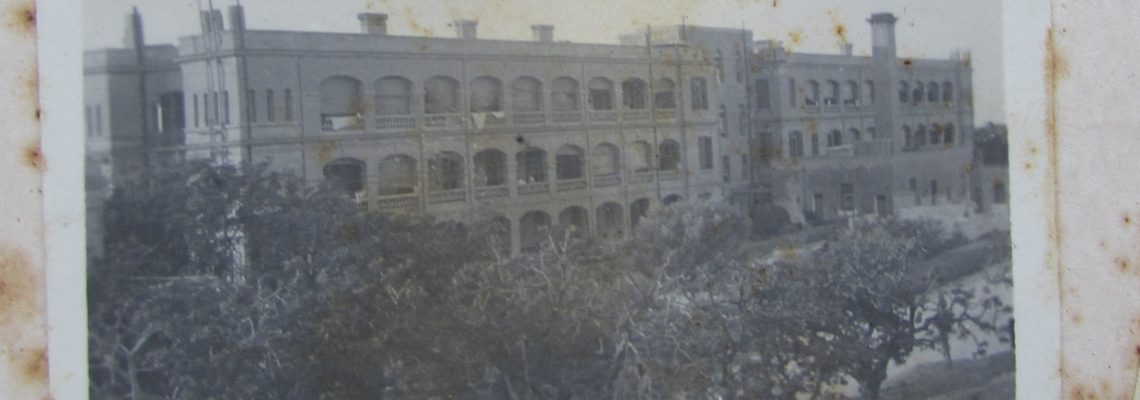
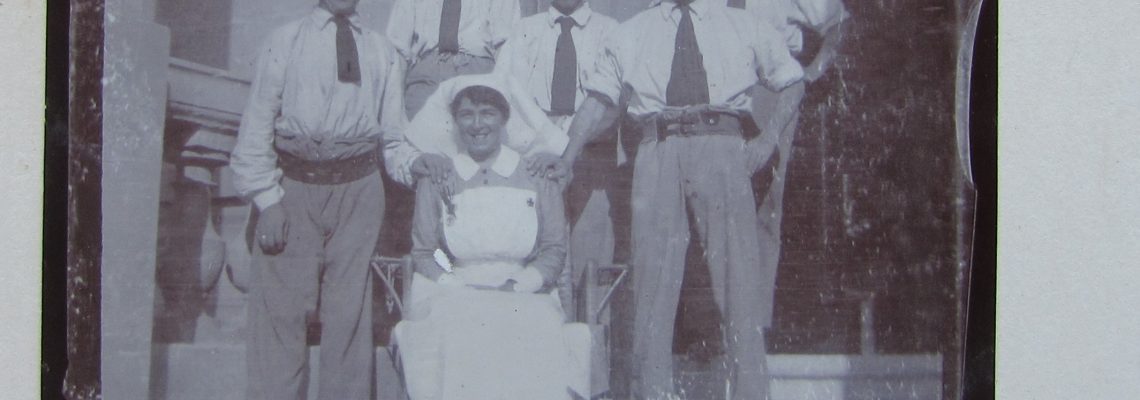
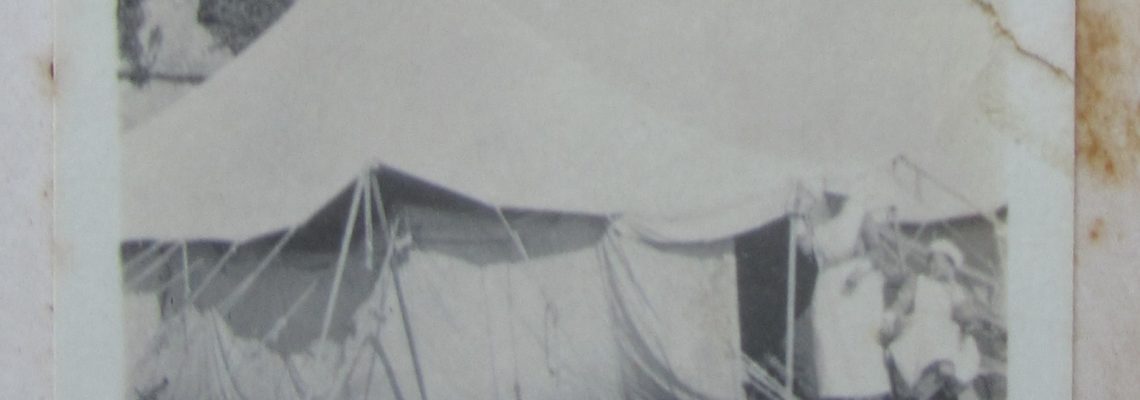
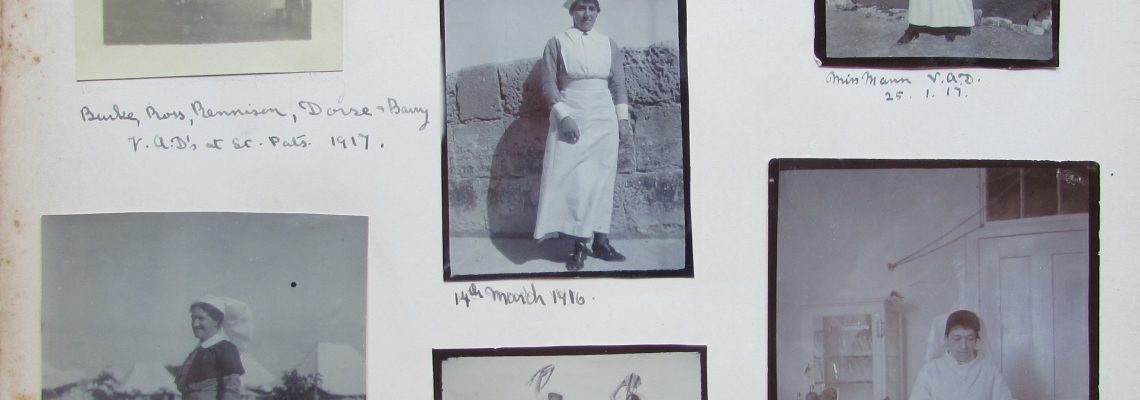
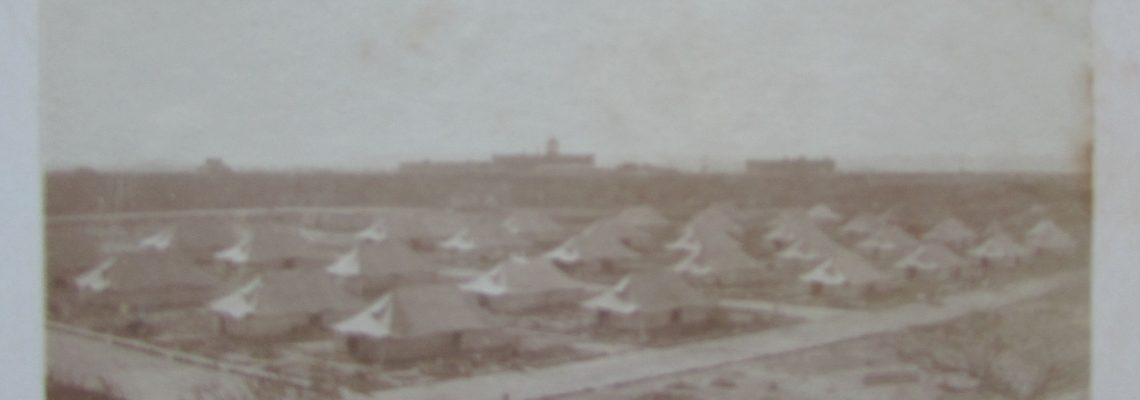
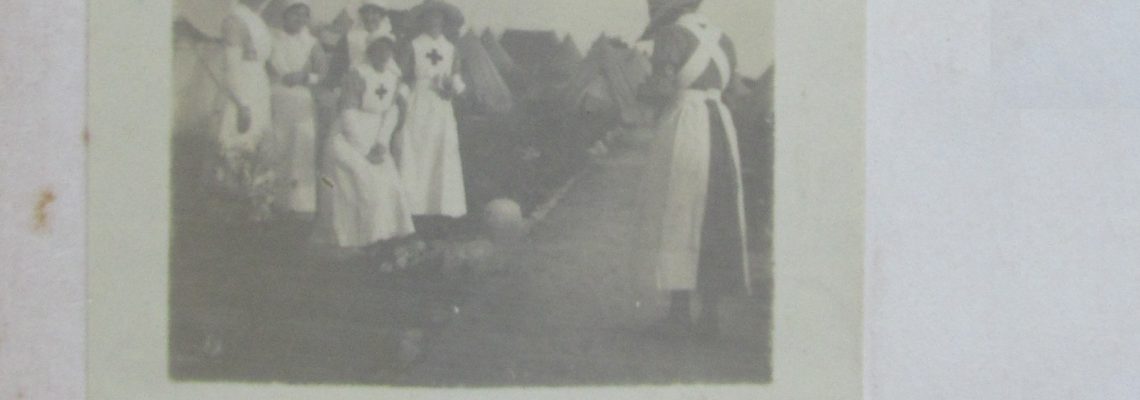
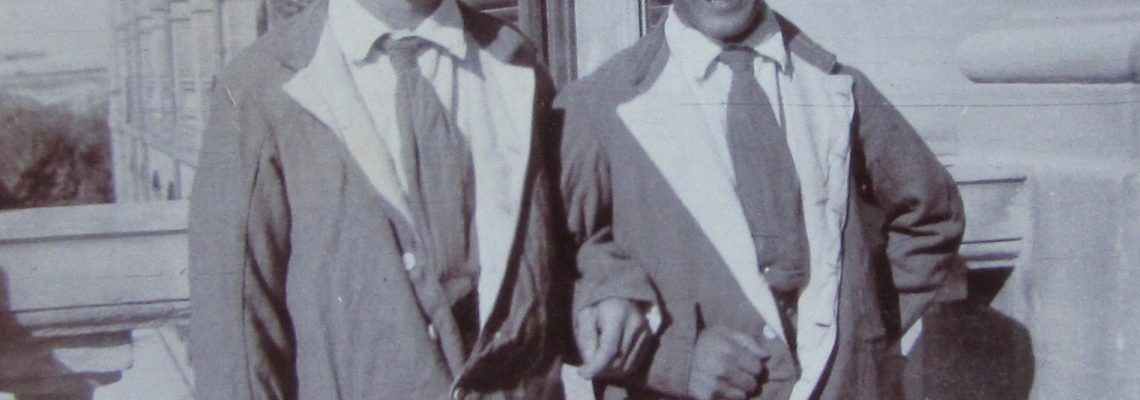
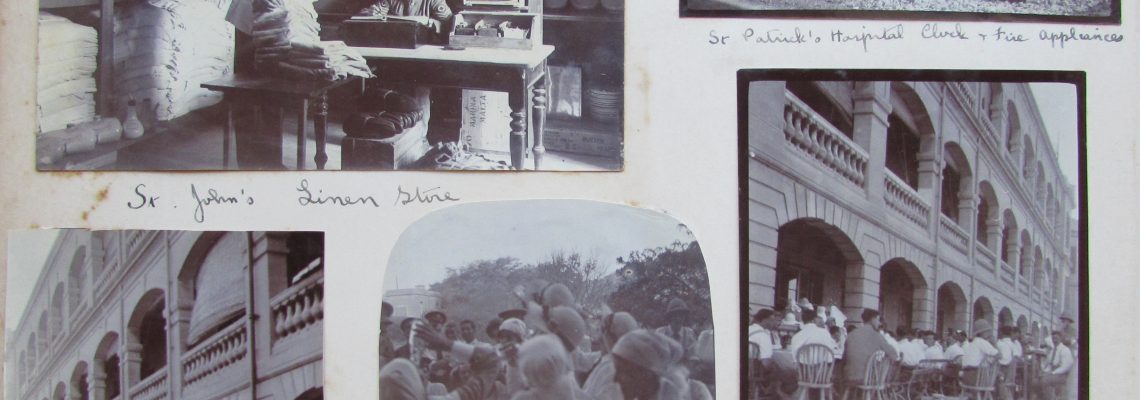
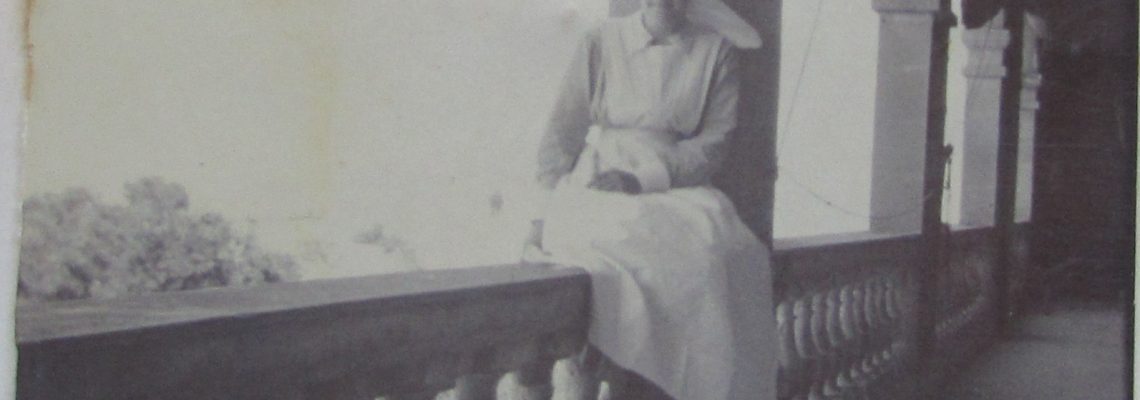
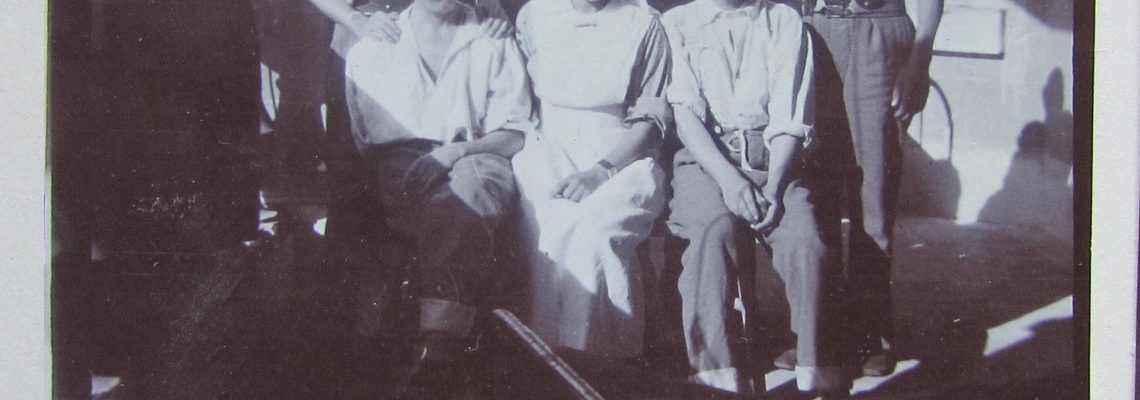
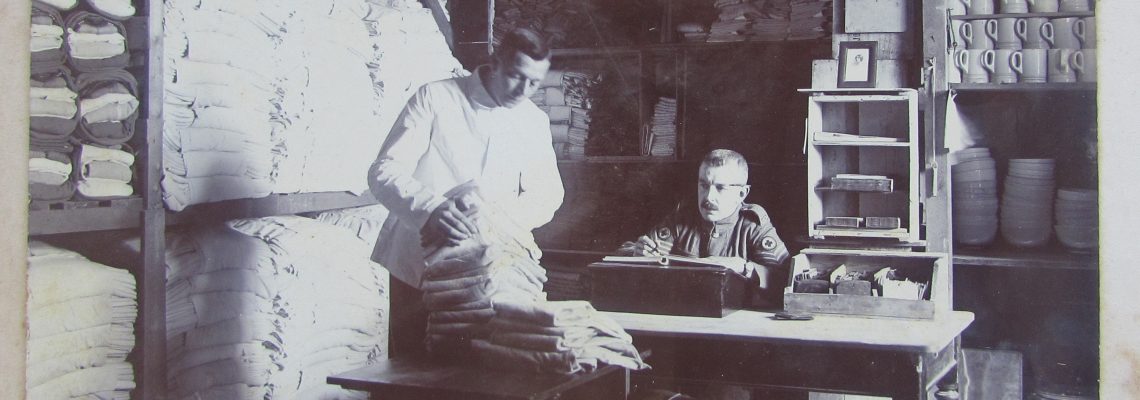
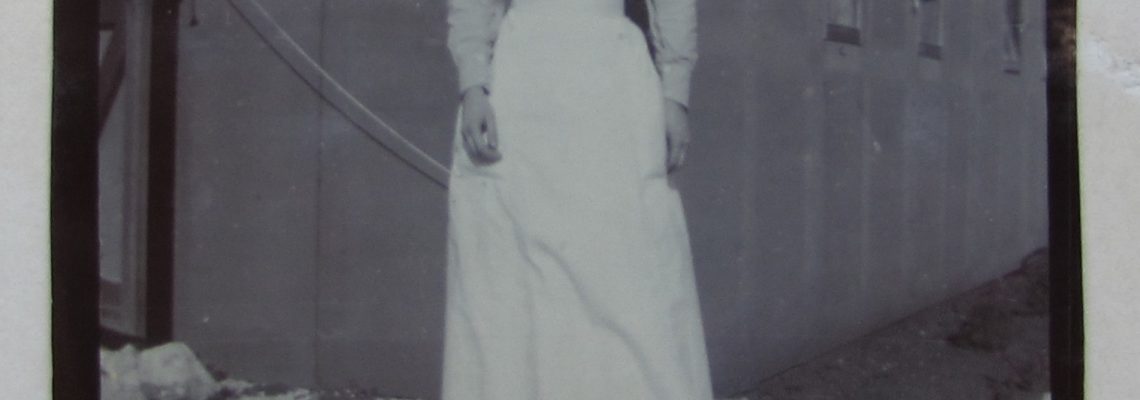
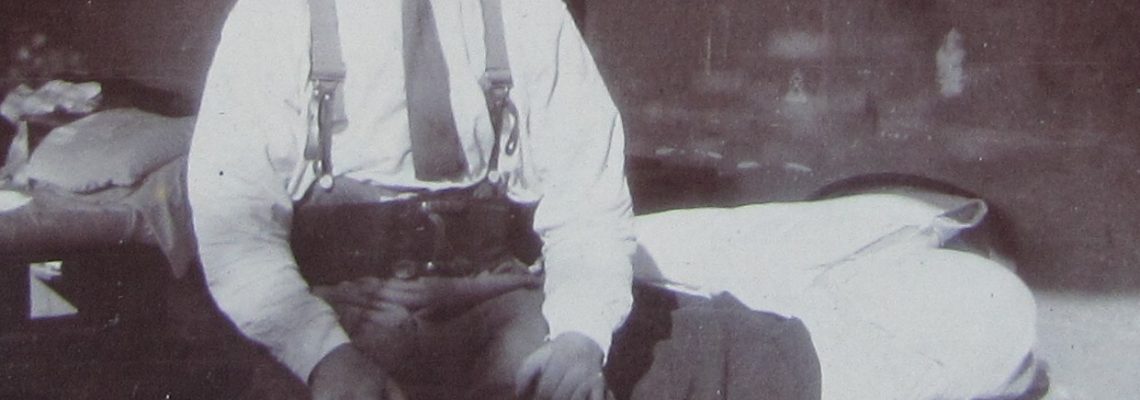
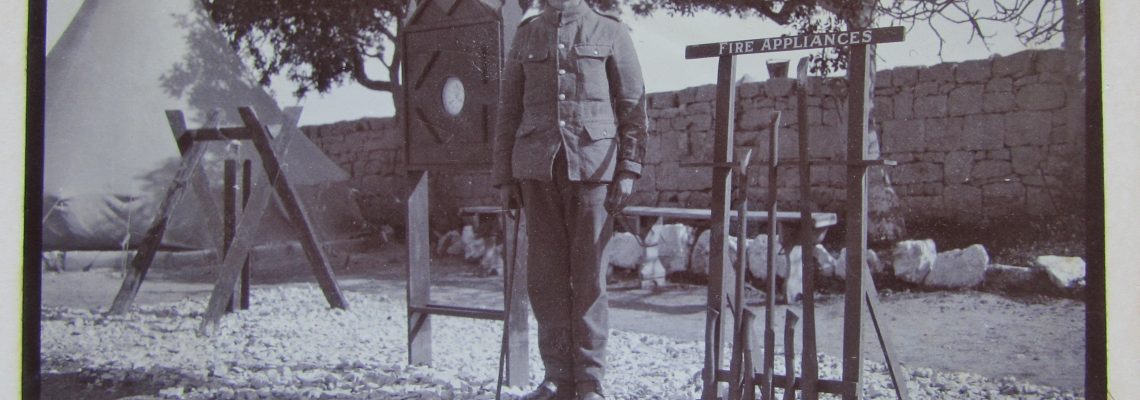
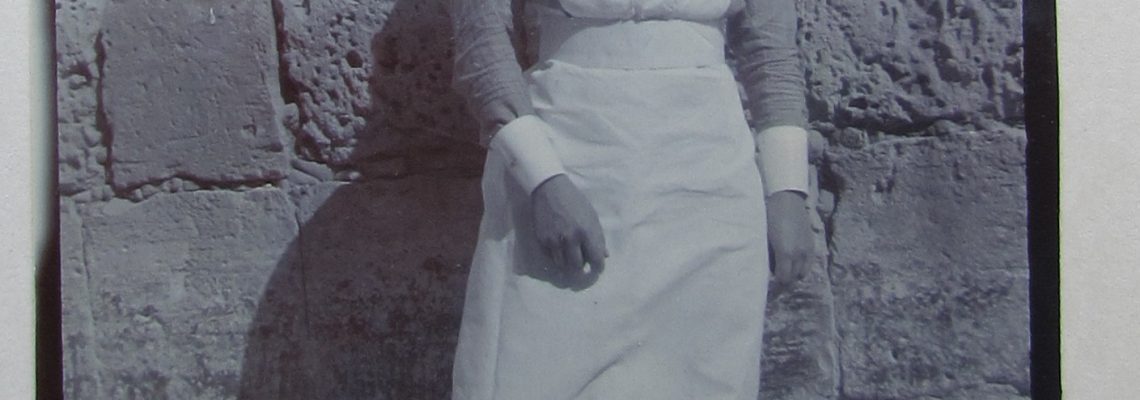
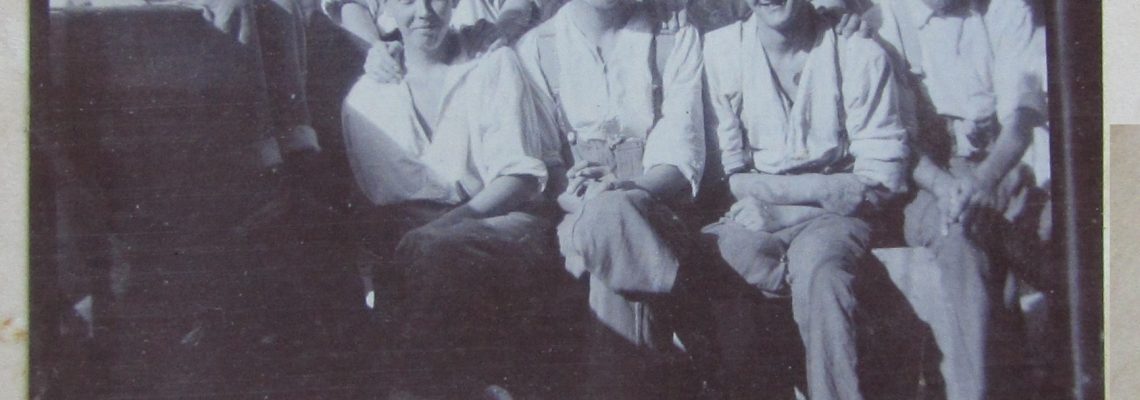
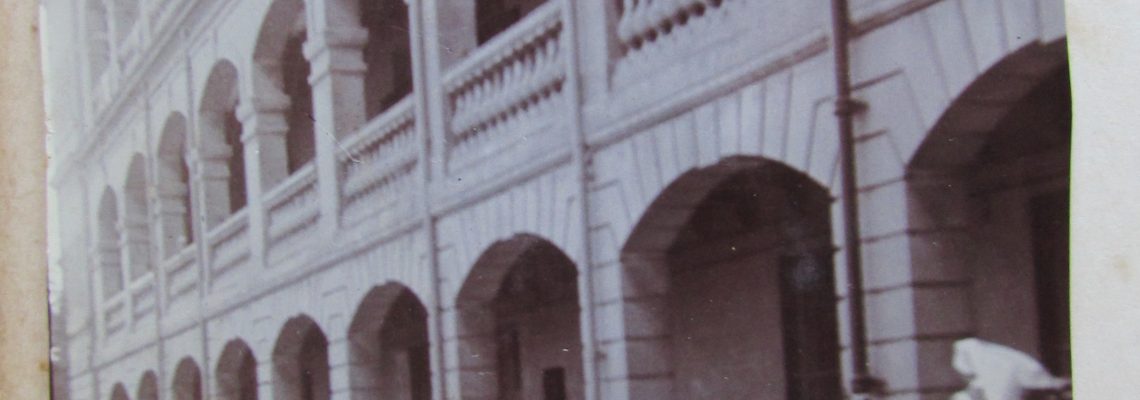
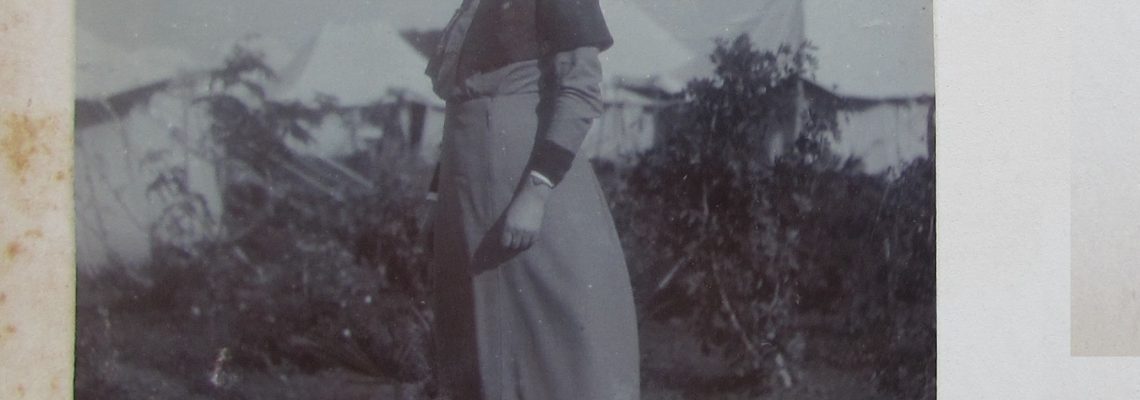
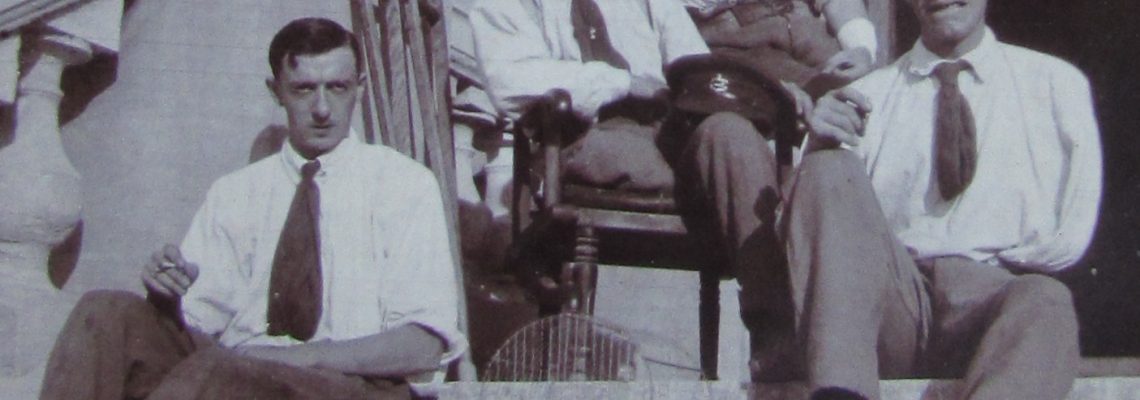
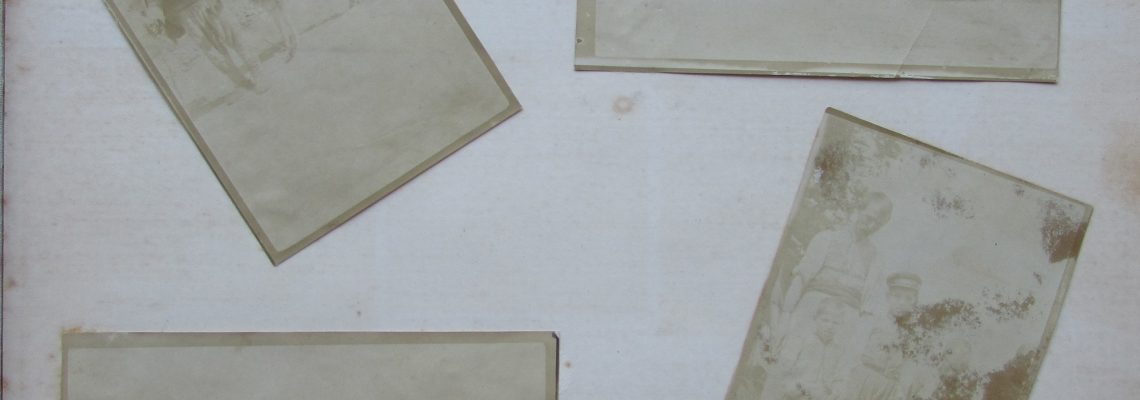
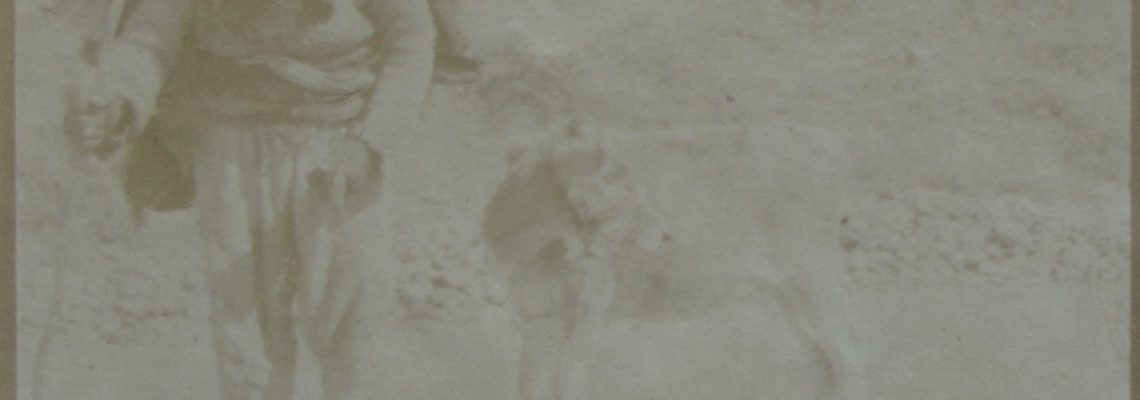
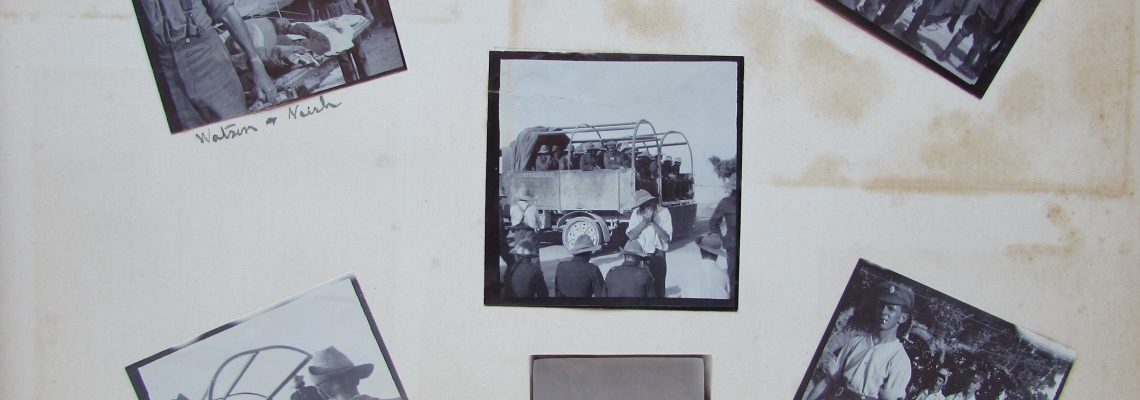
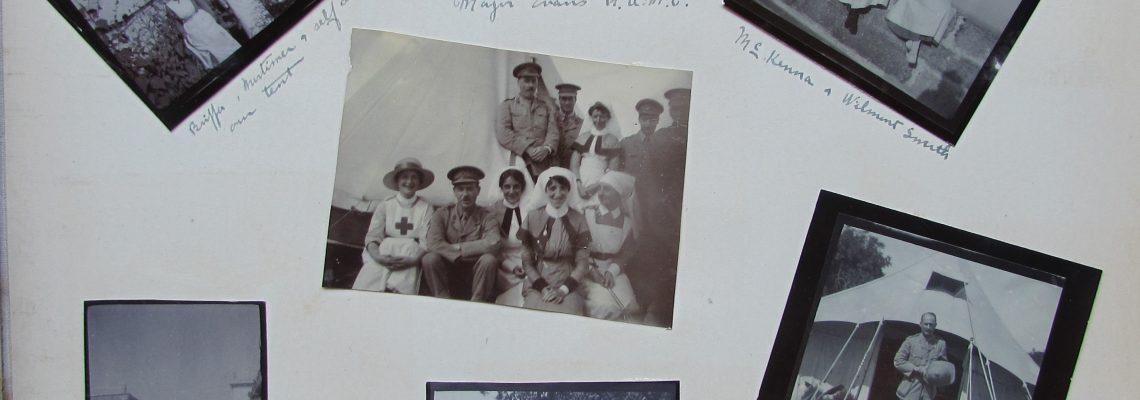
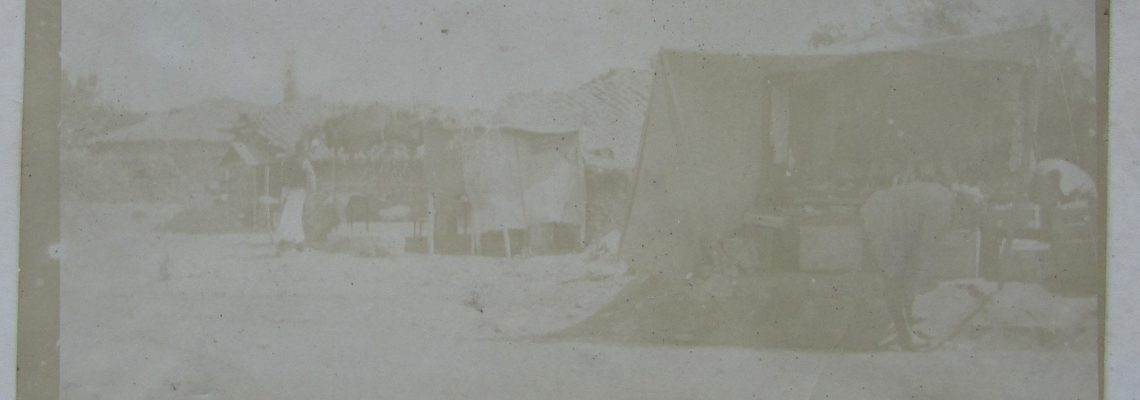
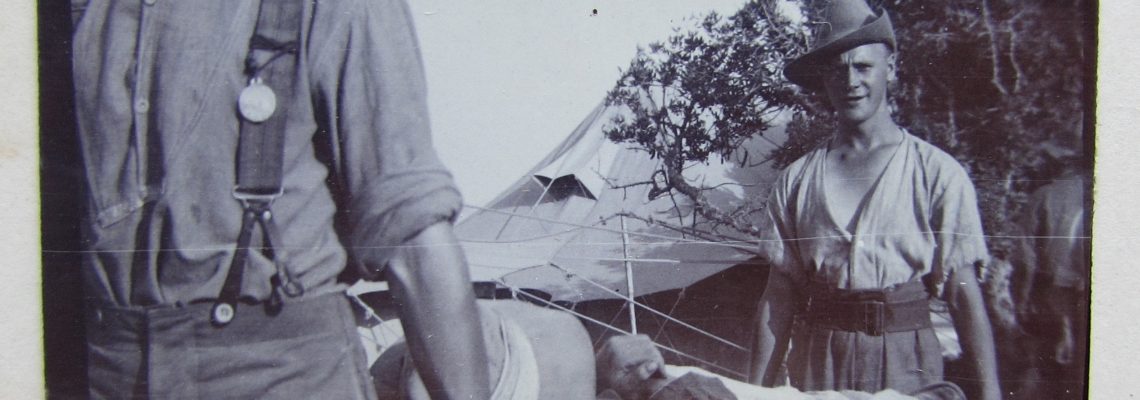
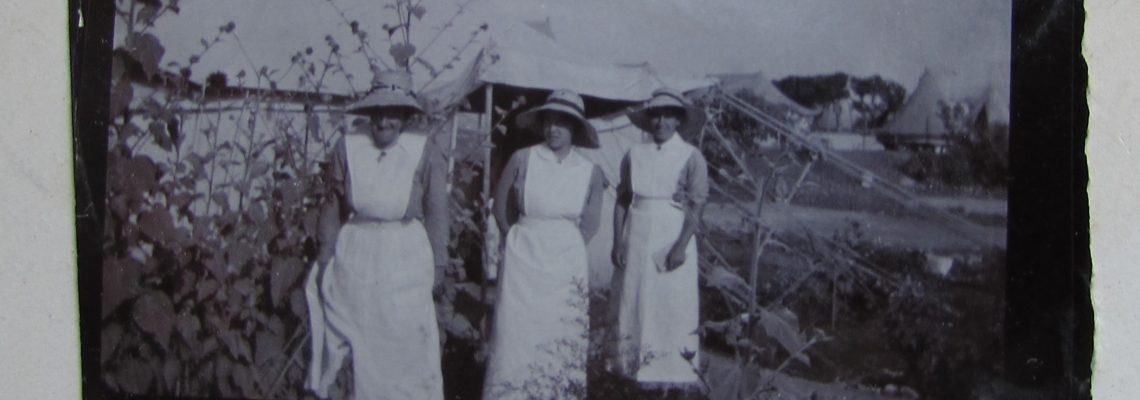
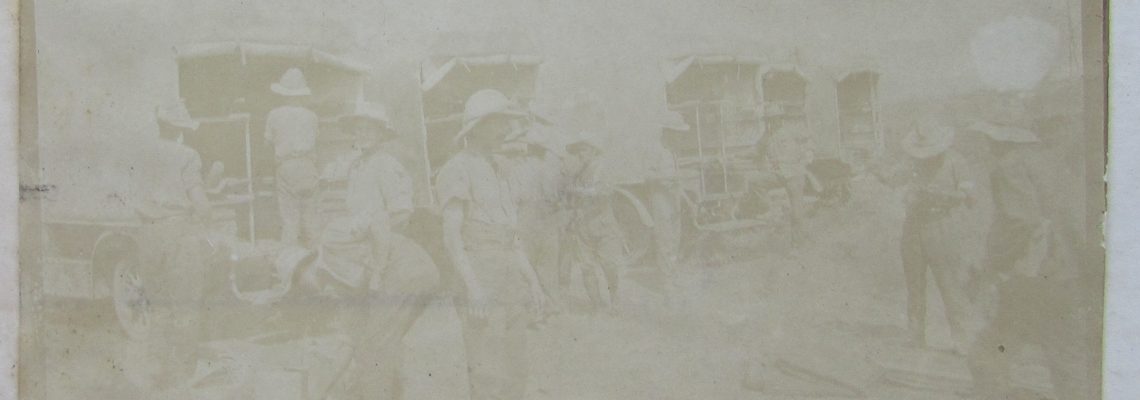
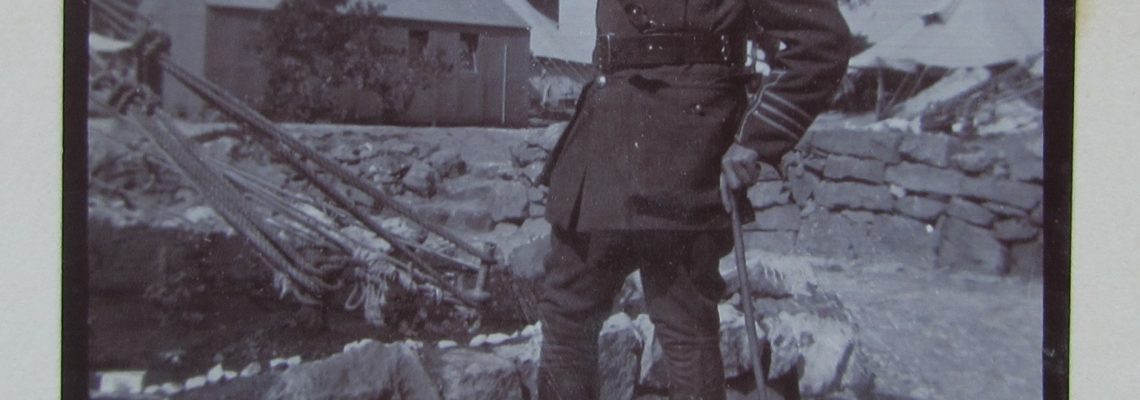
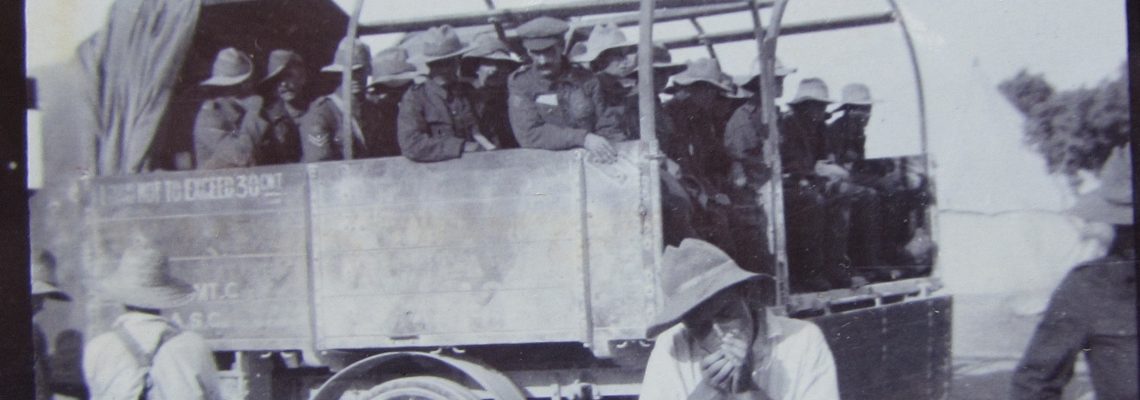
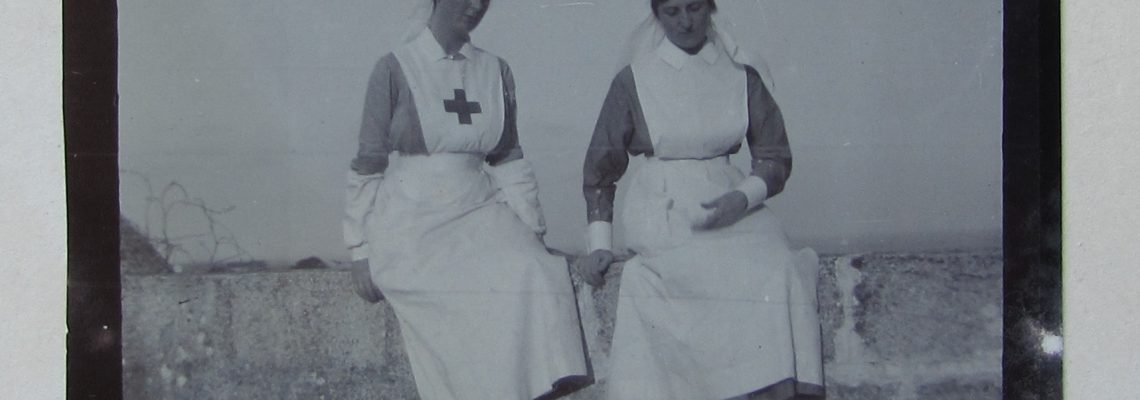
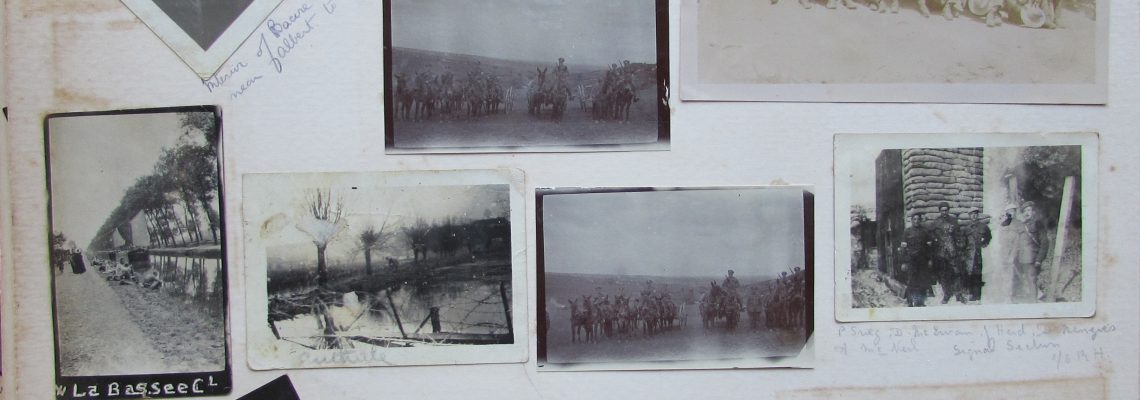
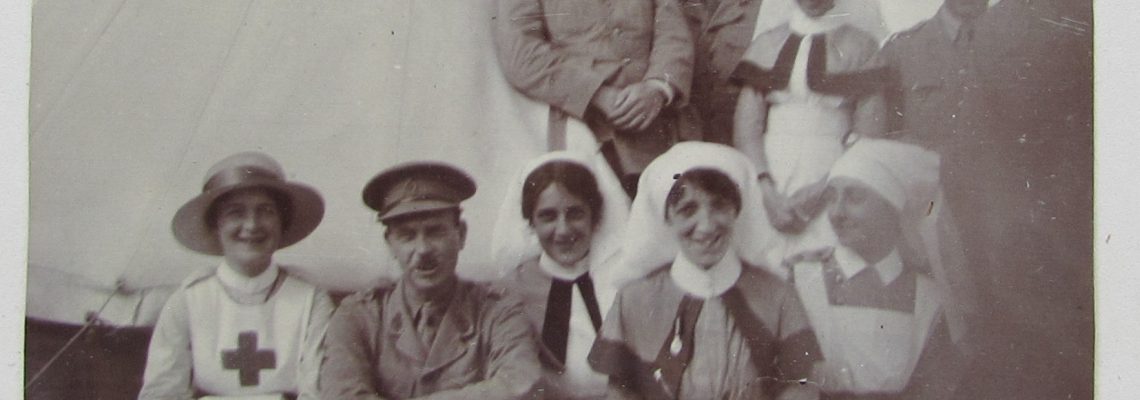
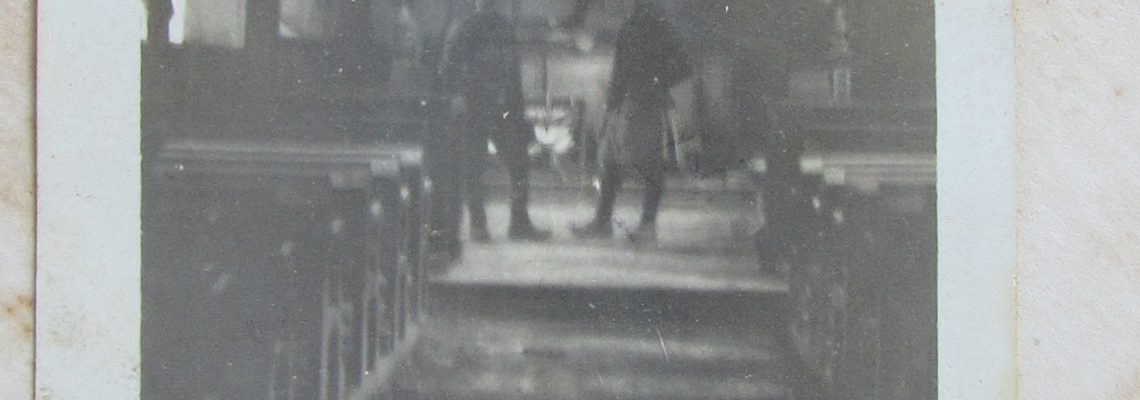
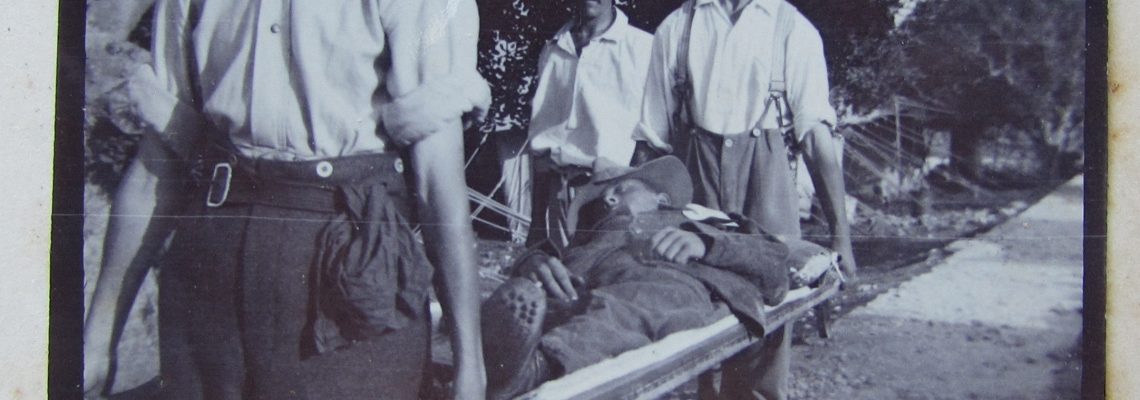
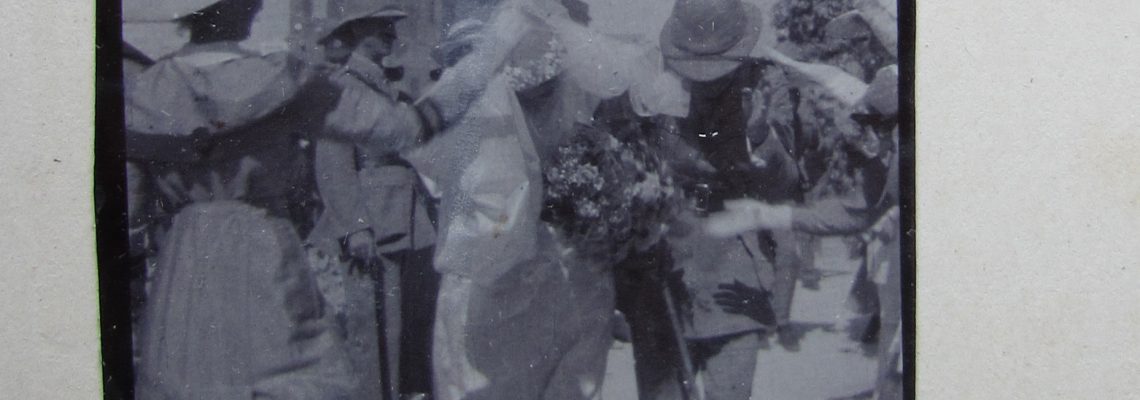
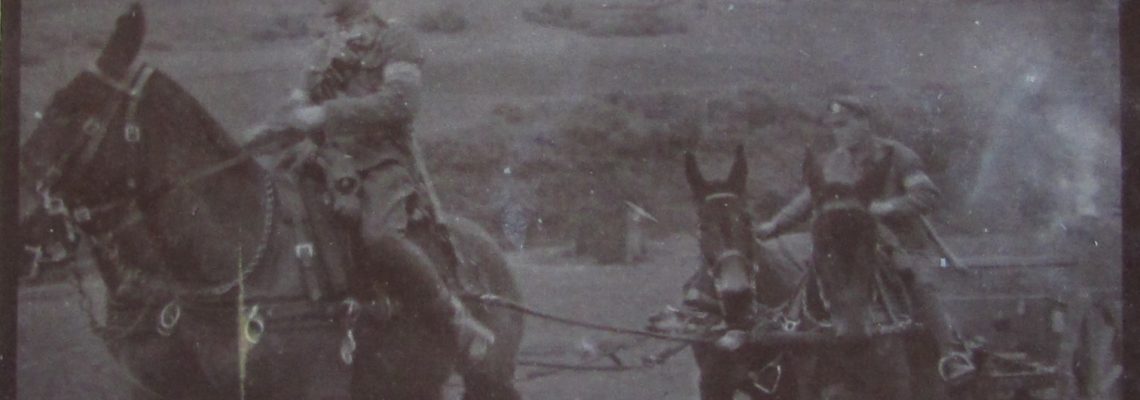
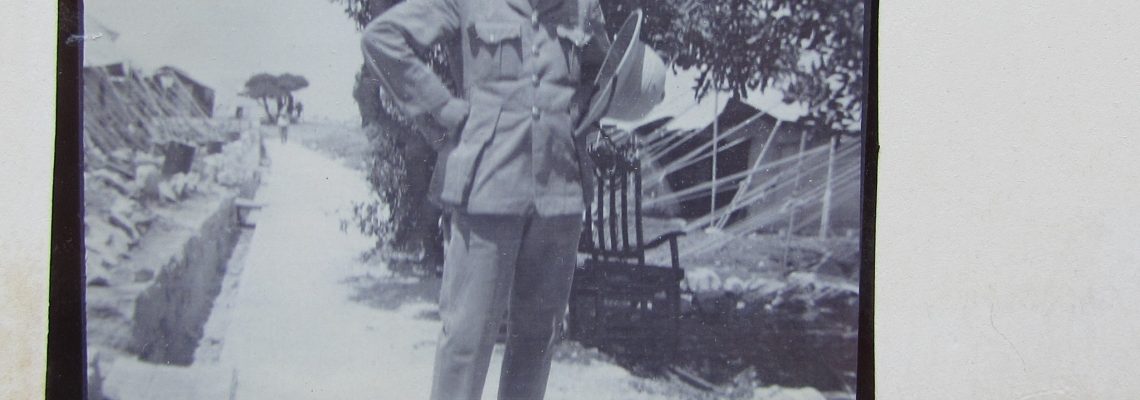
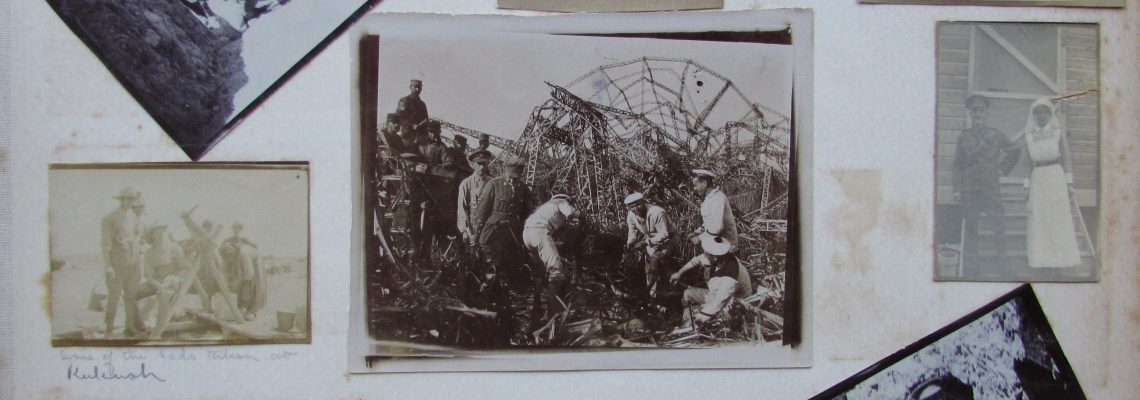
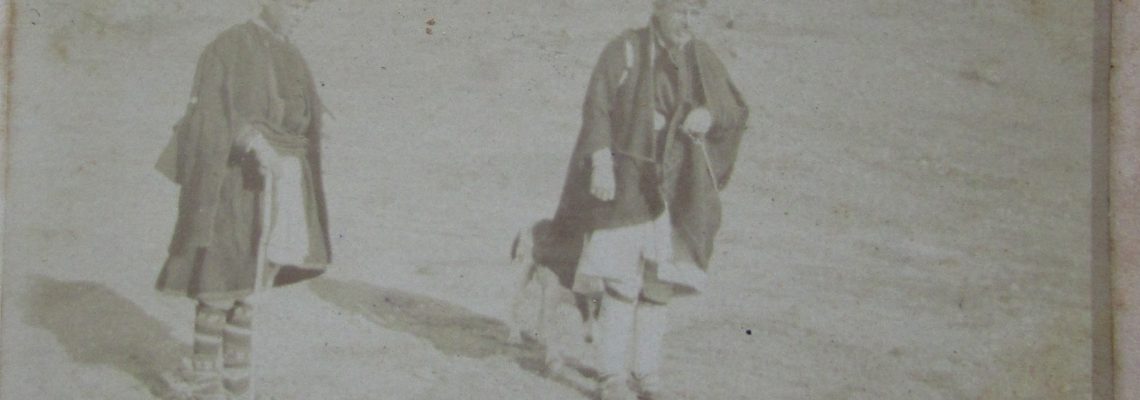
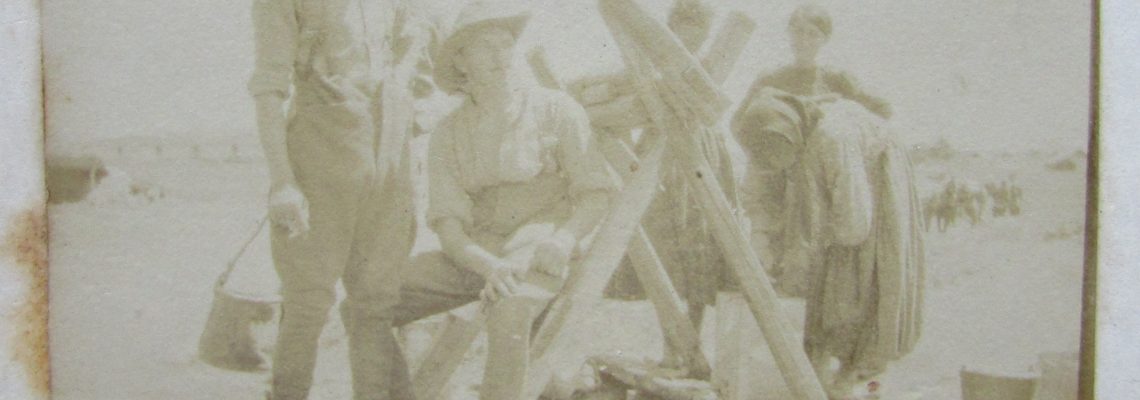
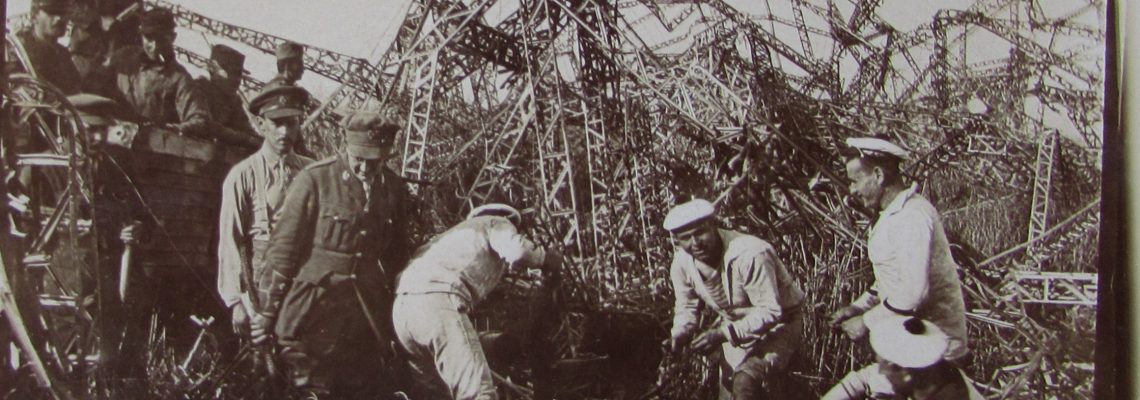
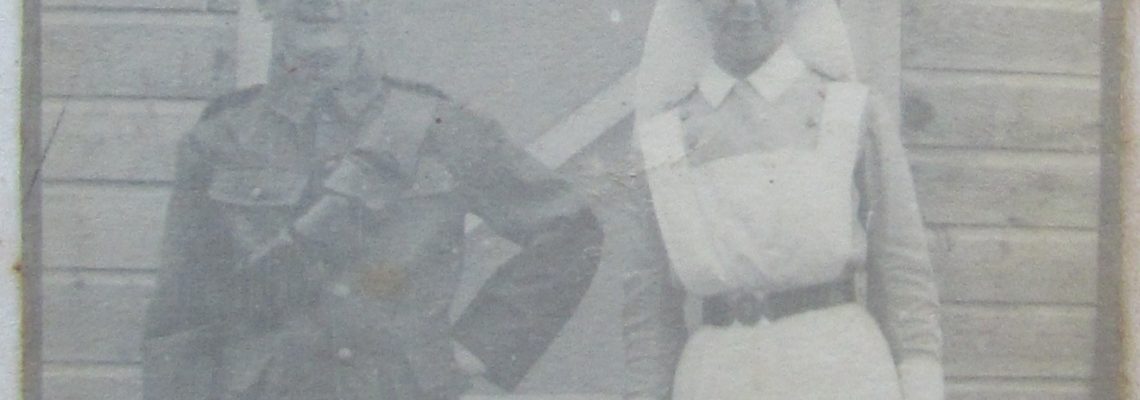
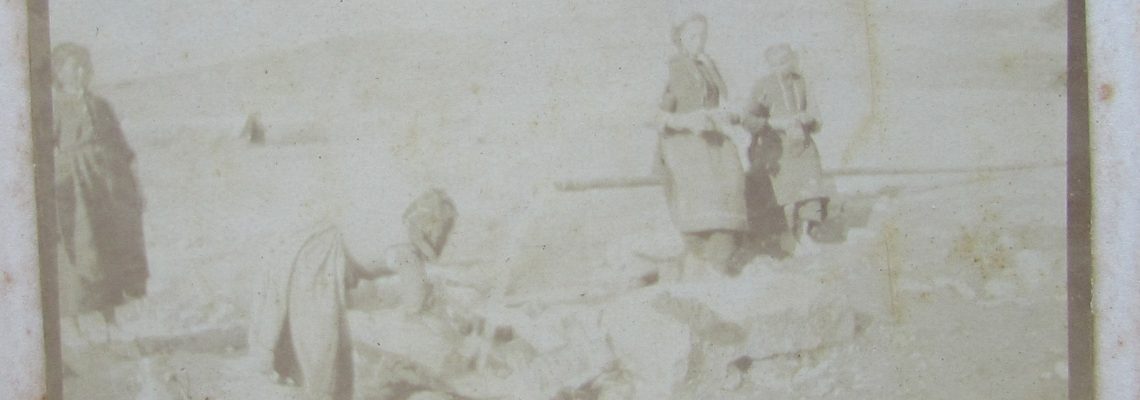
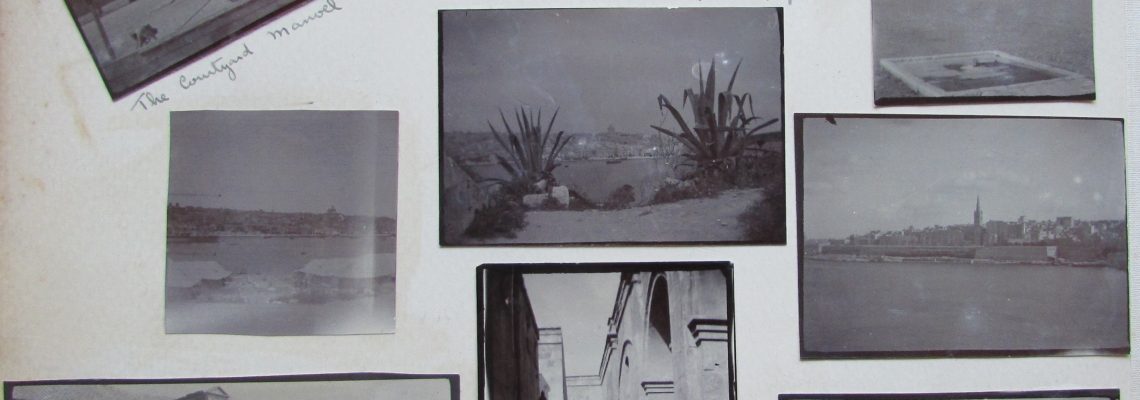
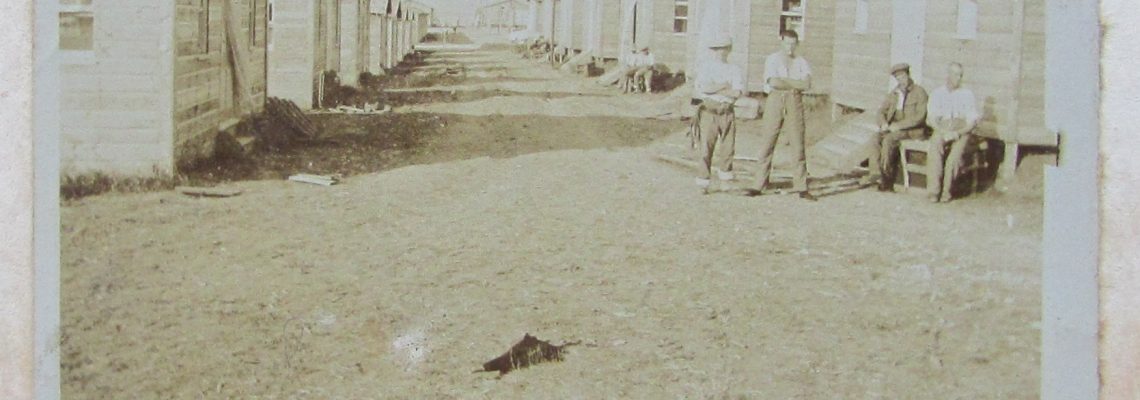
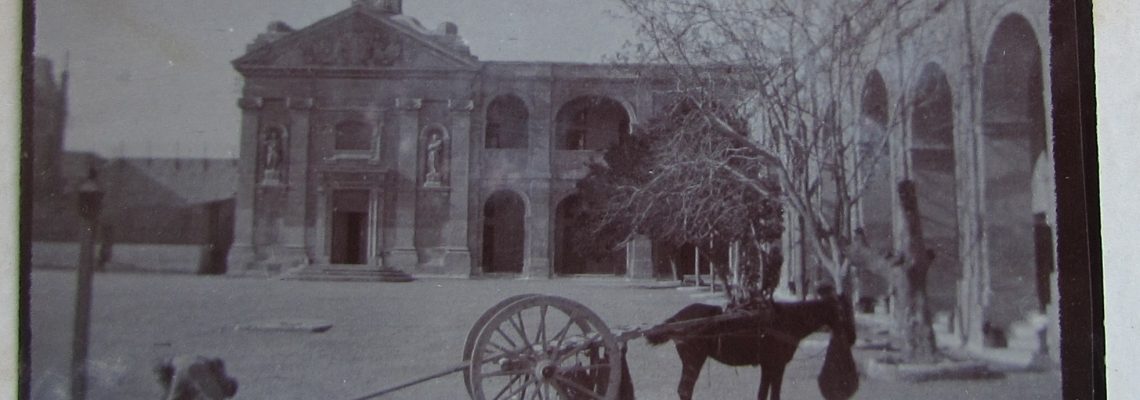
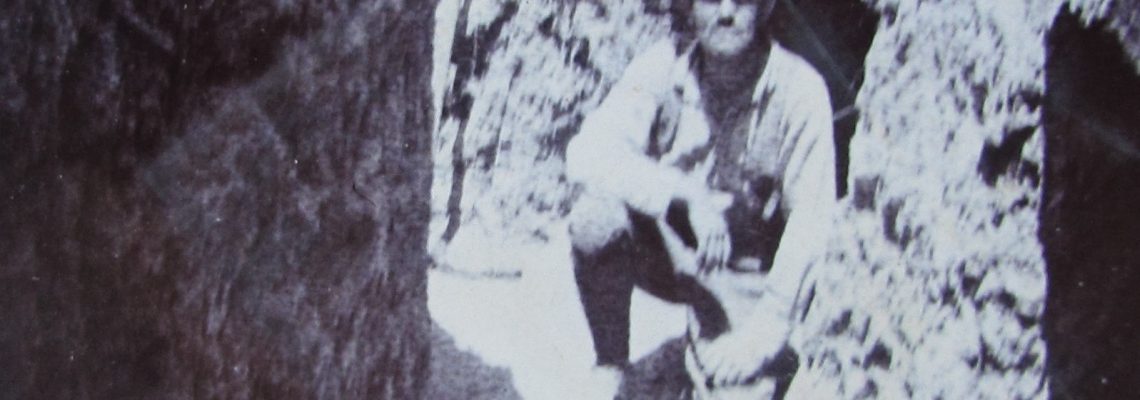
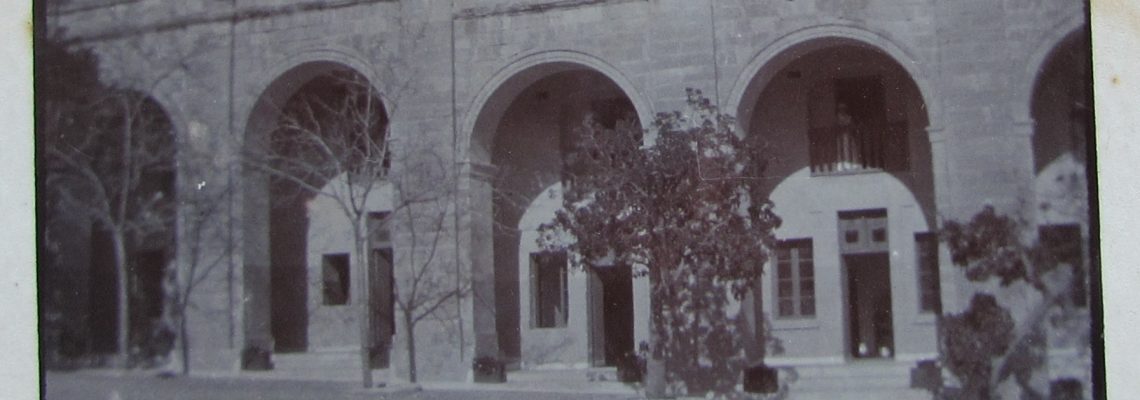
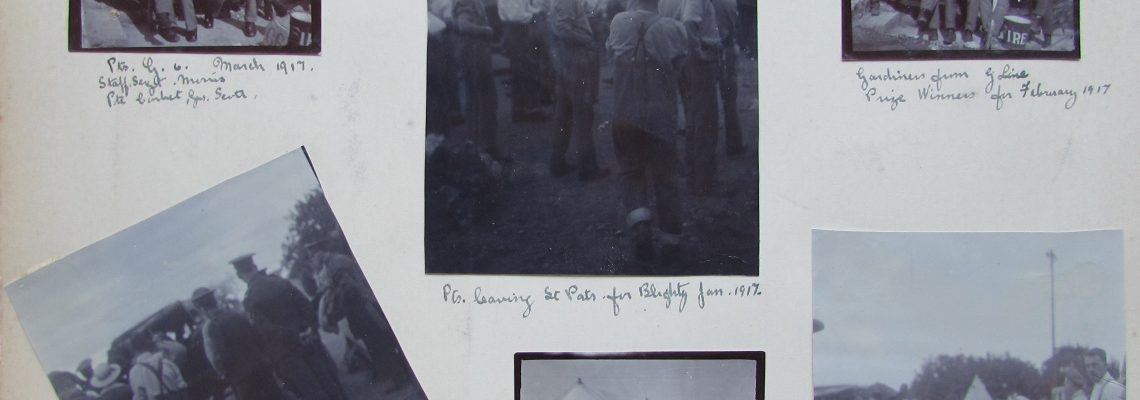
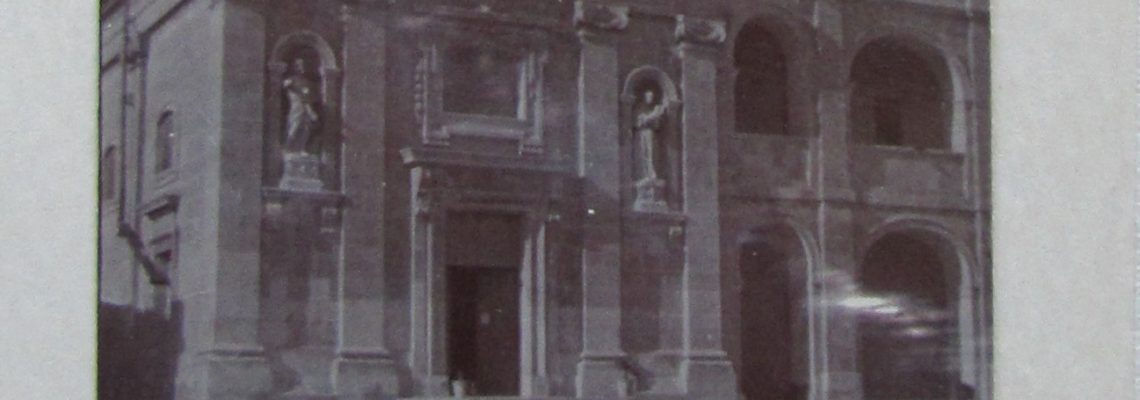
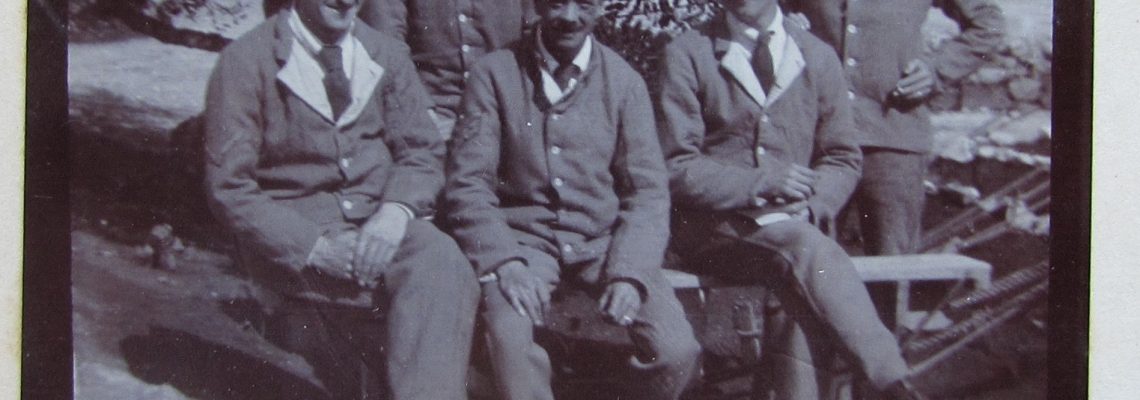
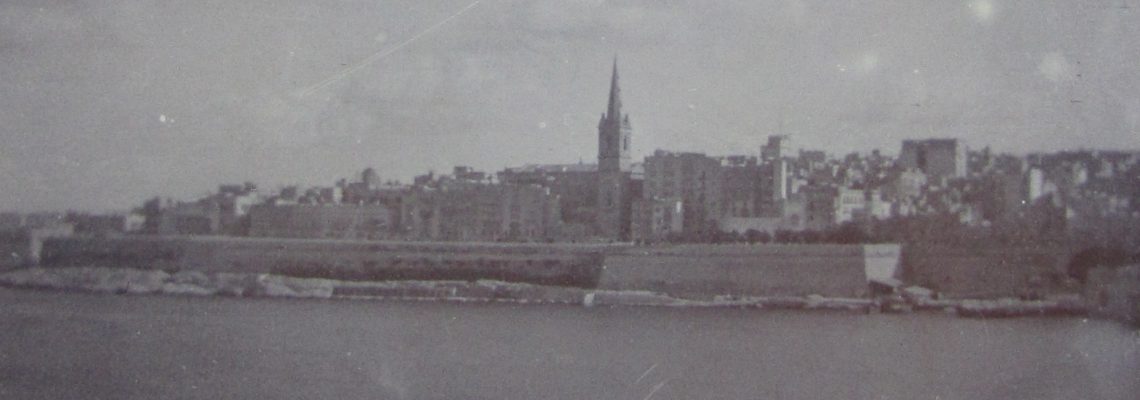
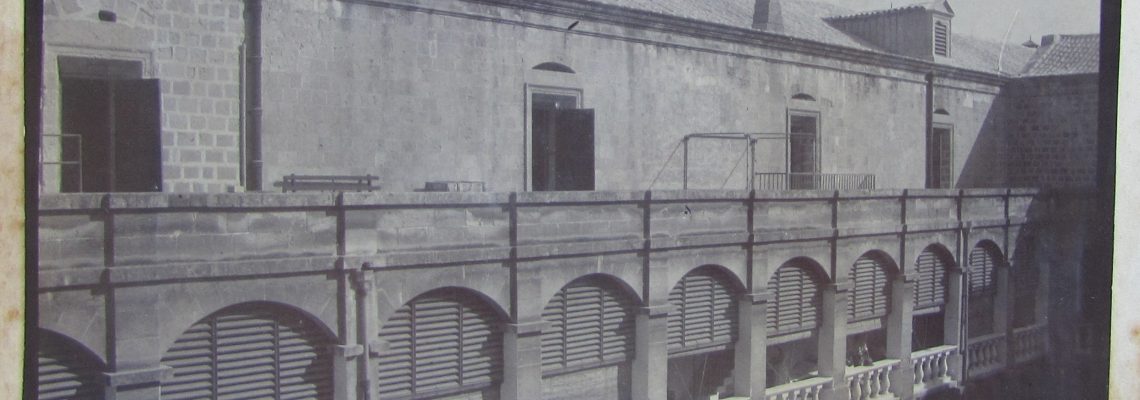
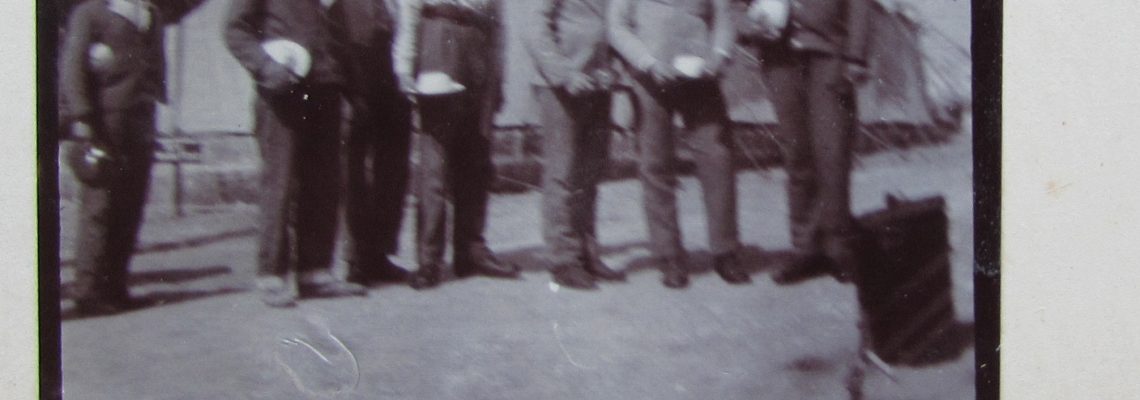
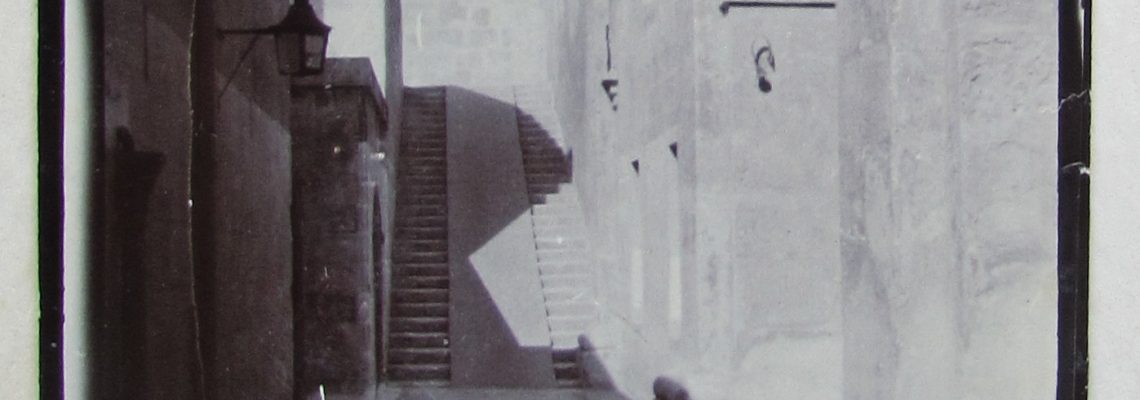
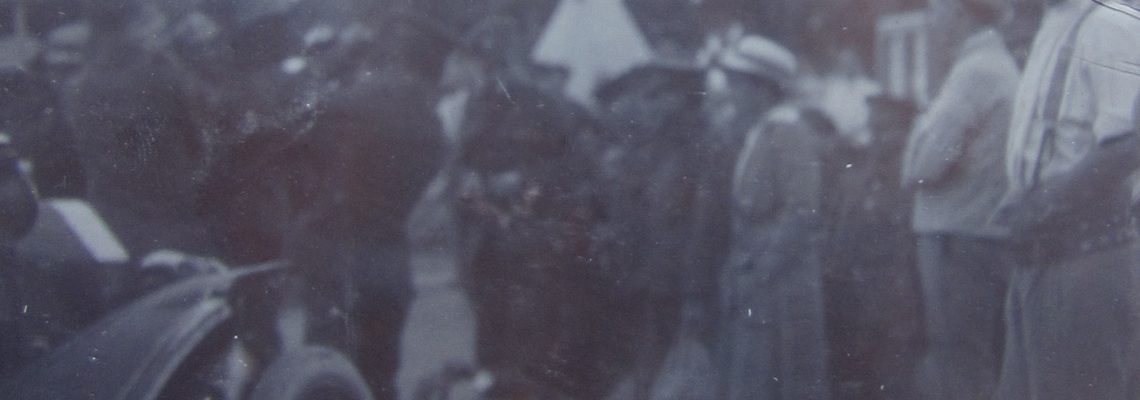
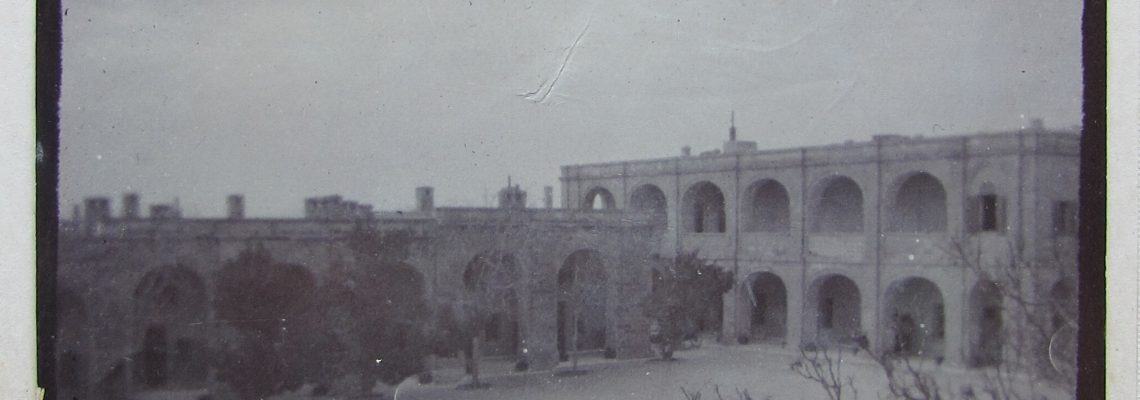
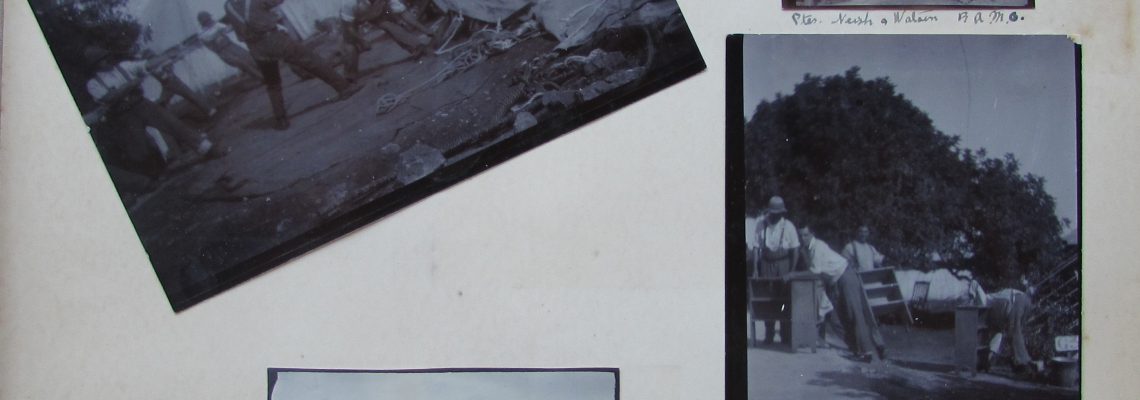
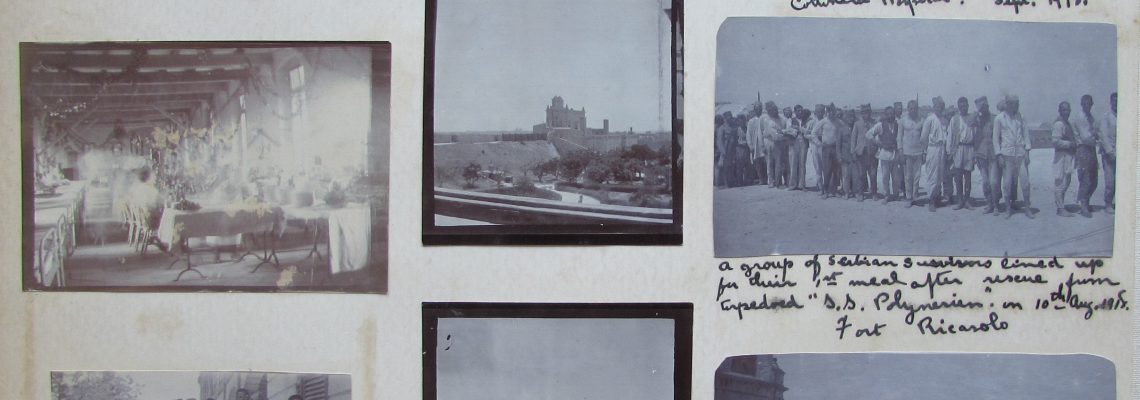
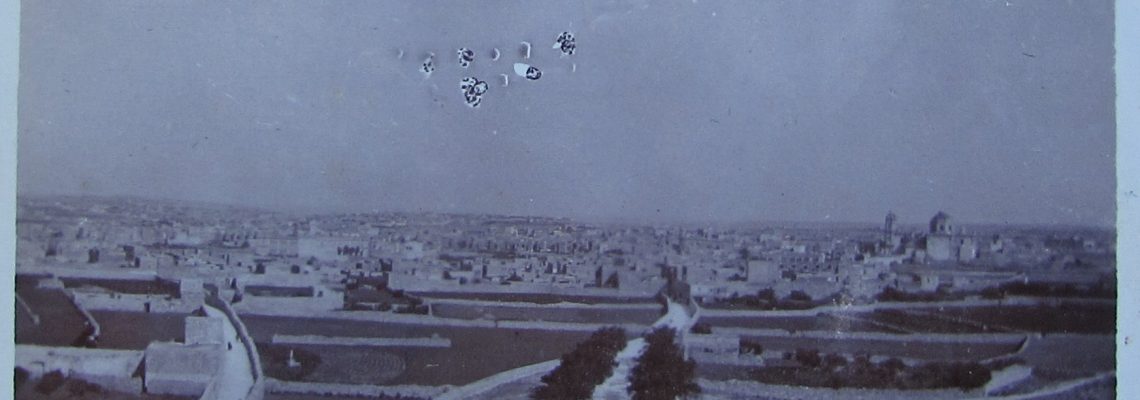
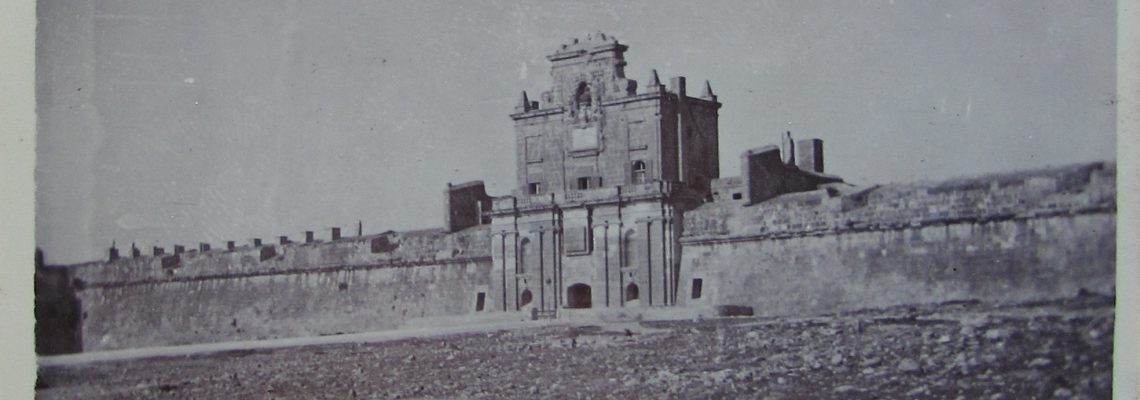
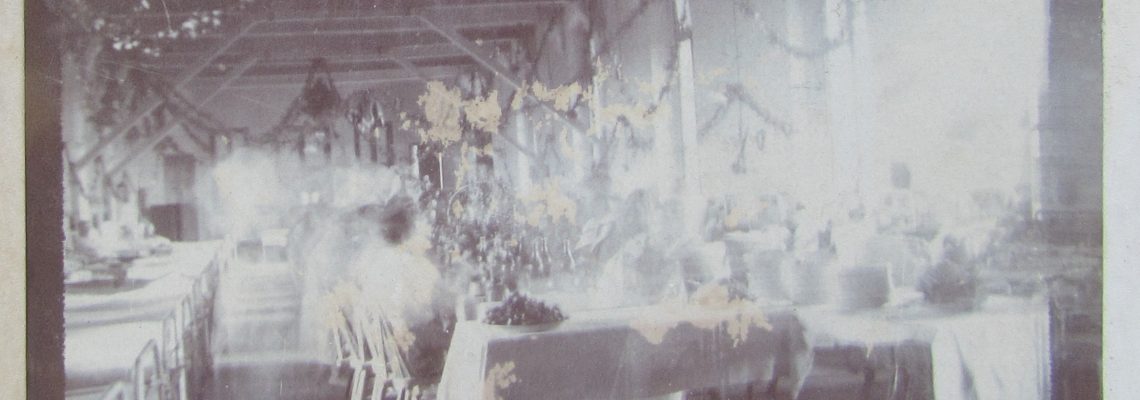
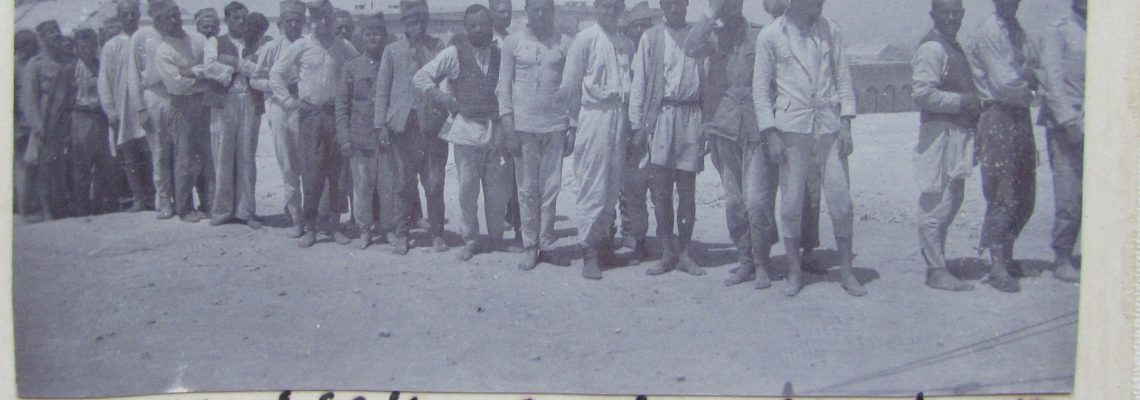
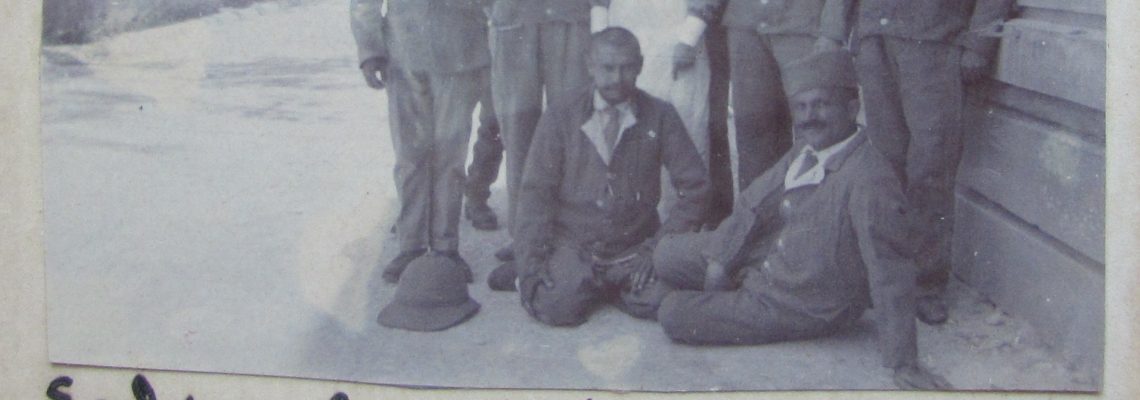
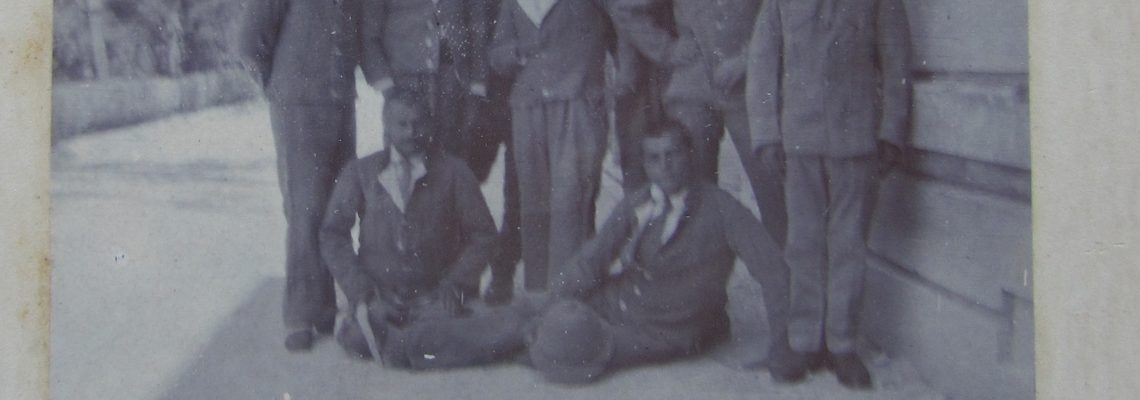
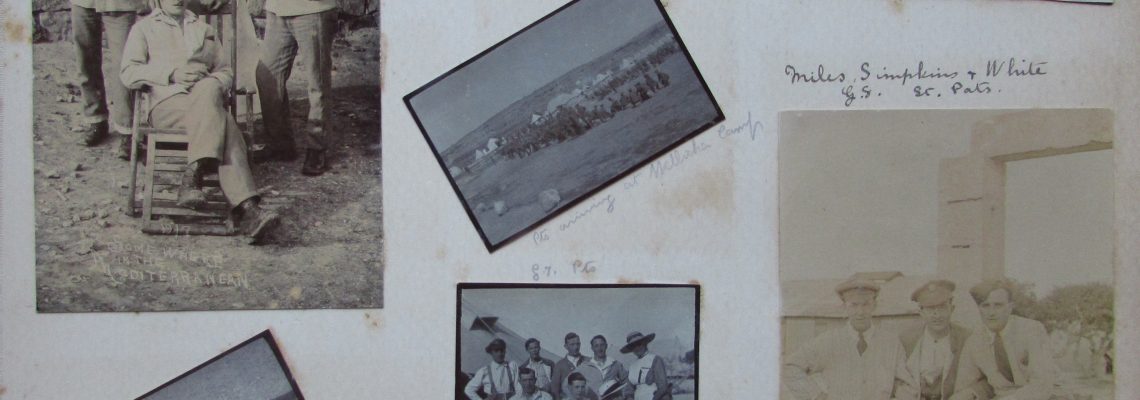
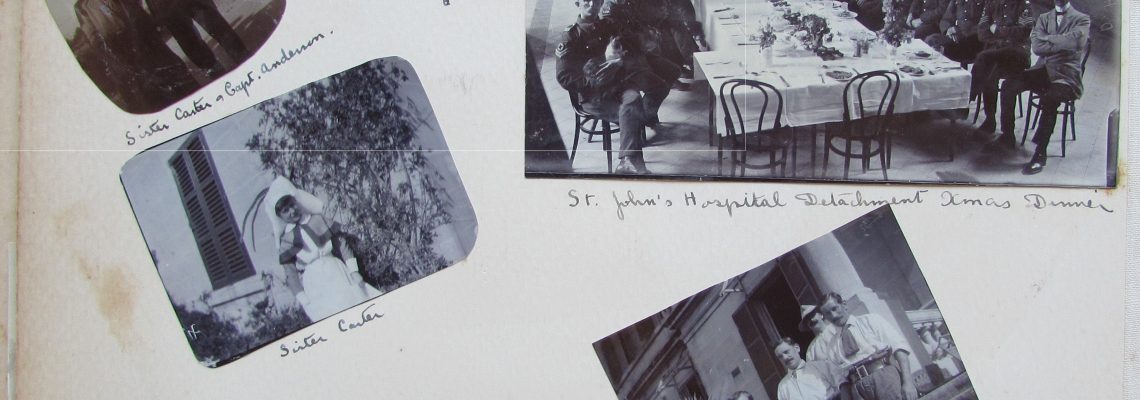
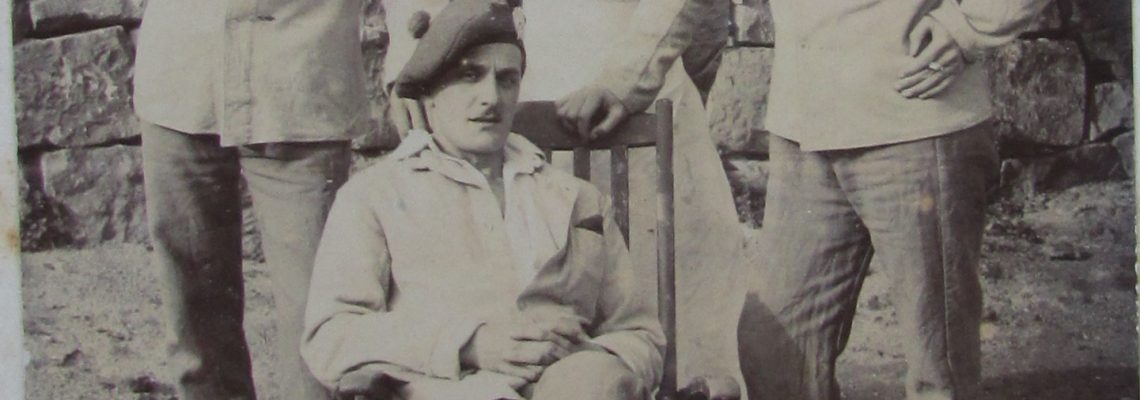
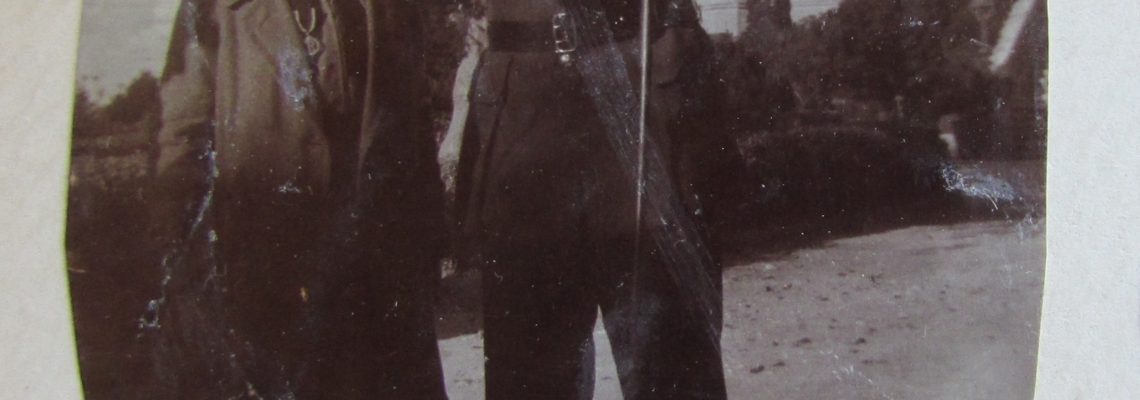
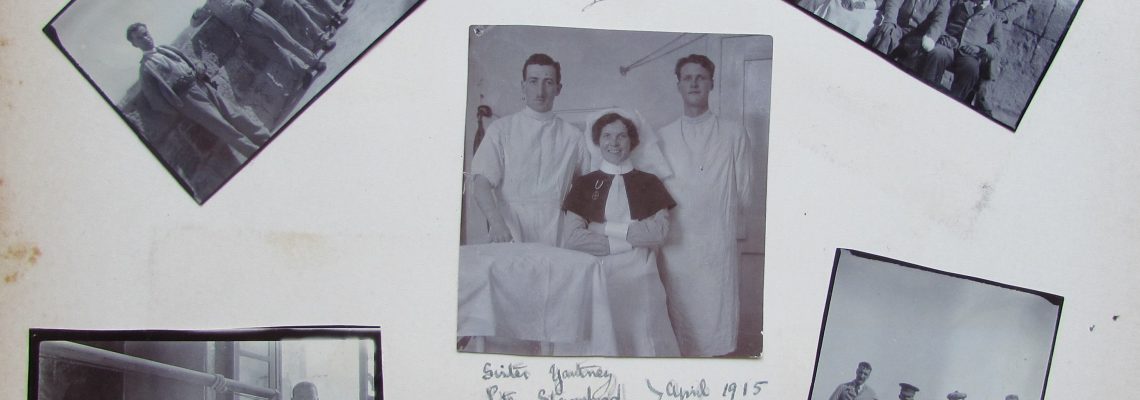
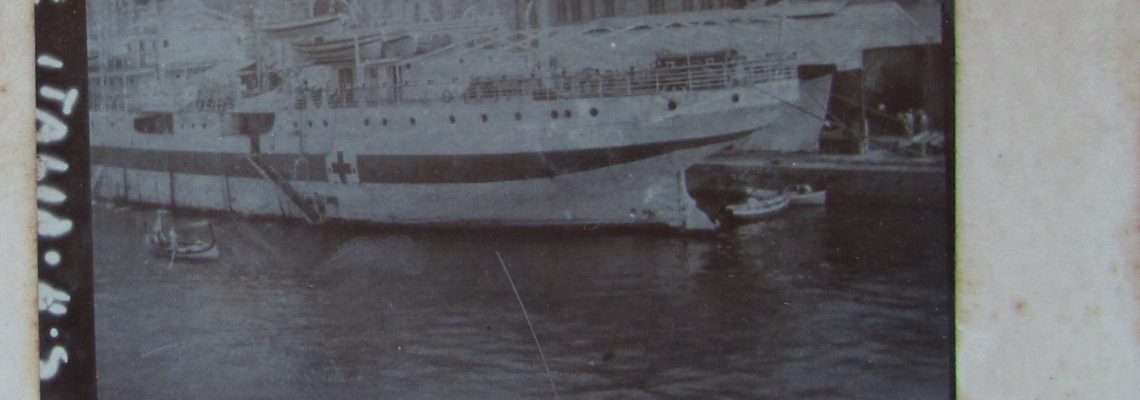
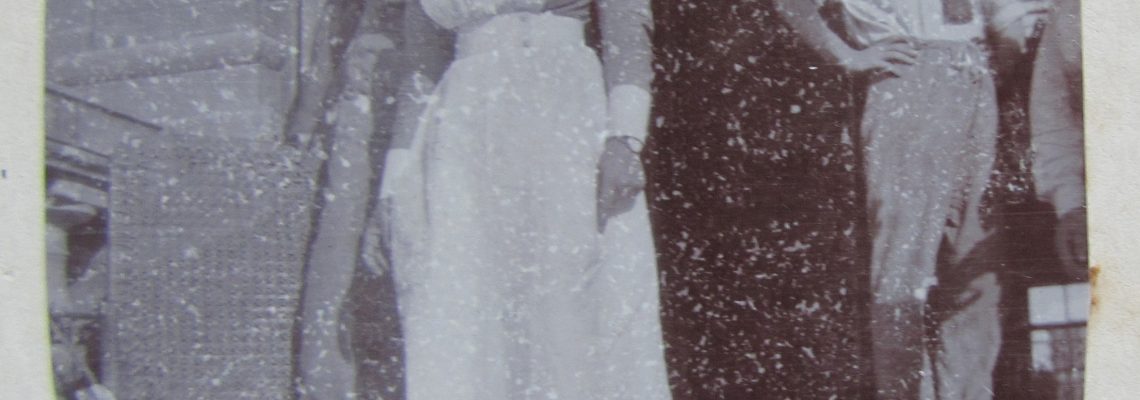
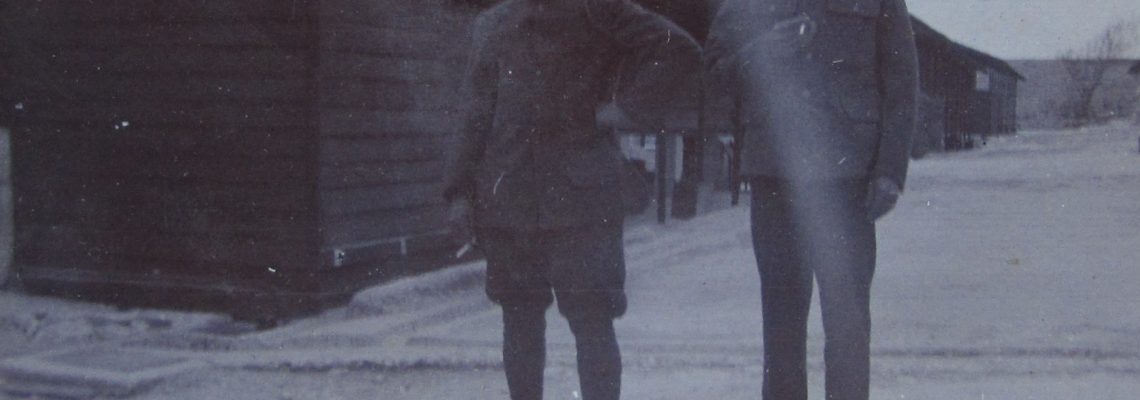
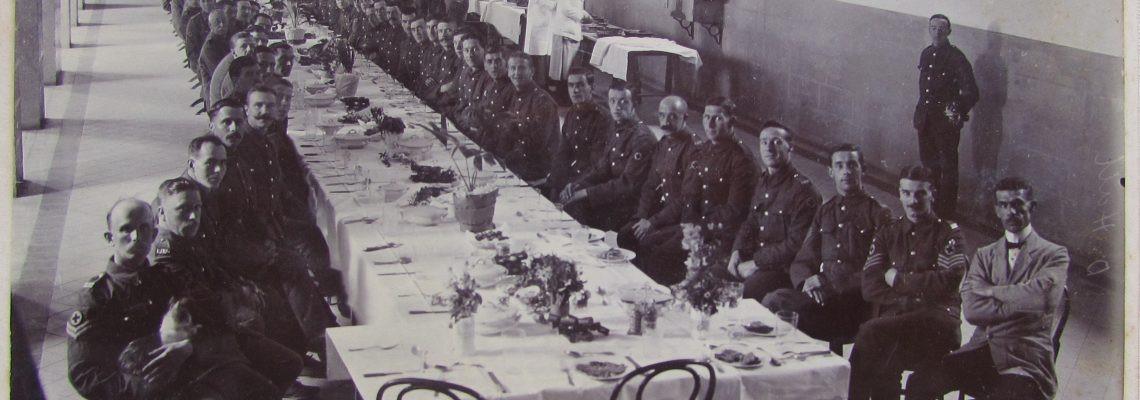
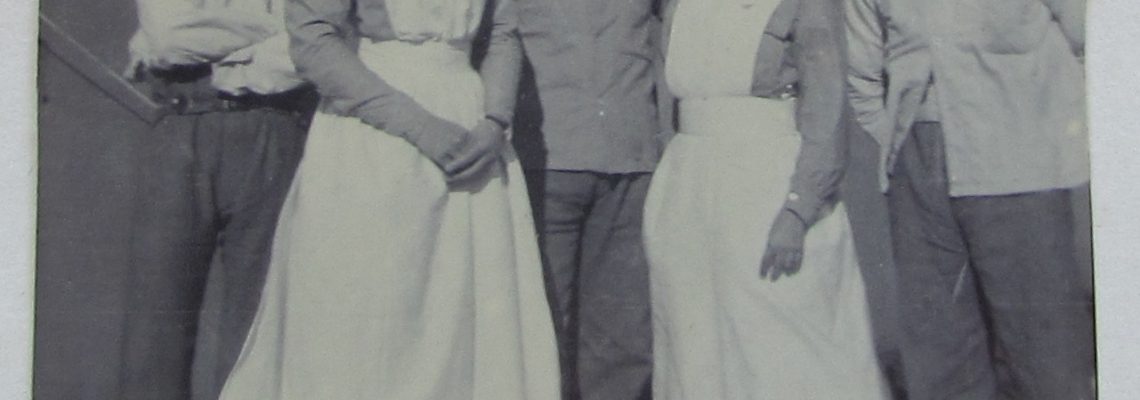
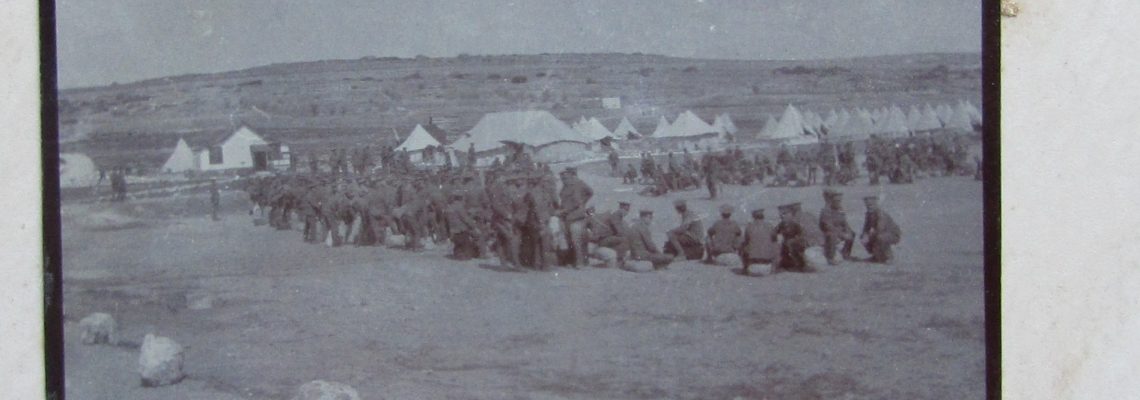
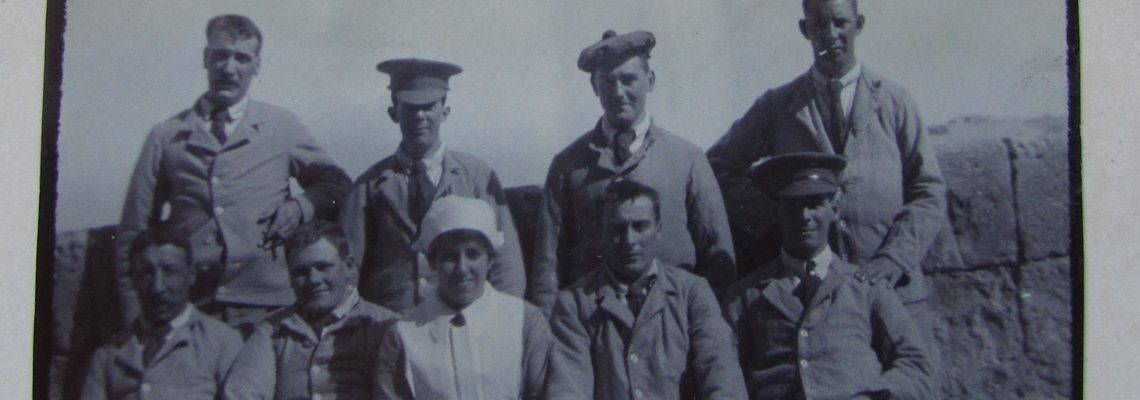
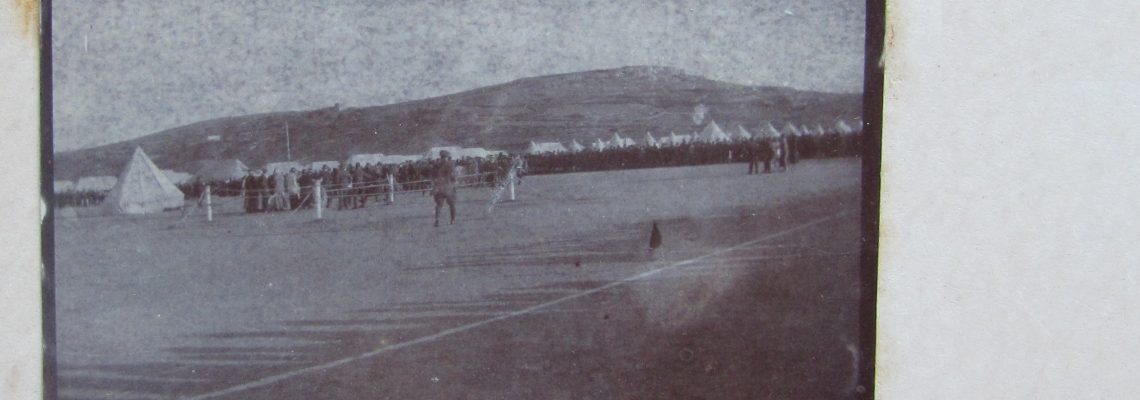
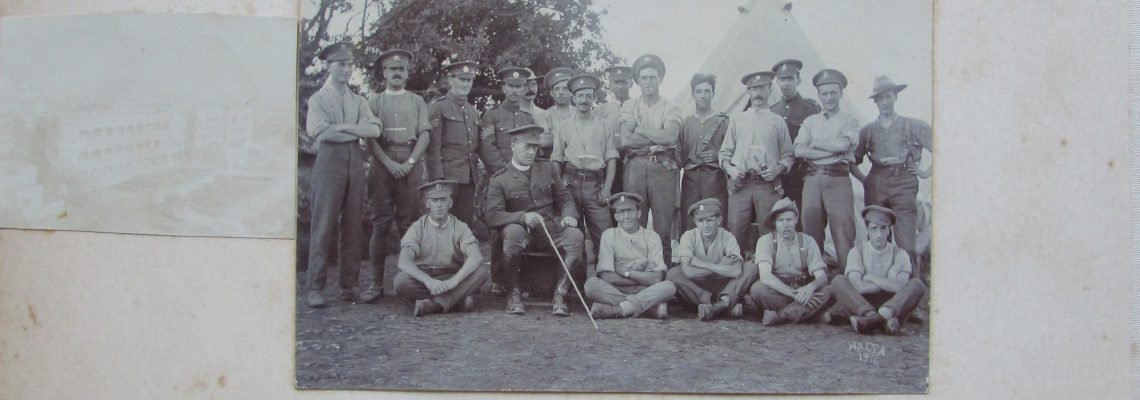
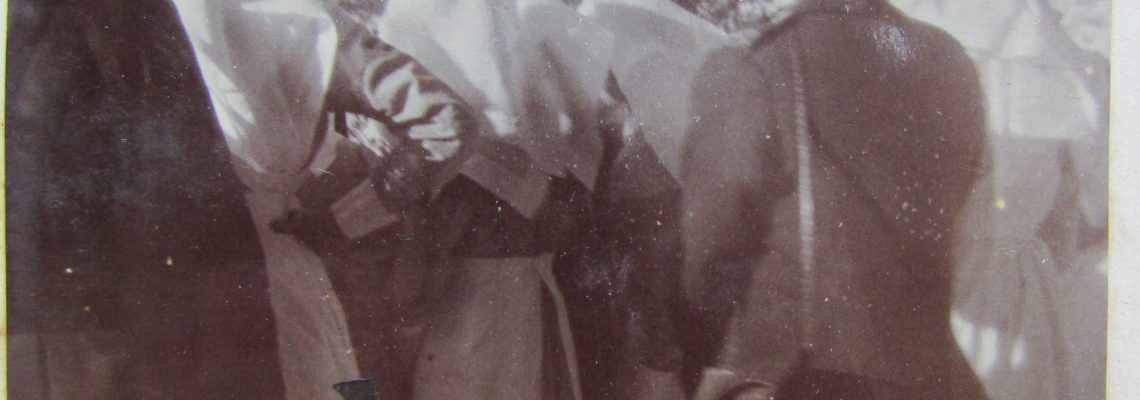
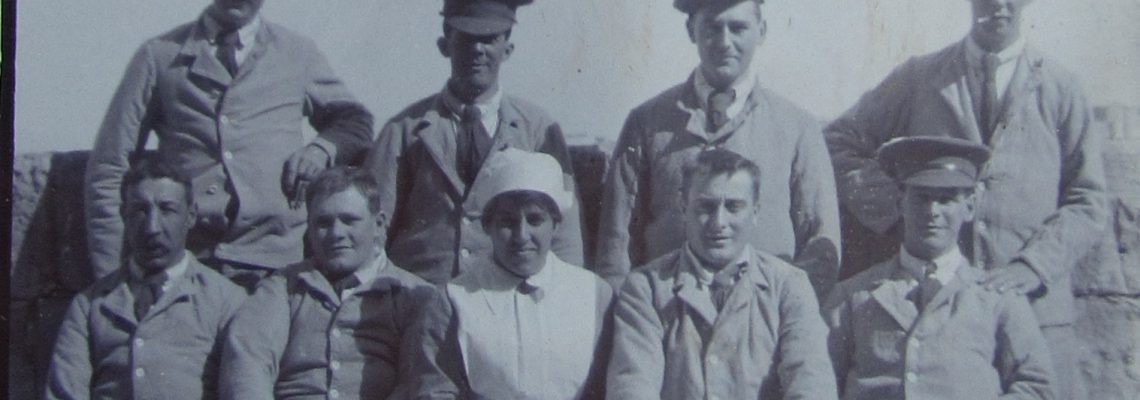
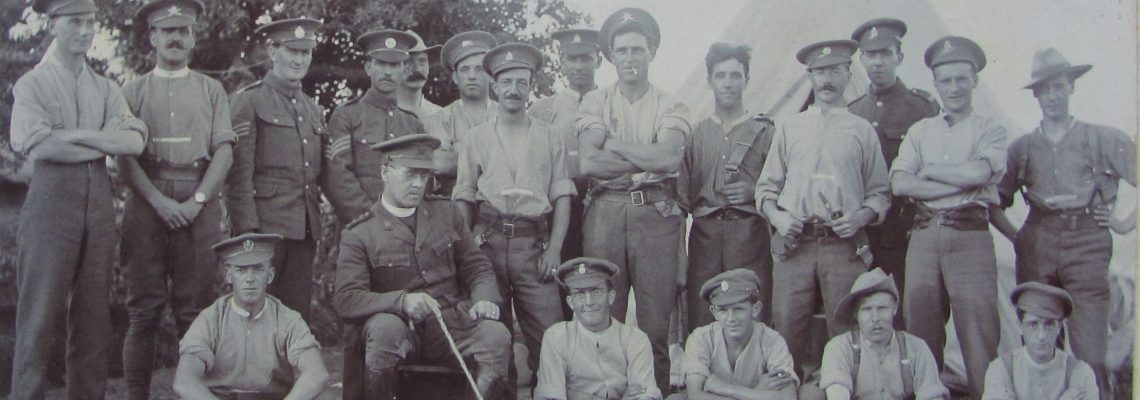
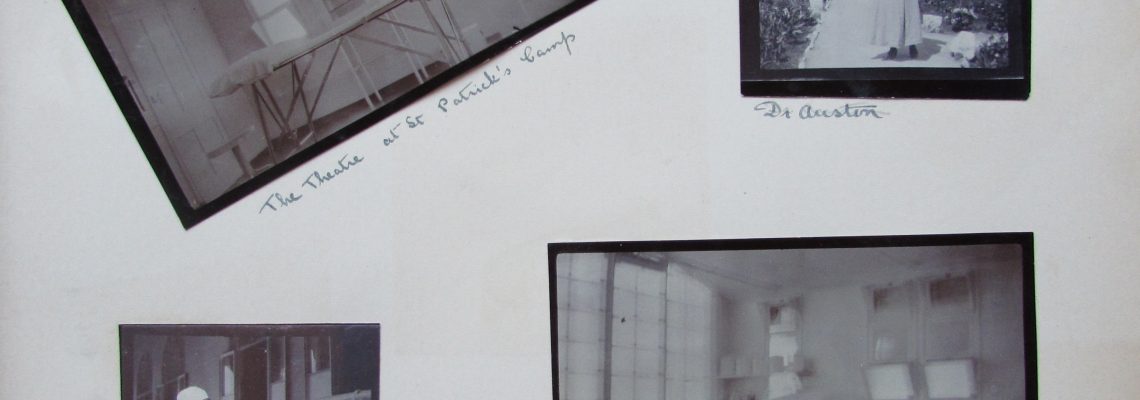
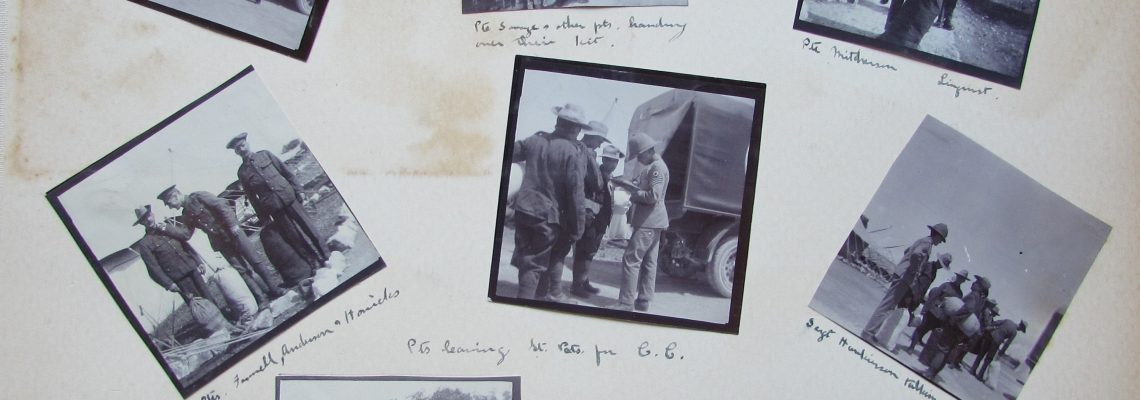
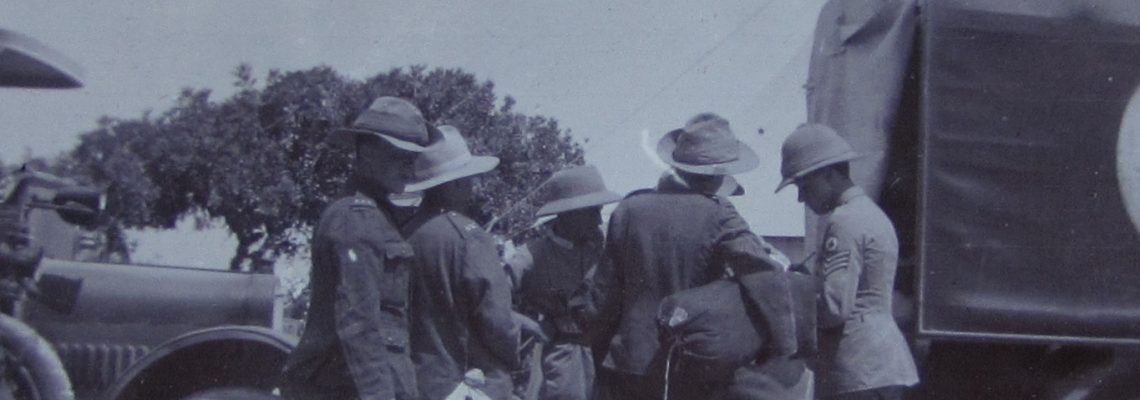
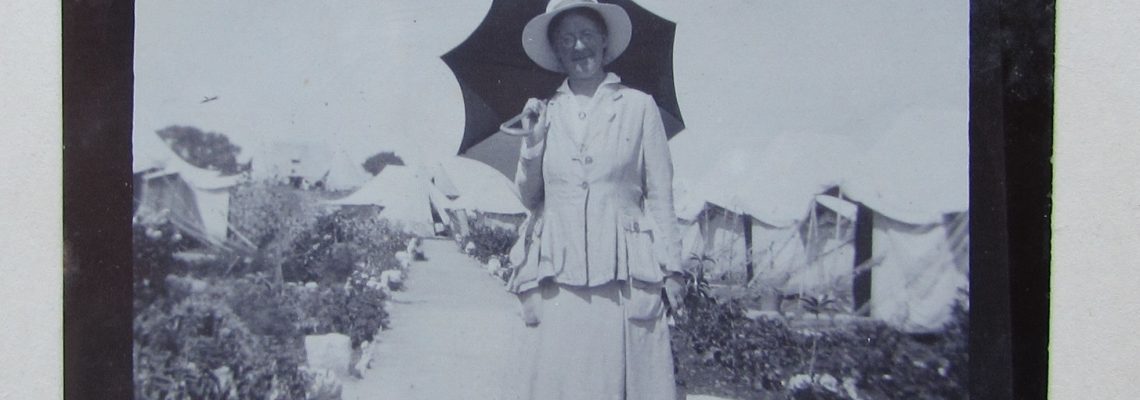
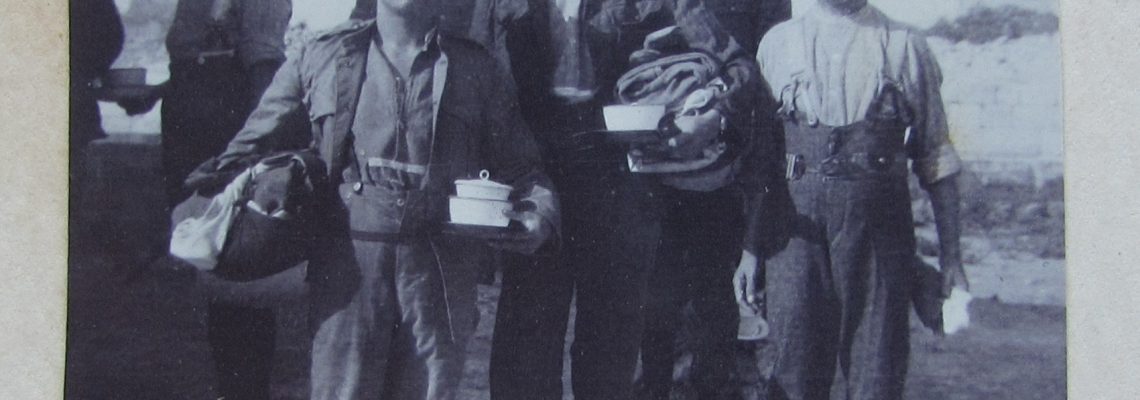
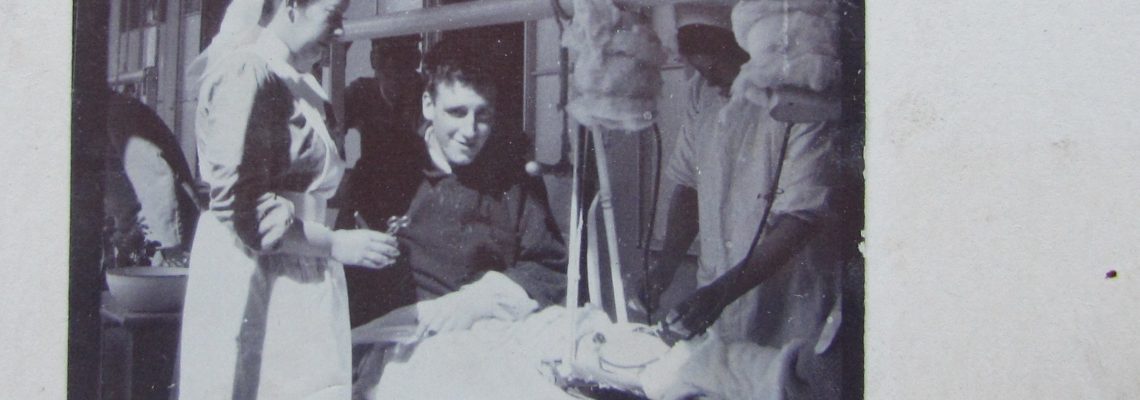
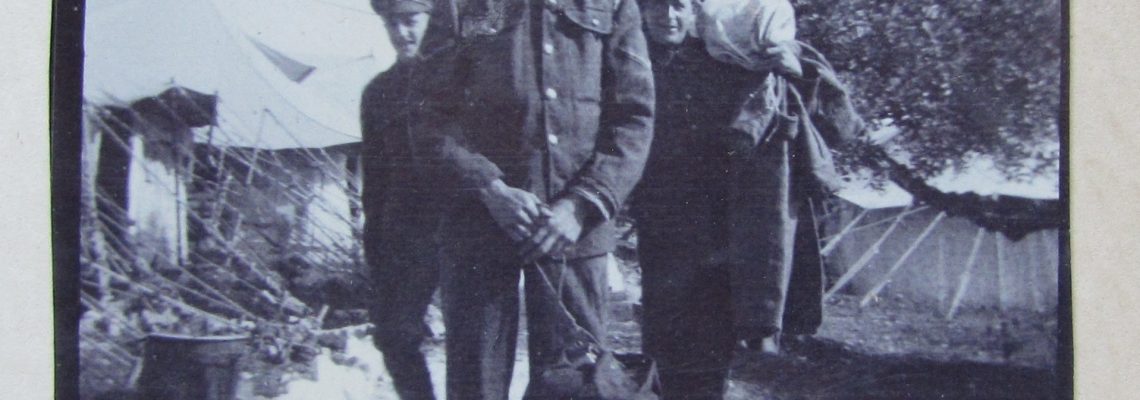
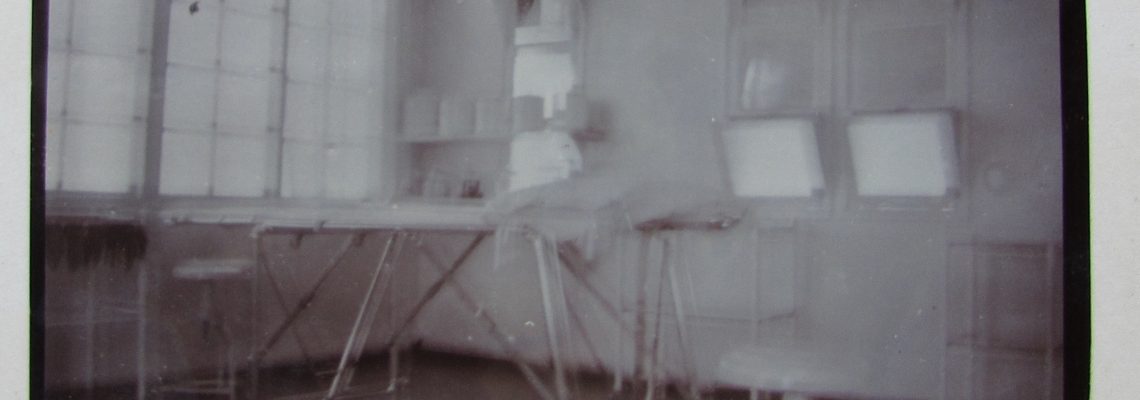
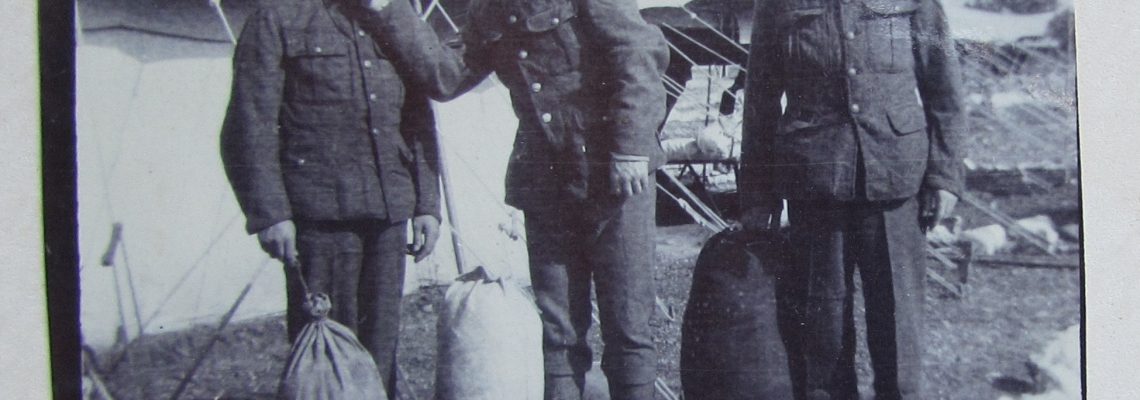
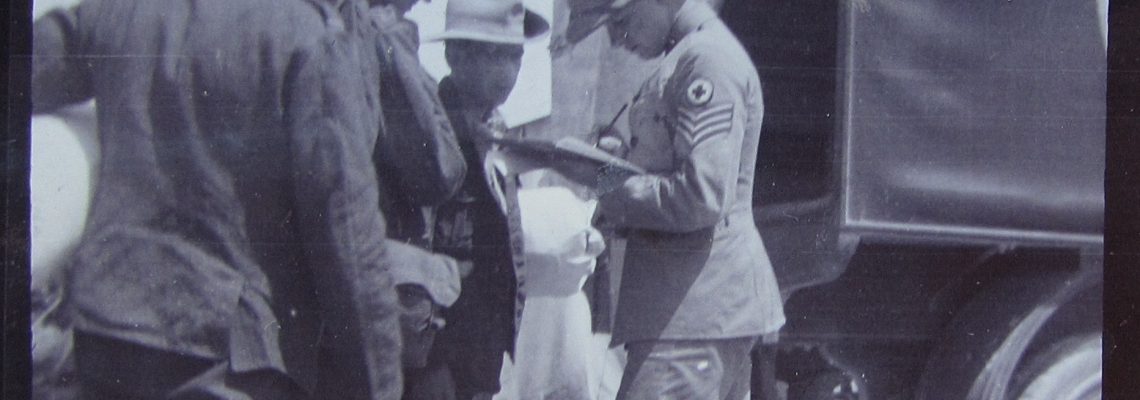
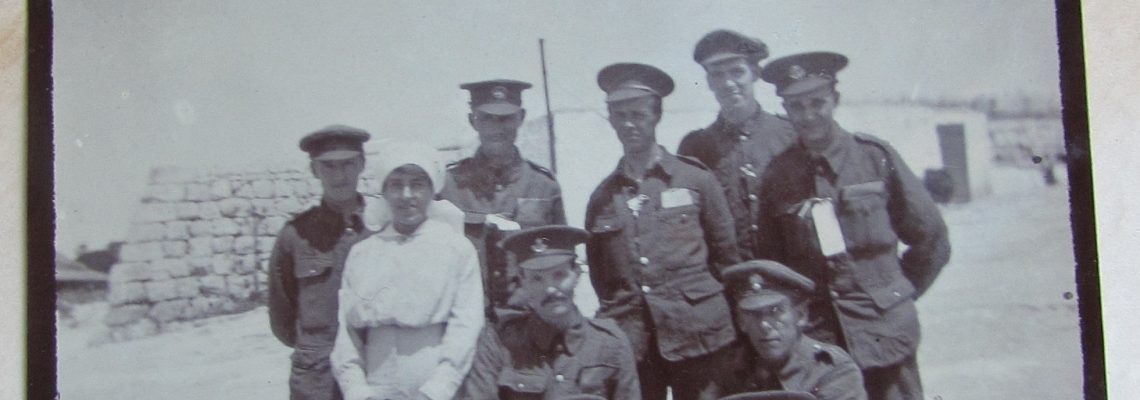
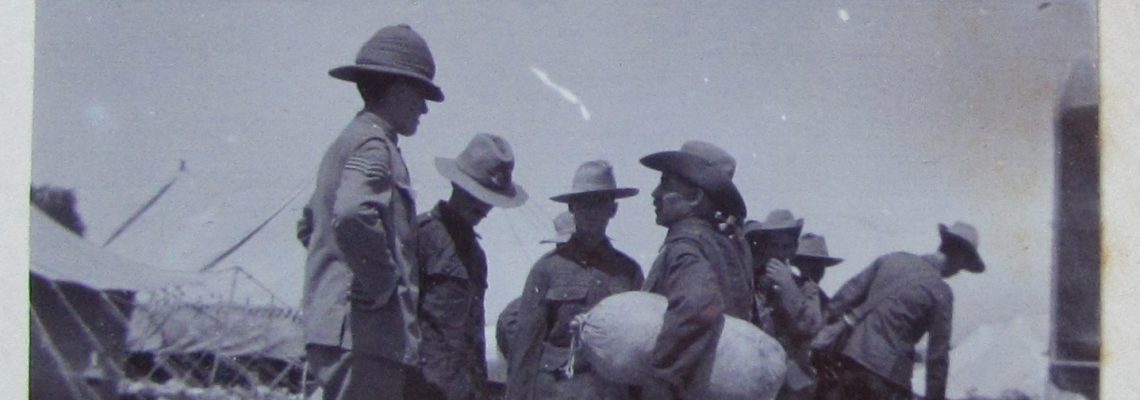
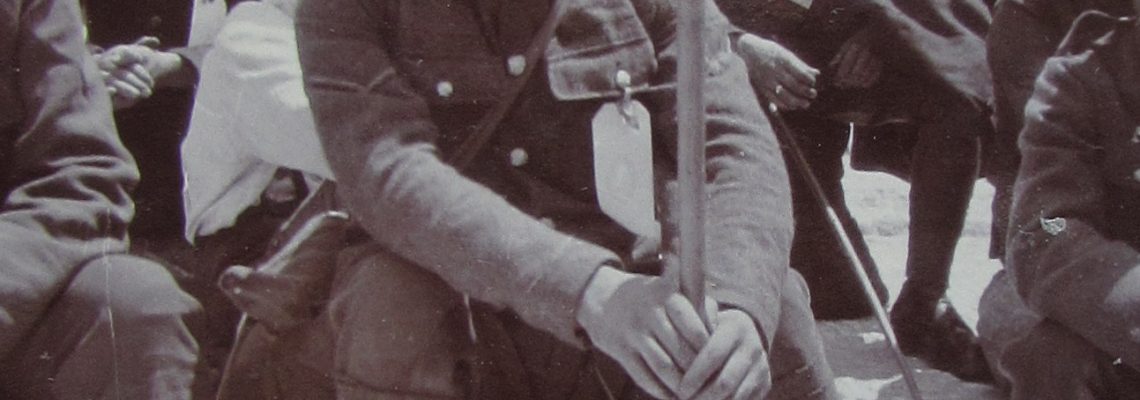
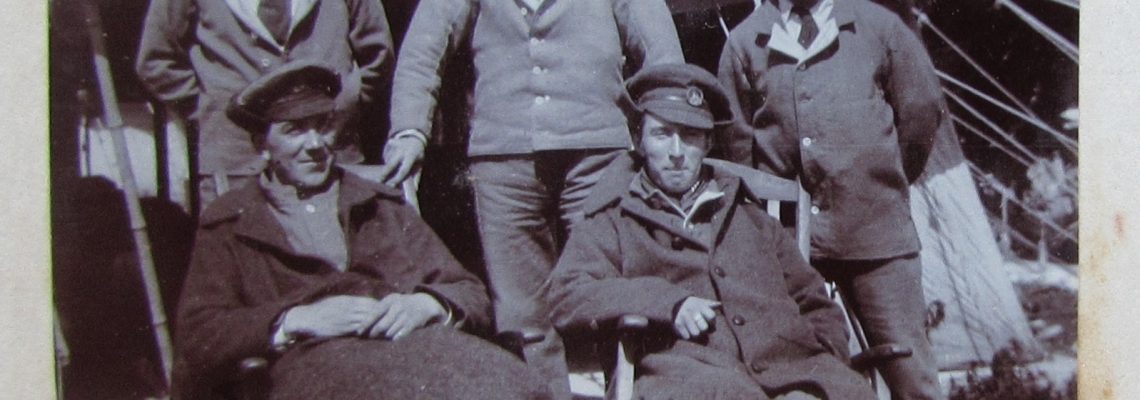
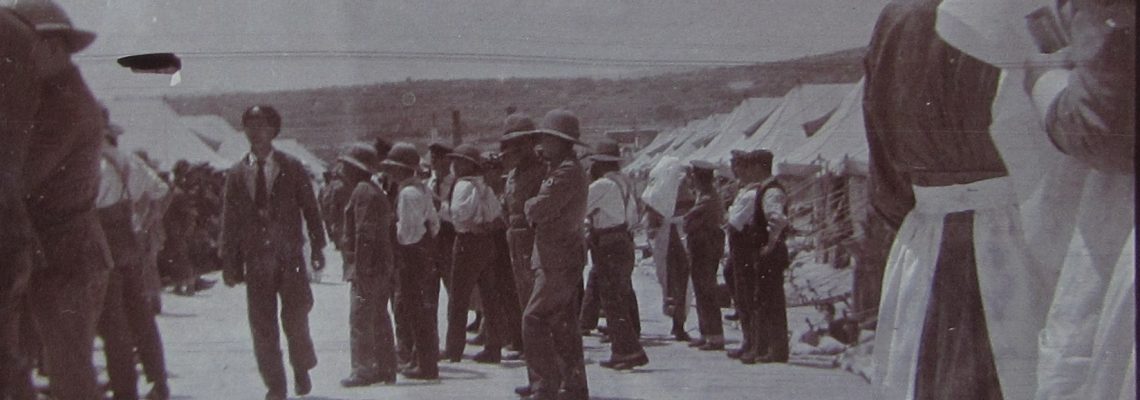
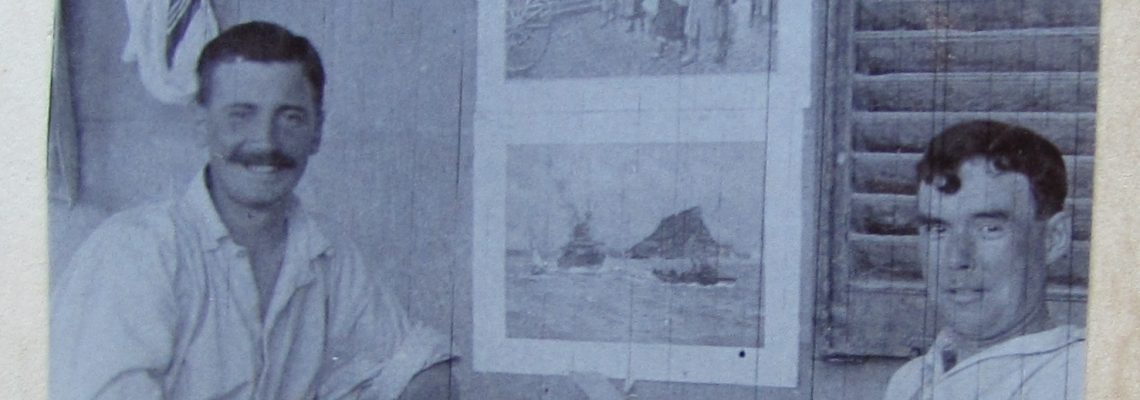
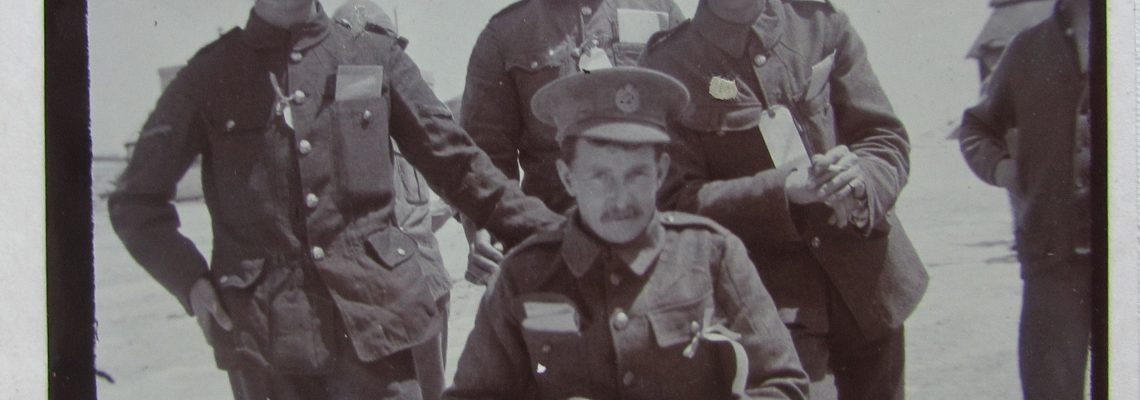
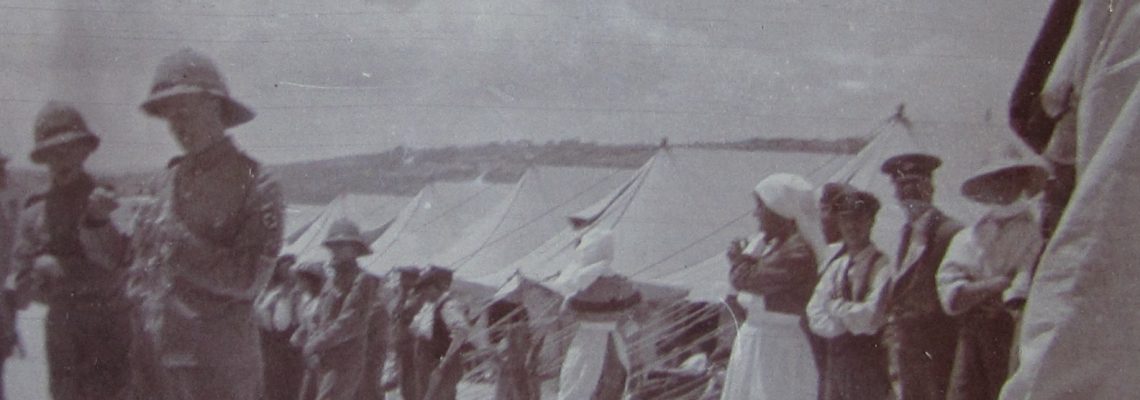
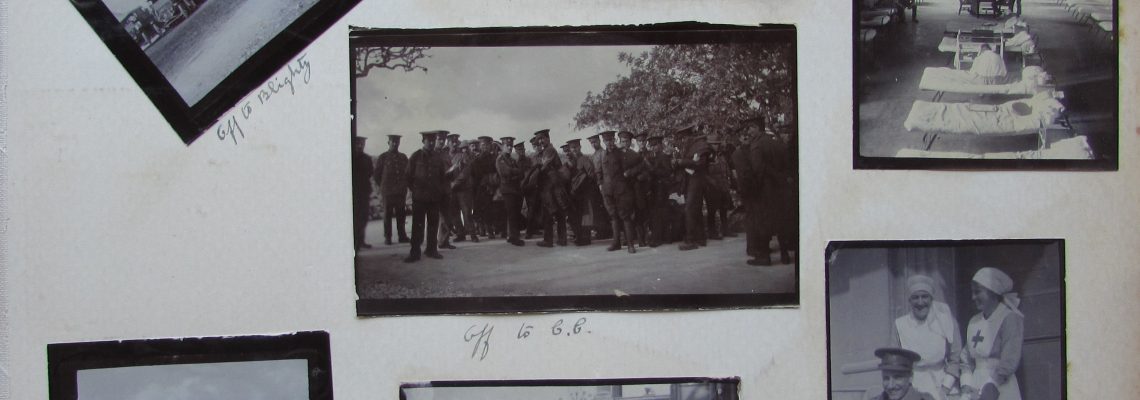
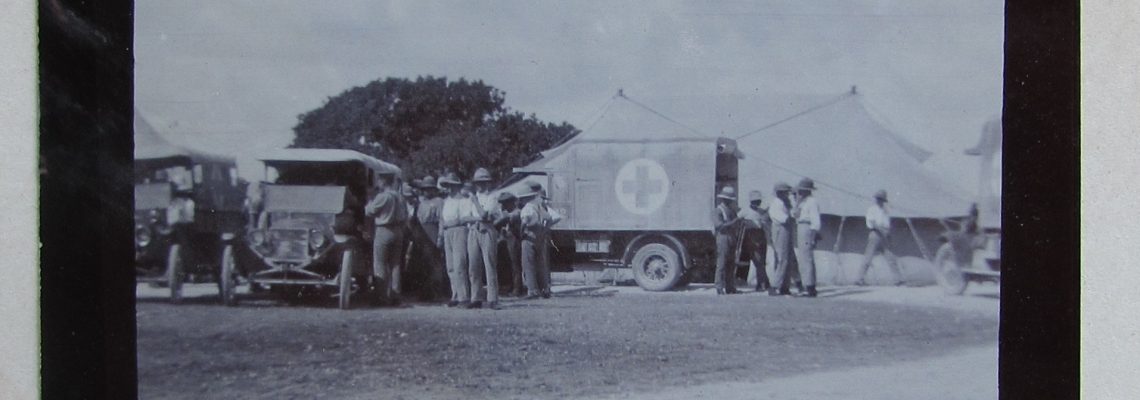
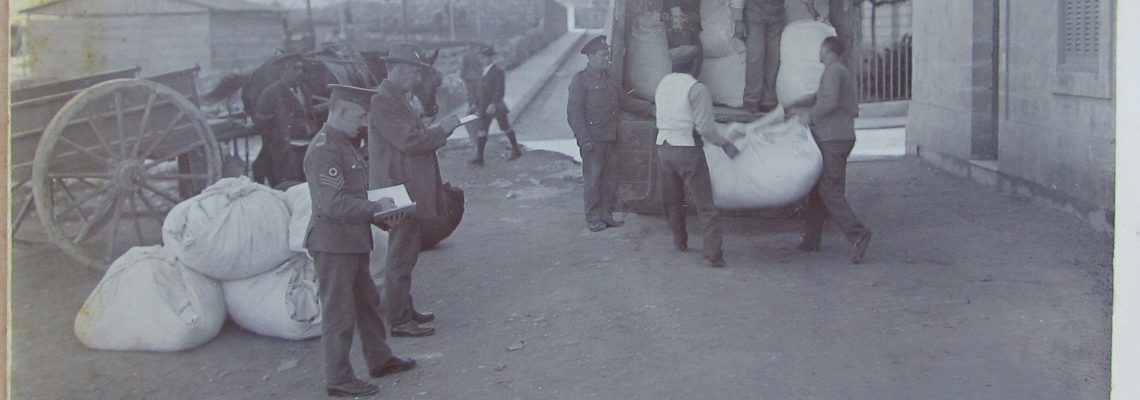
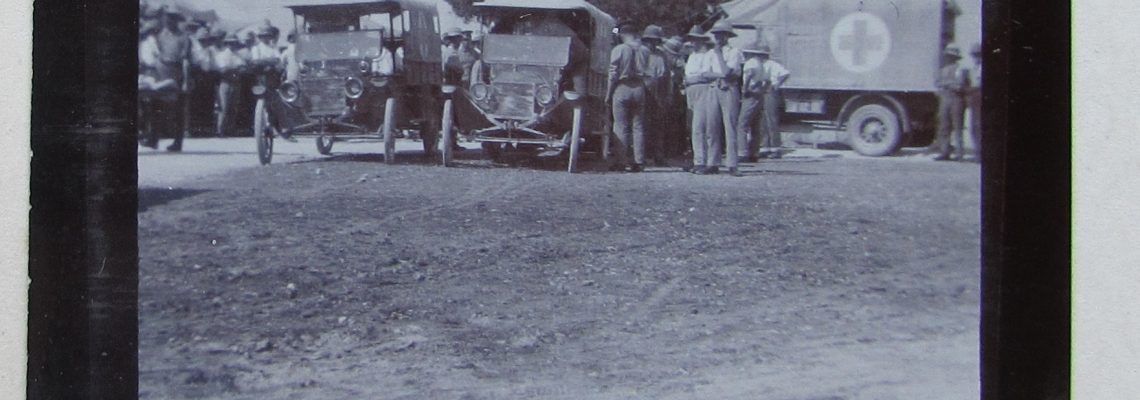
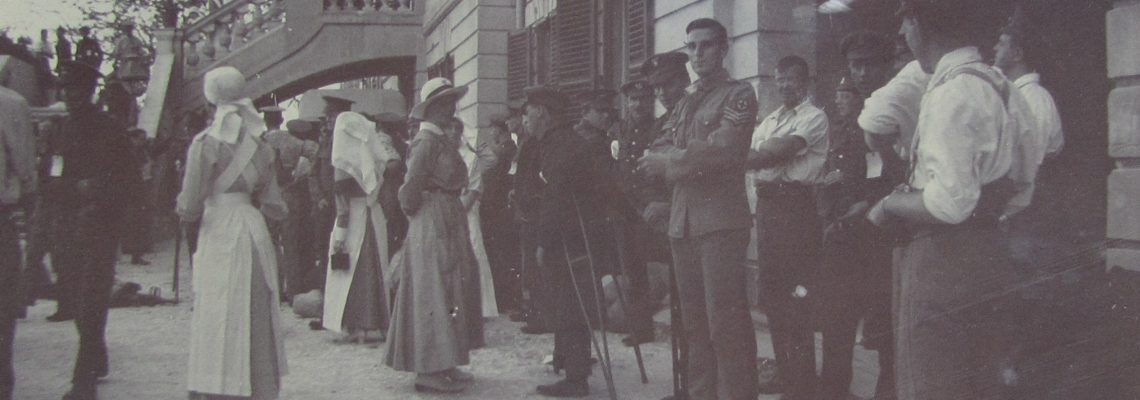
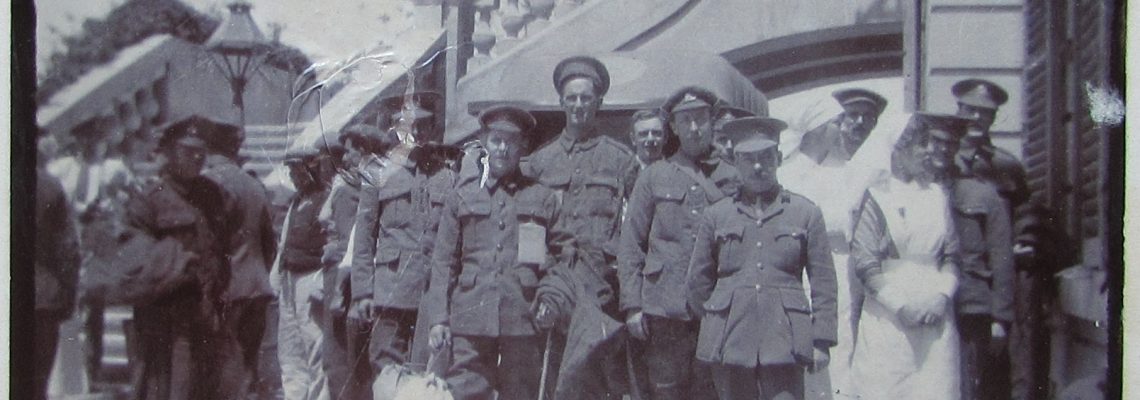
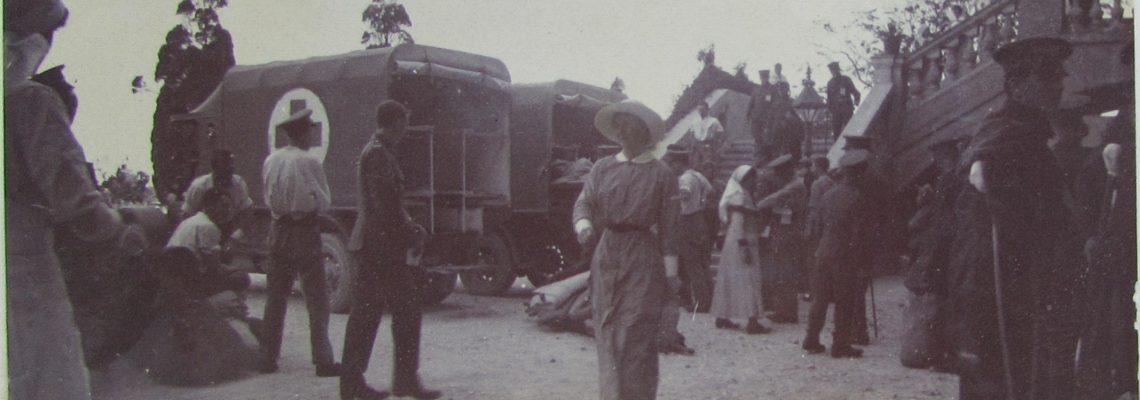
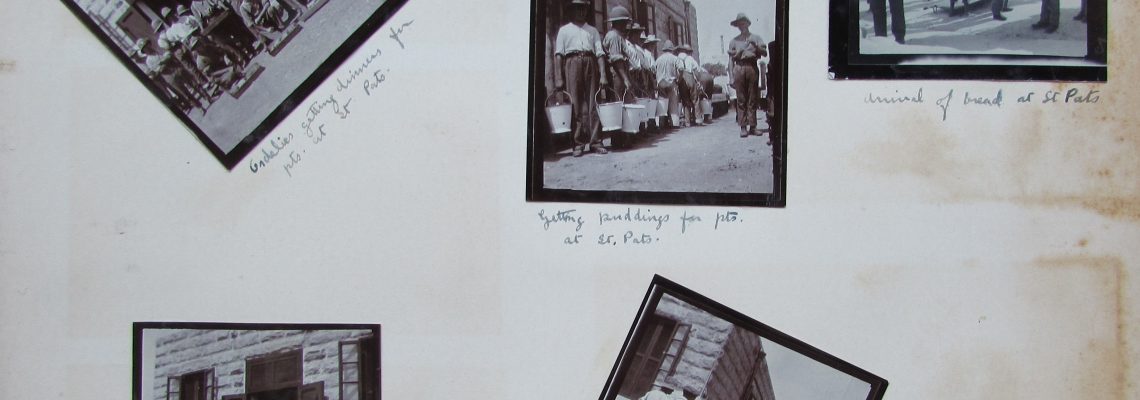
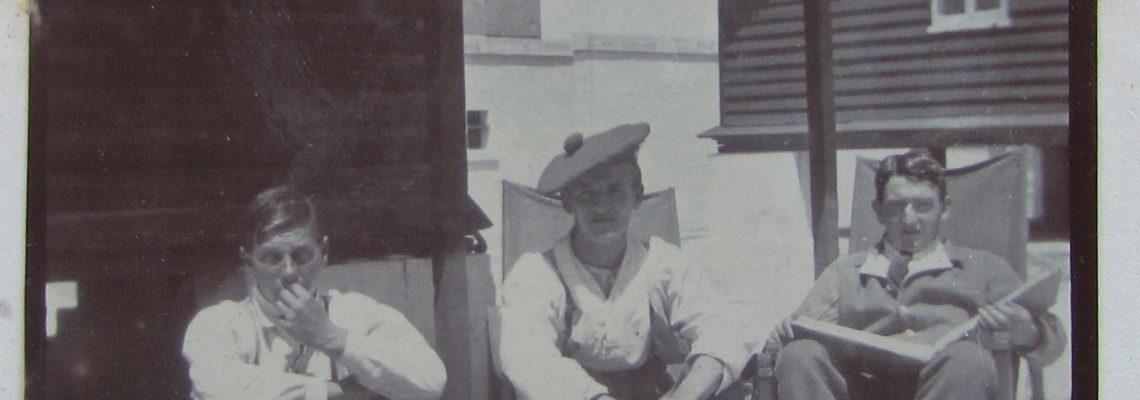
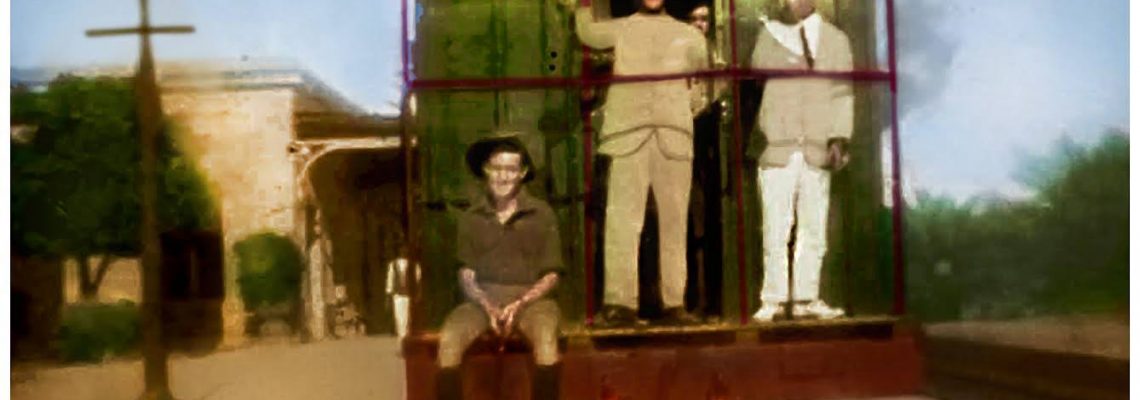
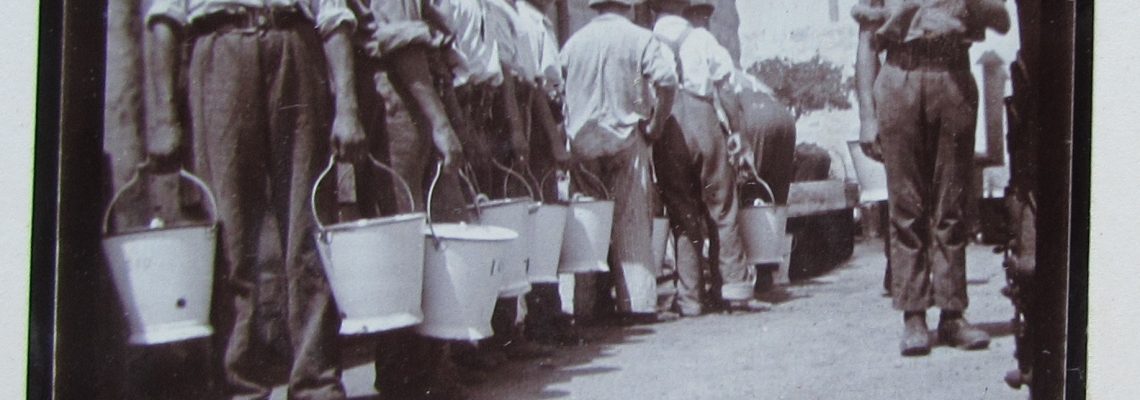
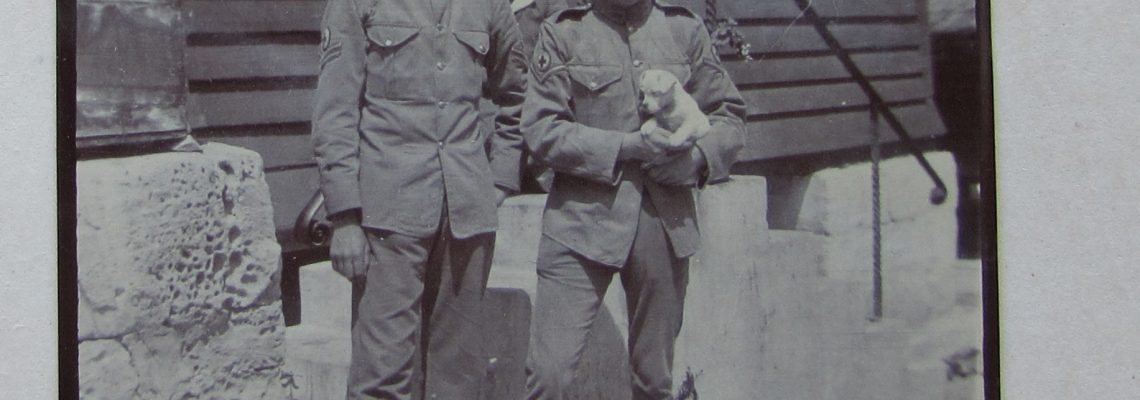
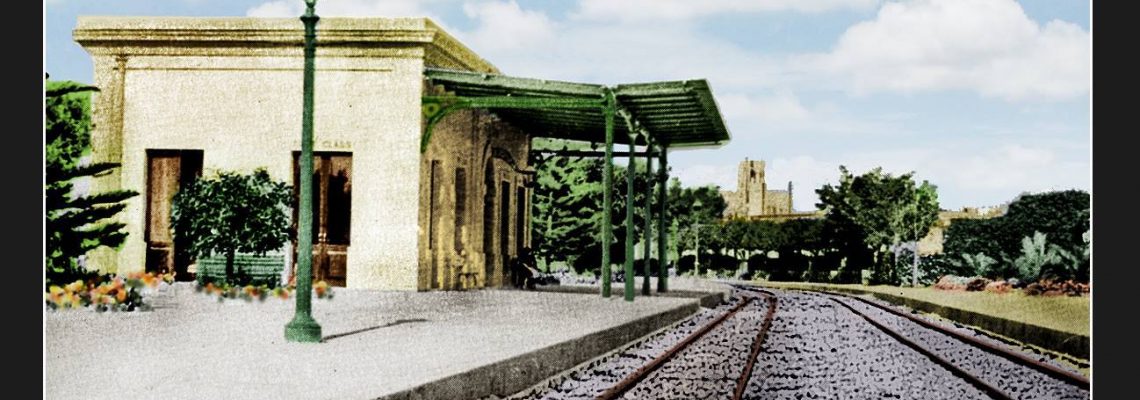
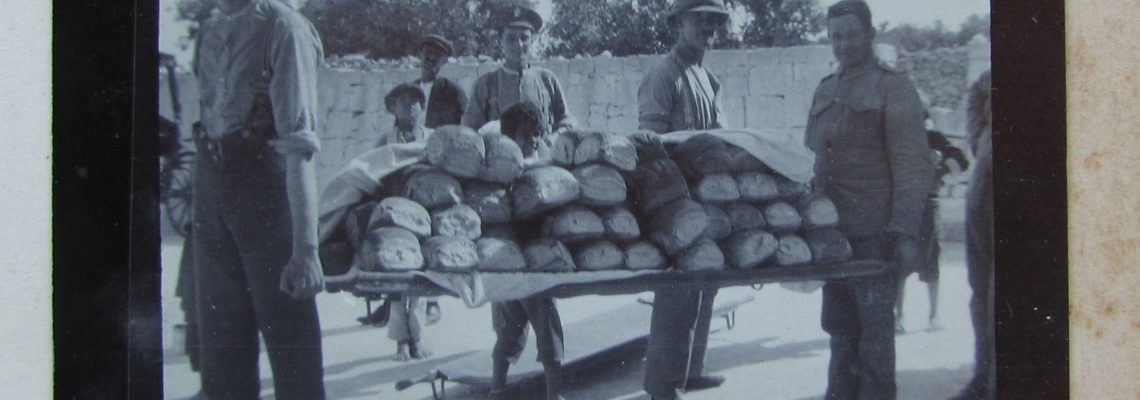
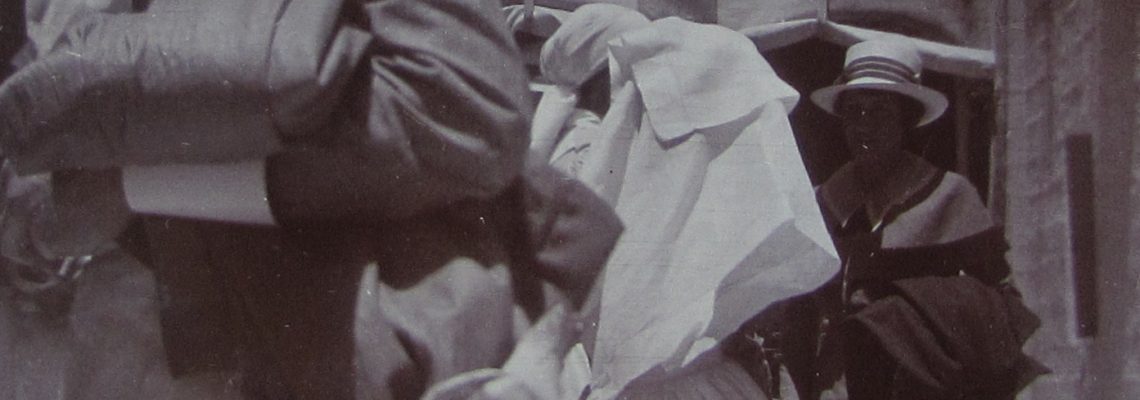
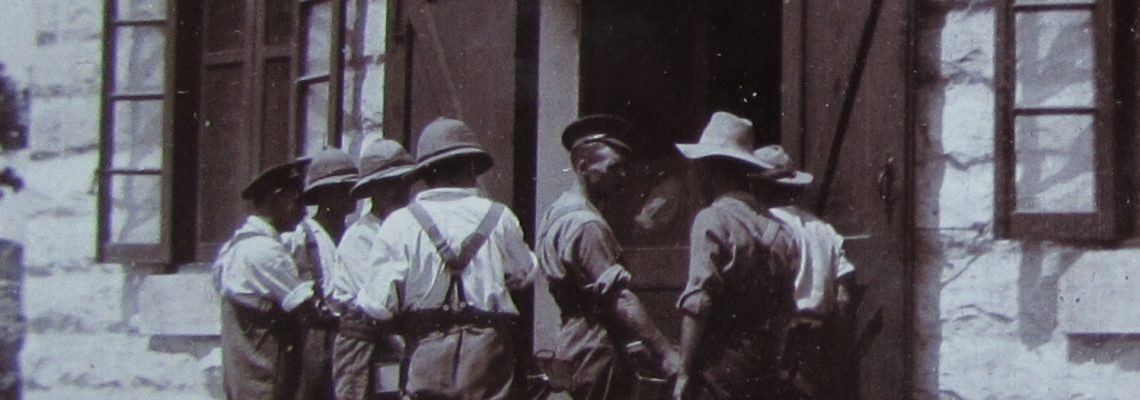
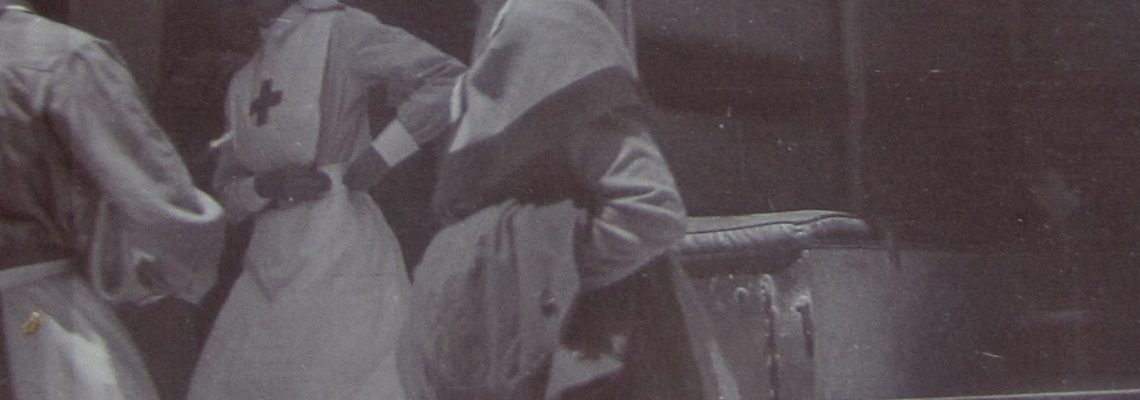
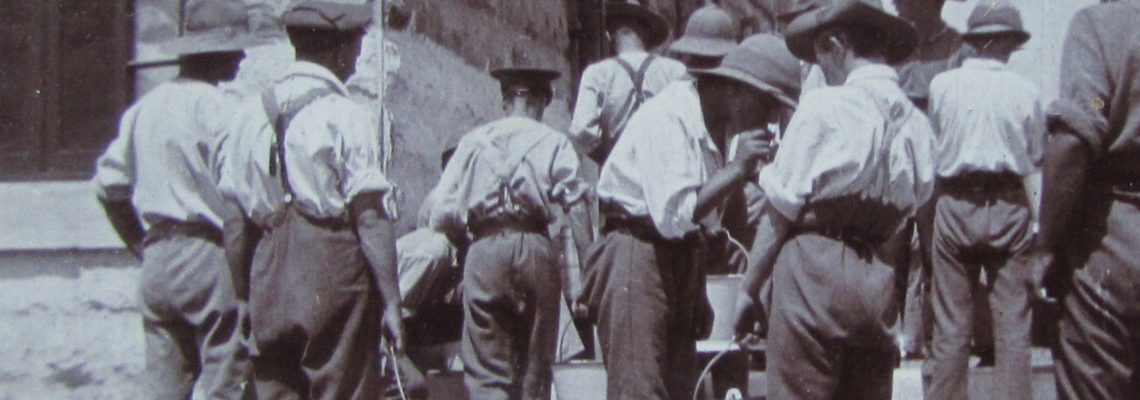
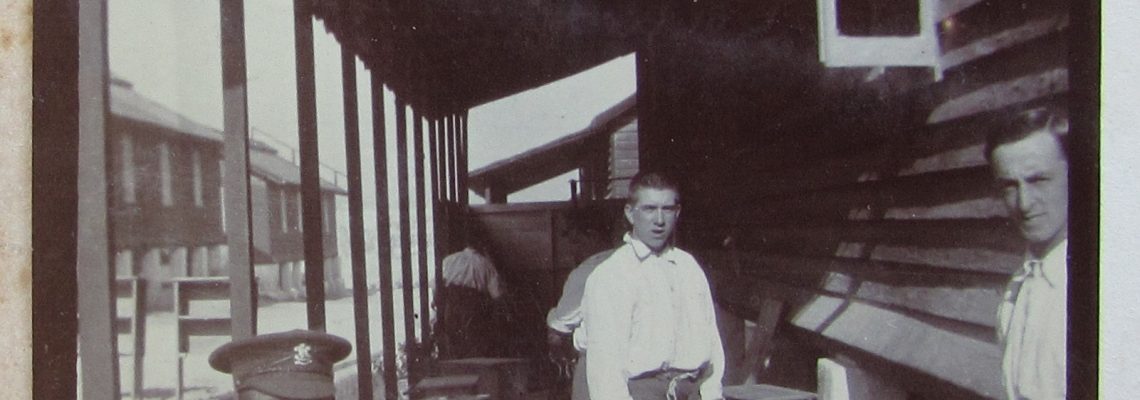
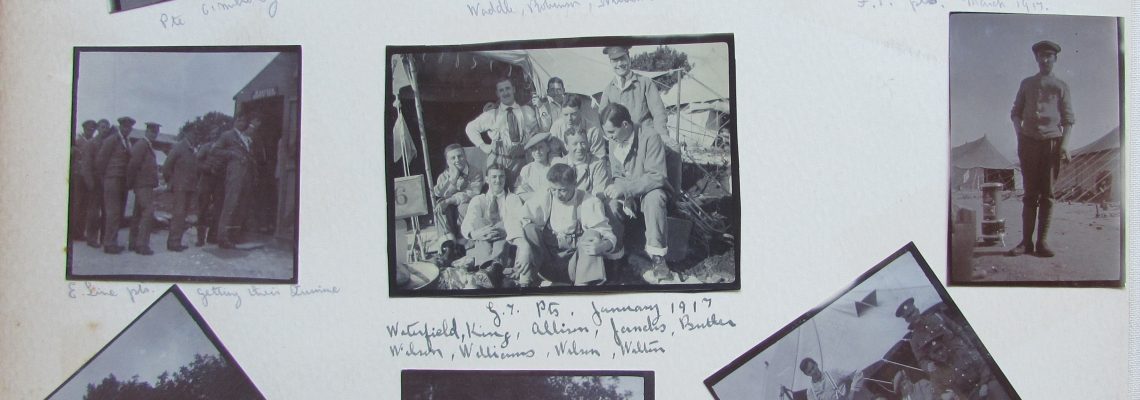
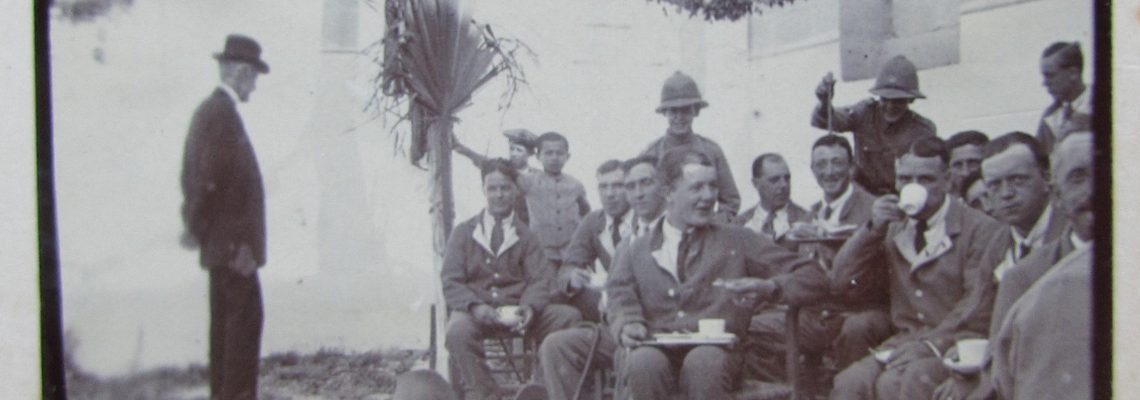
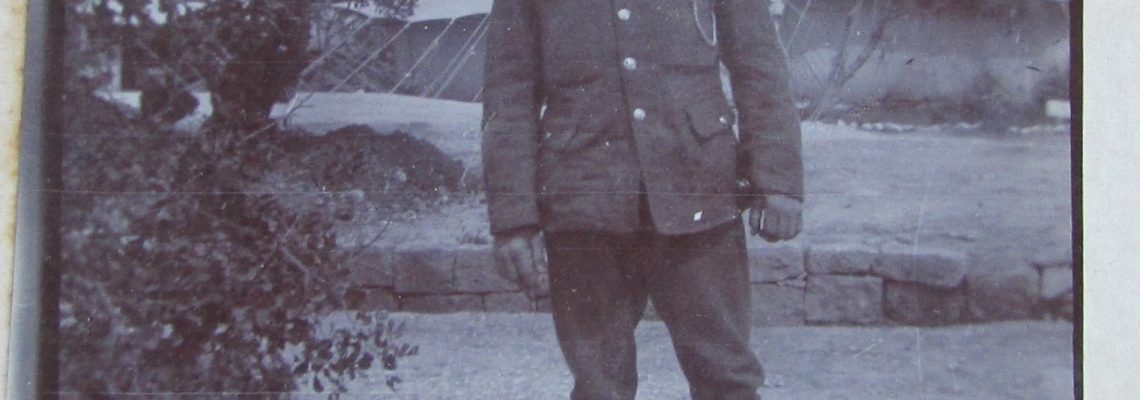
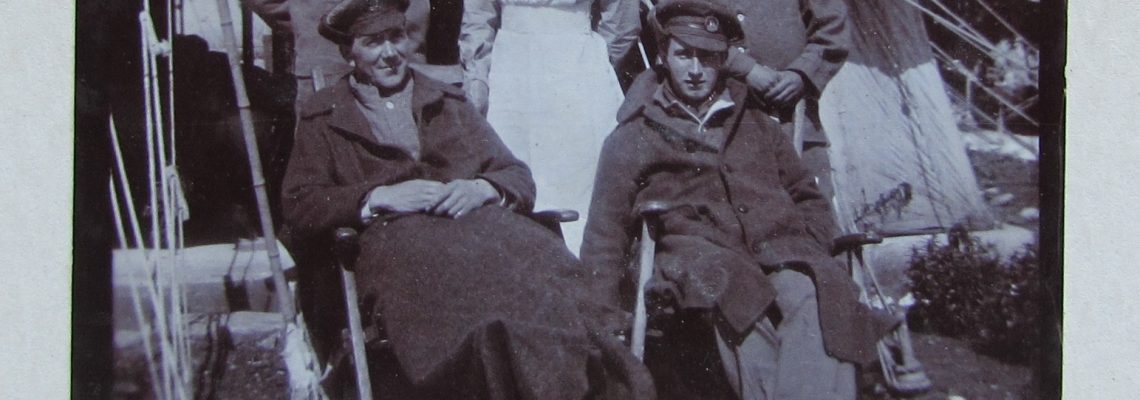
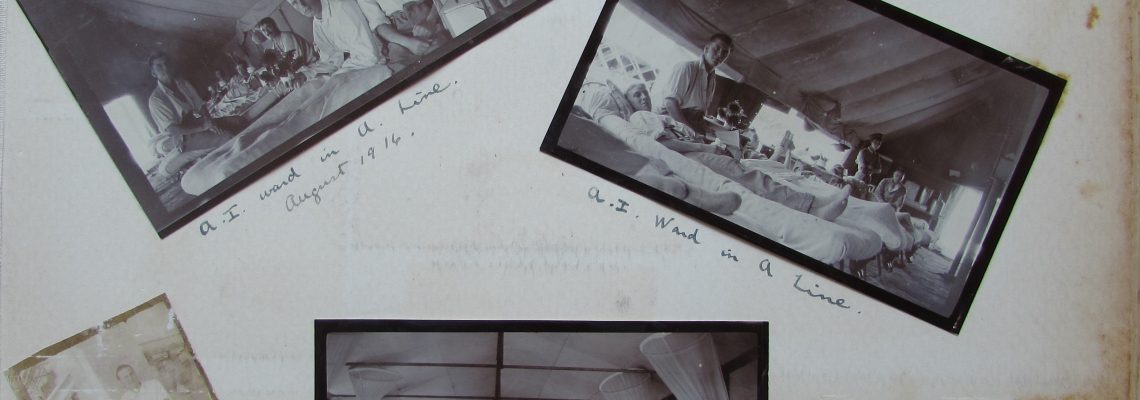
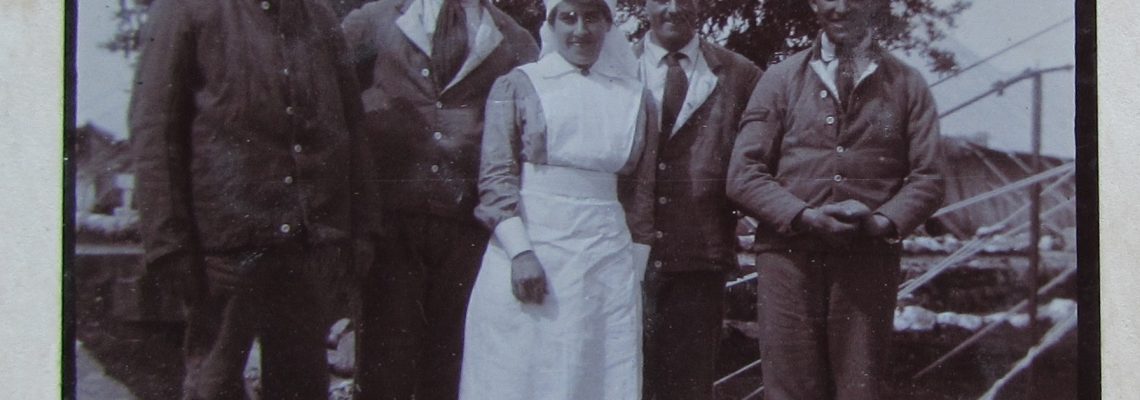
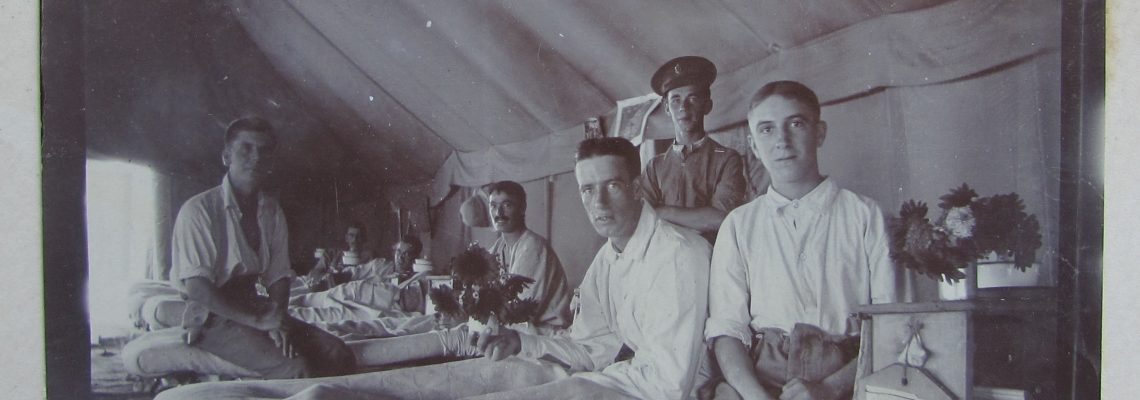
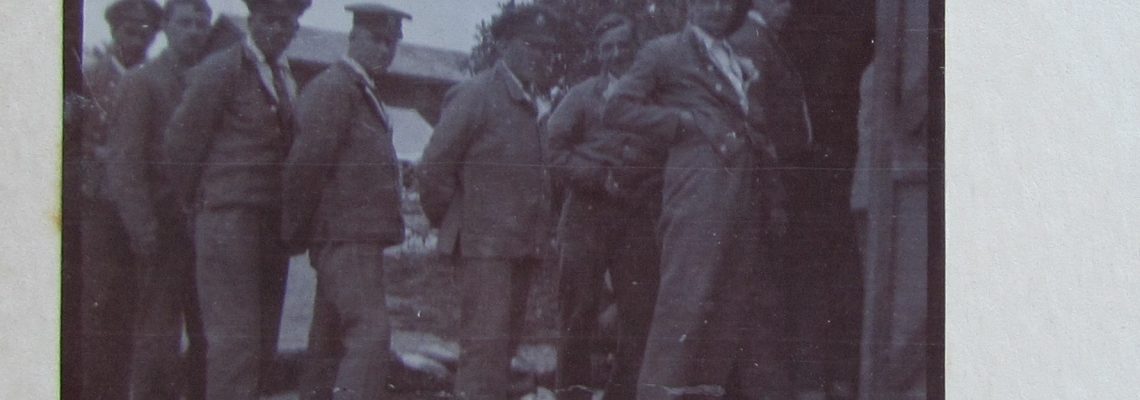
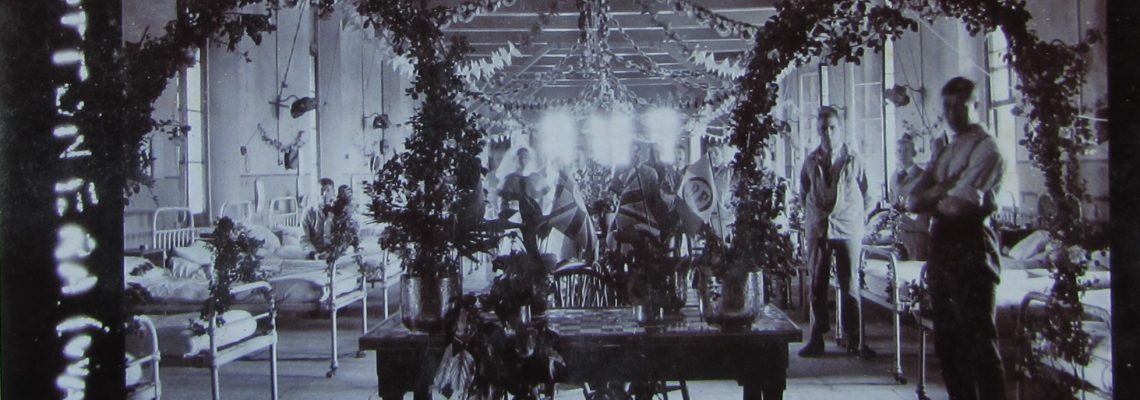
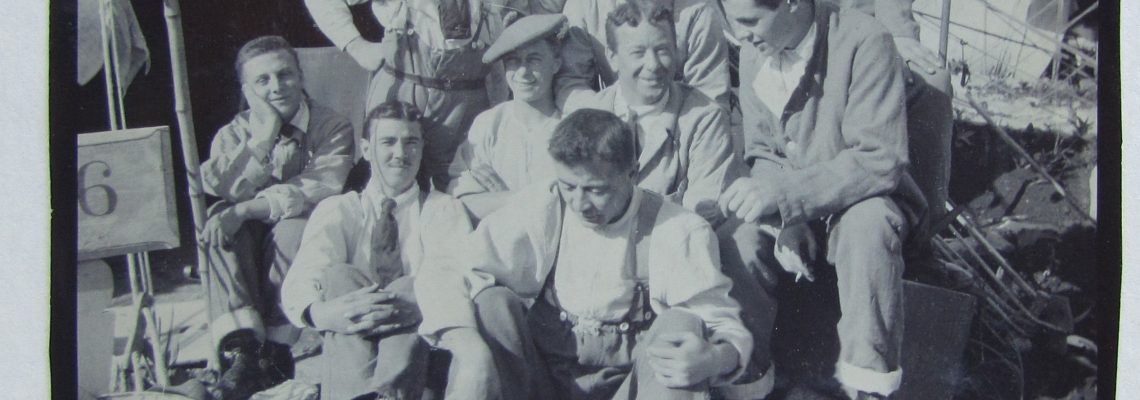
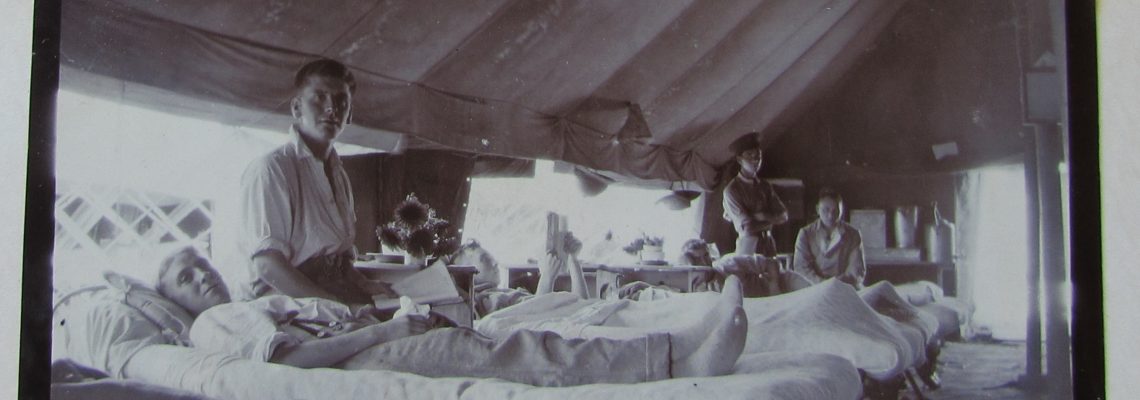
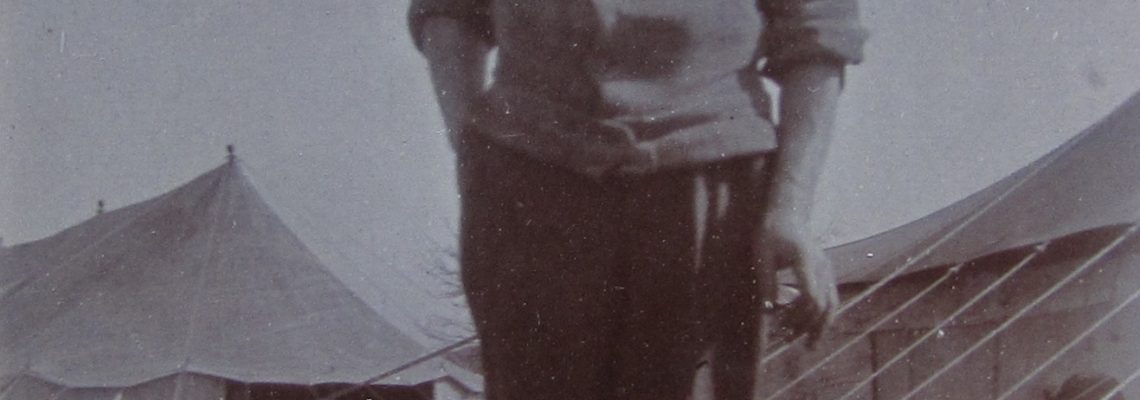
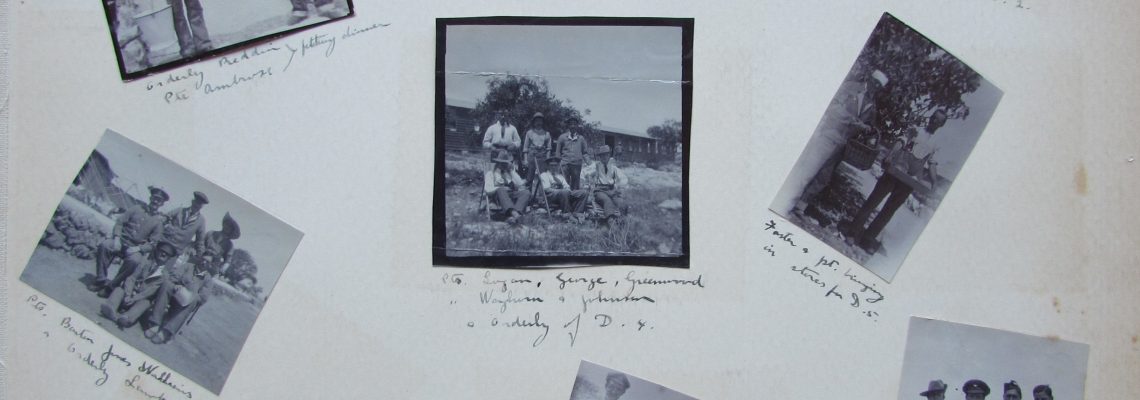
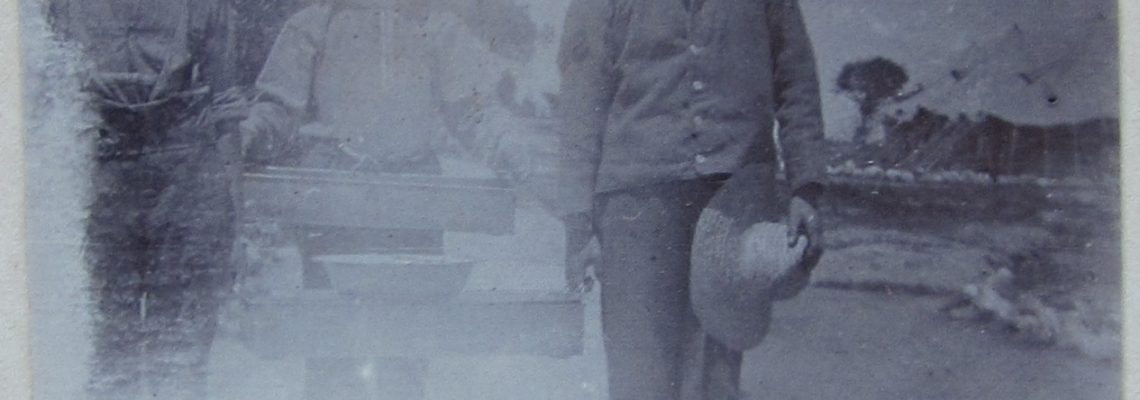
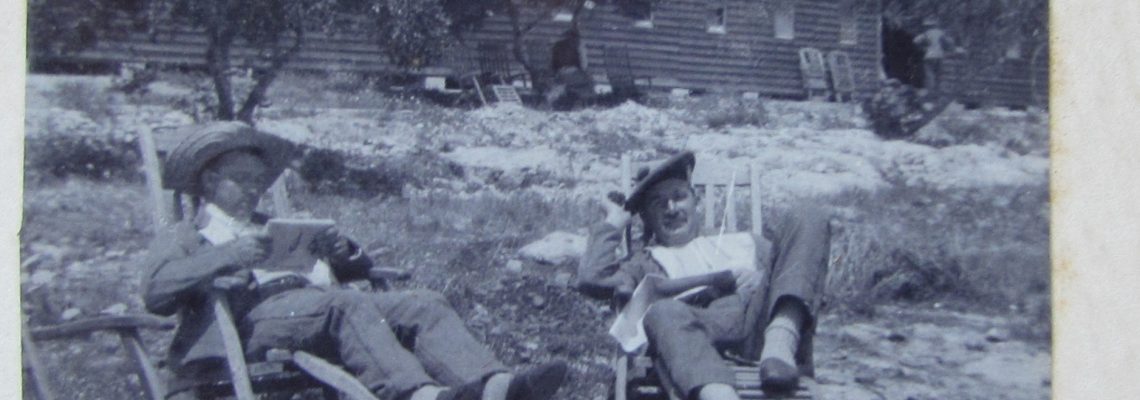
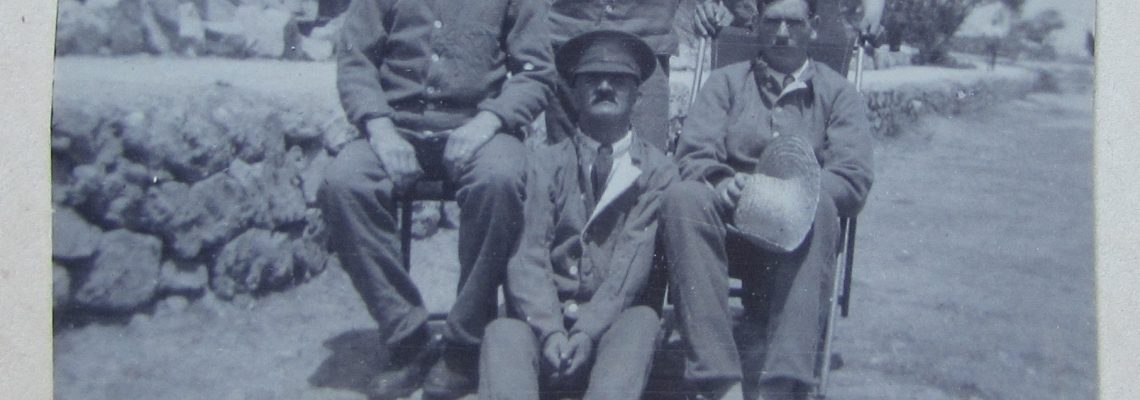
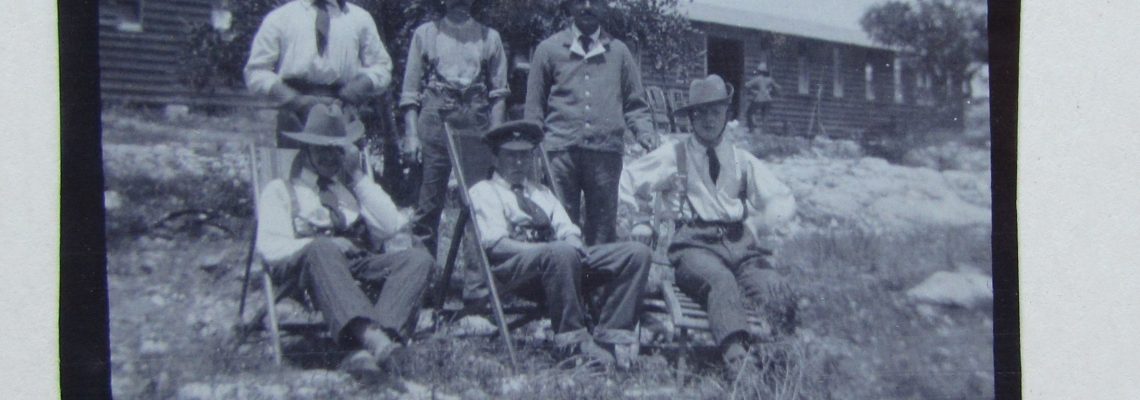
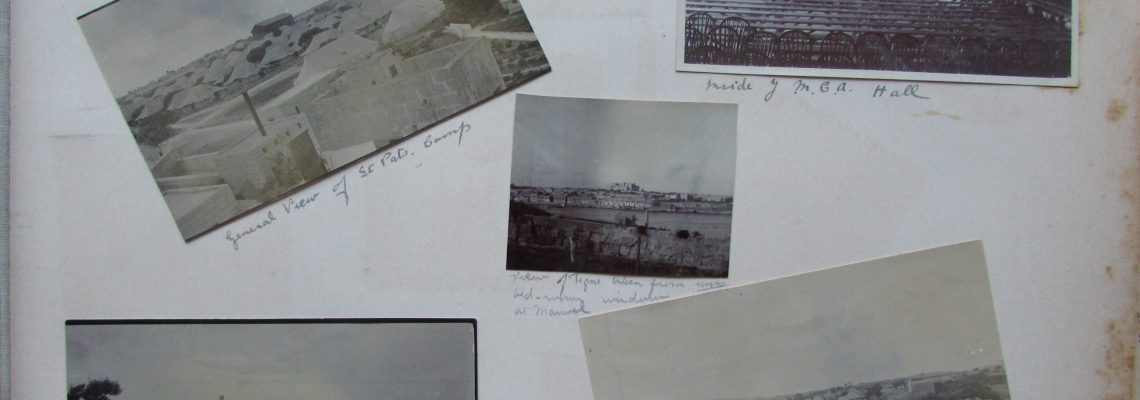
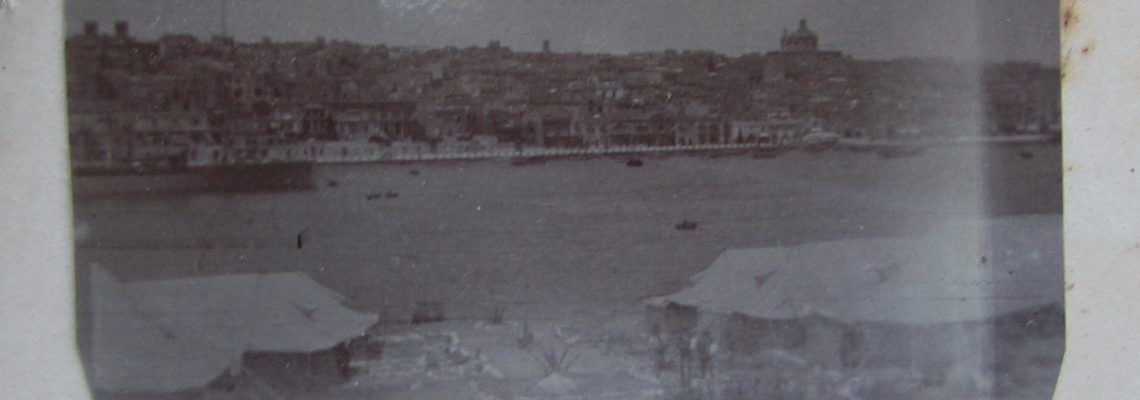
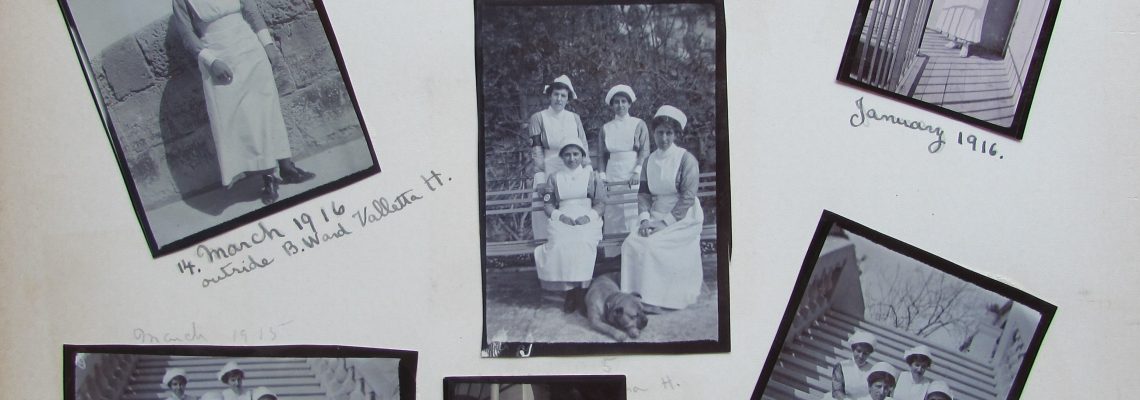
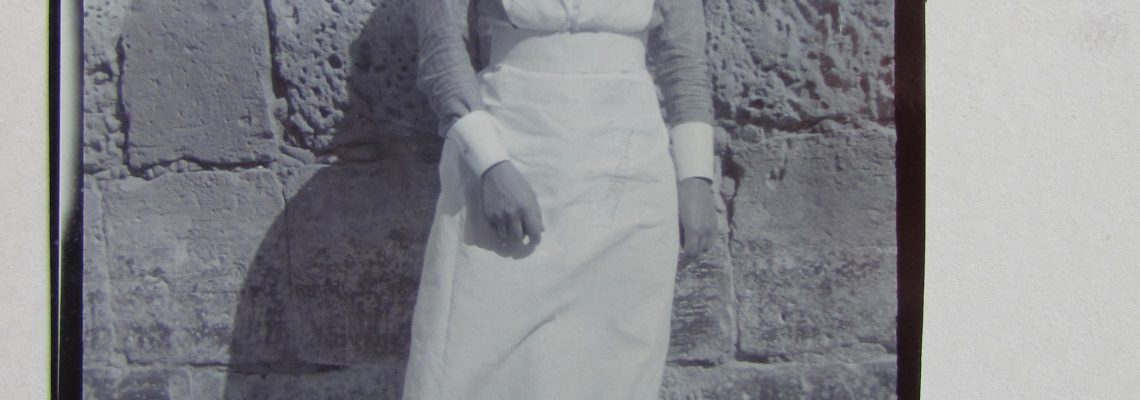
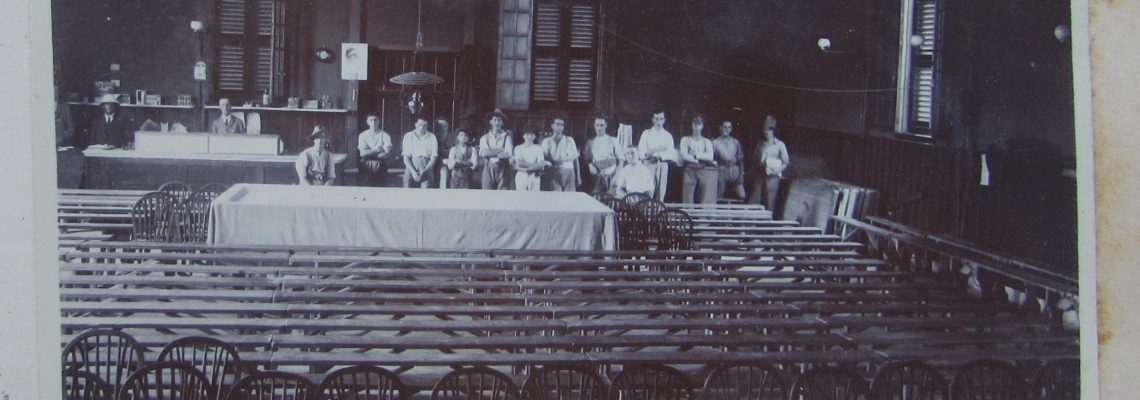
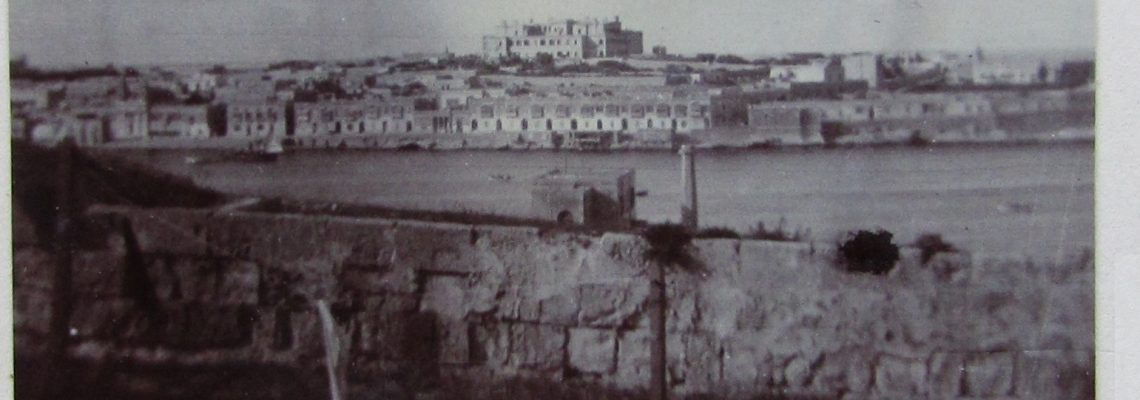
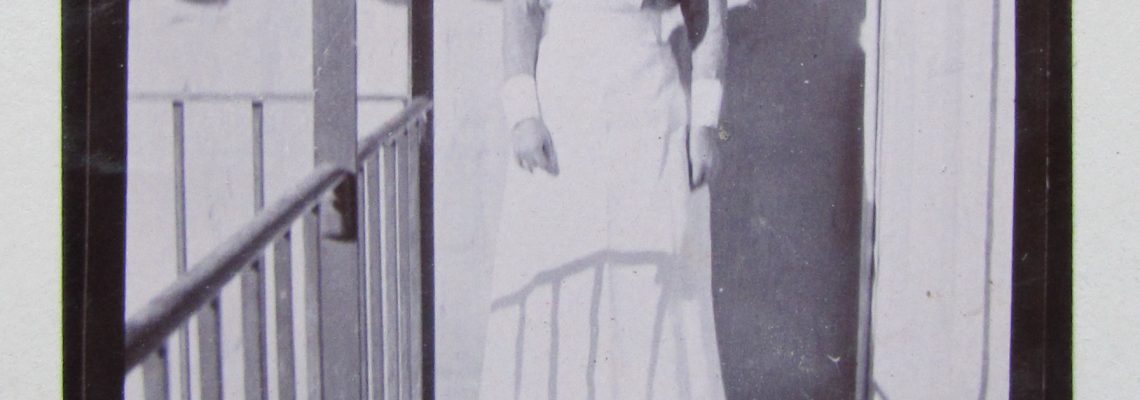
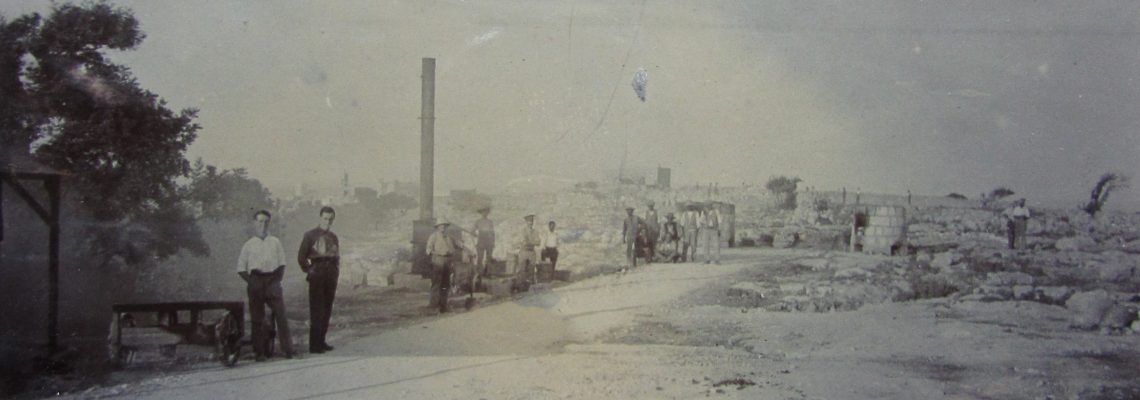
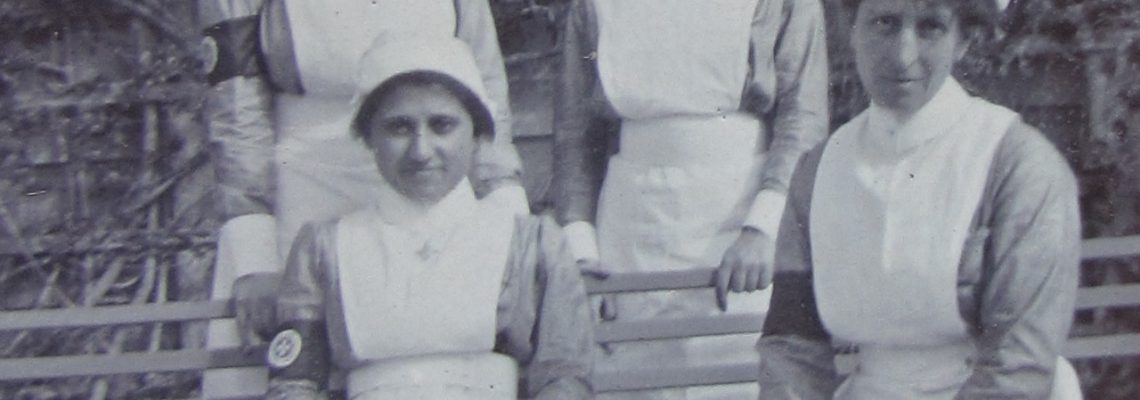
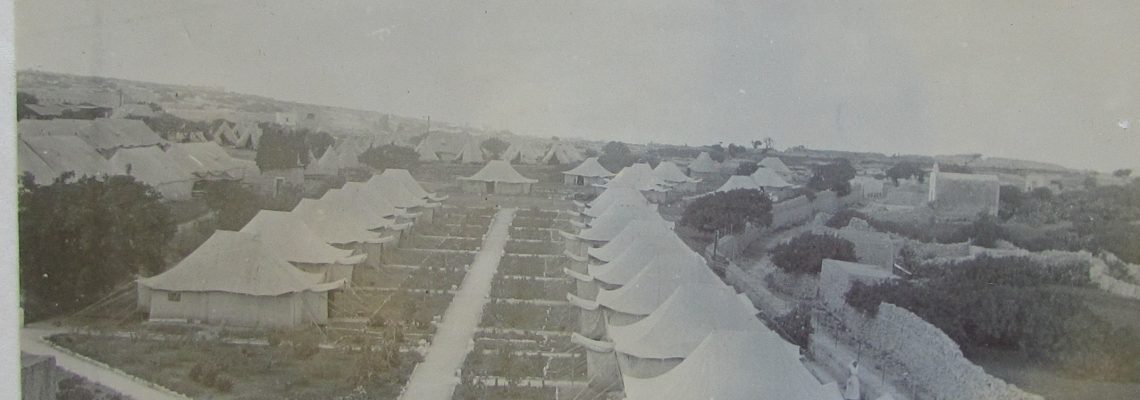
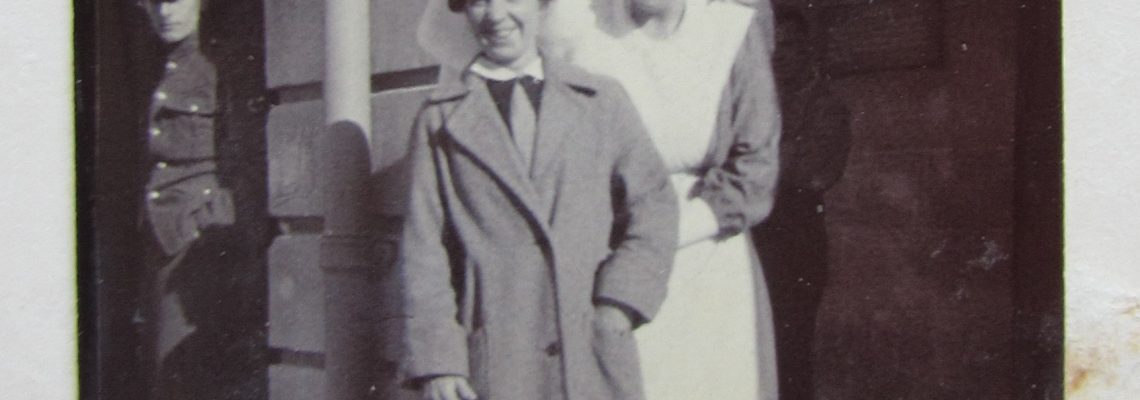
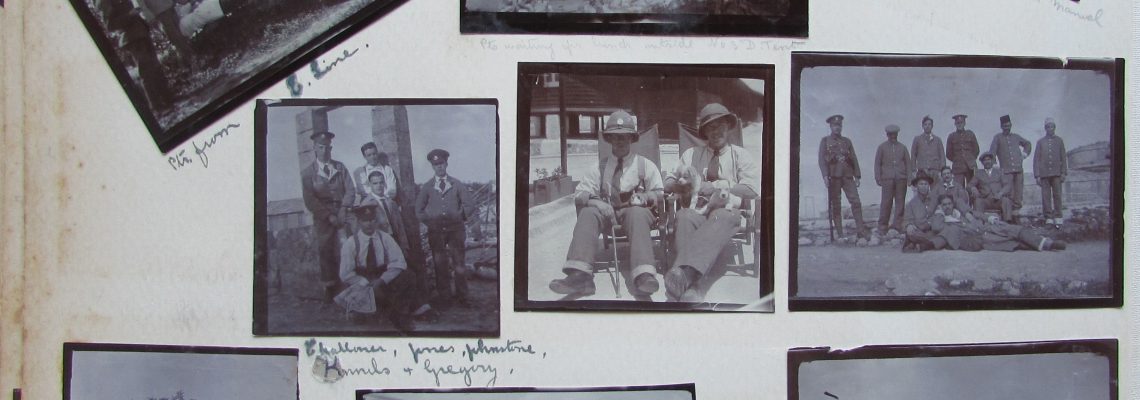
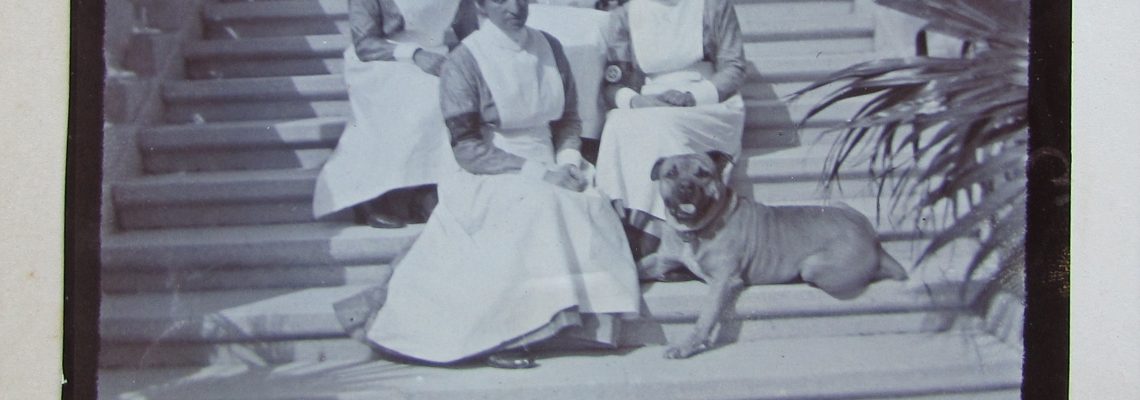
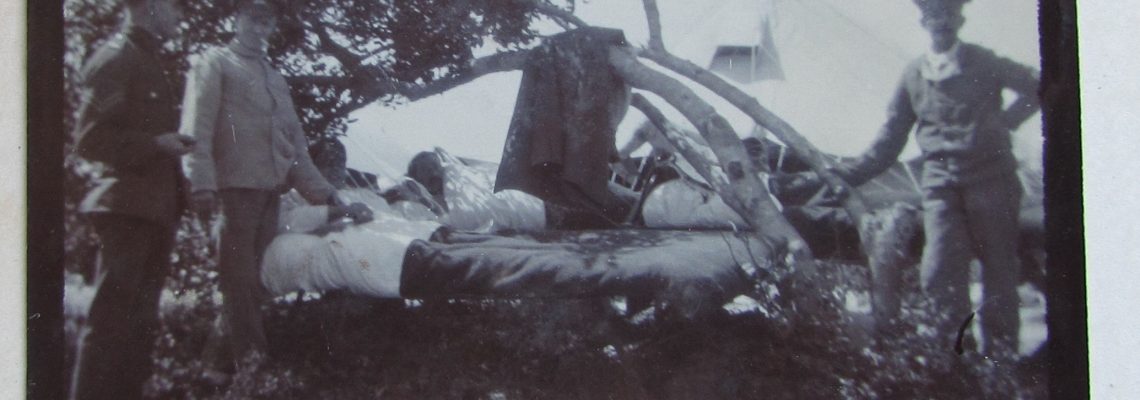
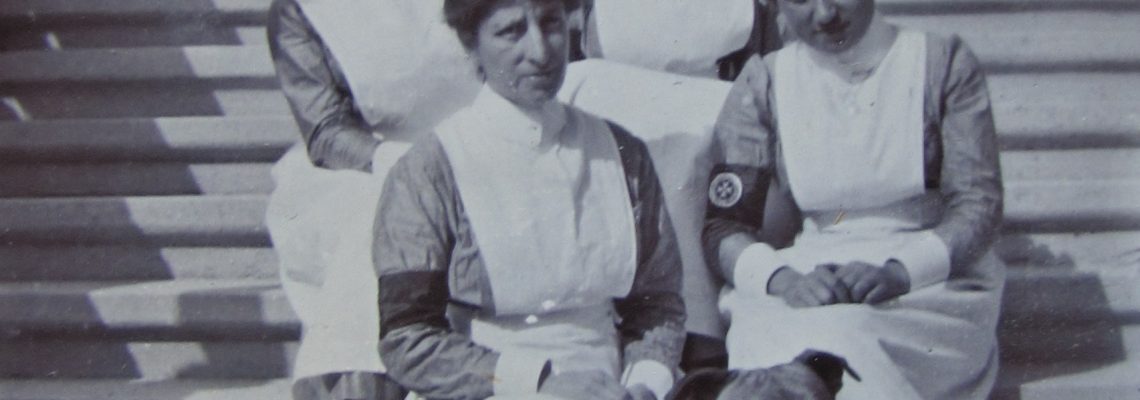
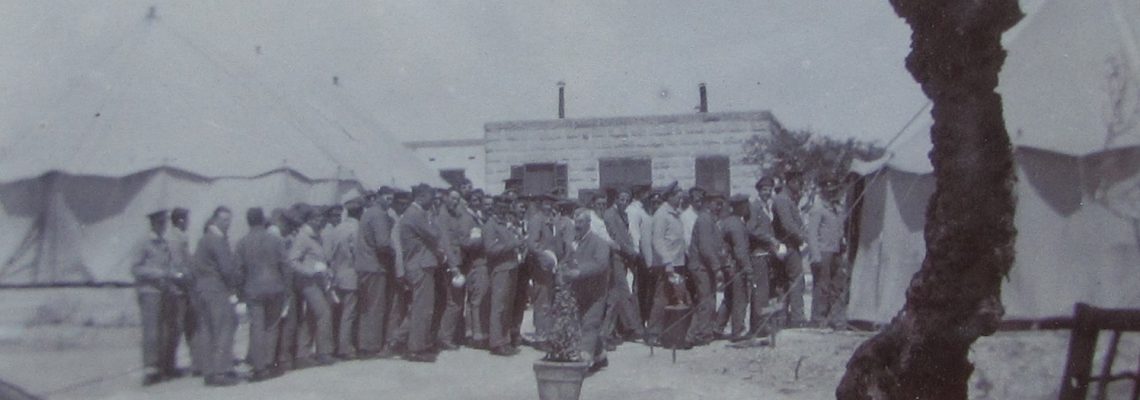
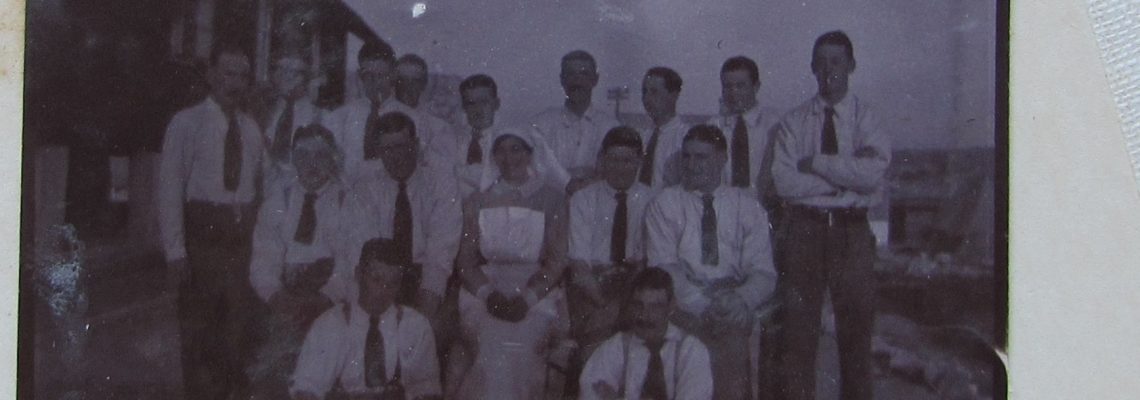
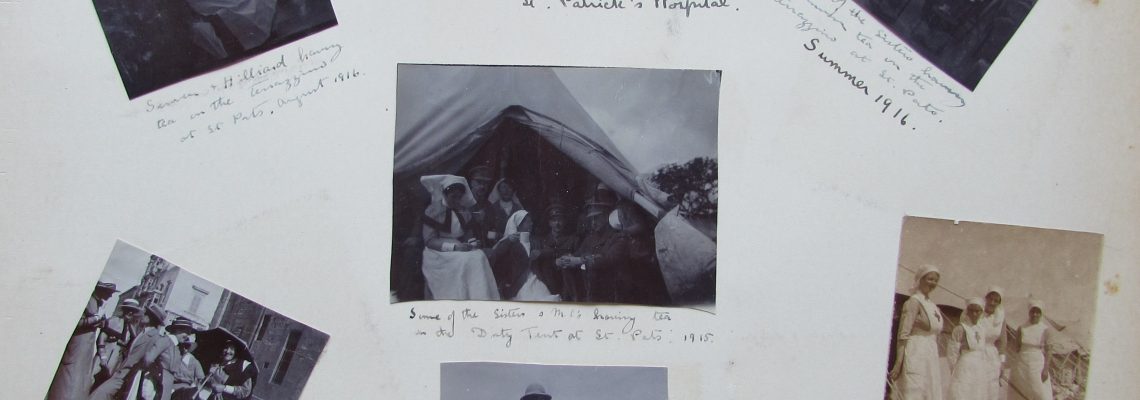
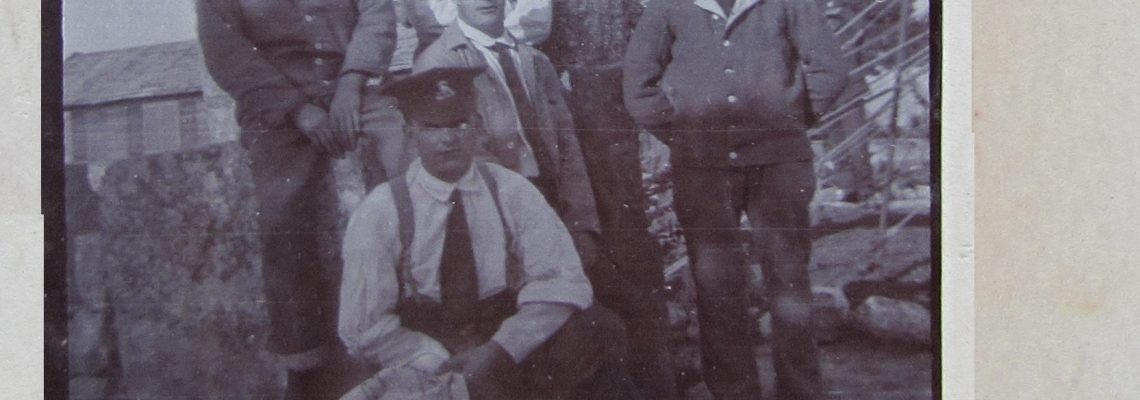
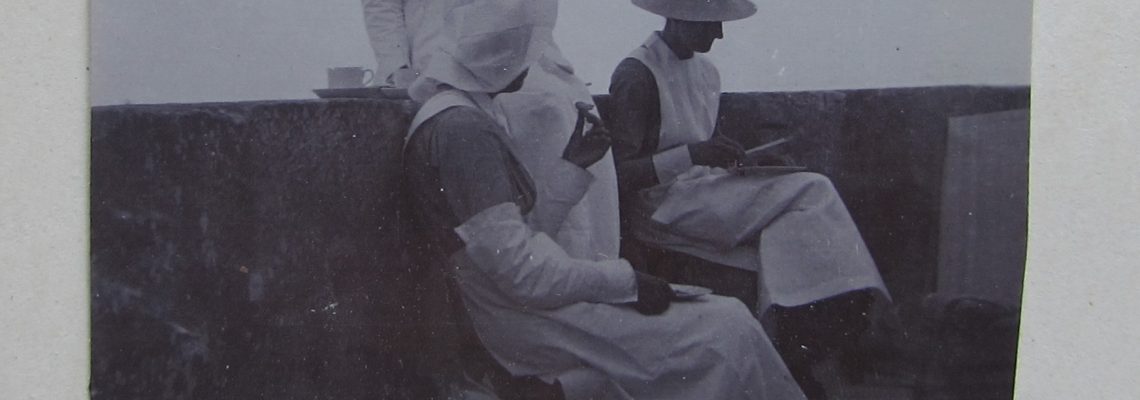
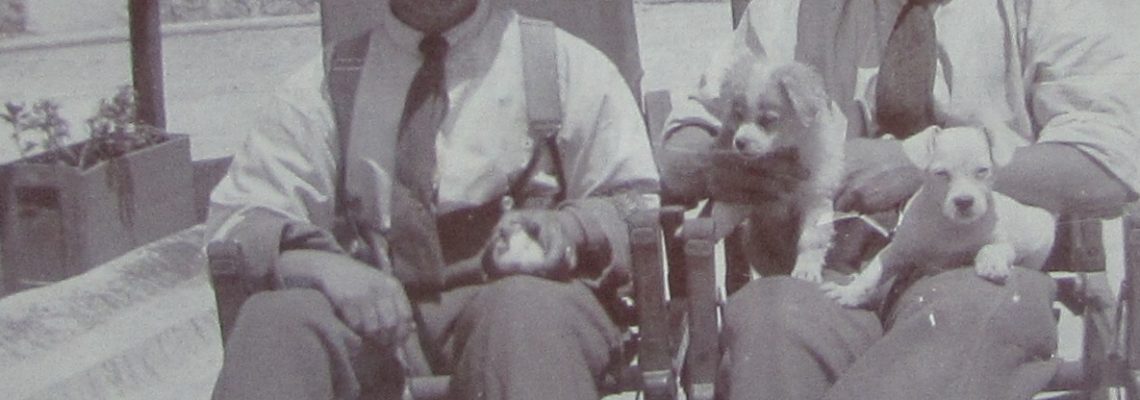
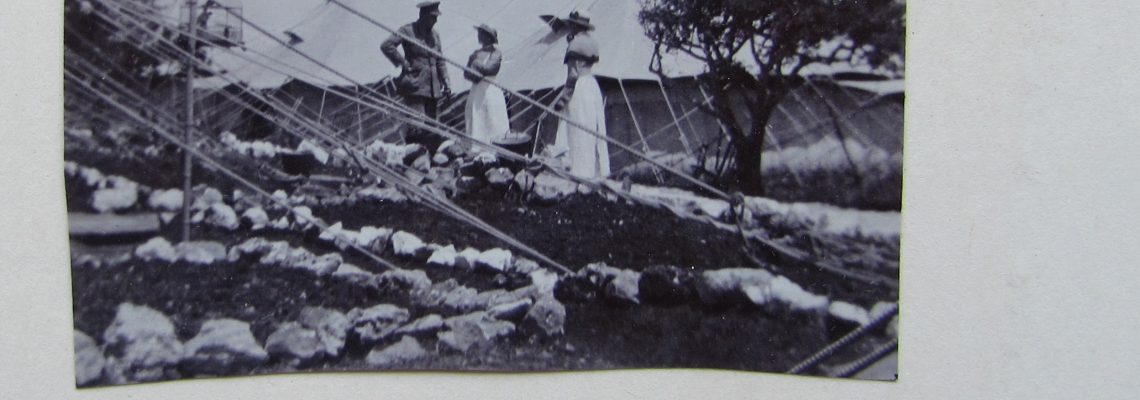
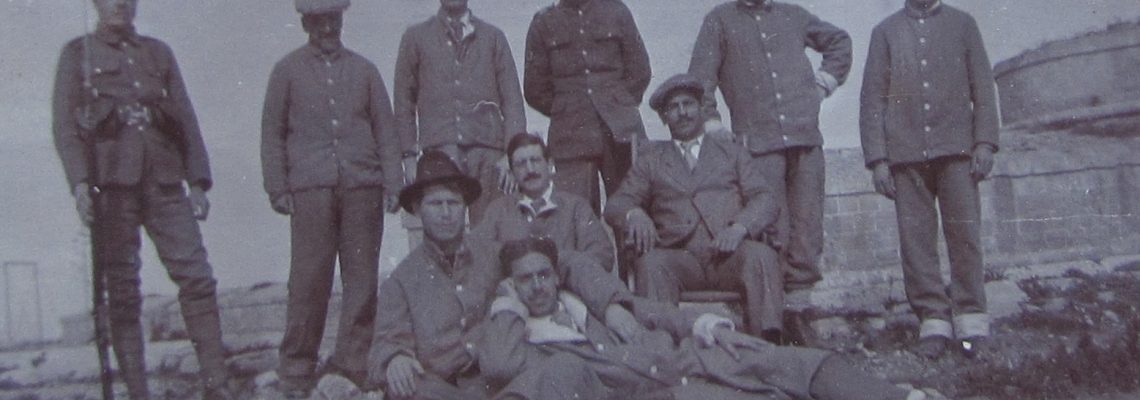
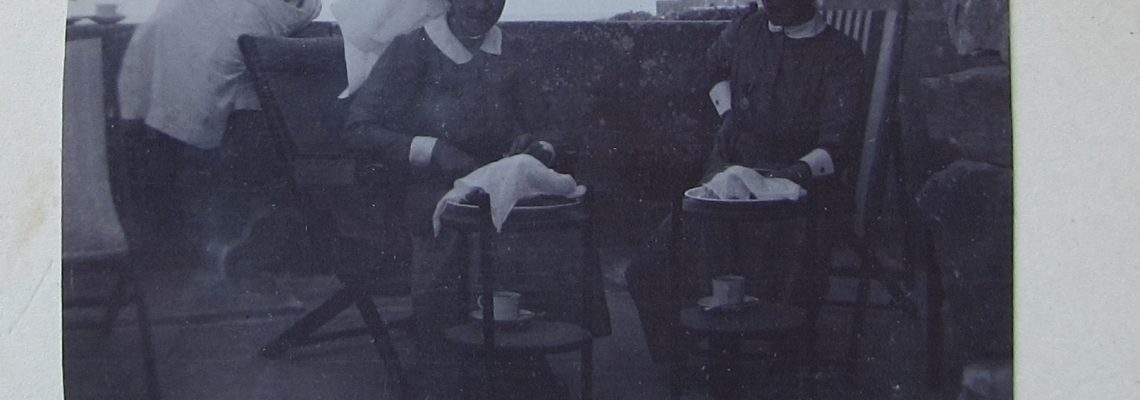
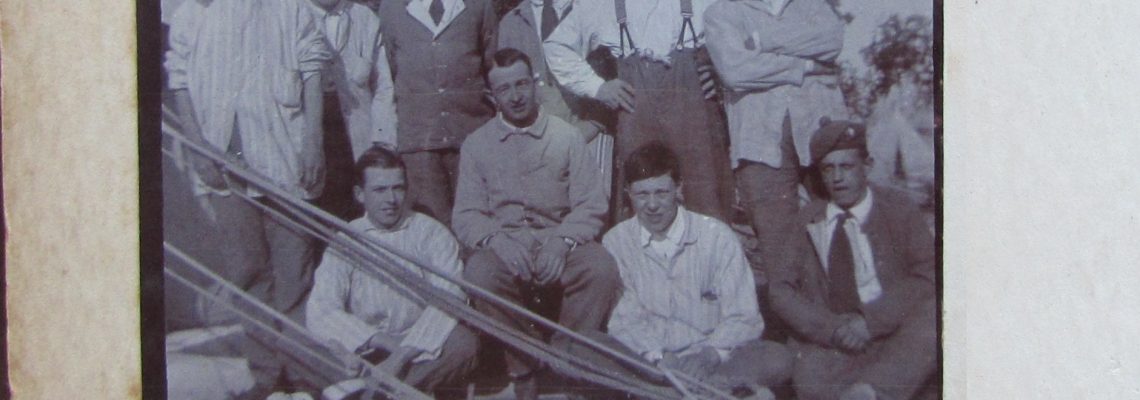
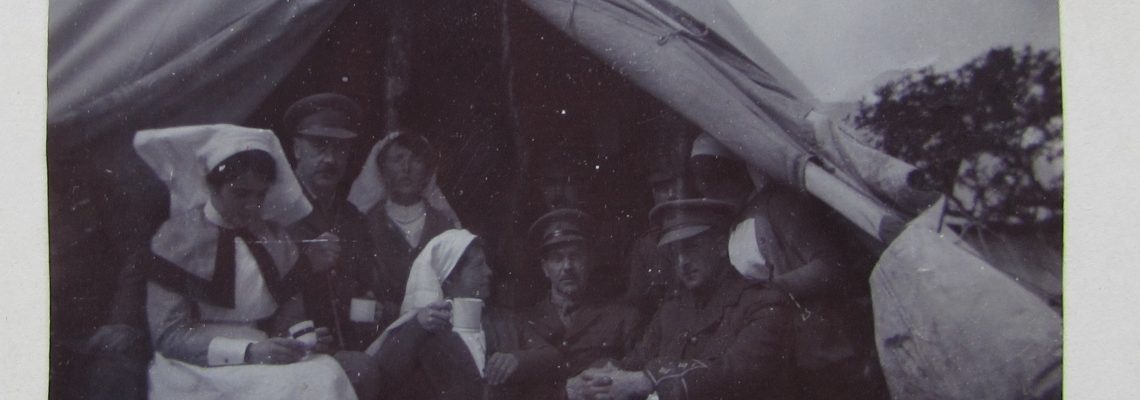
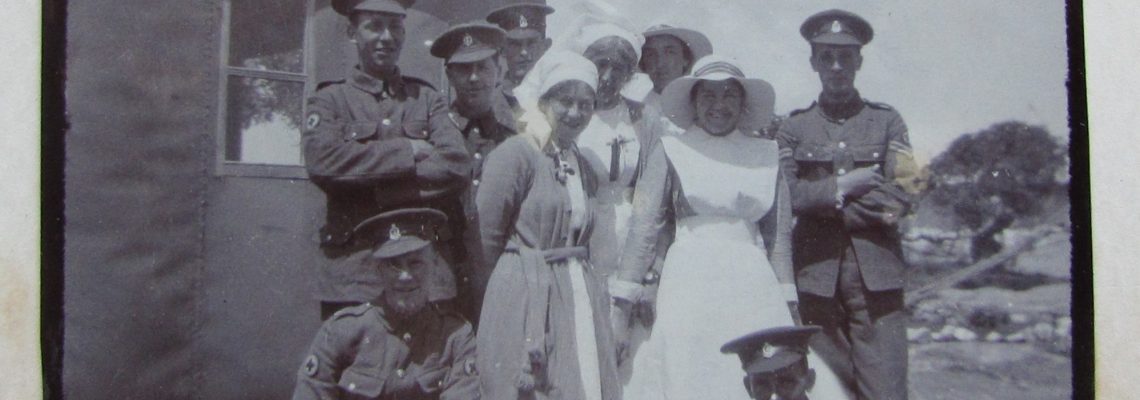
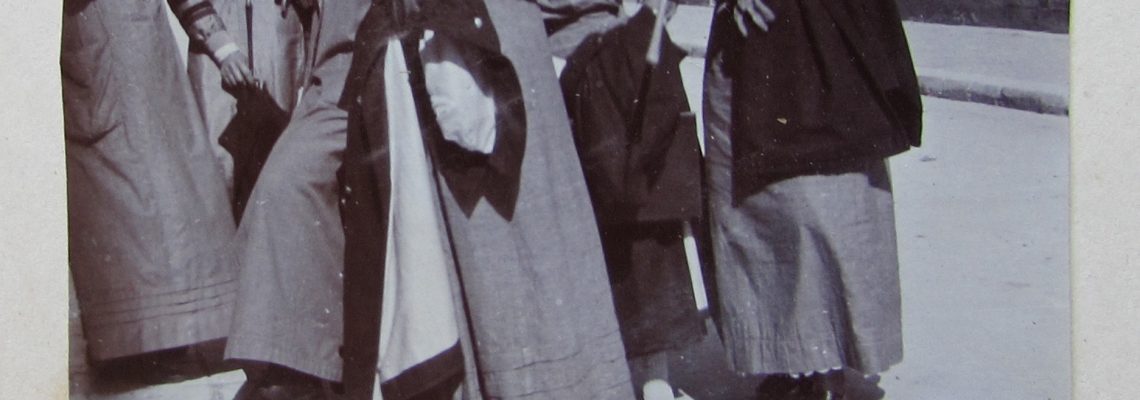
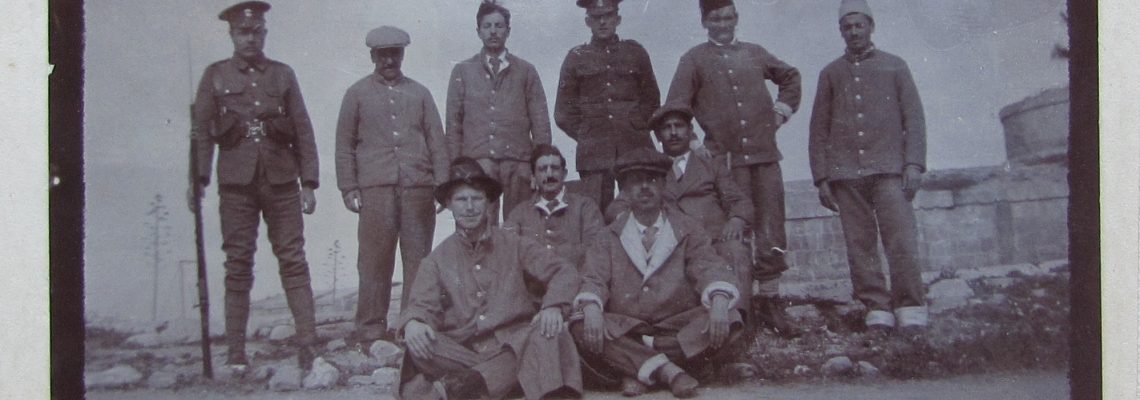
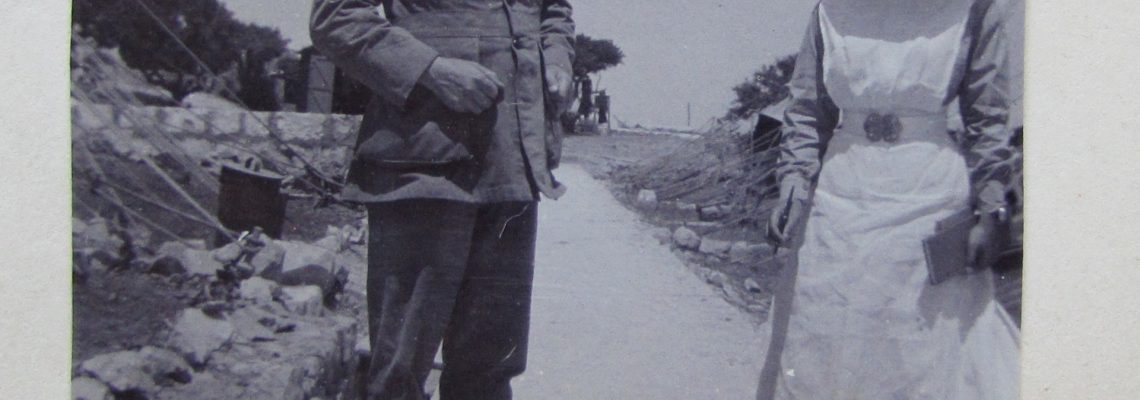
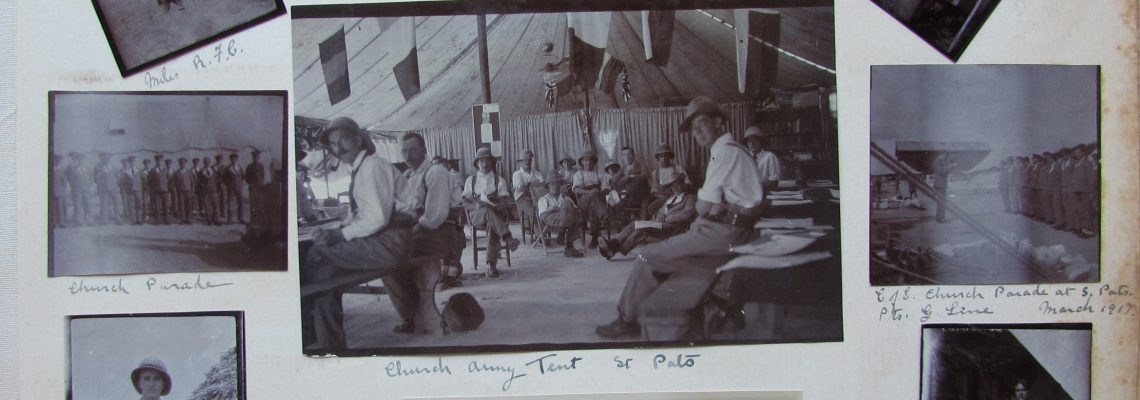
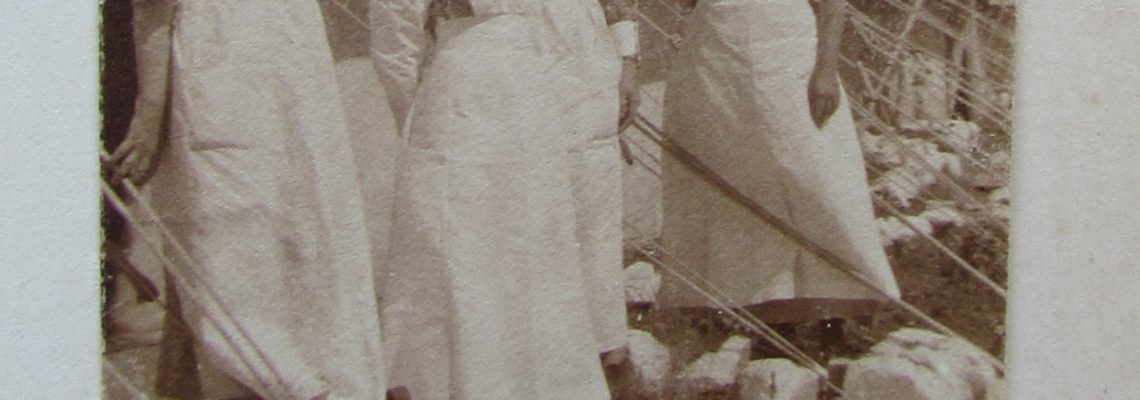
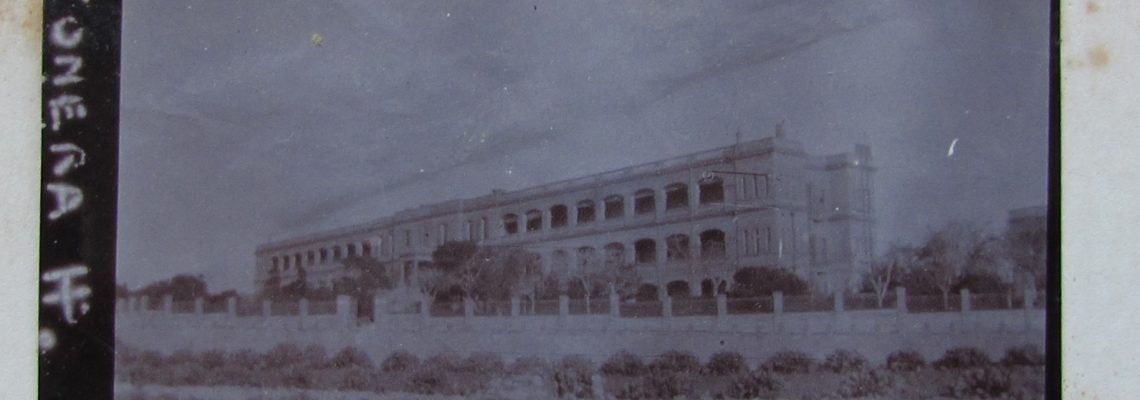
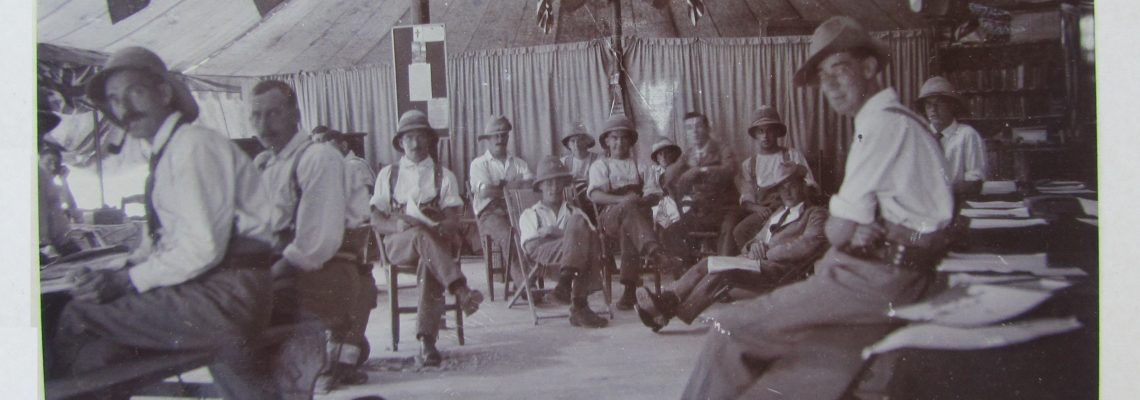
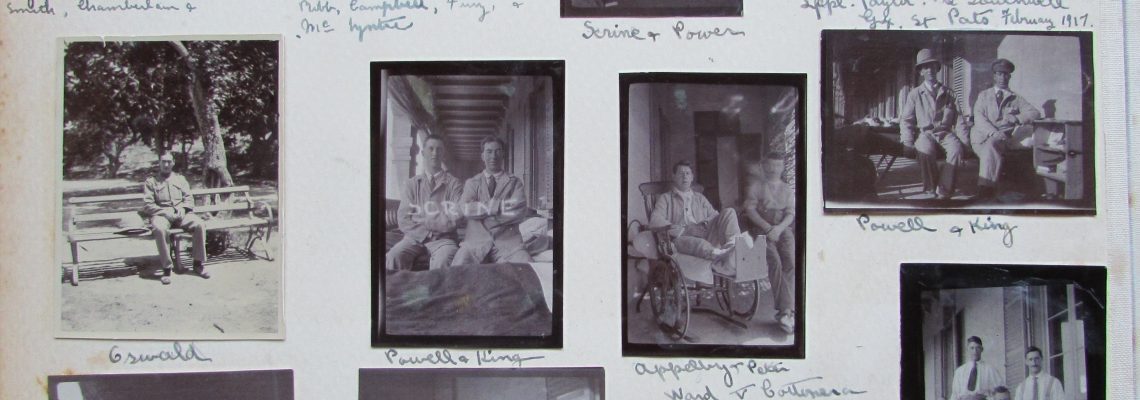
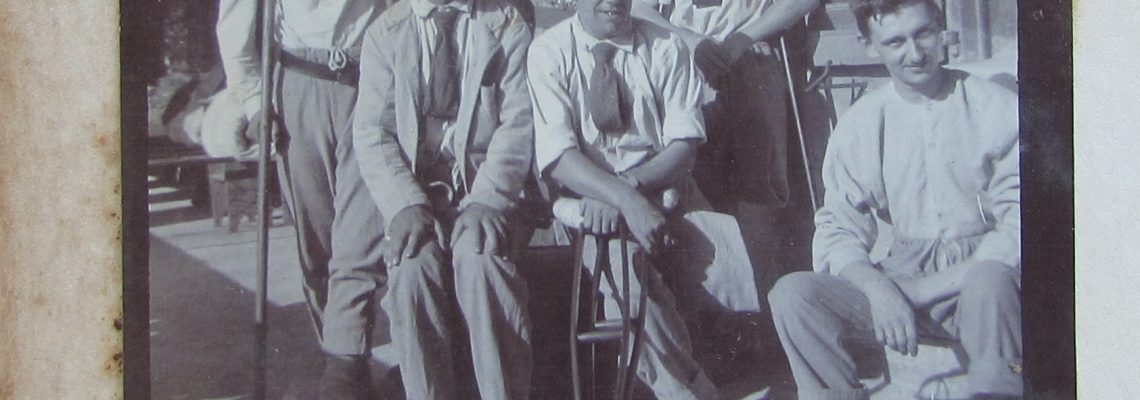
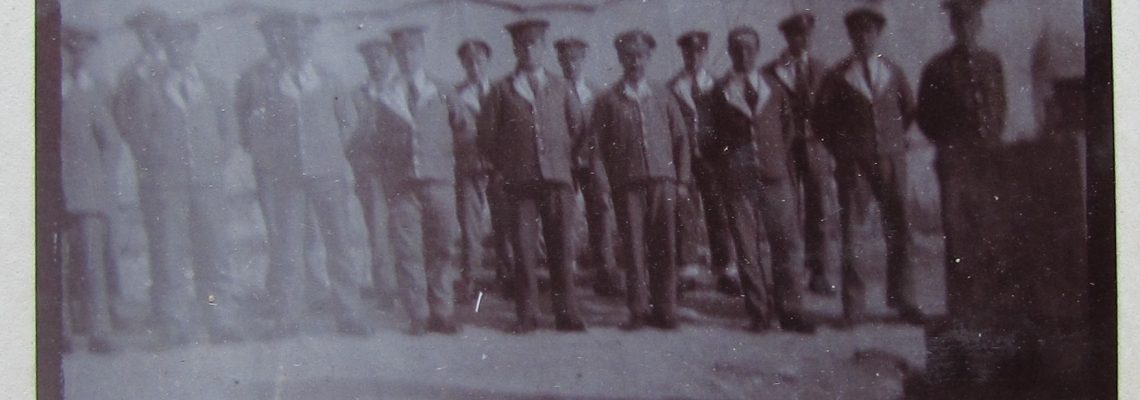
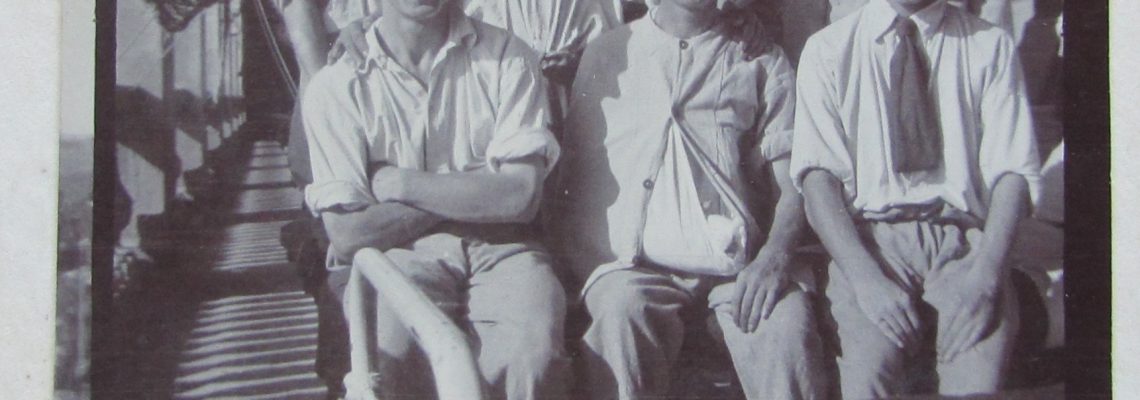
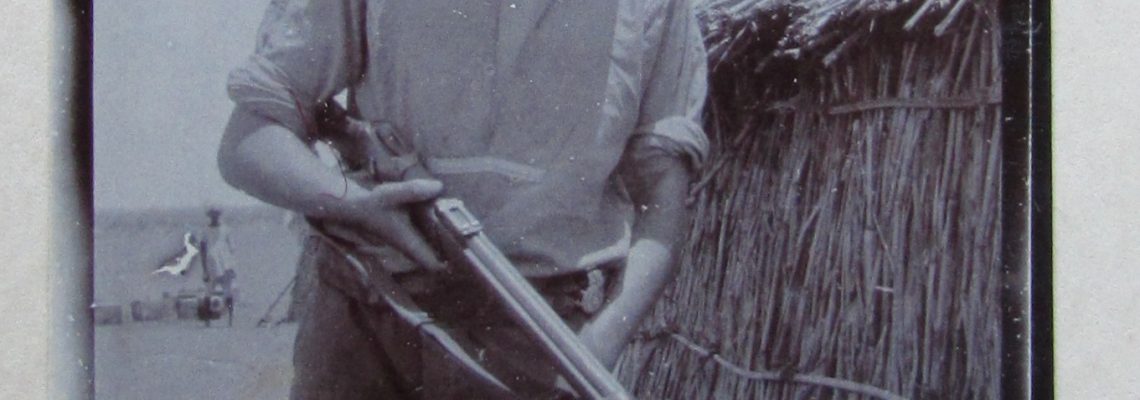
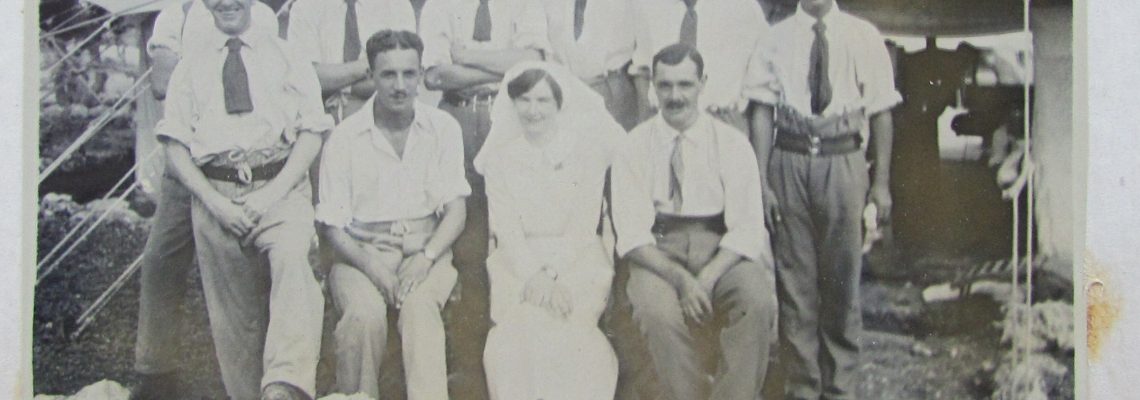
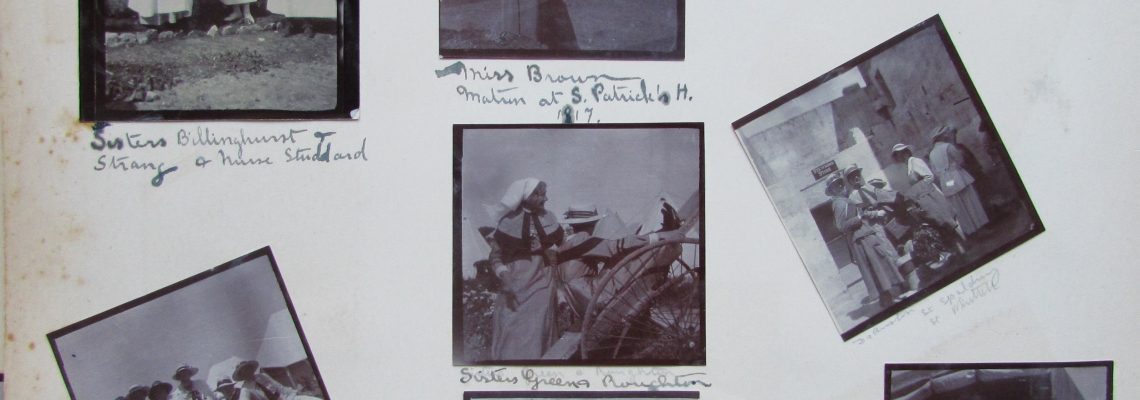
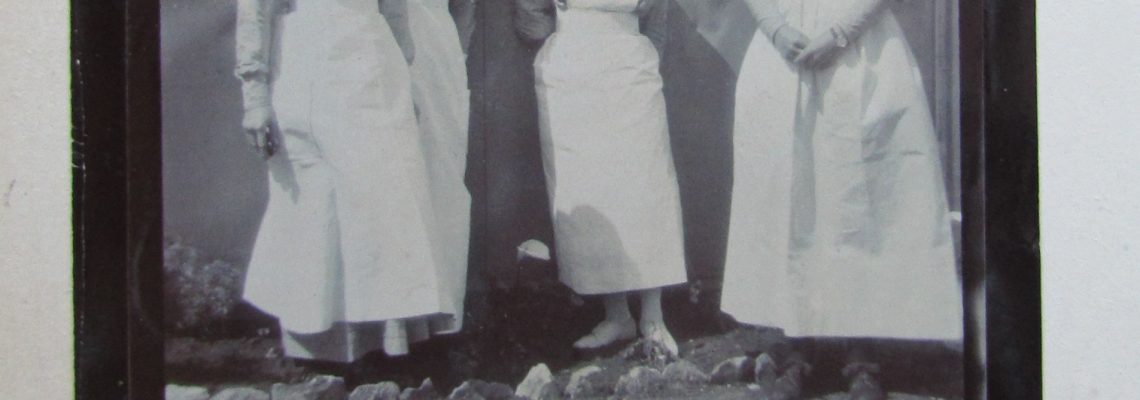
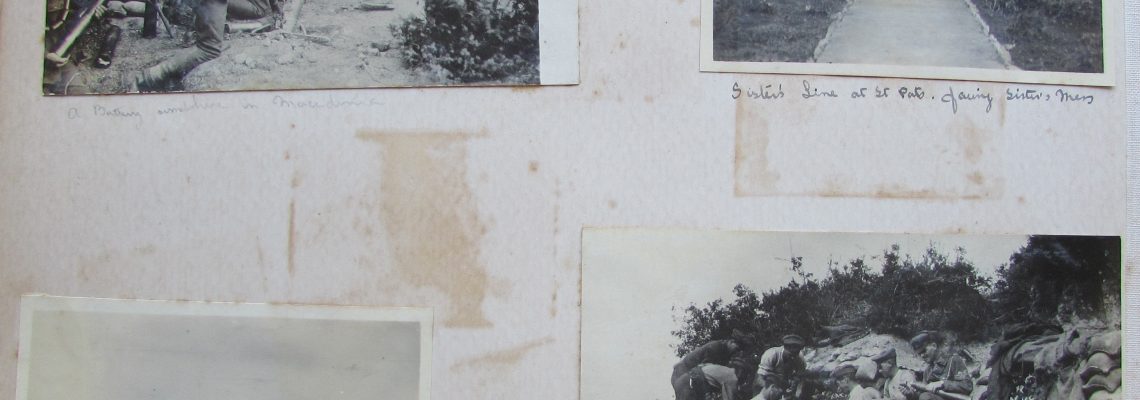
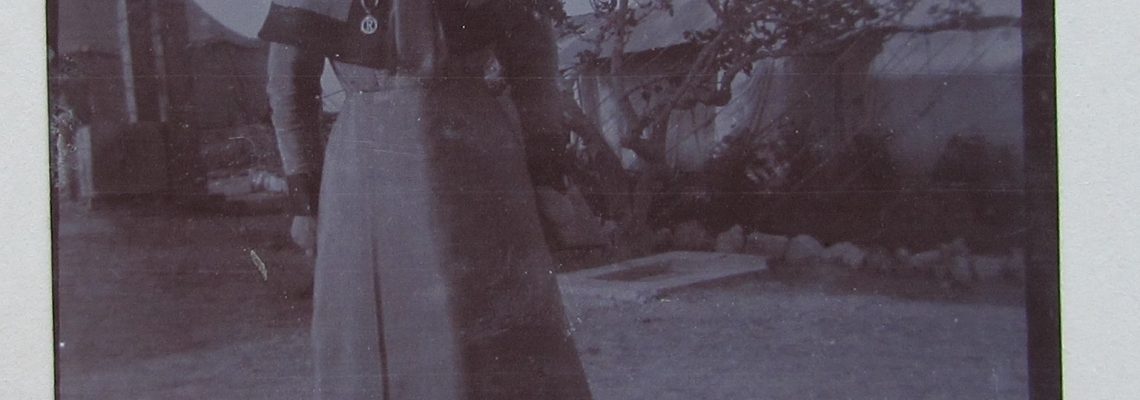
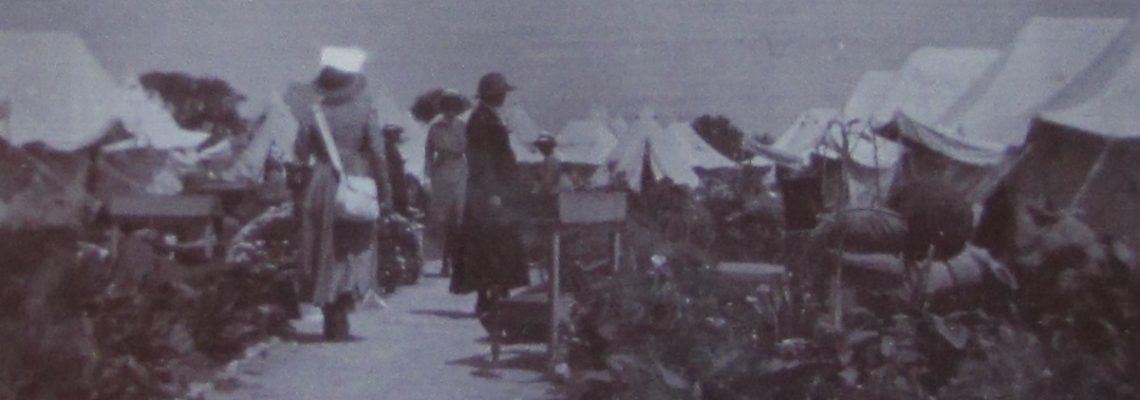
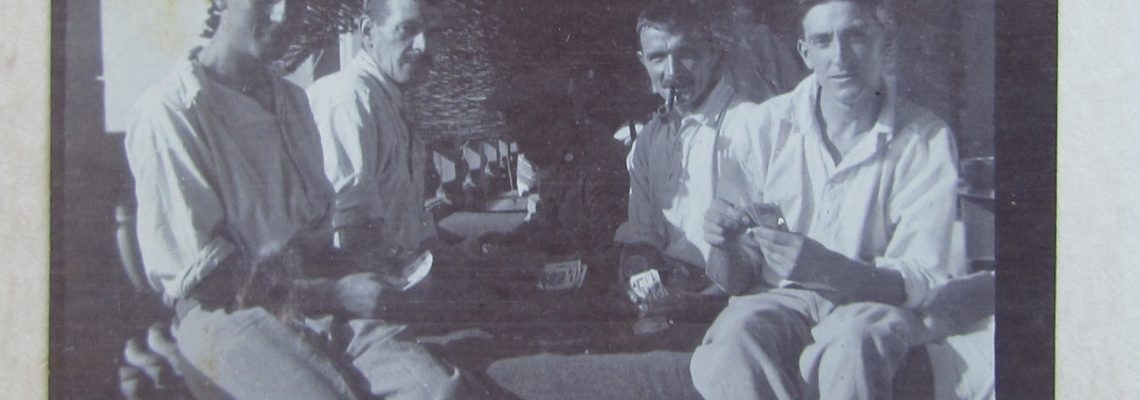
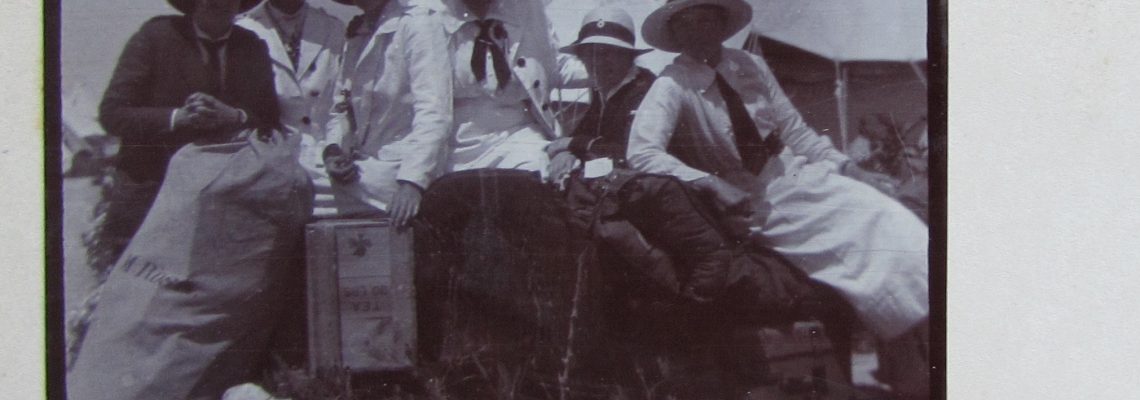
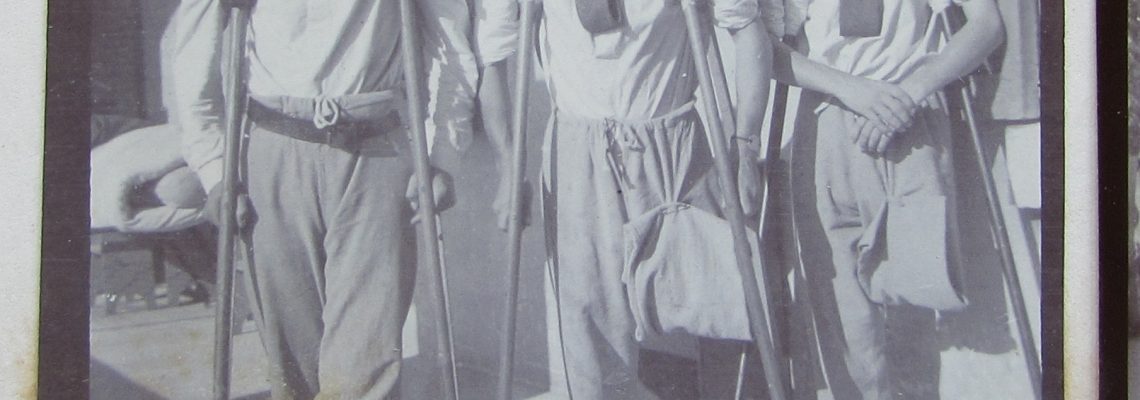
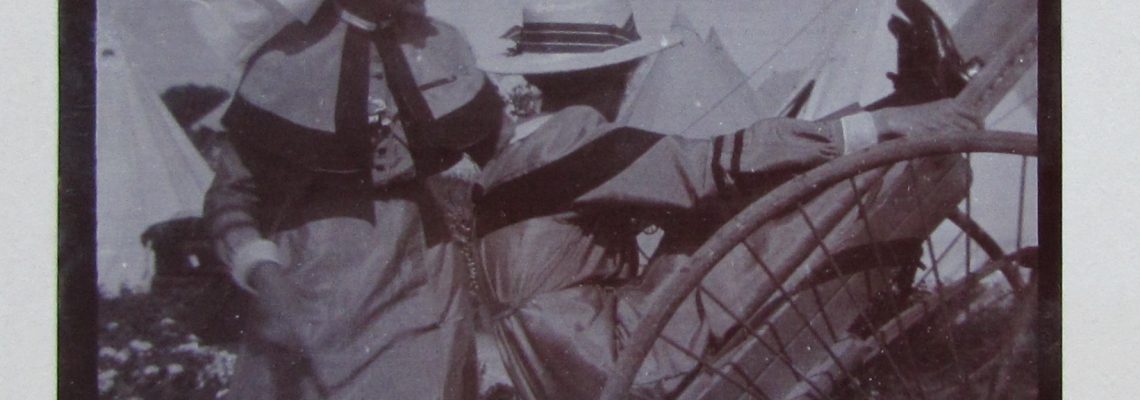
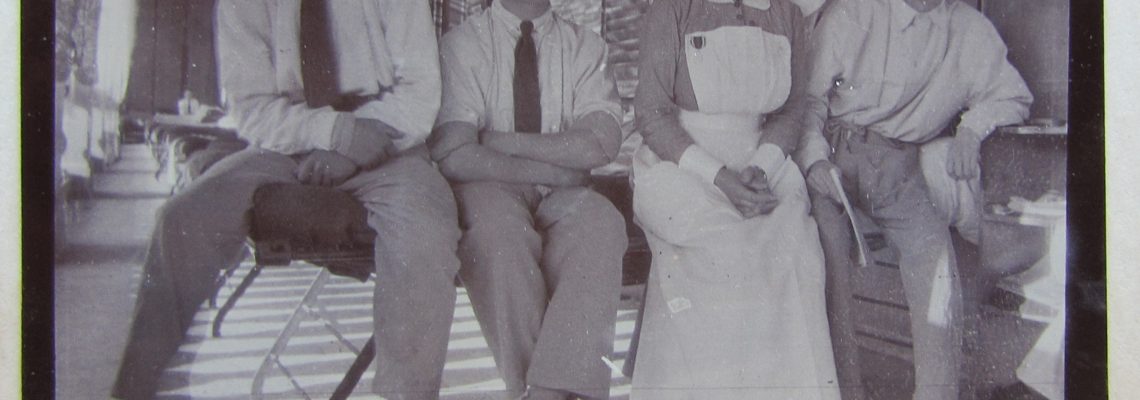
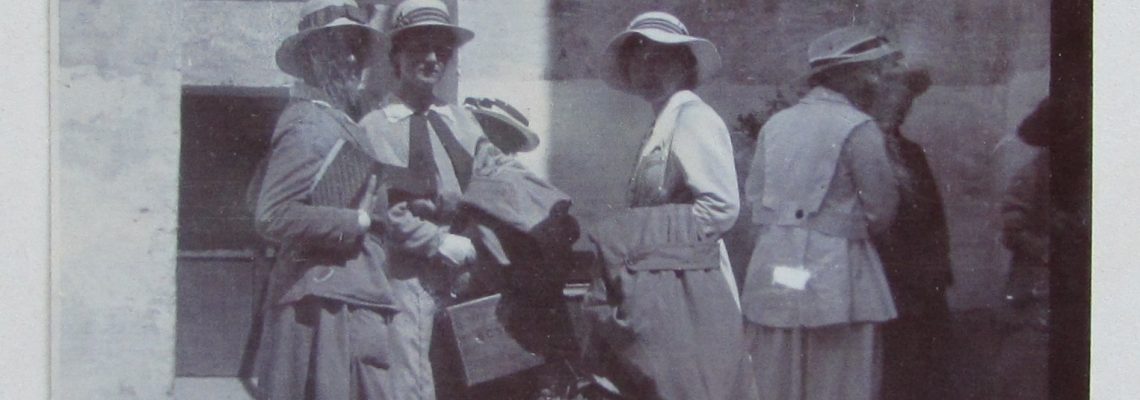
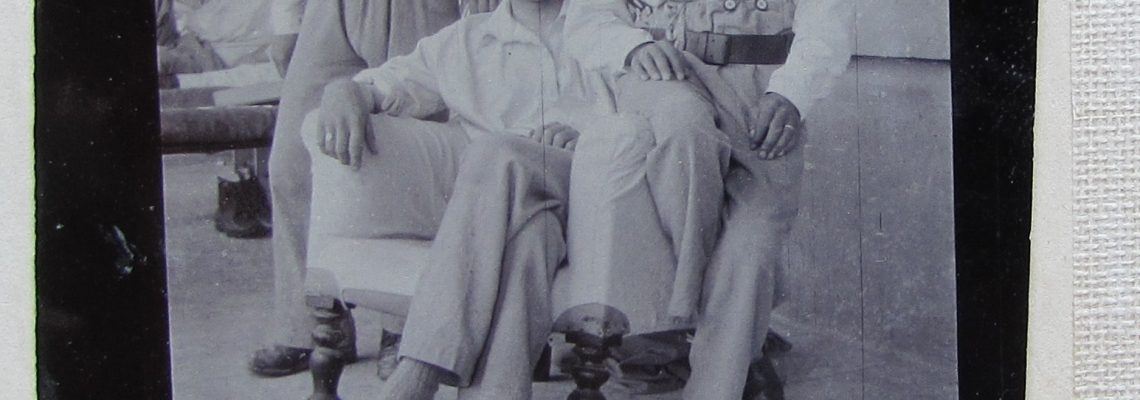
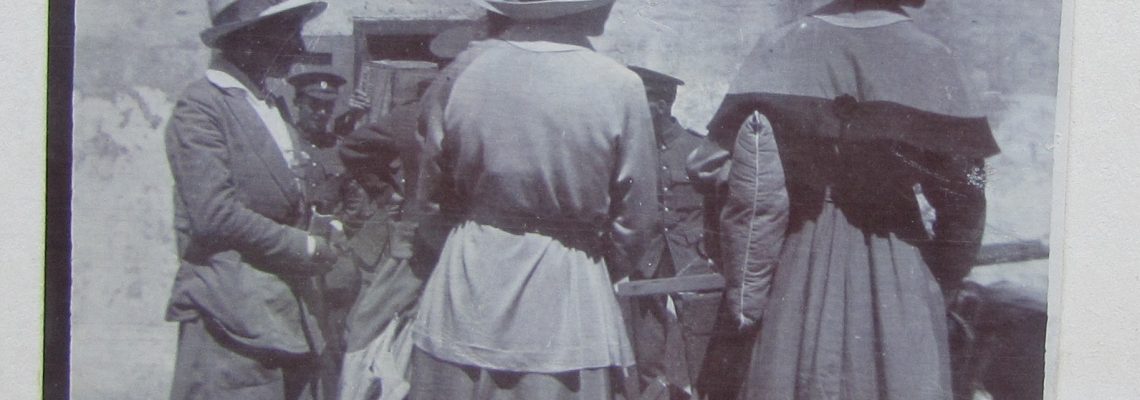
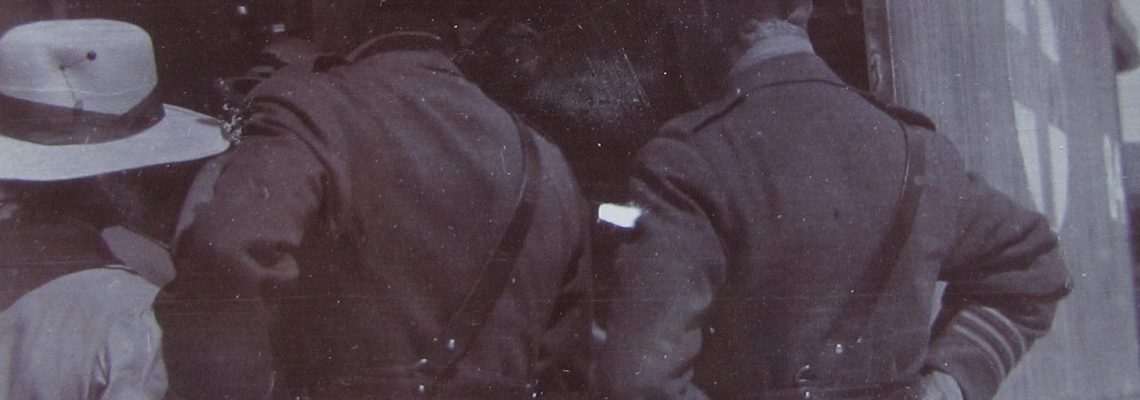
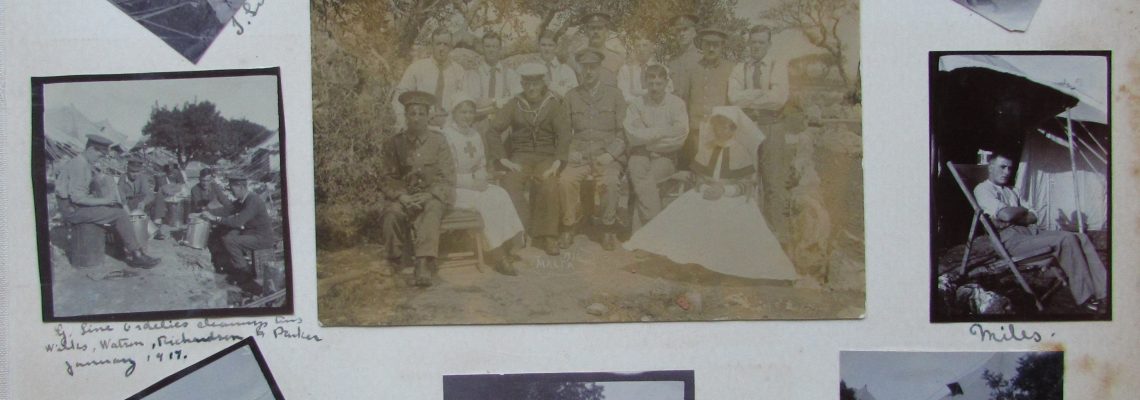
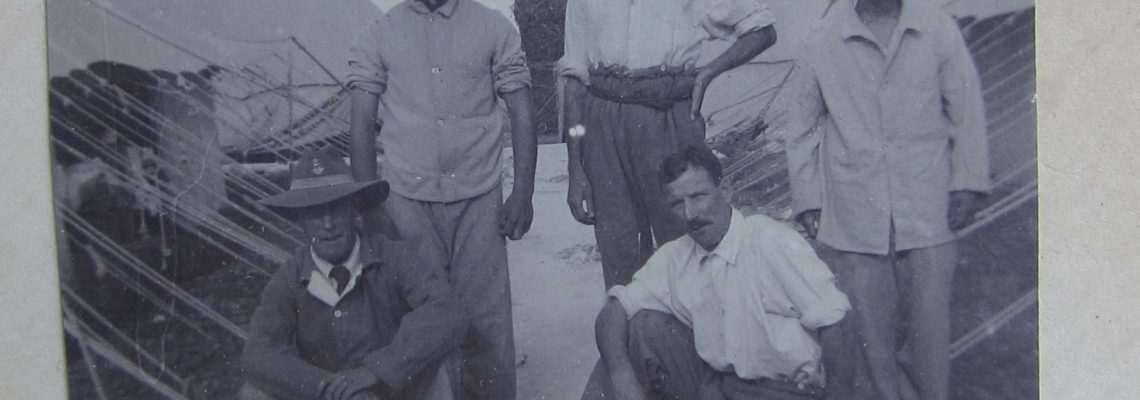
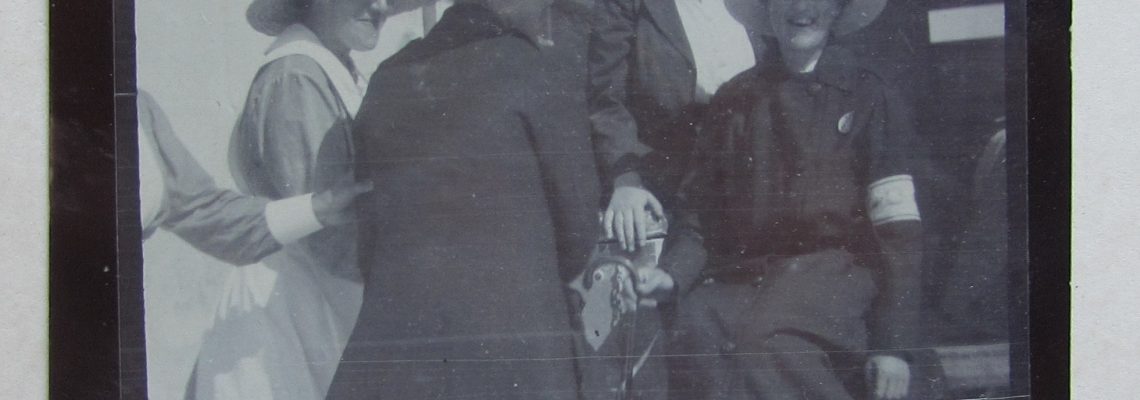
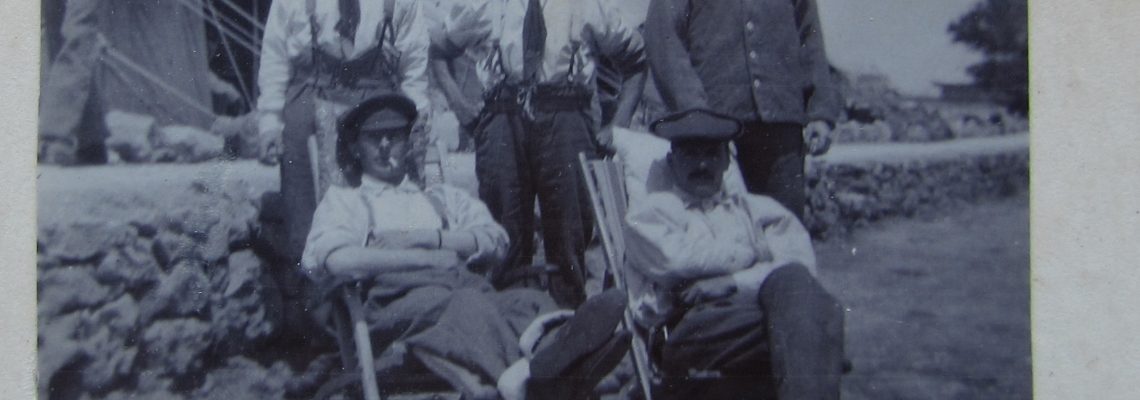
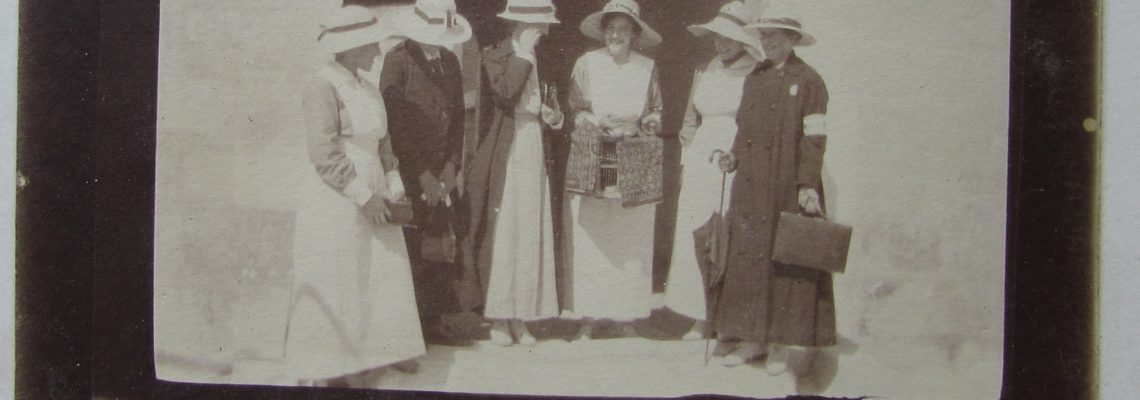
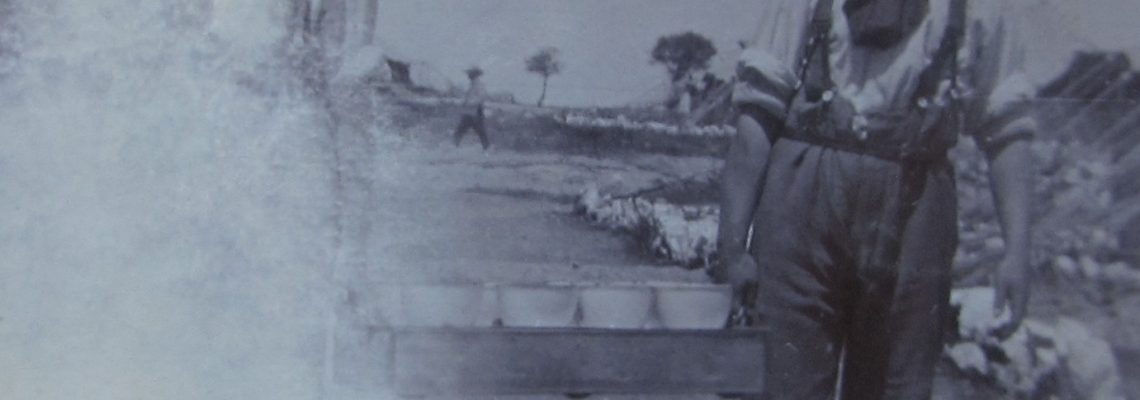
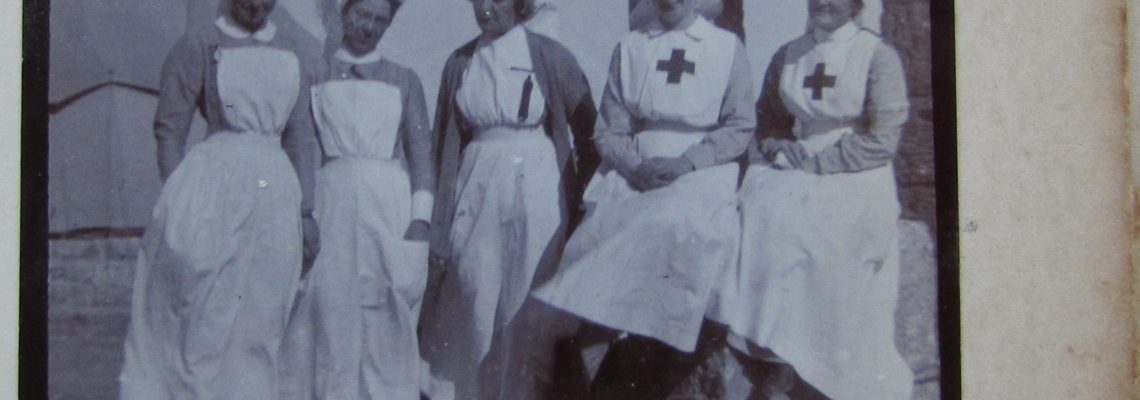
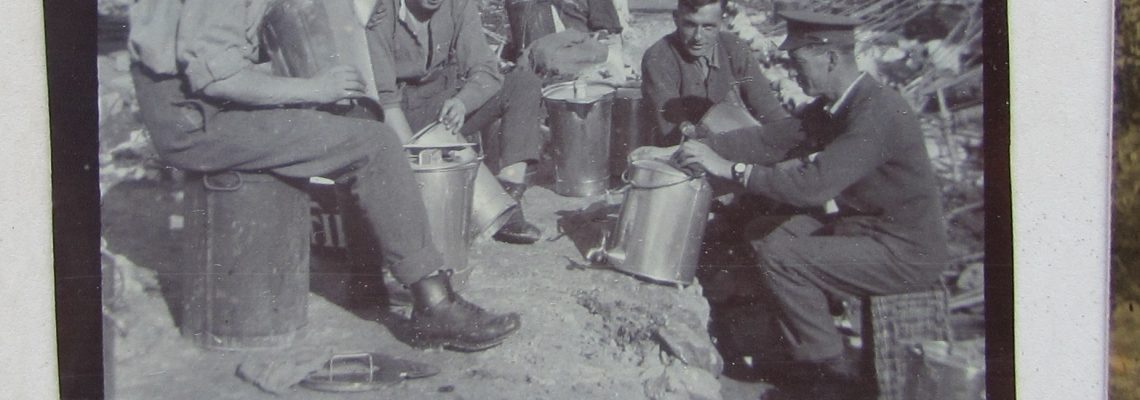
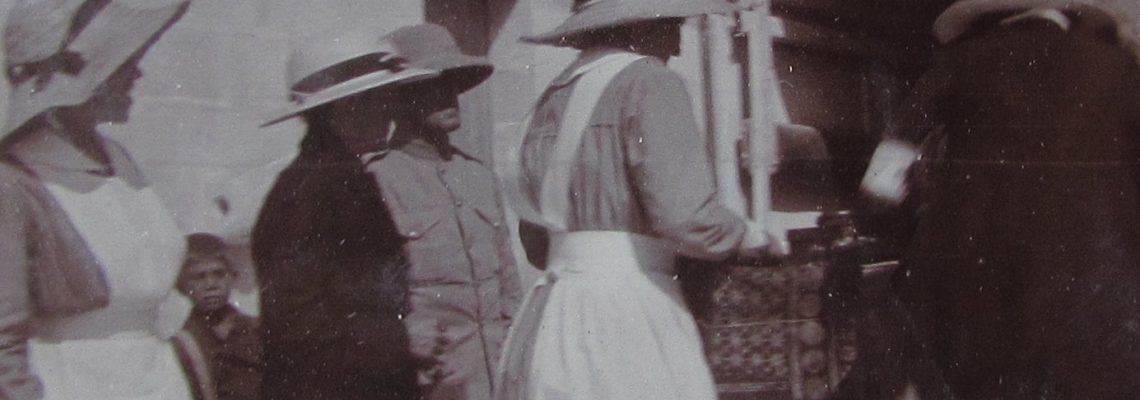
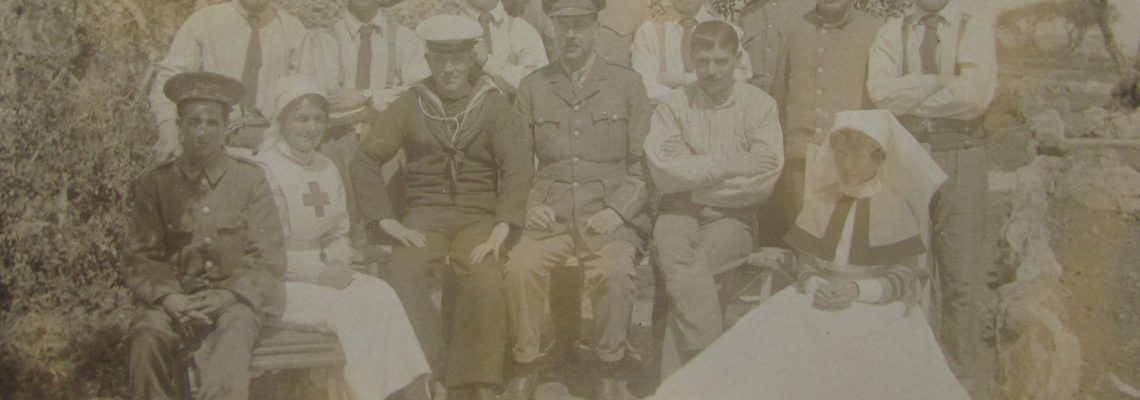
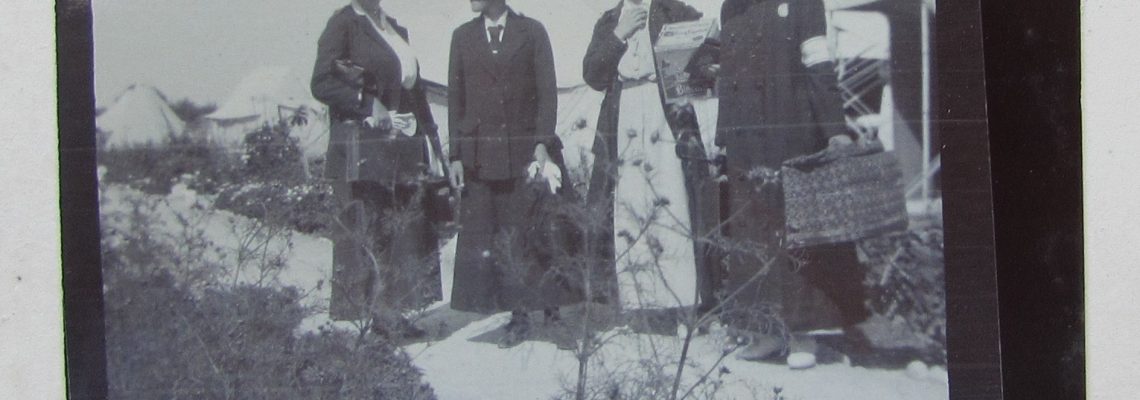
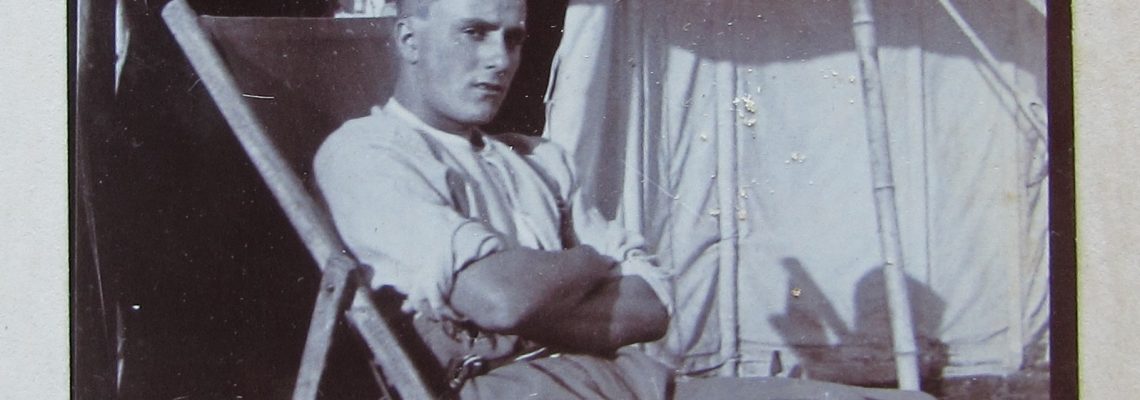
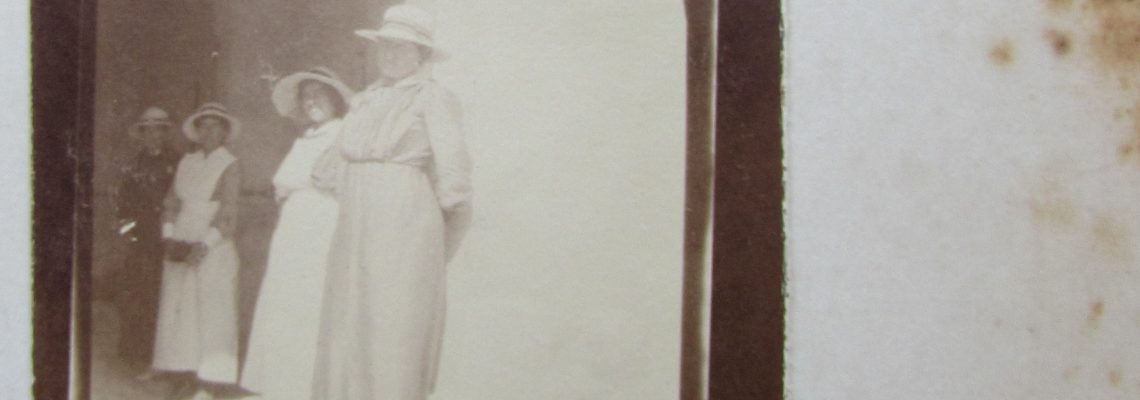
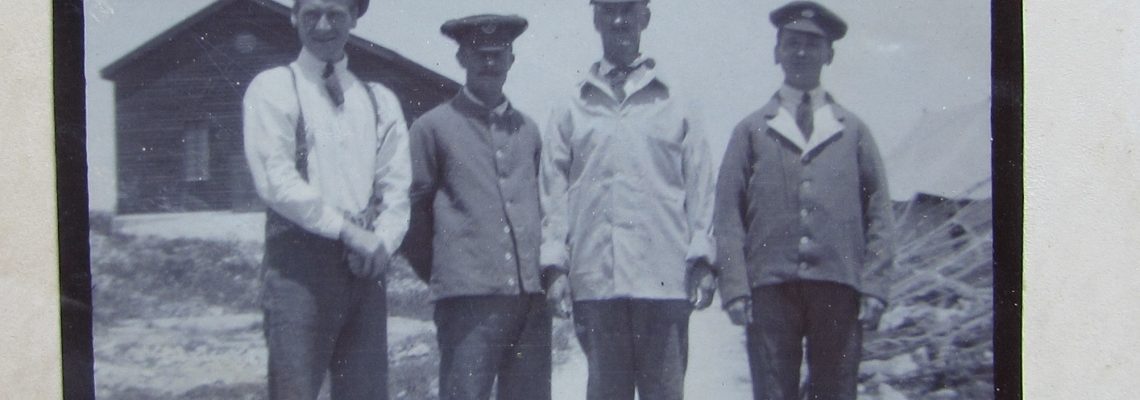
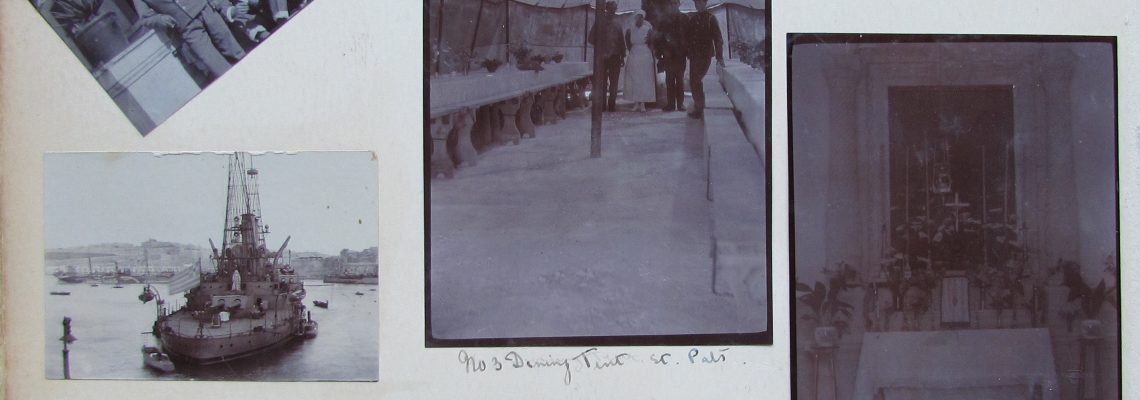
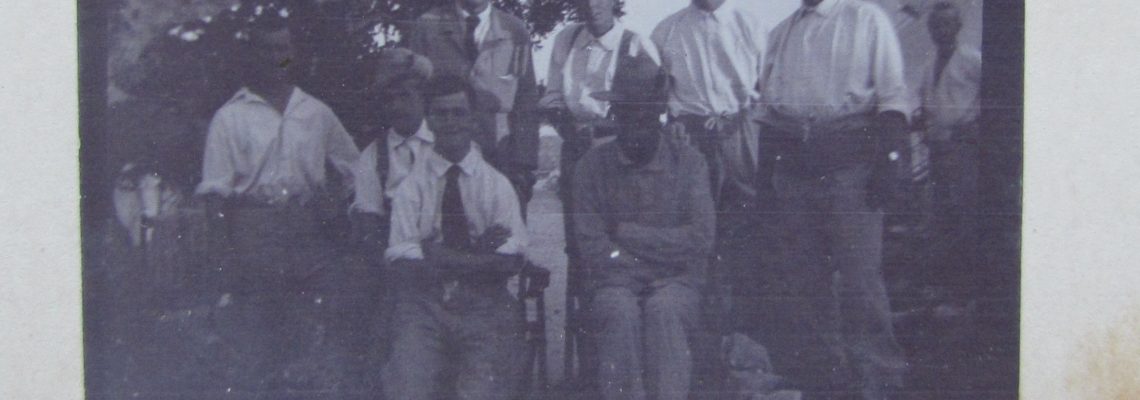
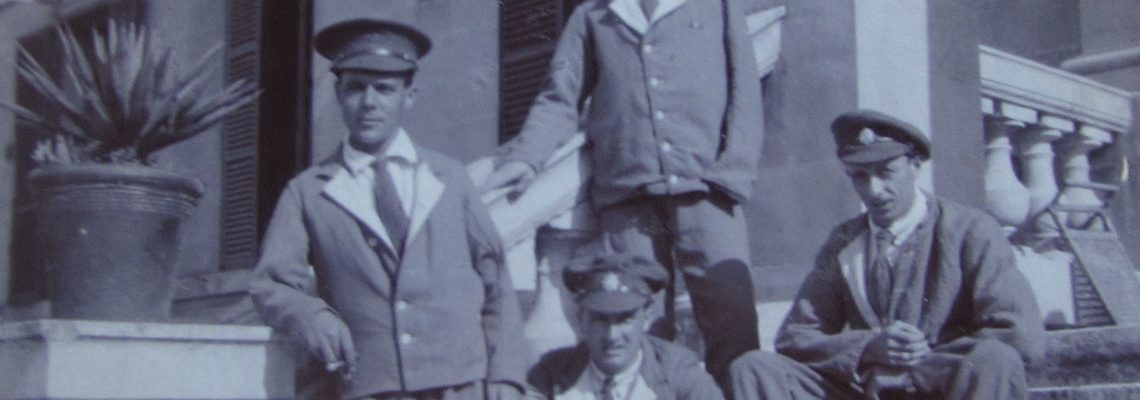
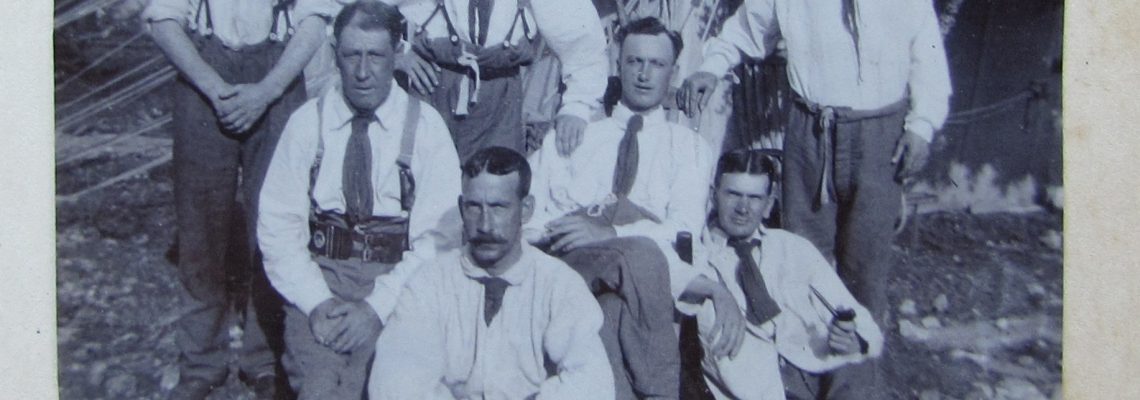
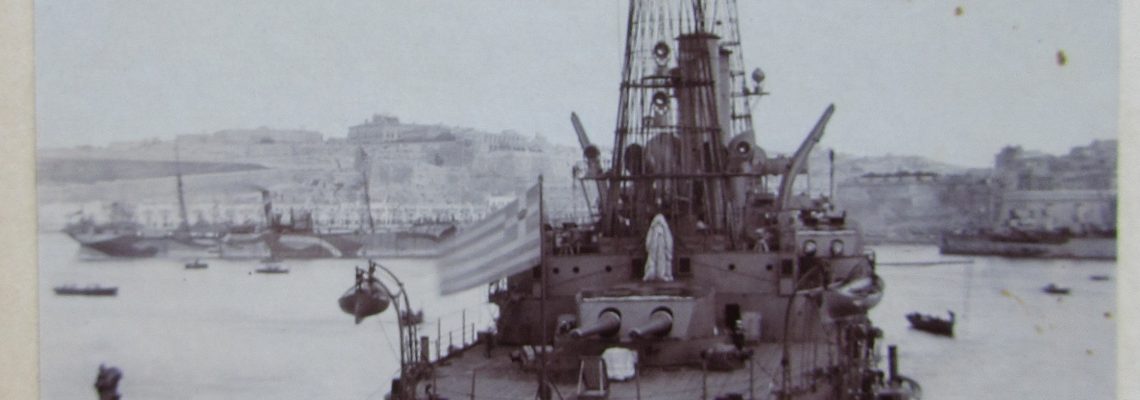
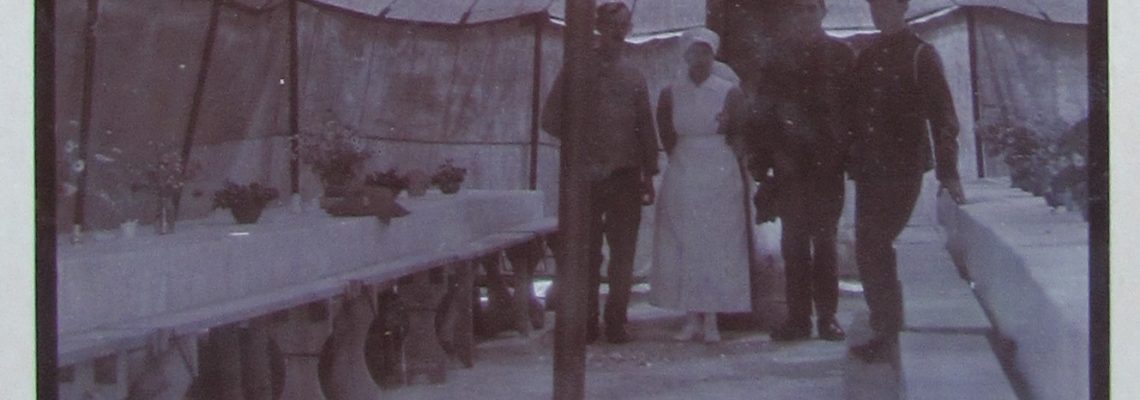
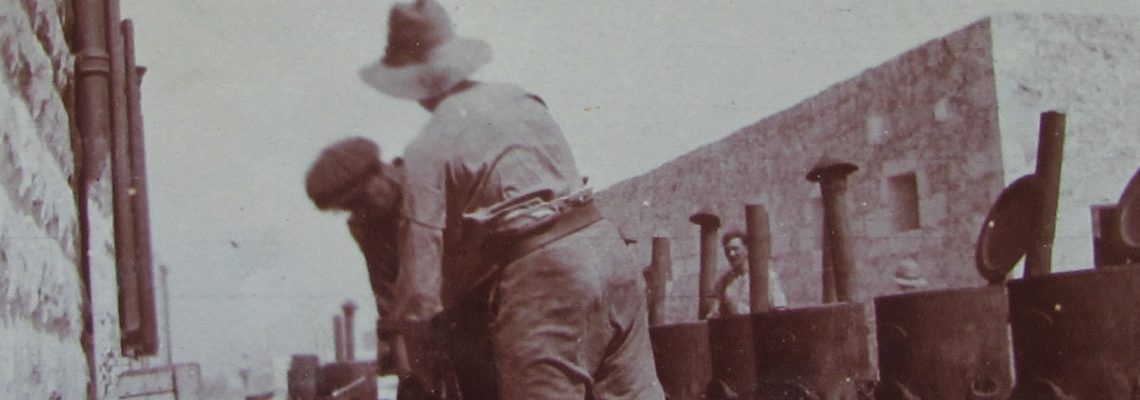
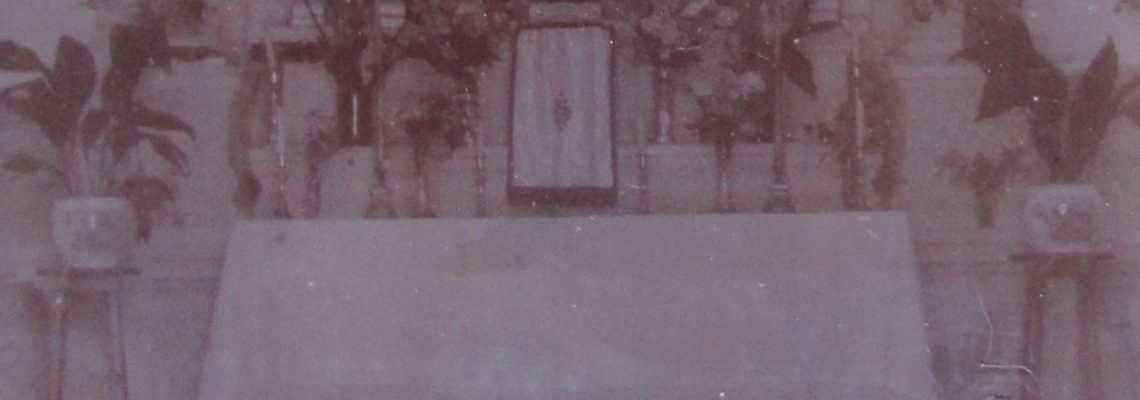
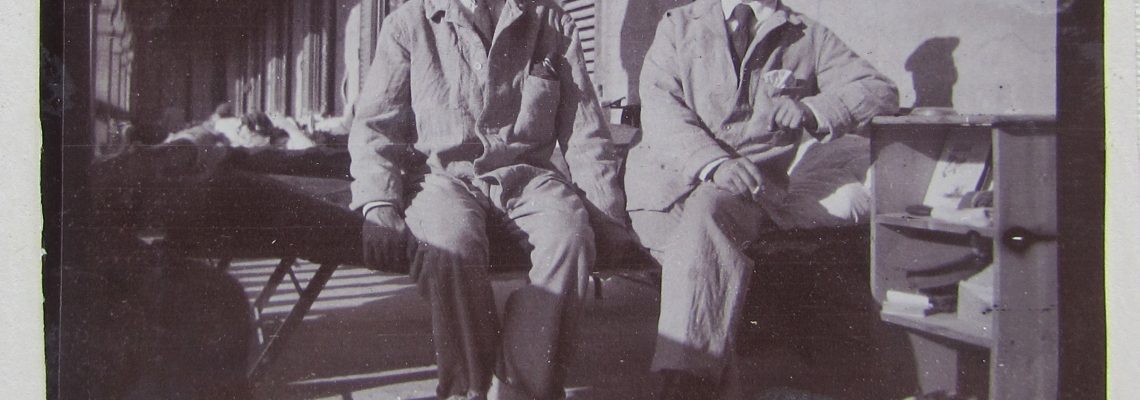
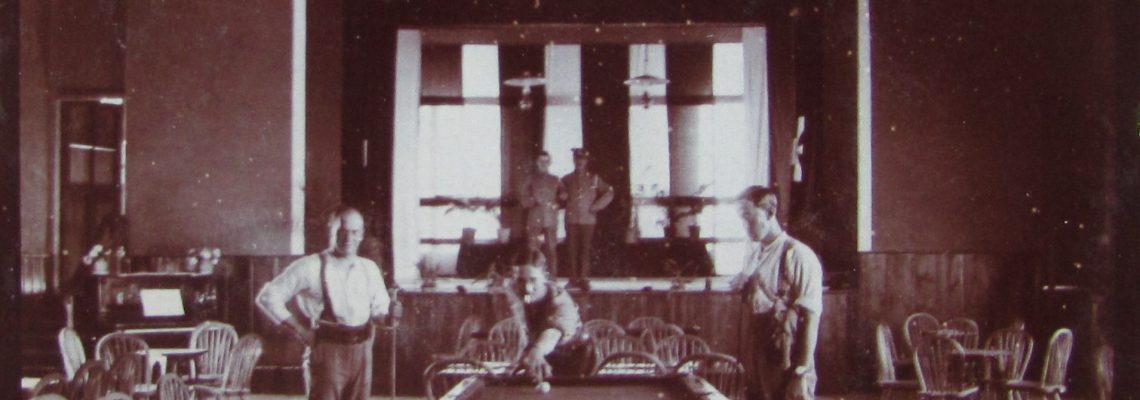
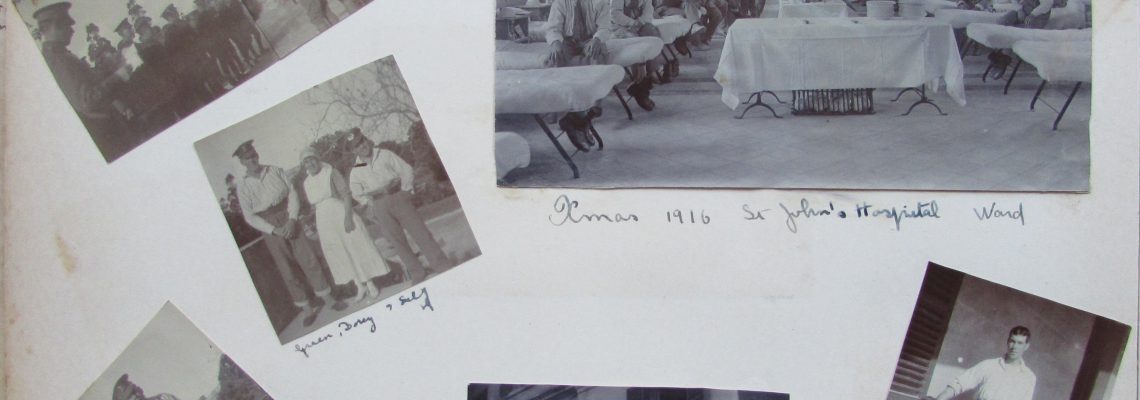
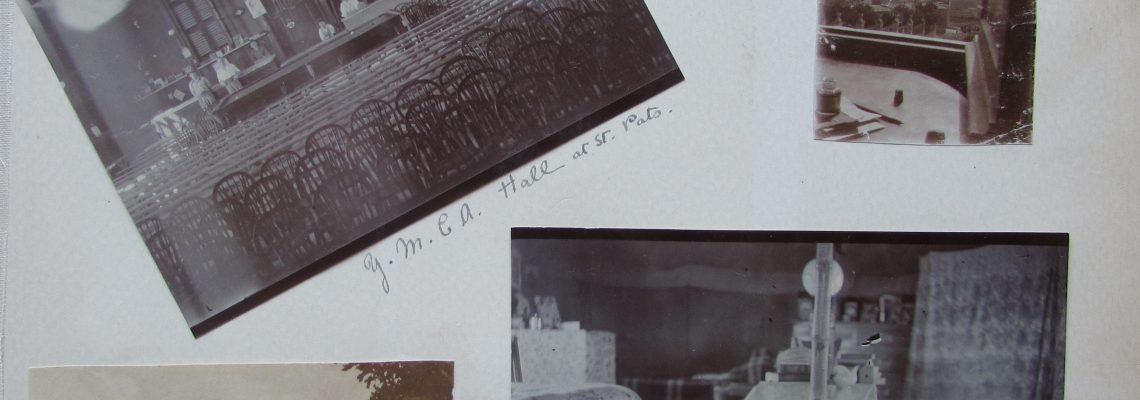
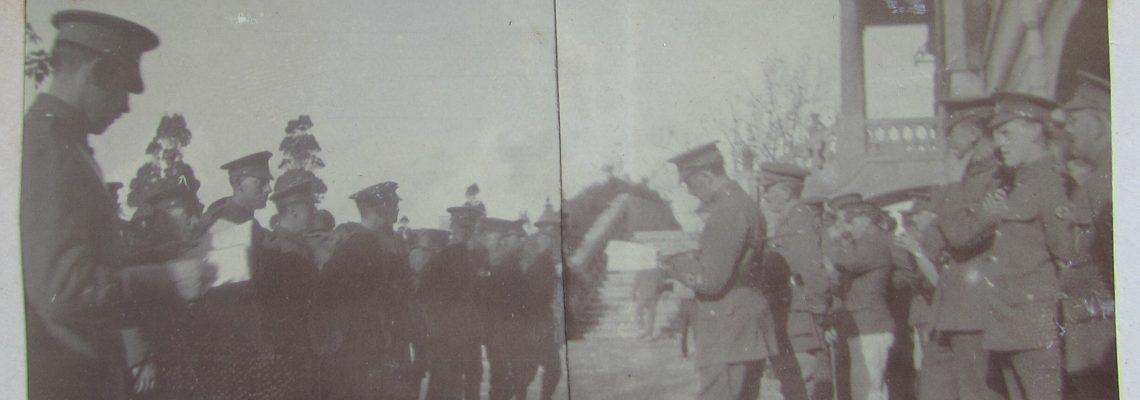
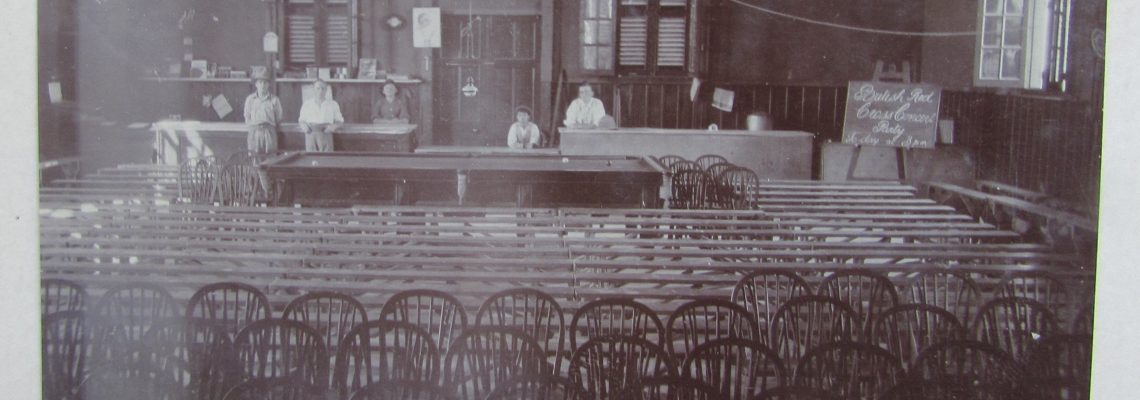
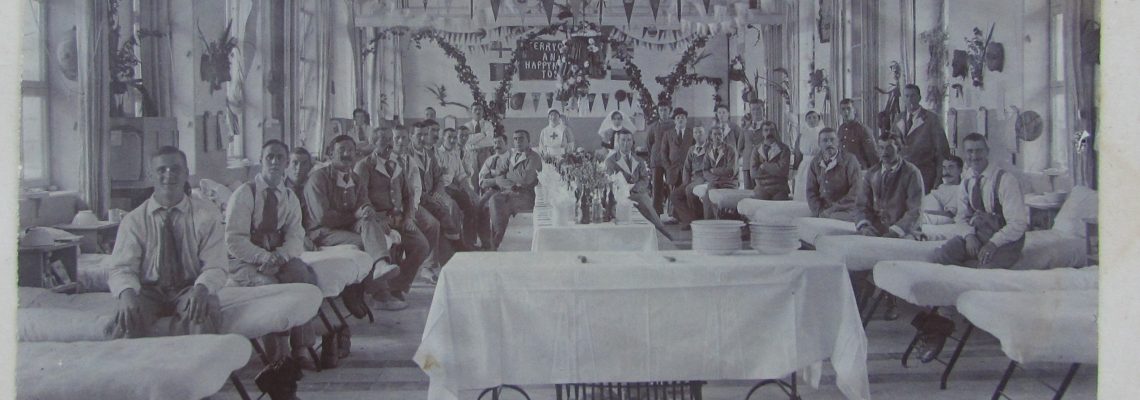
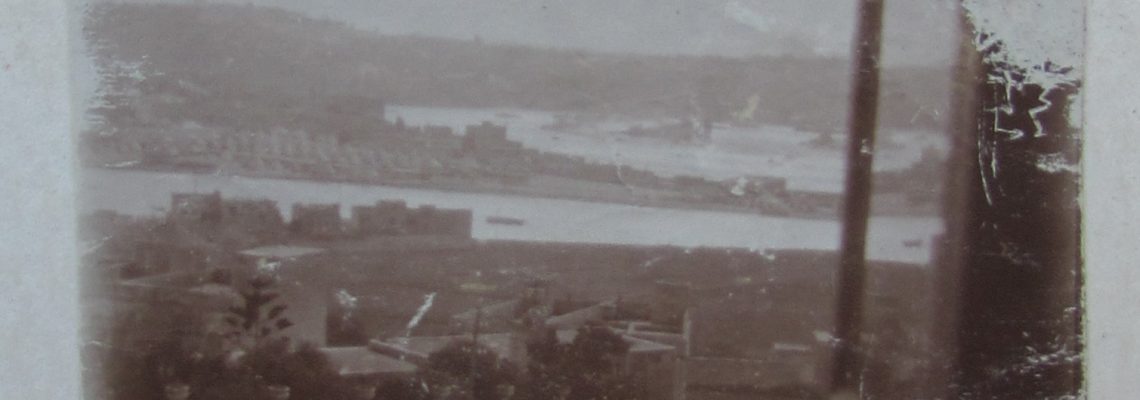
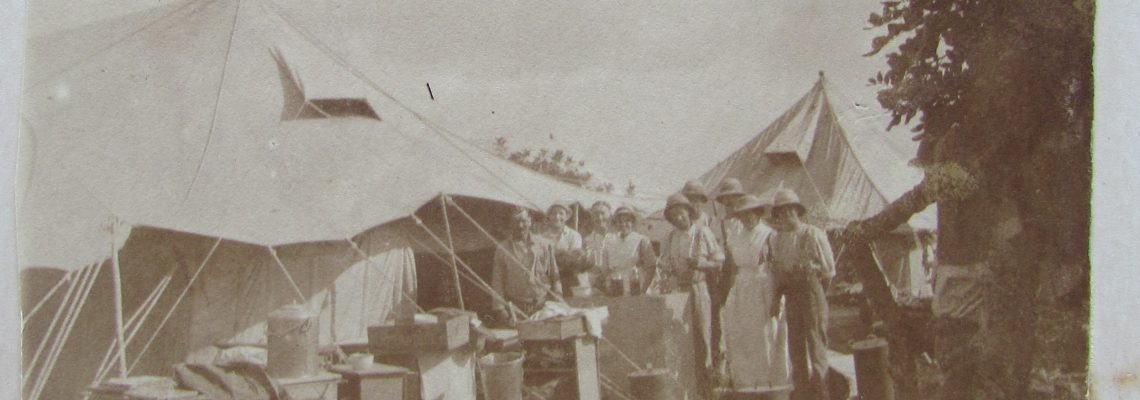
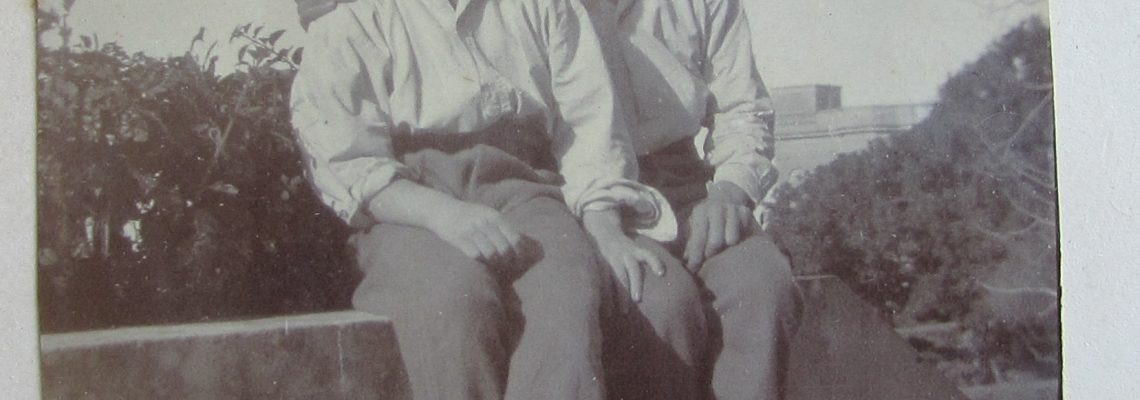
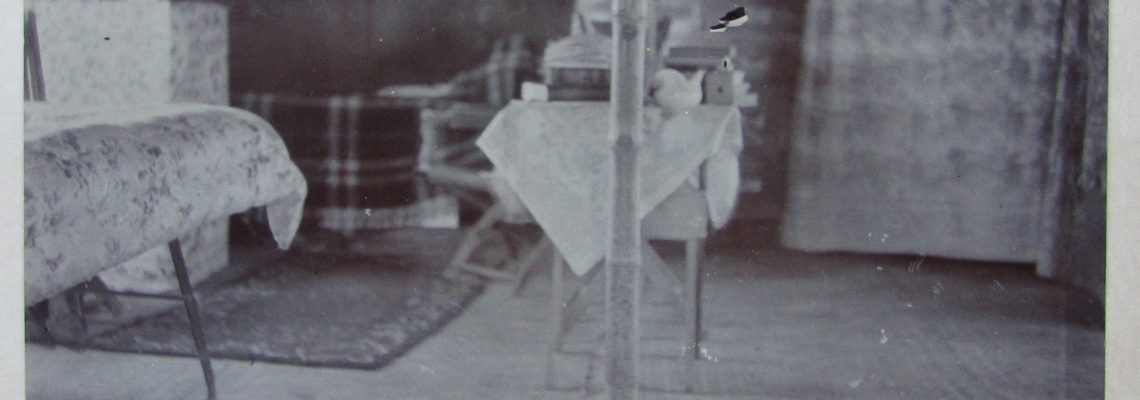
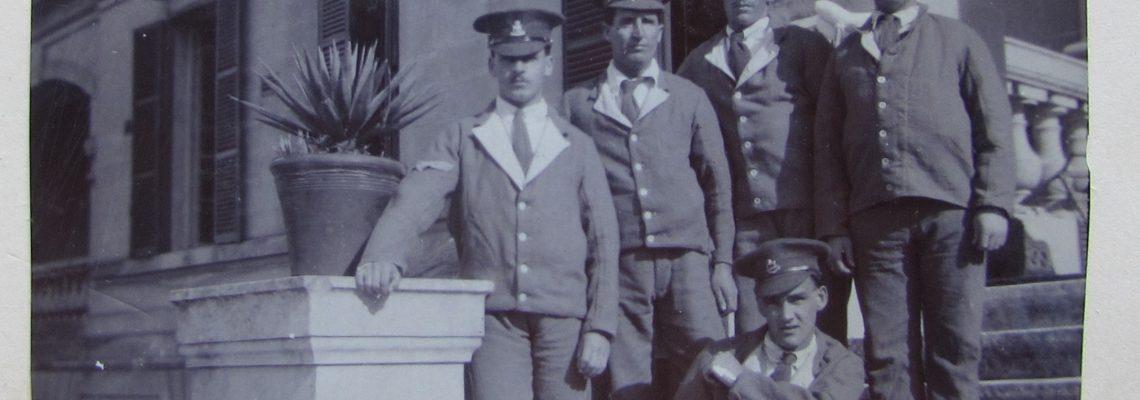
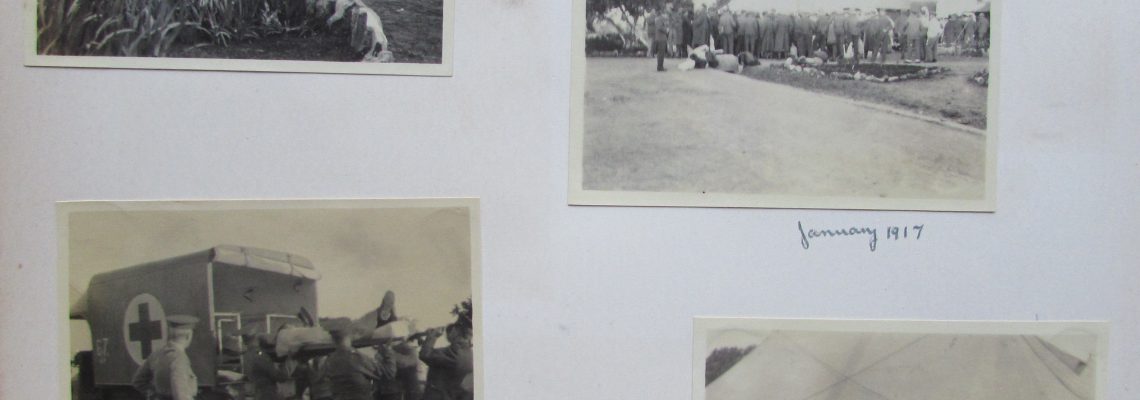
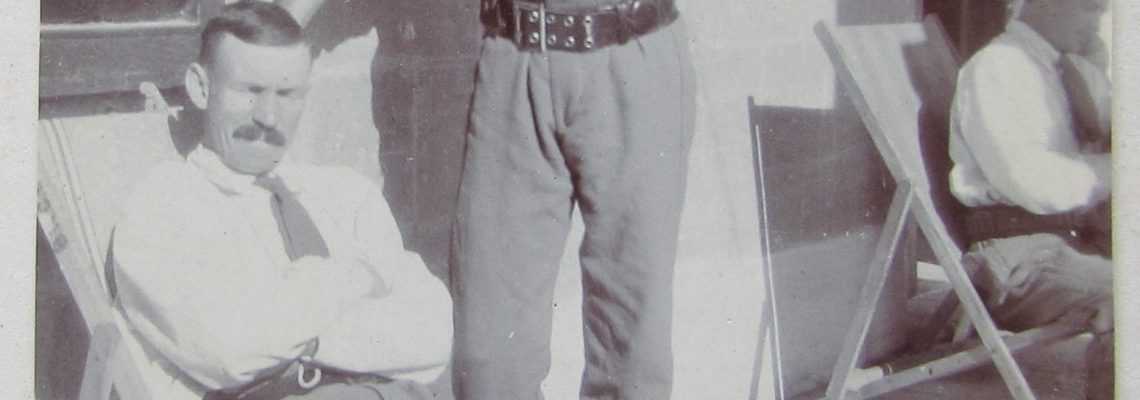
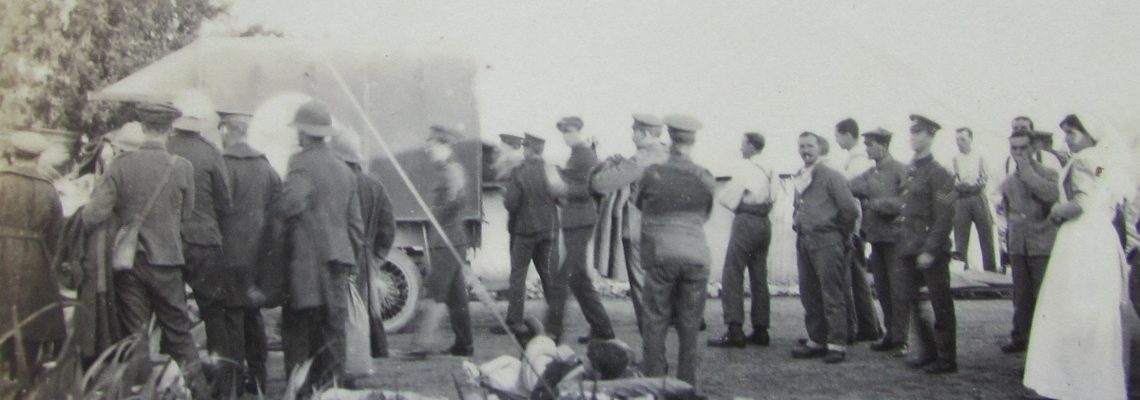
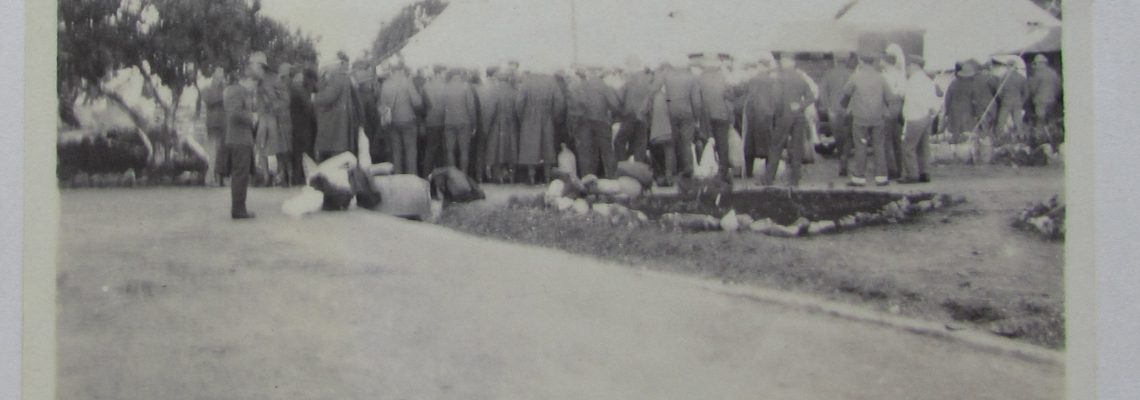
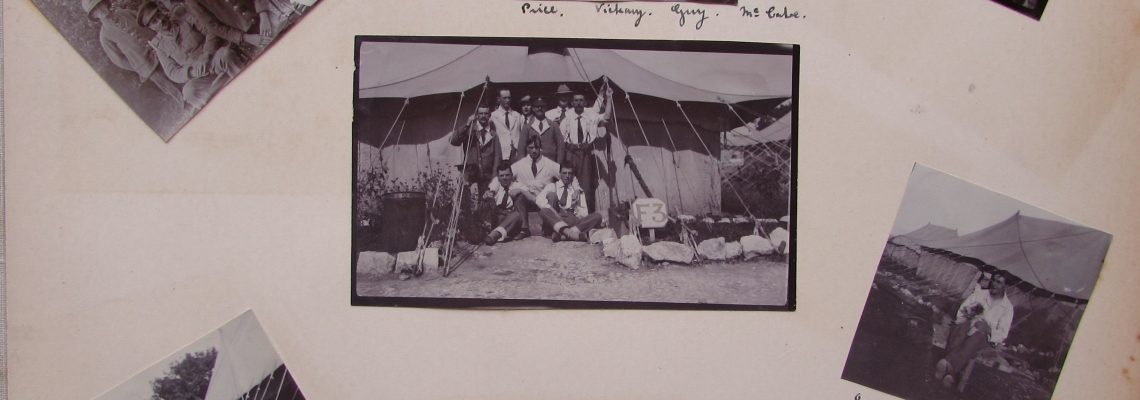
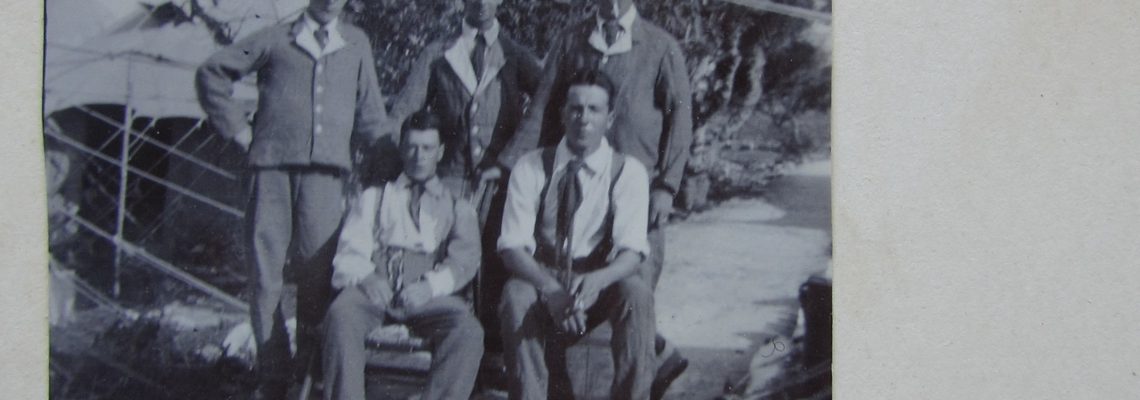
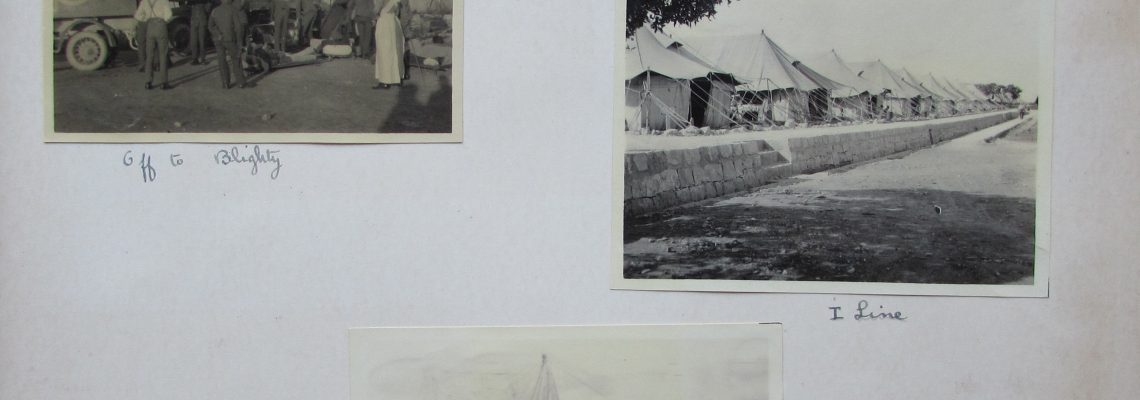
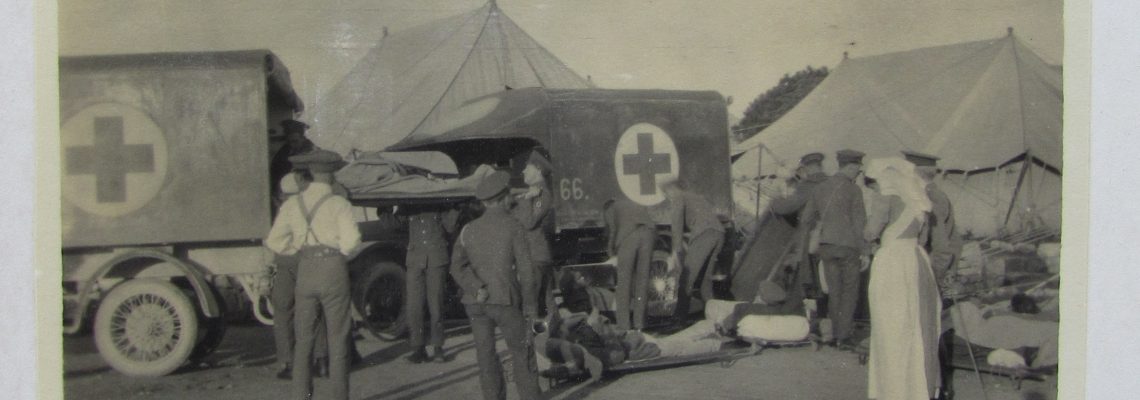
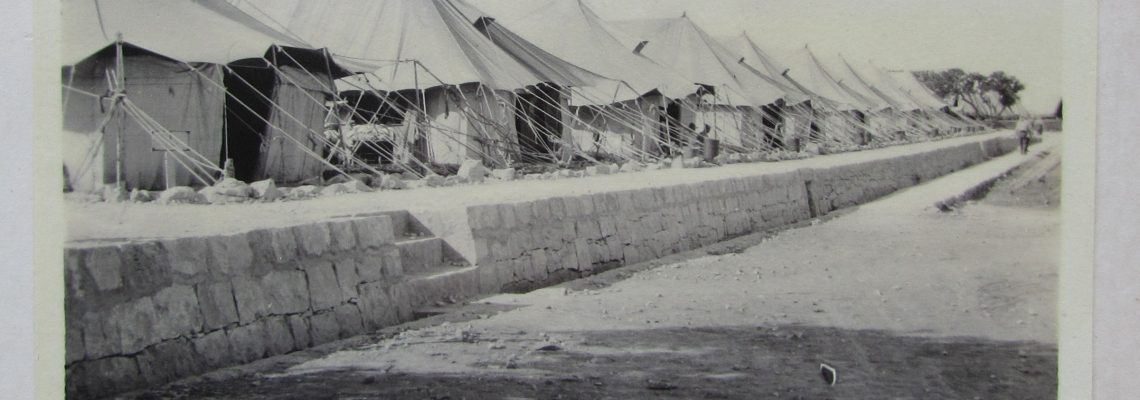
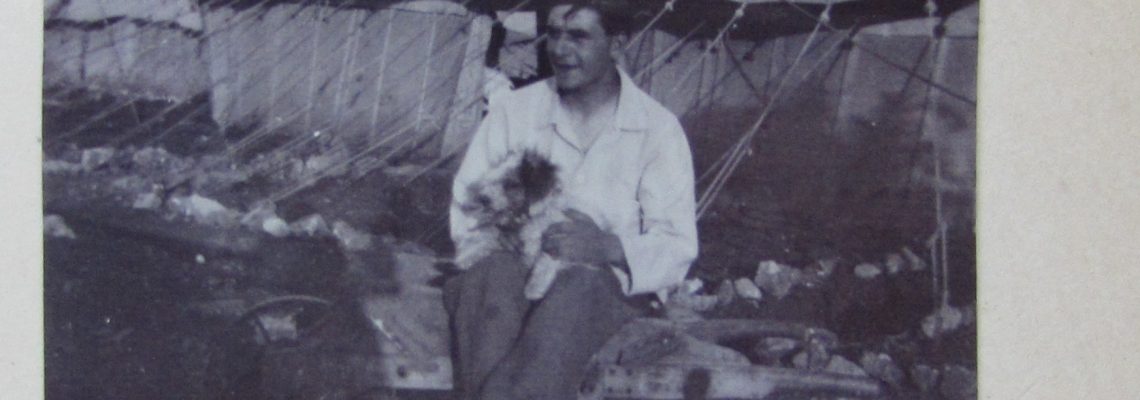
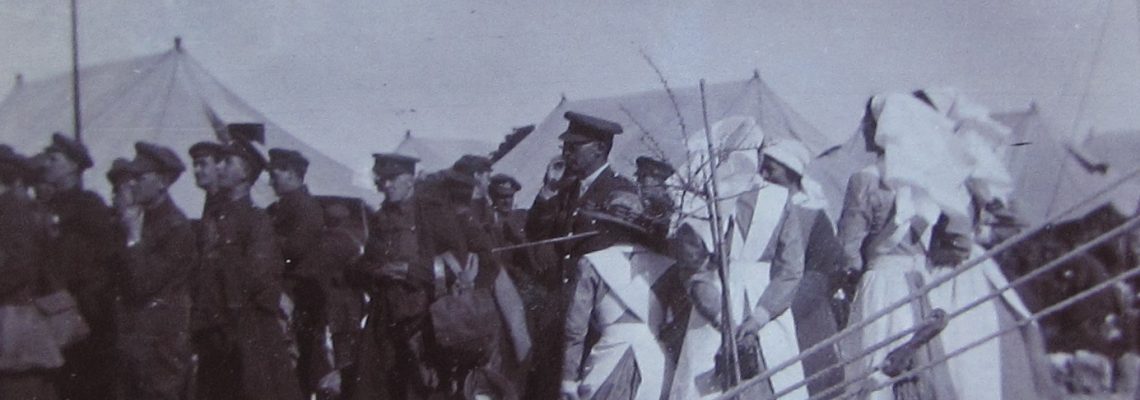
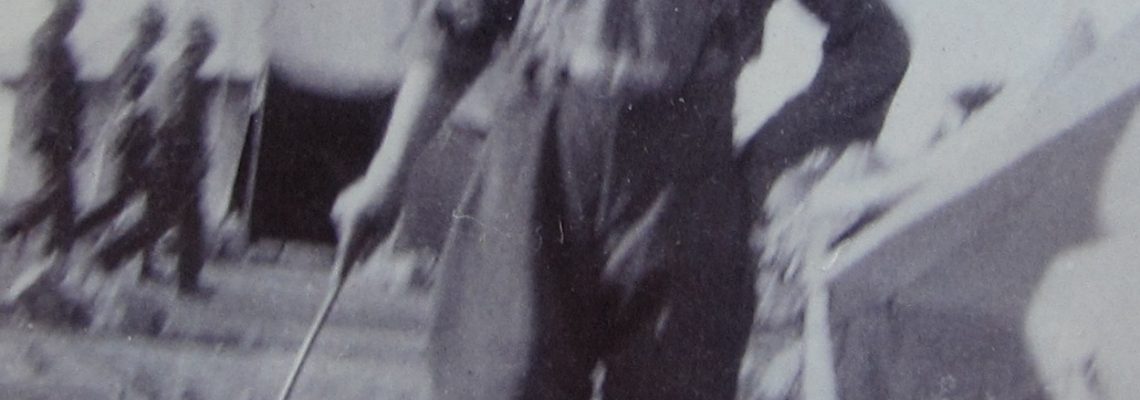
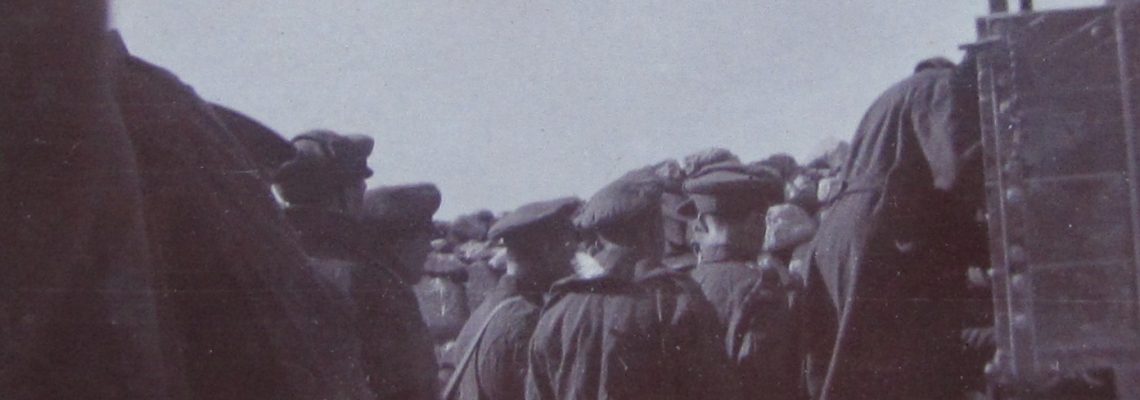
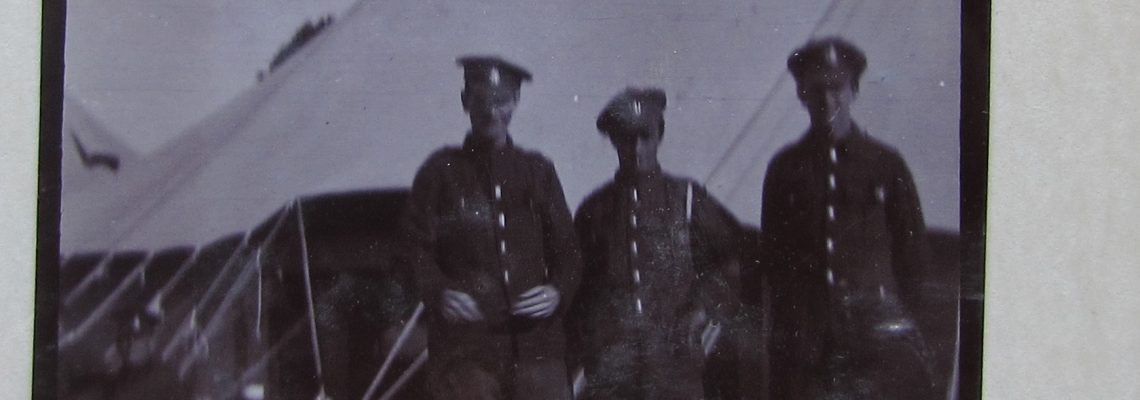
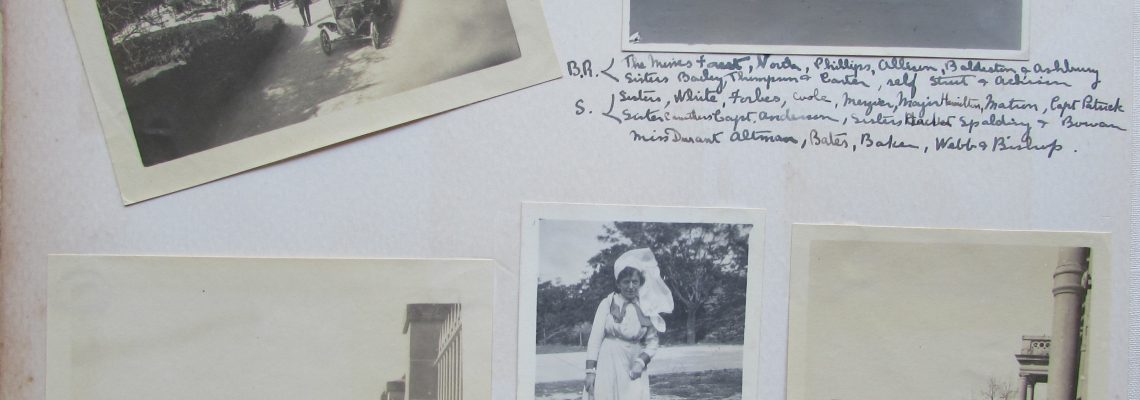
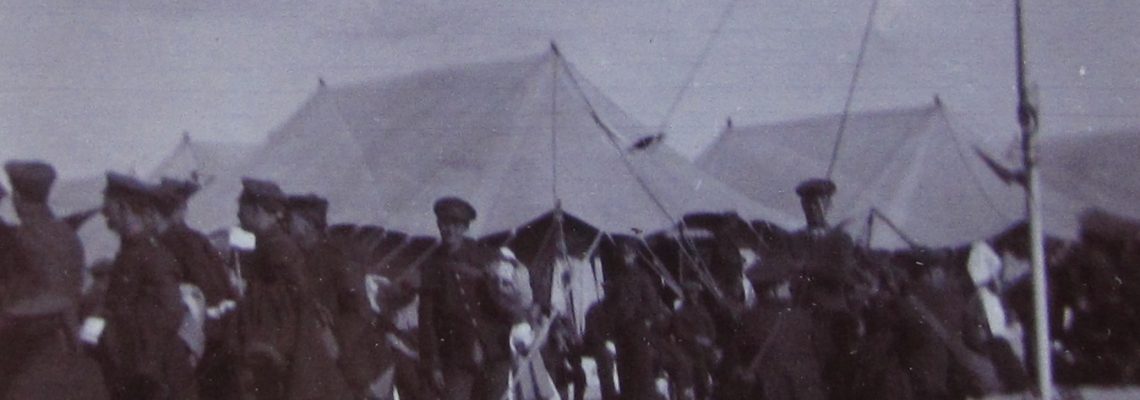
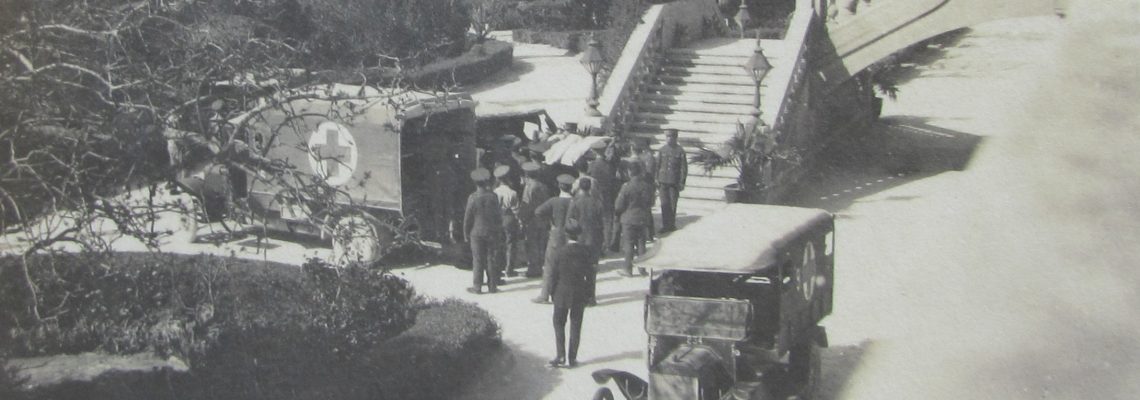
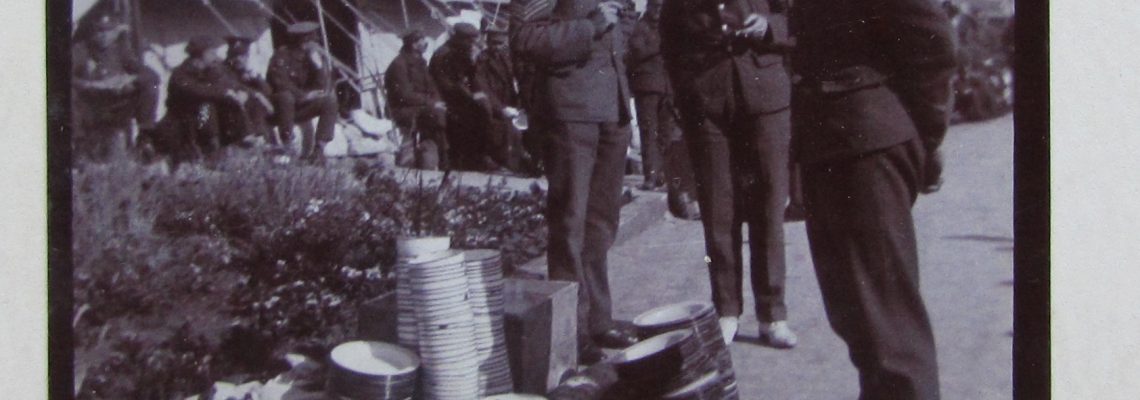
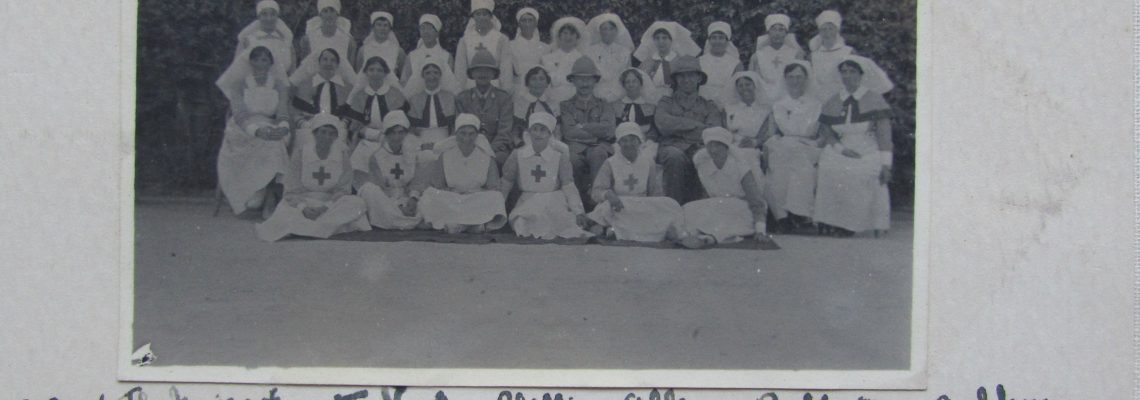
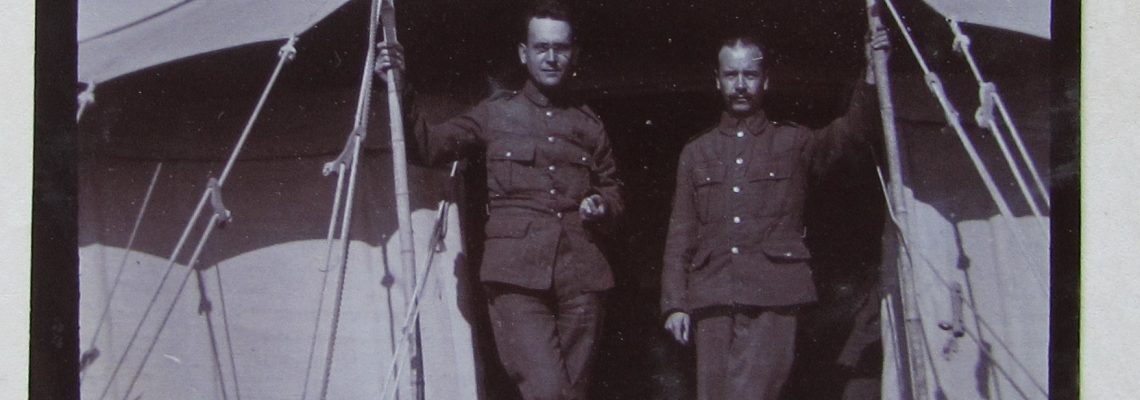
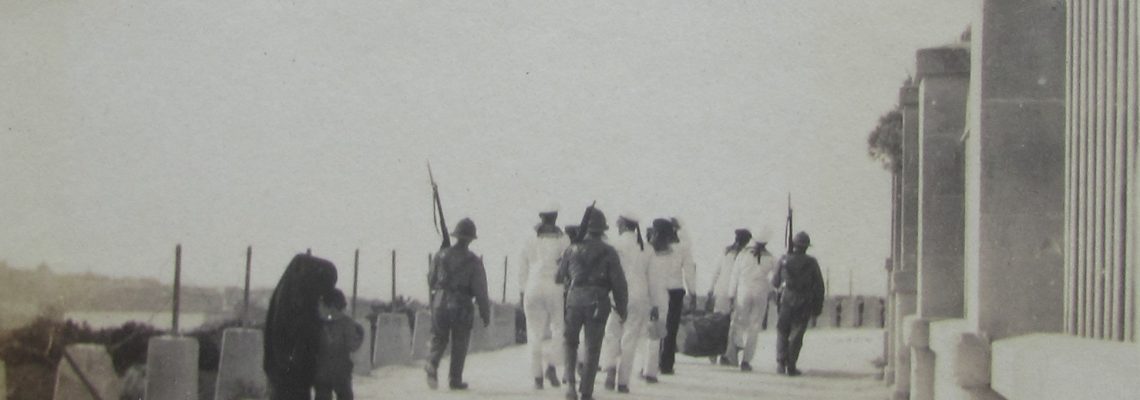
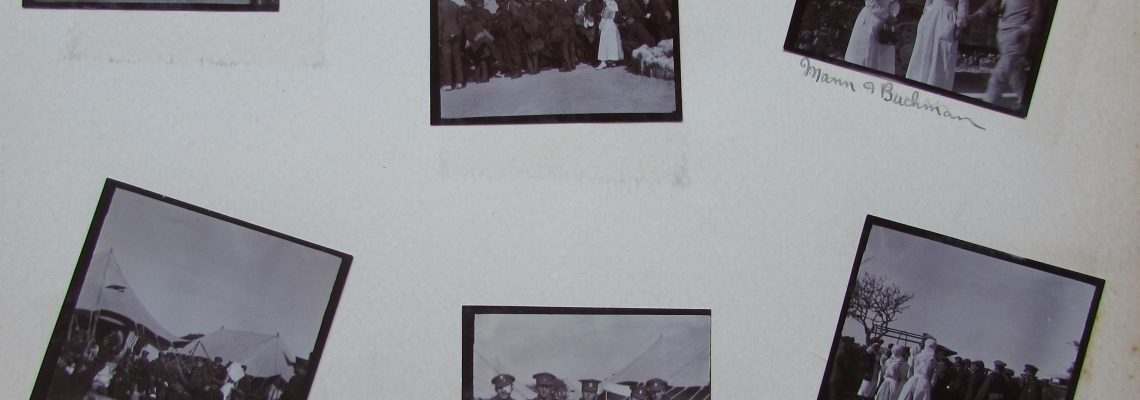
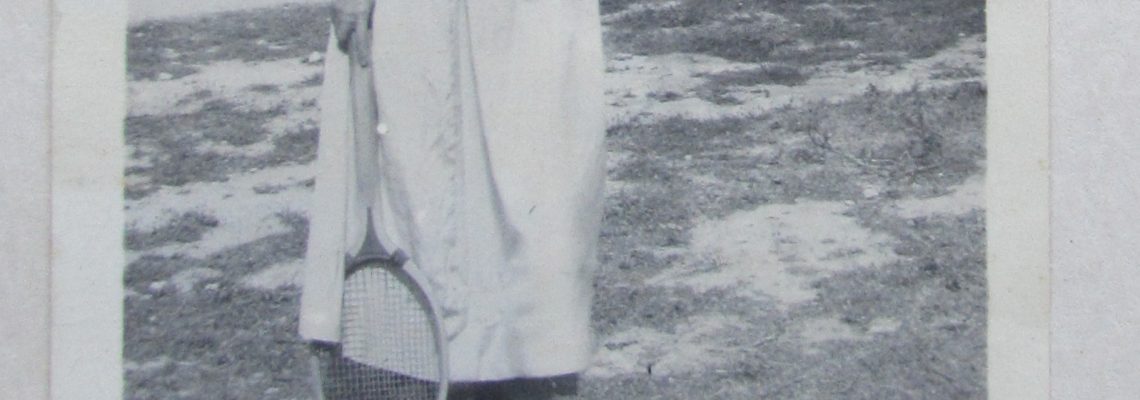
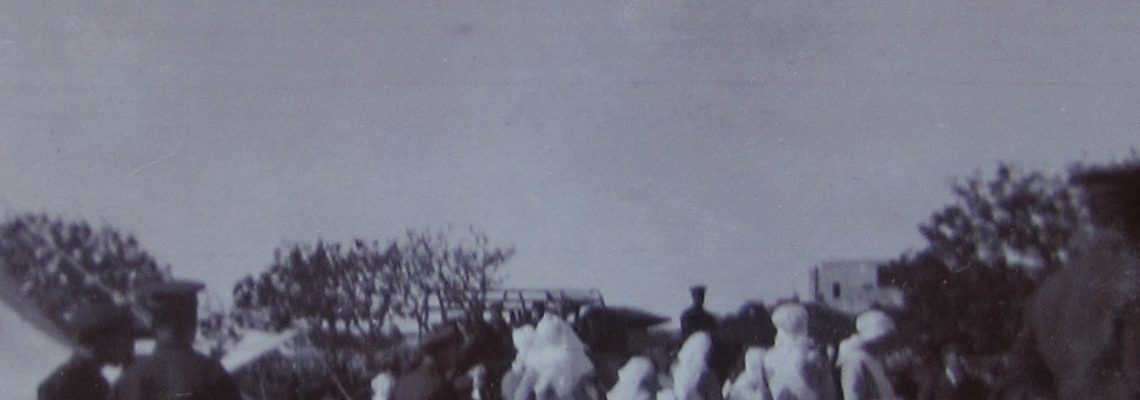
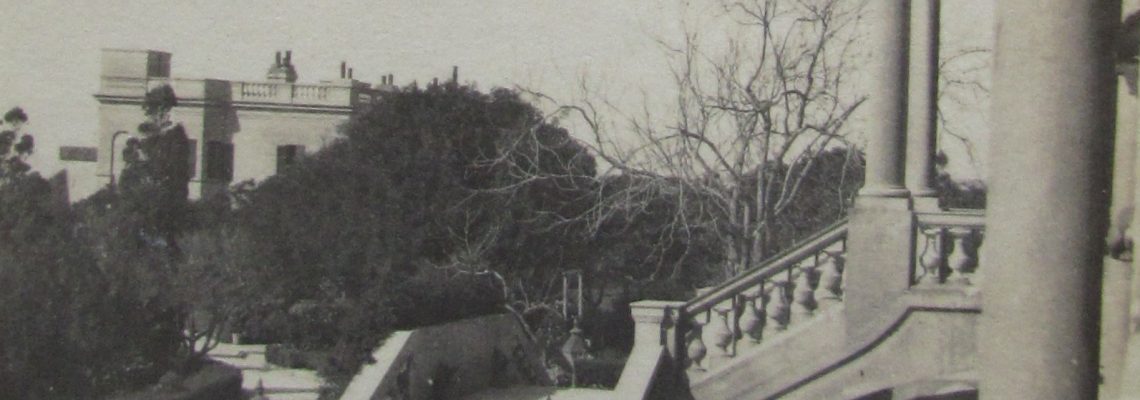
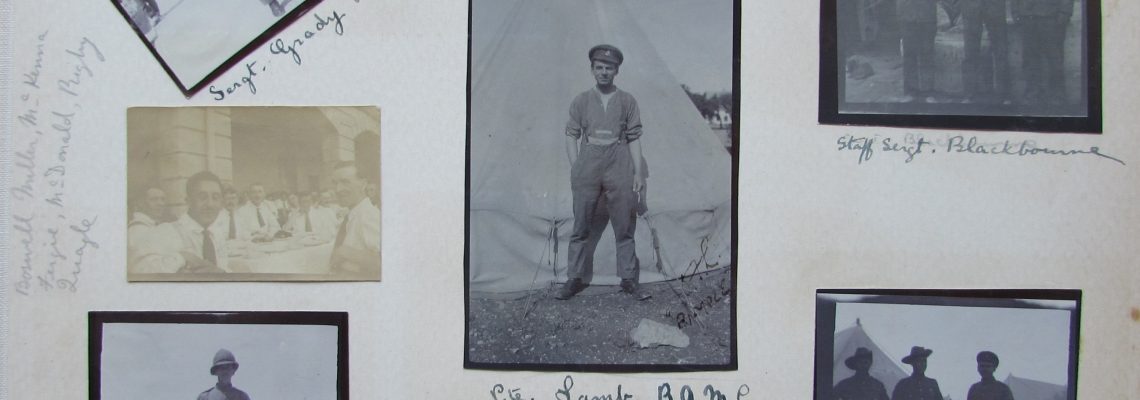
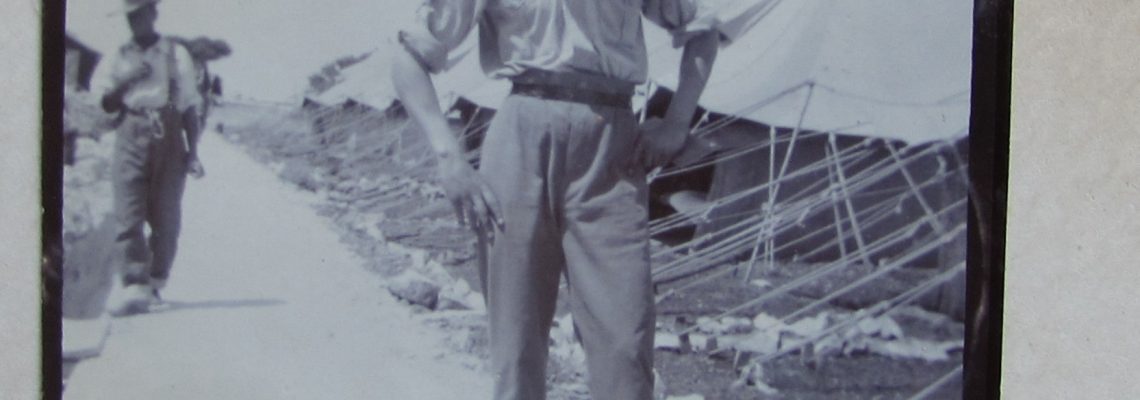
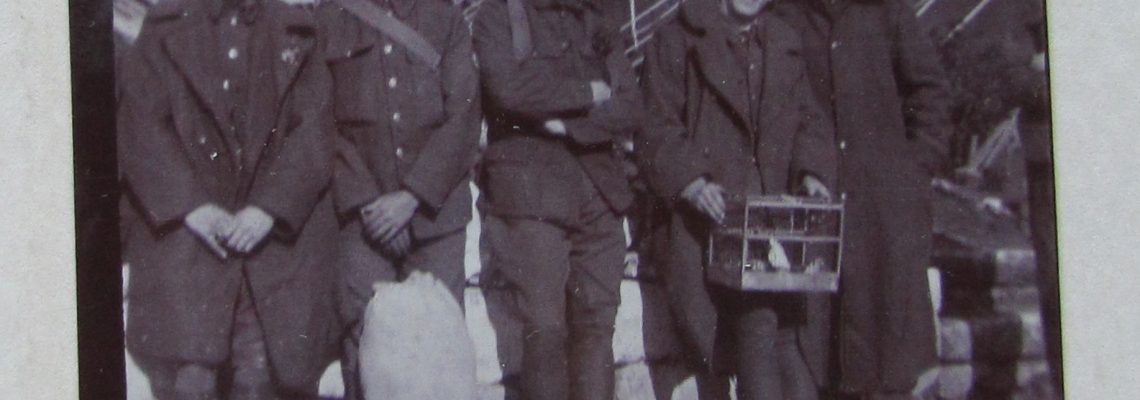
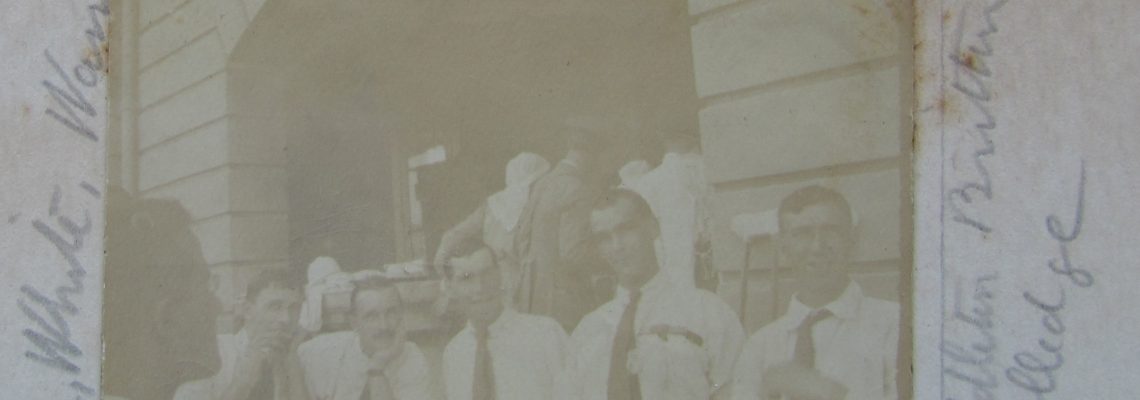
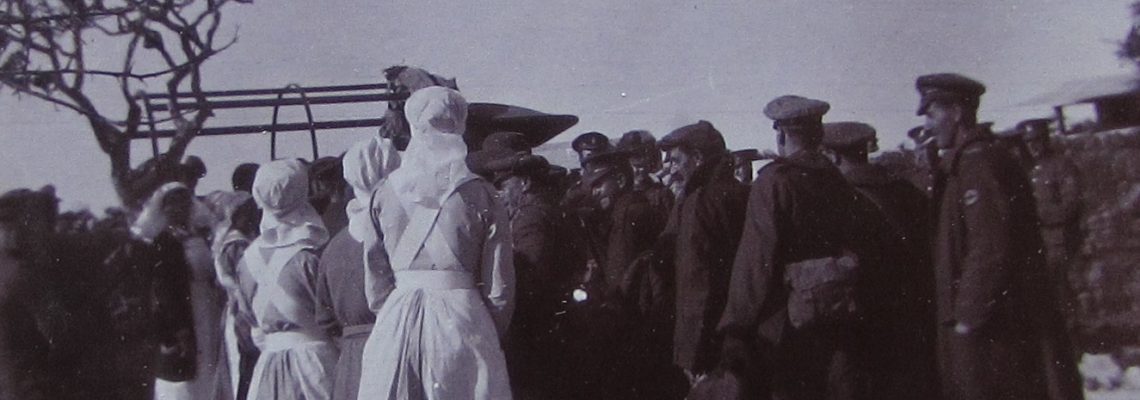
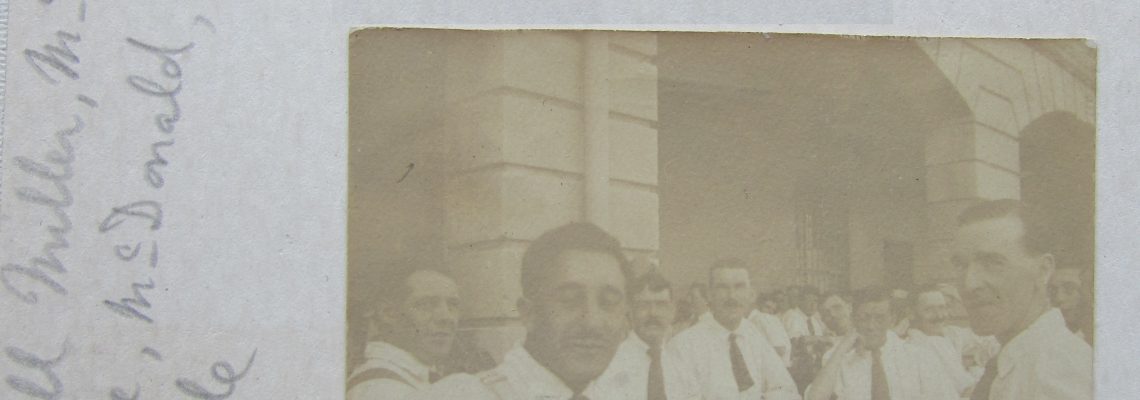
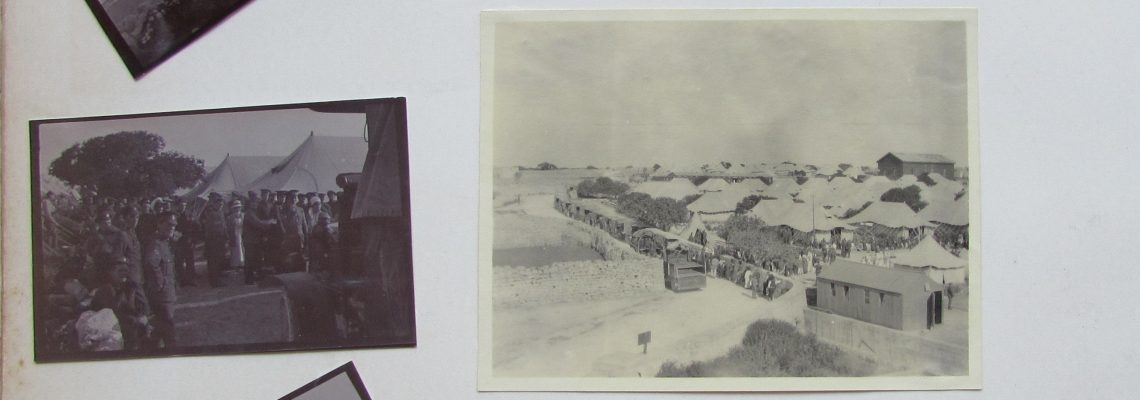
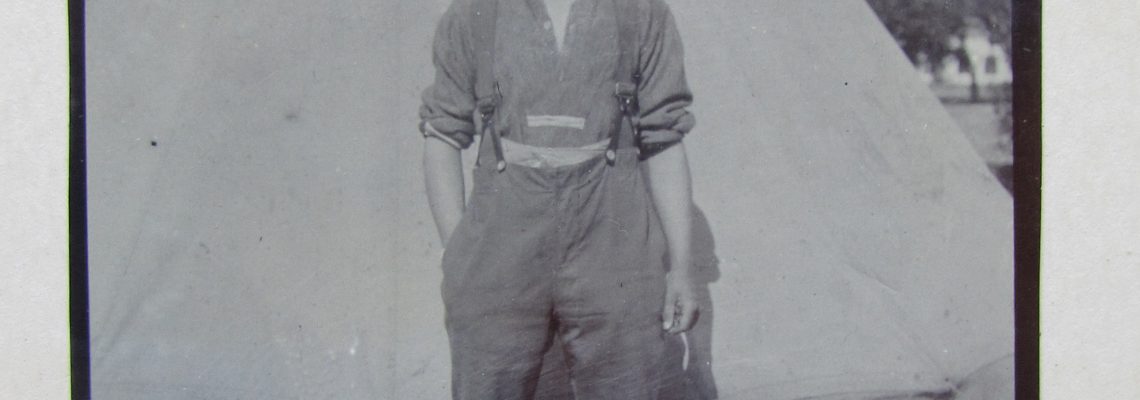
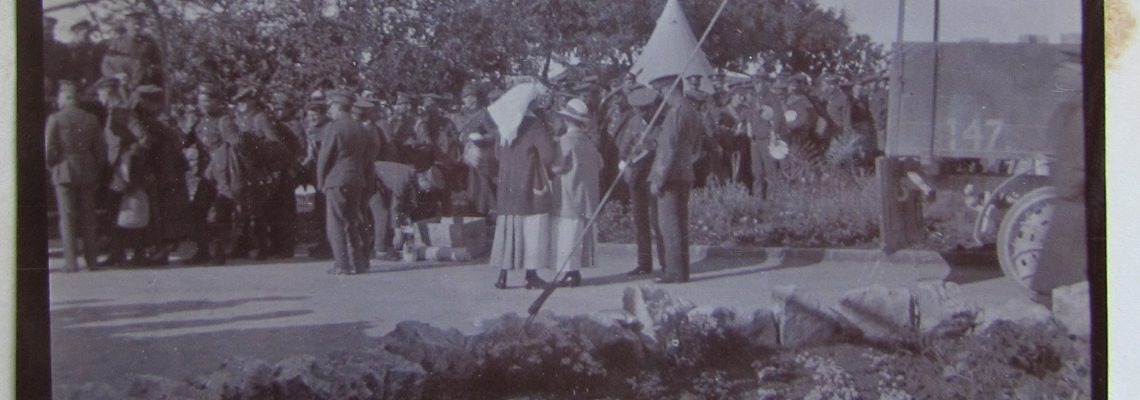
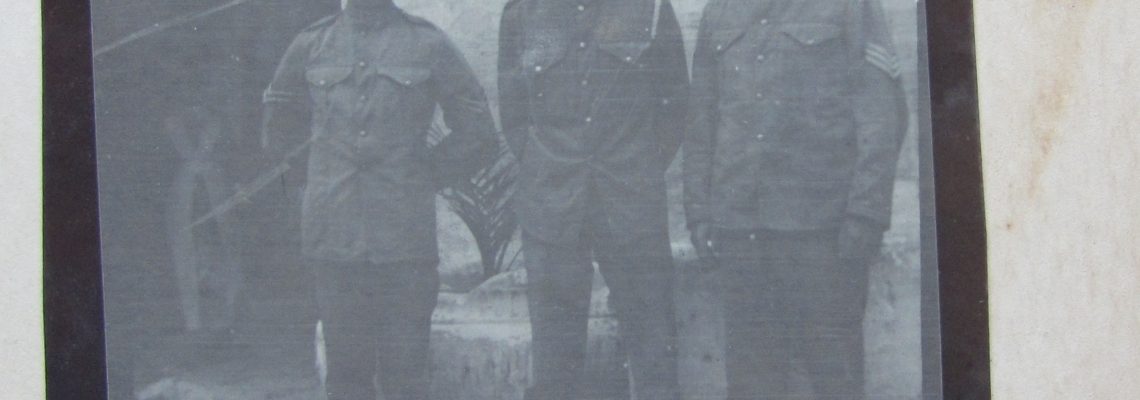
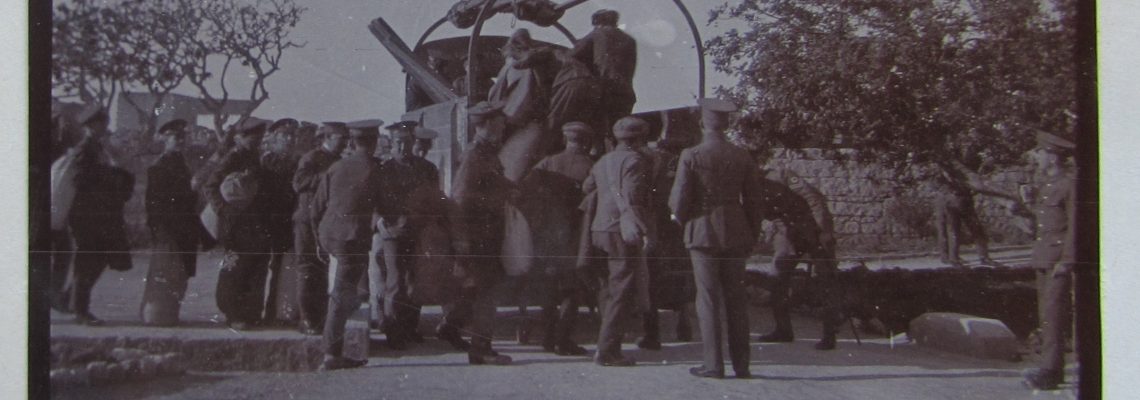
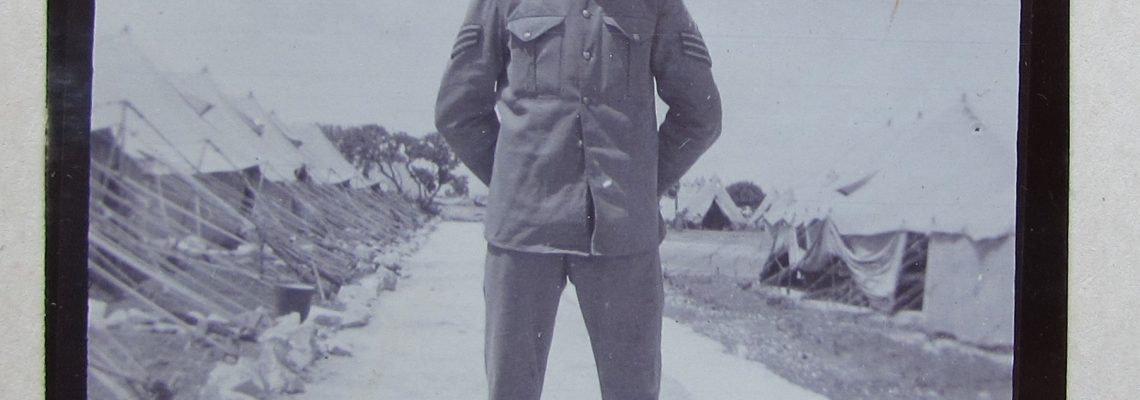
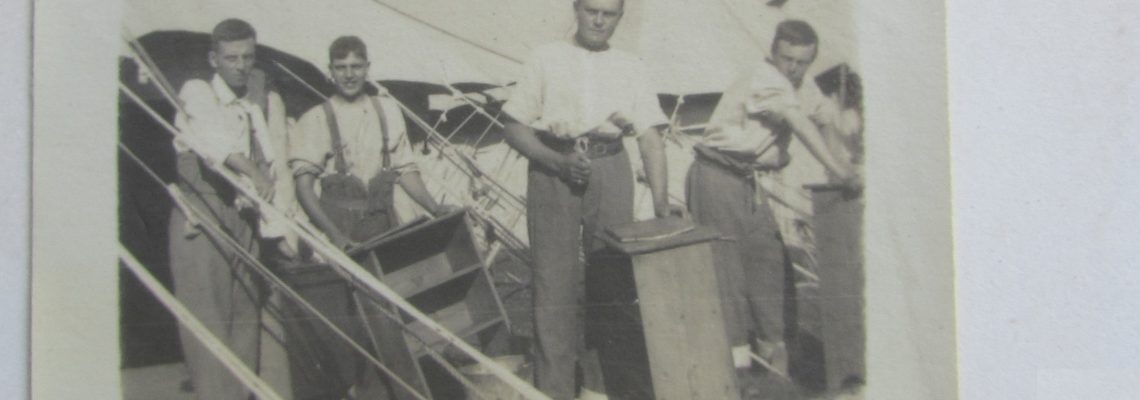
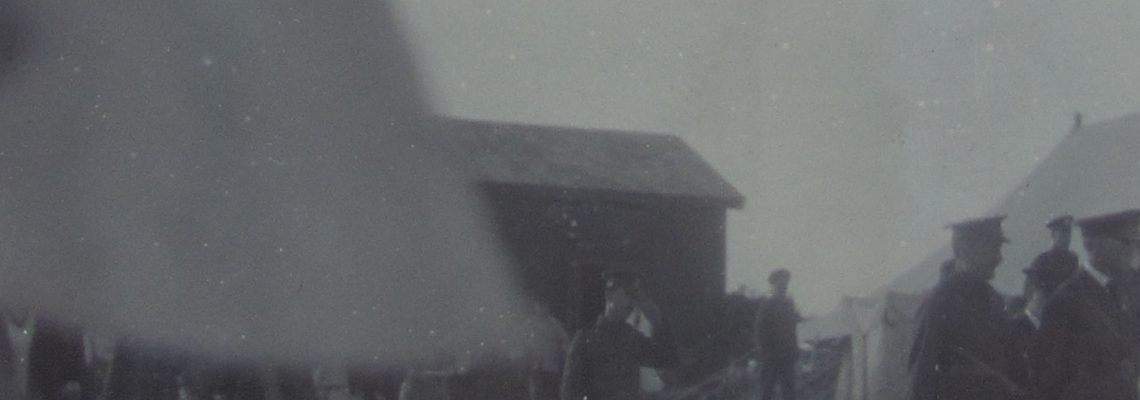
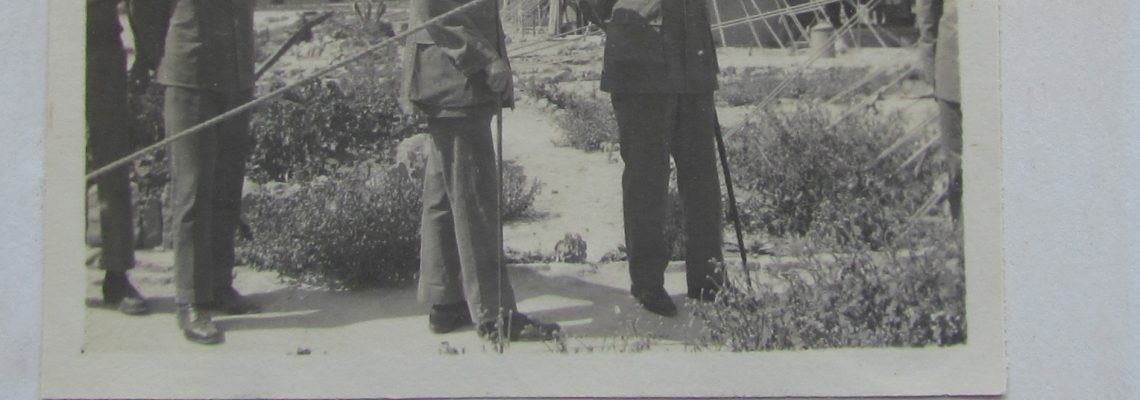
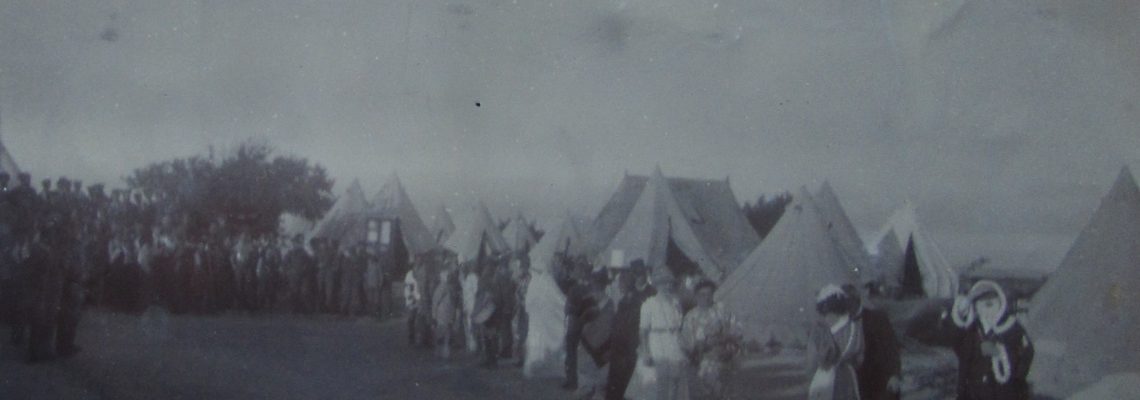
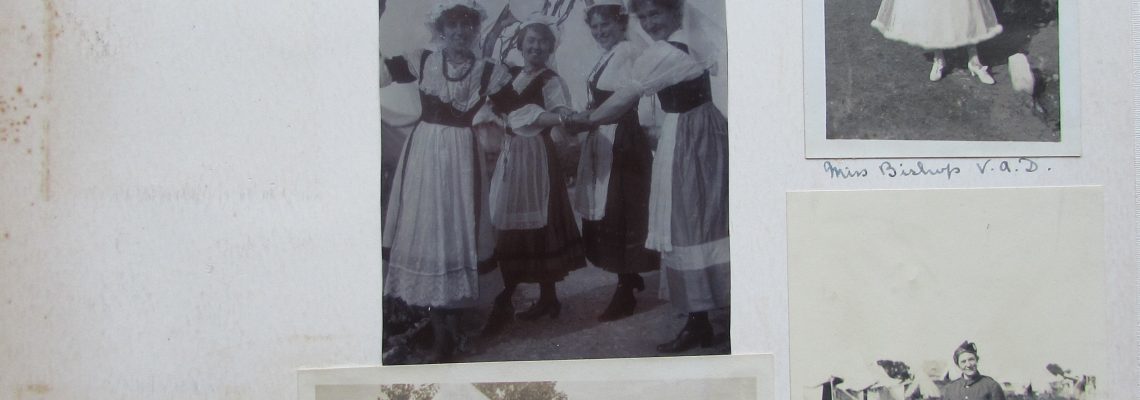
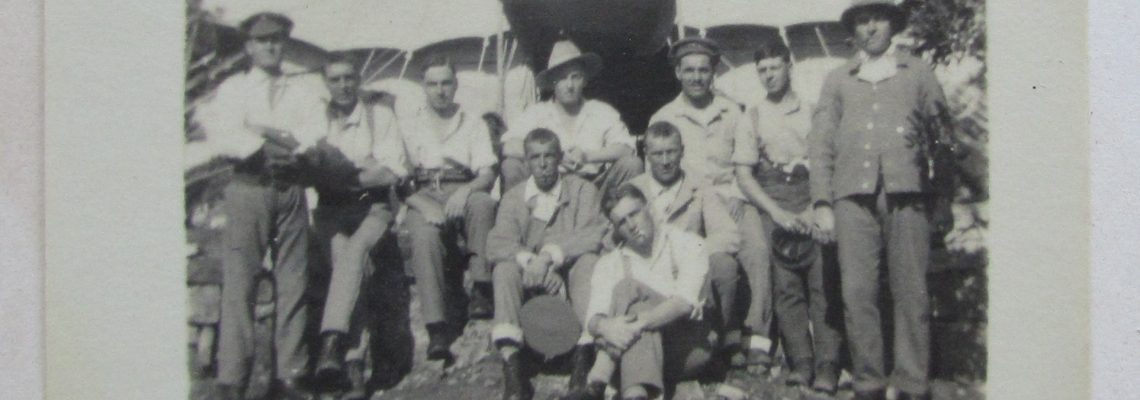
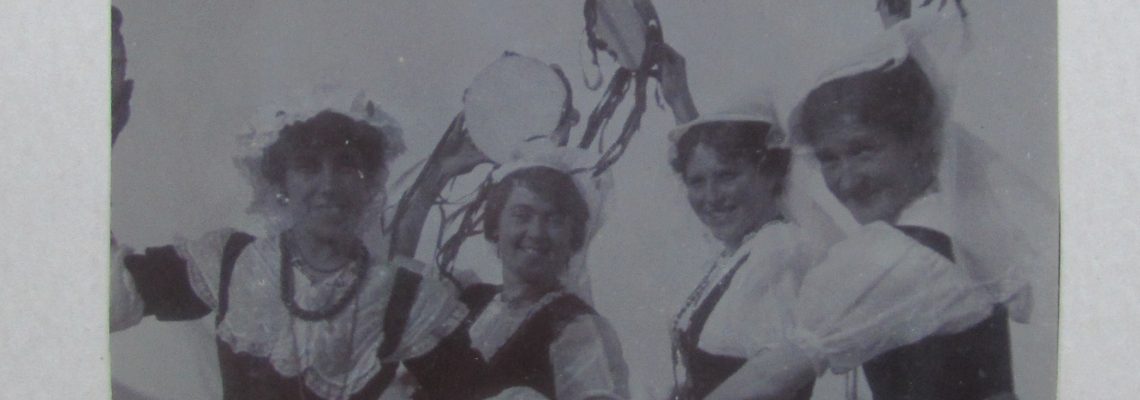
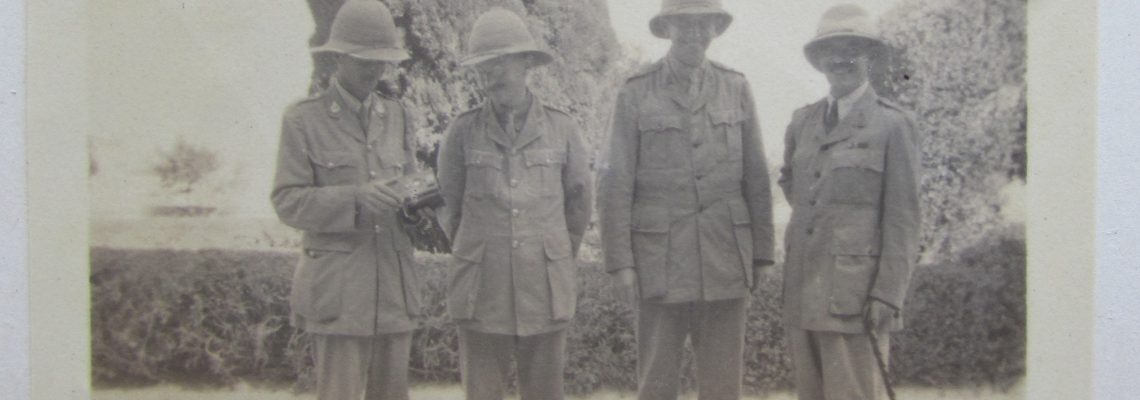
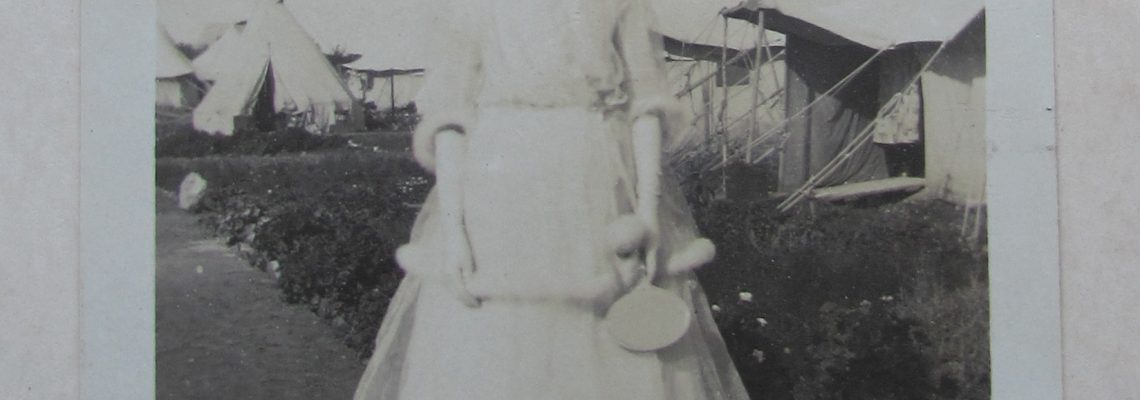
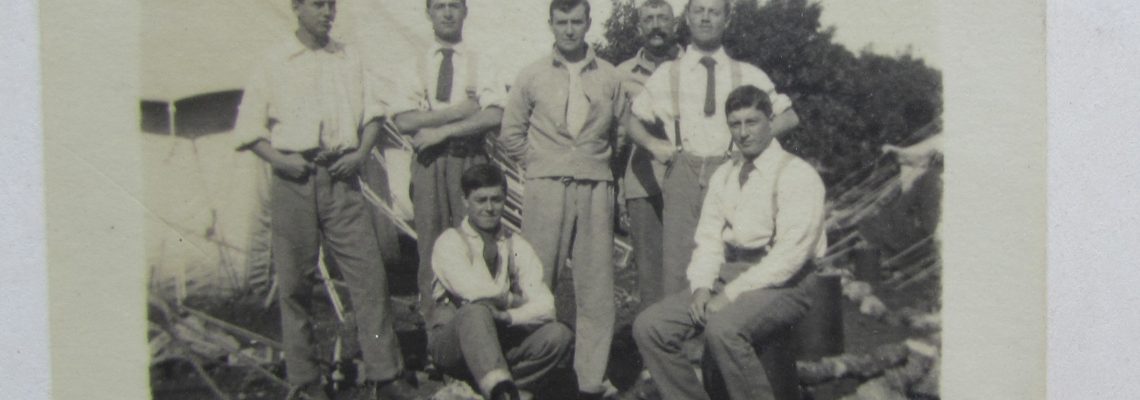
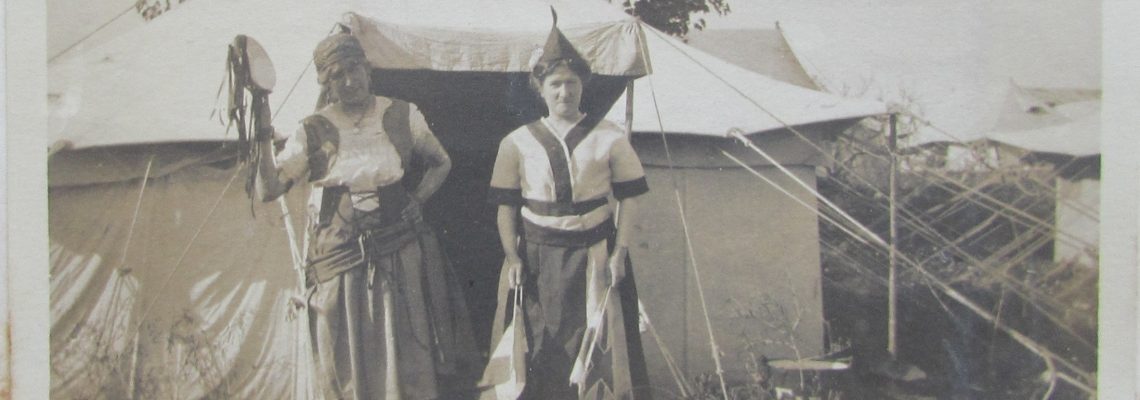
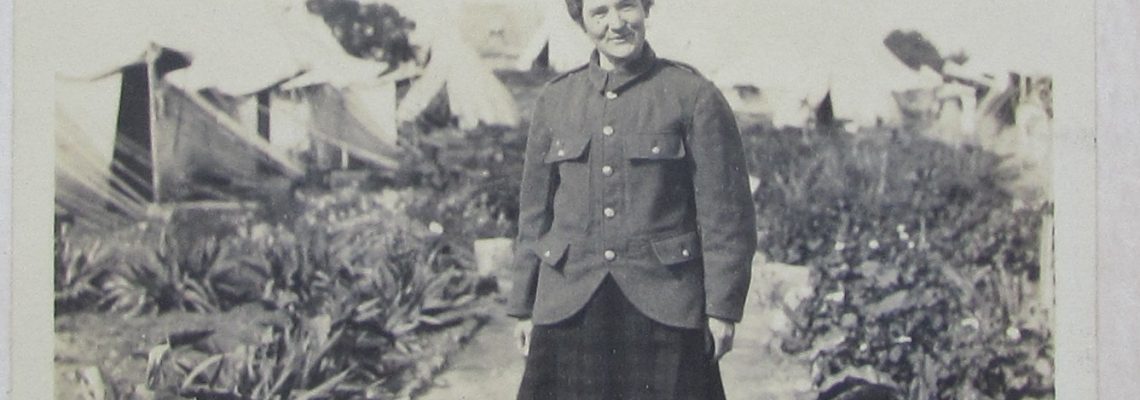
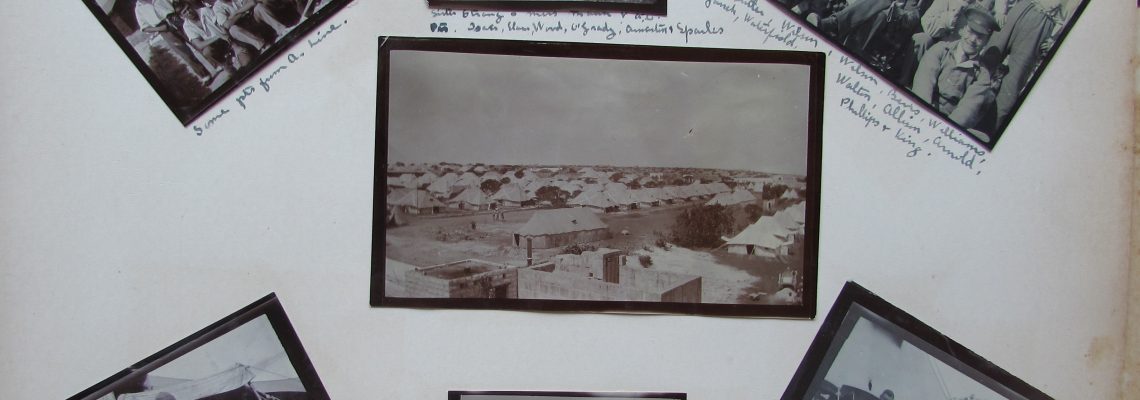
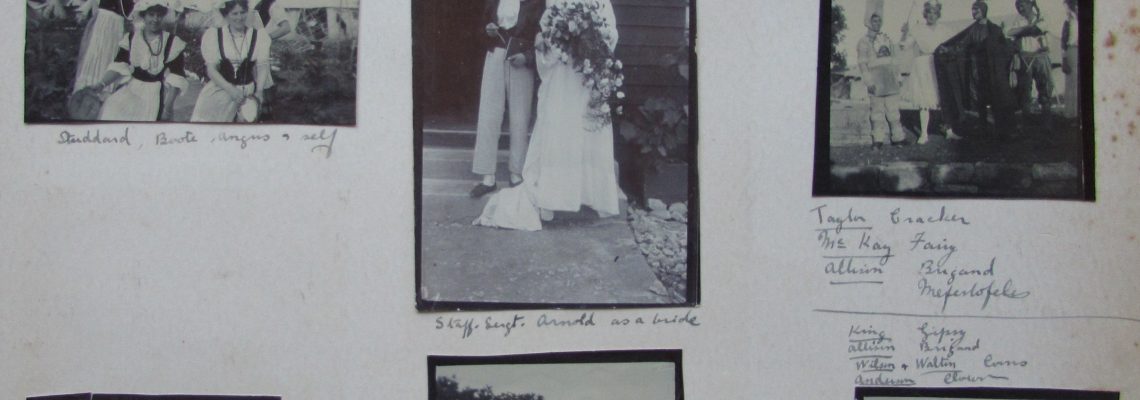
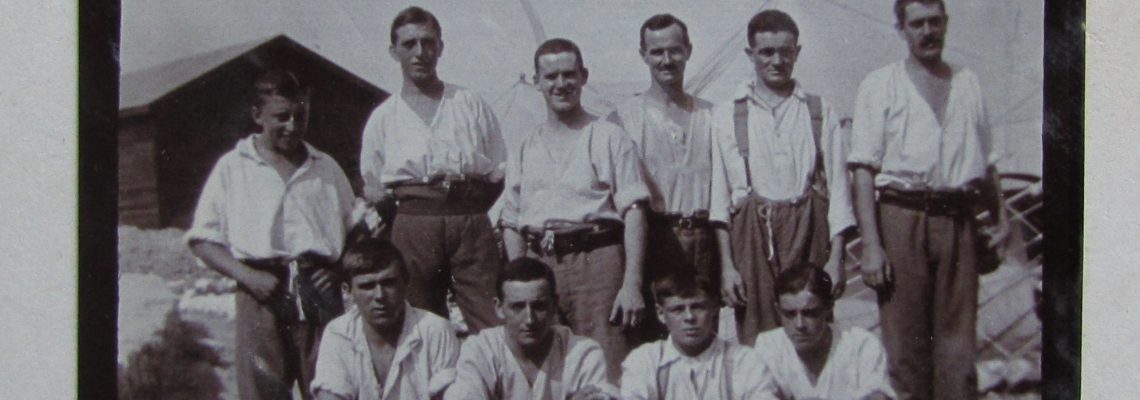
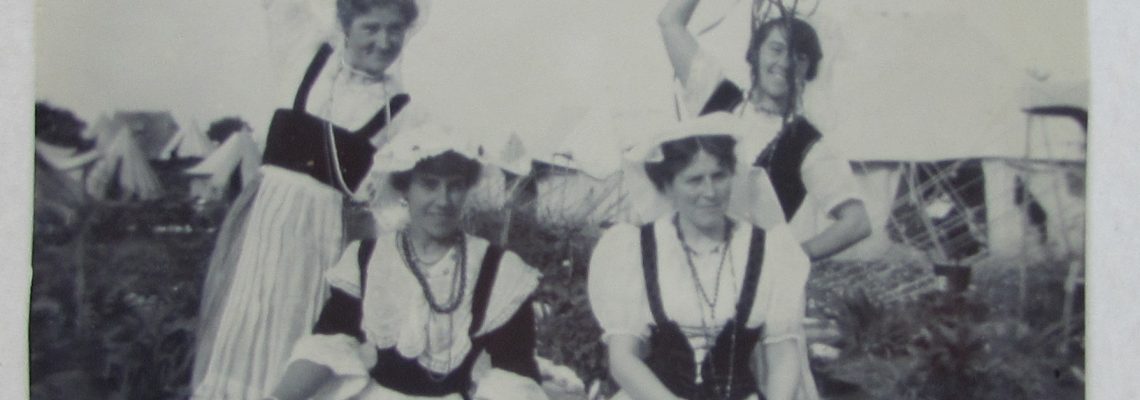
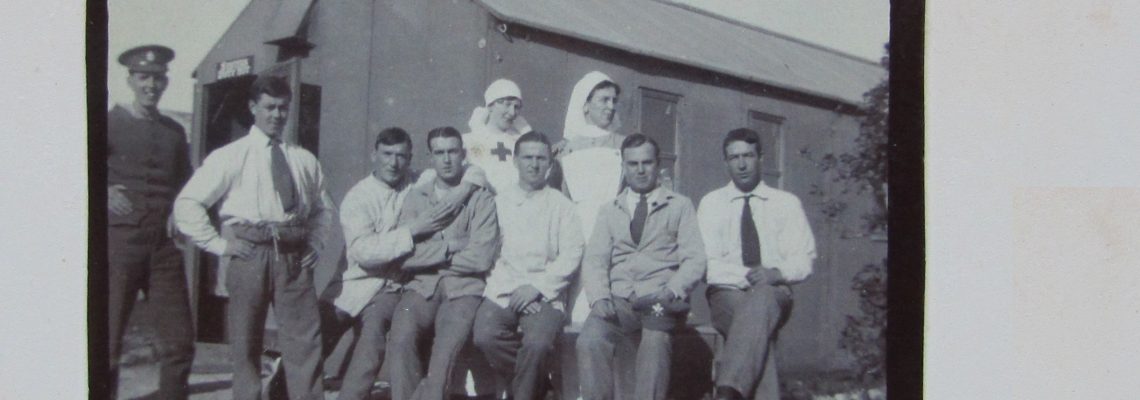
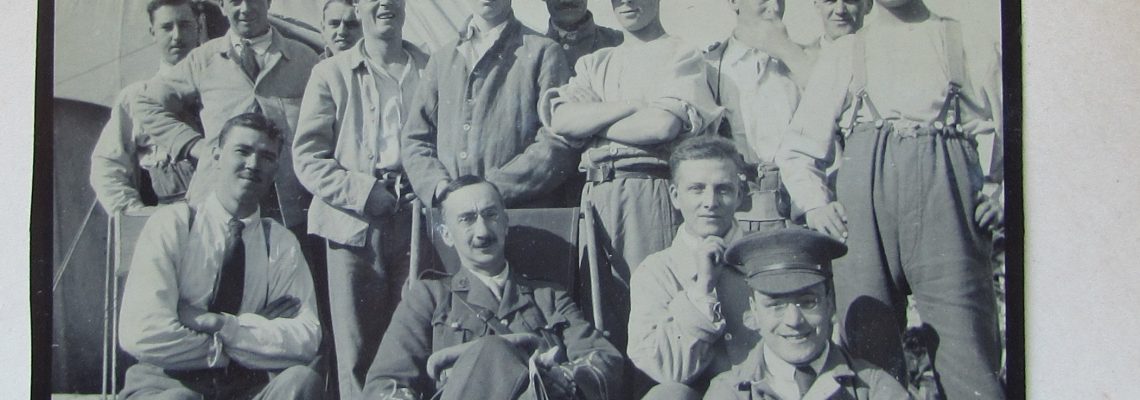
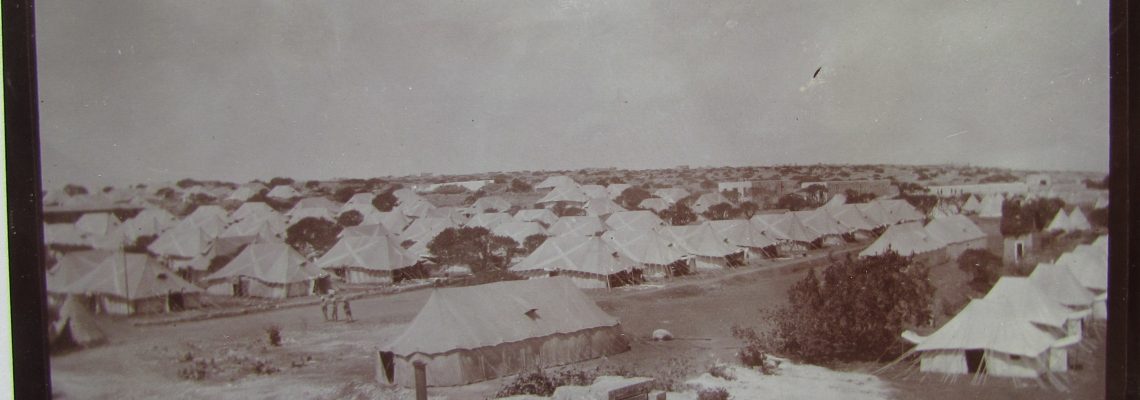
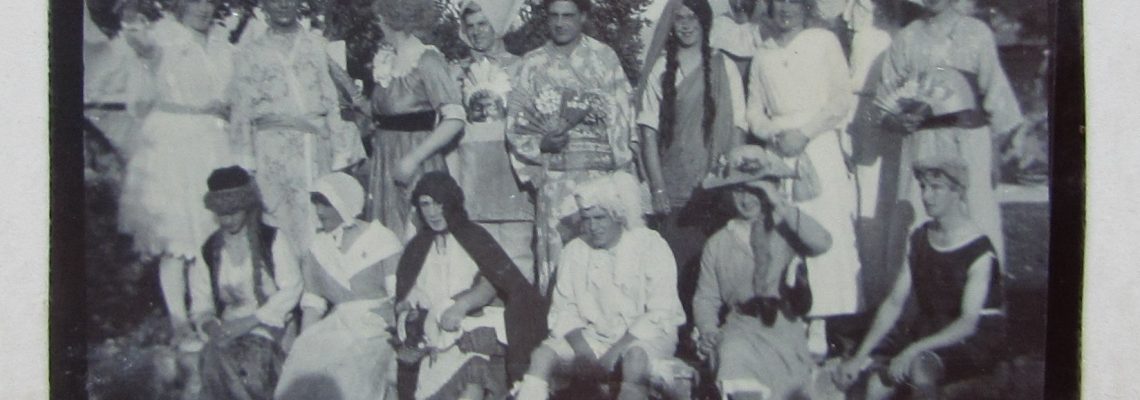
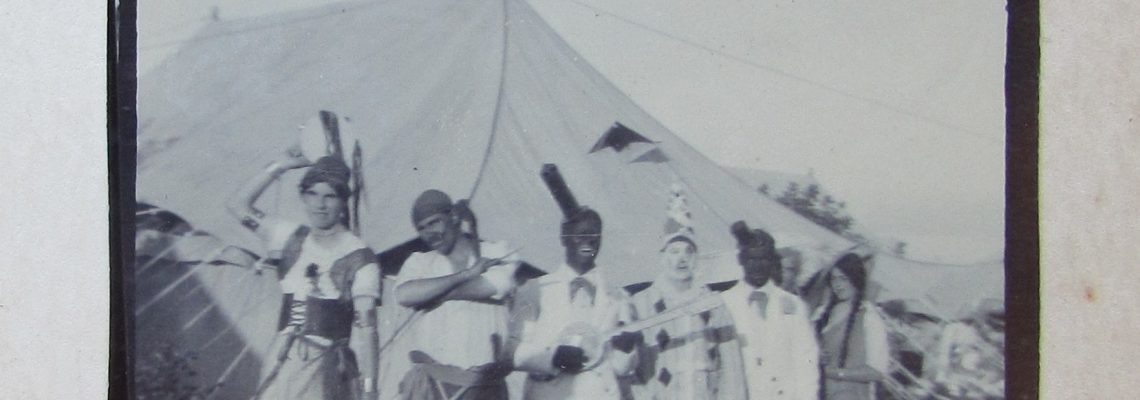
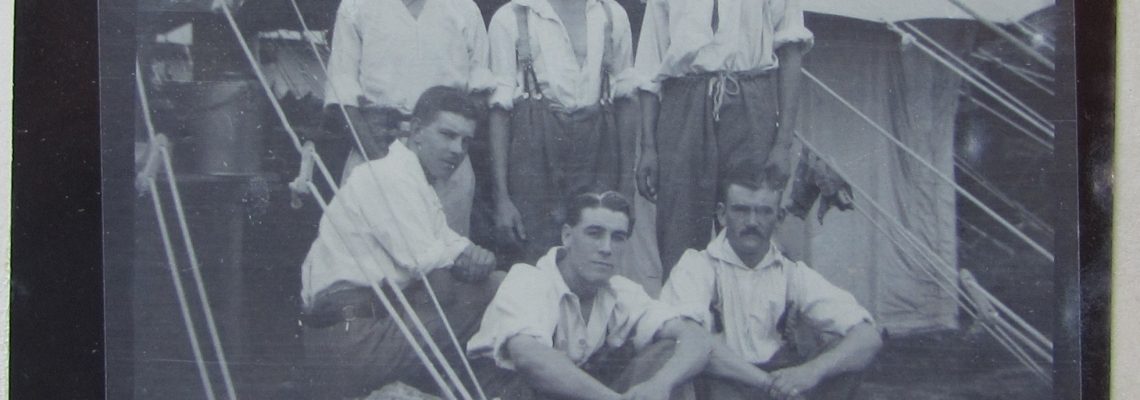
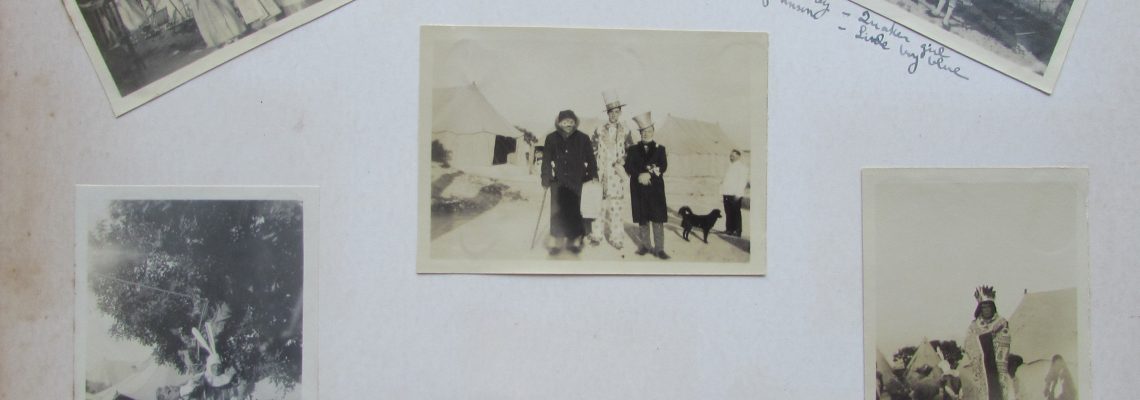
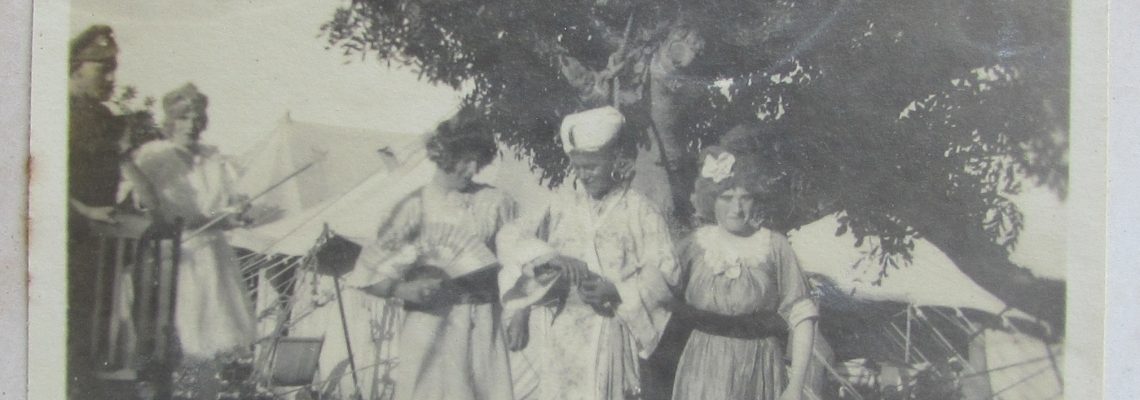
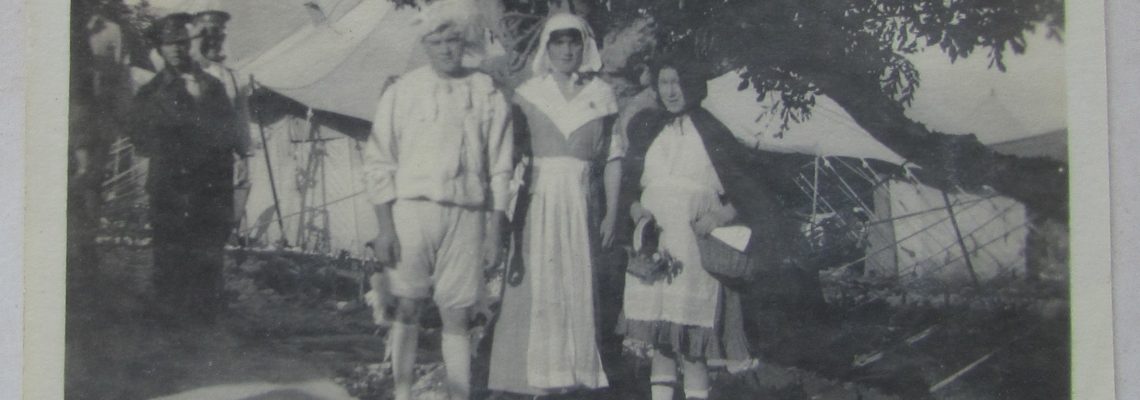
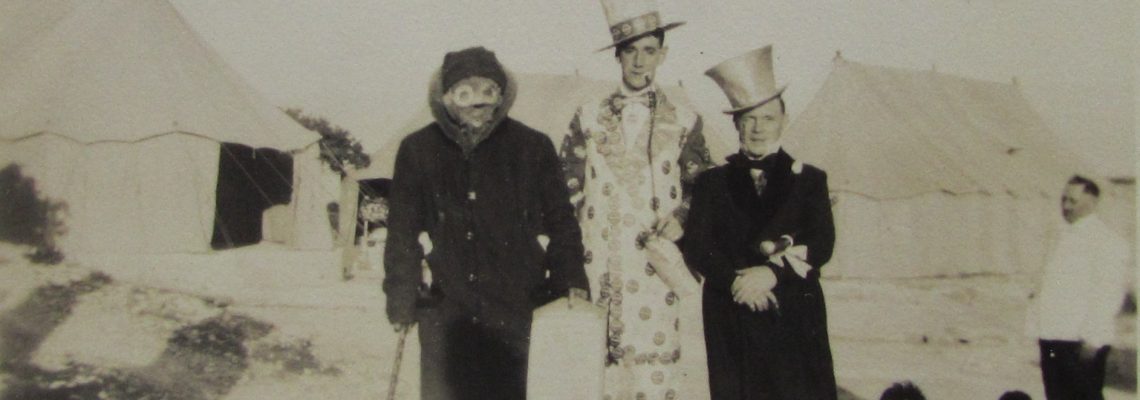
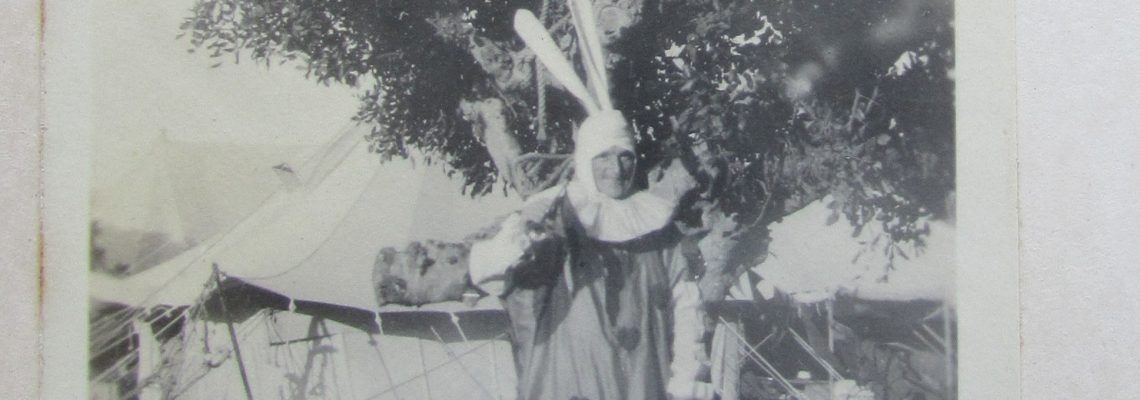
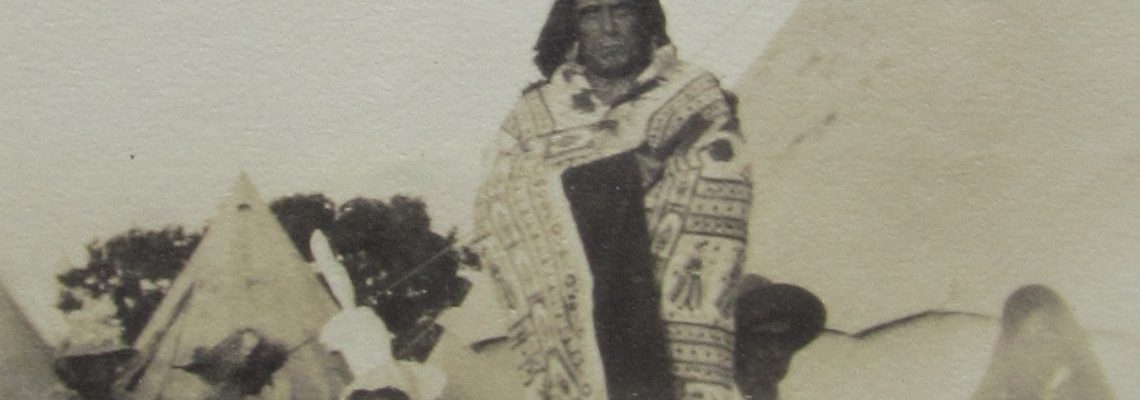
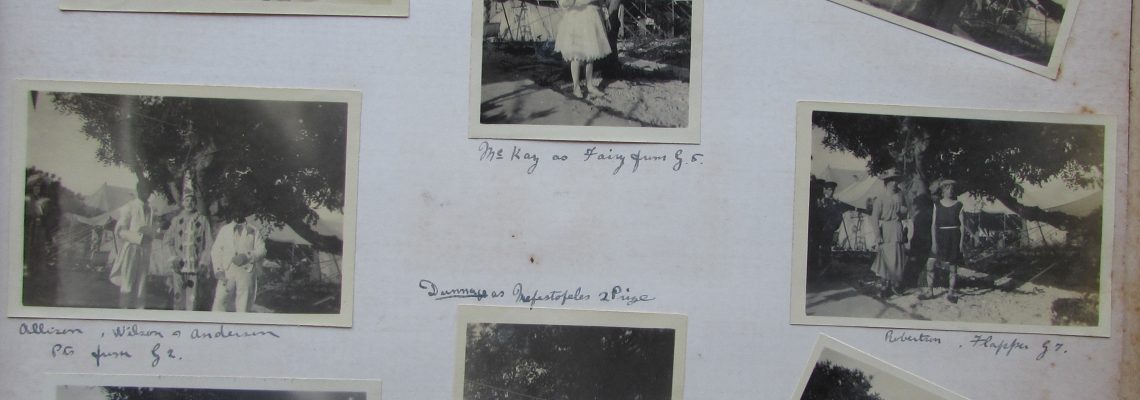
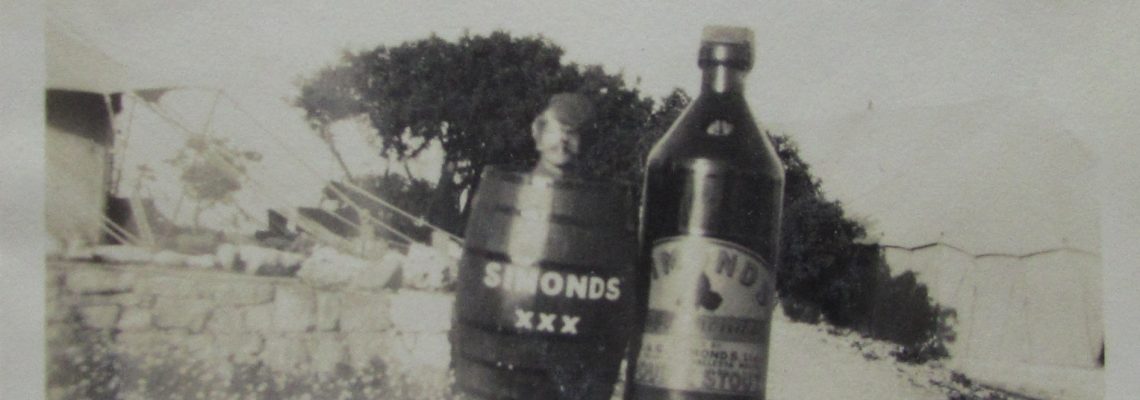
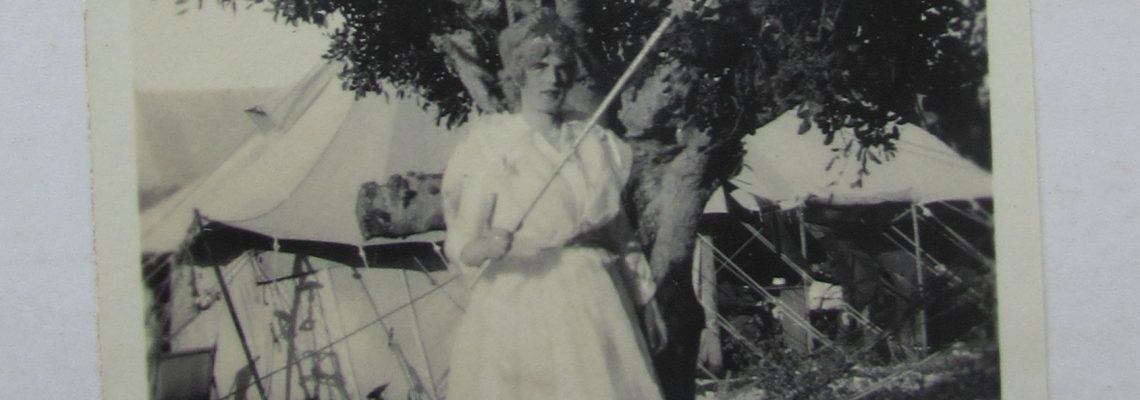
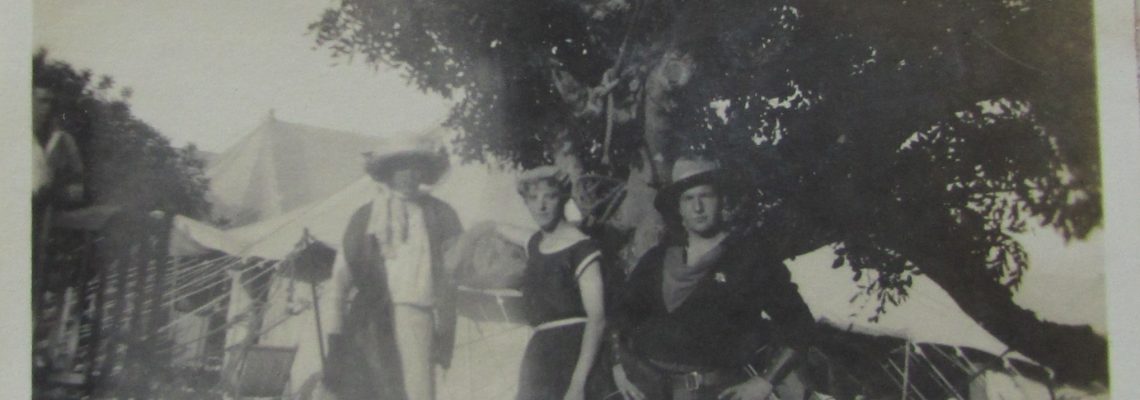
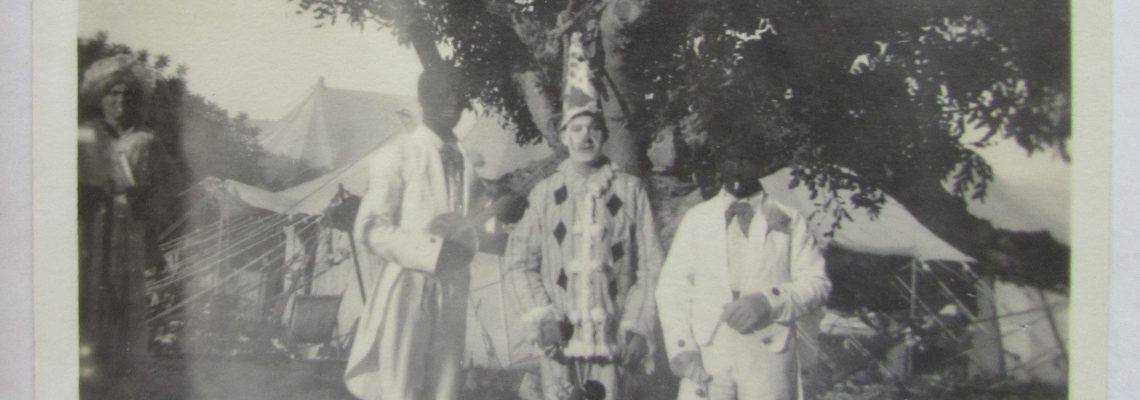
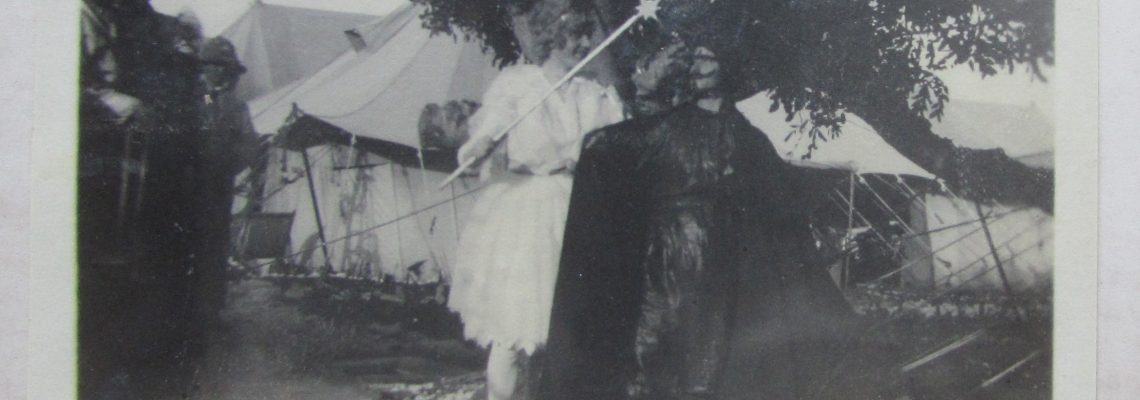
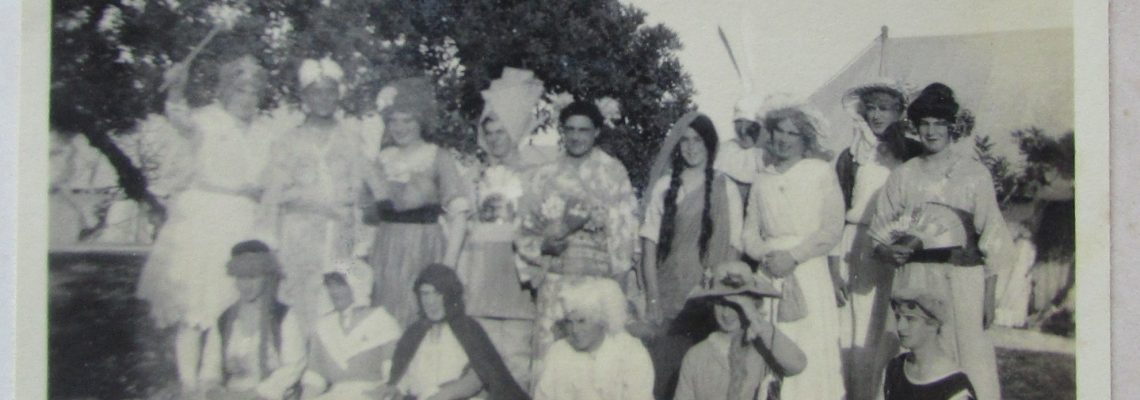
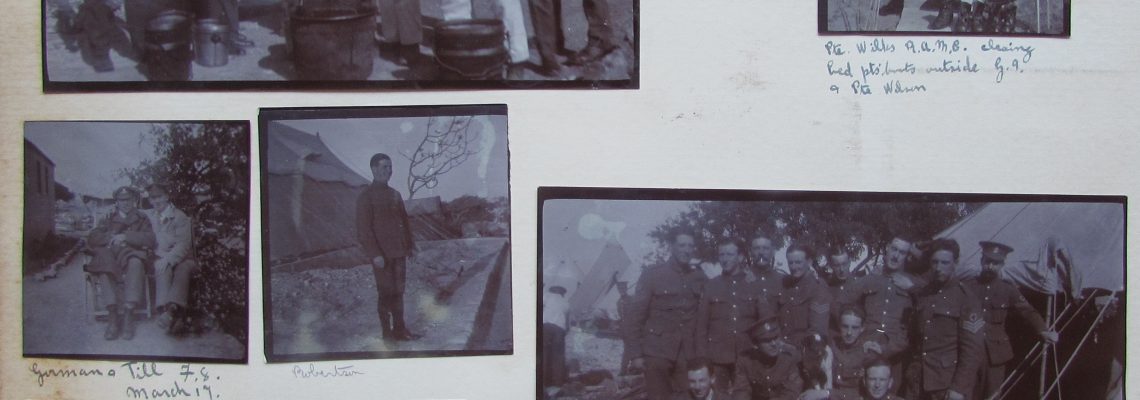
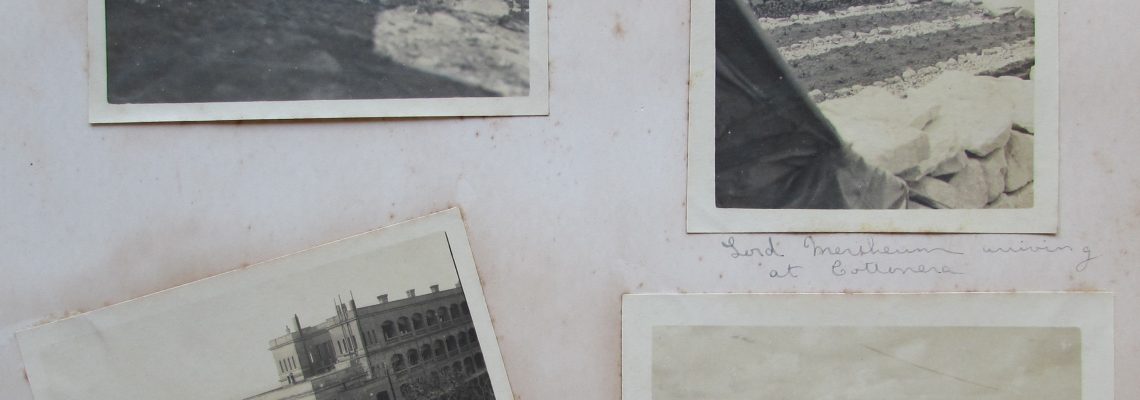
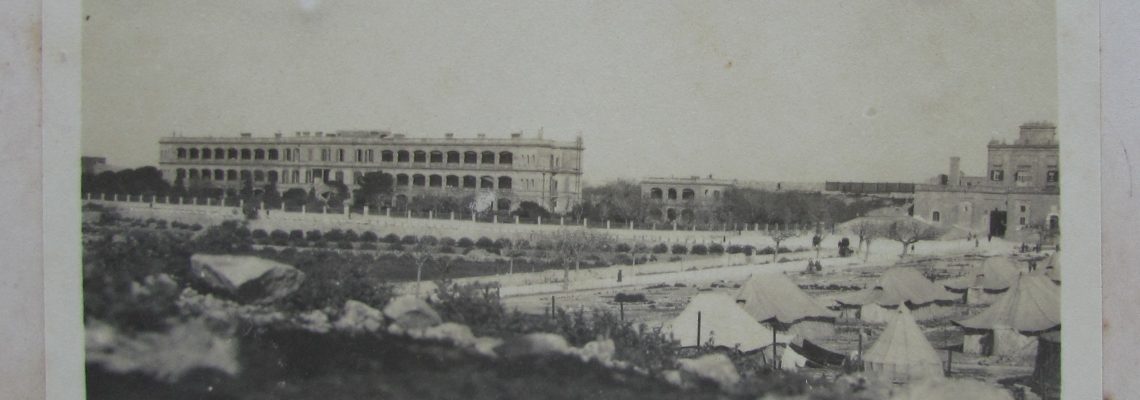
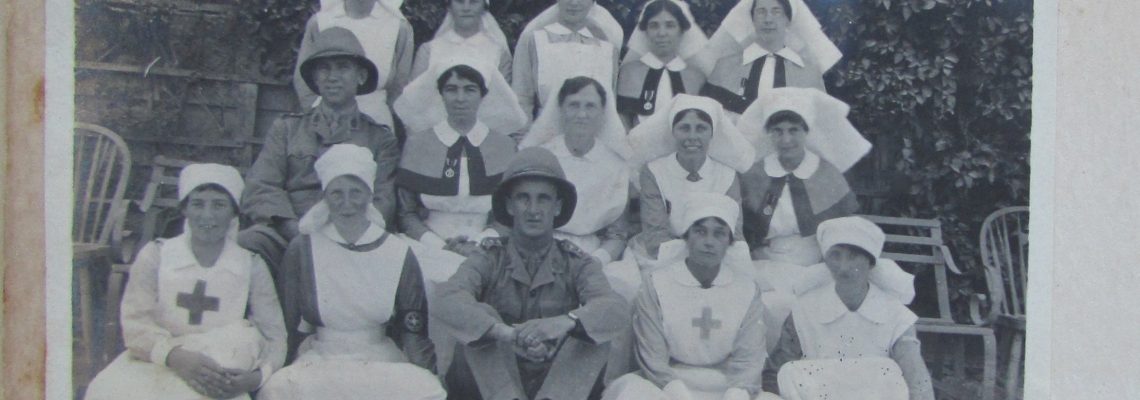
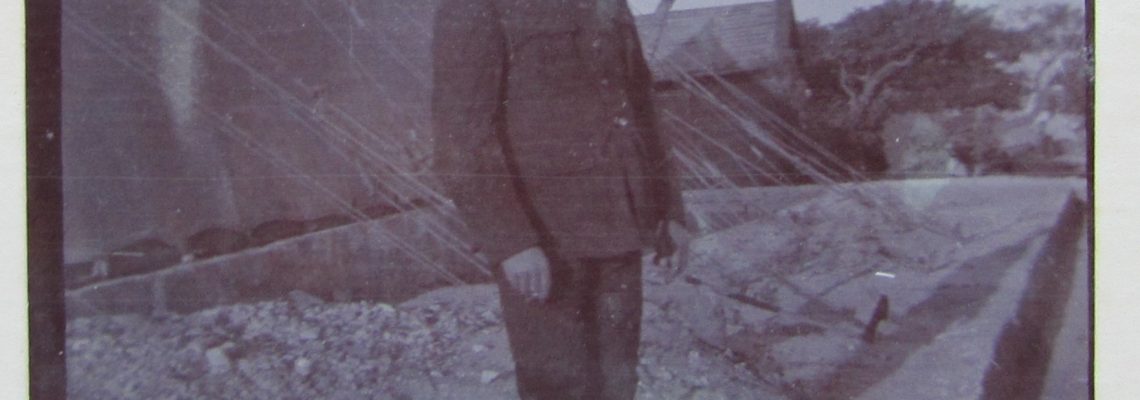
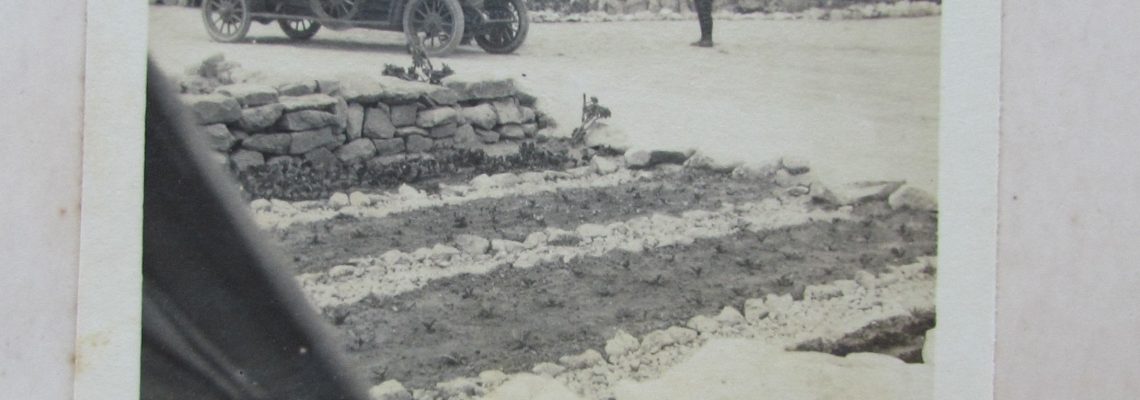
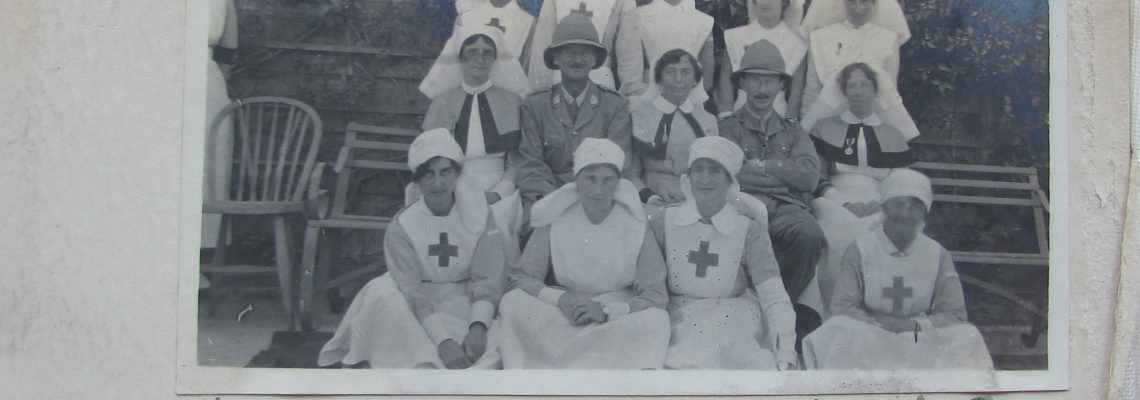
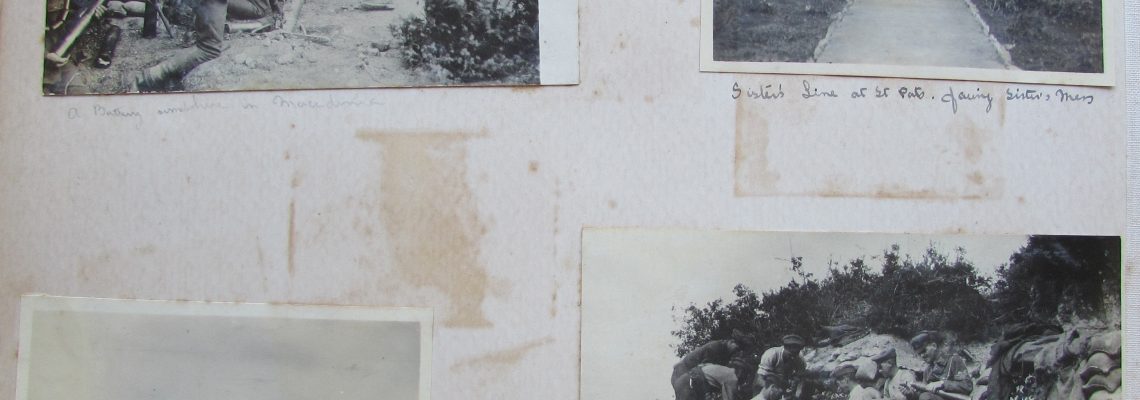
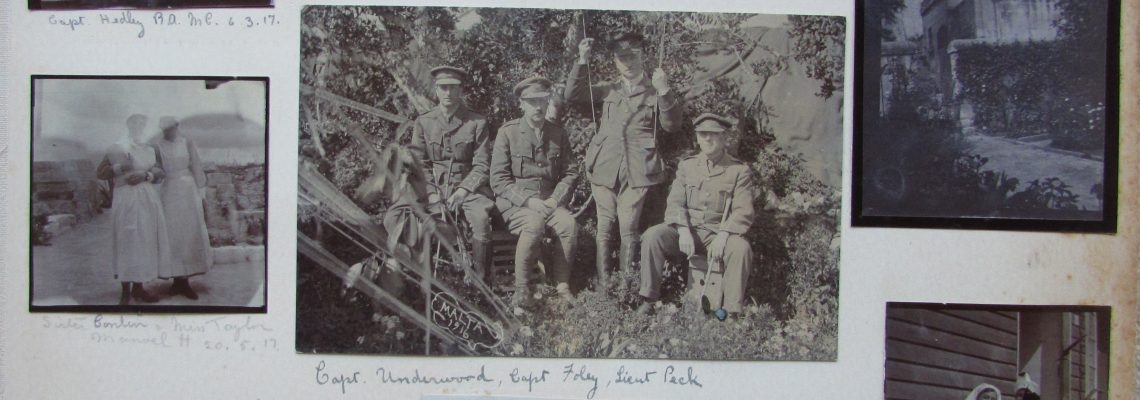
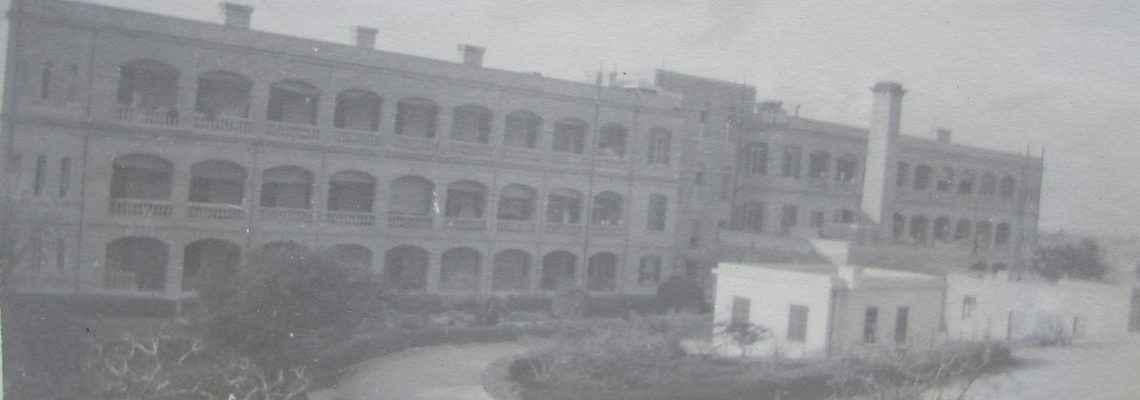
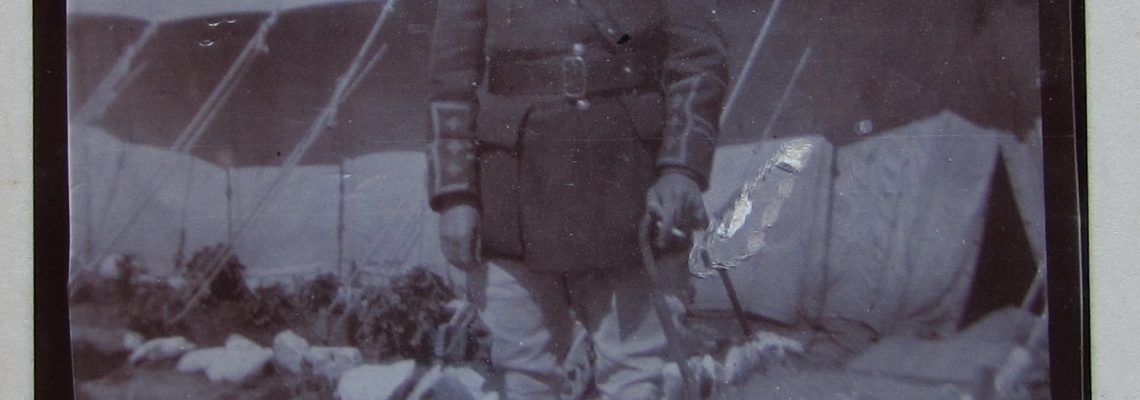
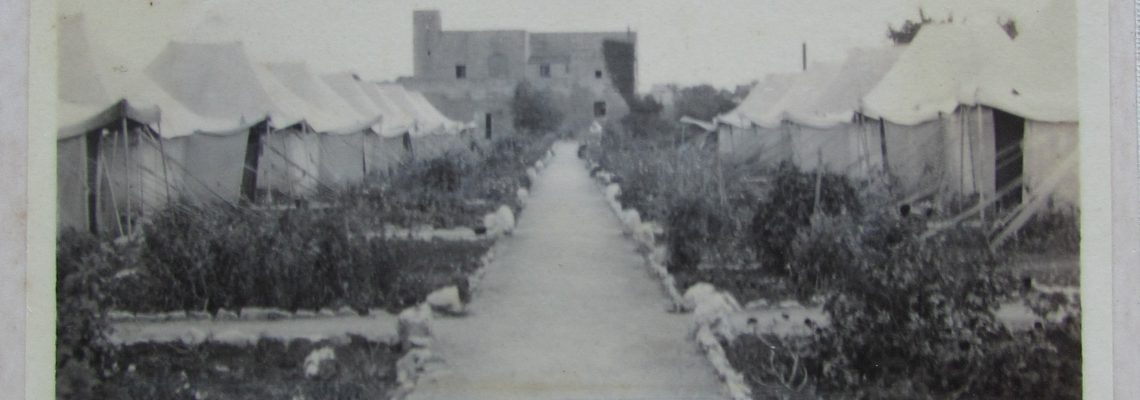
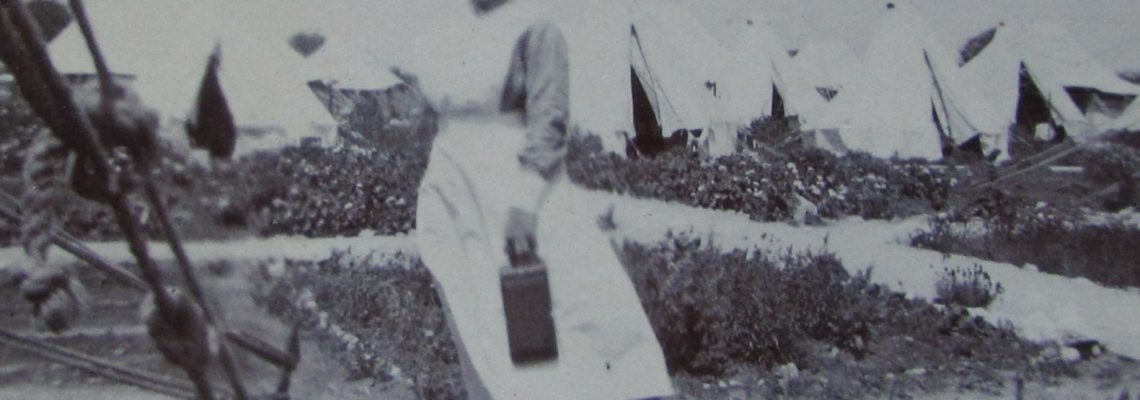
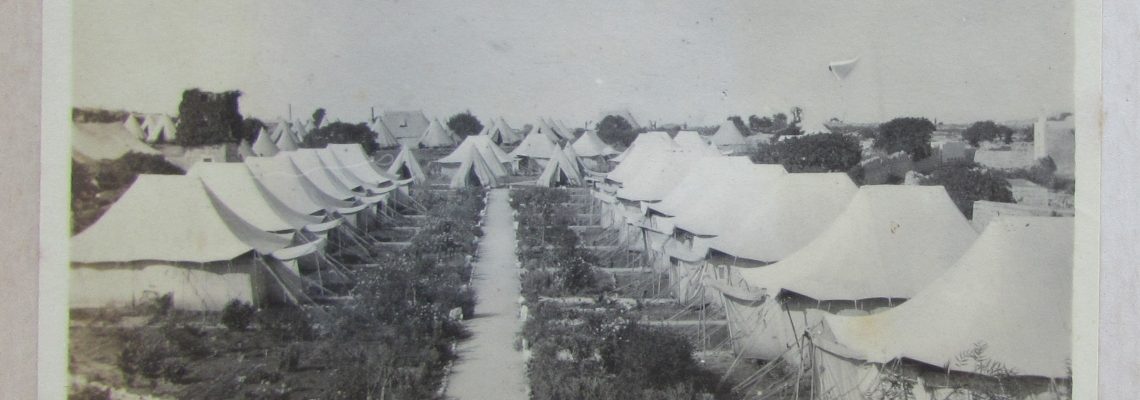
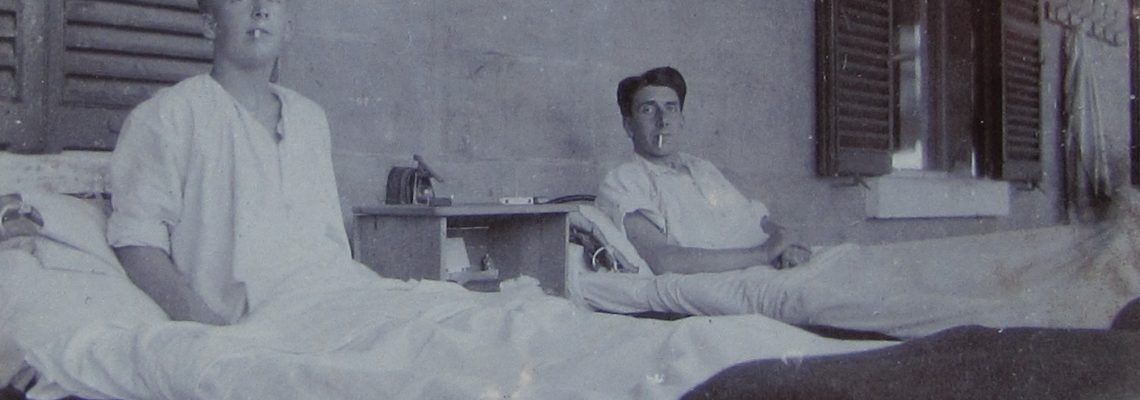
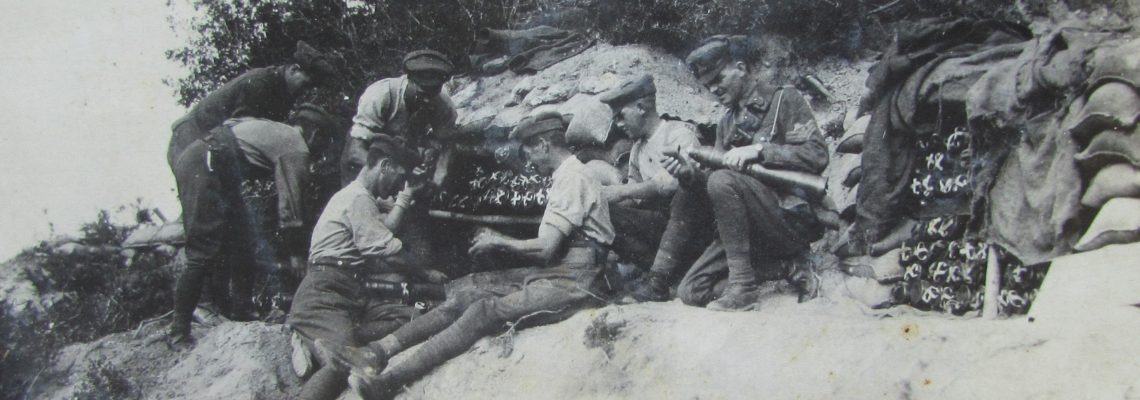
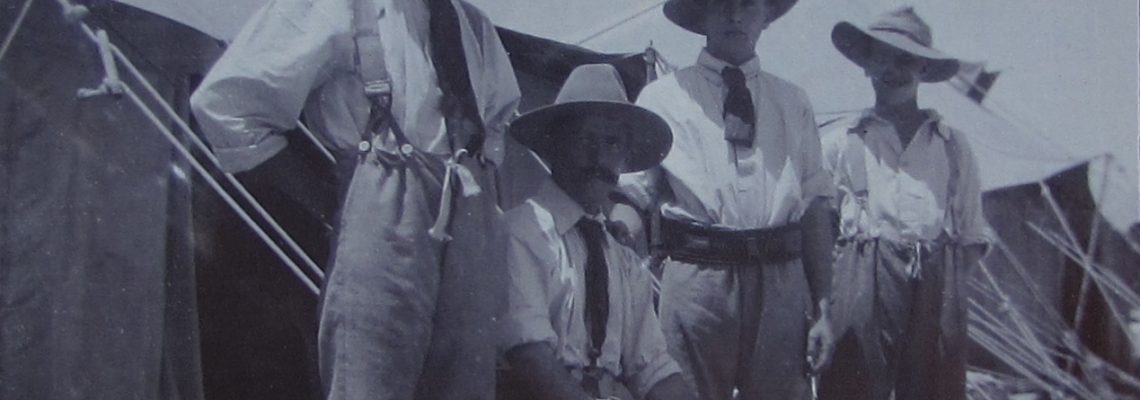
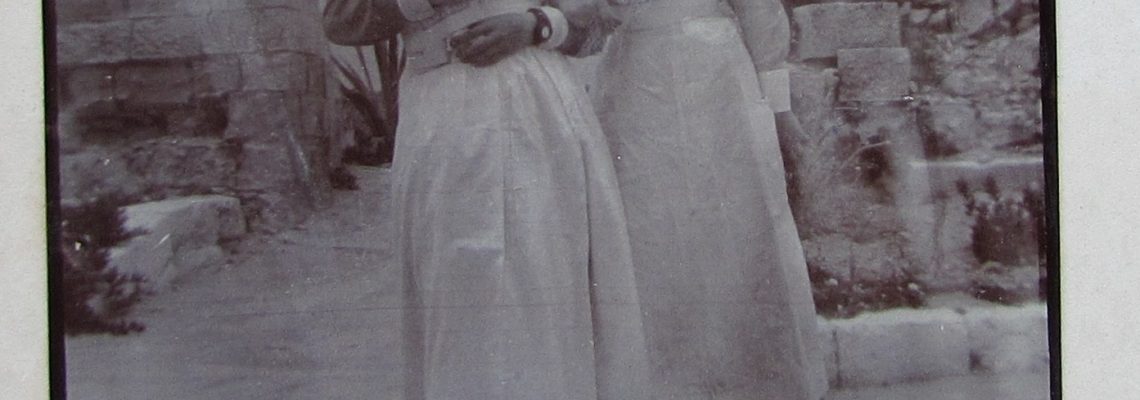
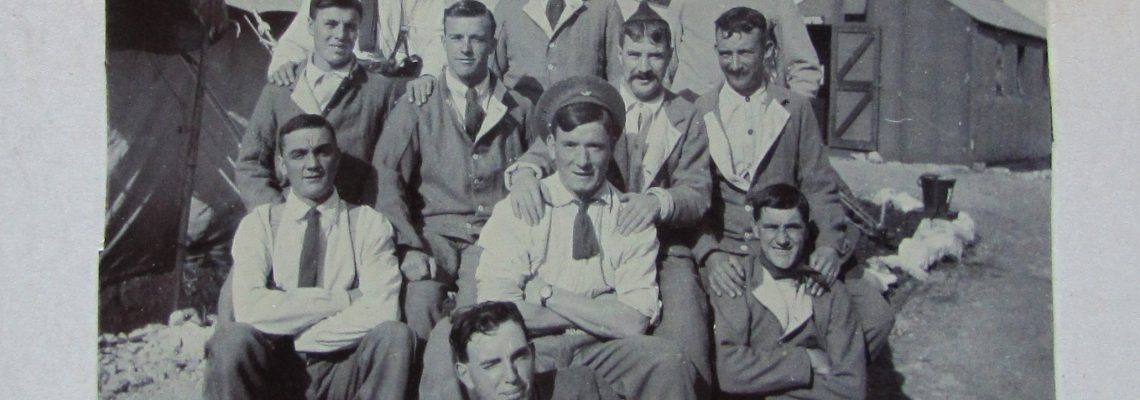
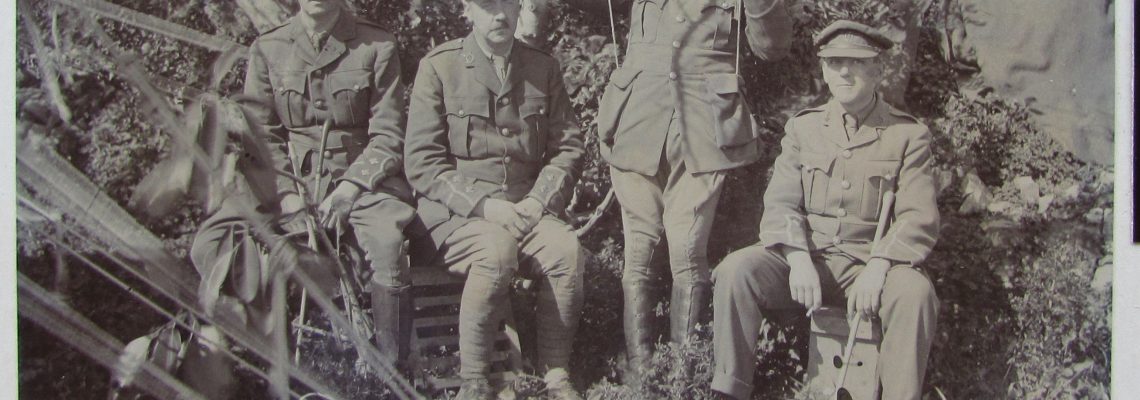
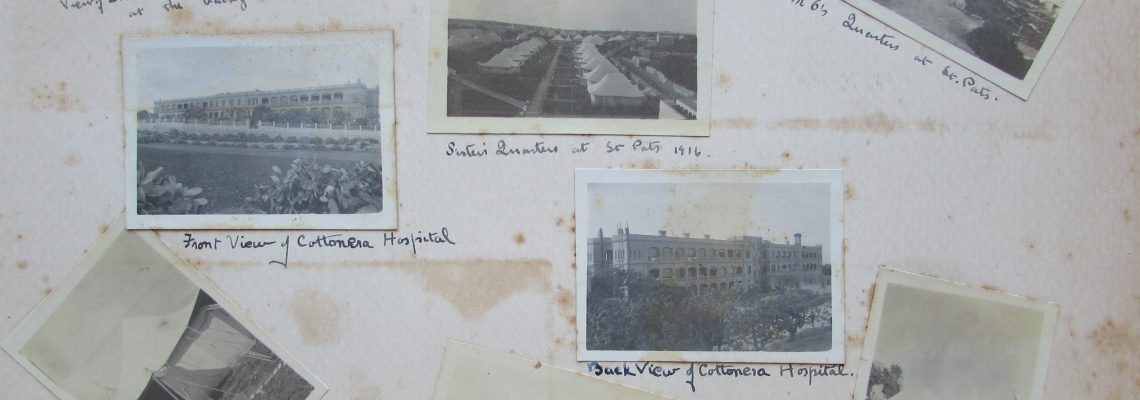
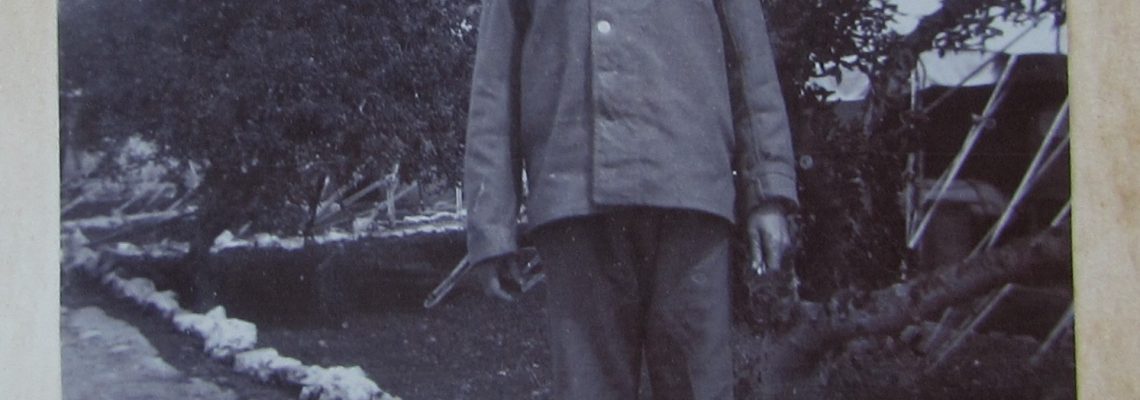
Mary’s album has 405 photos on 60 pages and this gallery is a complete digital record with each page shown in full followed by a close-up of every photo.

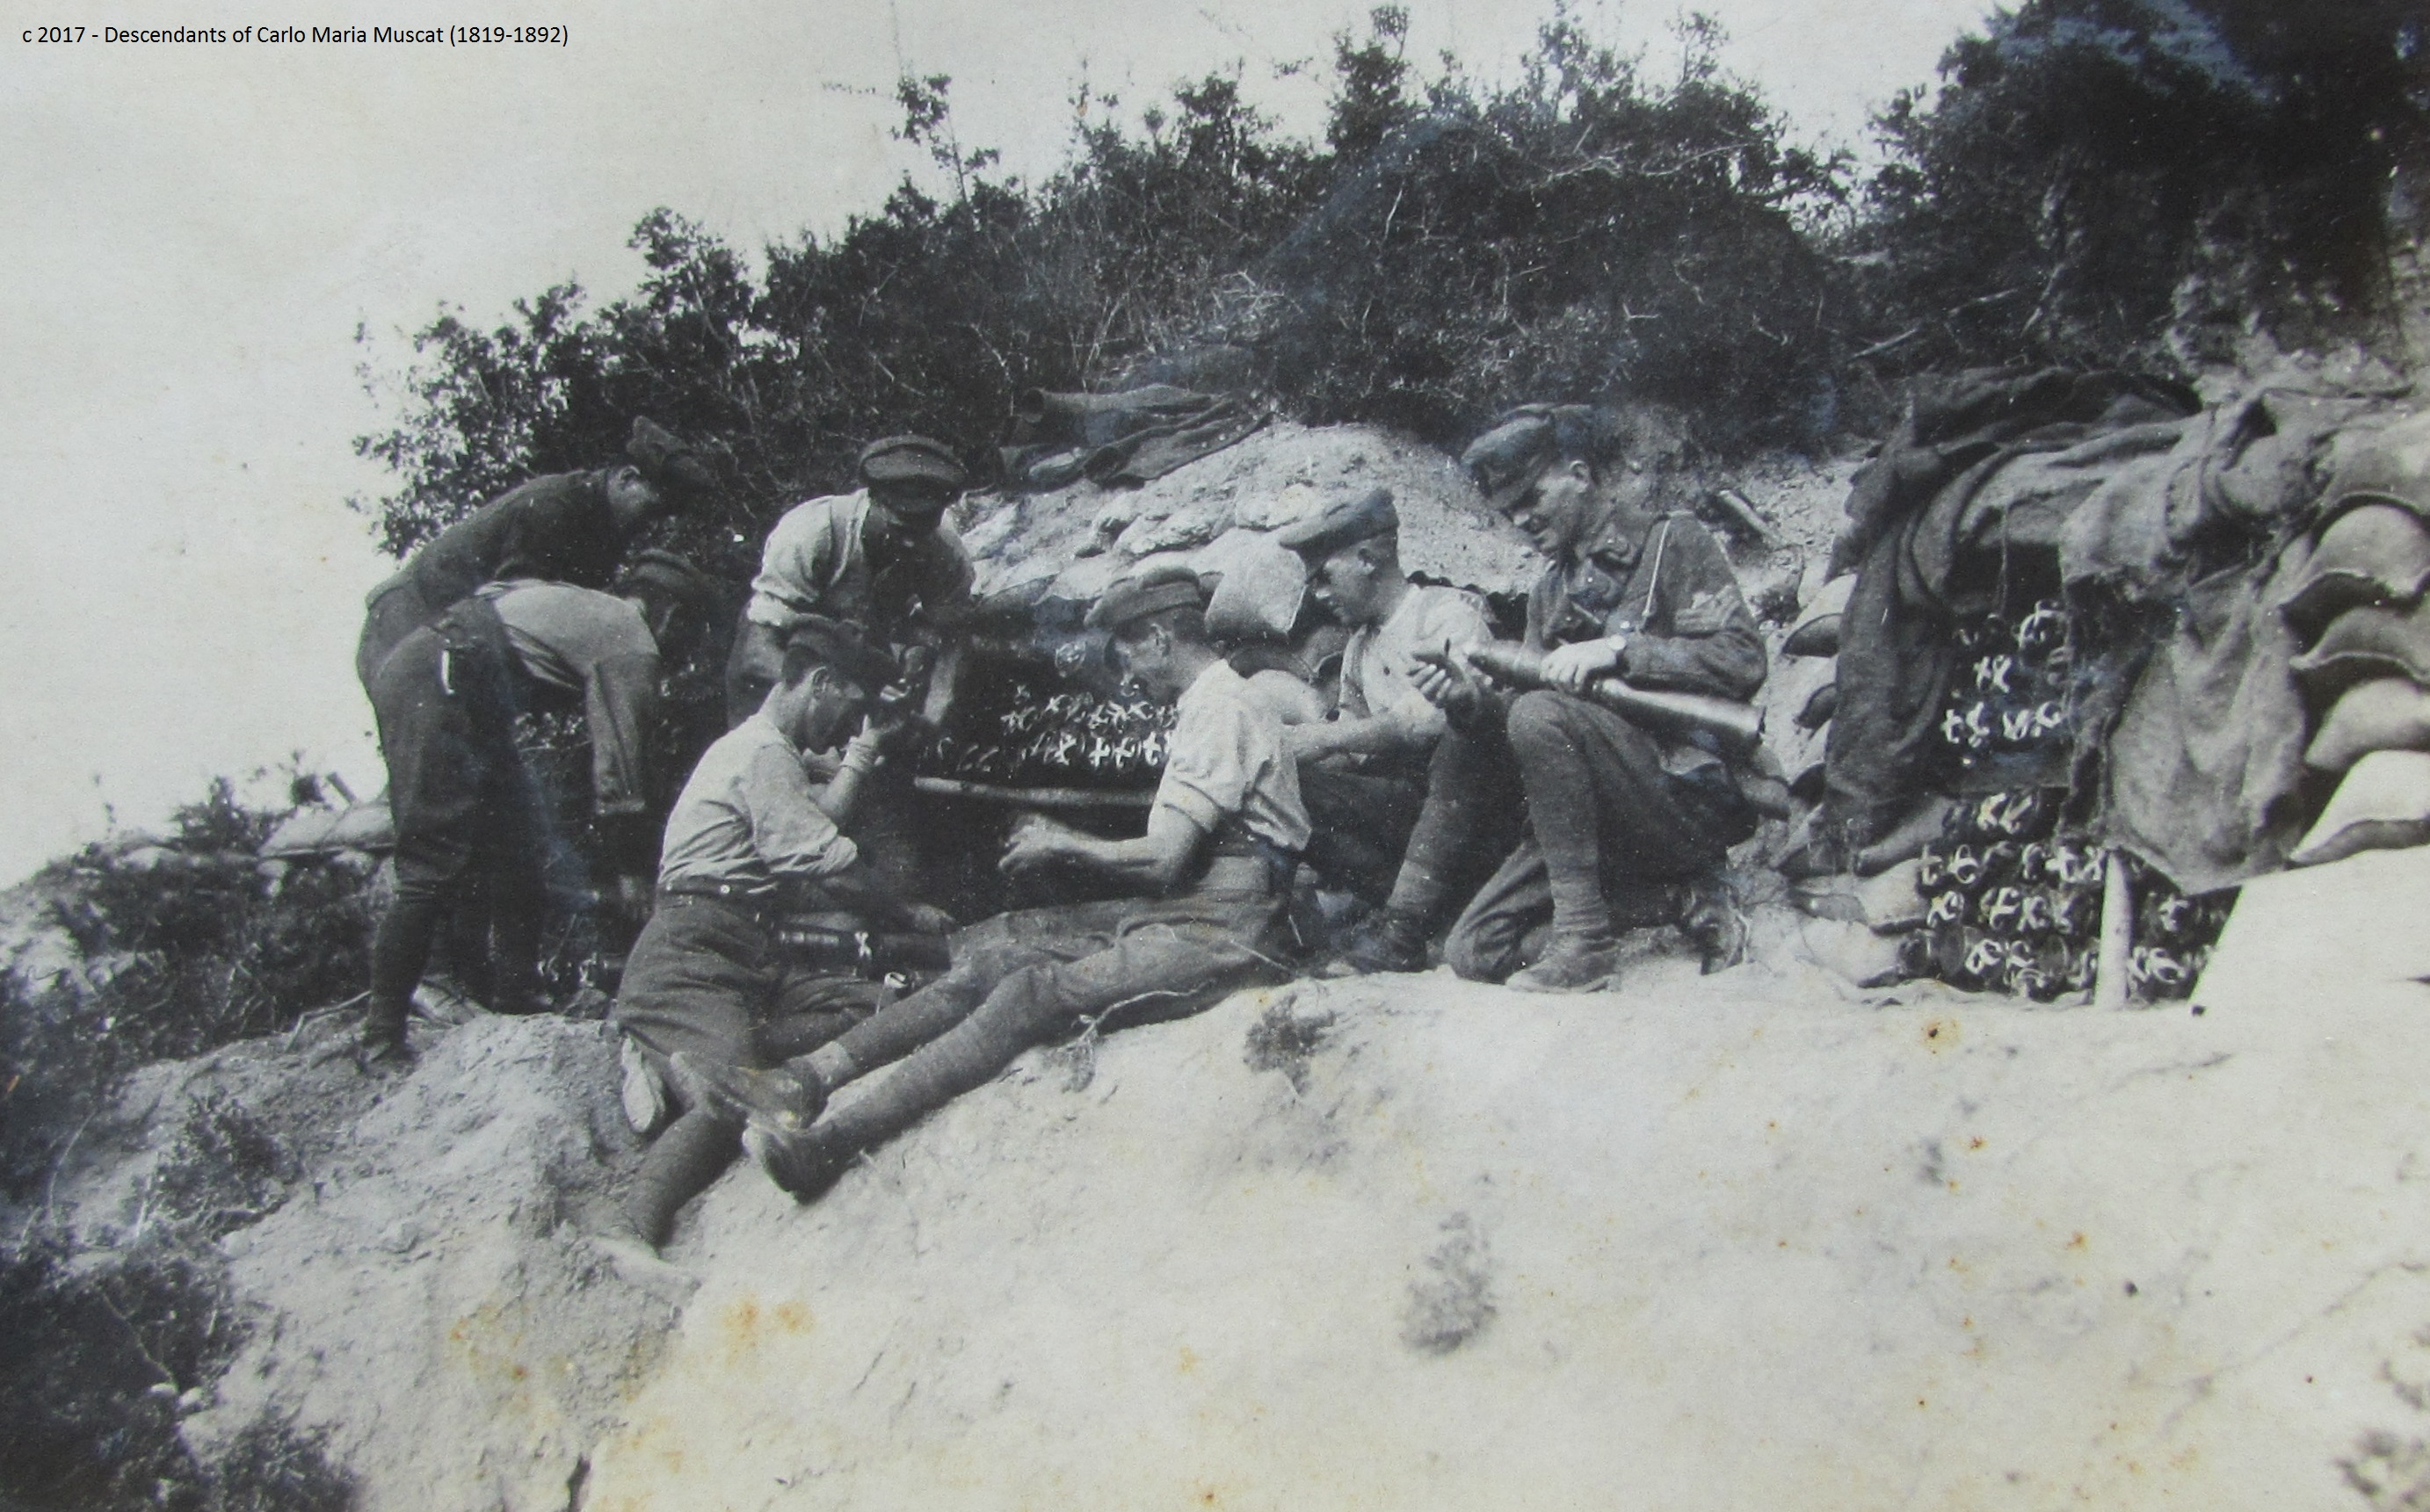
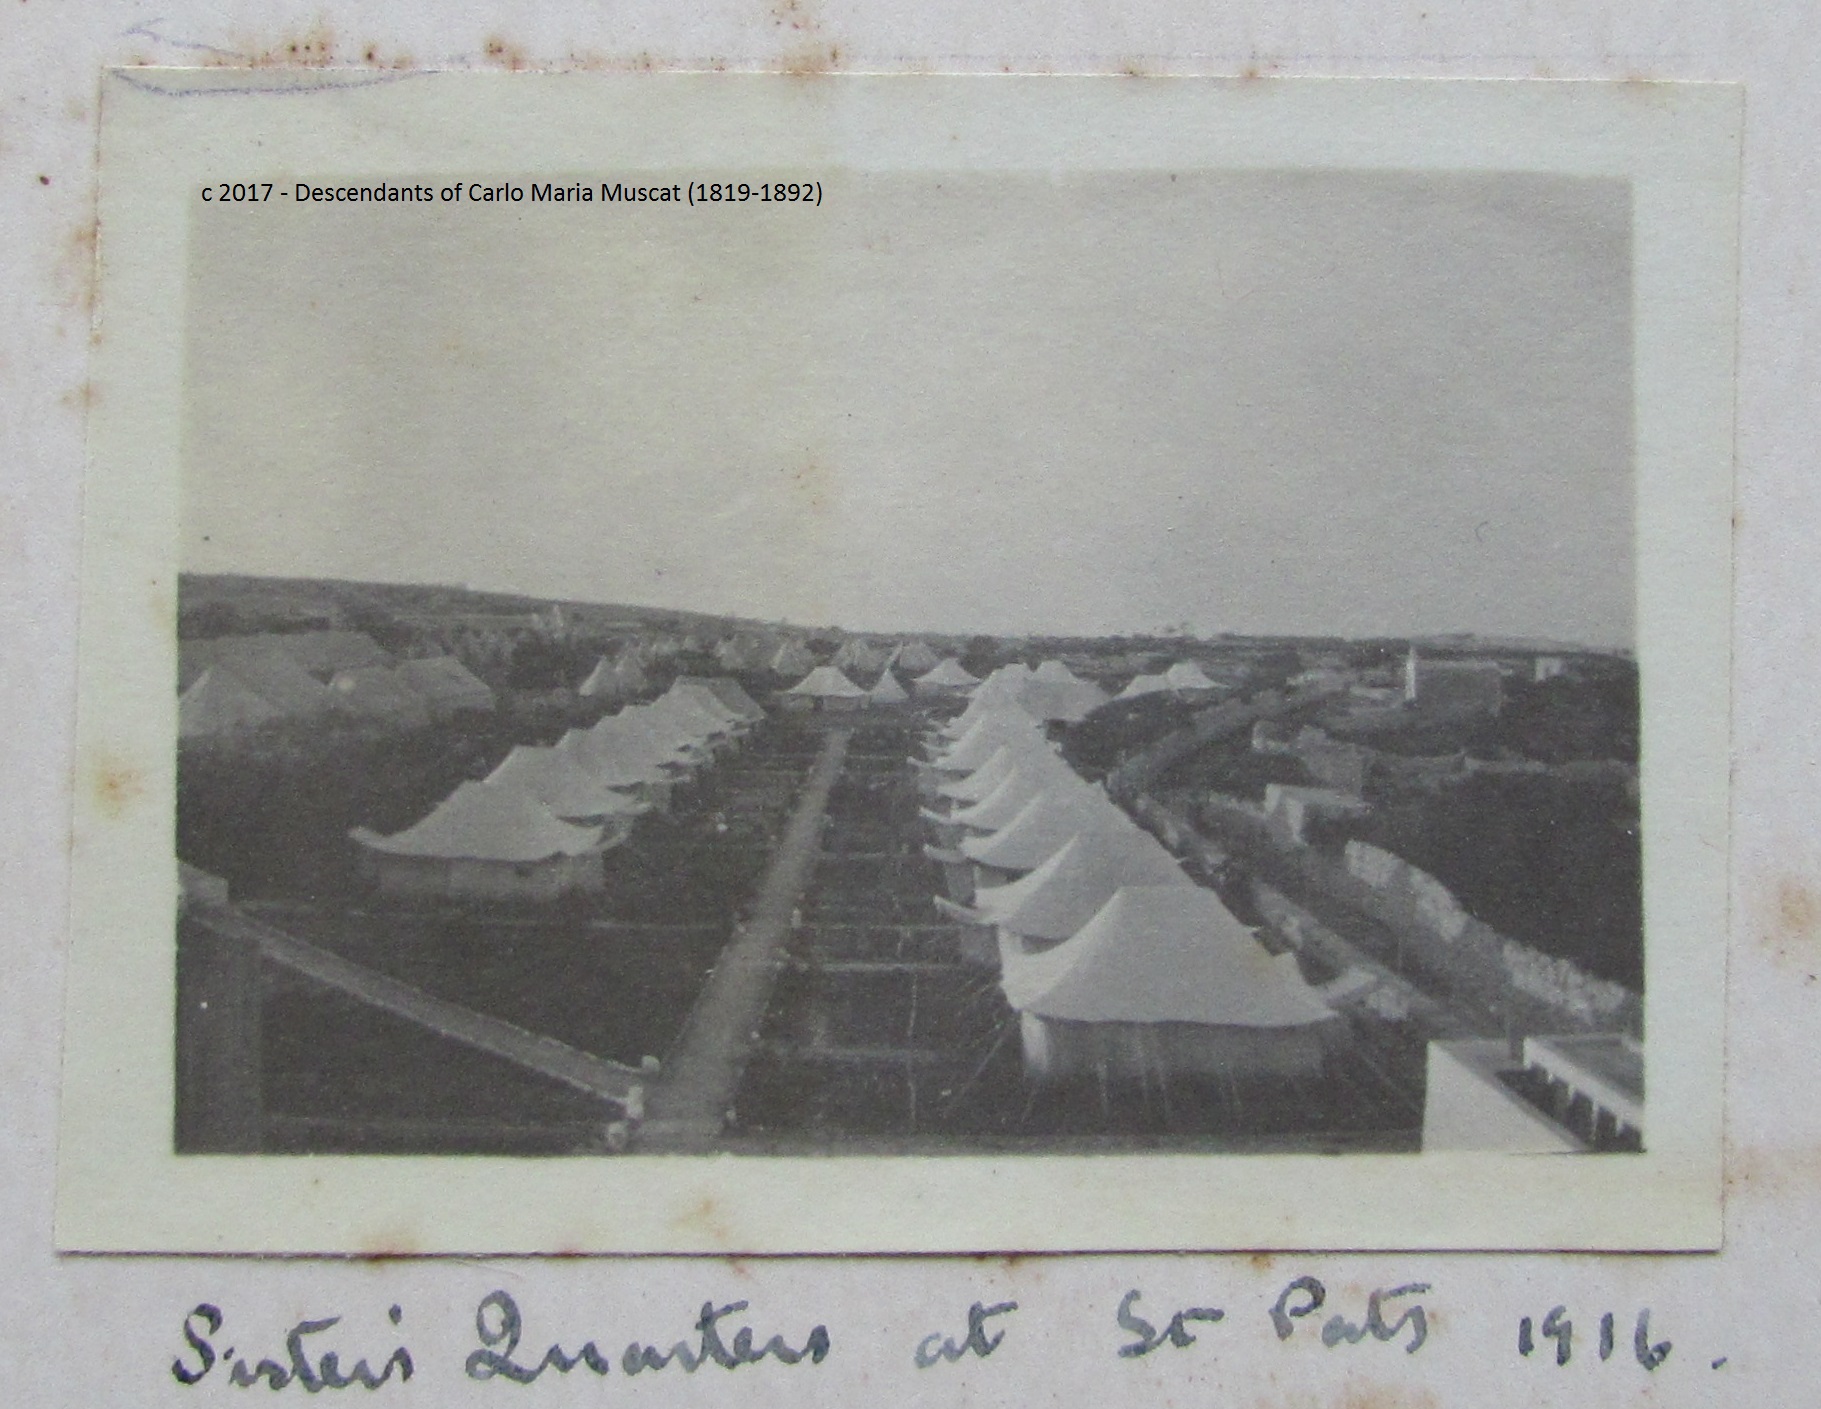
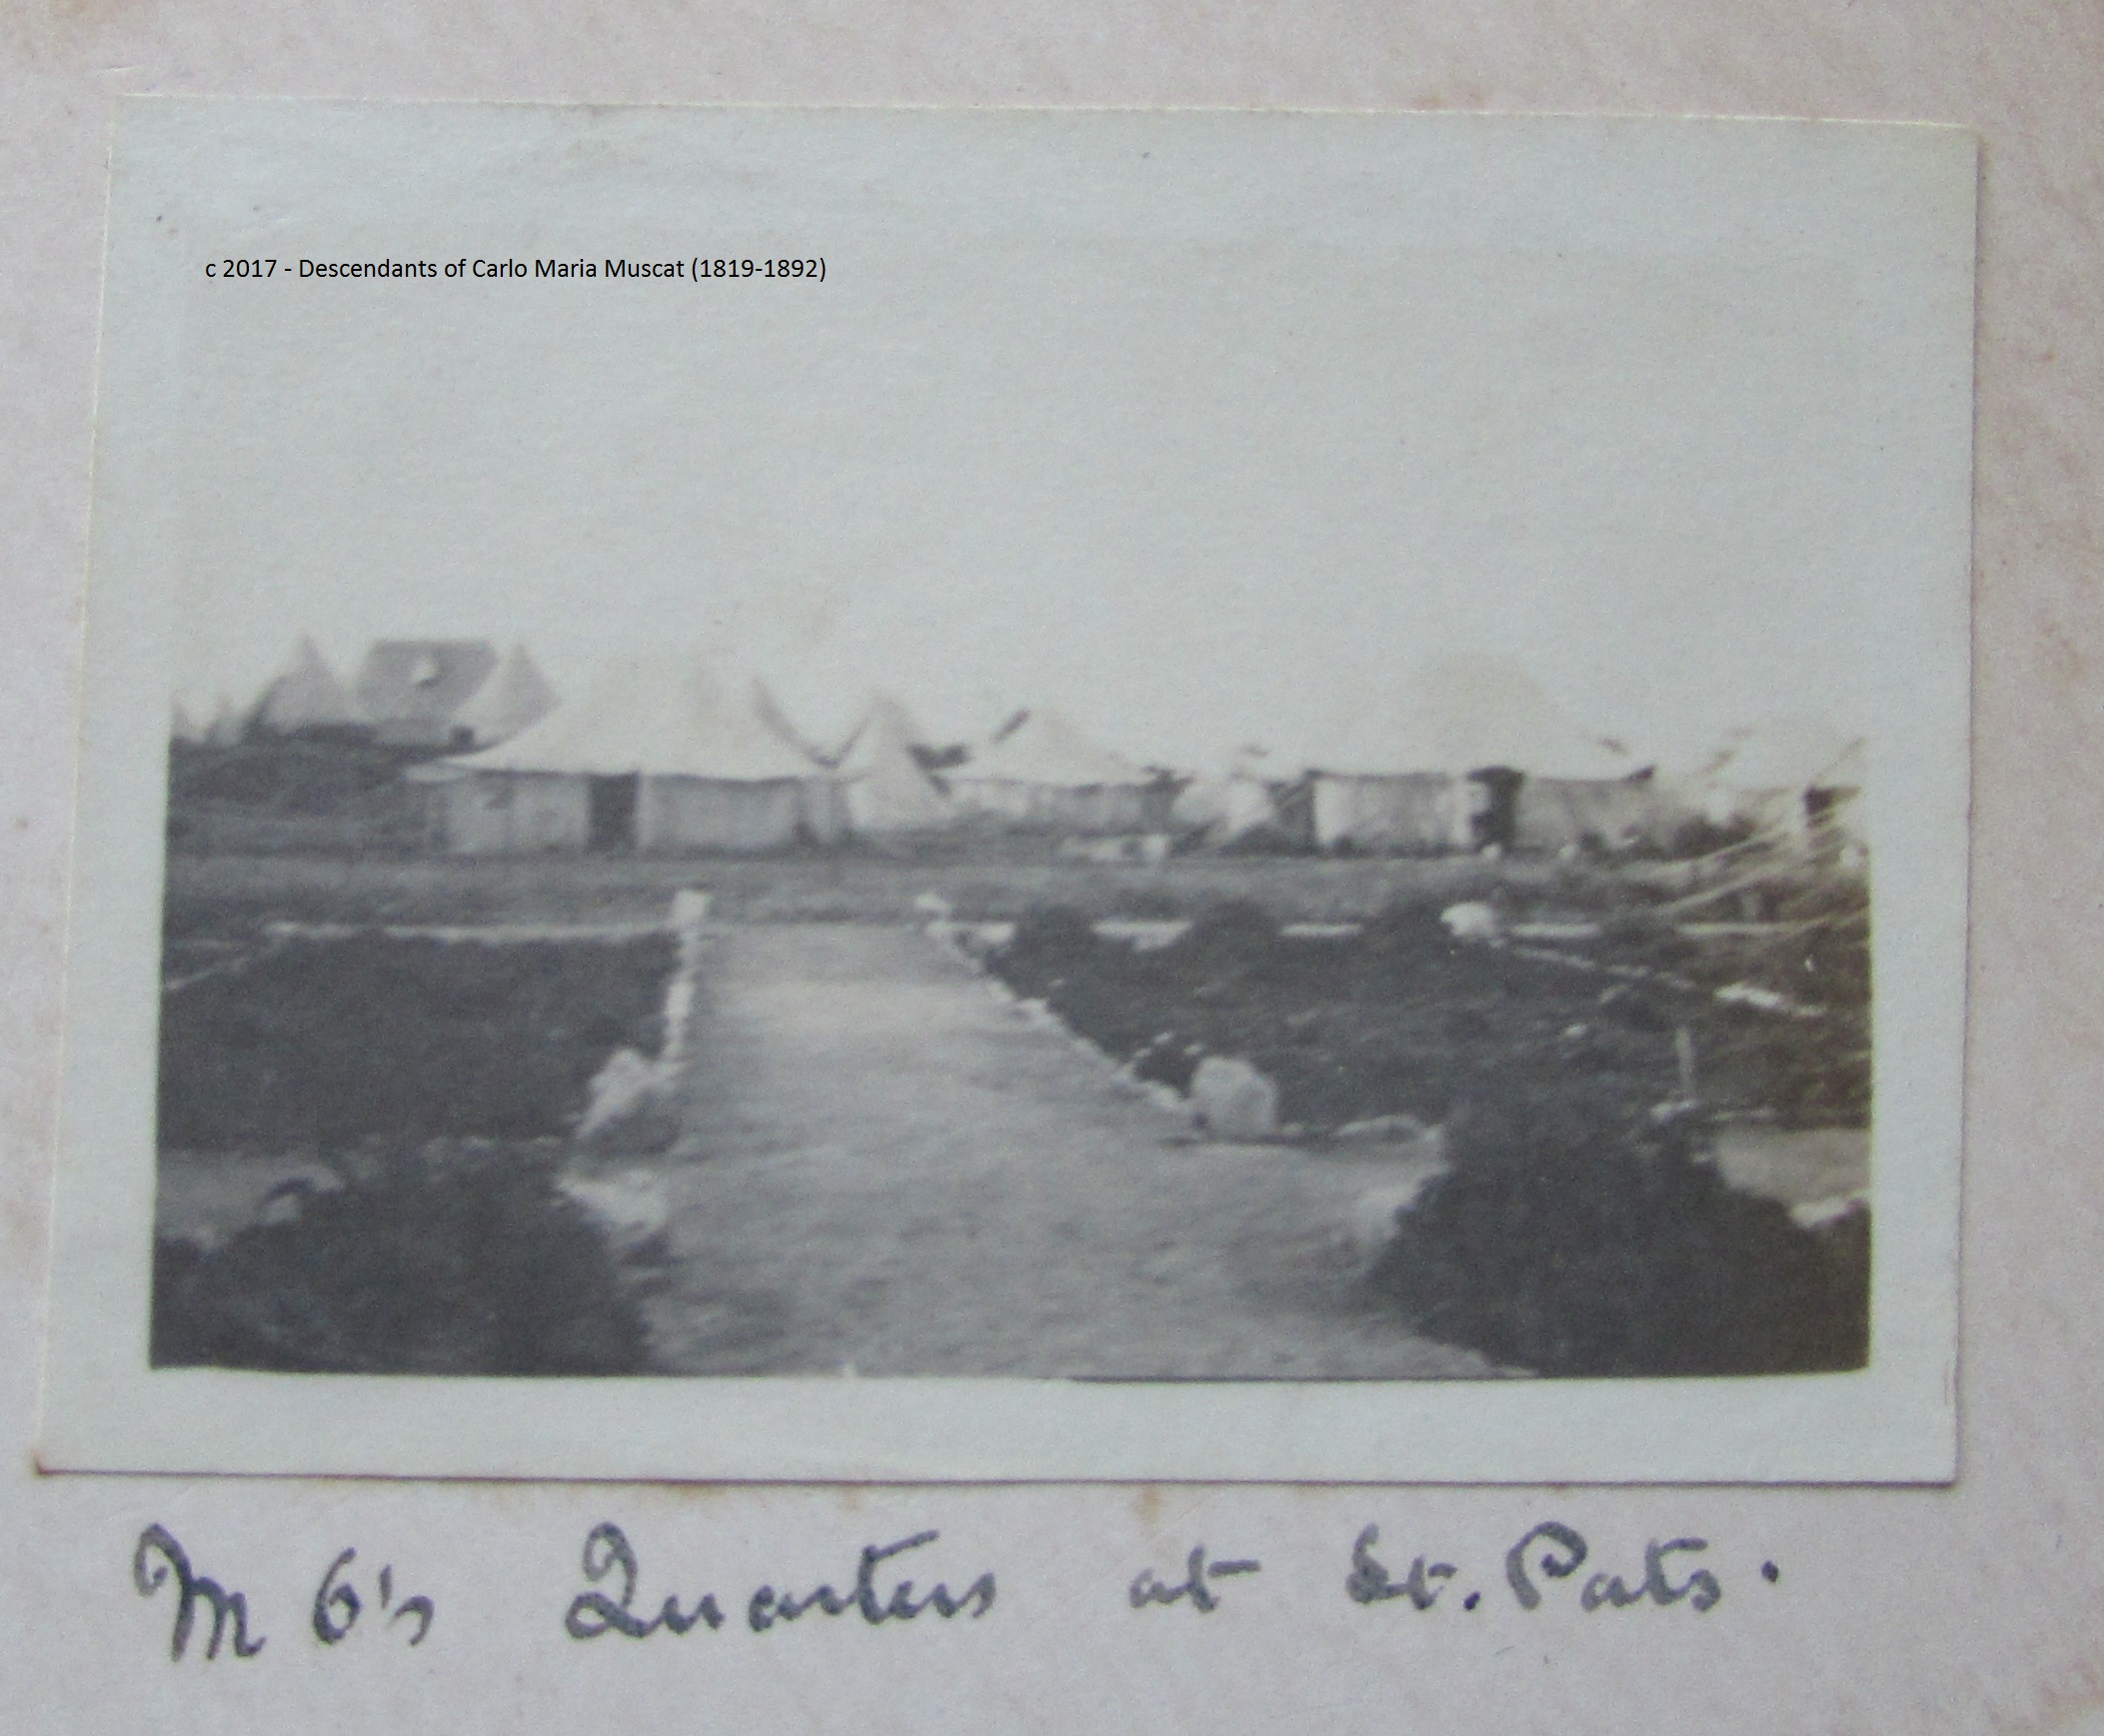
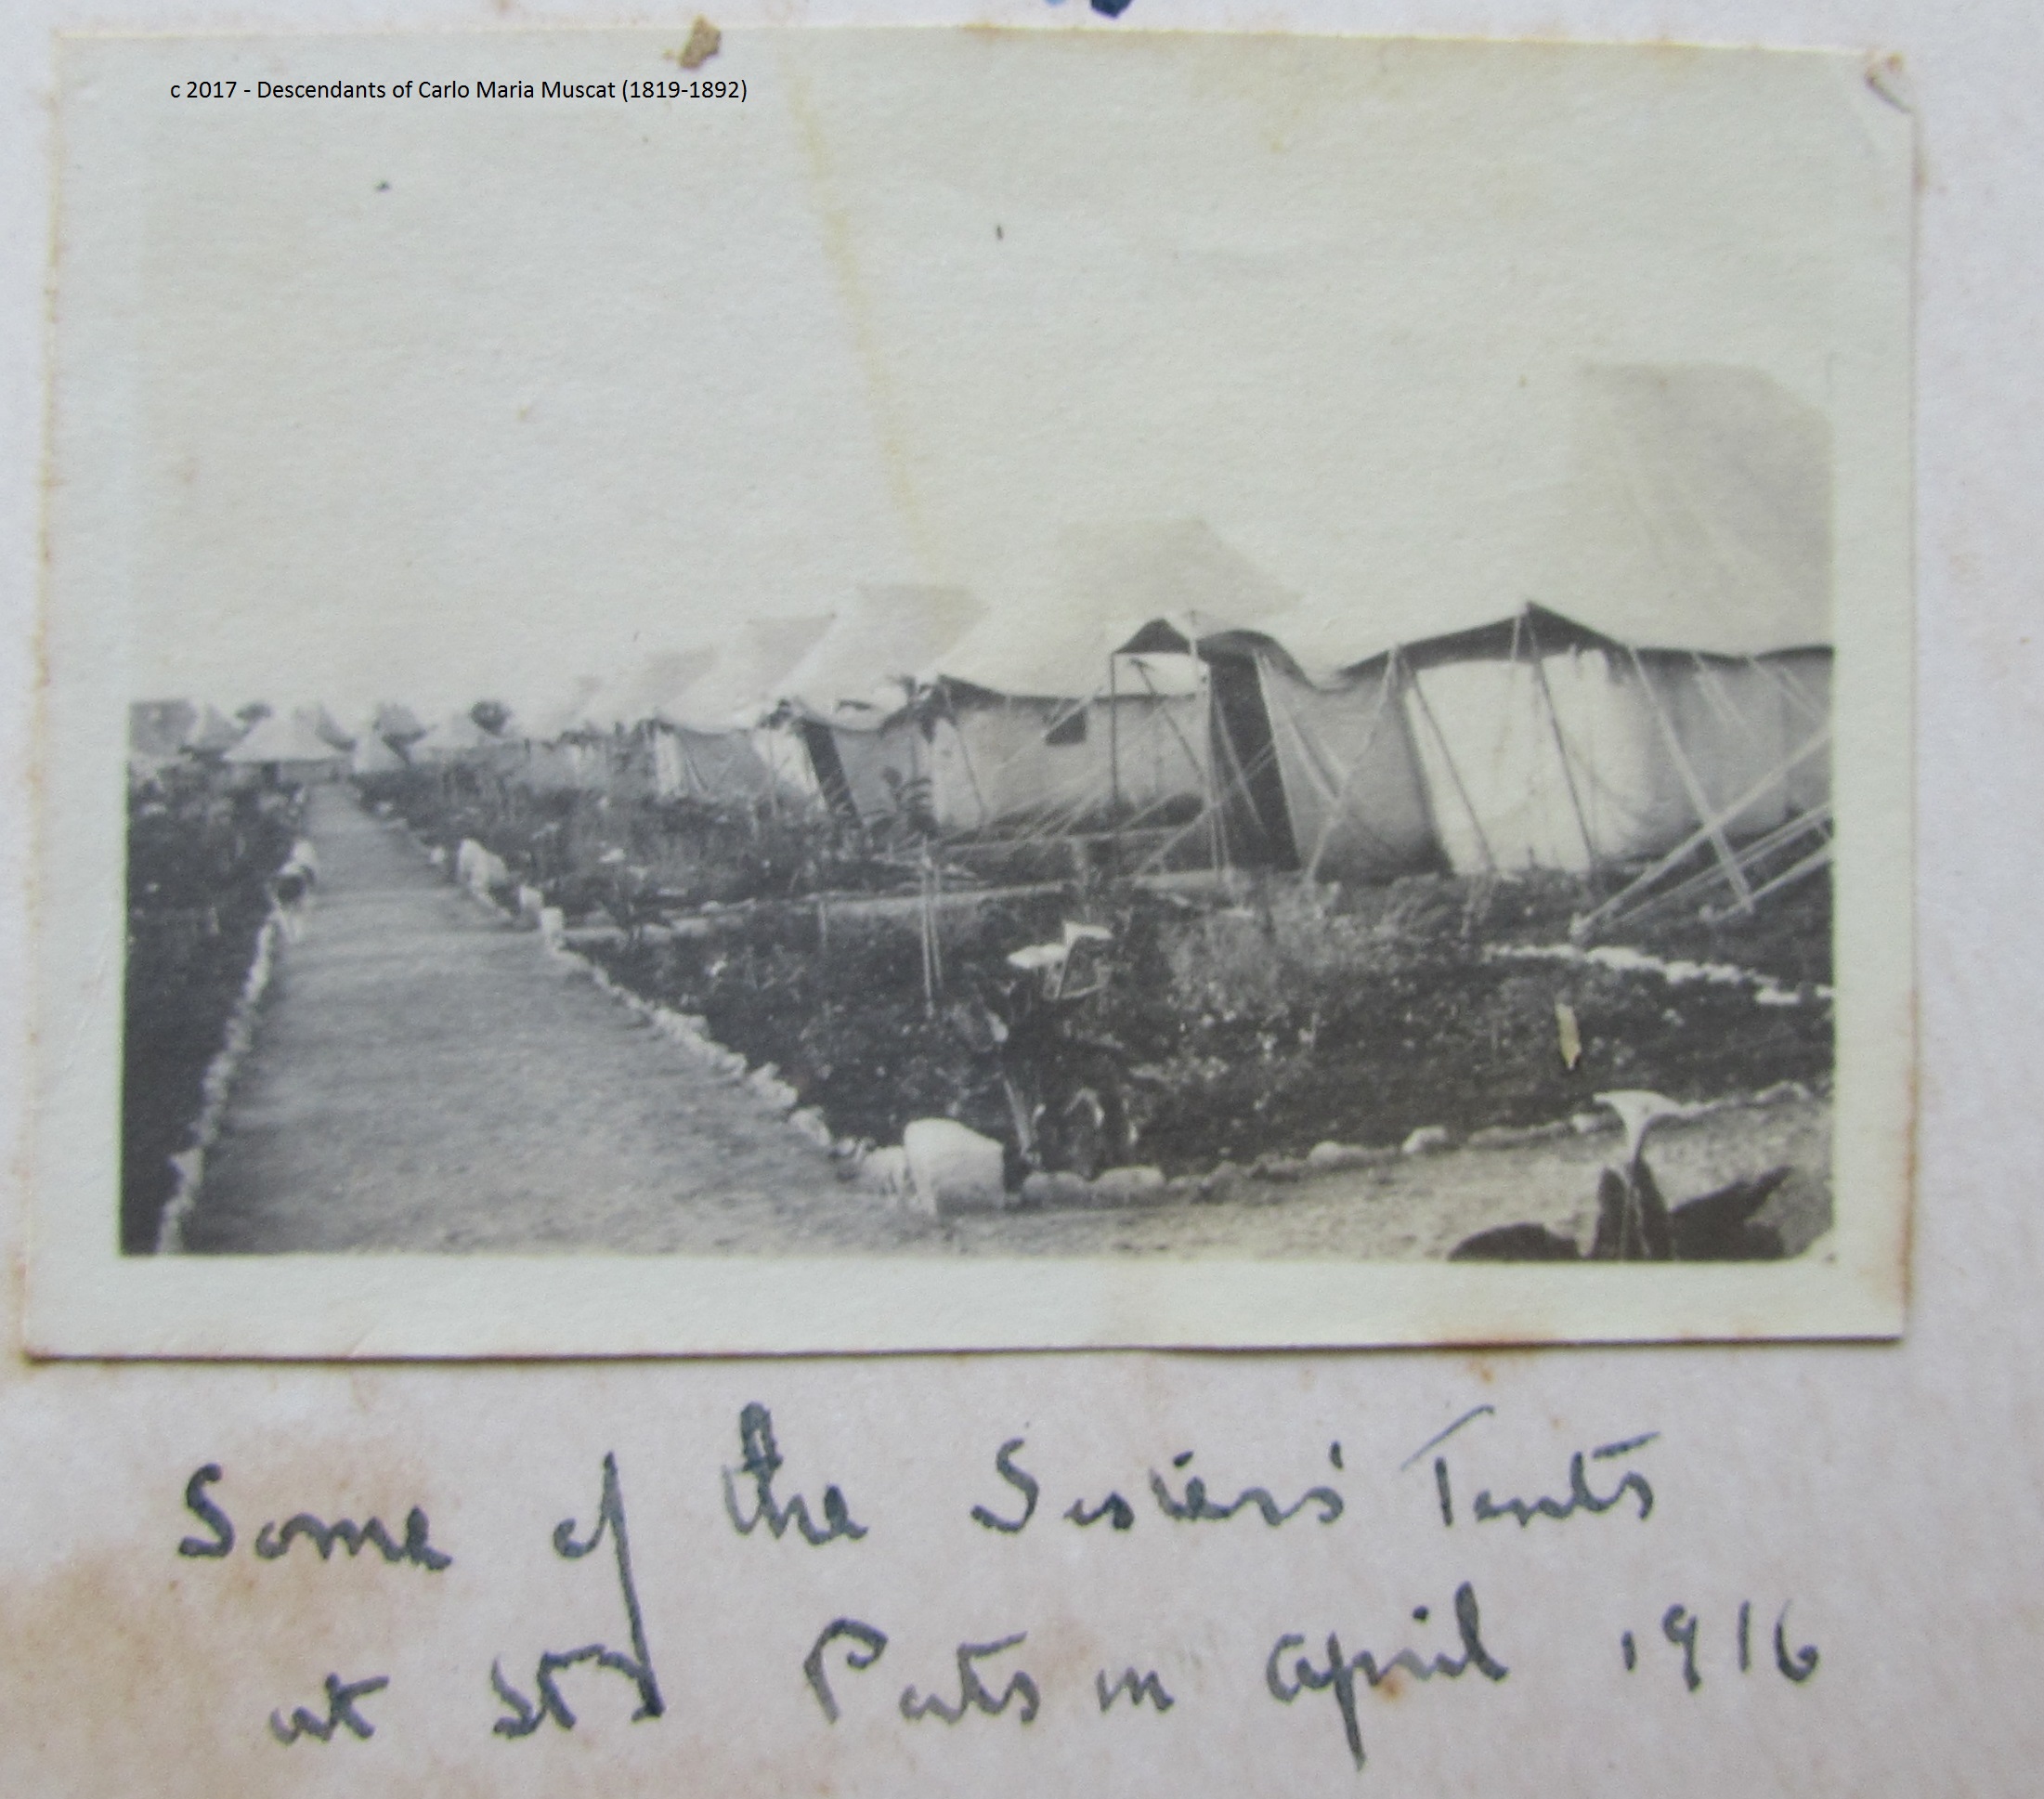
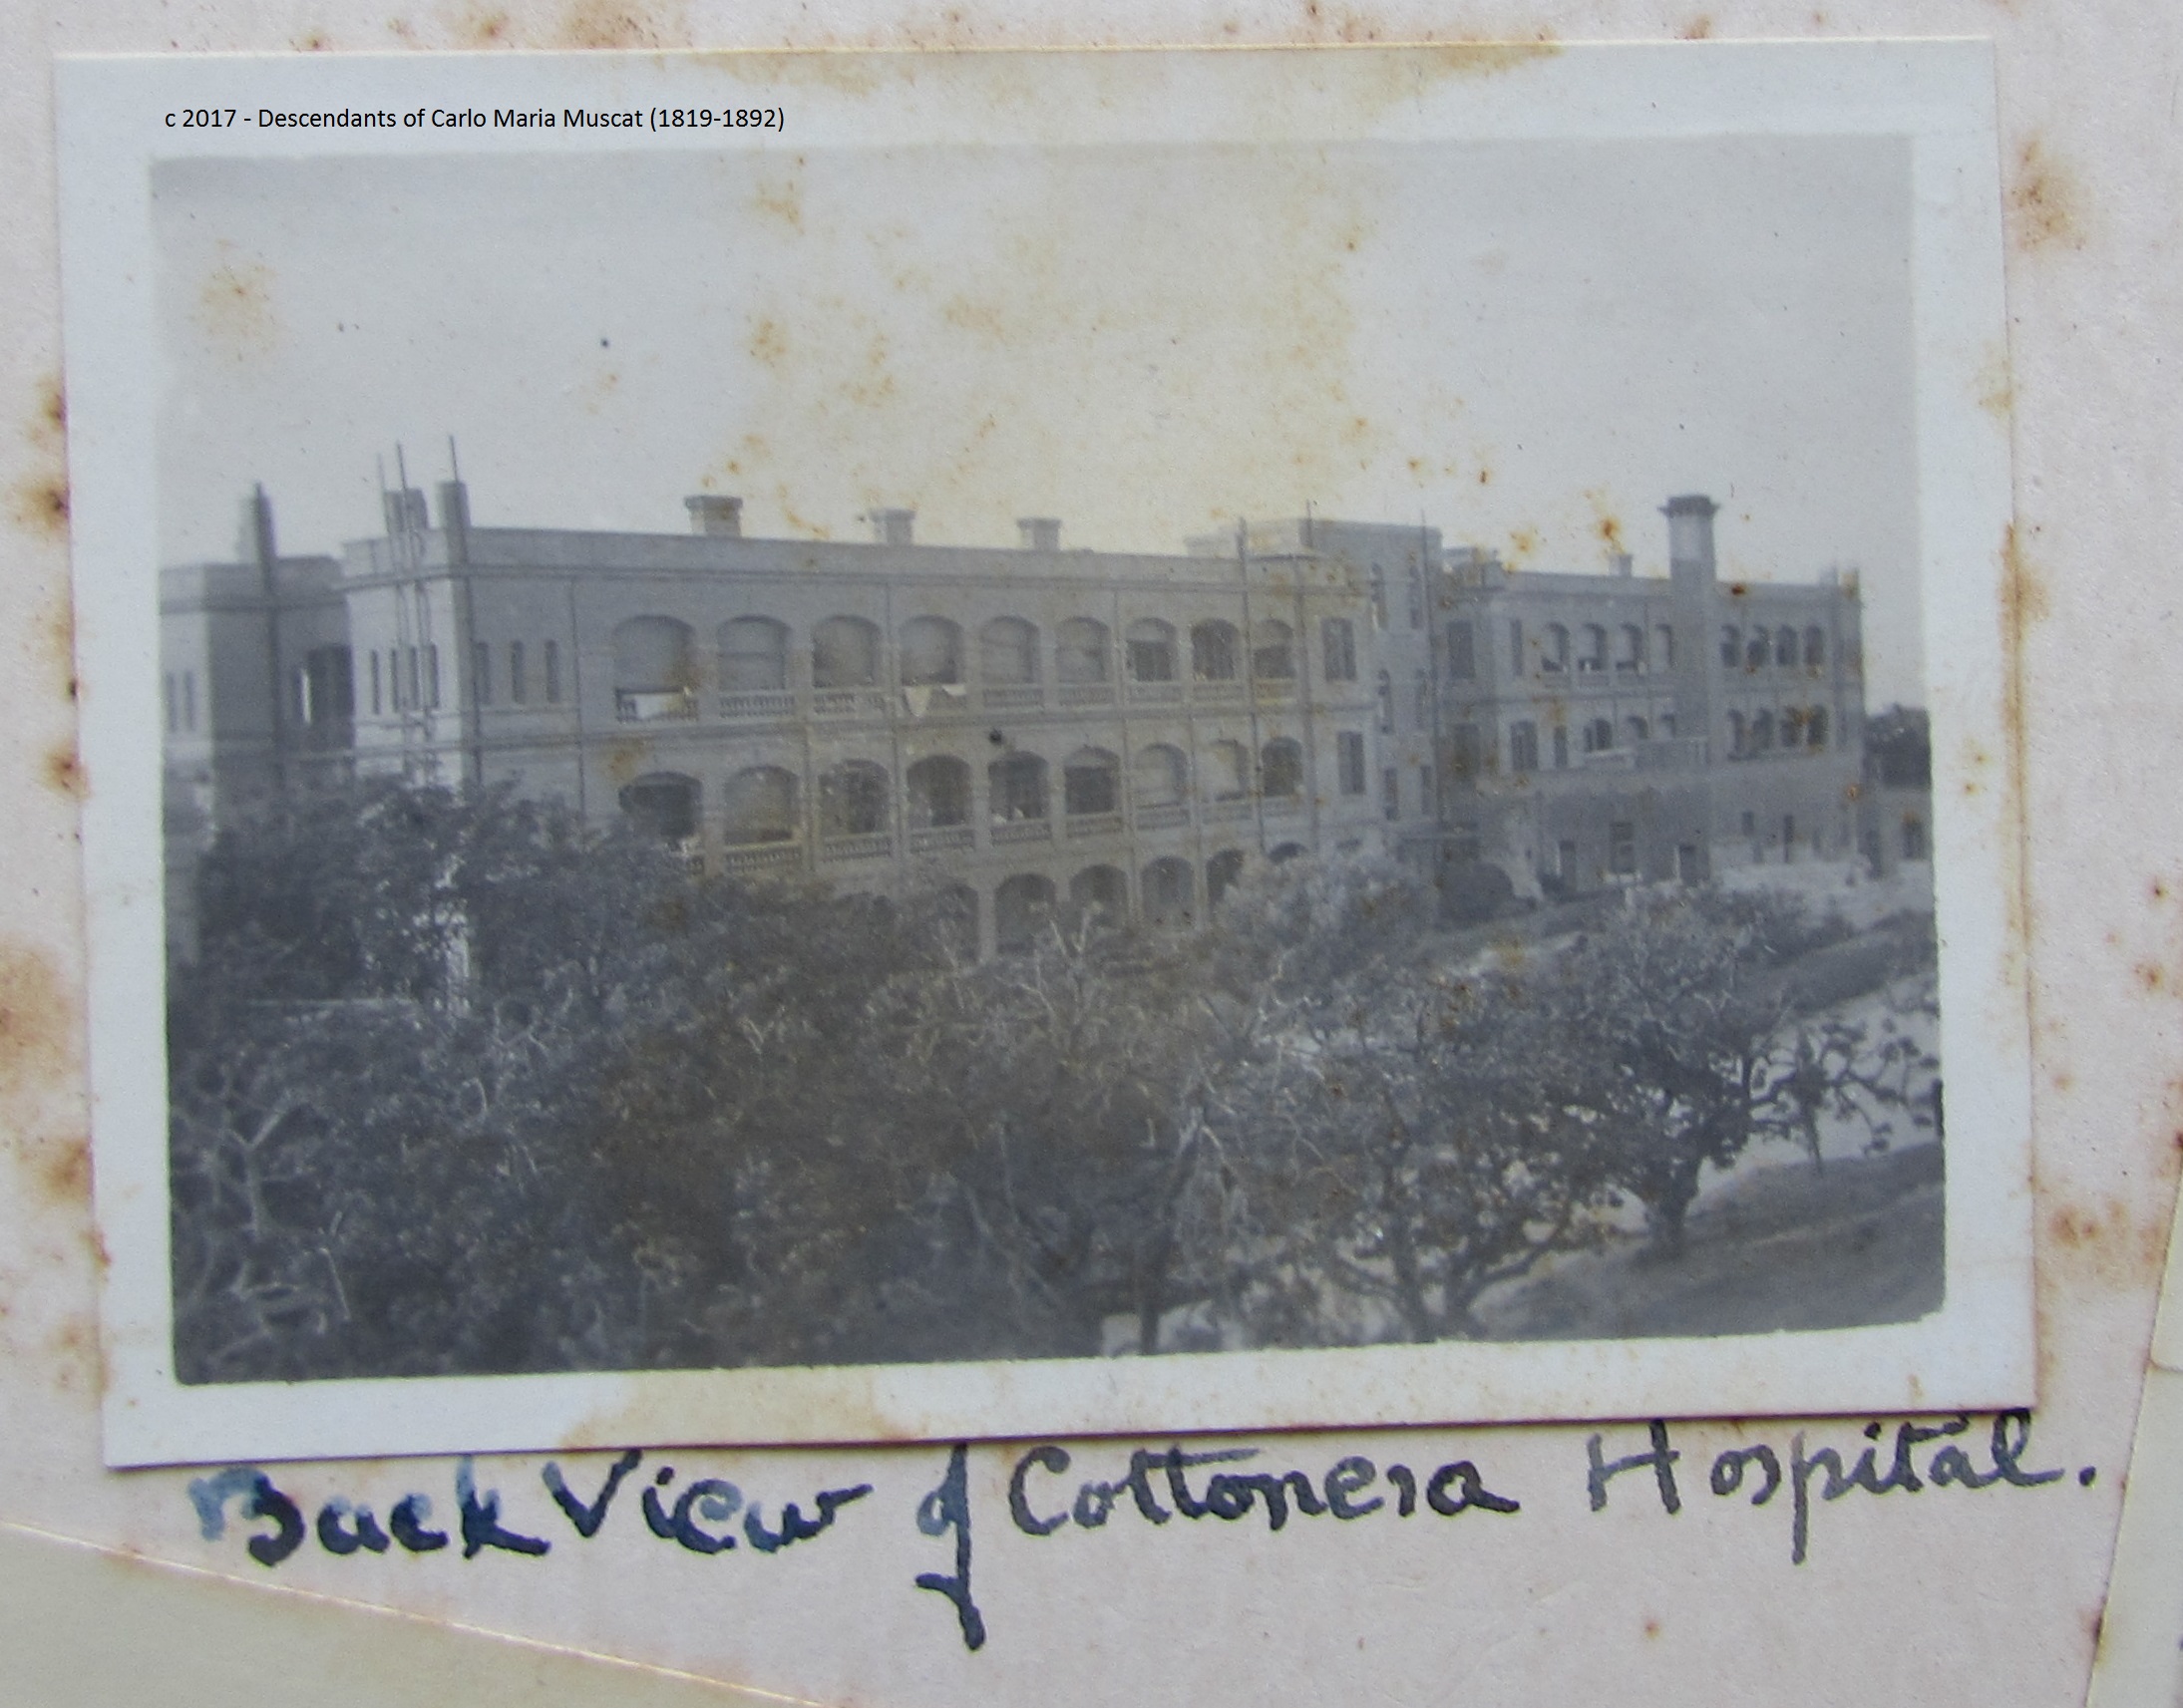
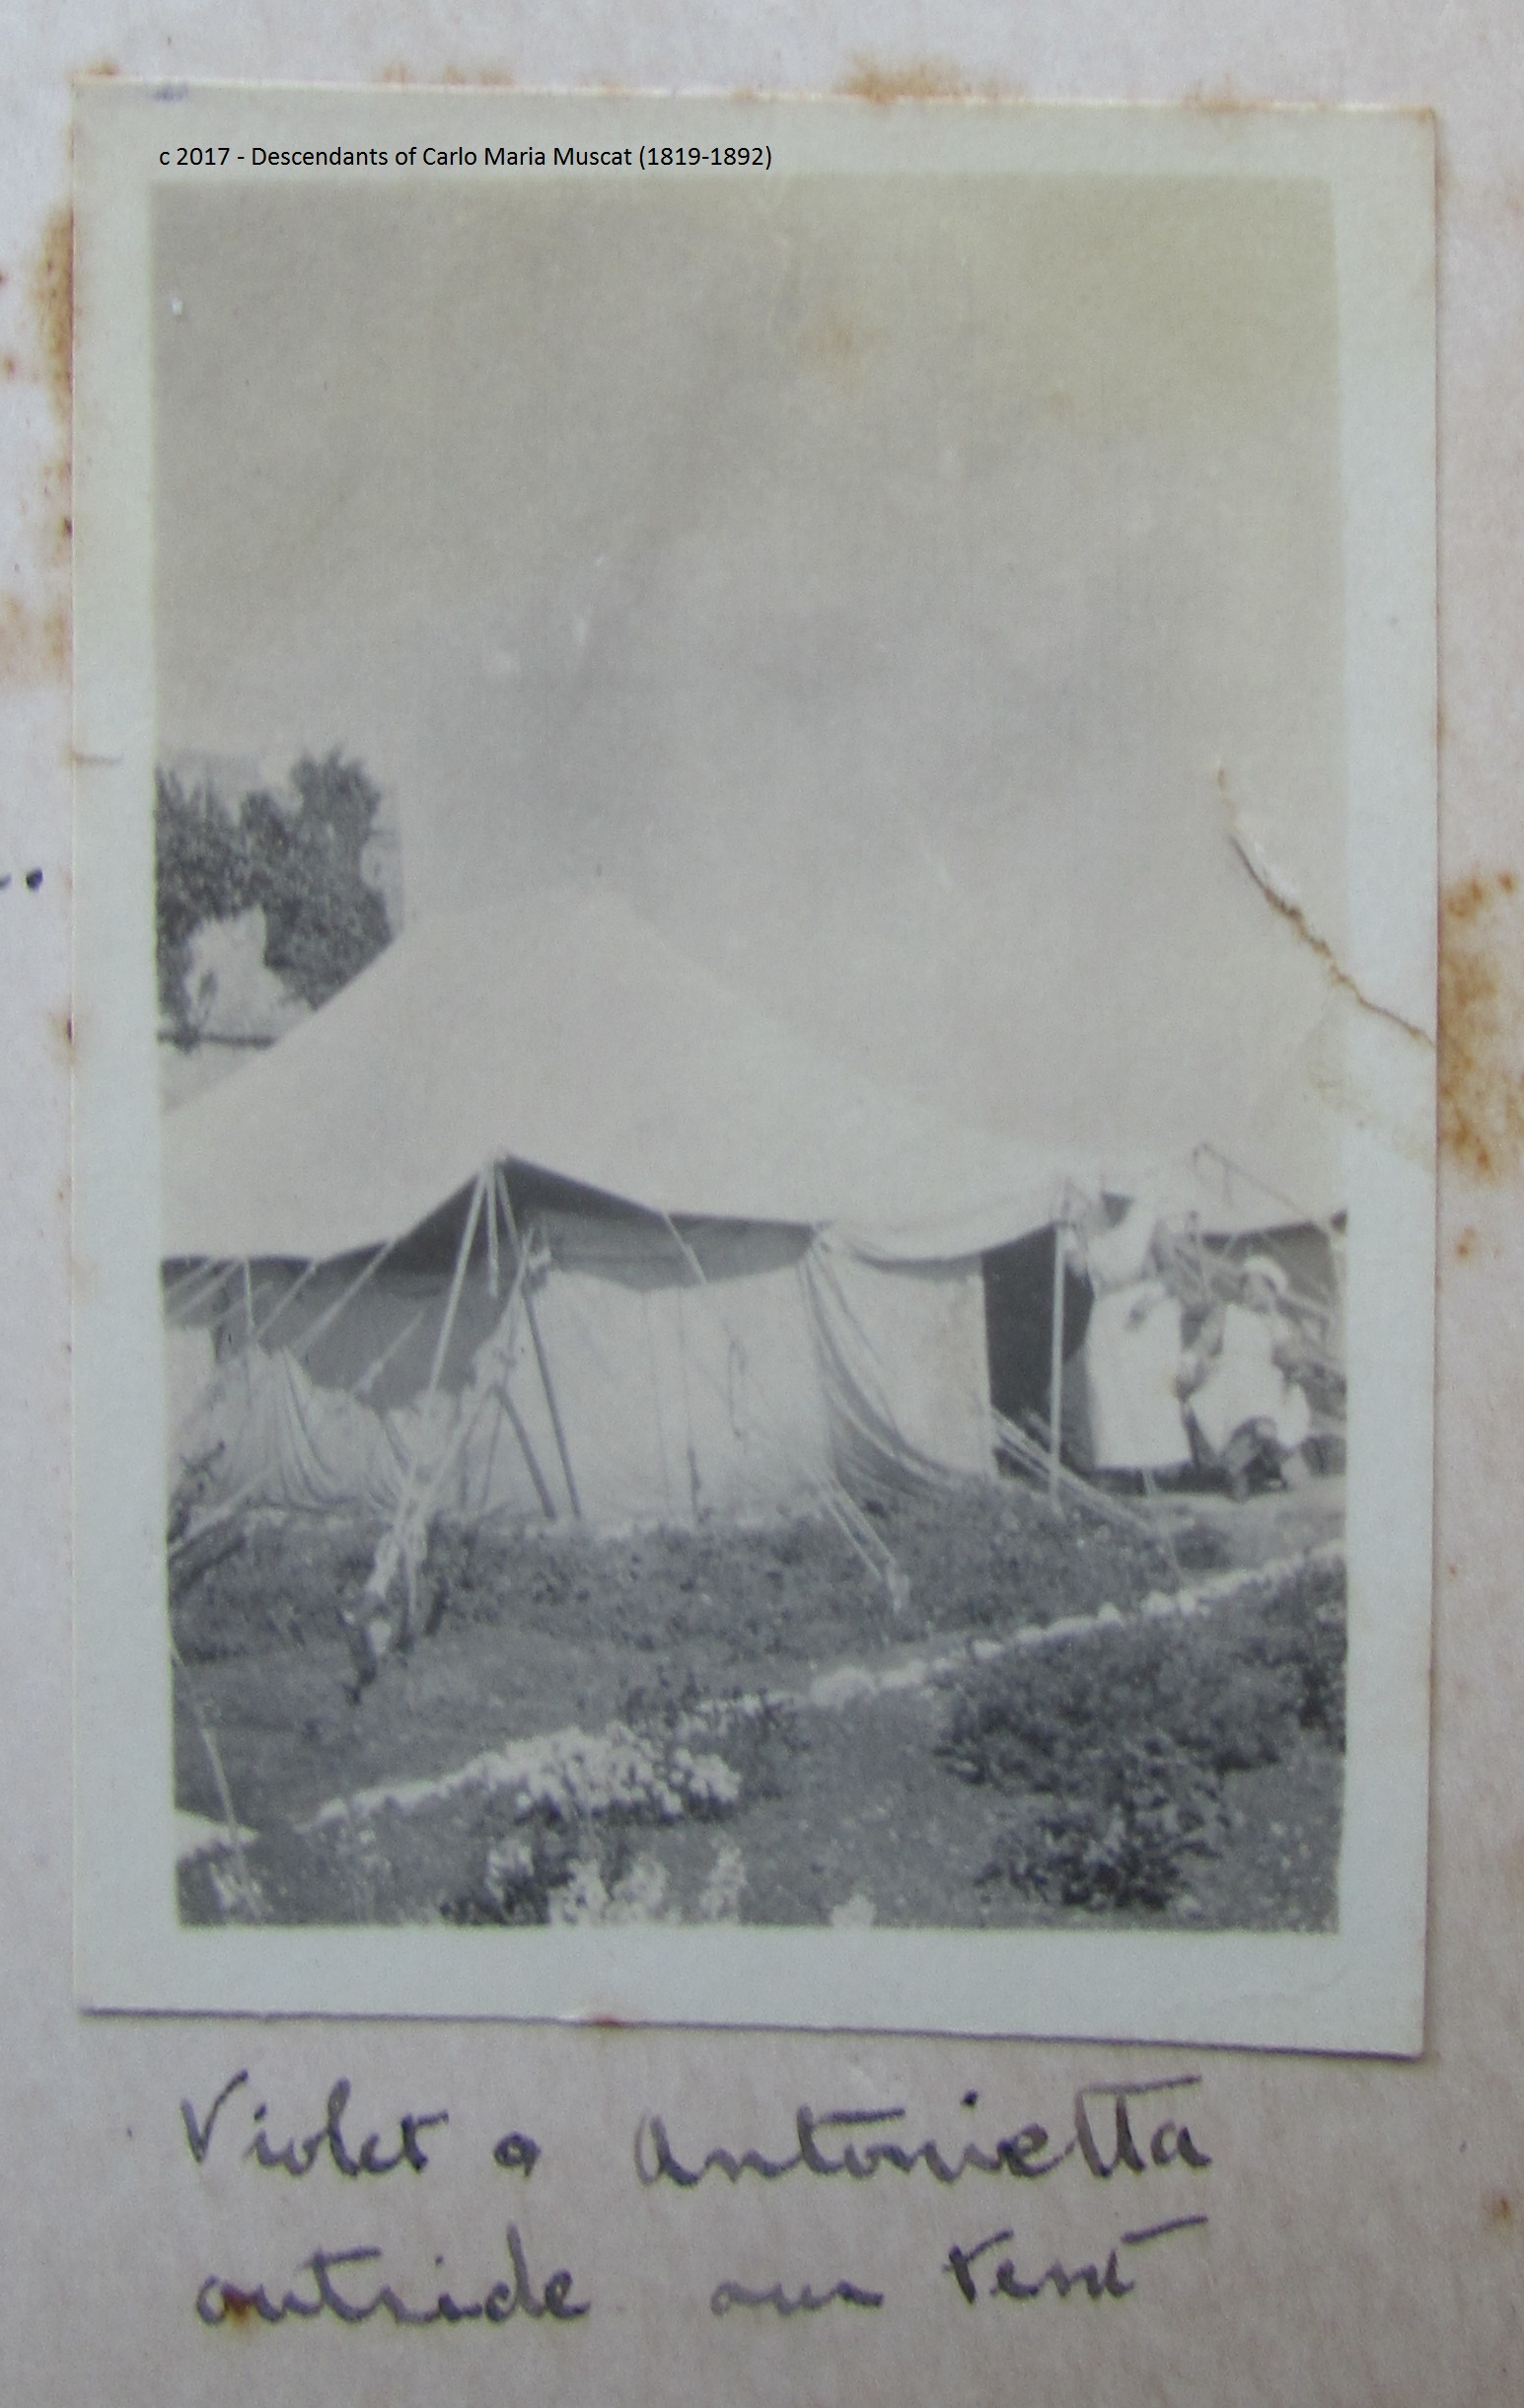
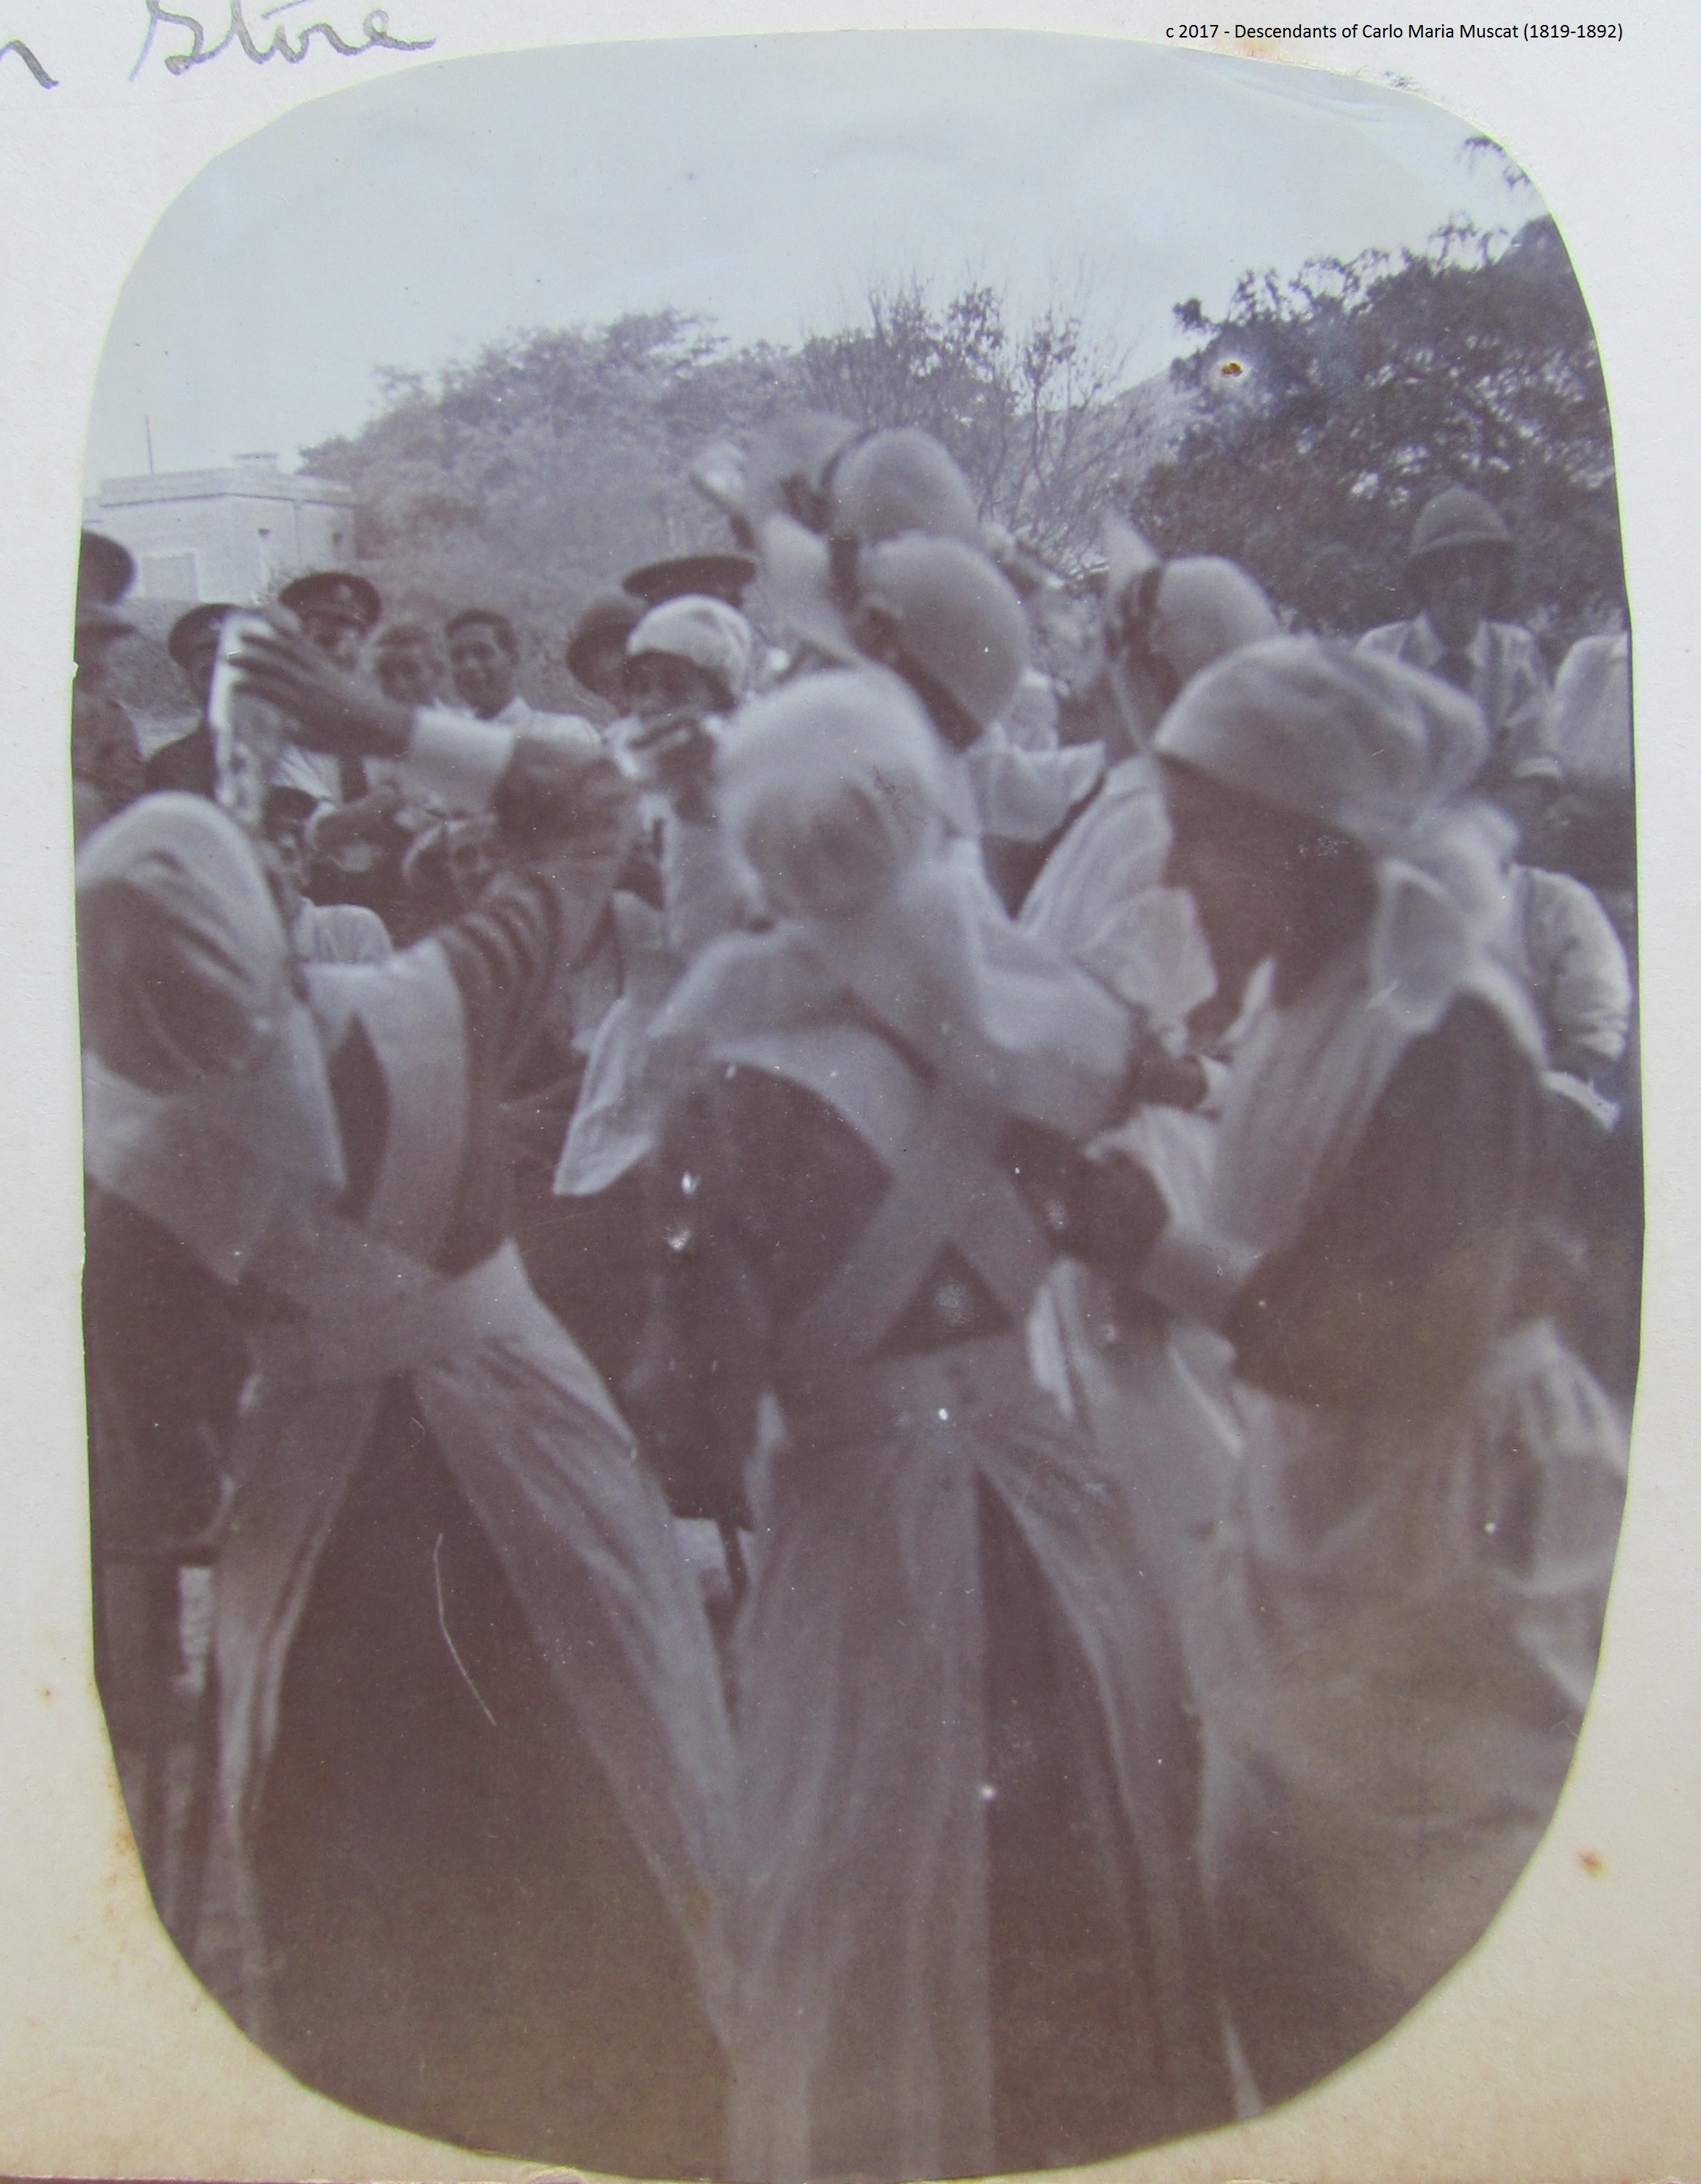
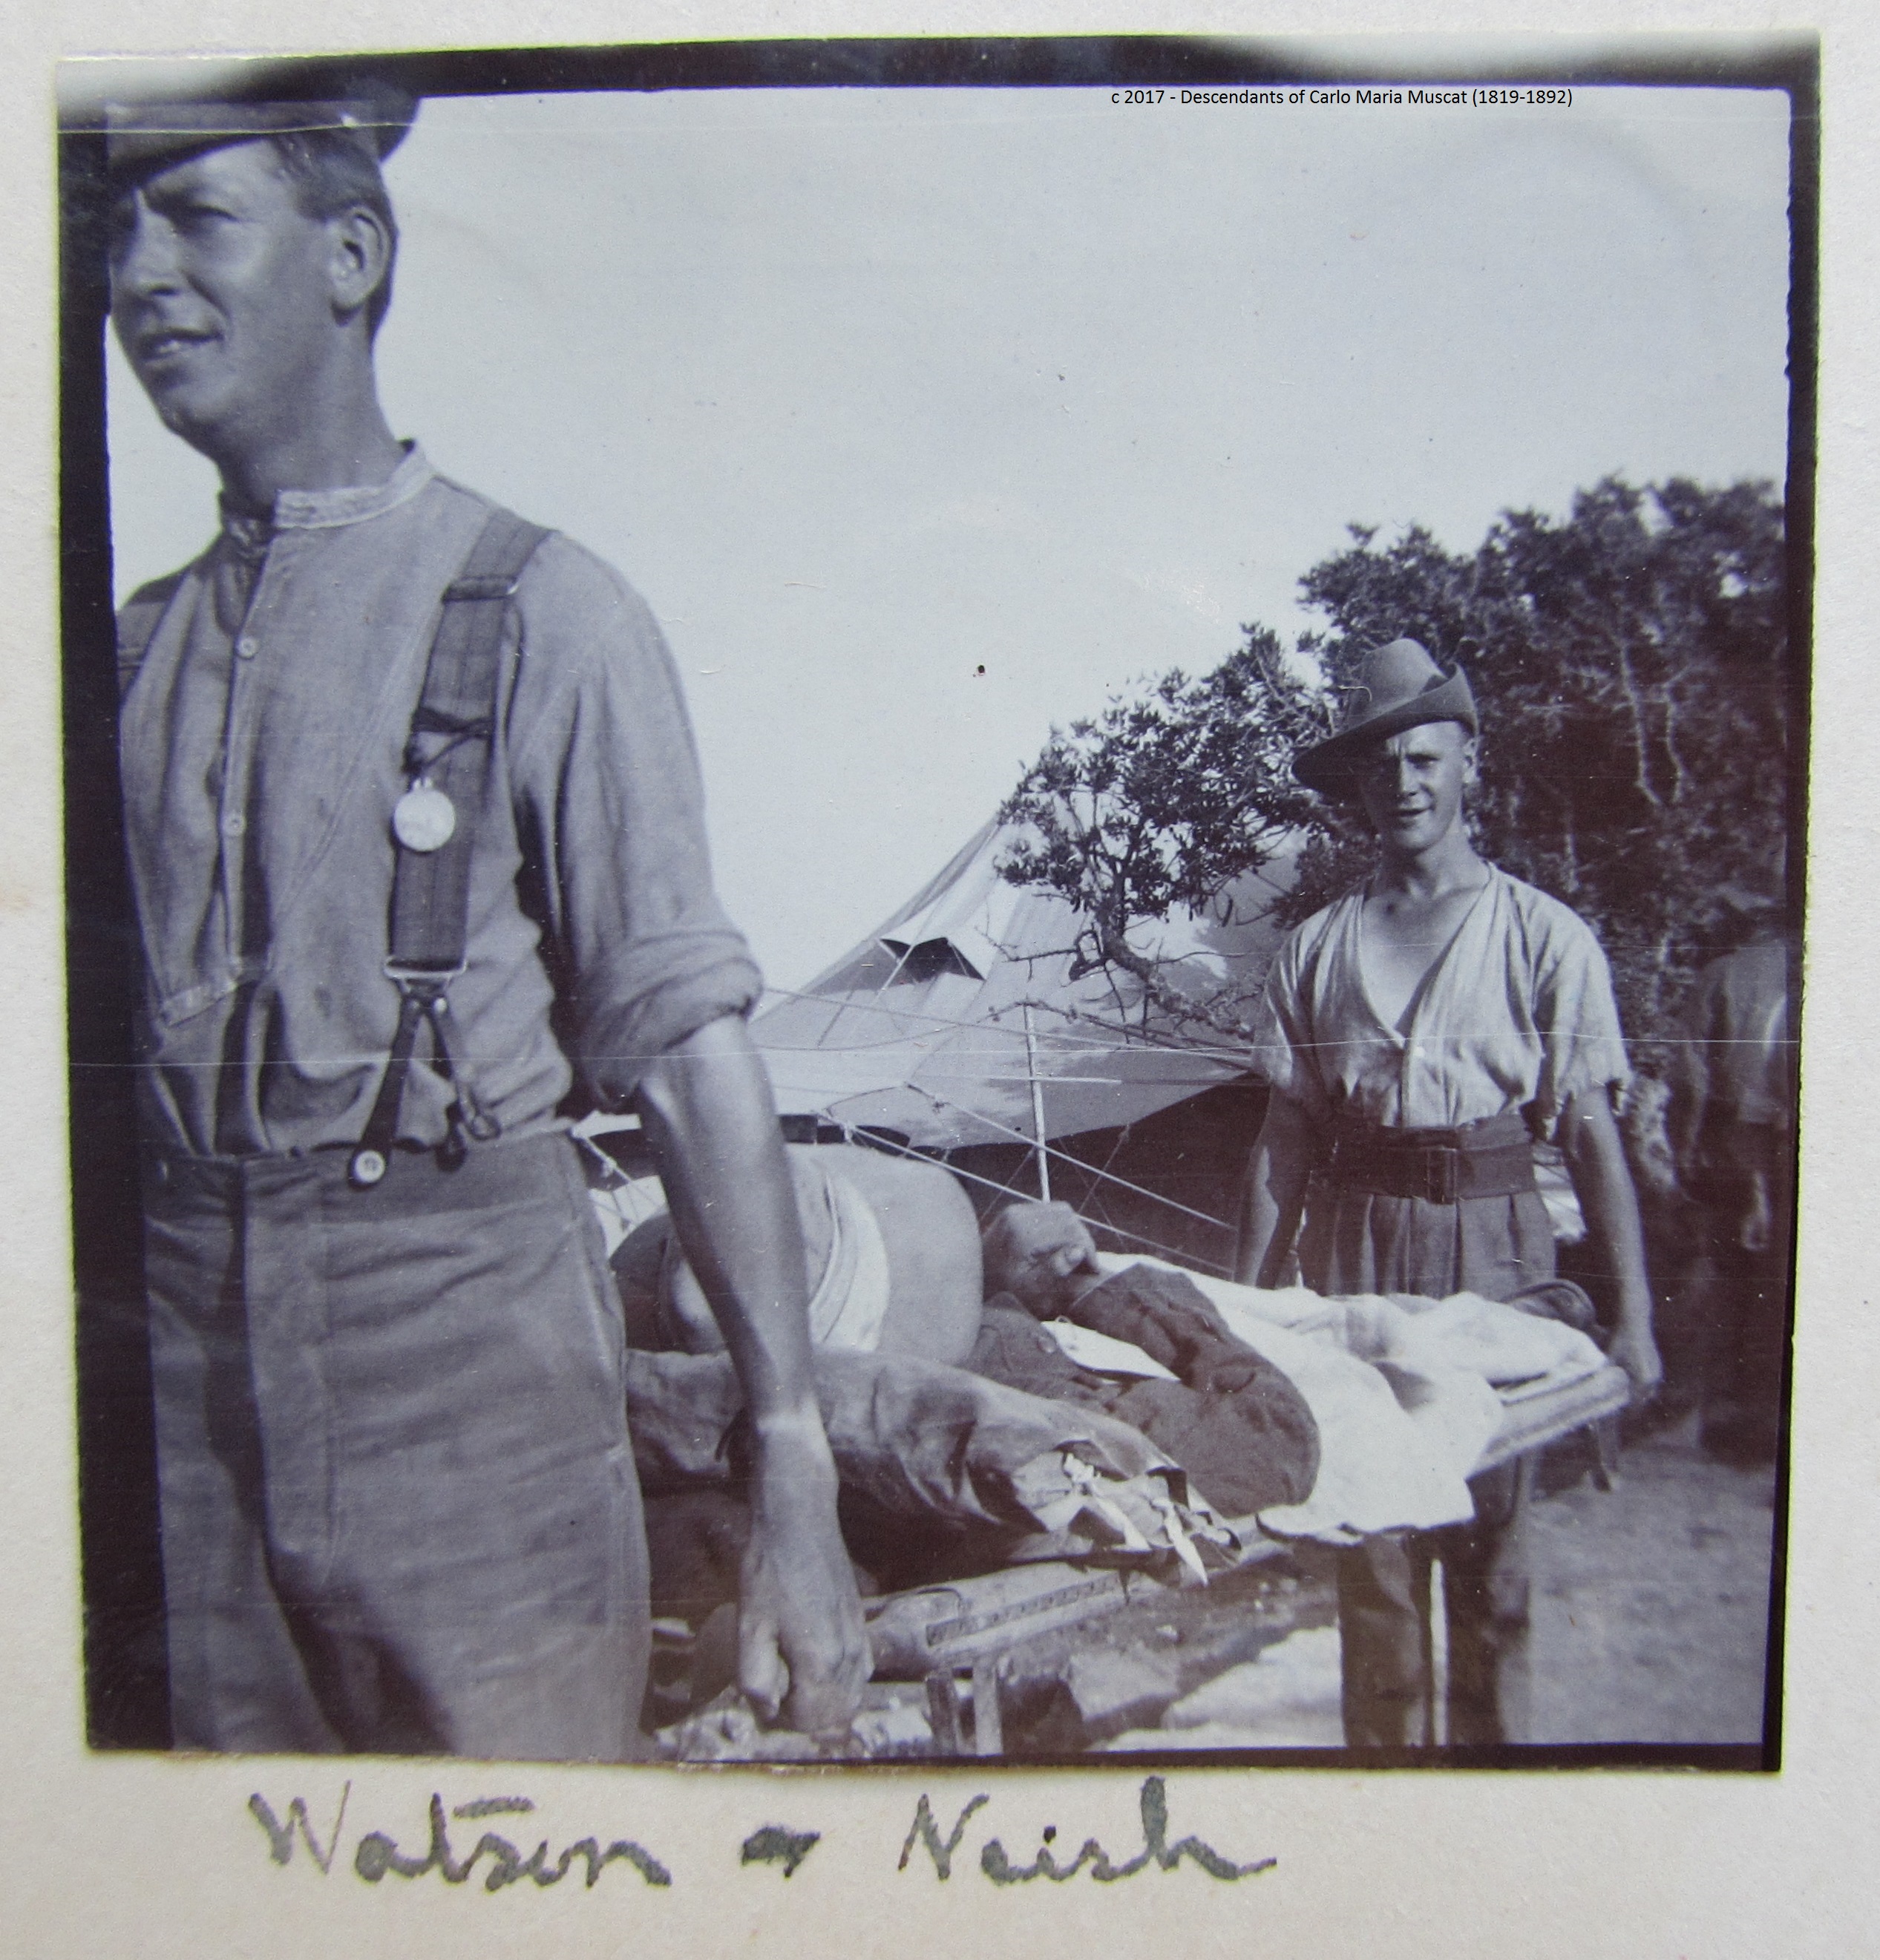
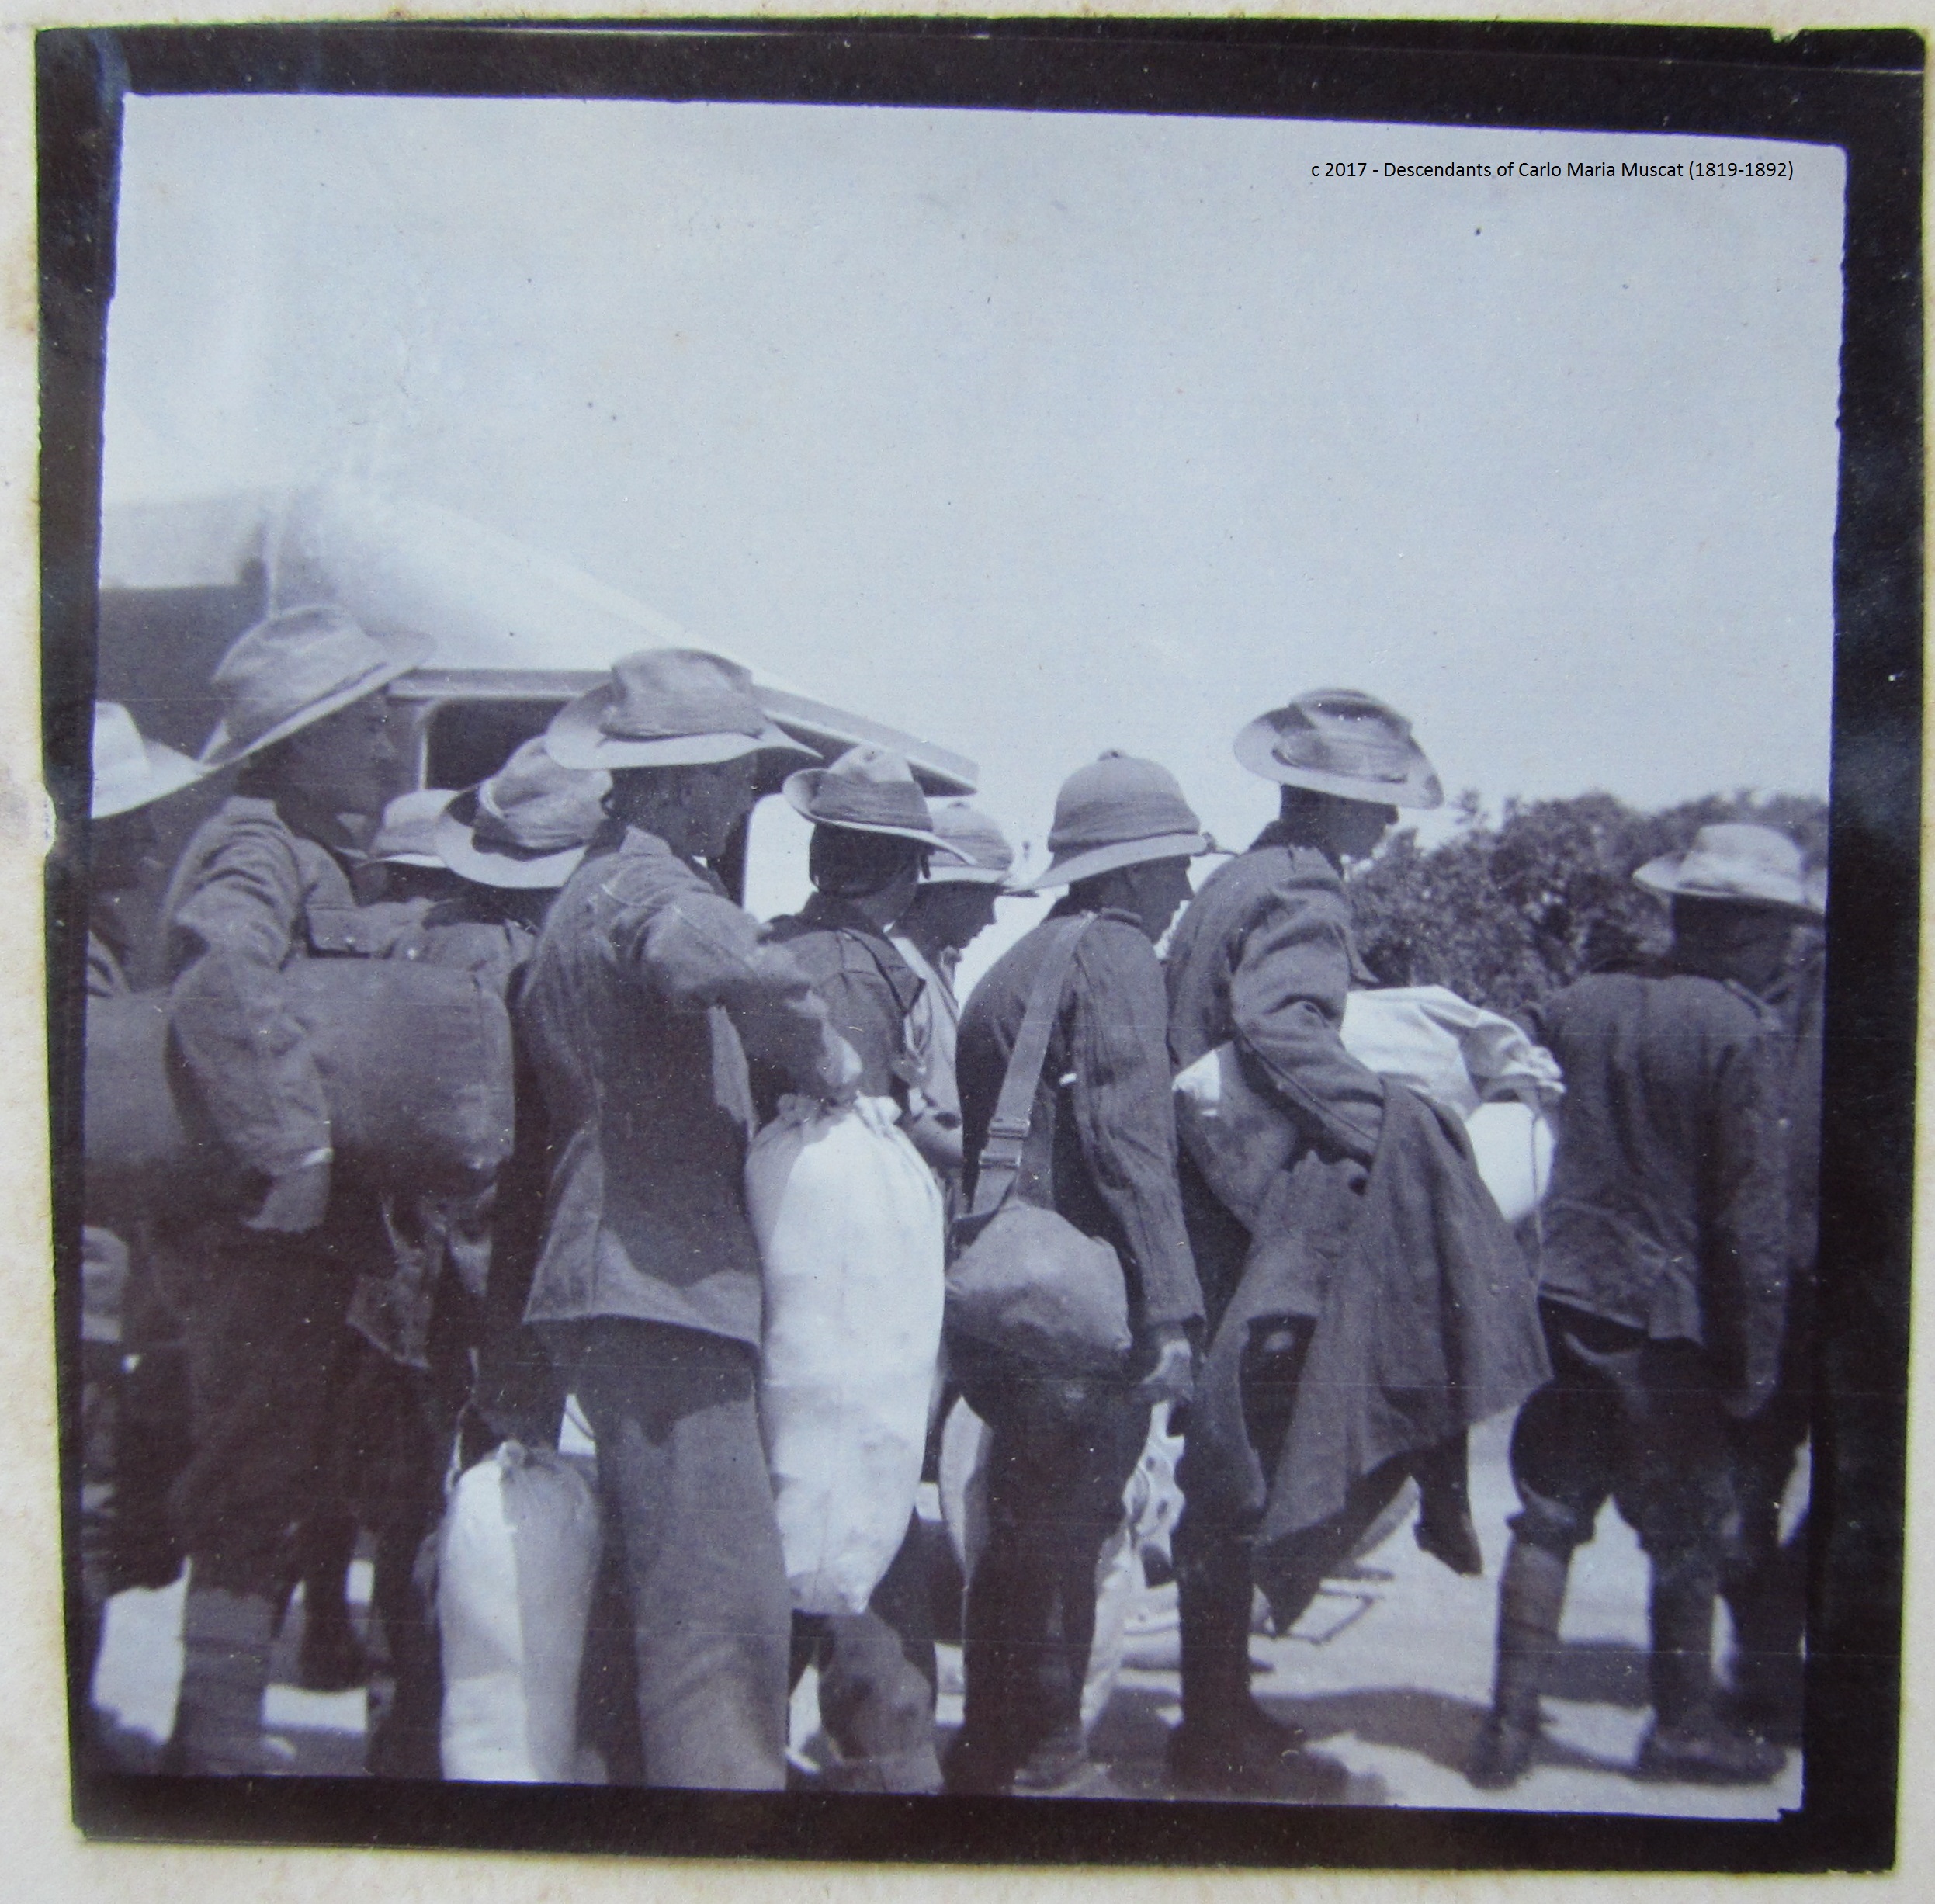
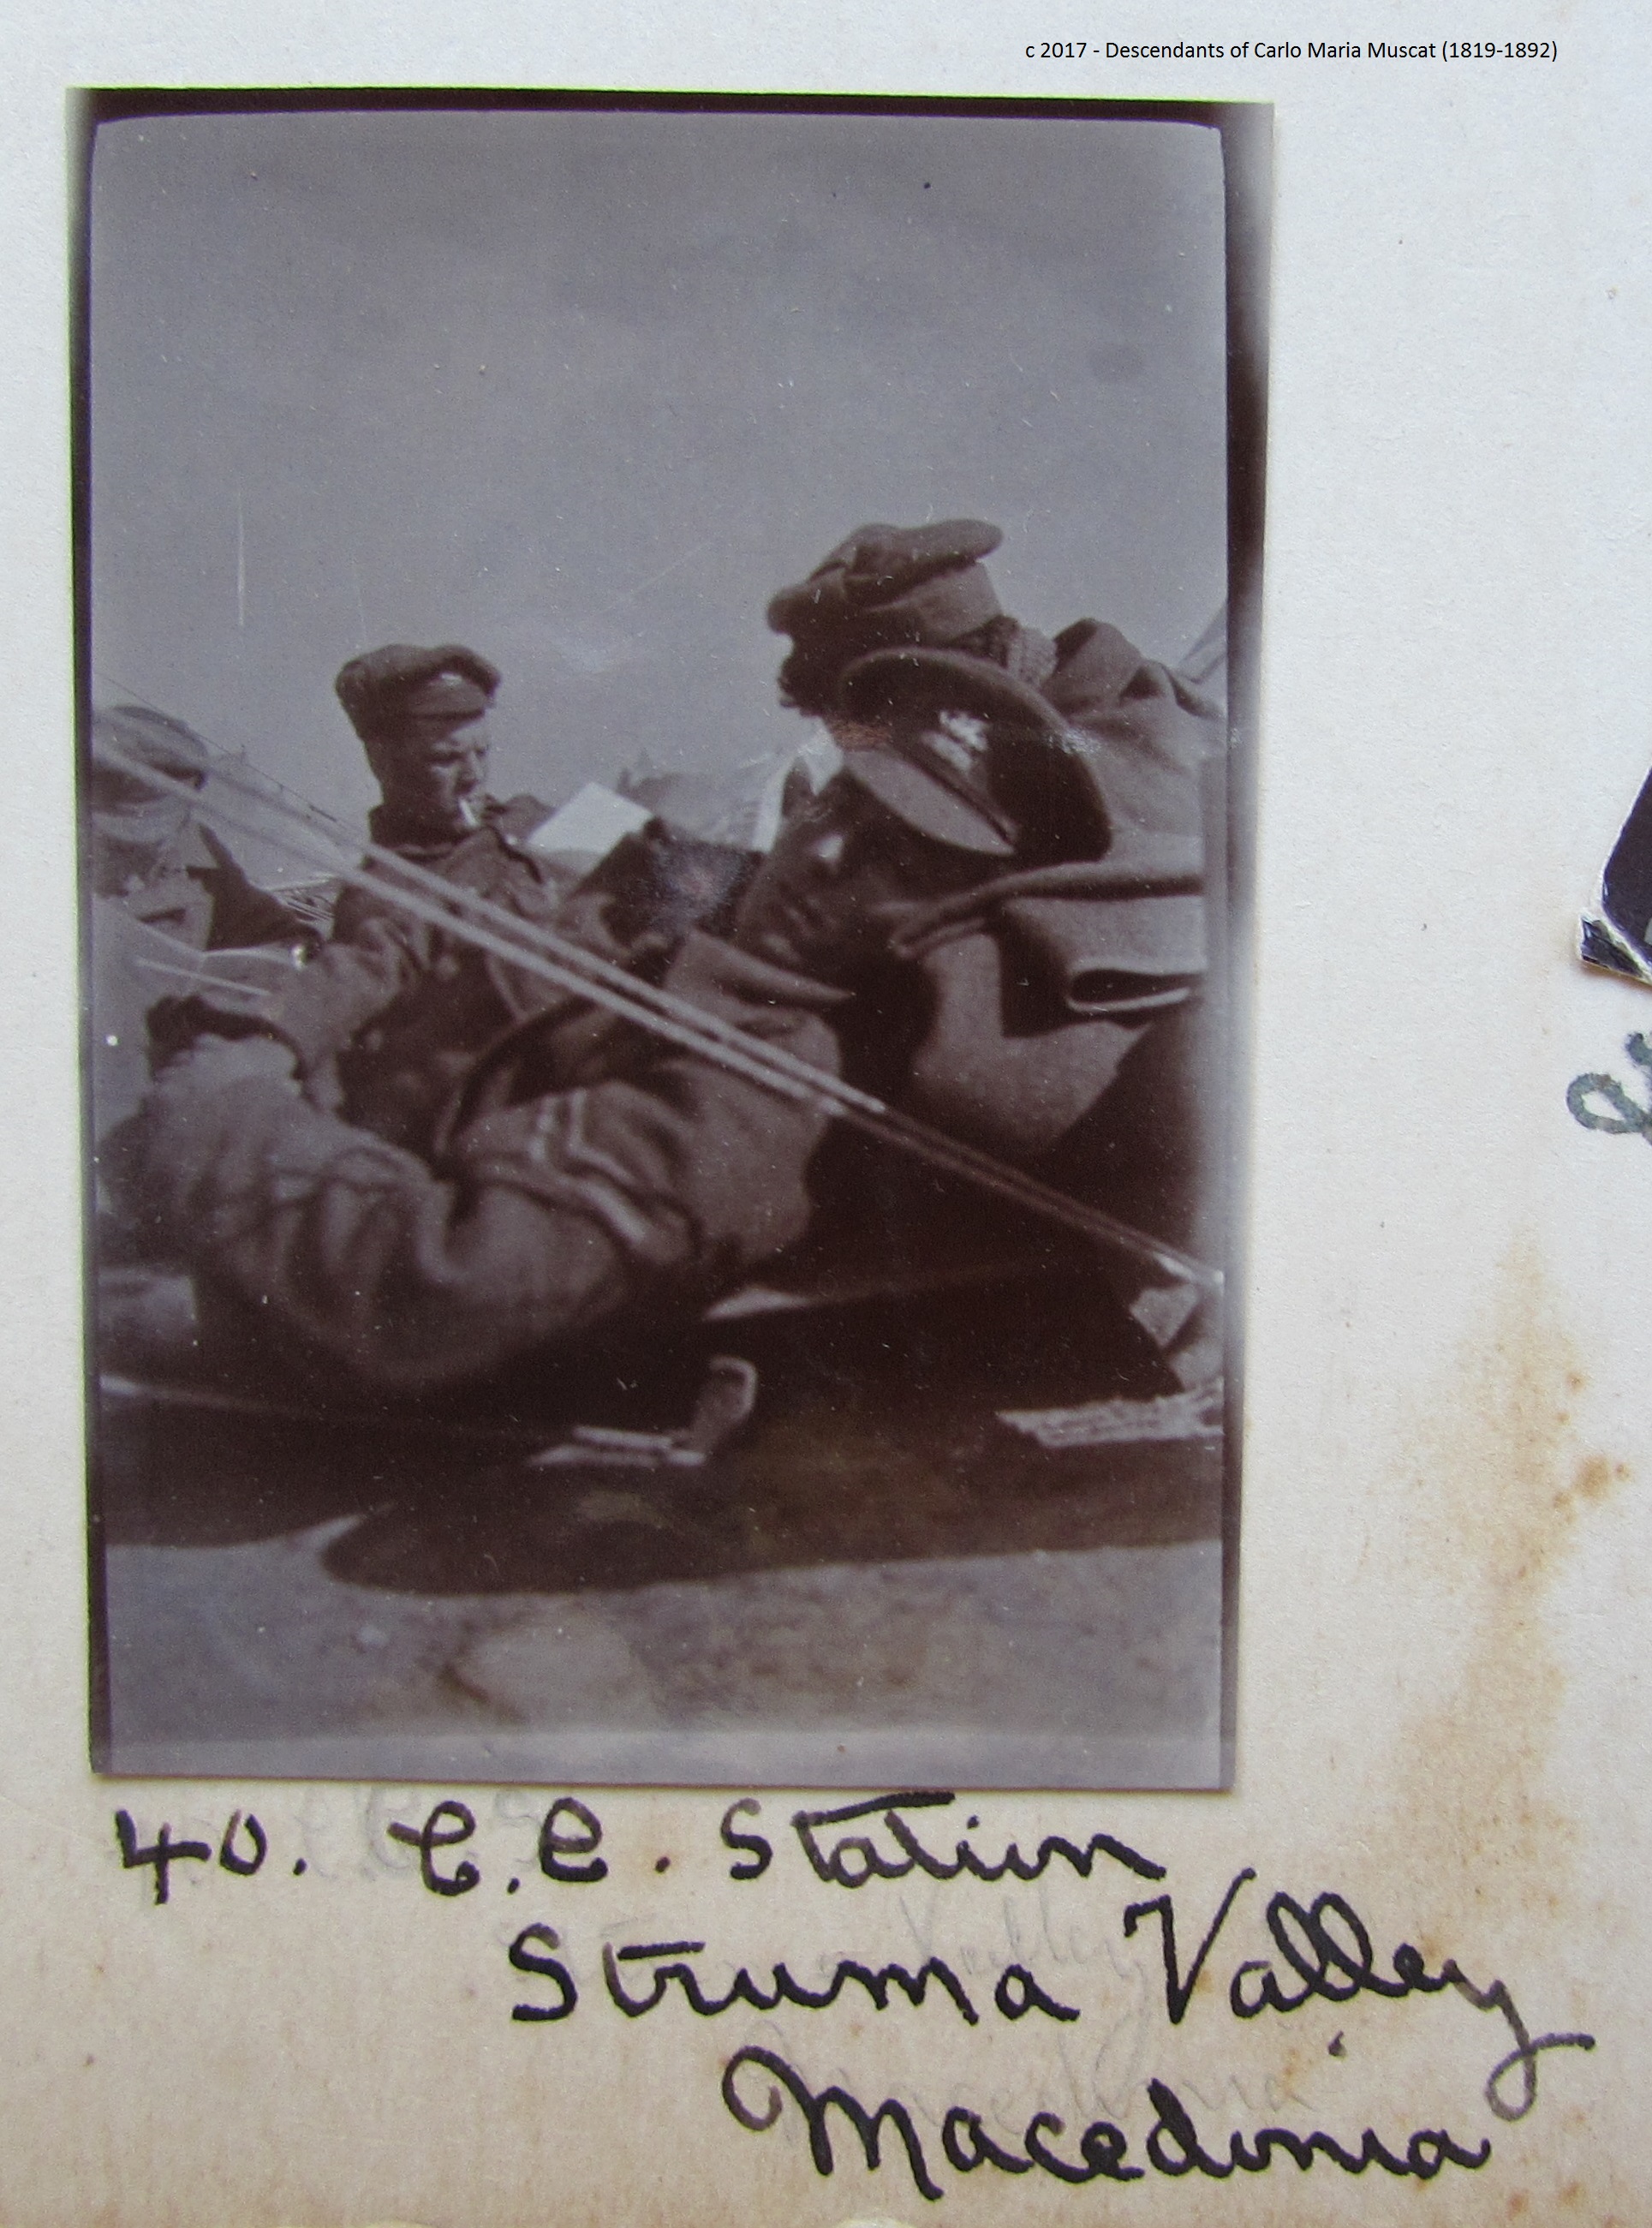
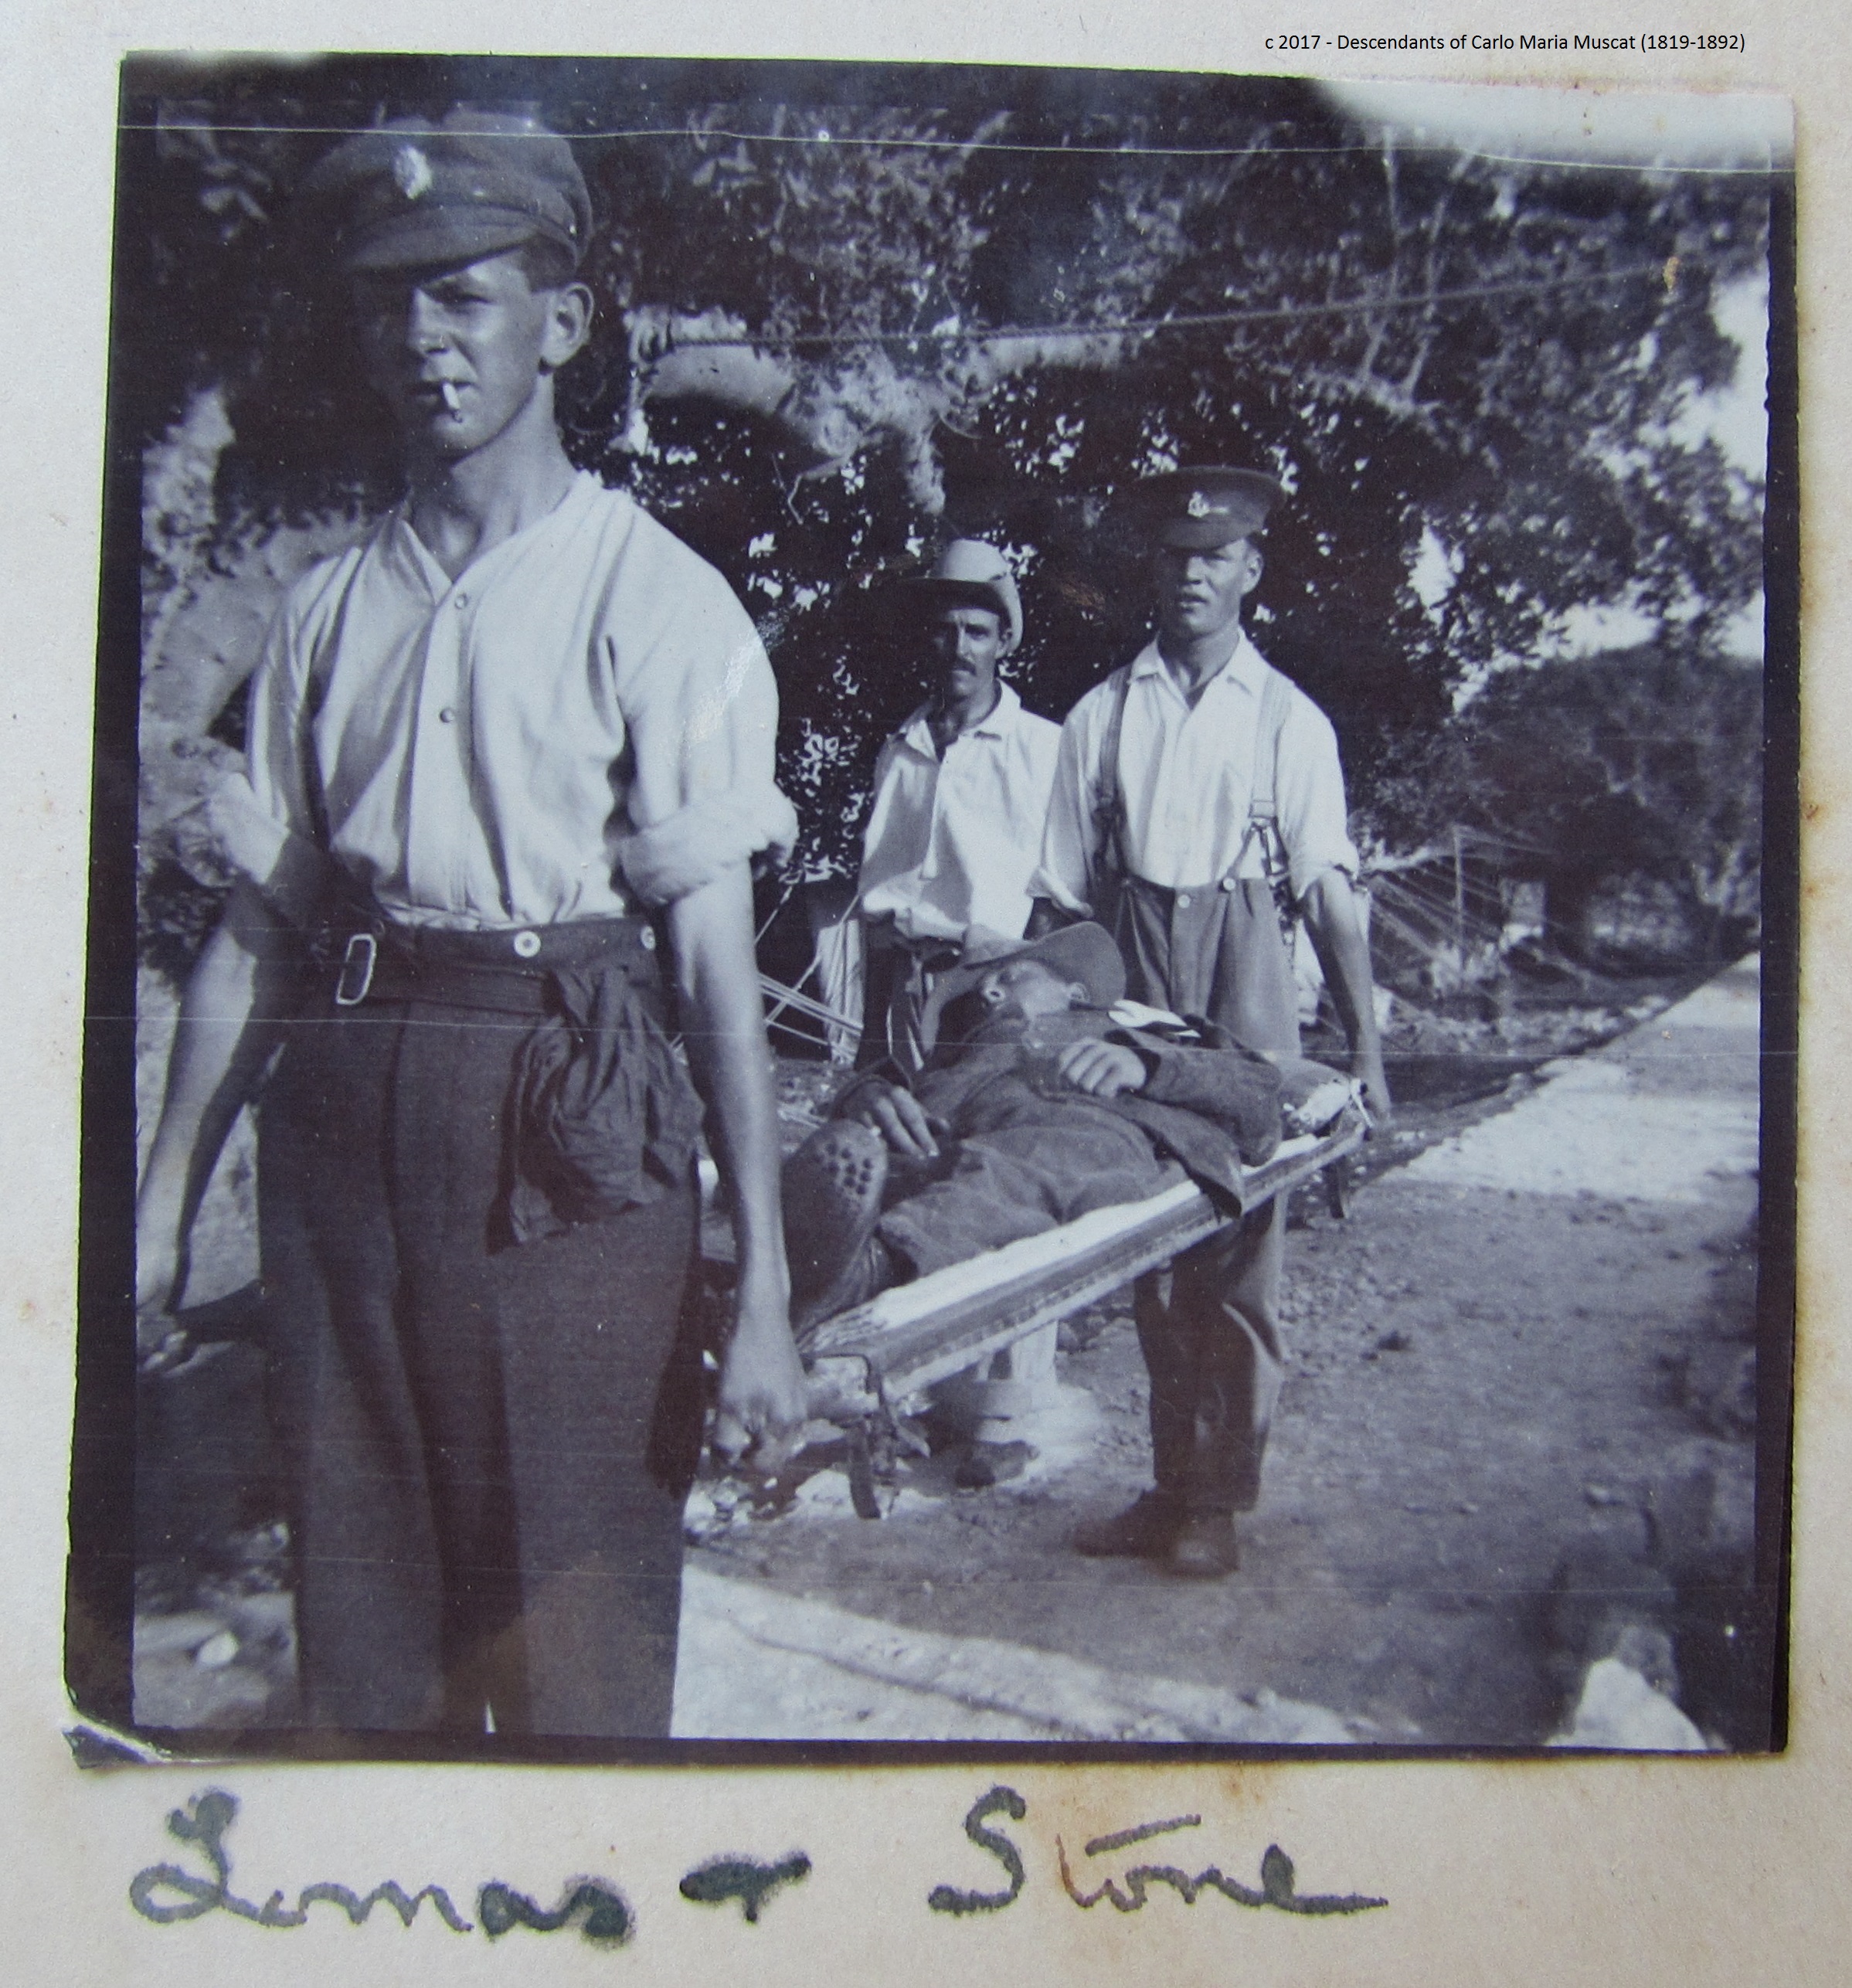
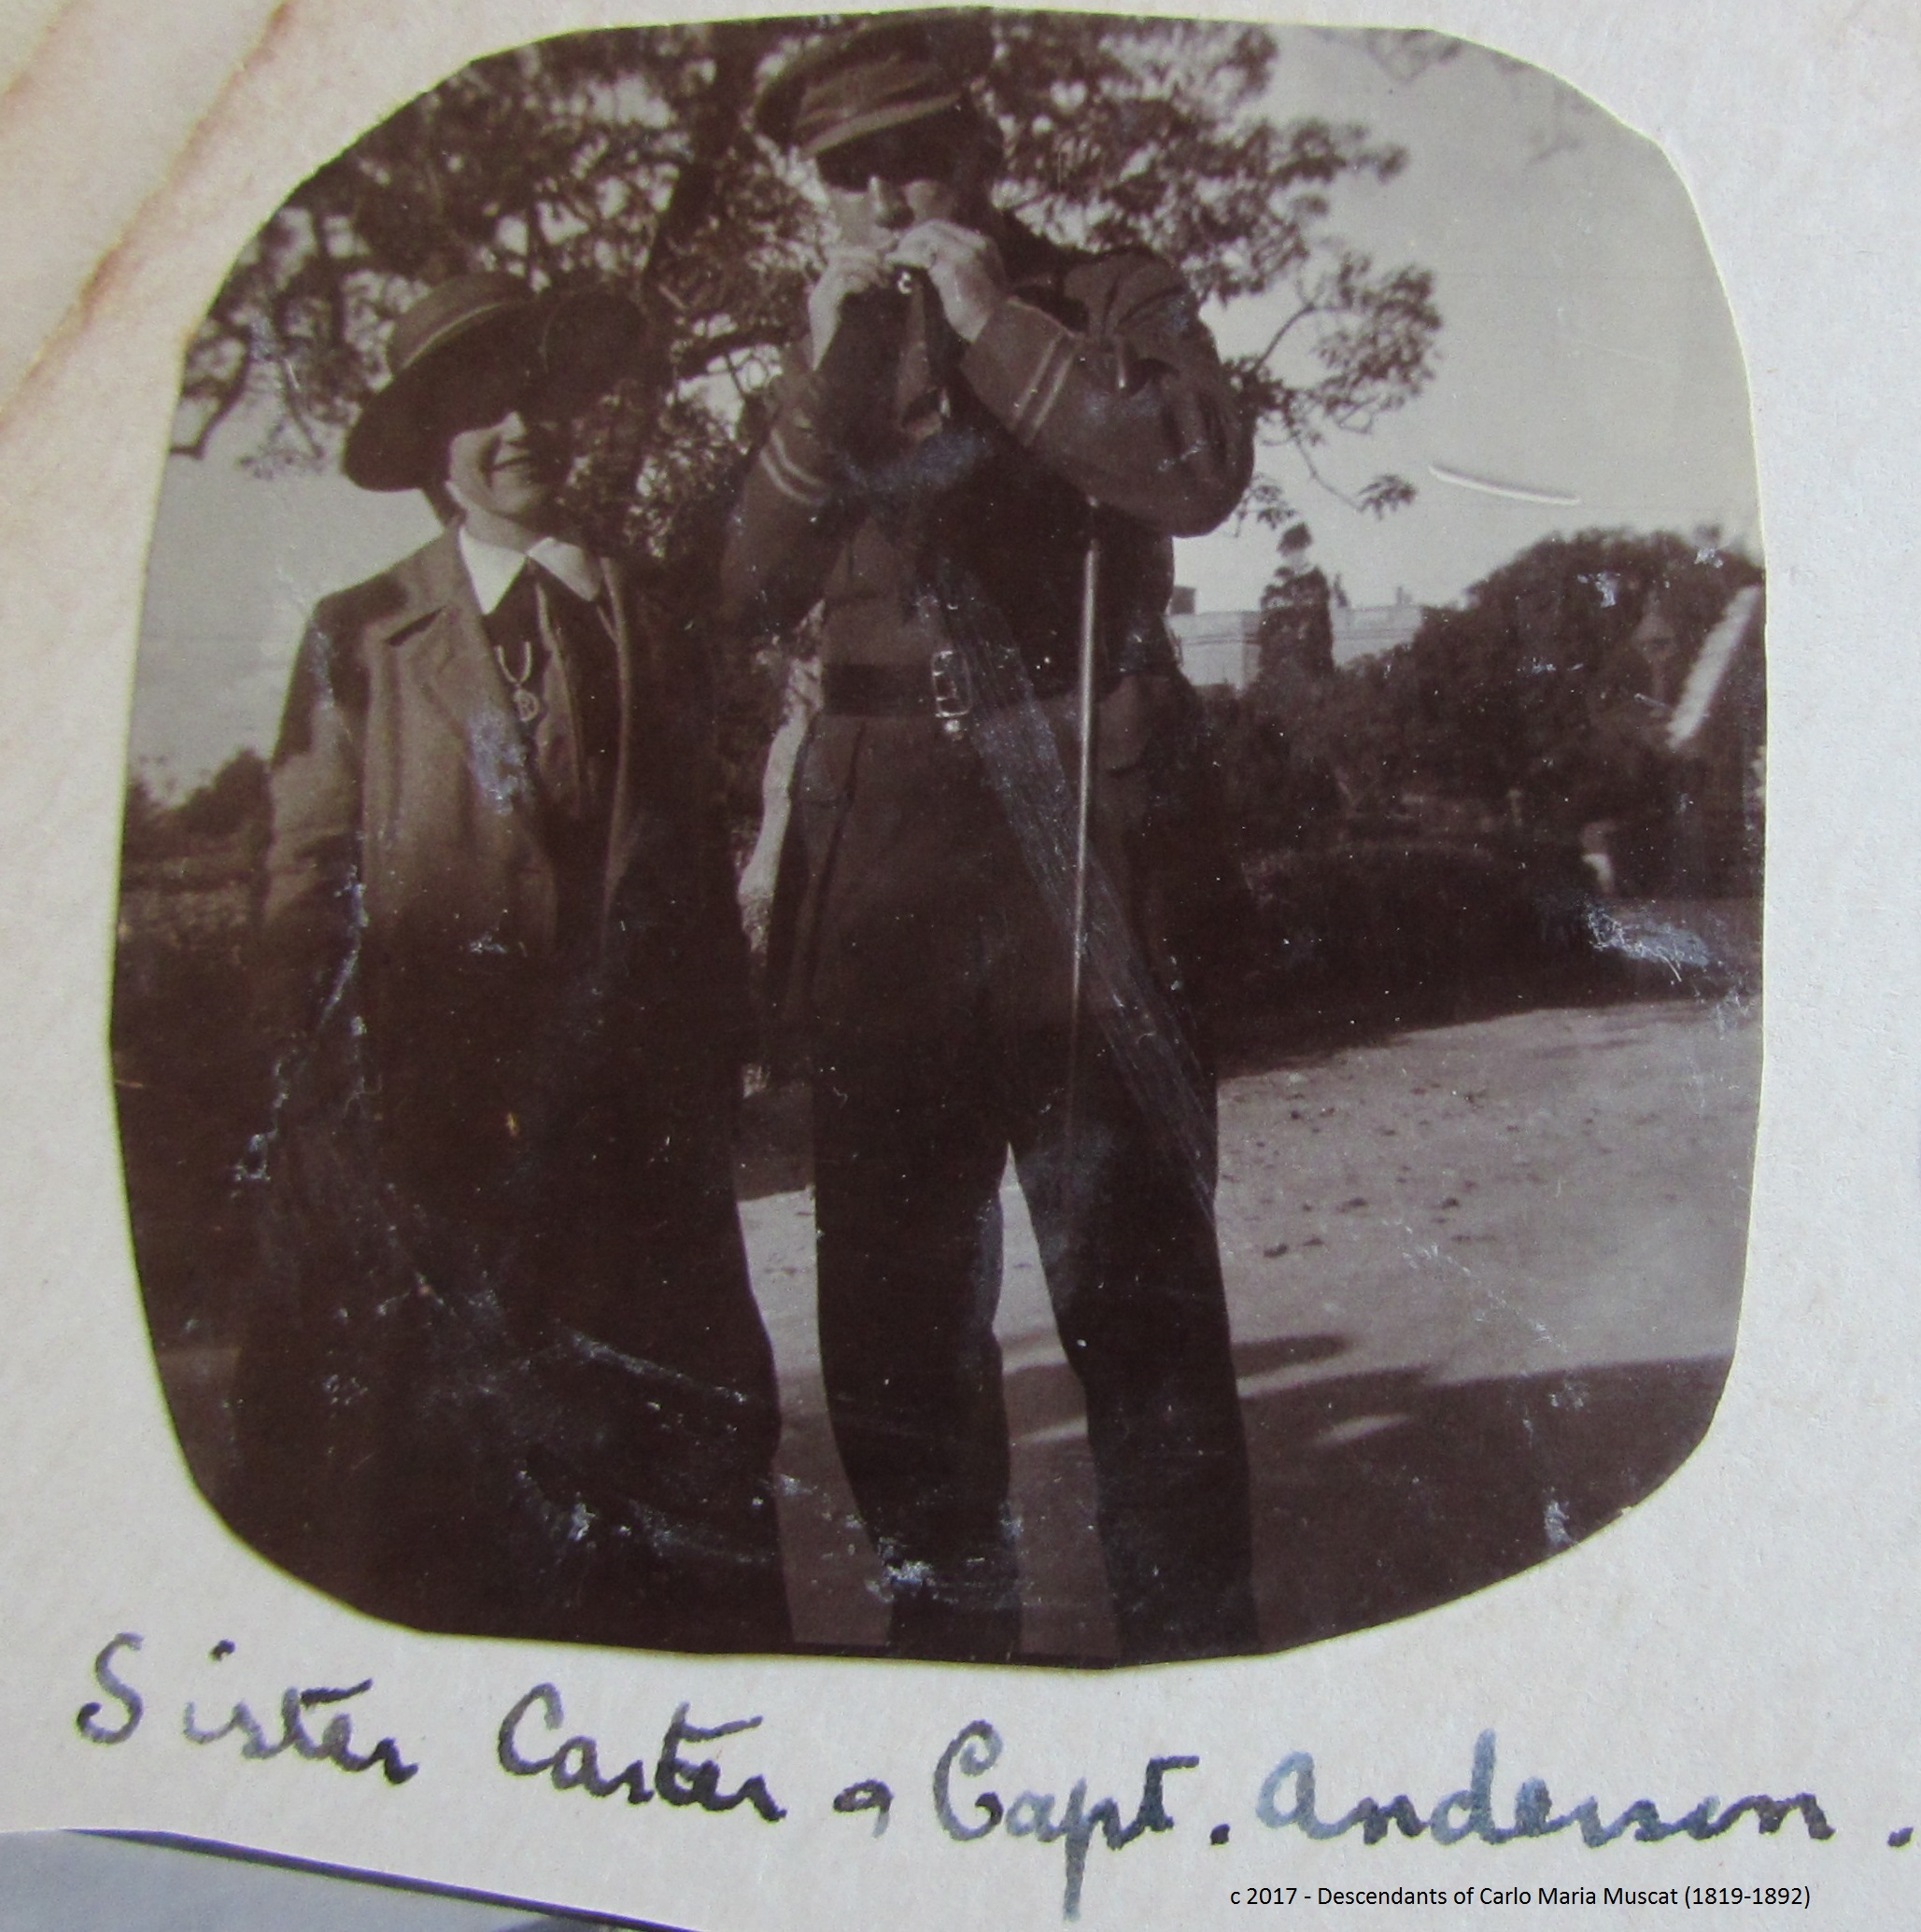
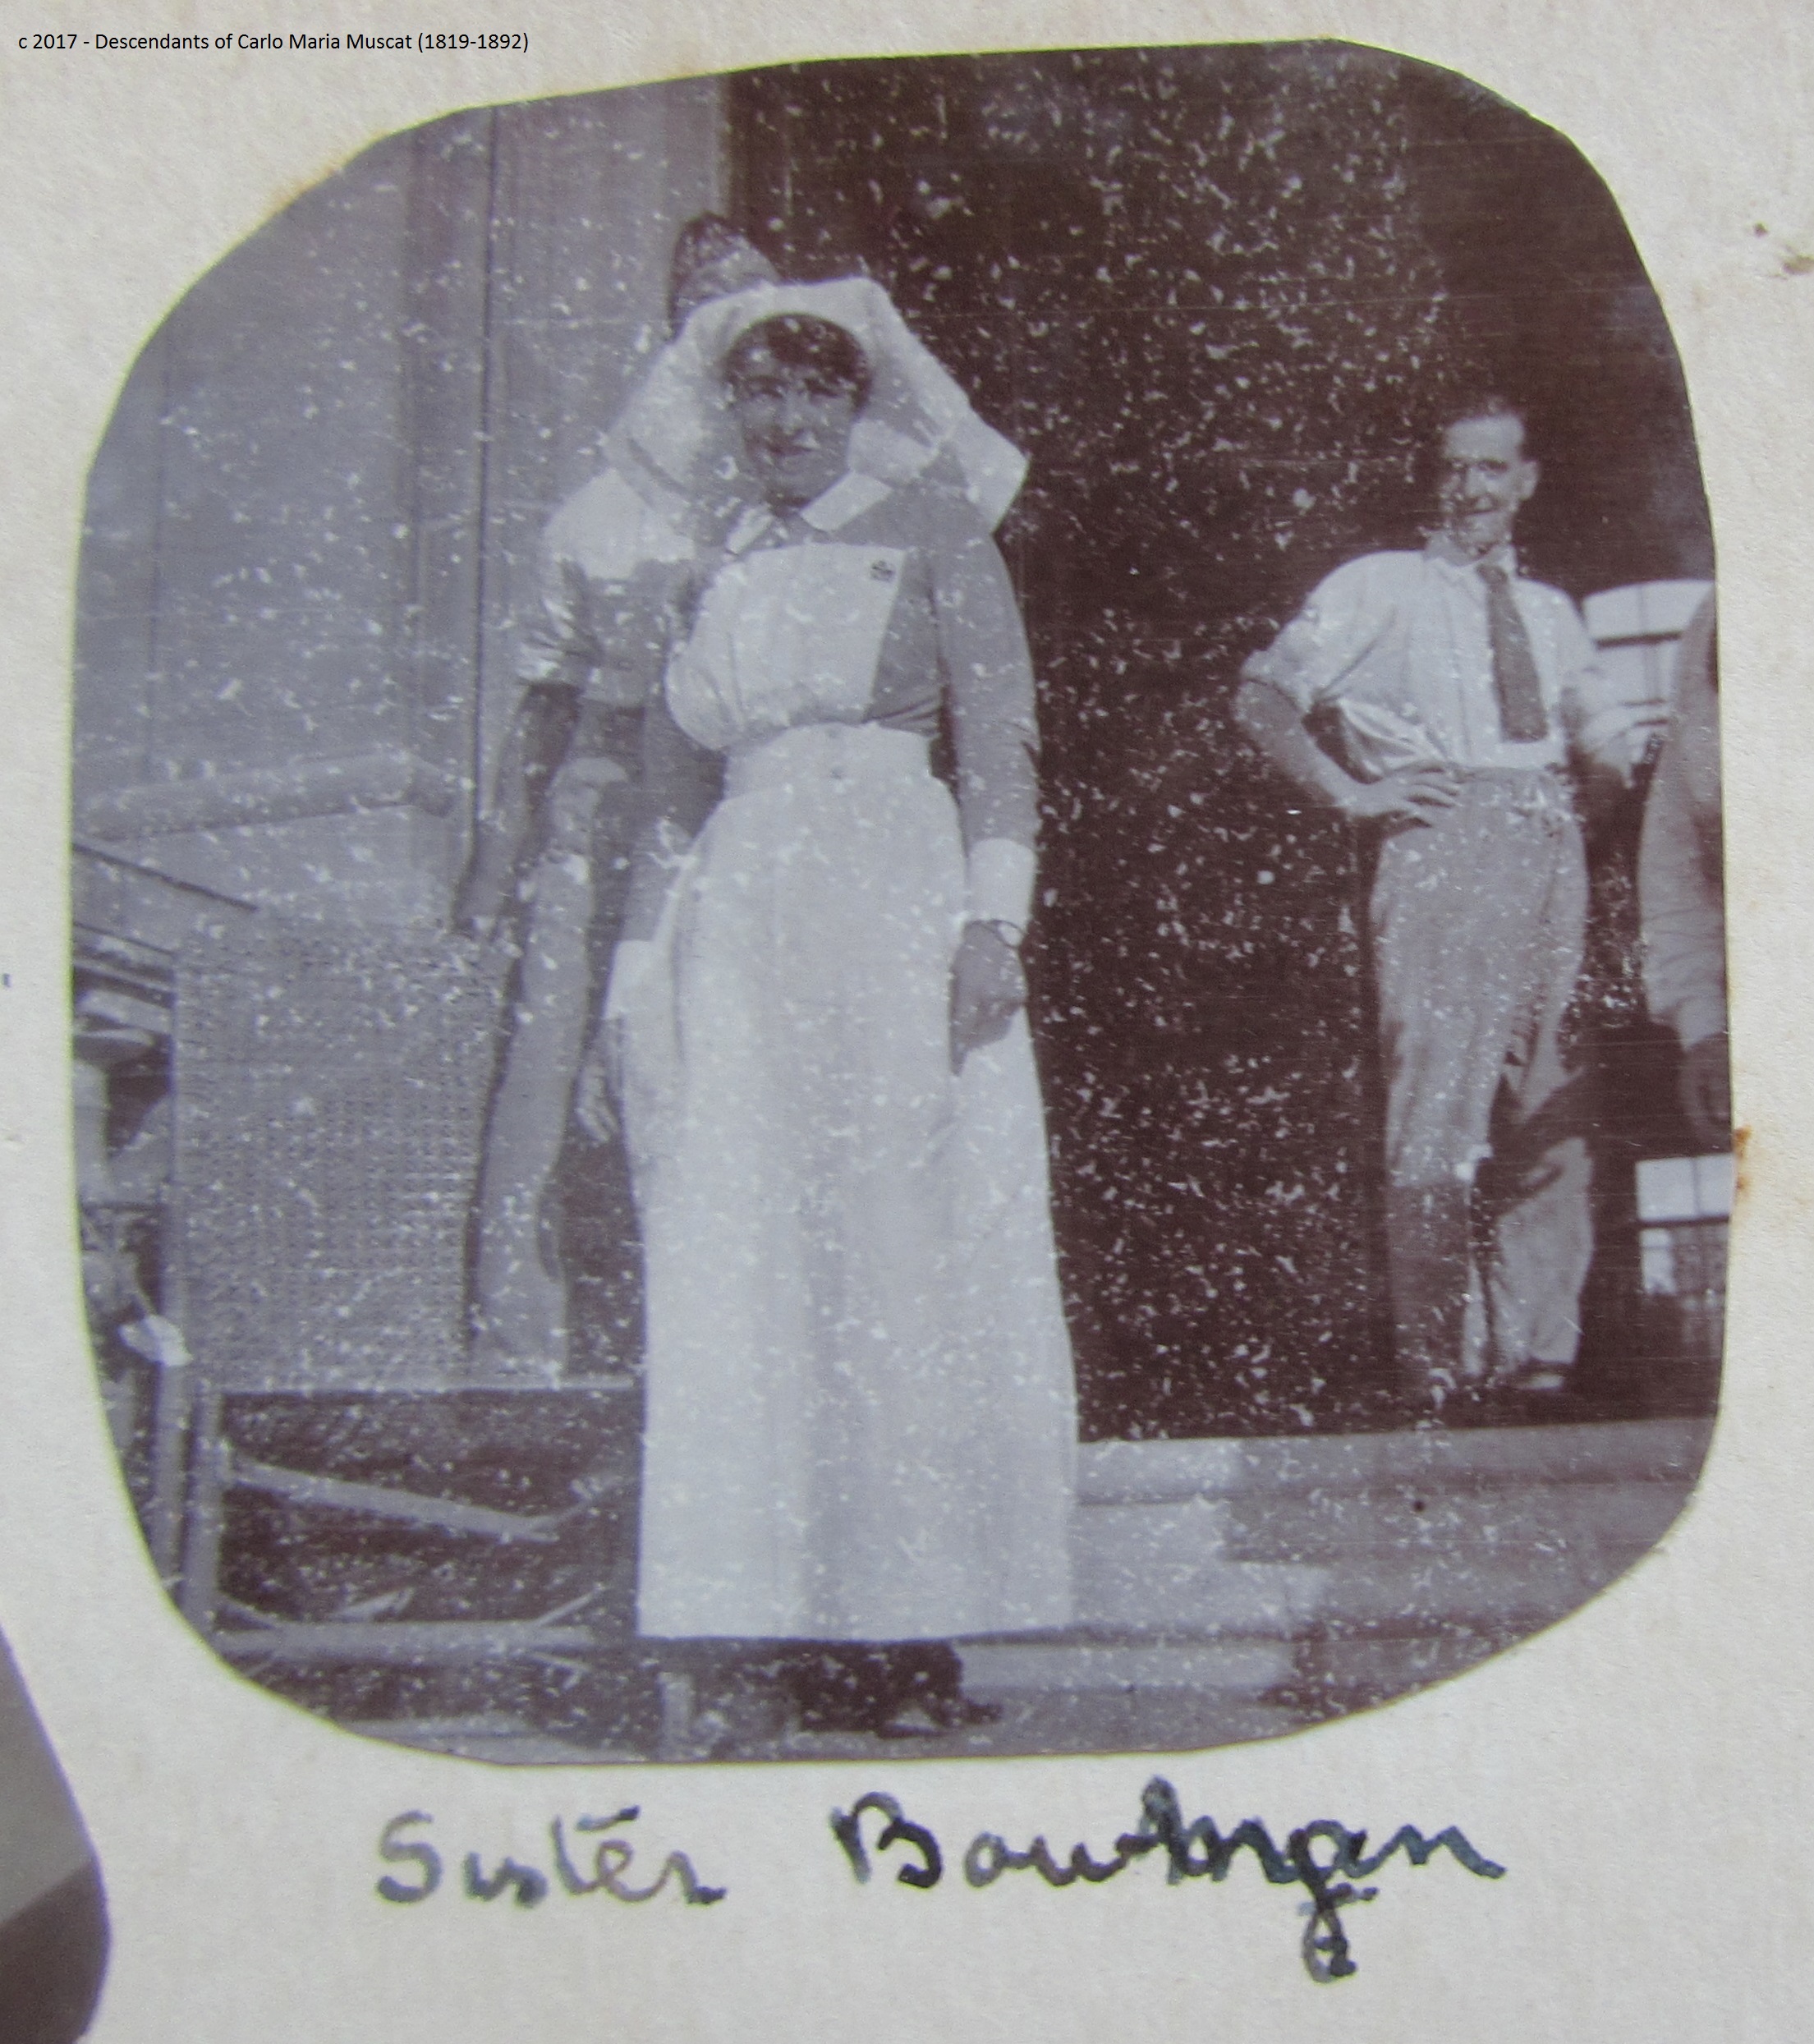
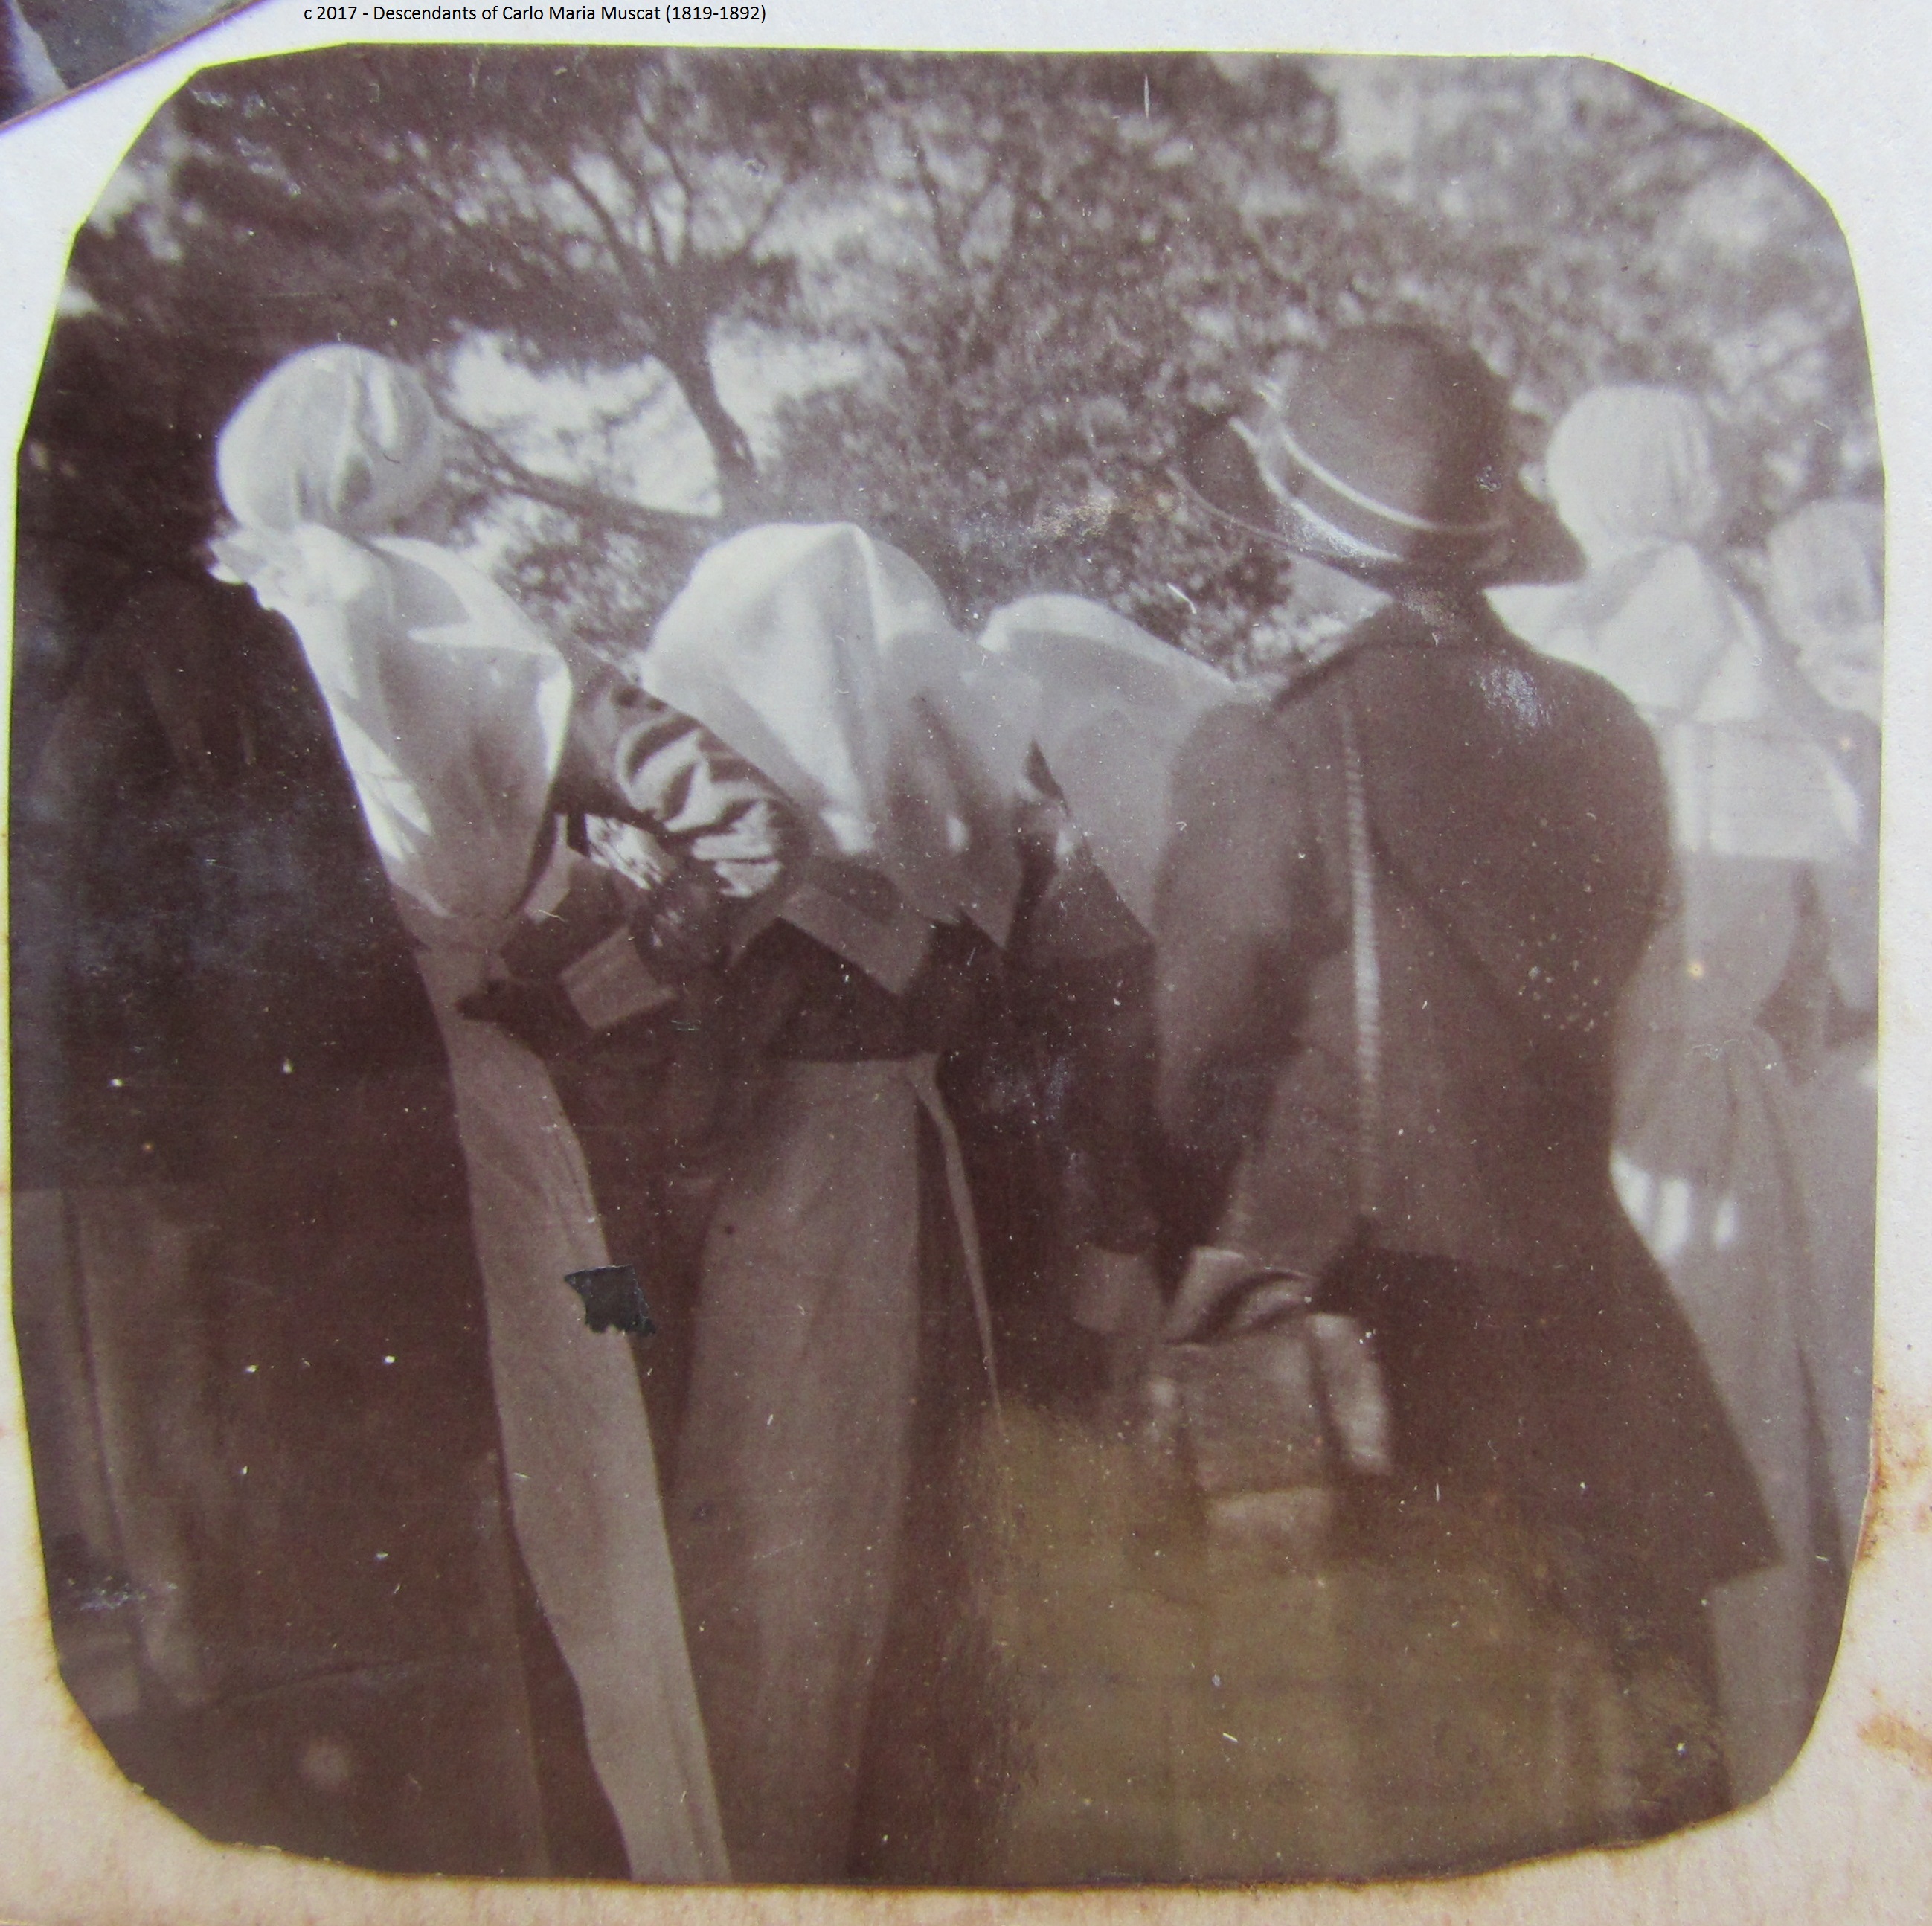
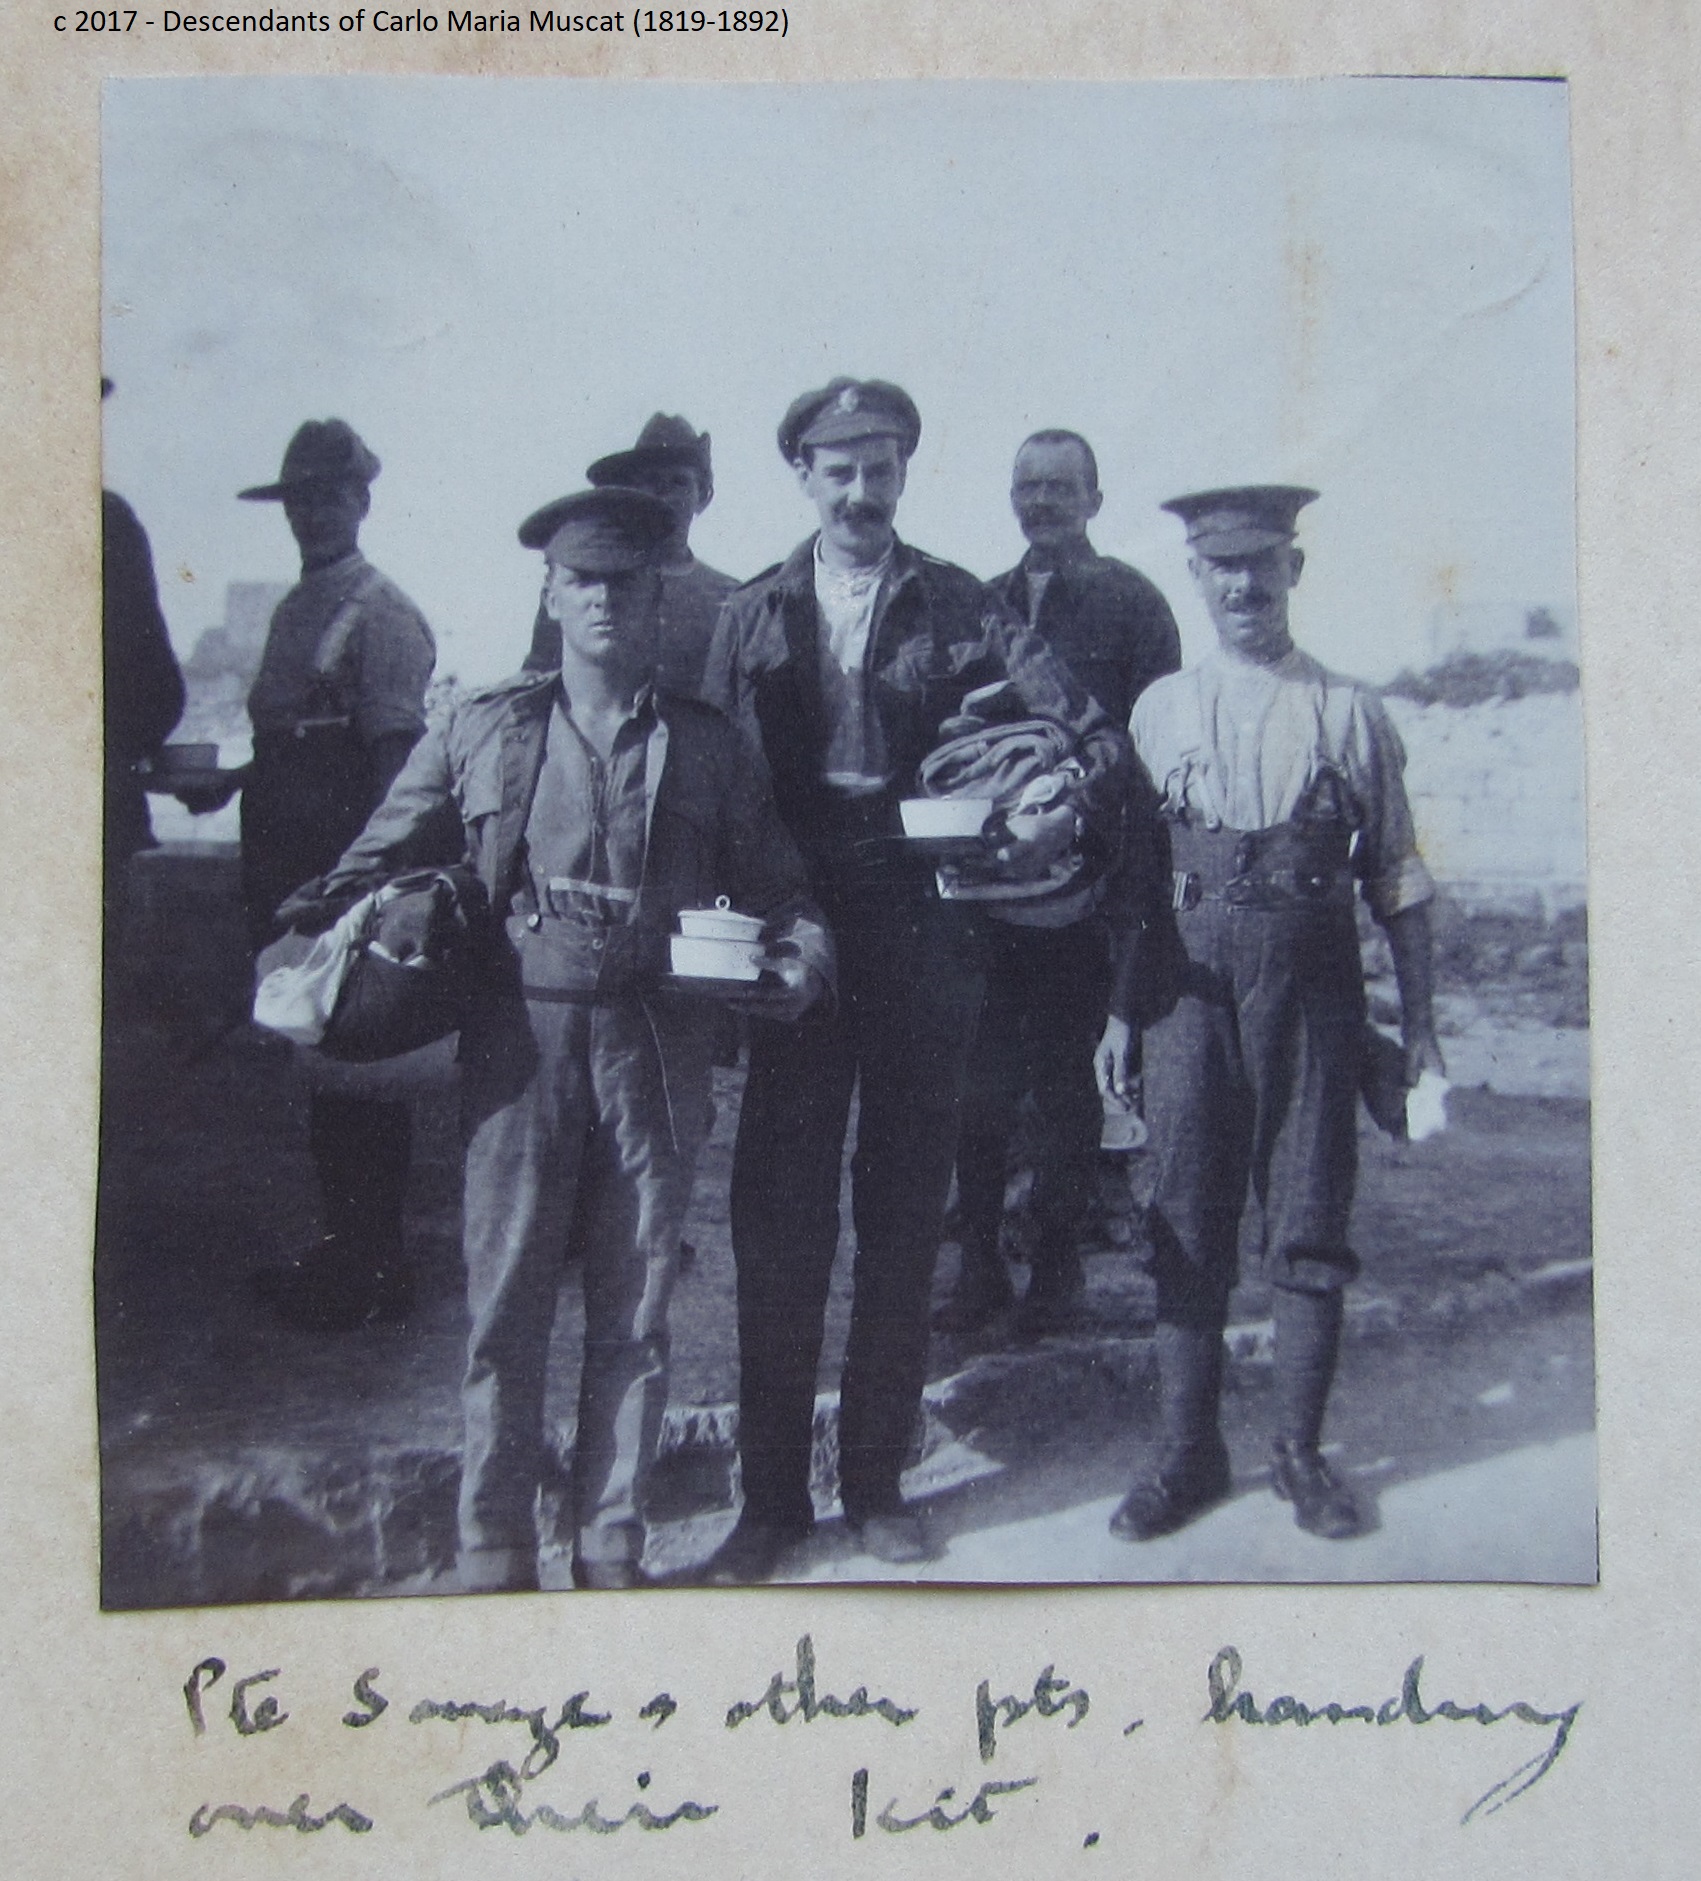
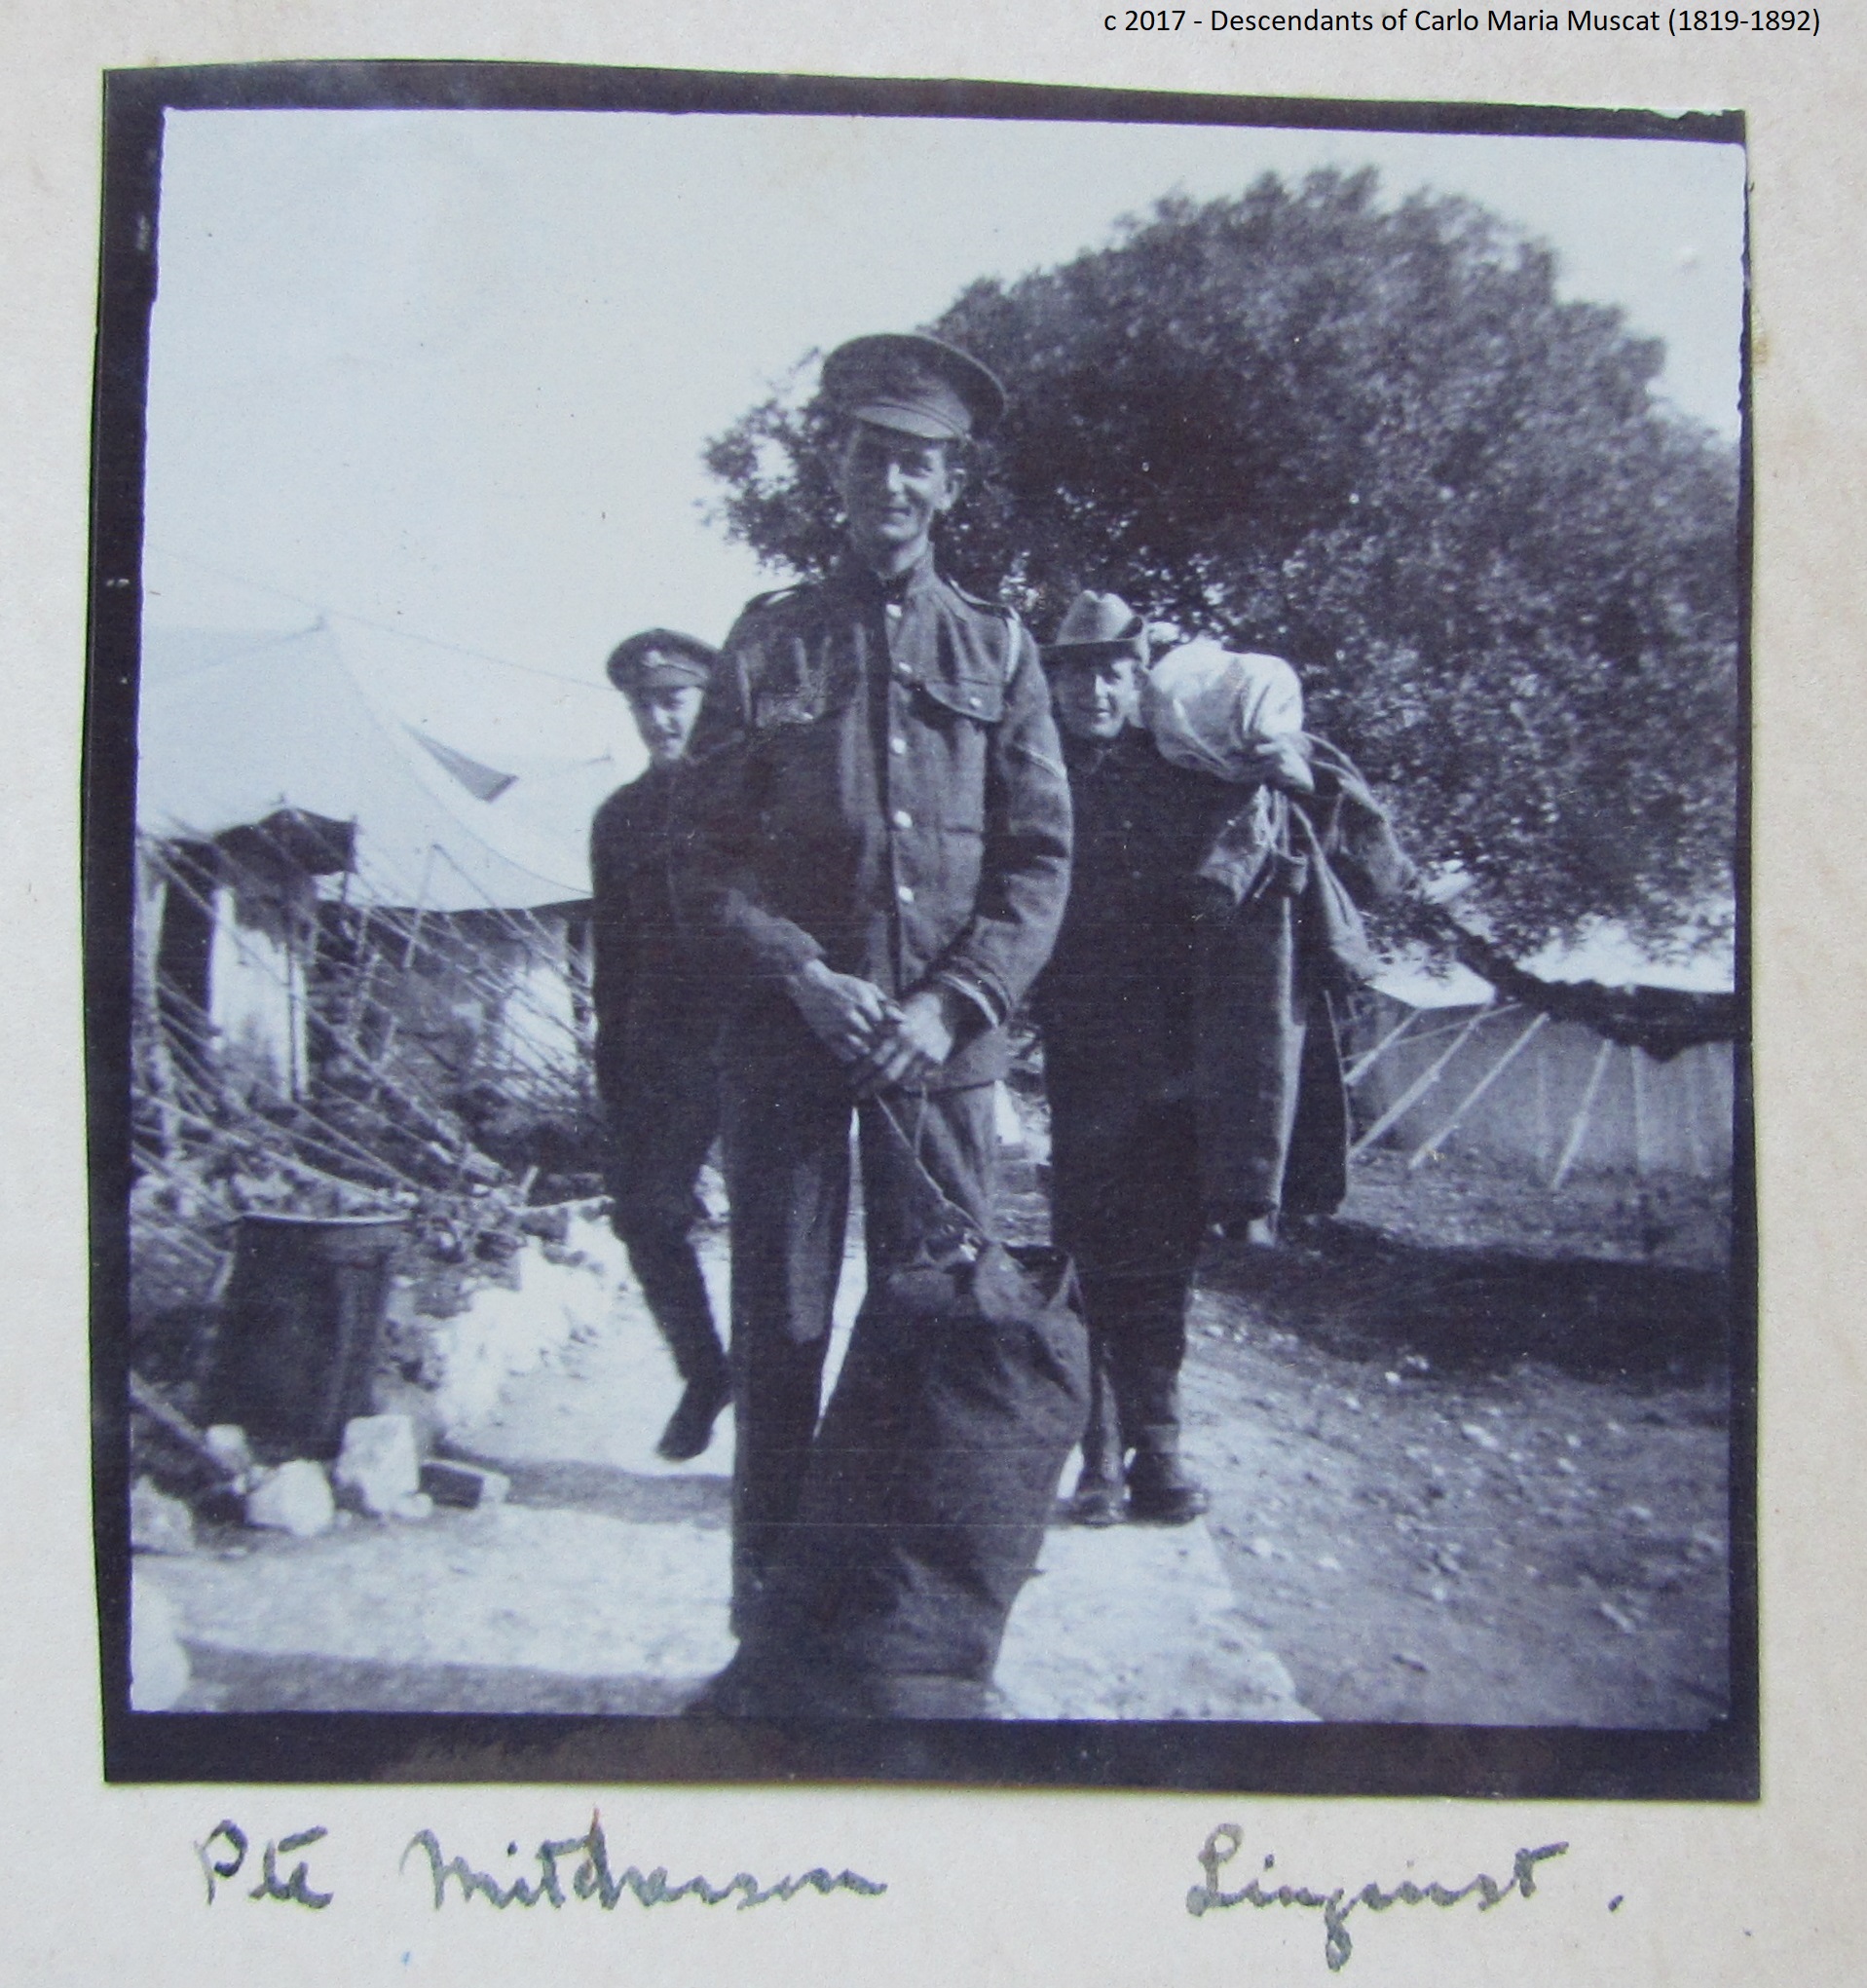
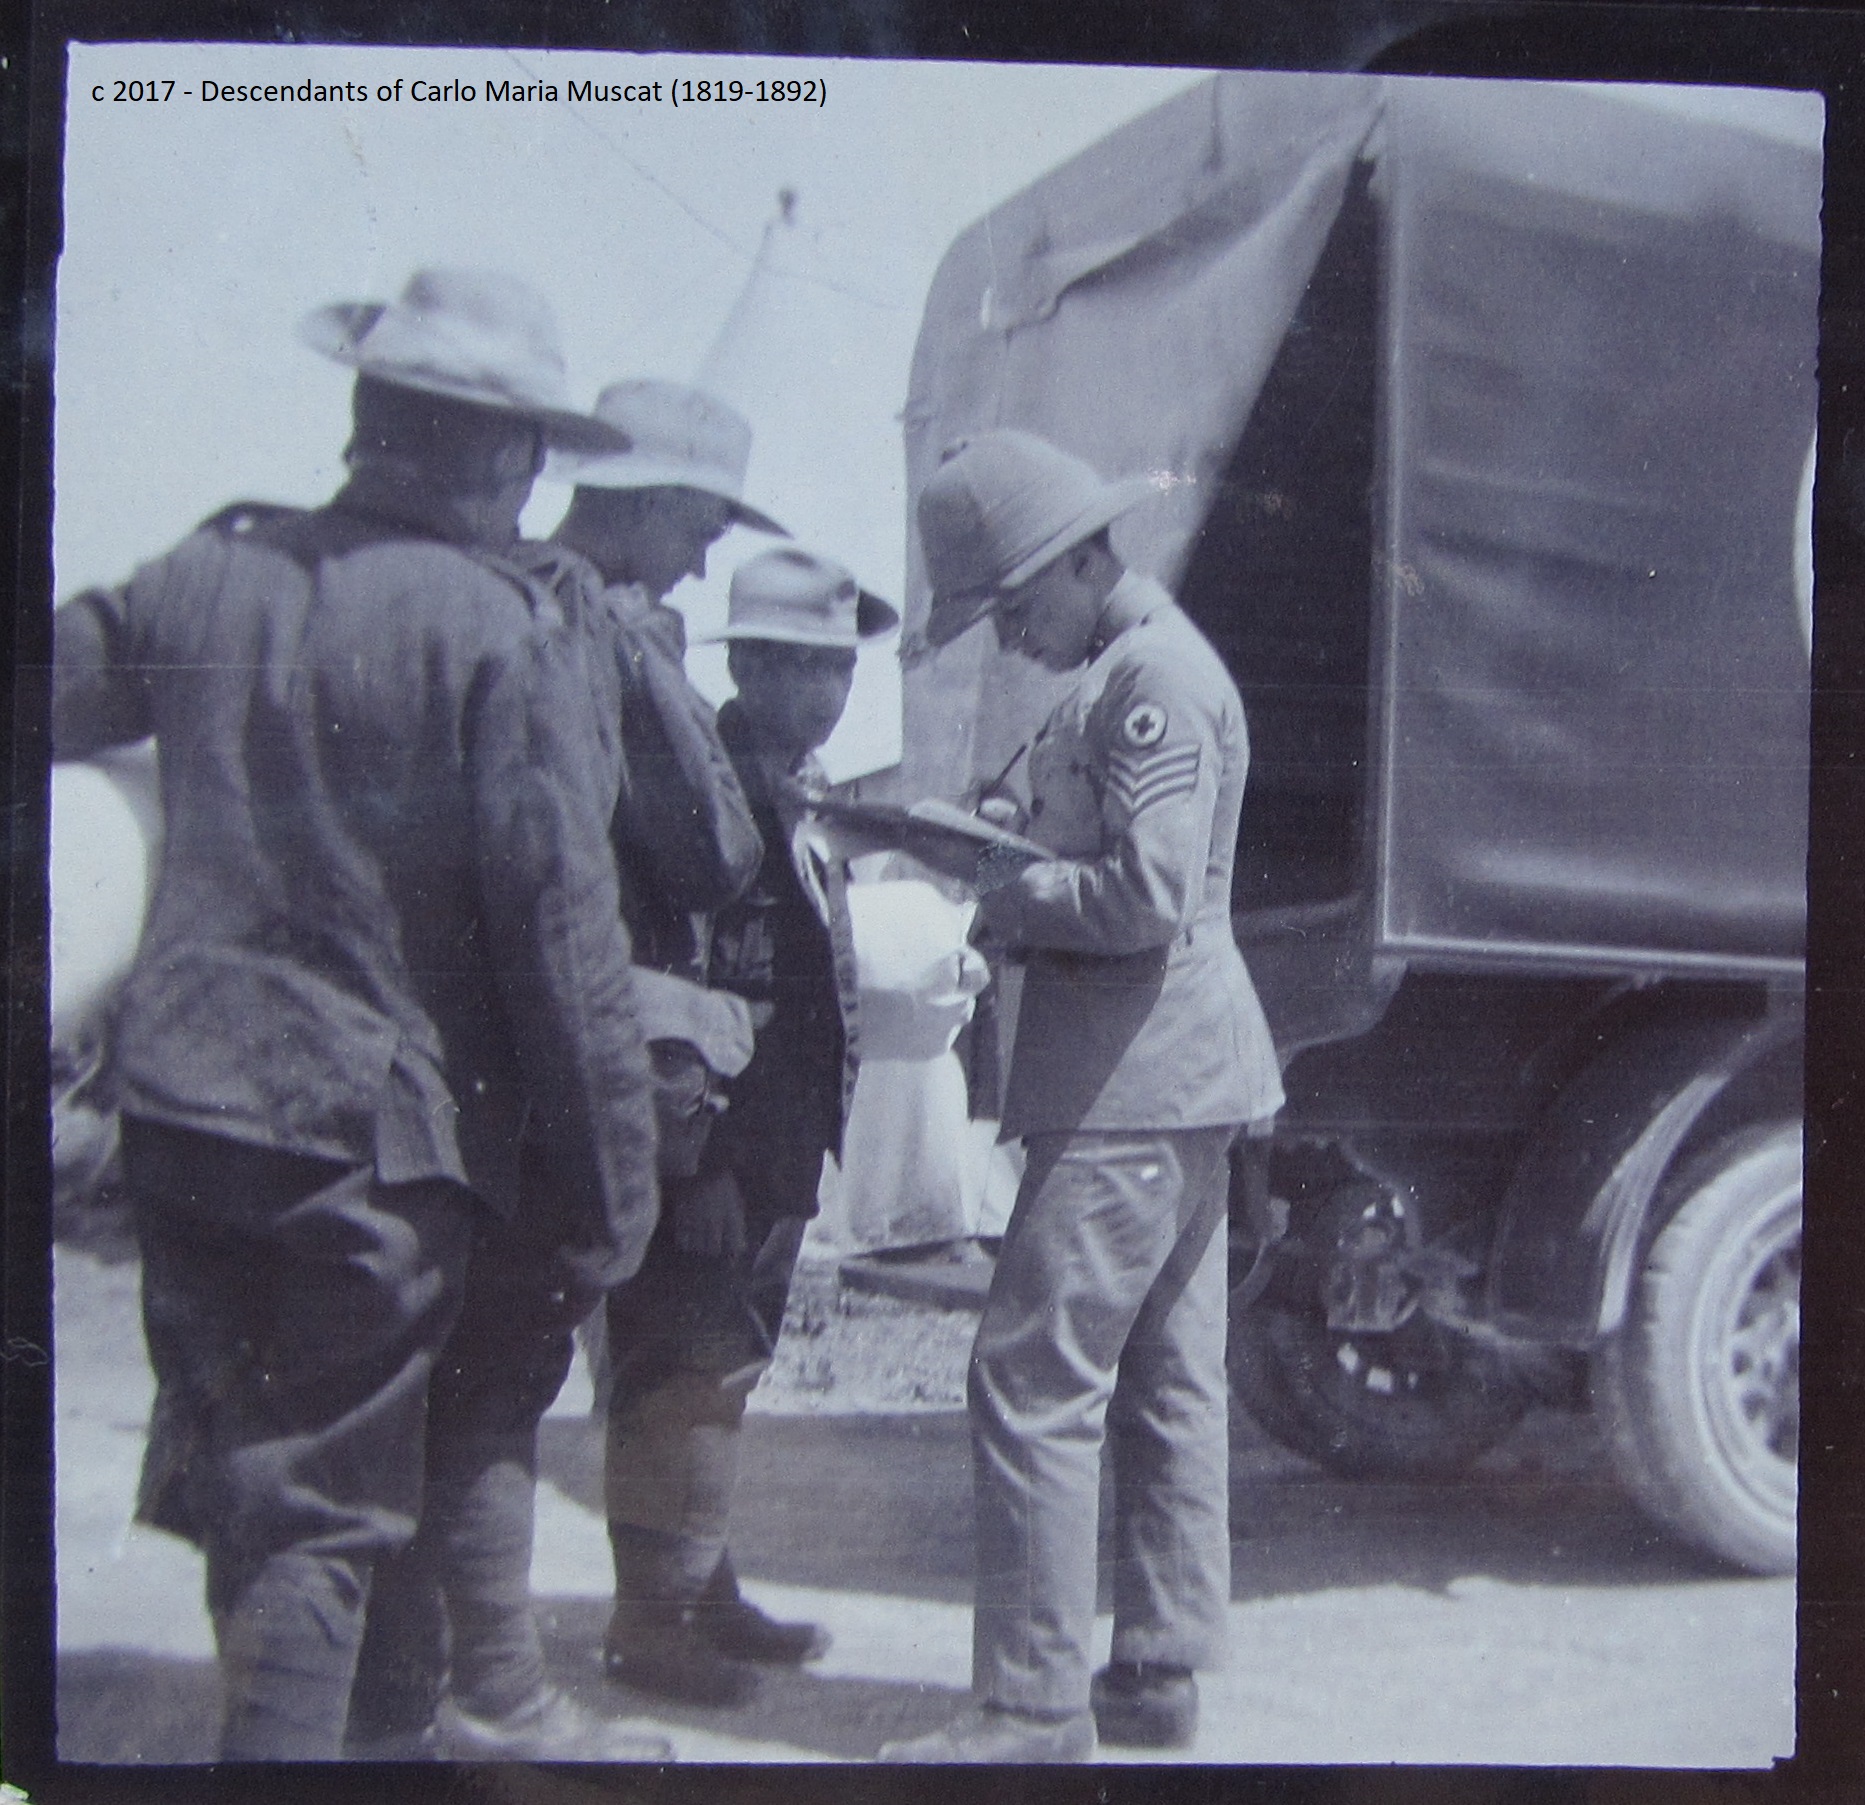
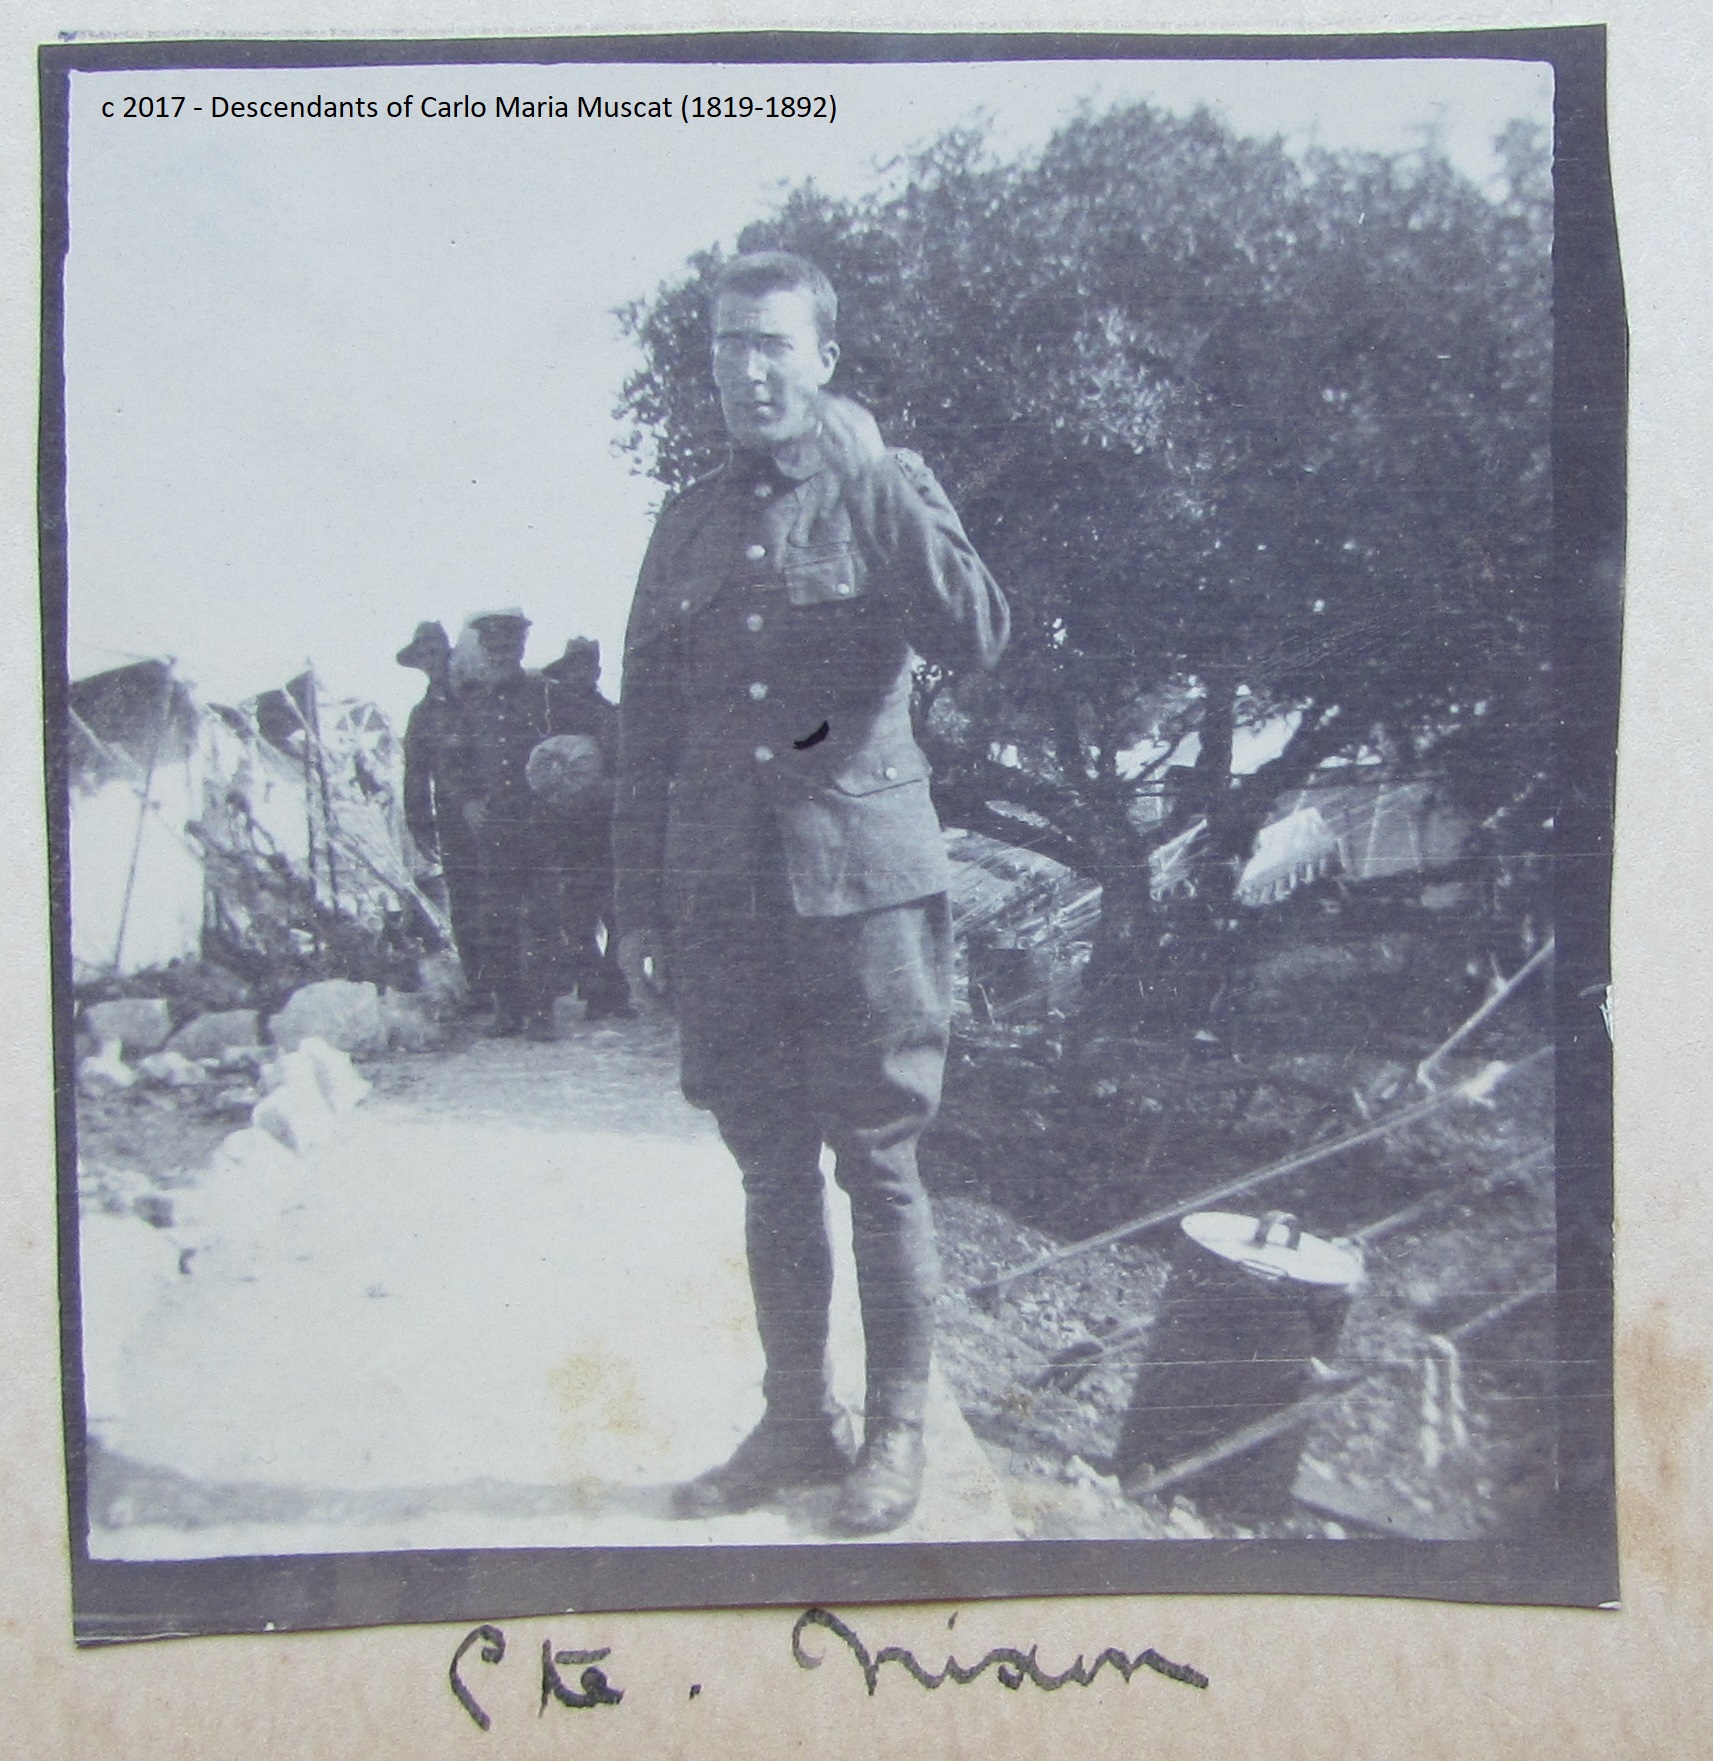
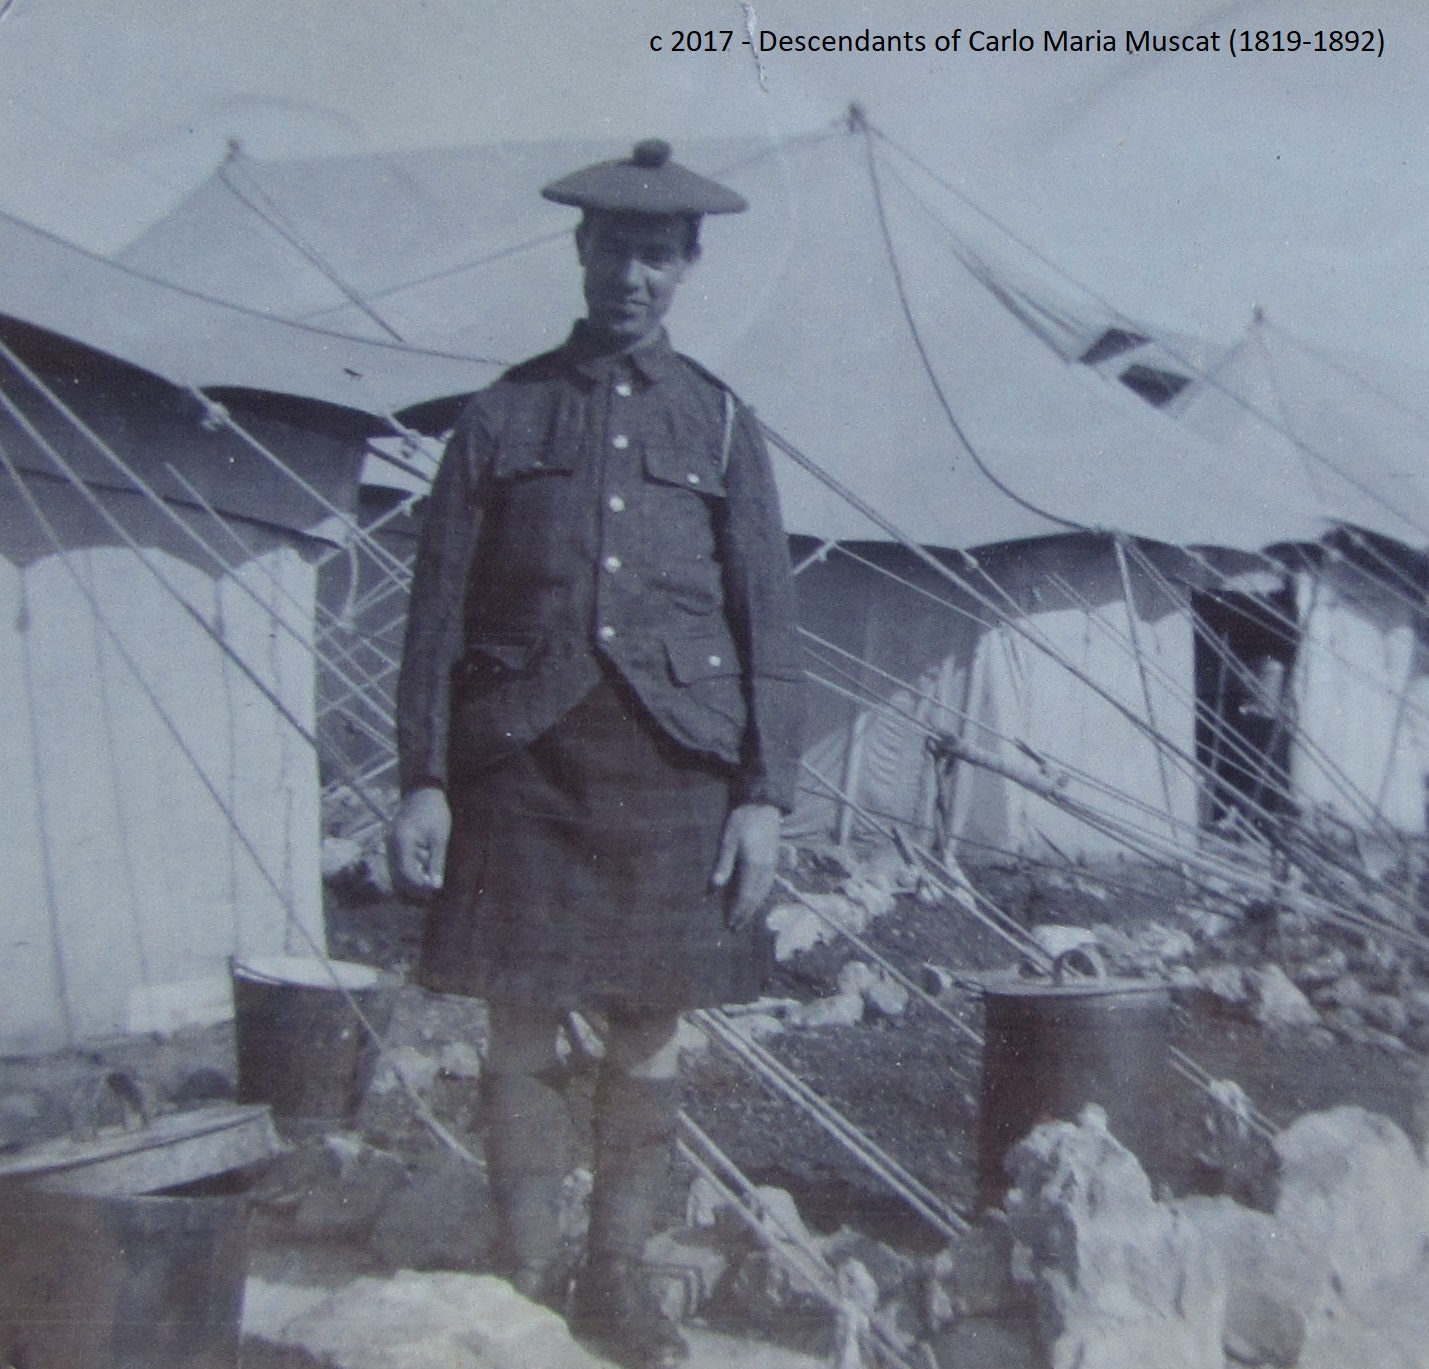
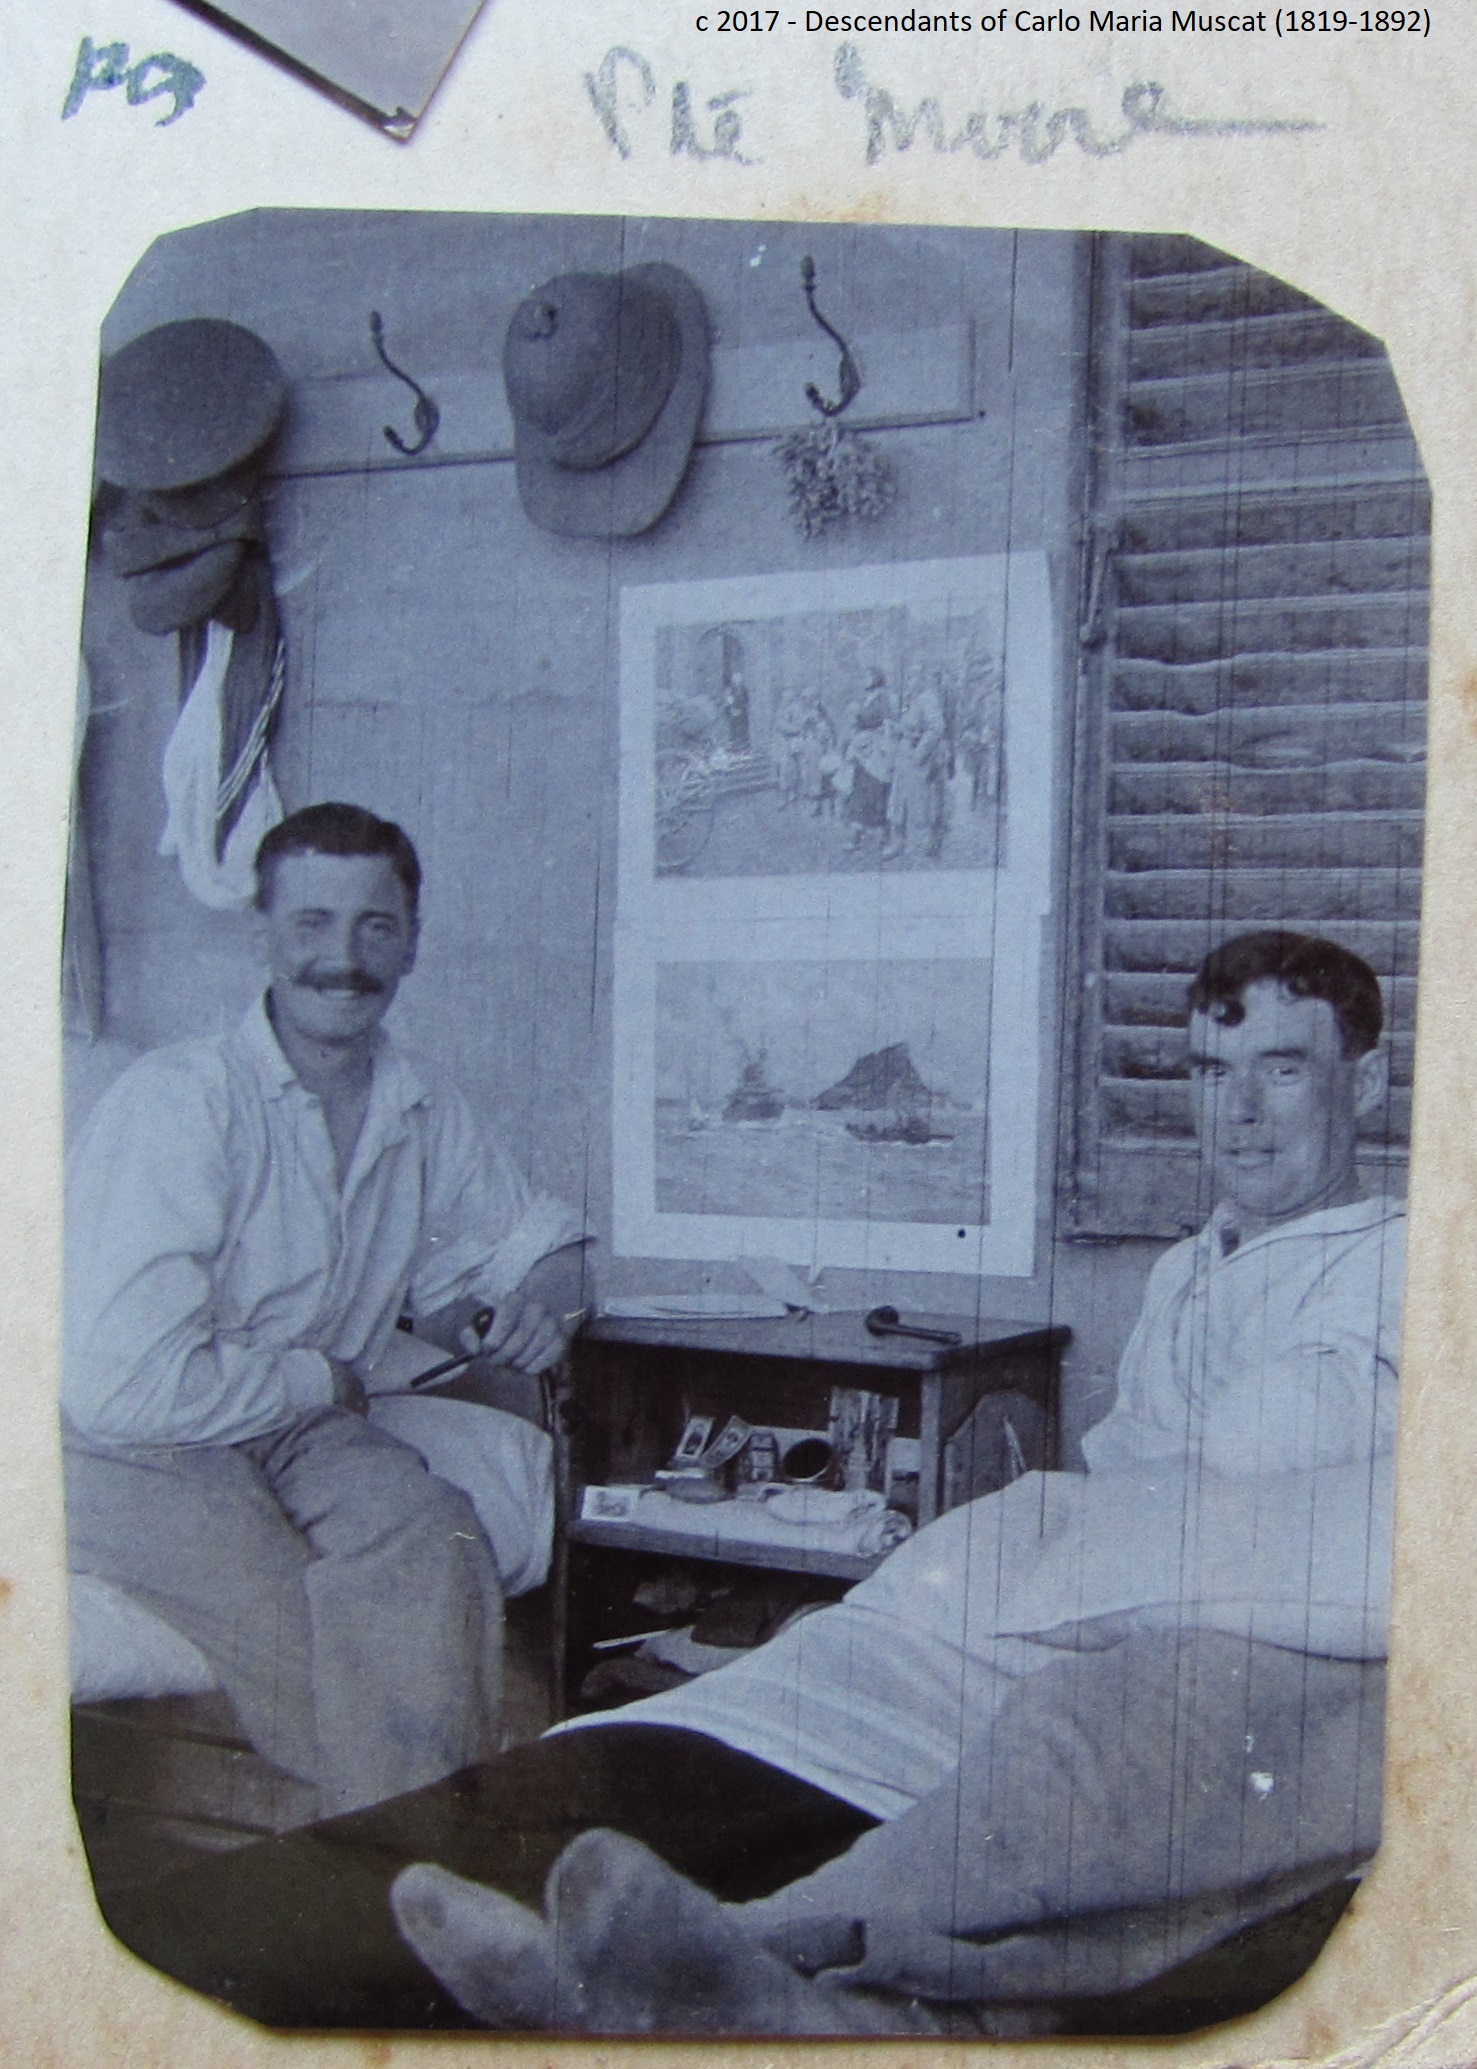
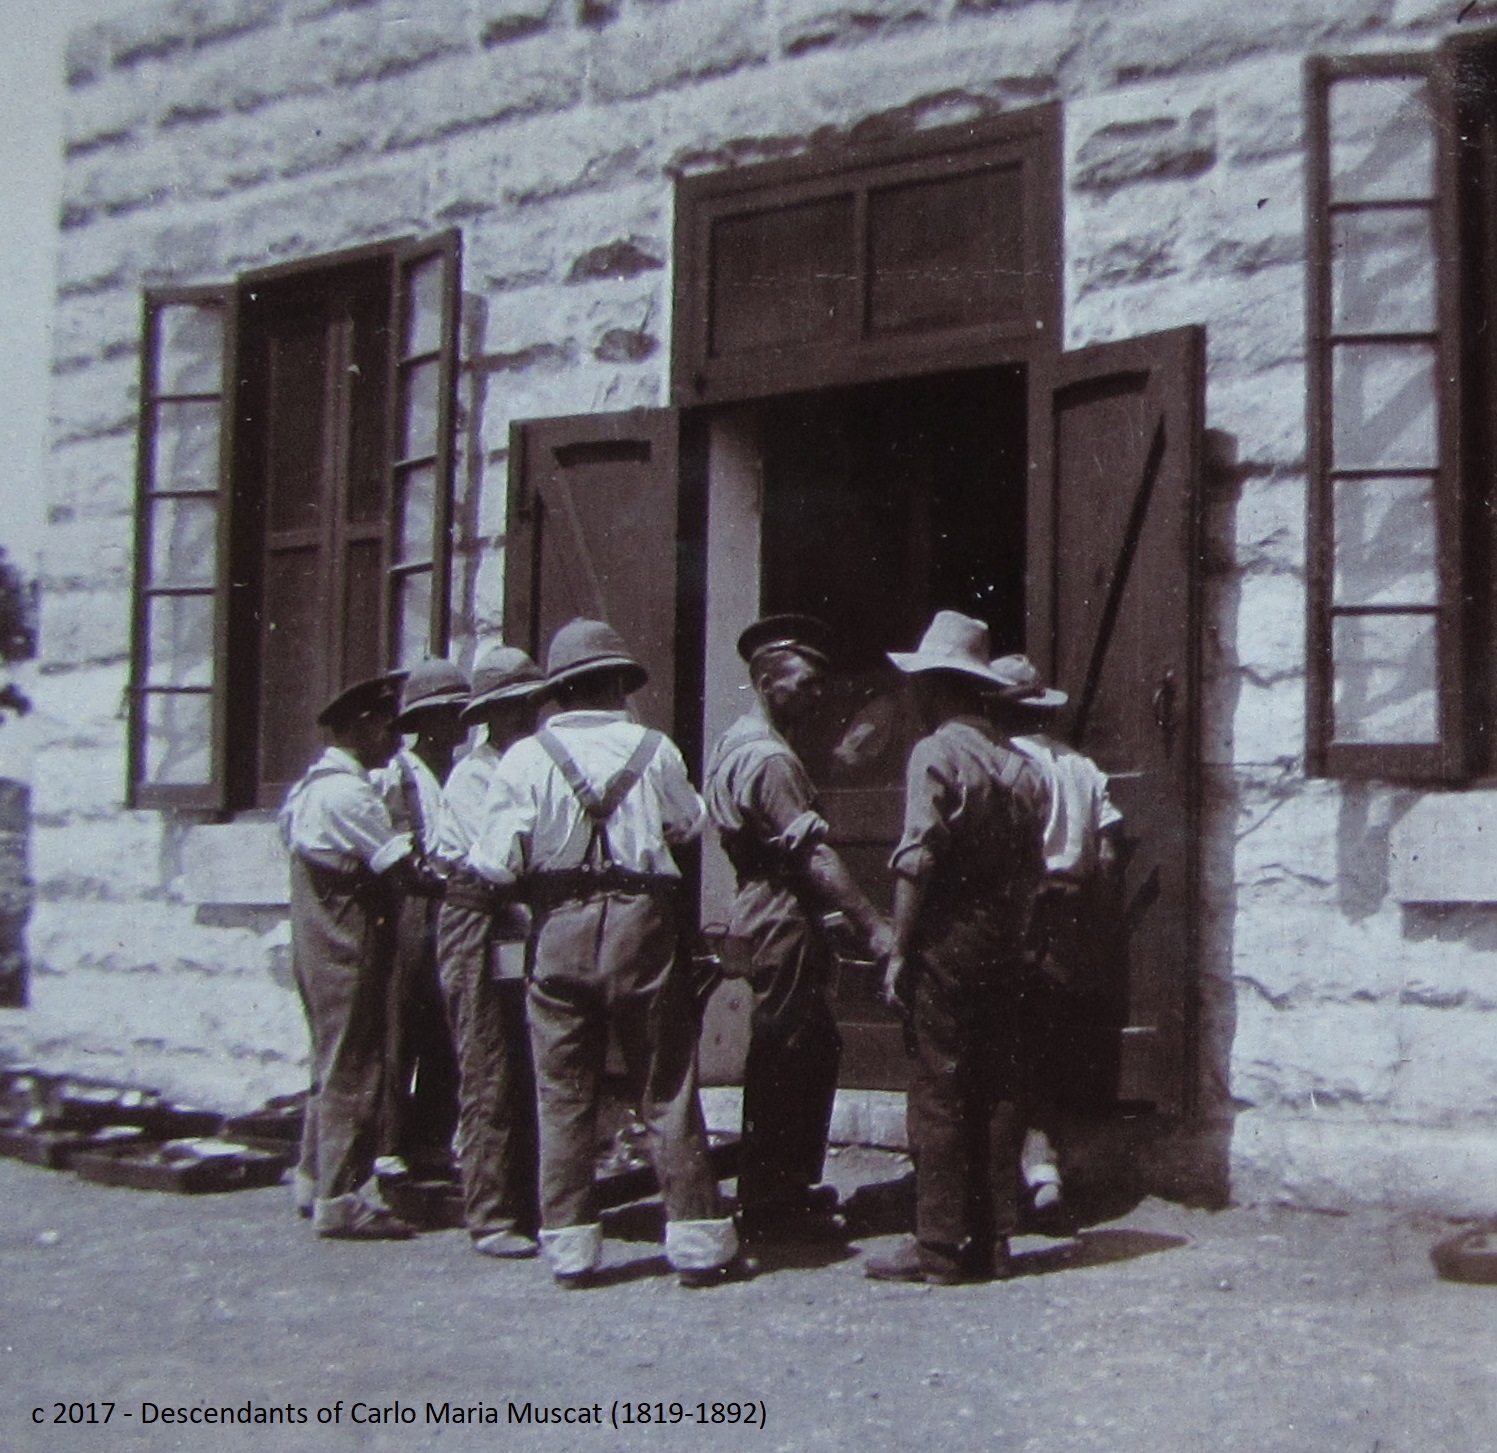
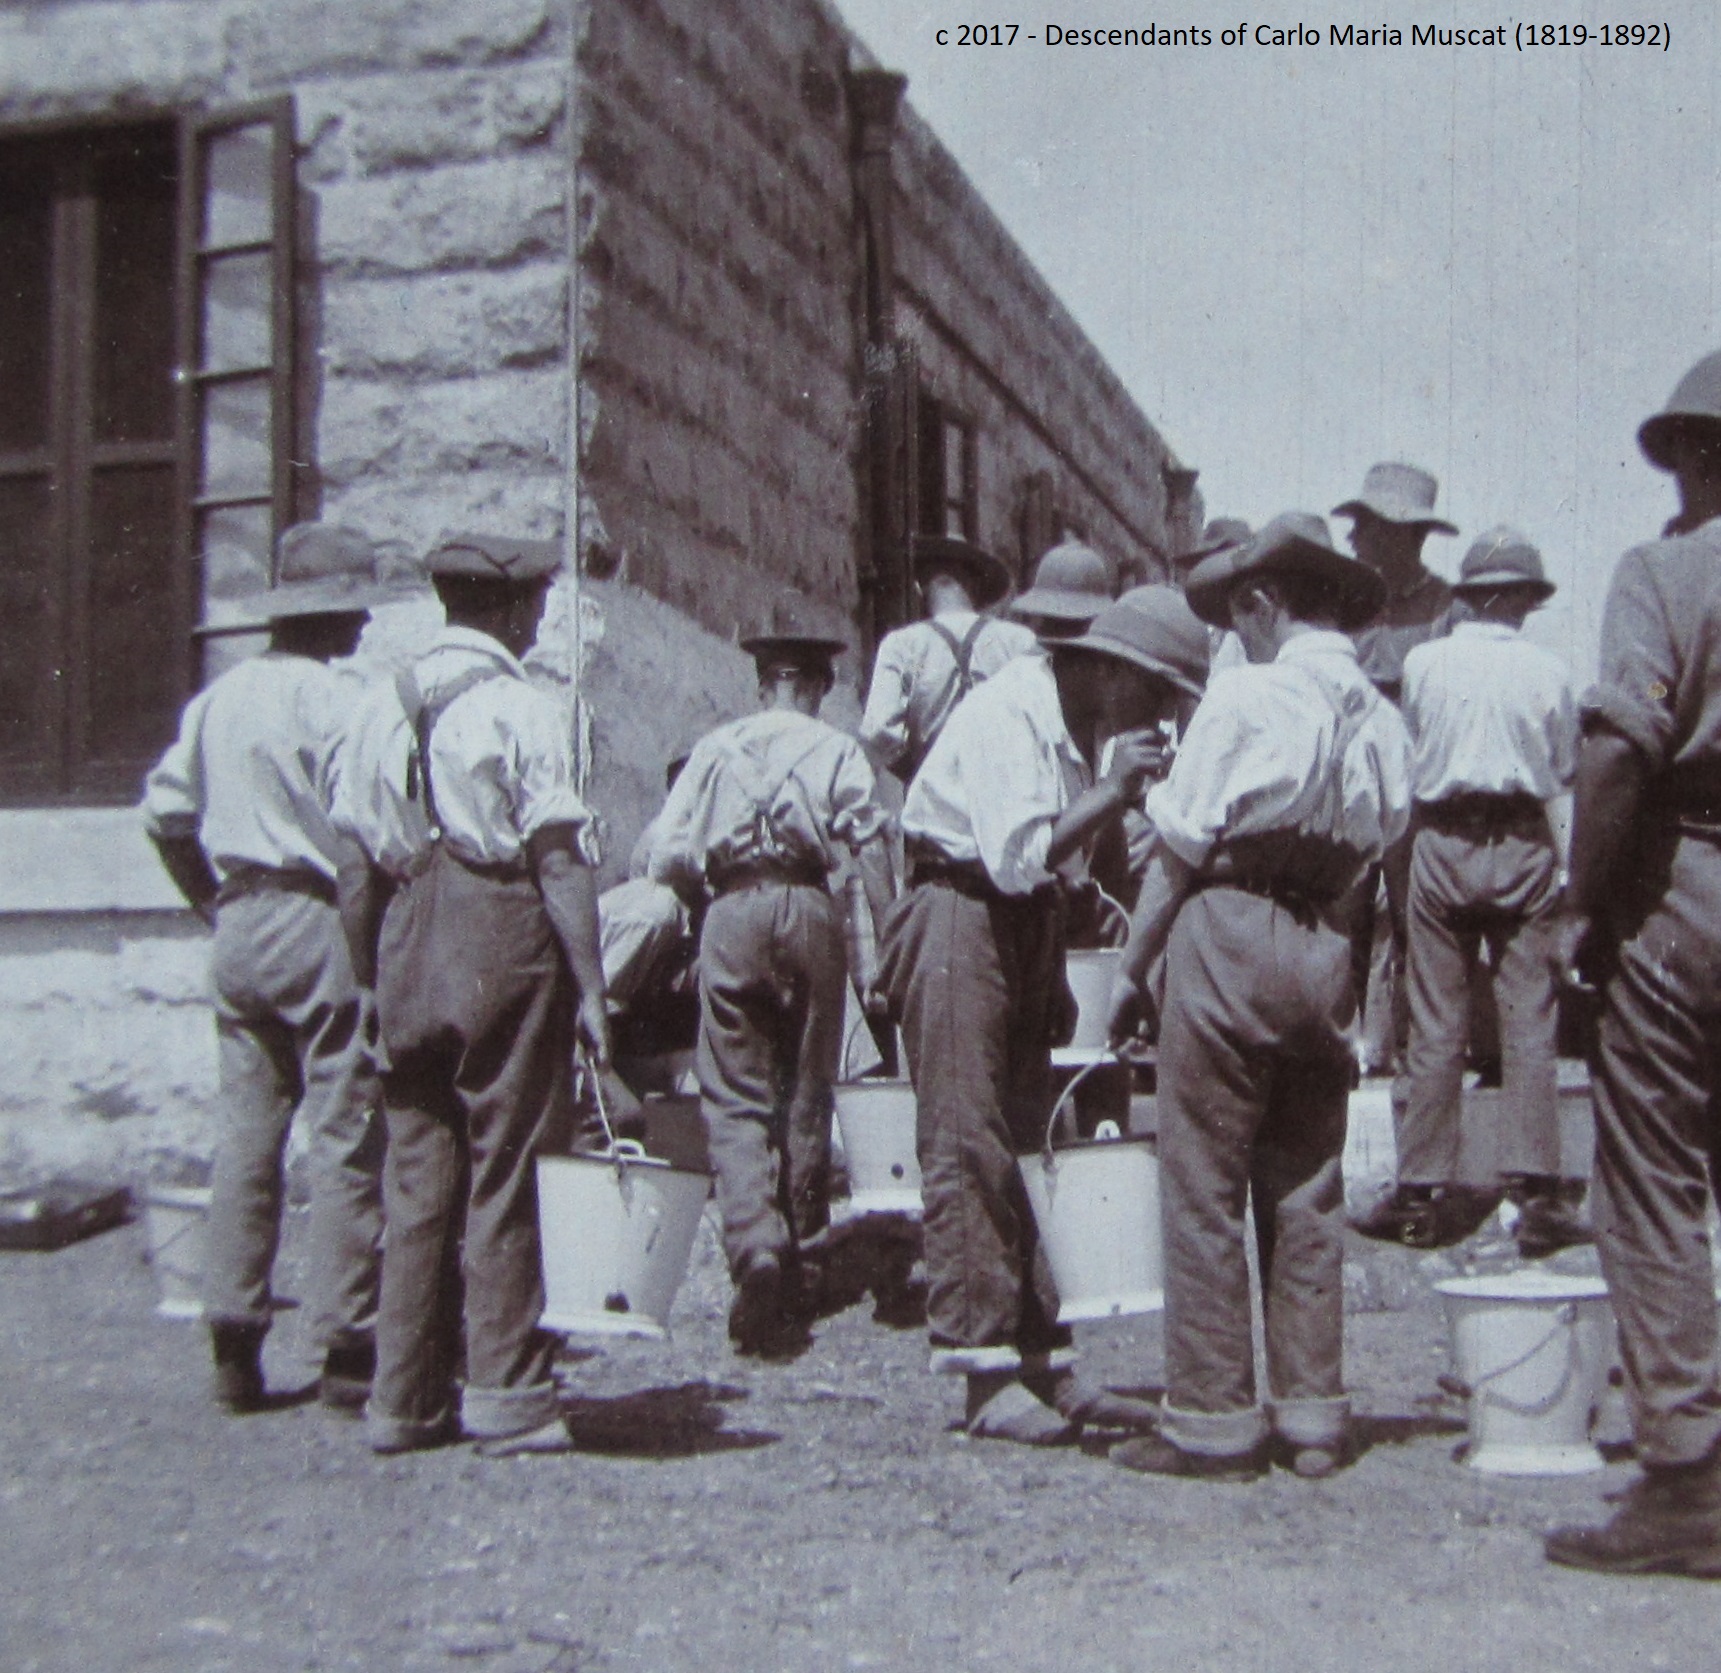
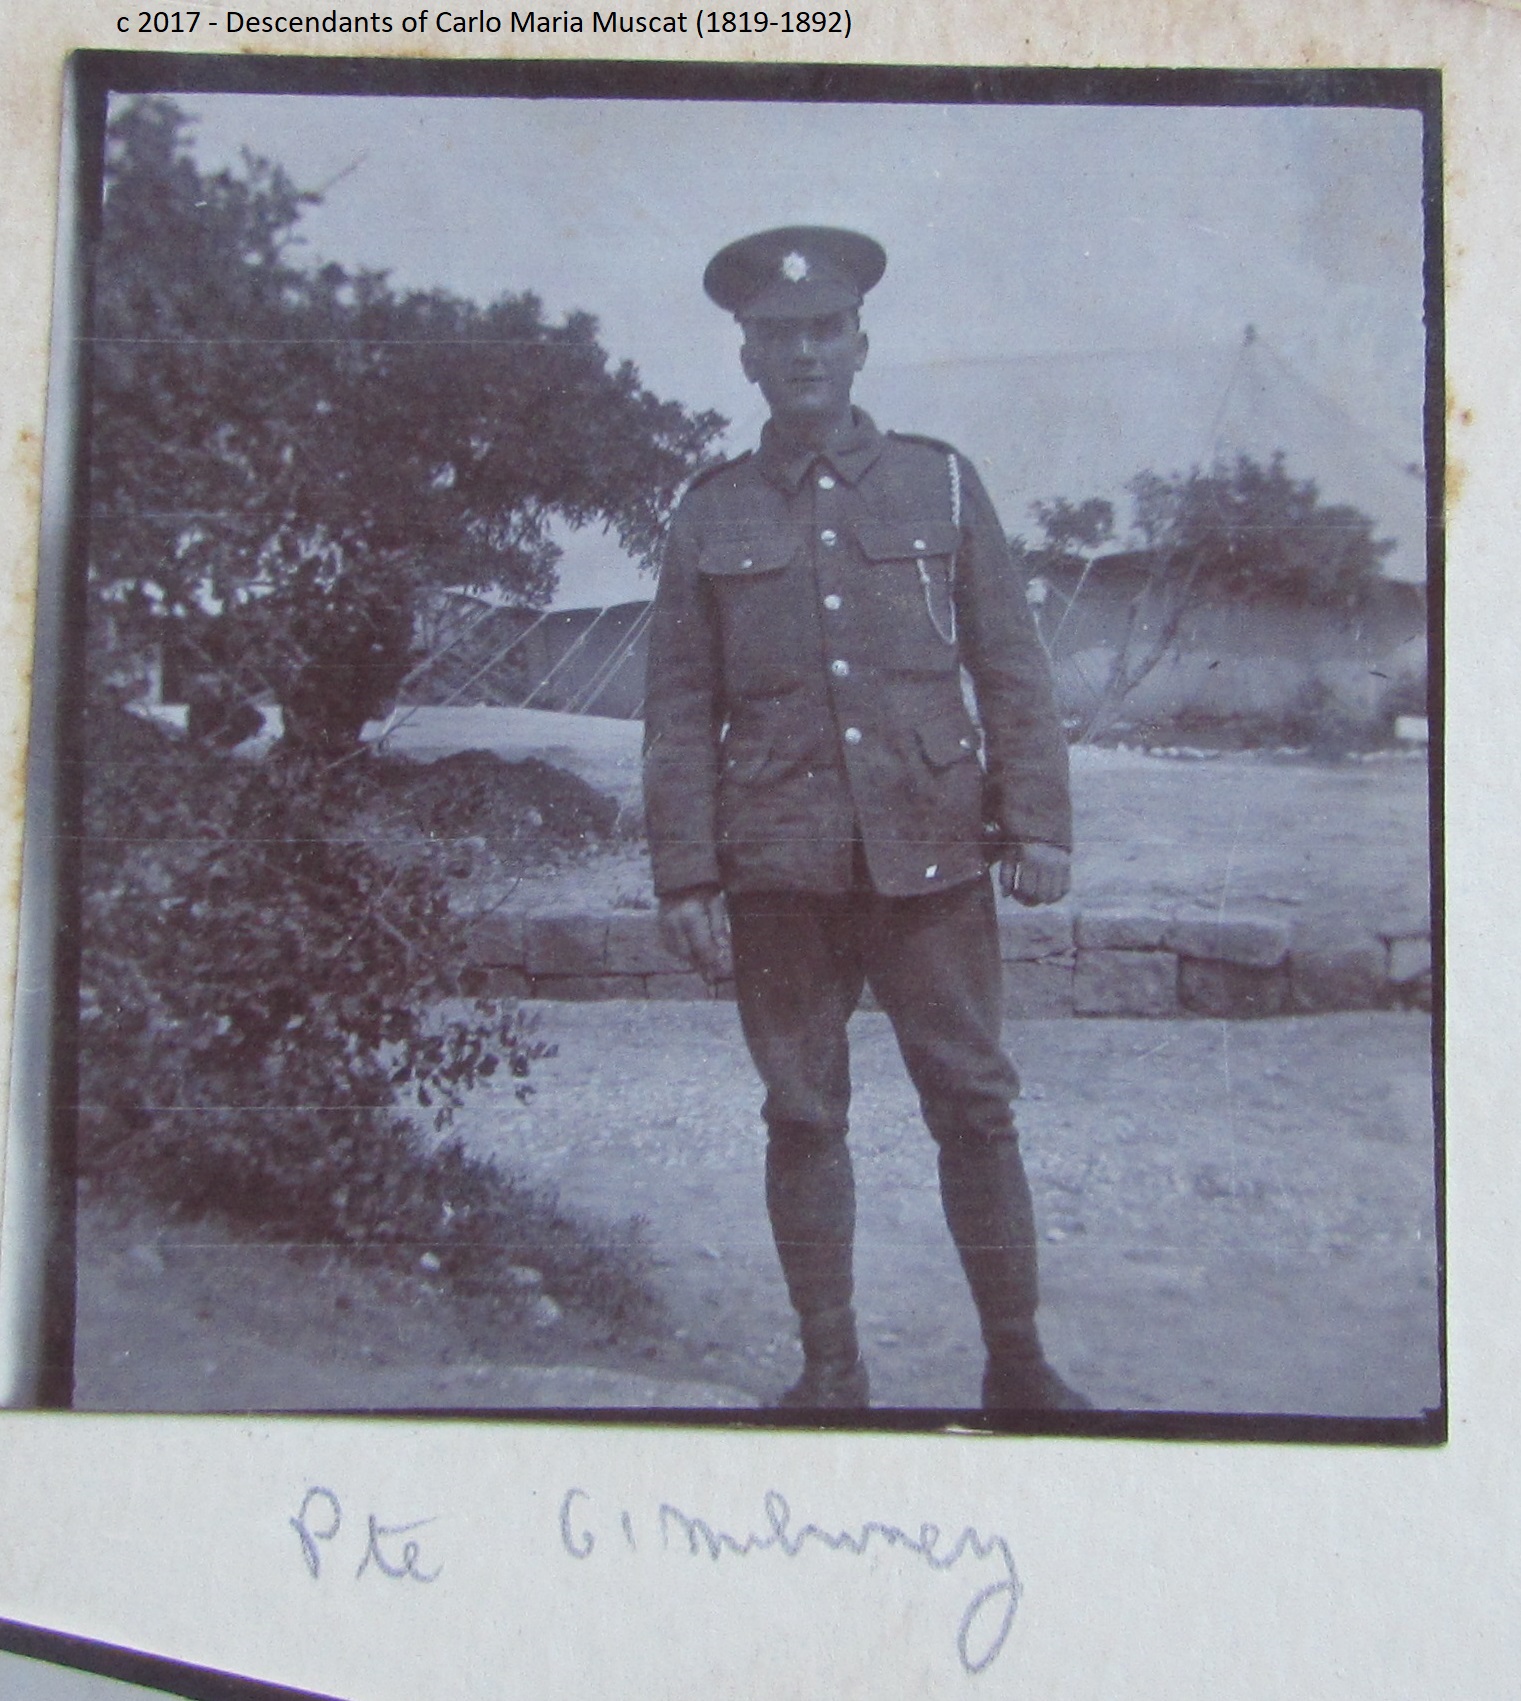
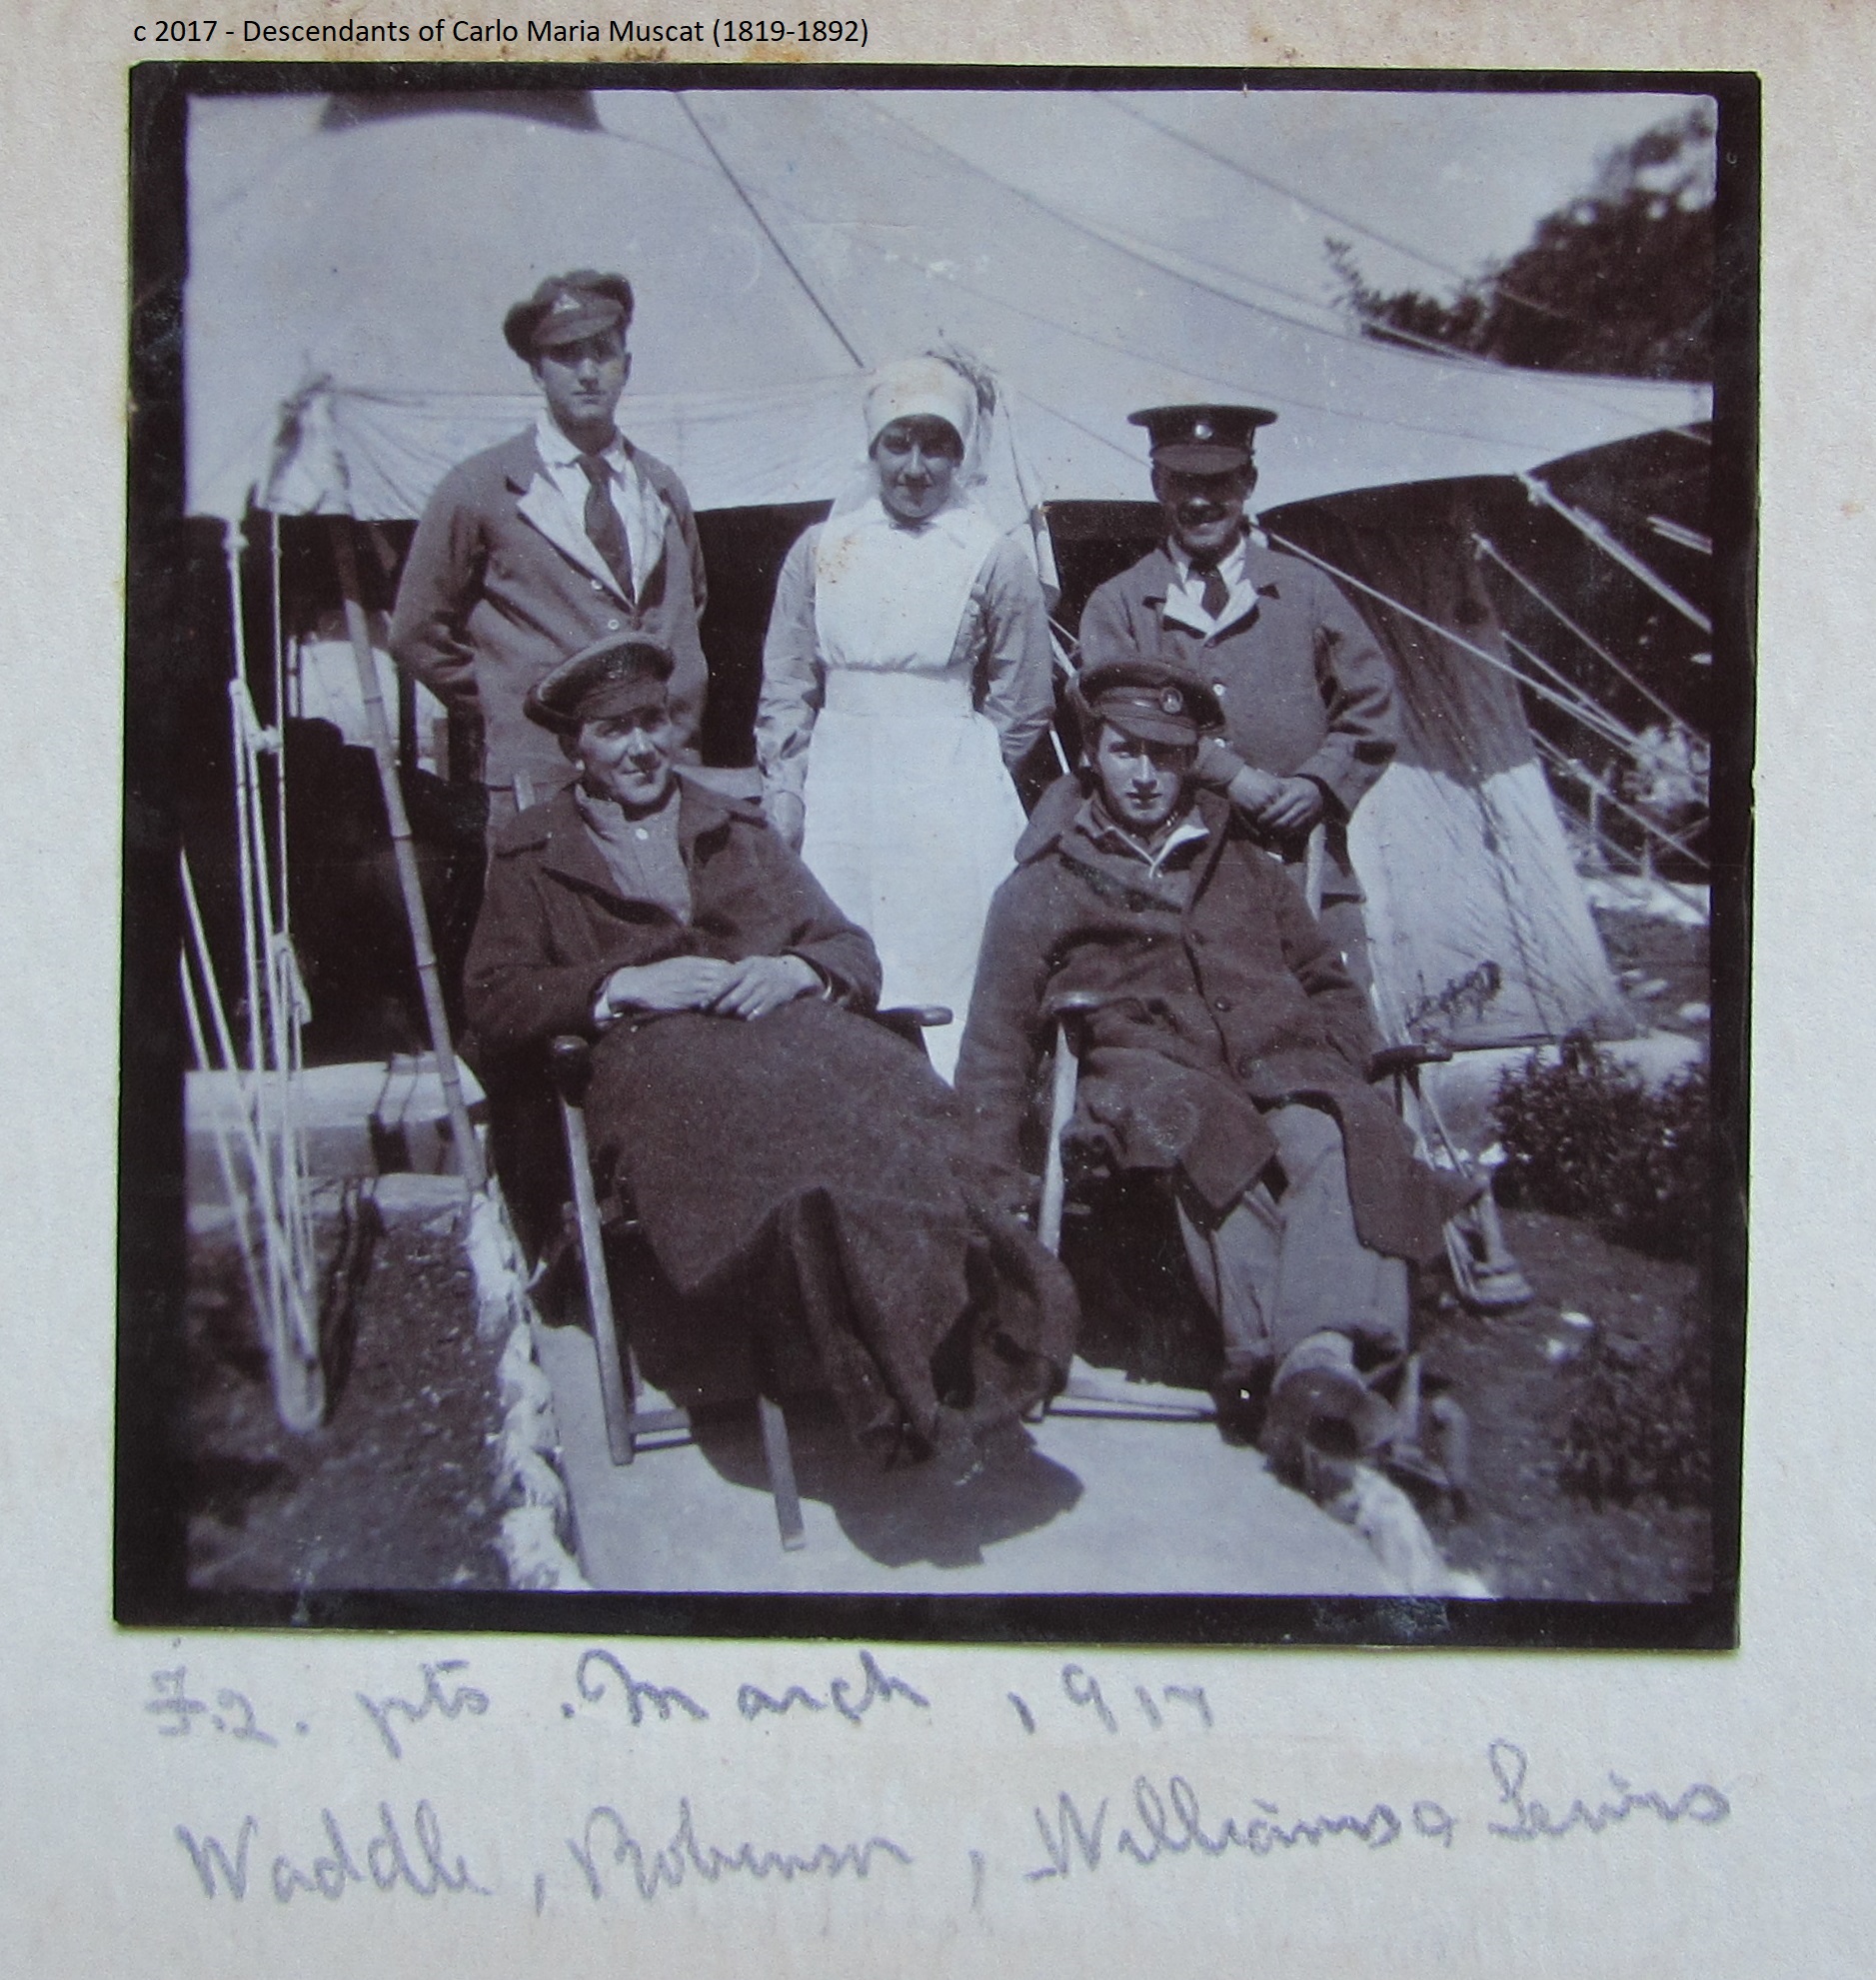
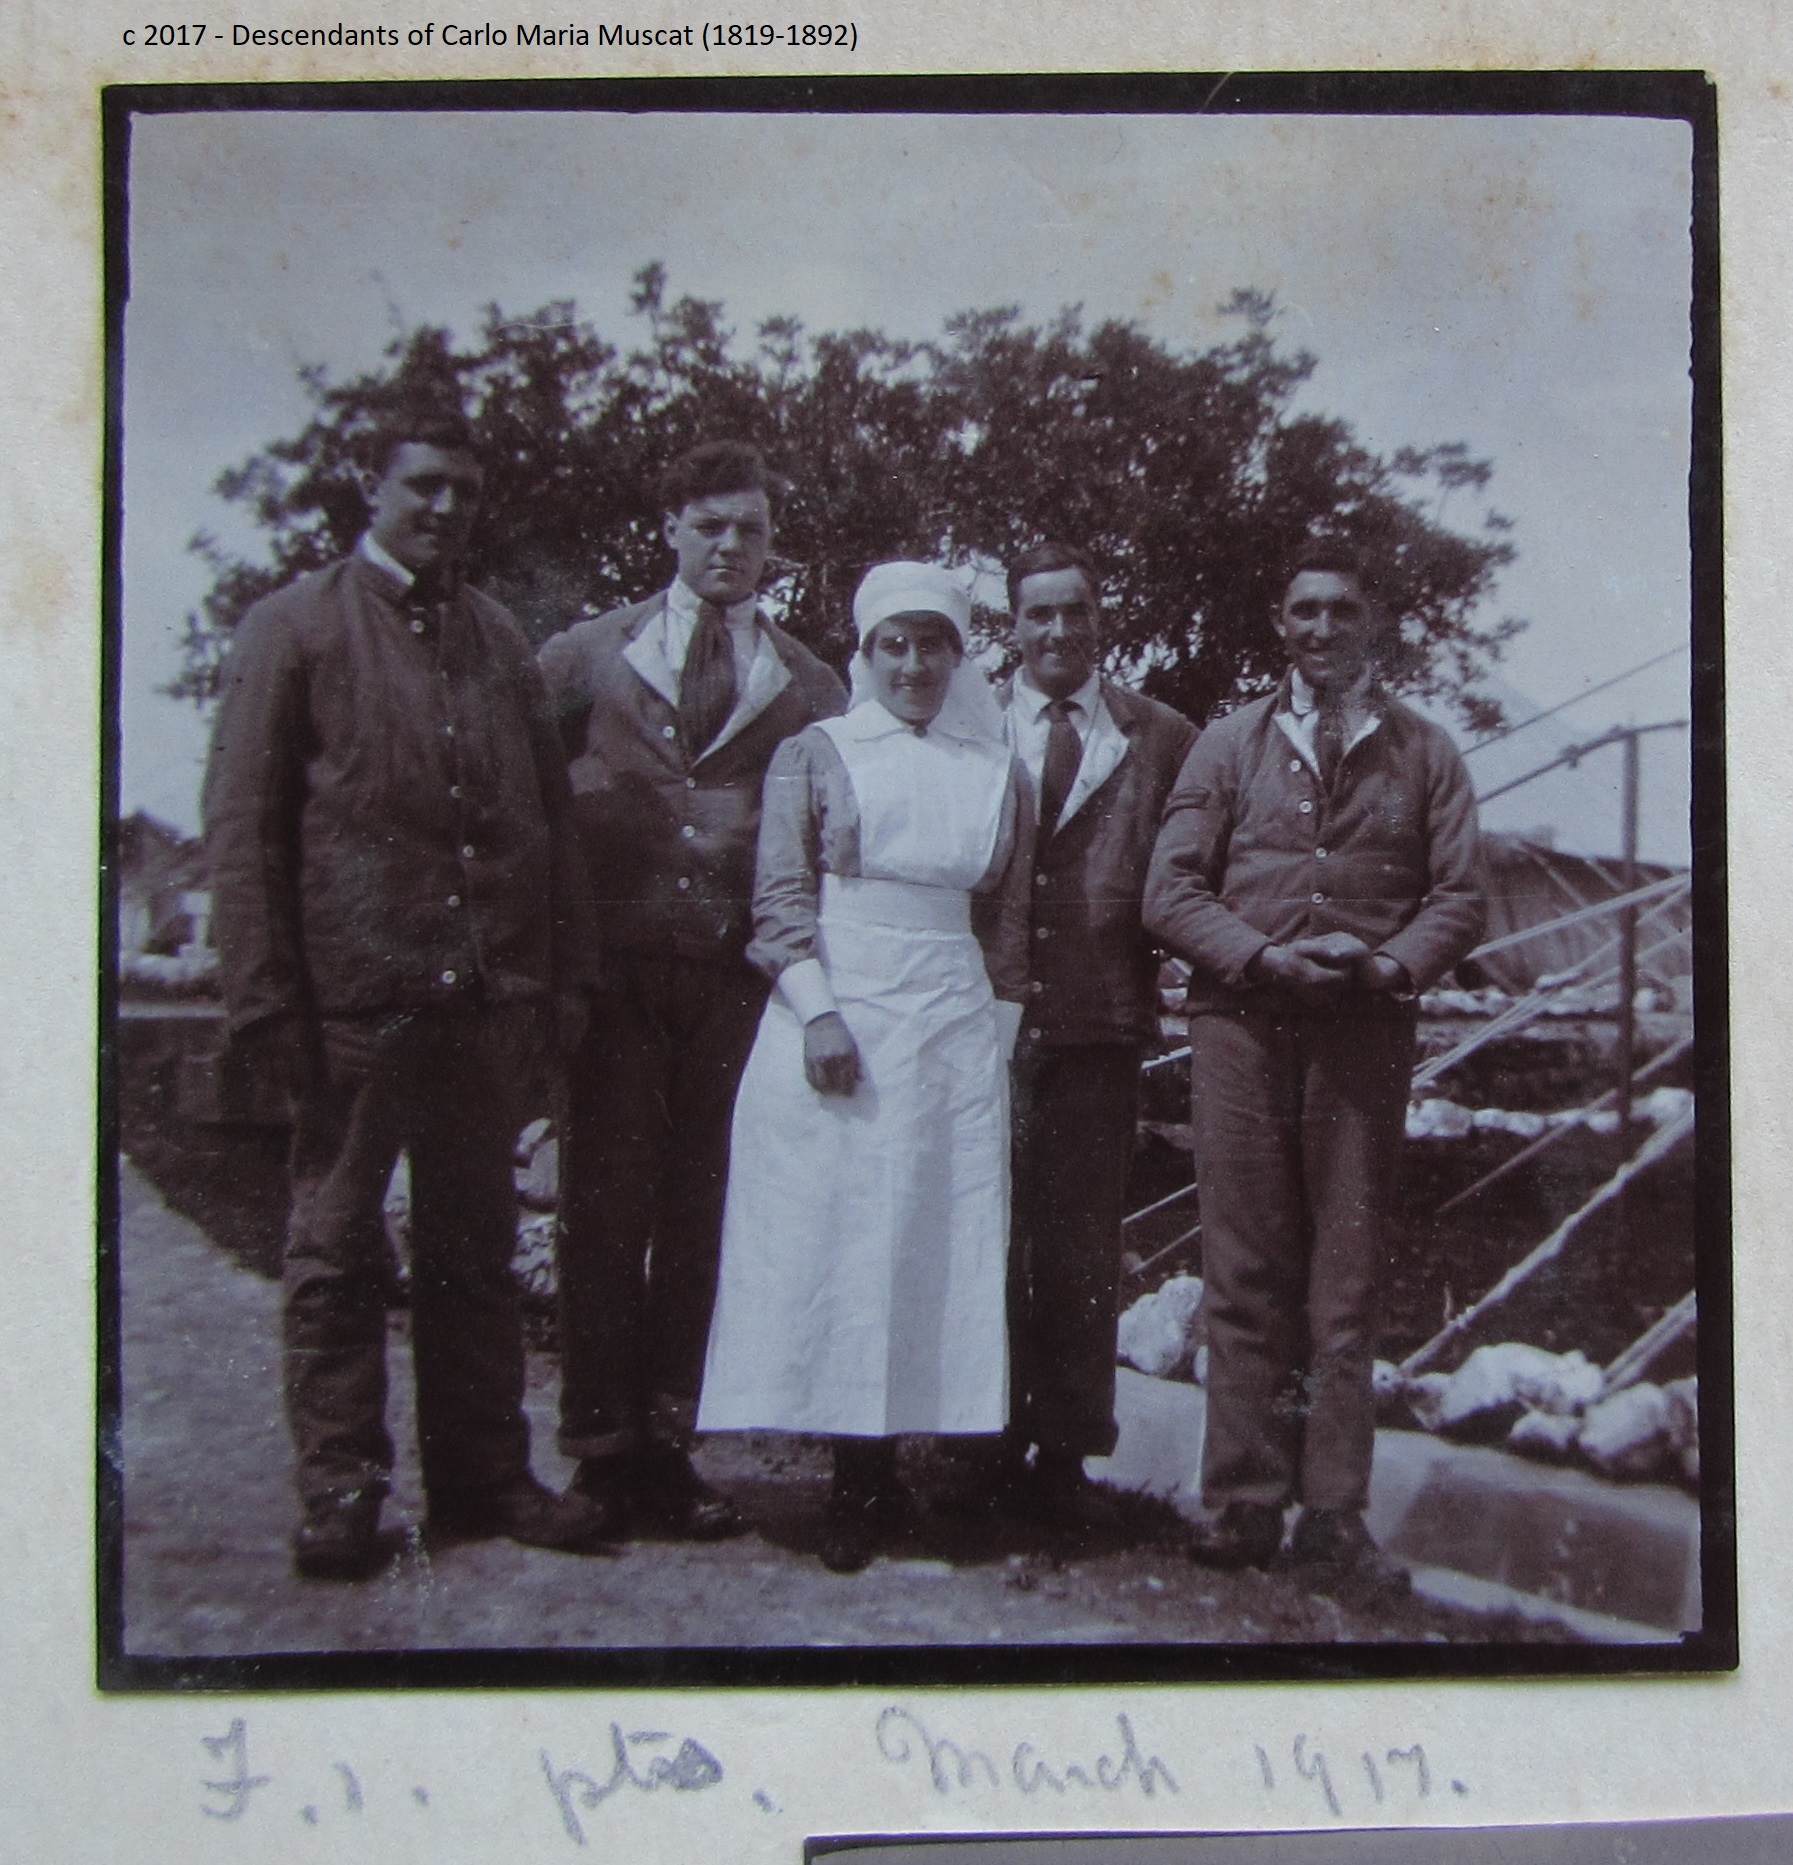
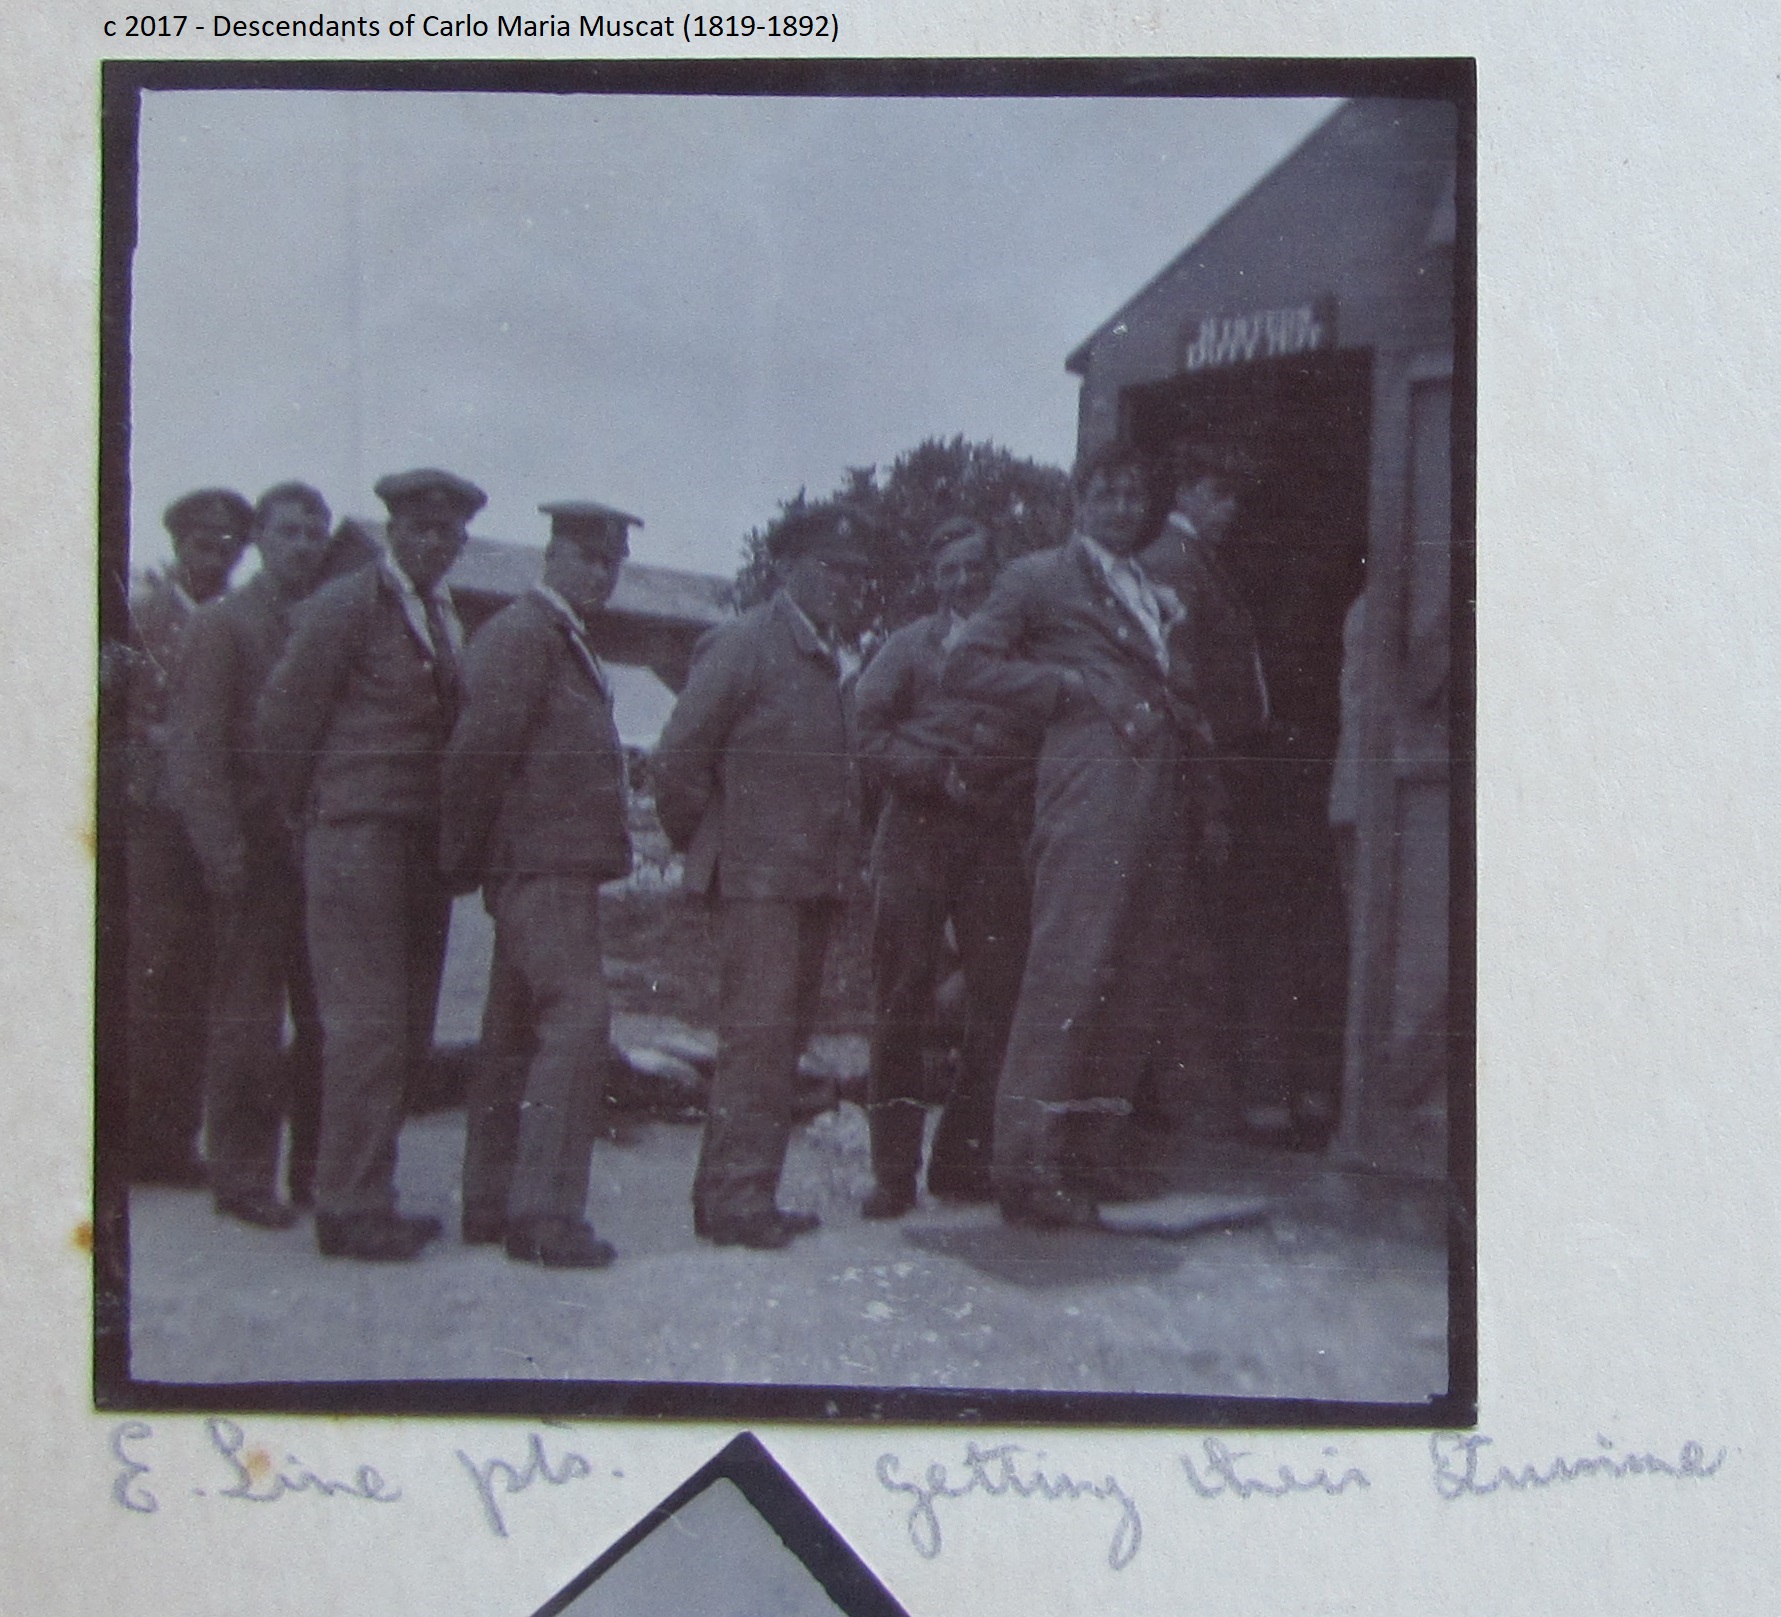
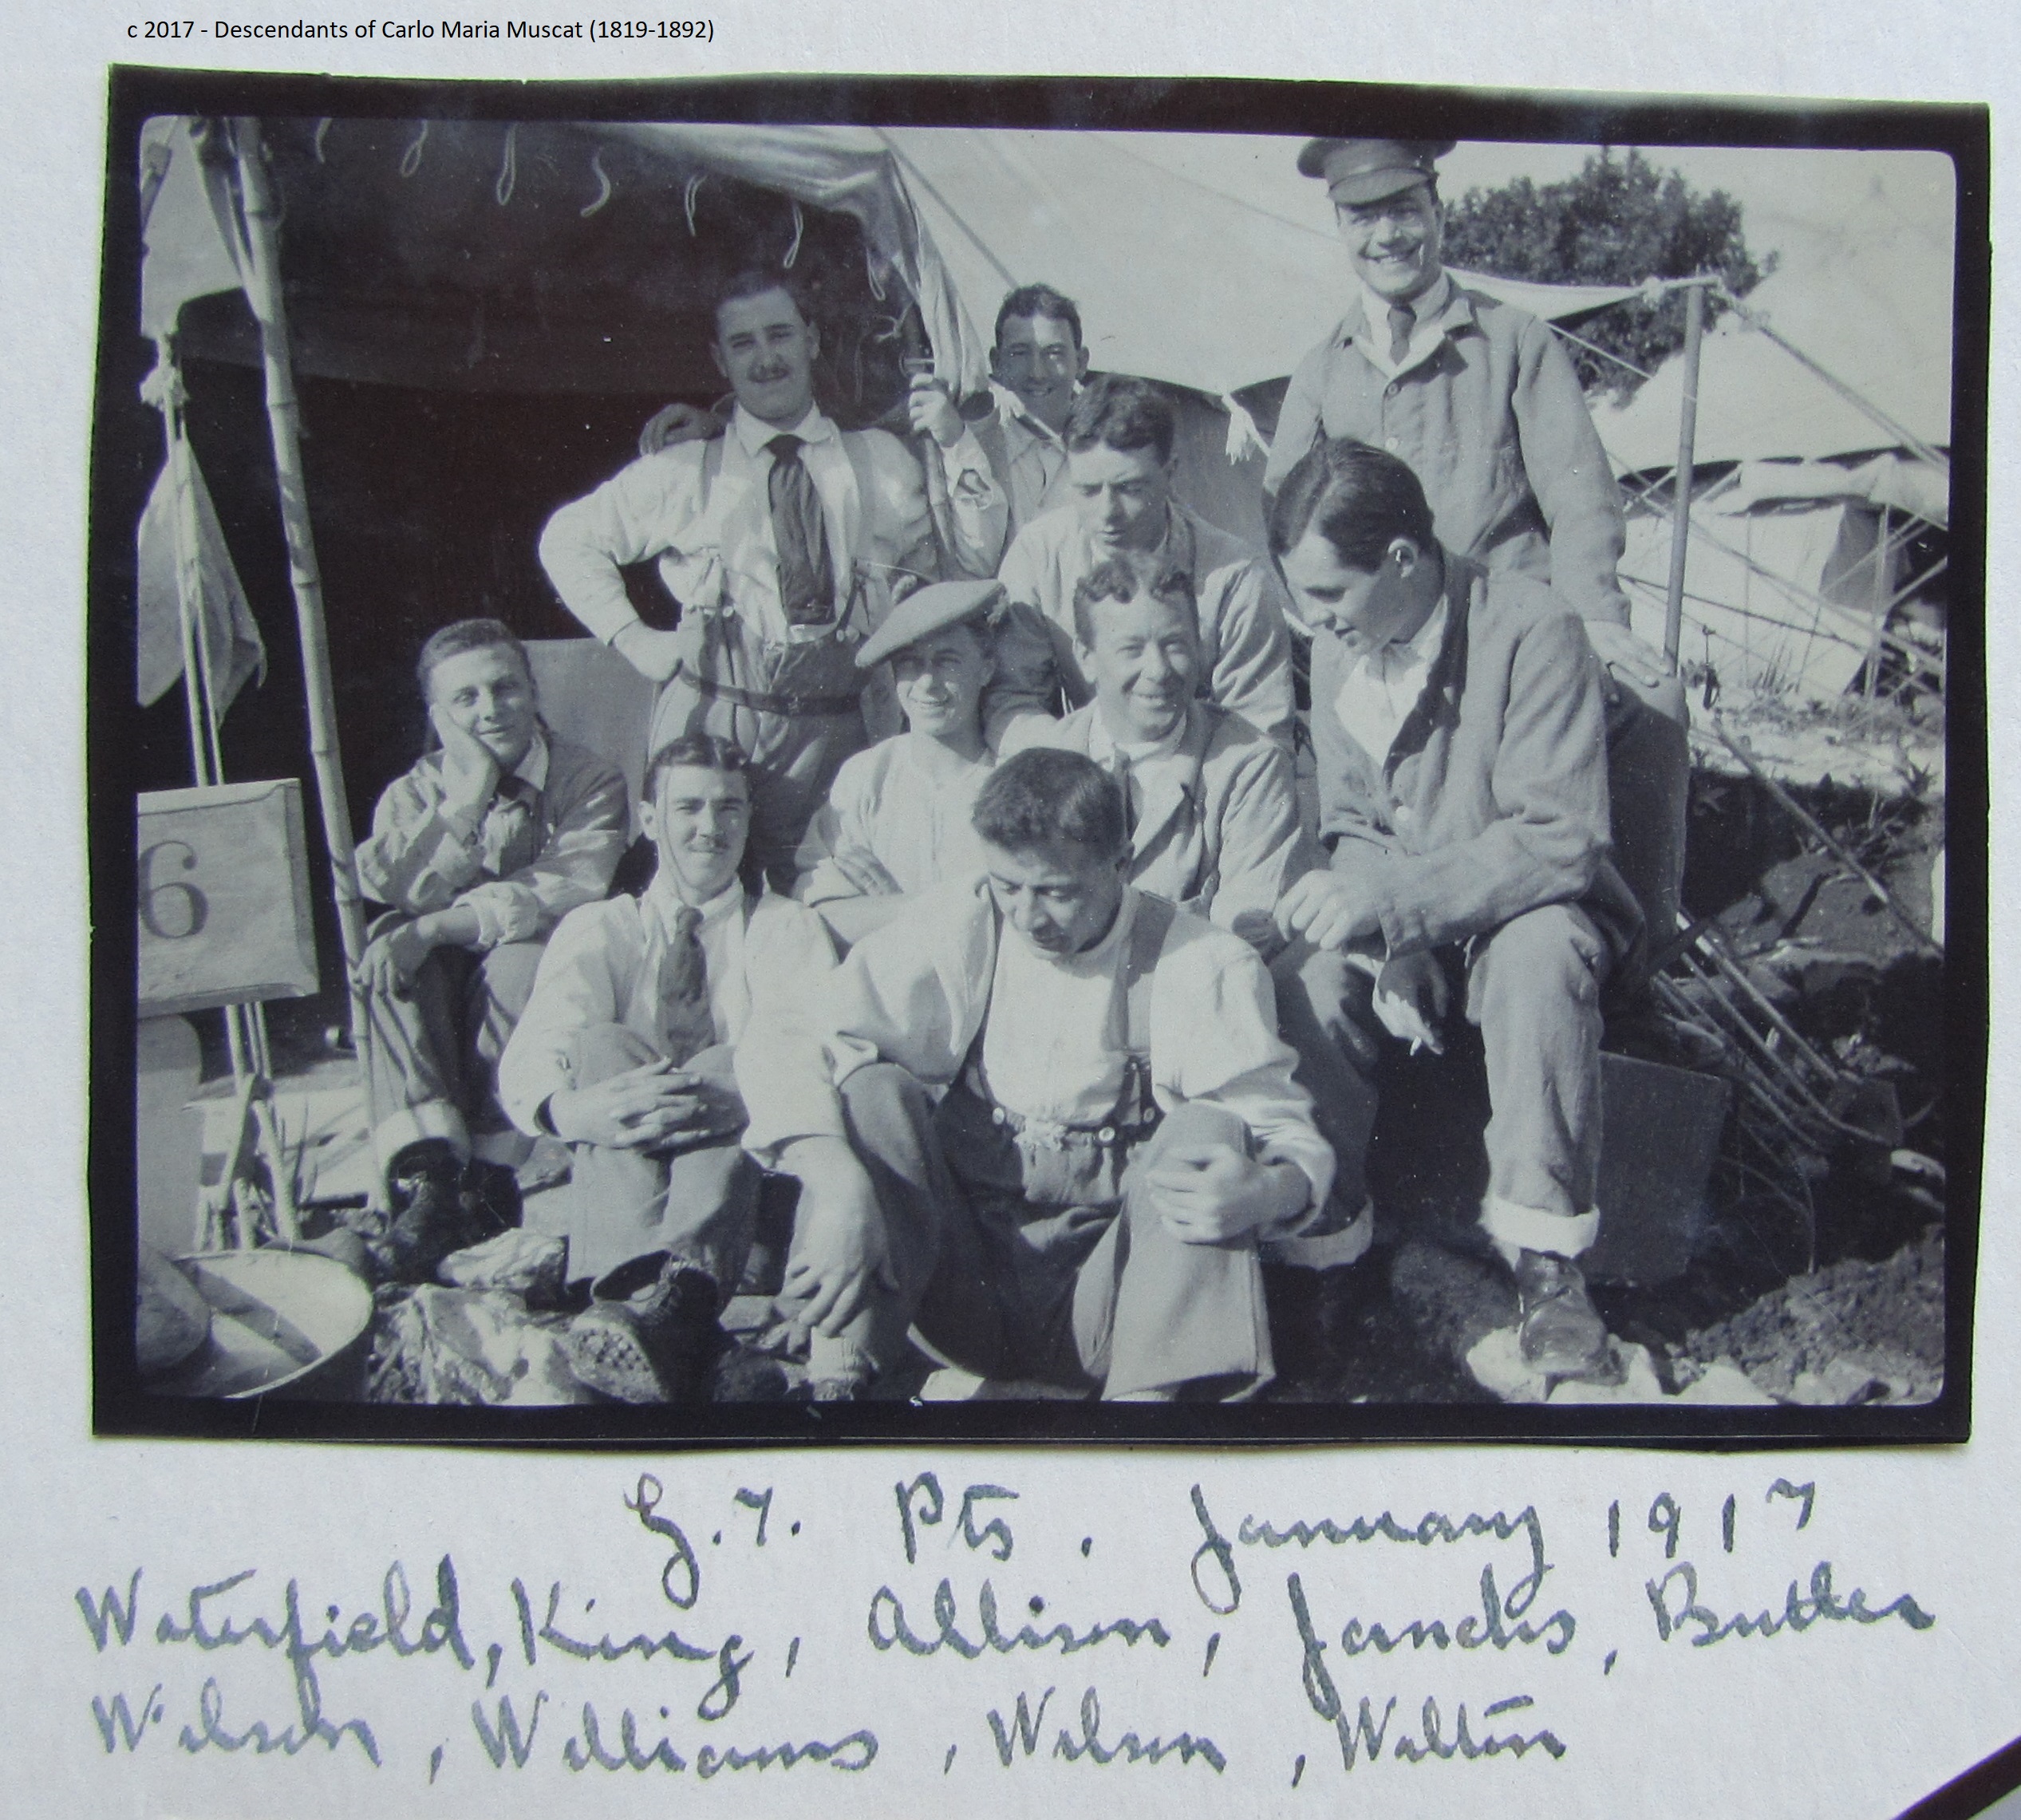
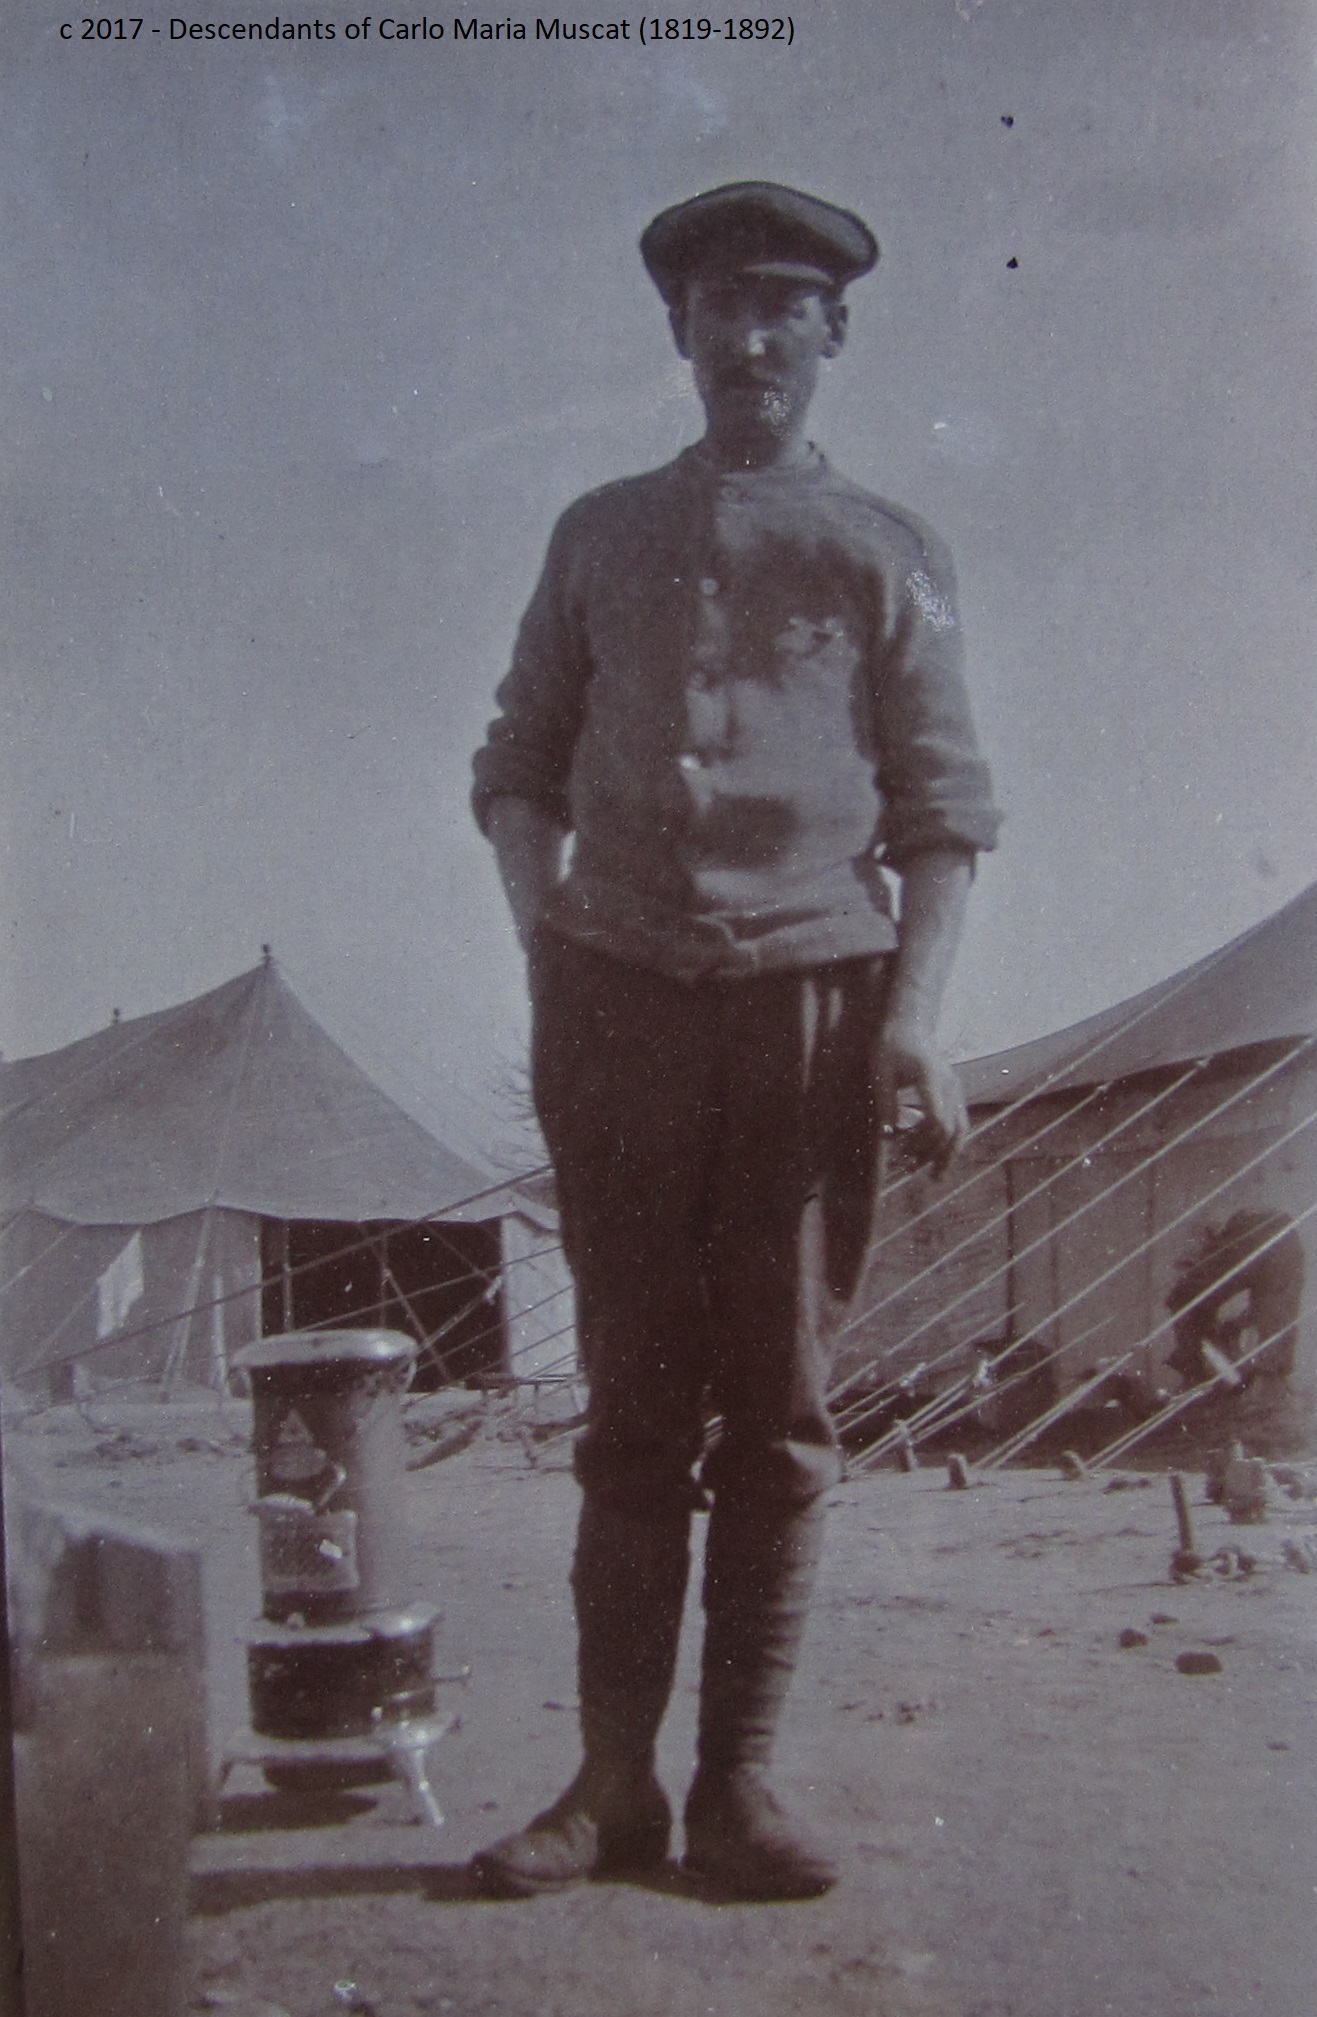
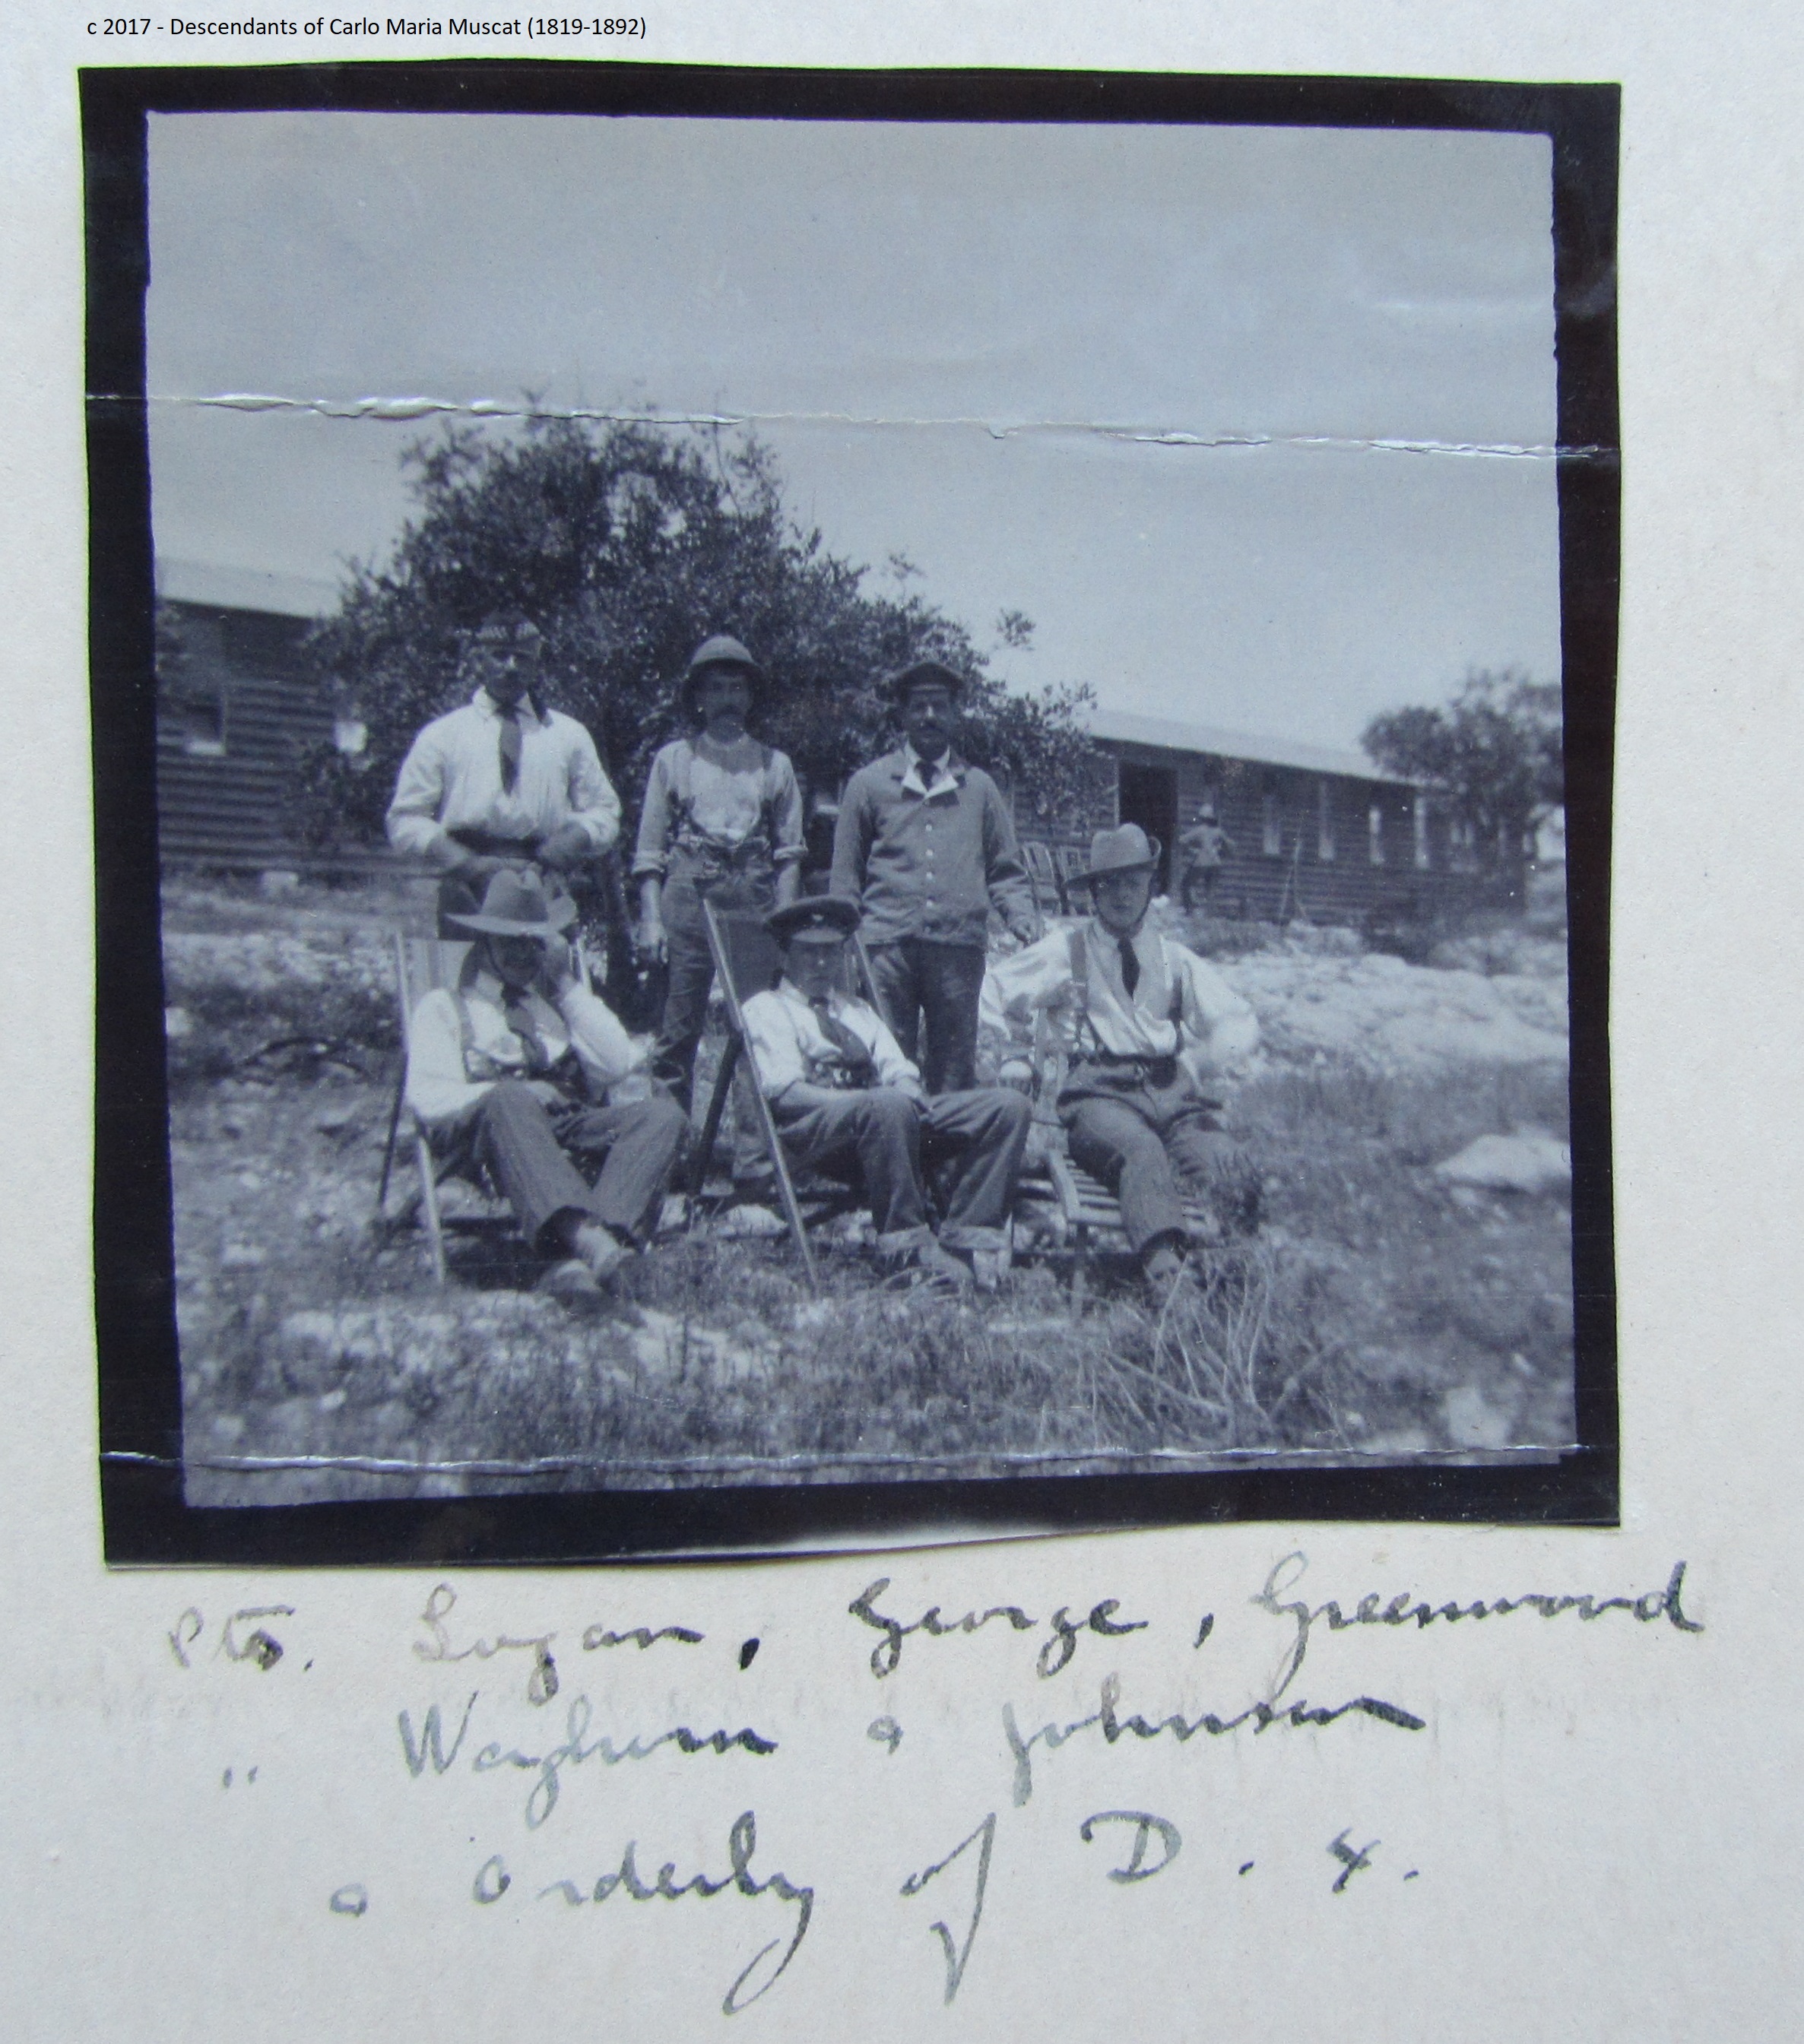
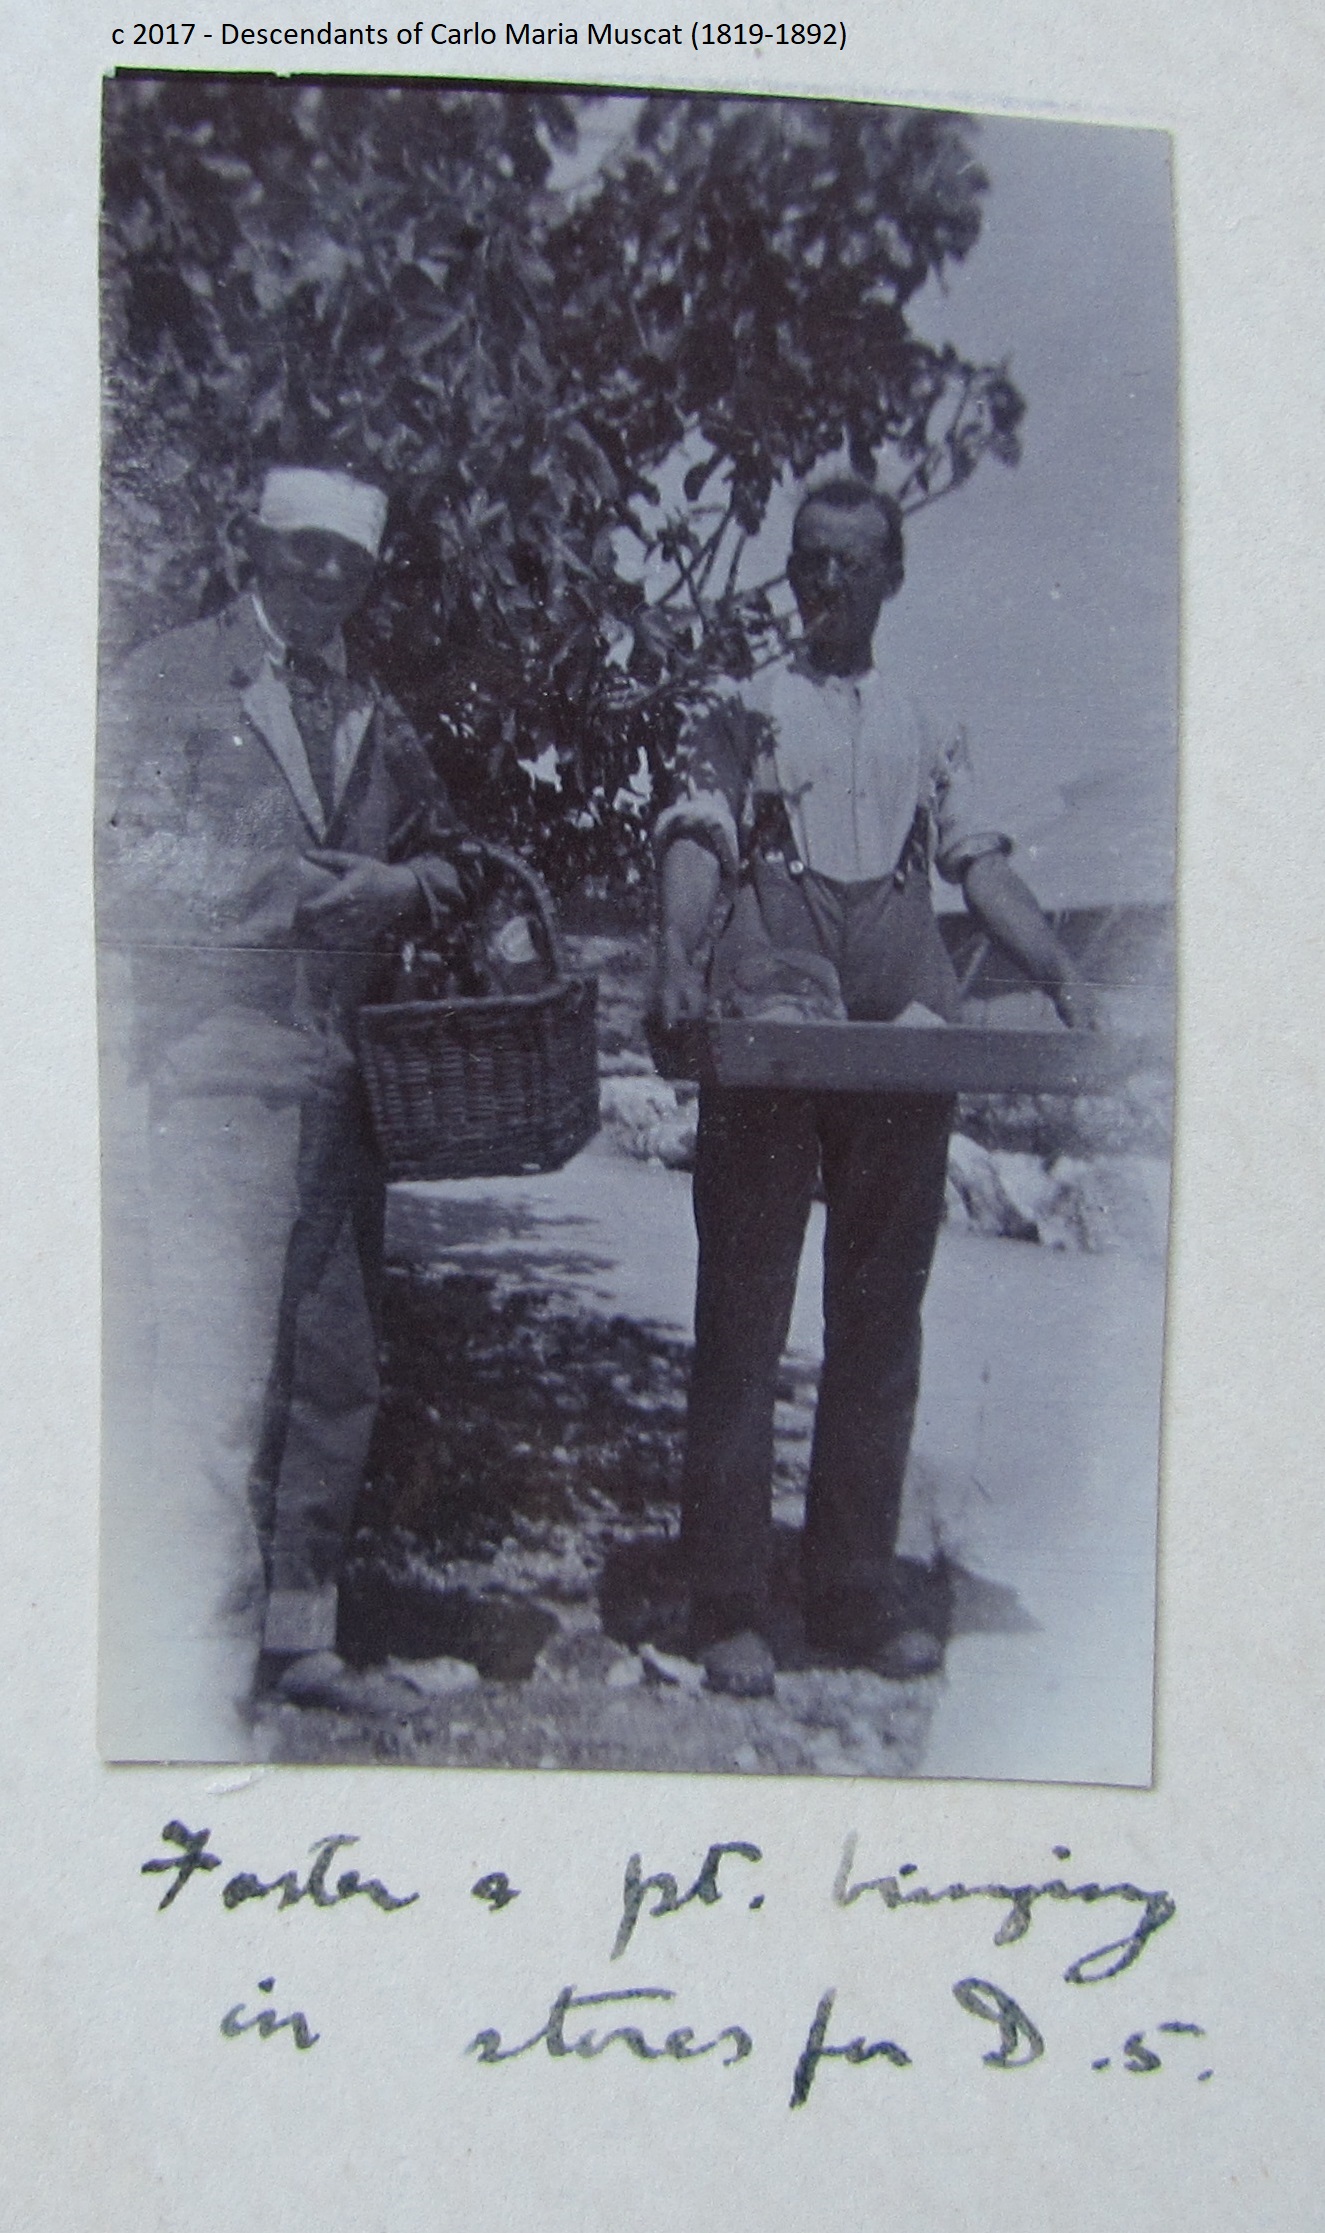
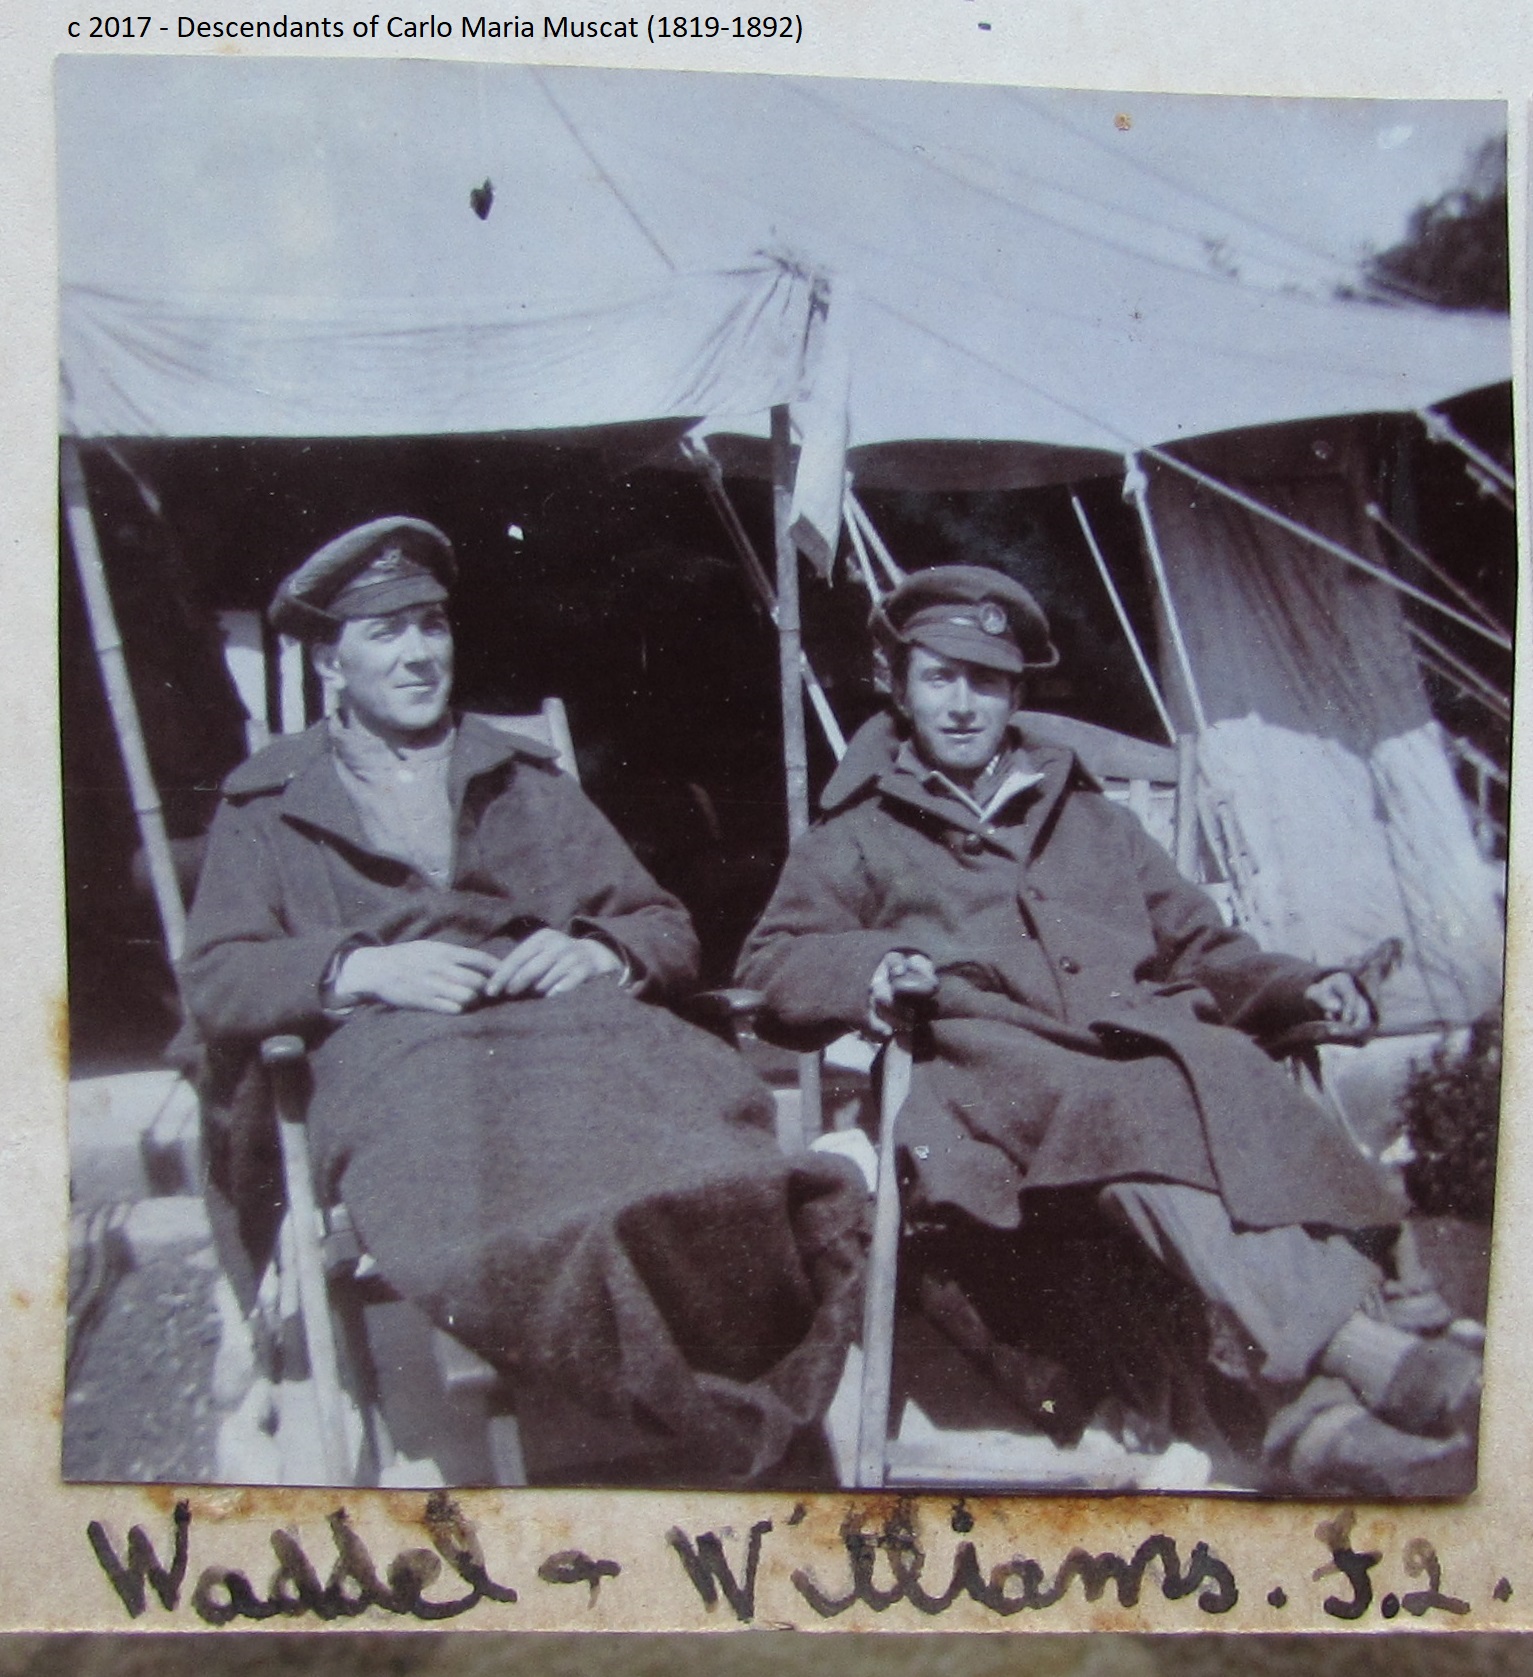
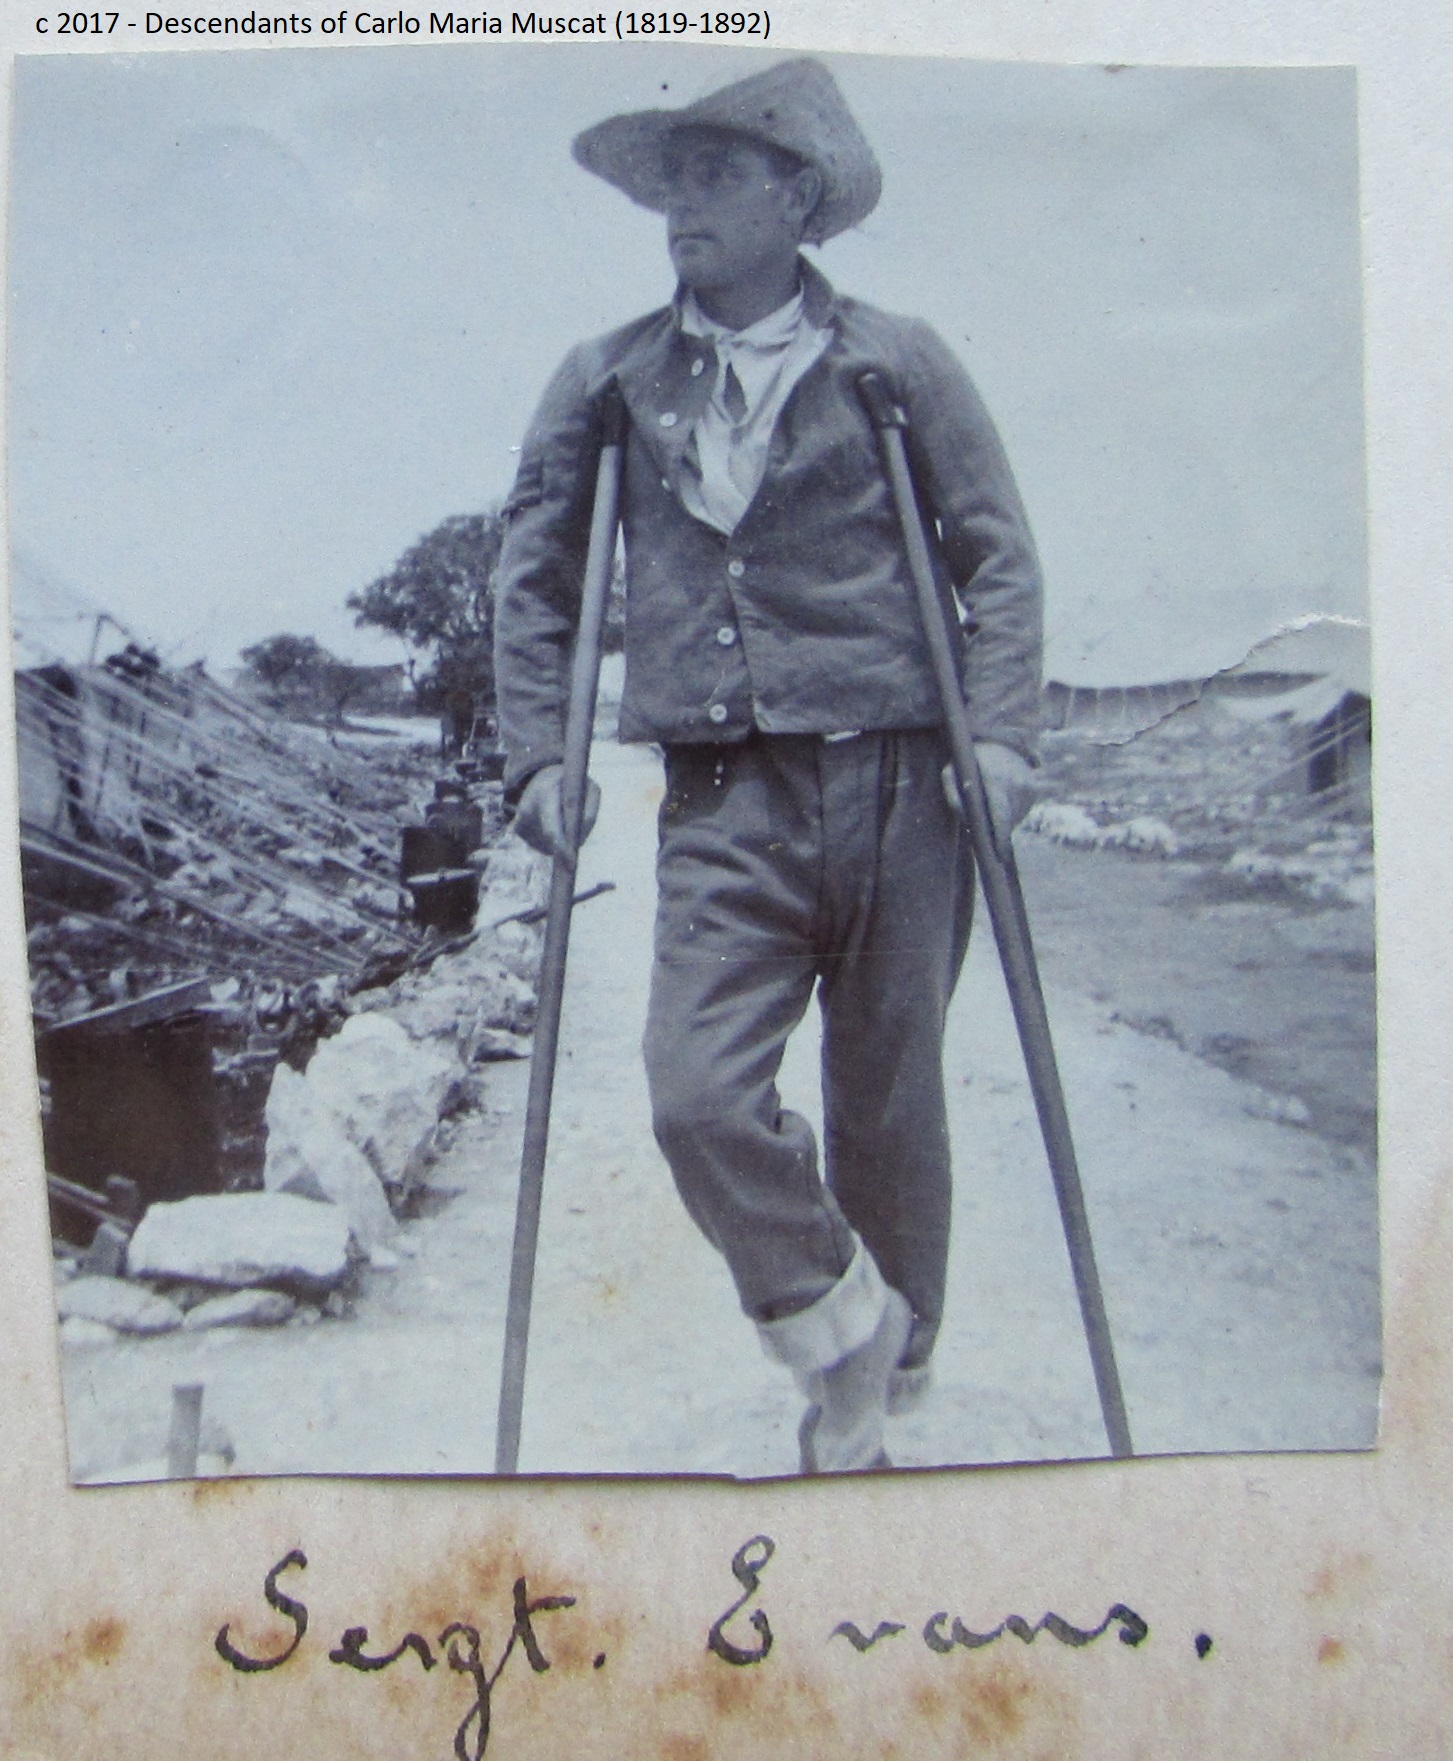
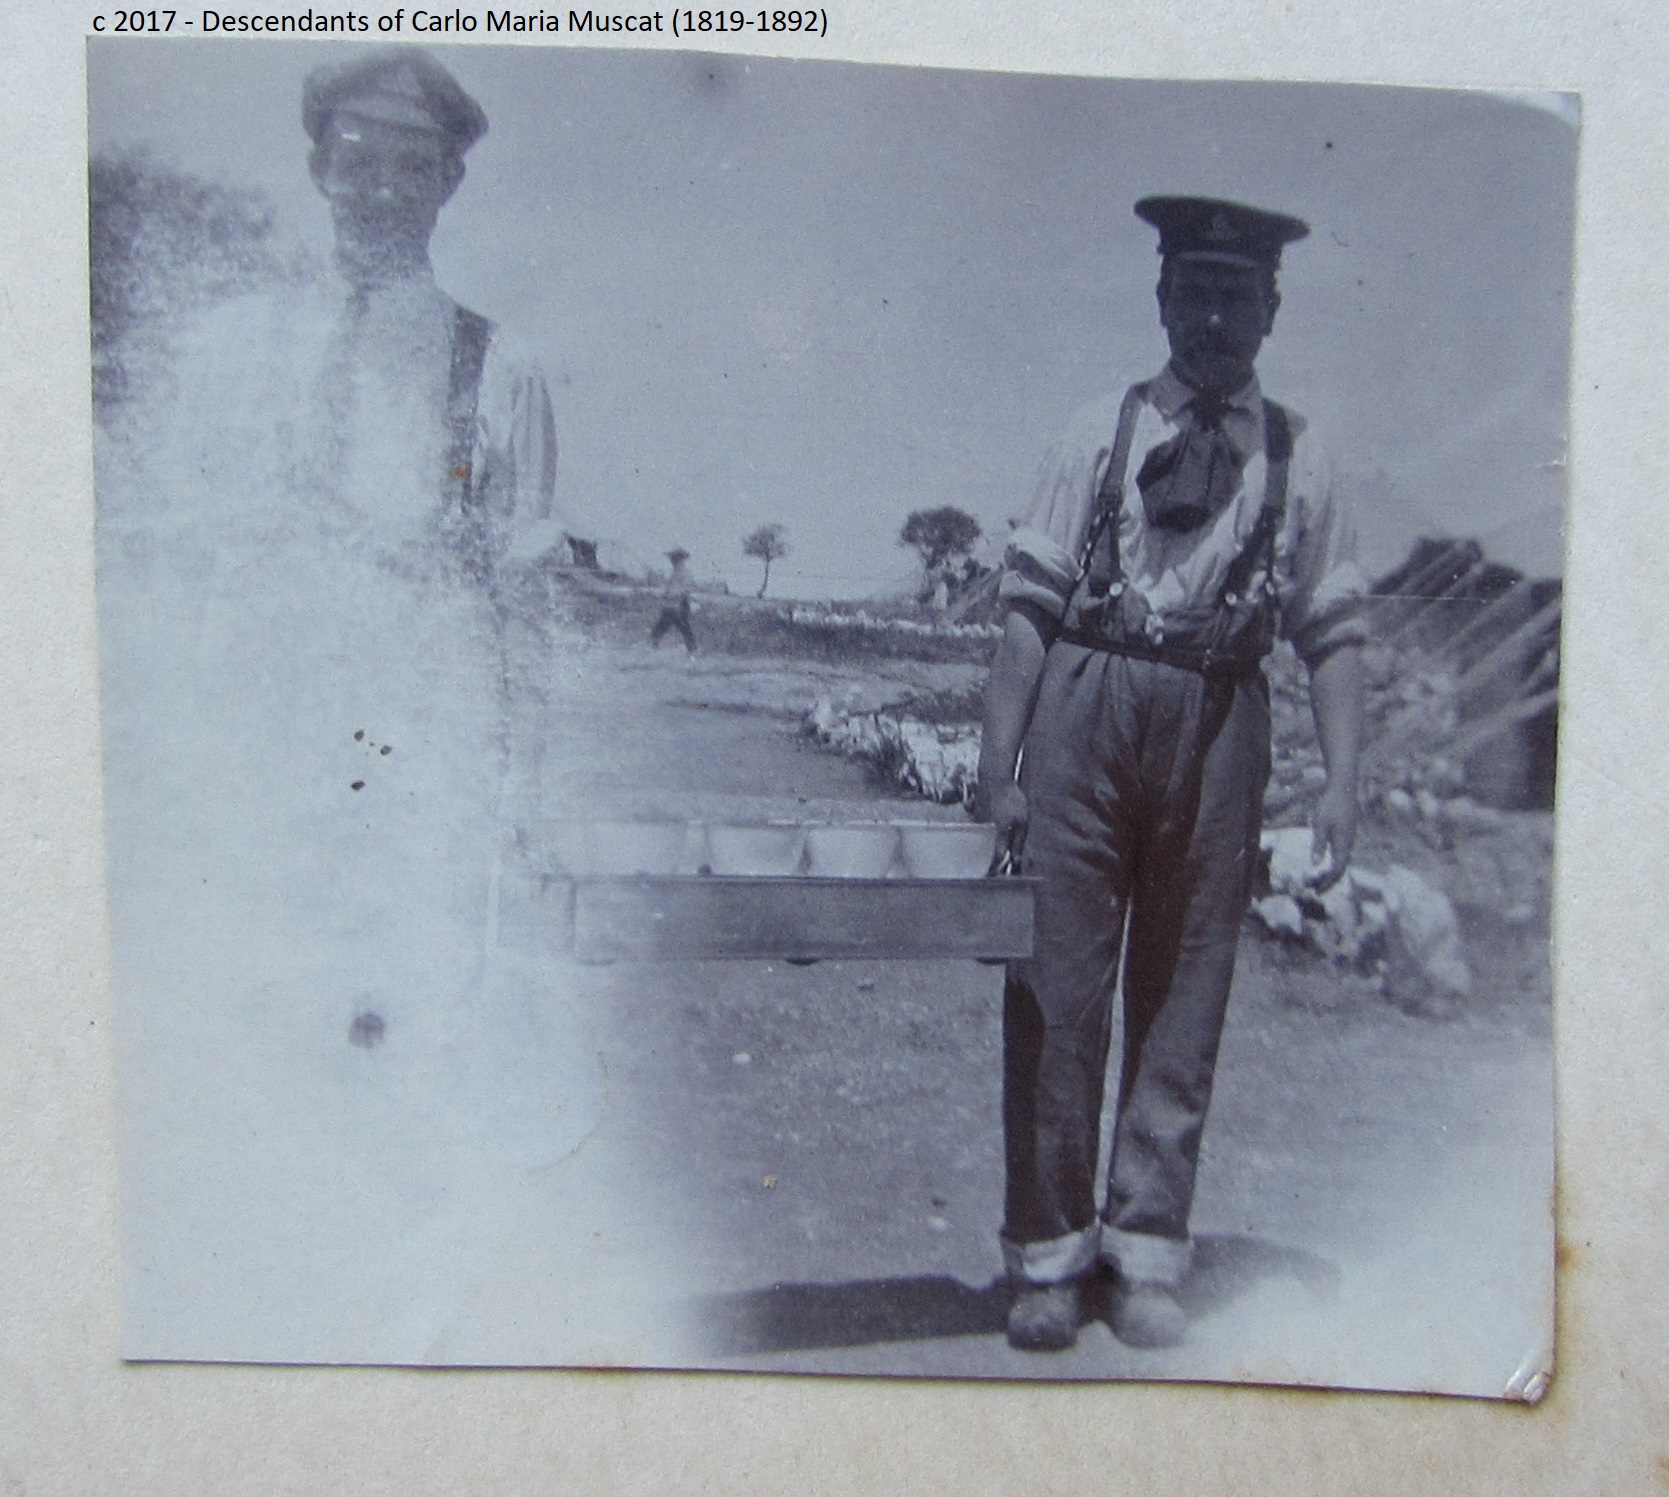
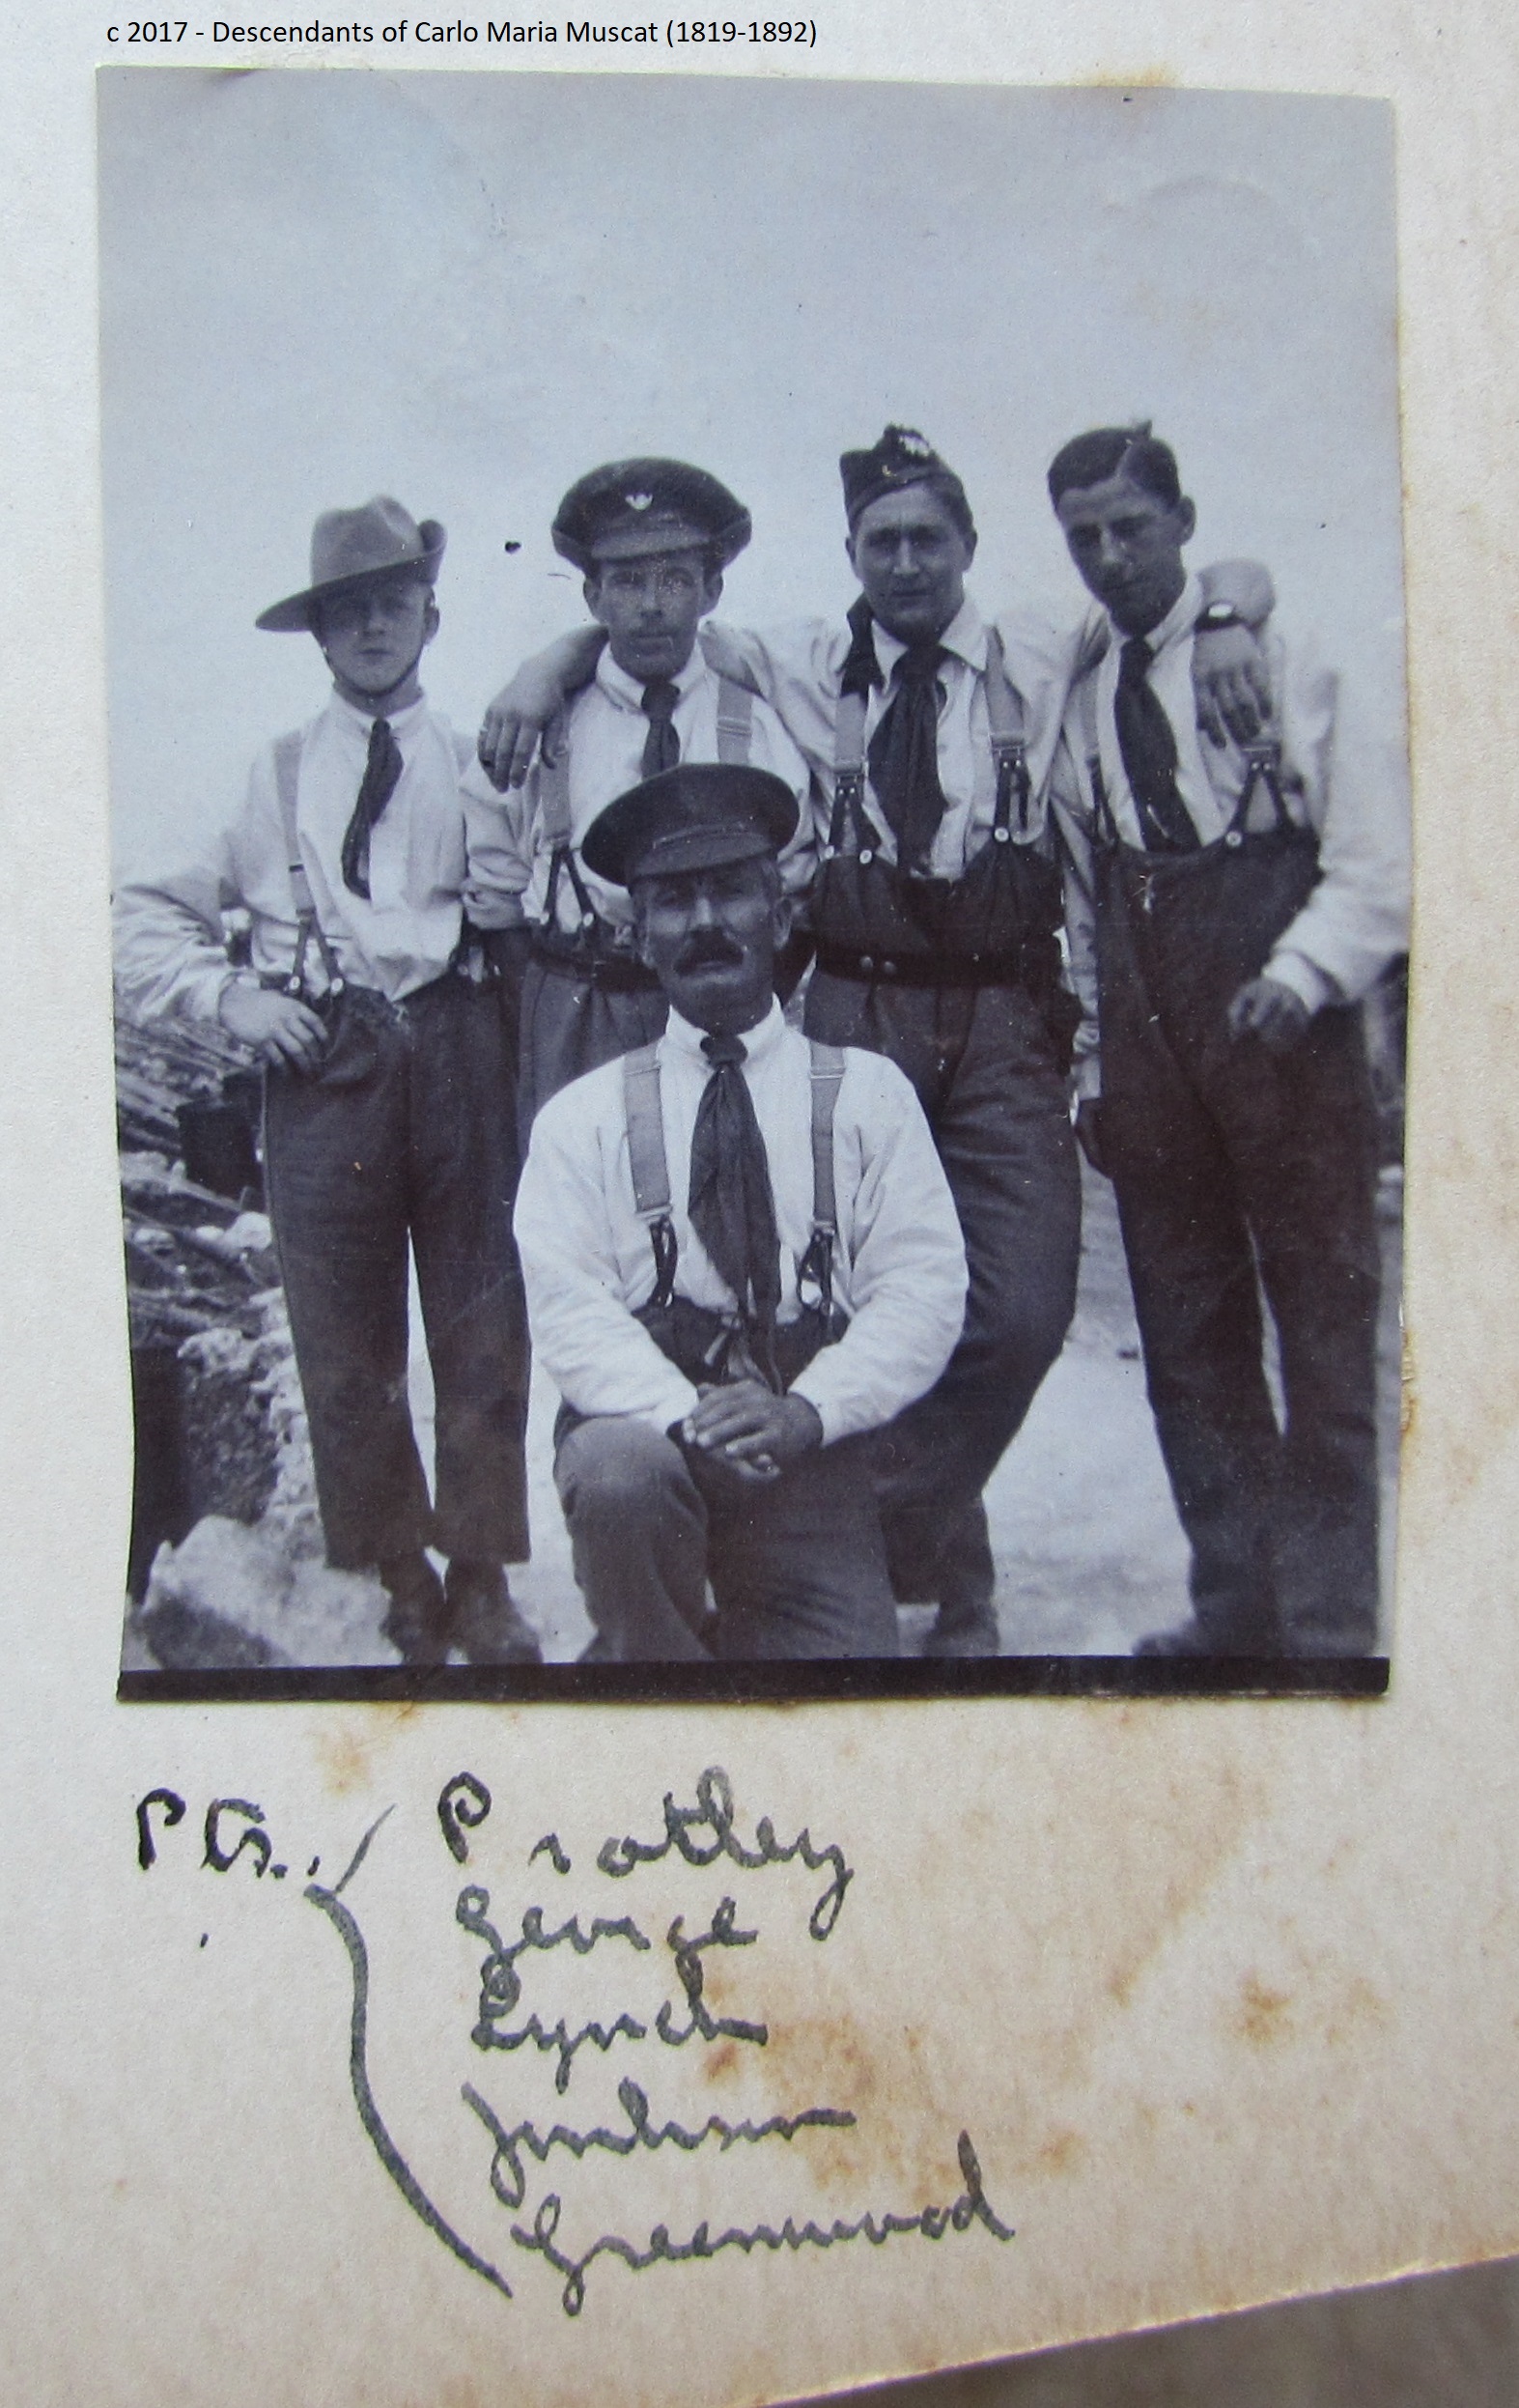
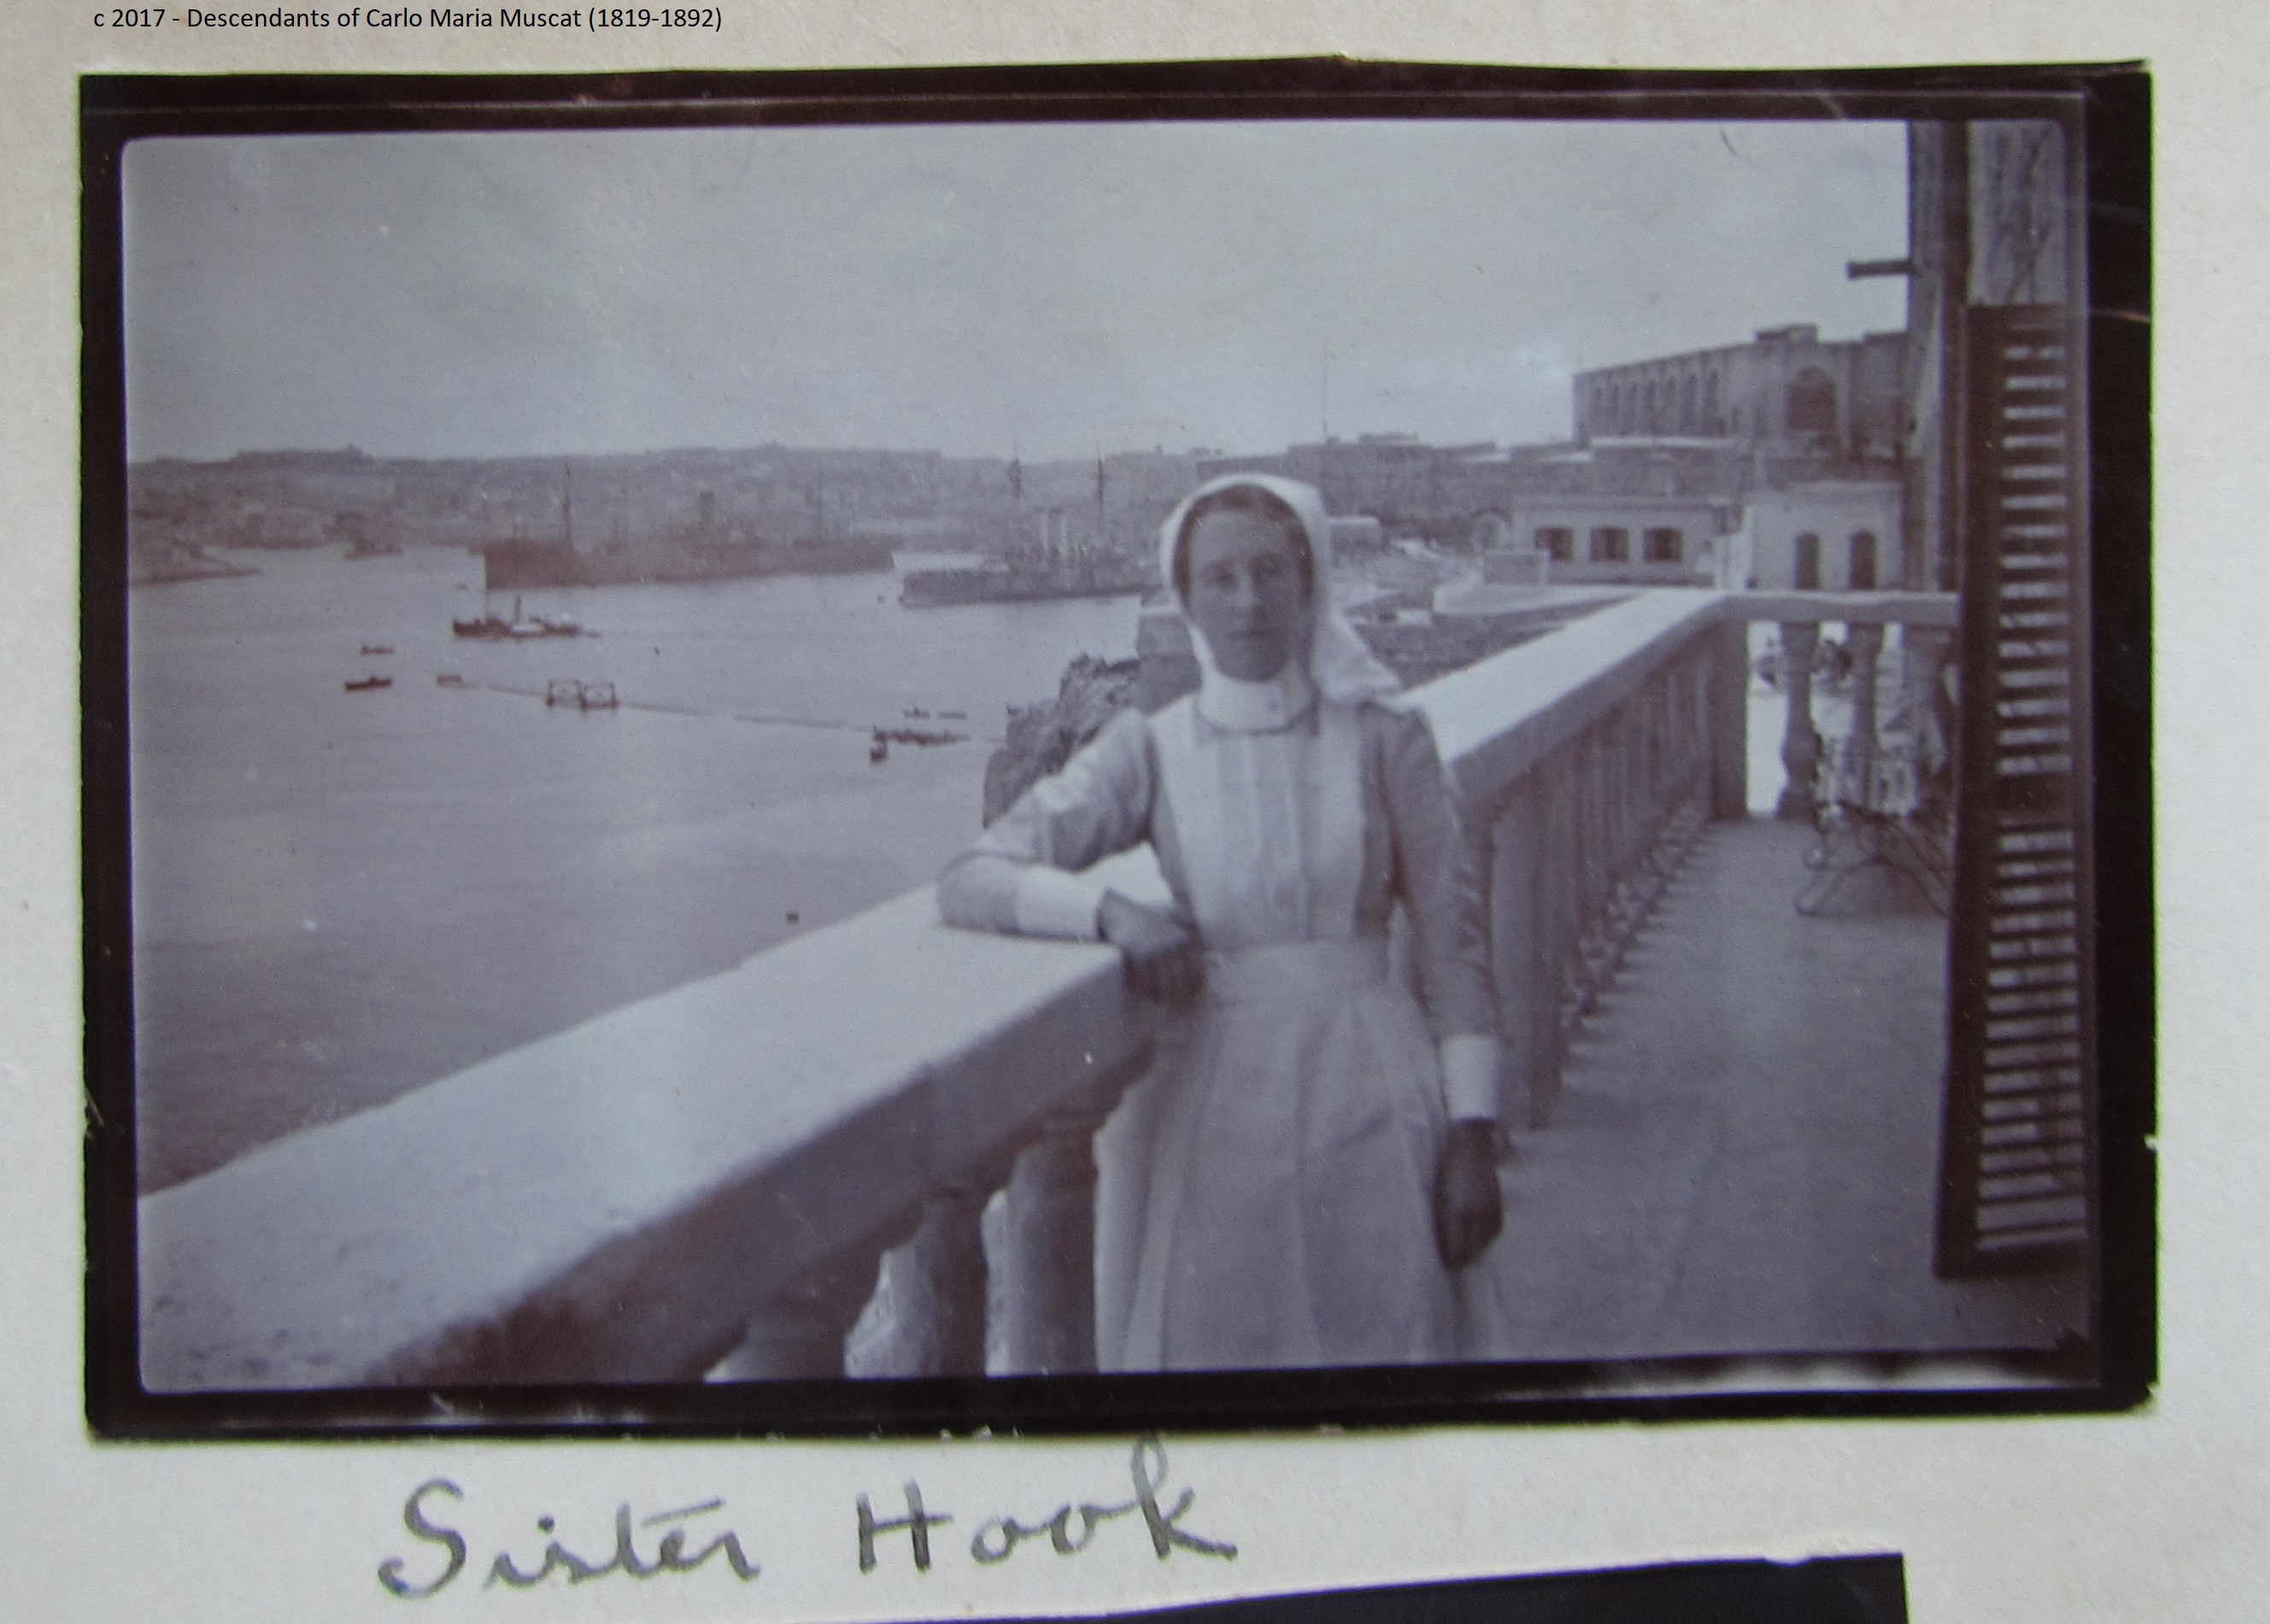
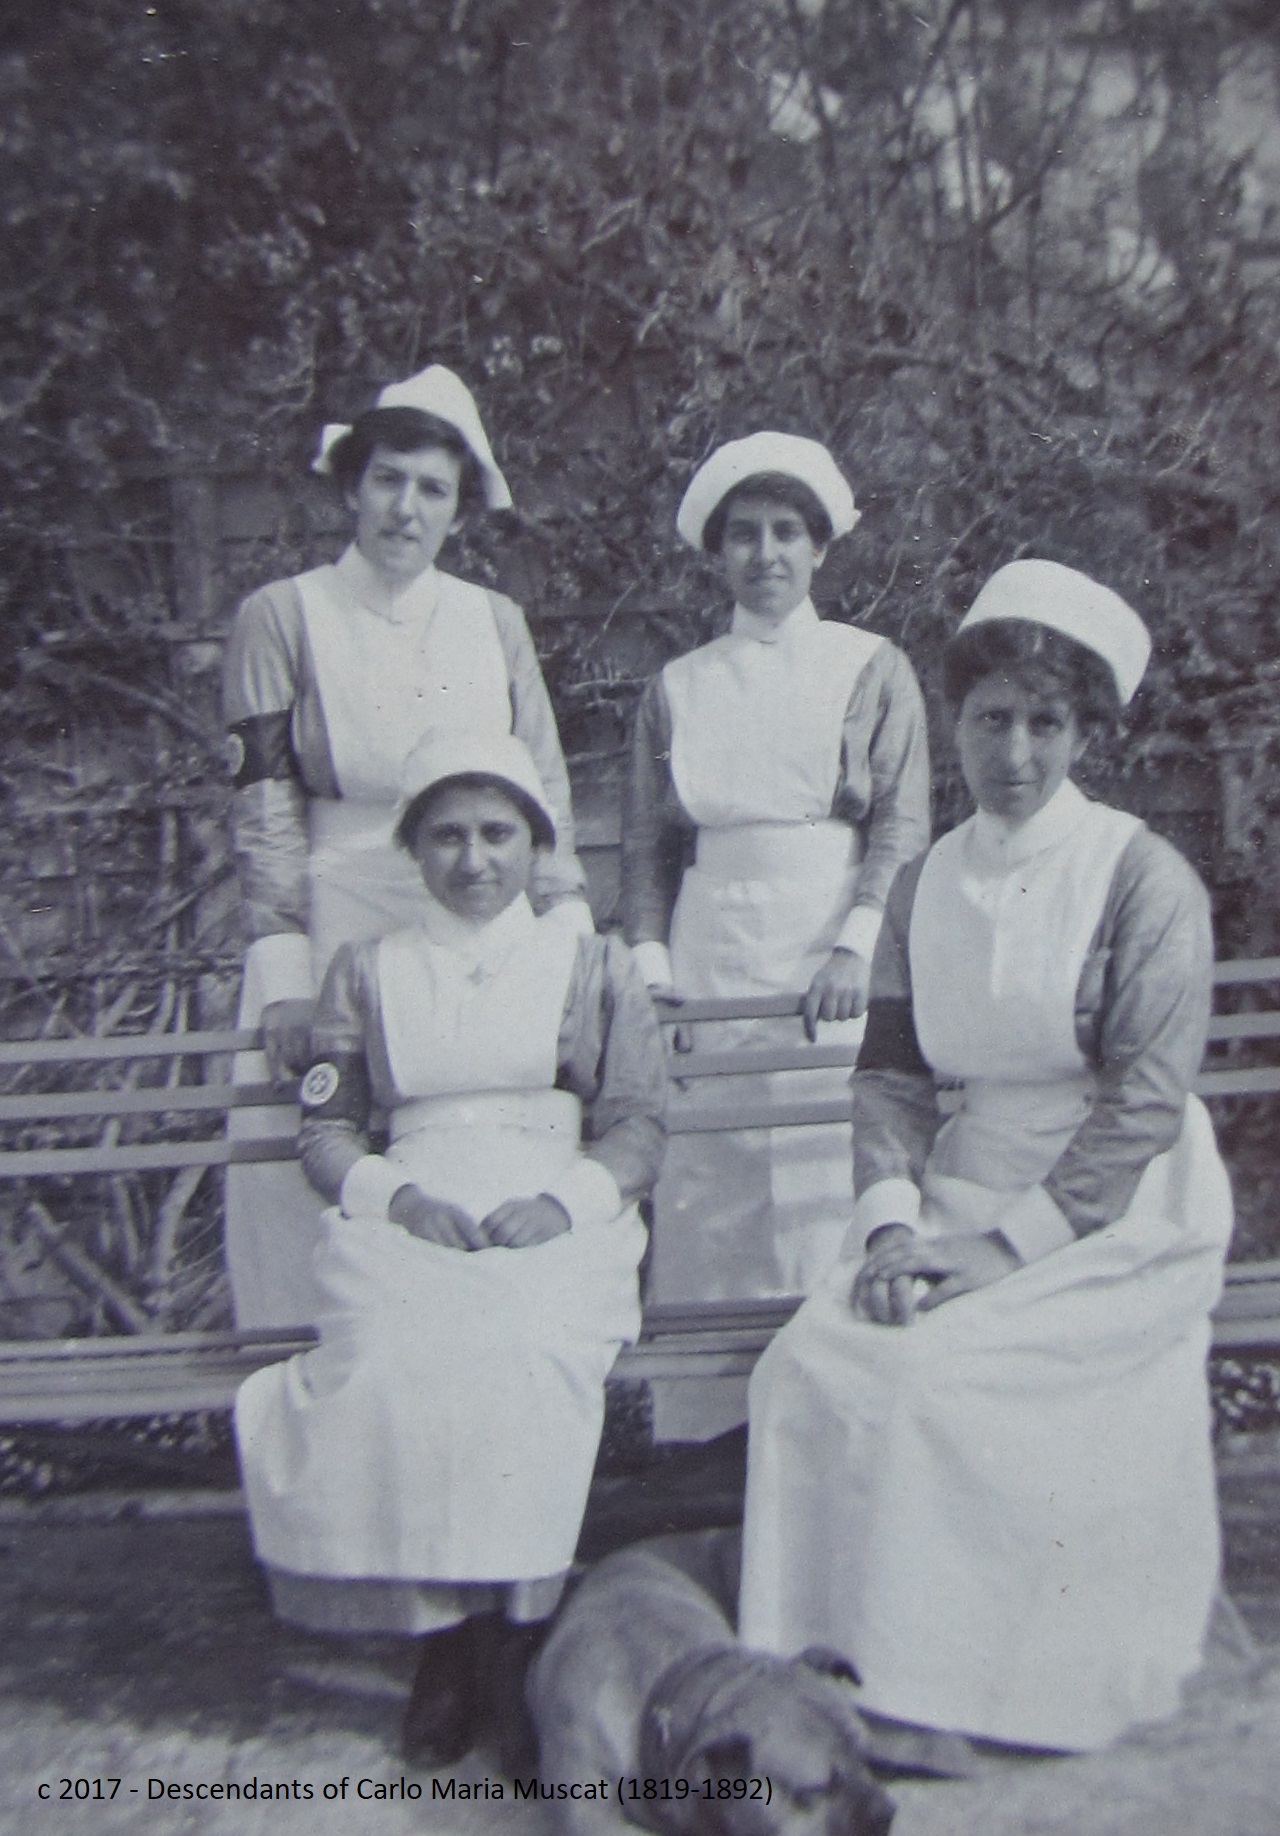
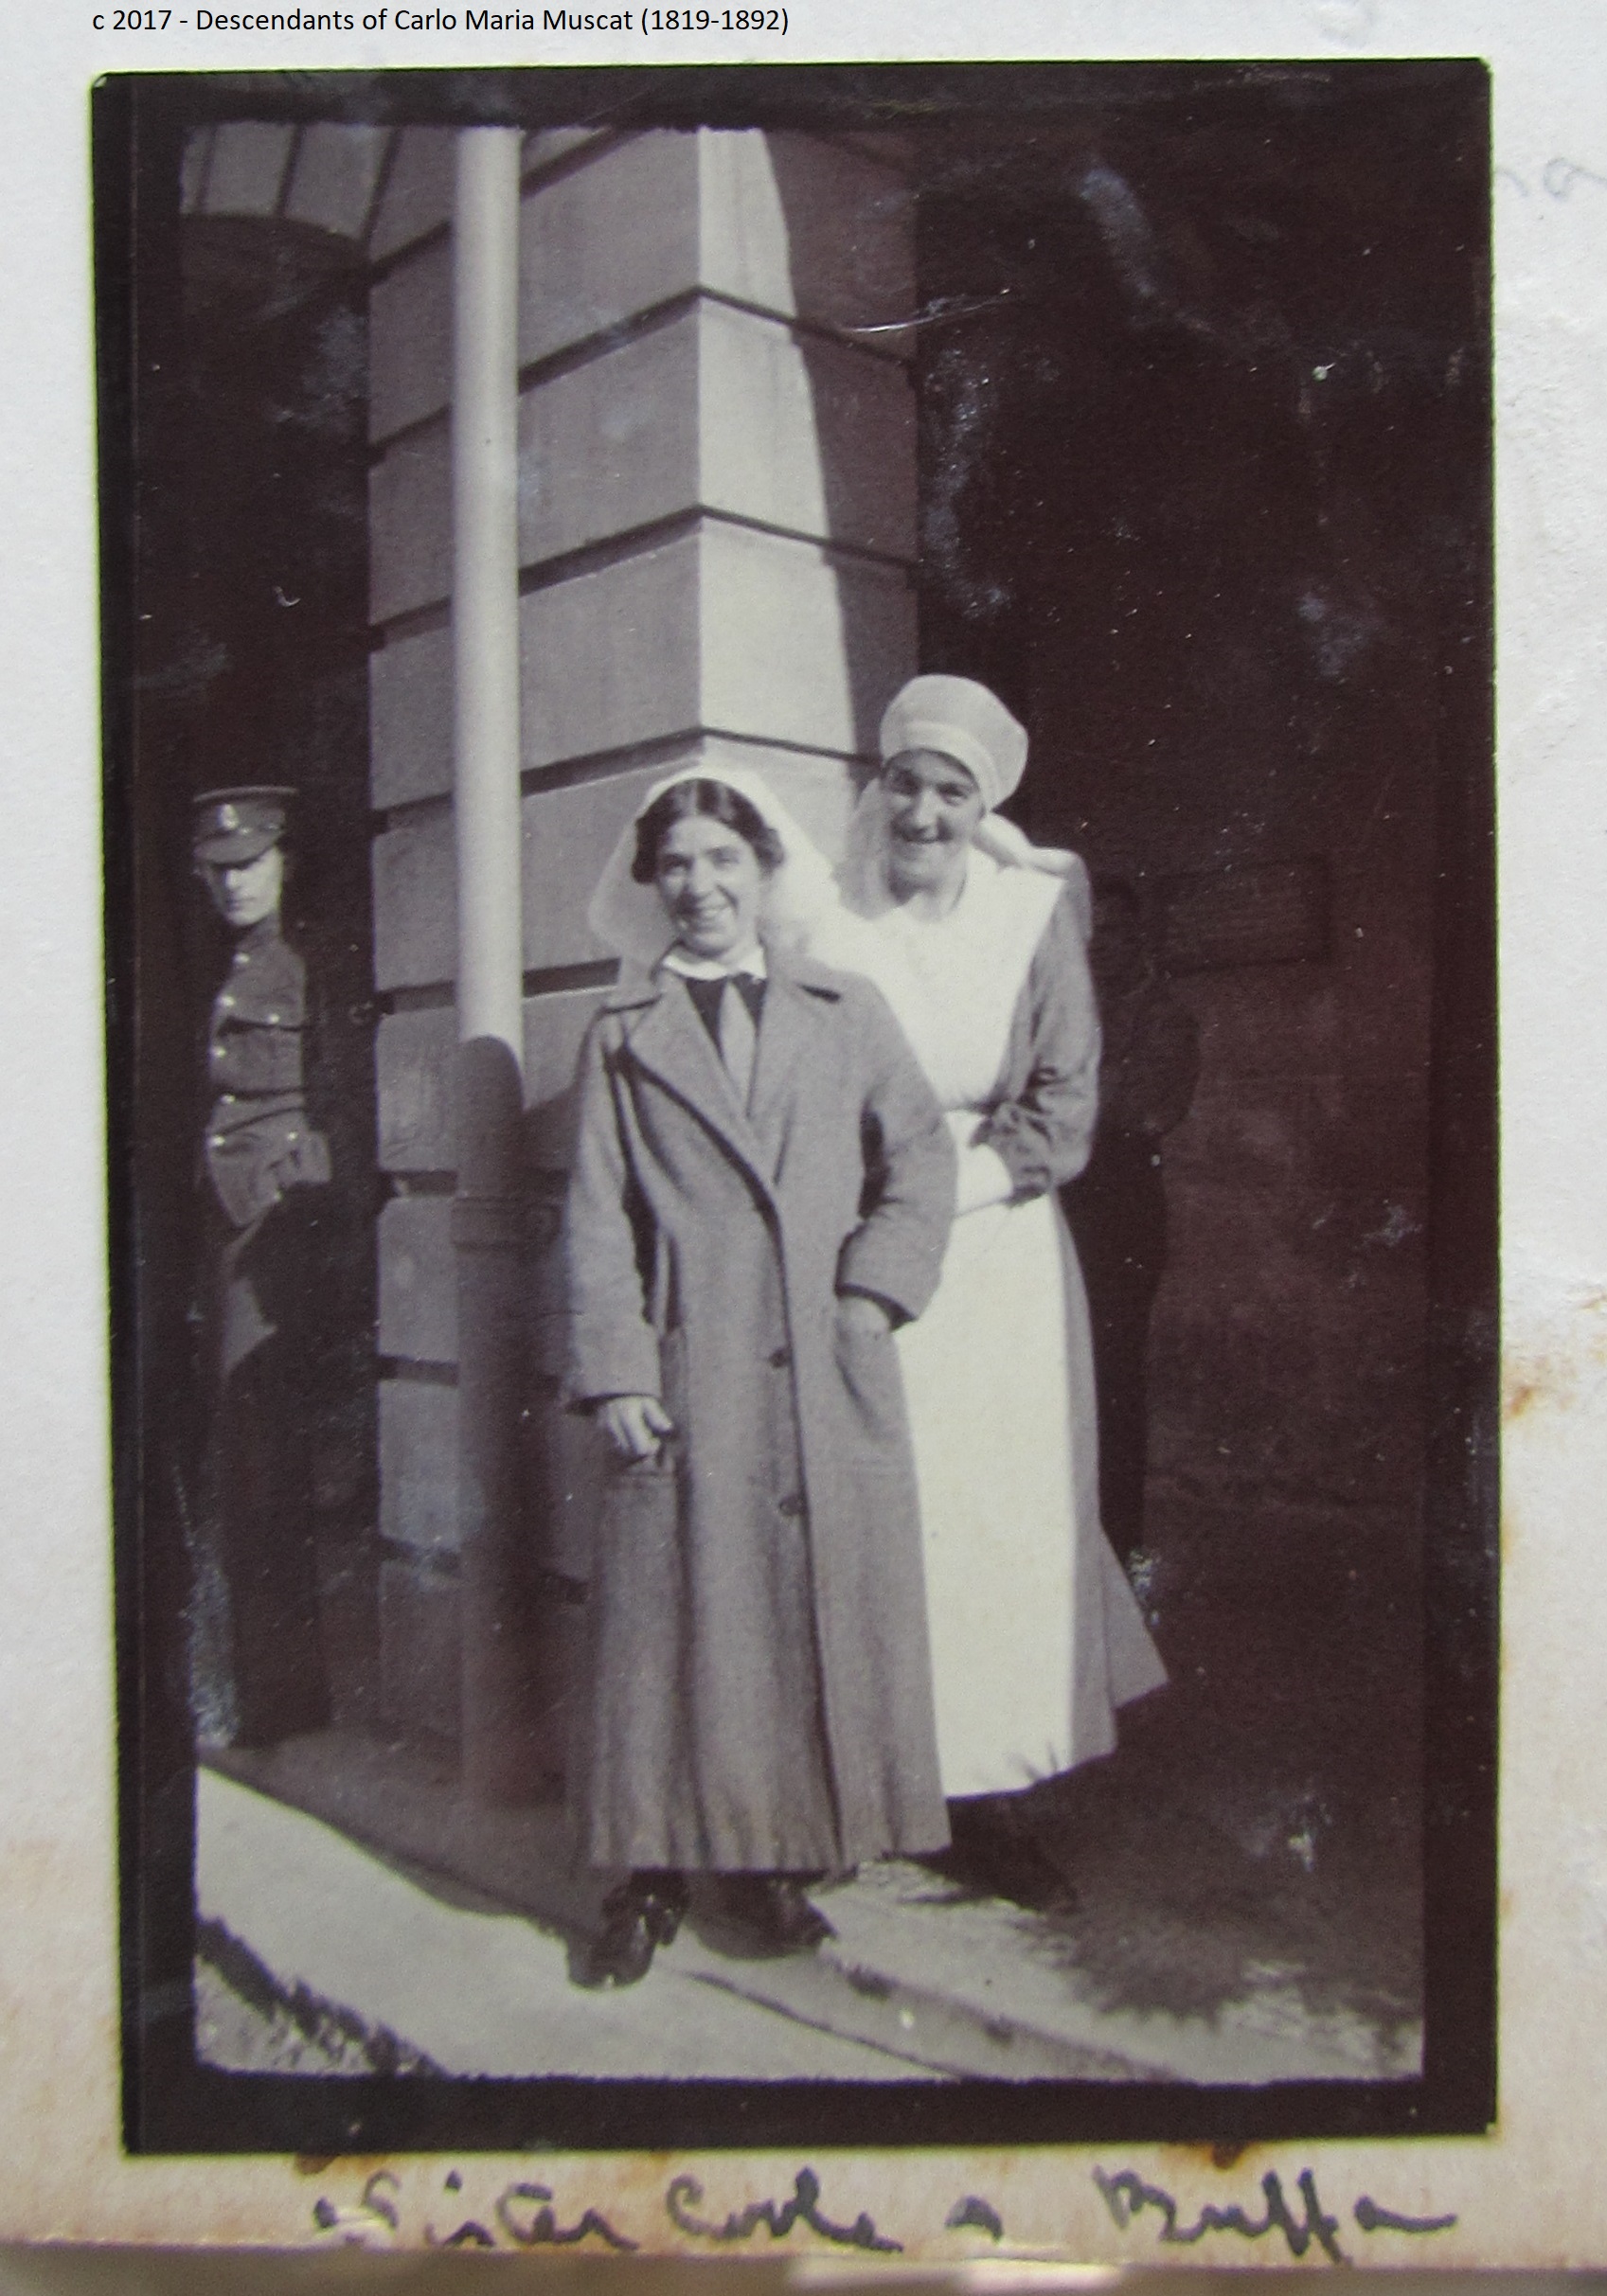
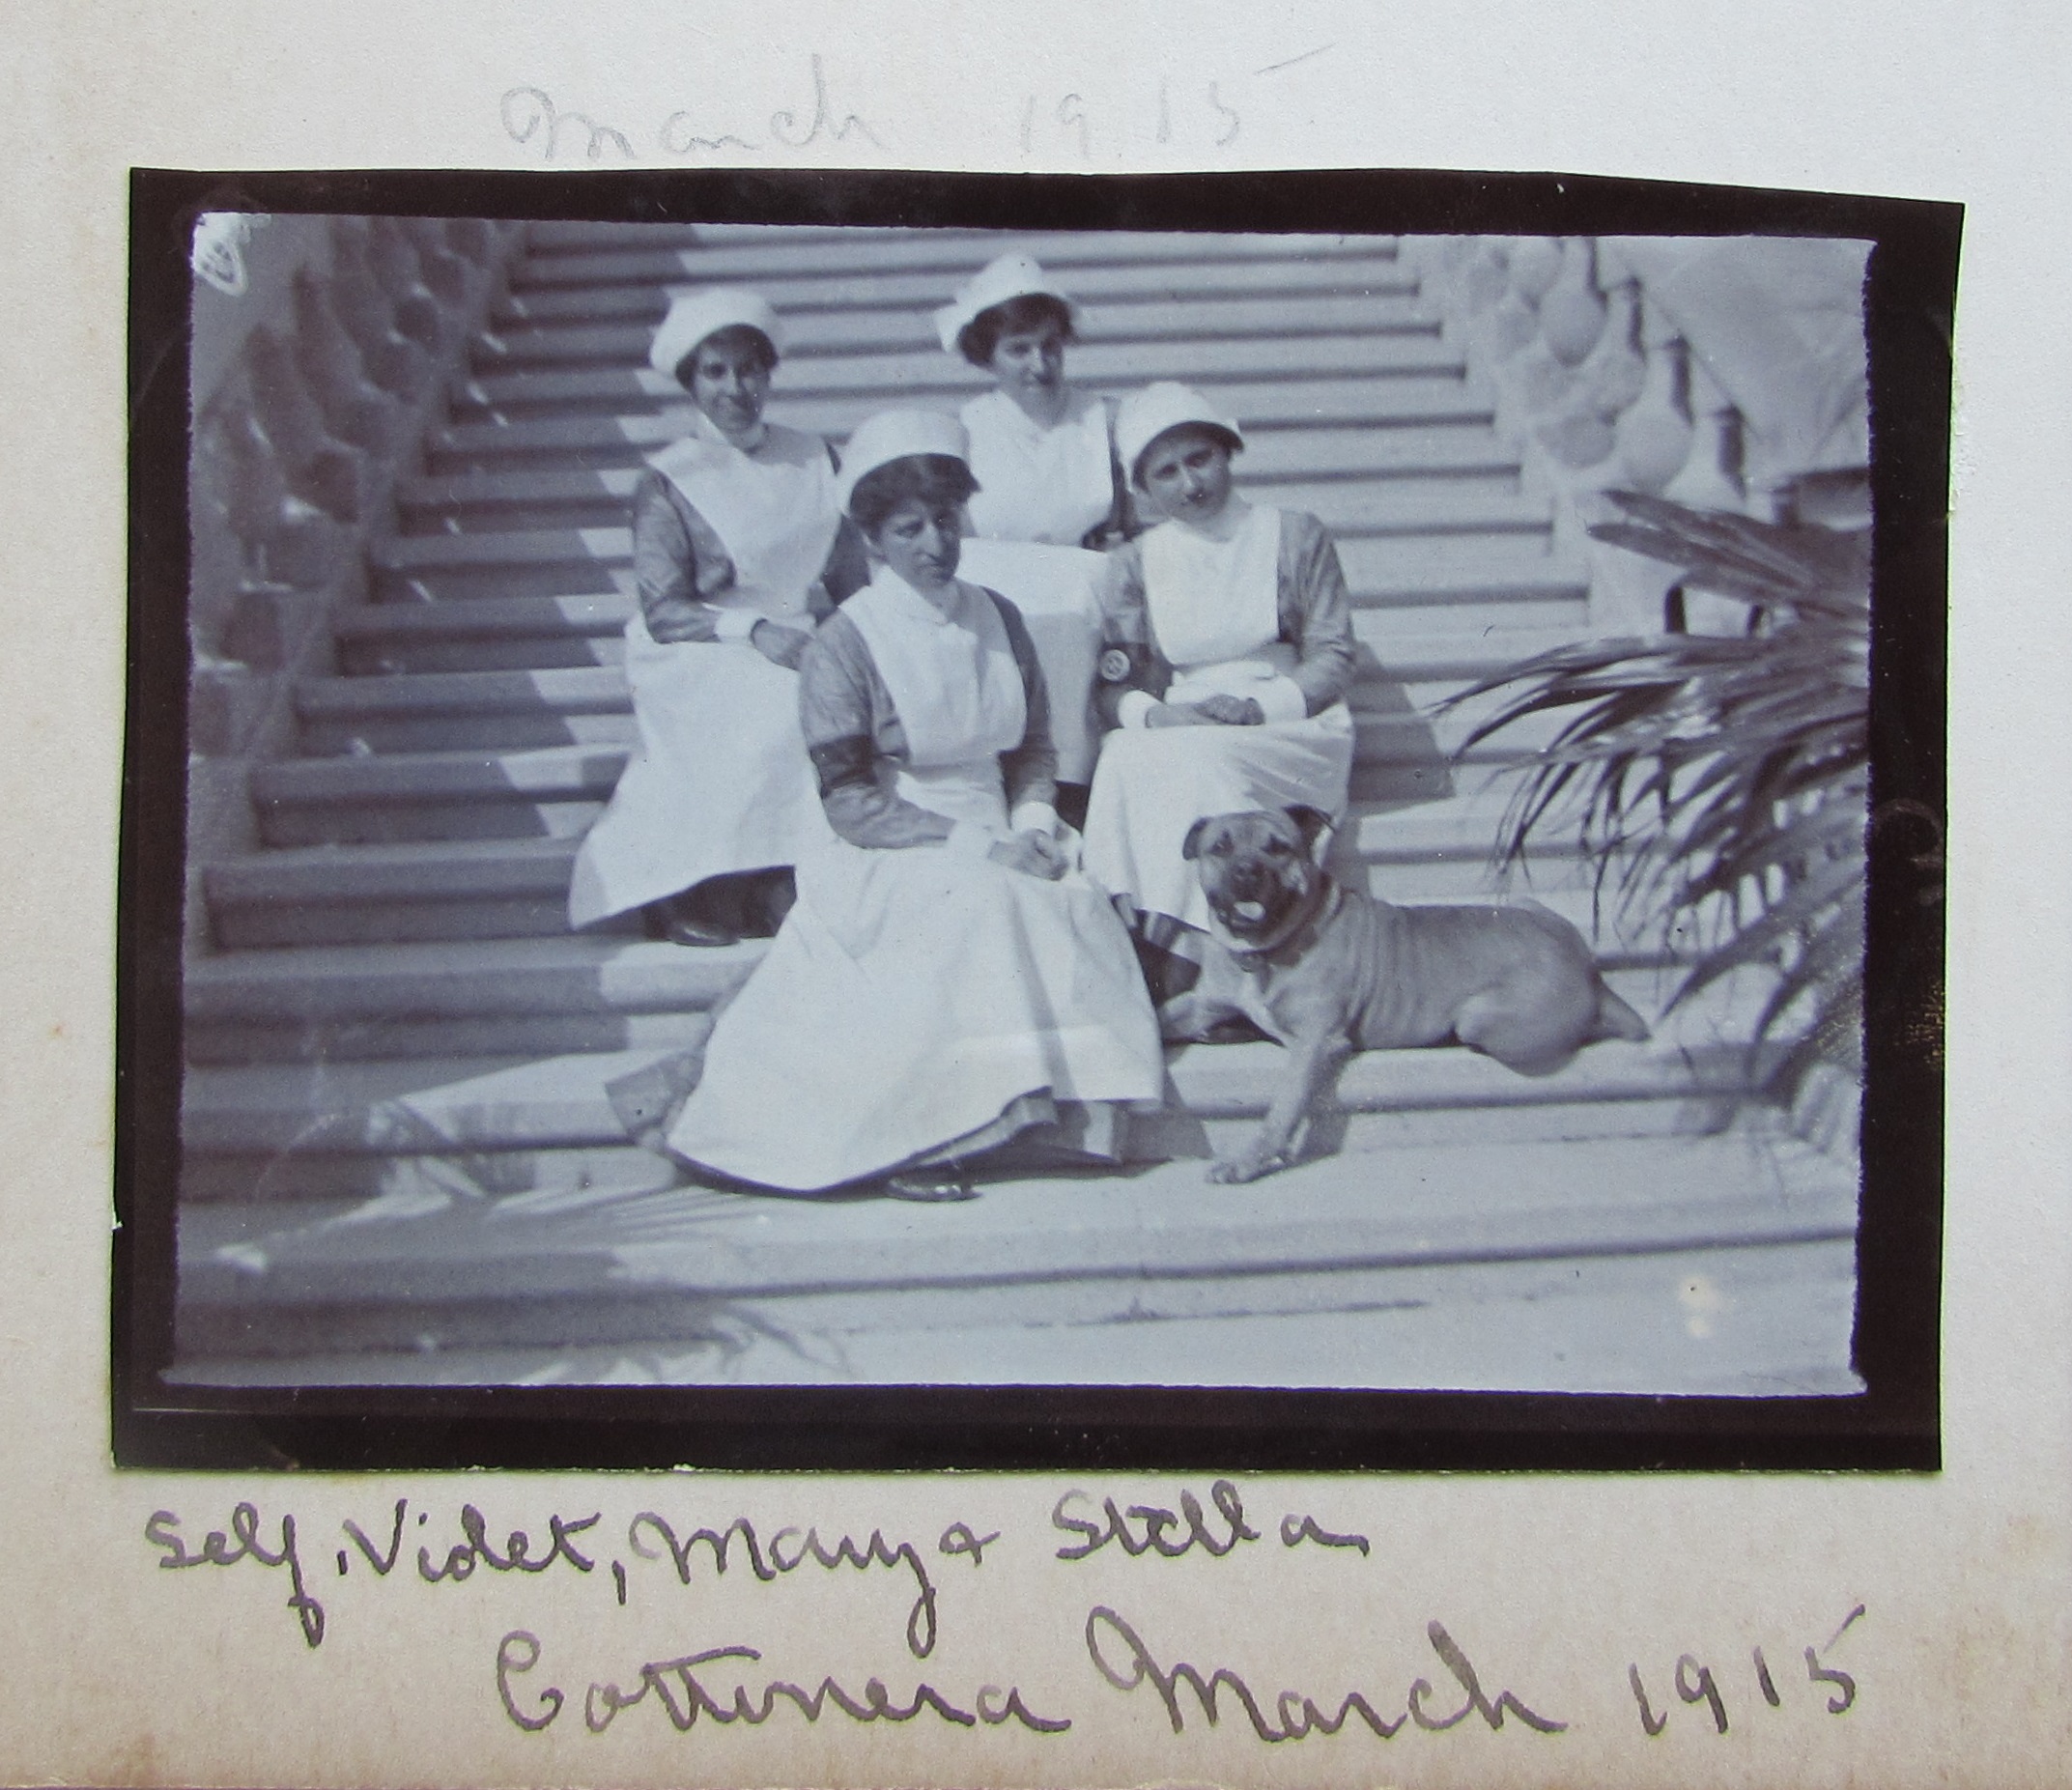
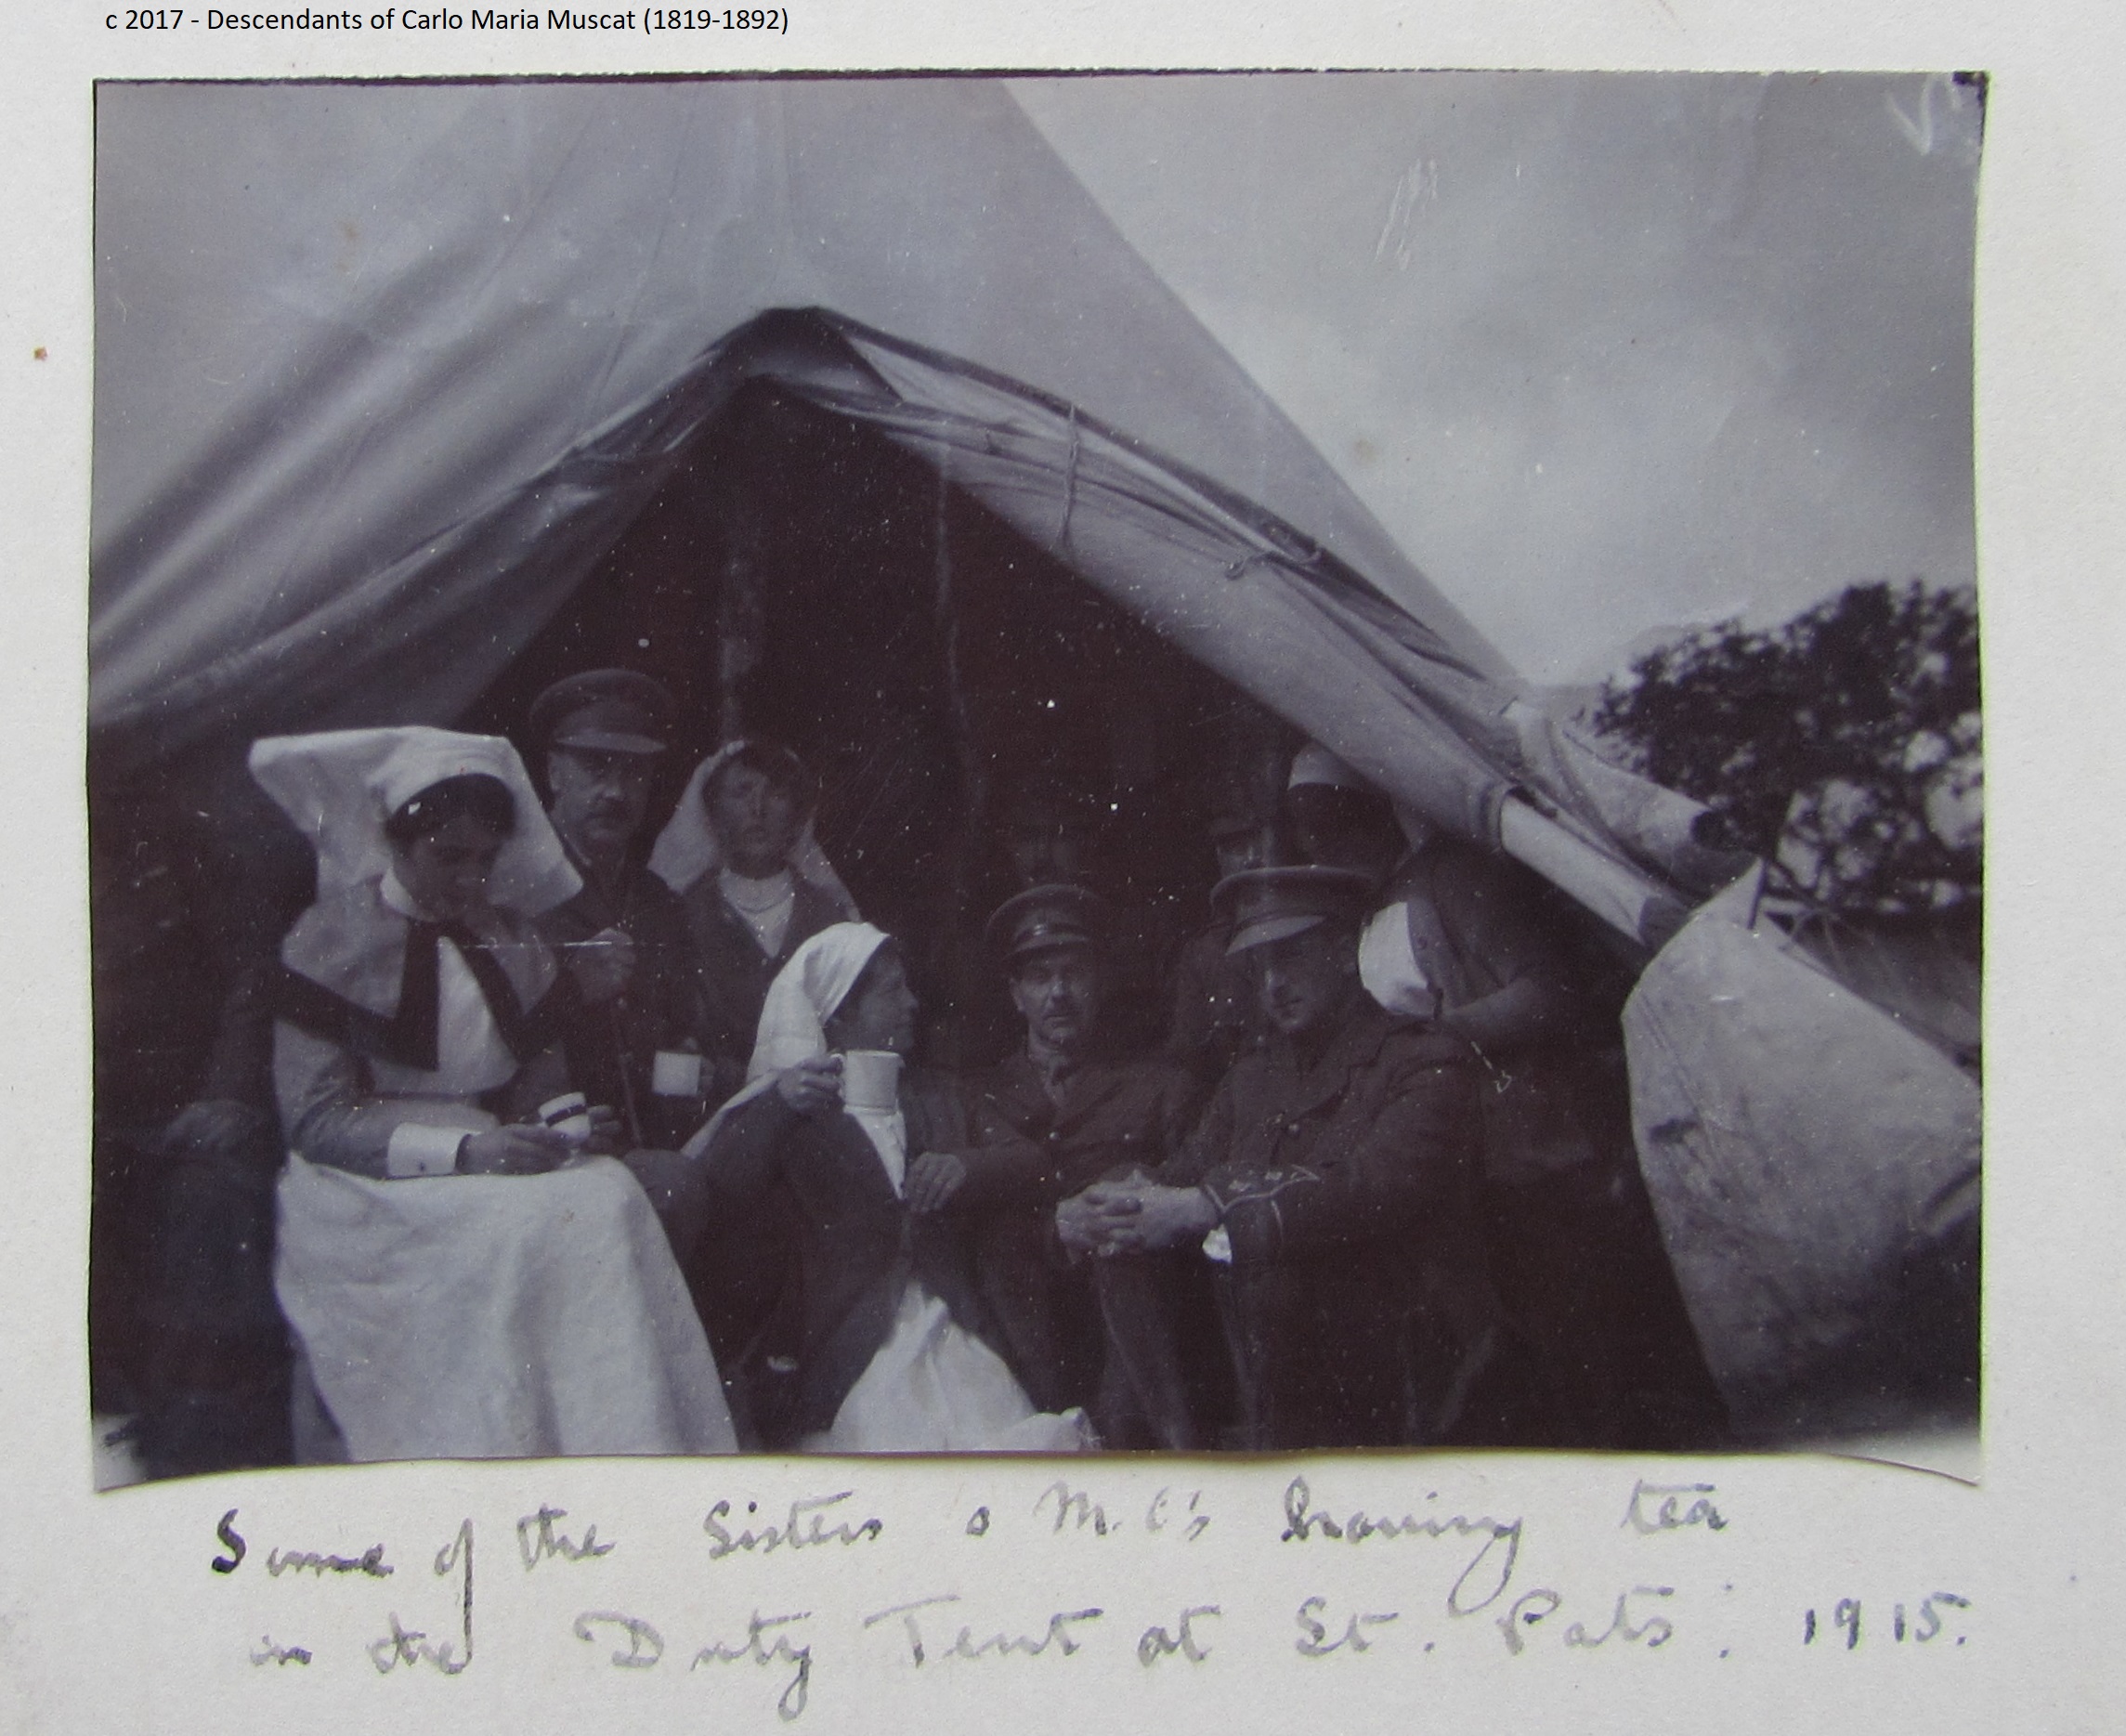
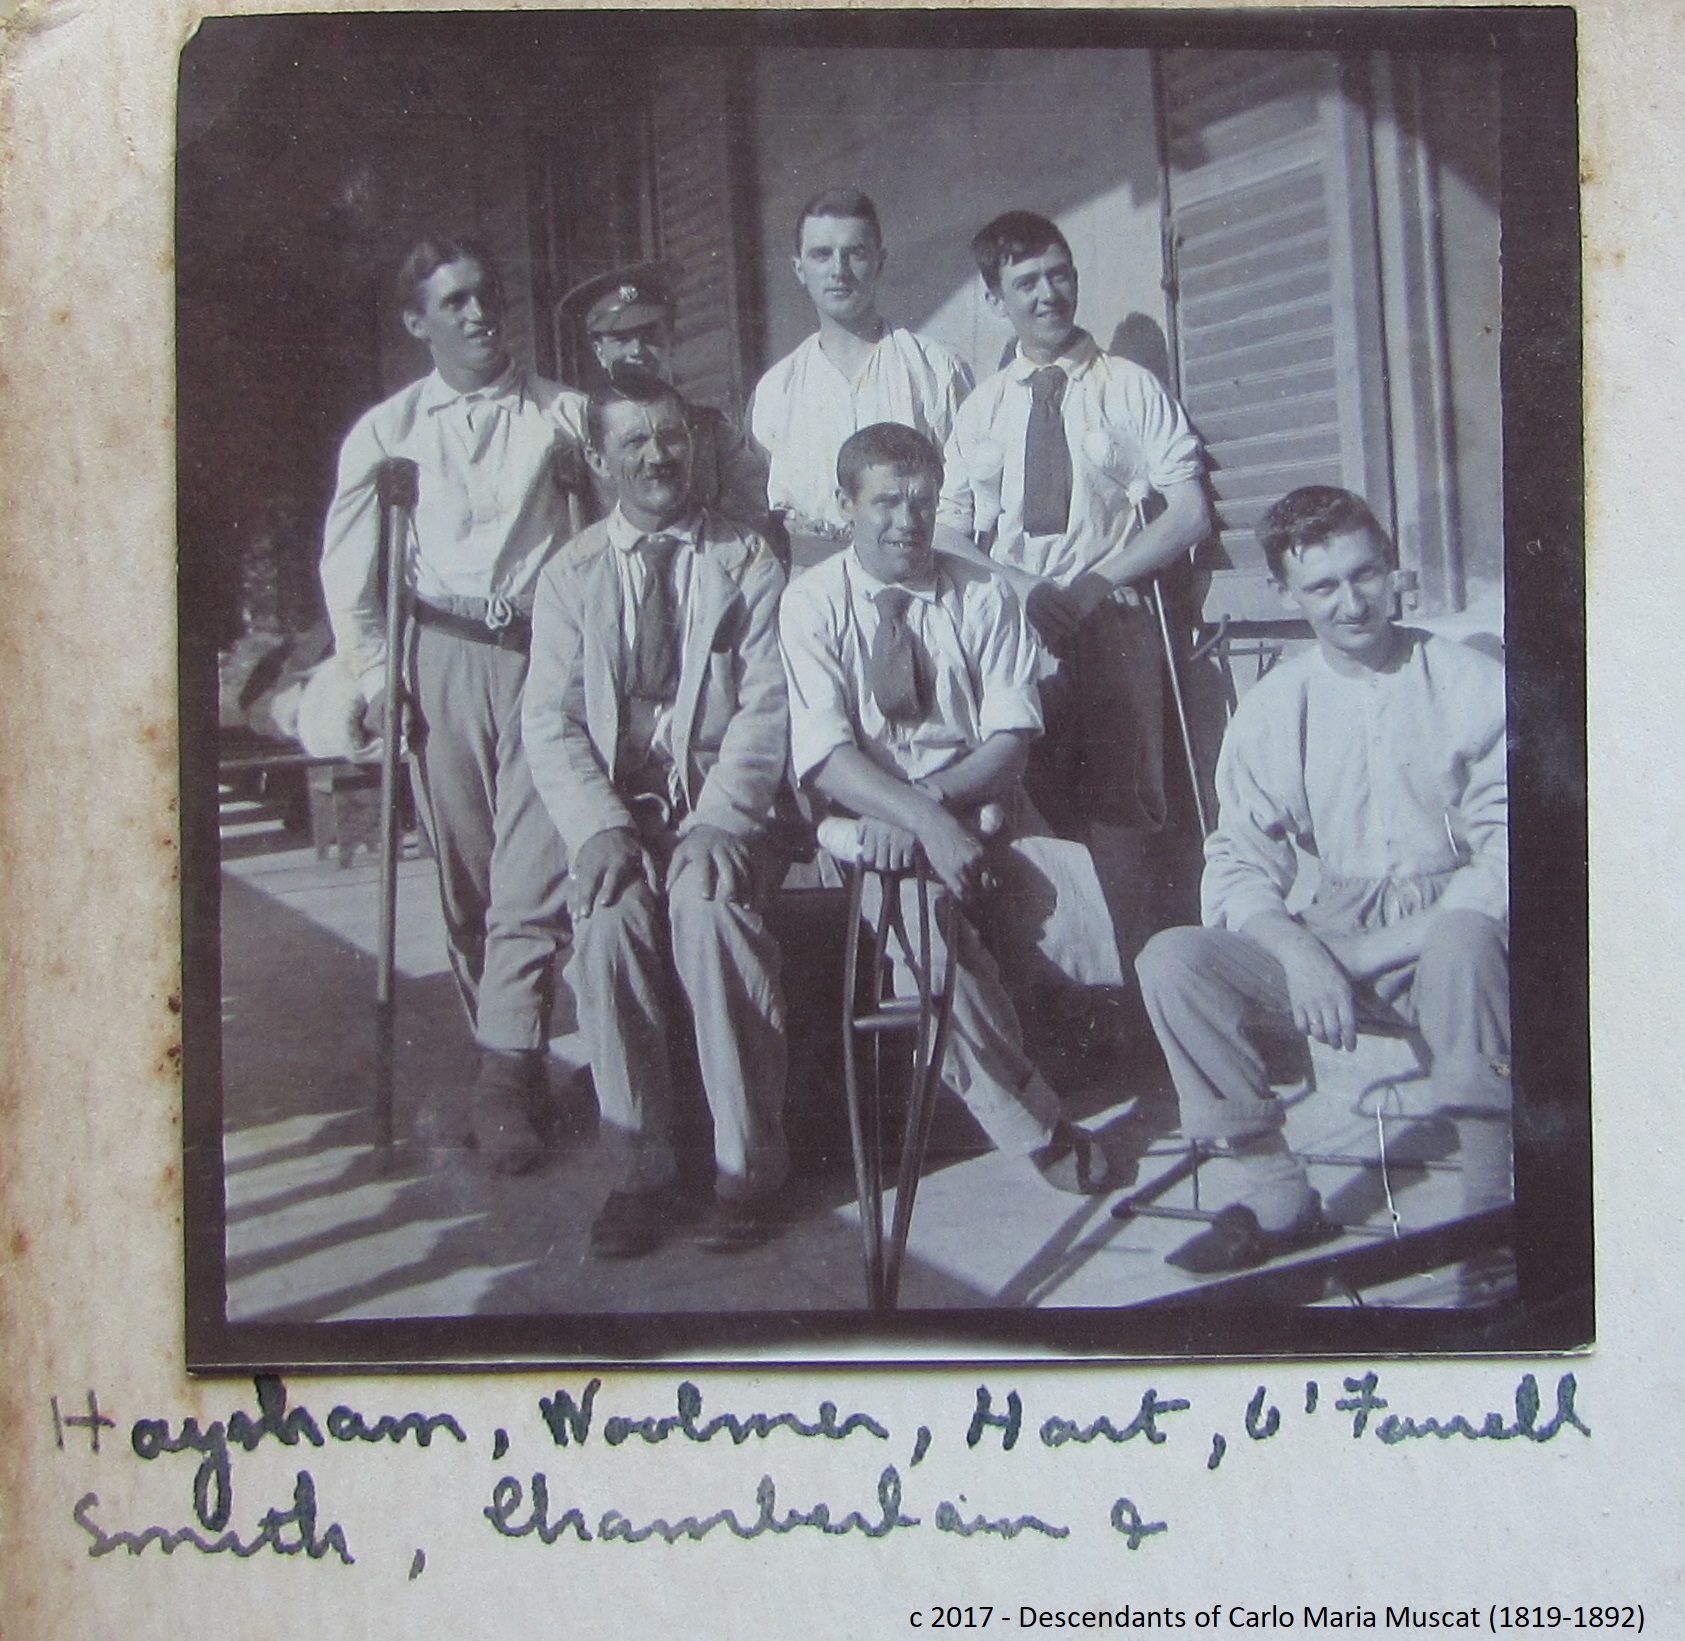
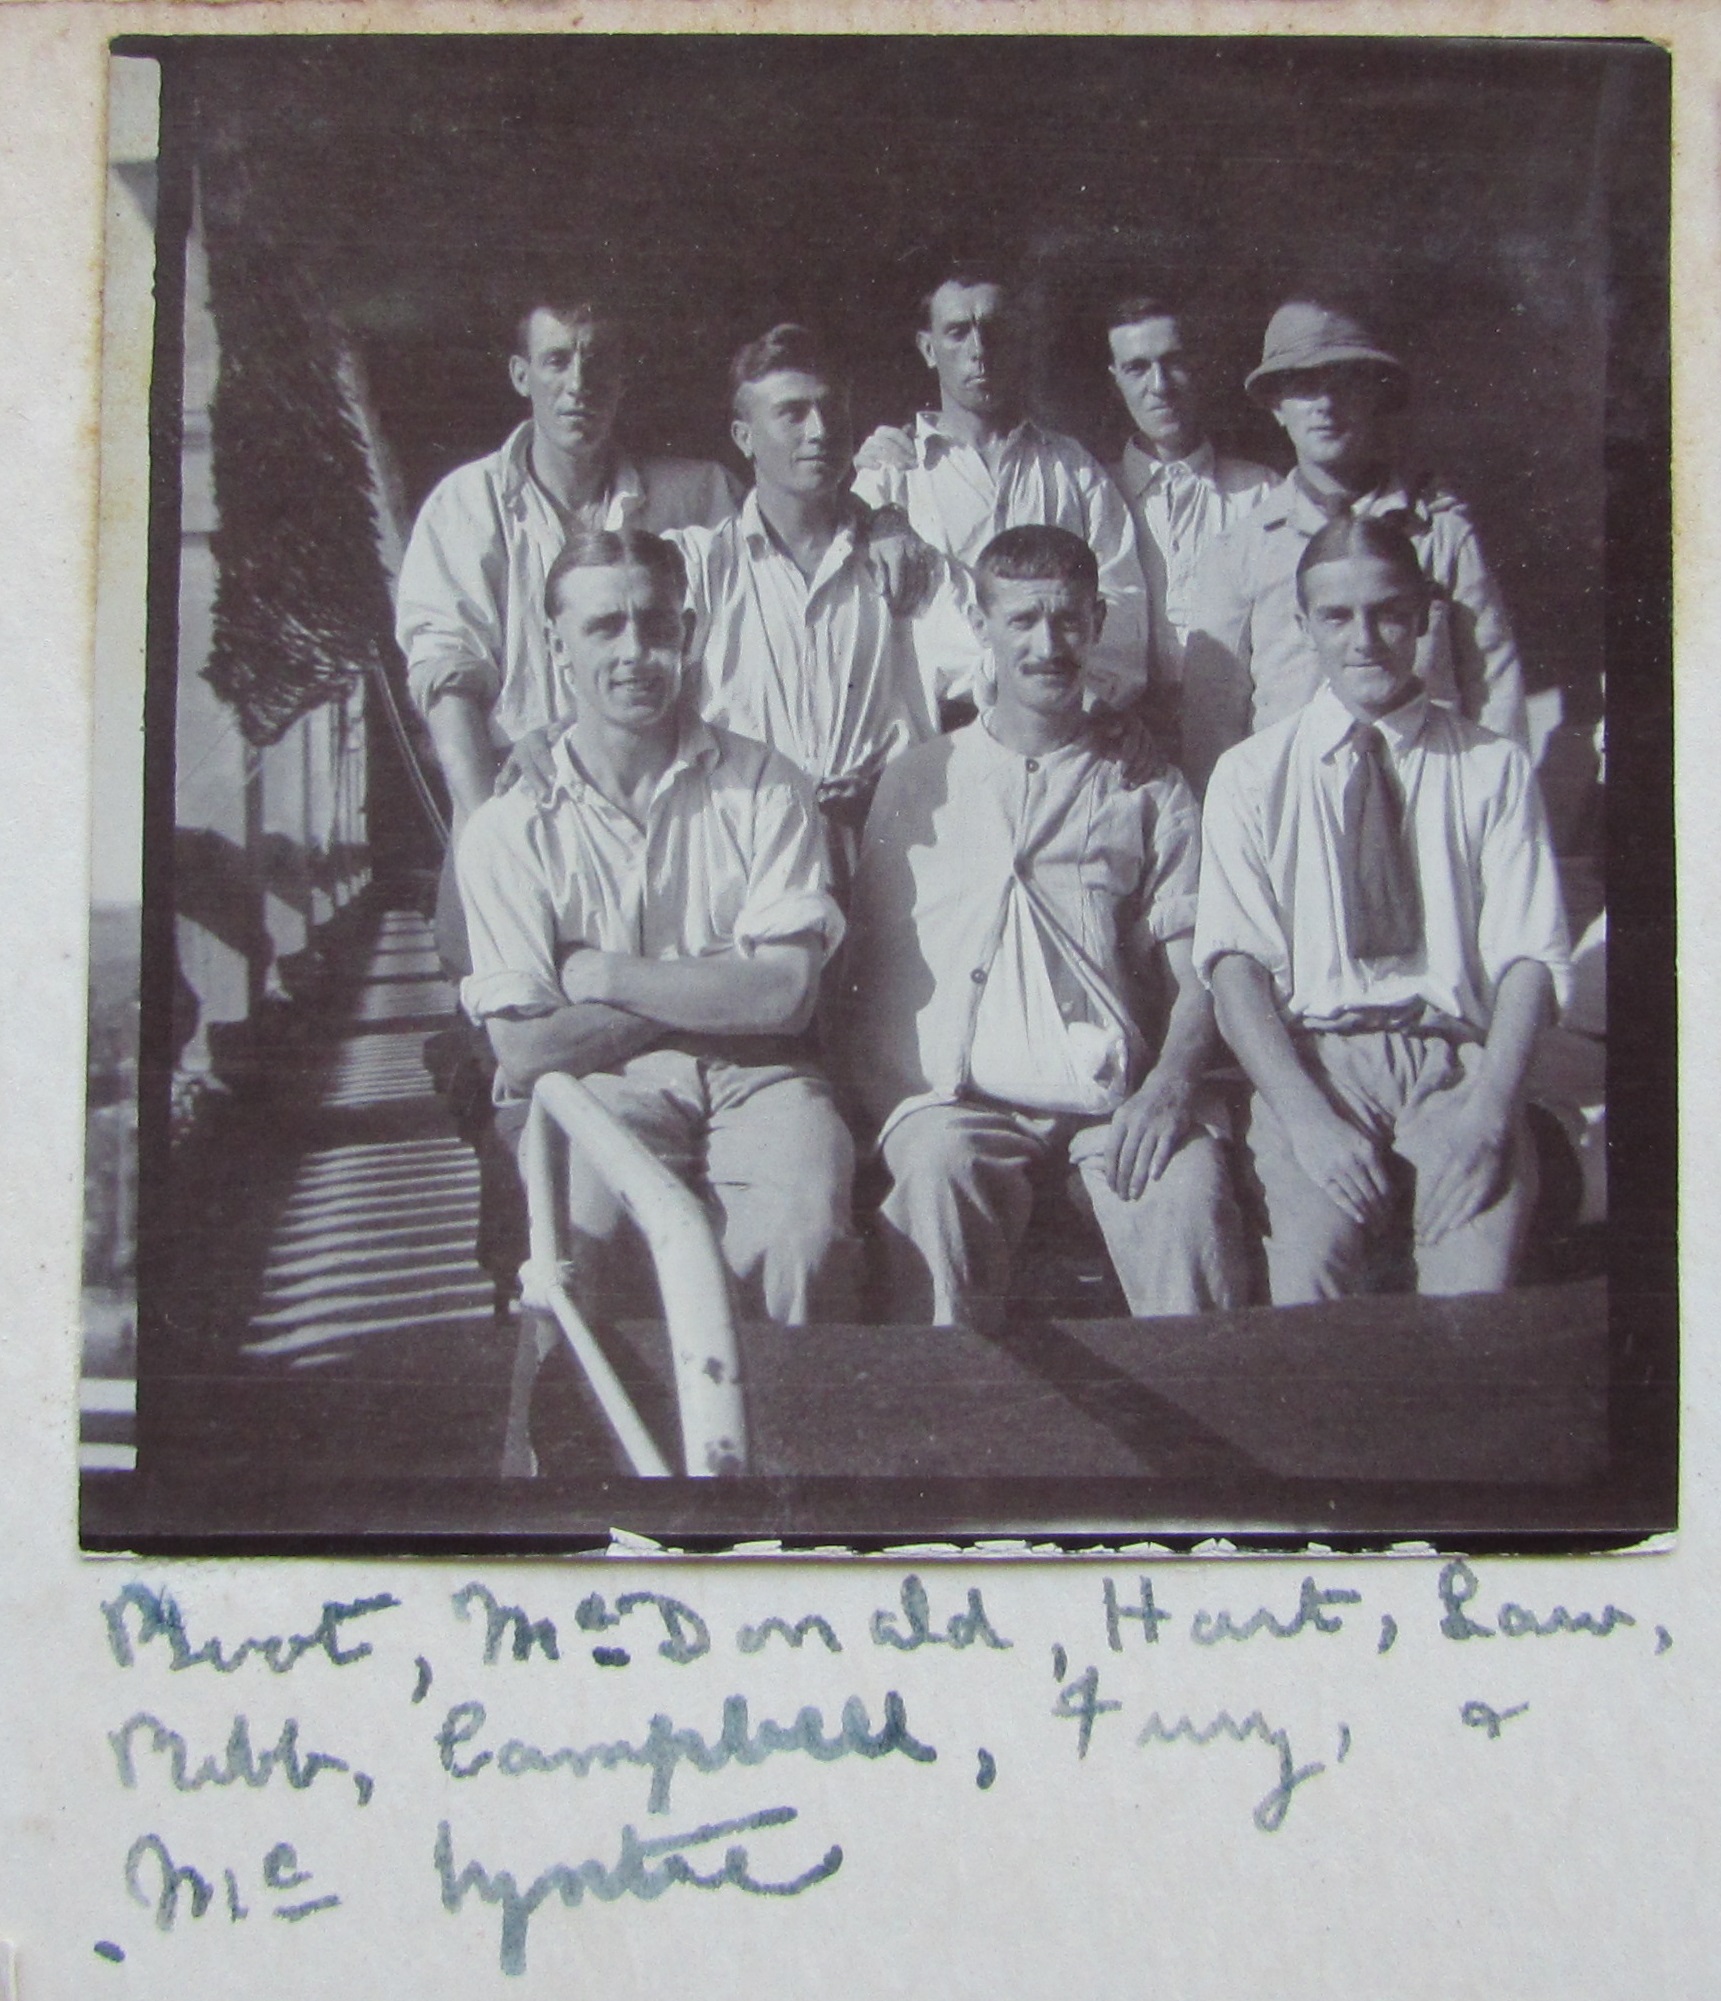
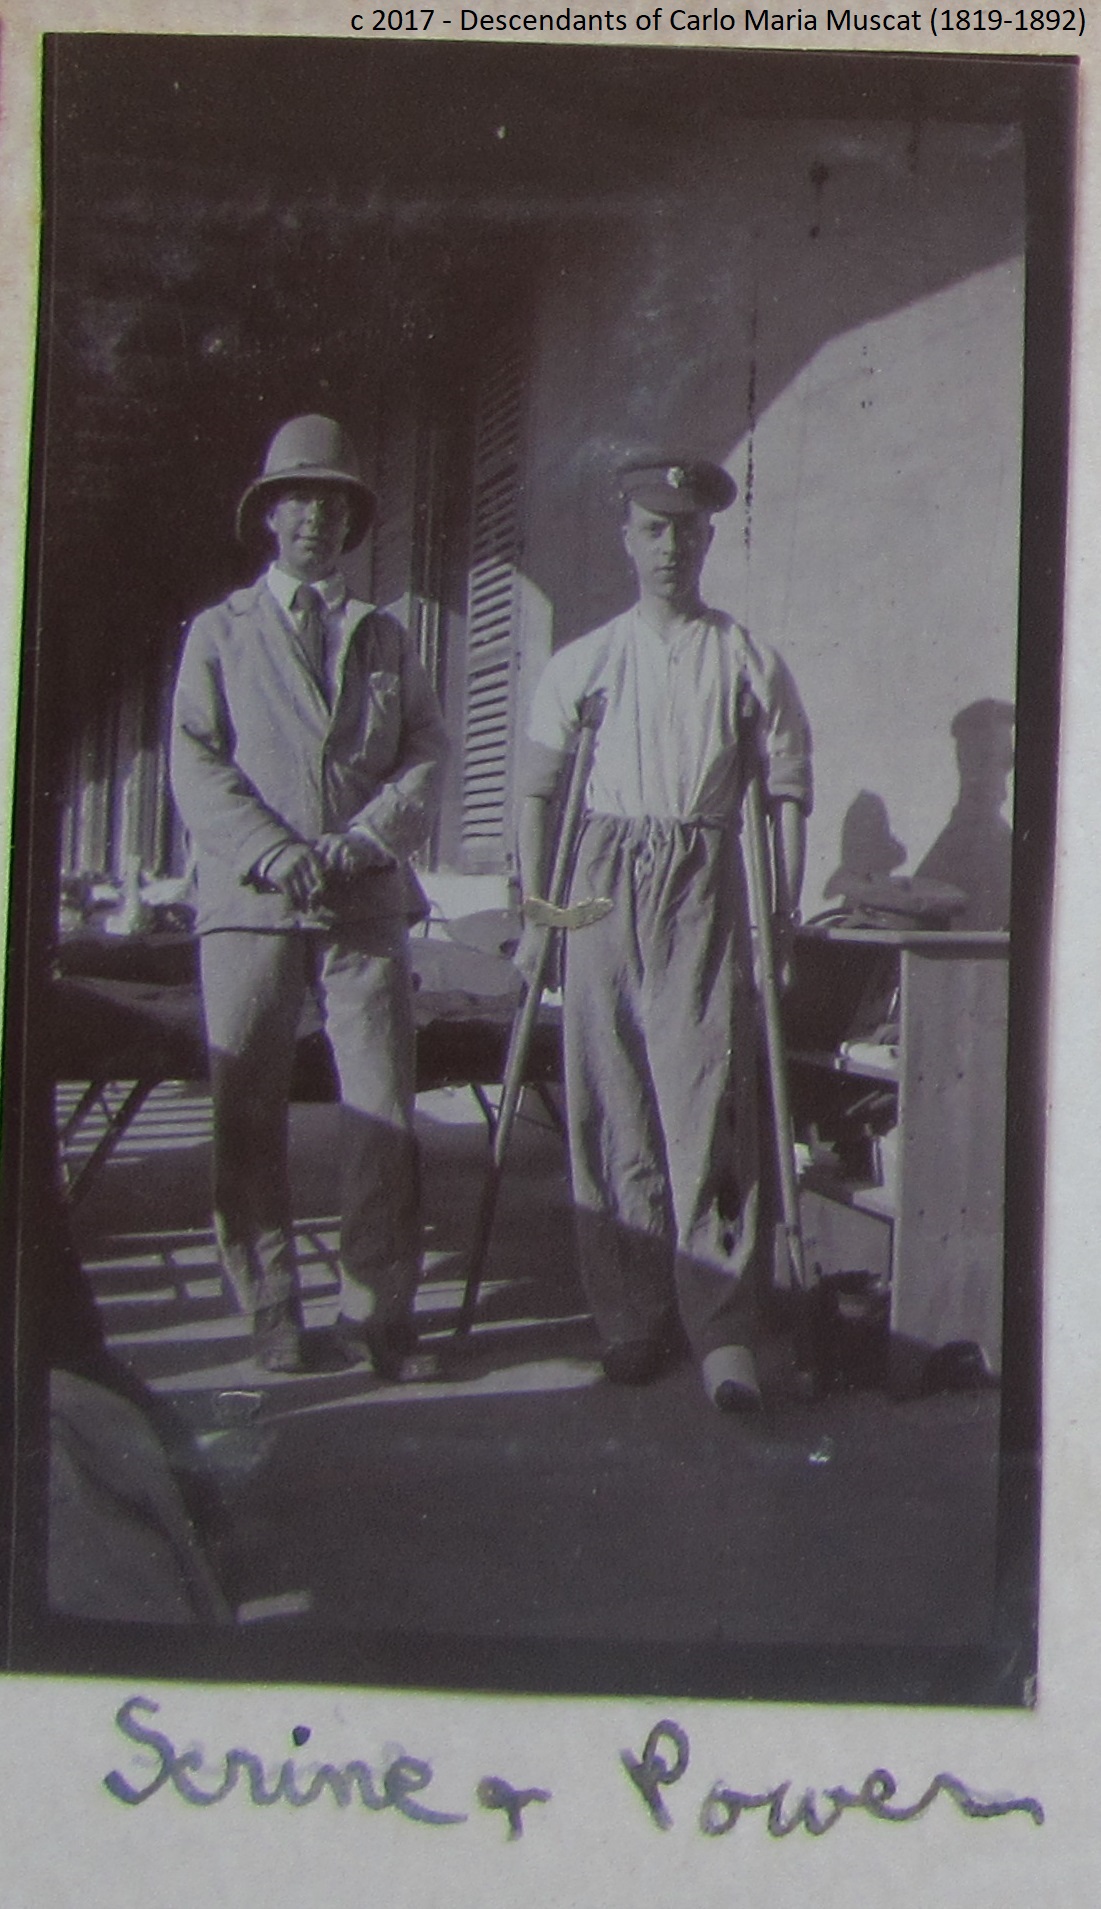
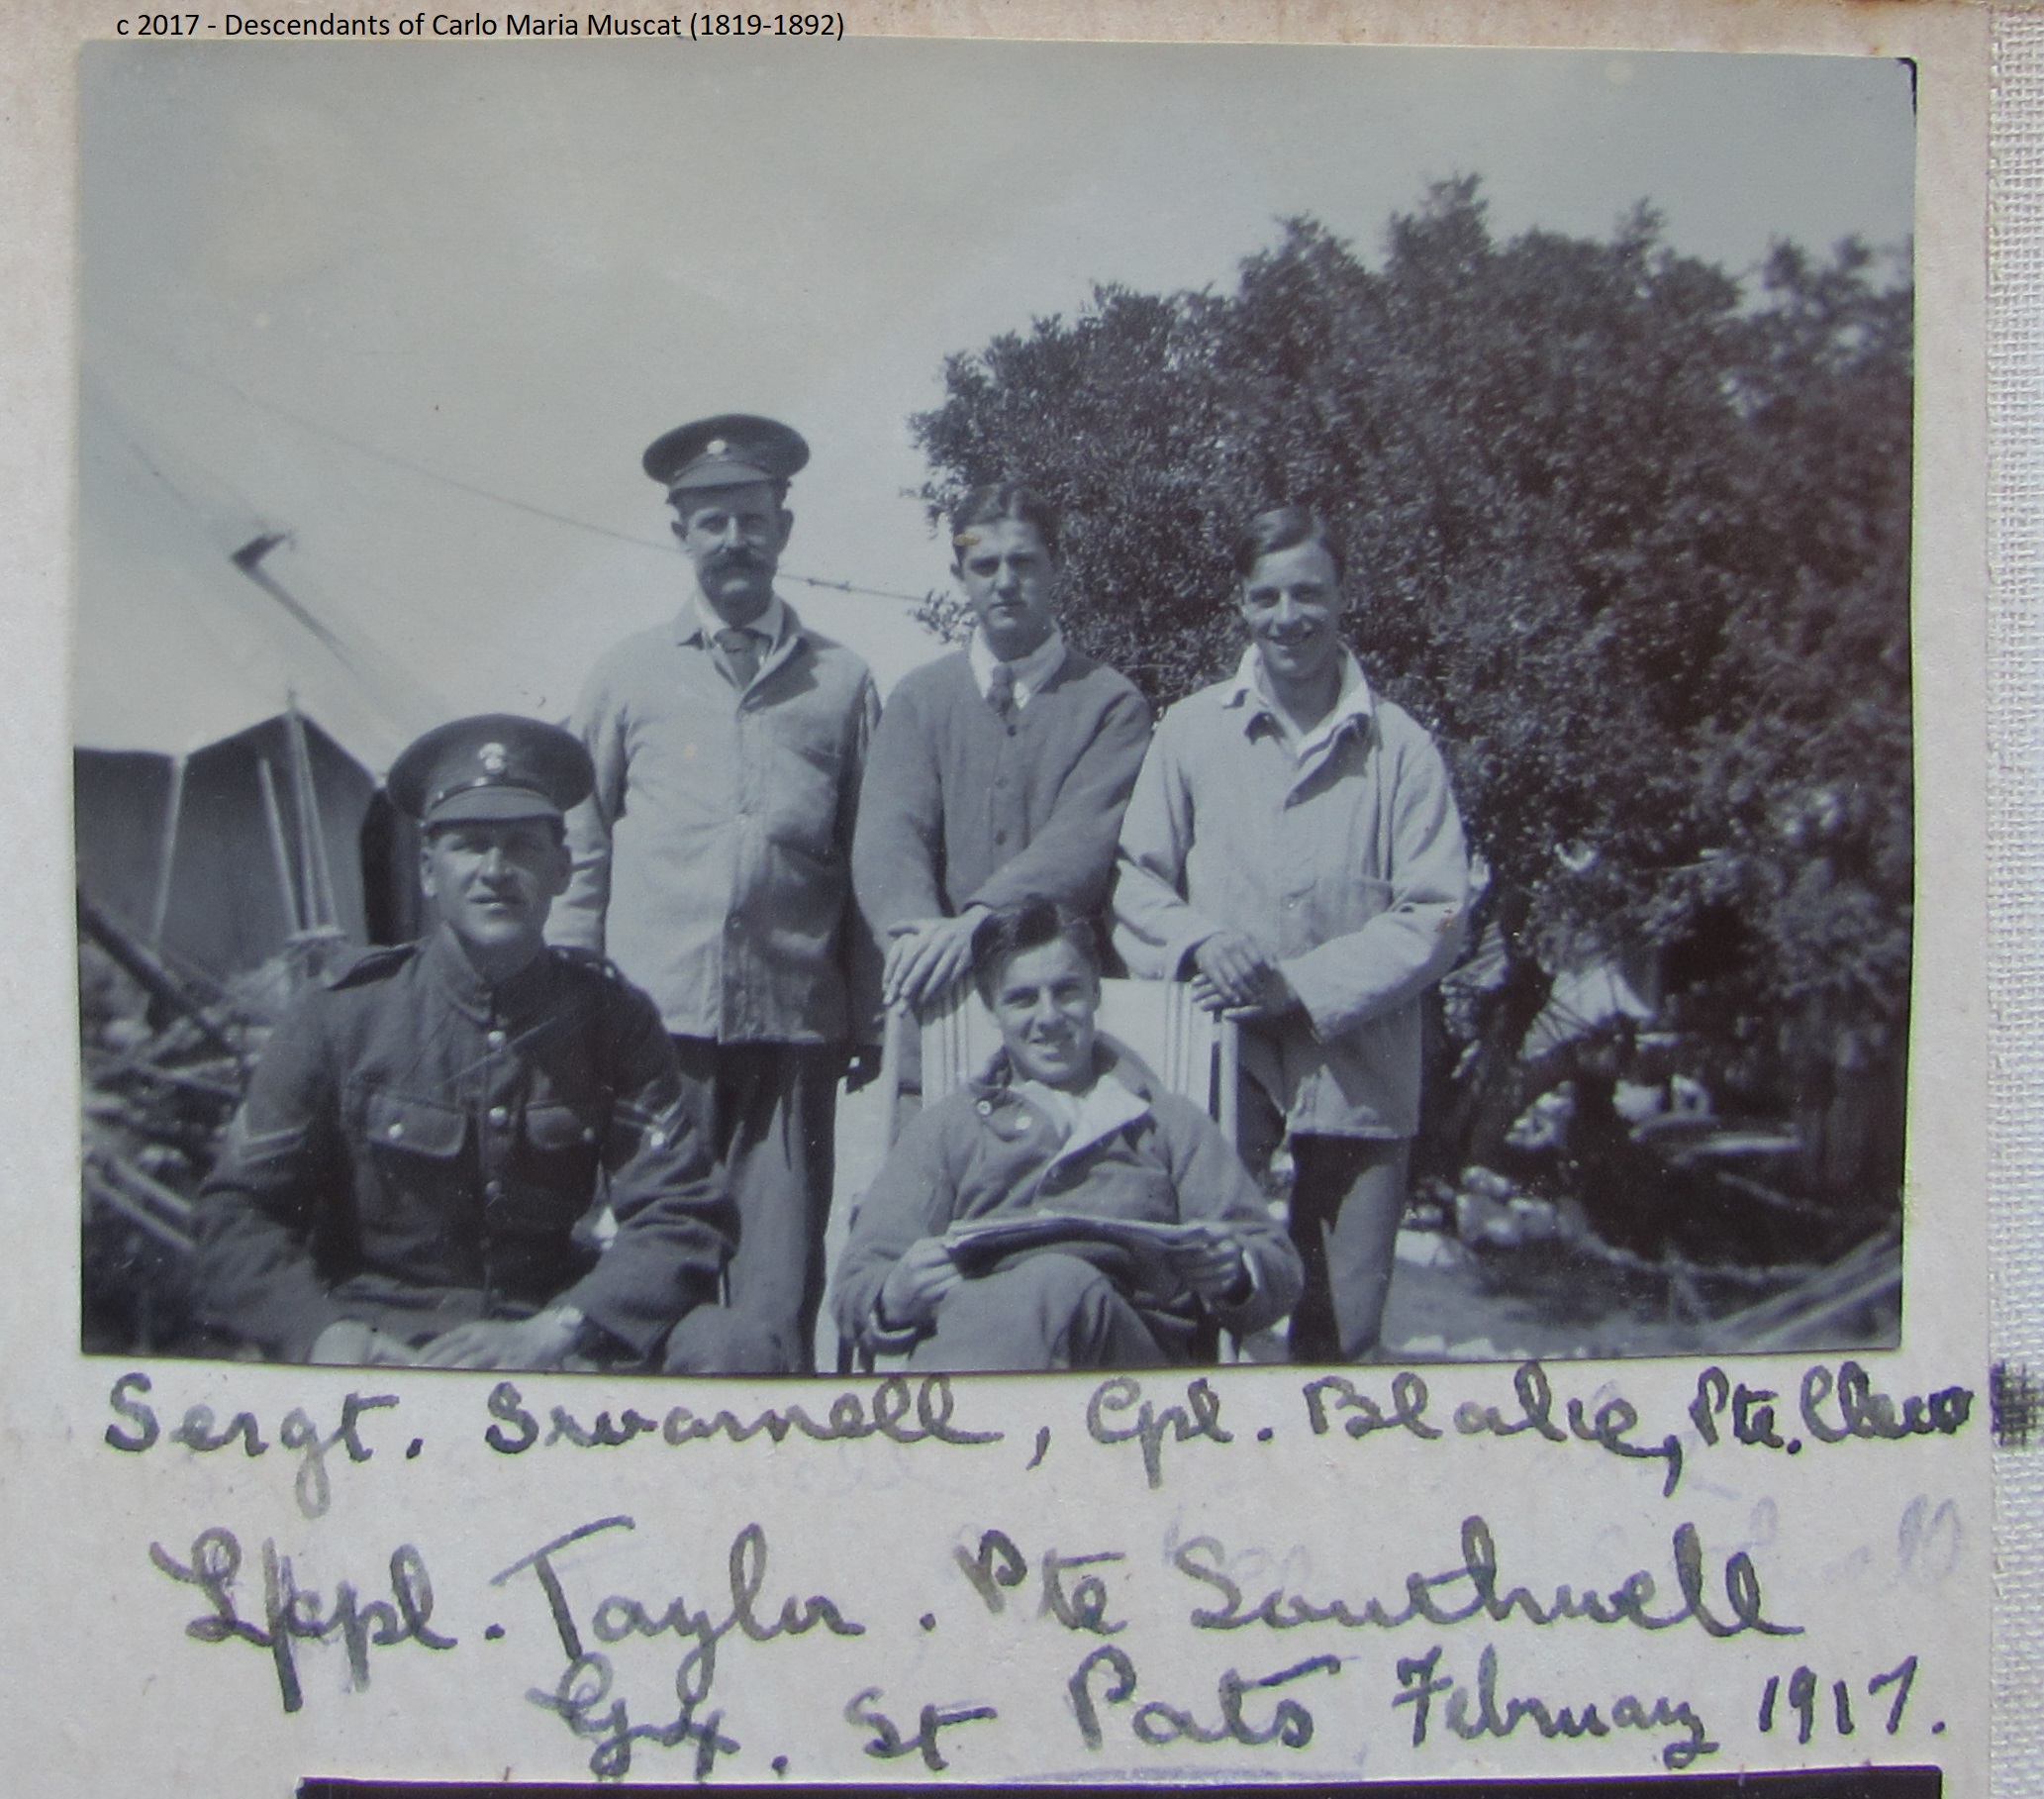
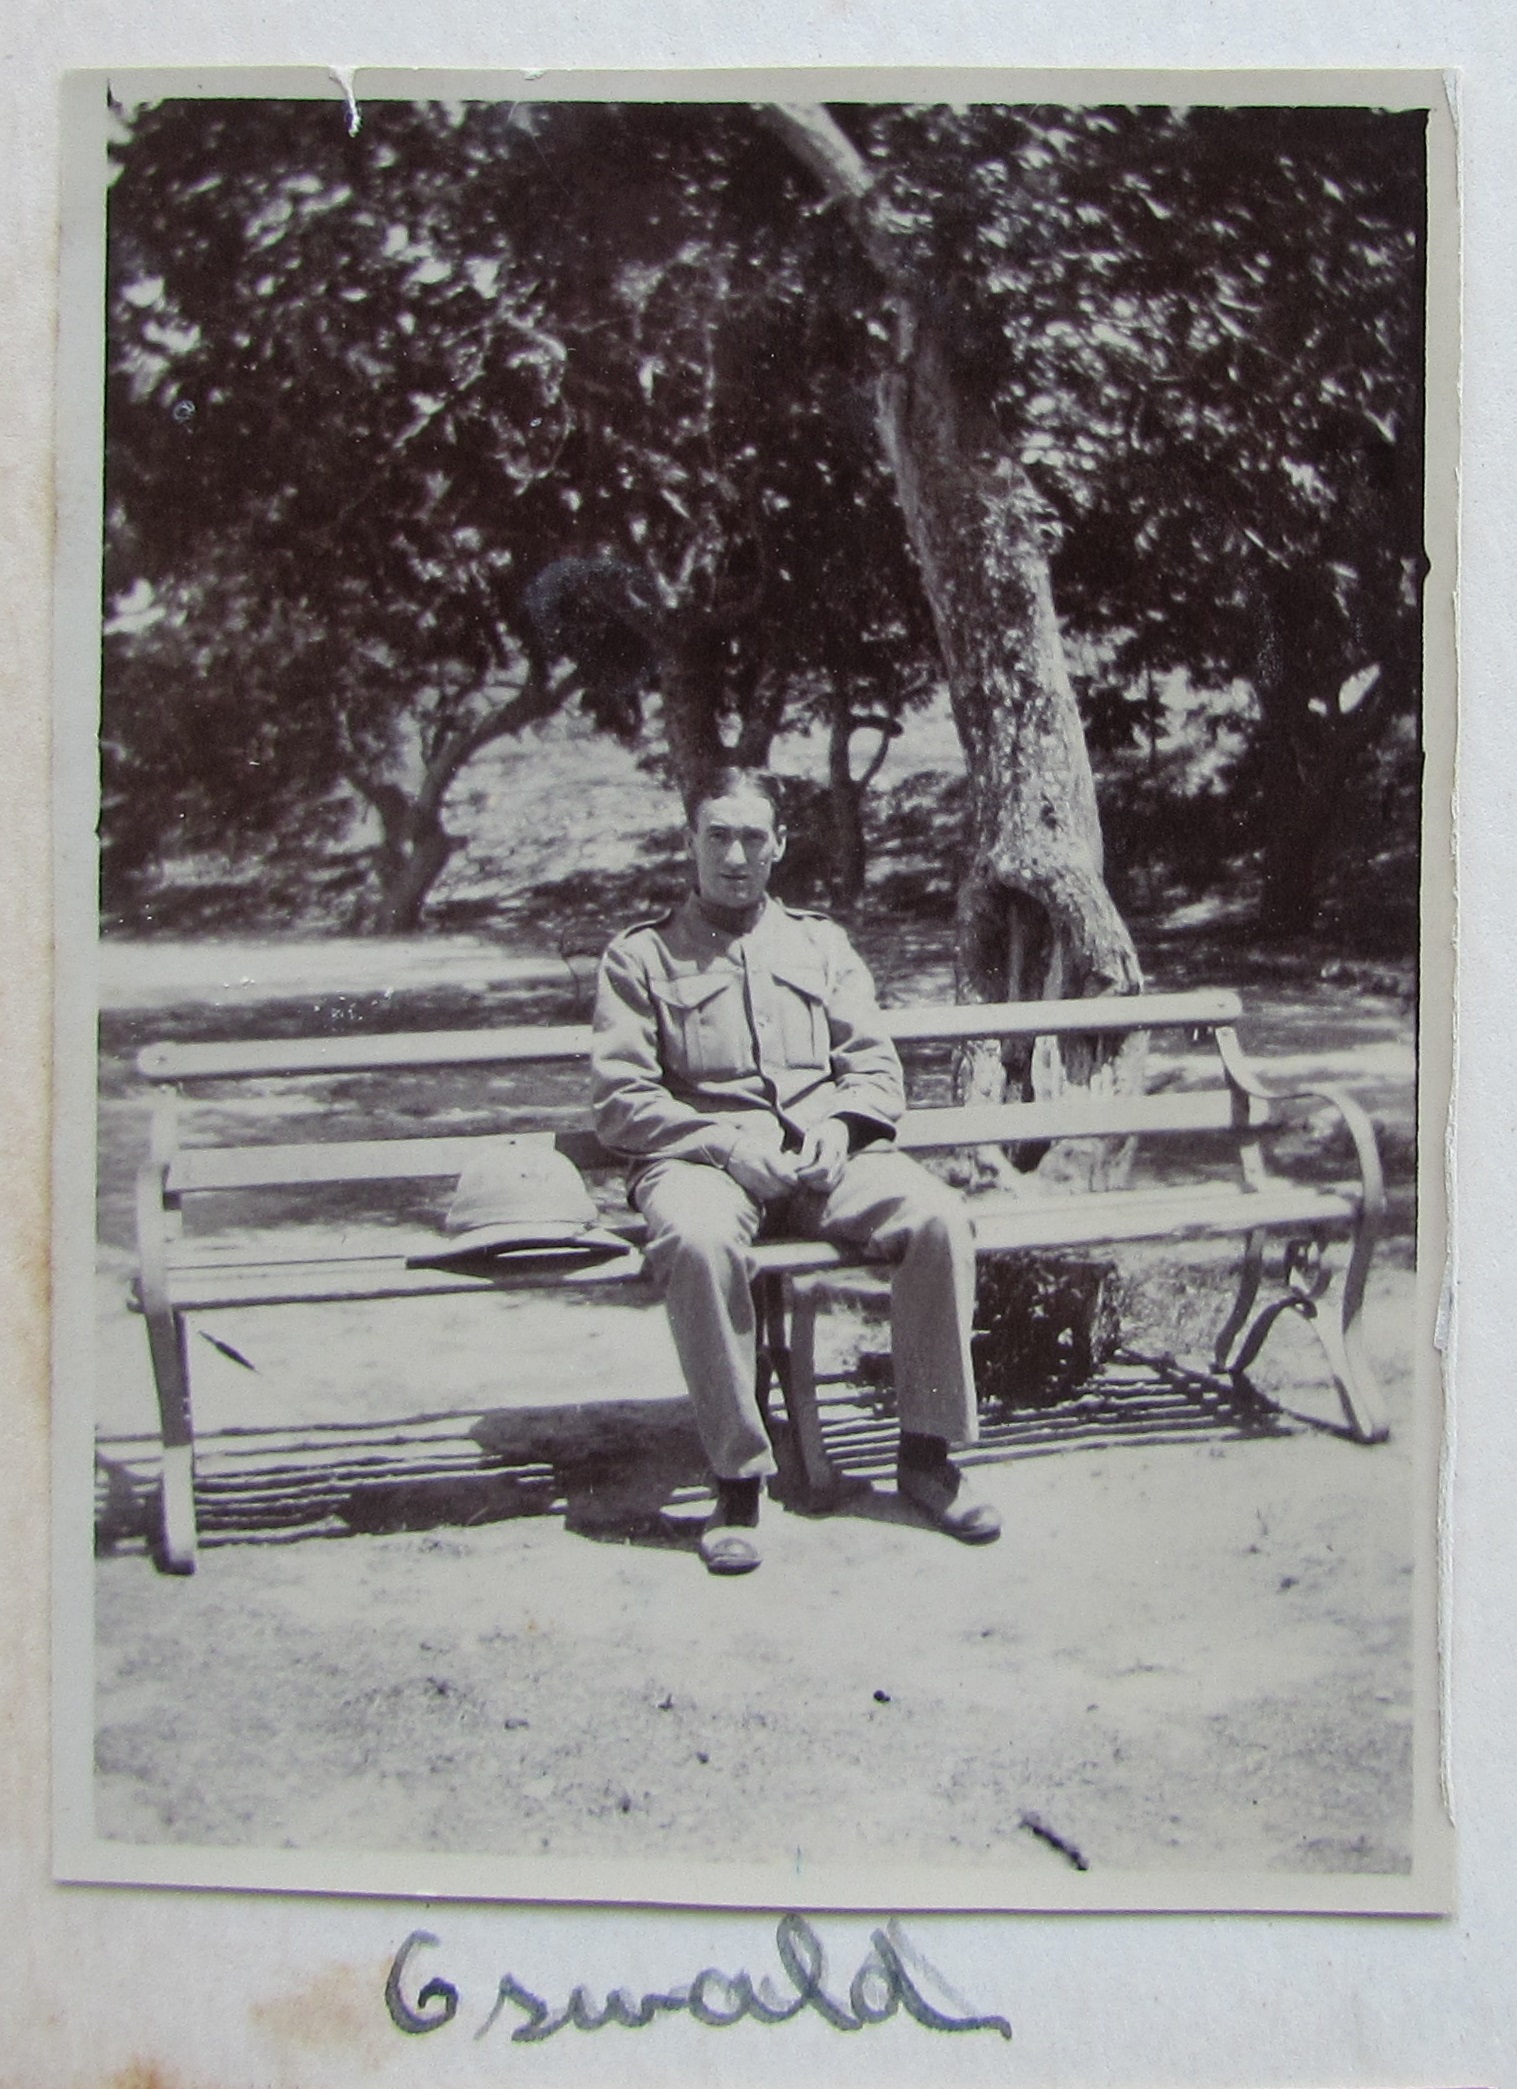
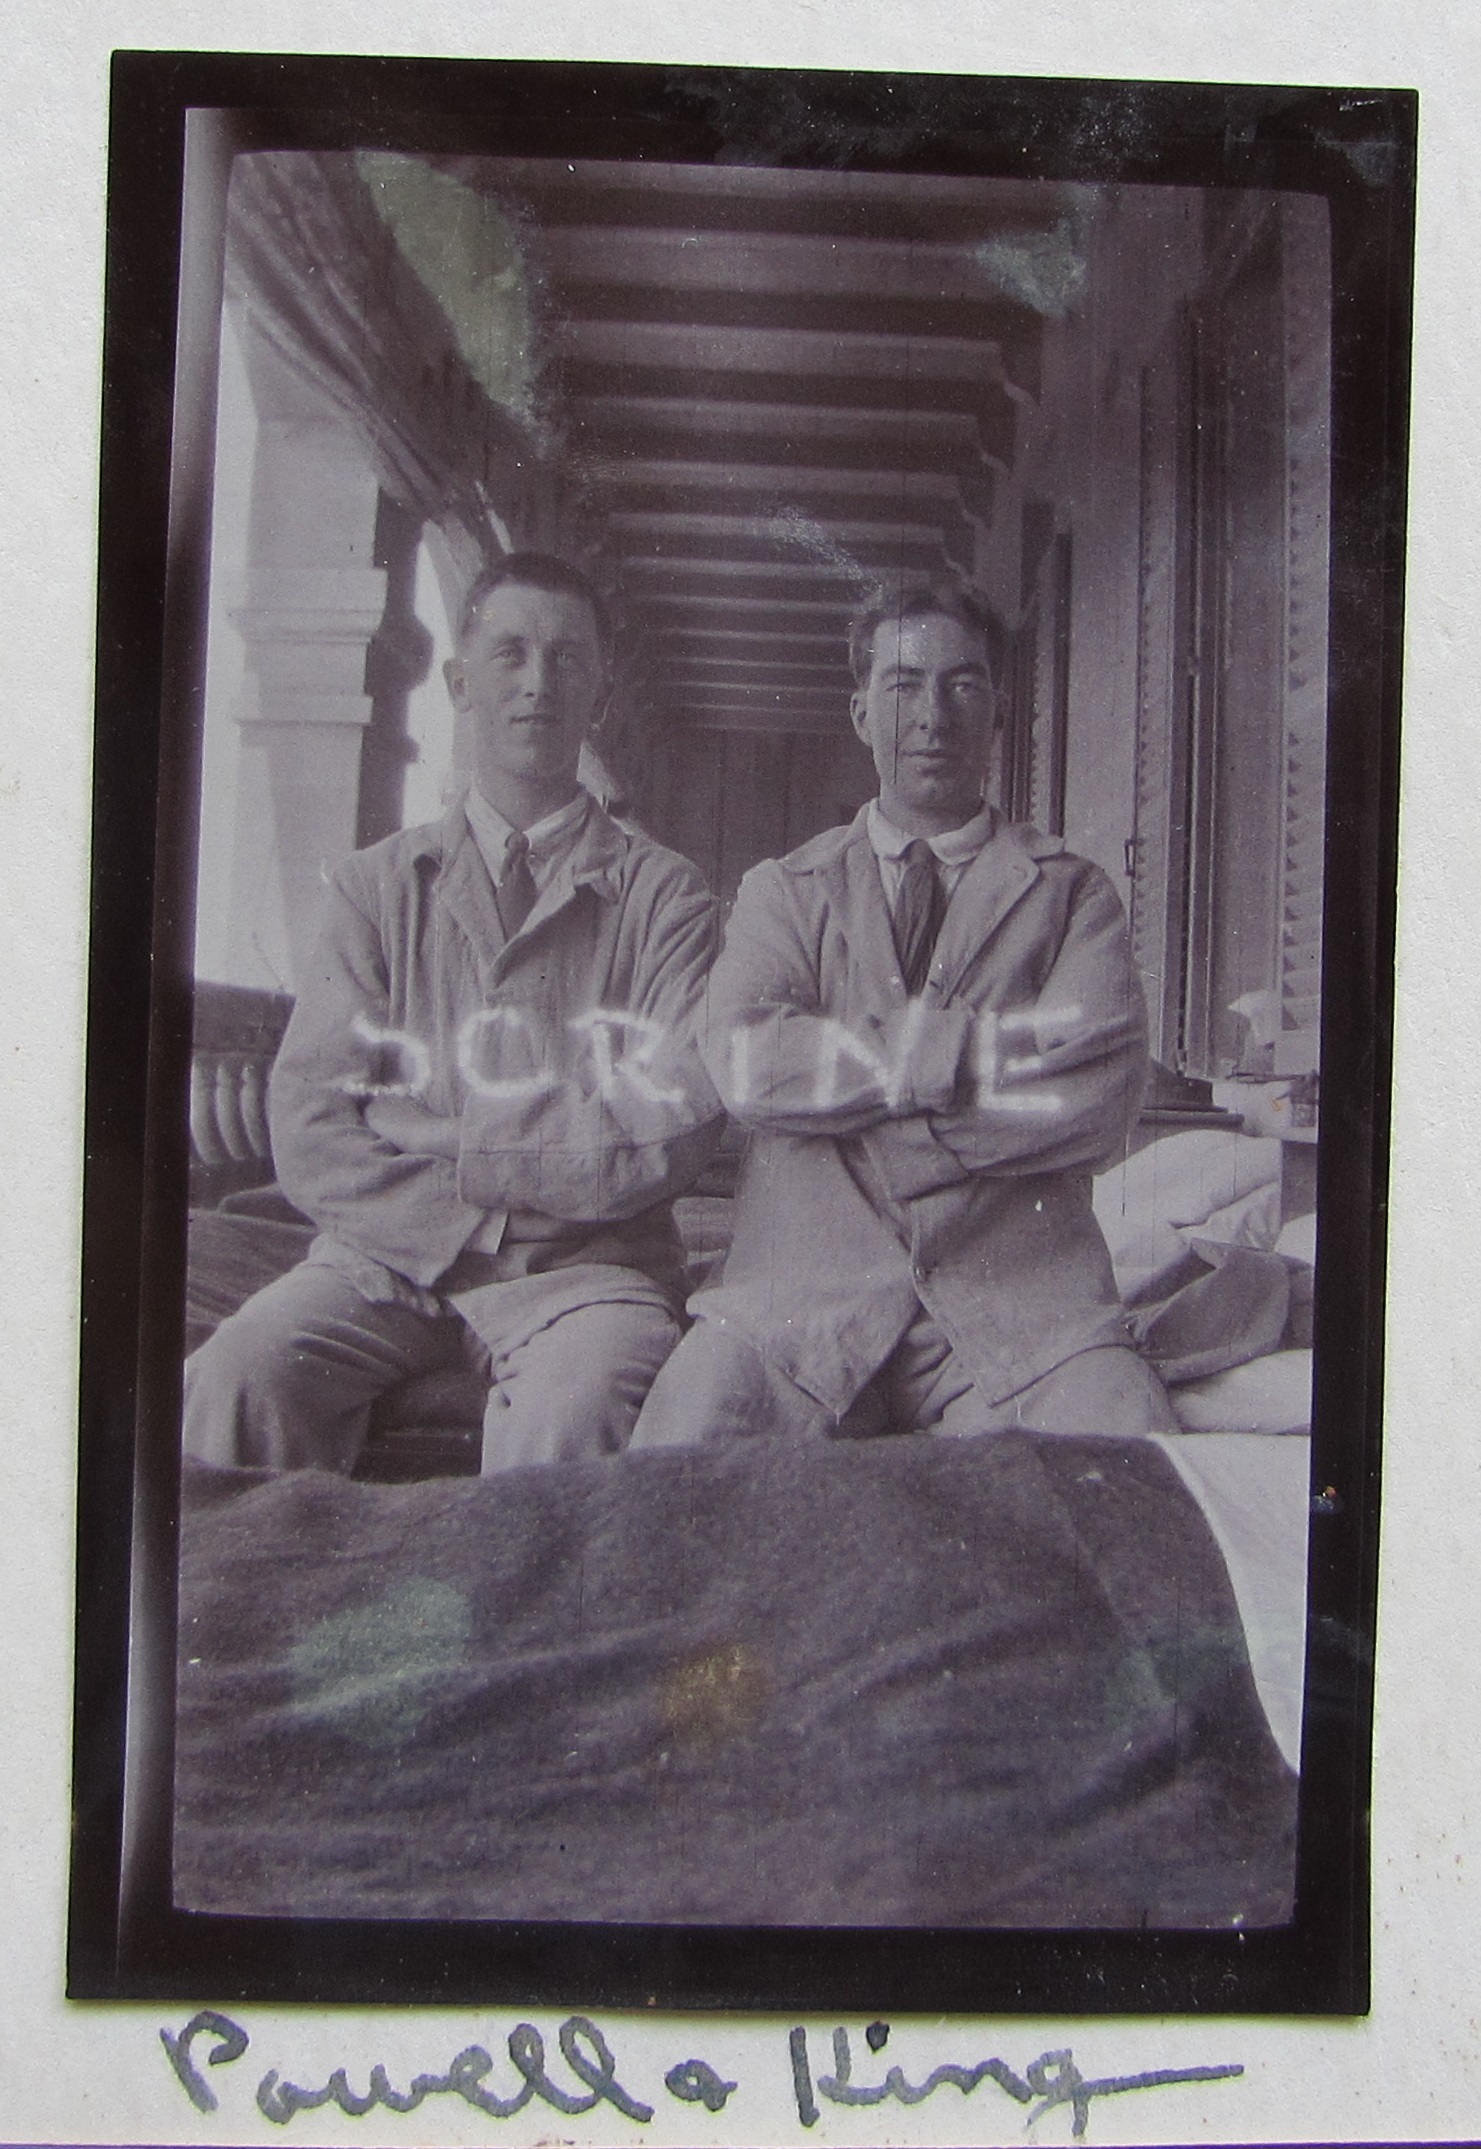
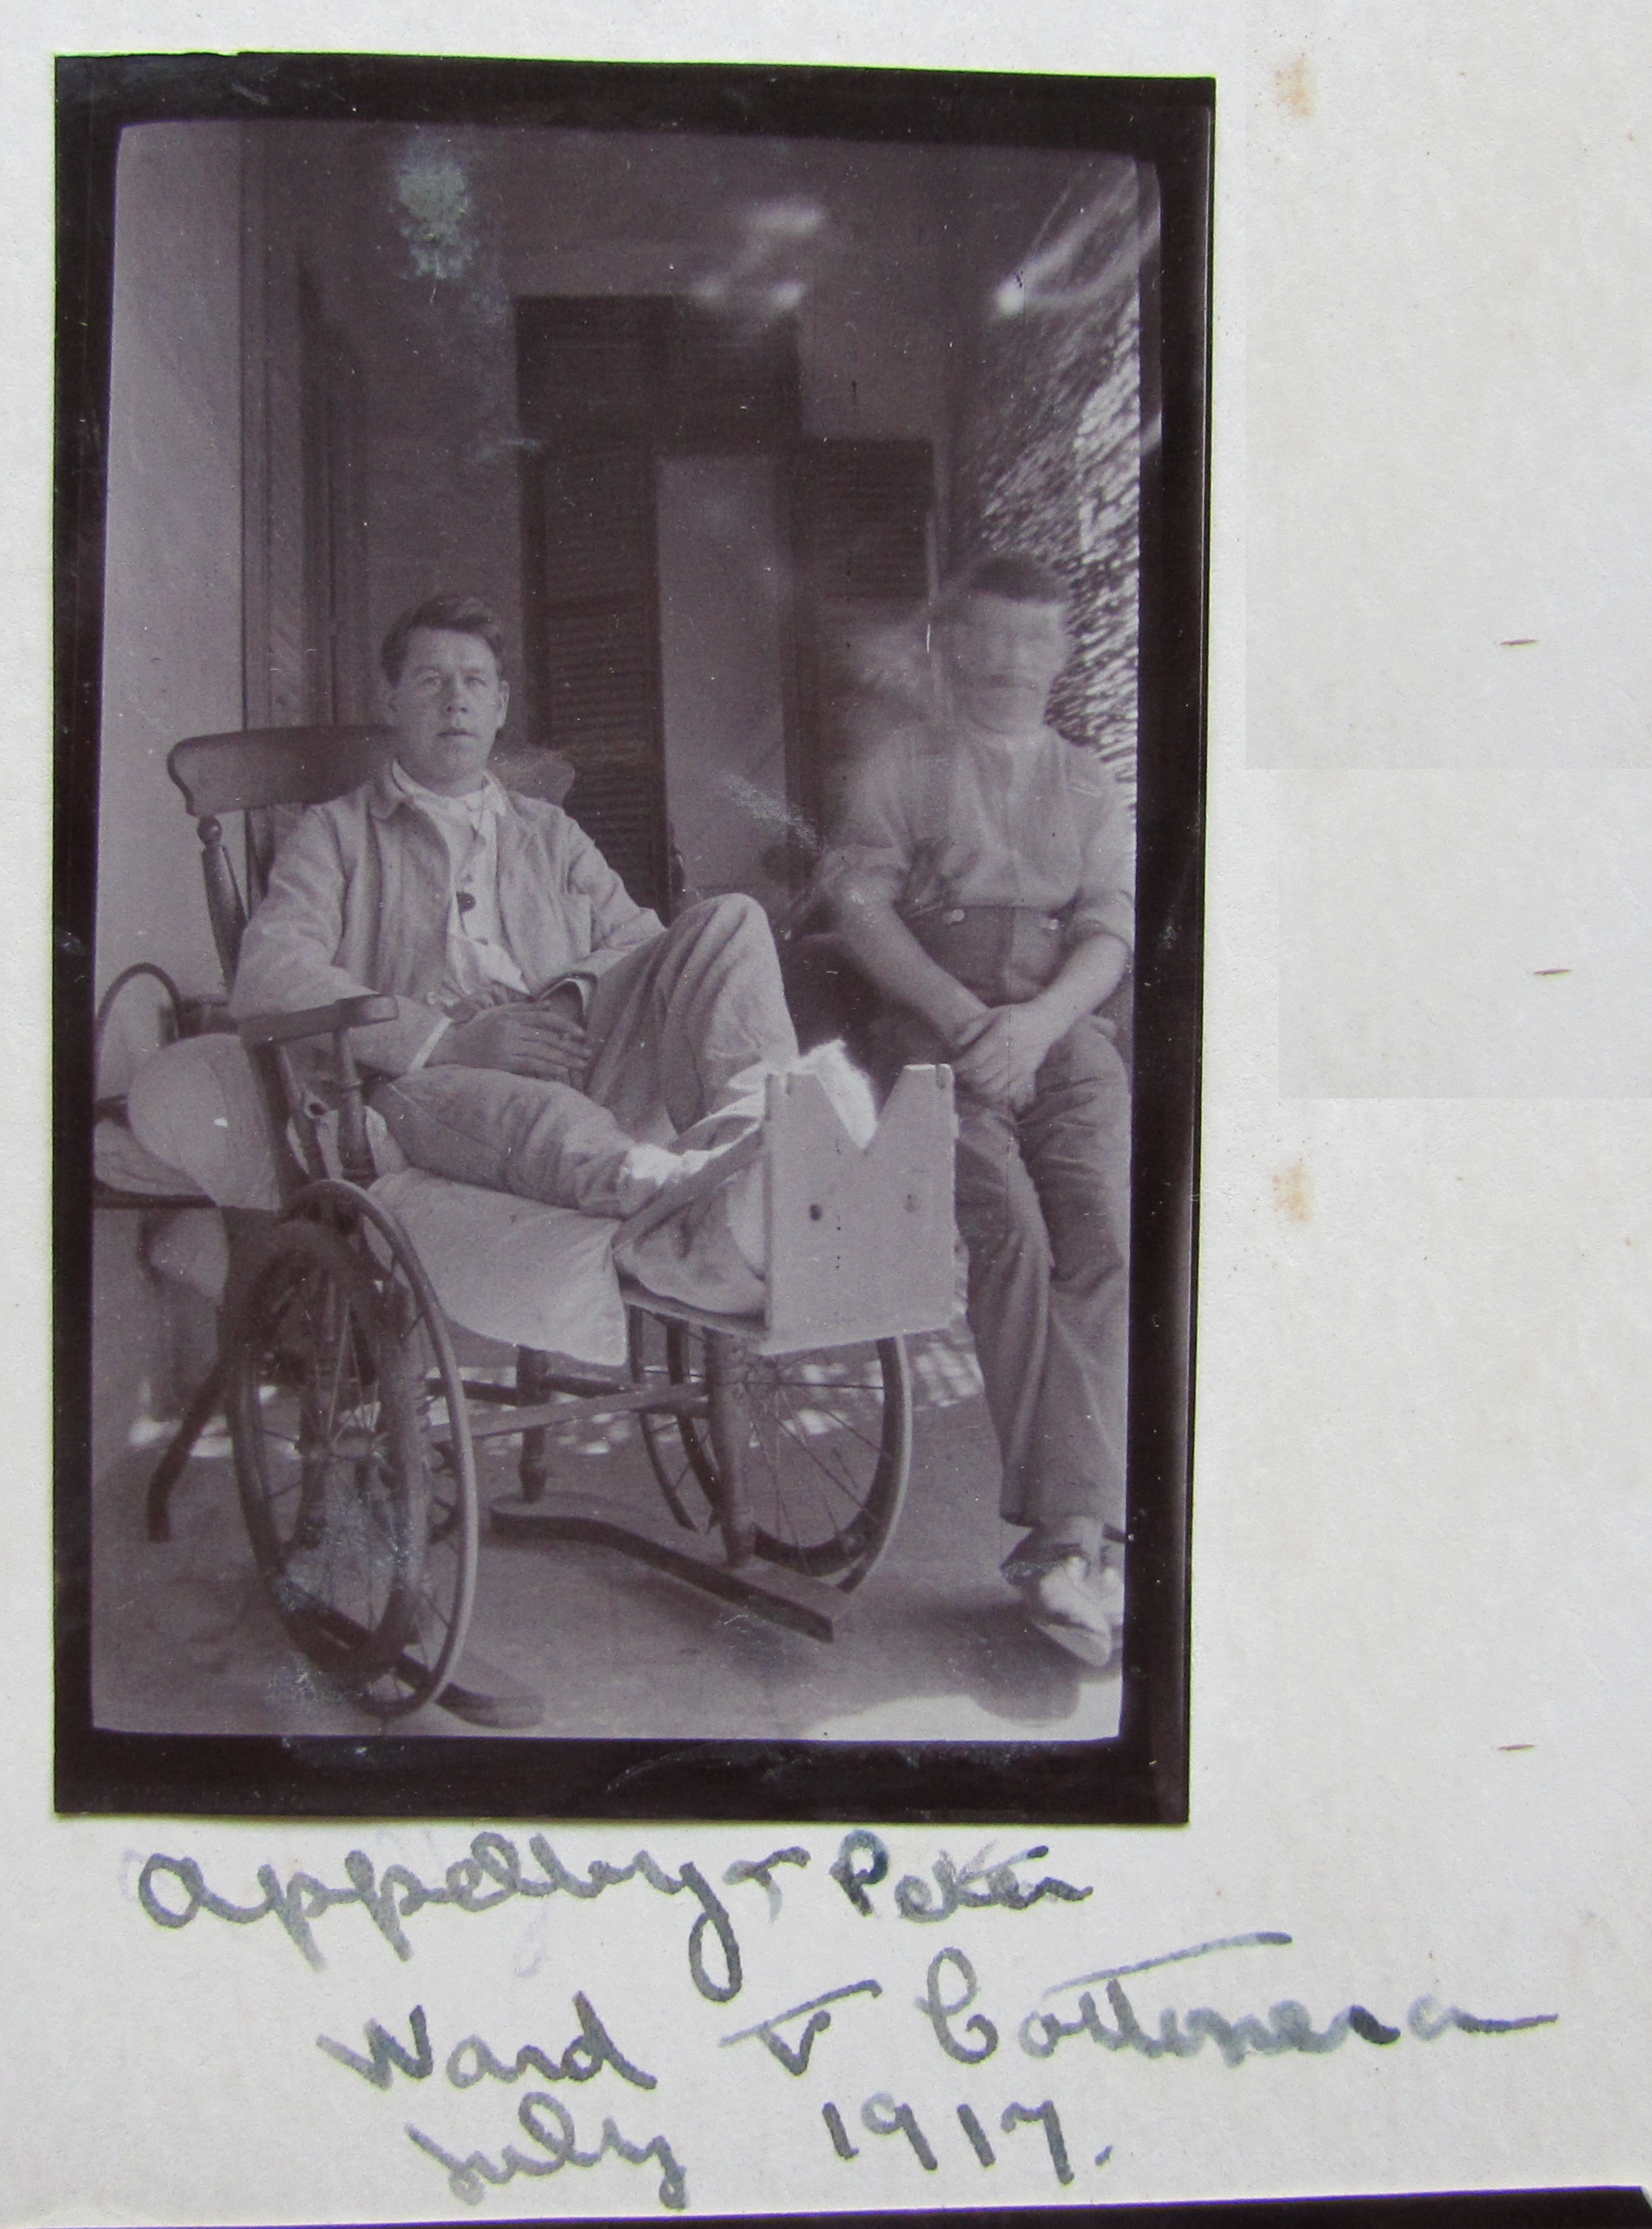
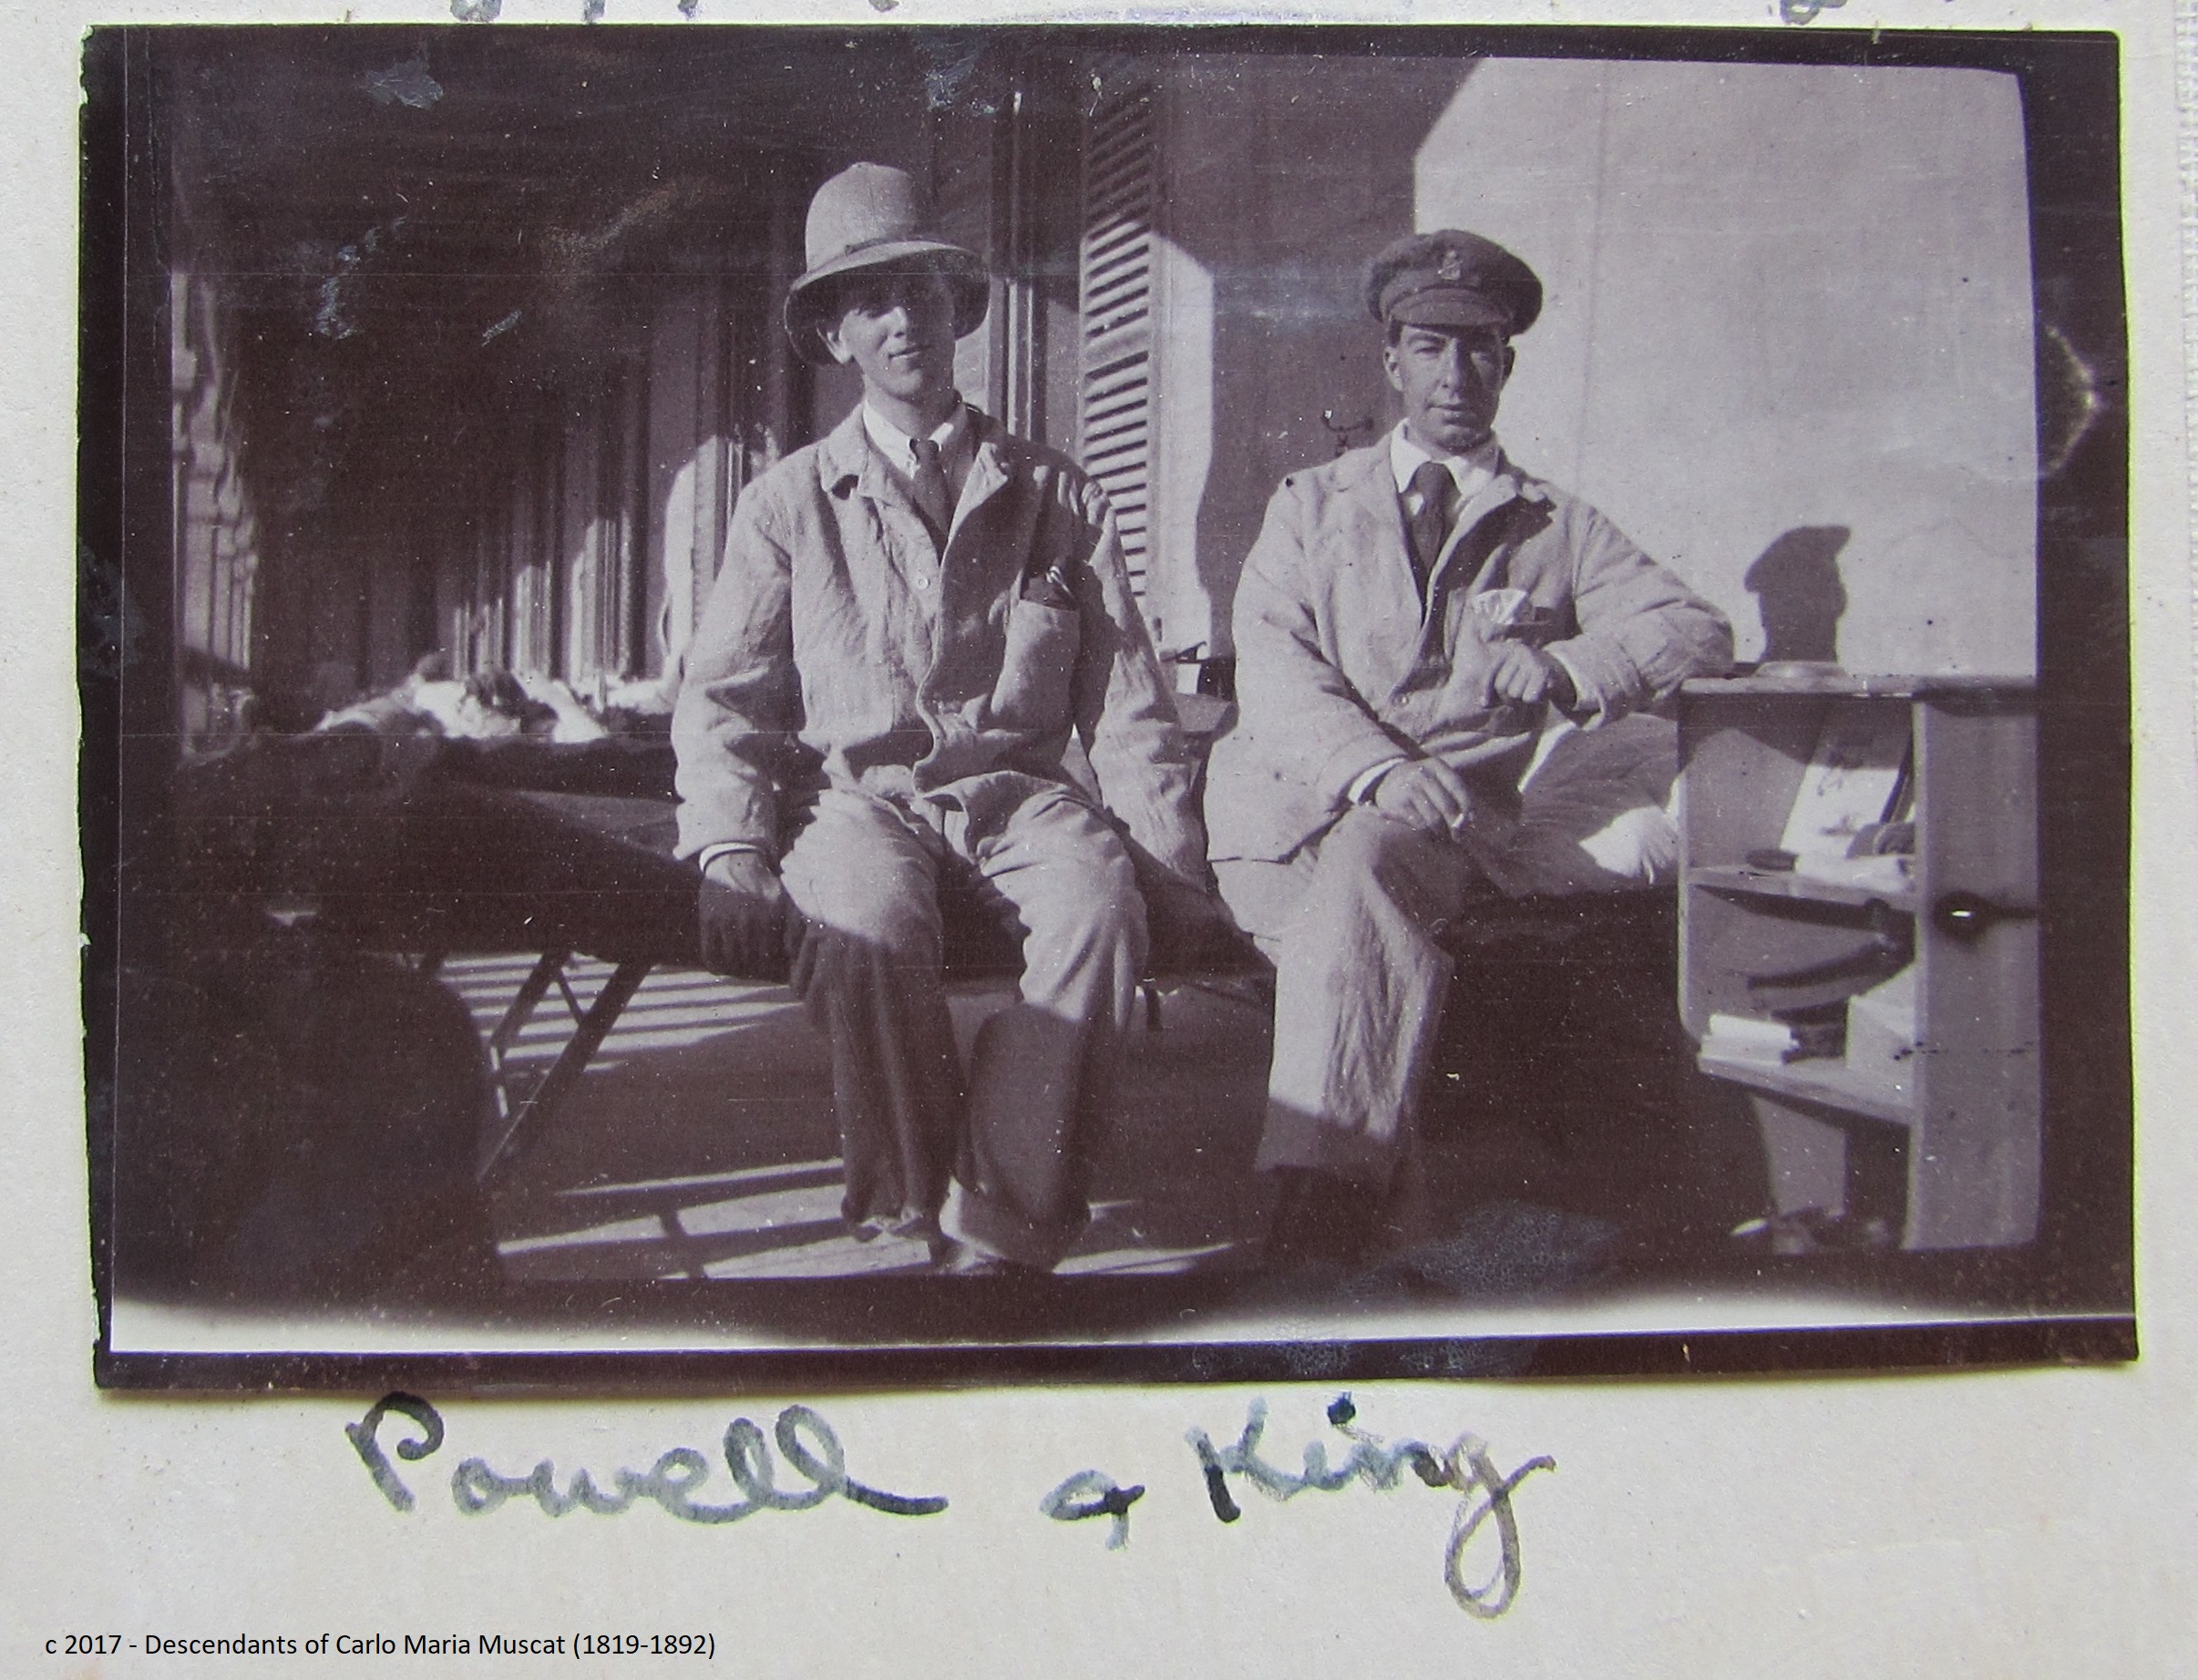
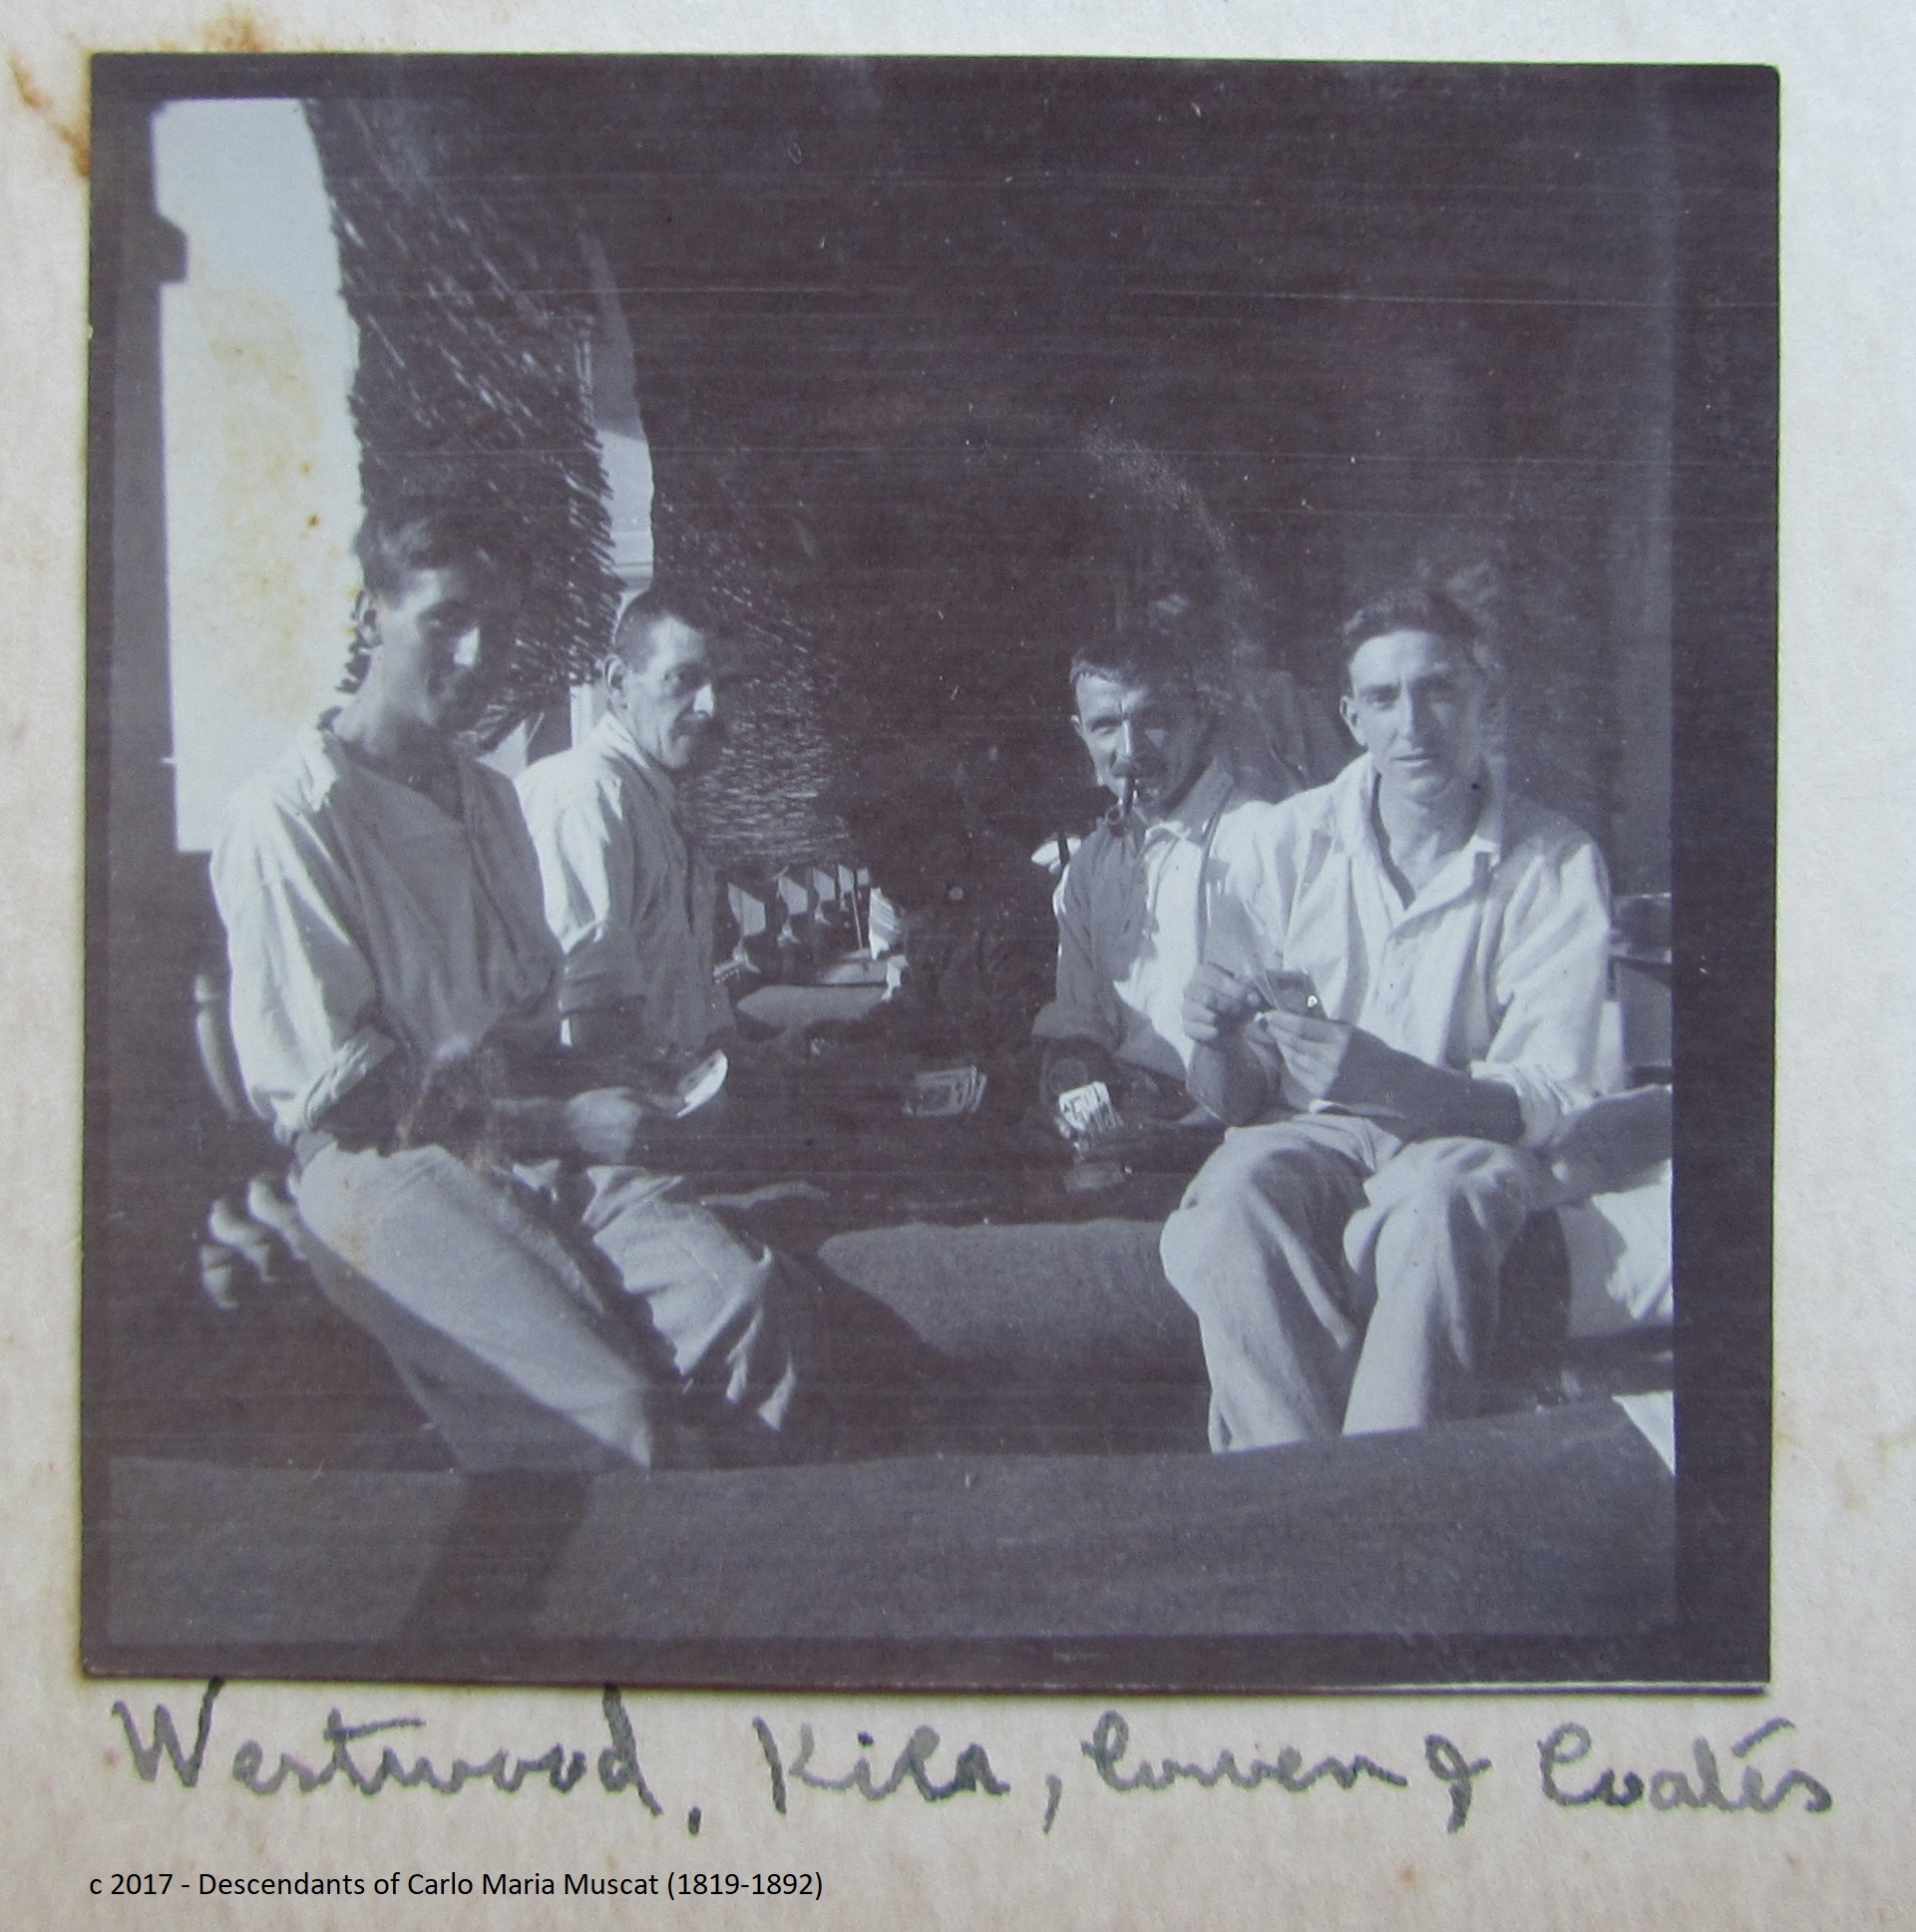
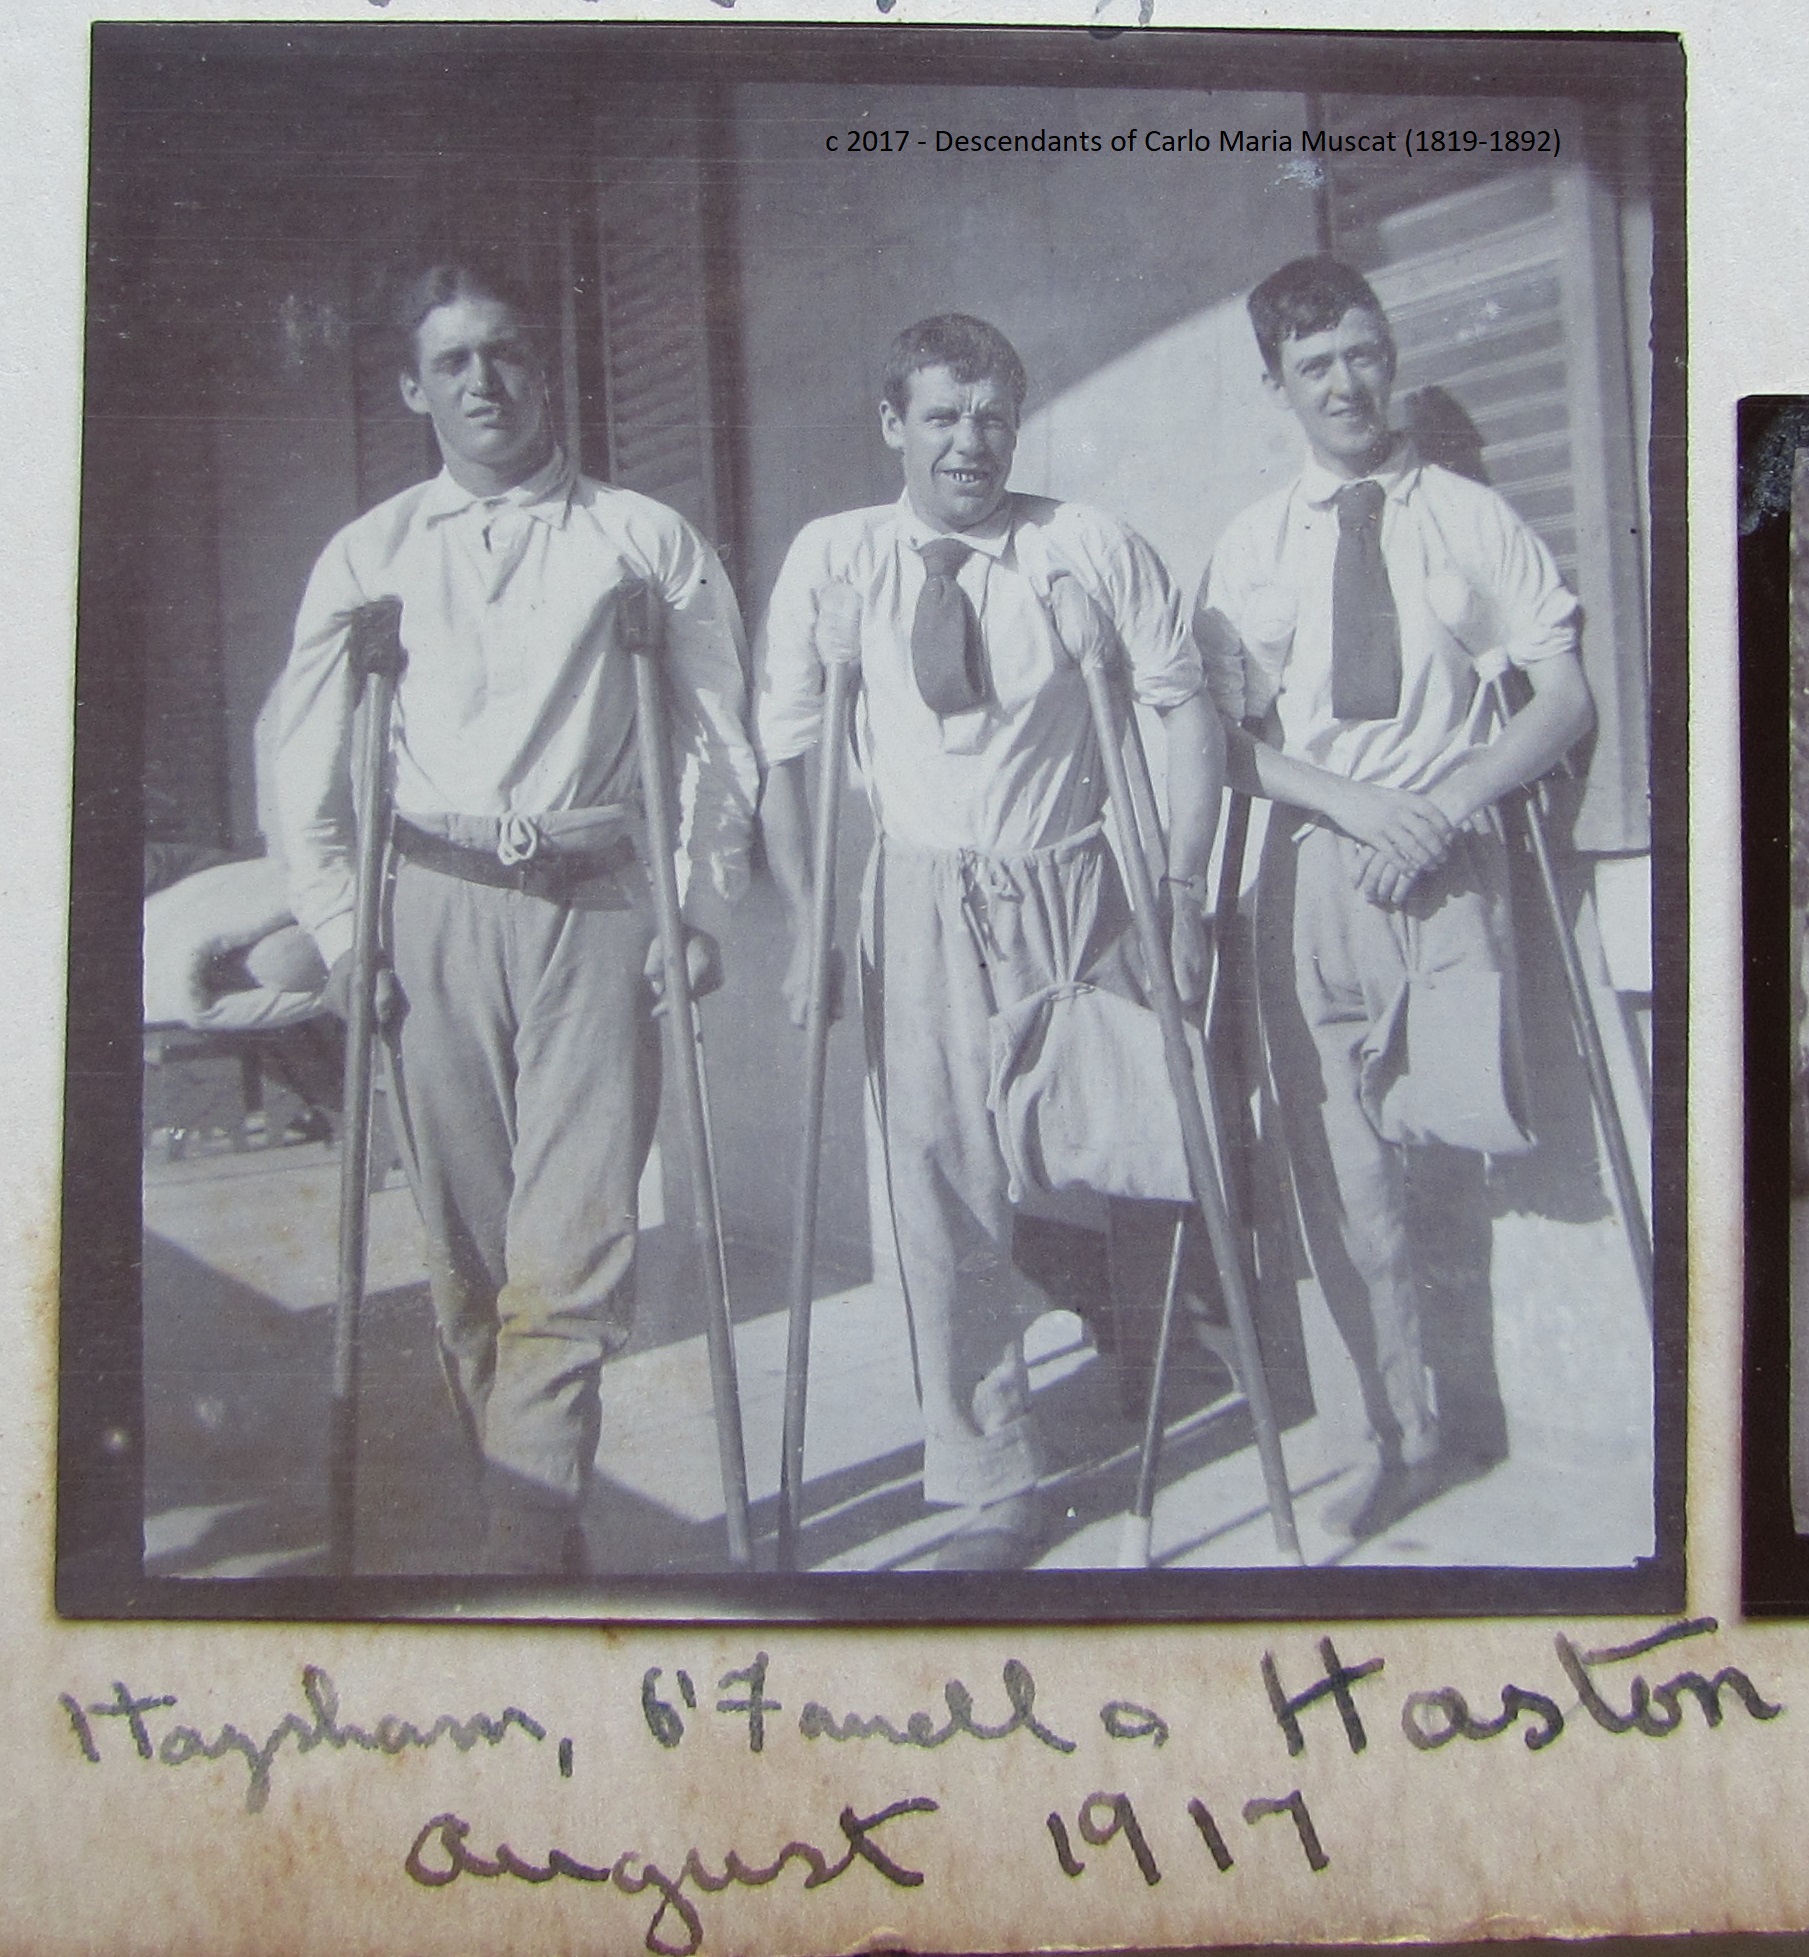
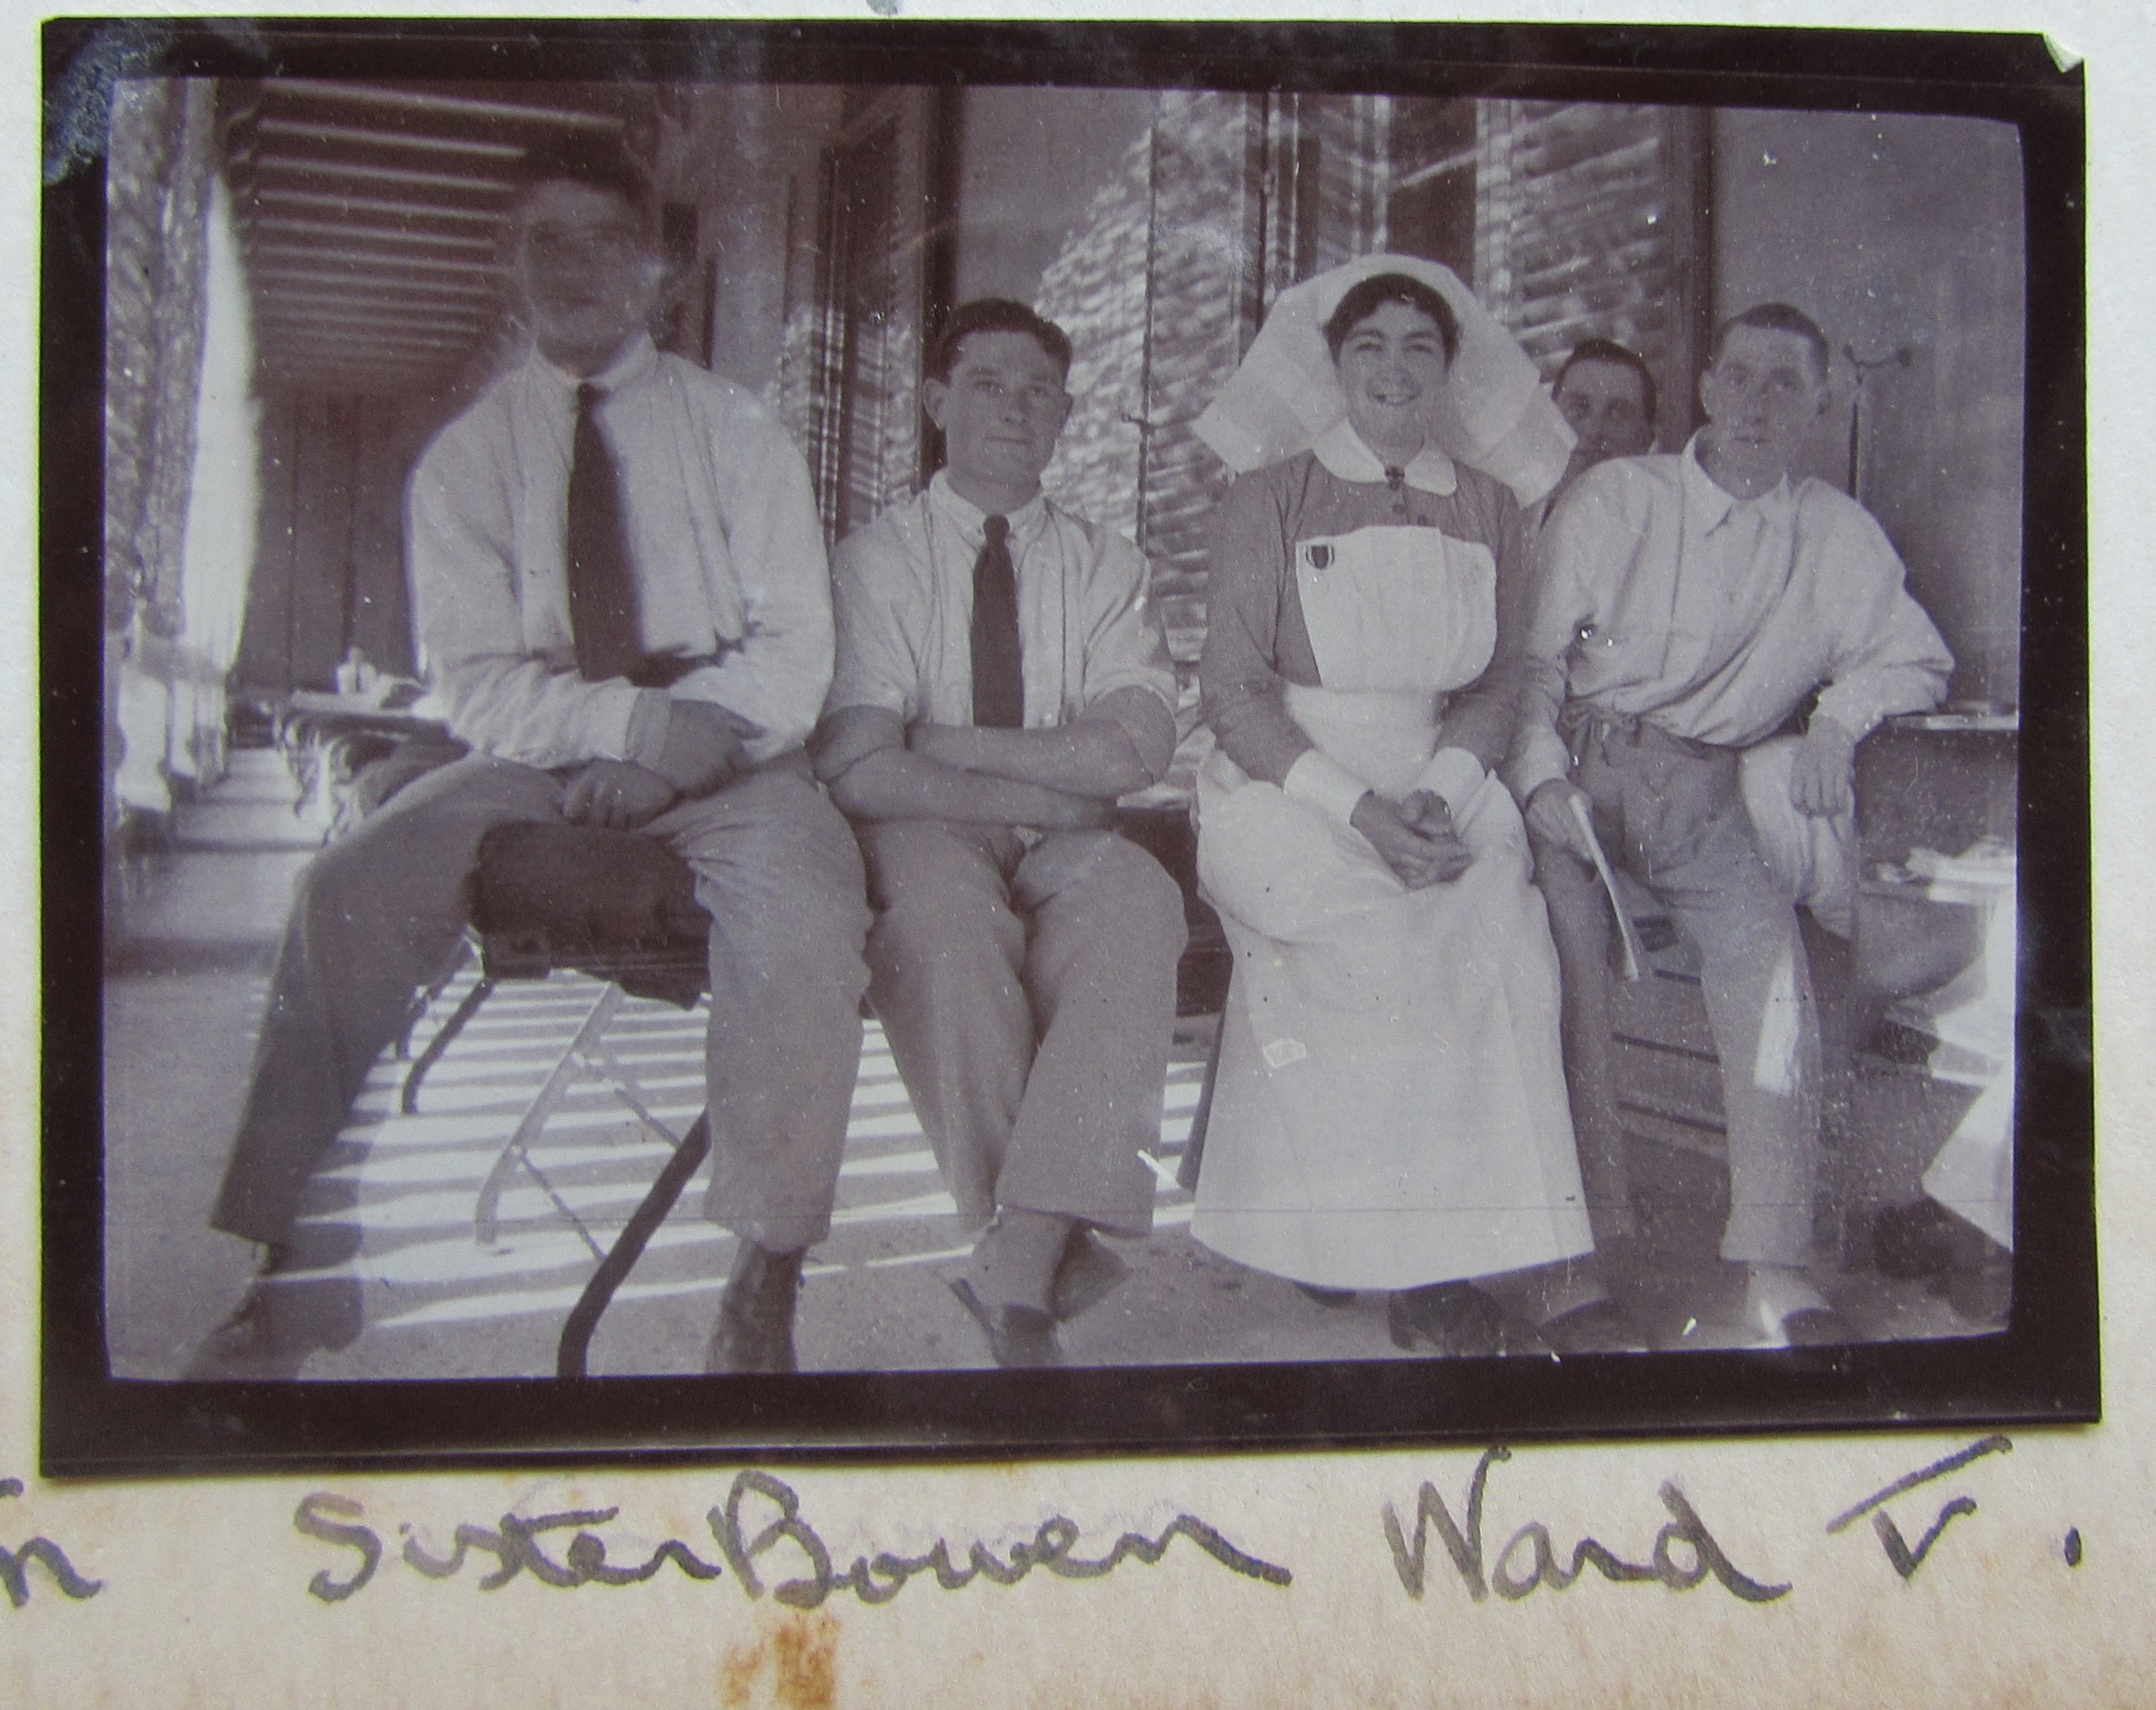
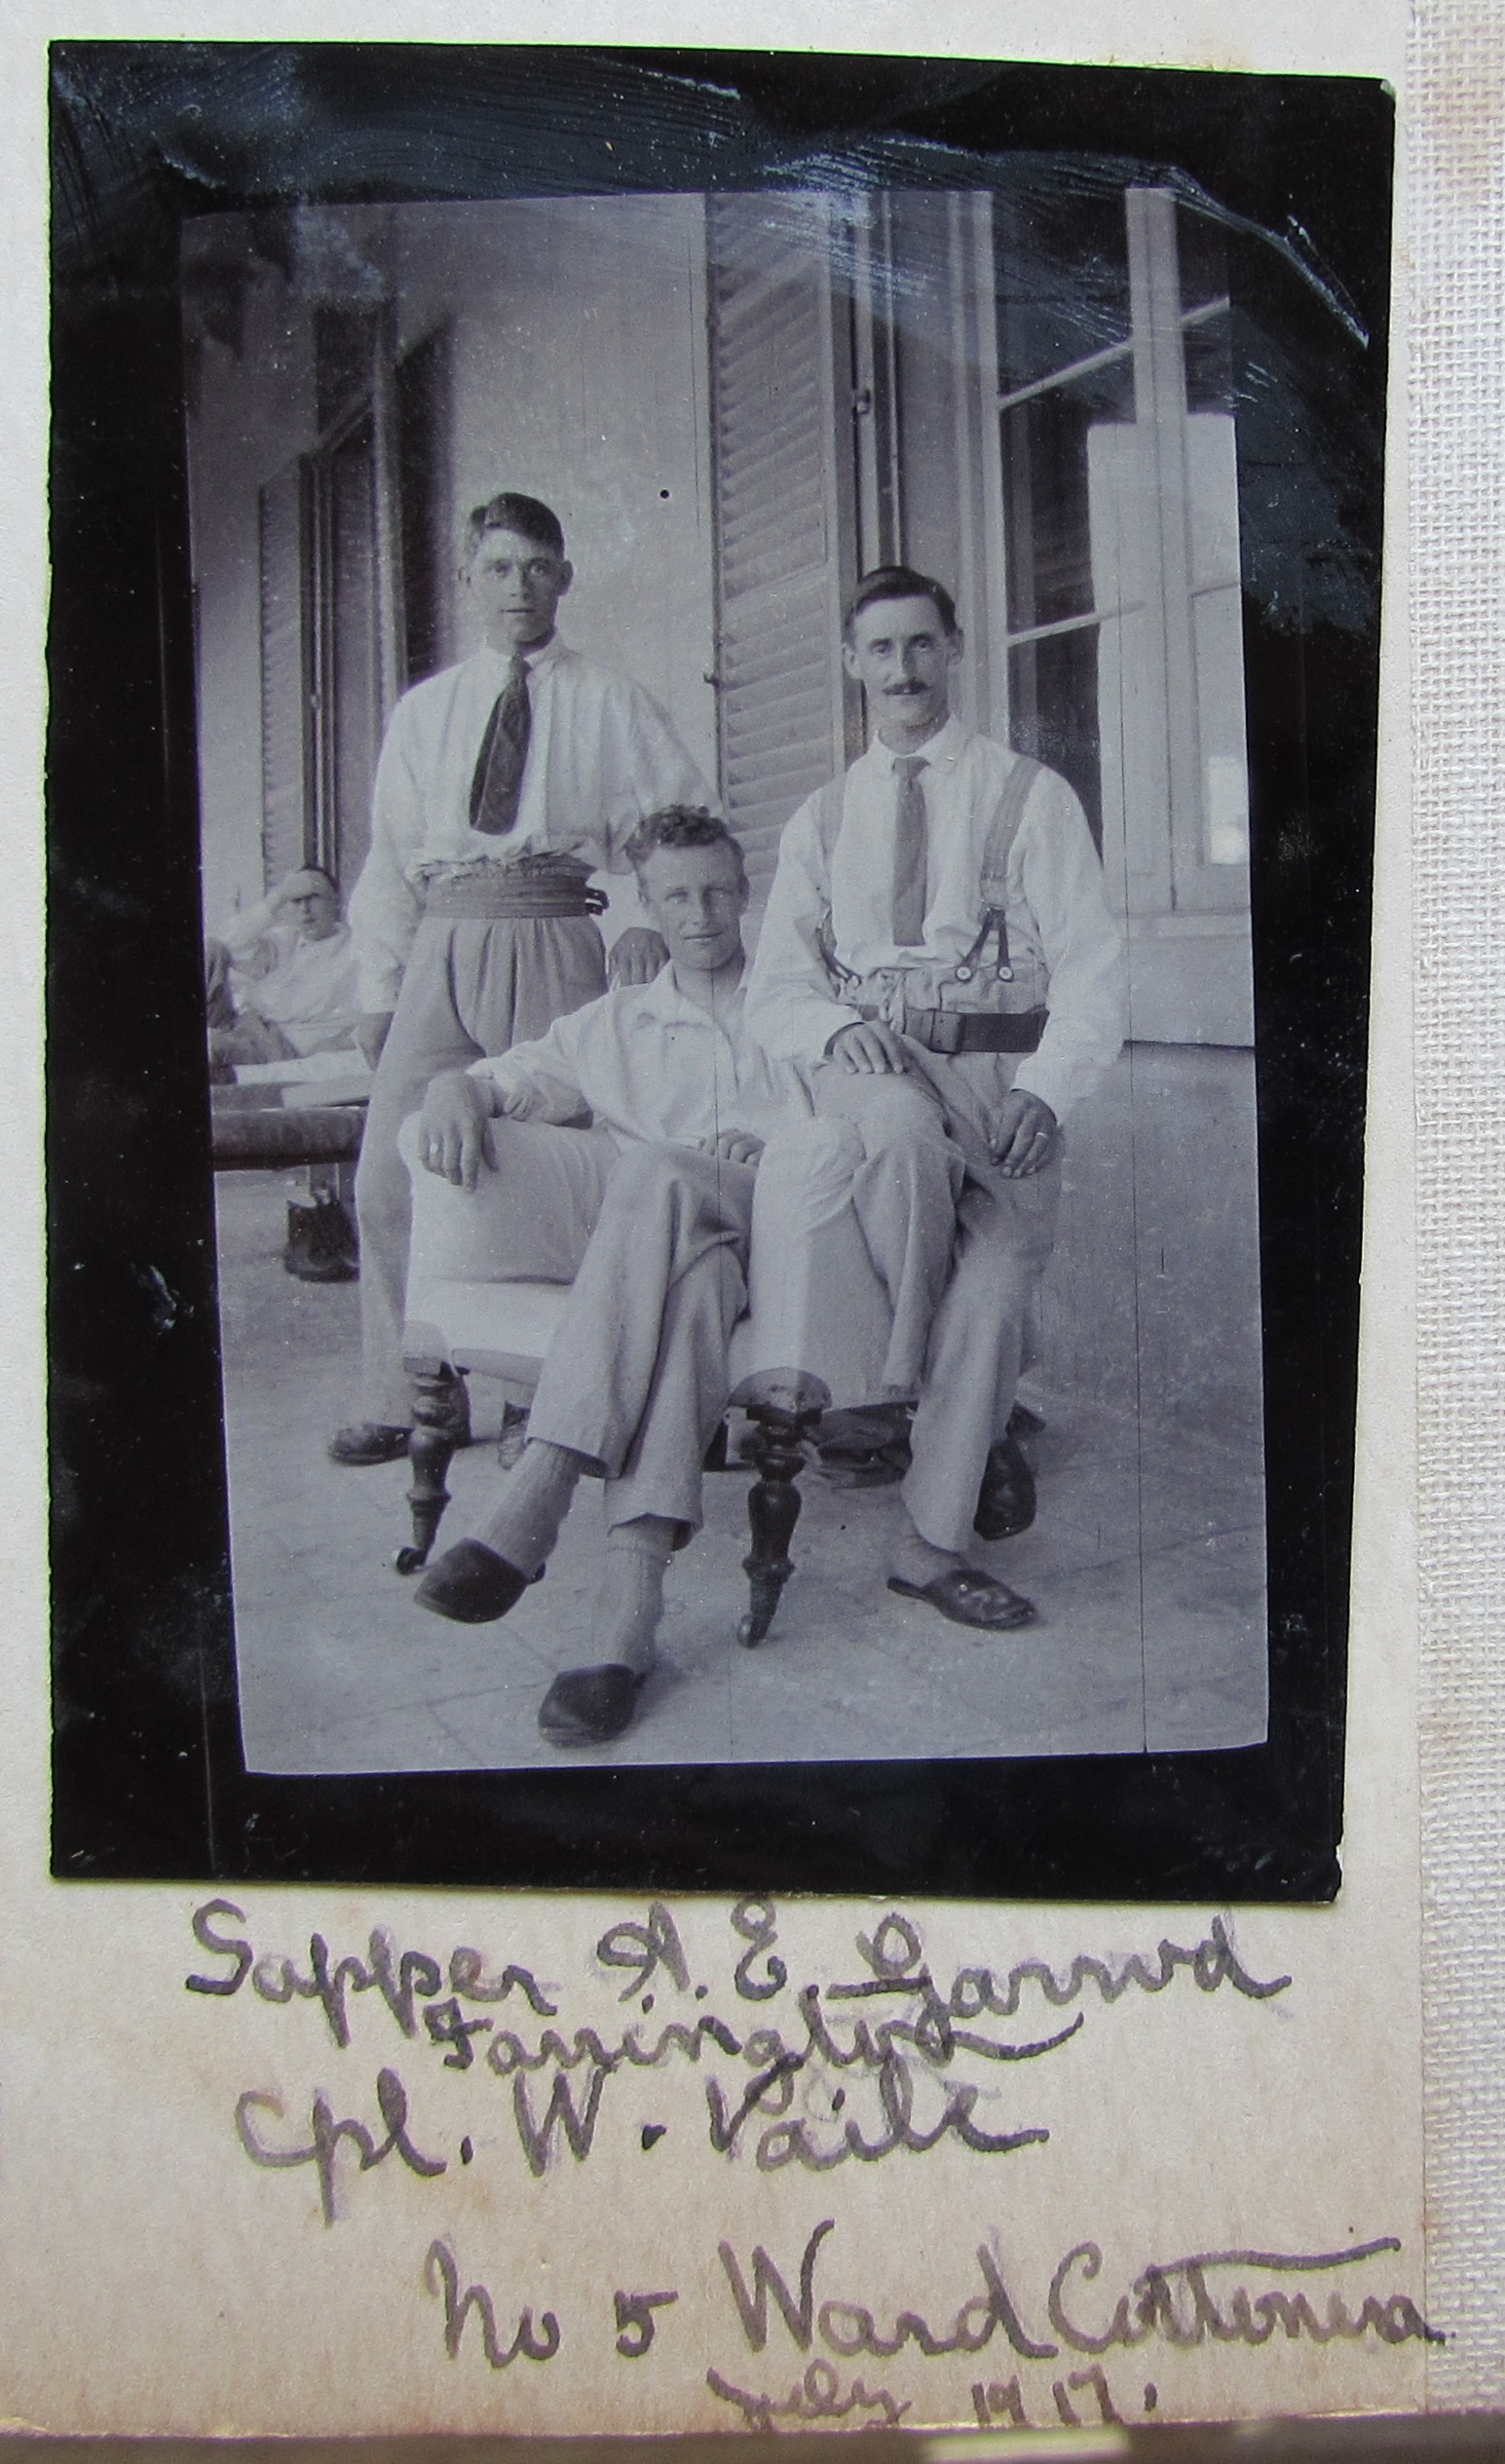
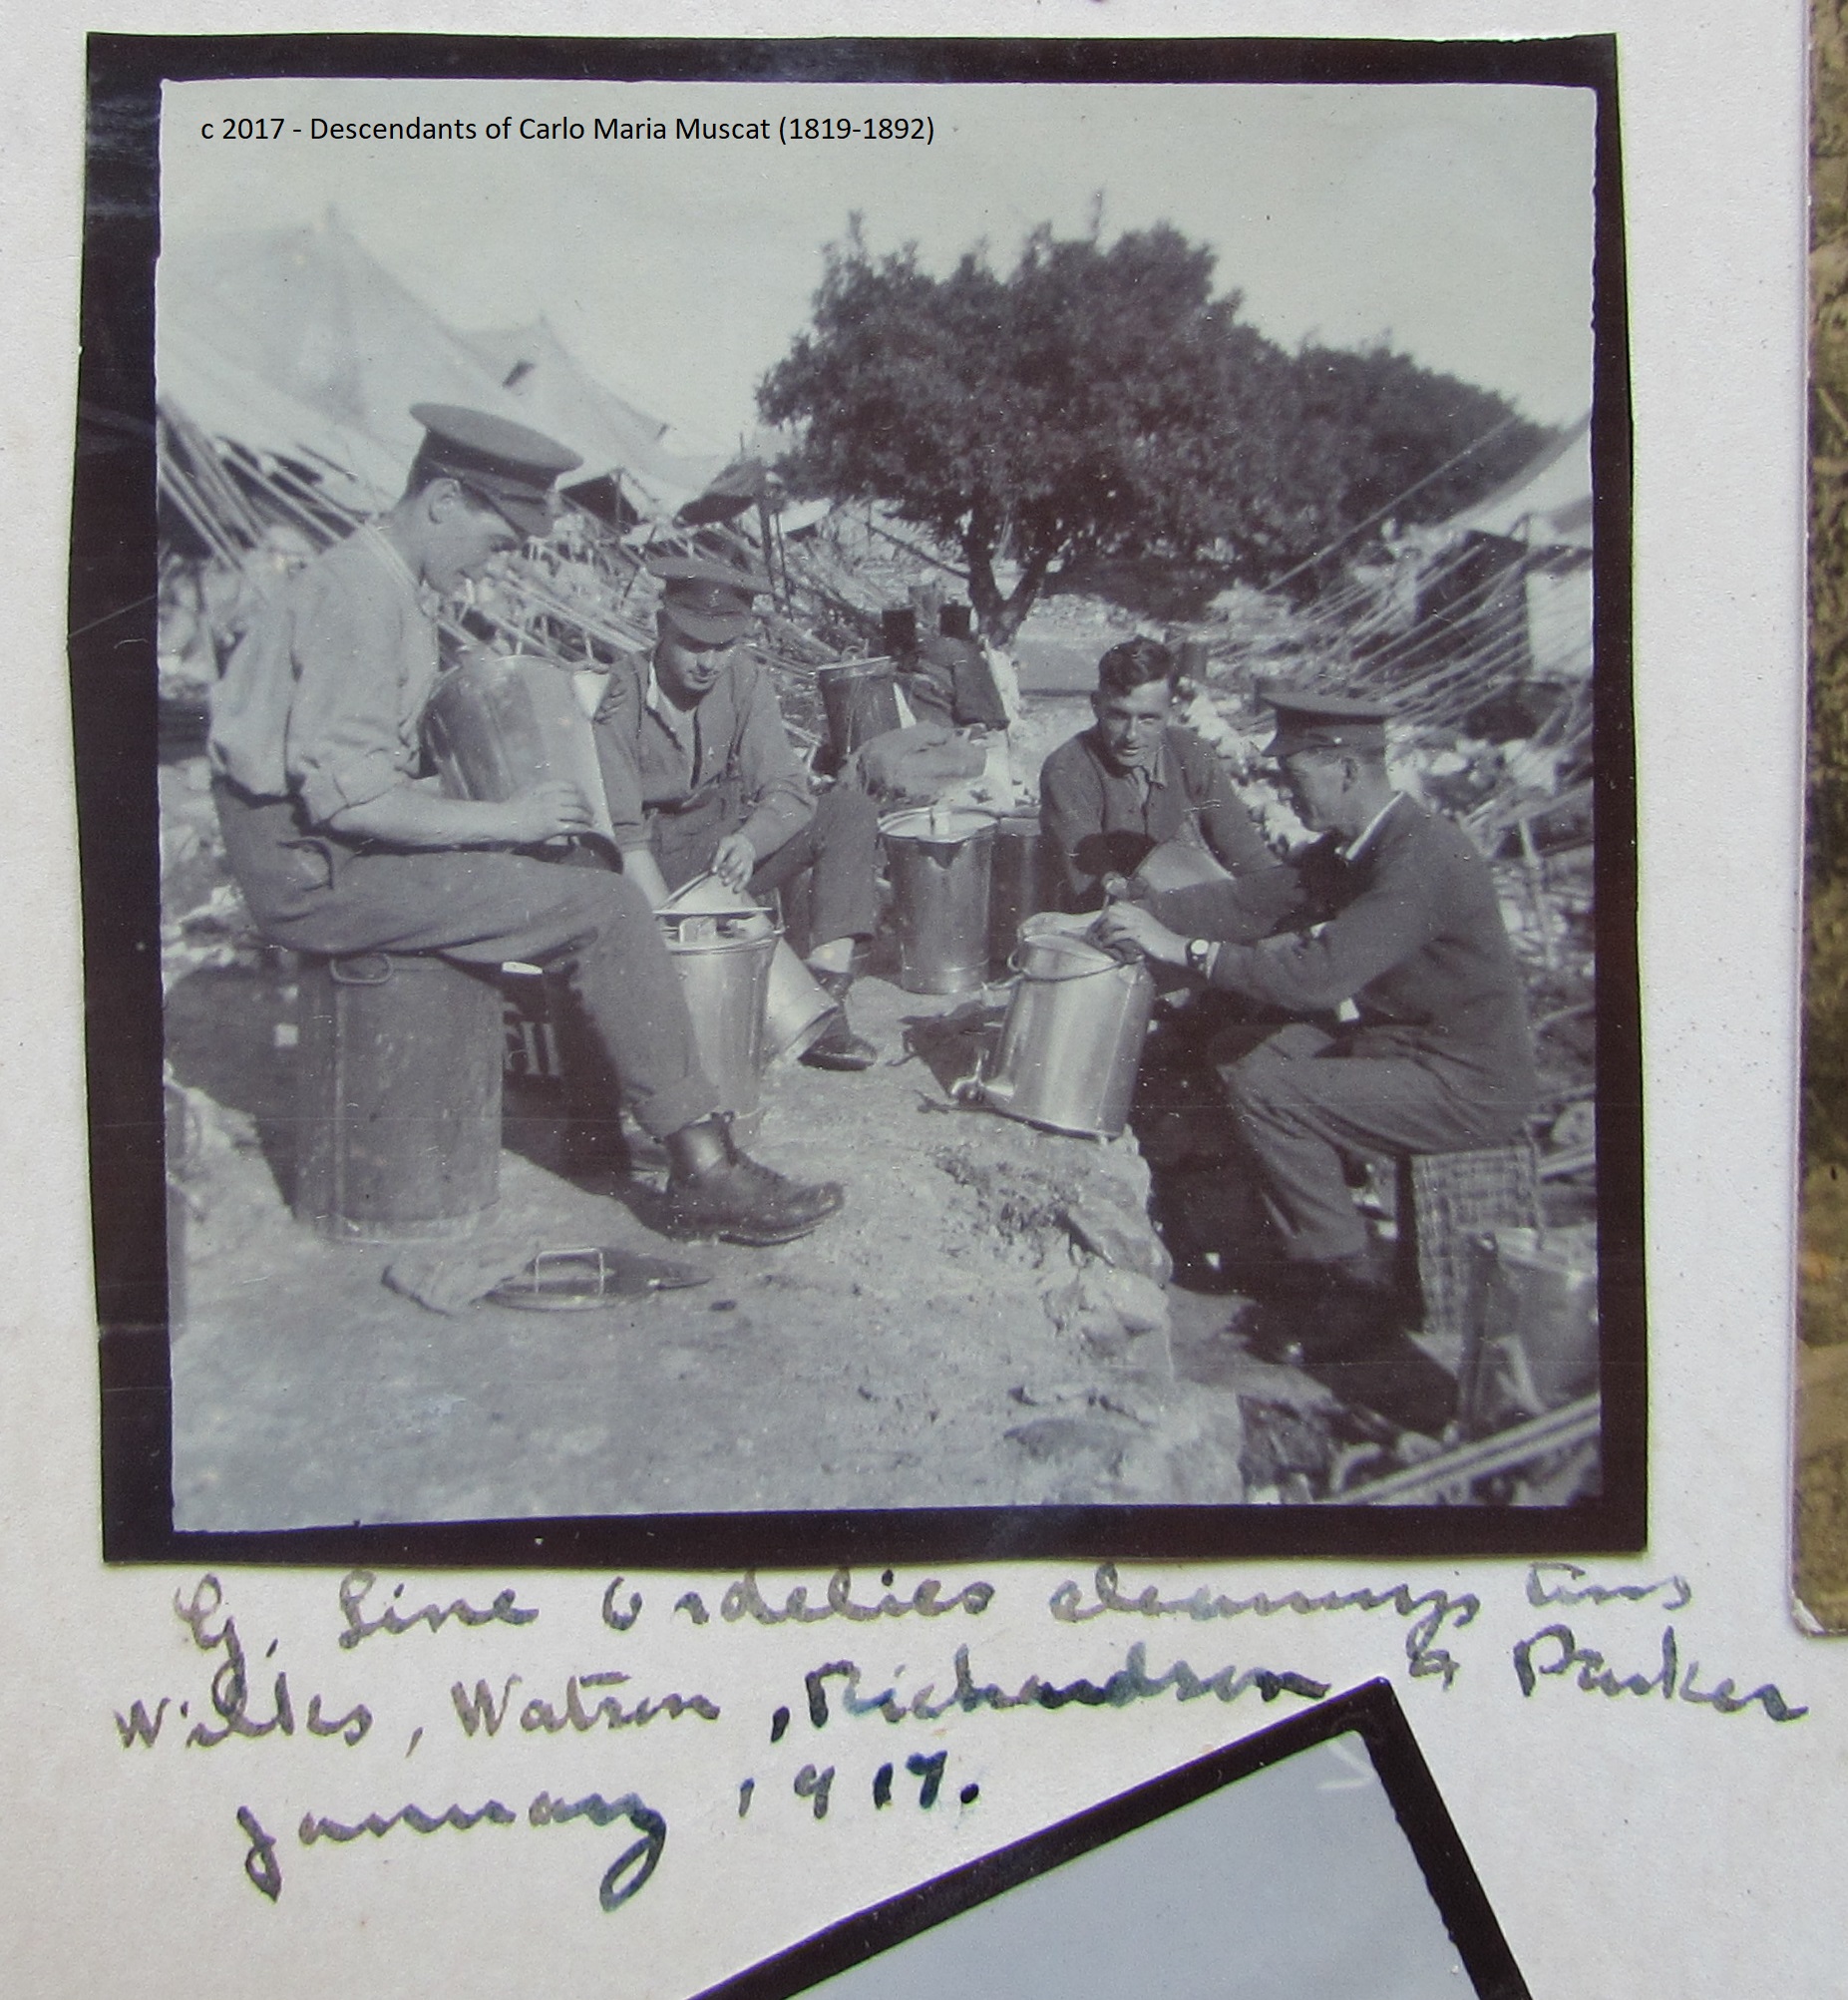
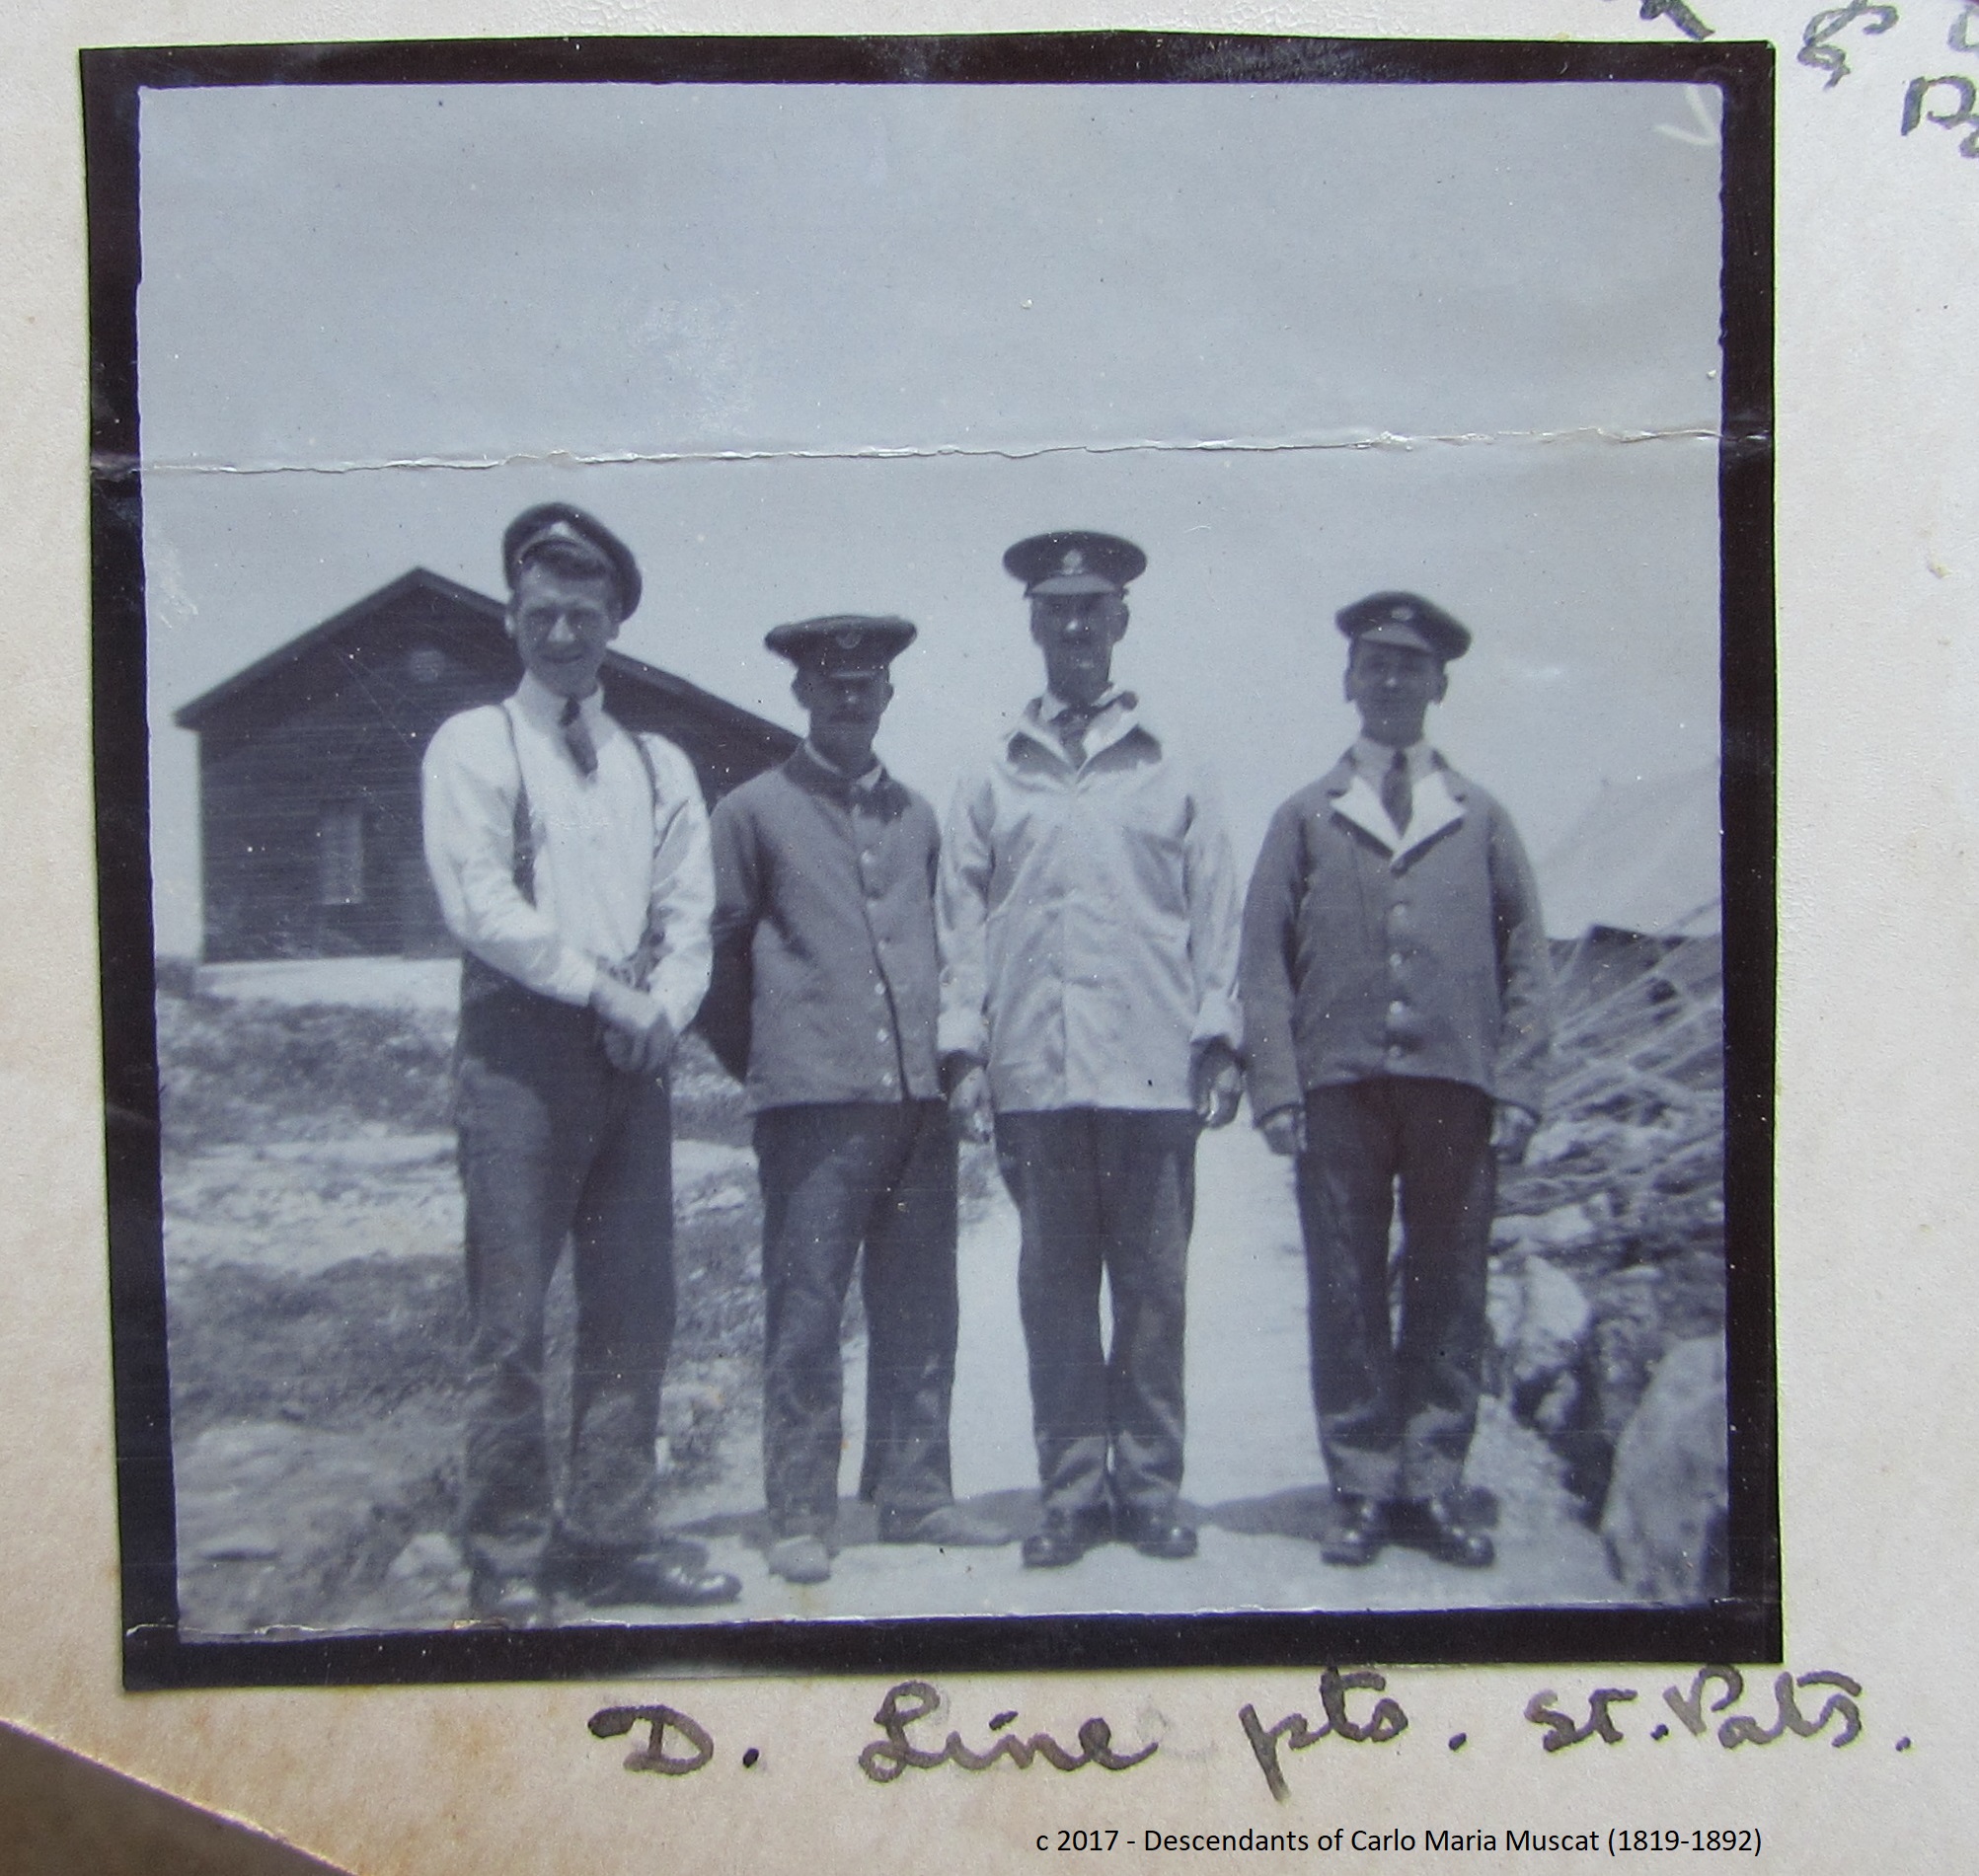
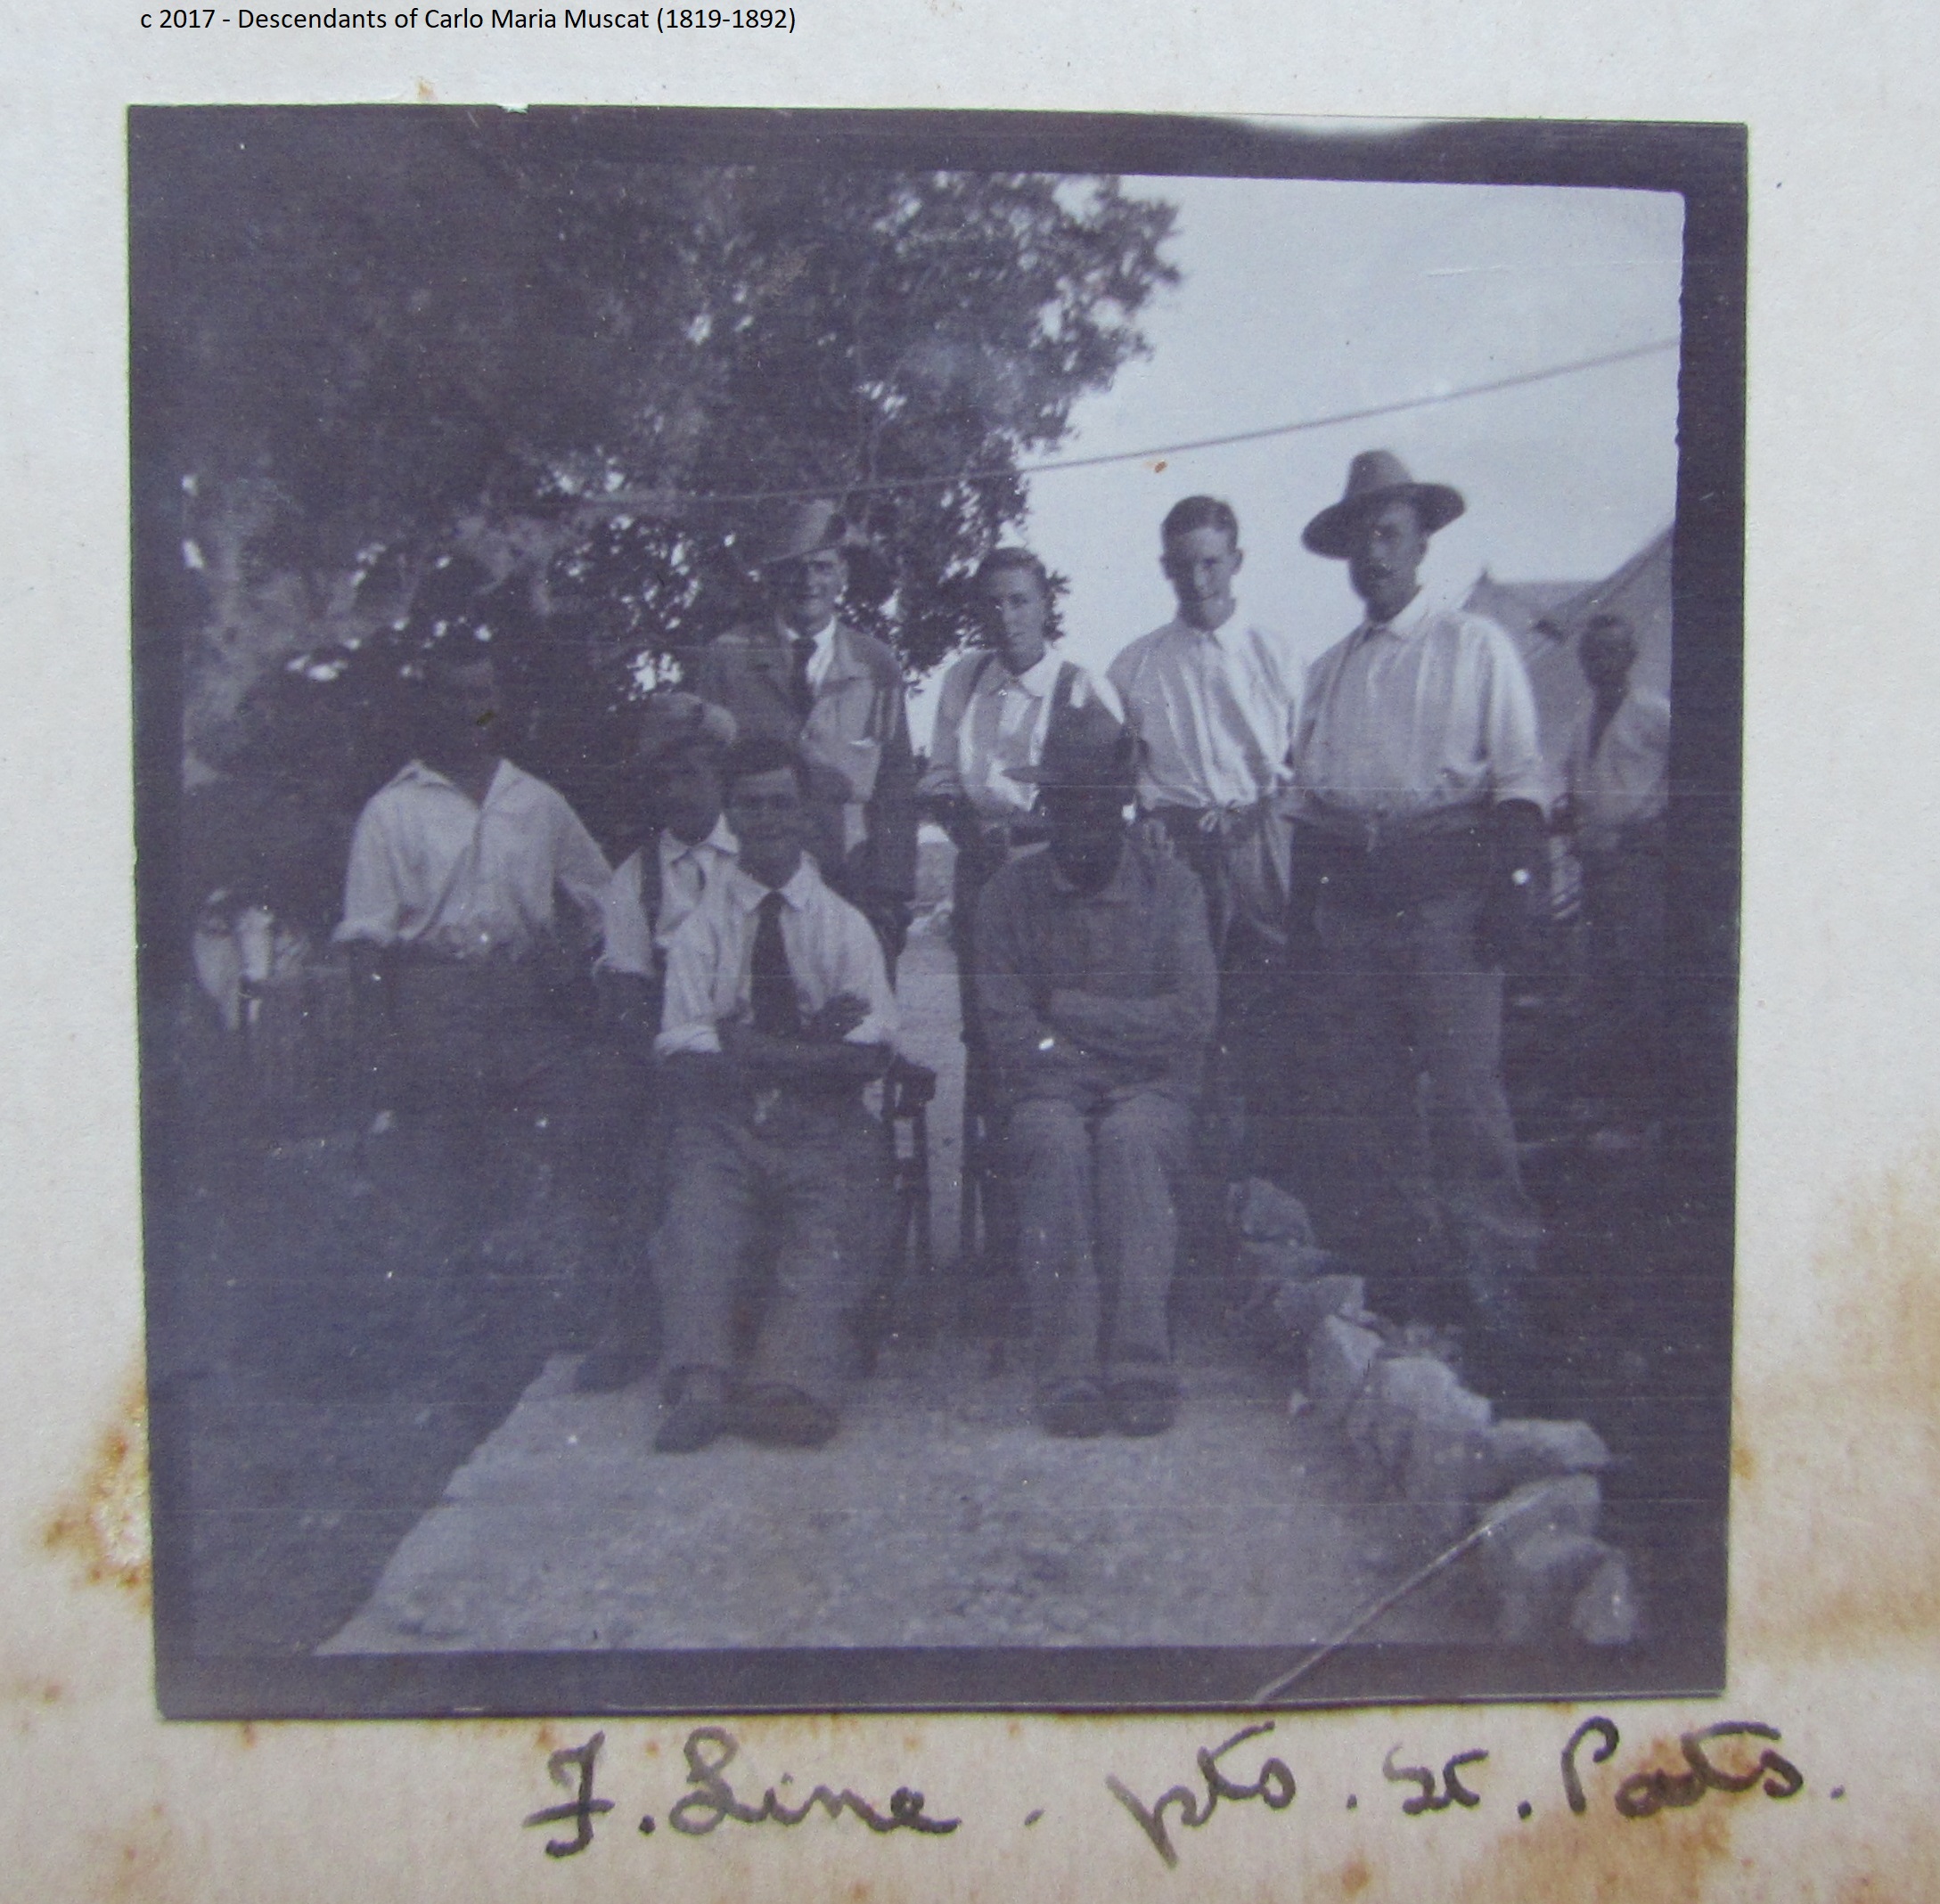
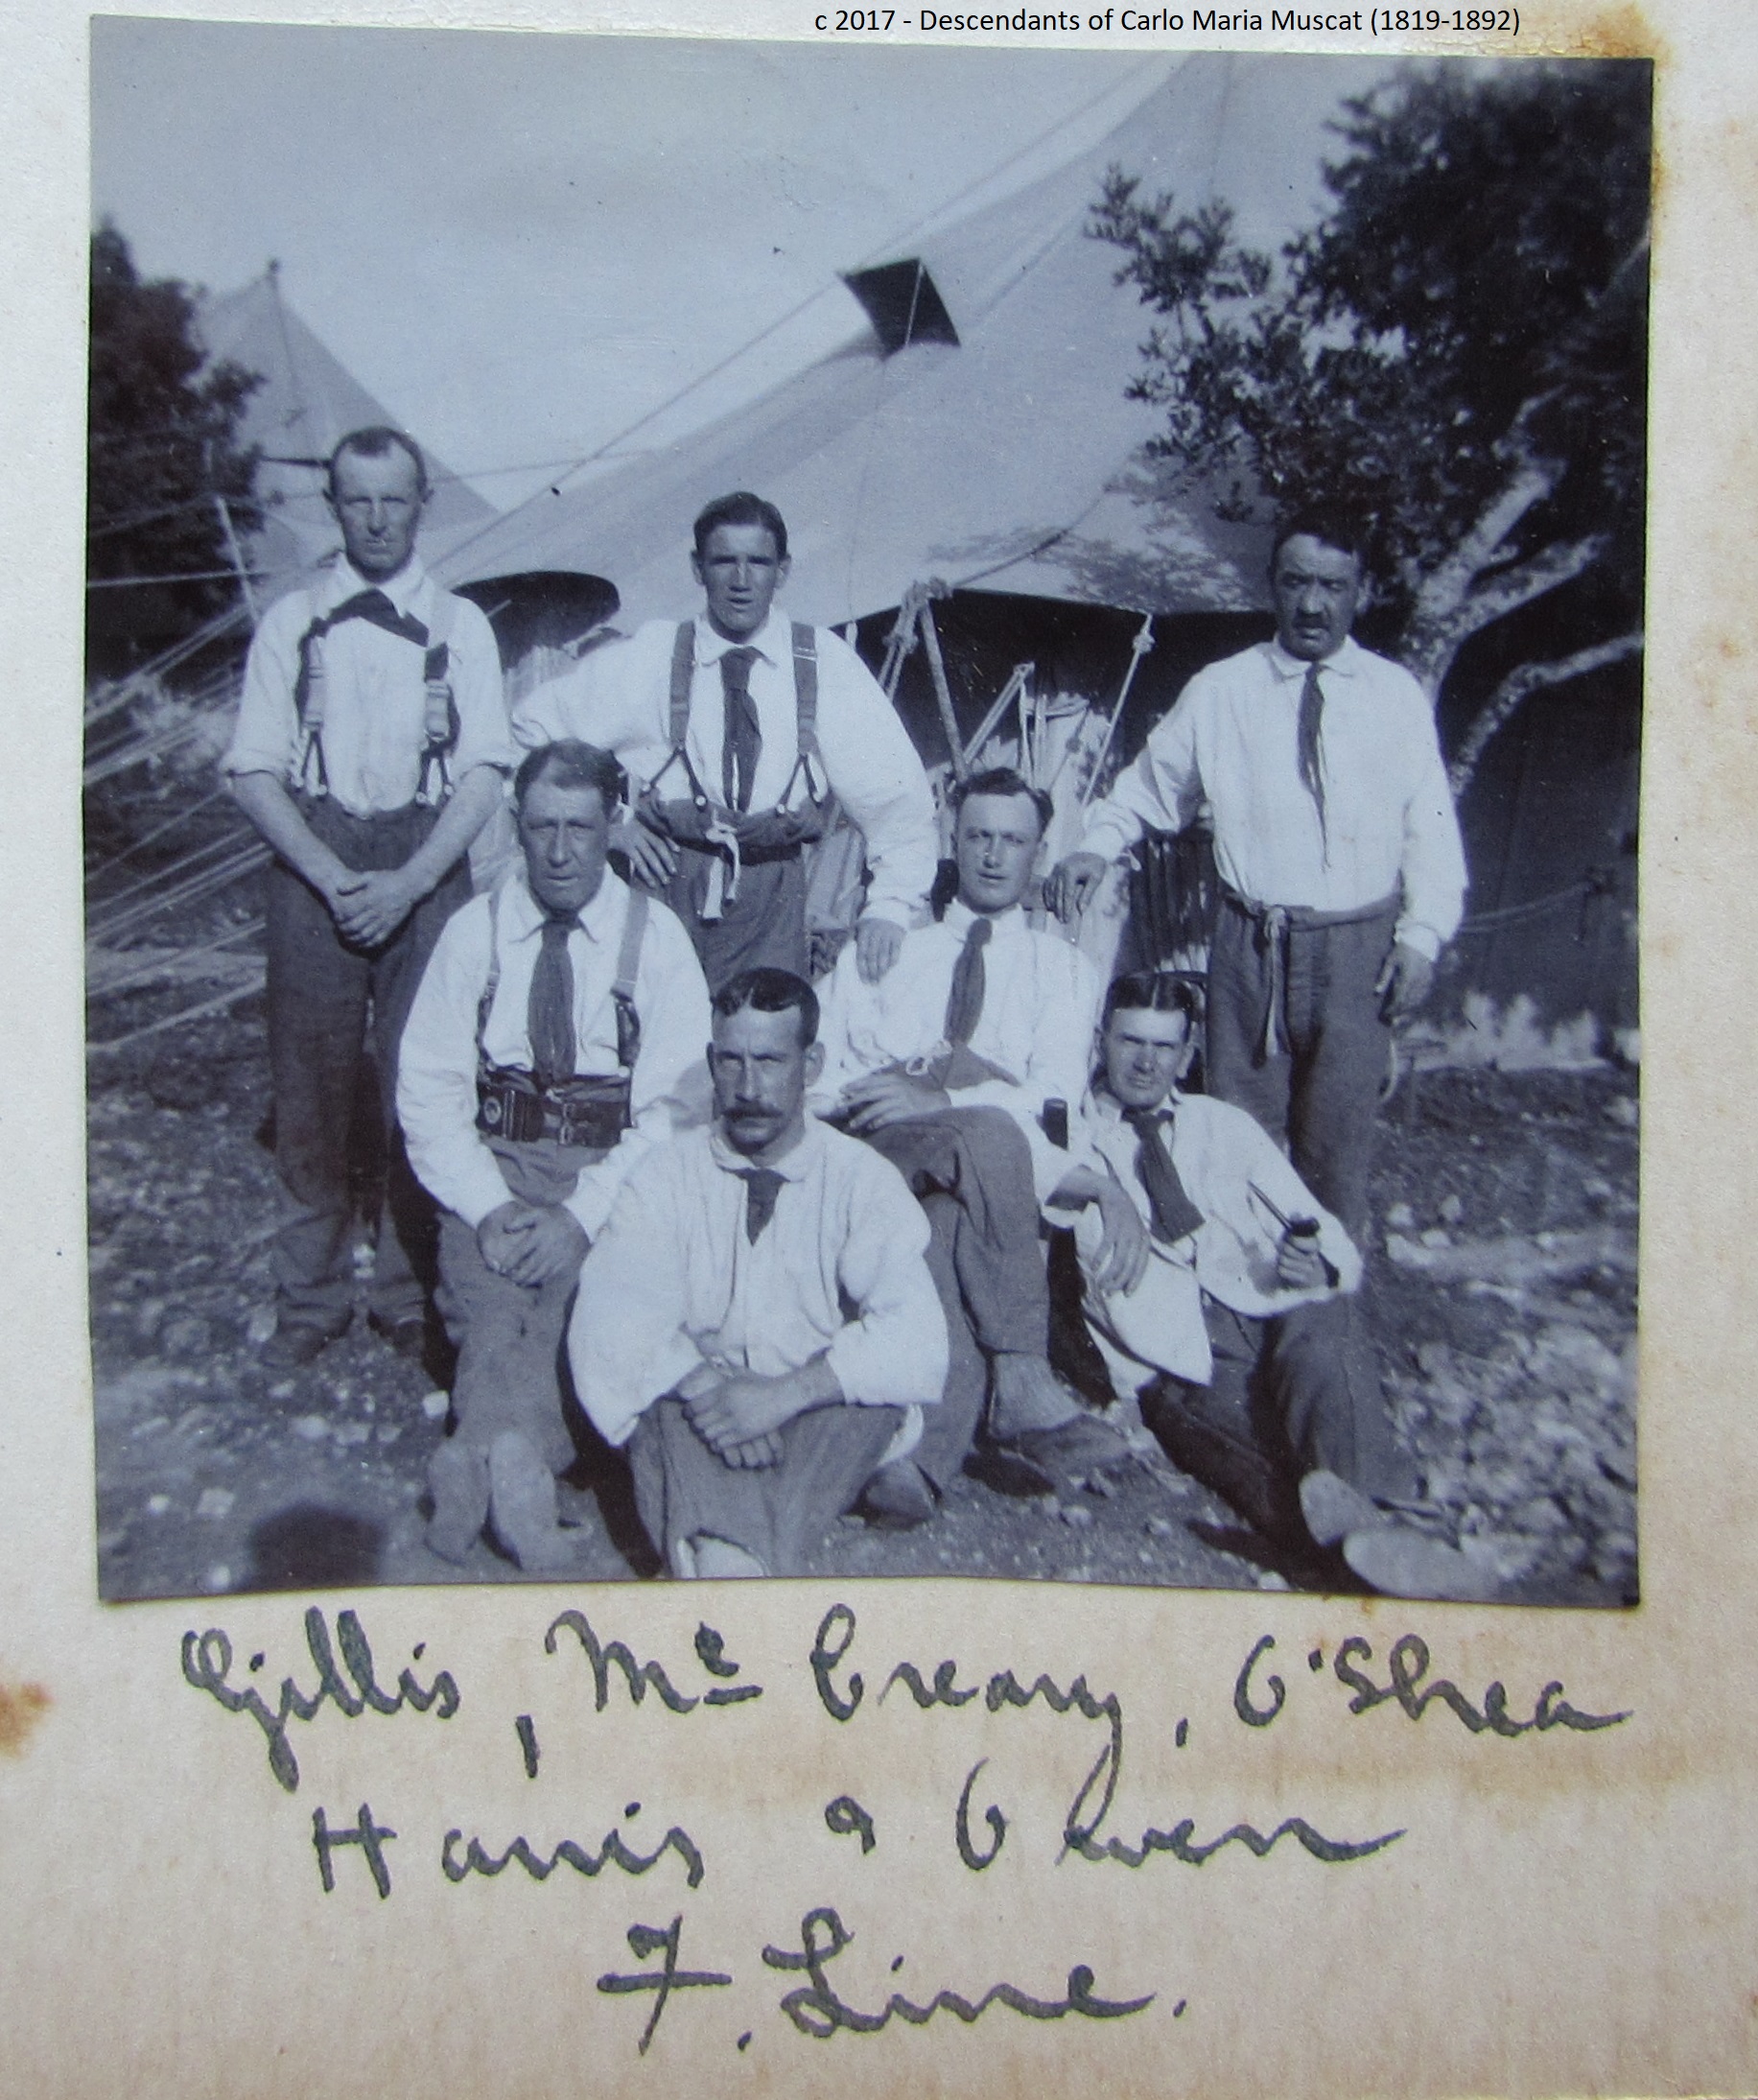
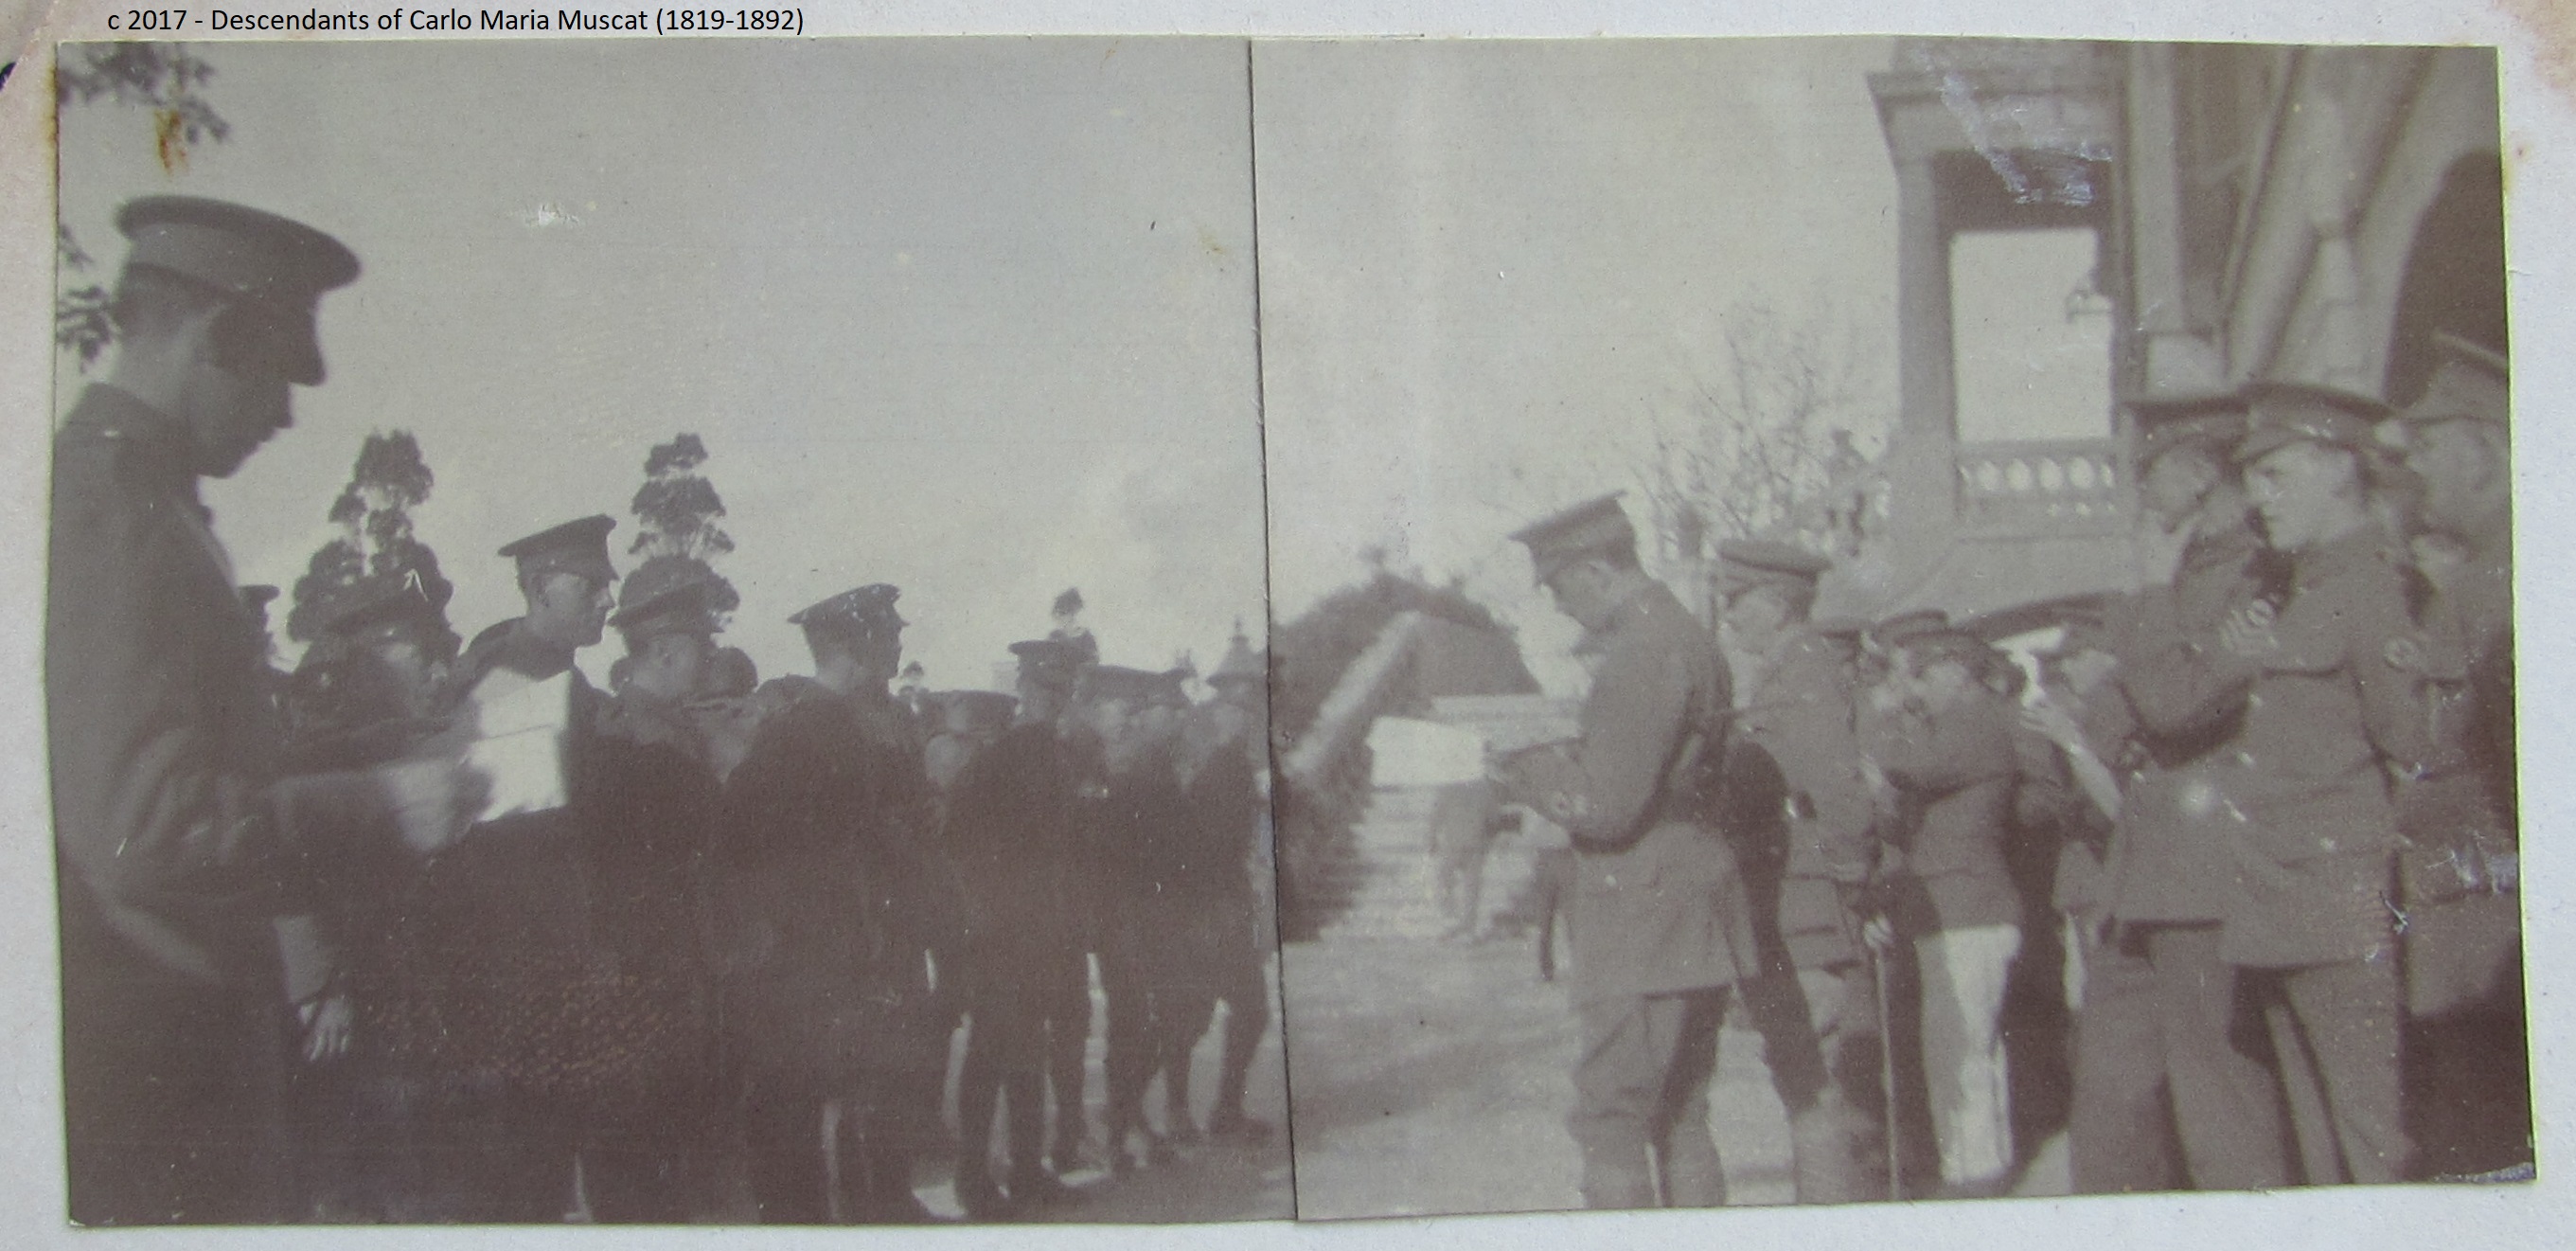
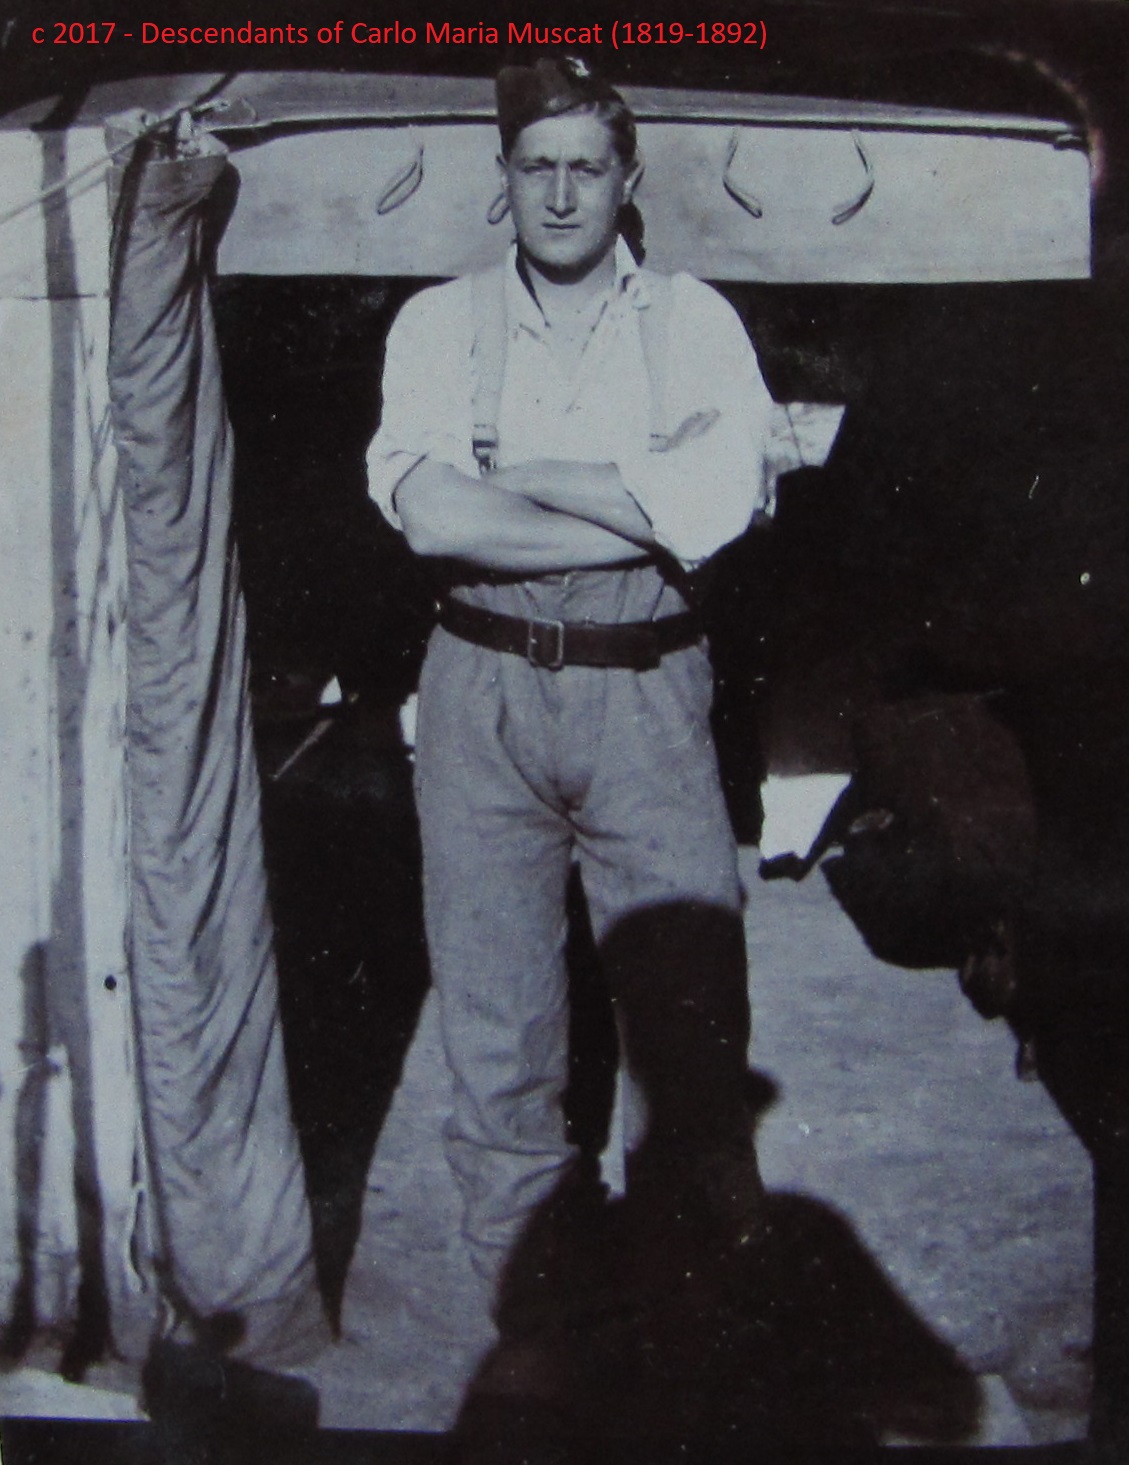
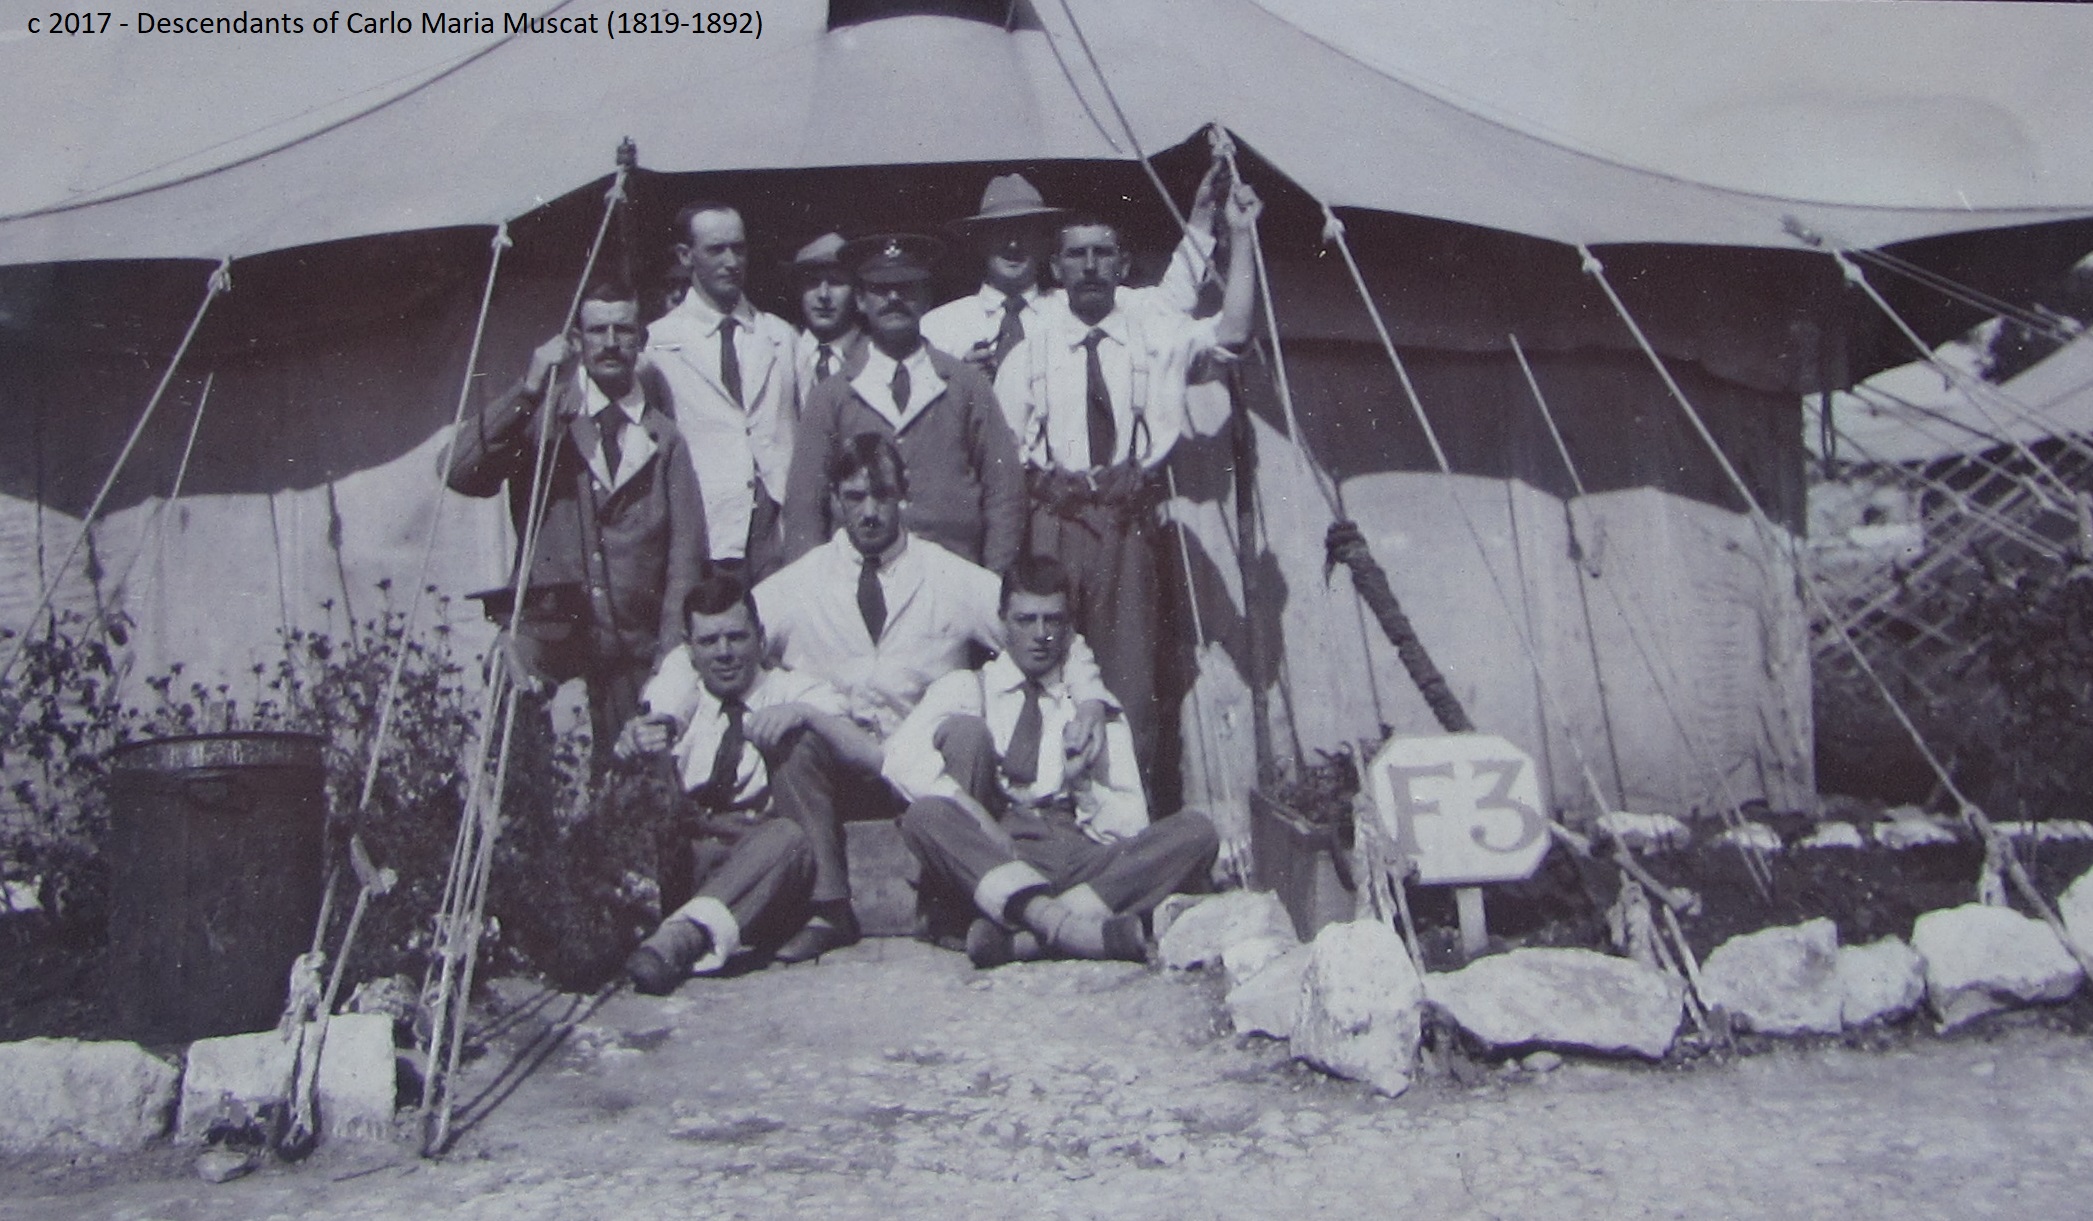
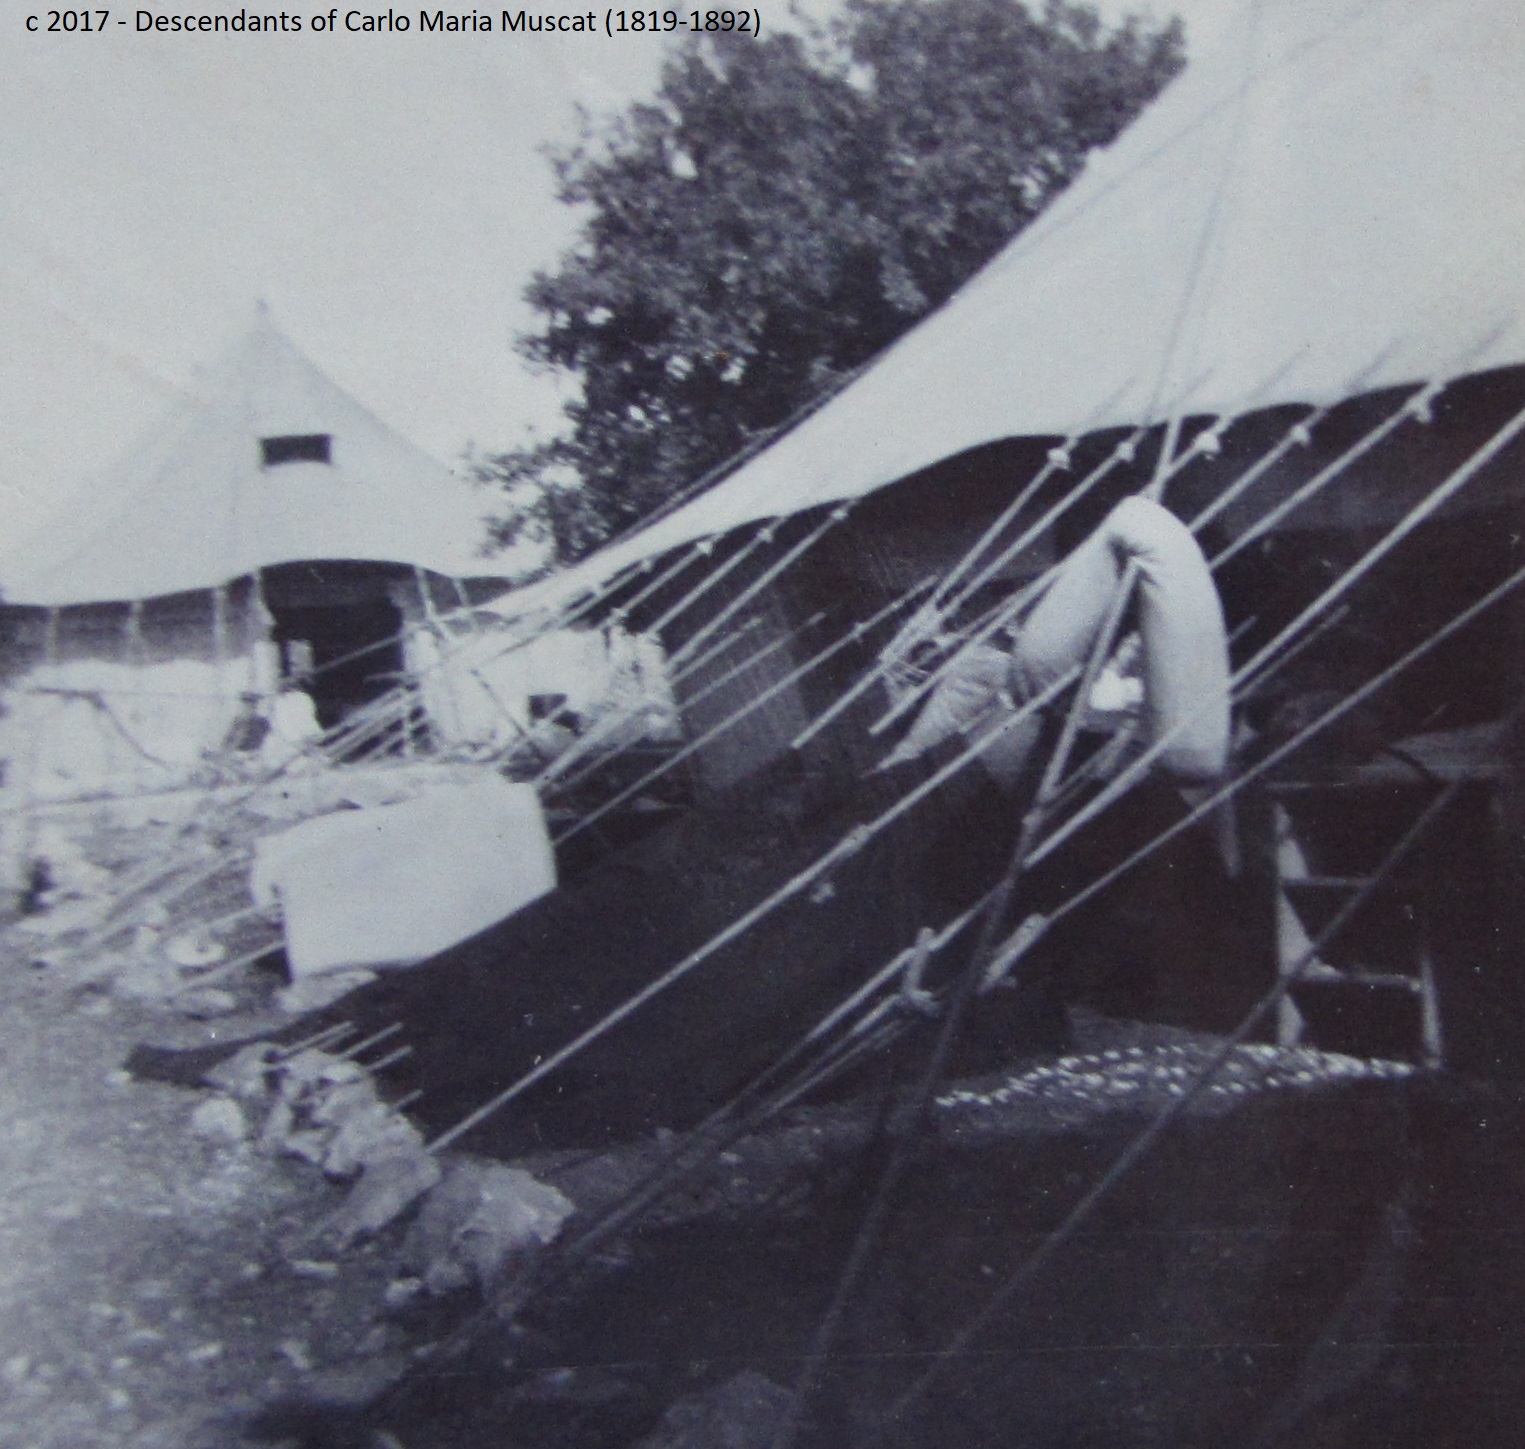
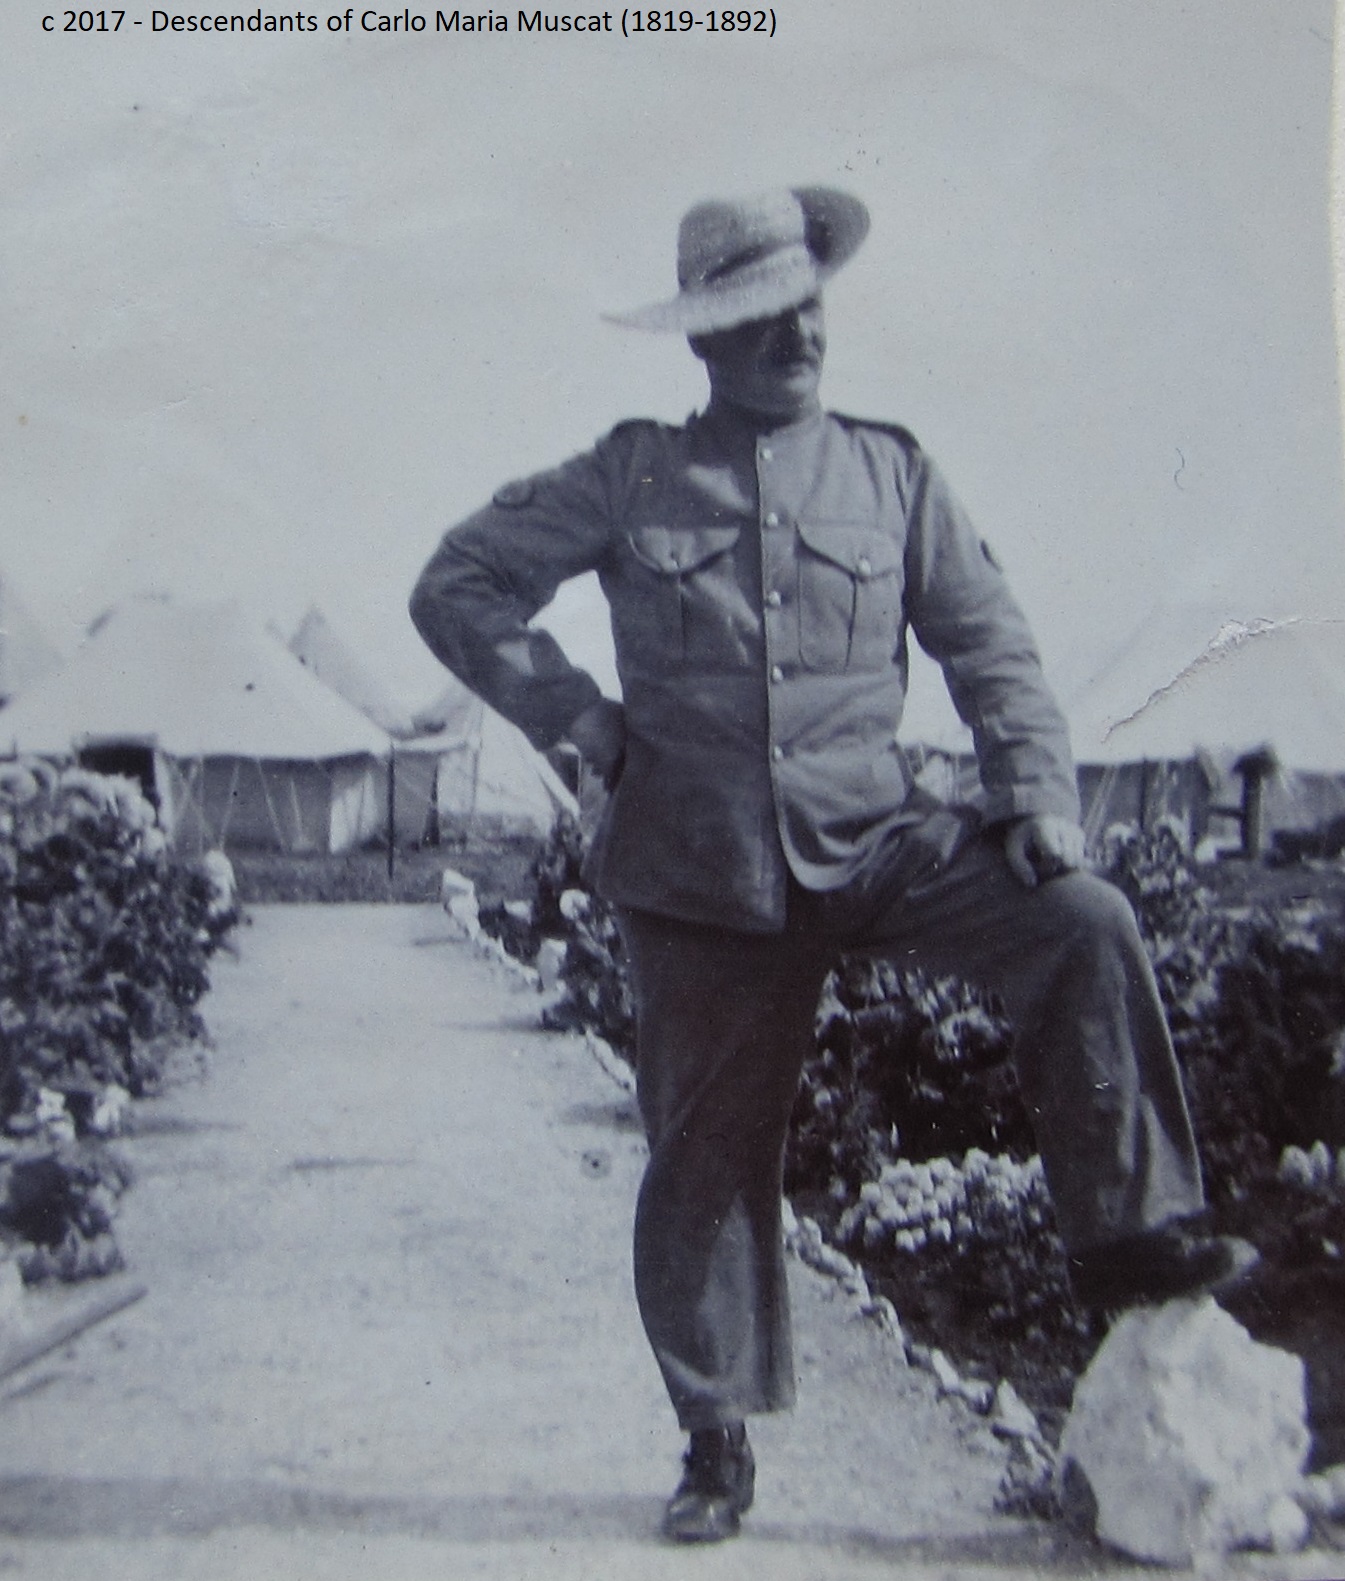
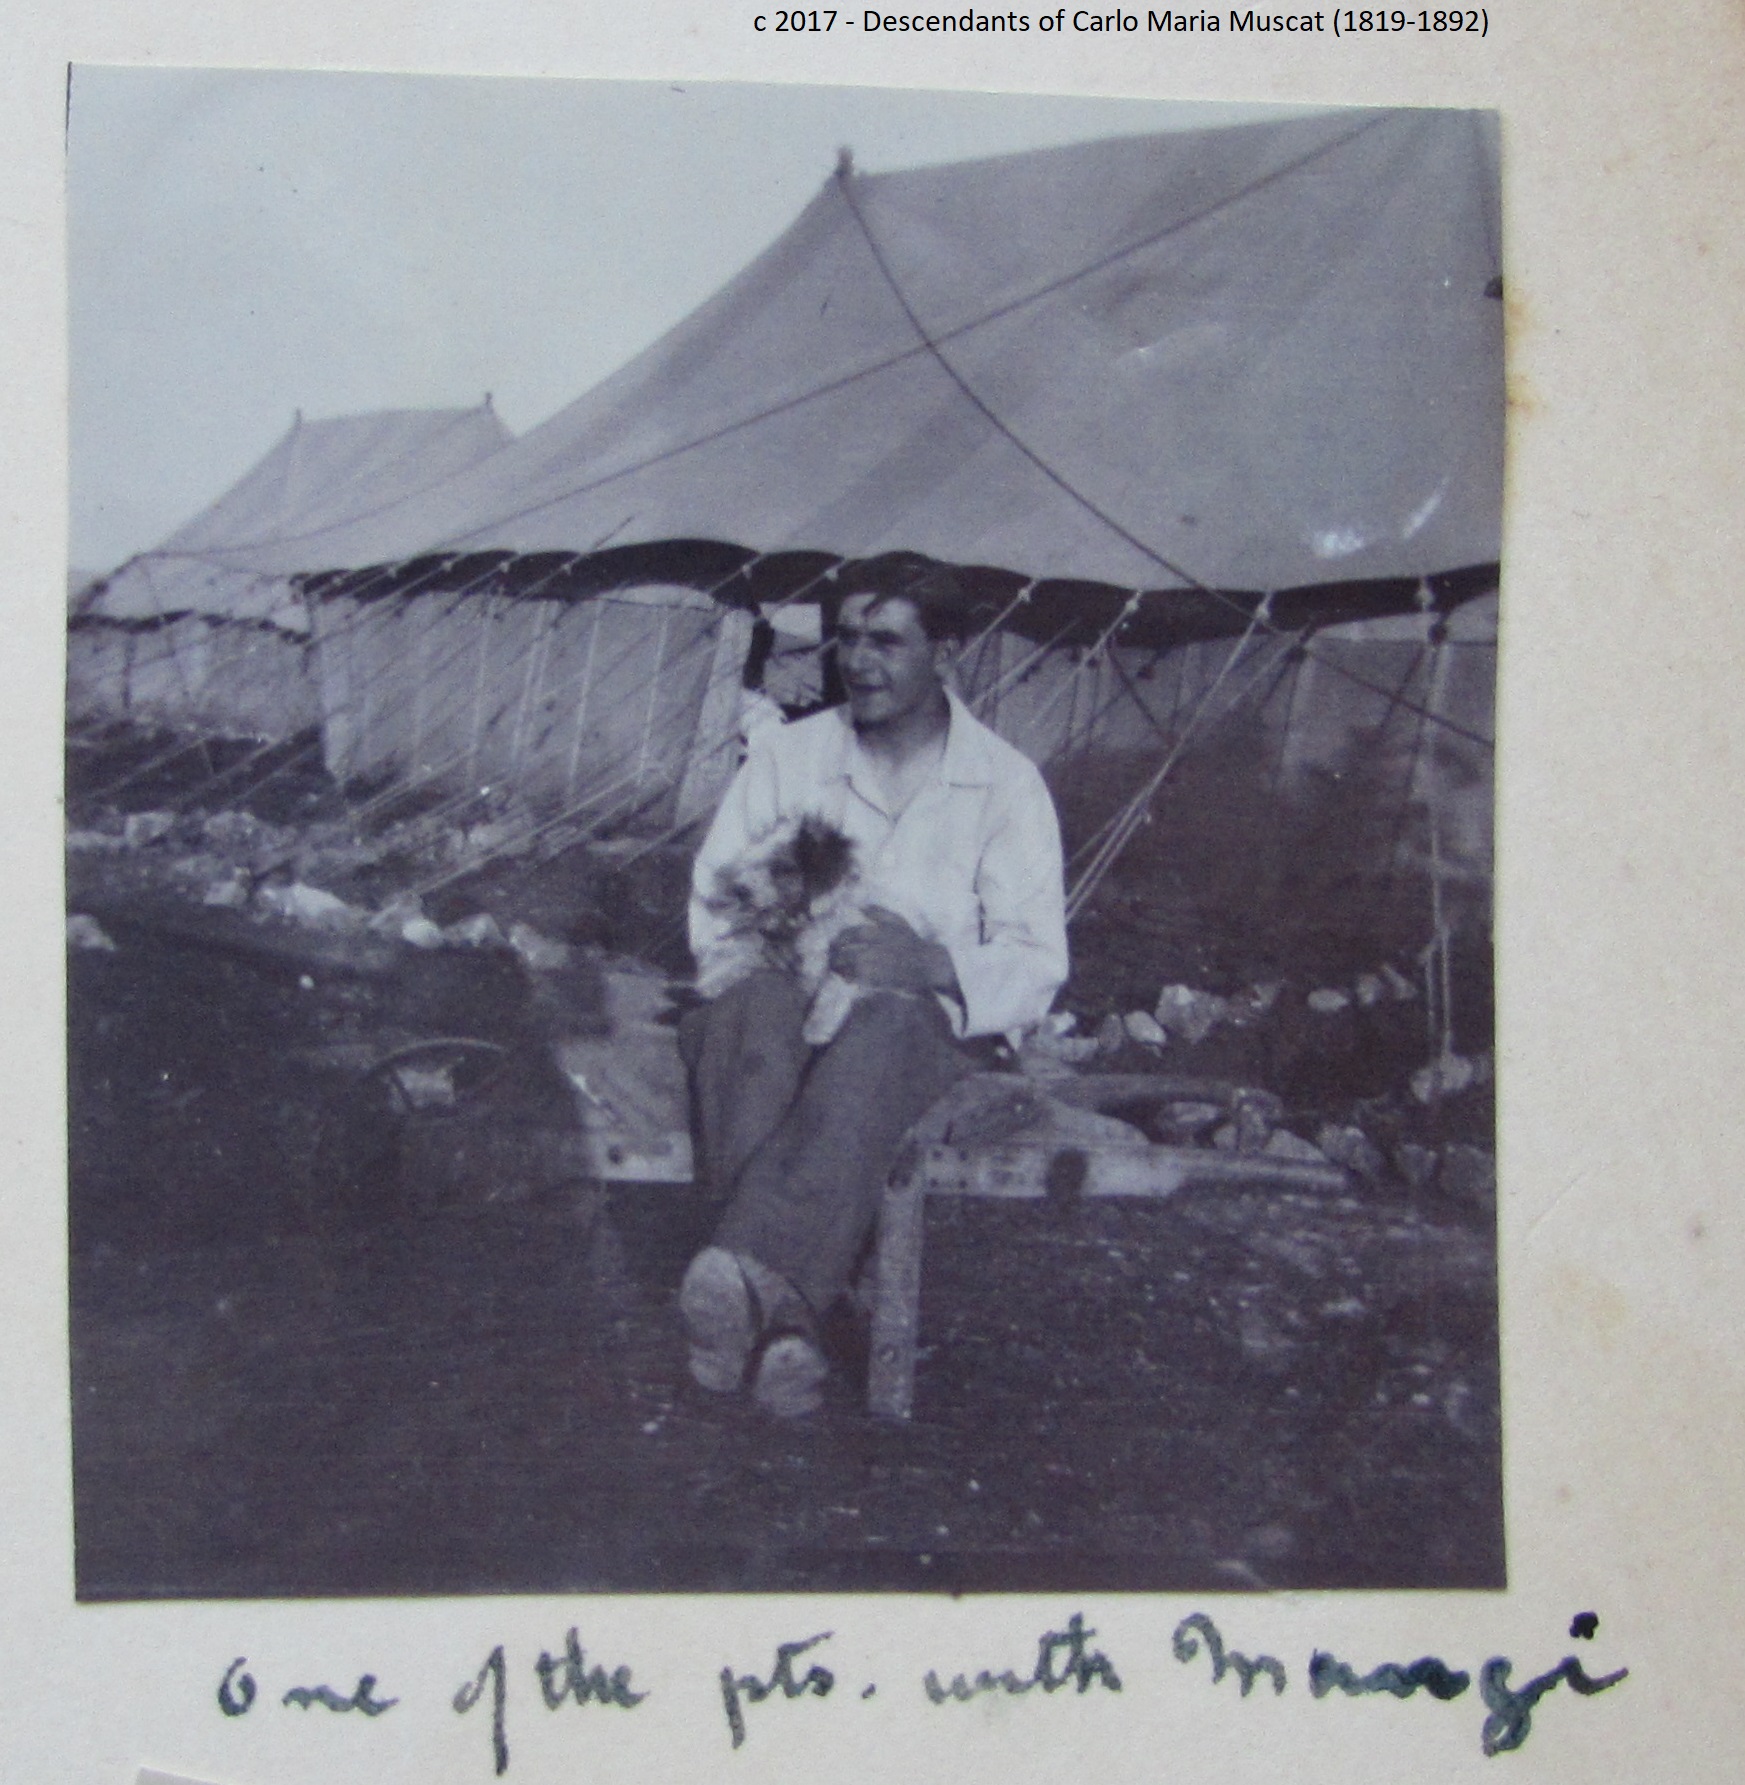
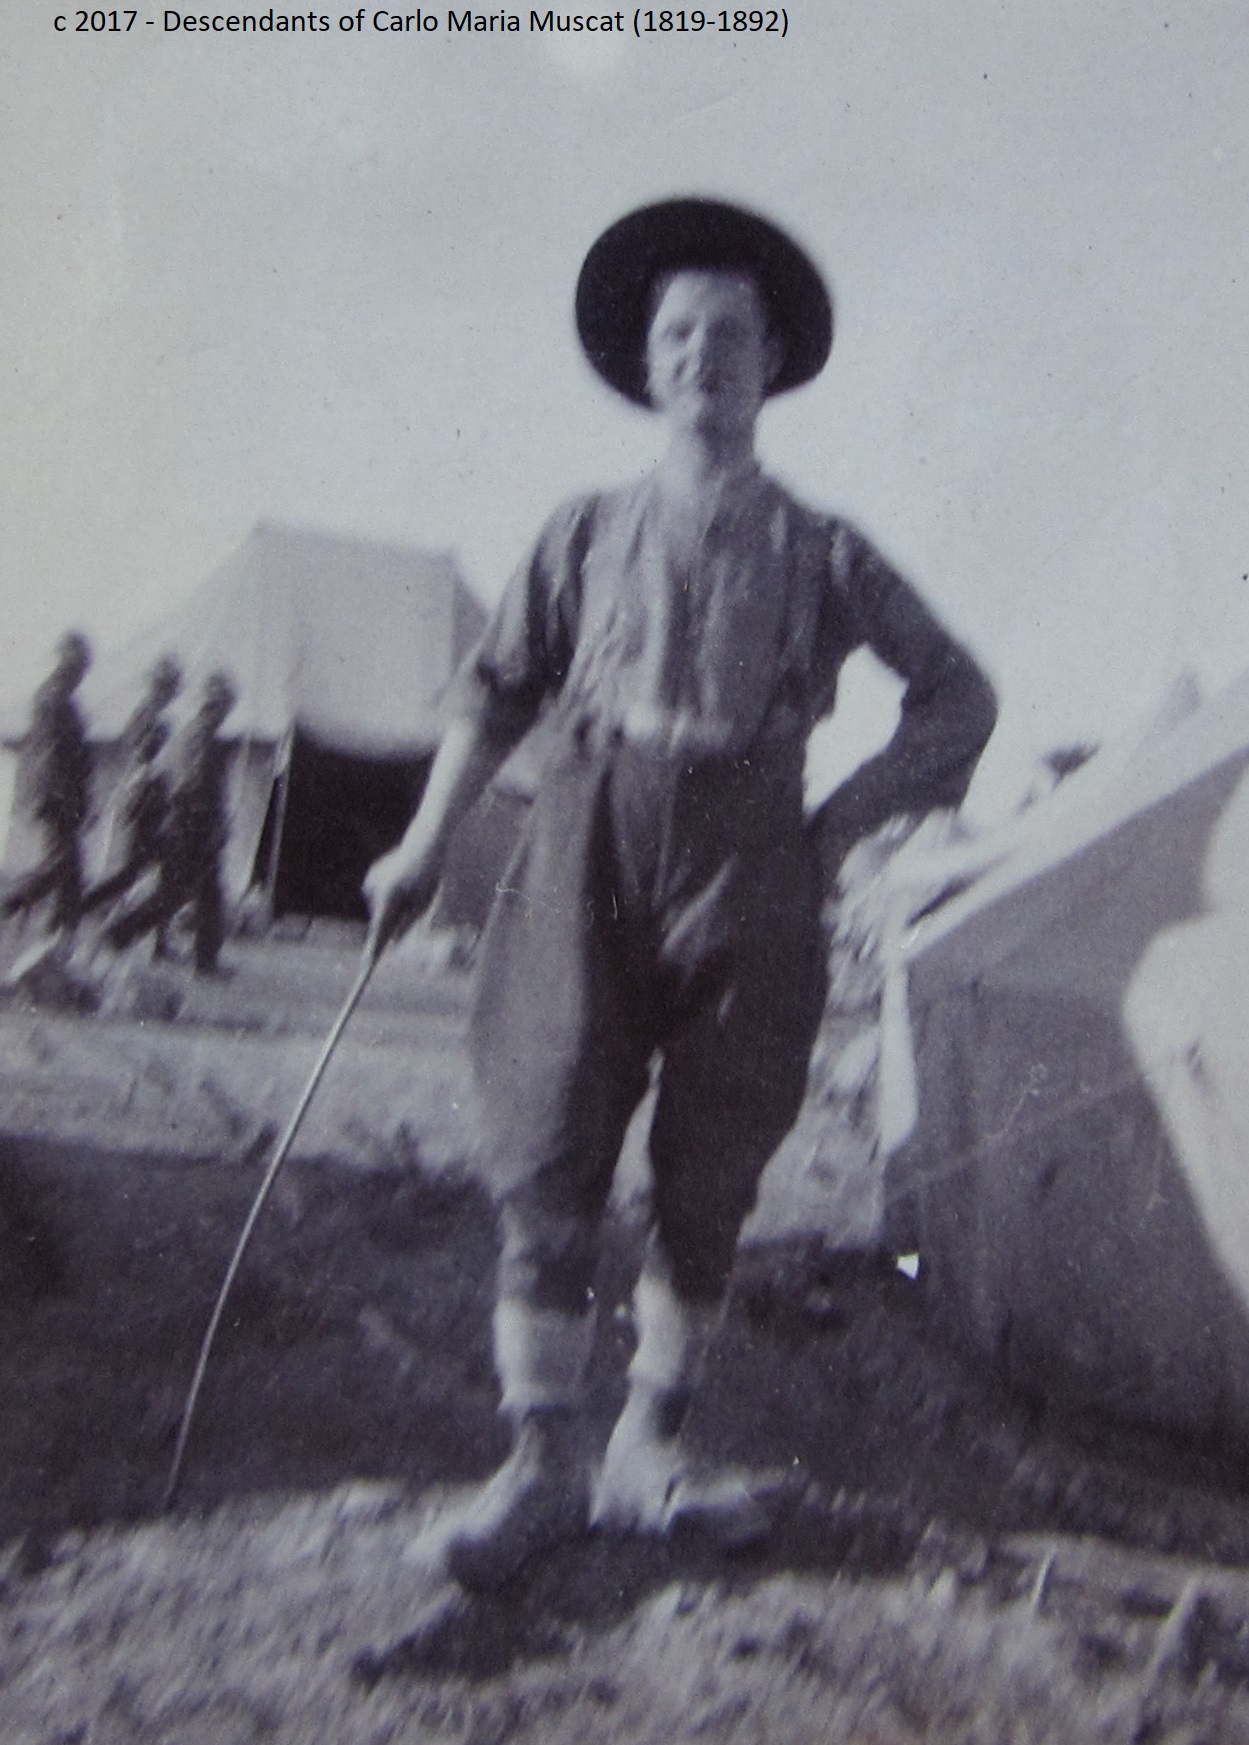
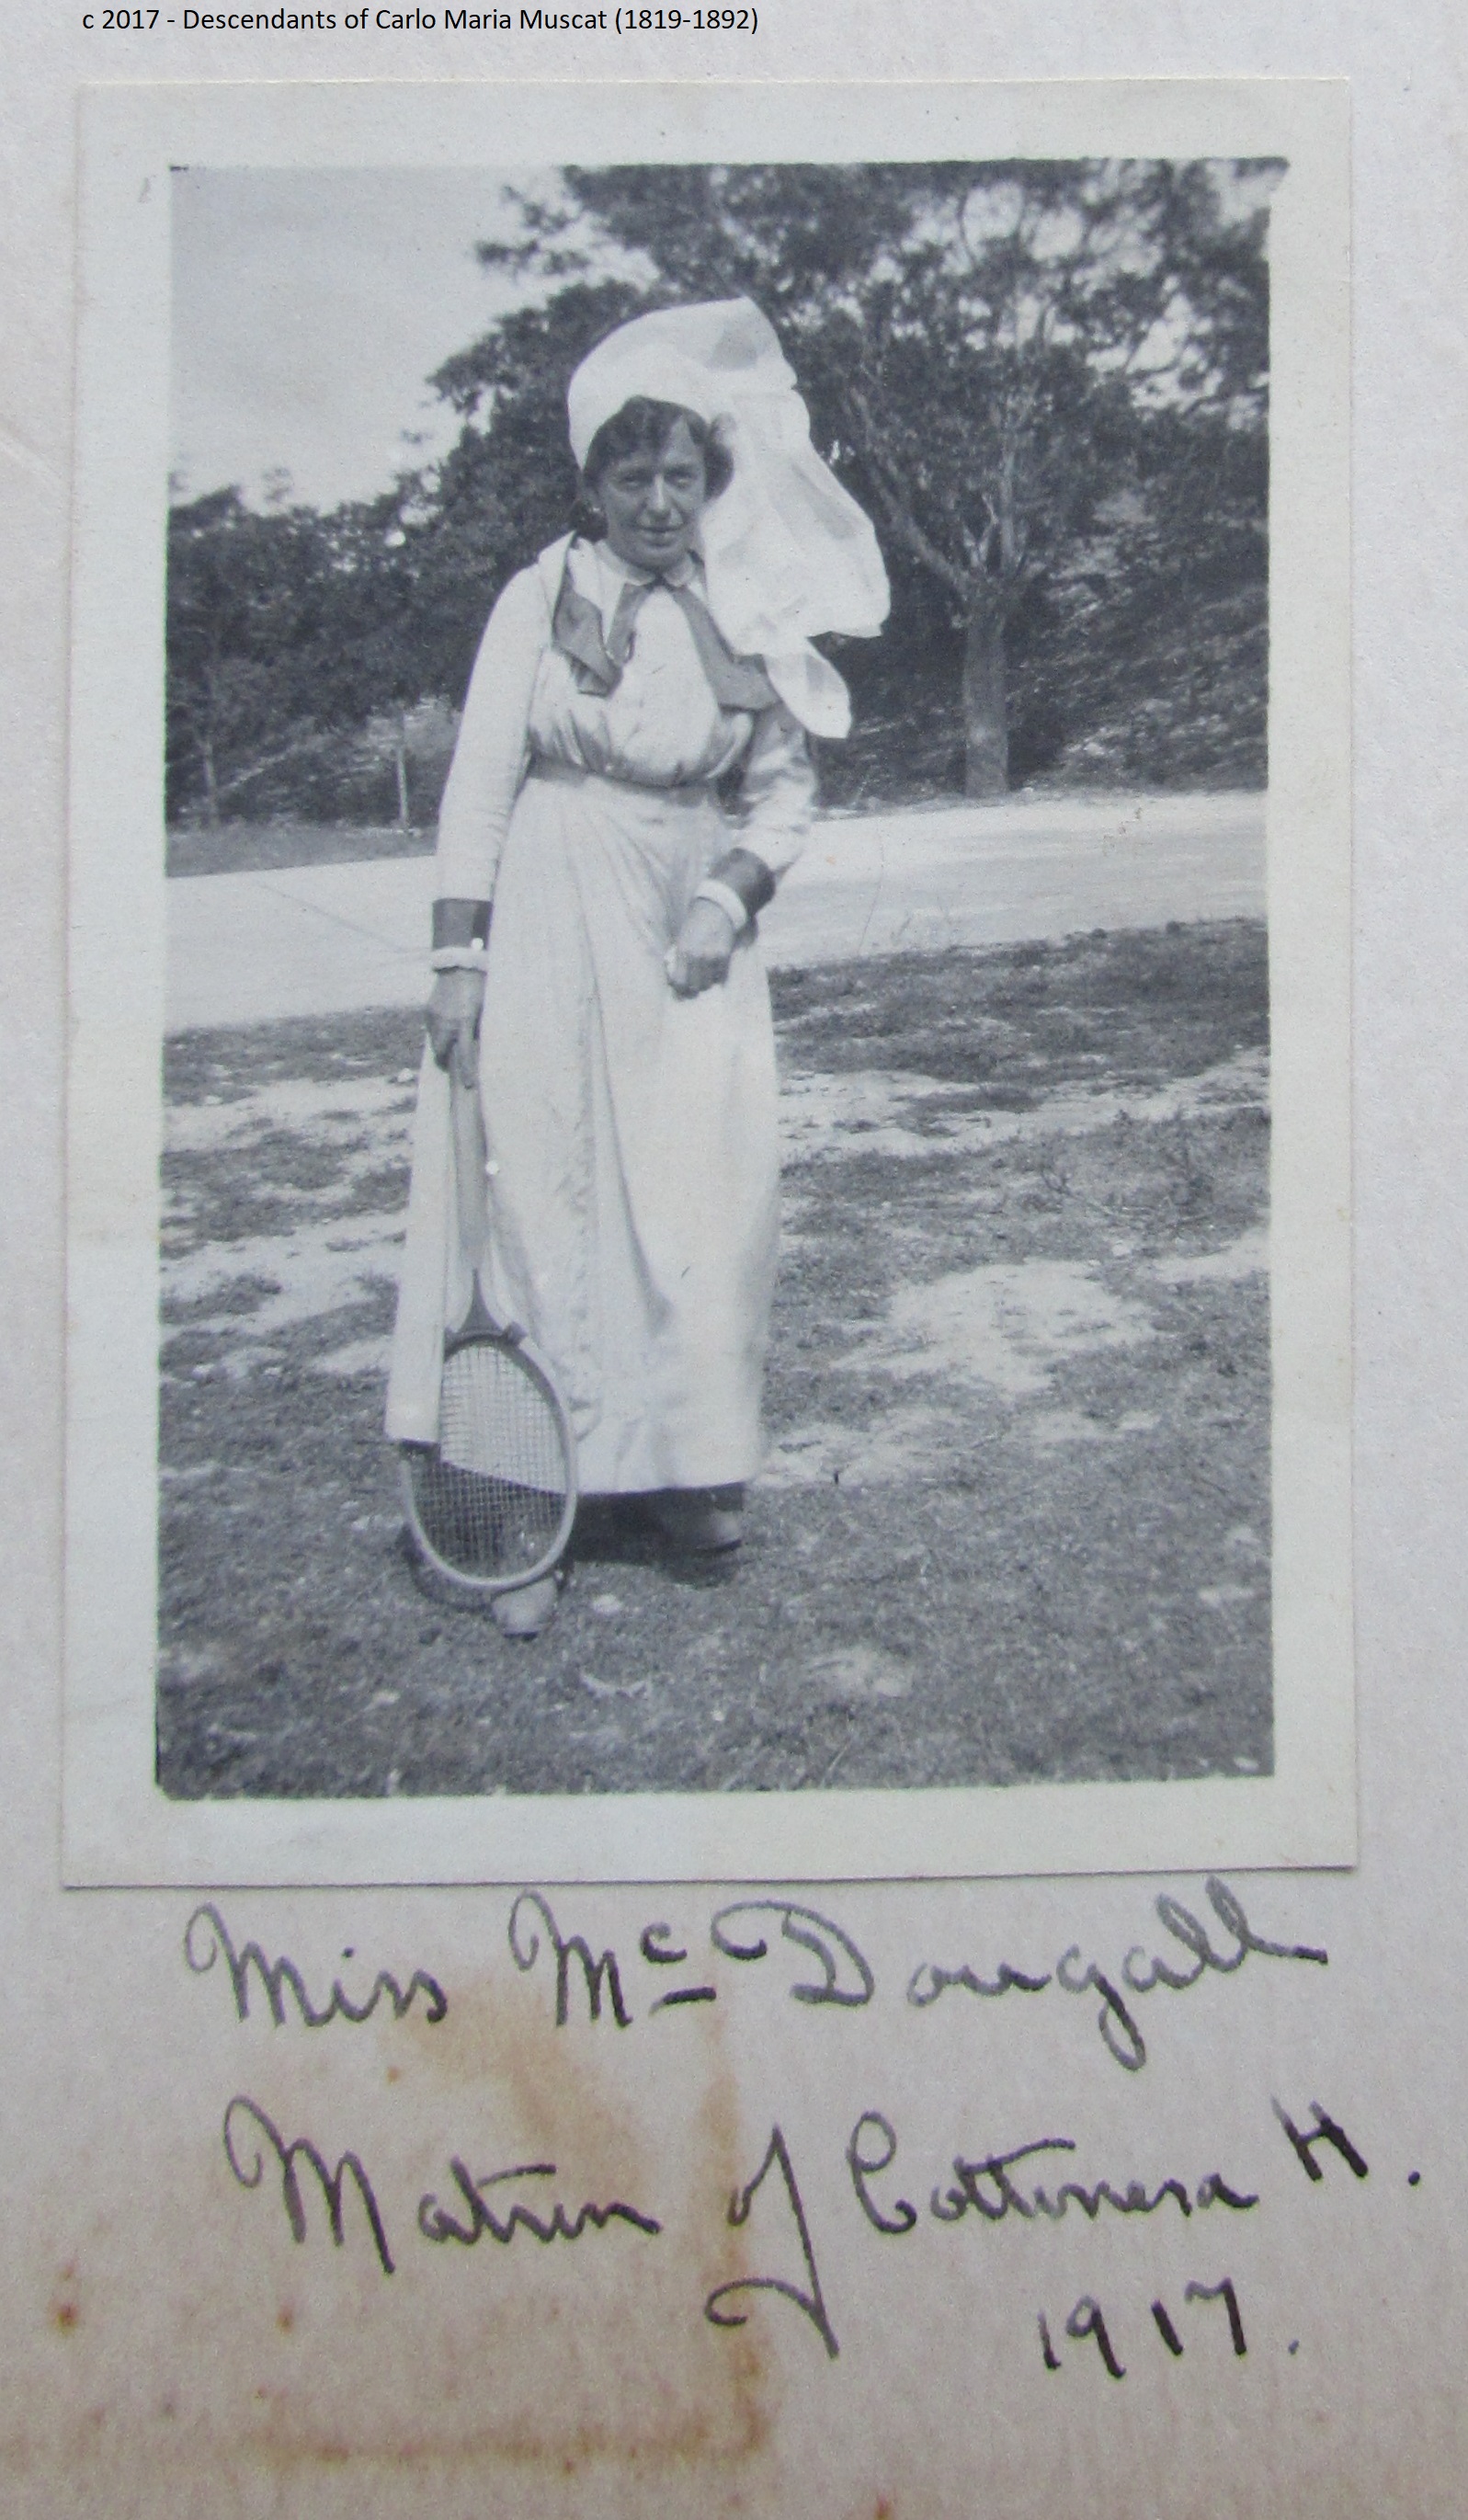
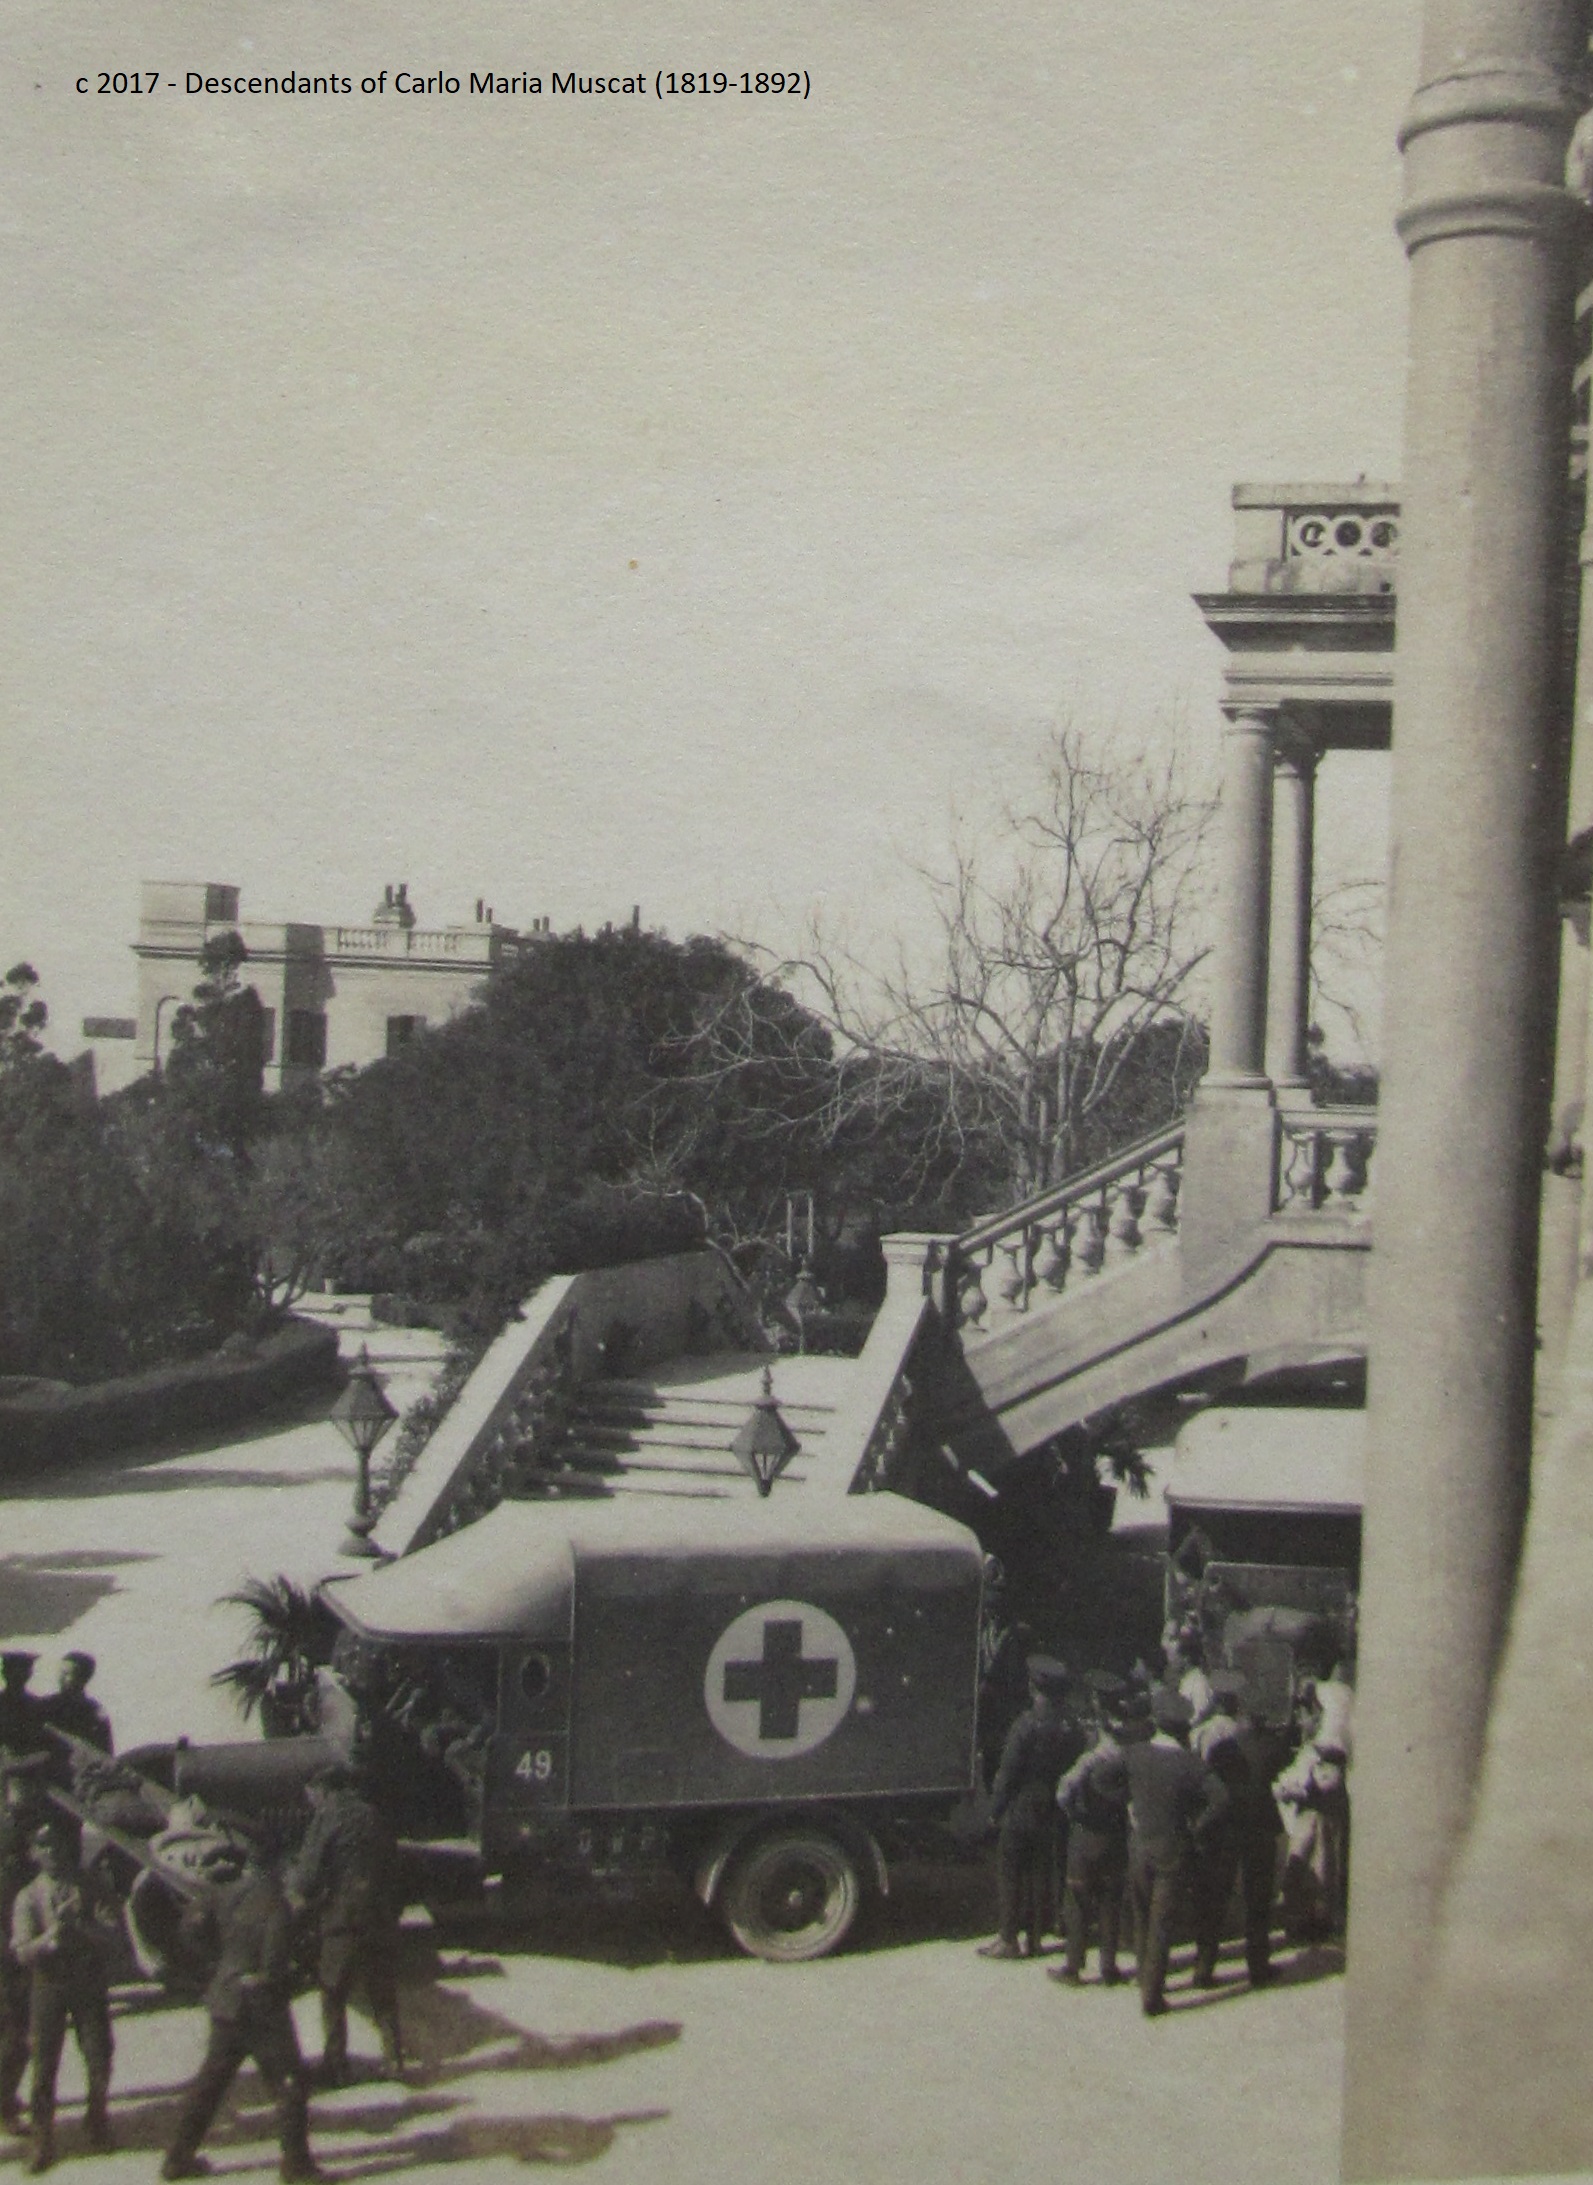
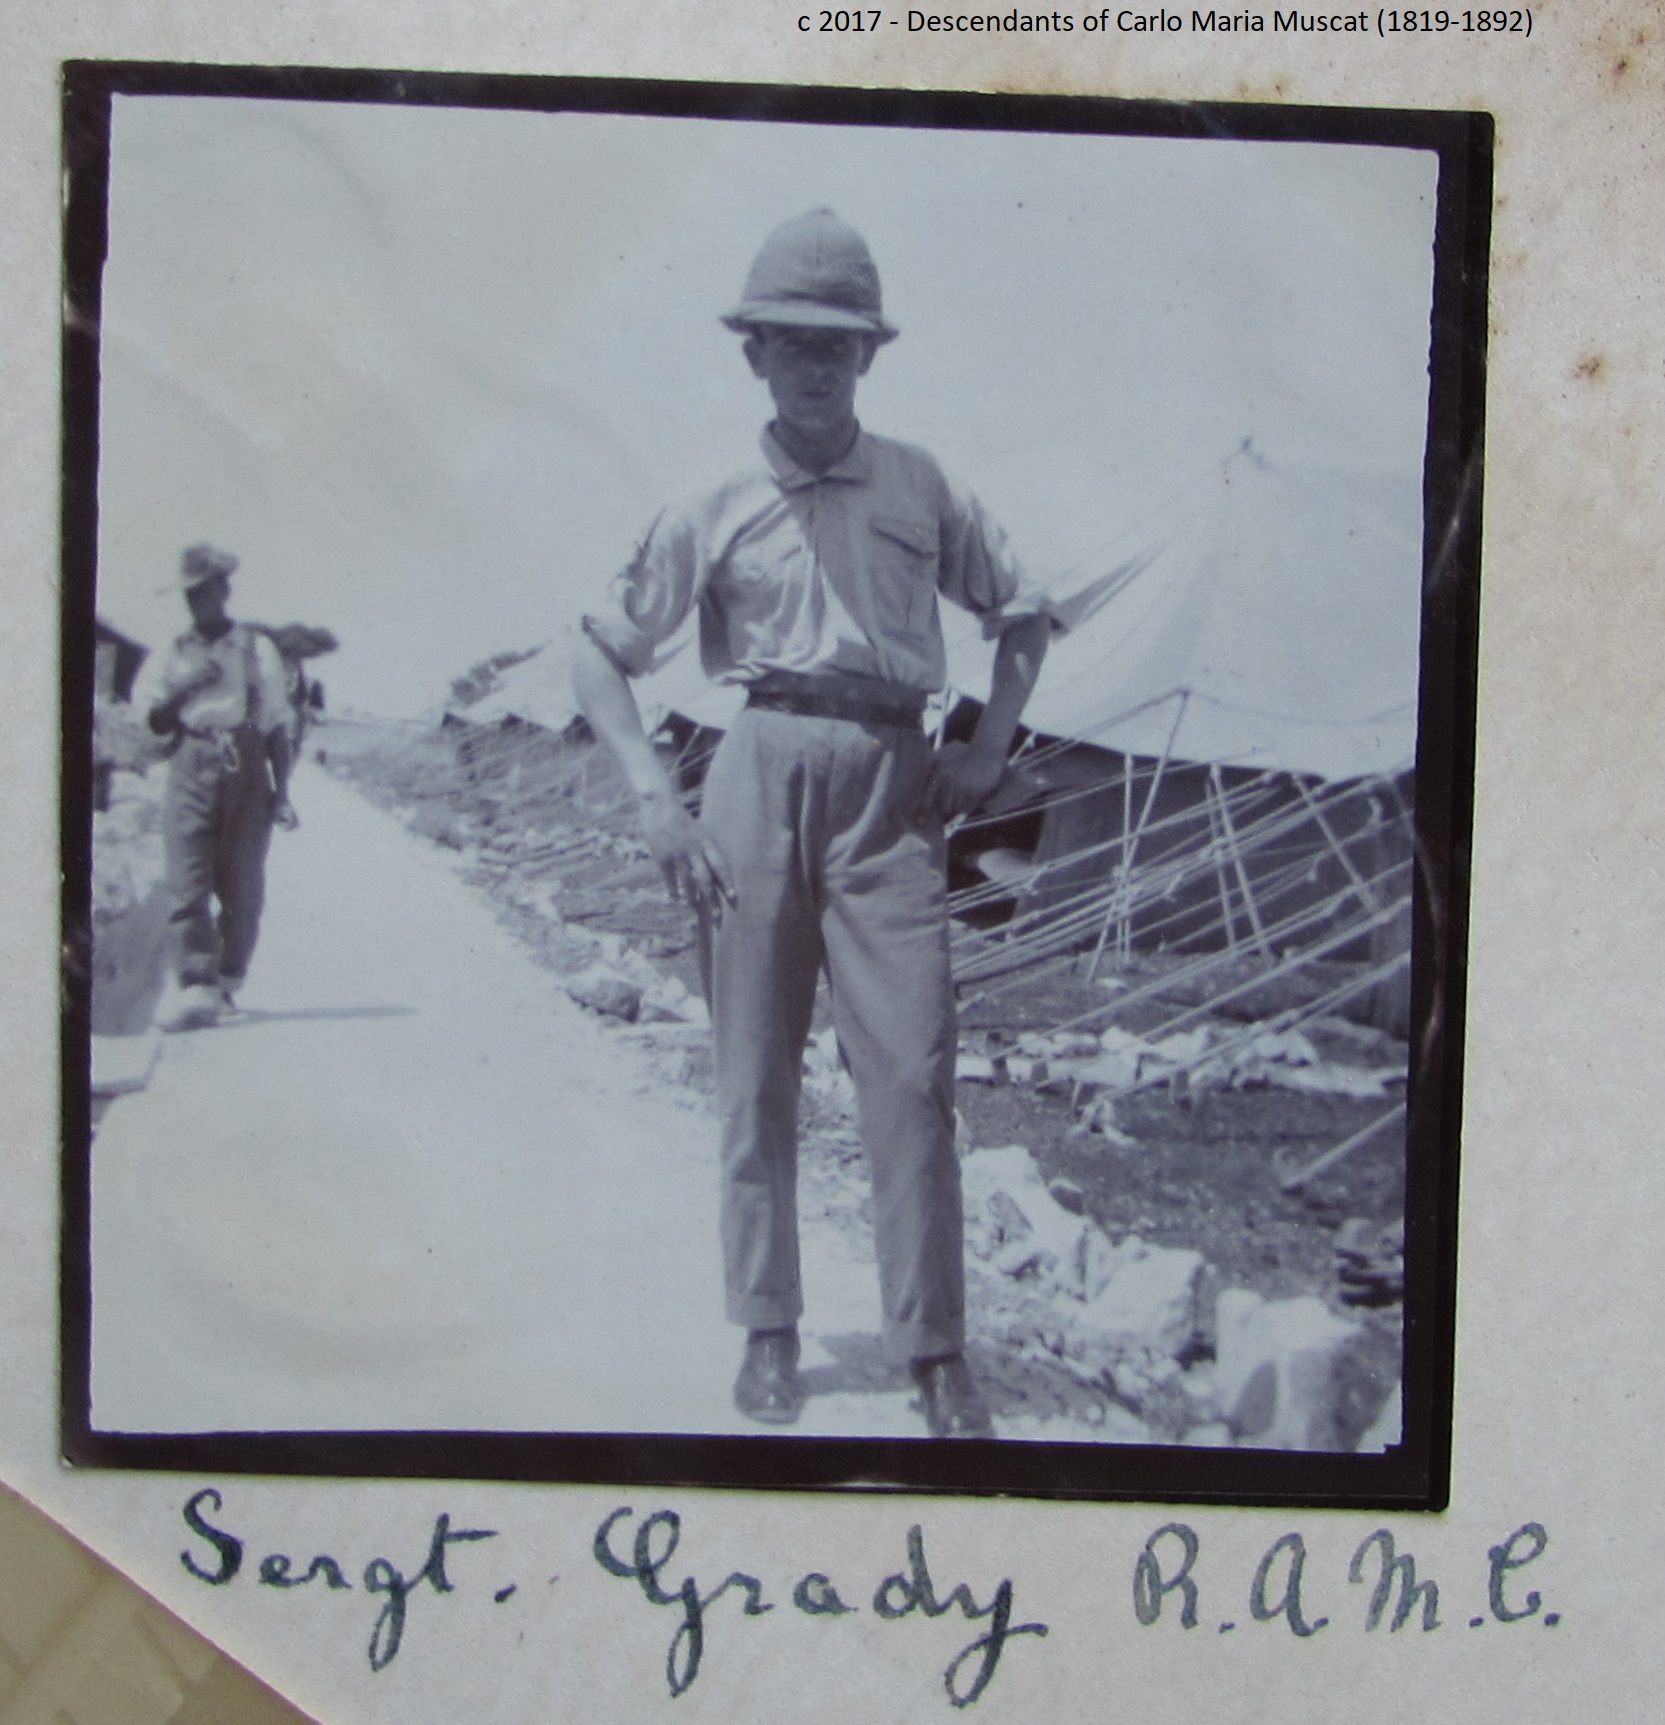
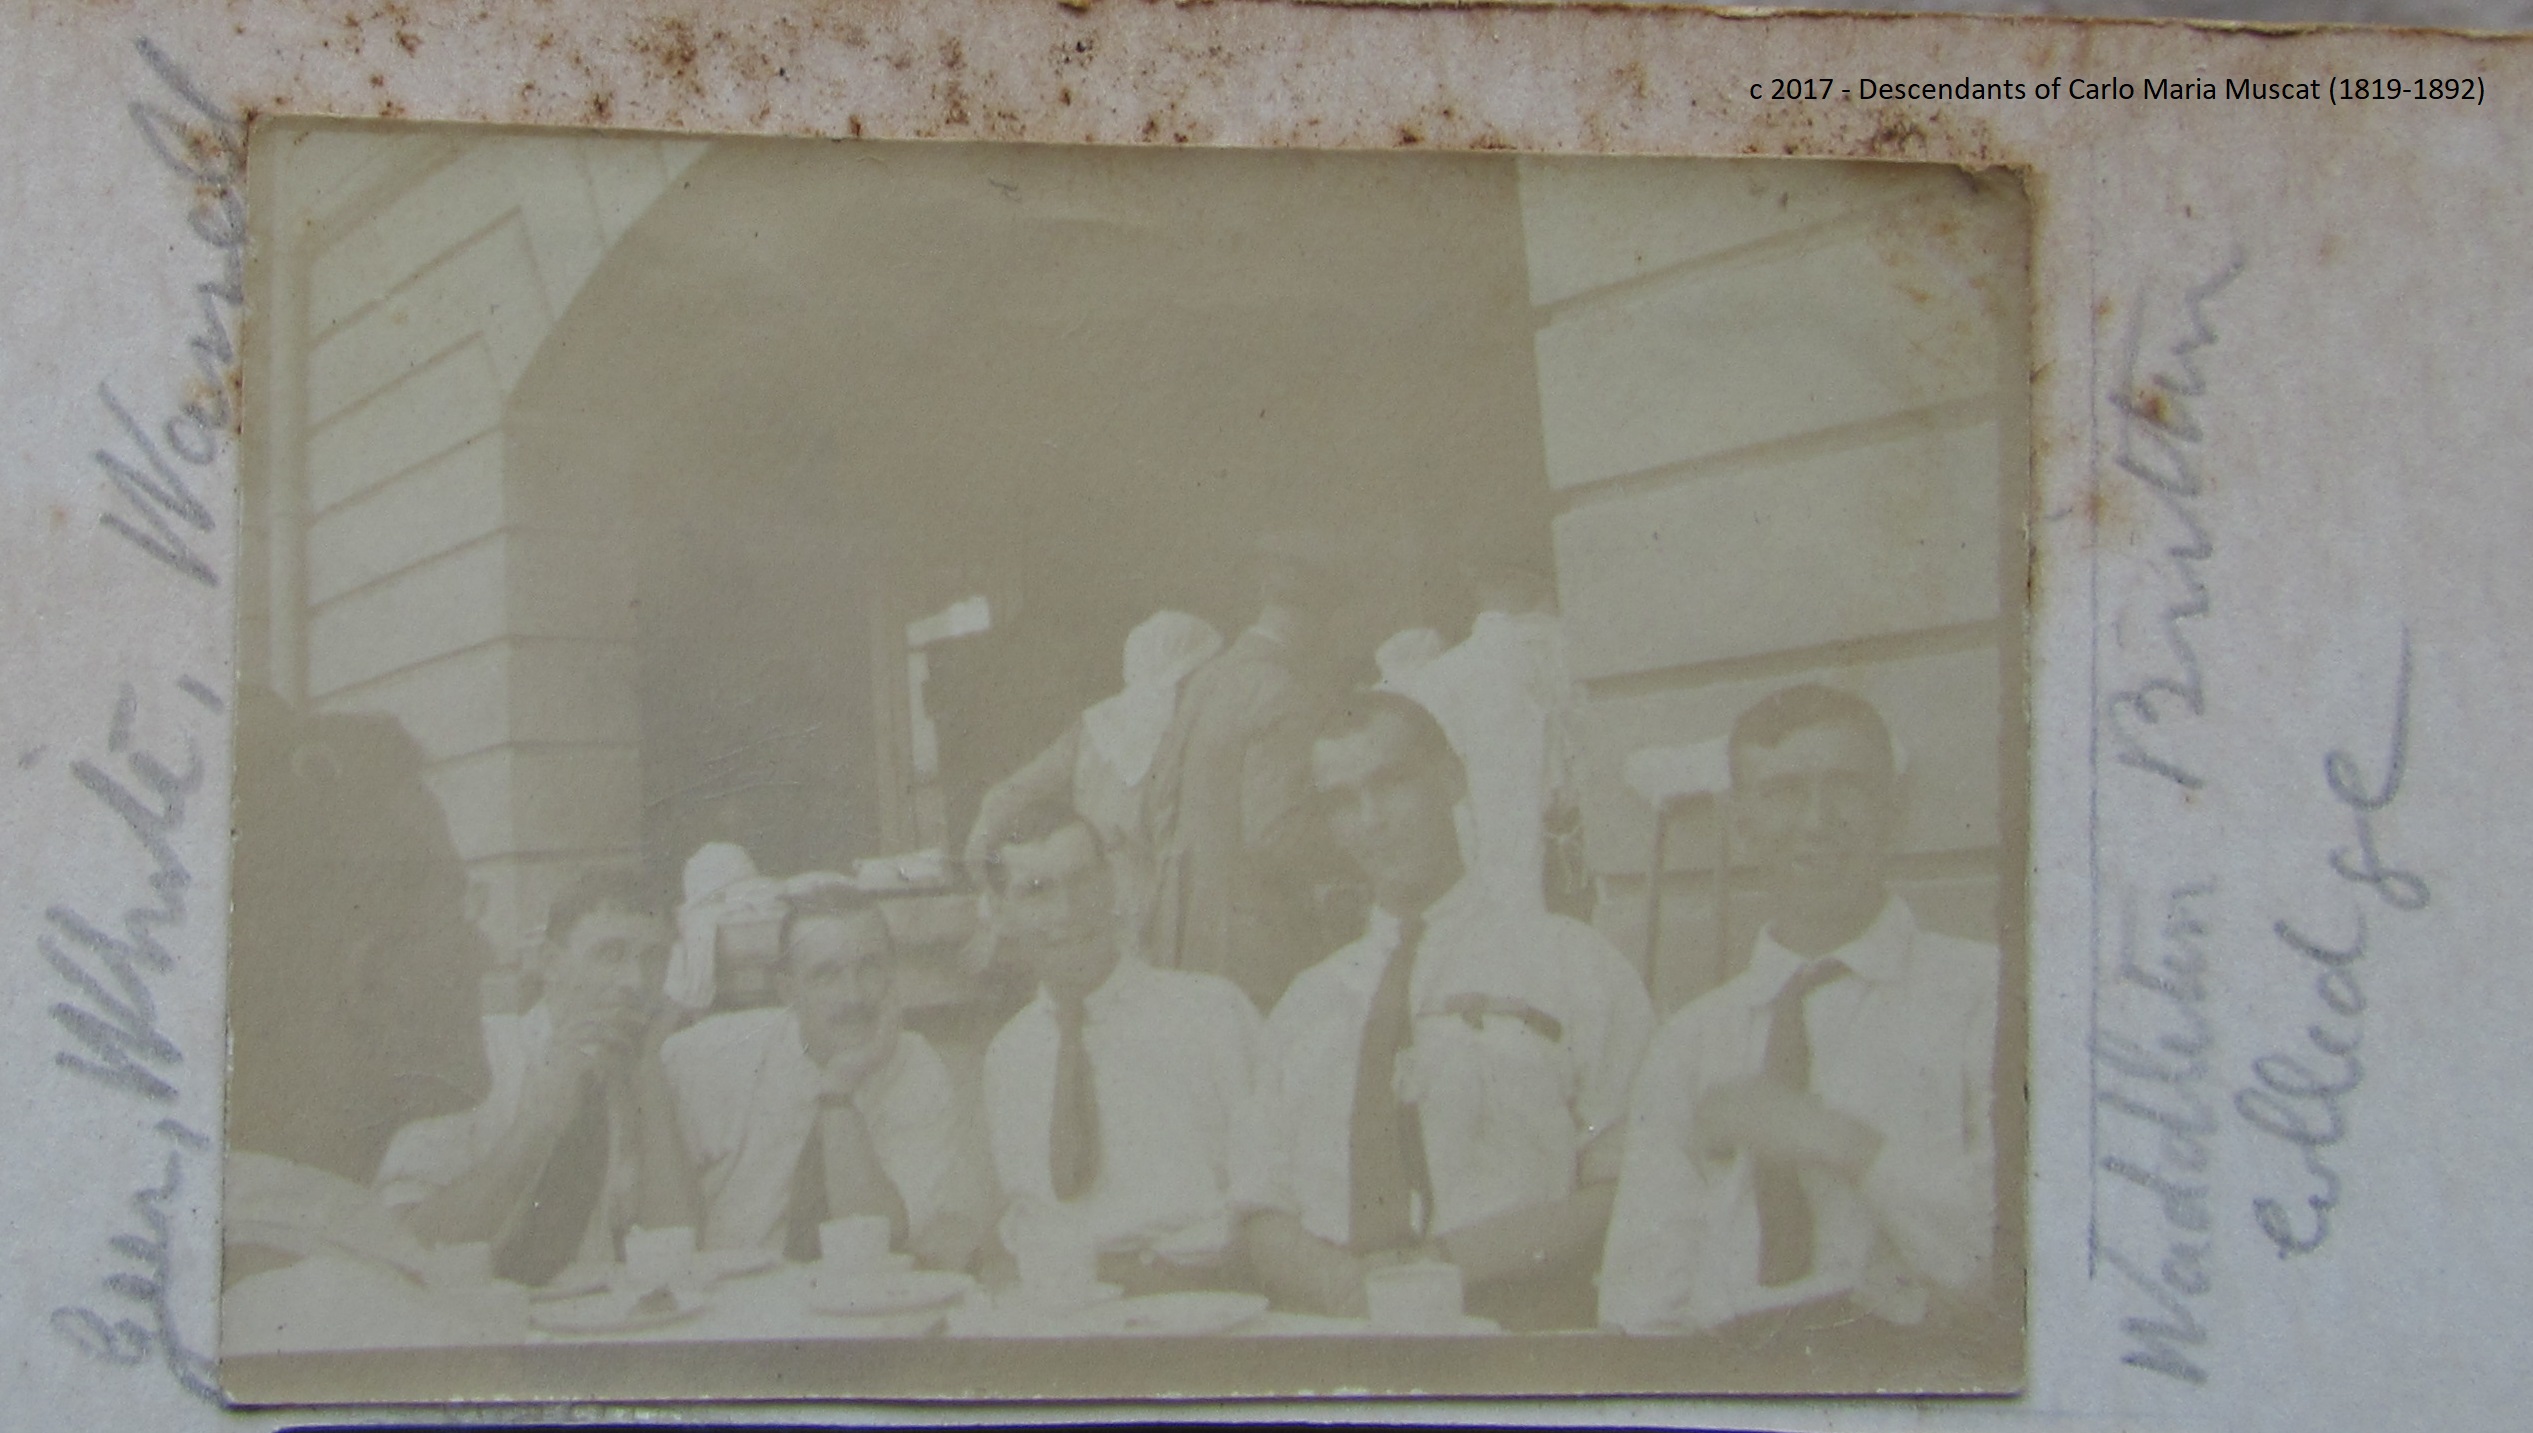
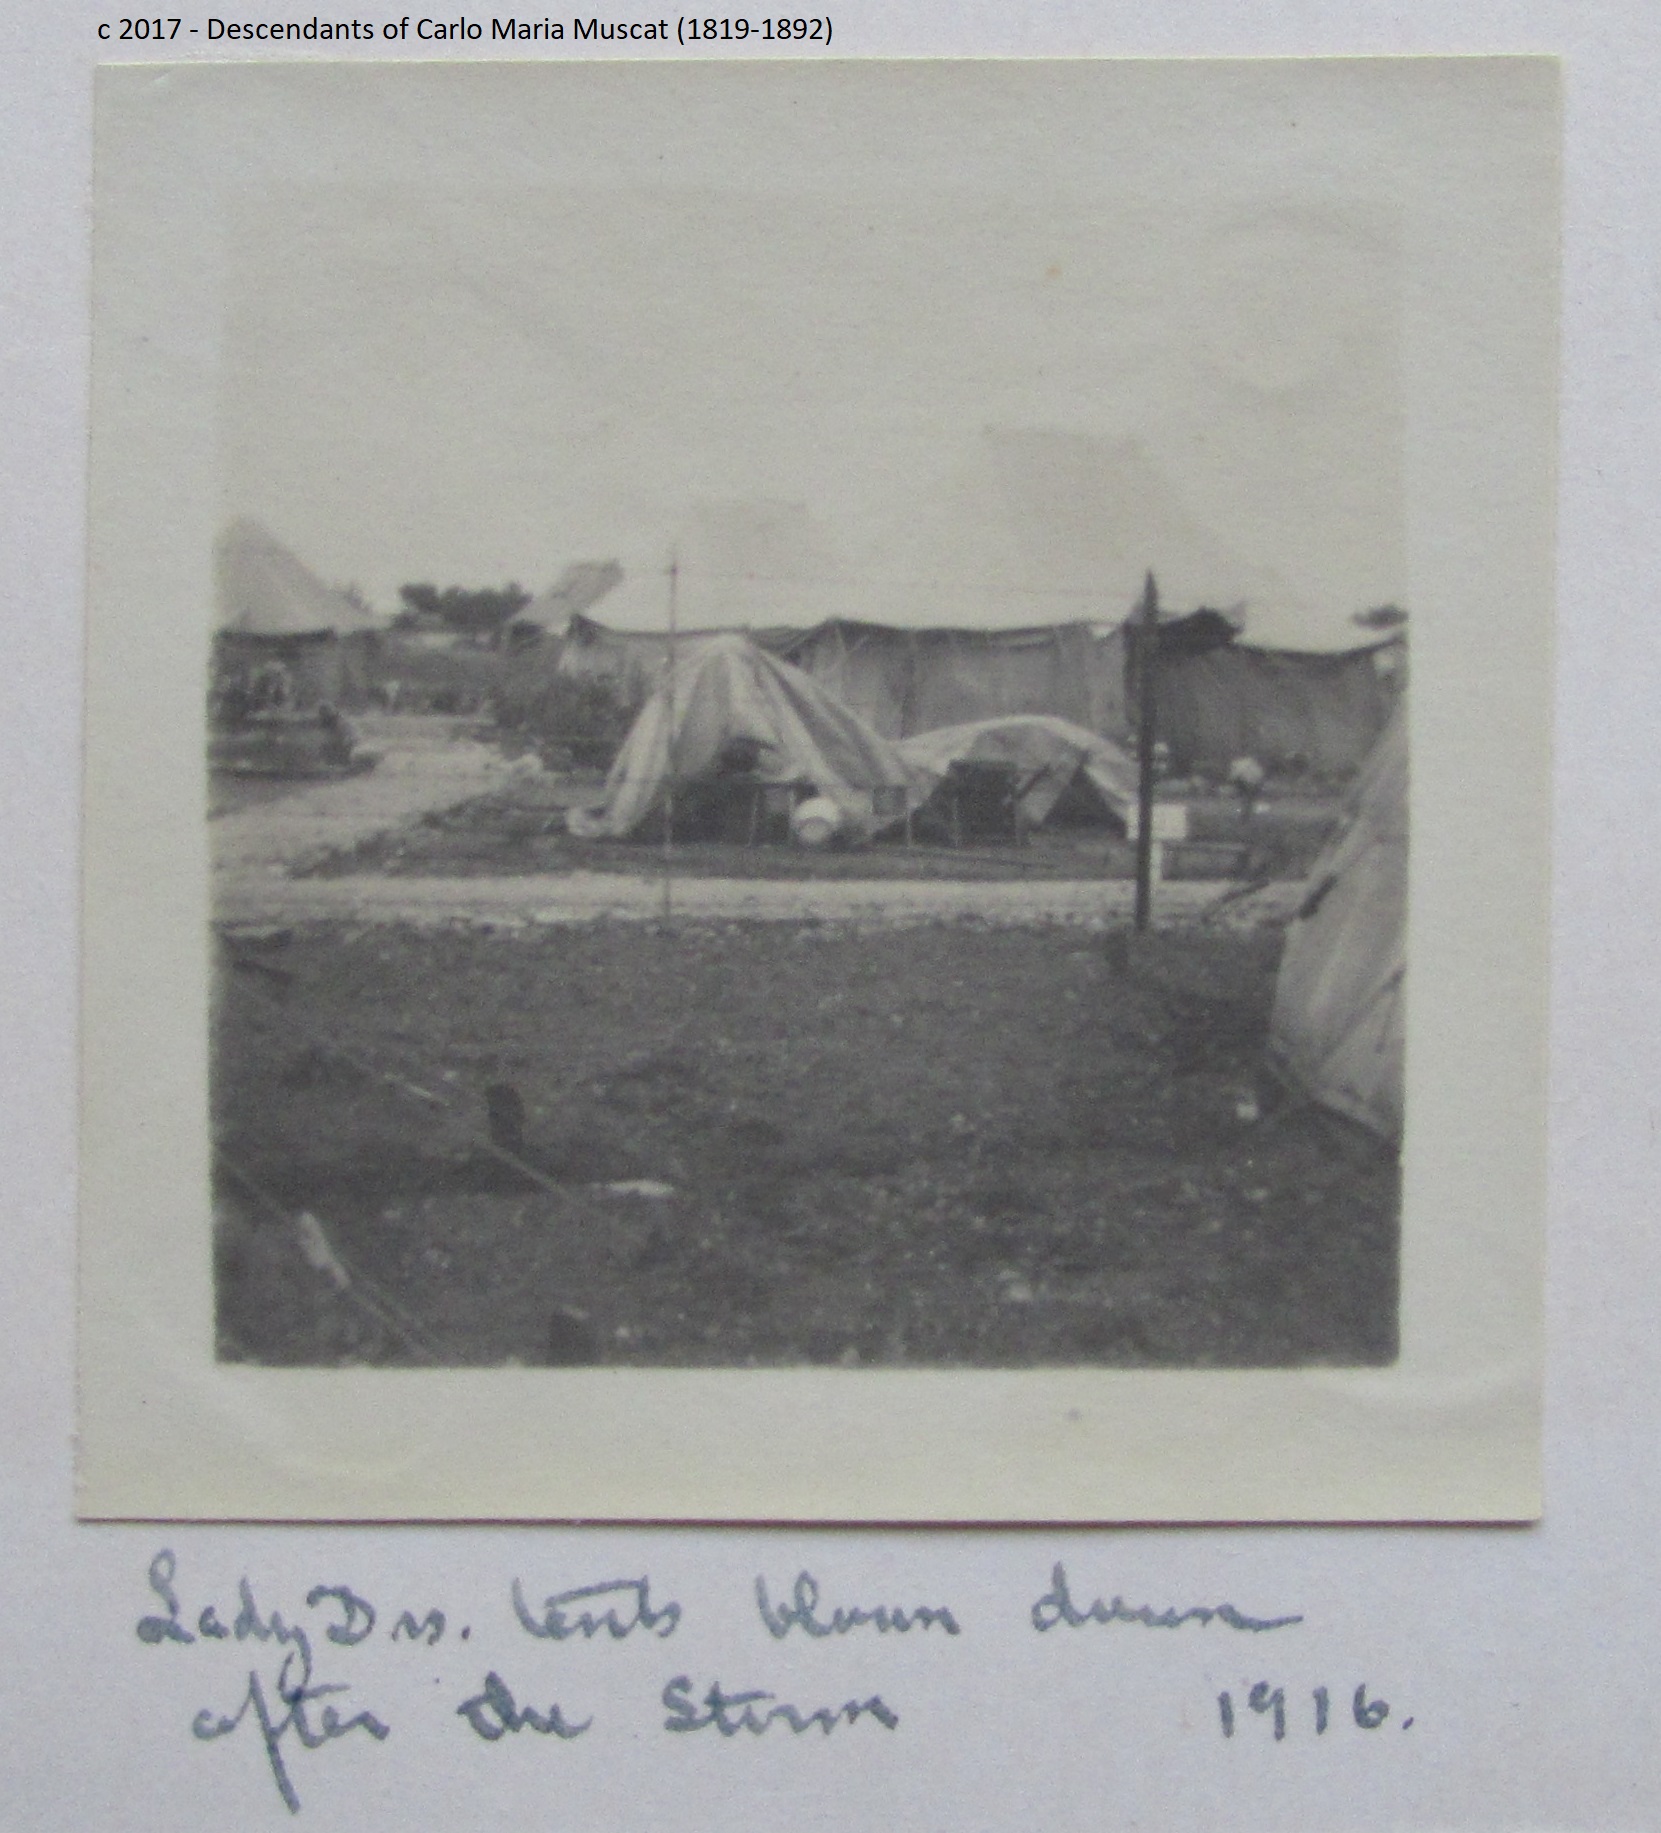
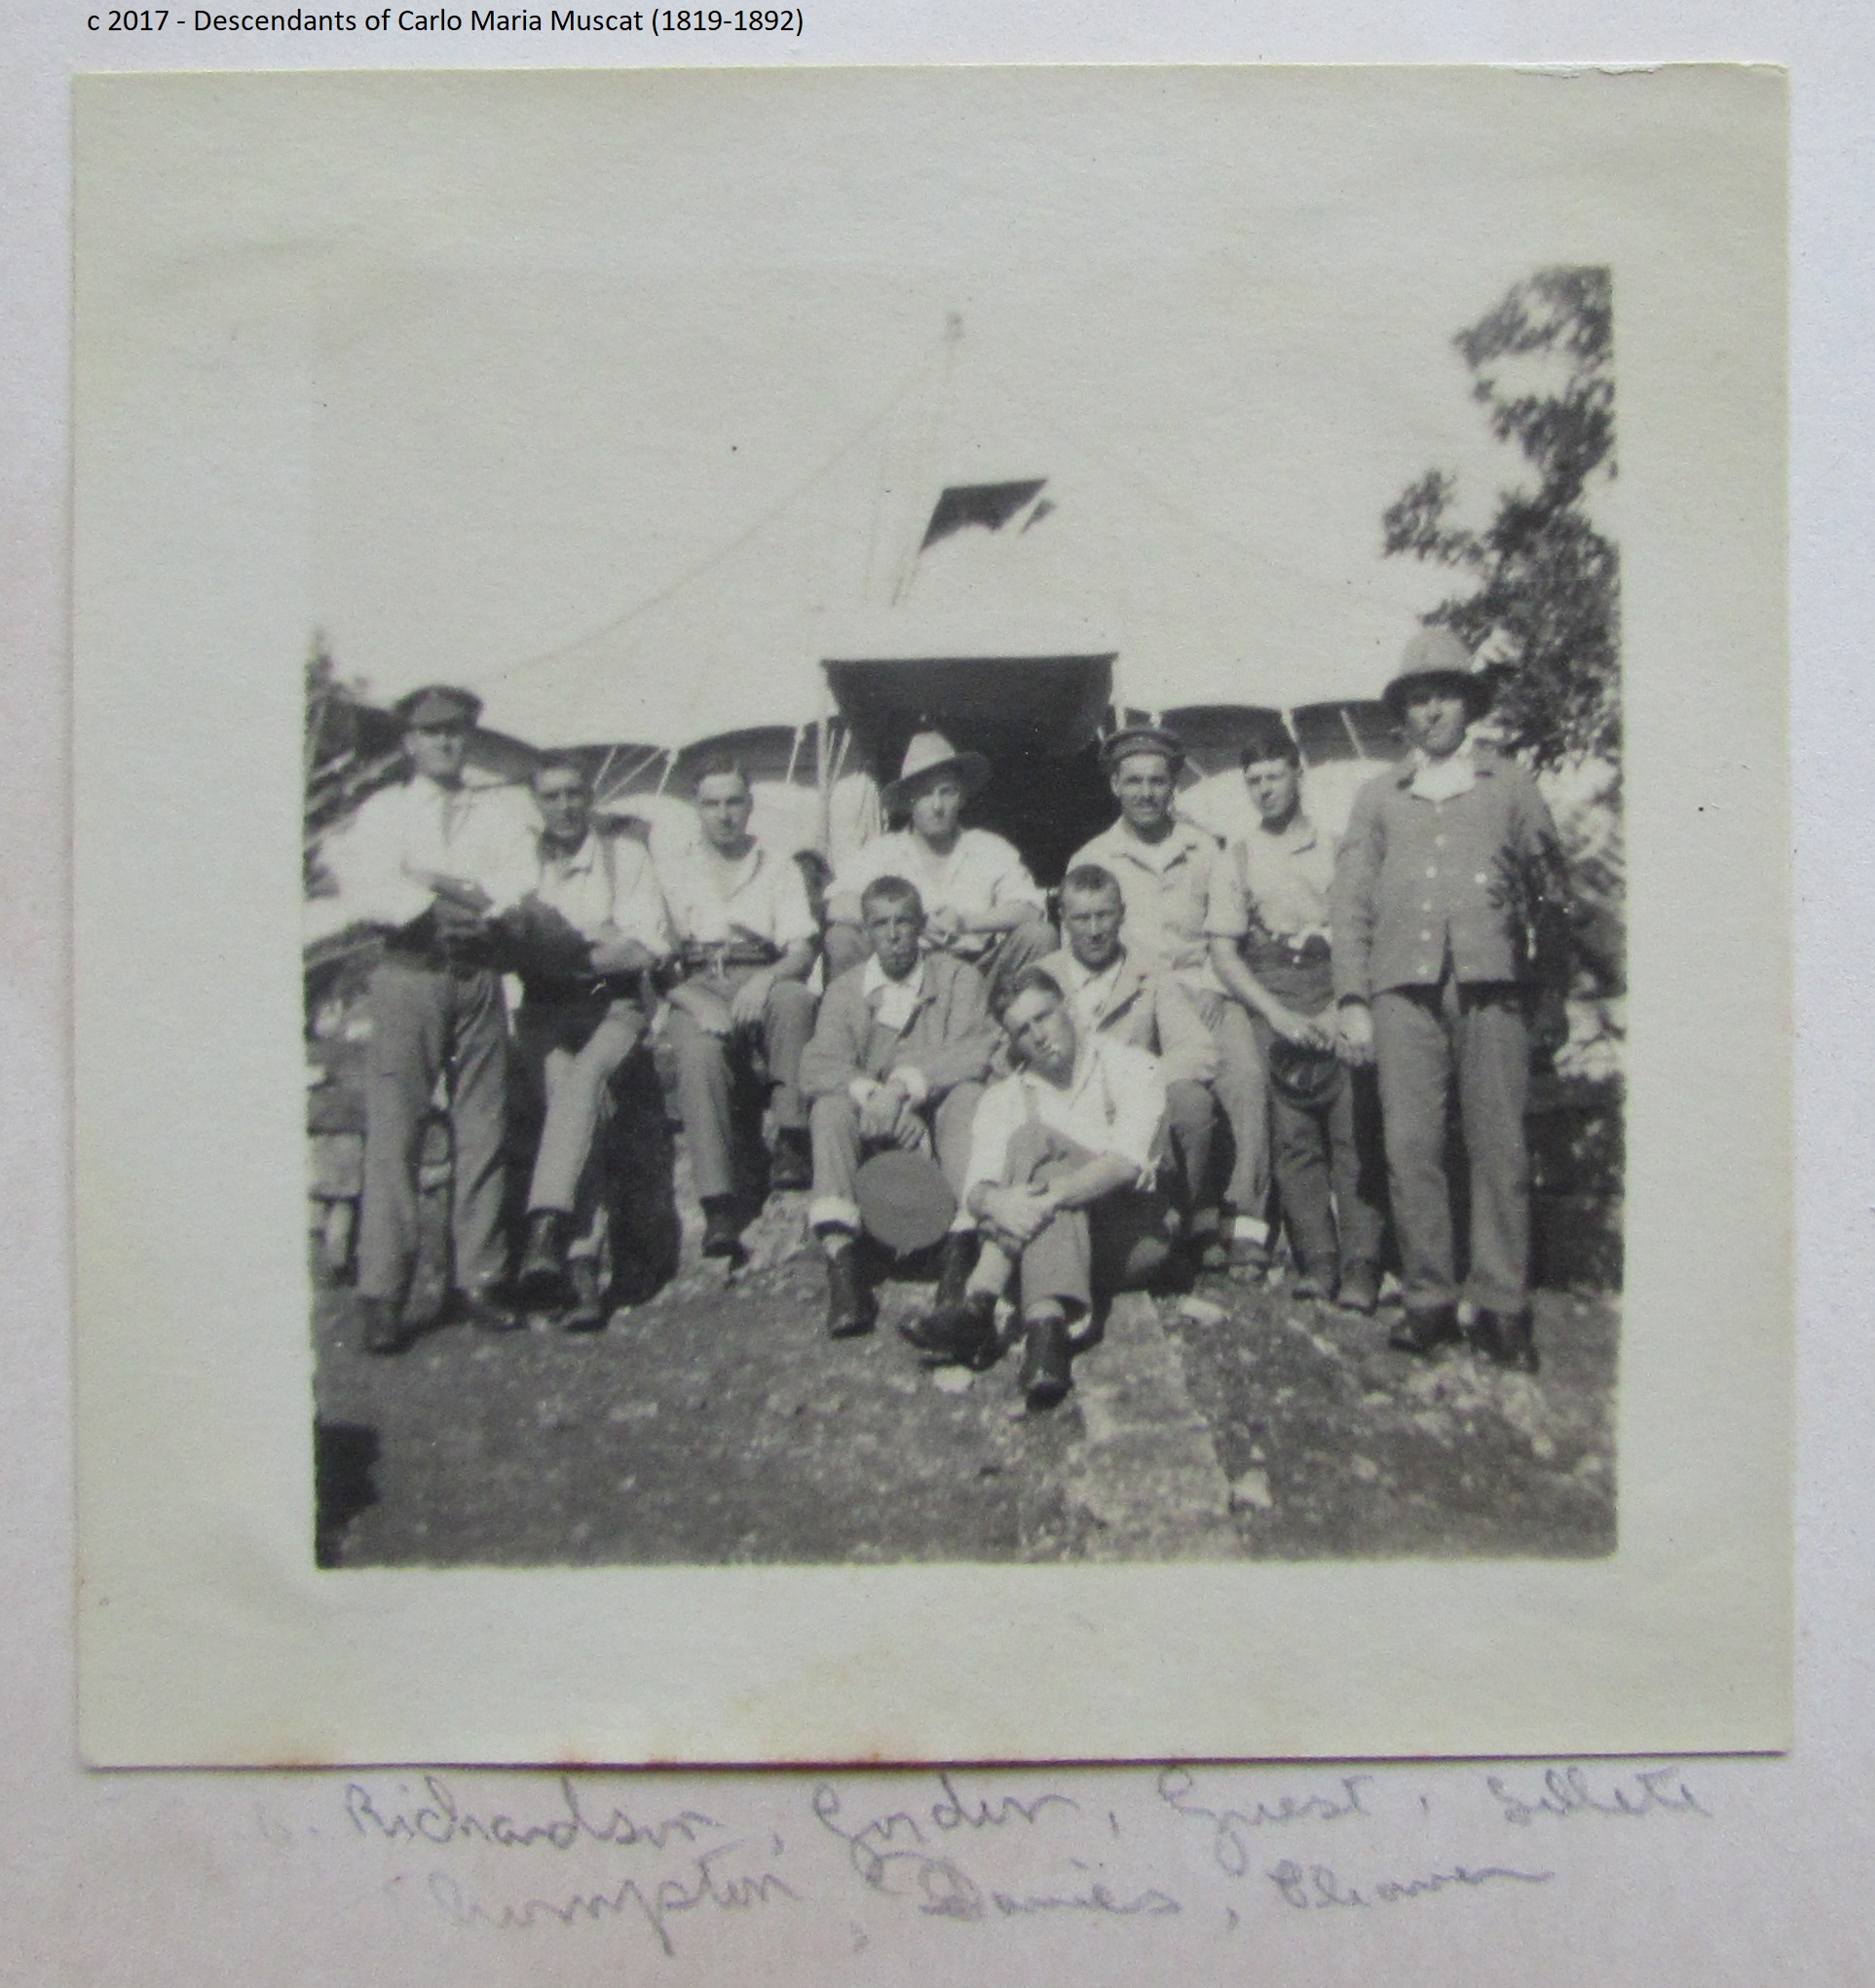
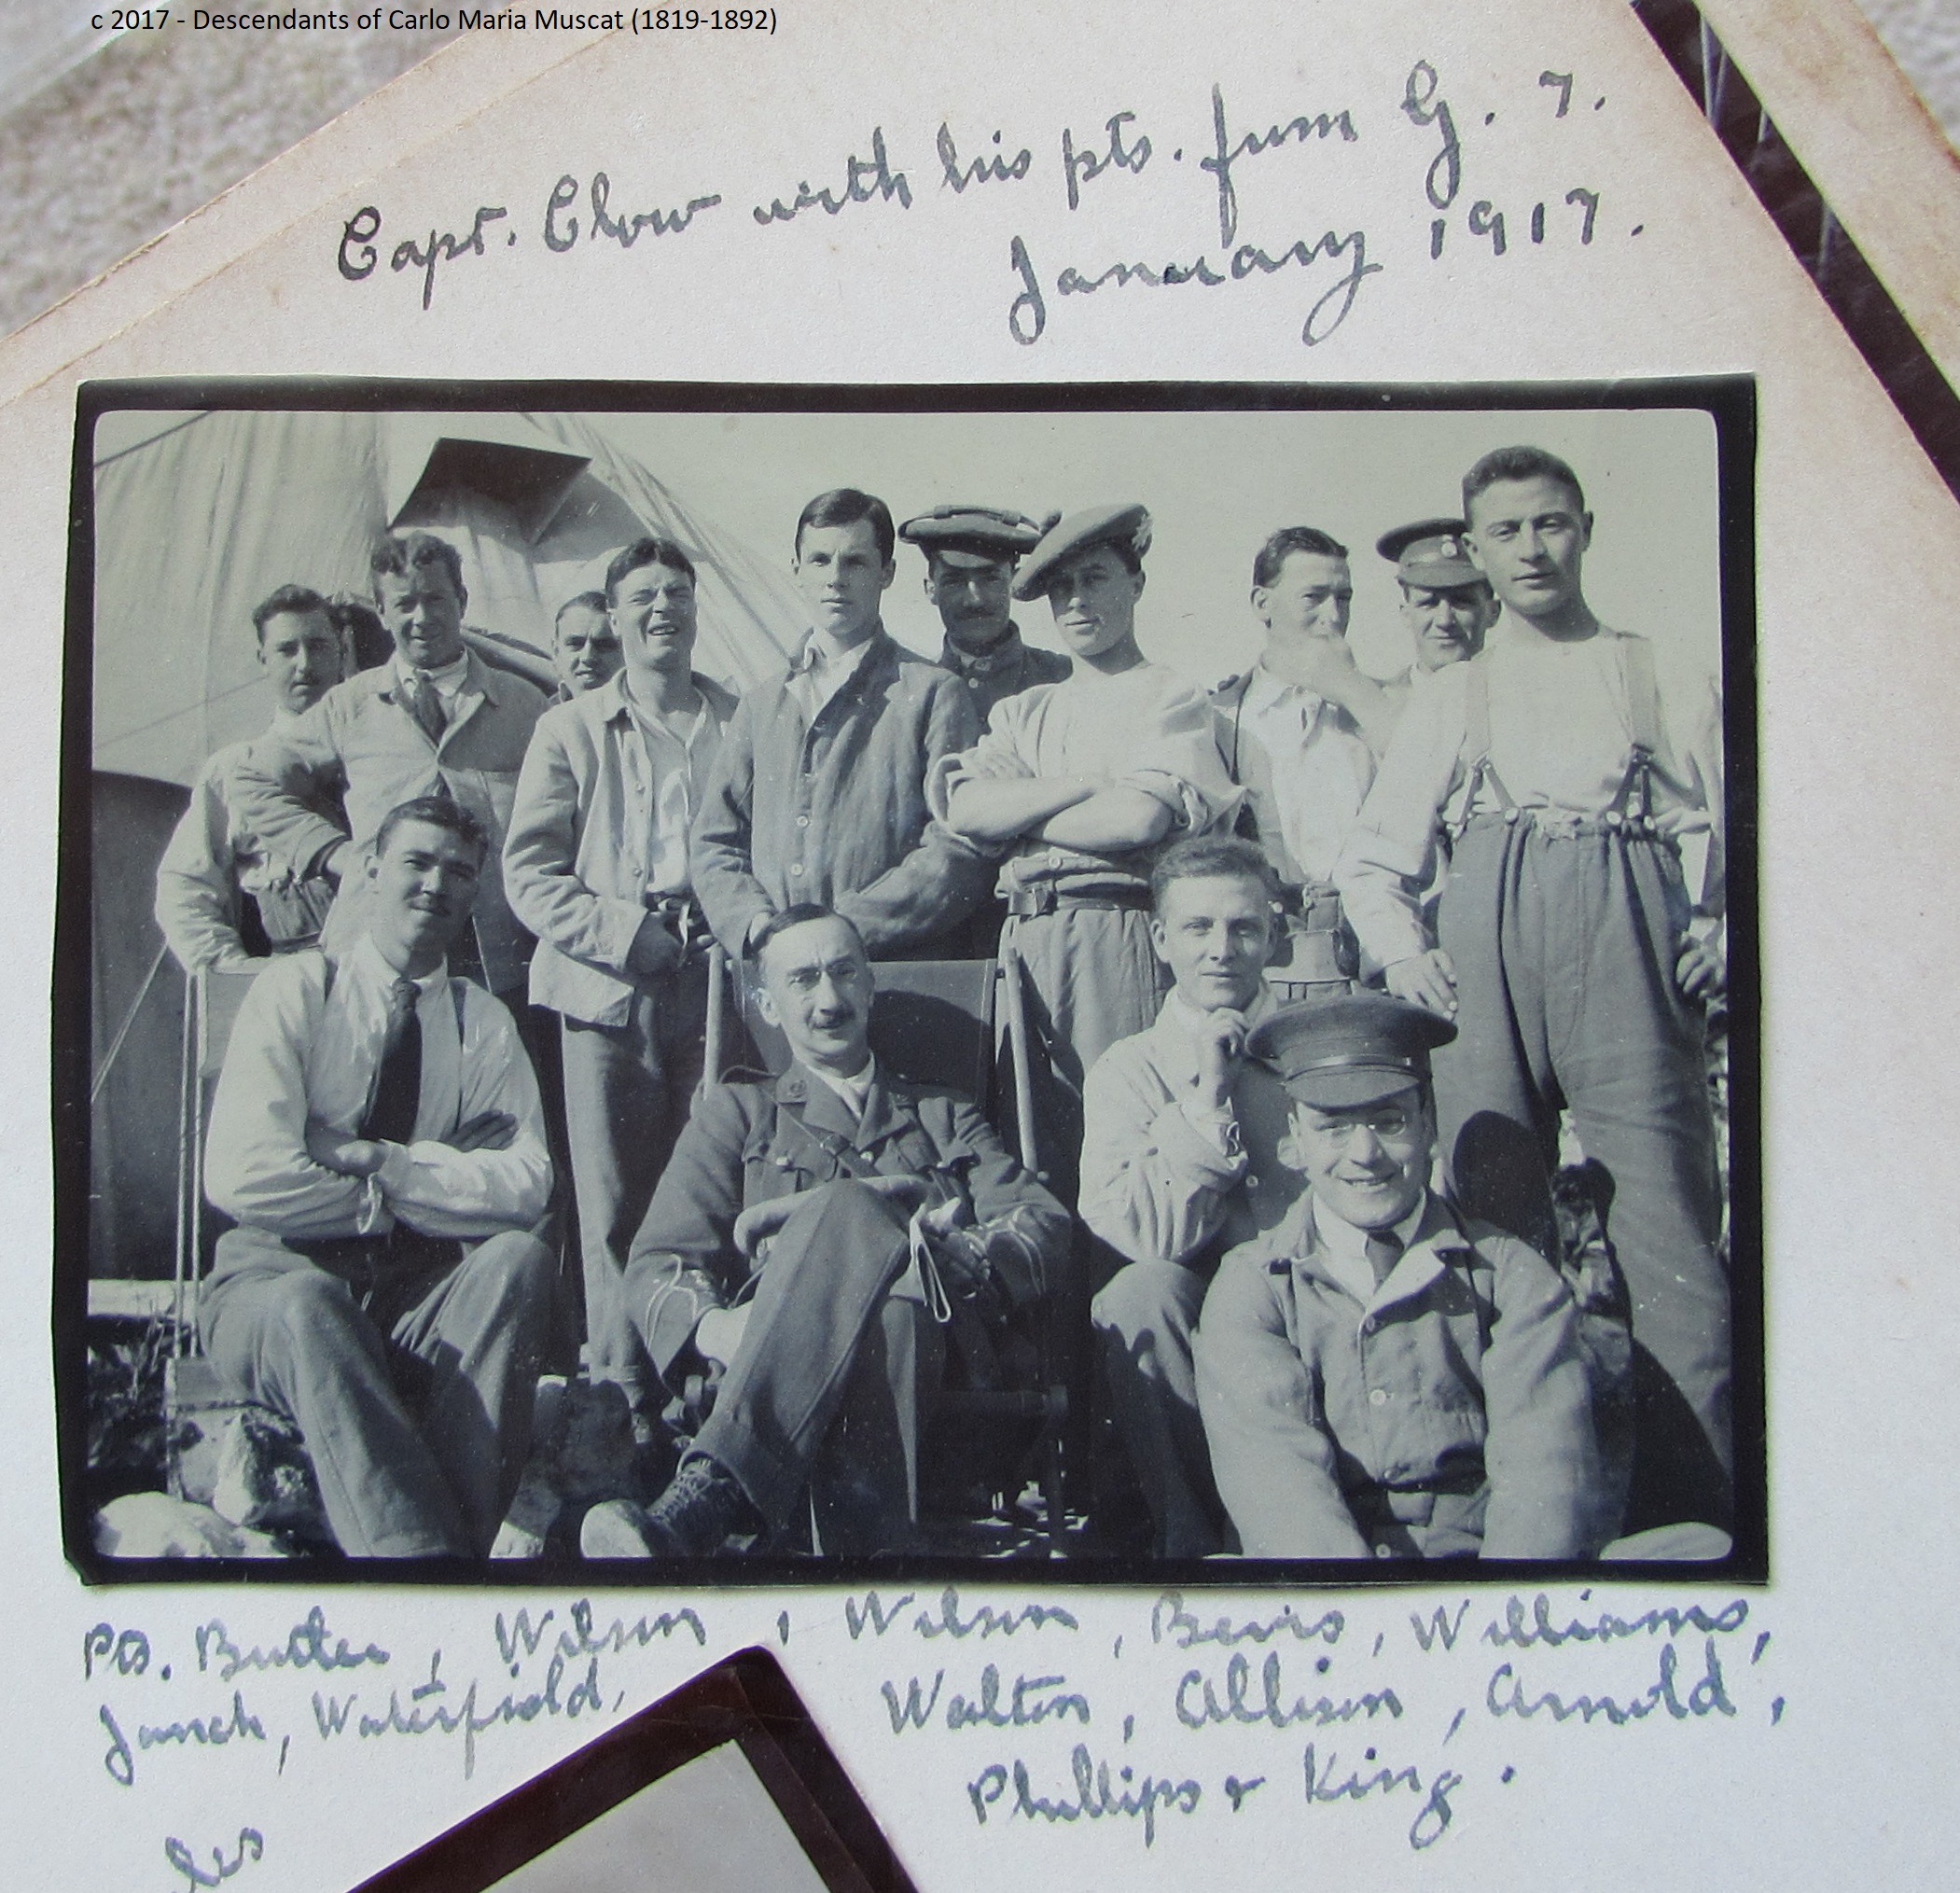
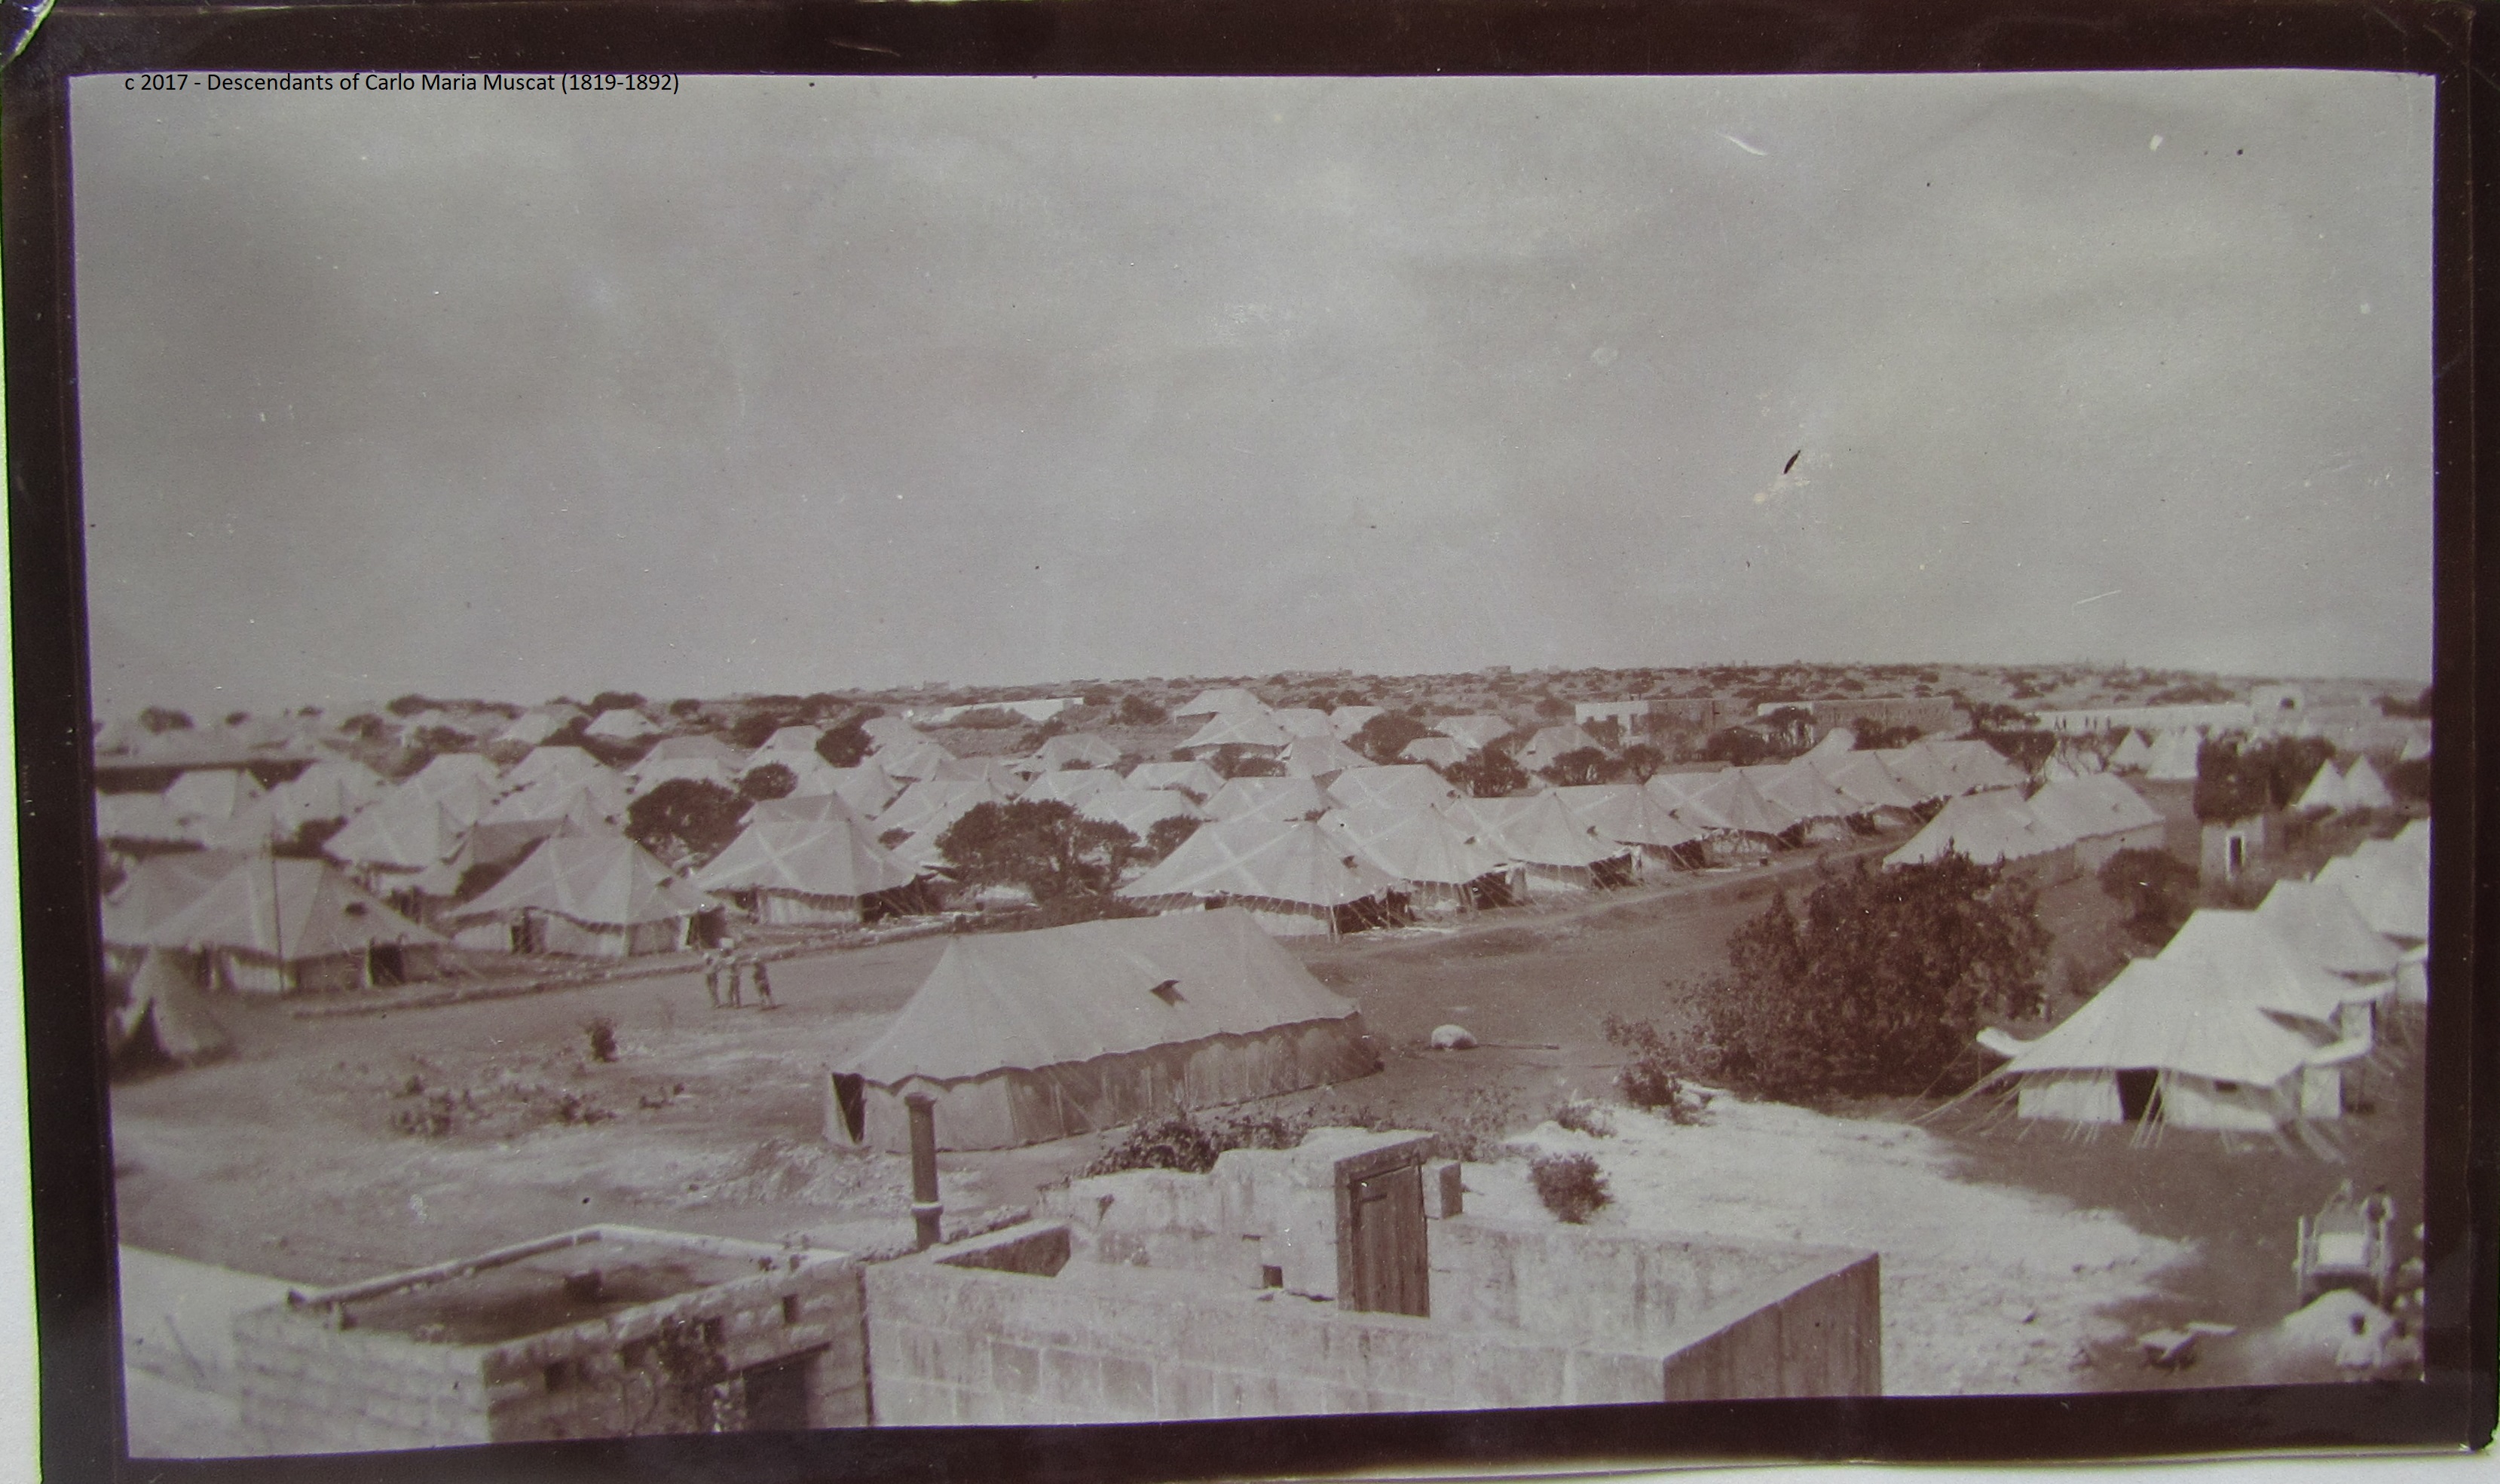
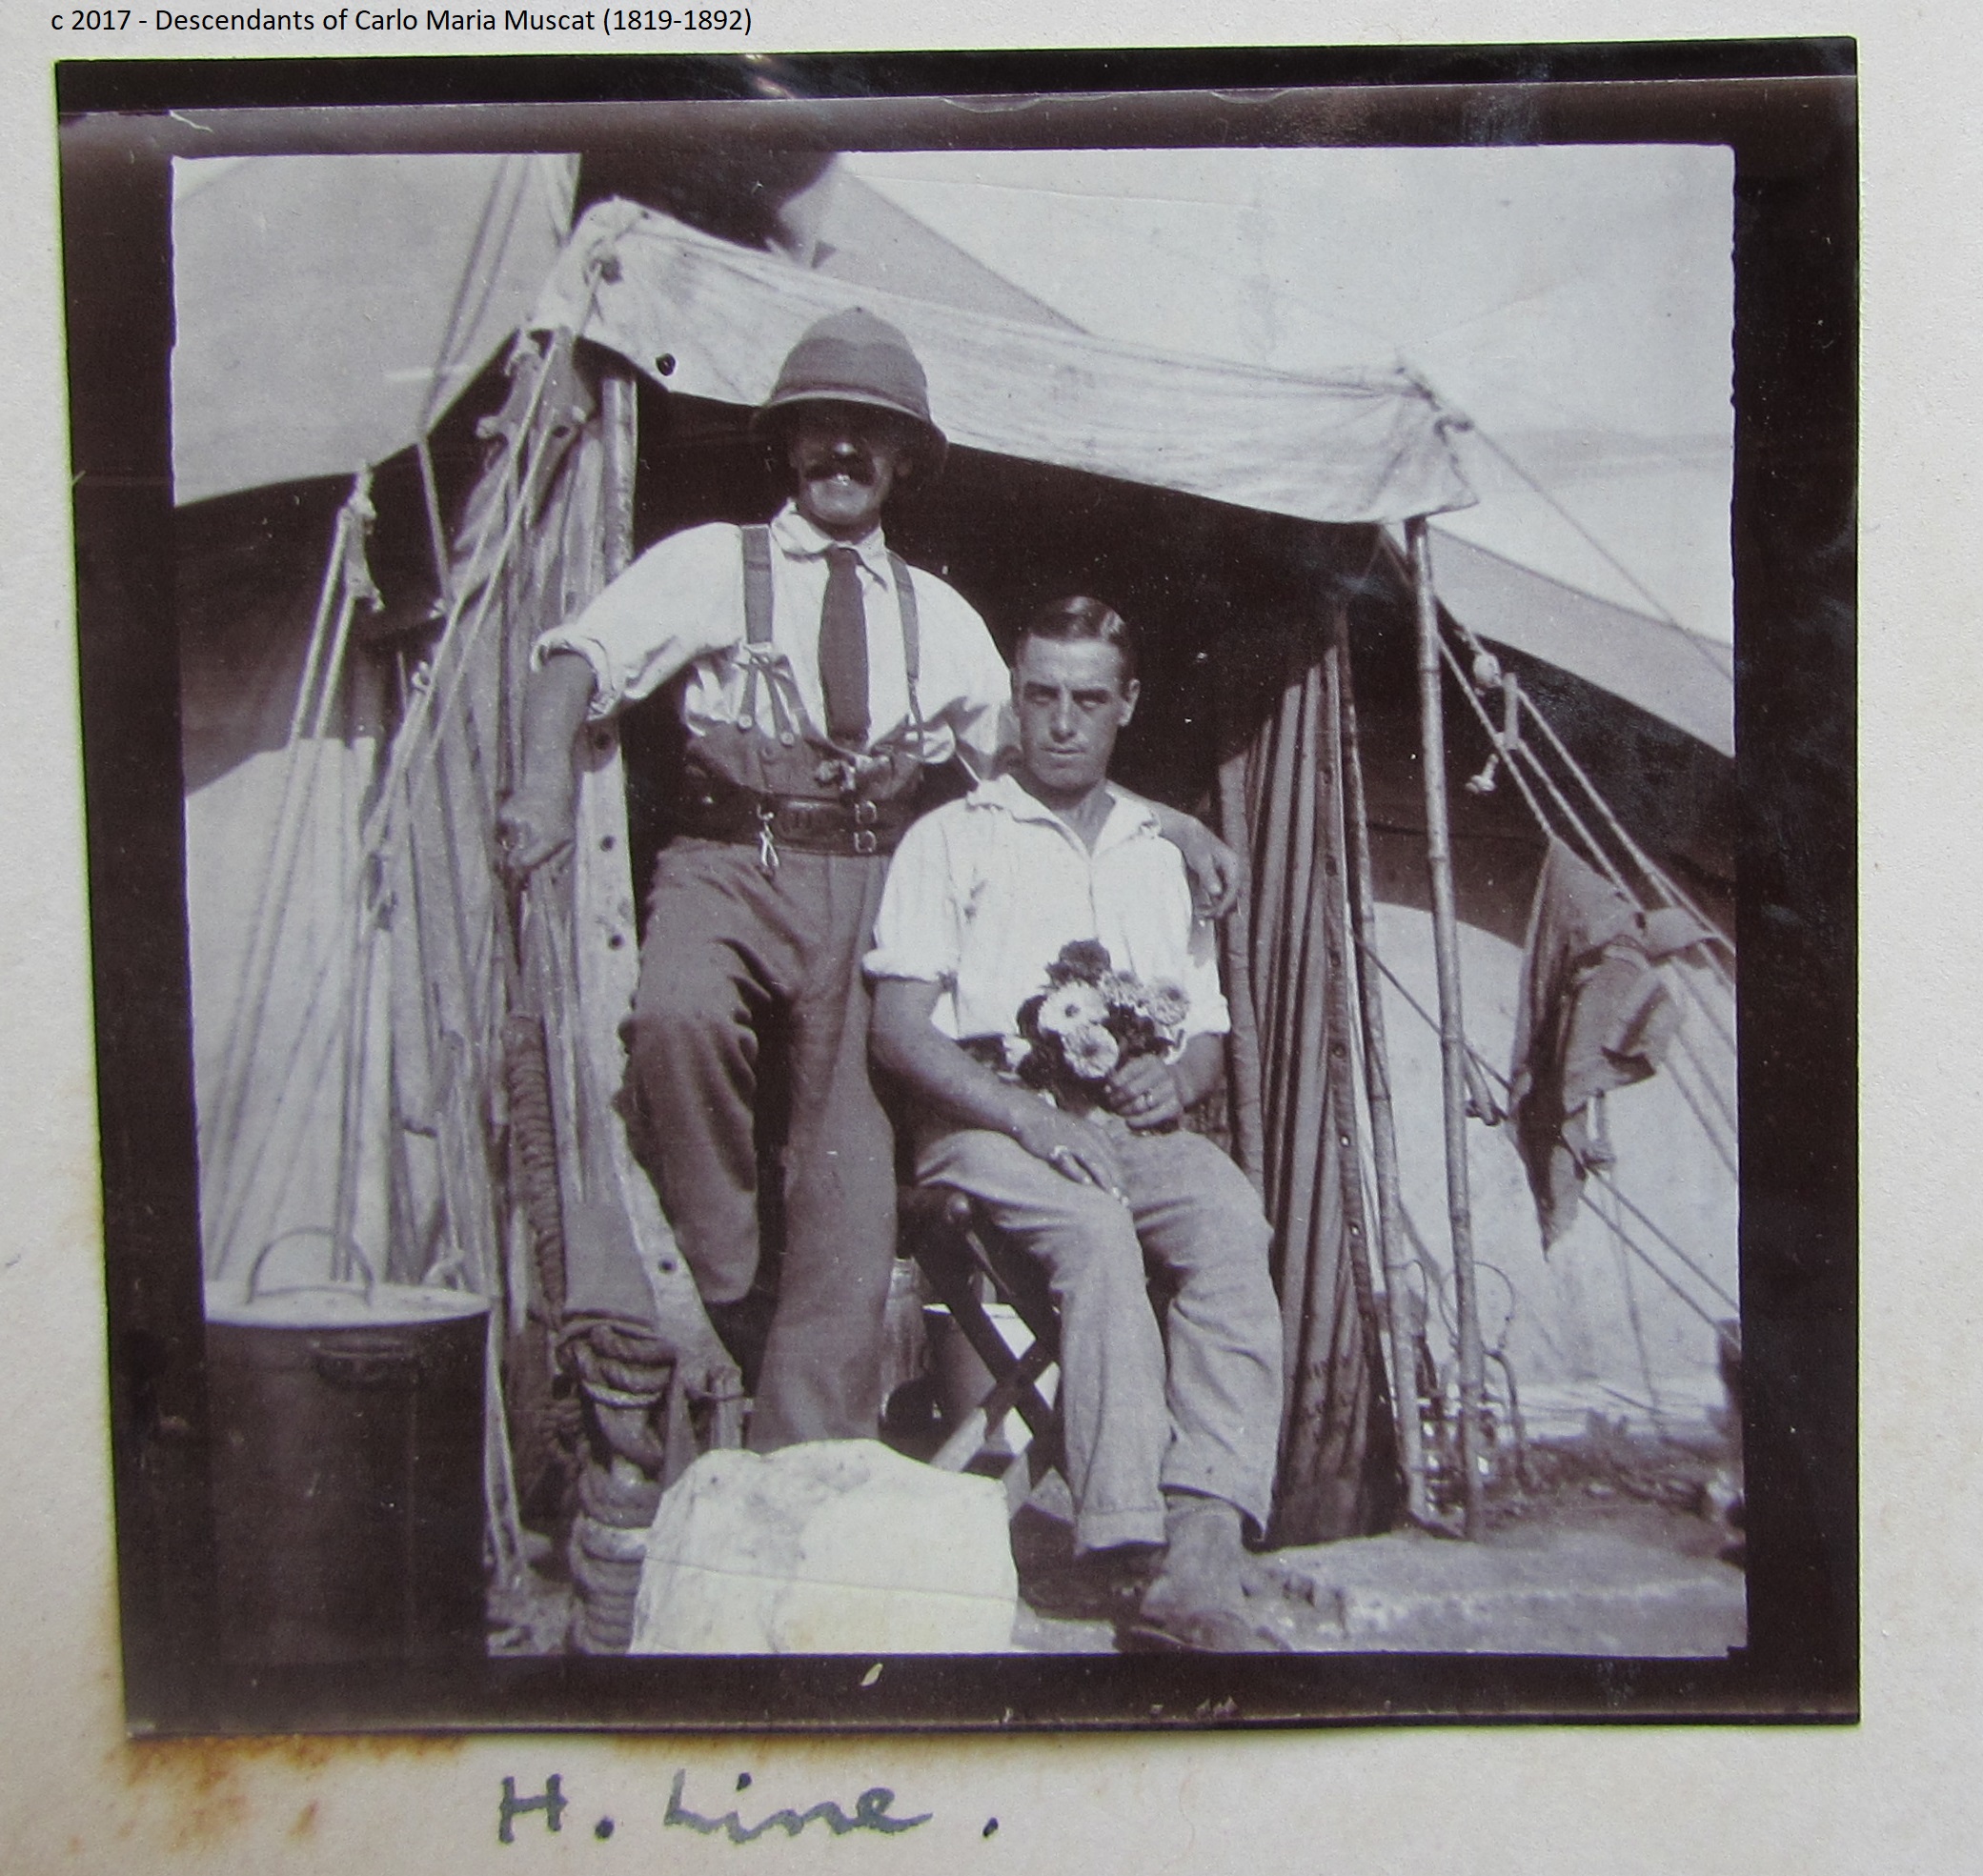
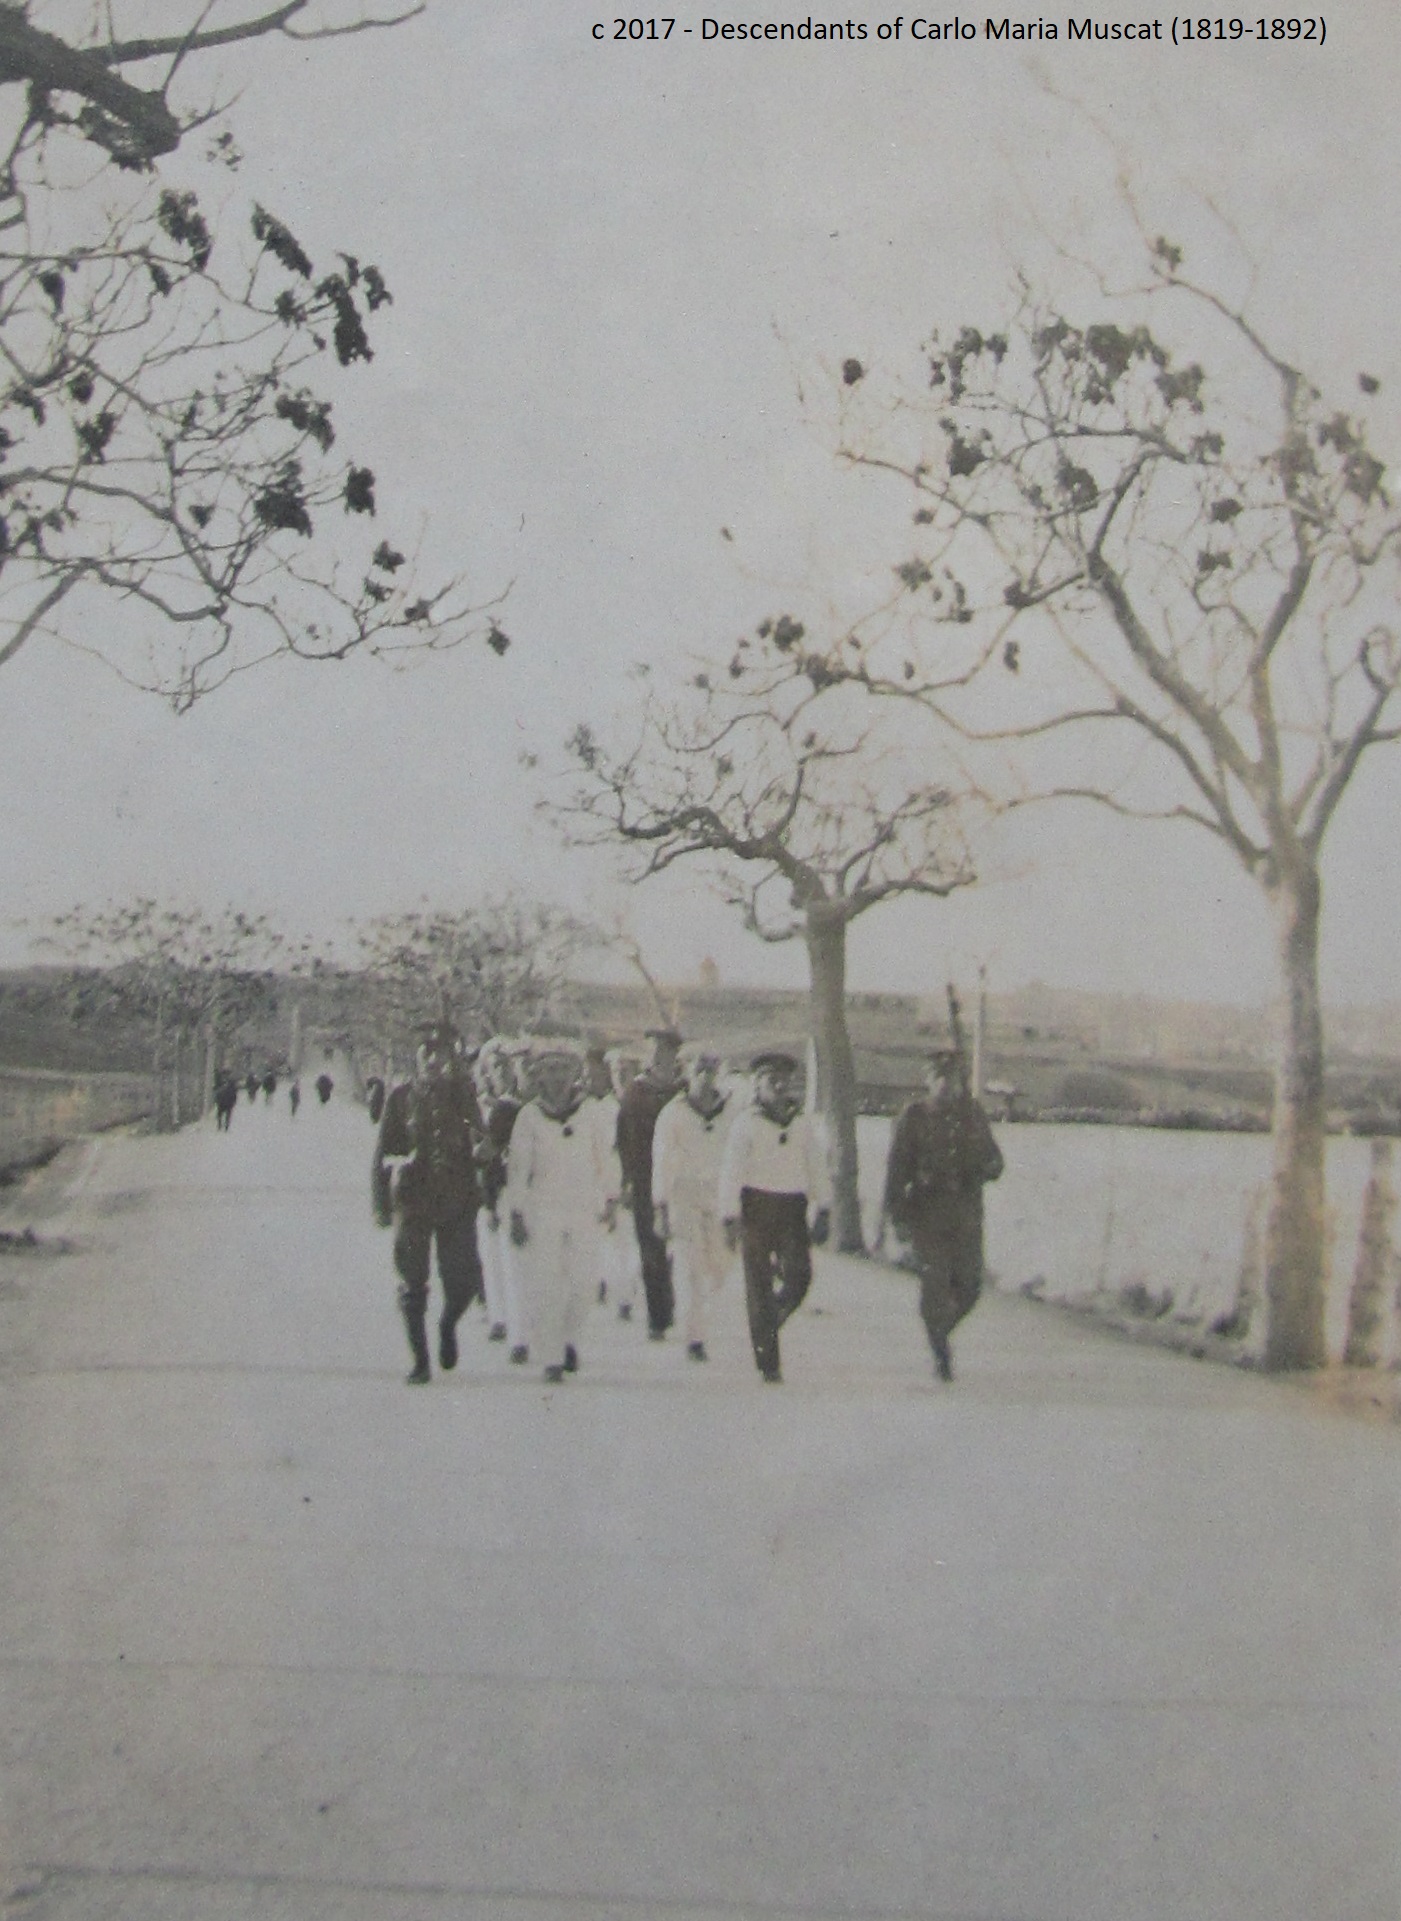
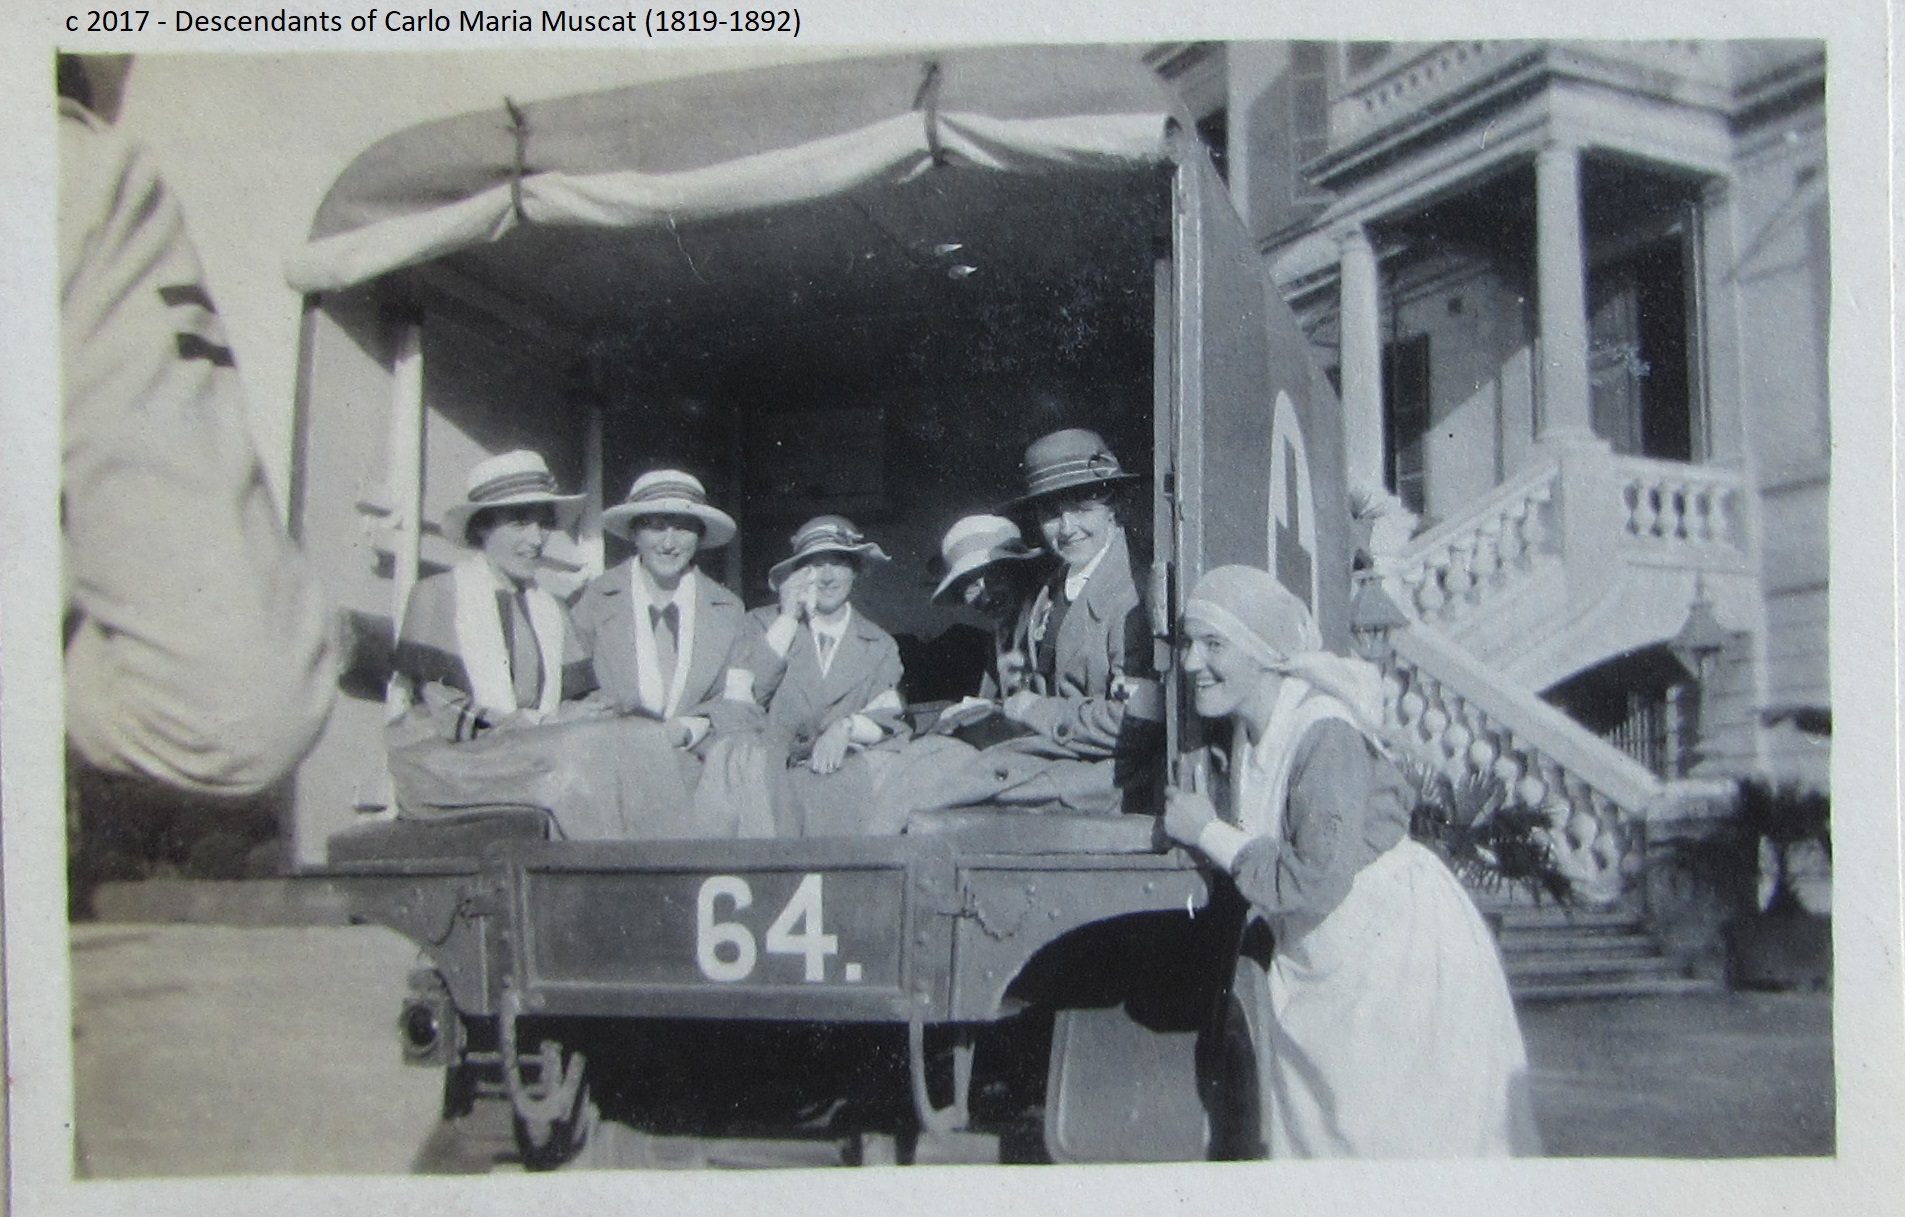
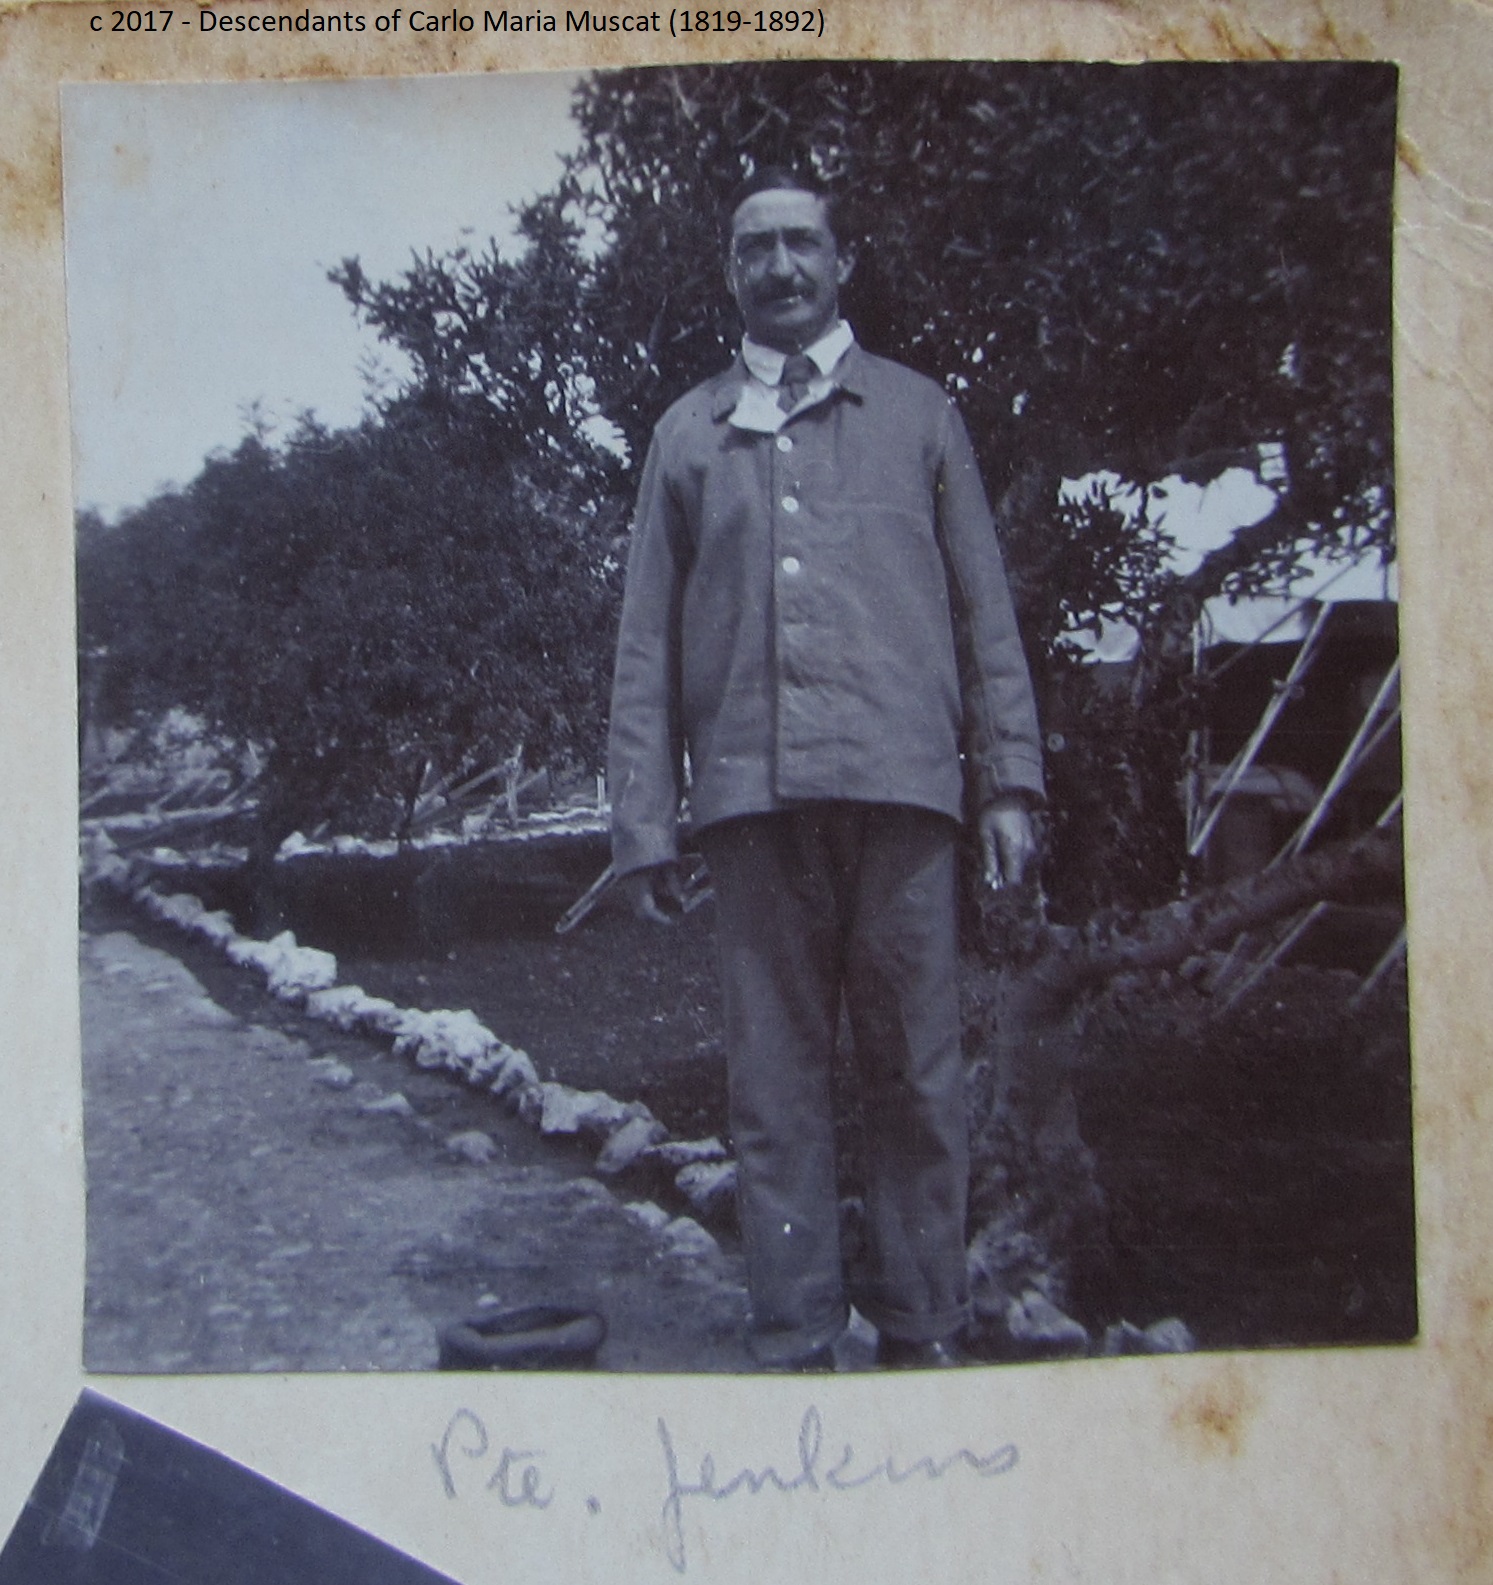
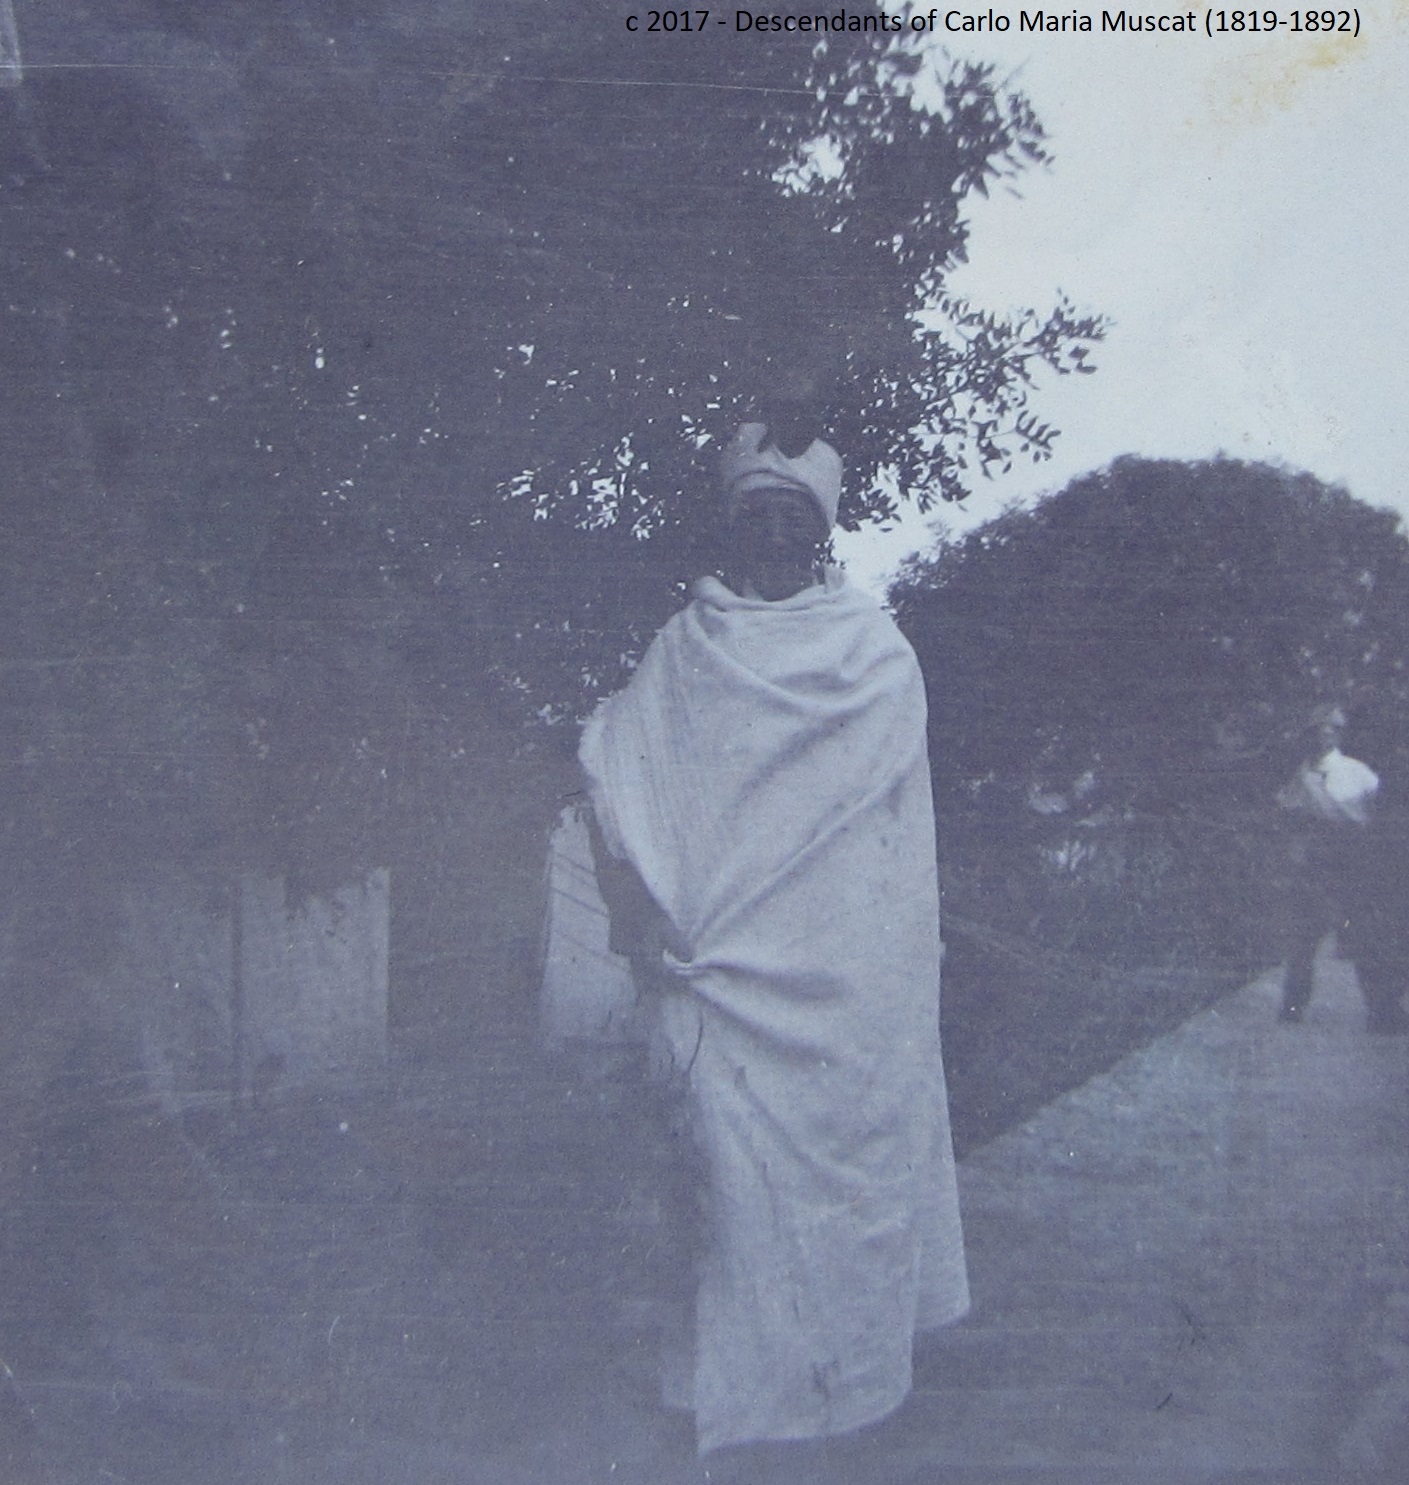
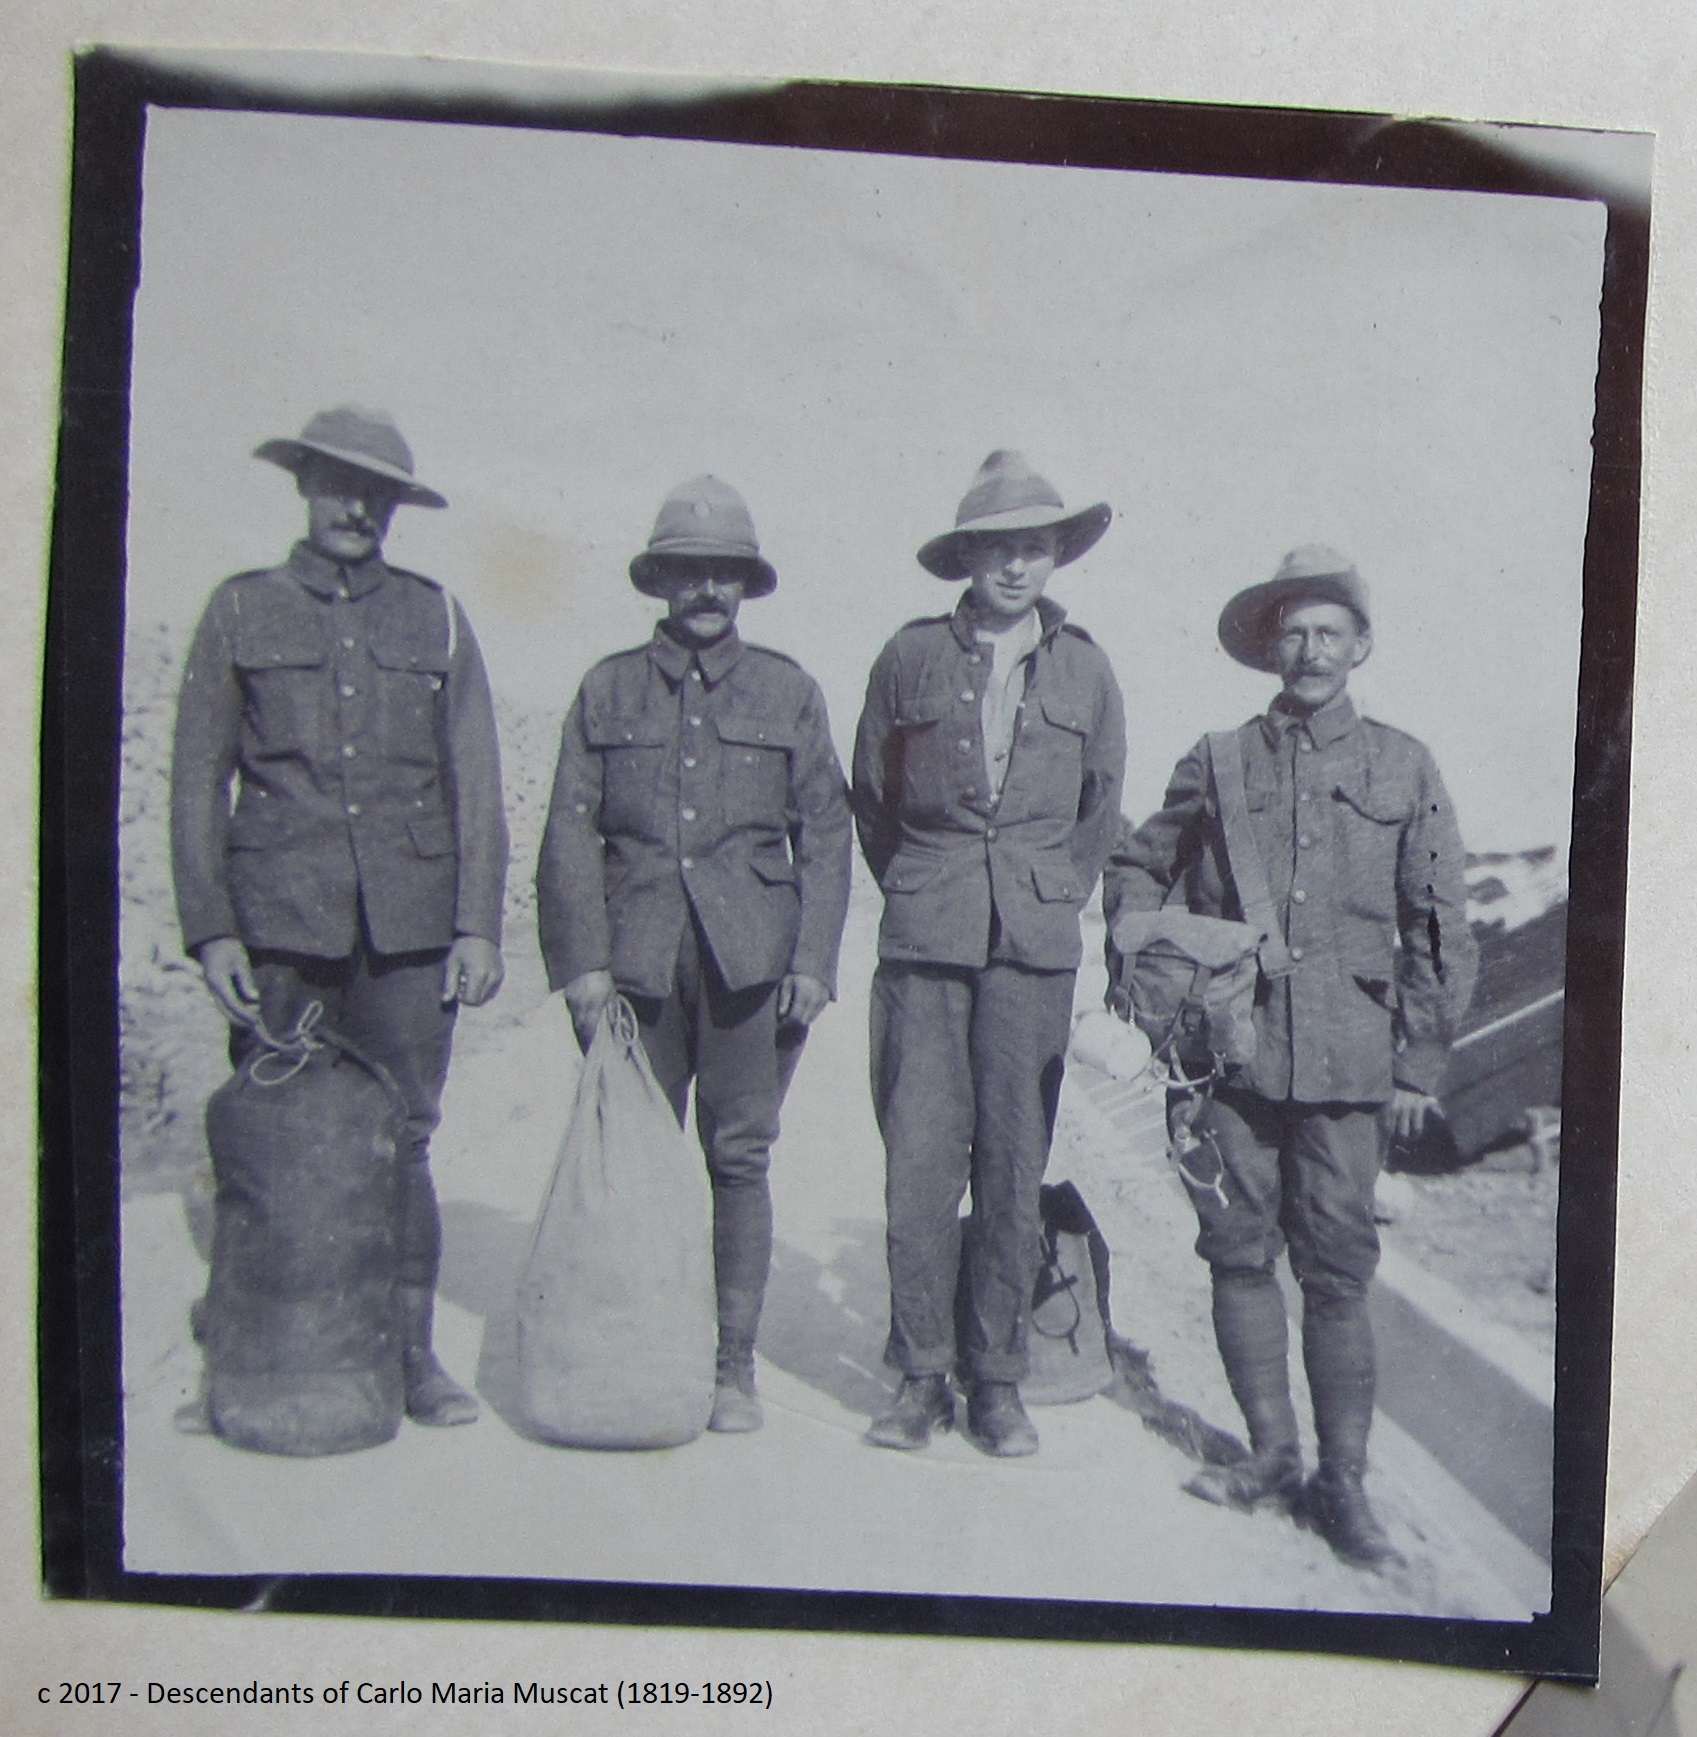
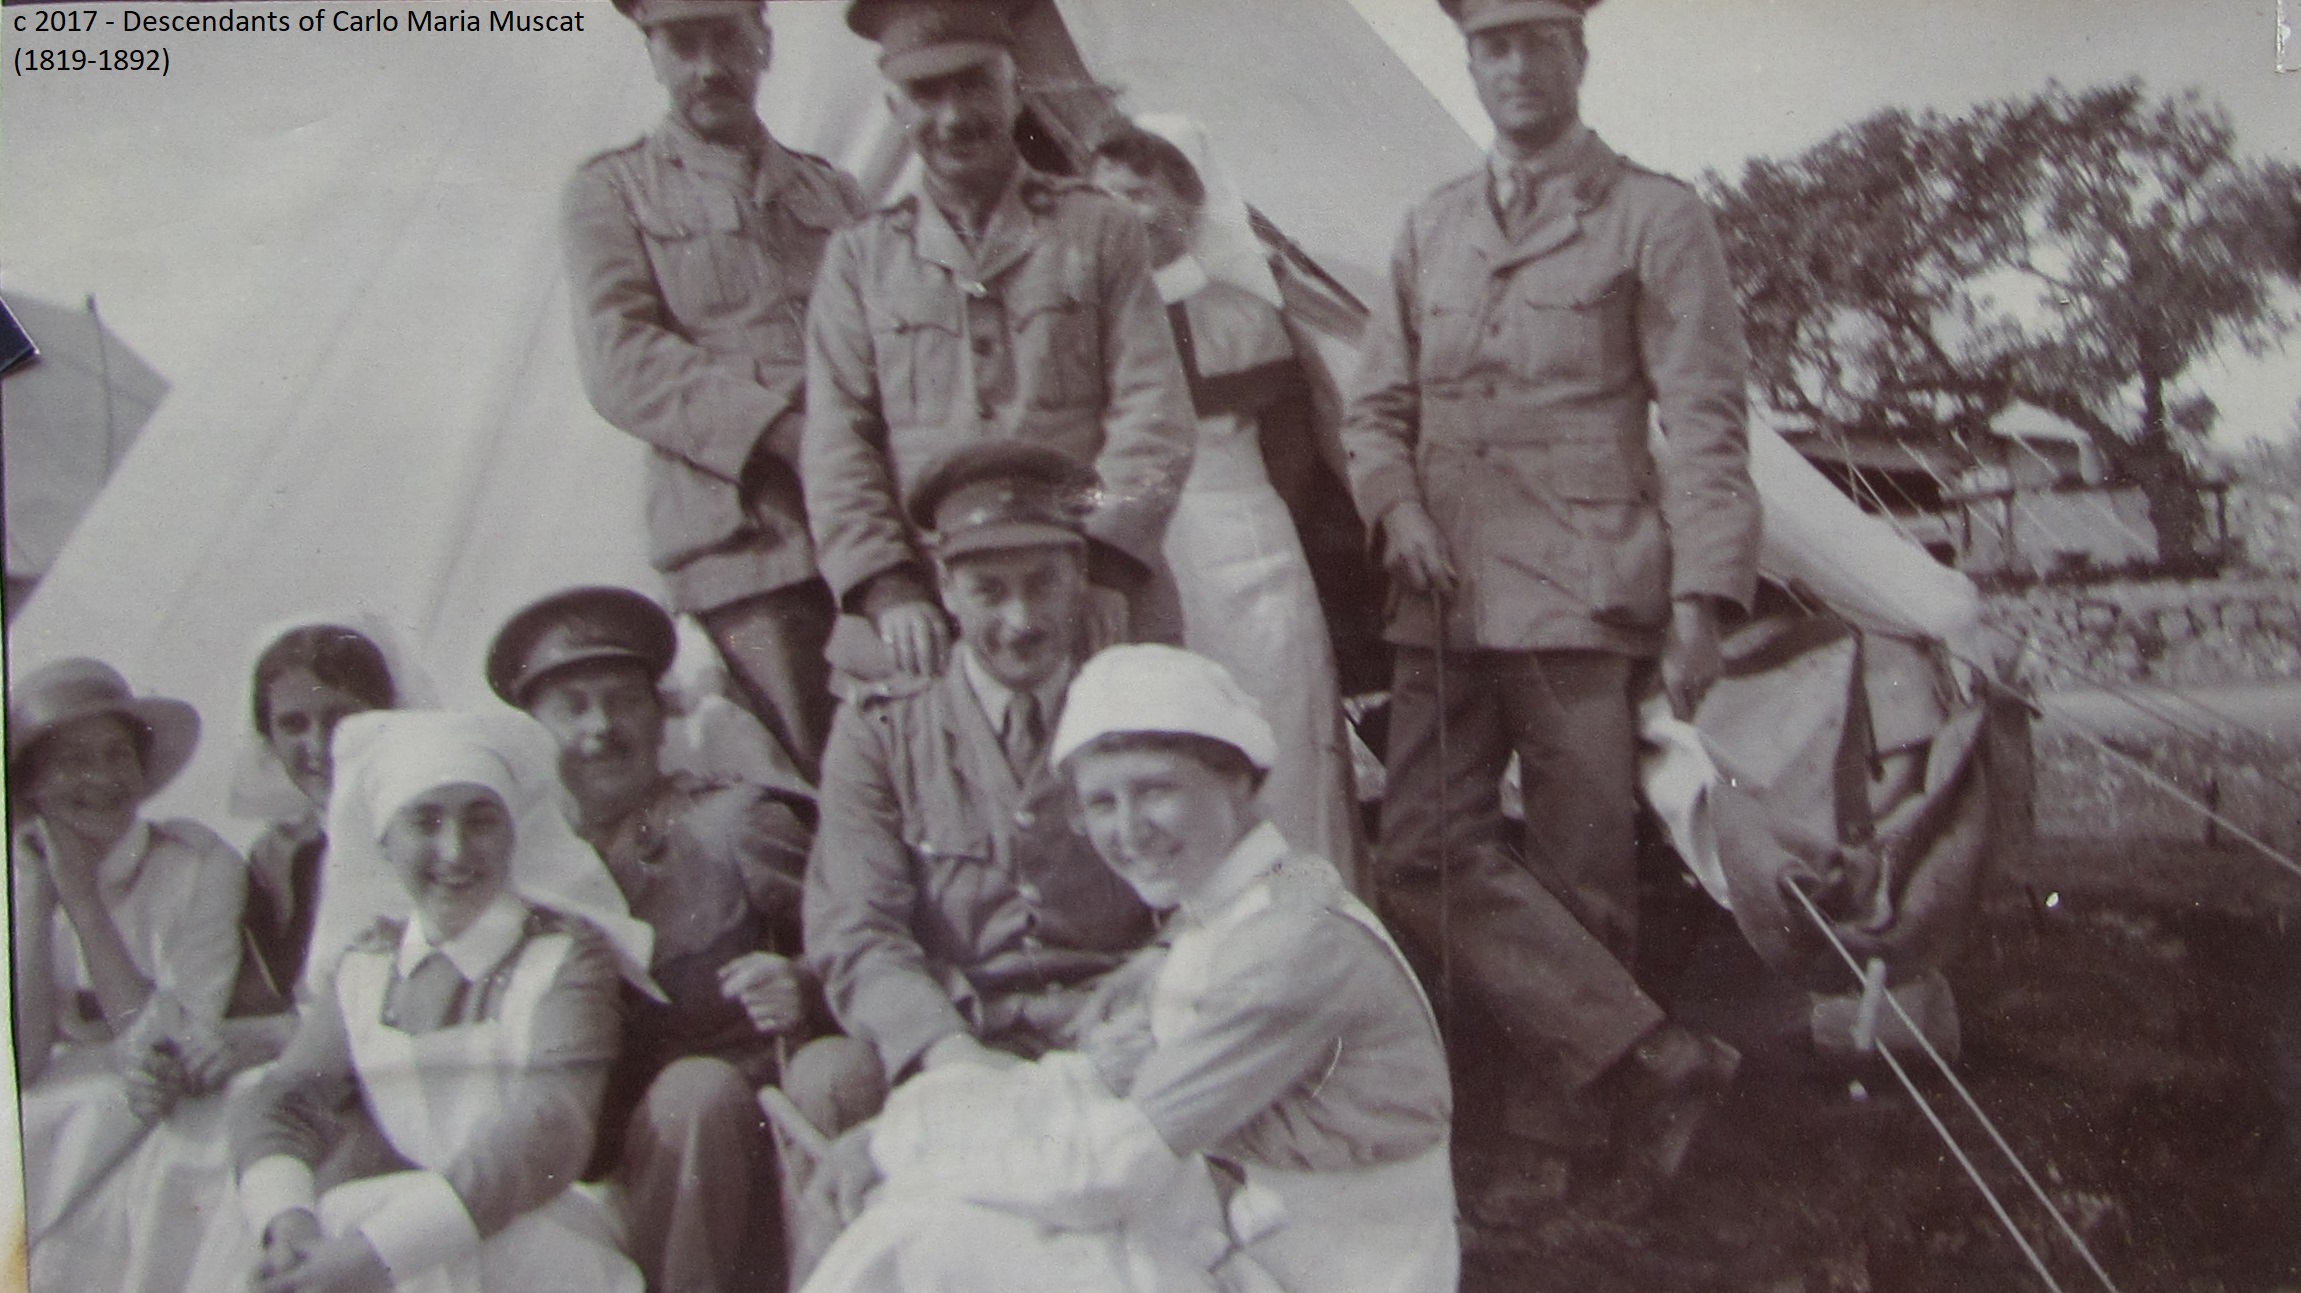
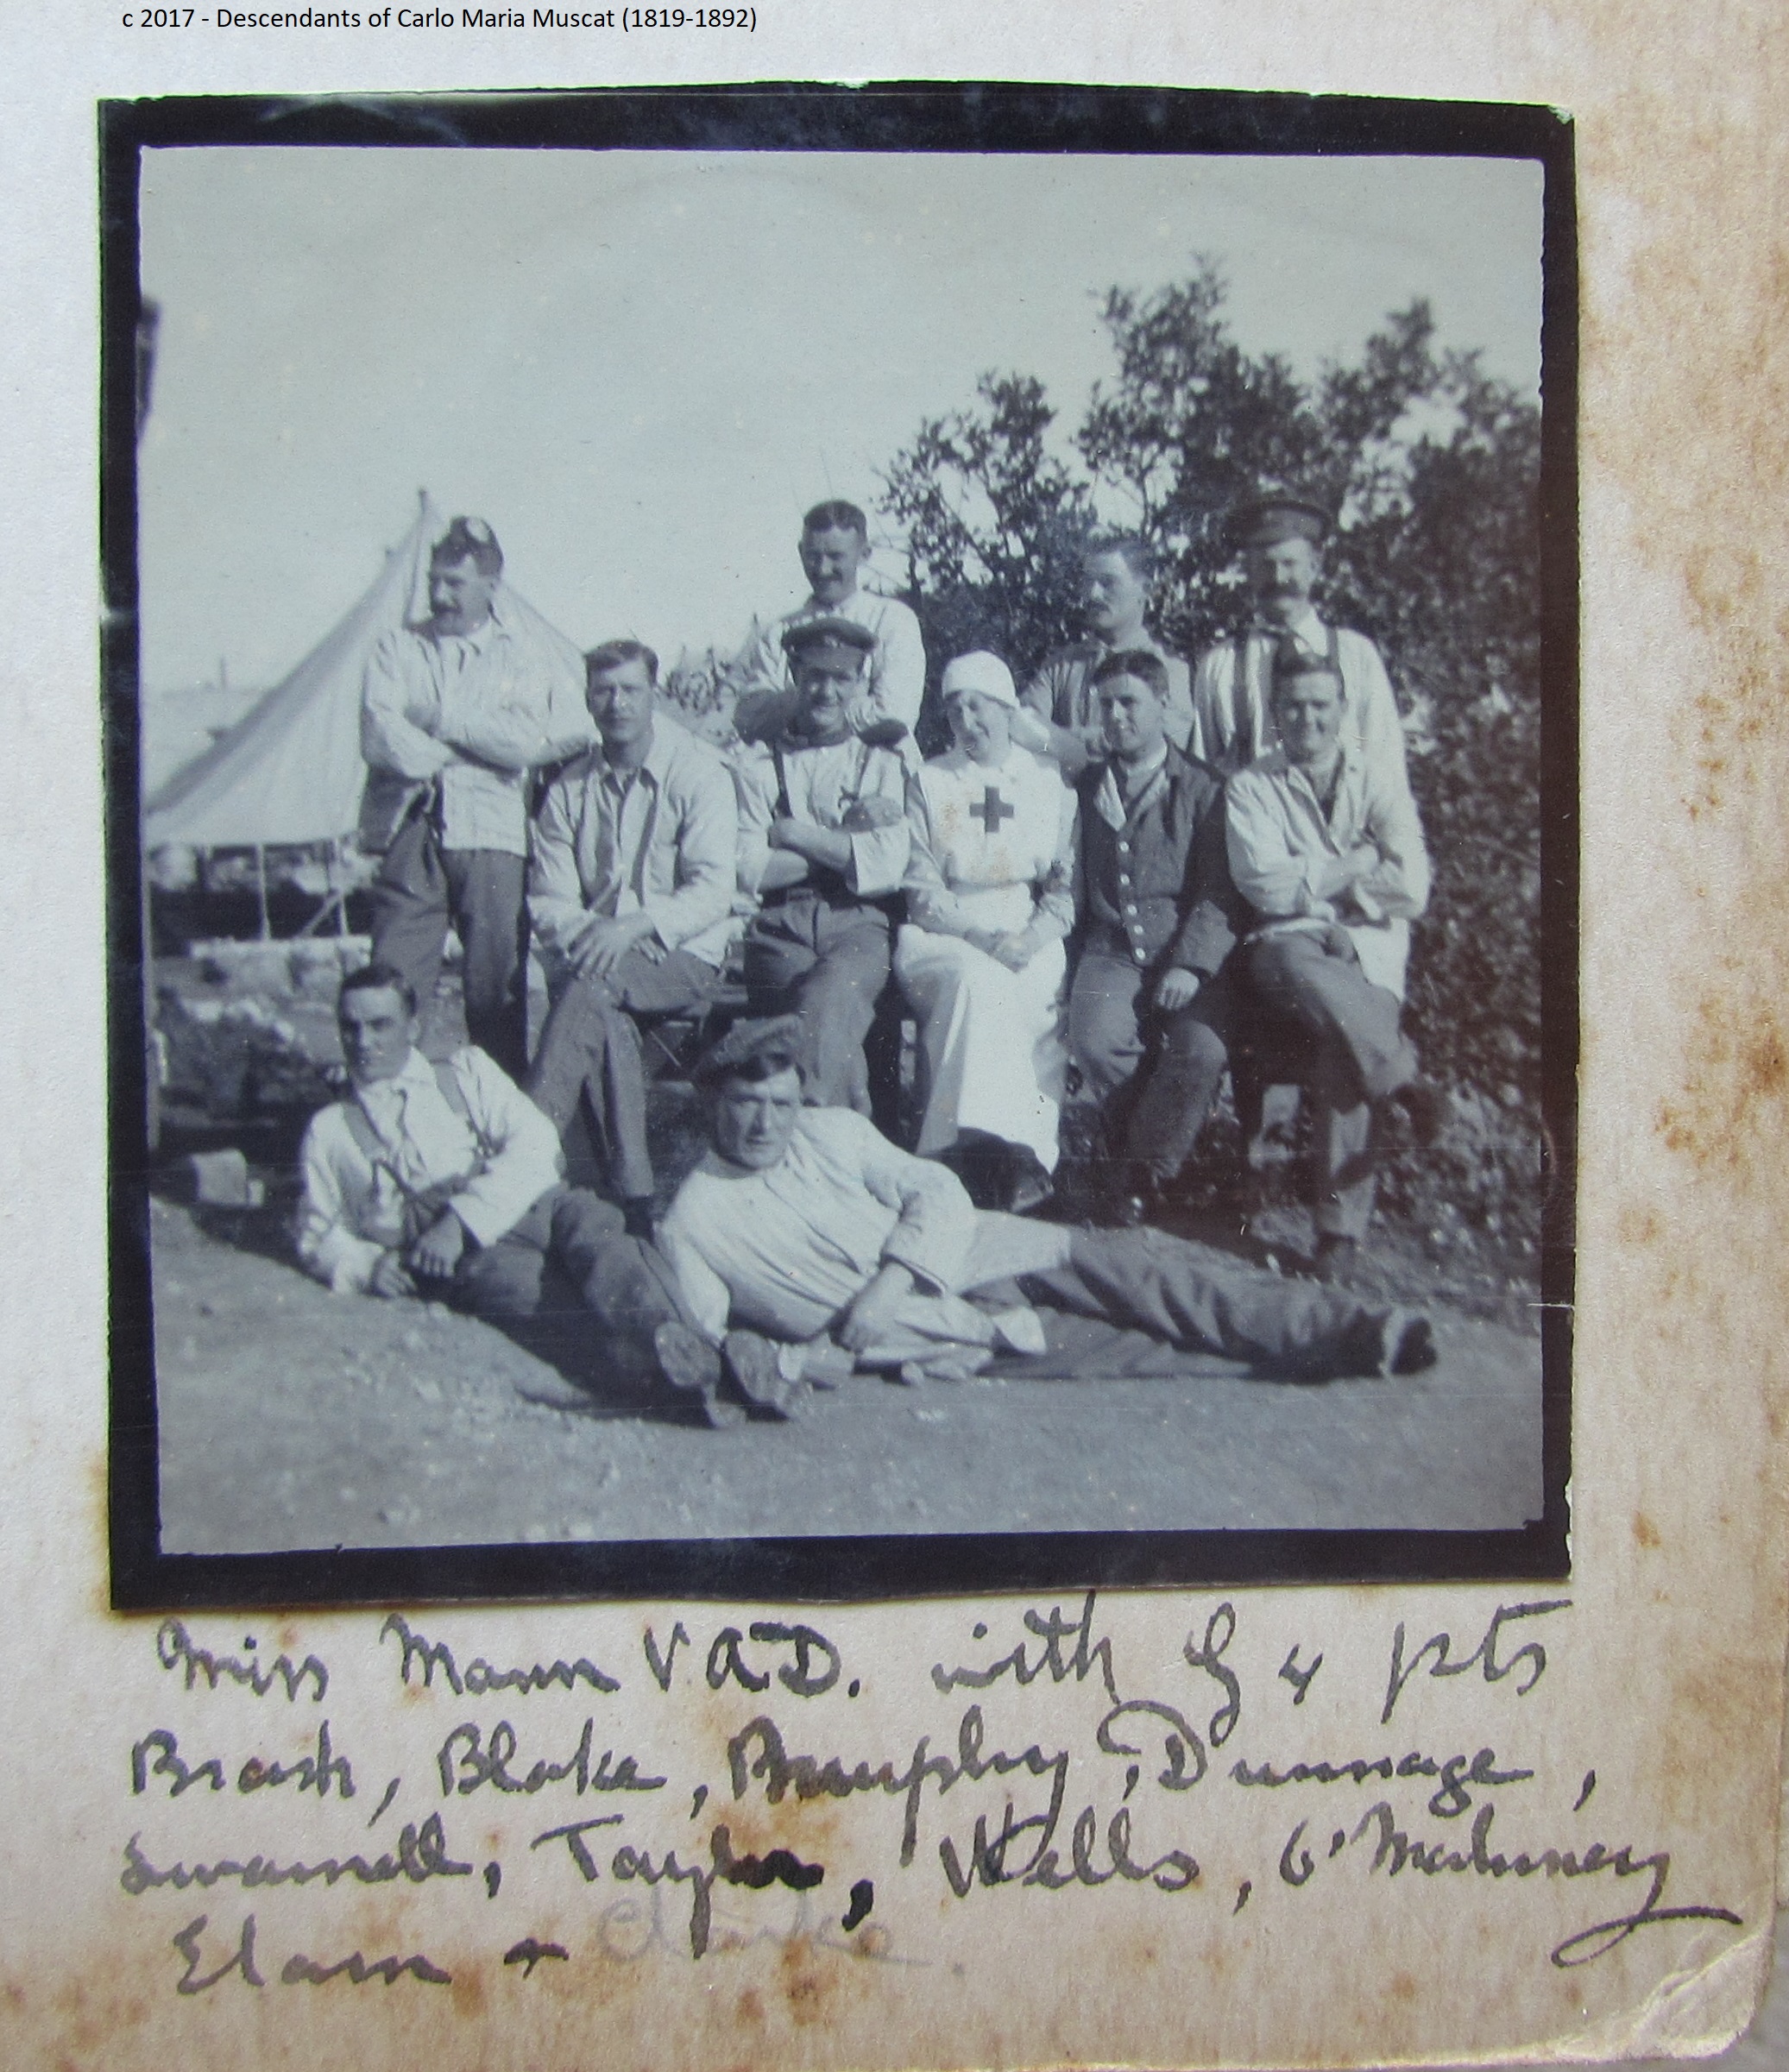
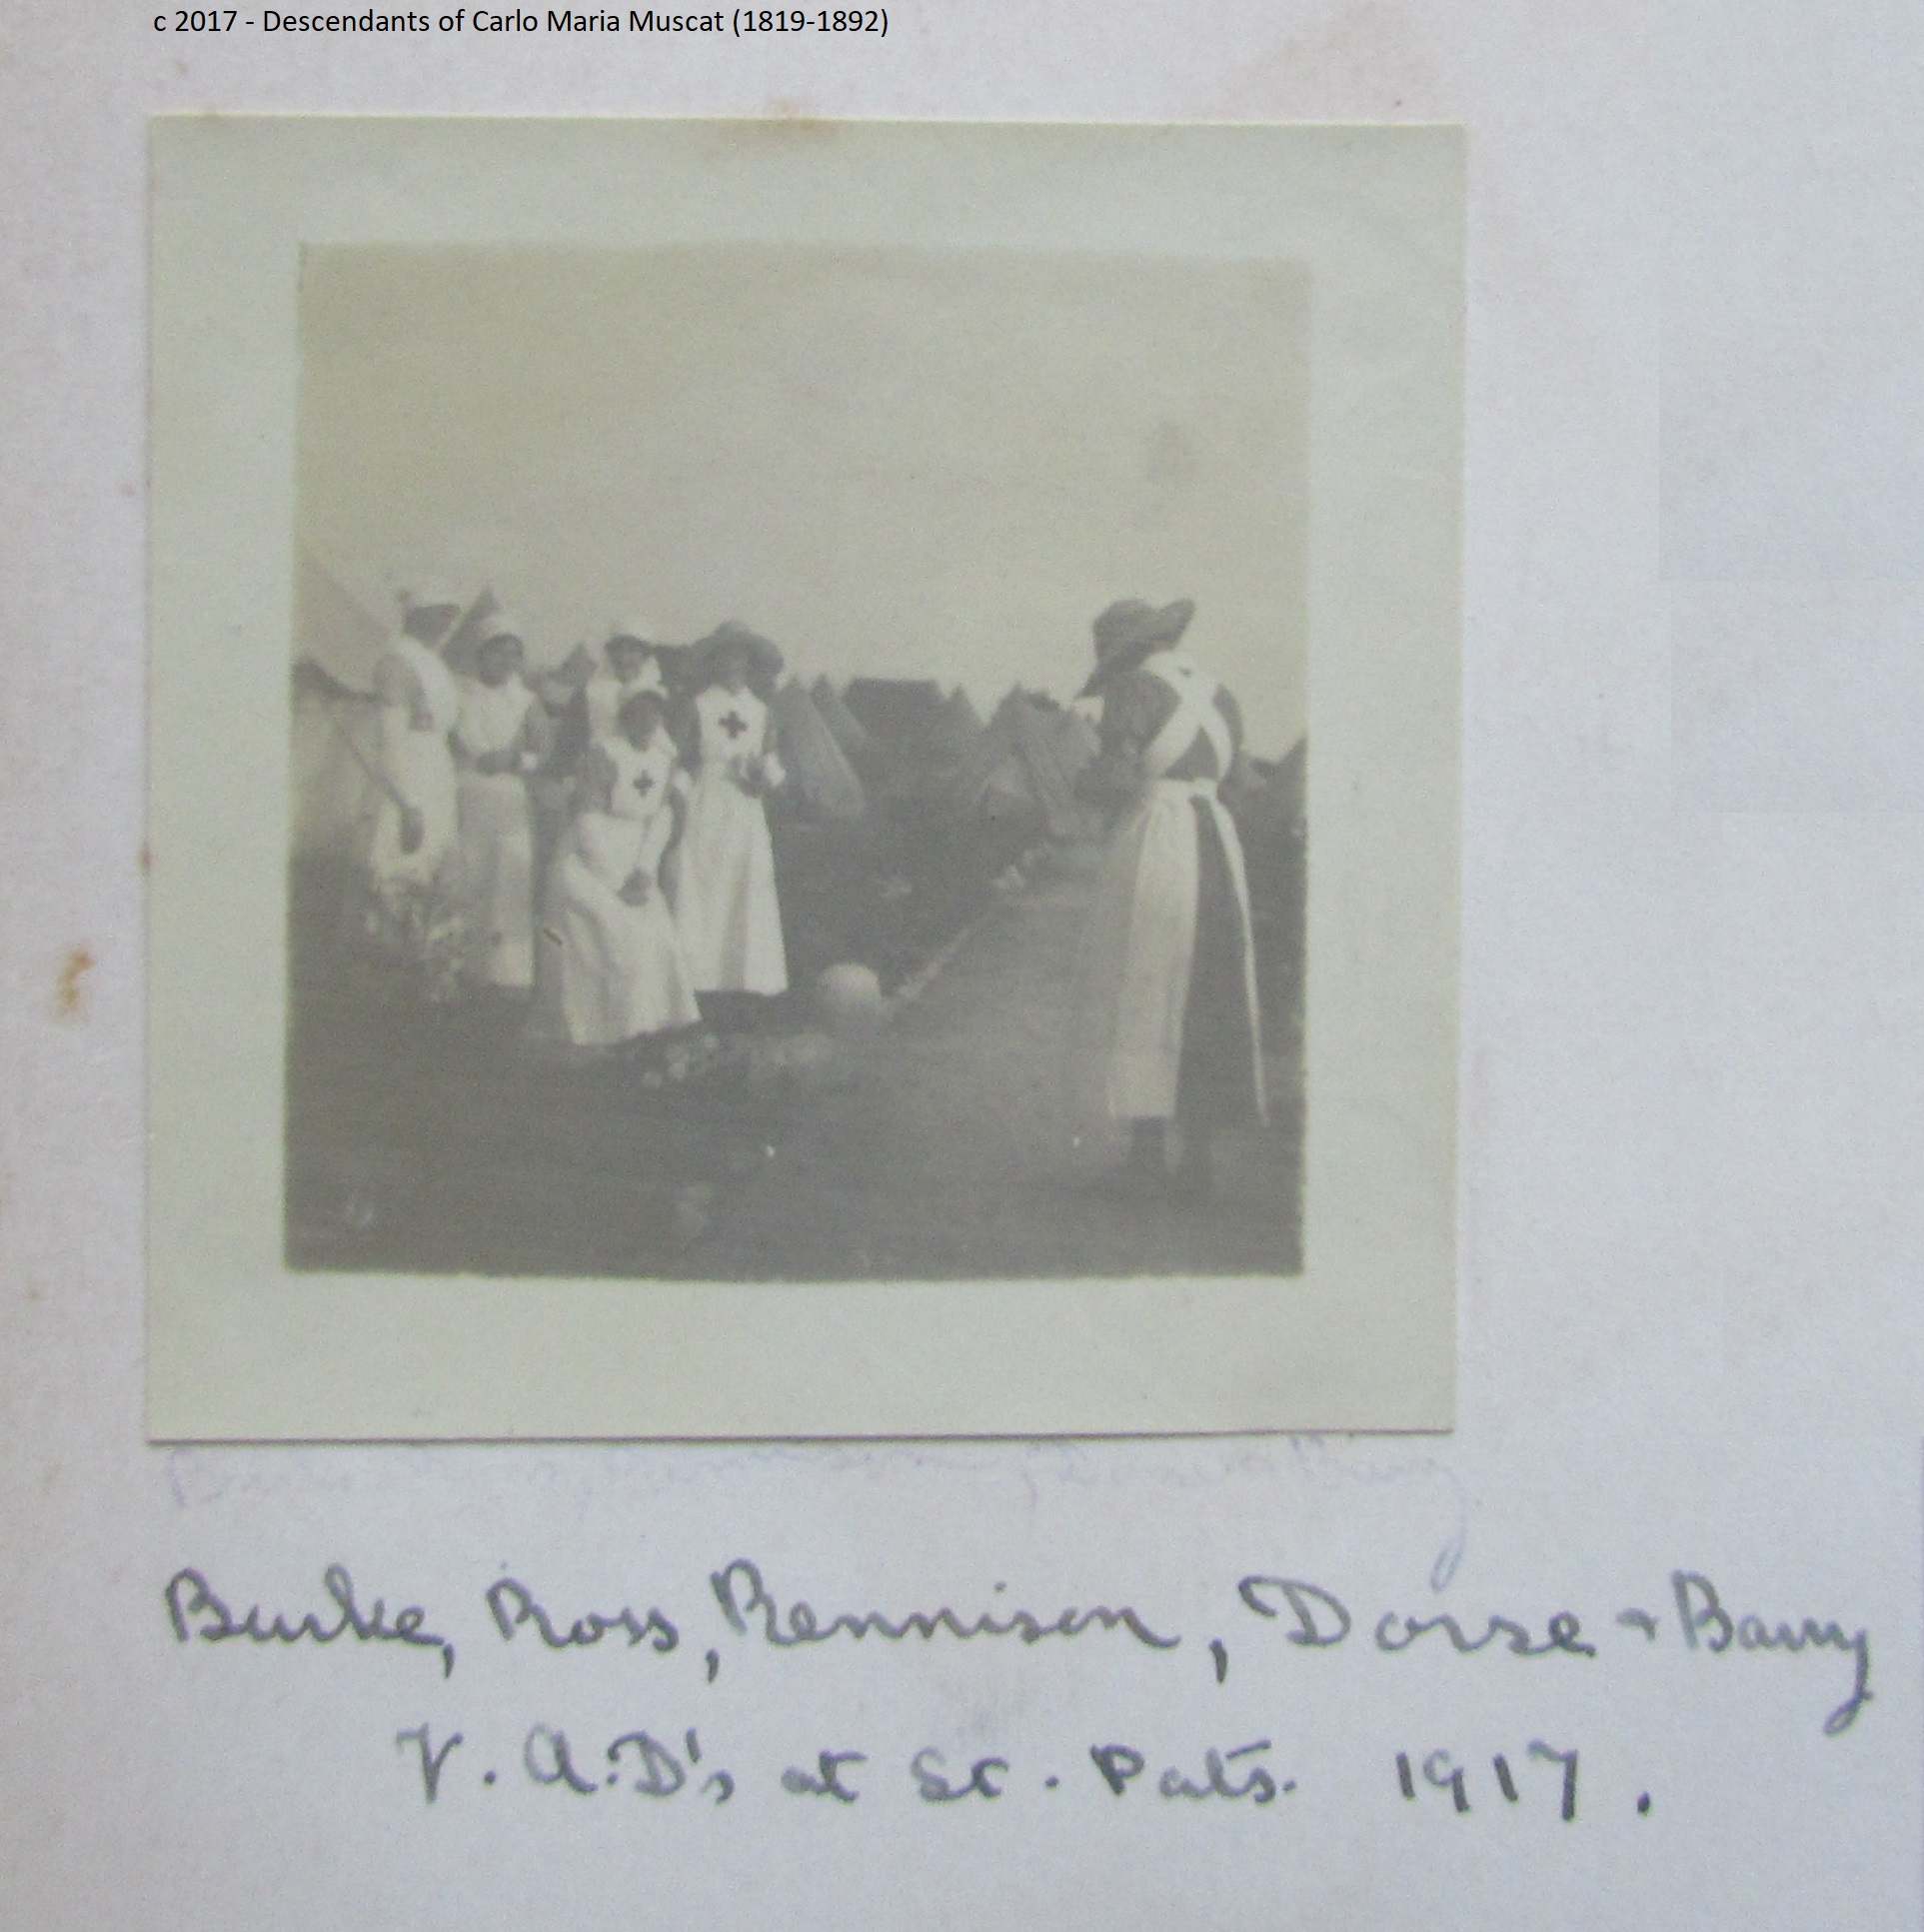
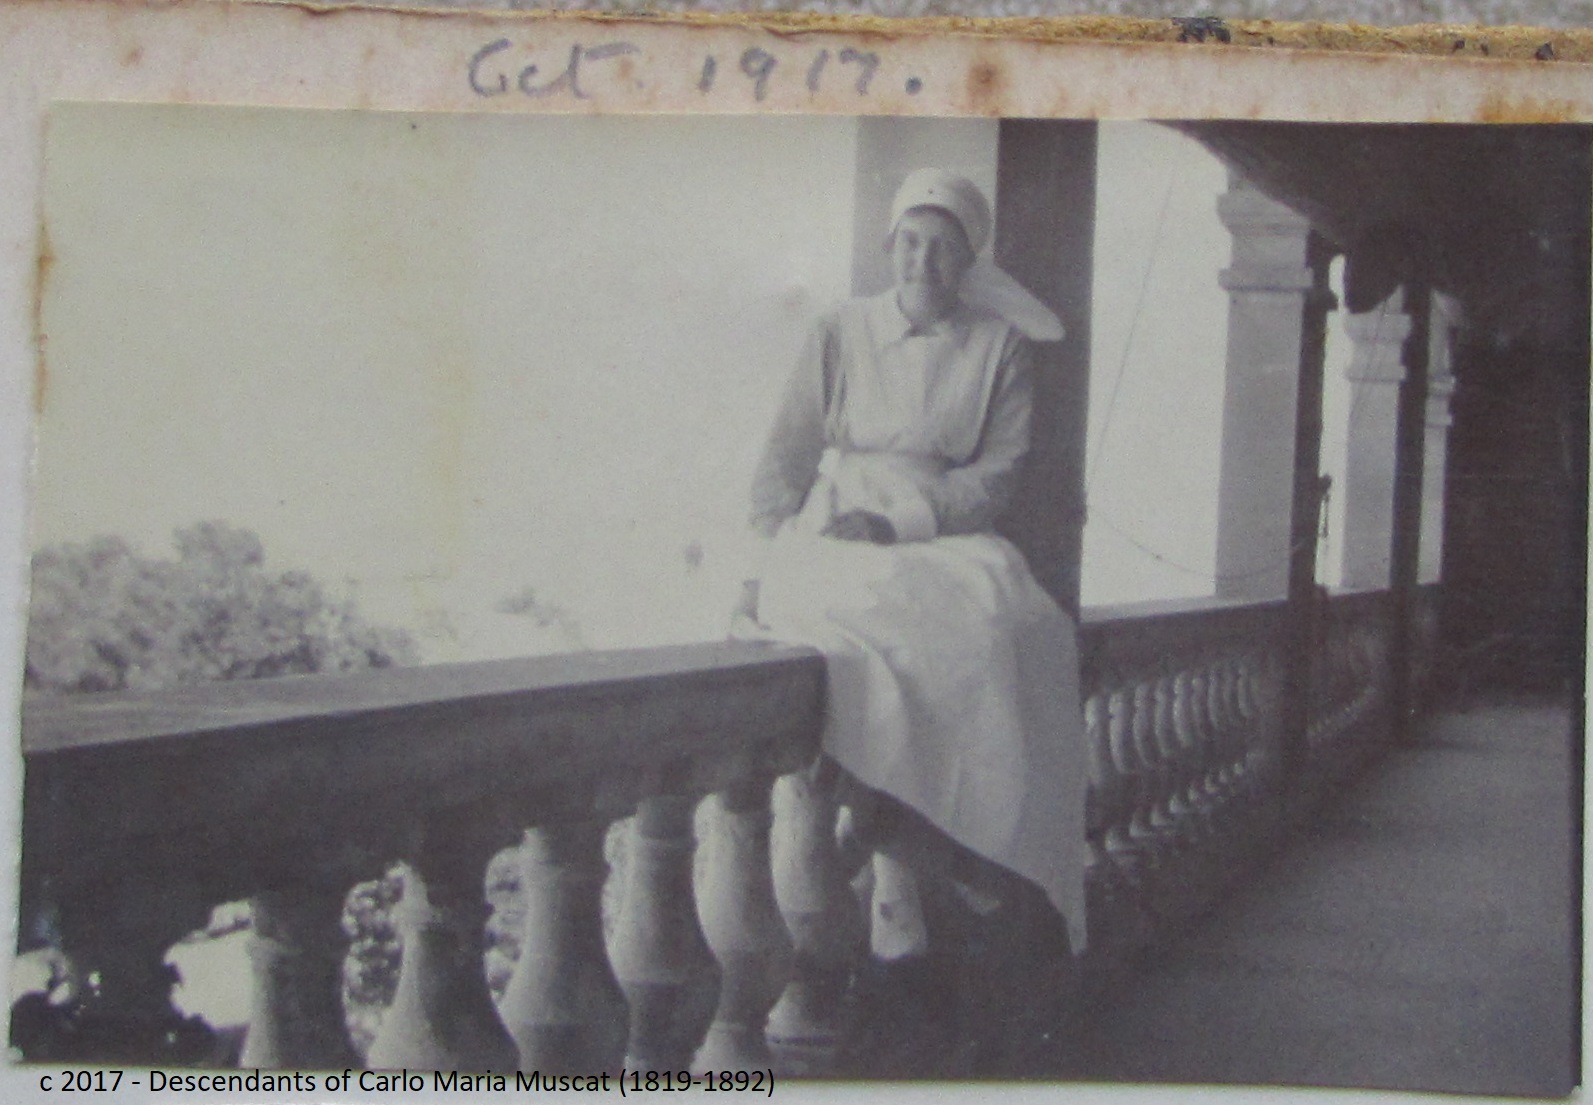
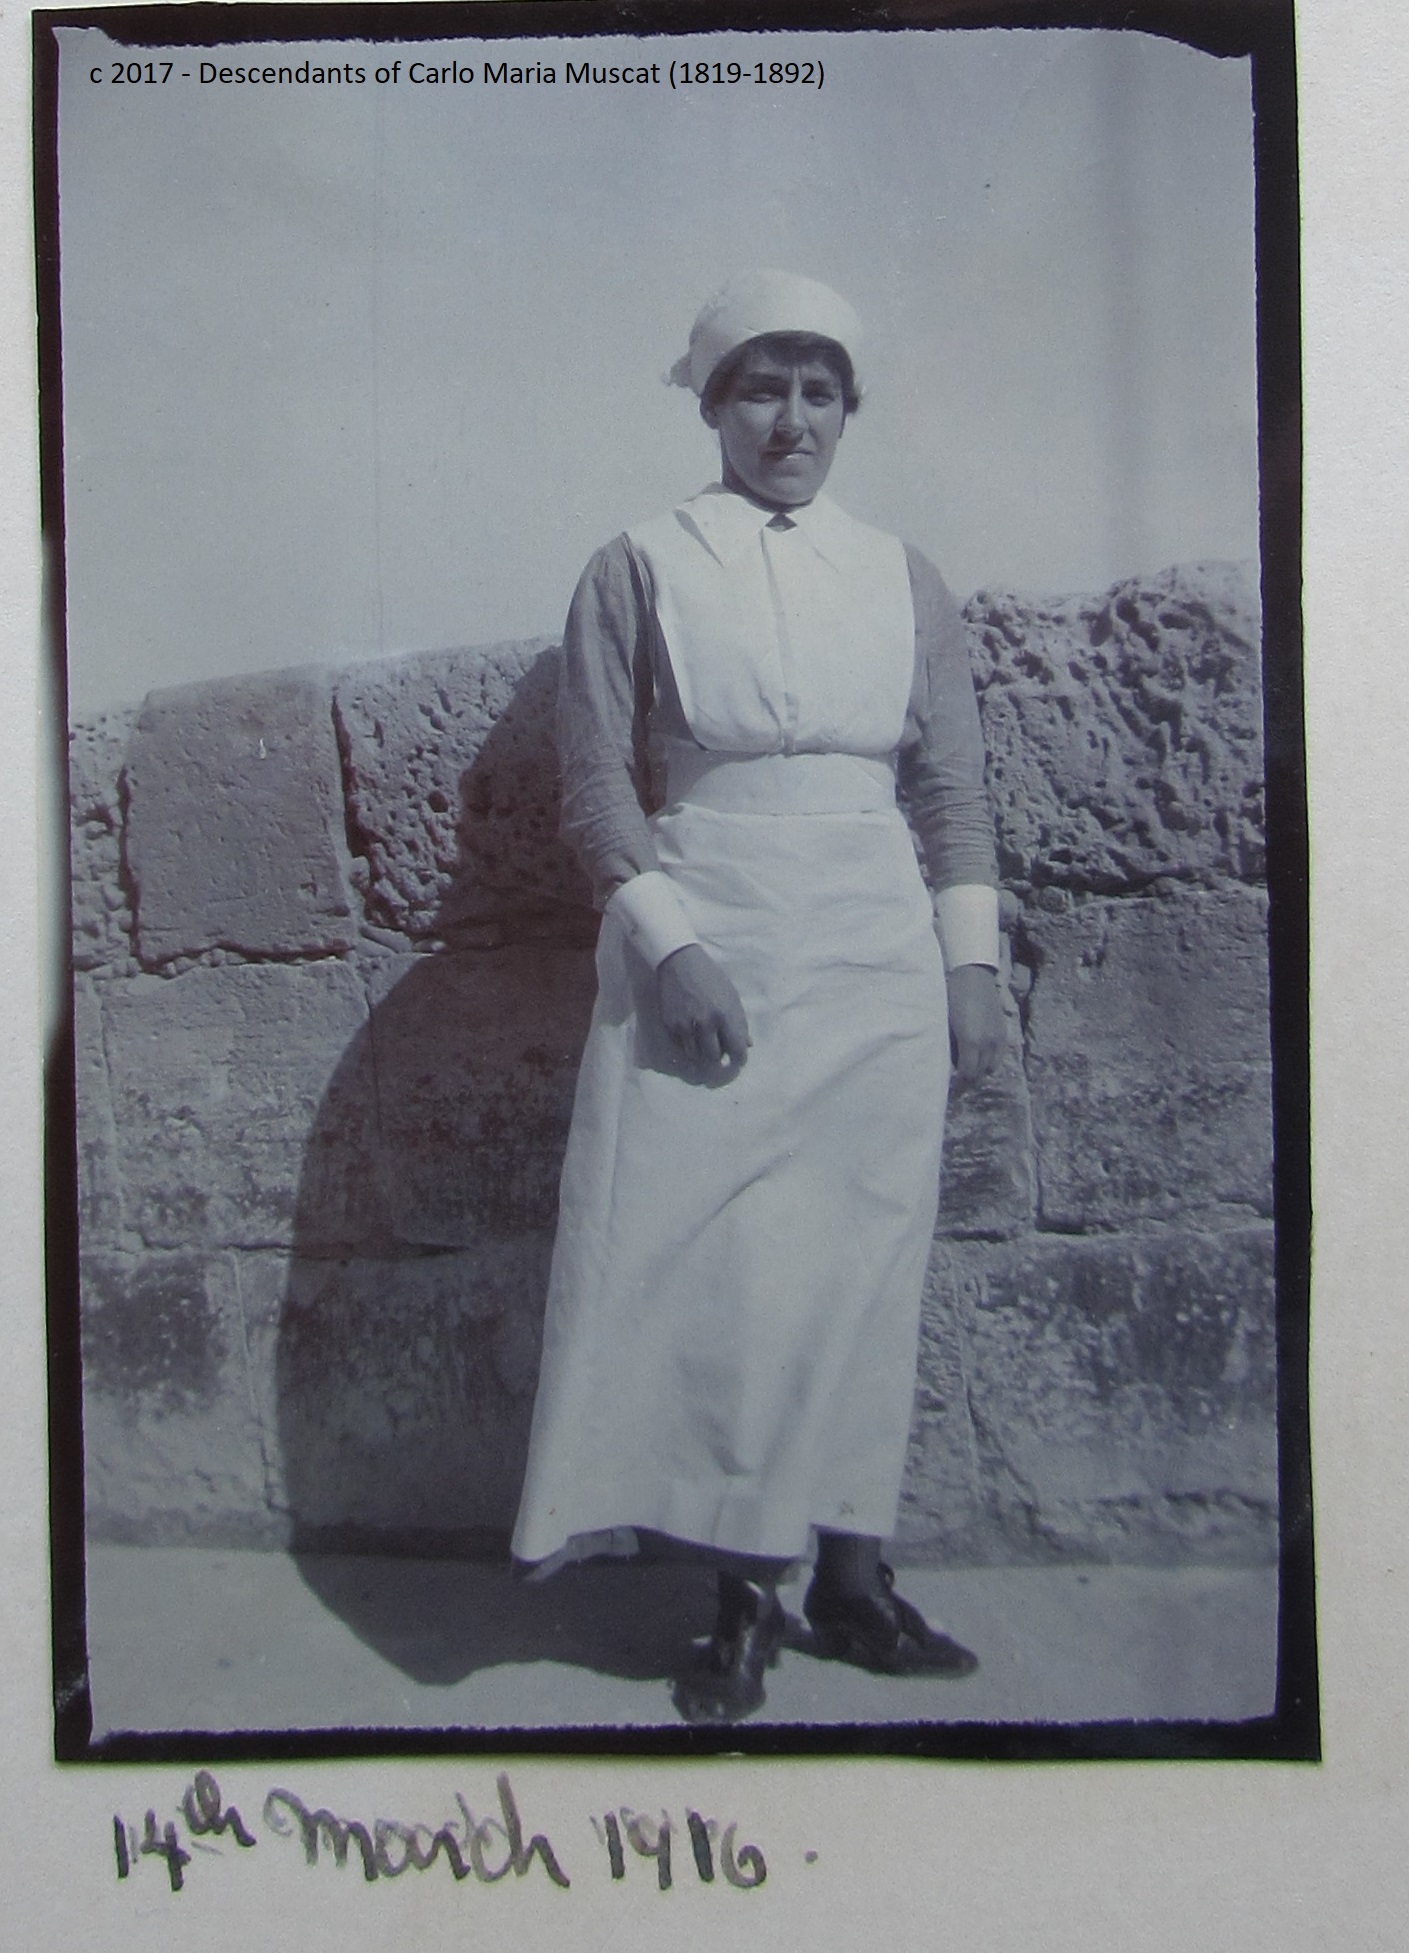
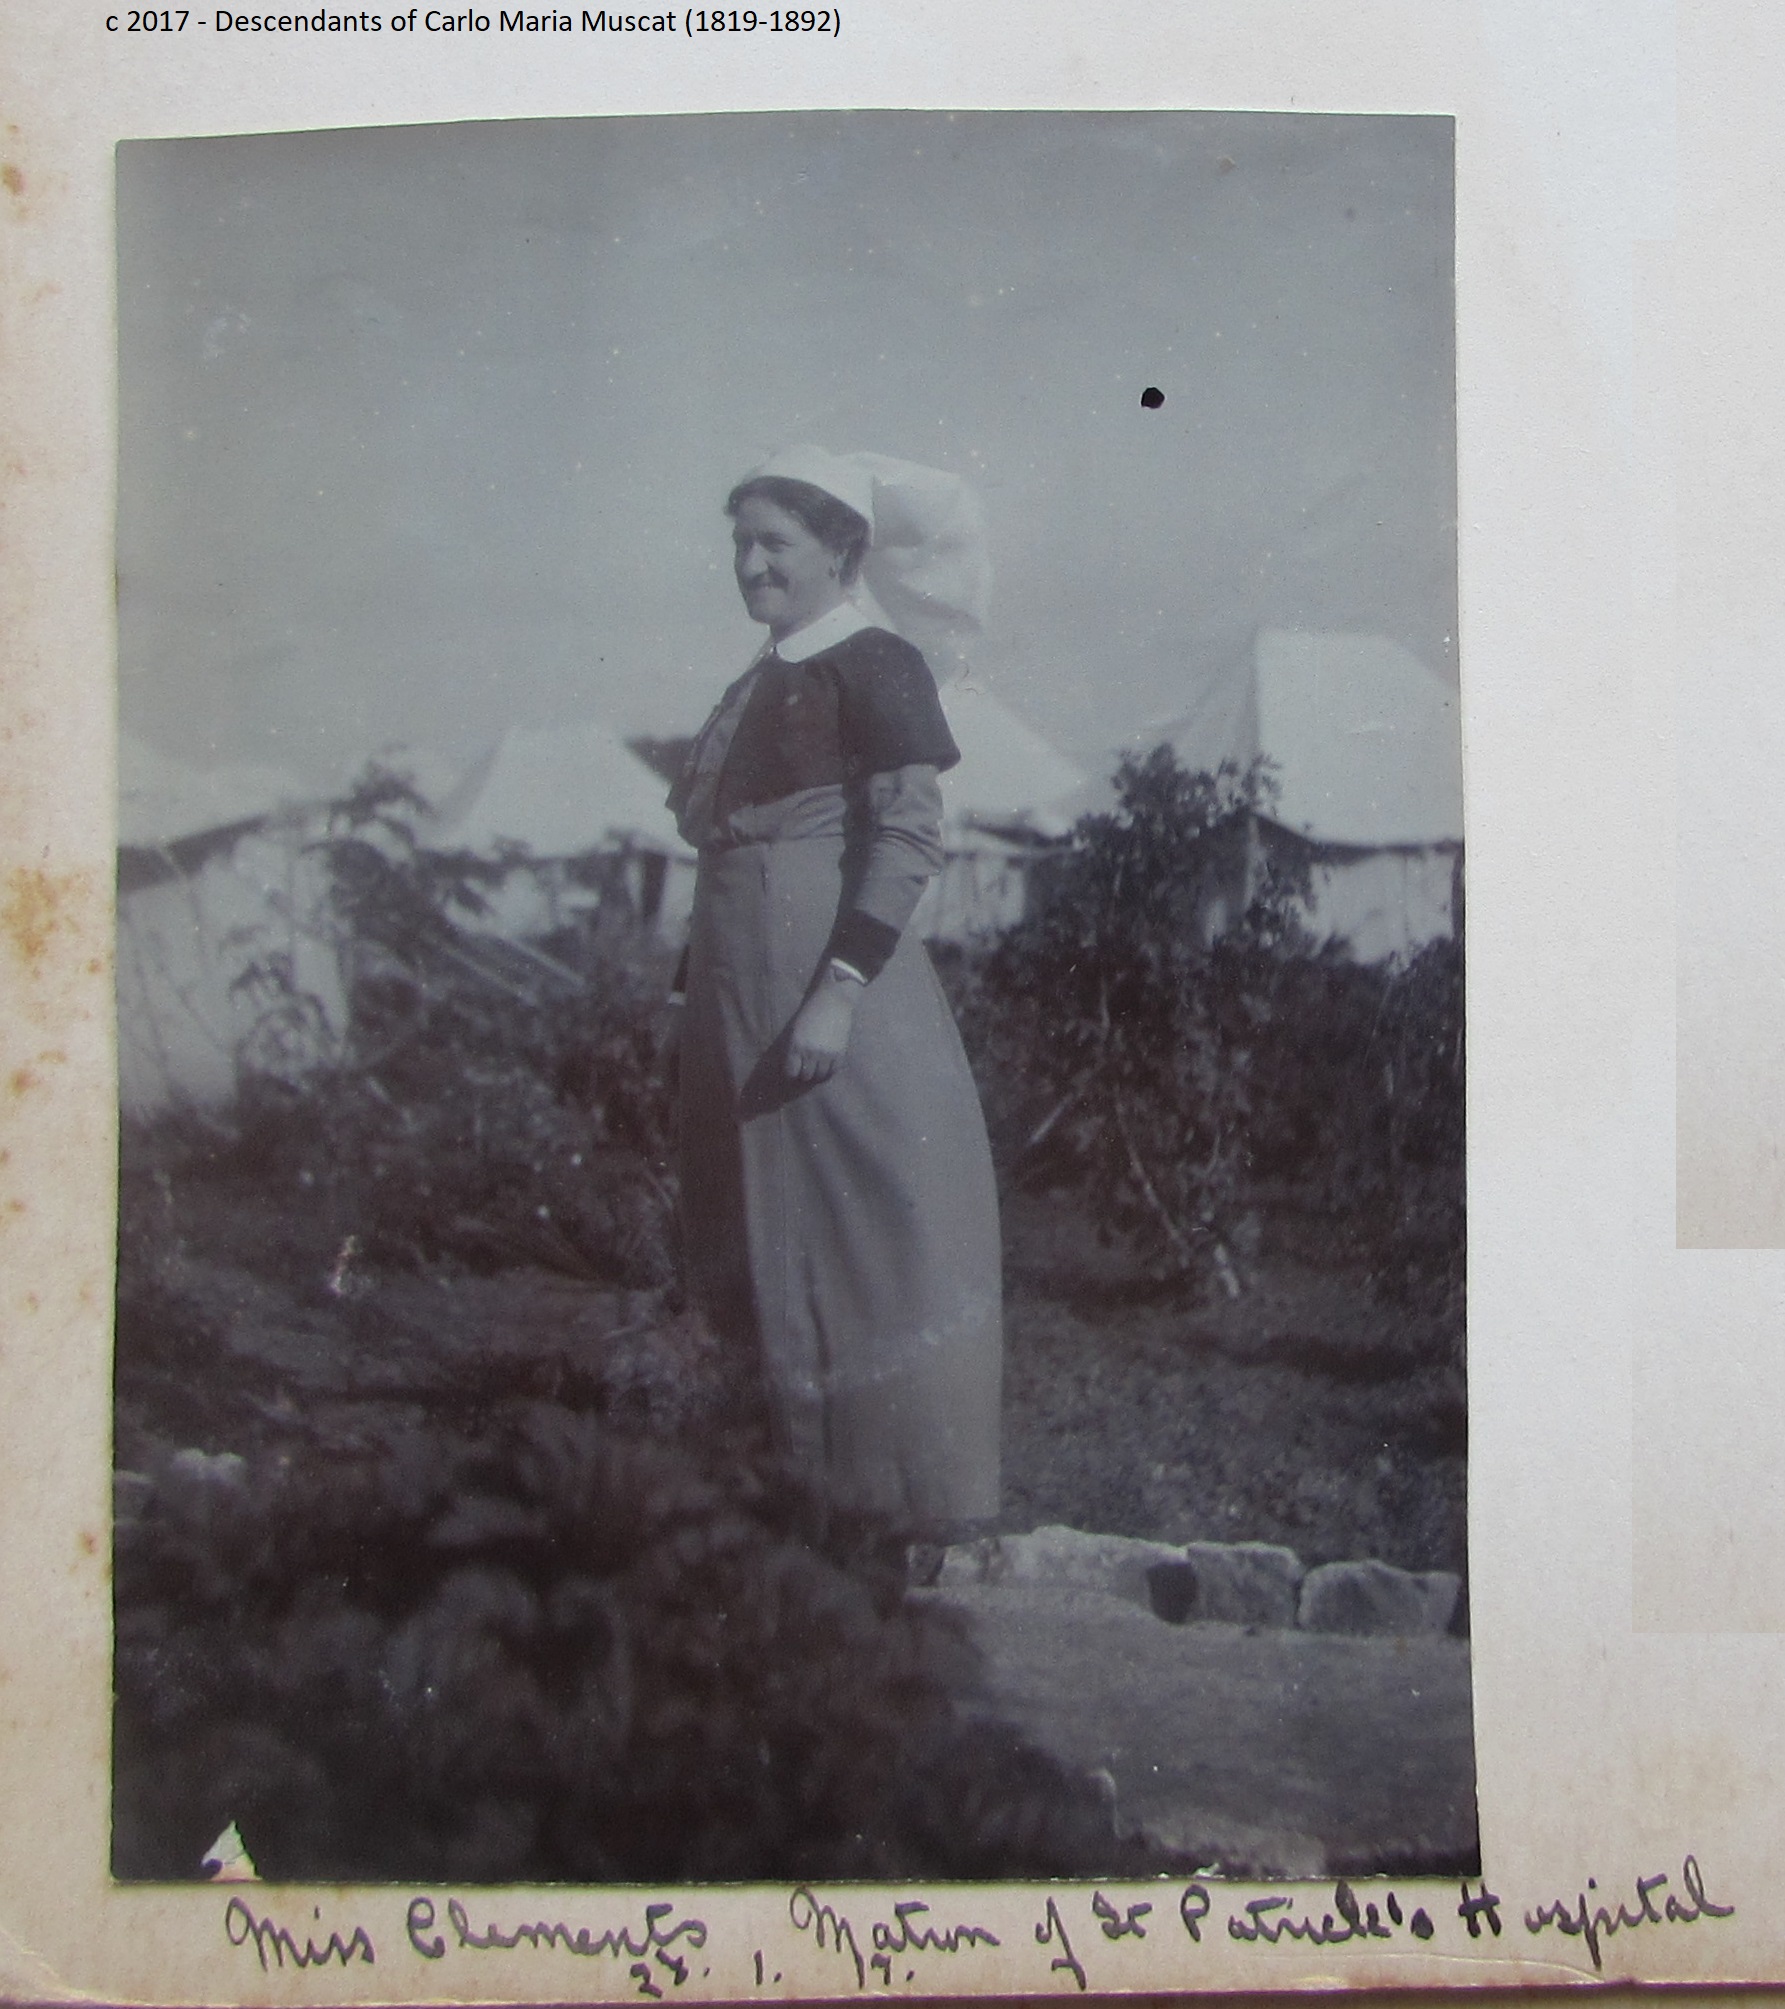
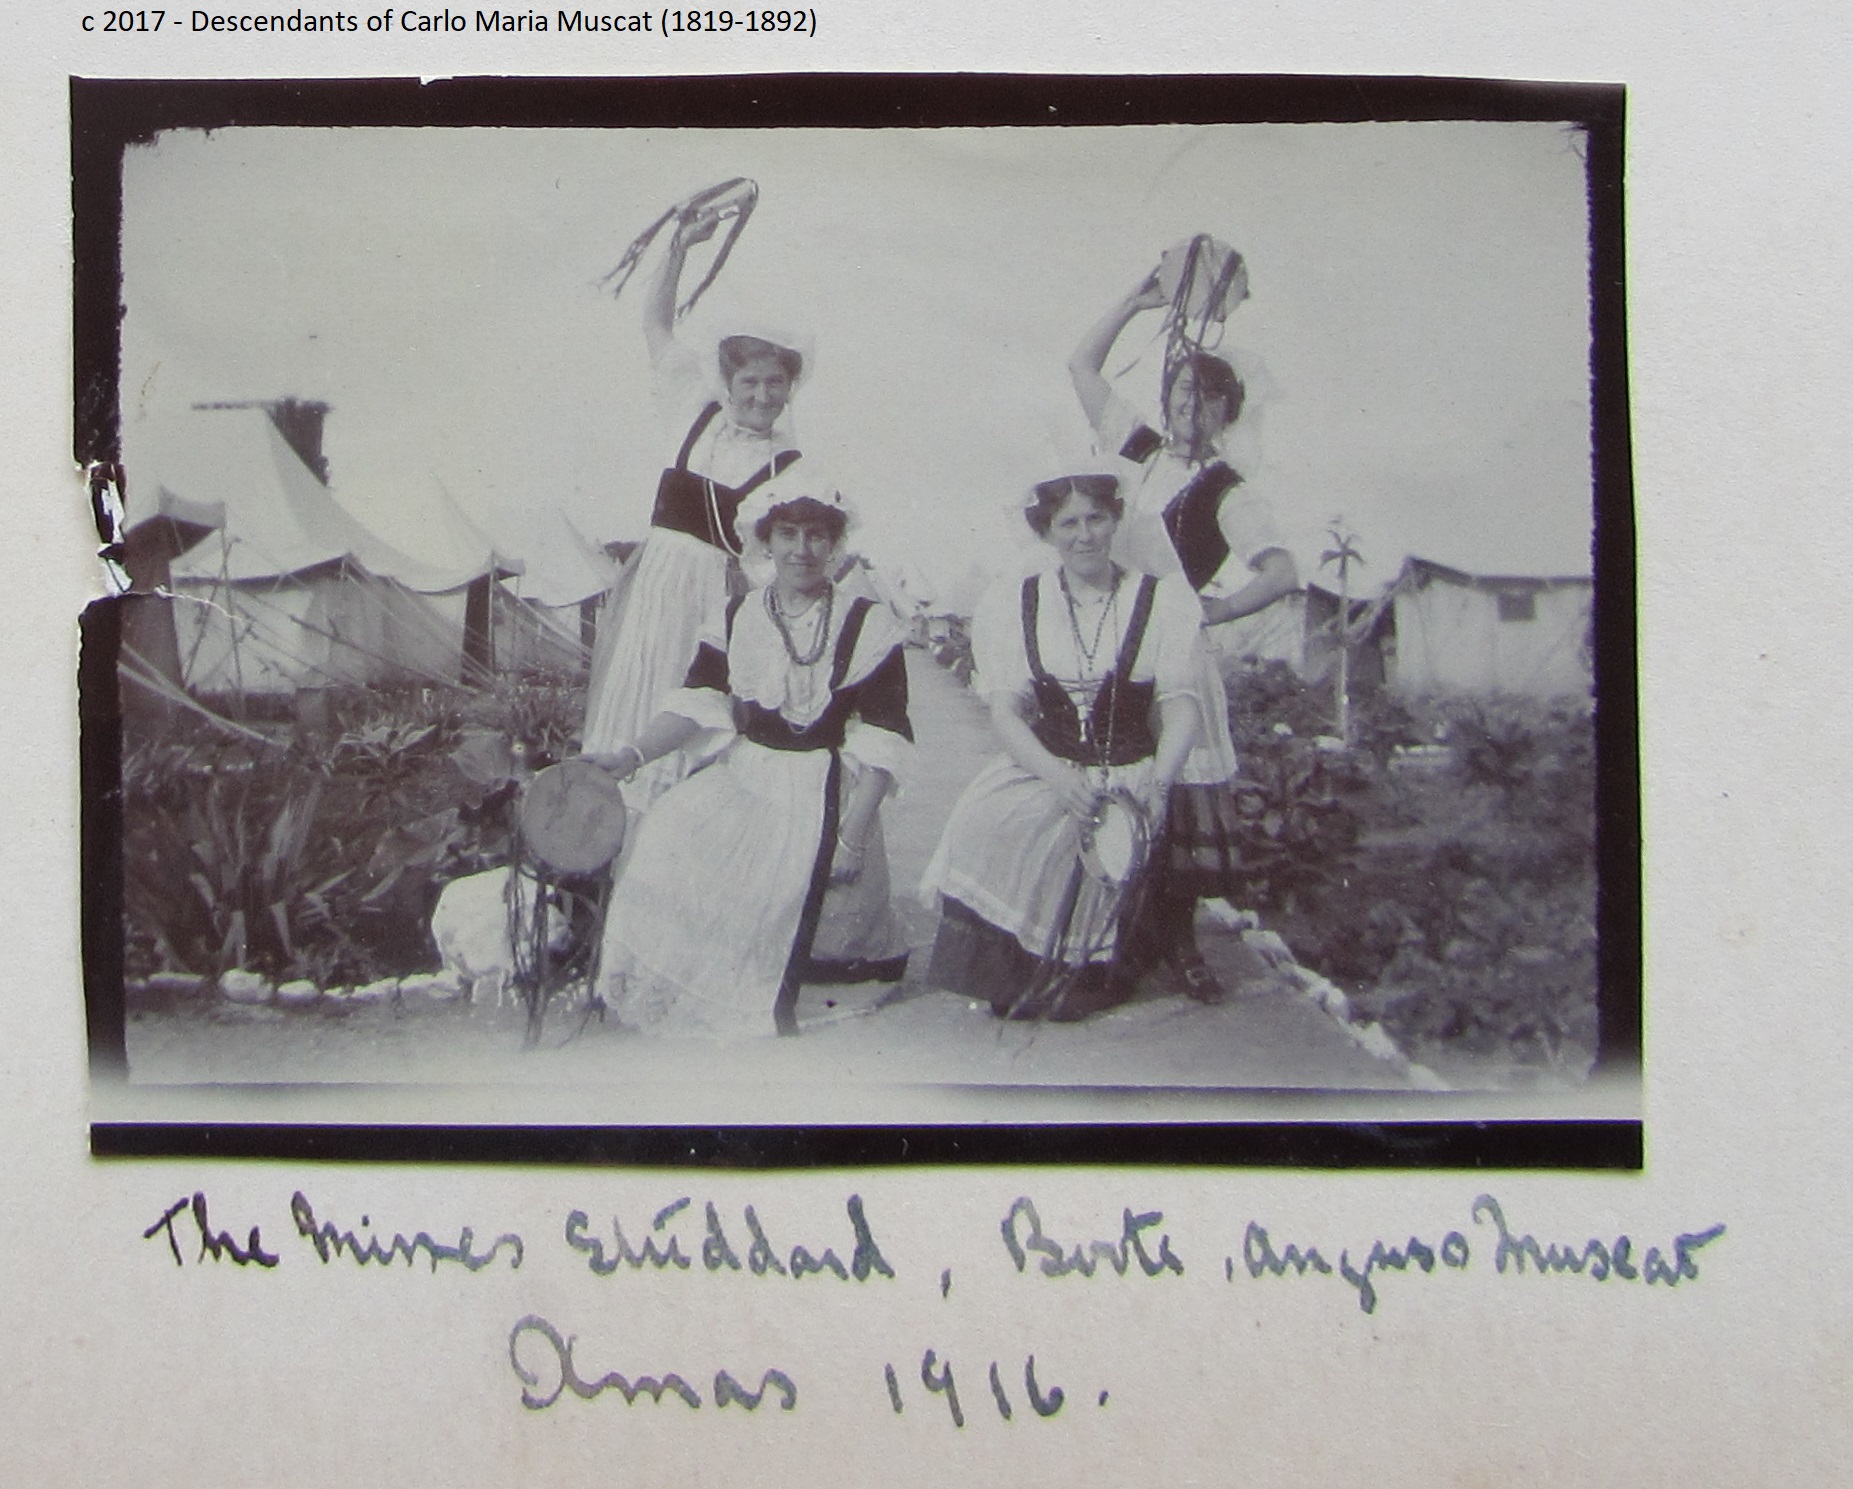
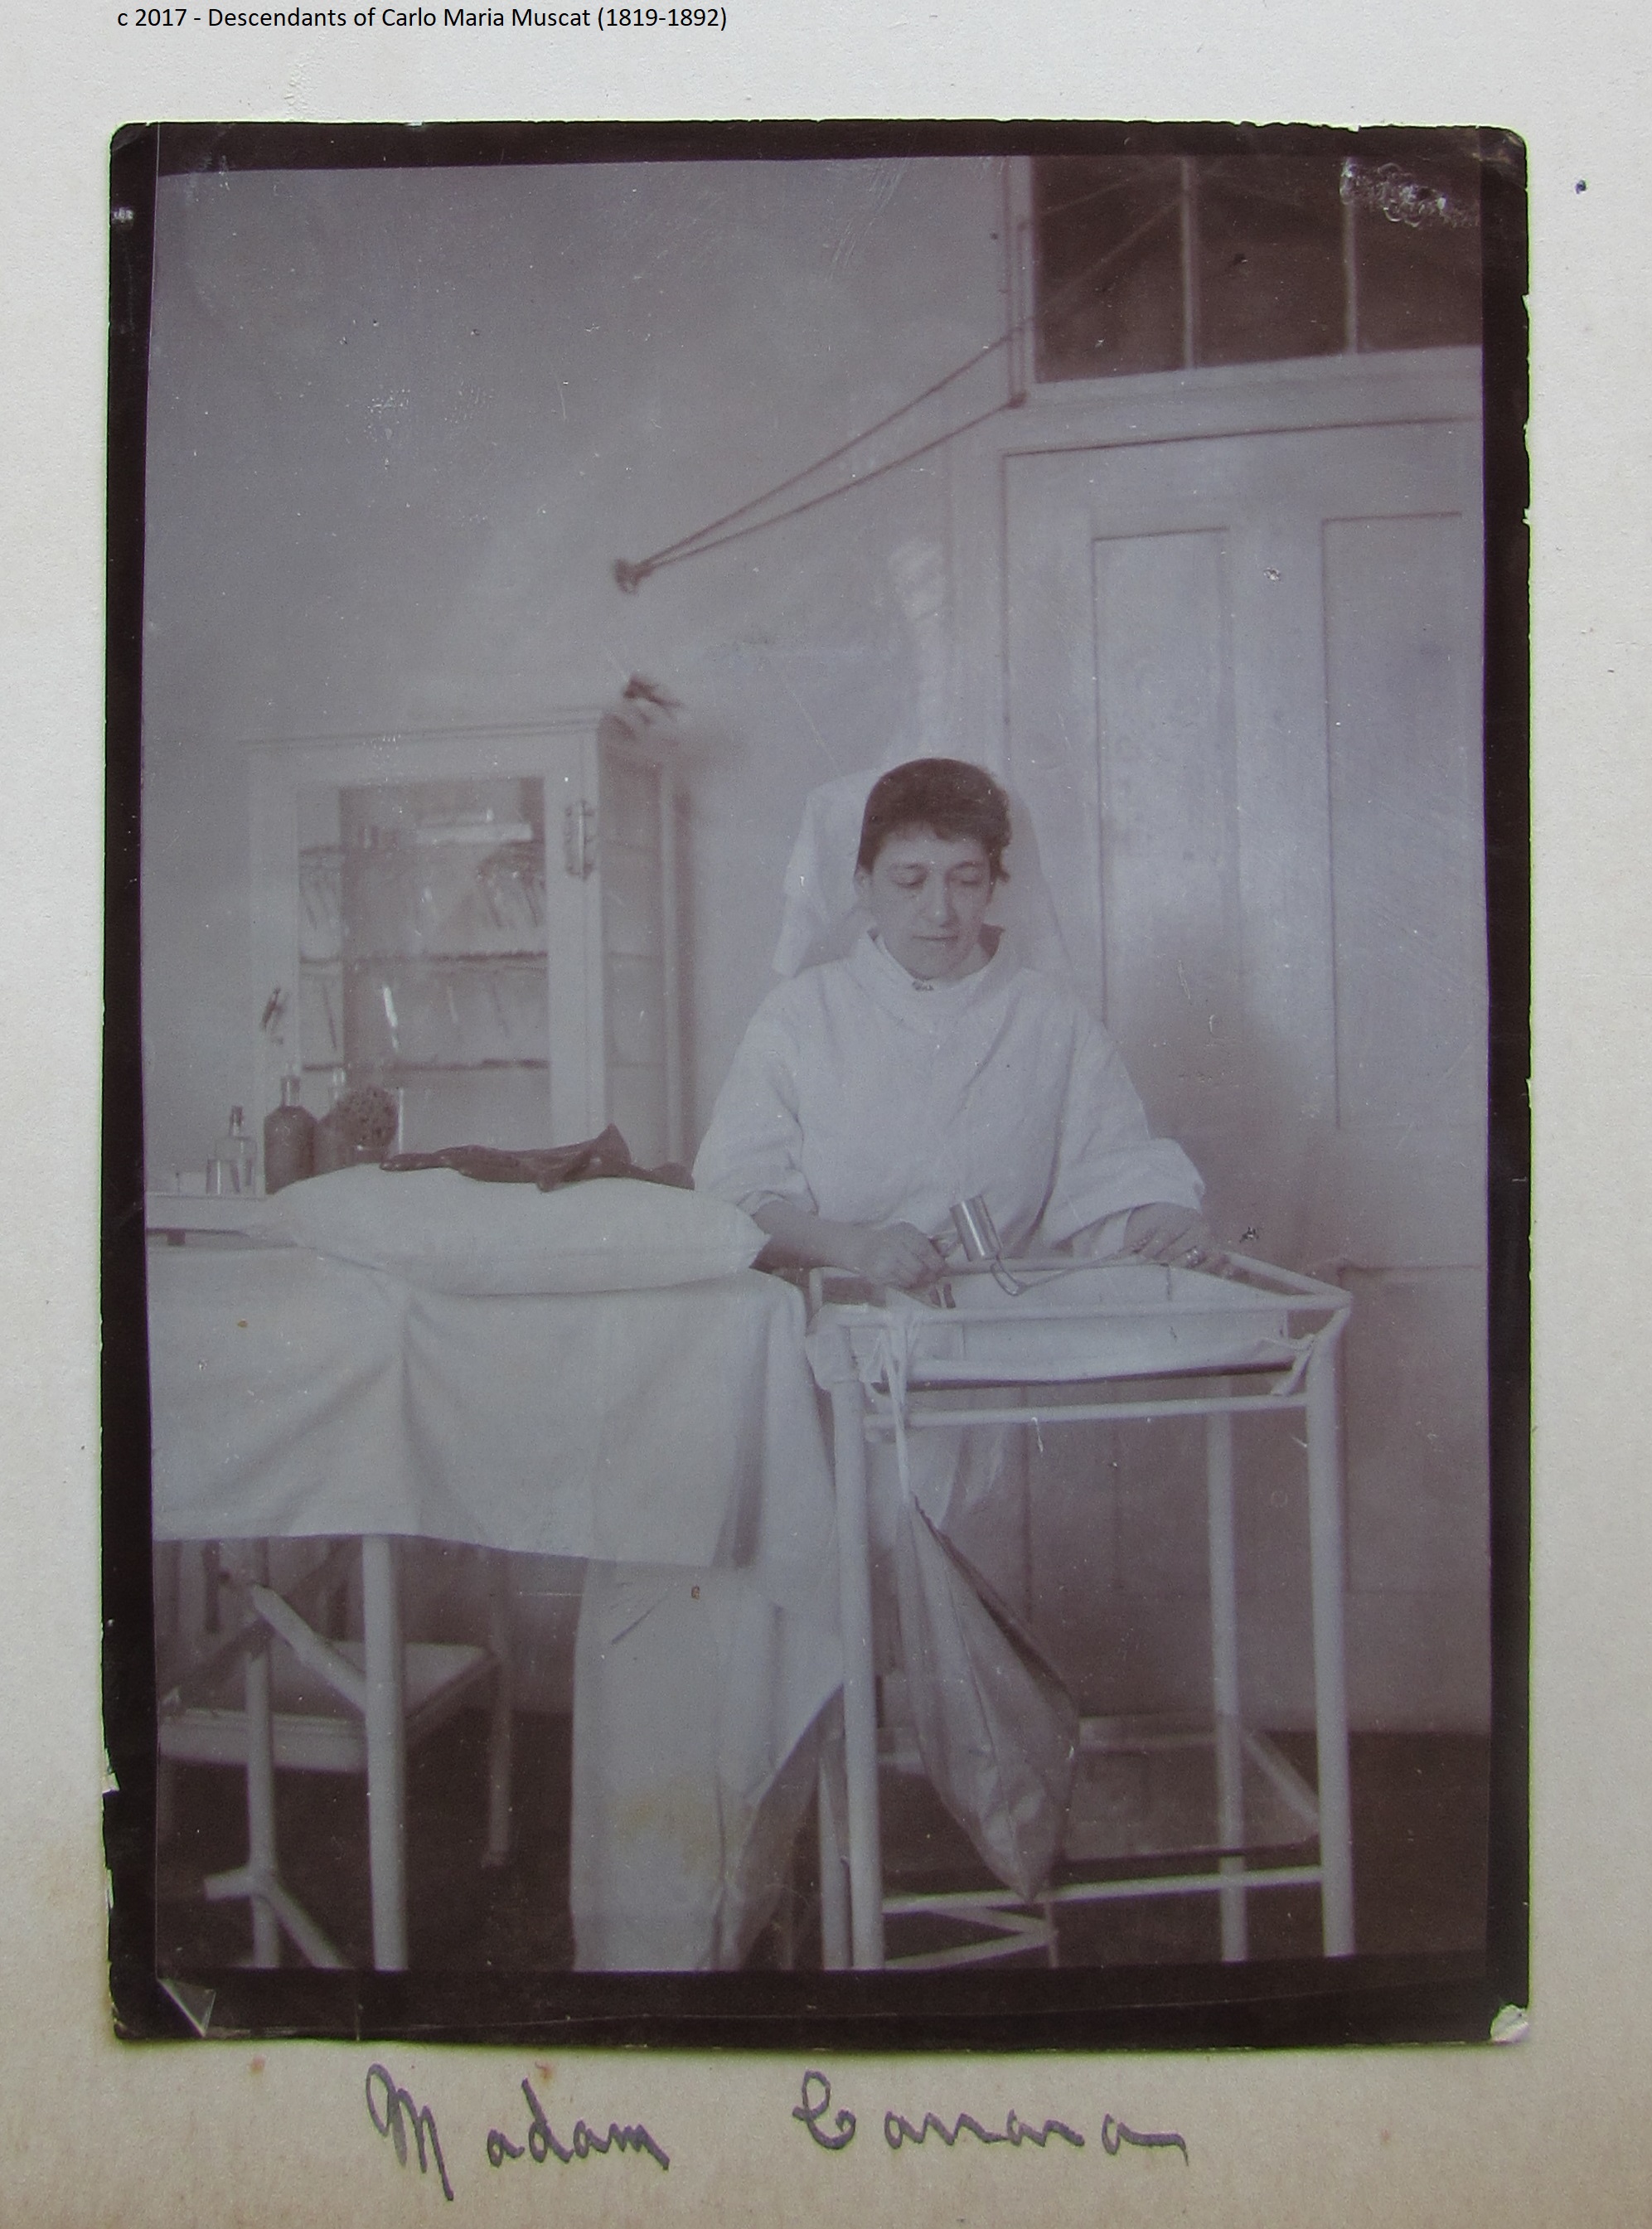
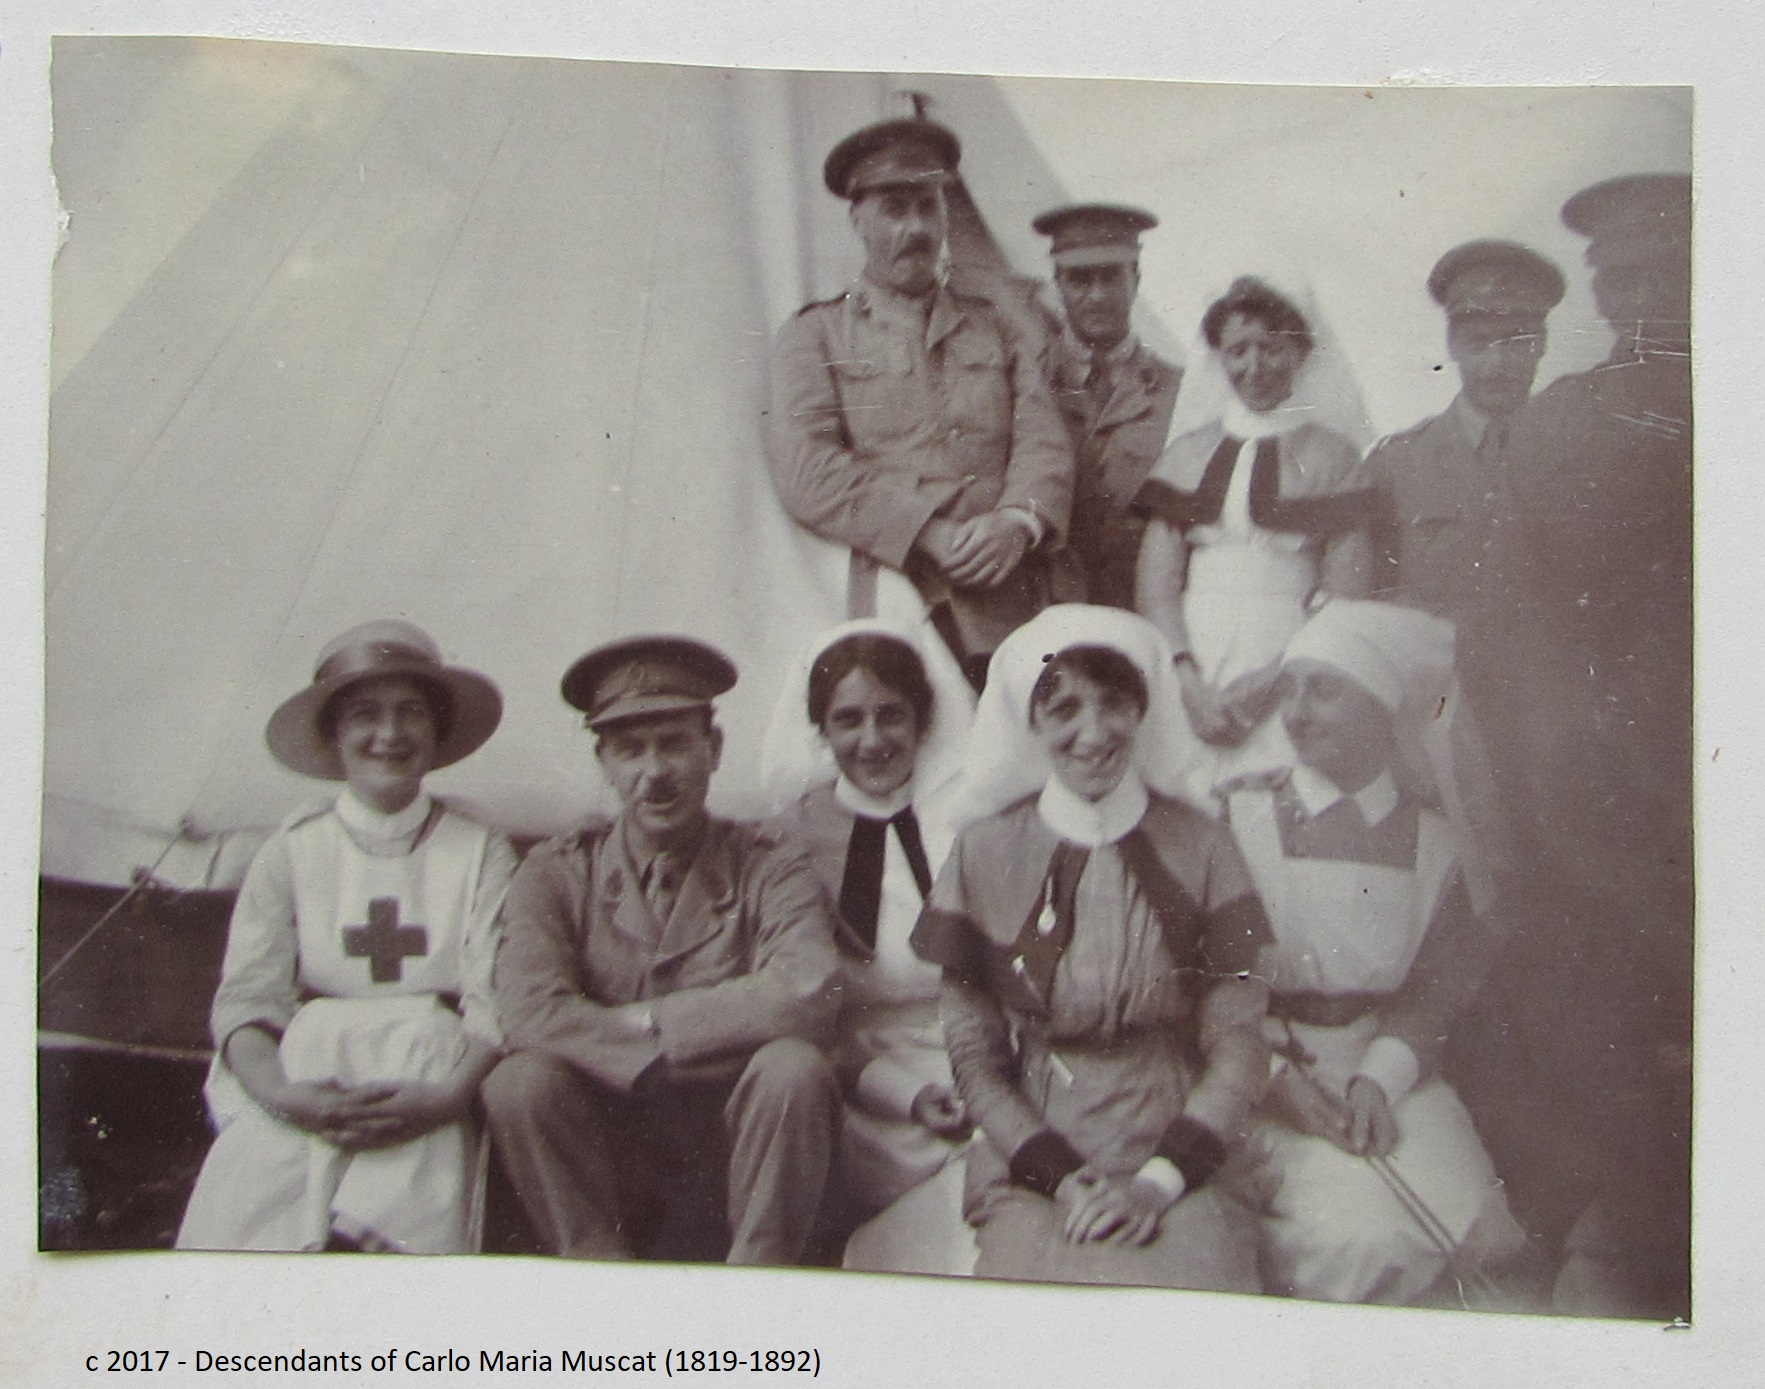
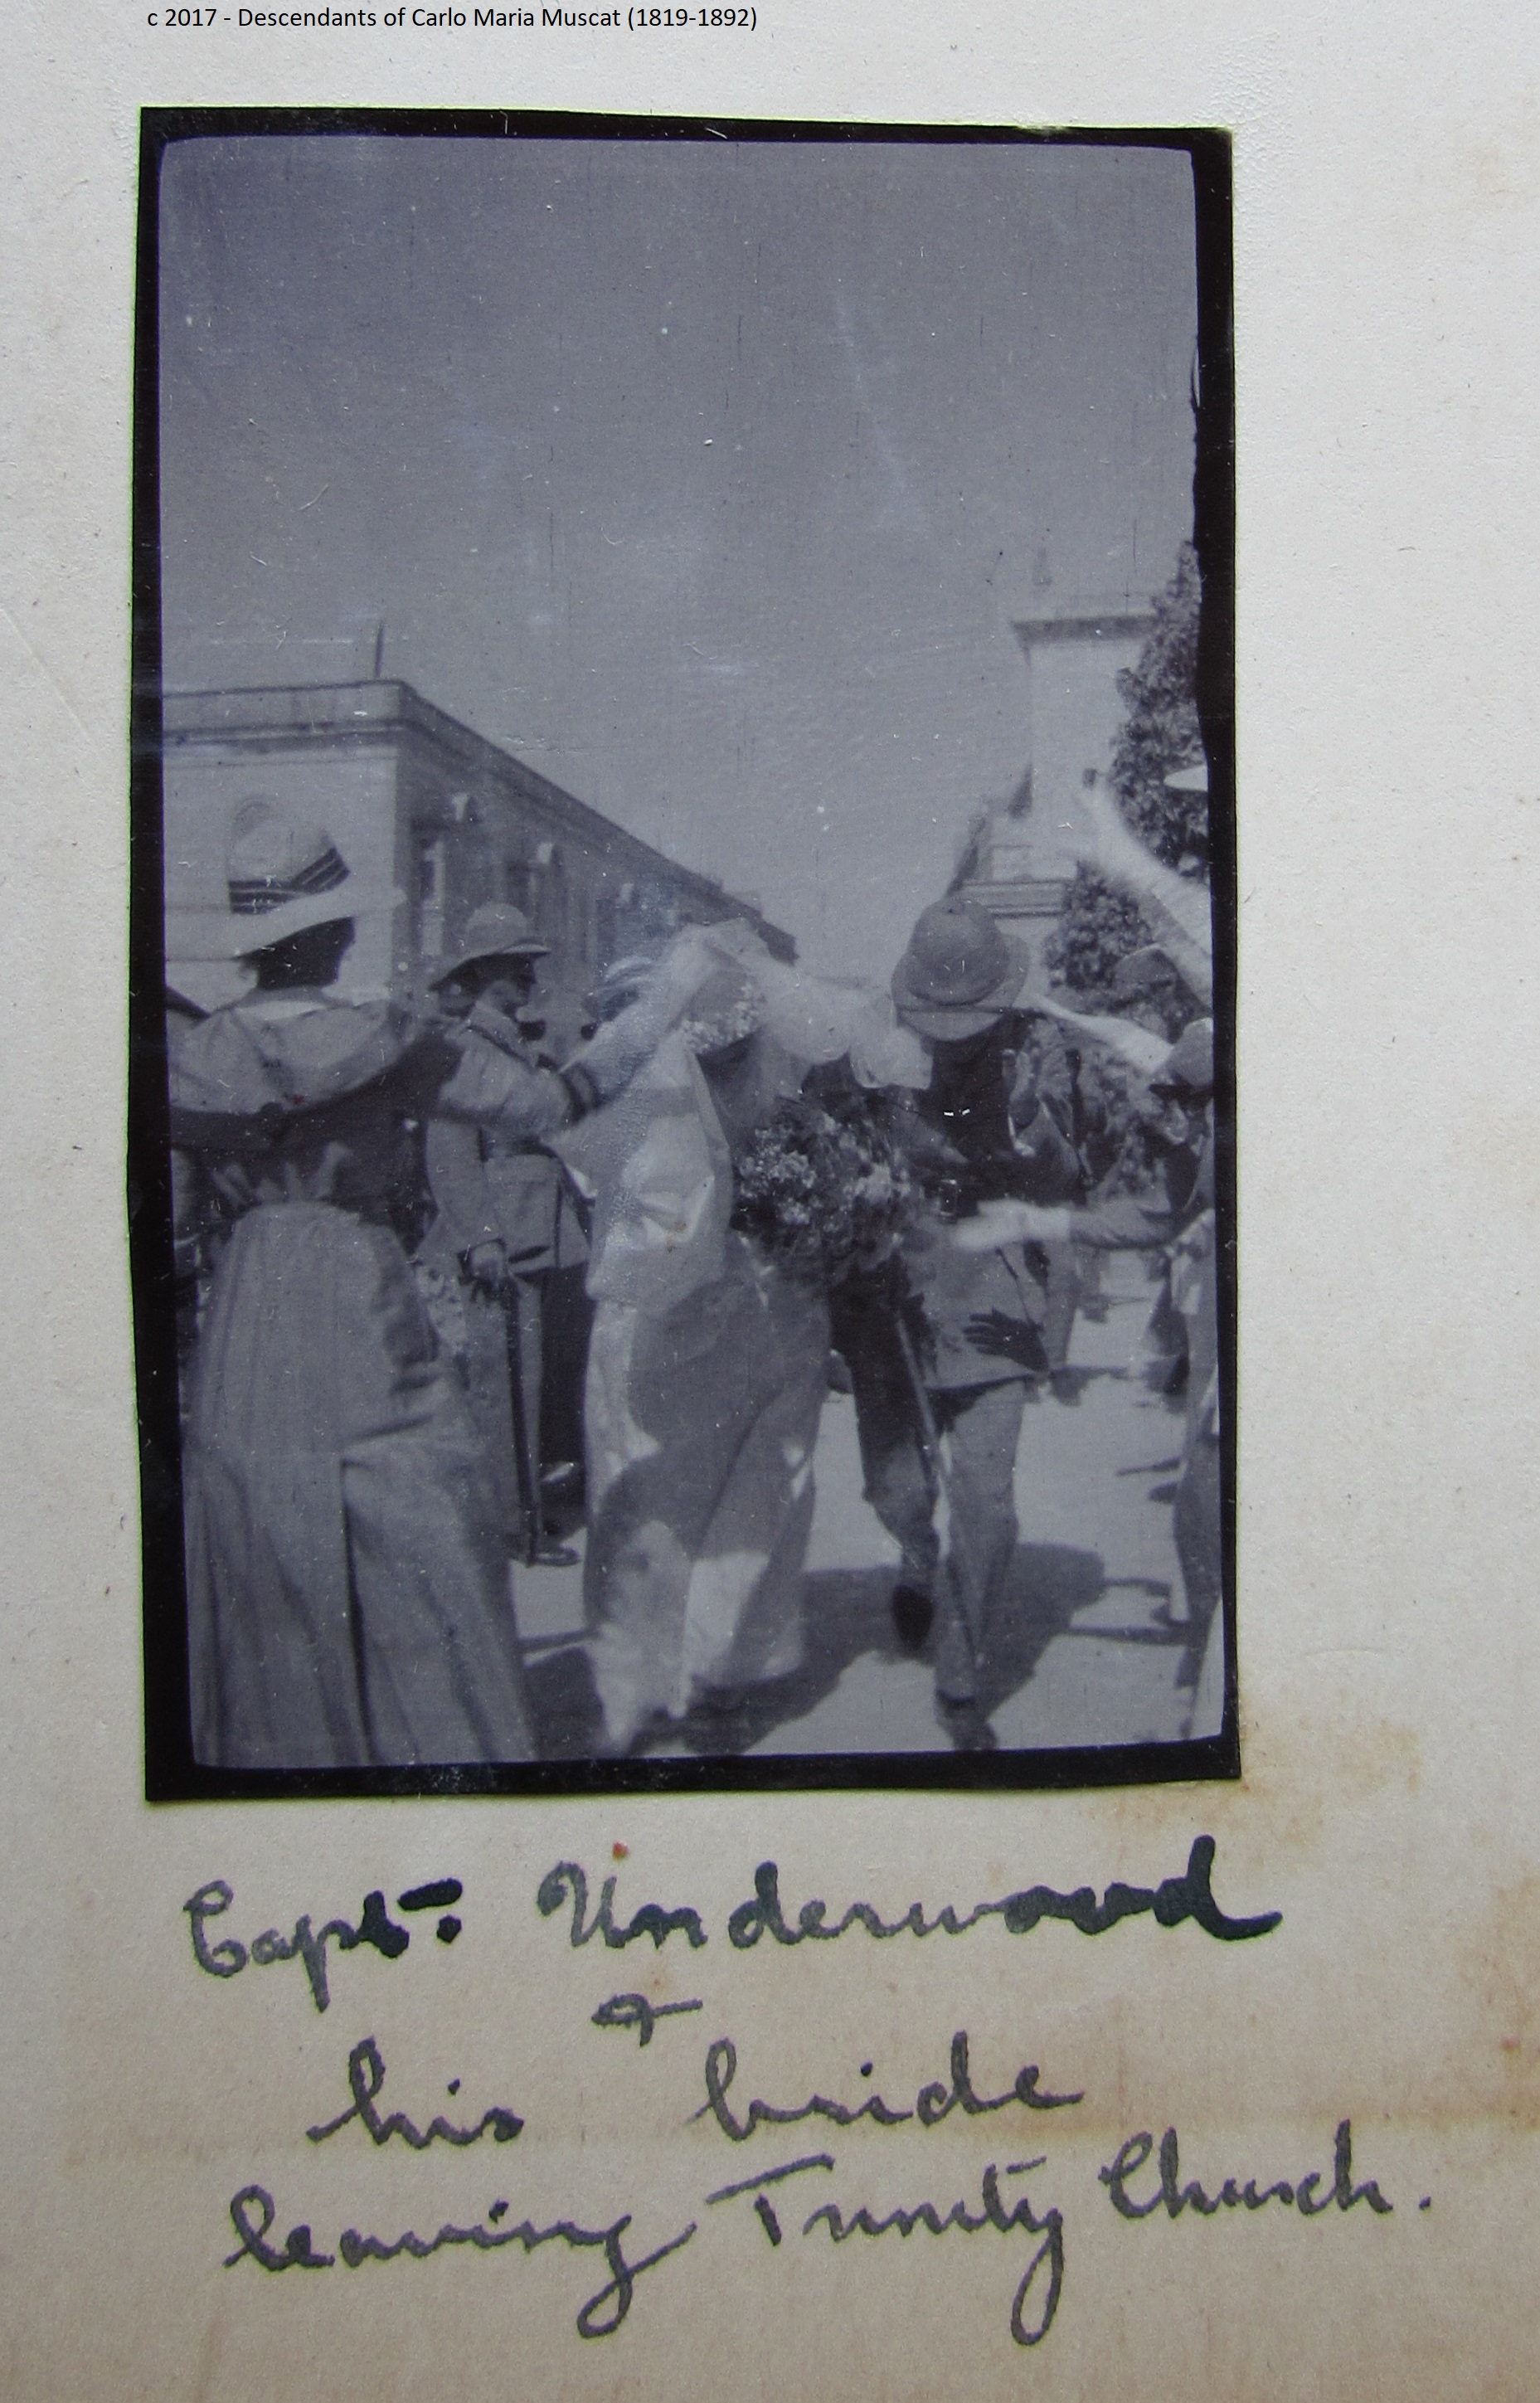
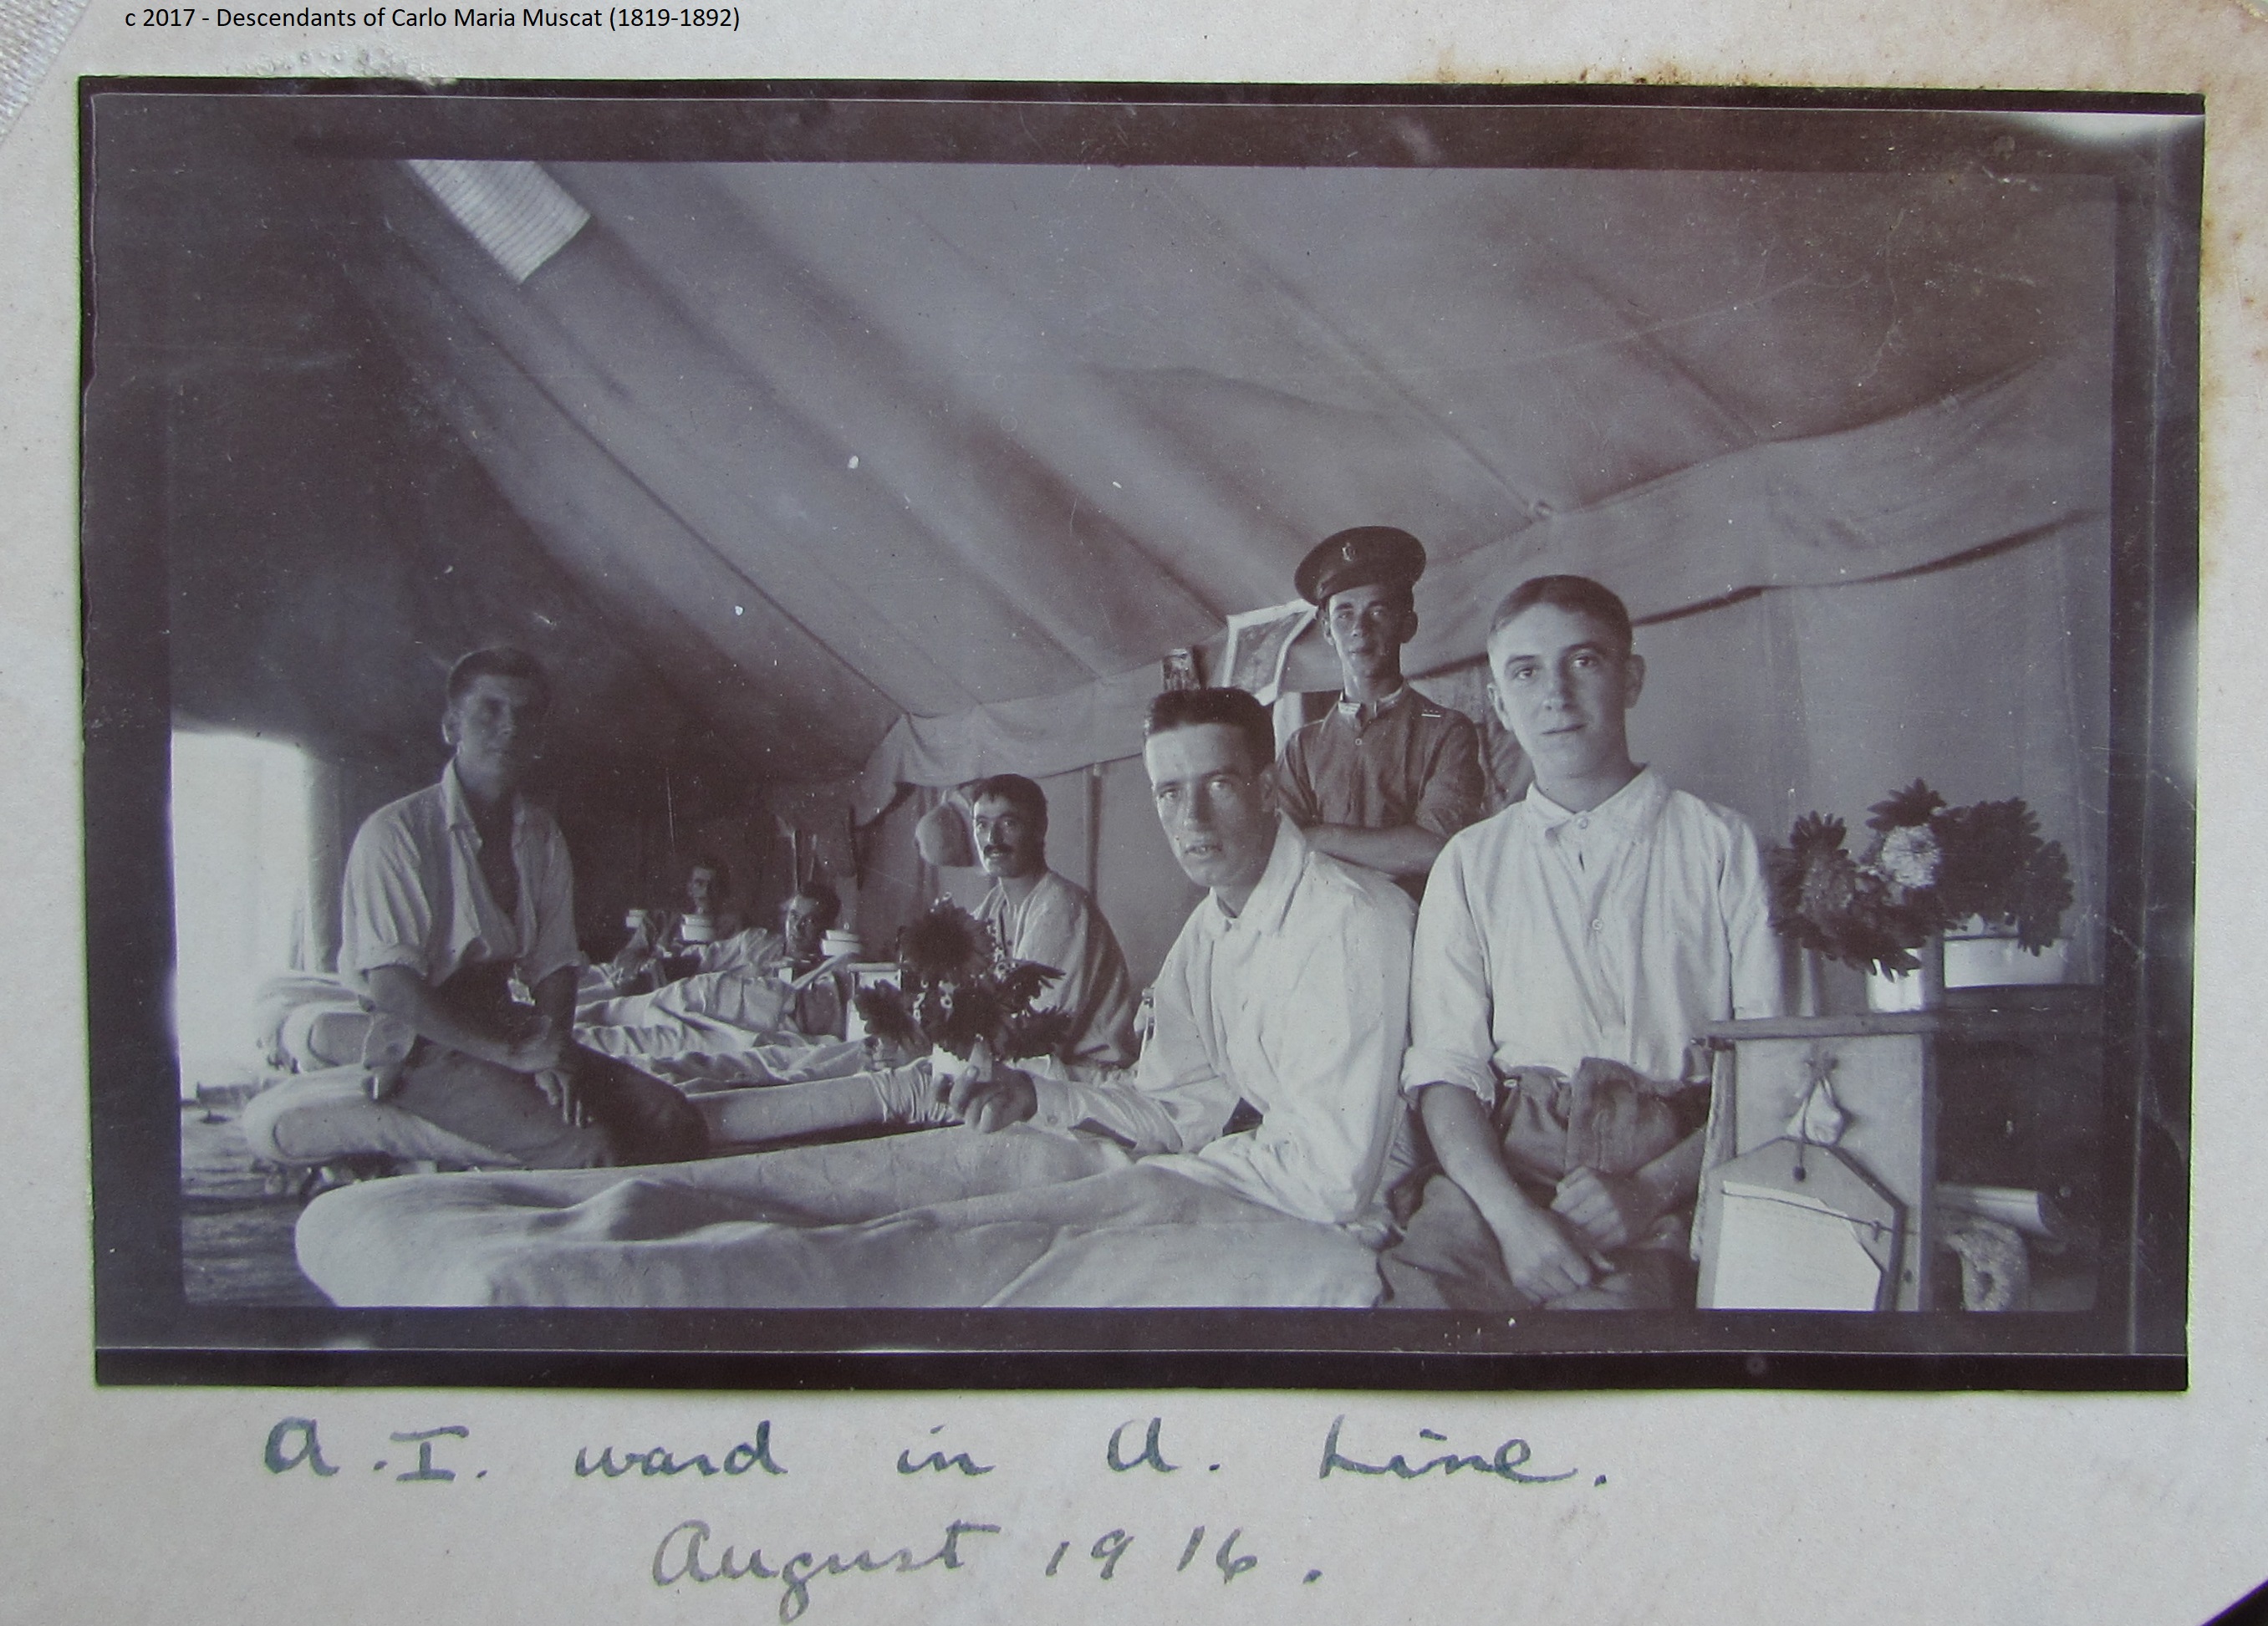
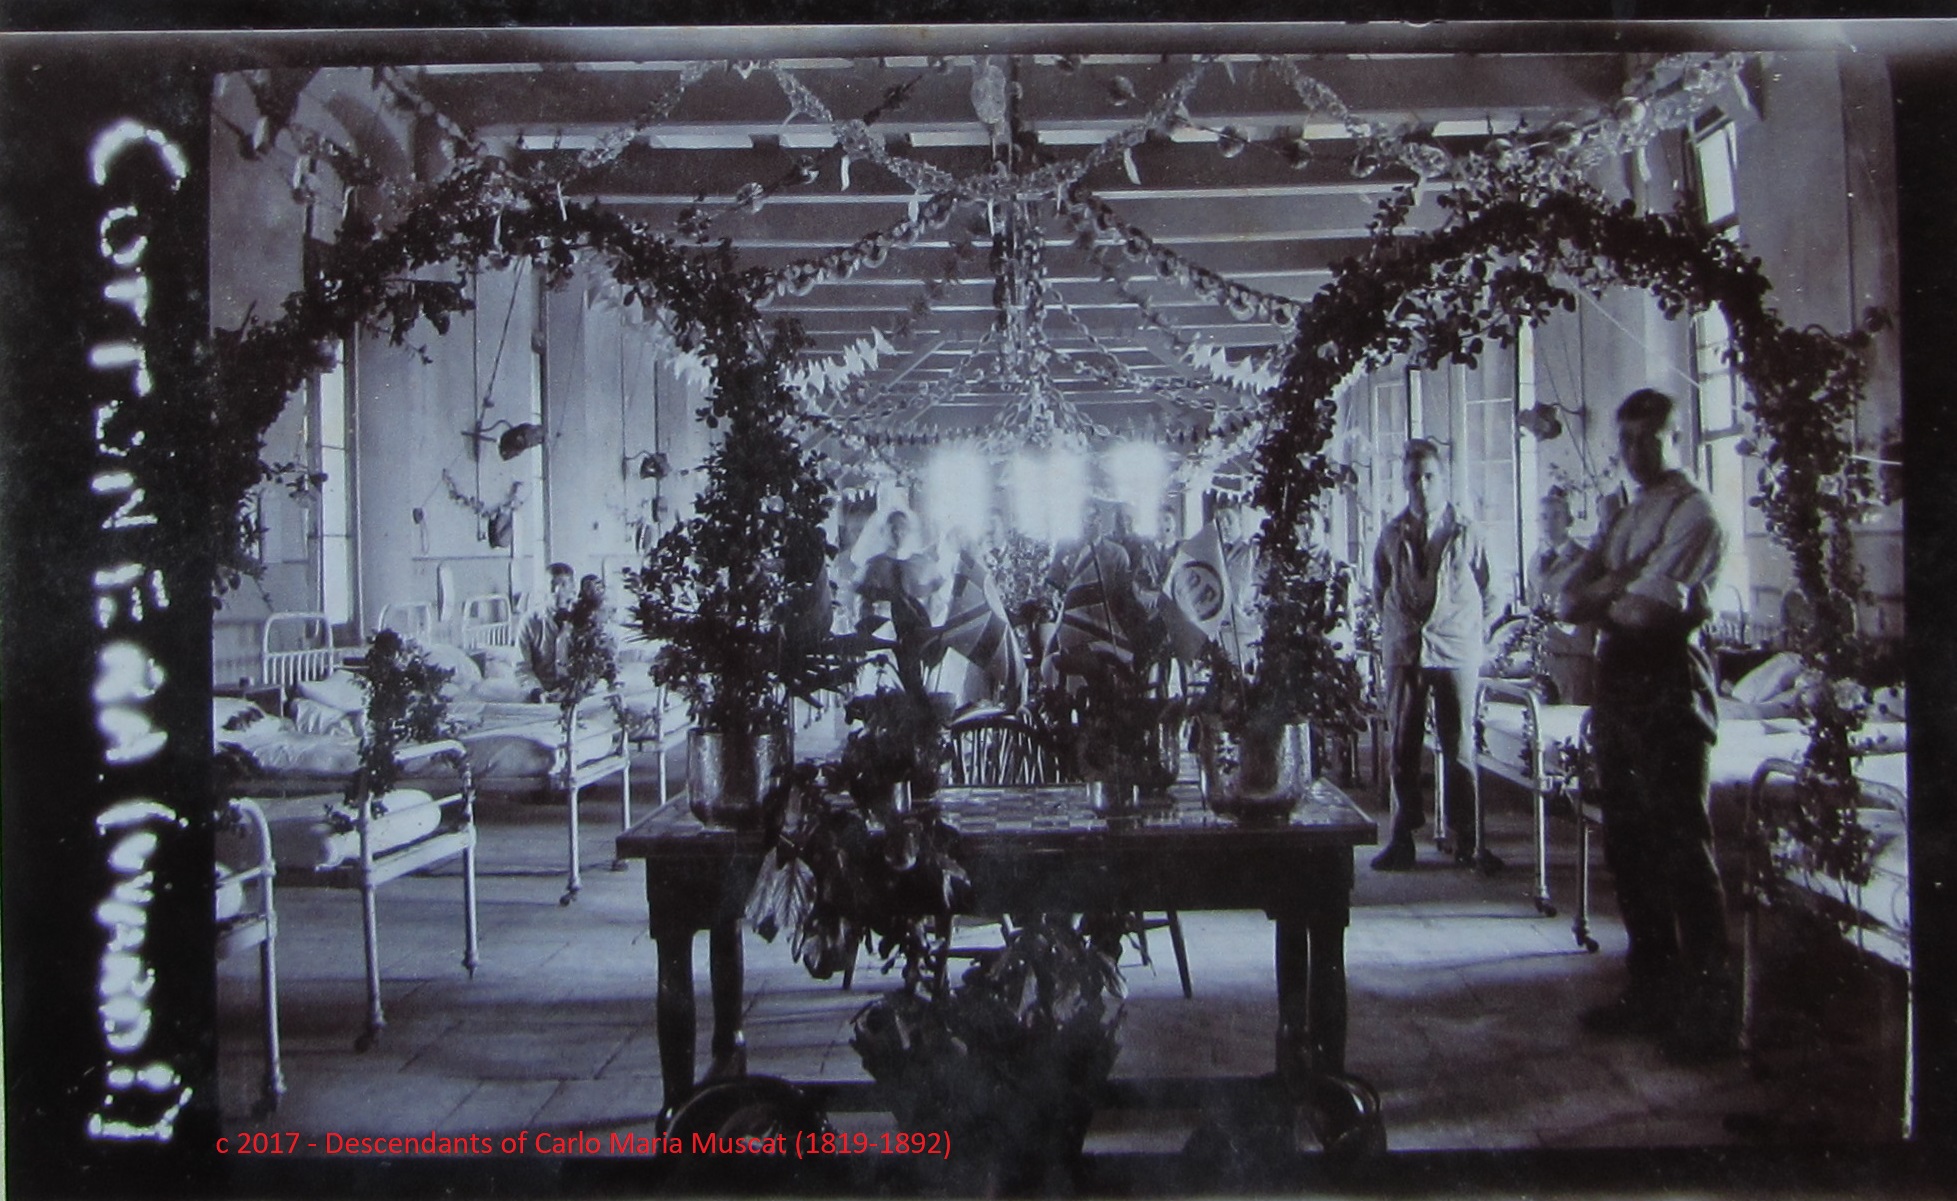
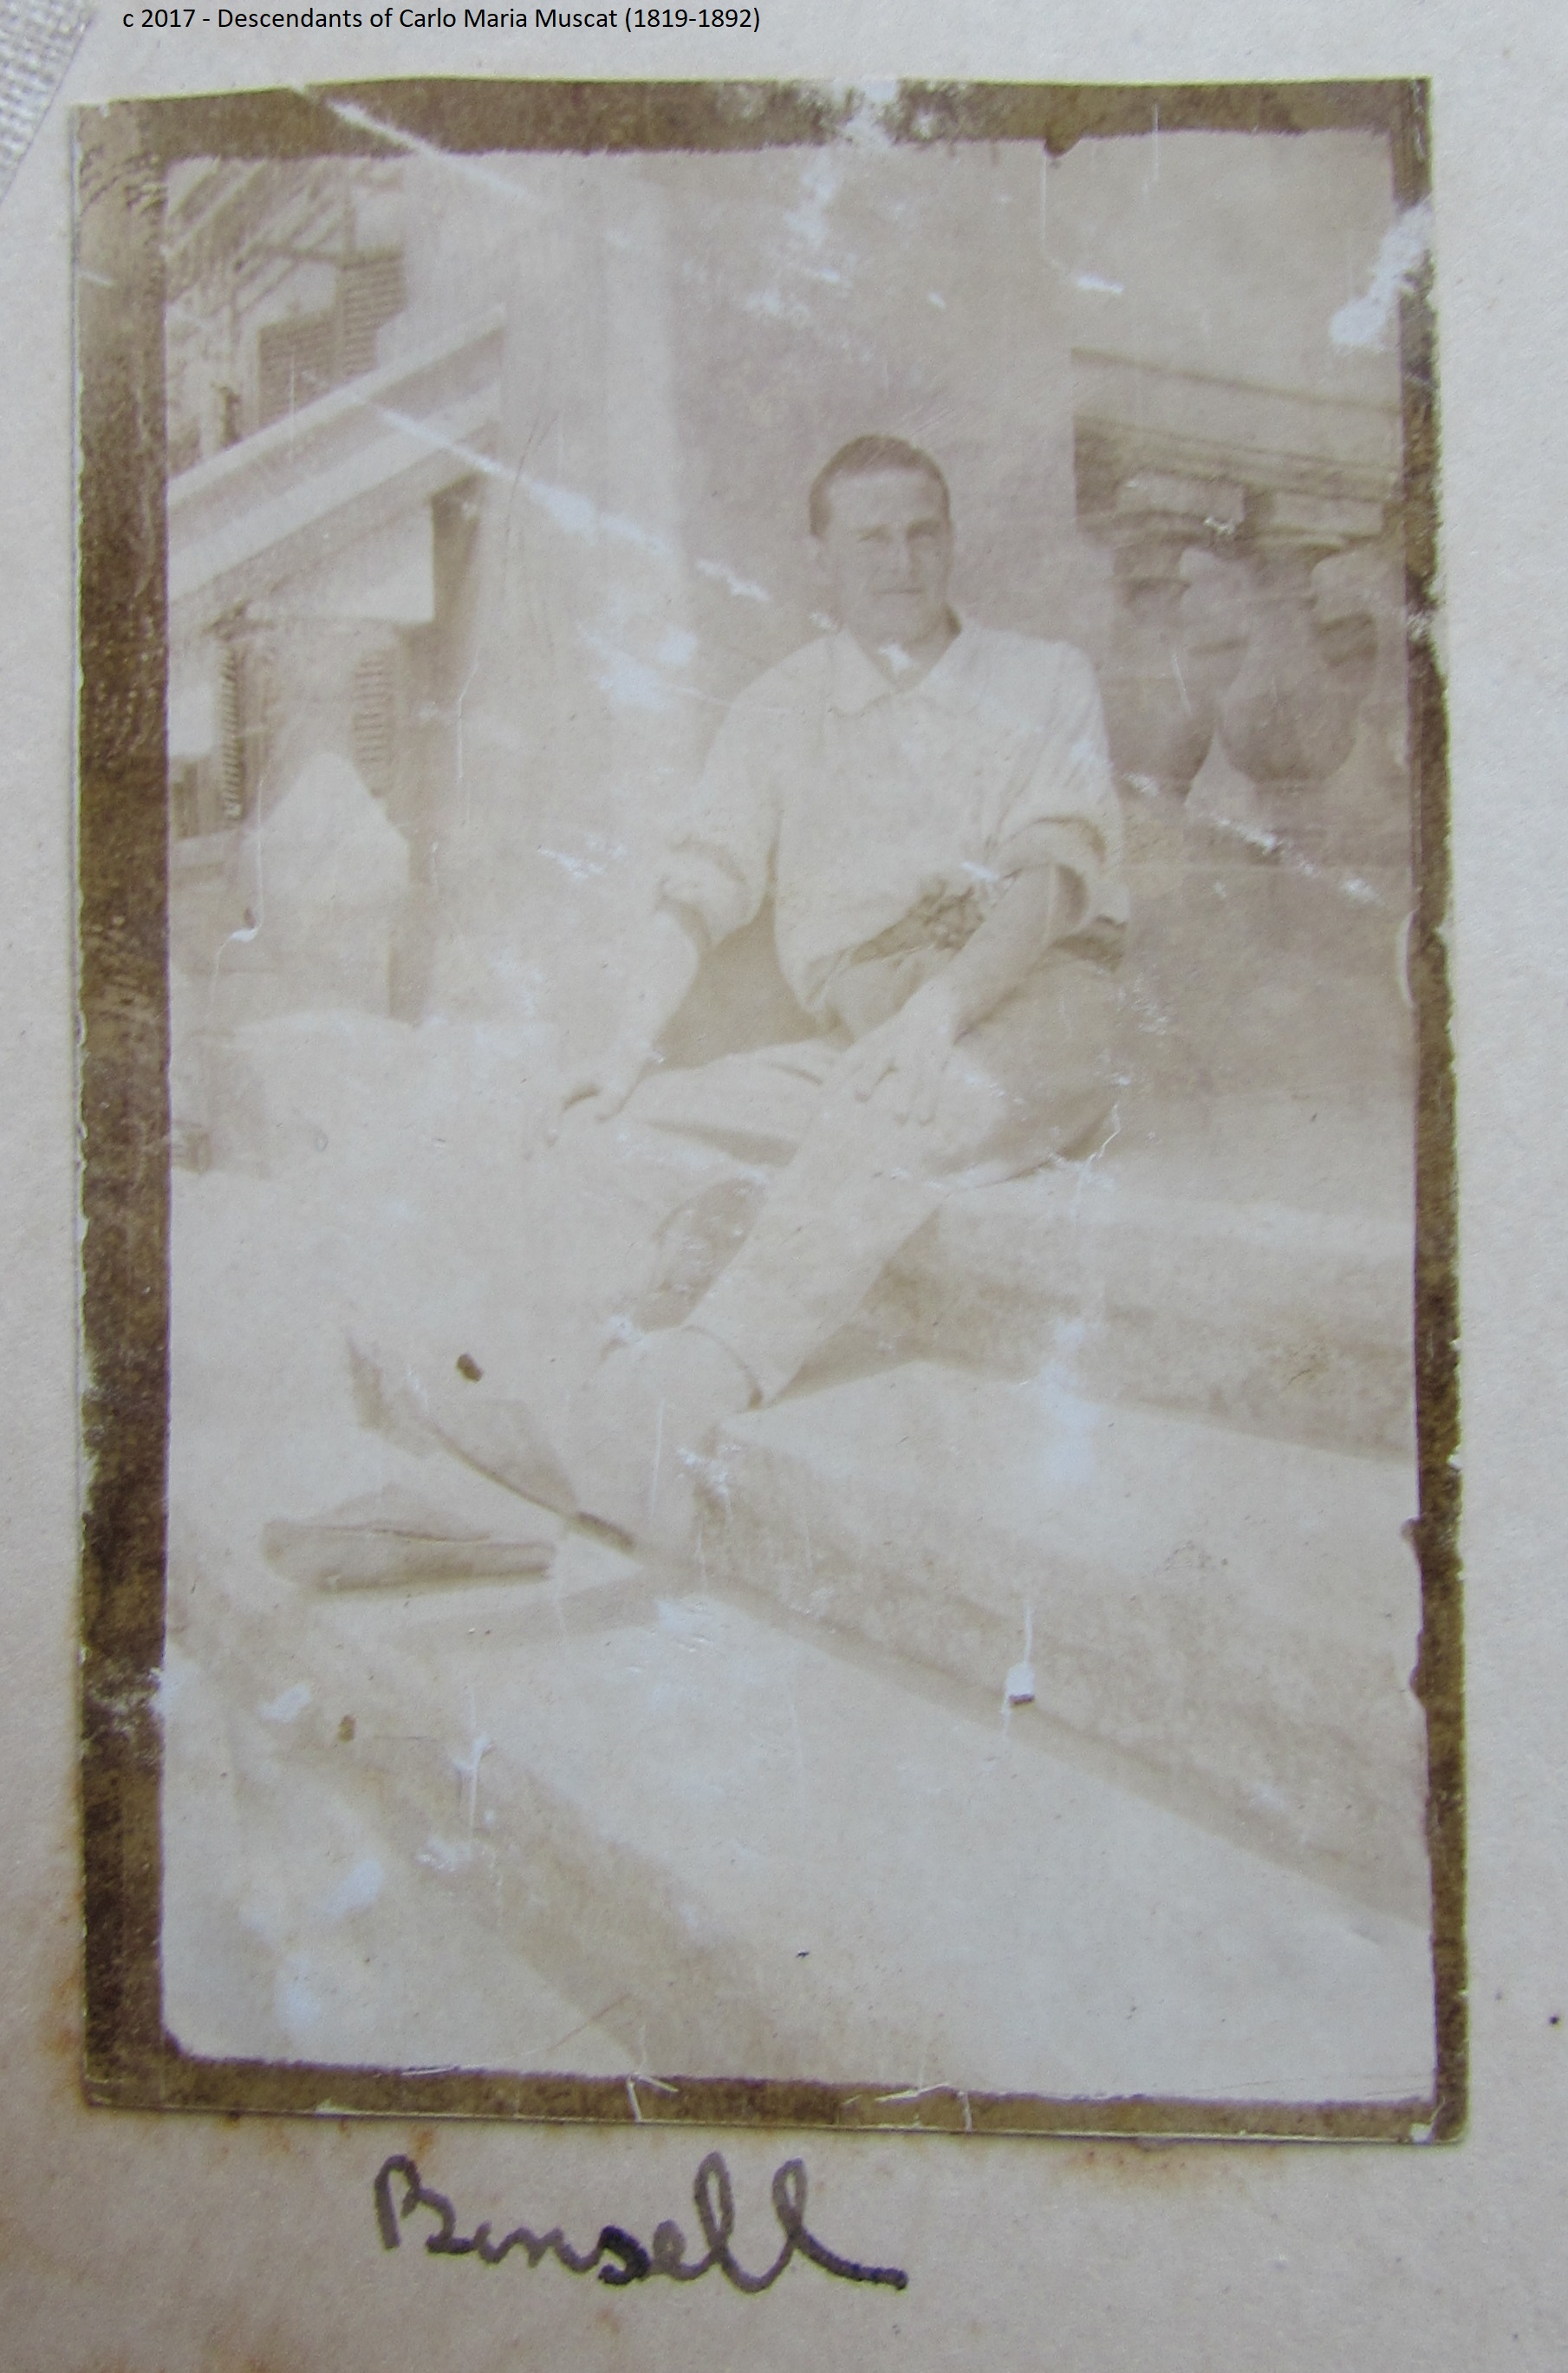
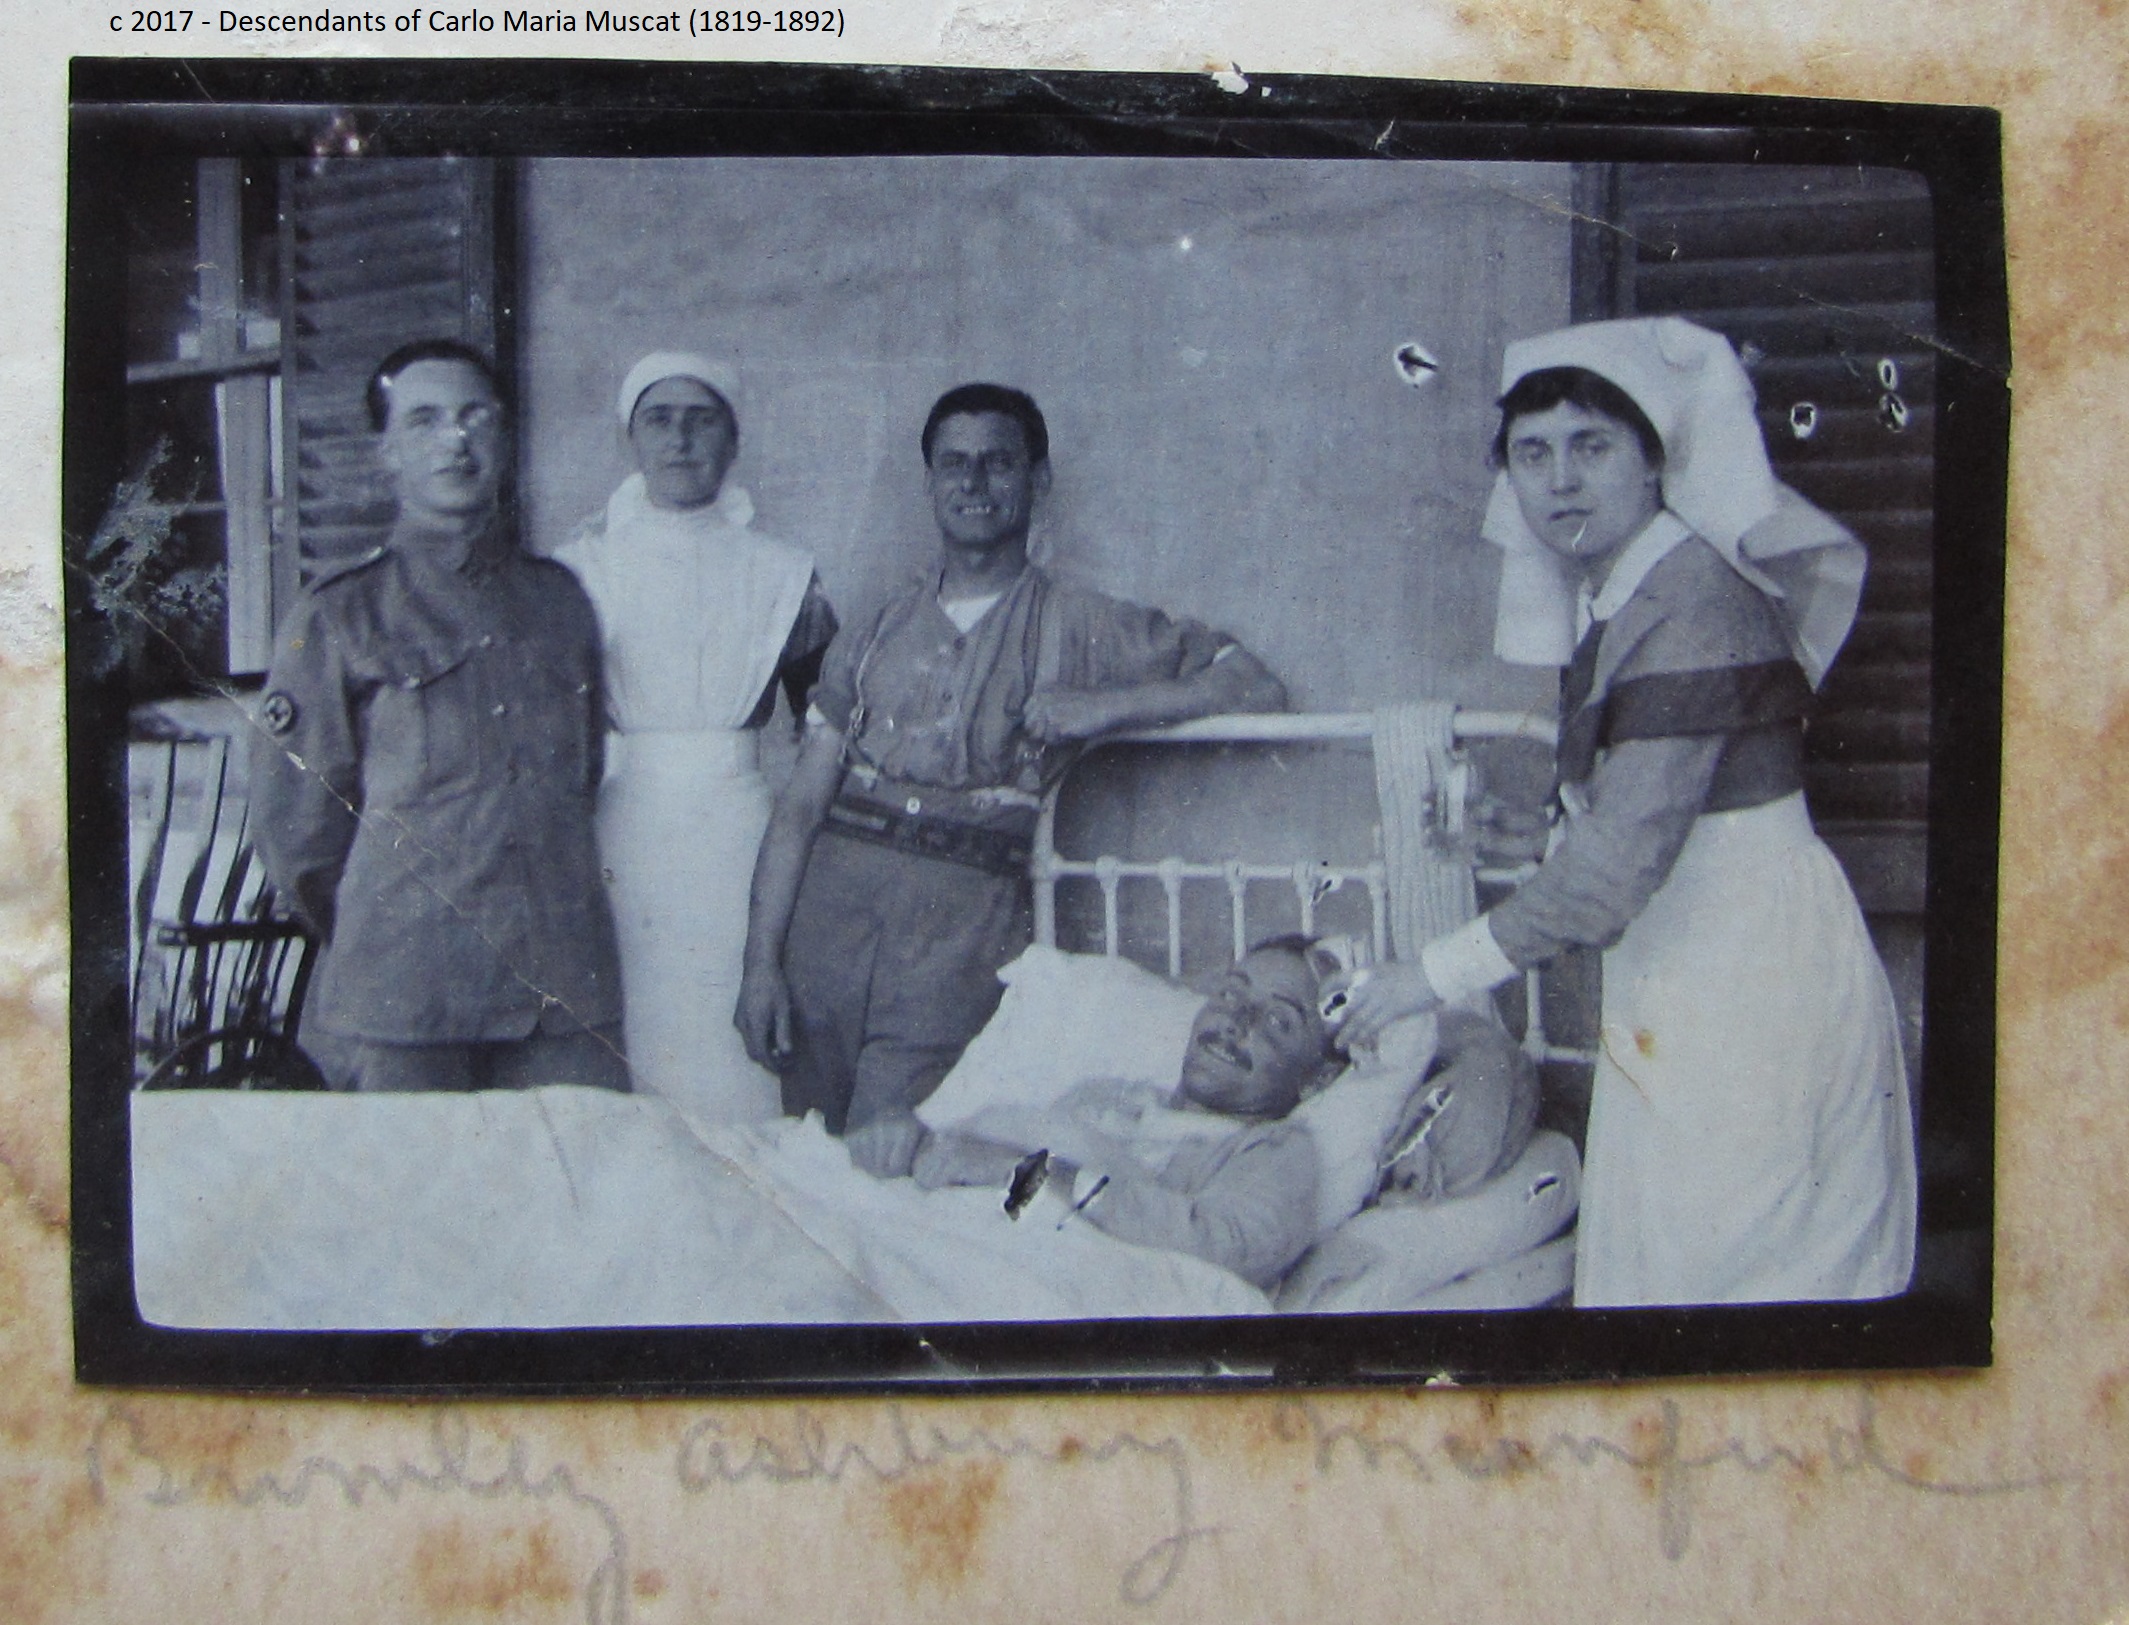
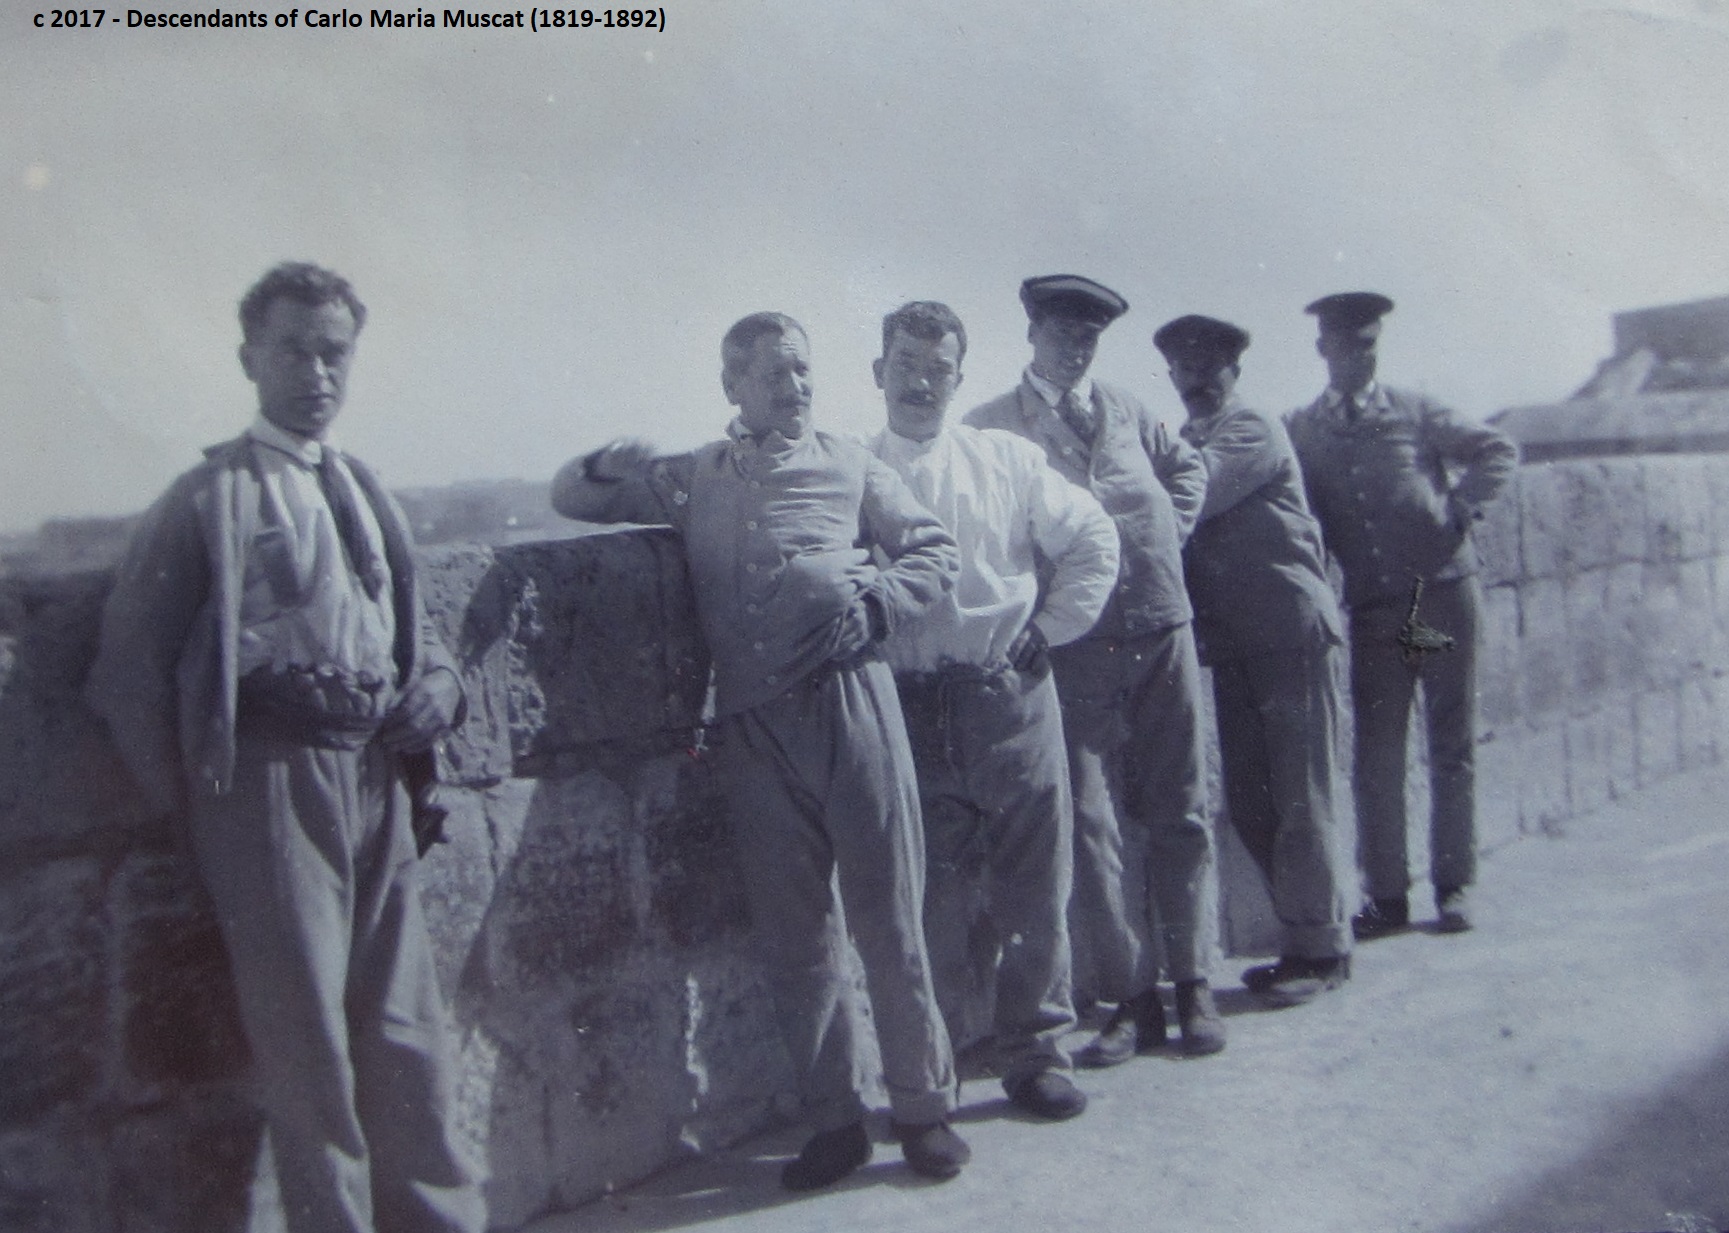
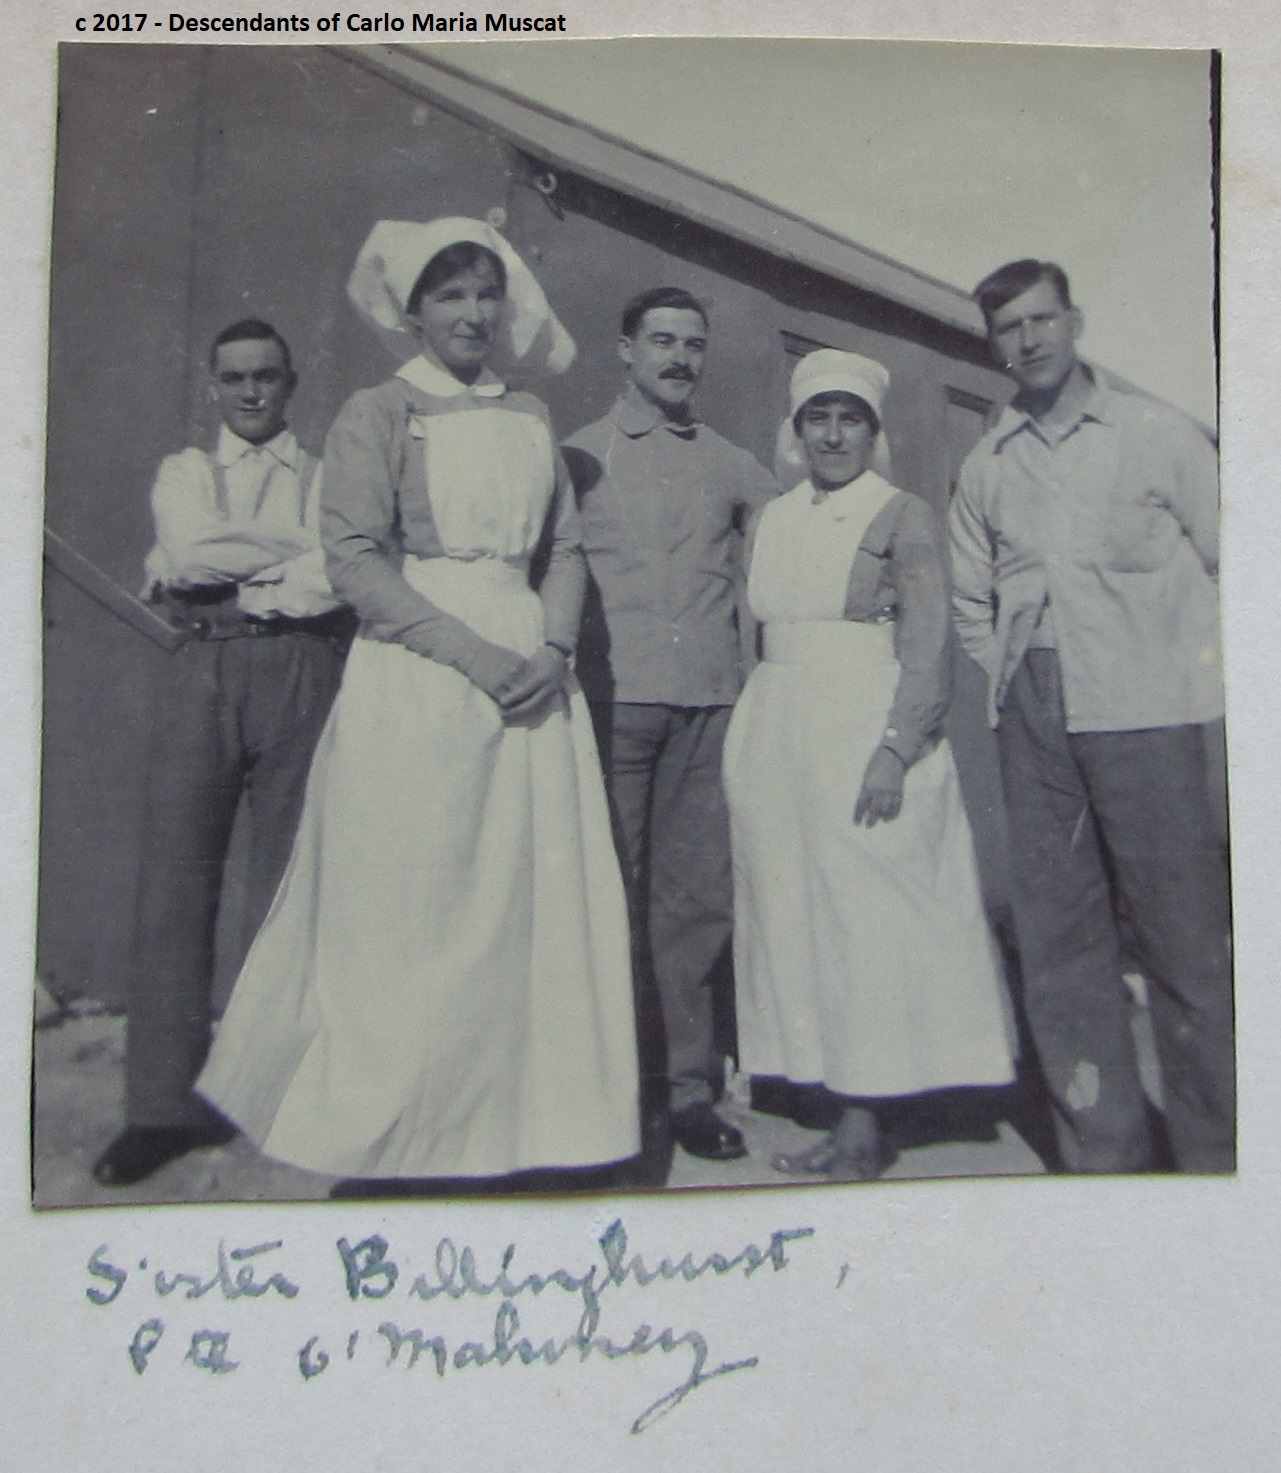
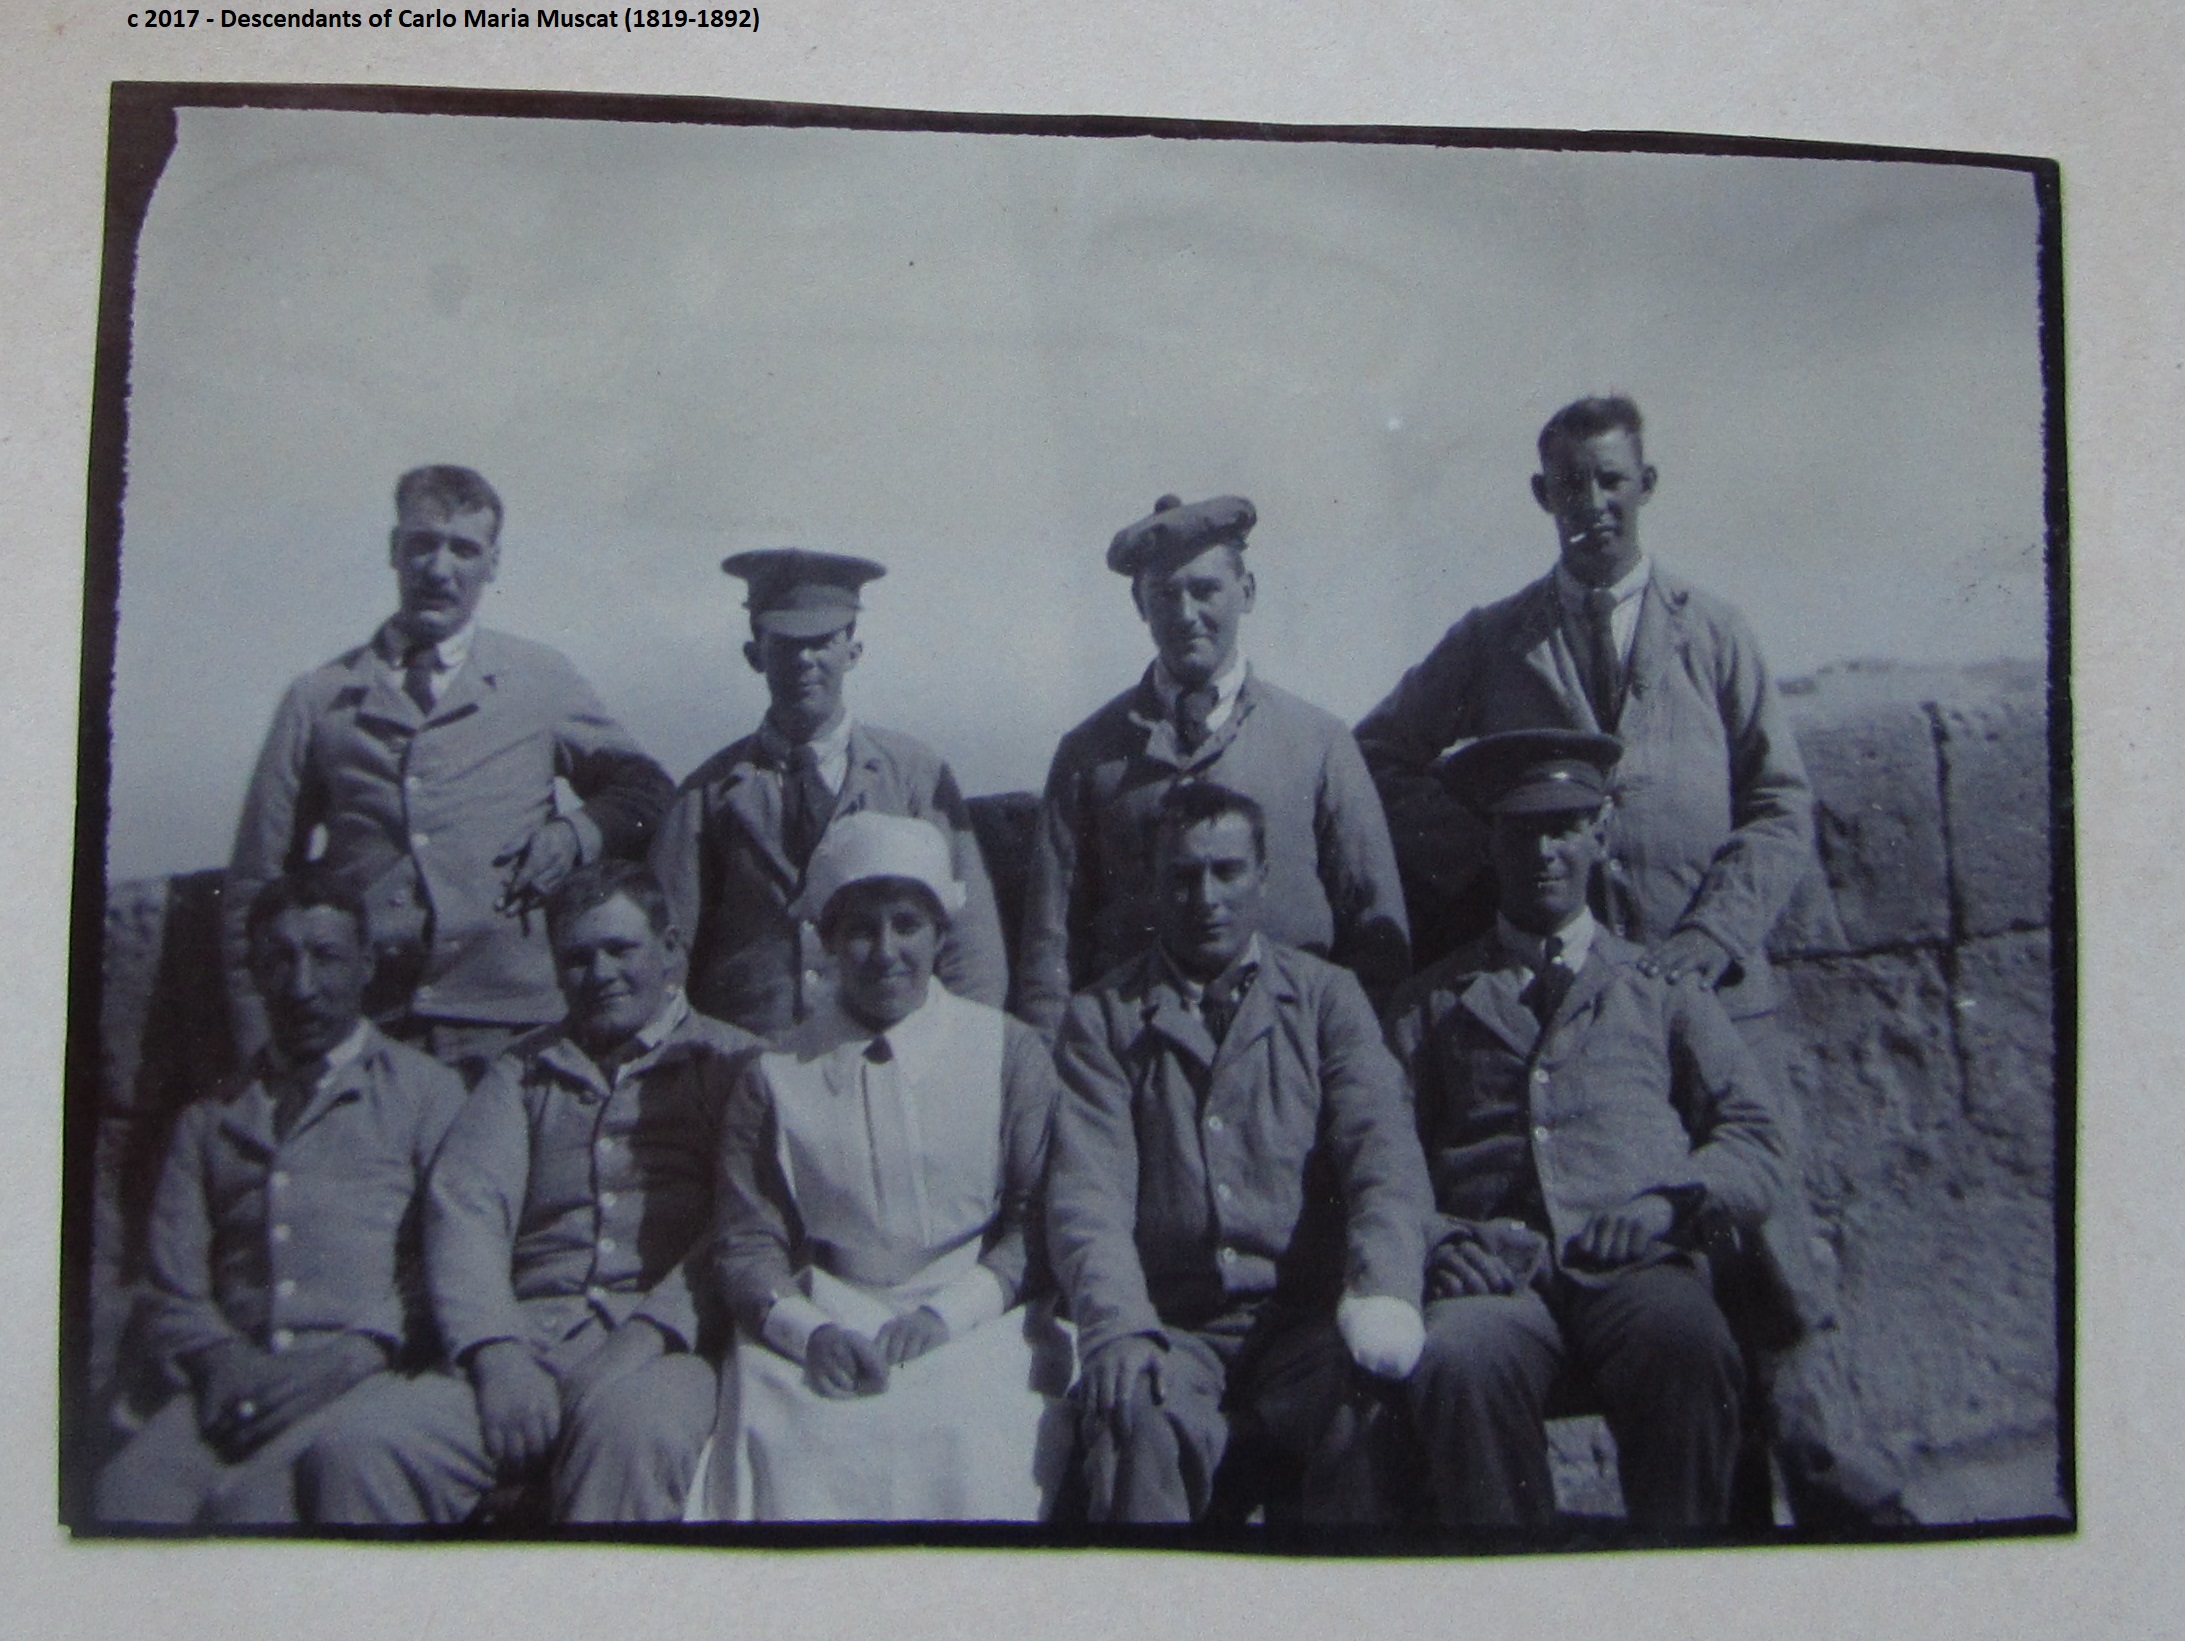
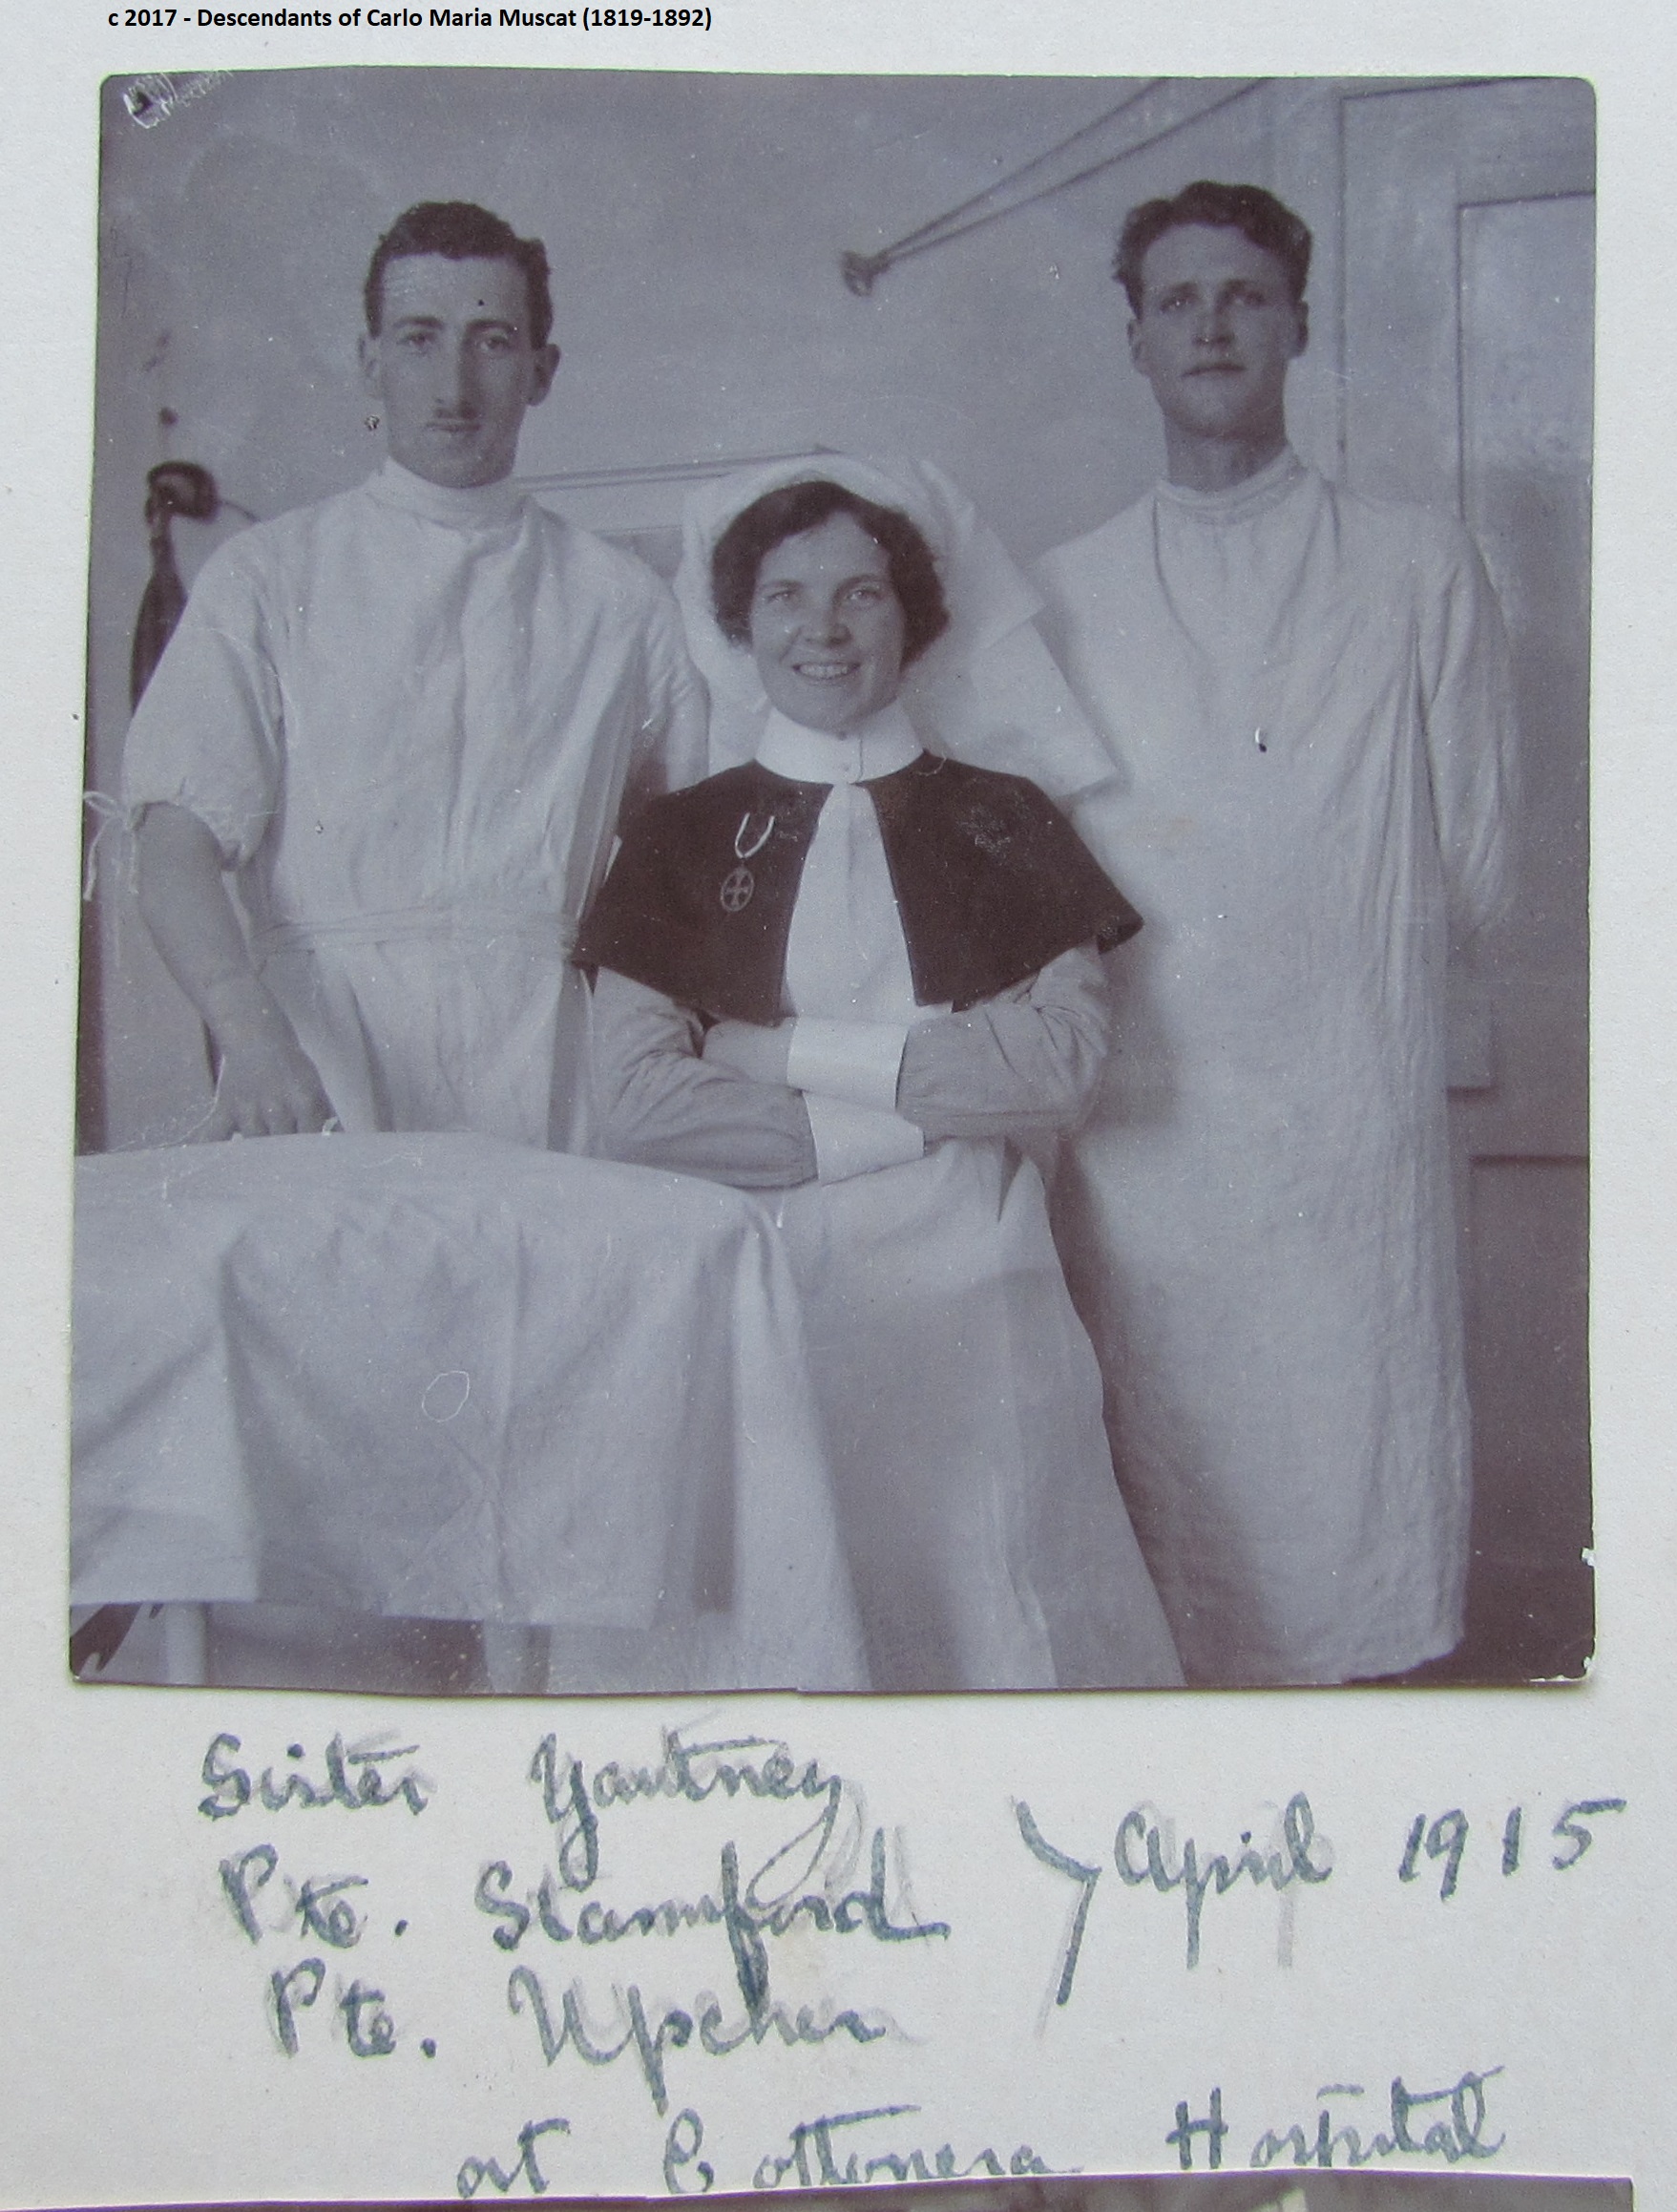
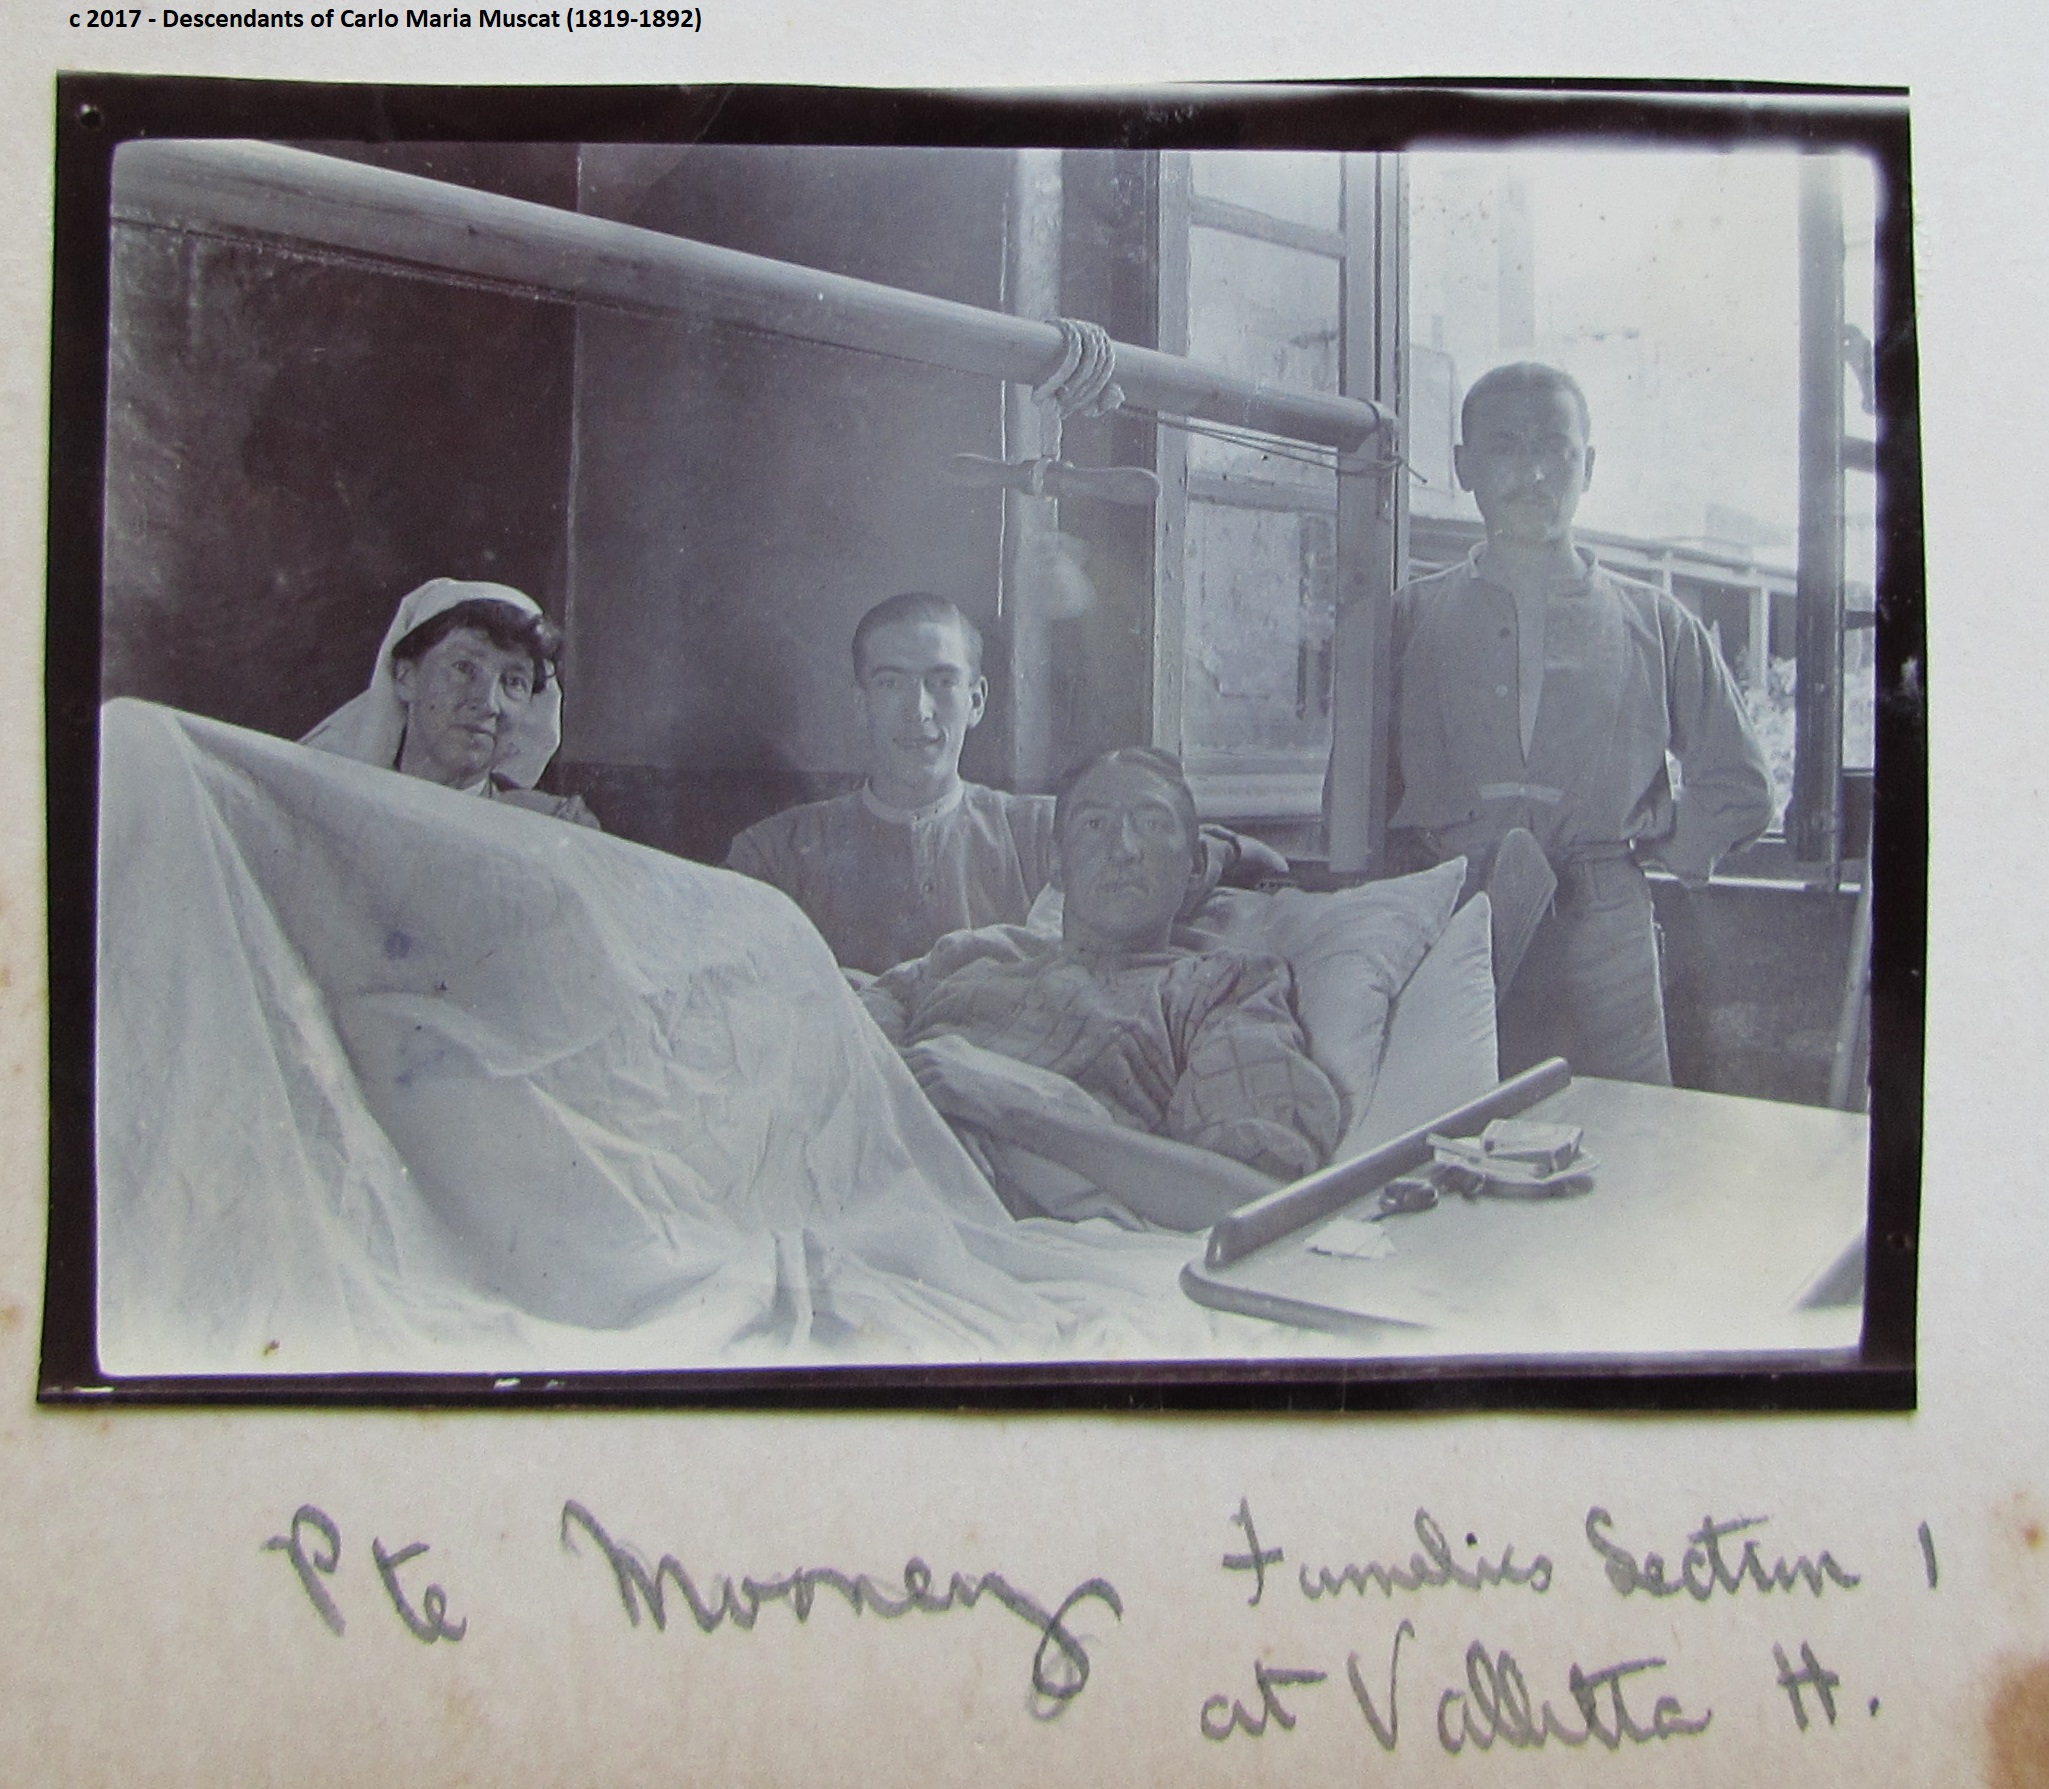
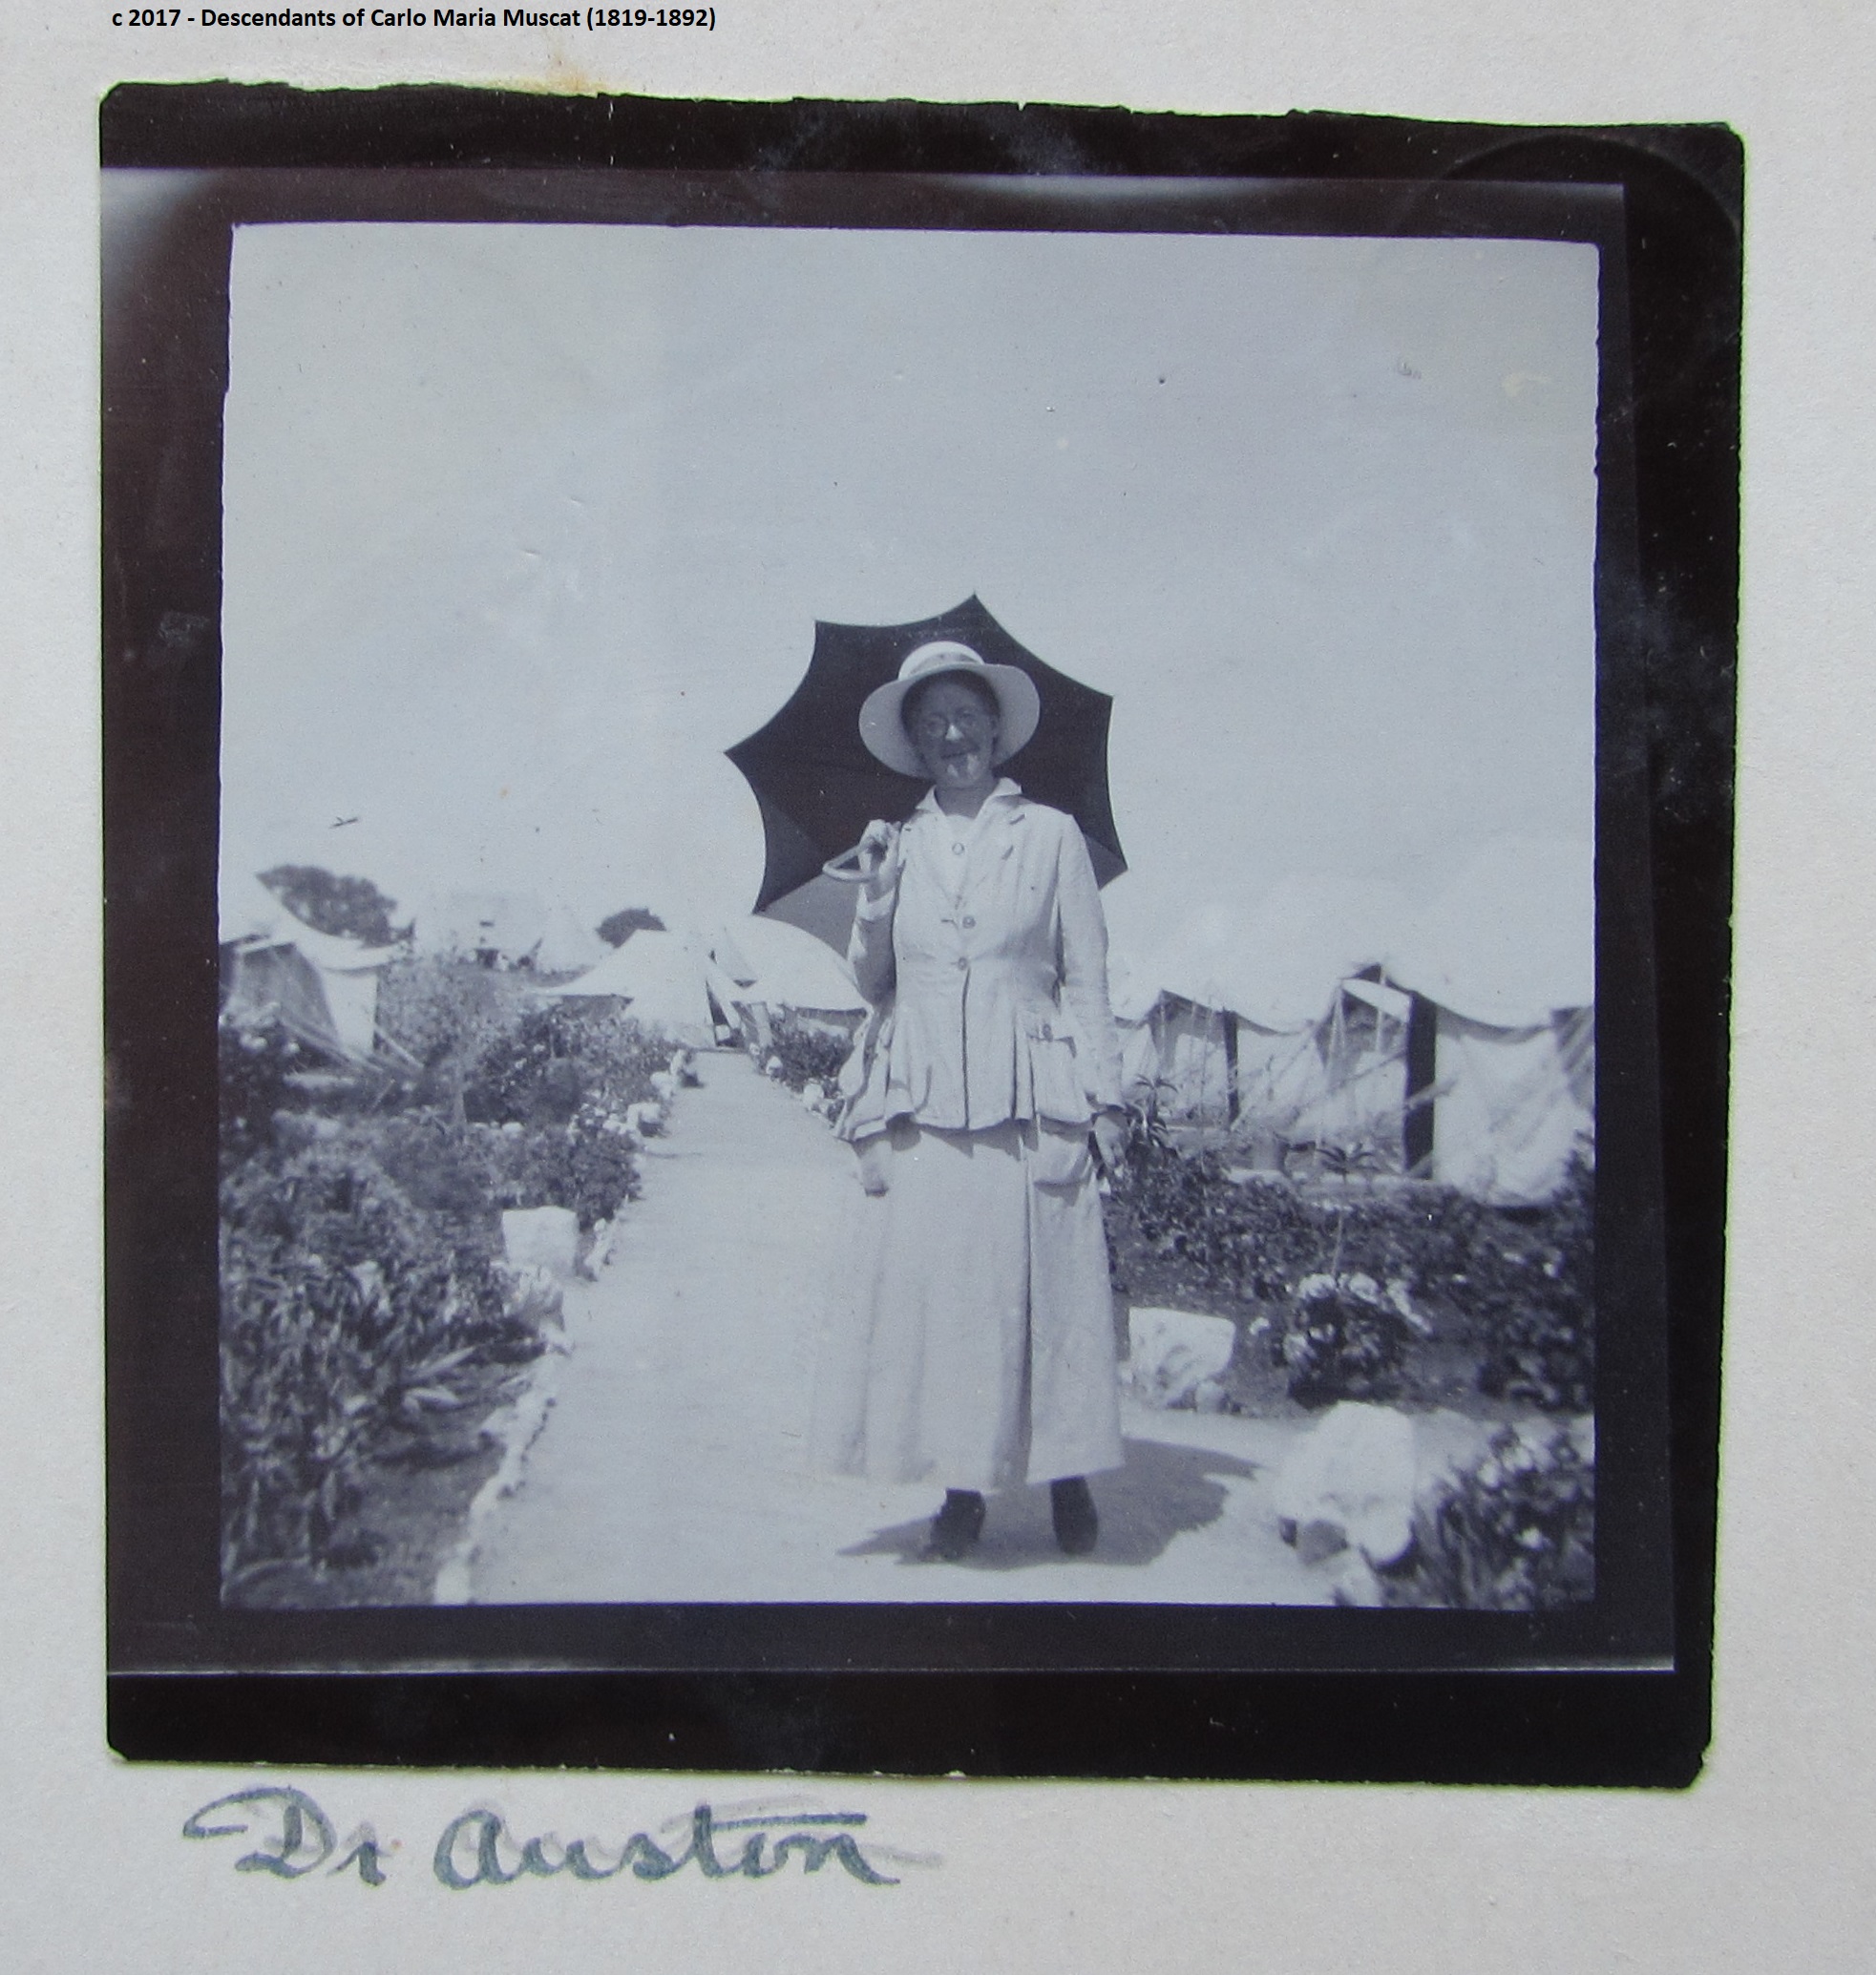
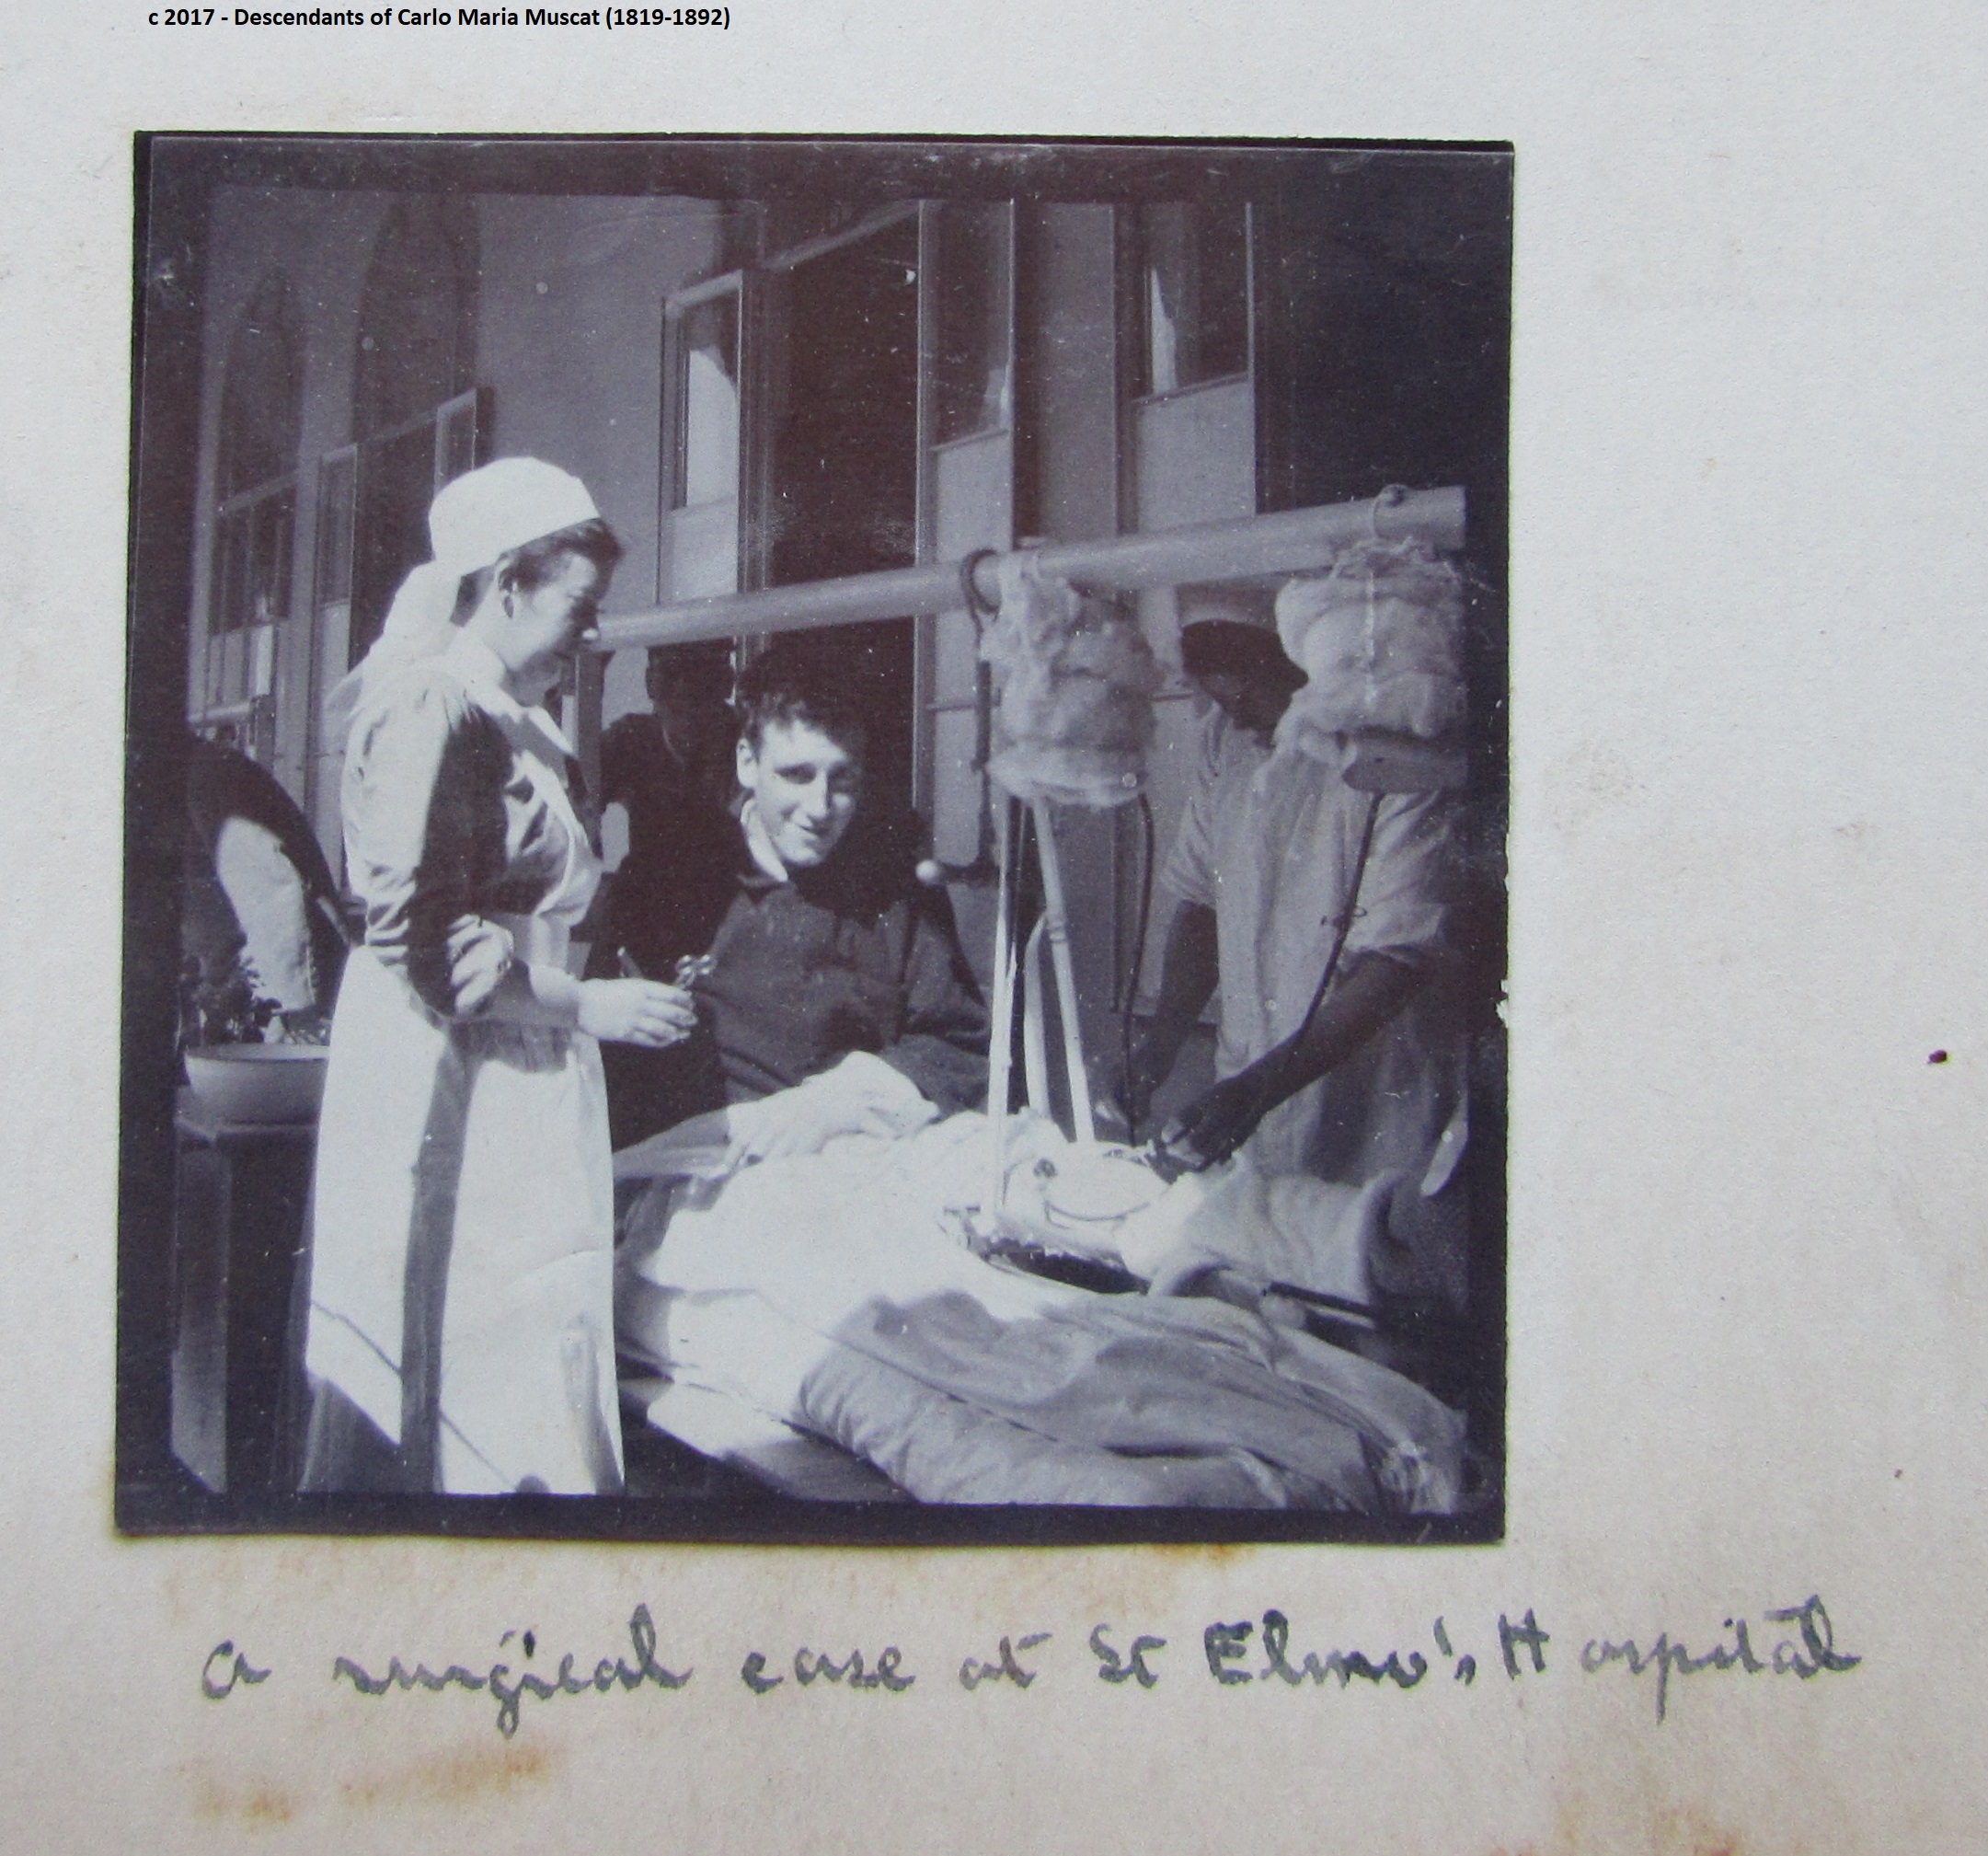
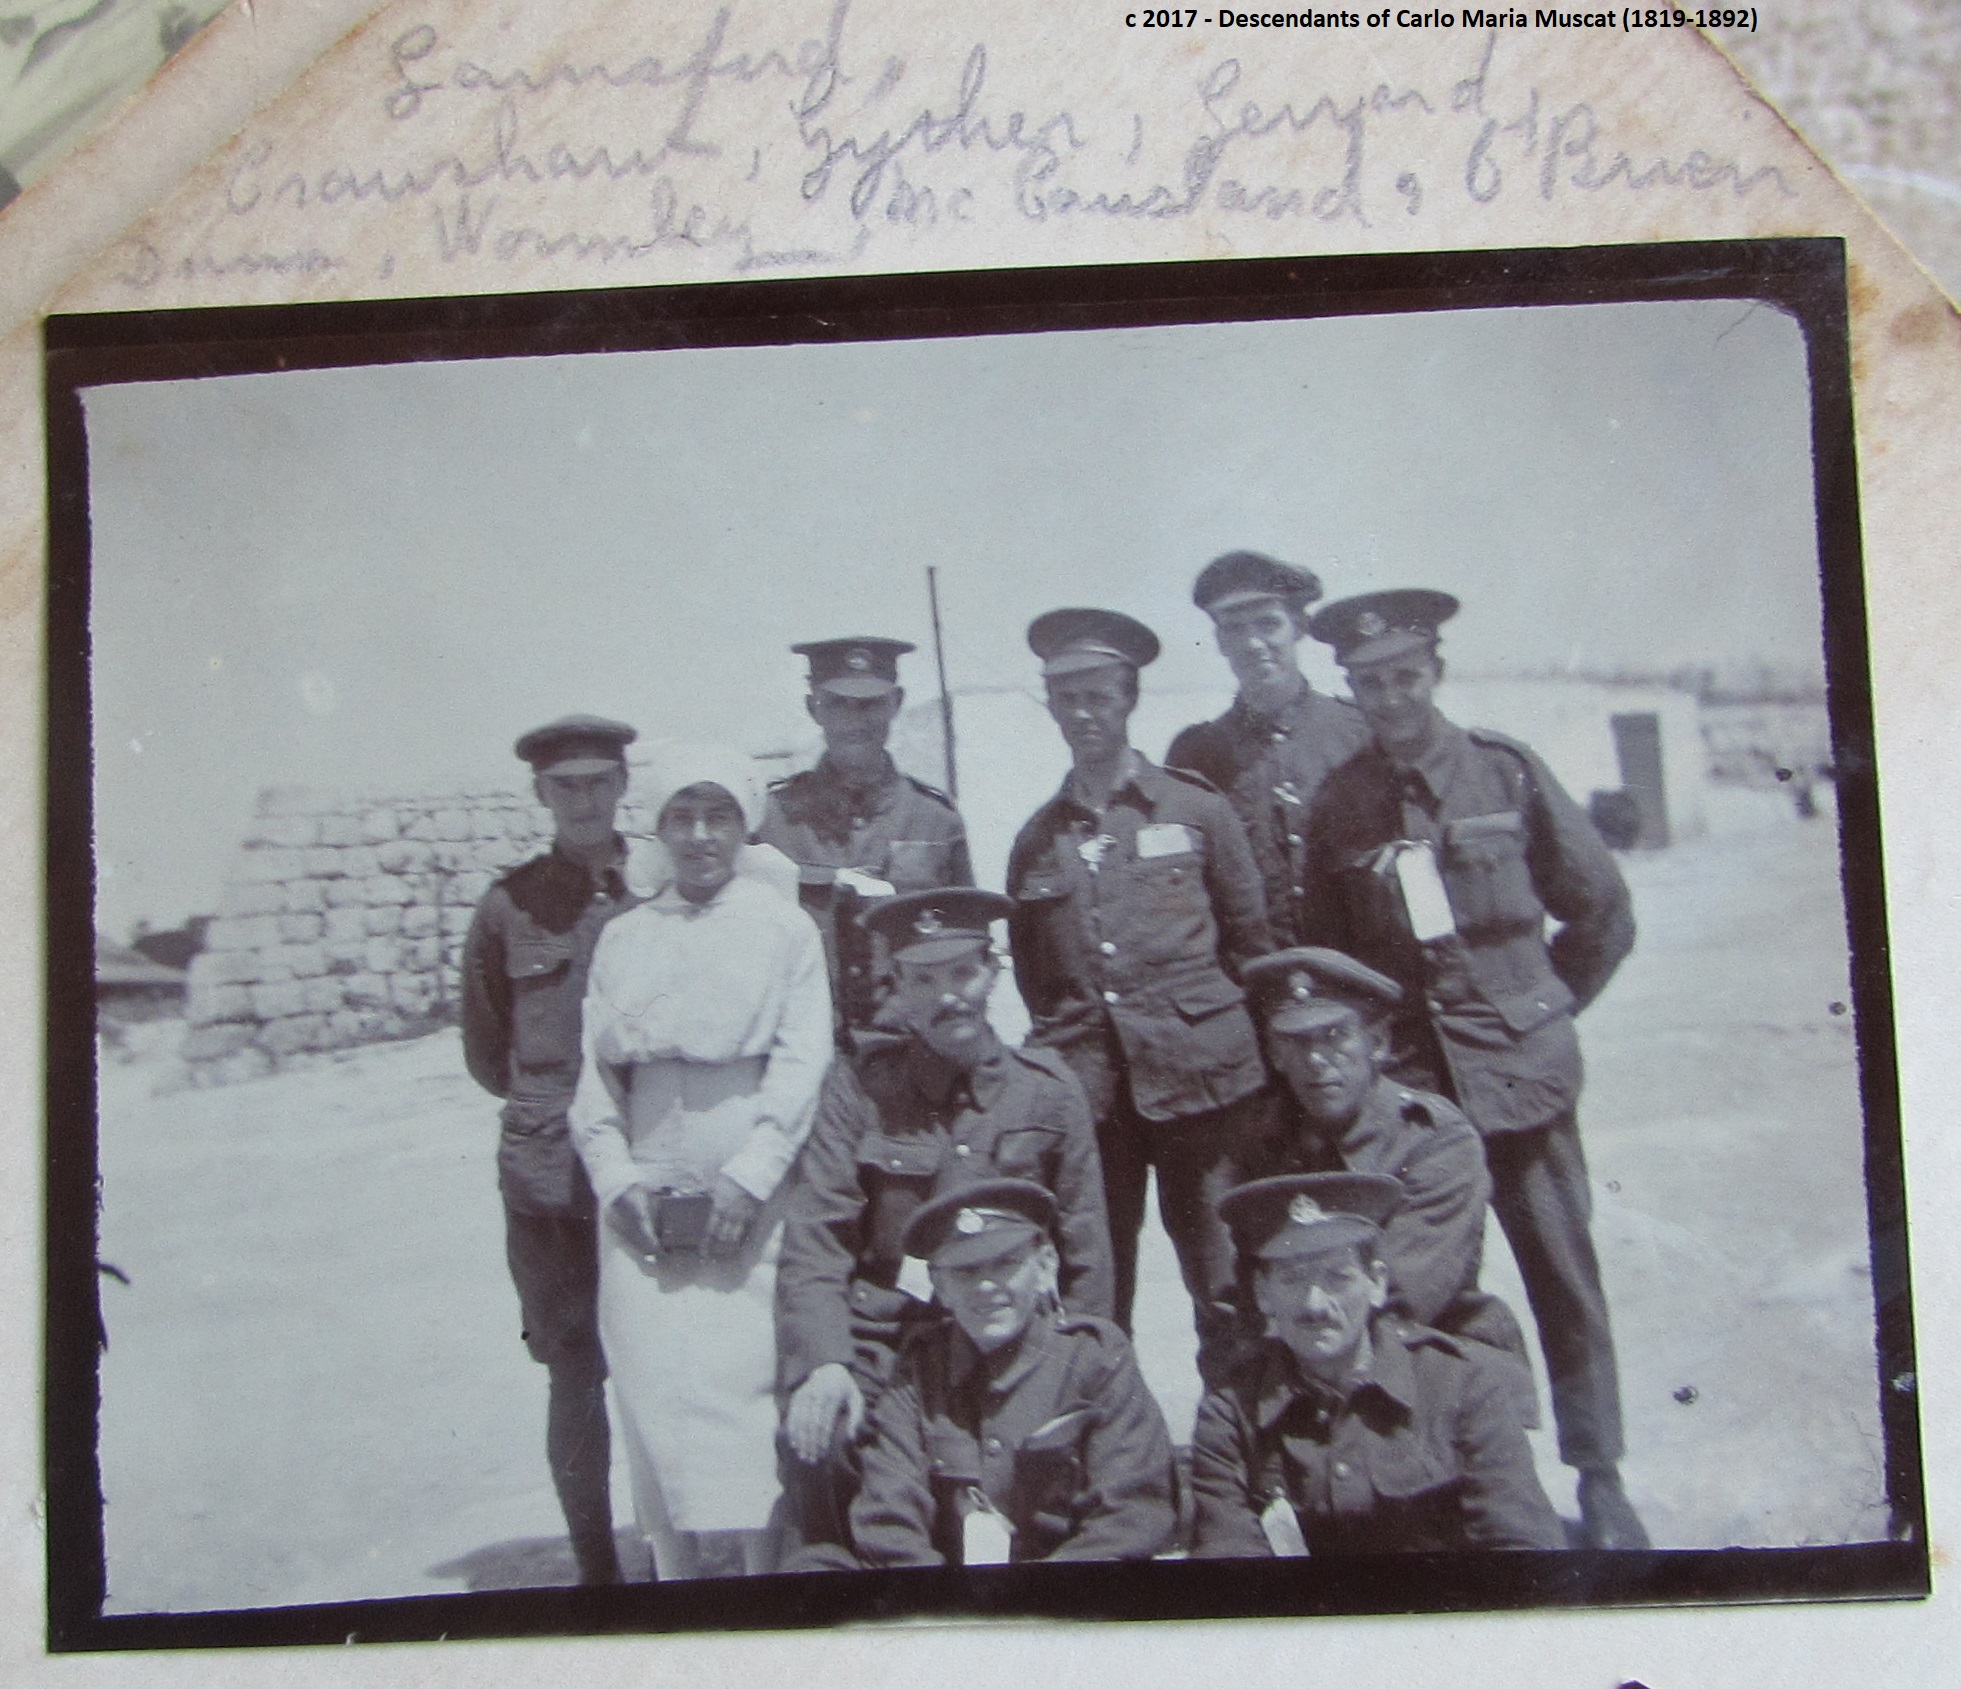
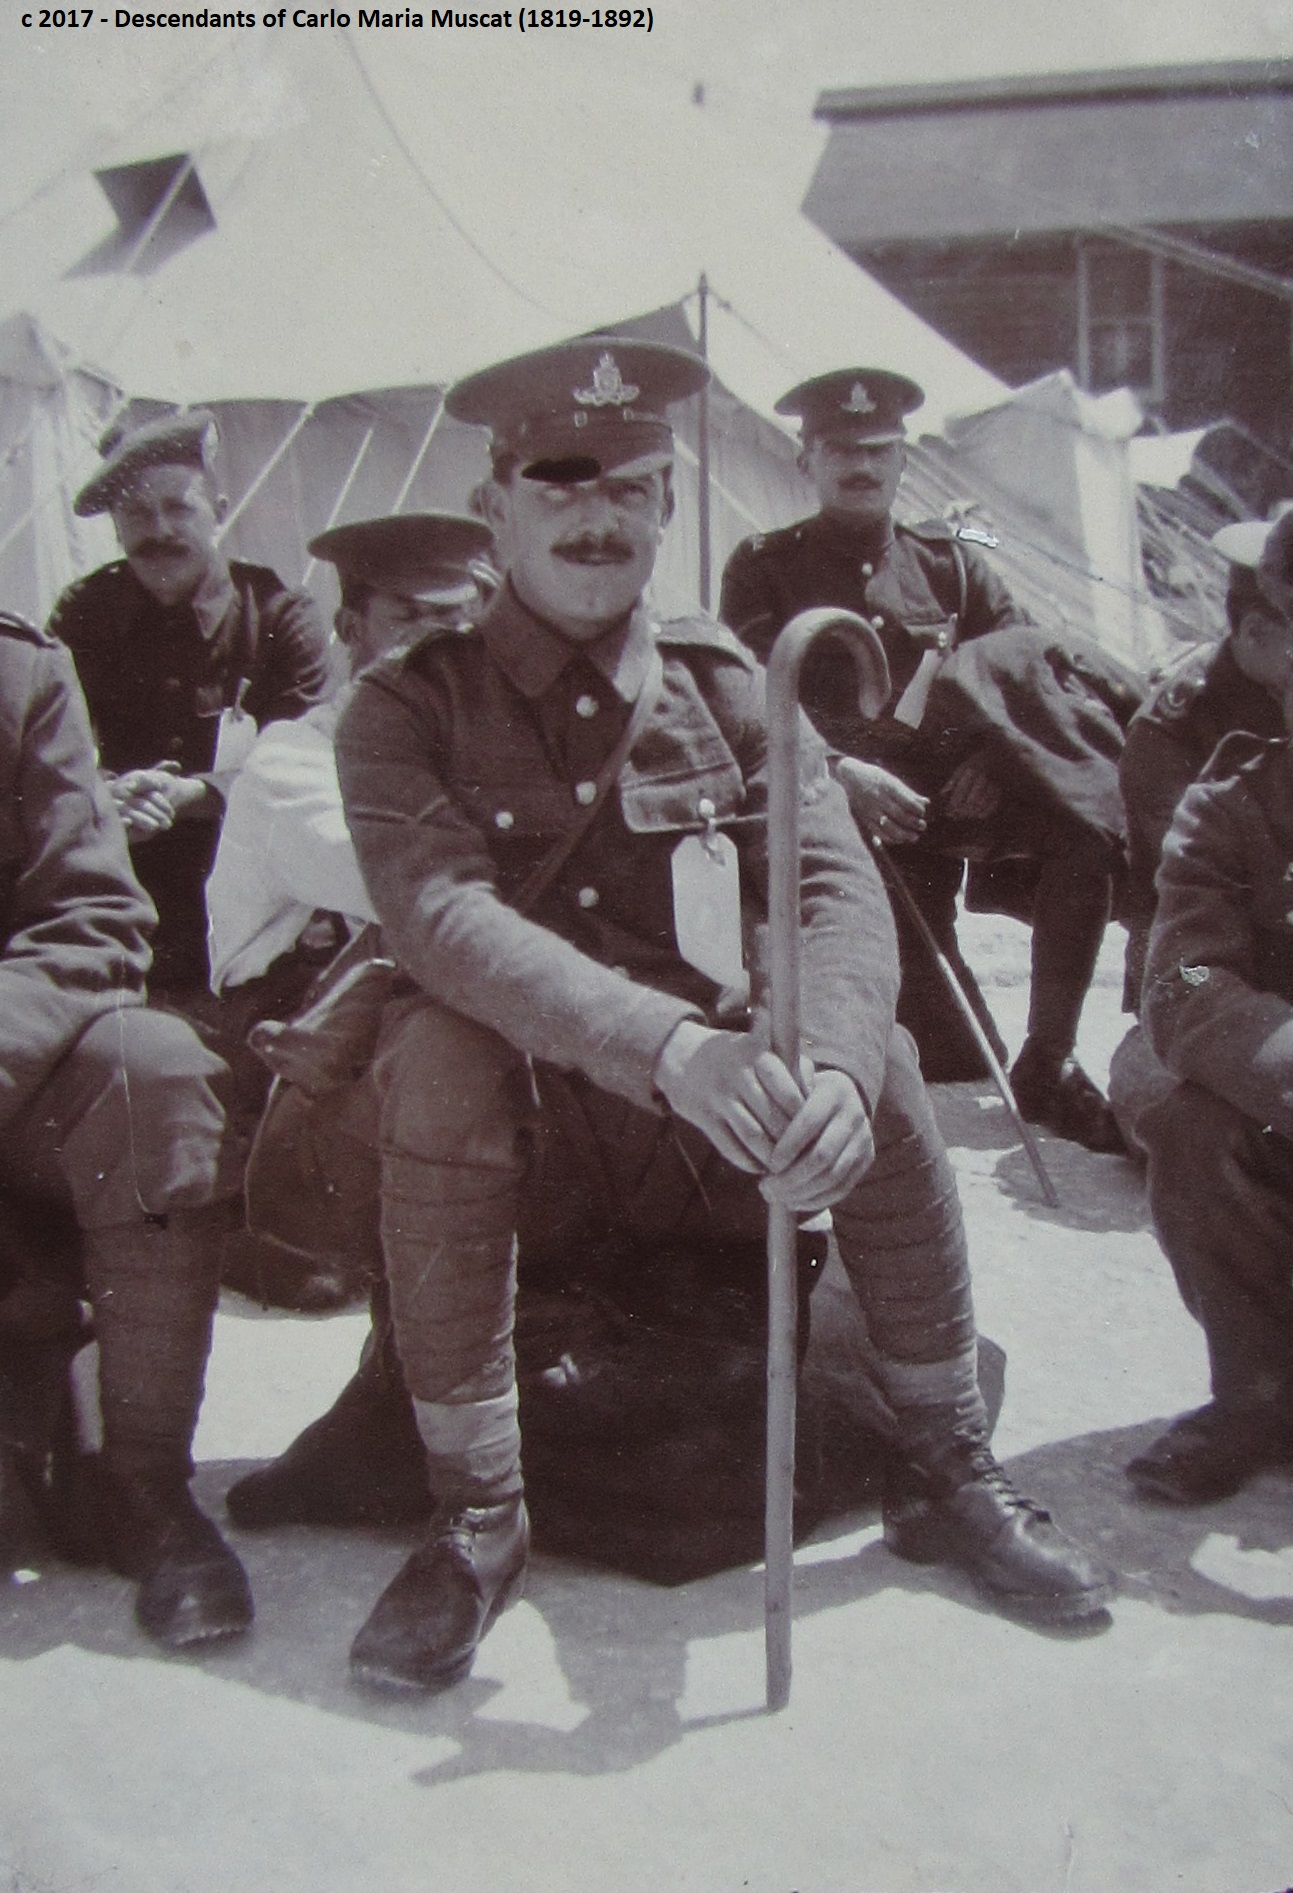
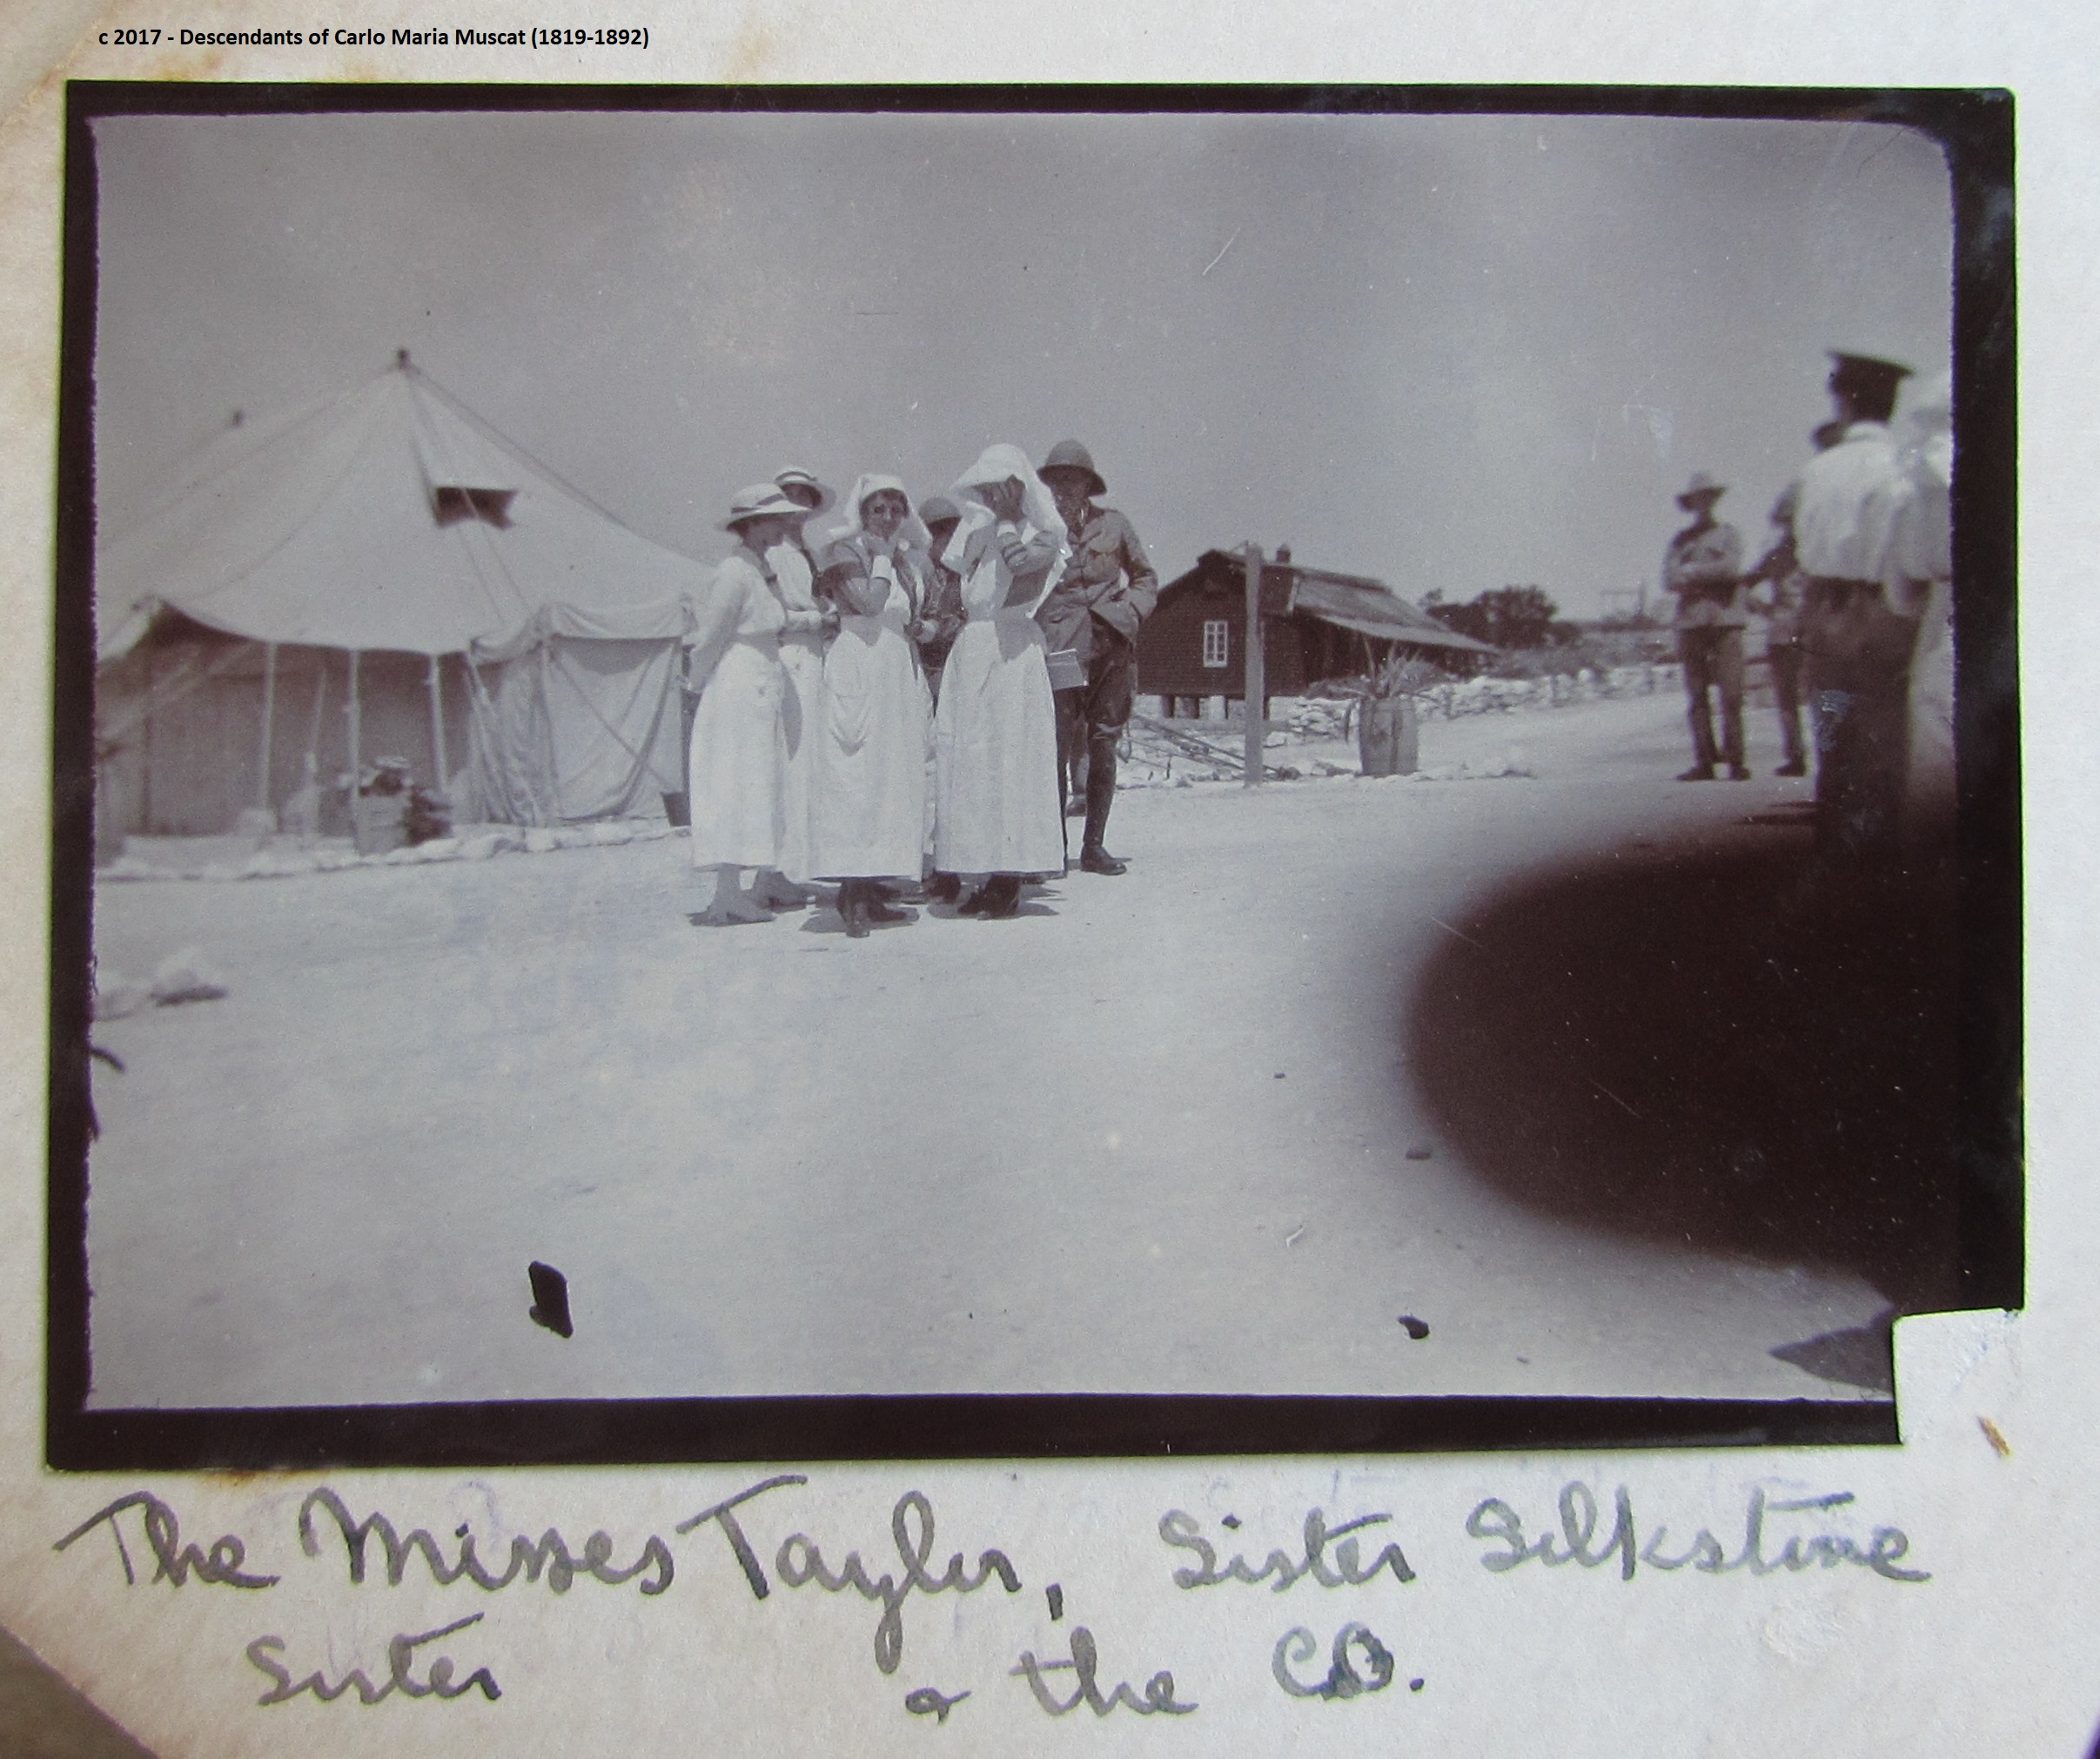
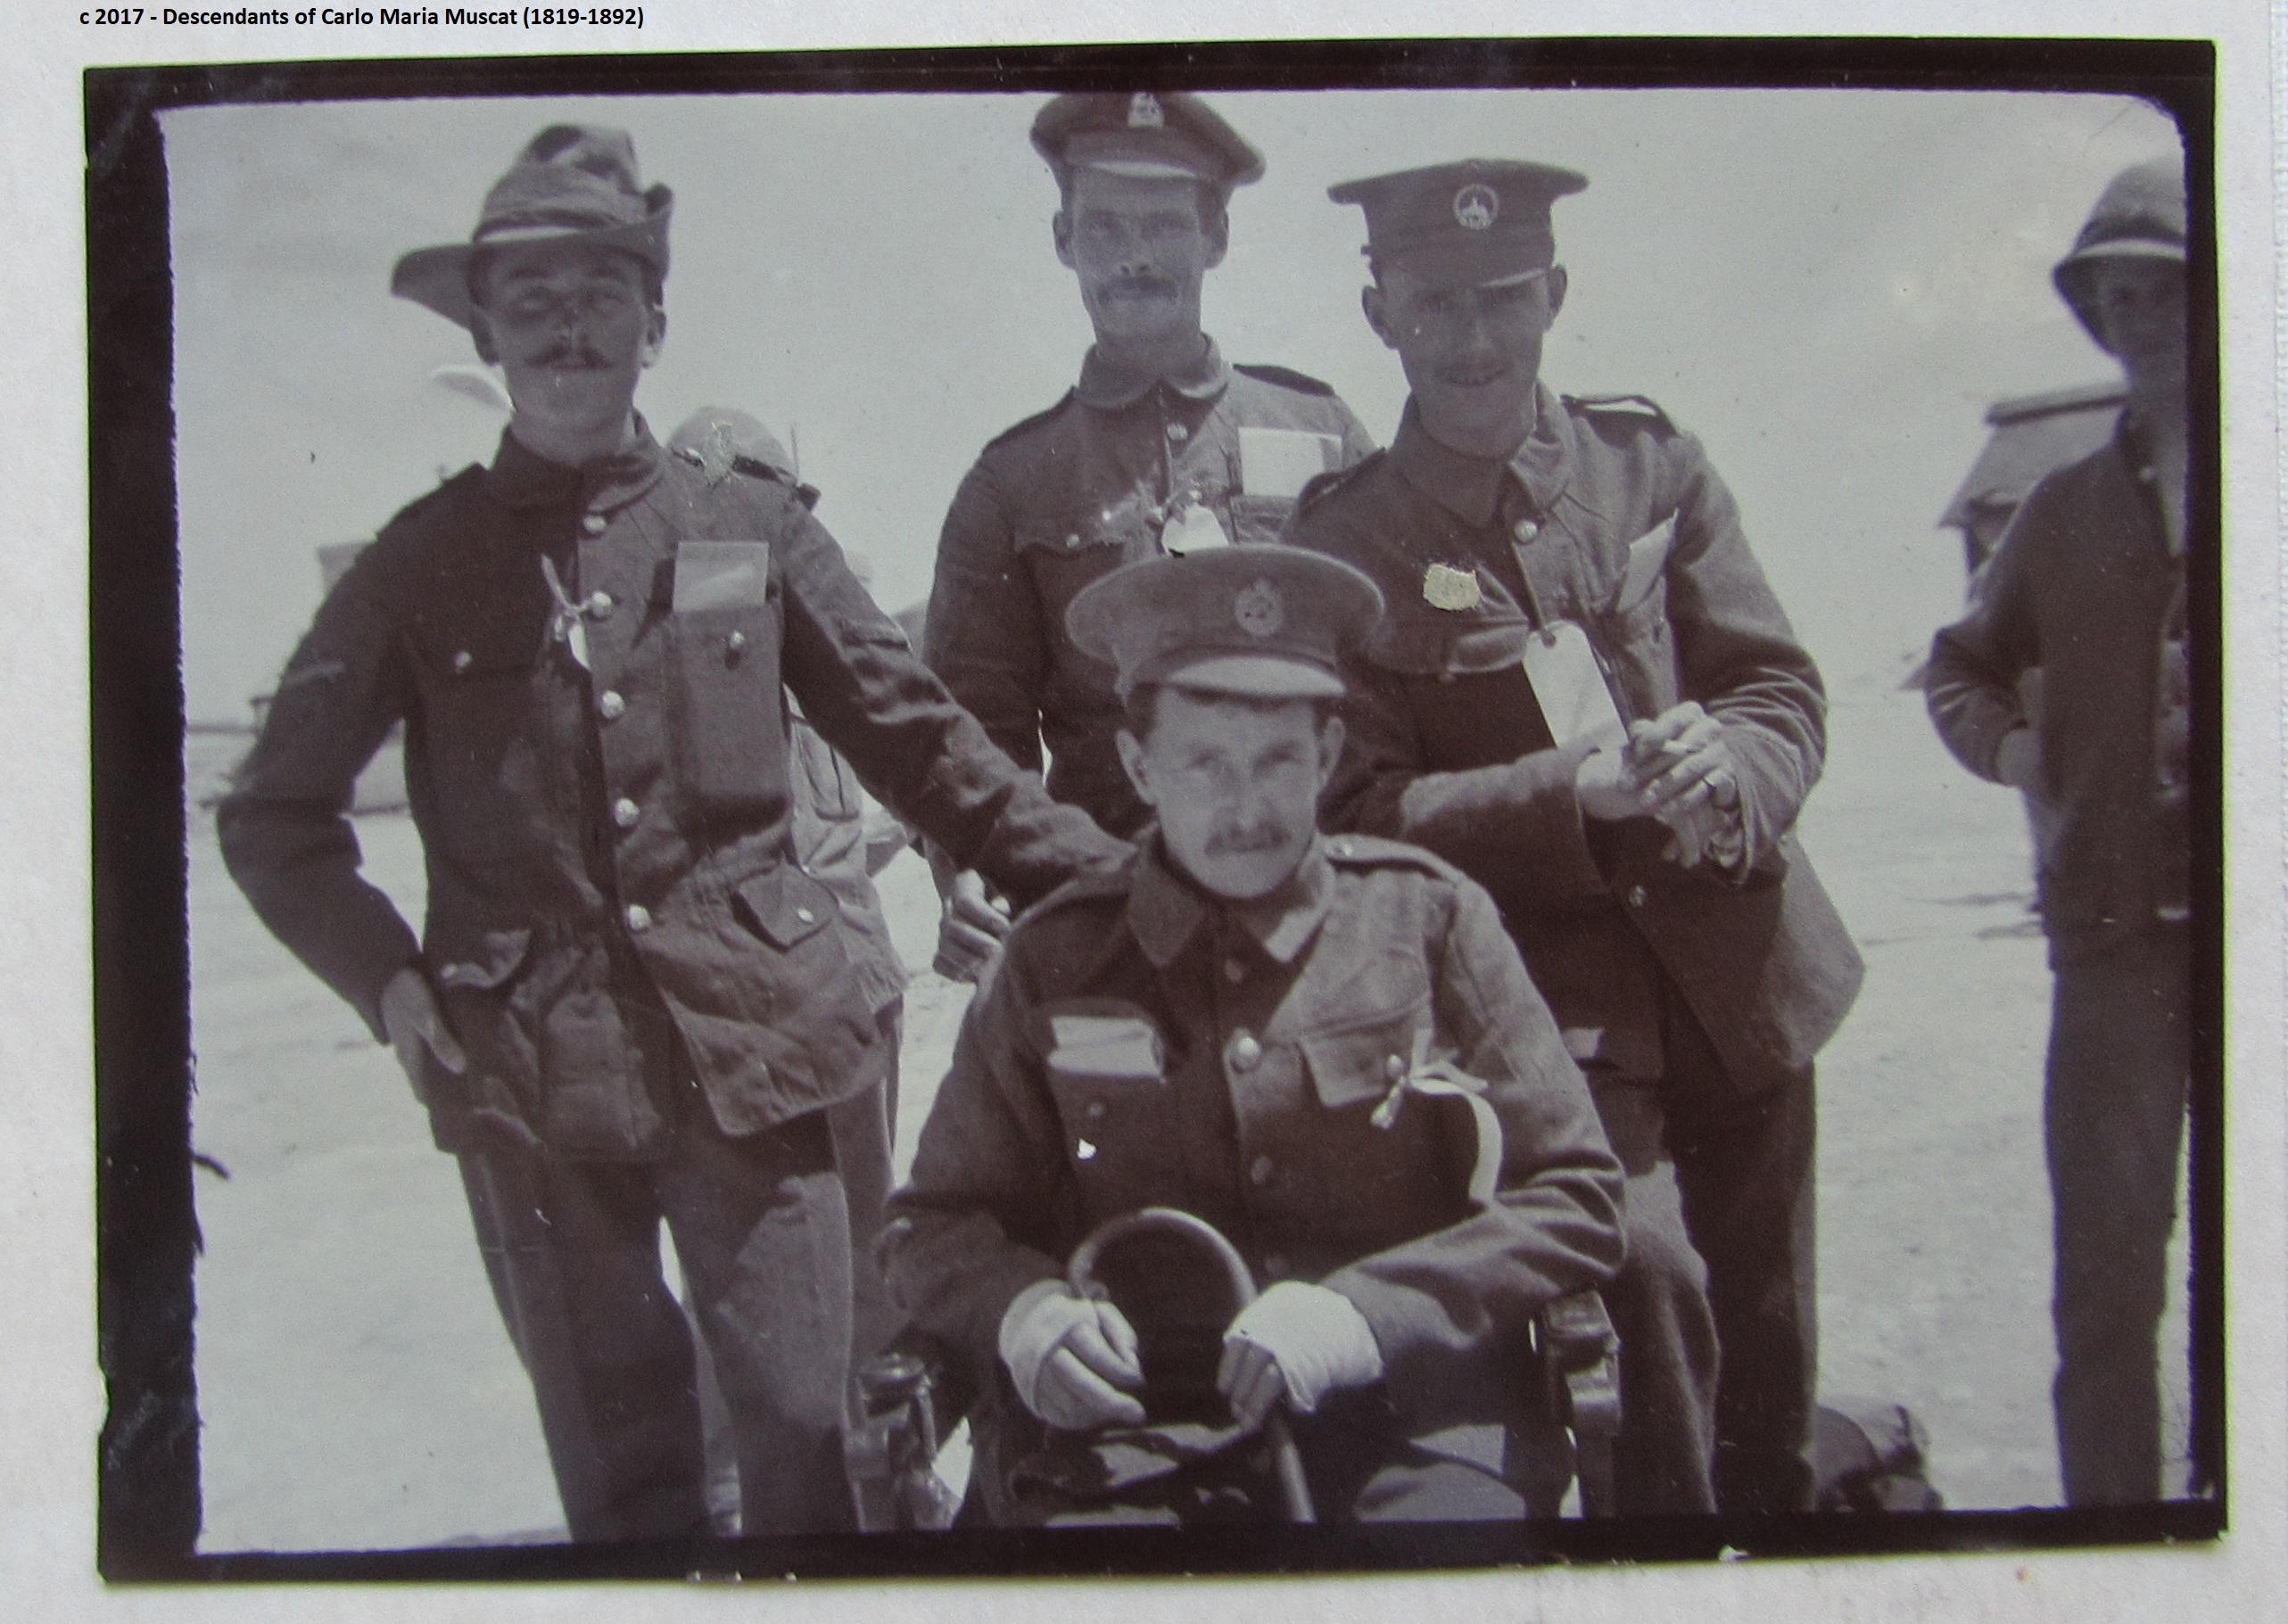
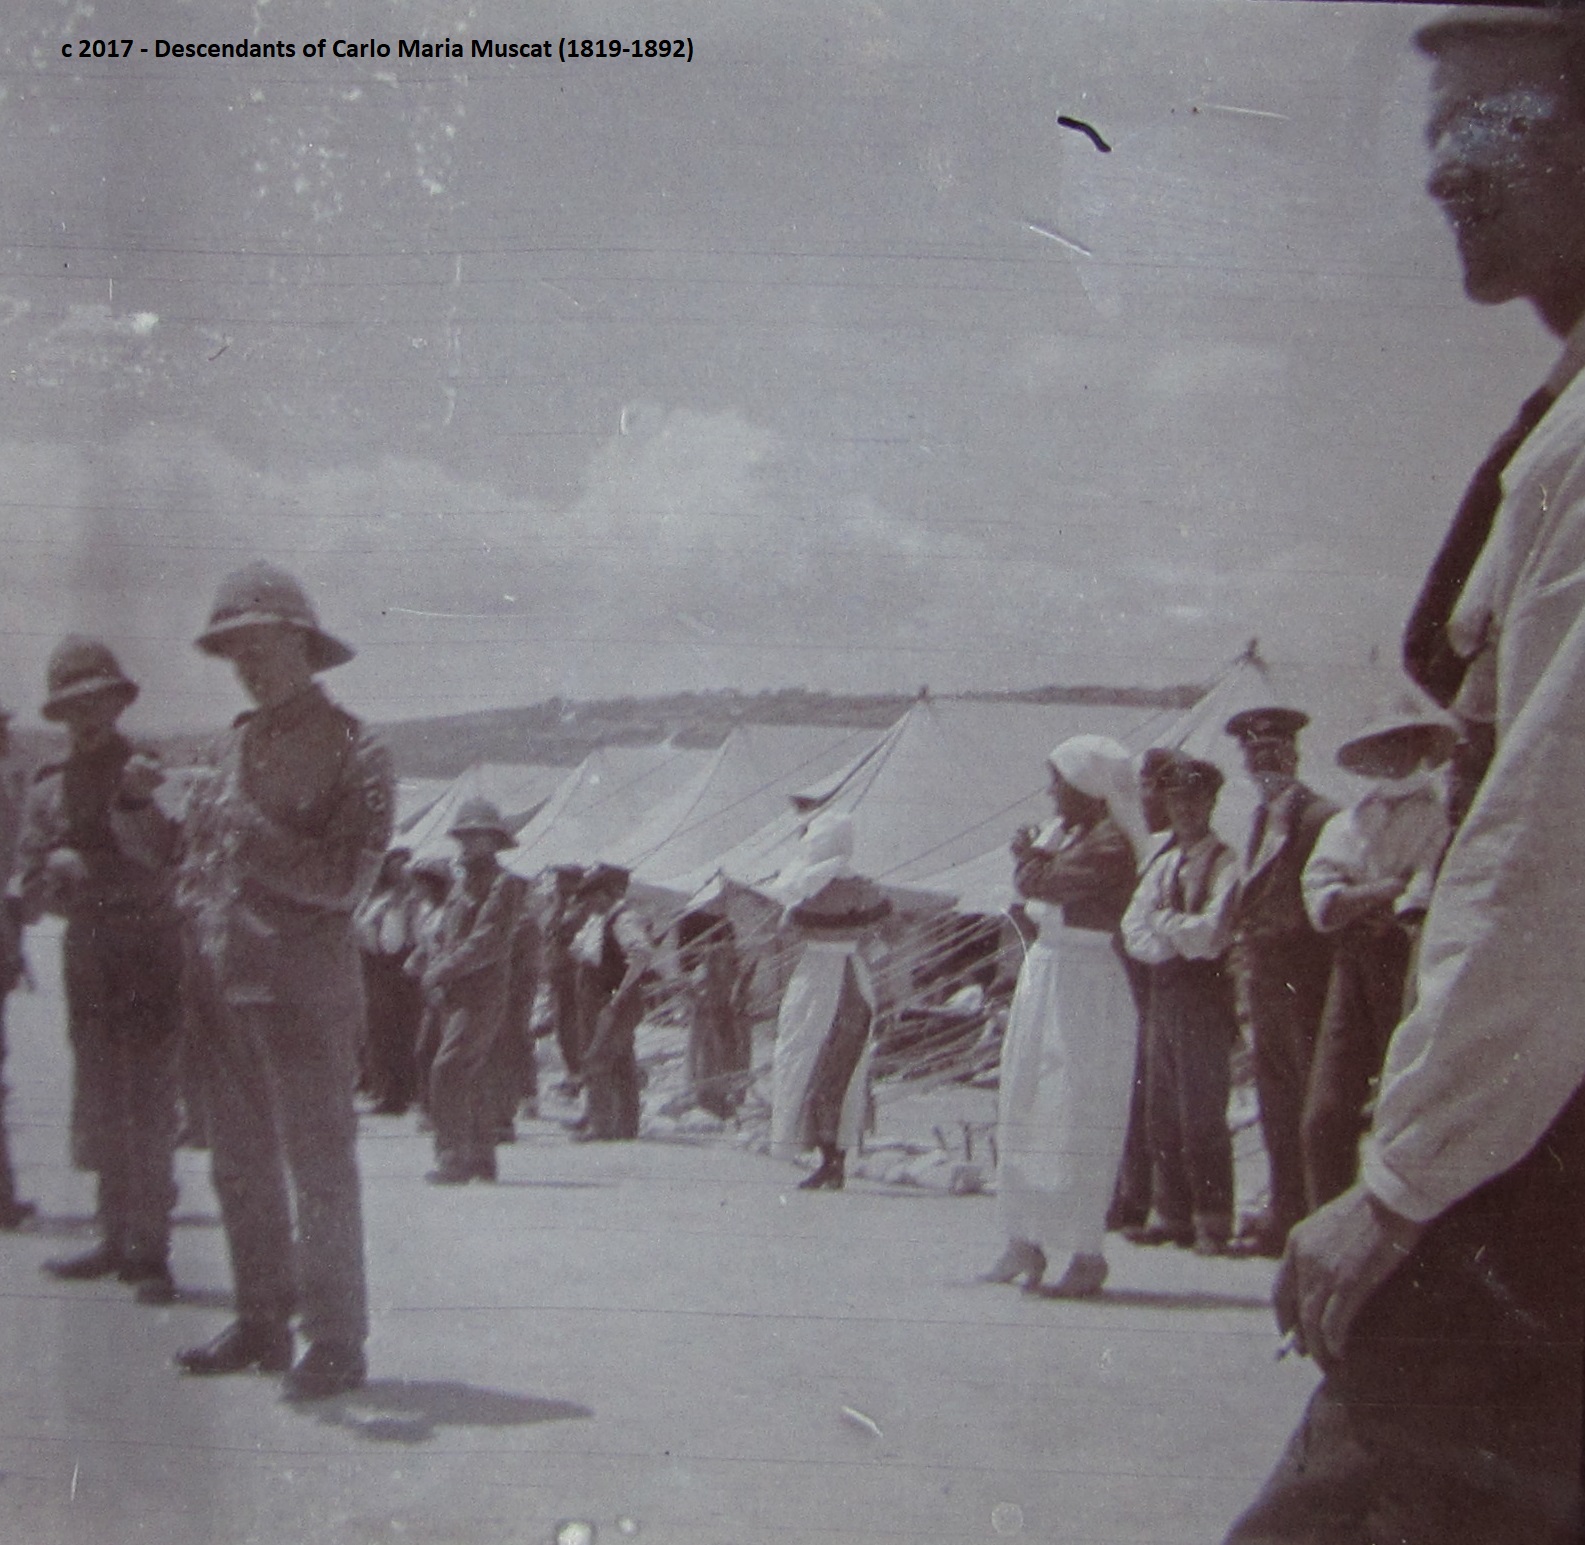
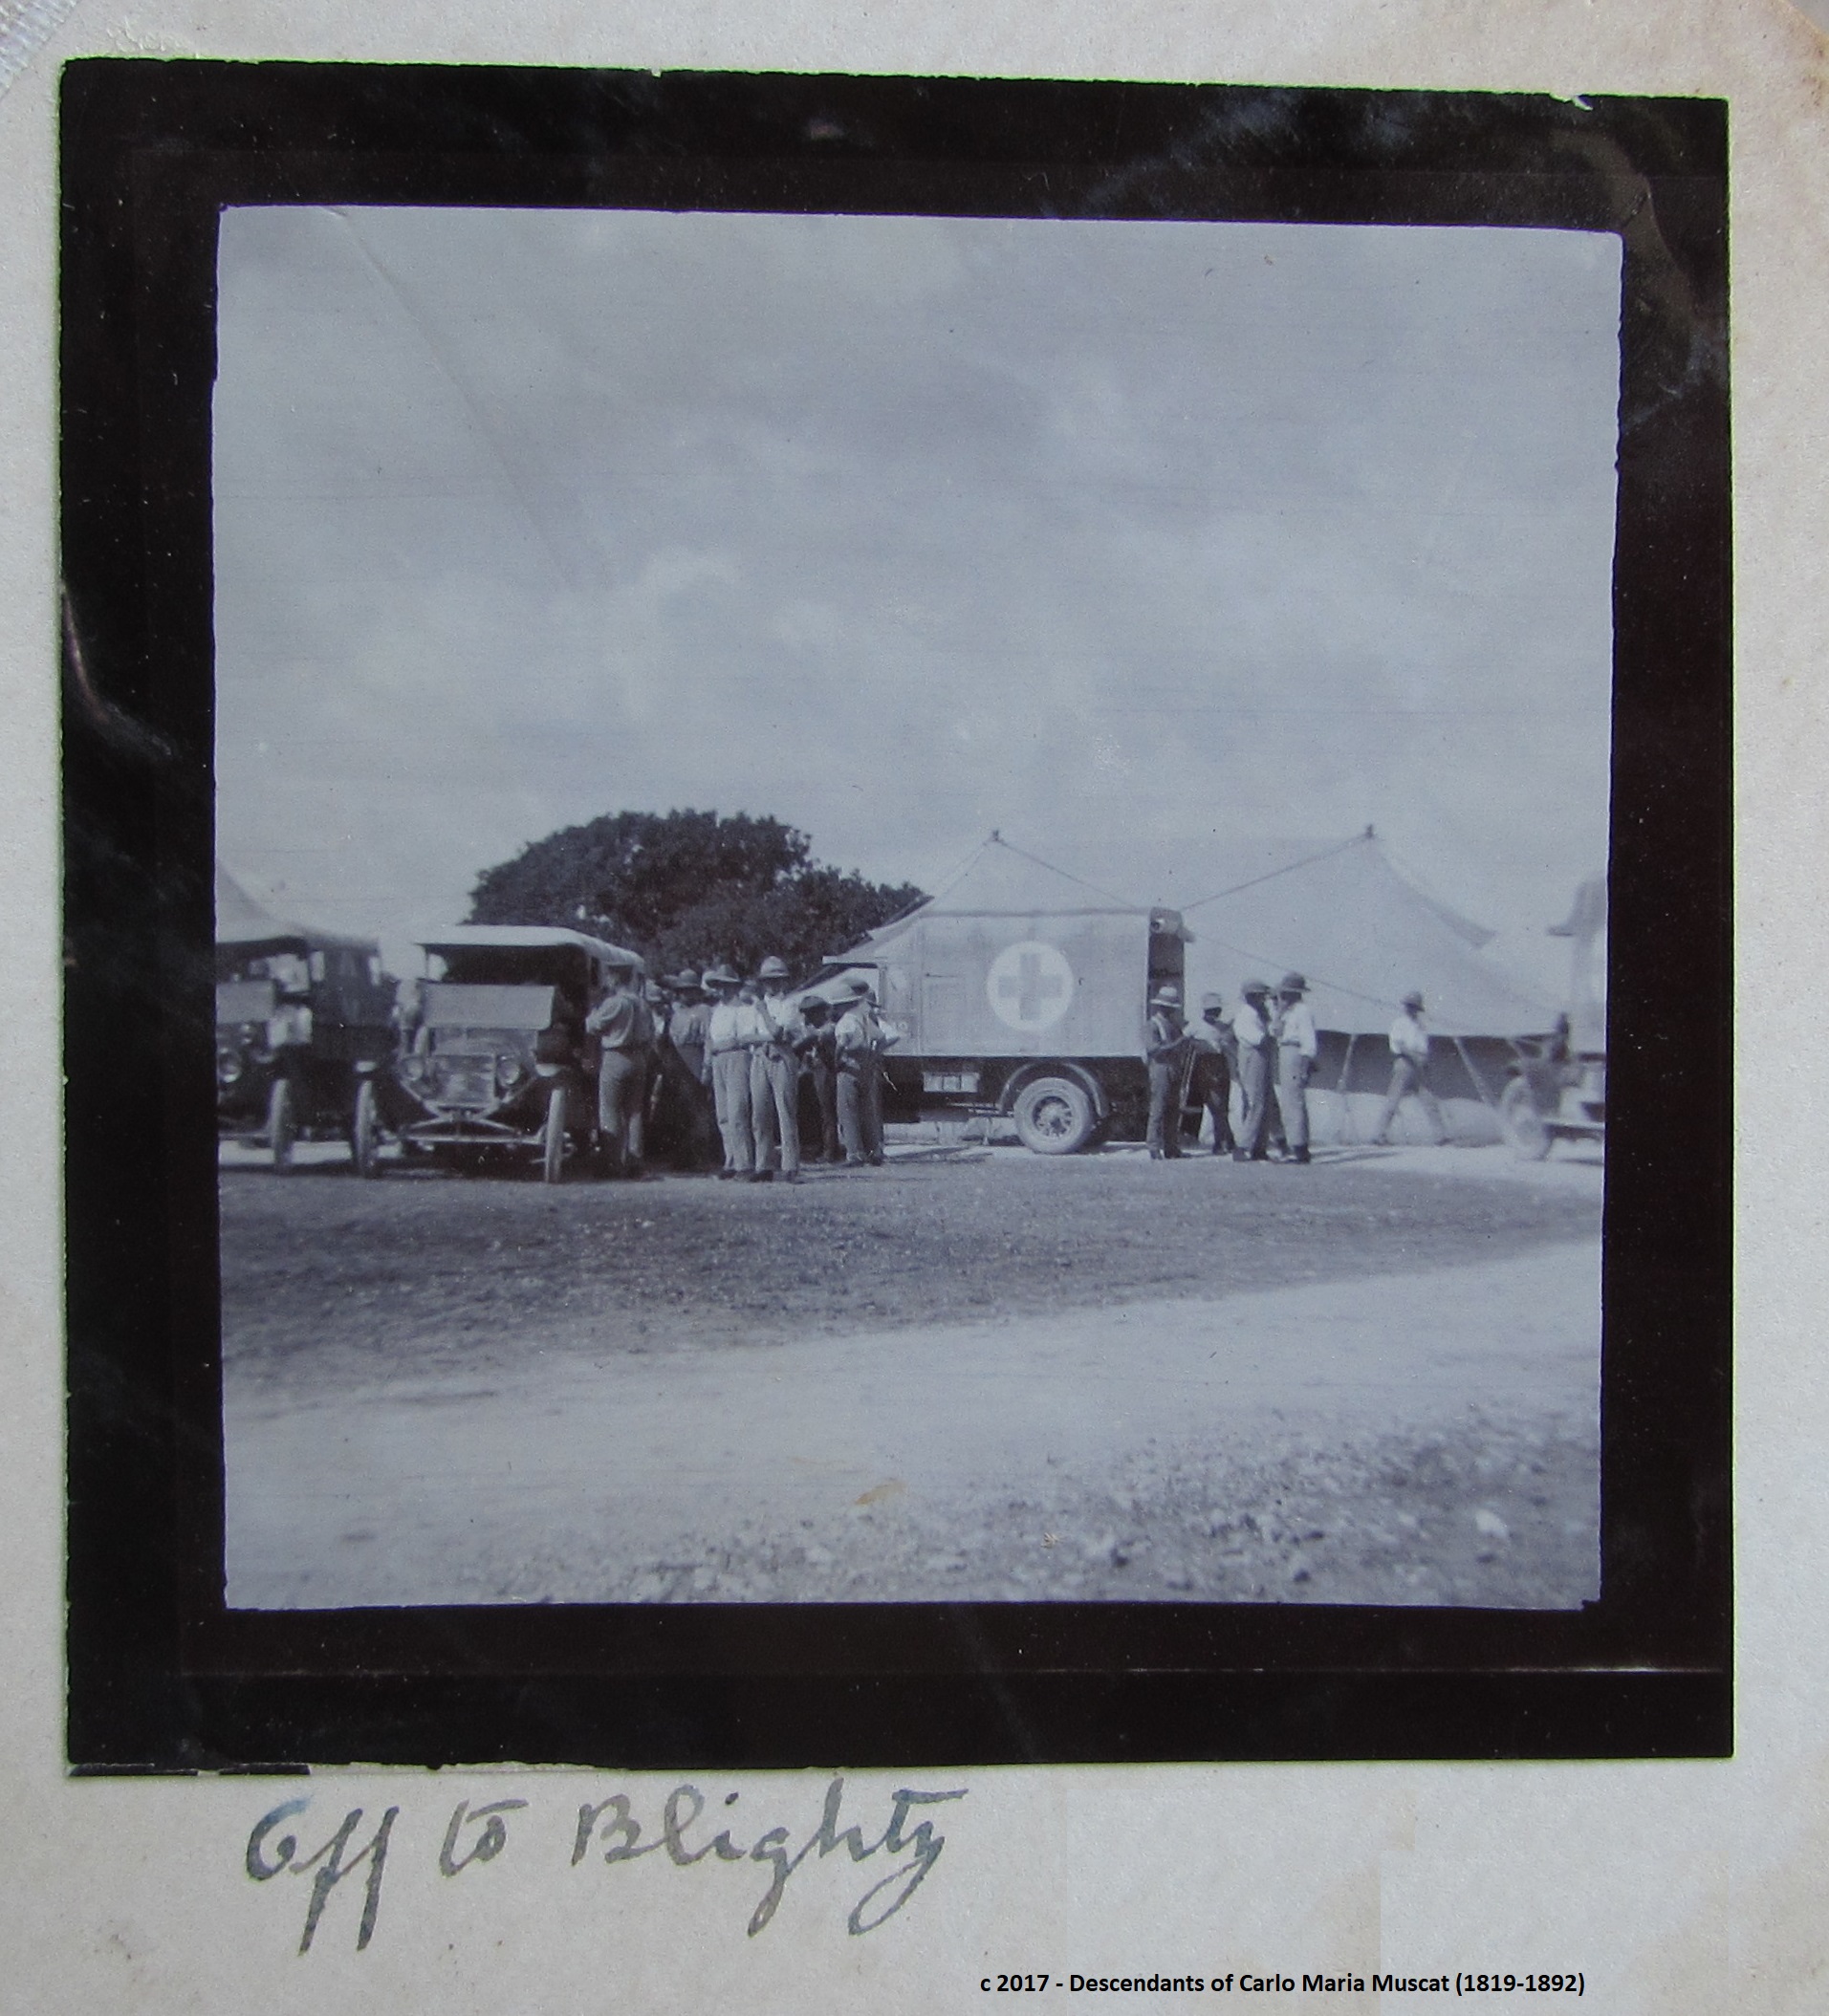
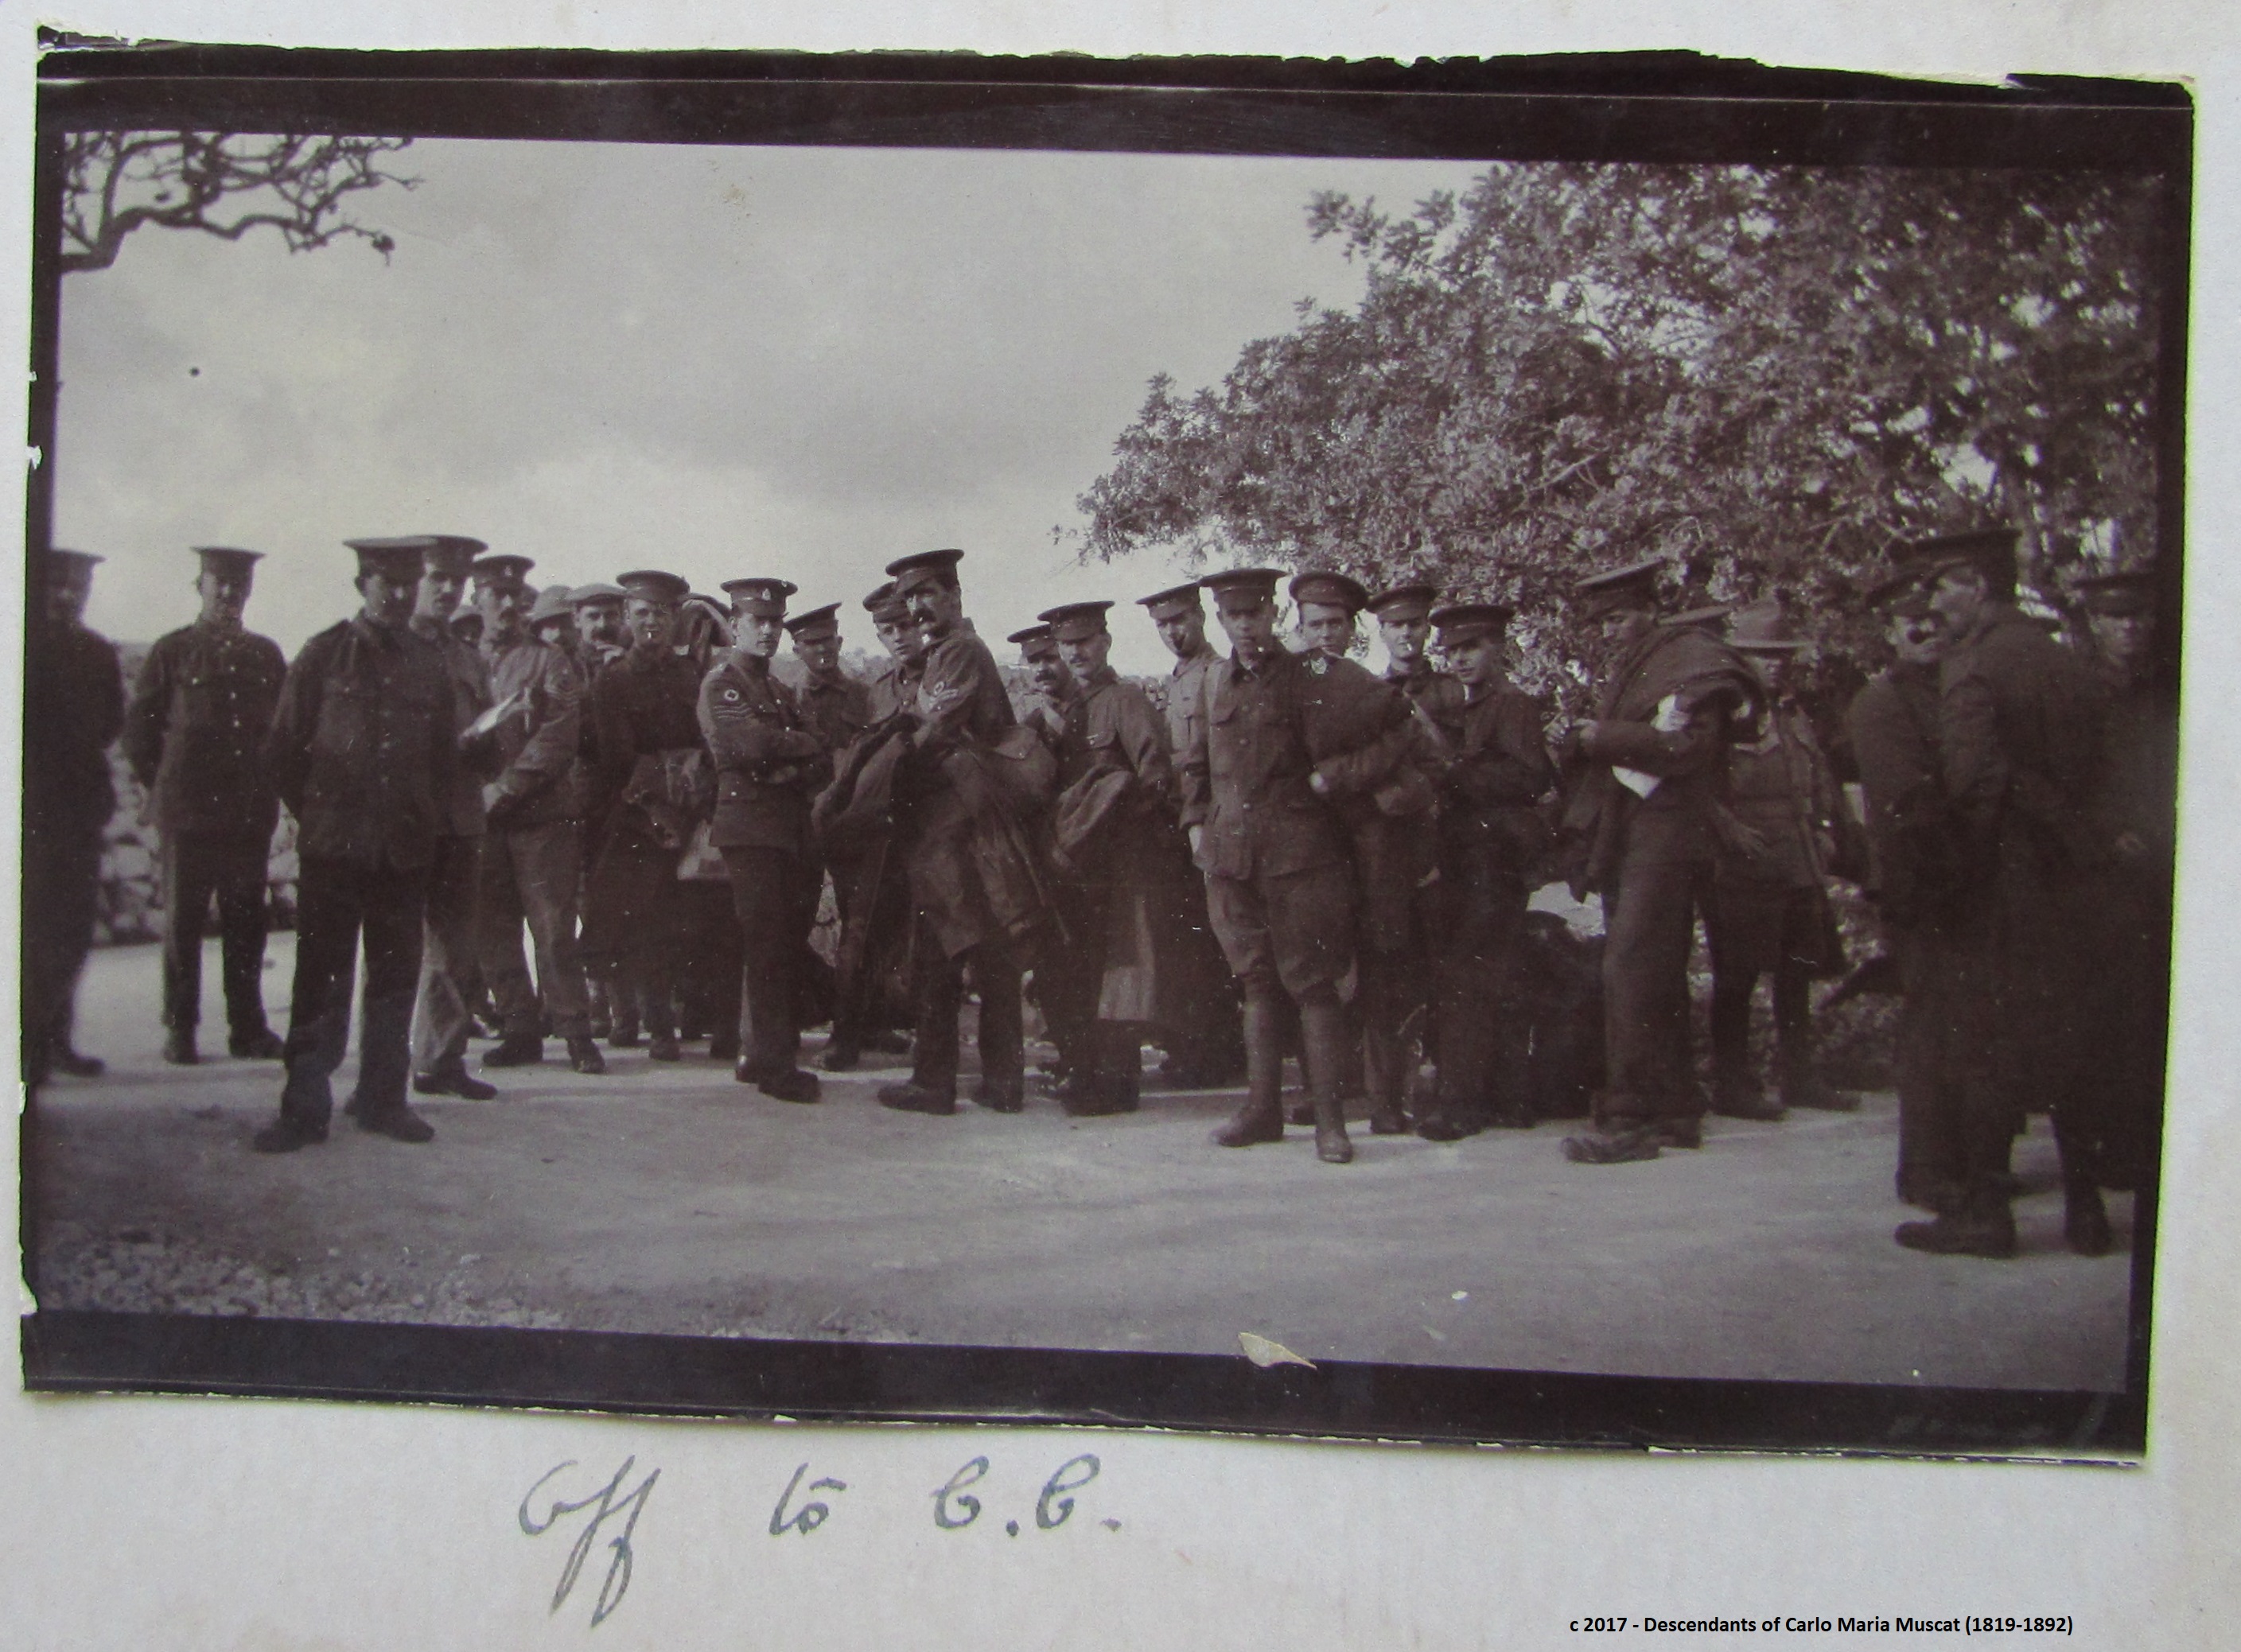
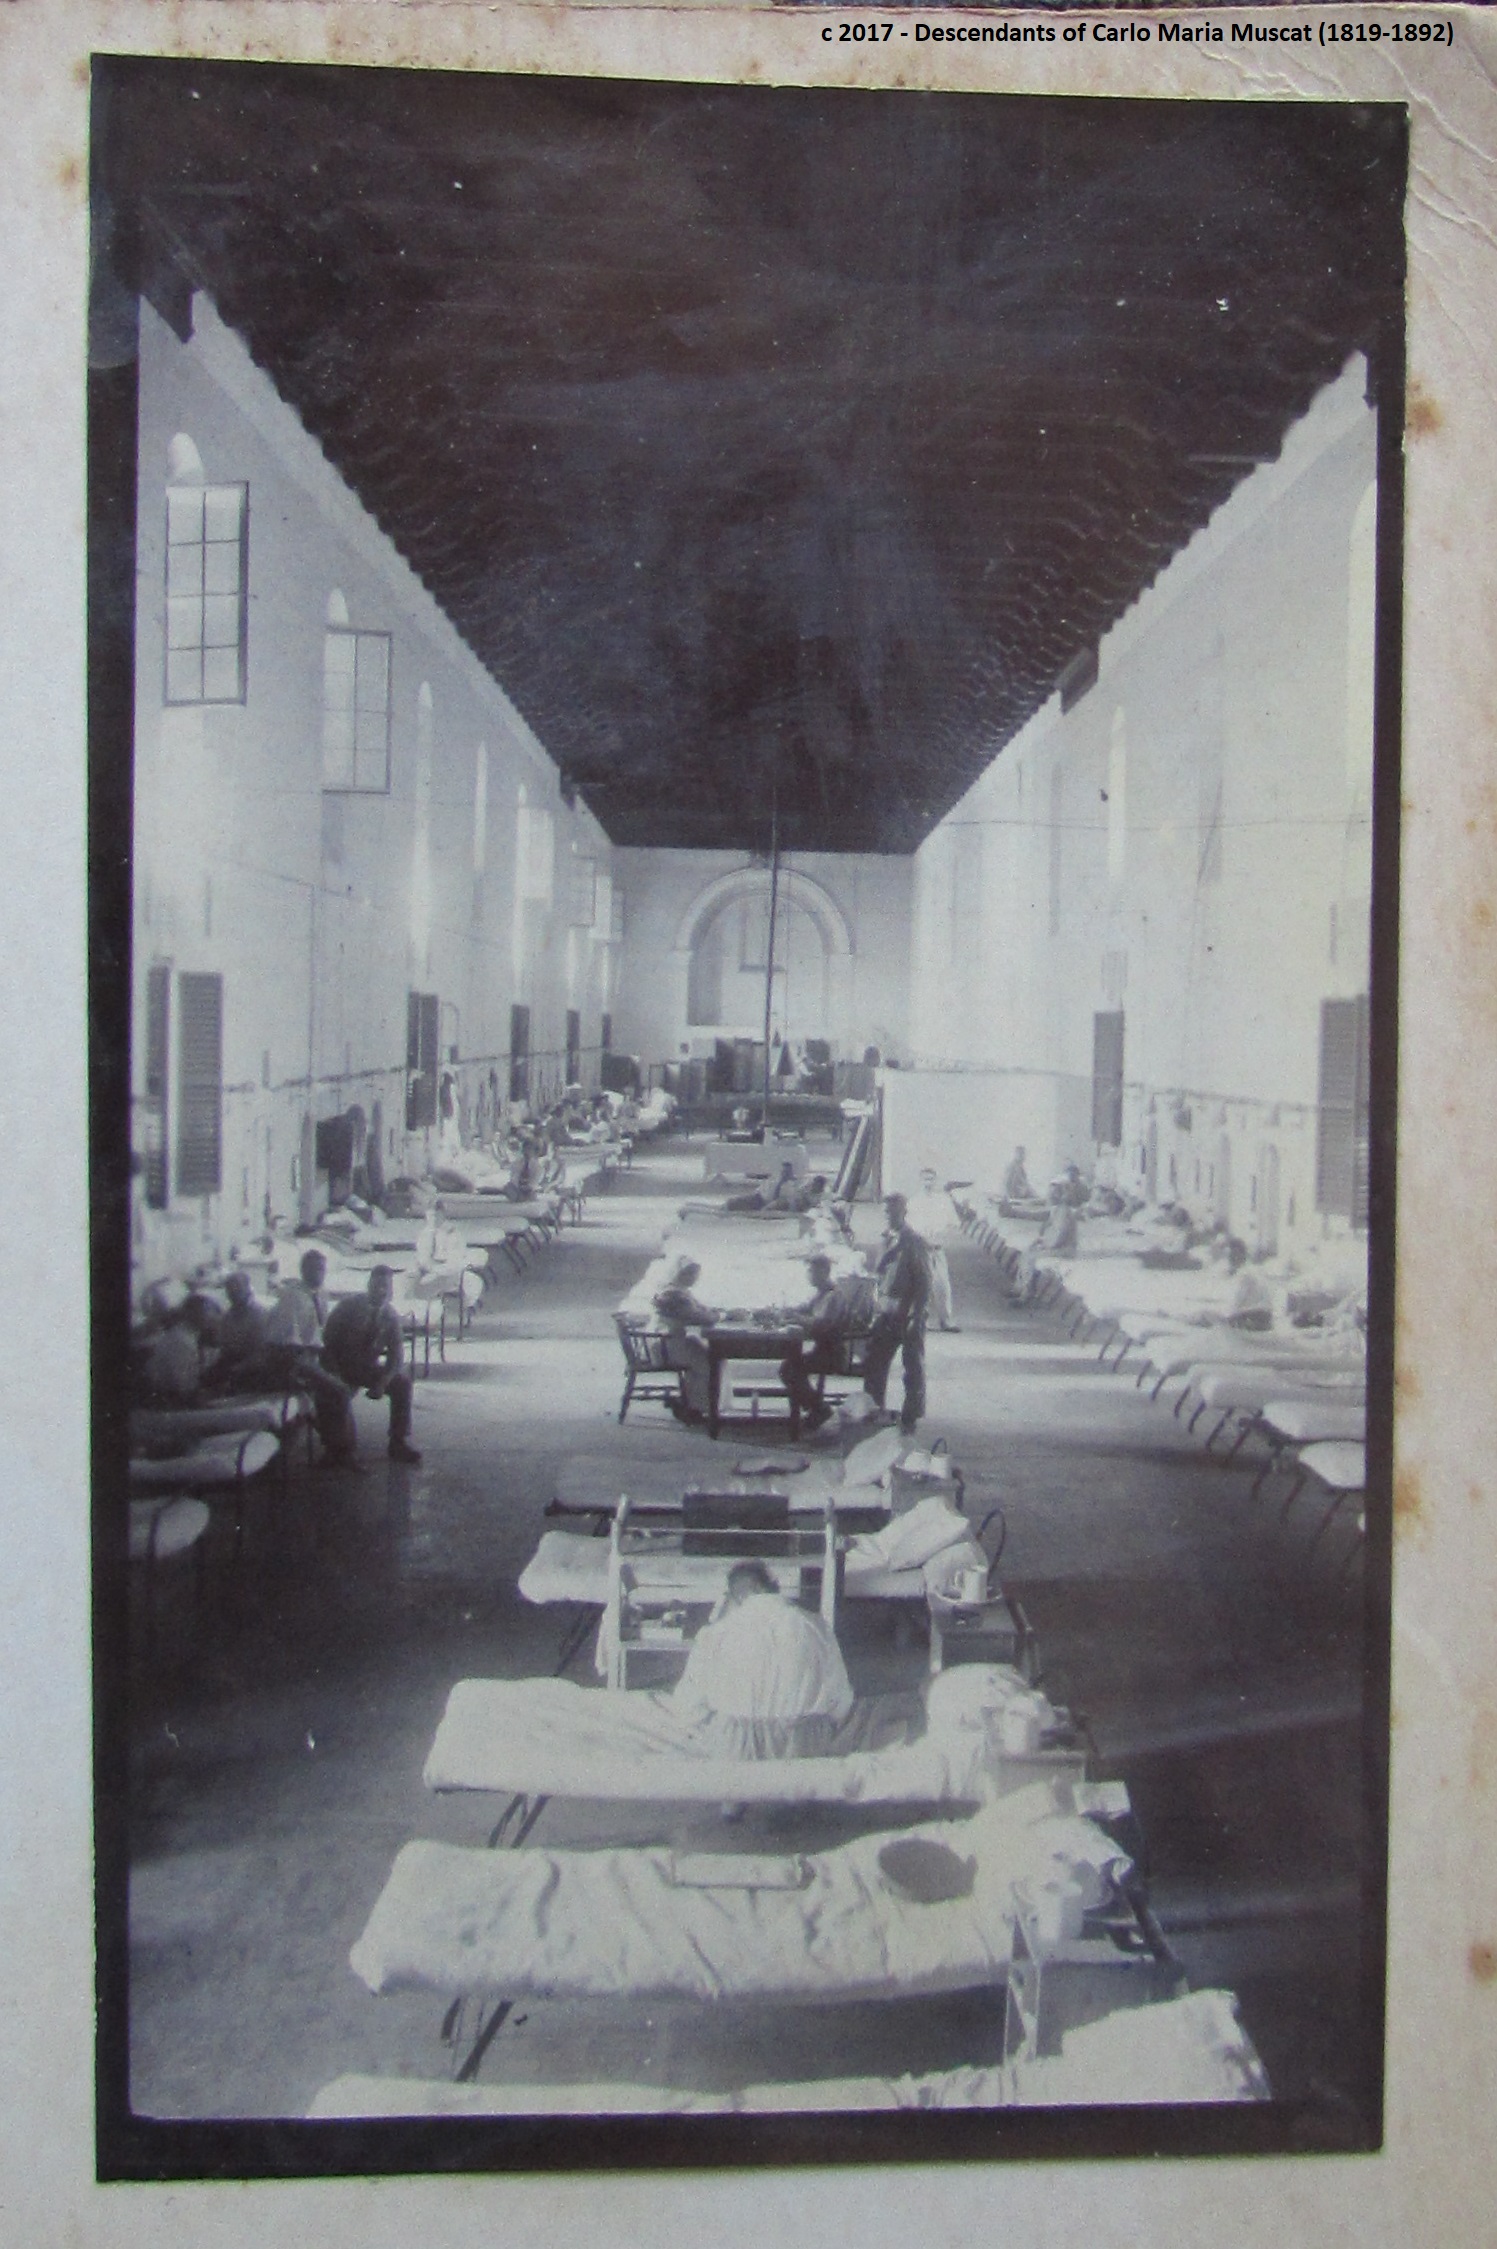
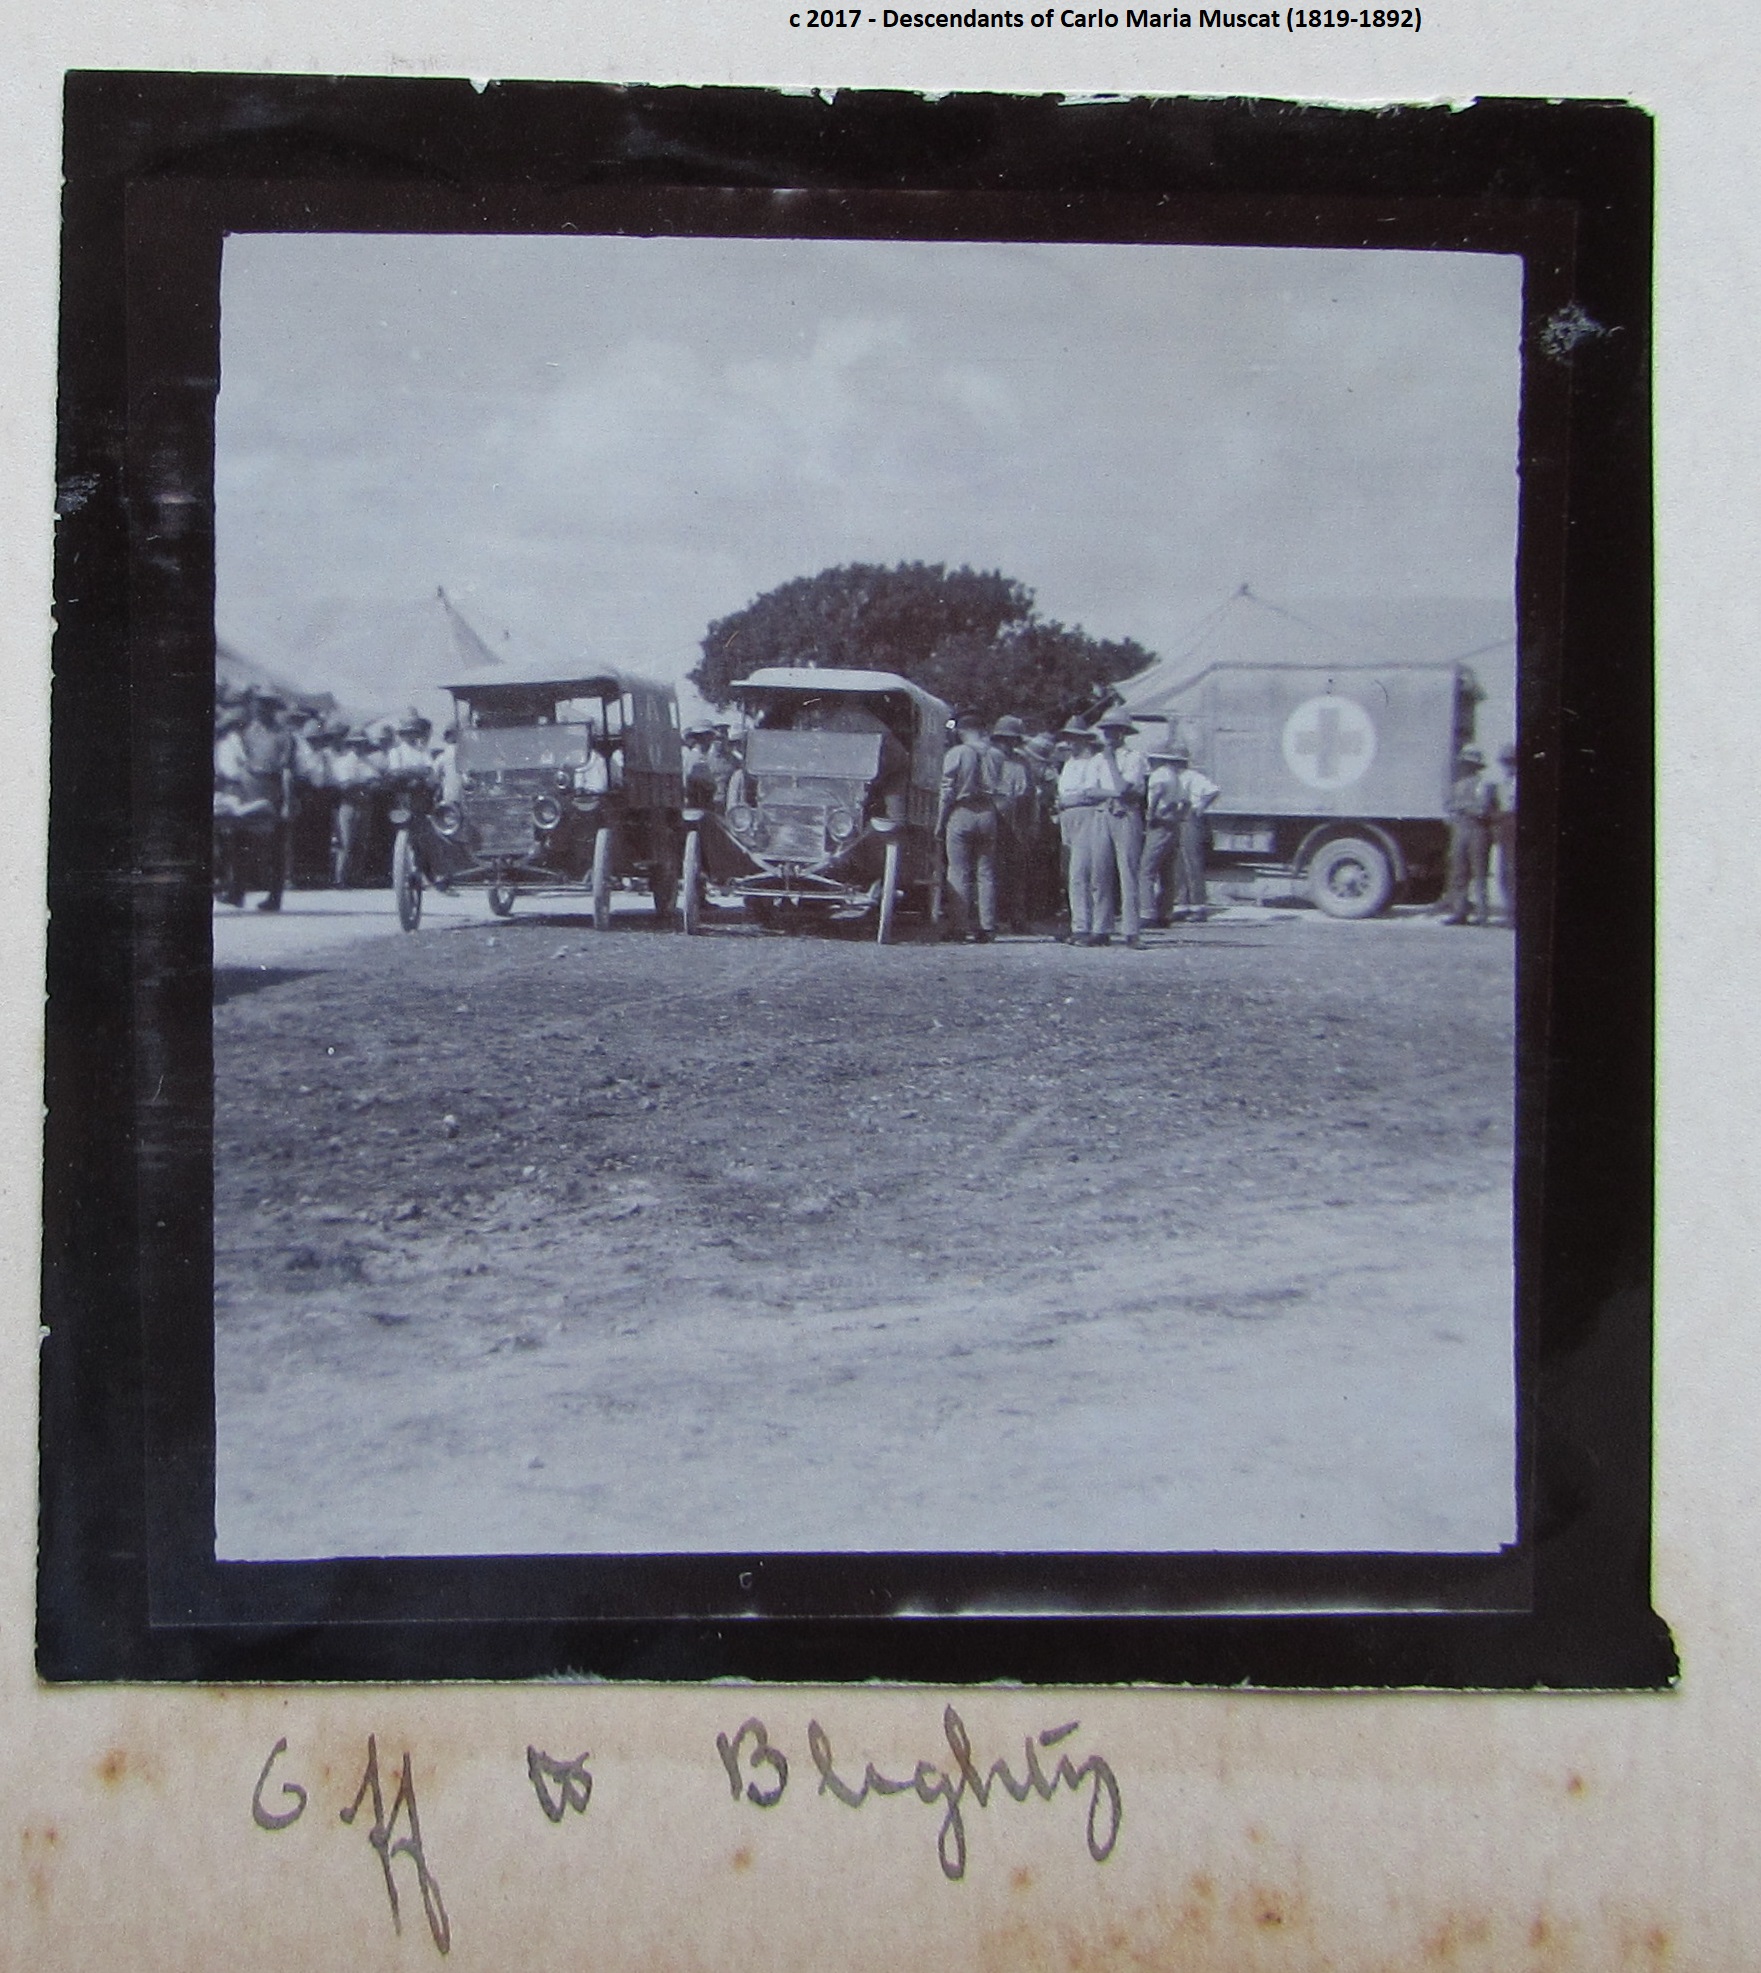
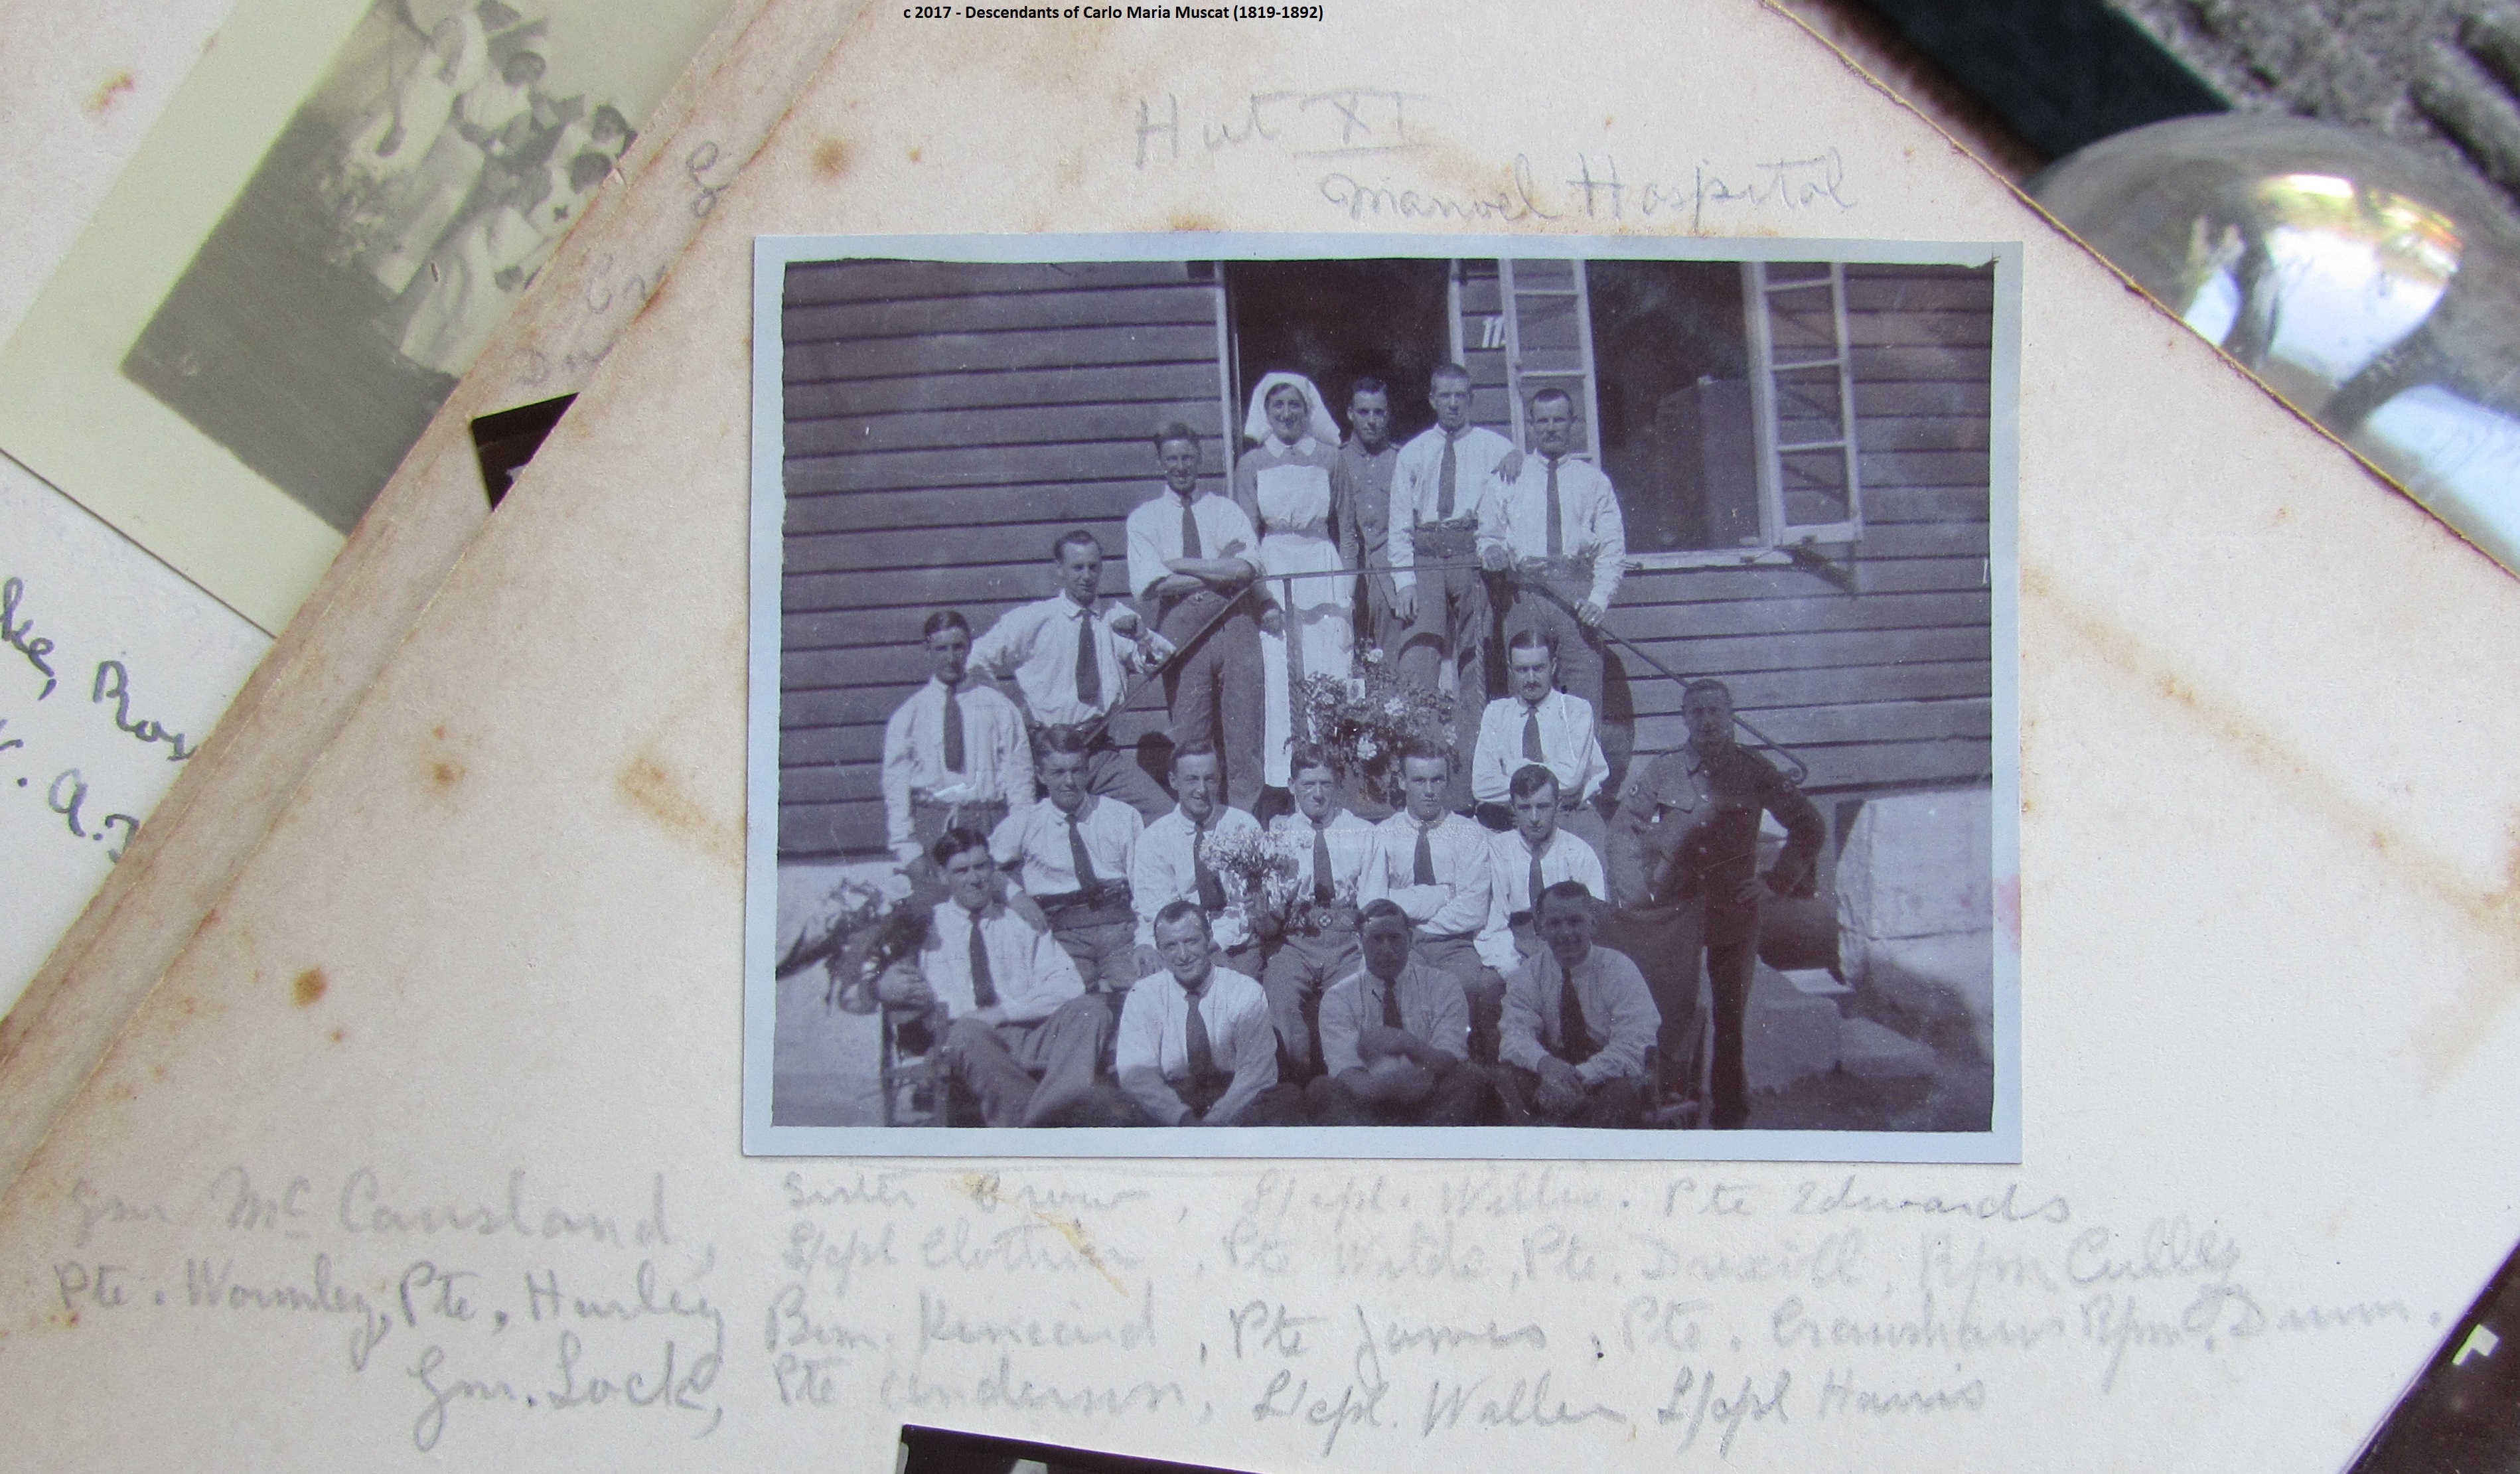
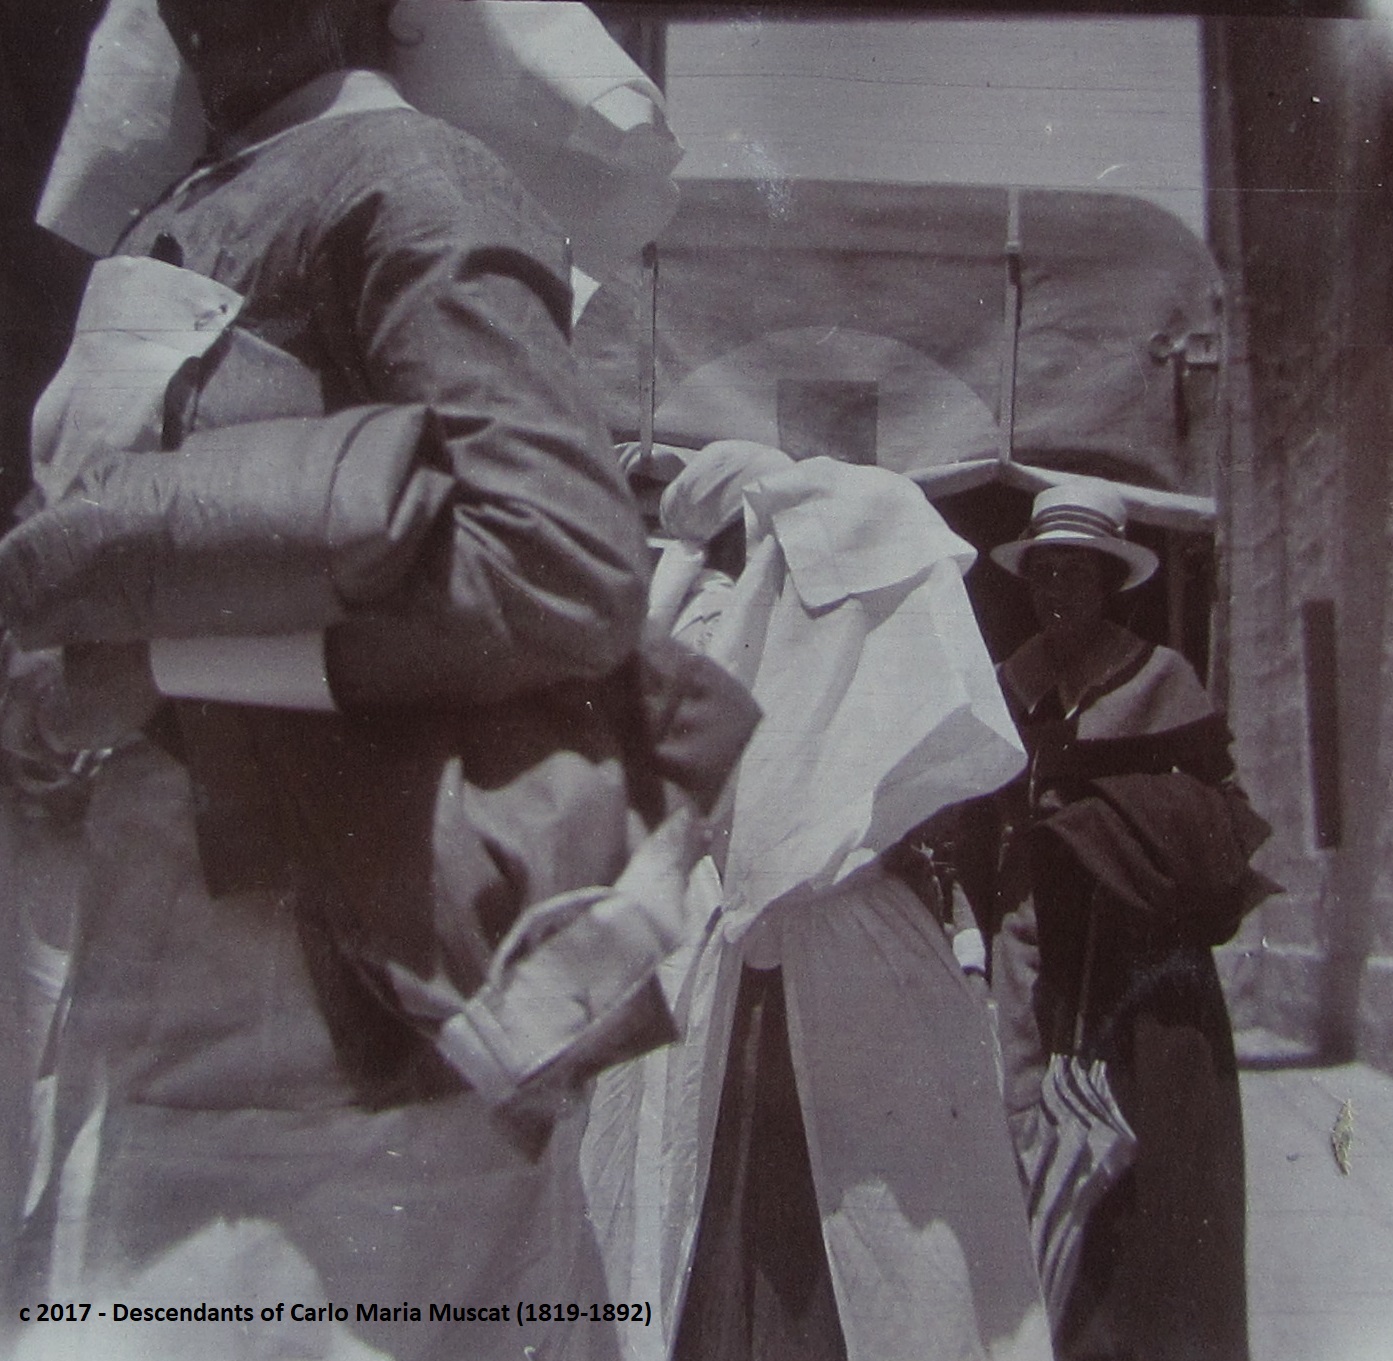
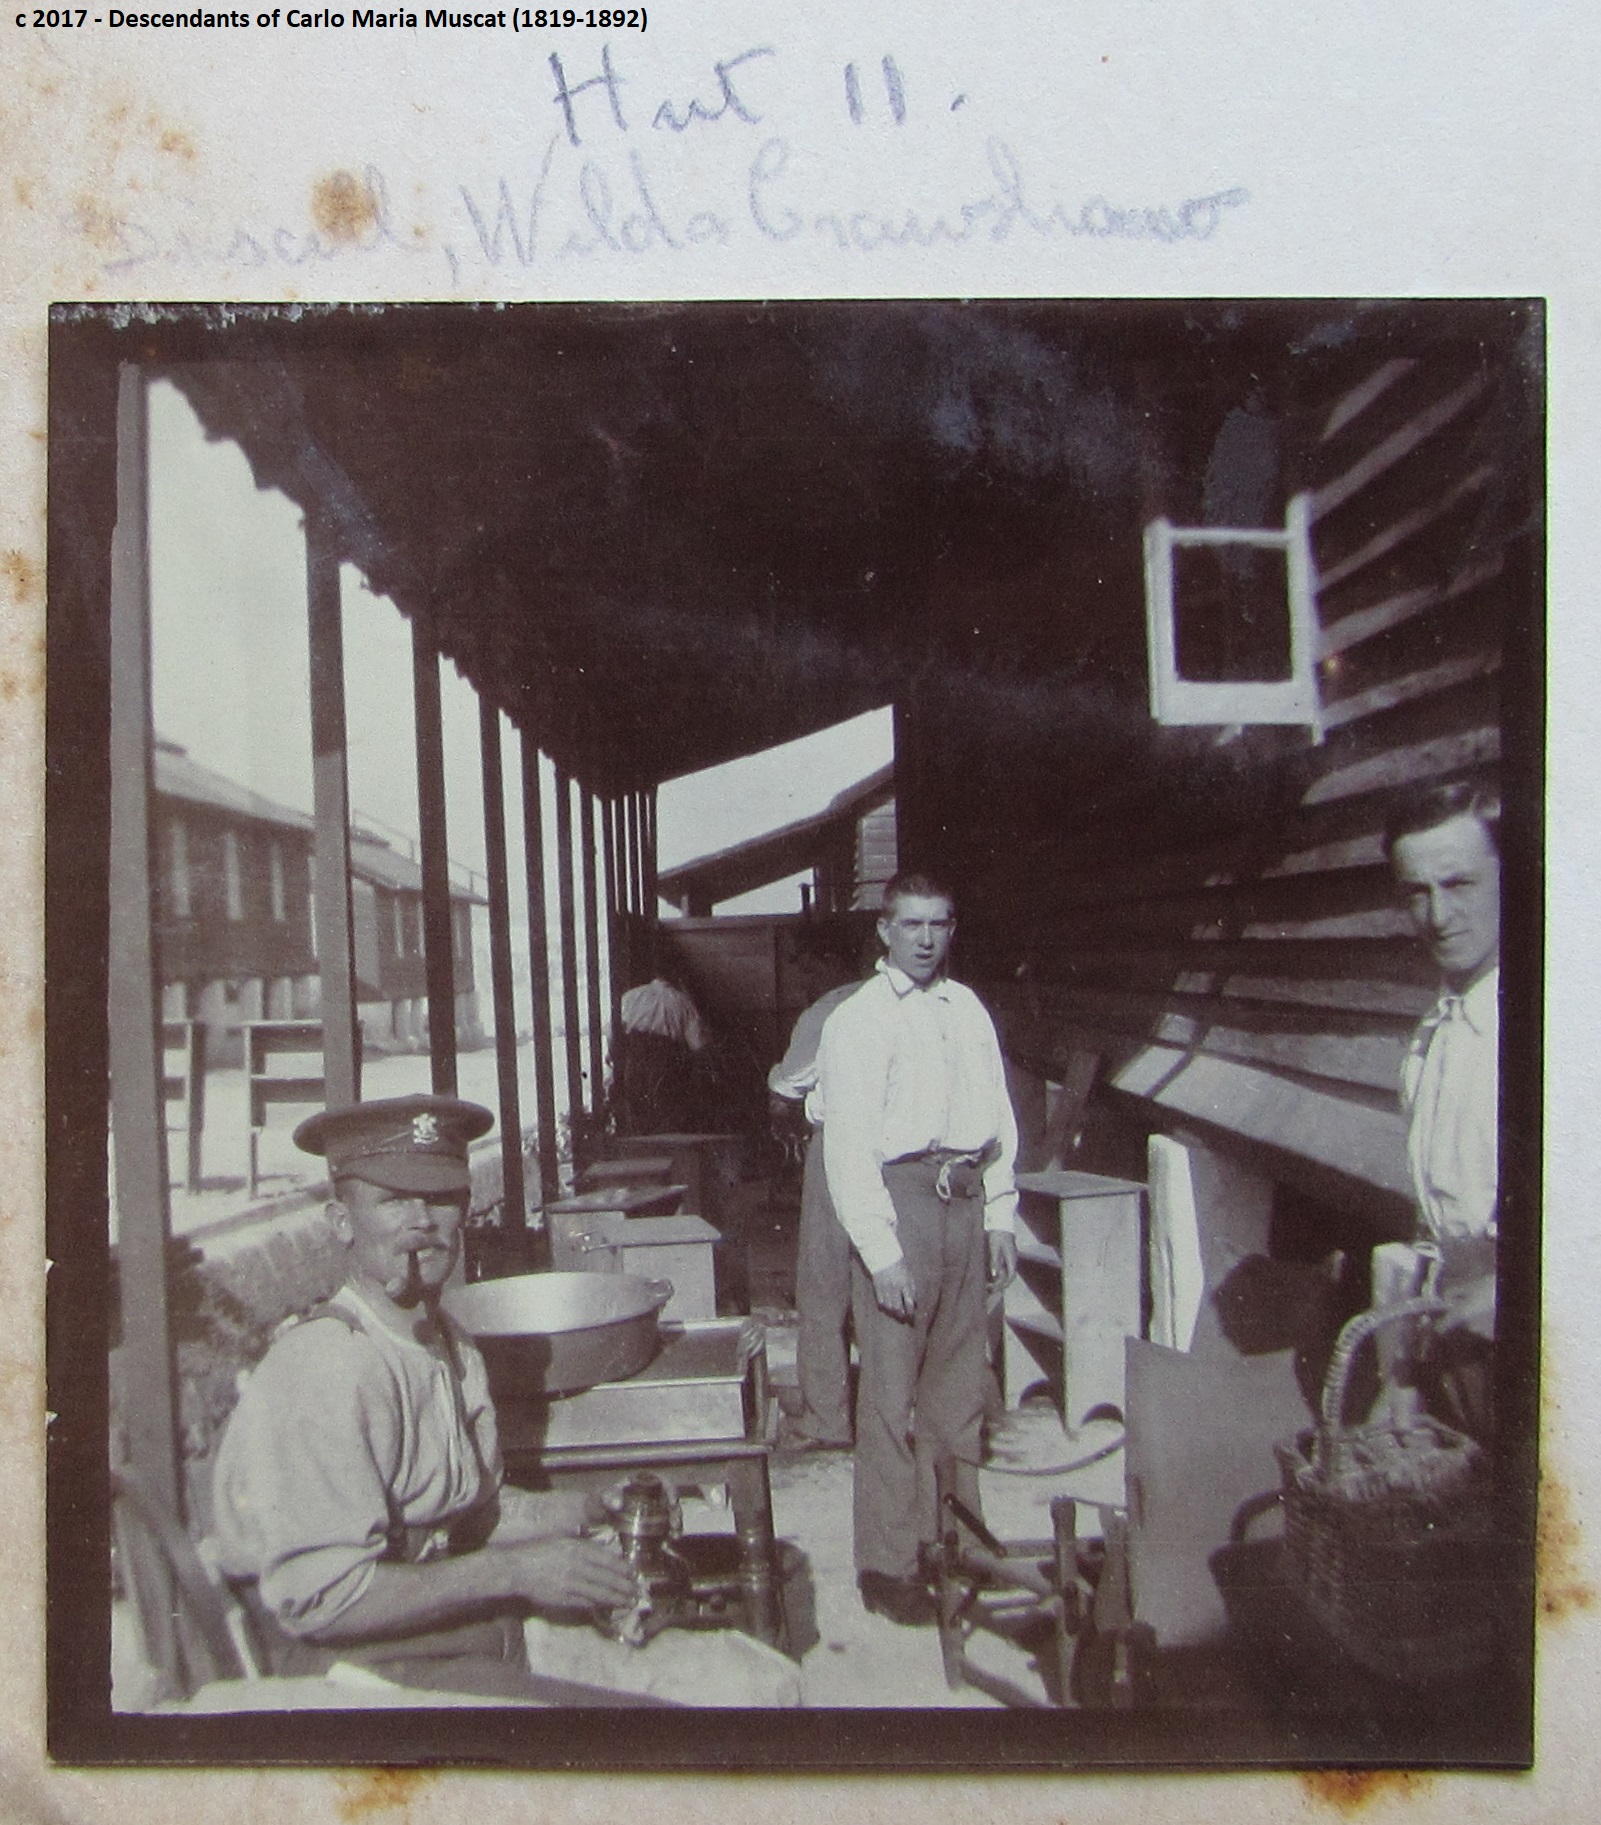
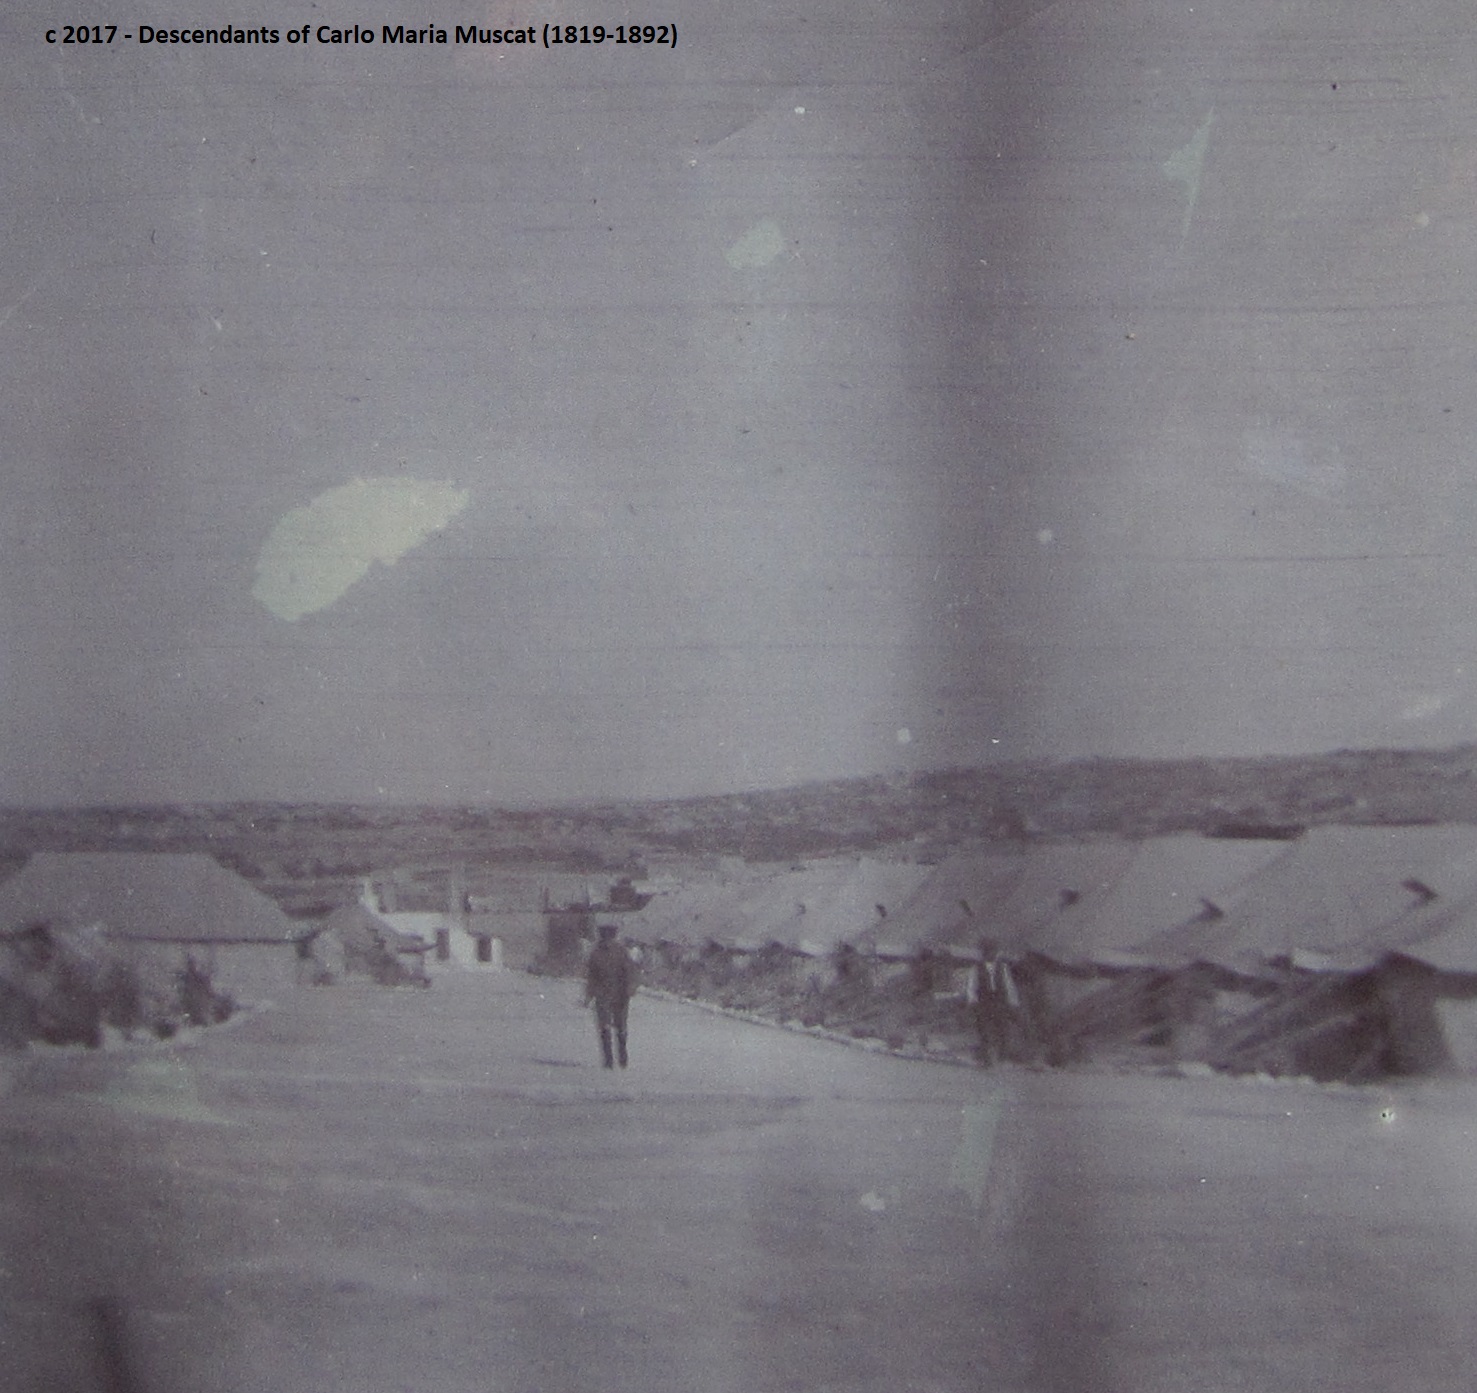
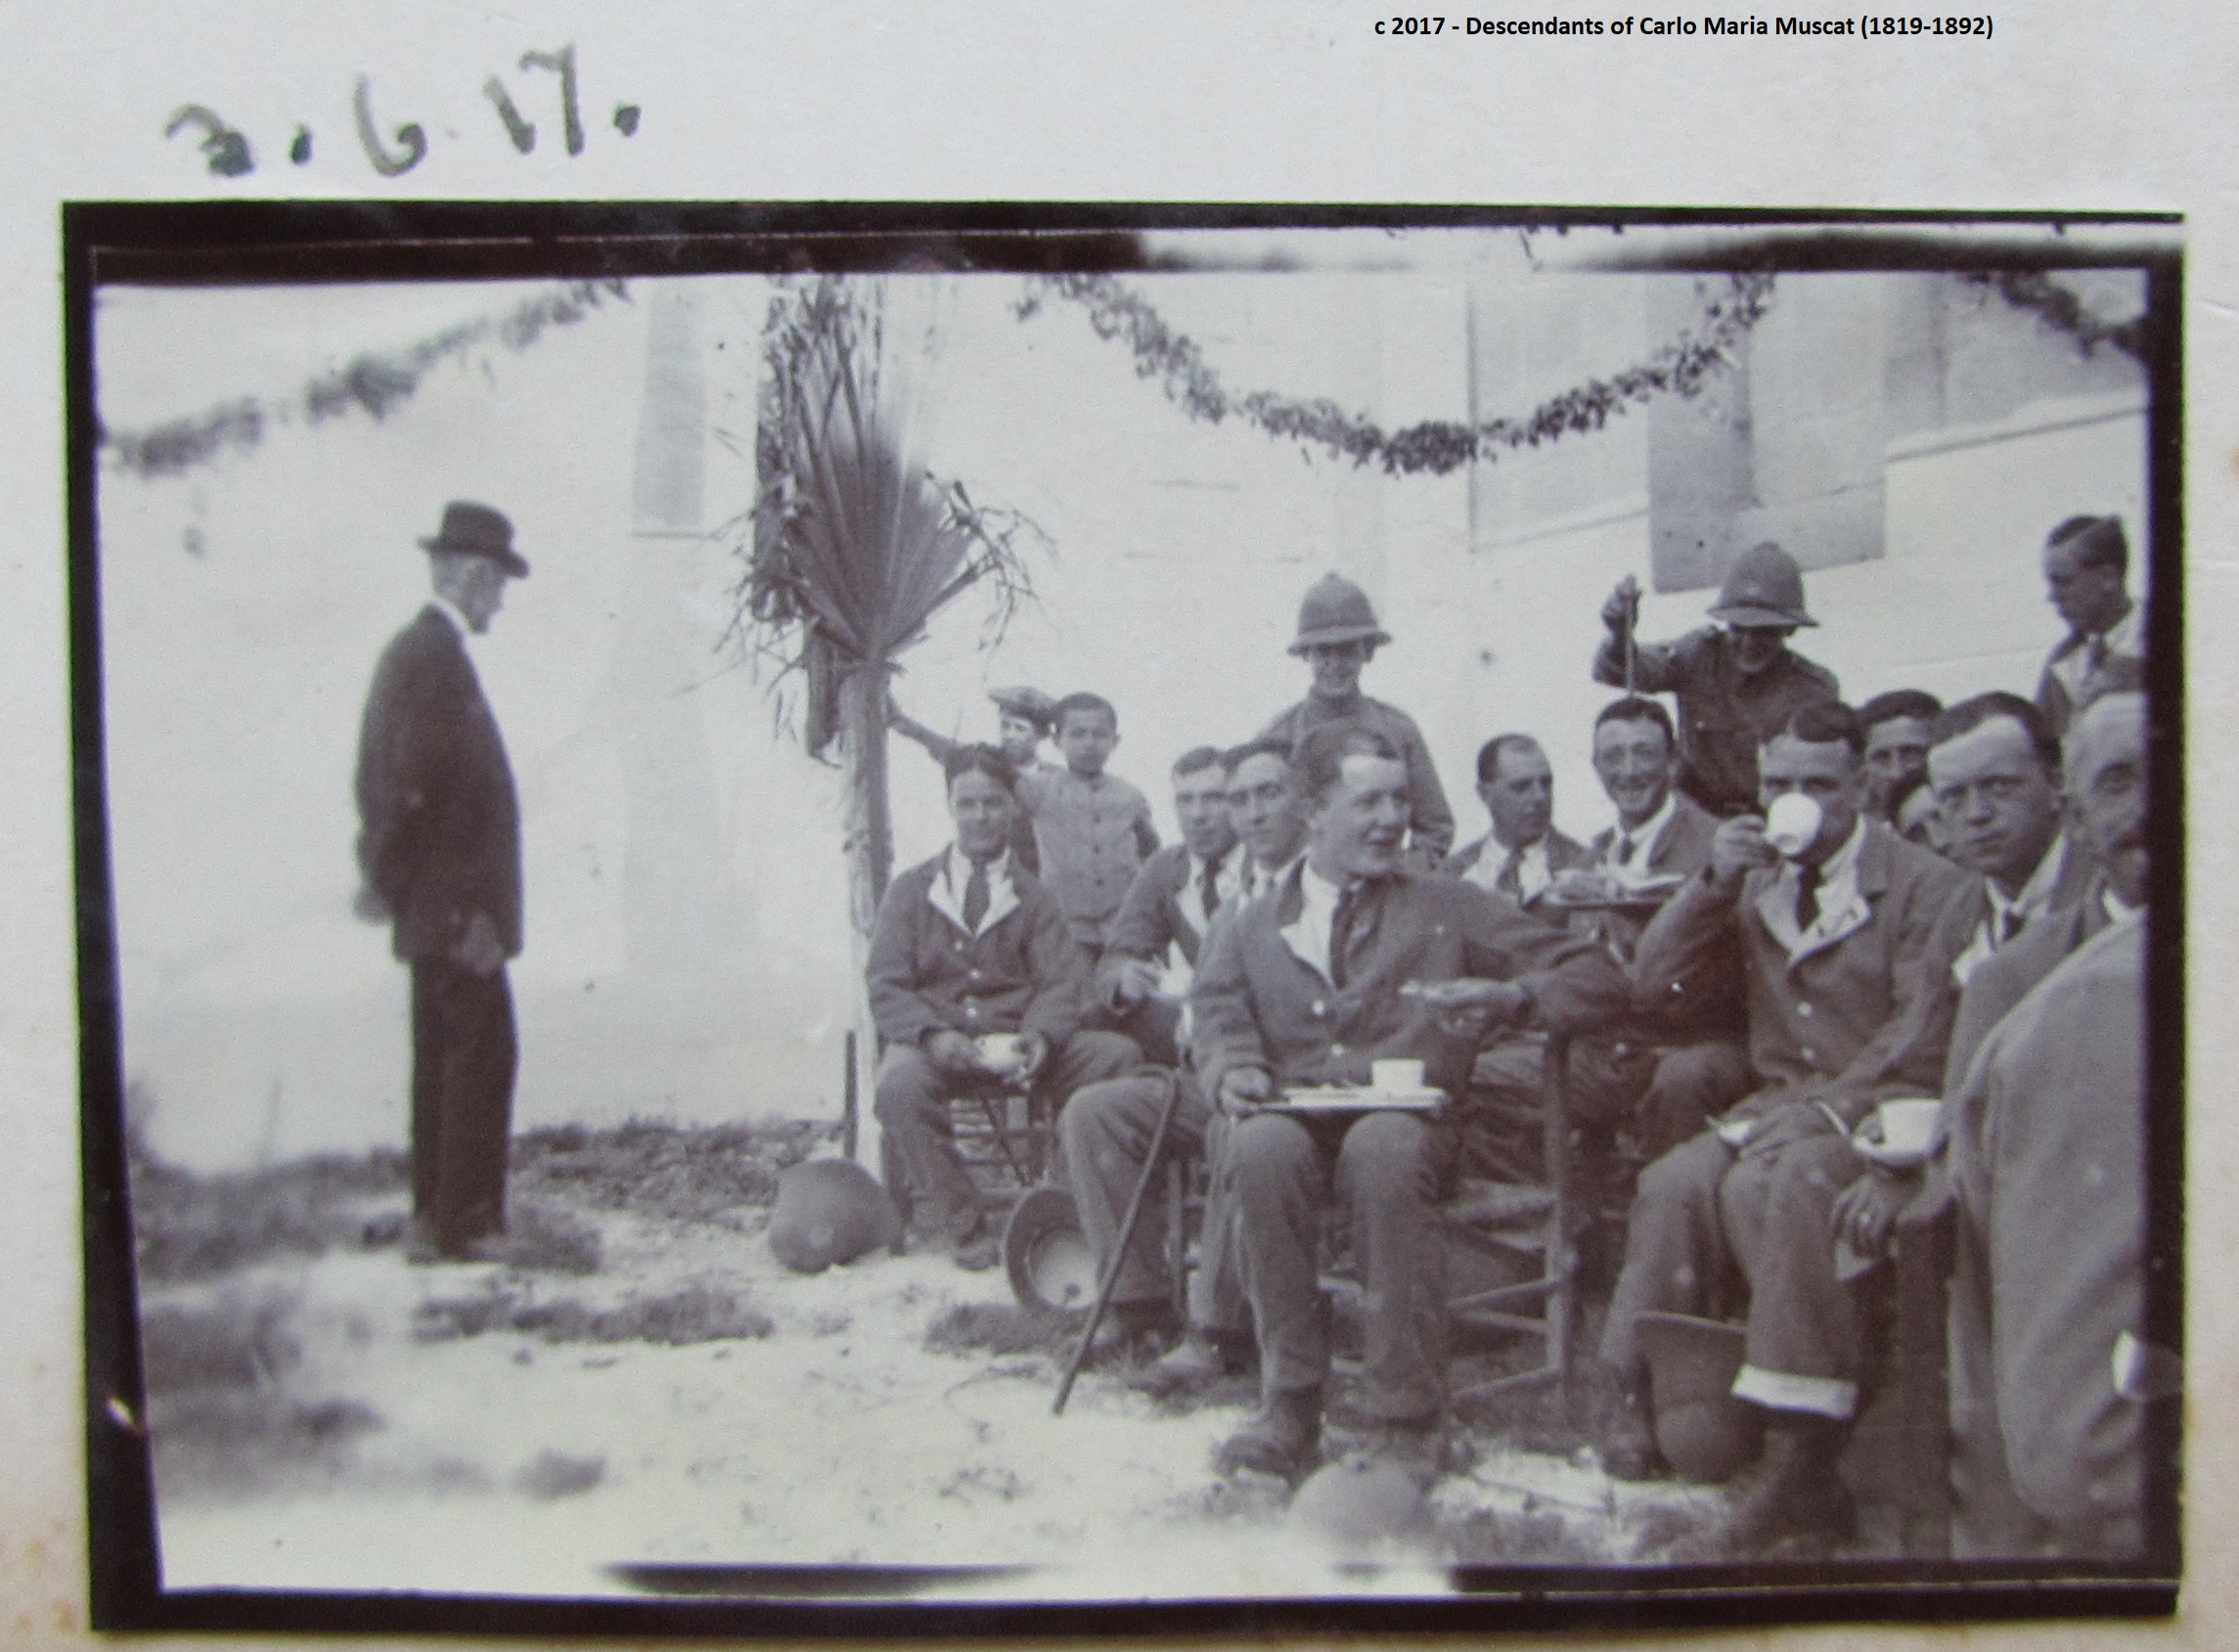
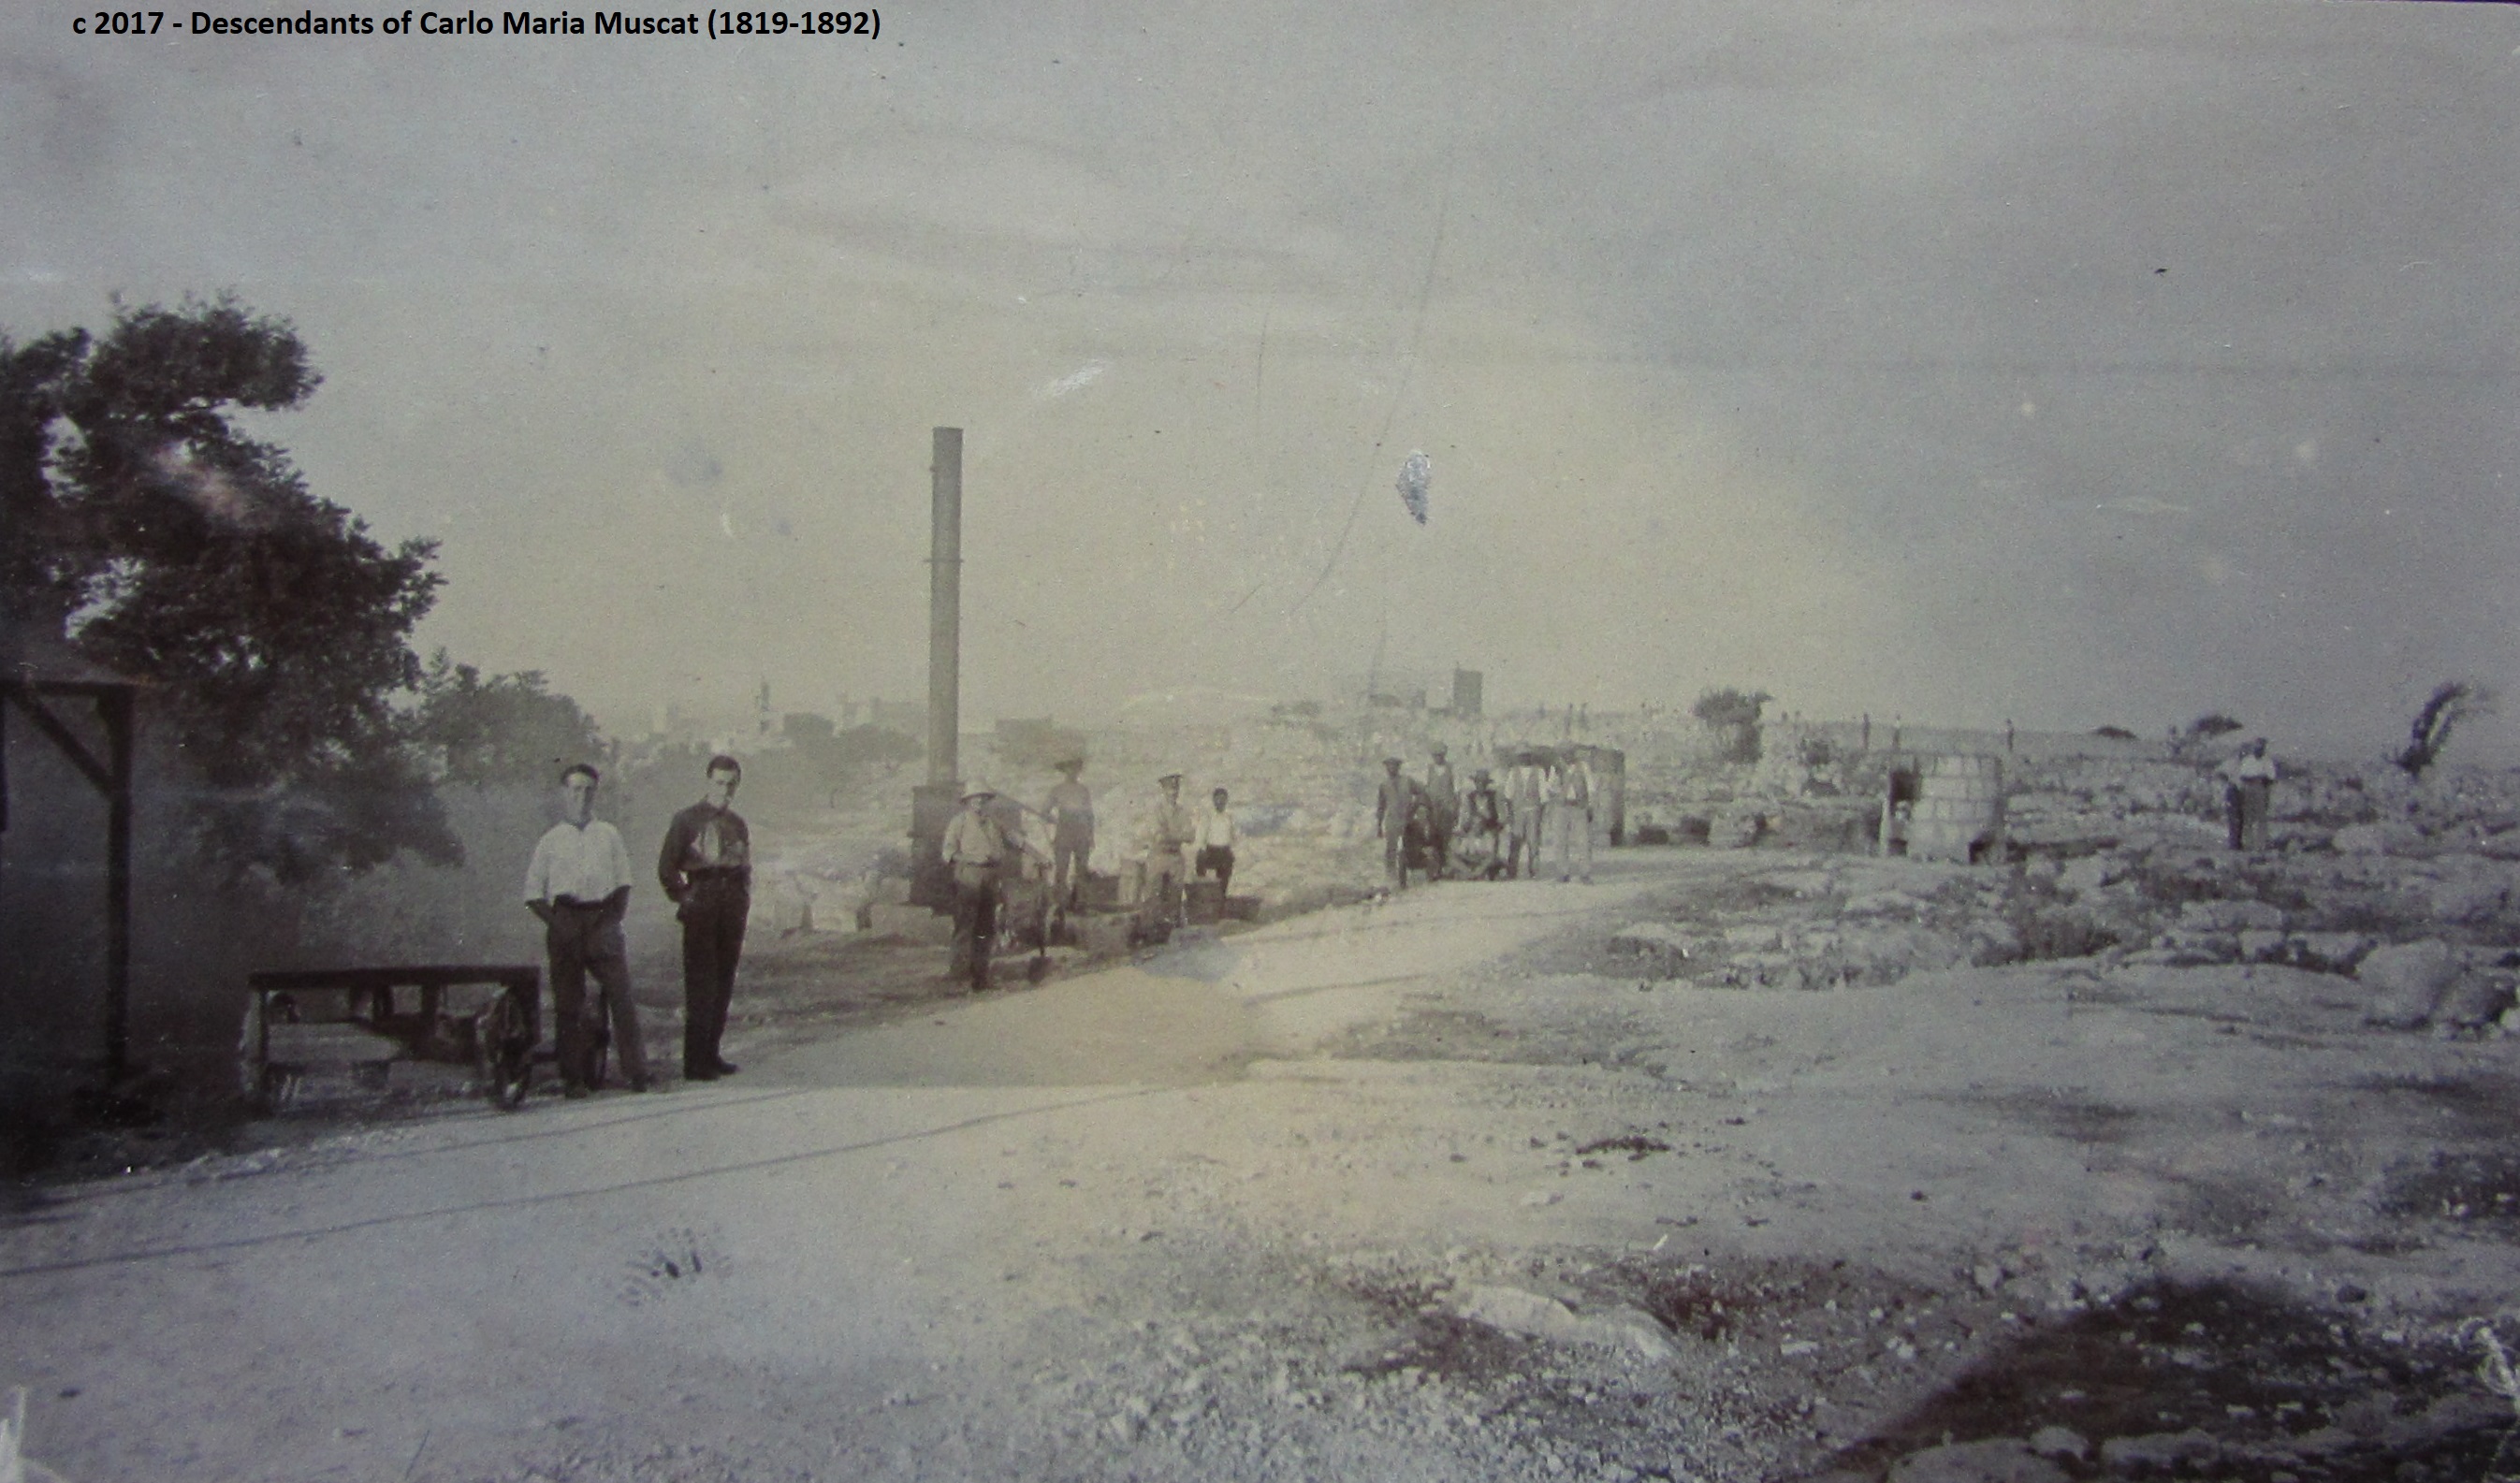
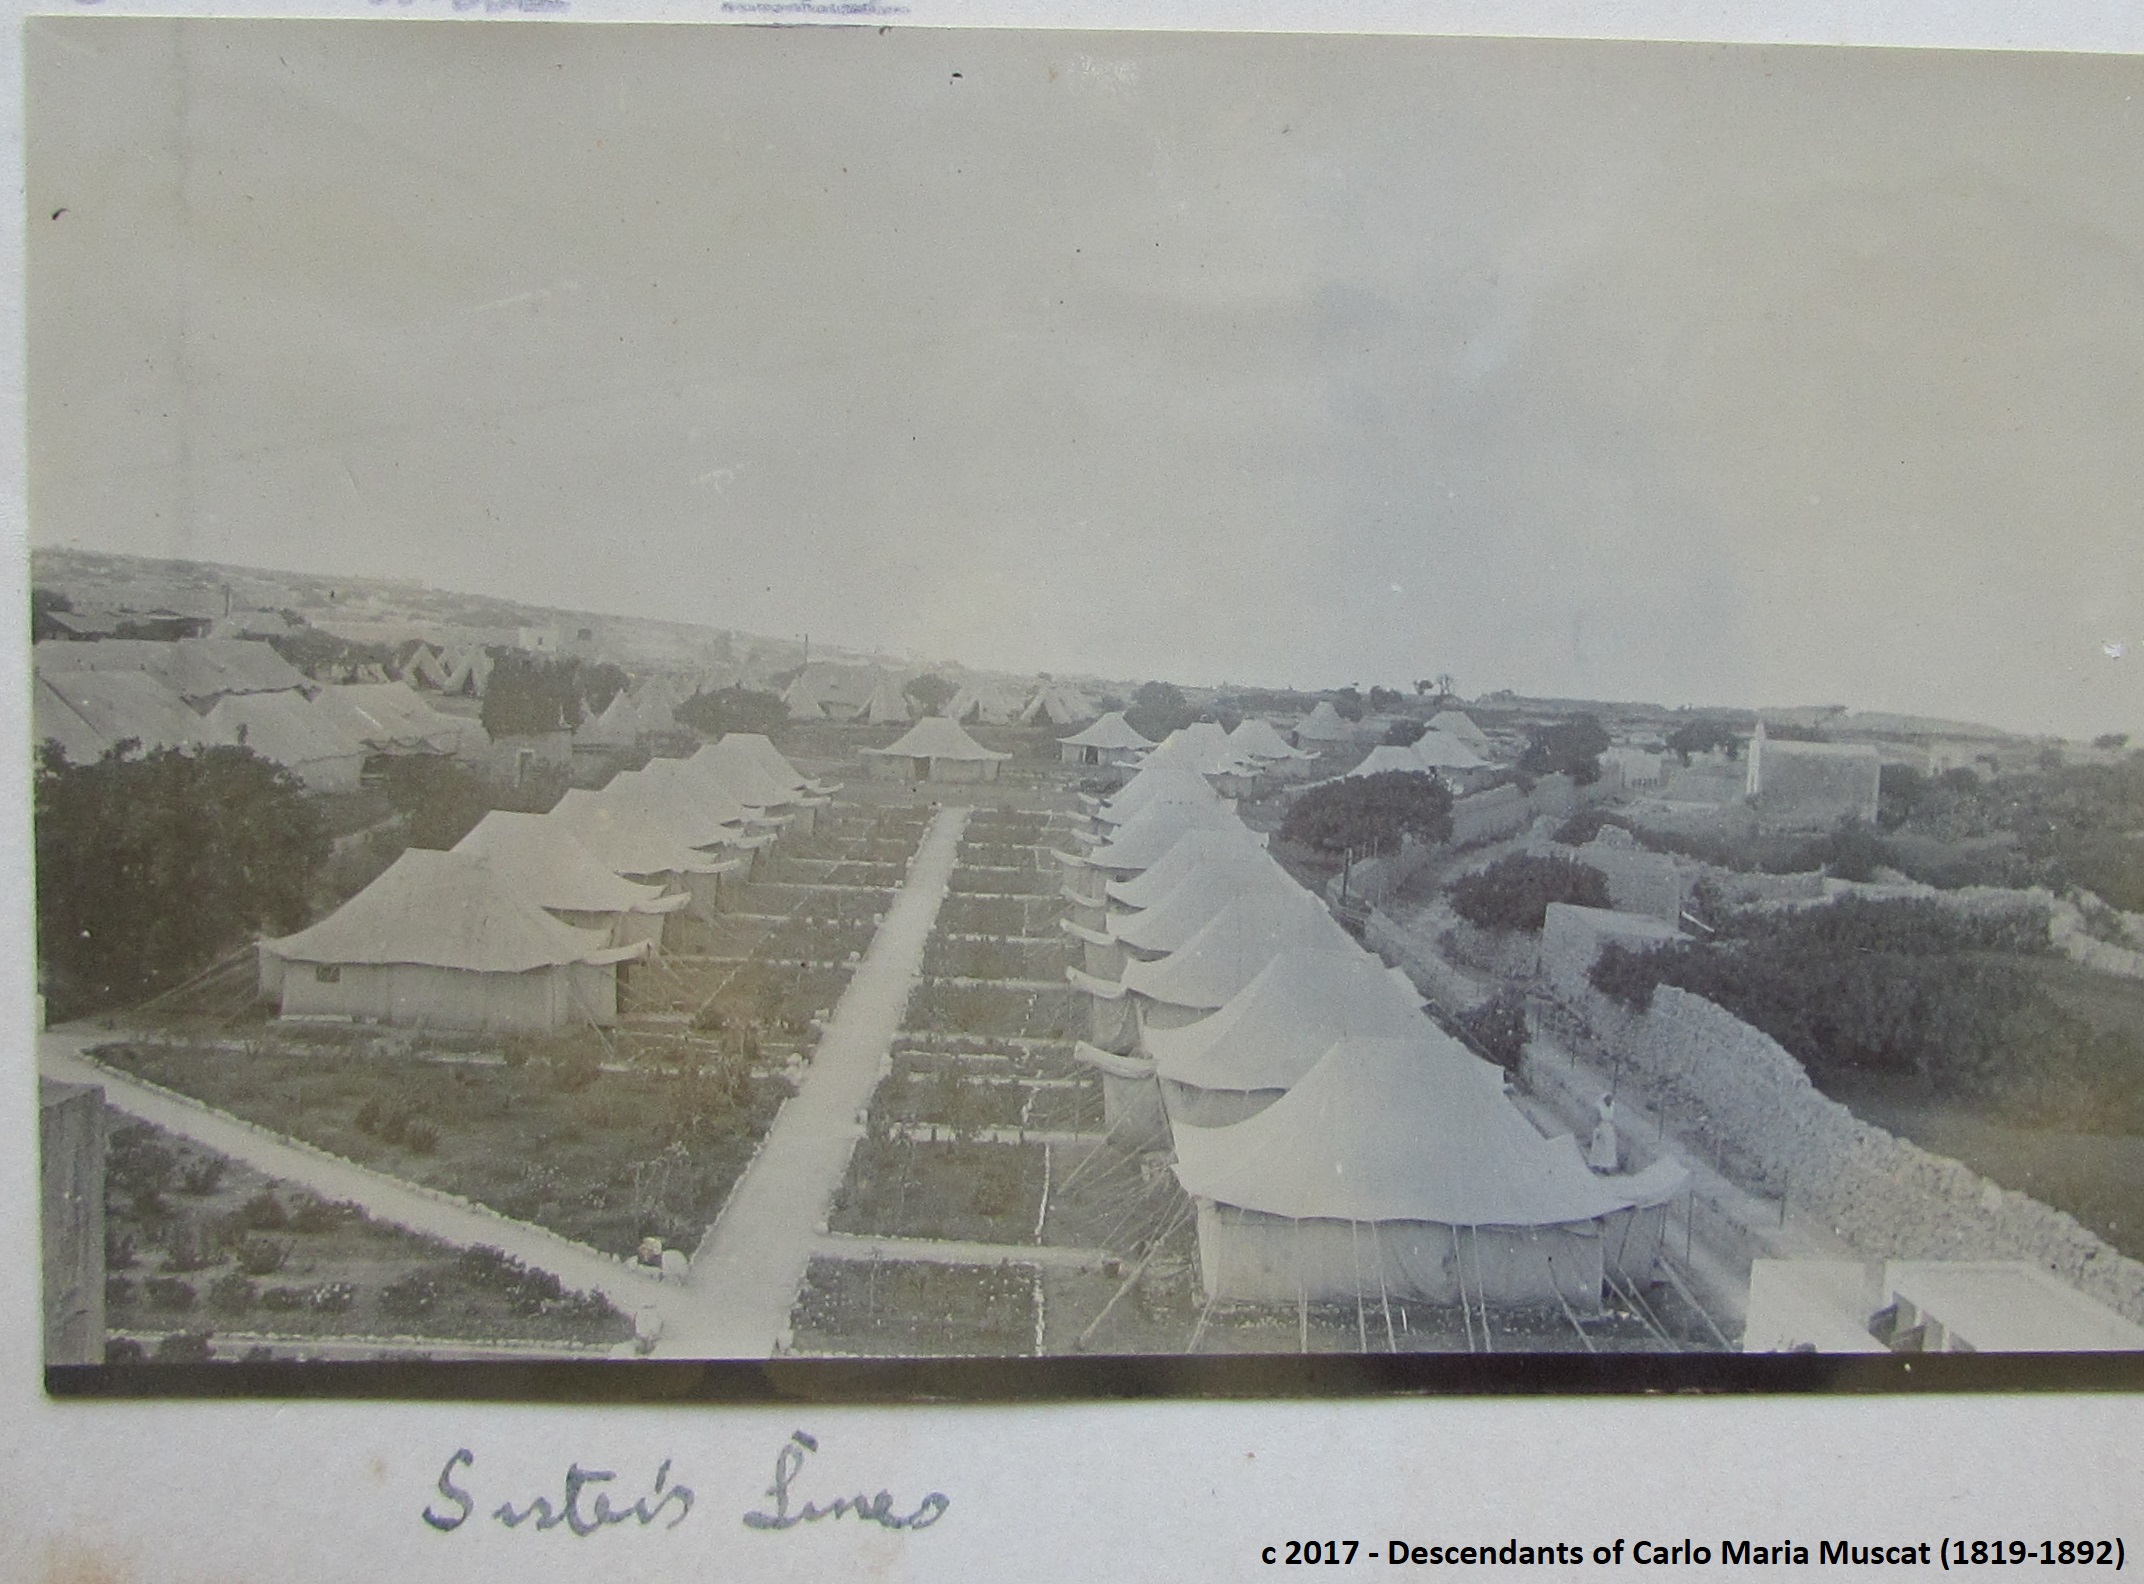
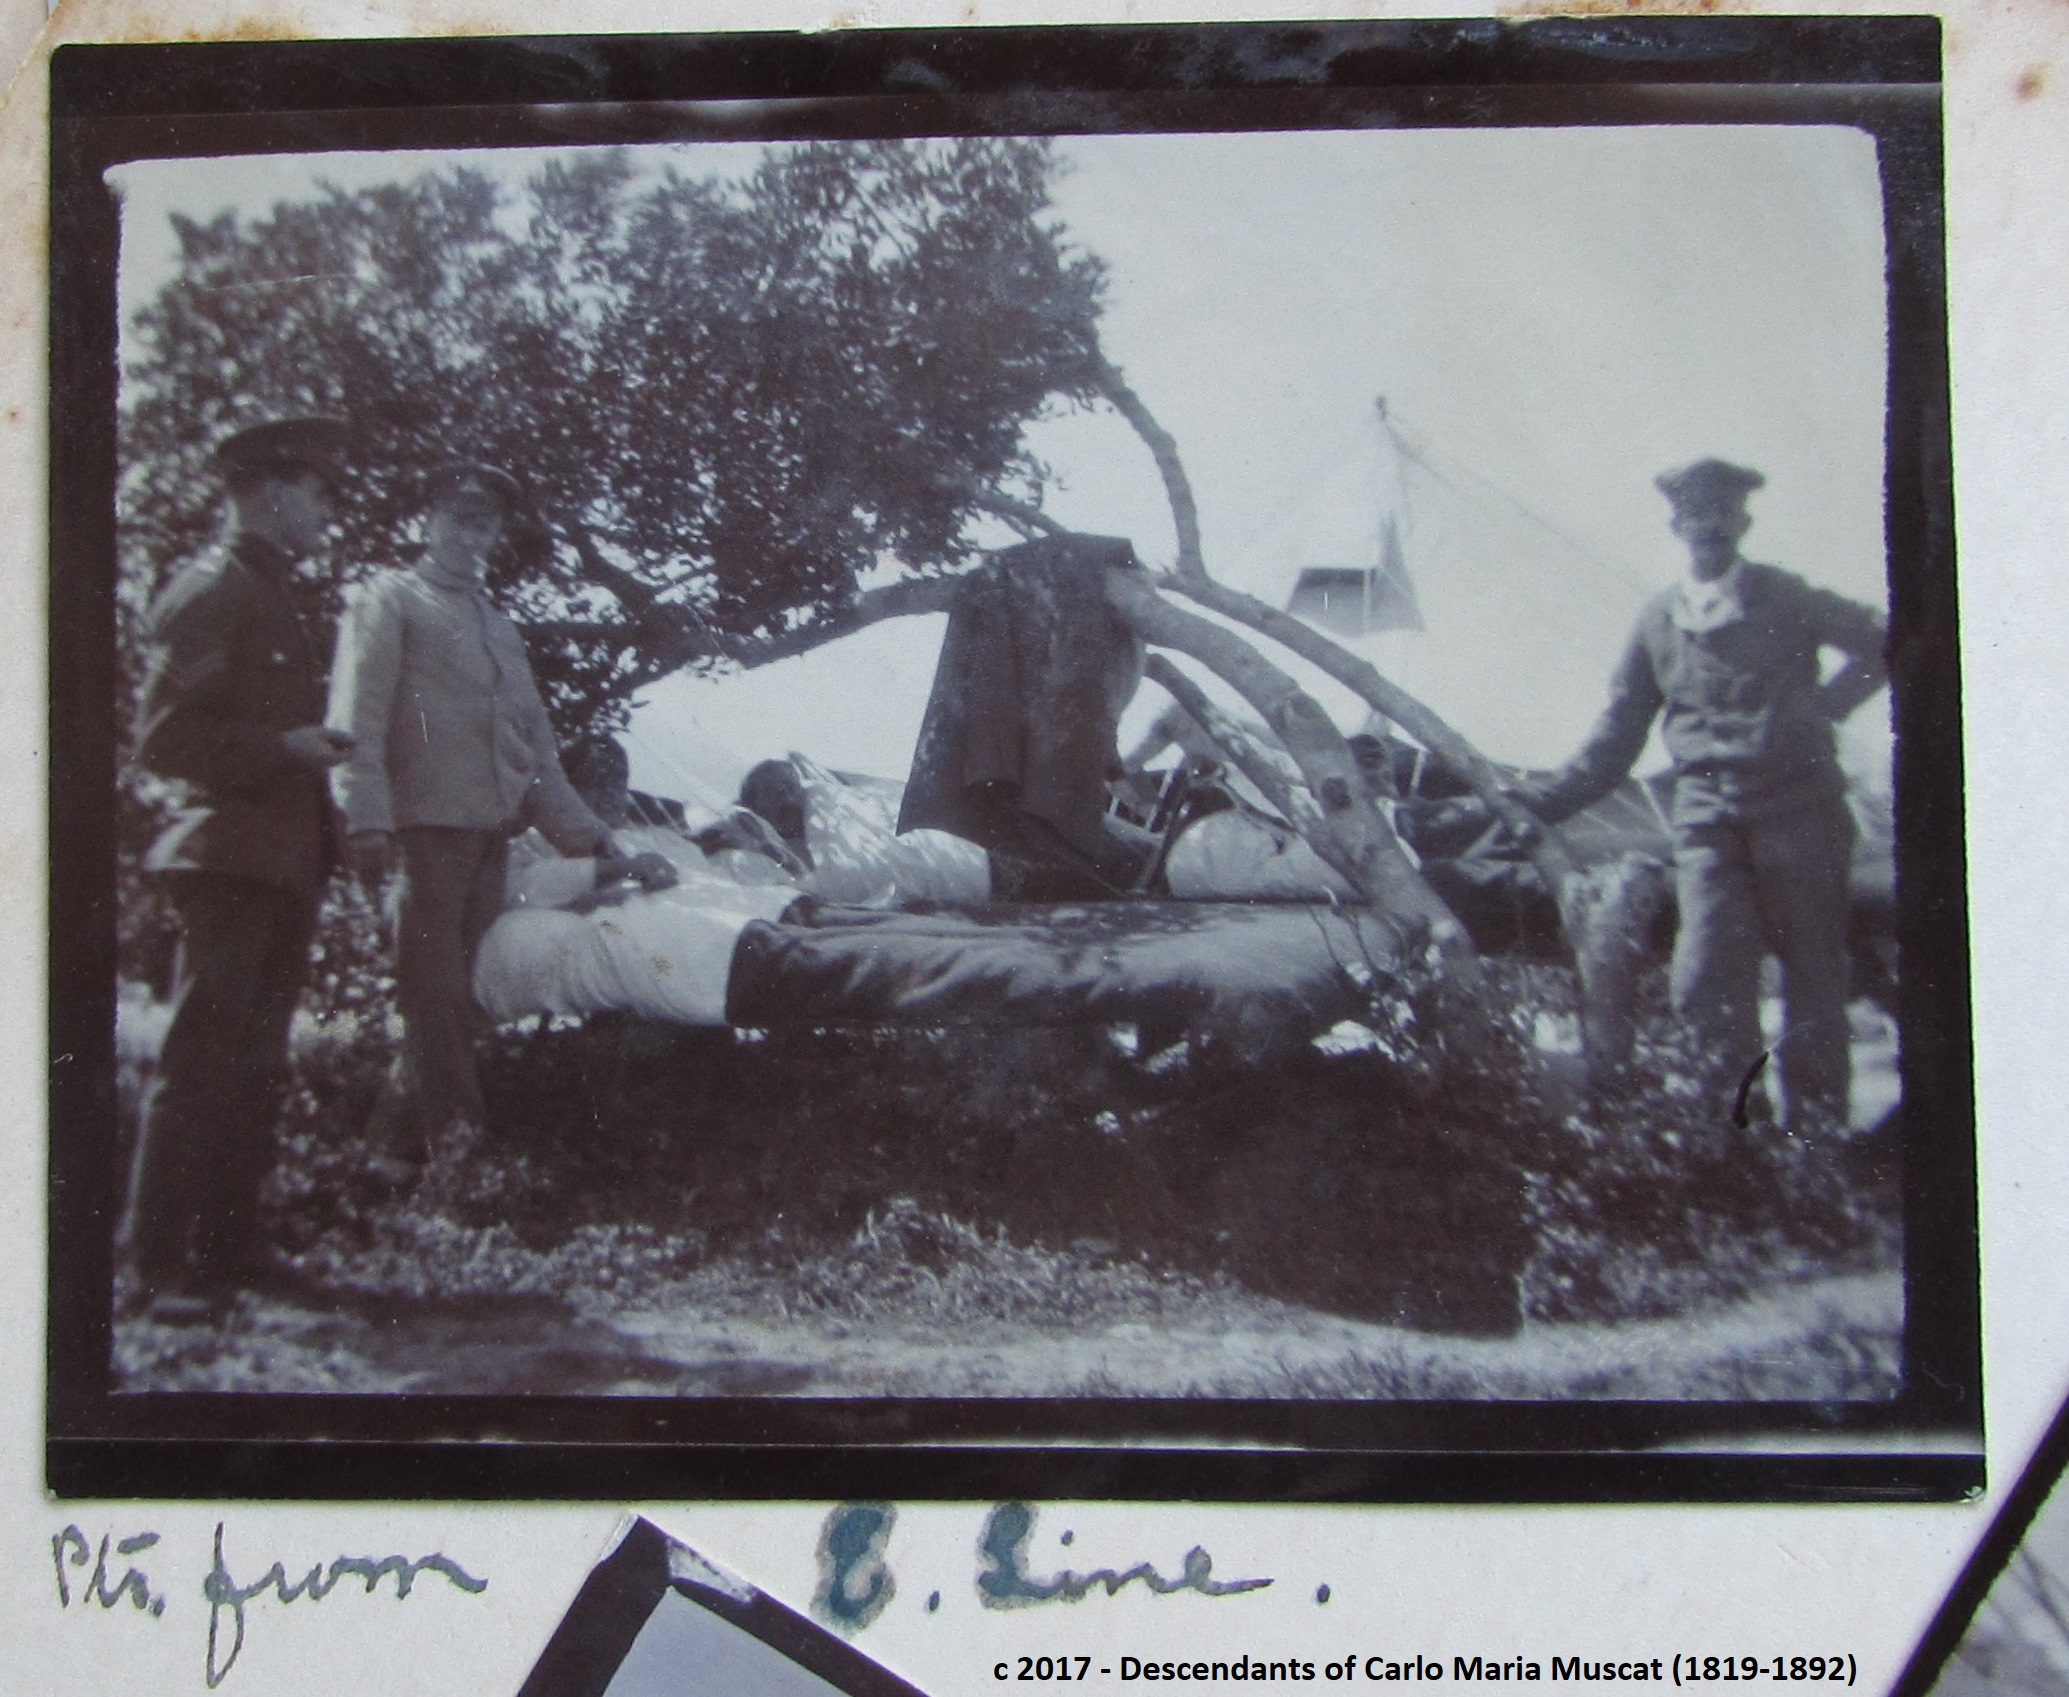
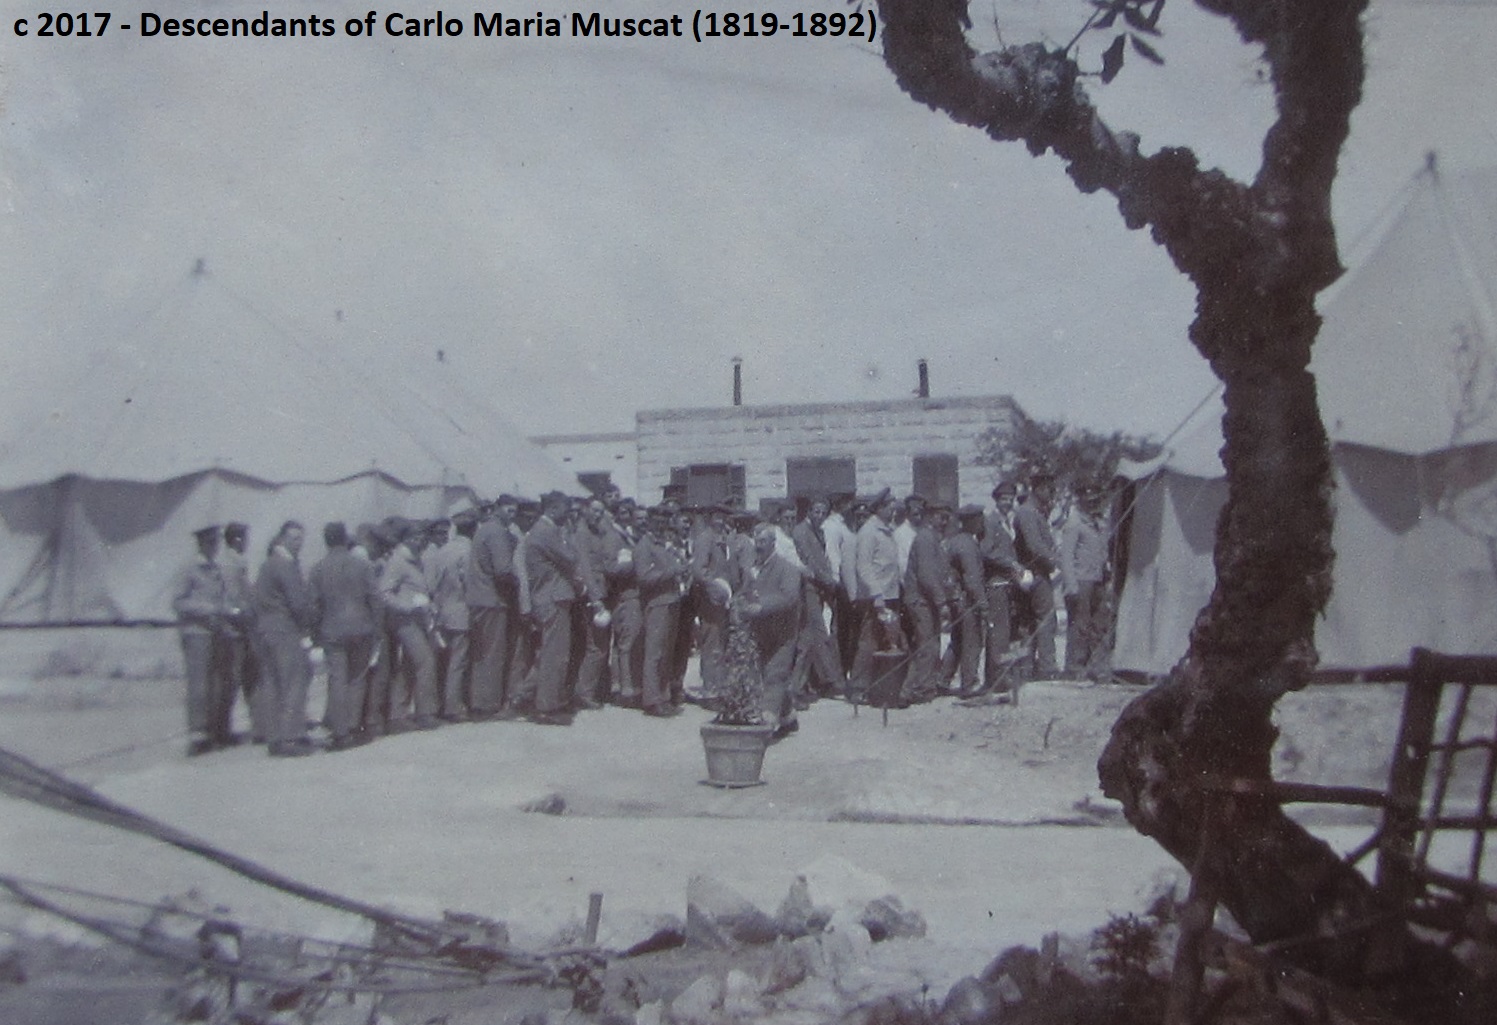
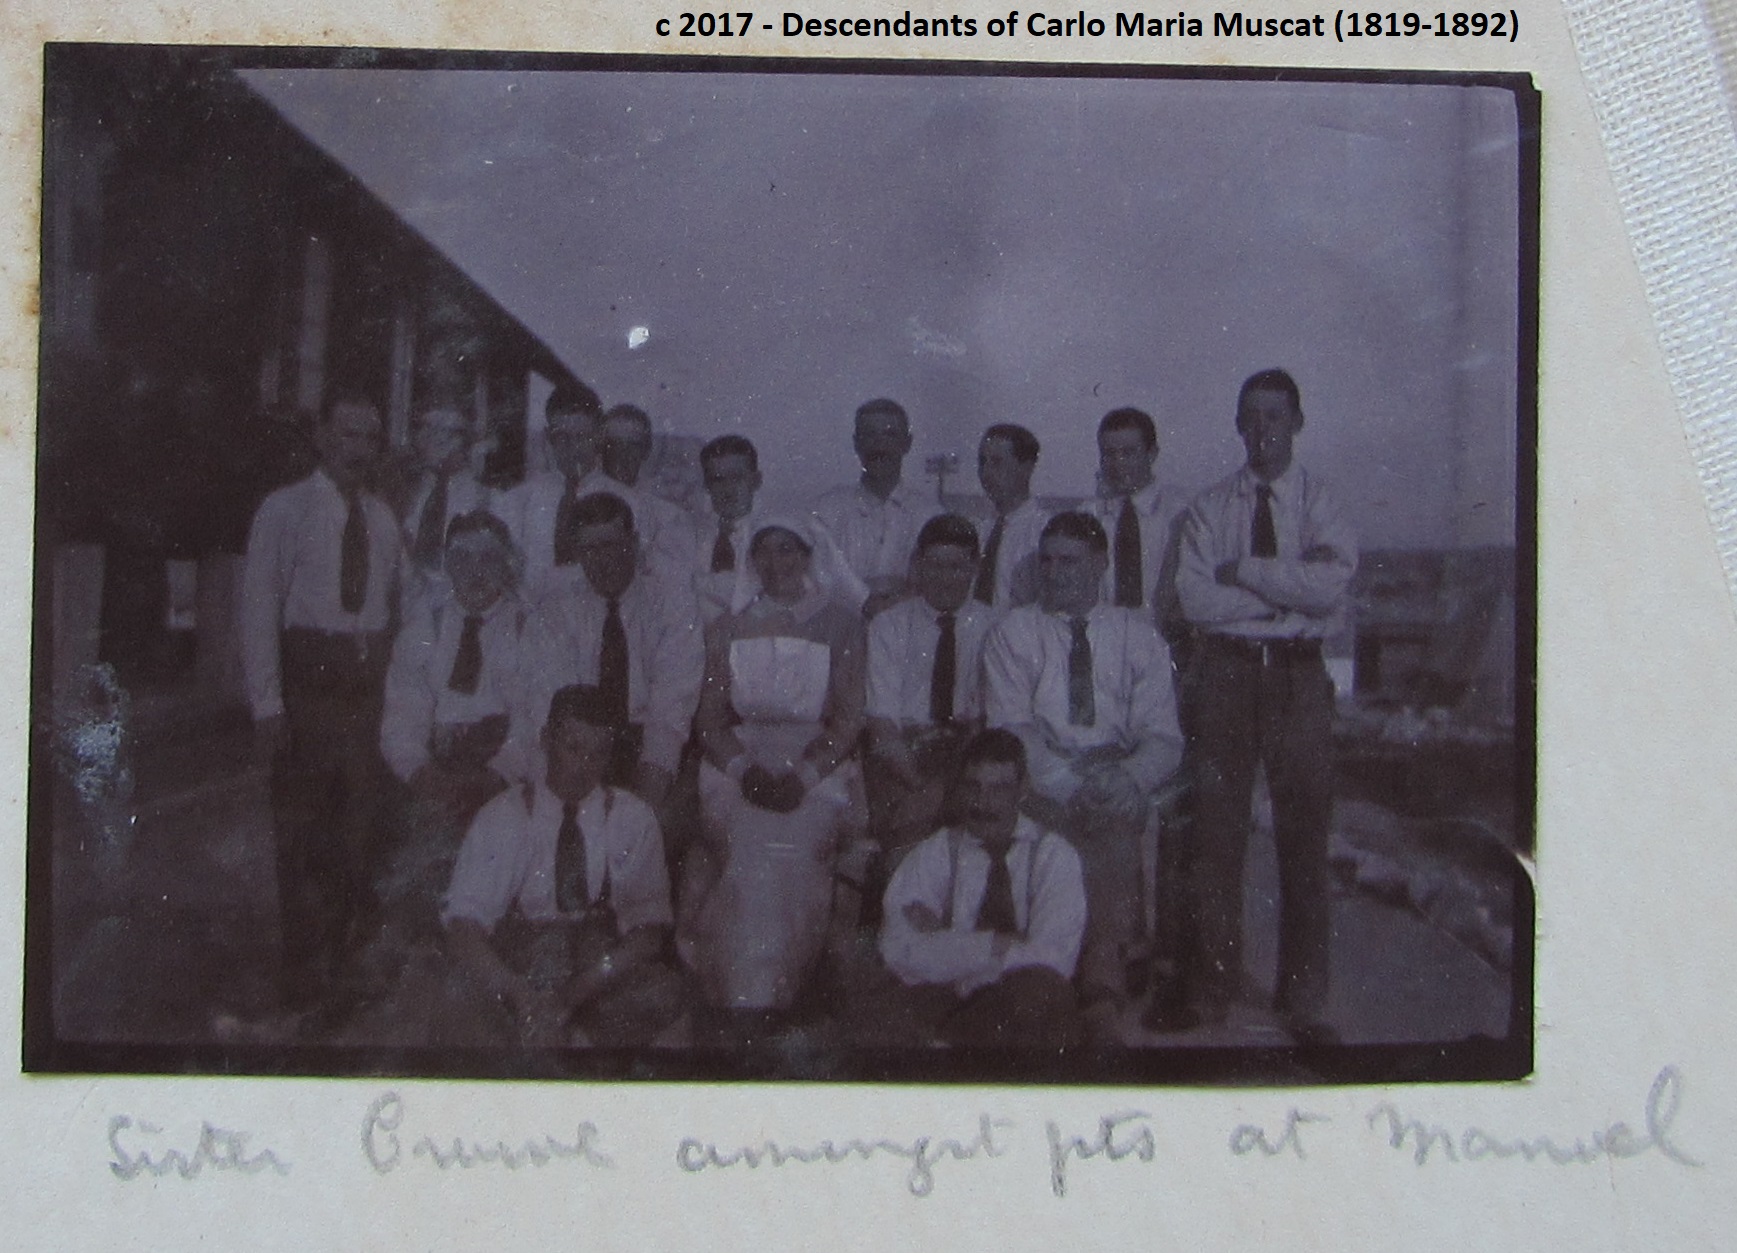
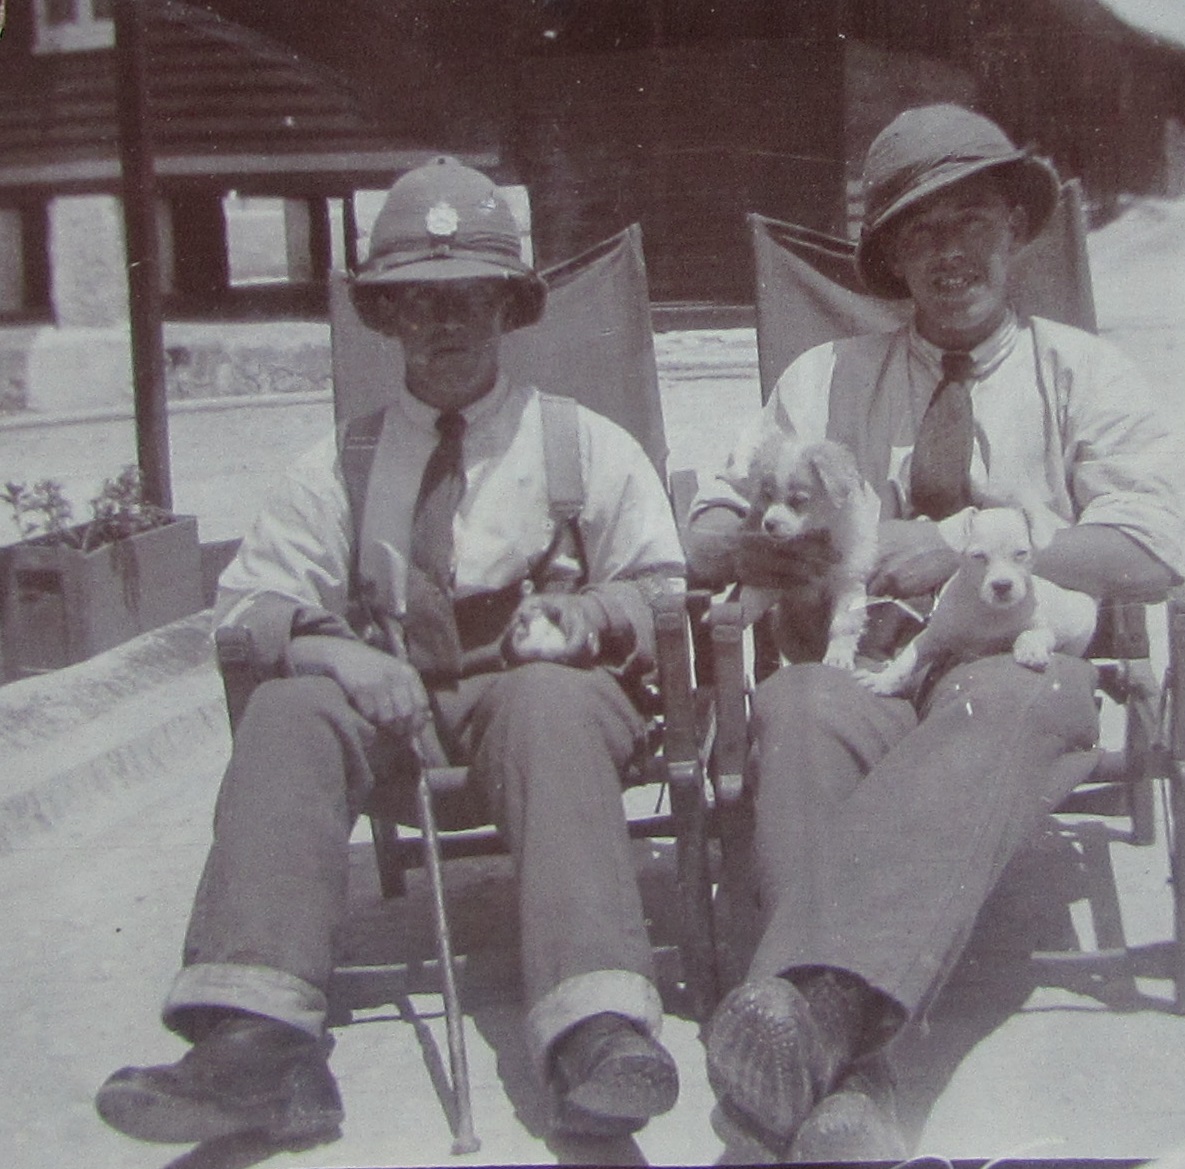
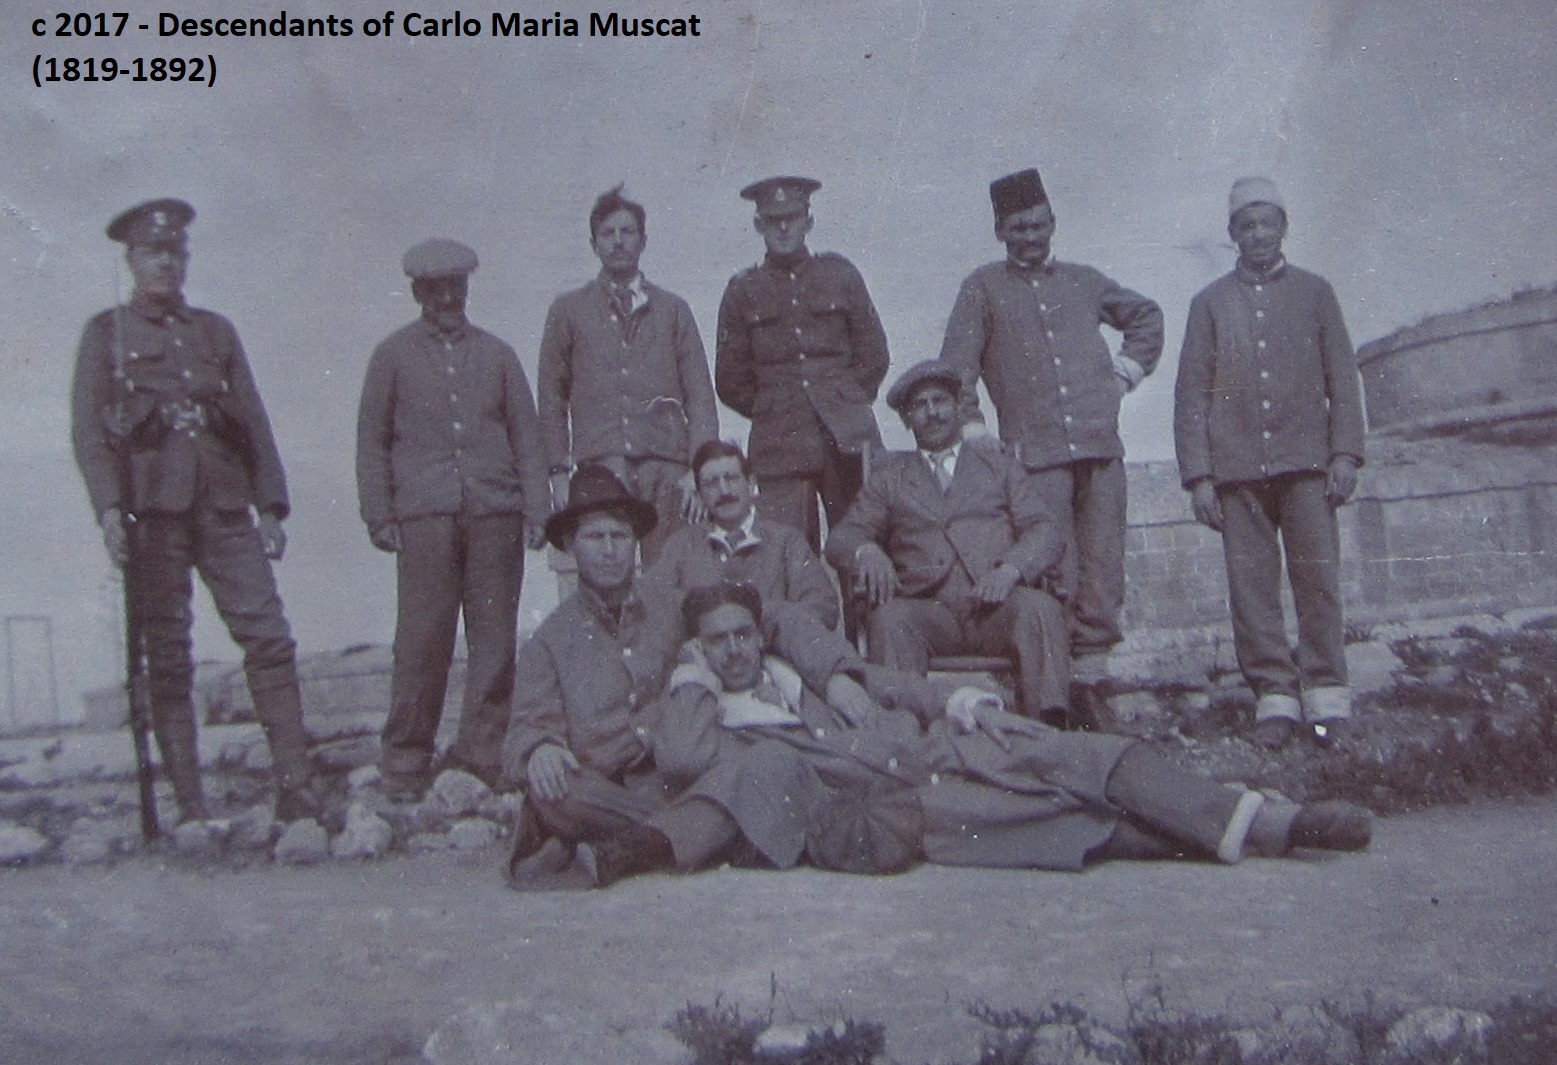
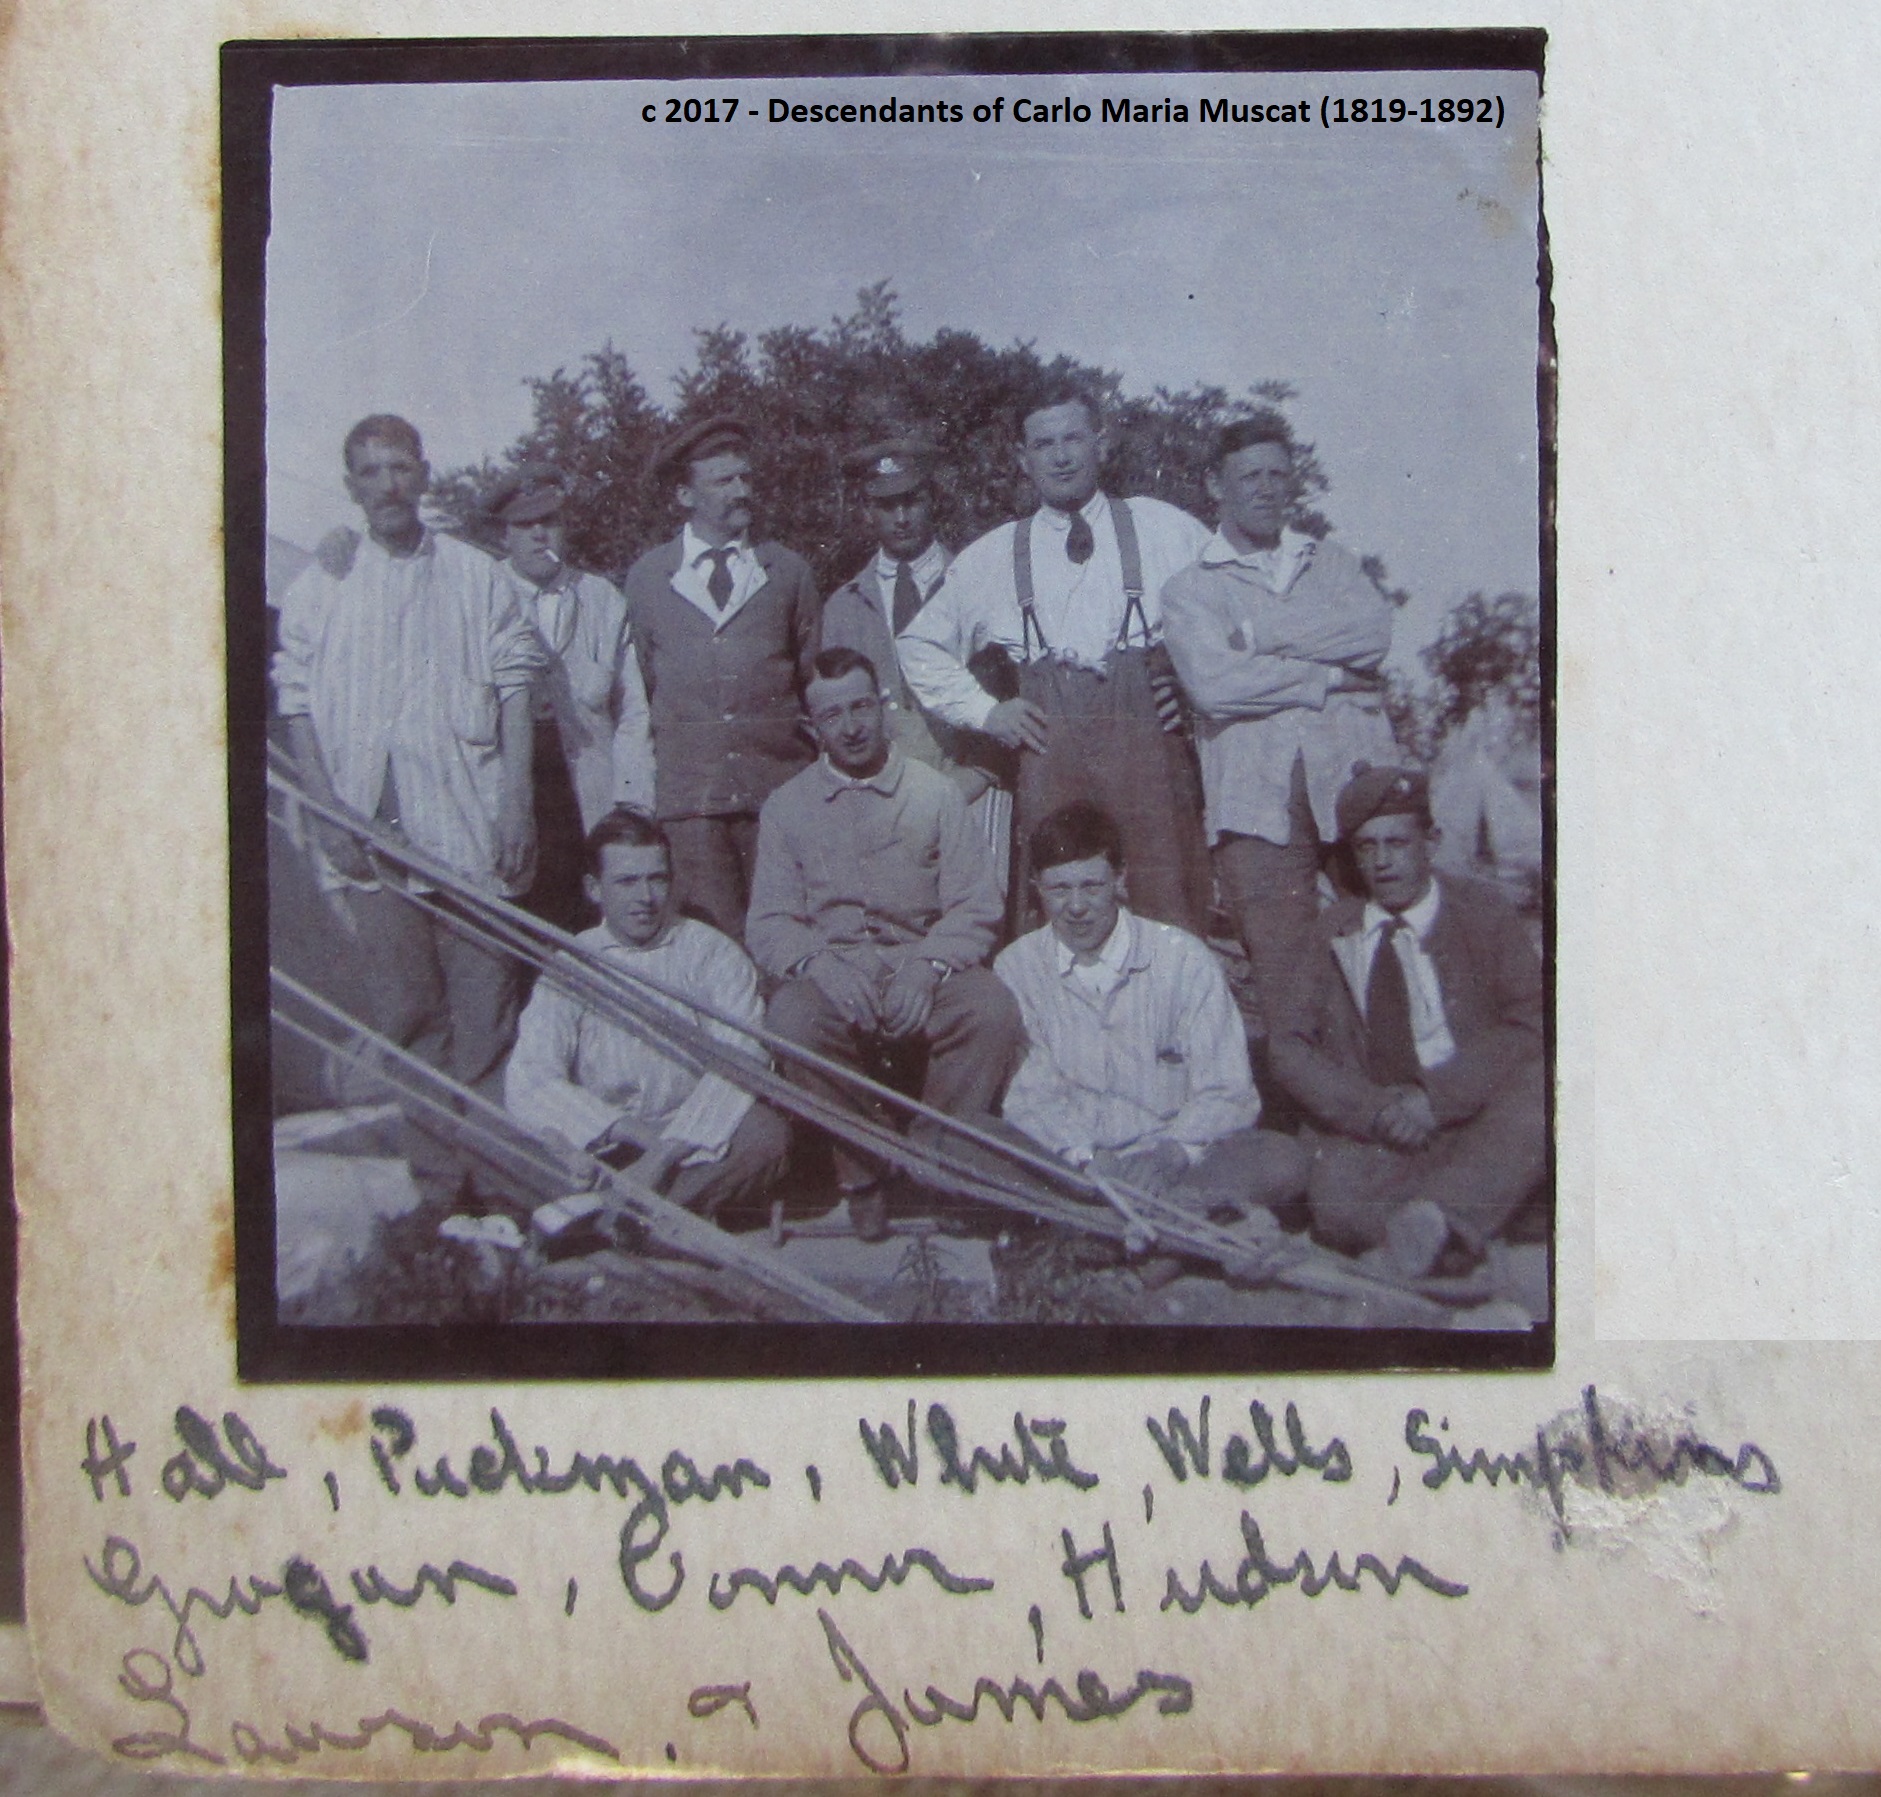
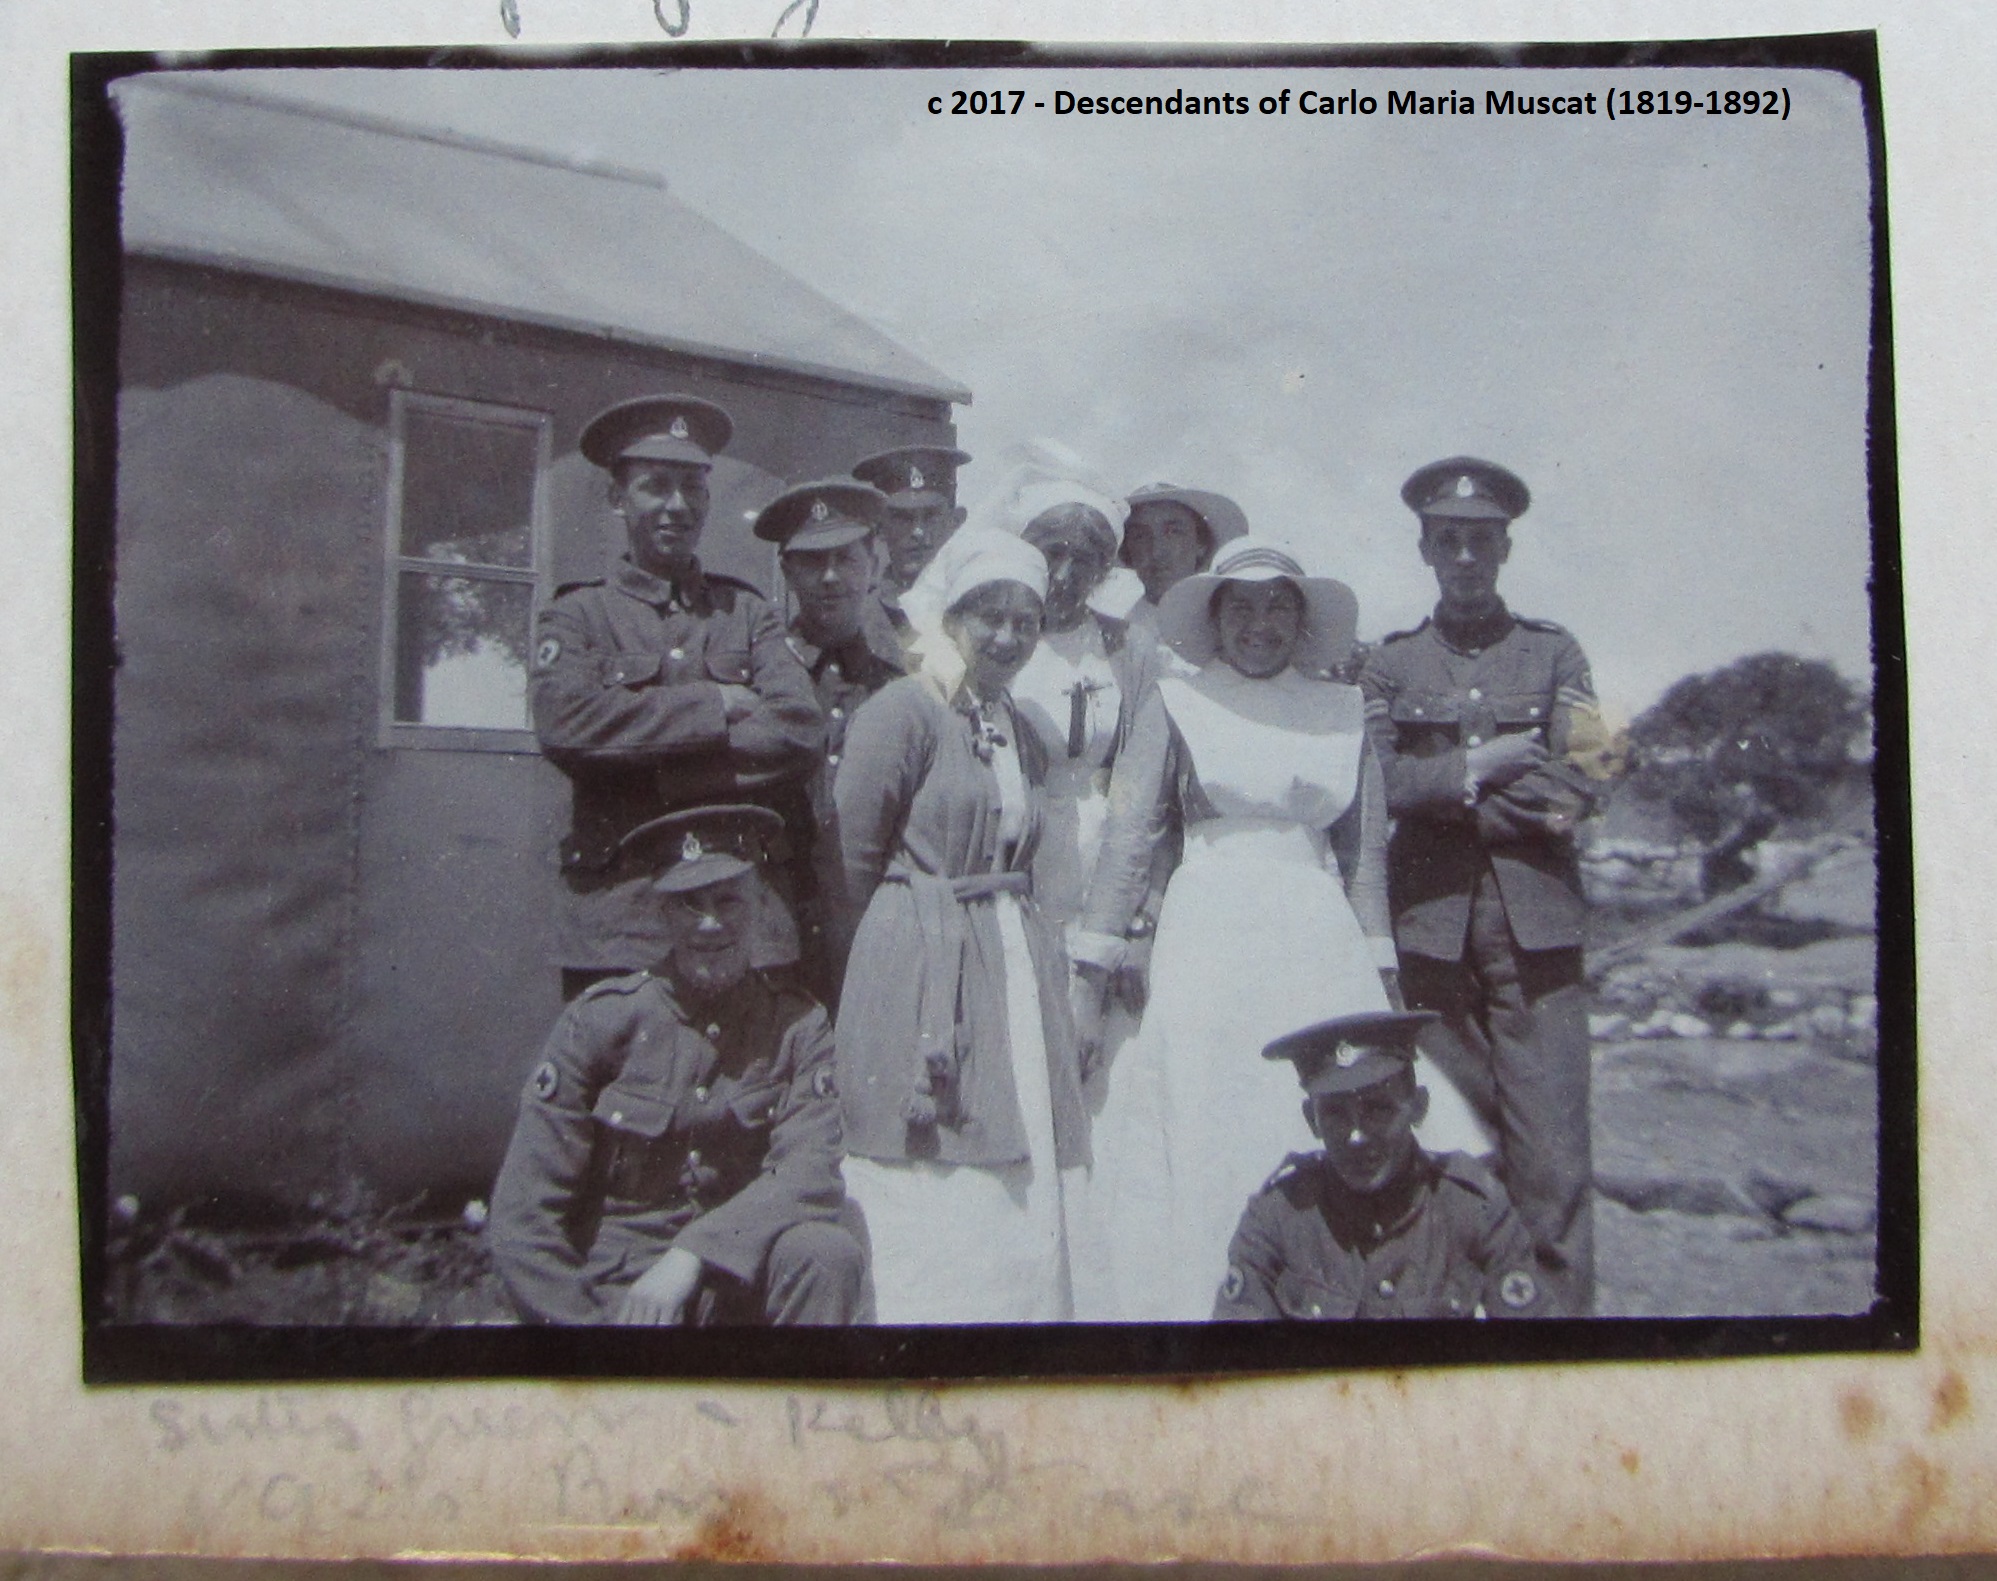
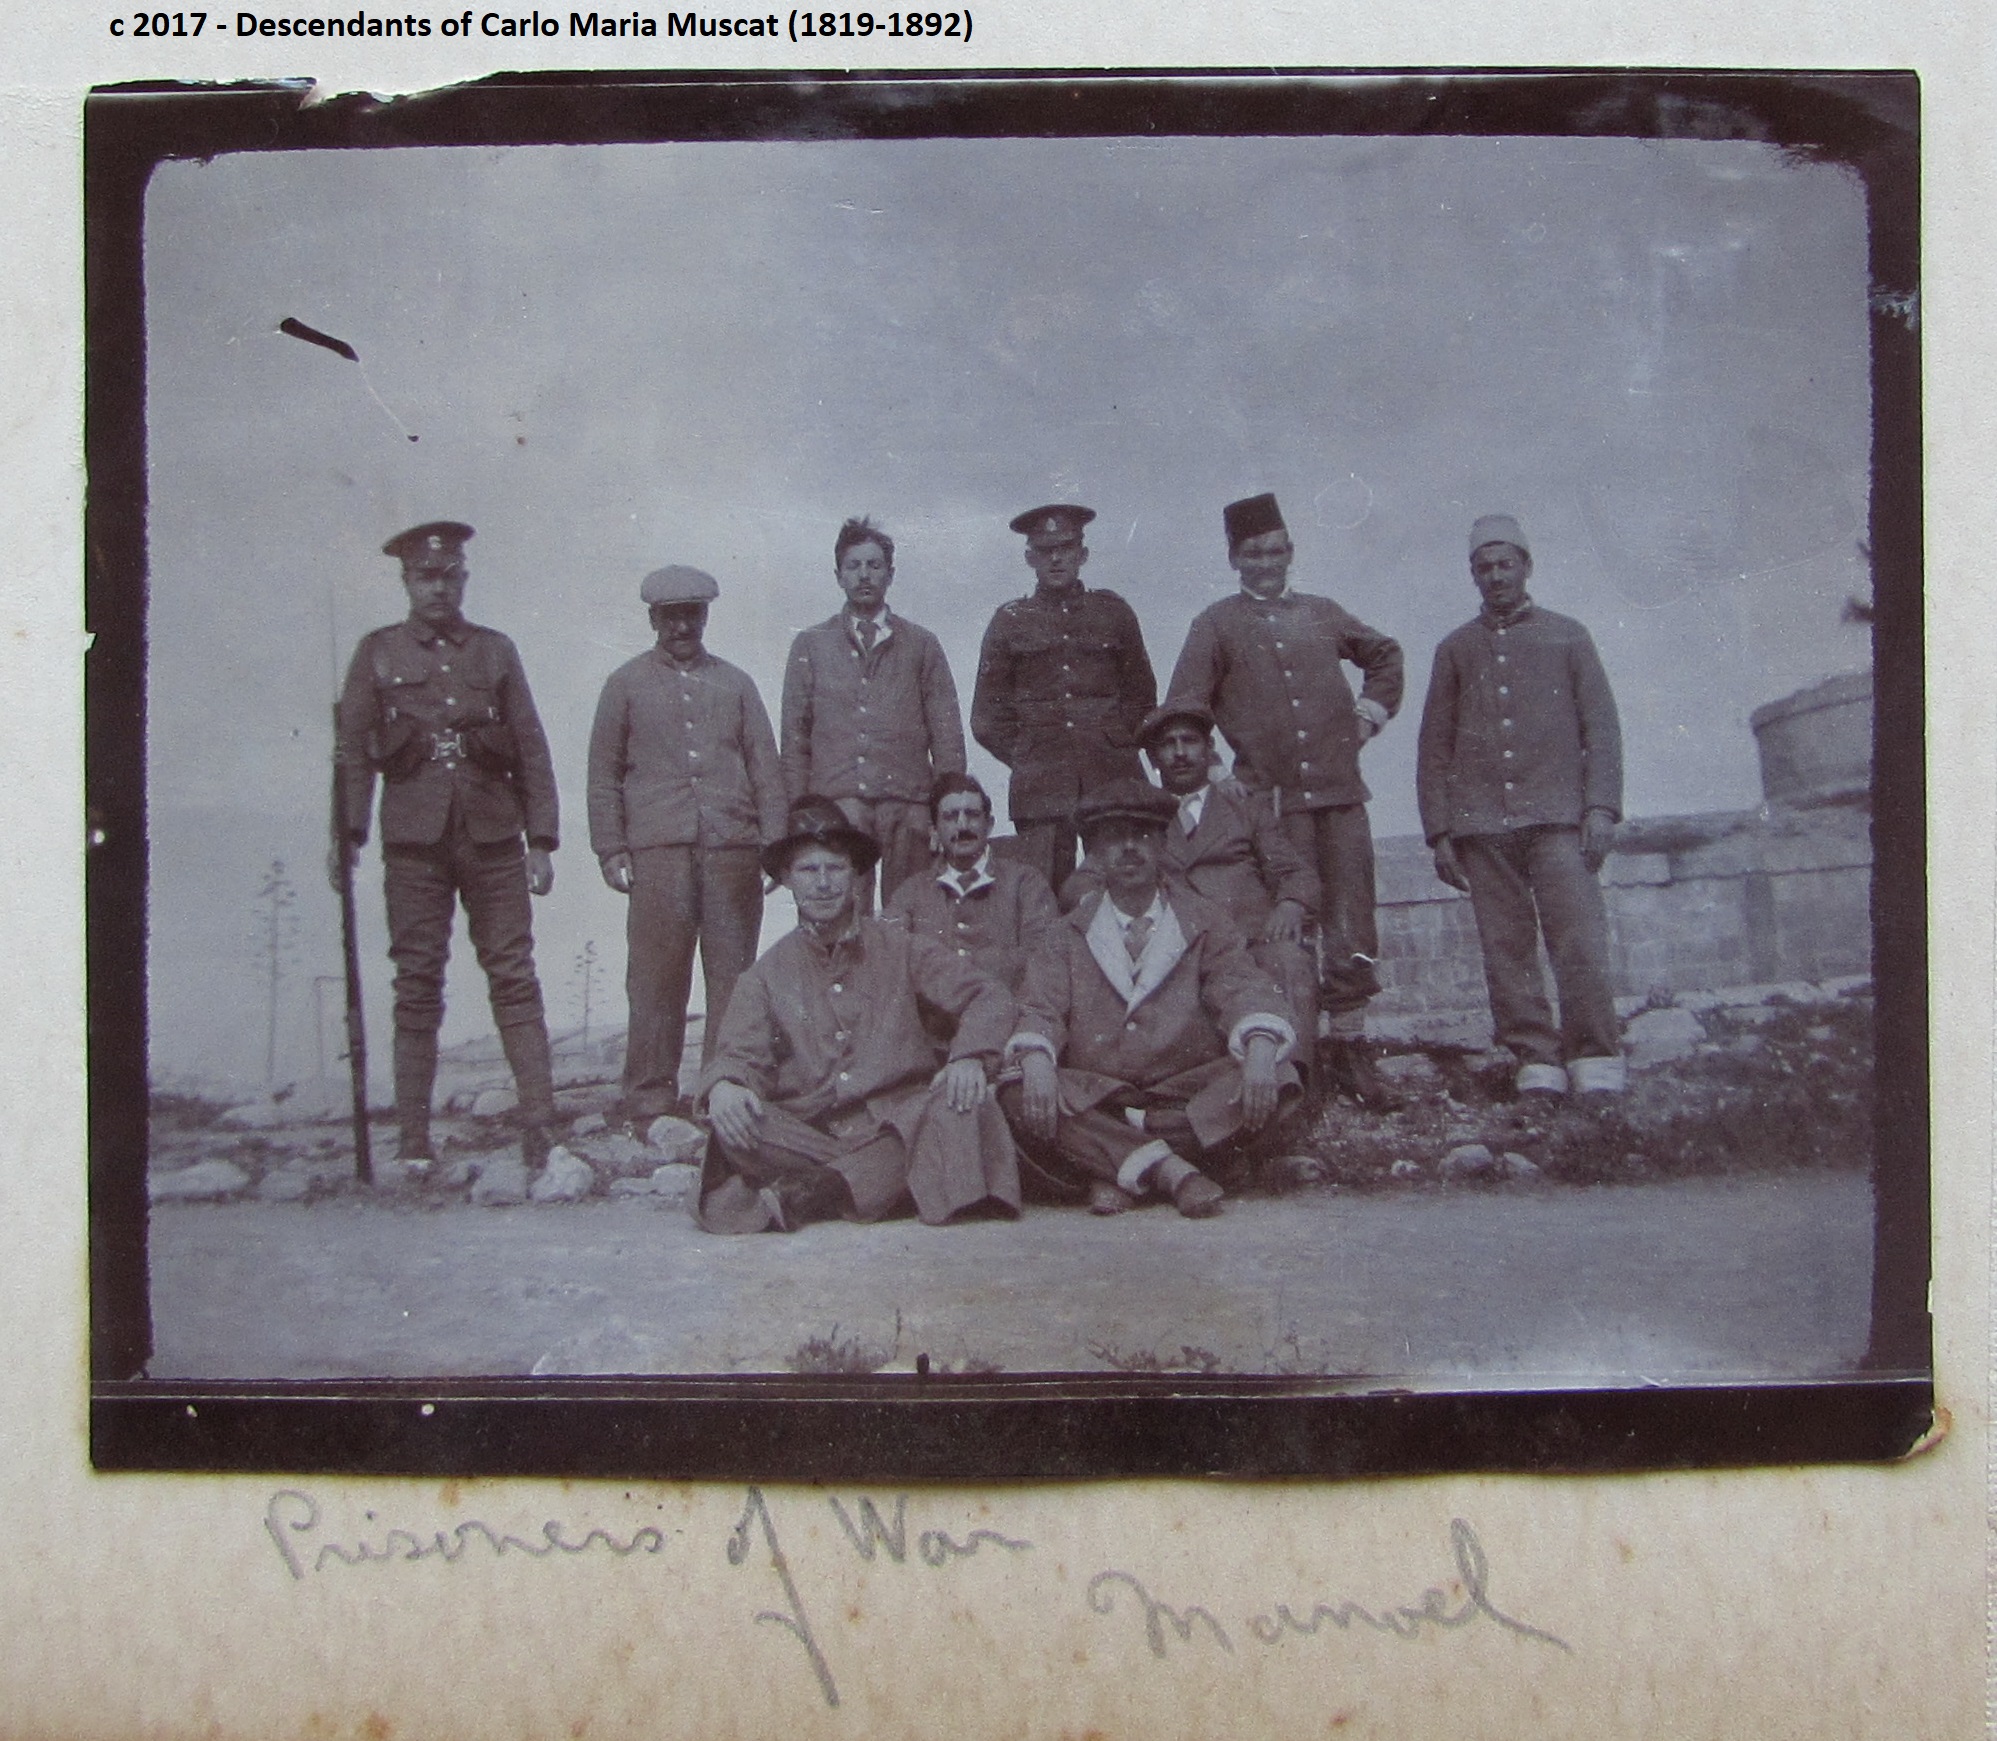
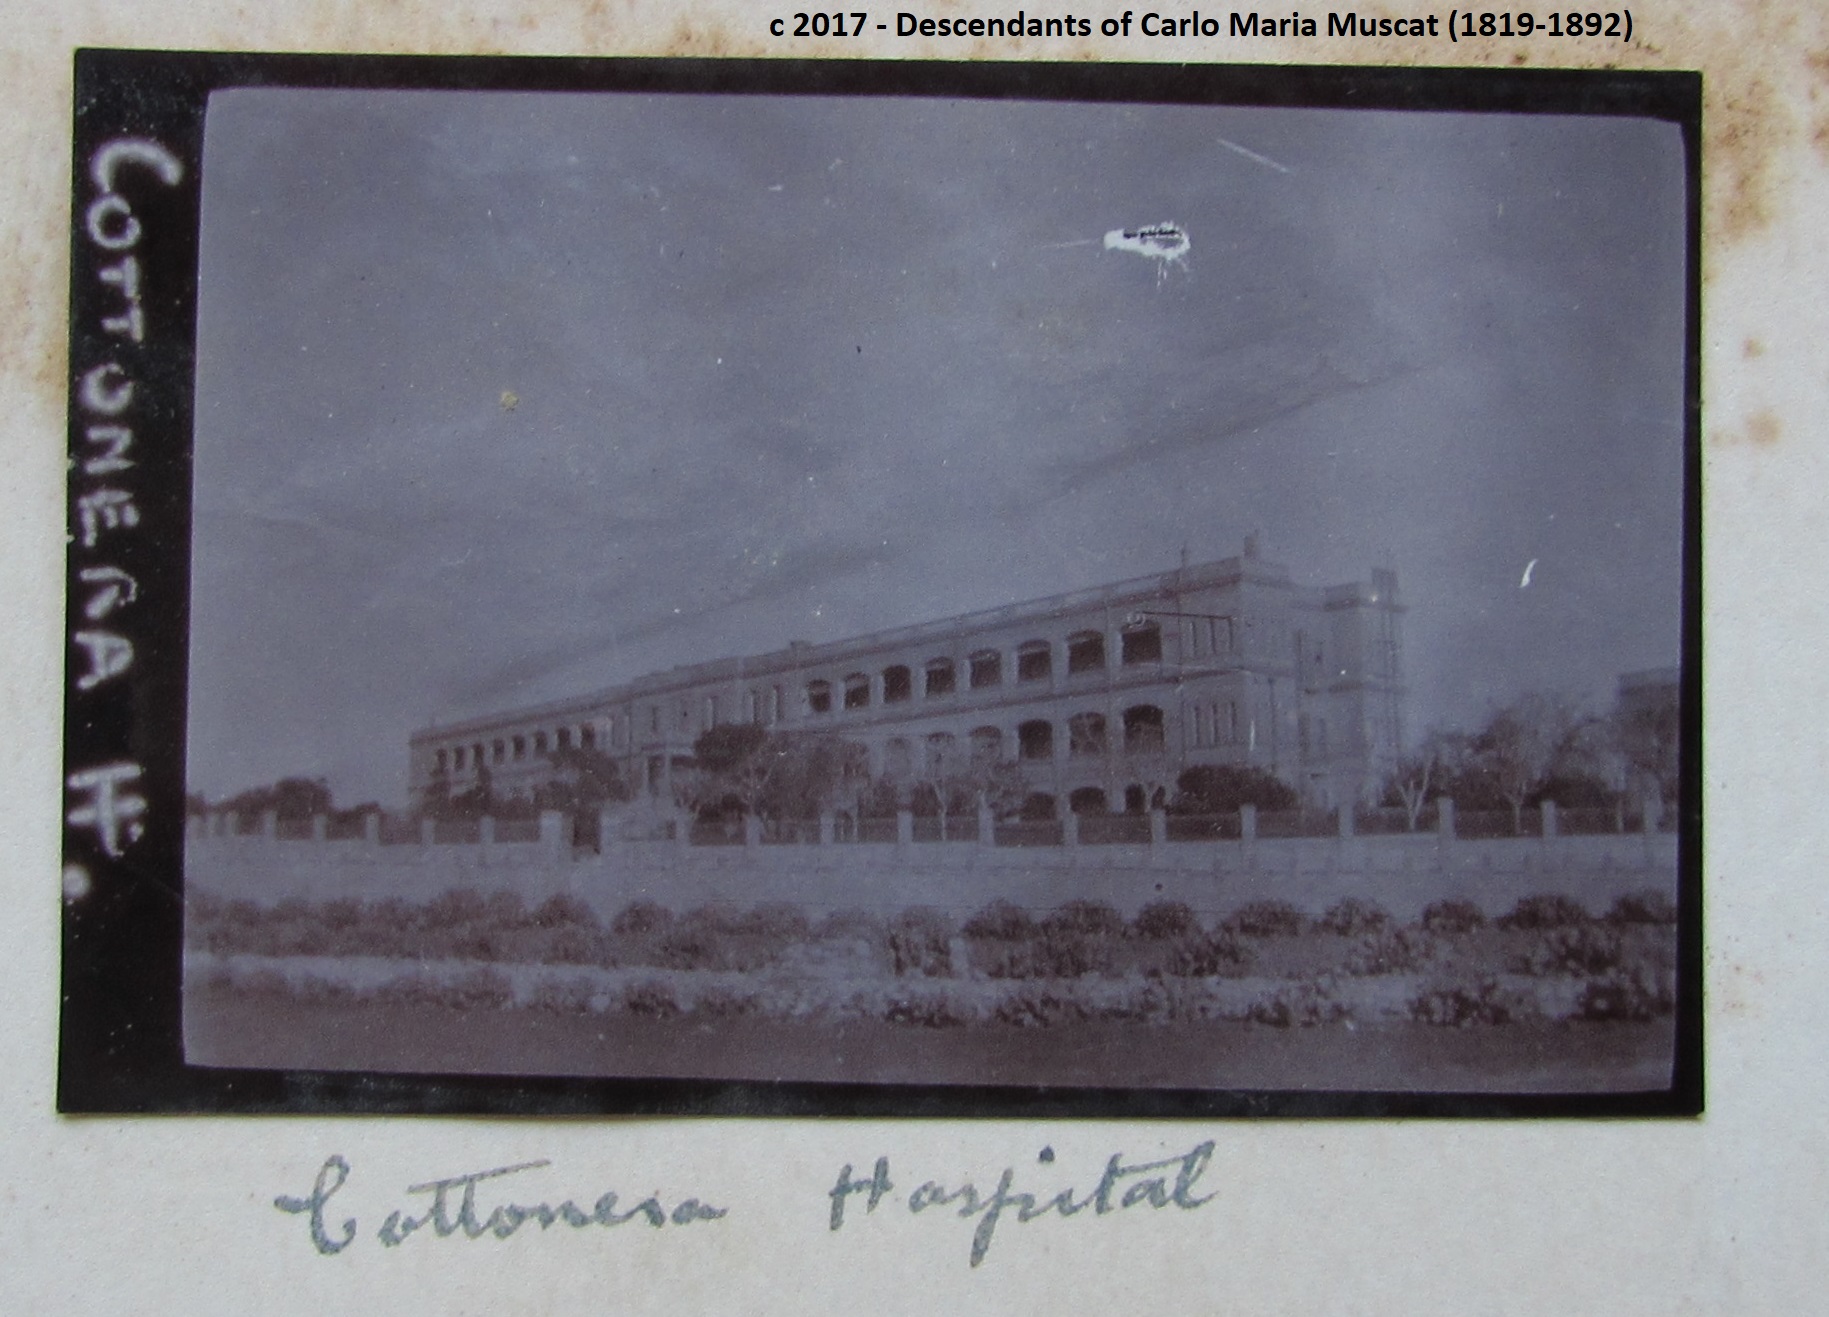
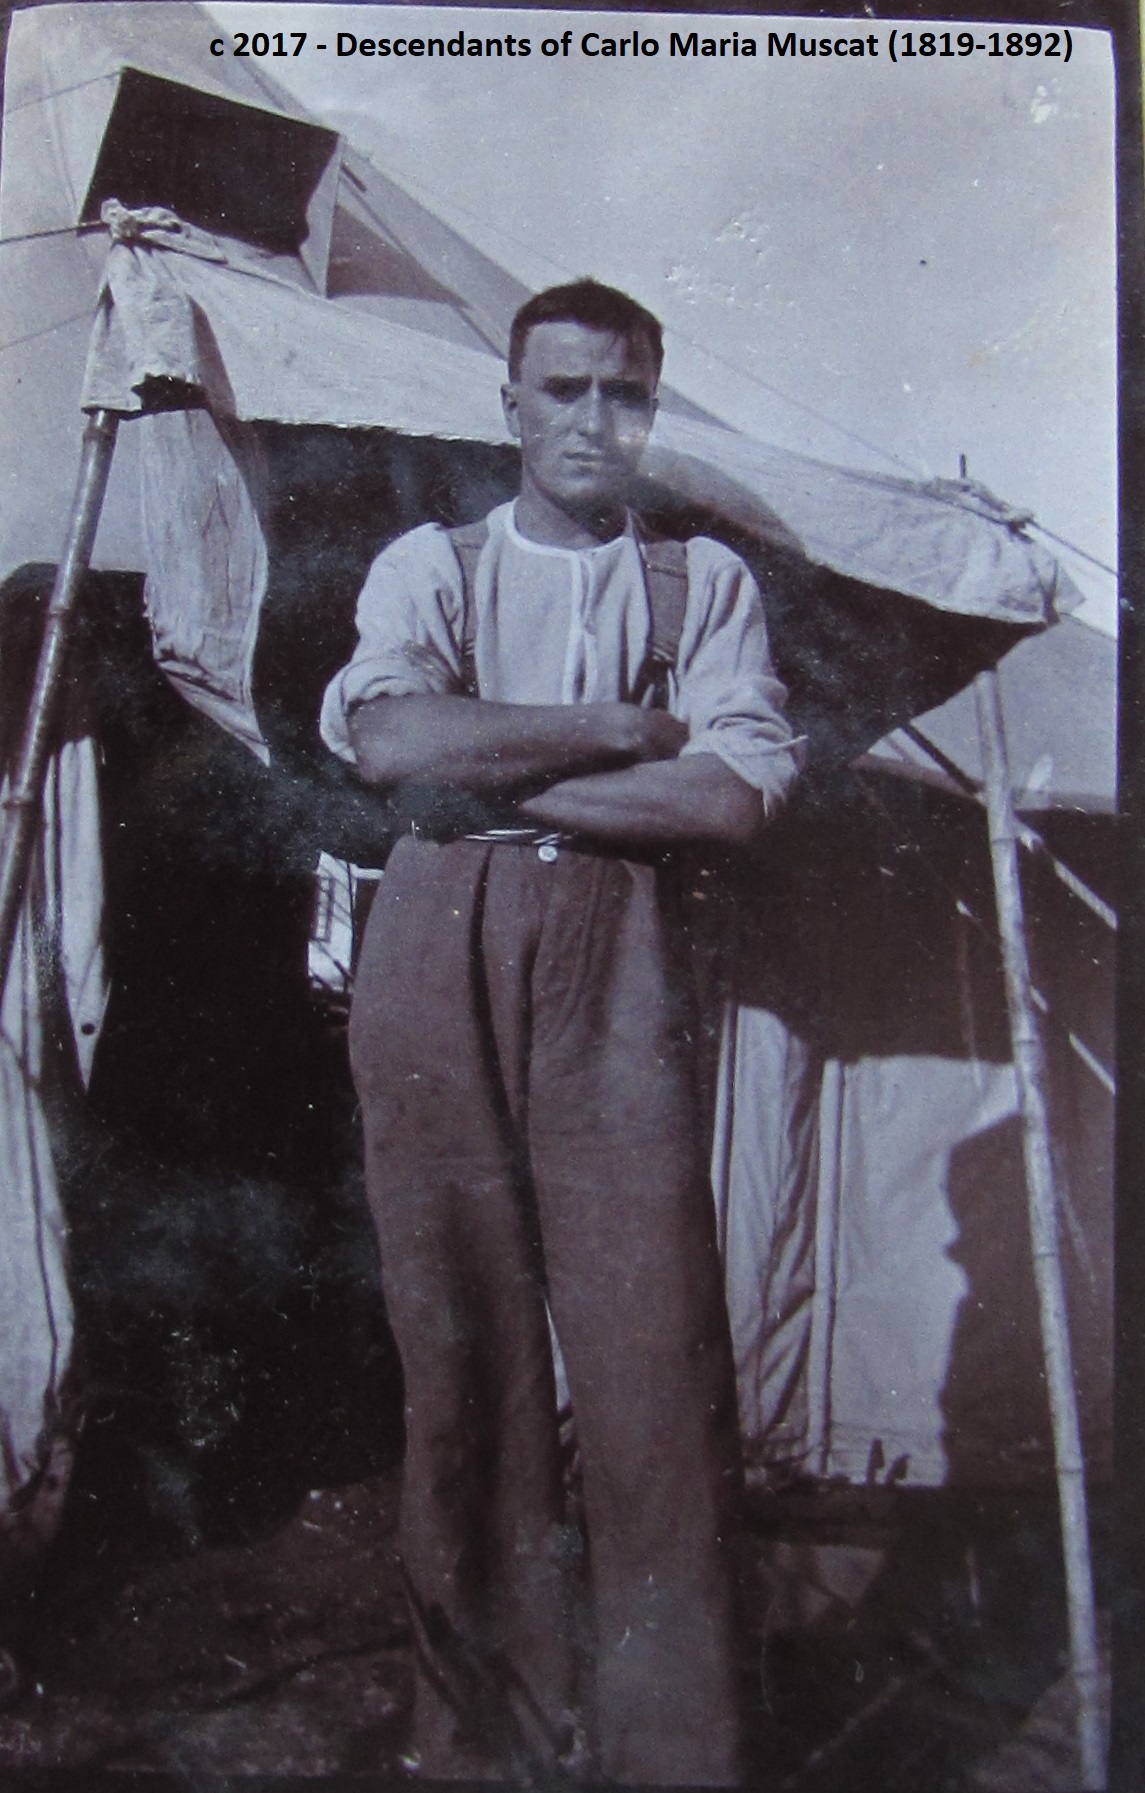
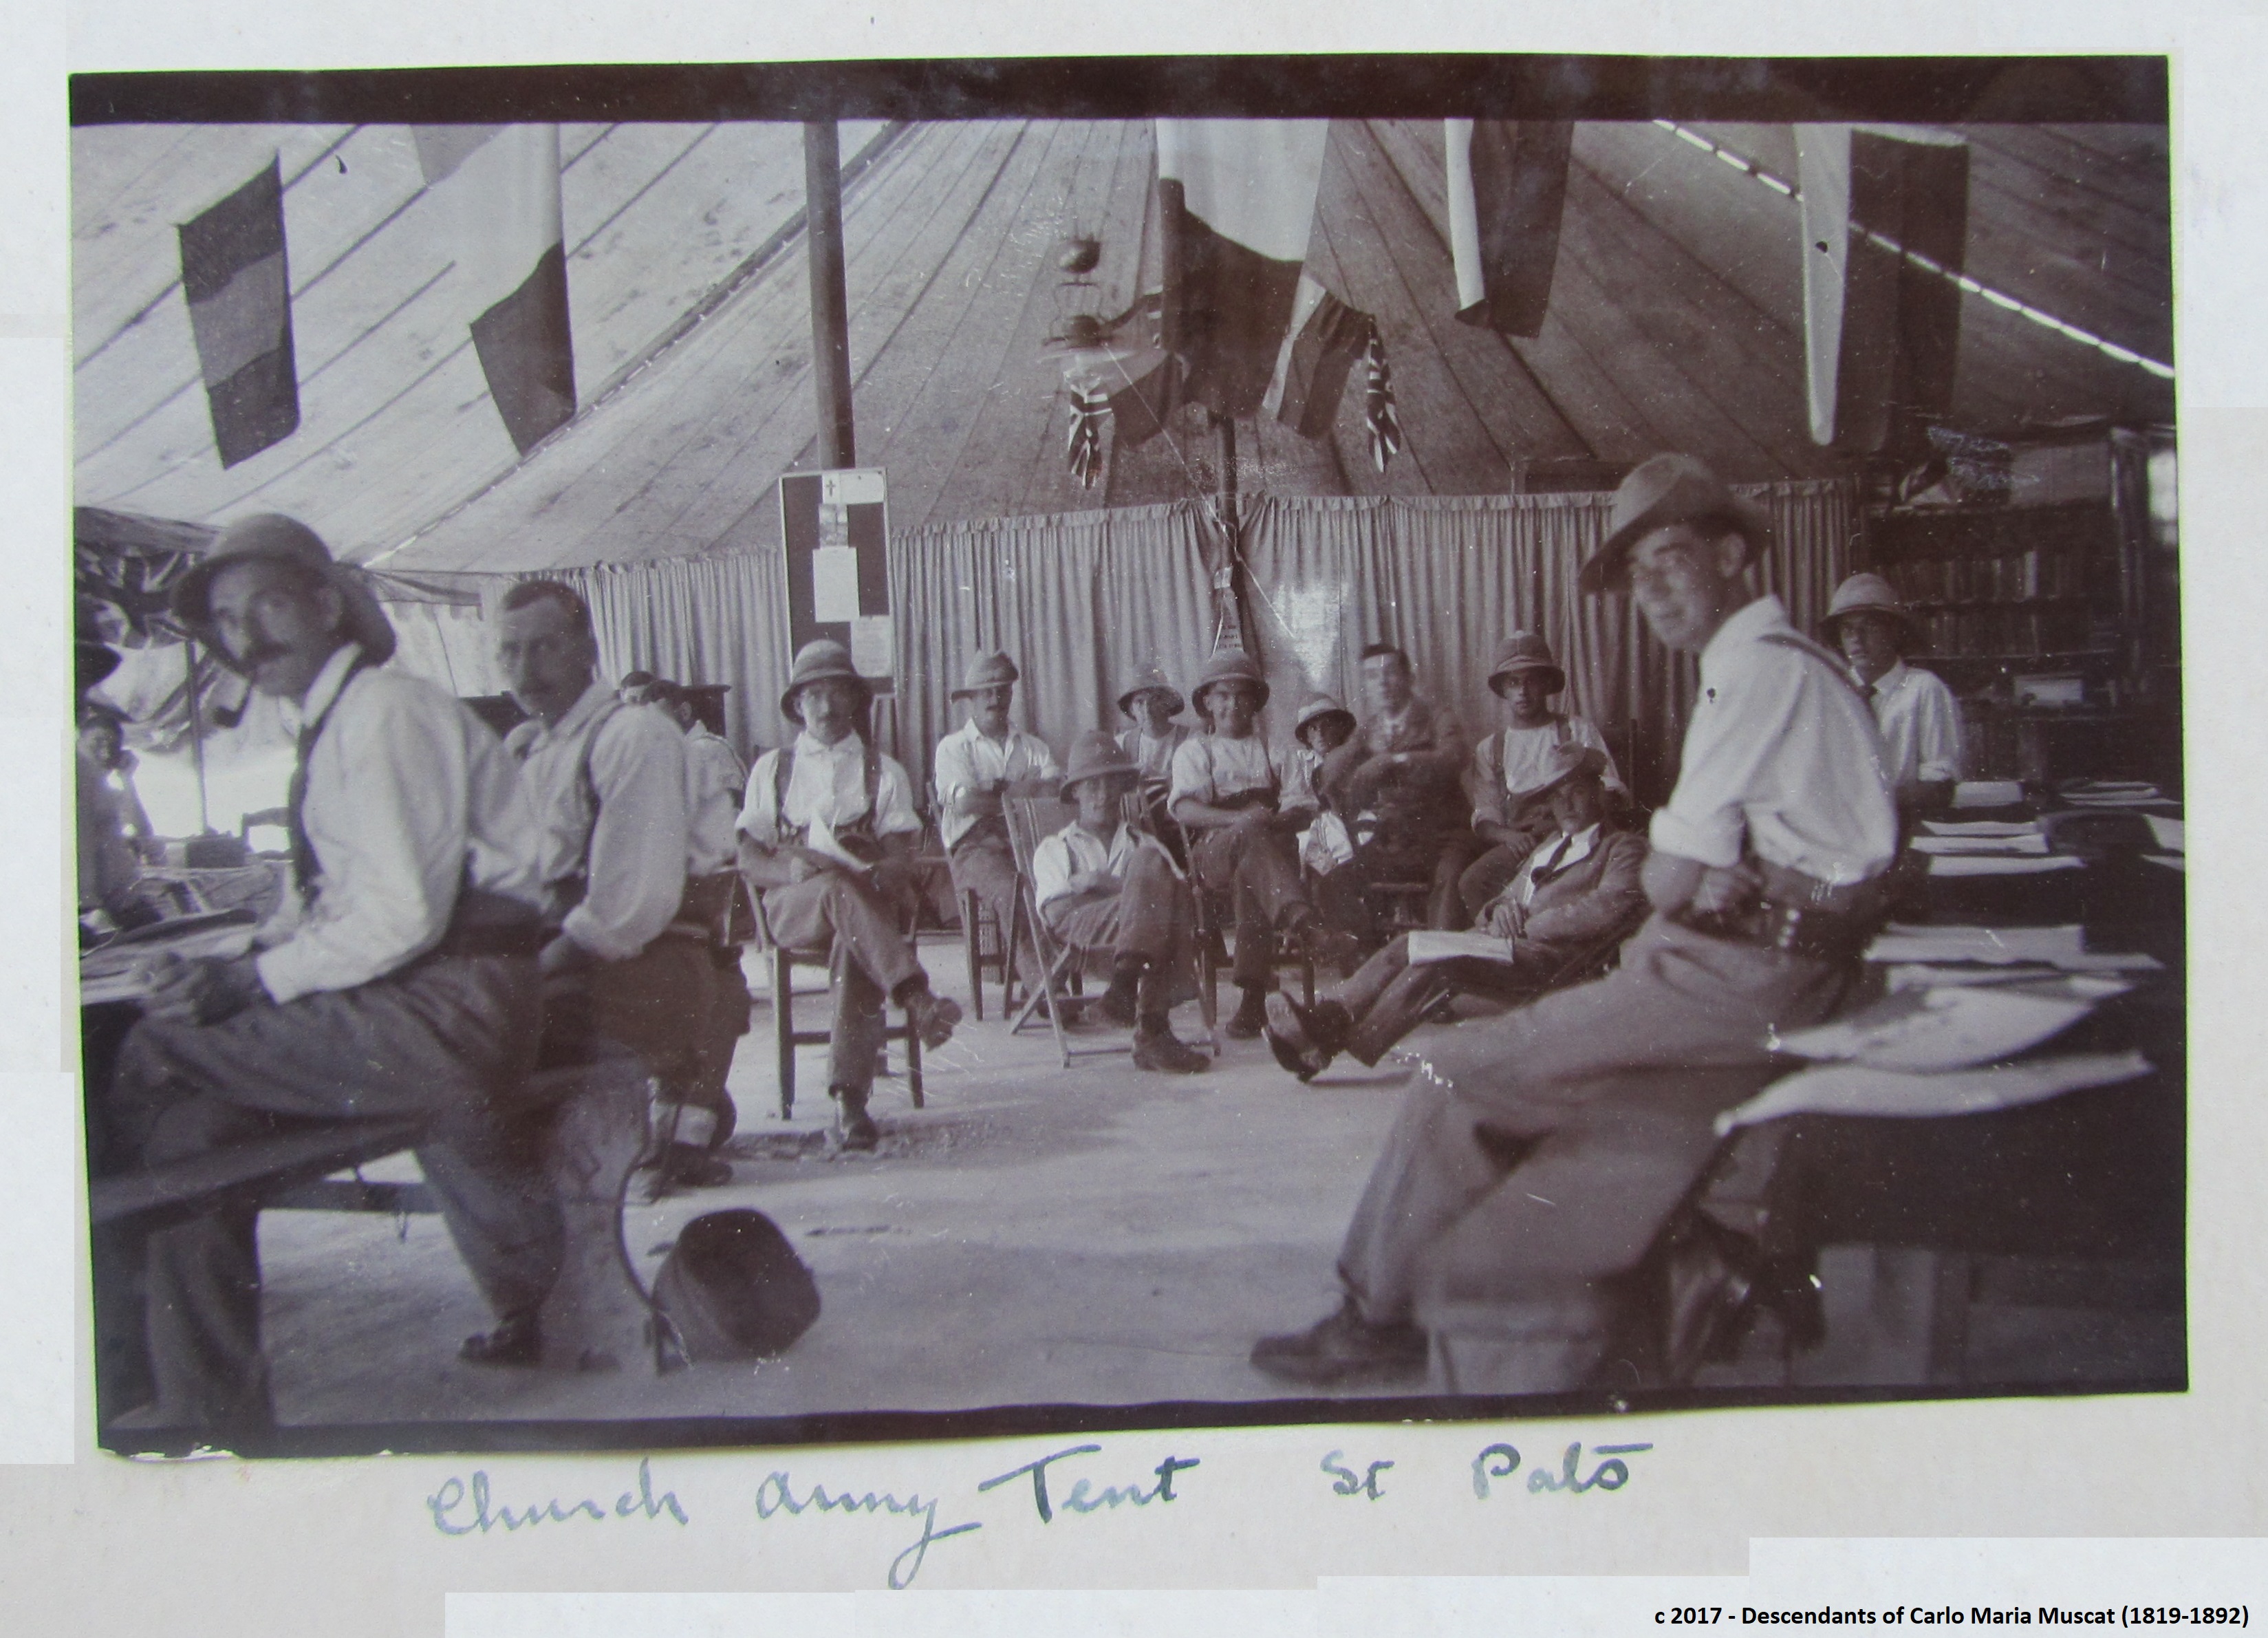
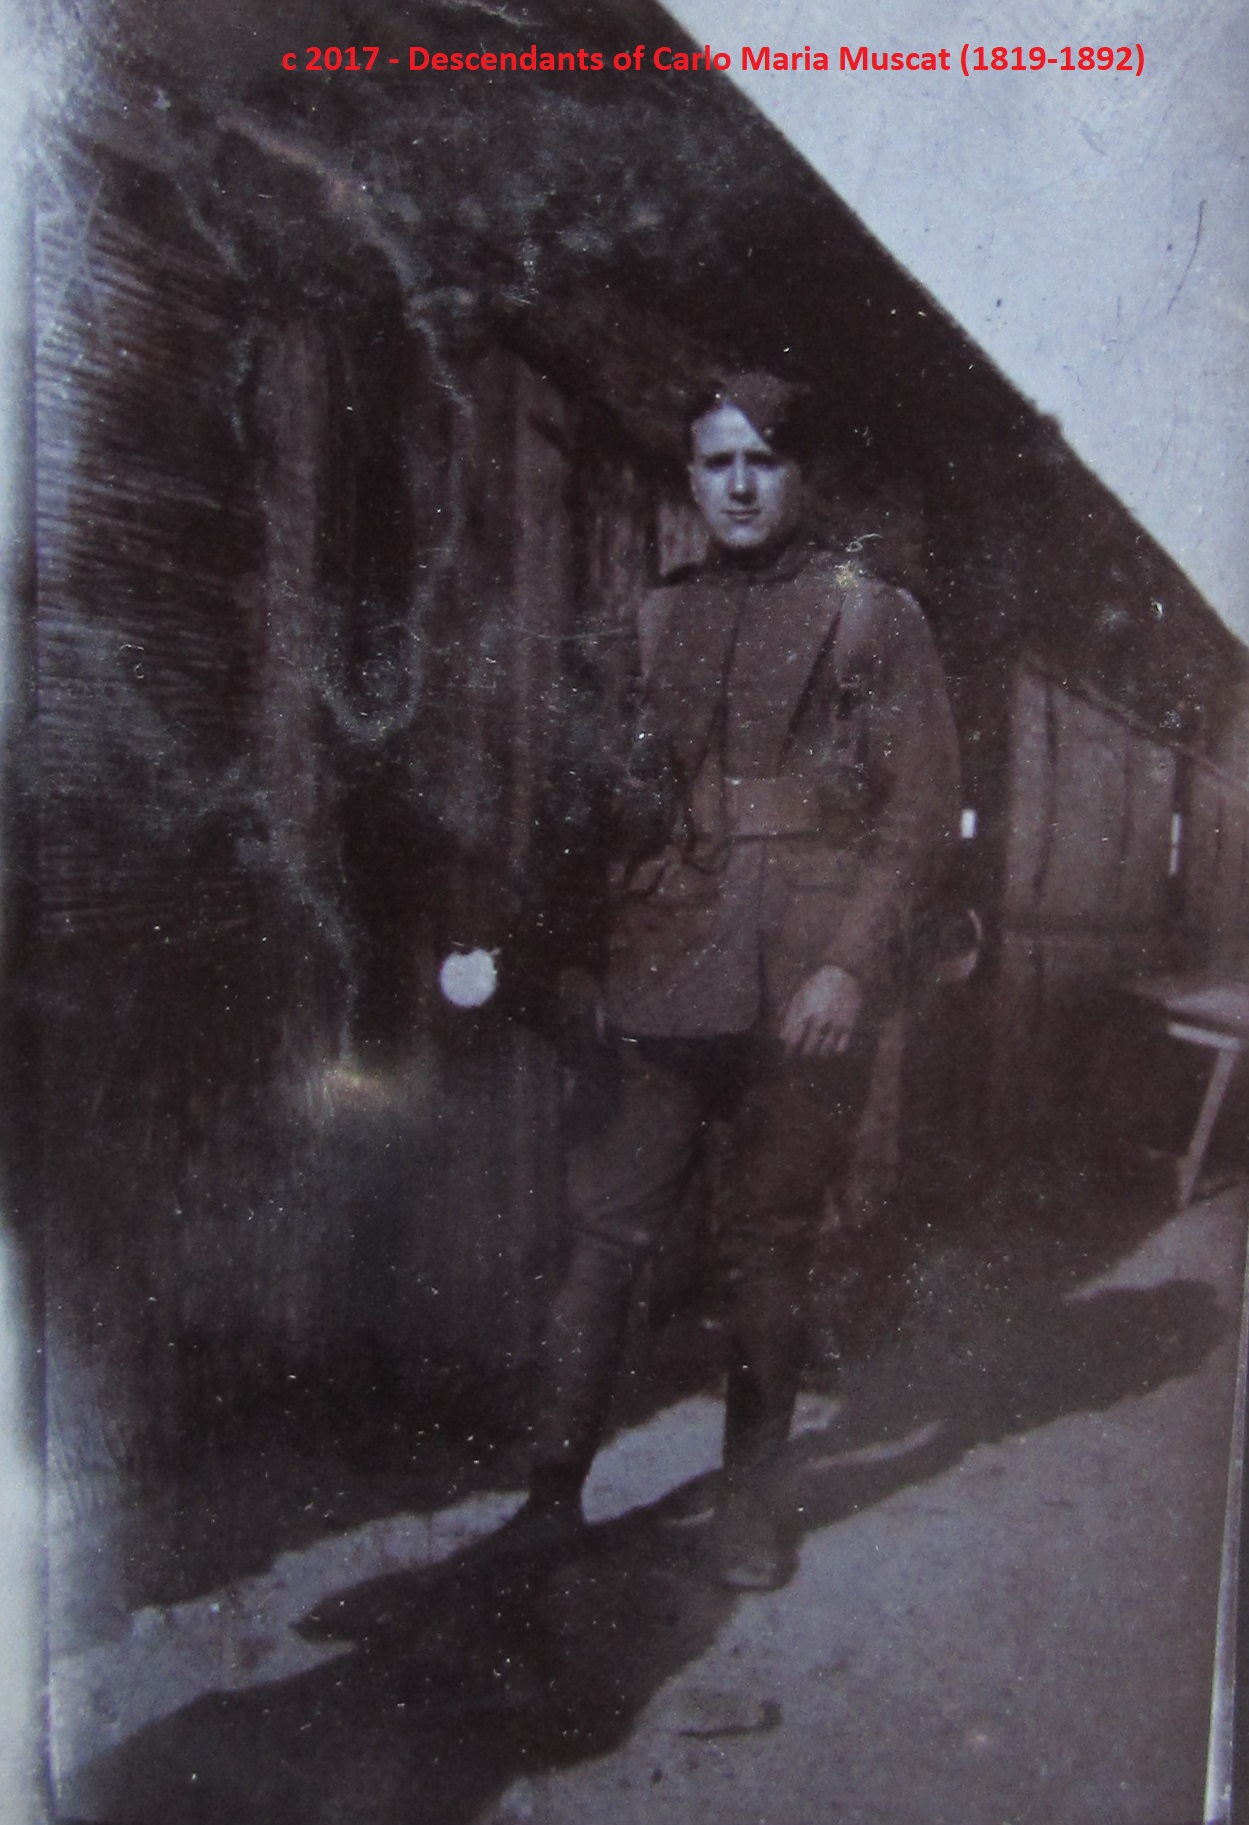
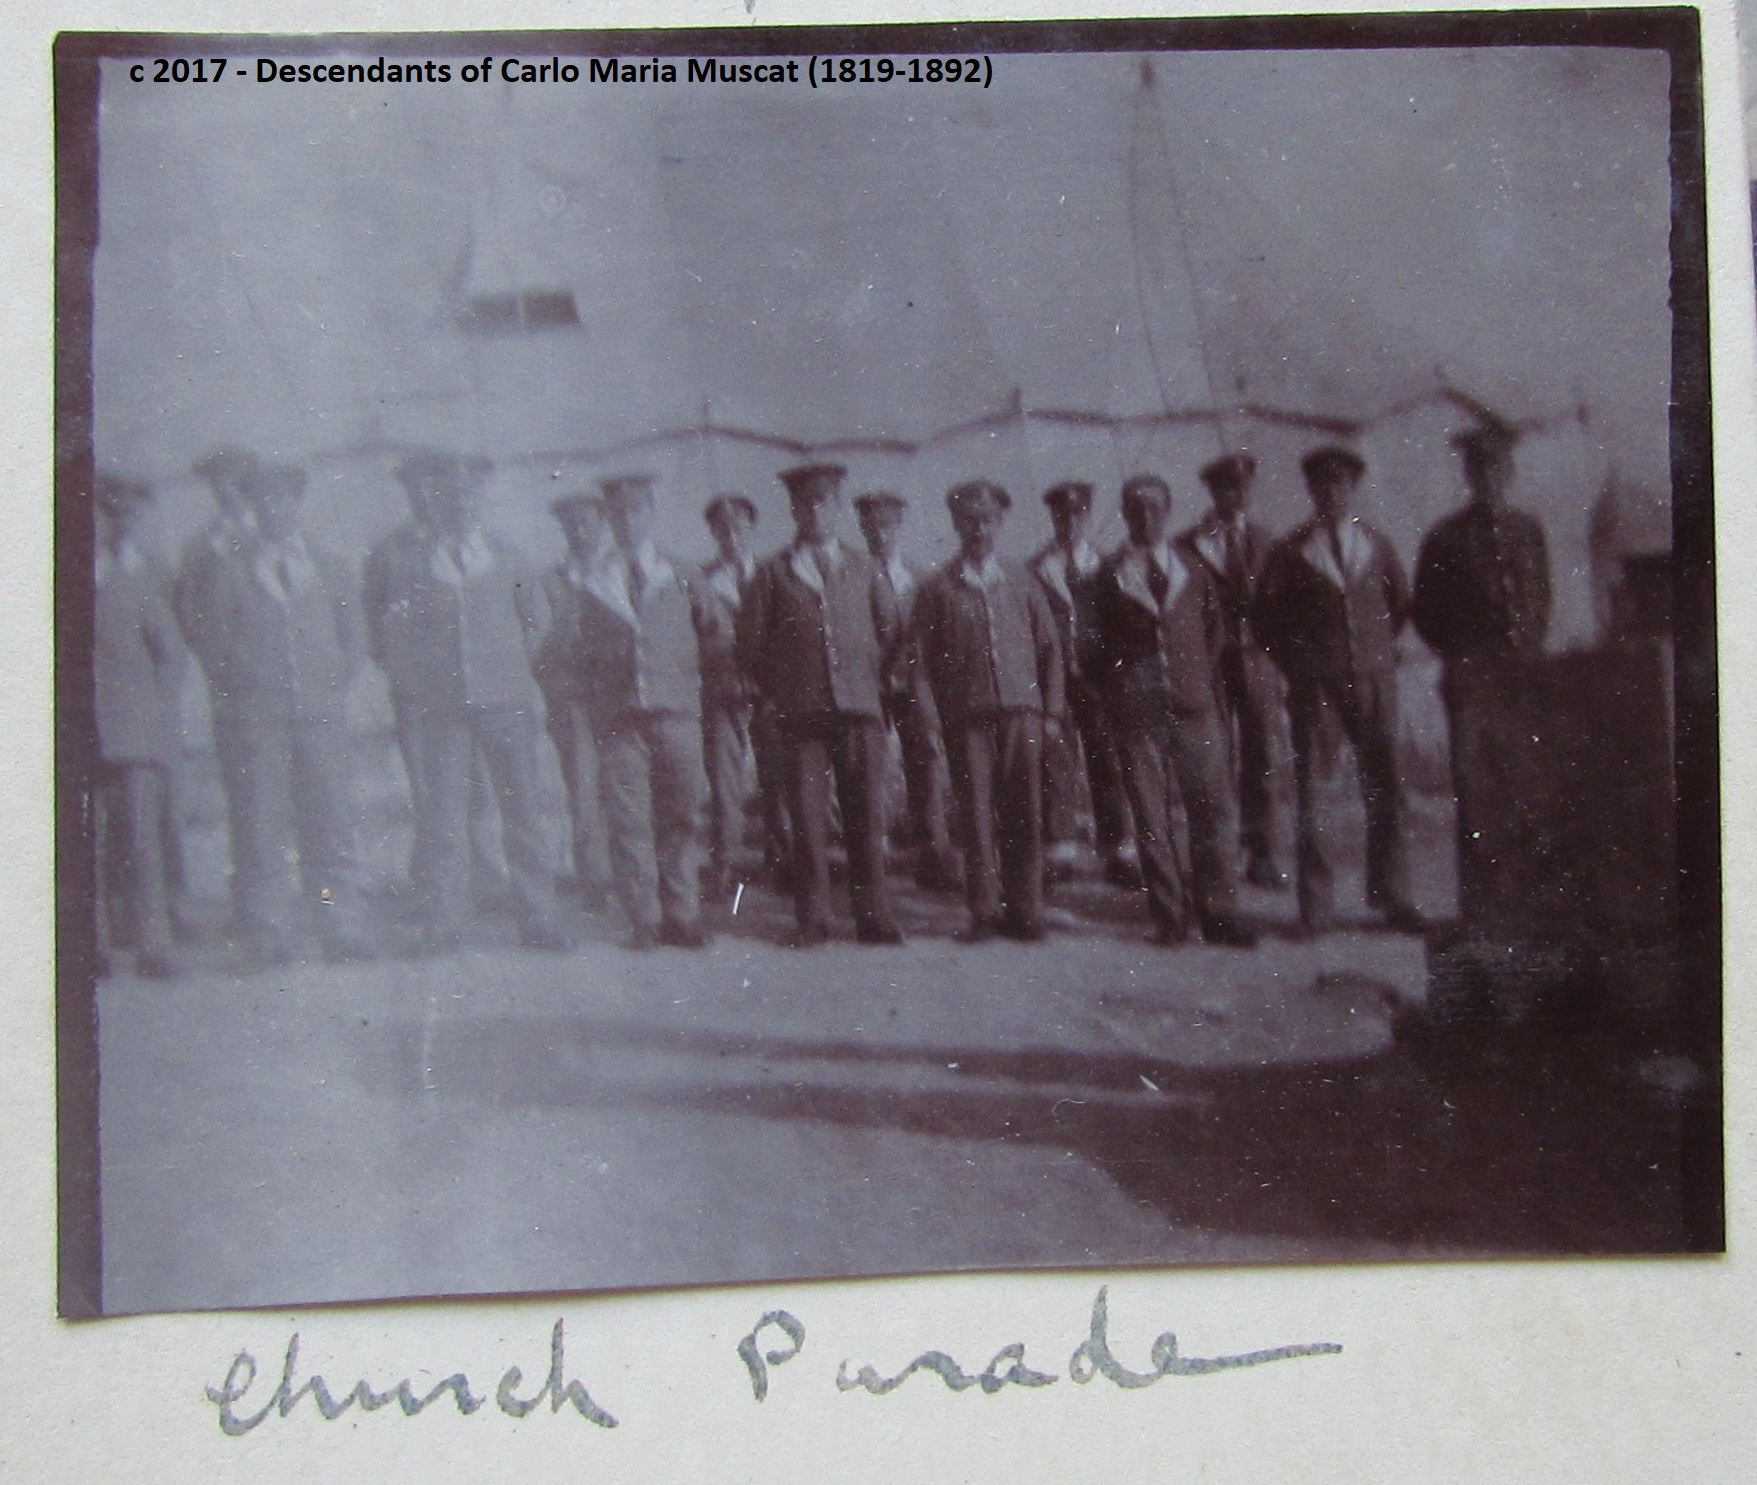
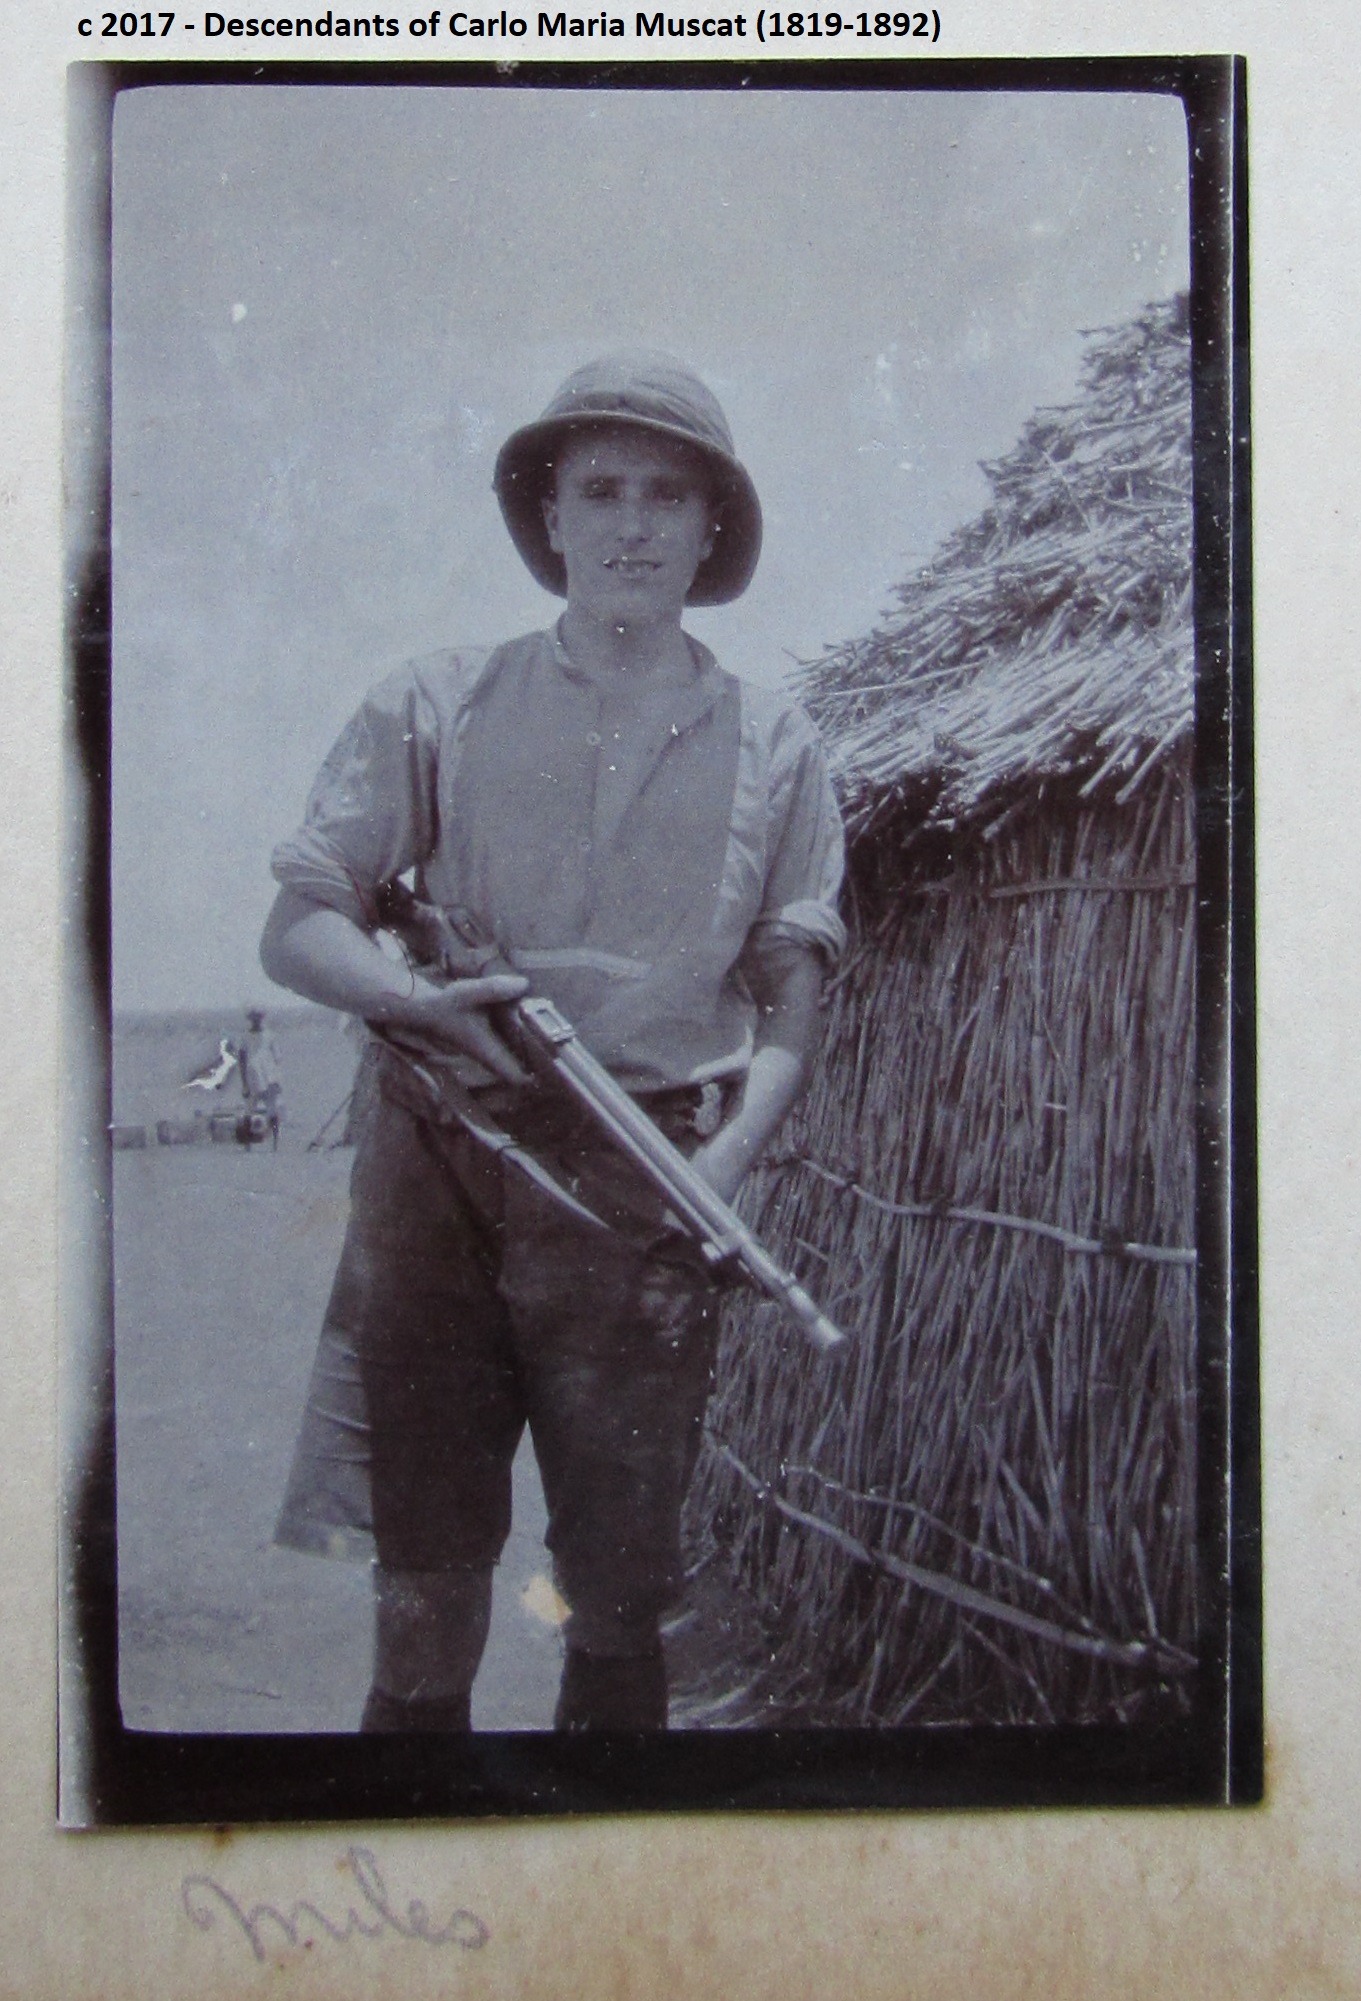
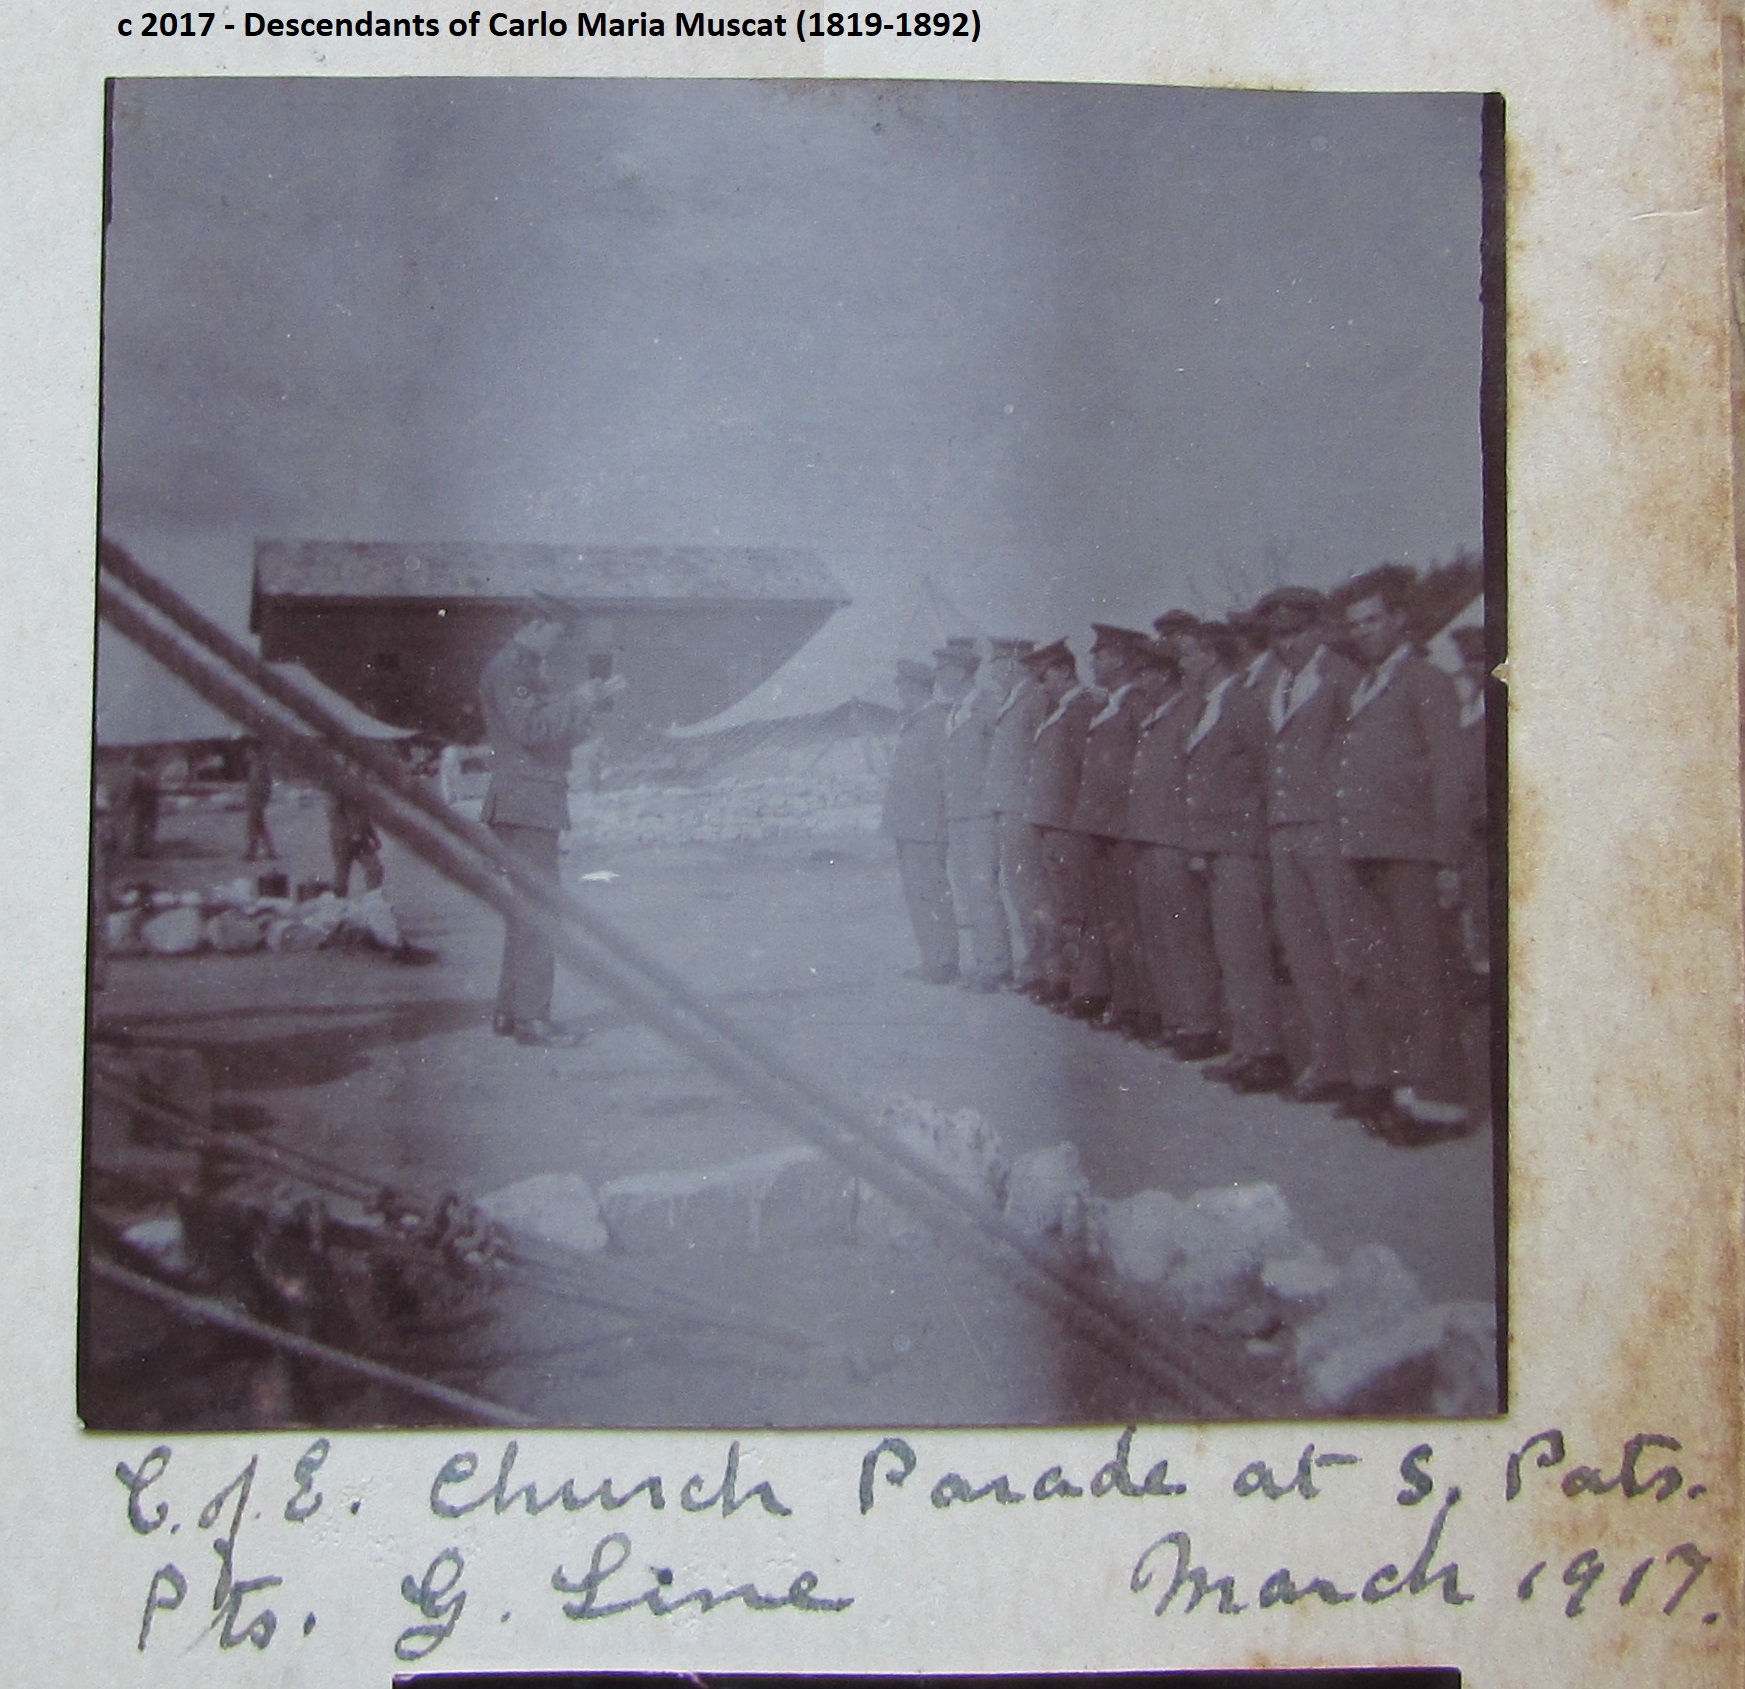
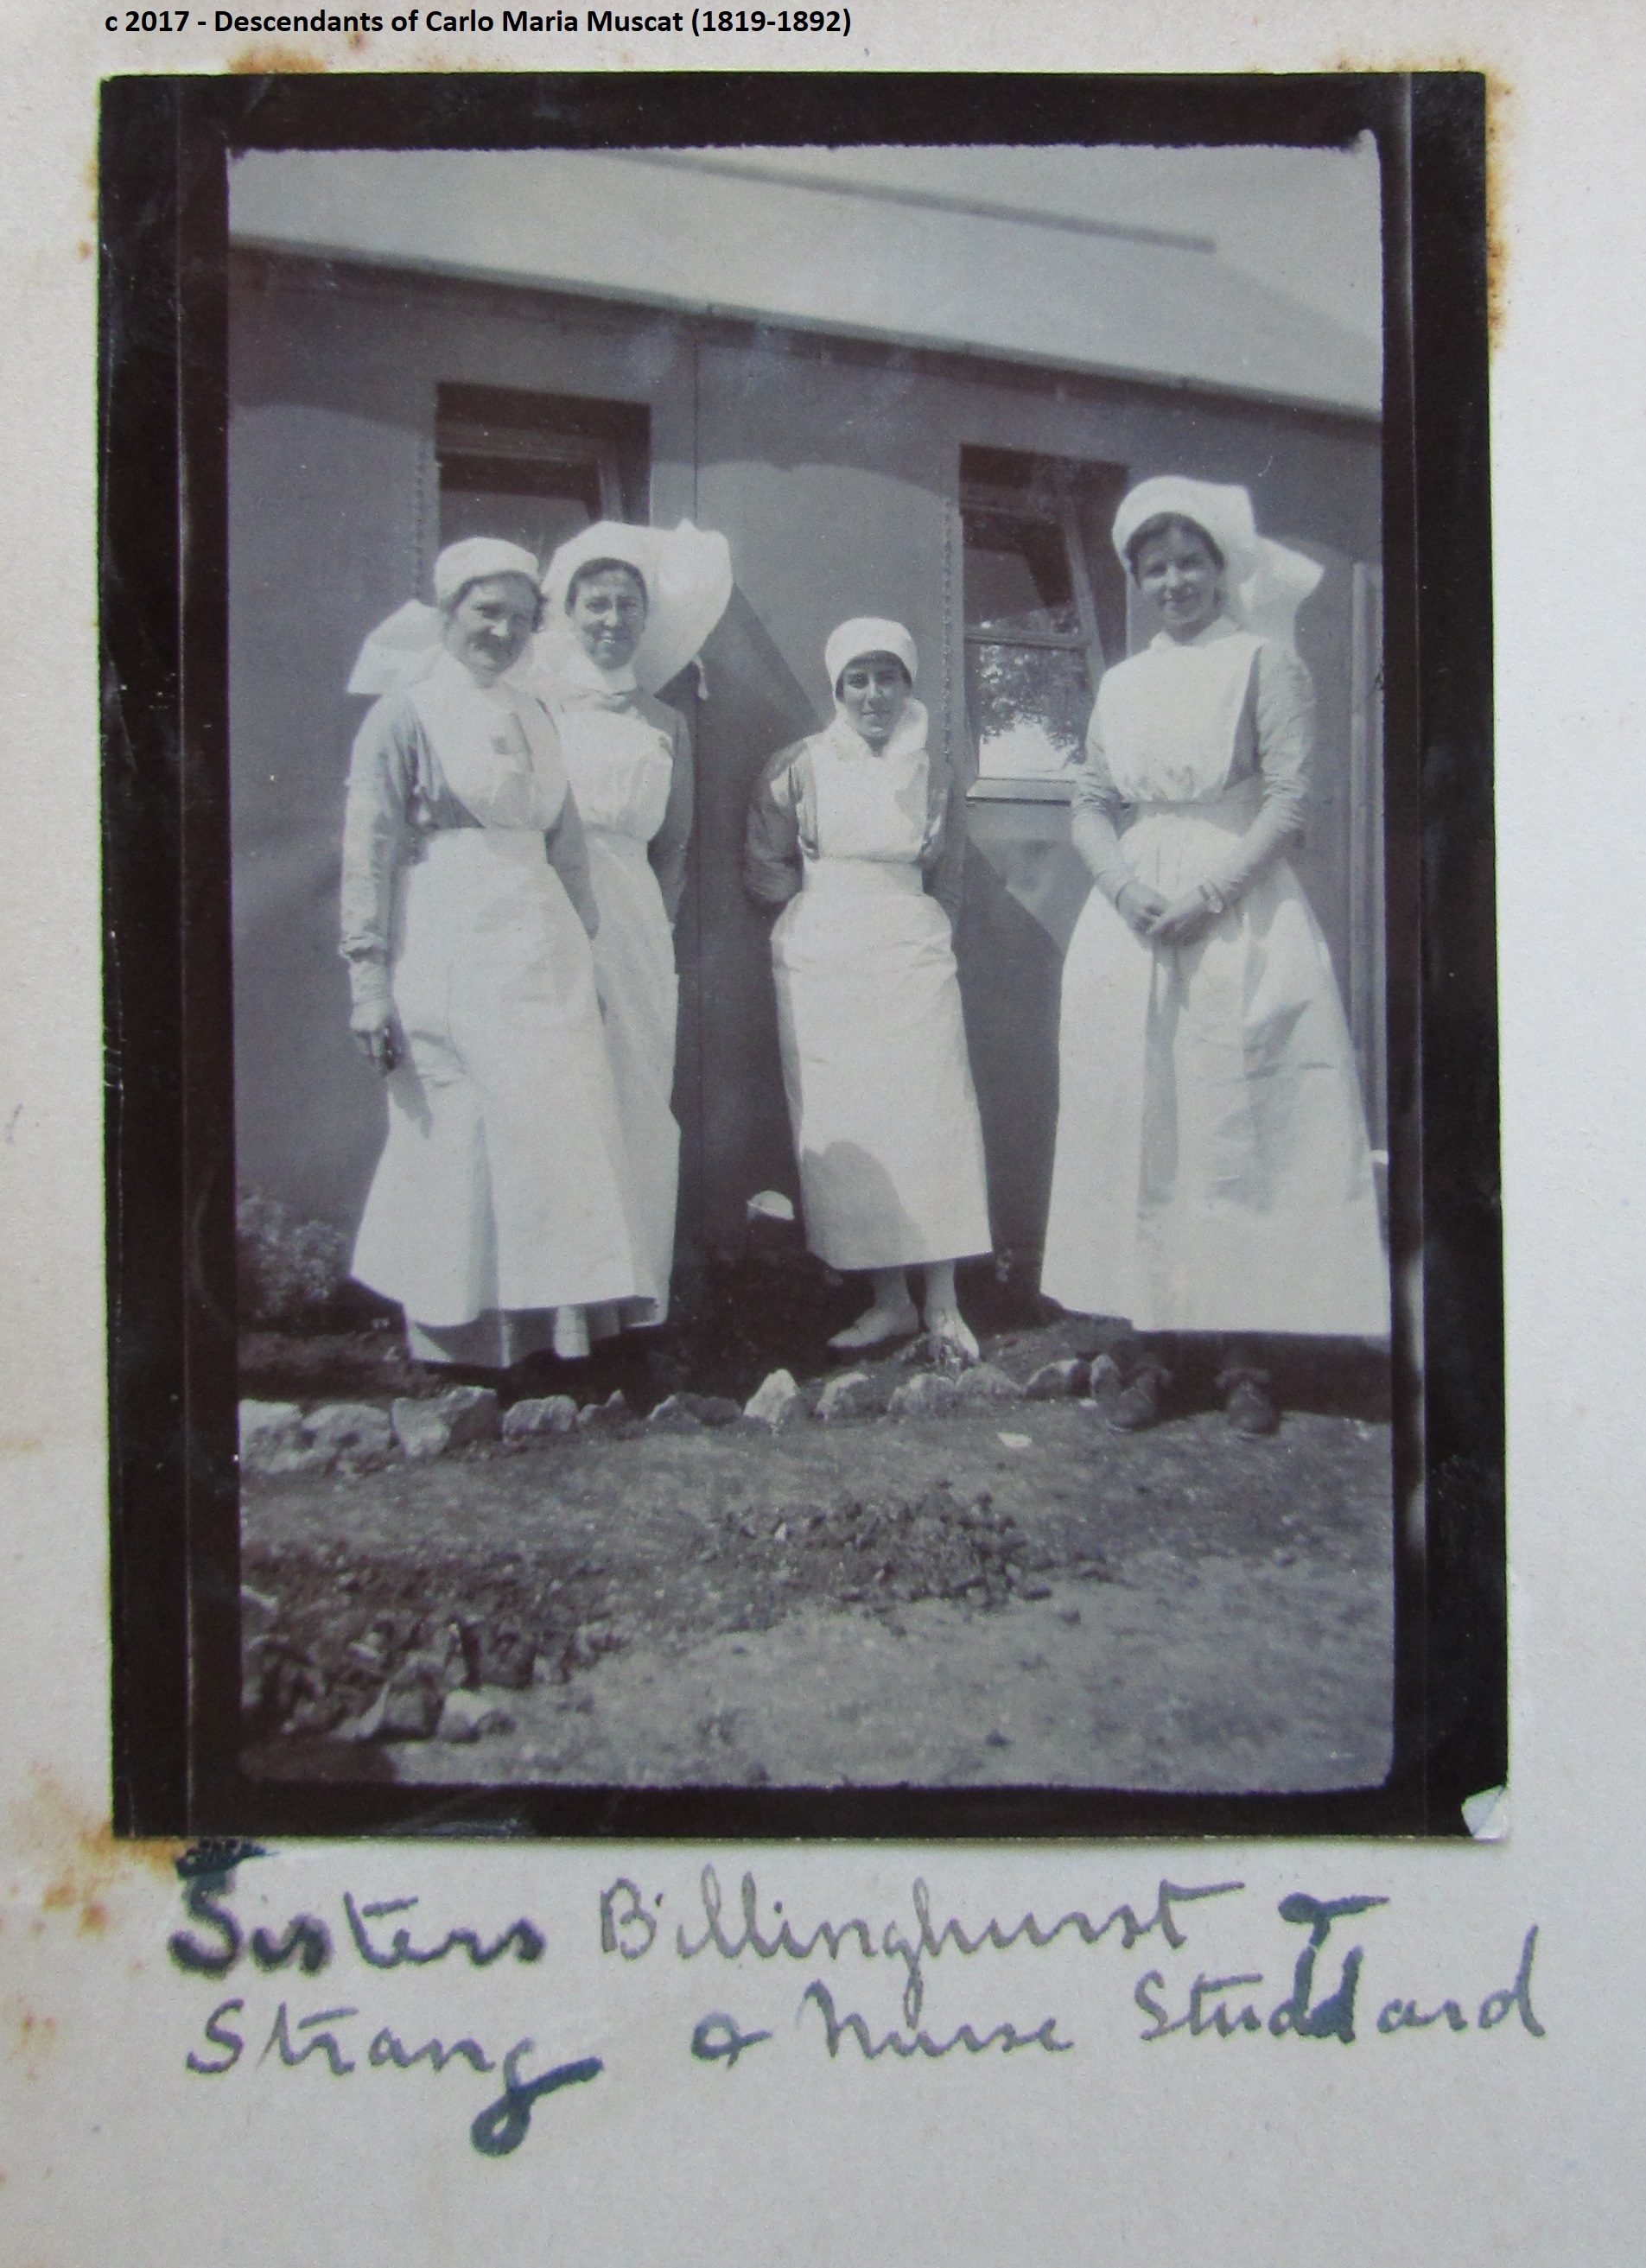
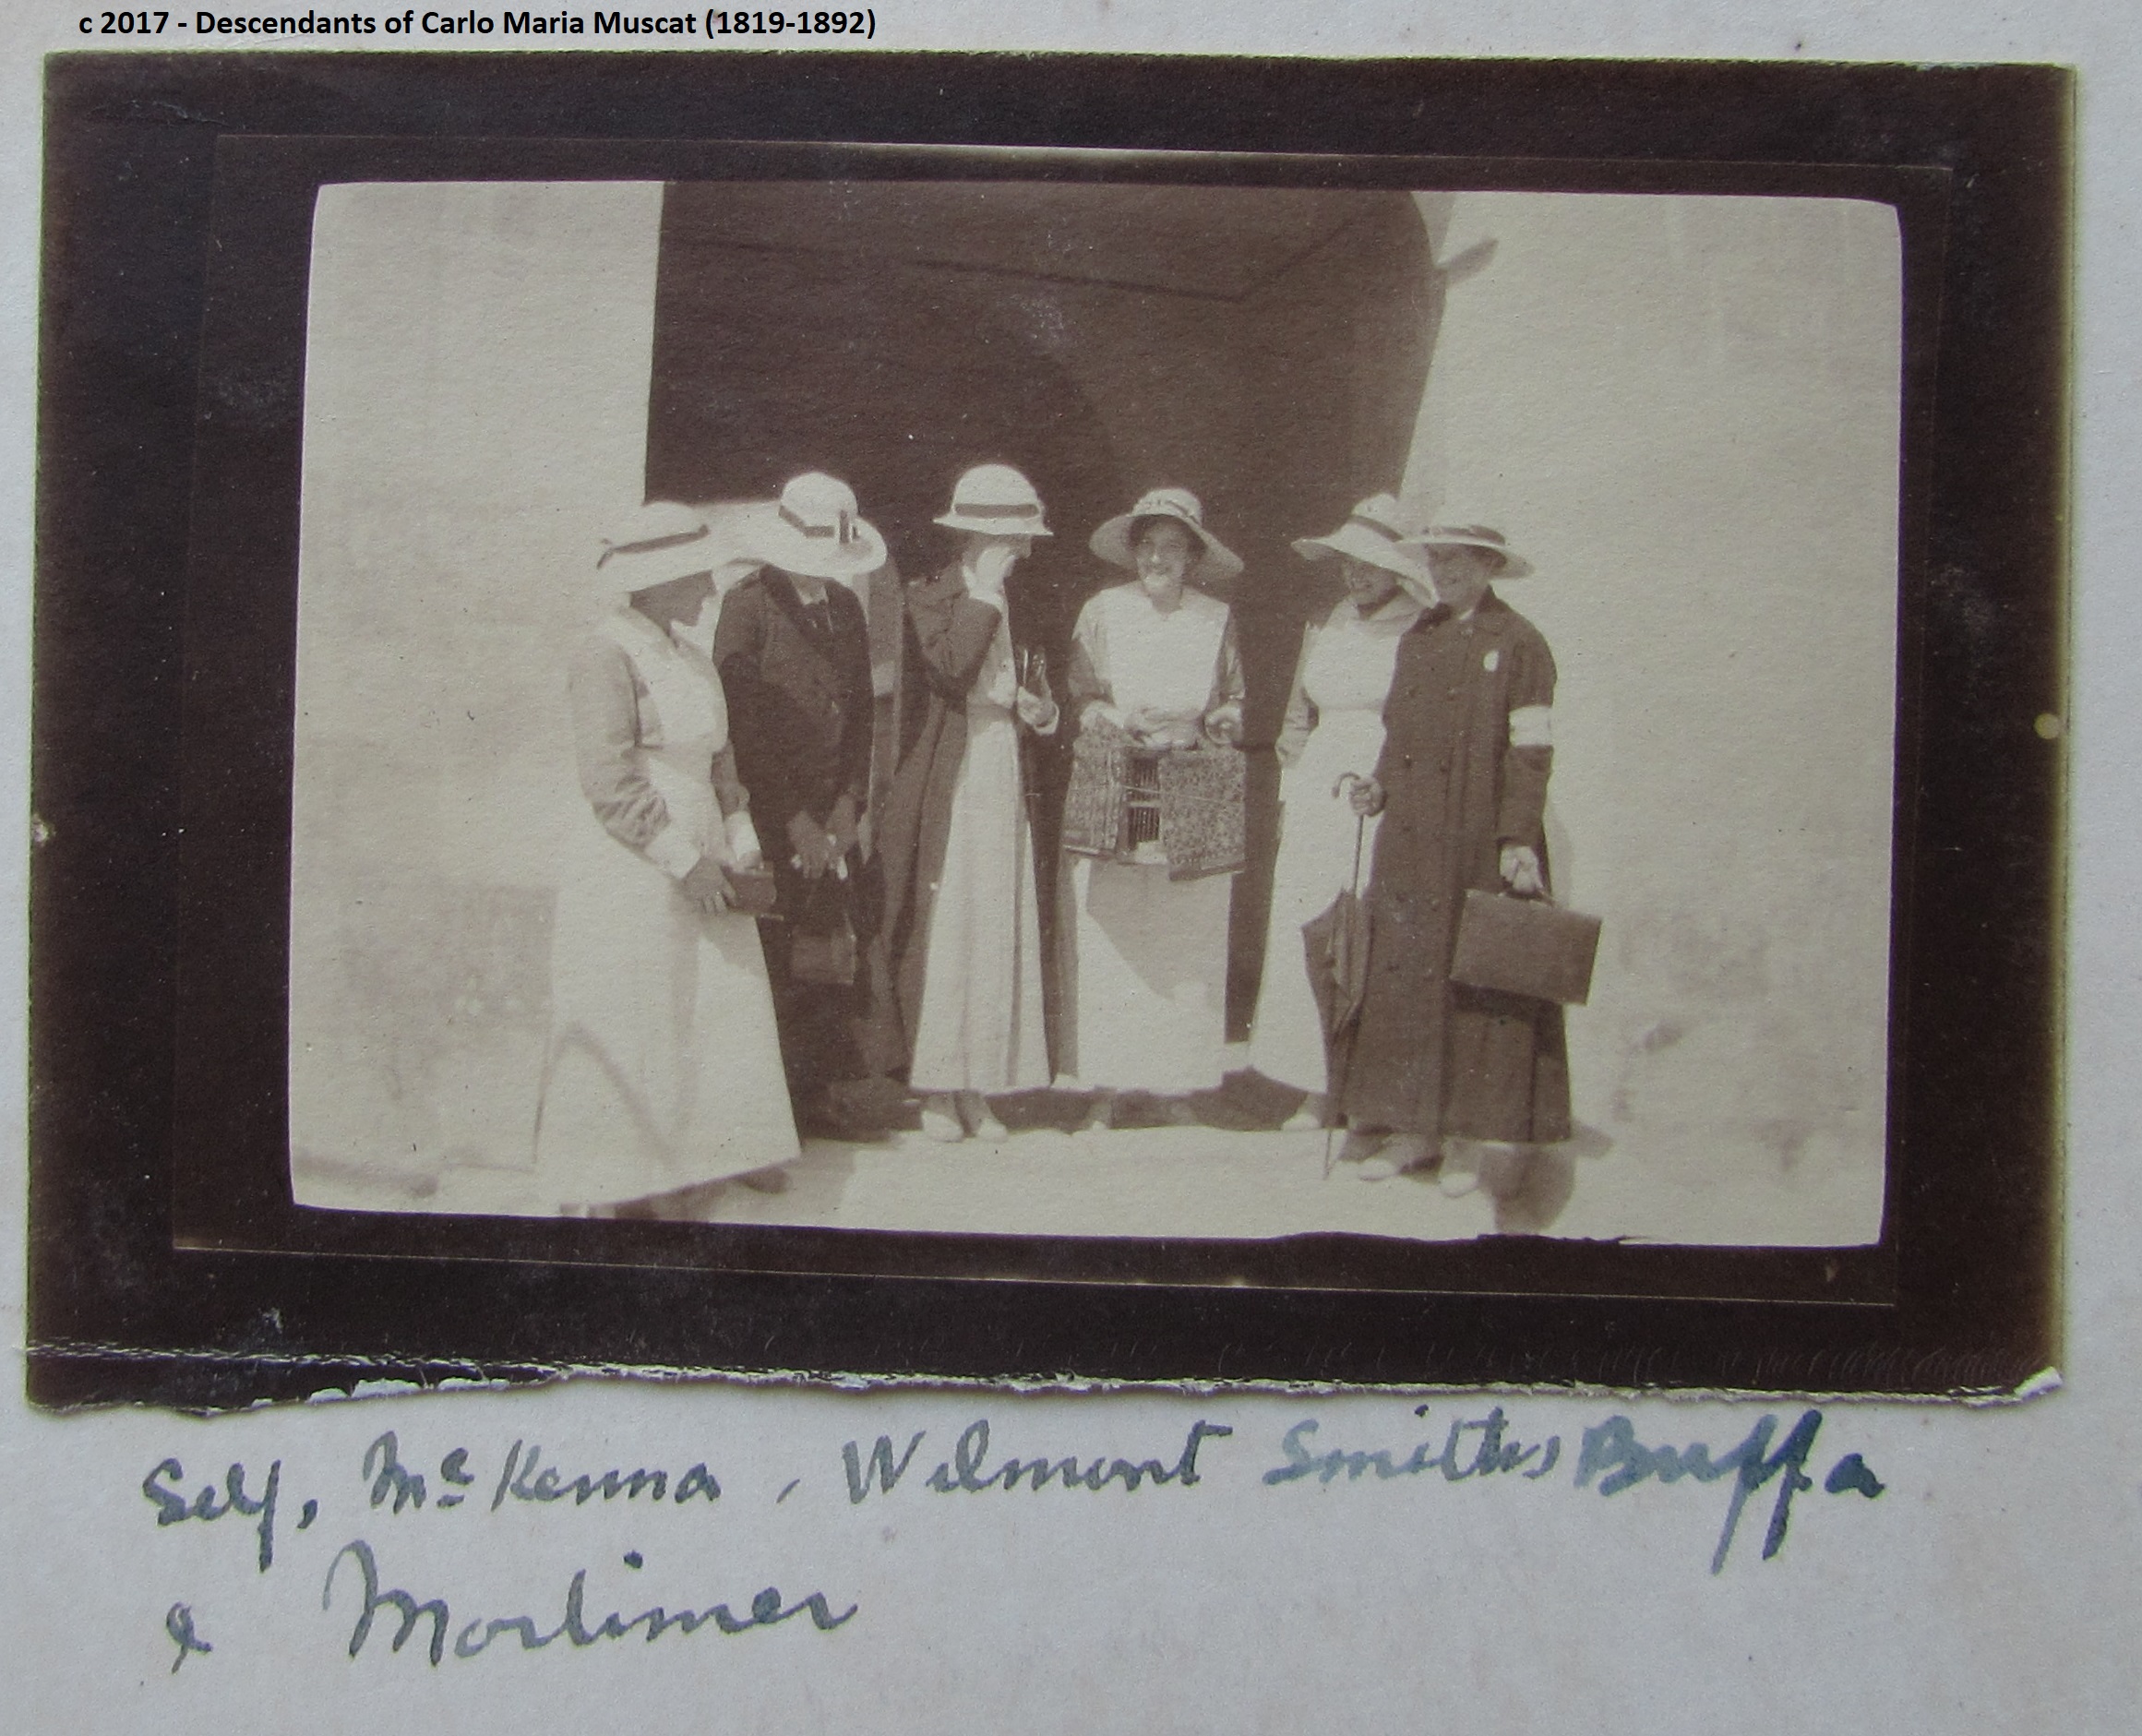
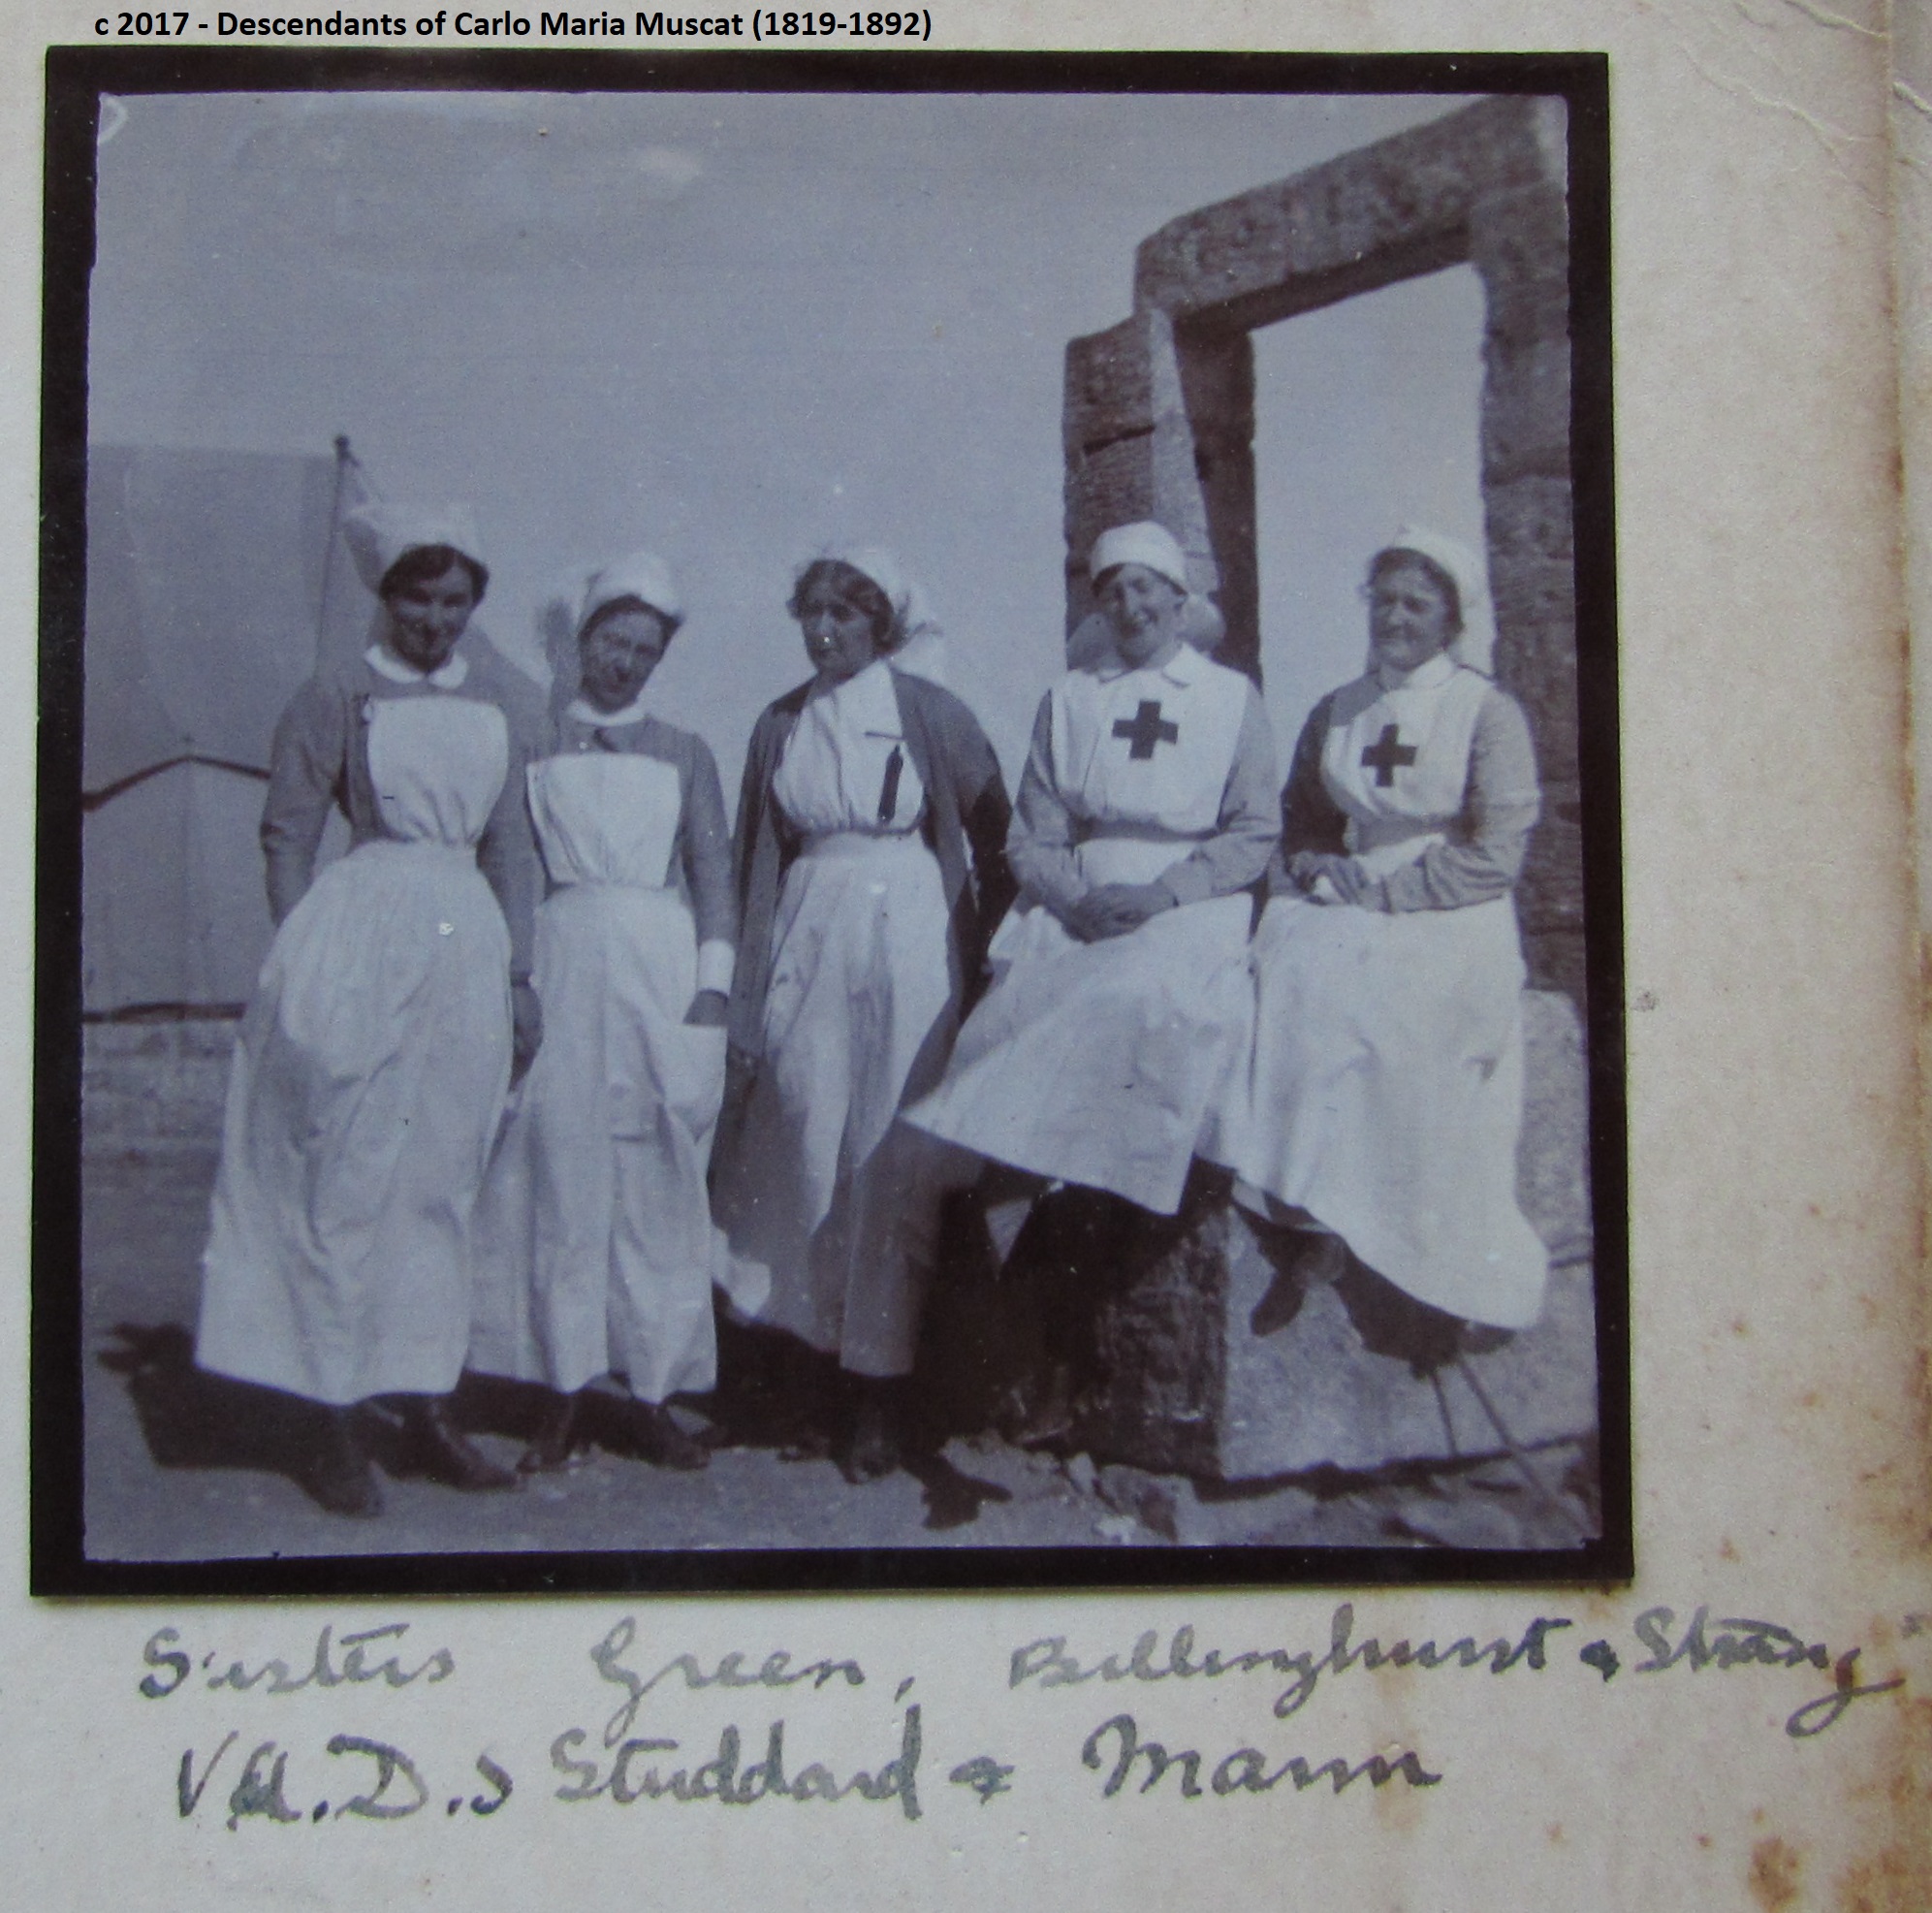
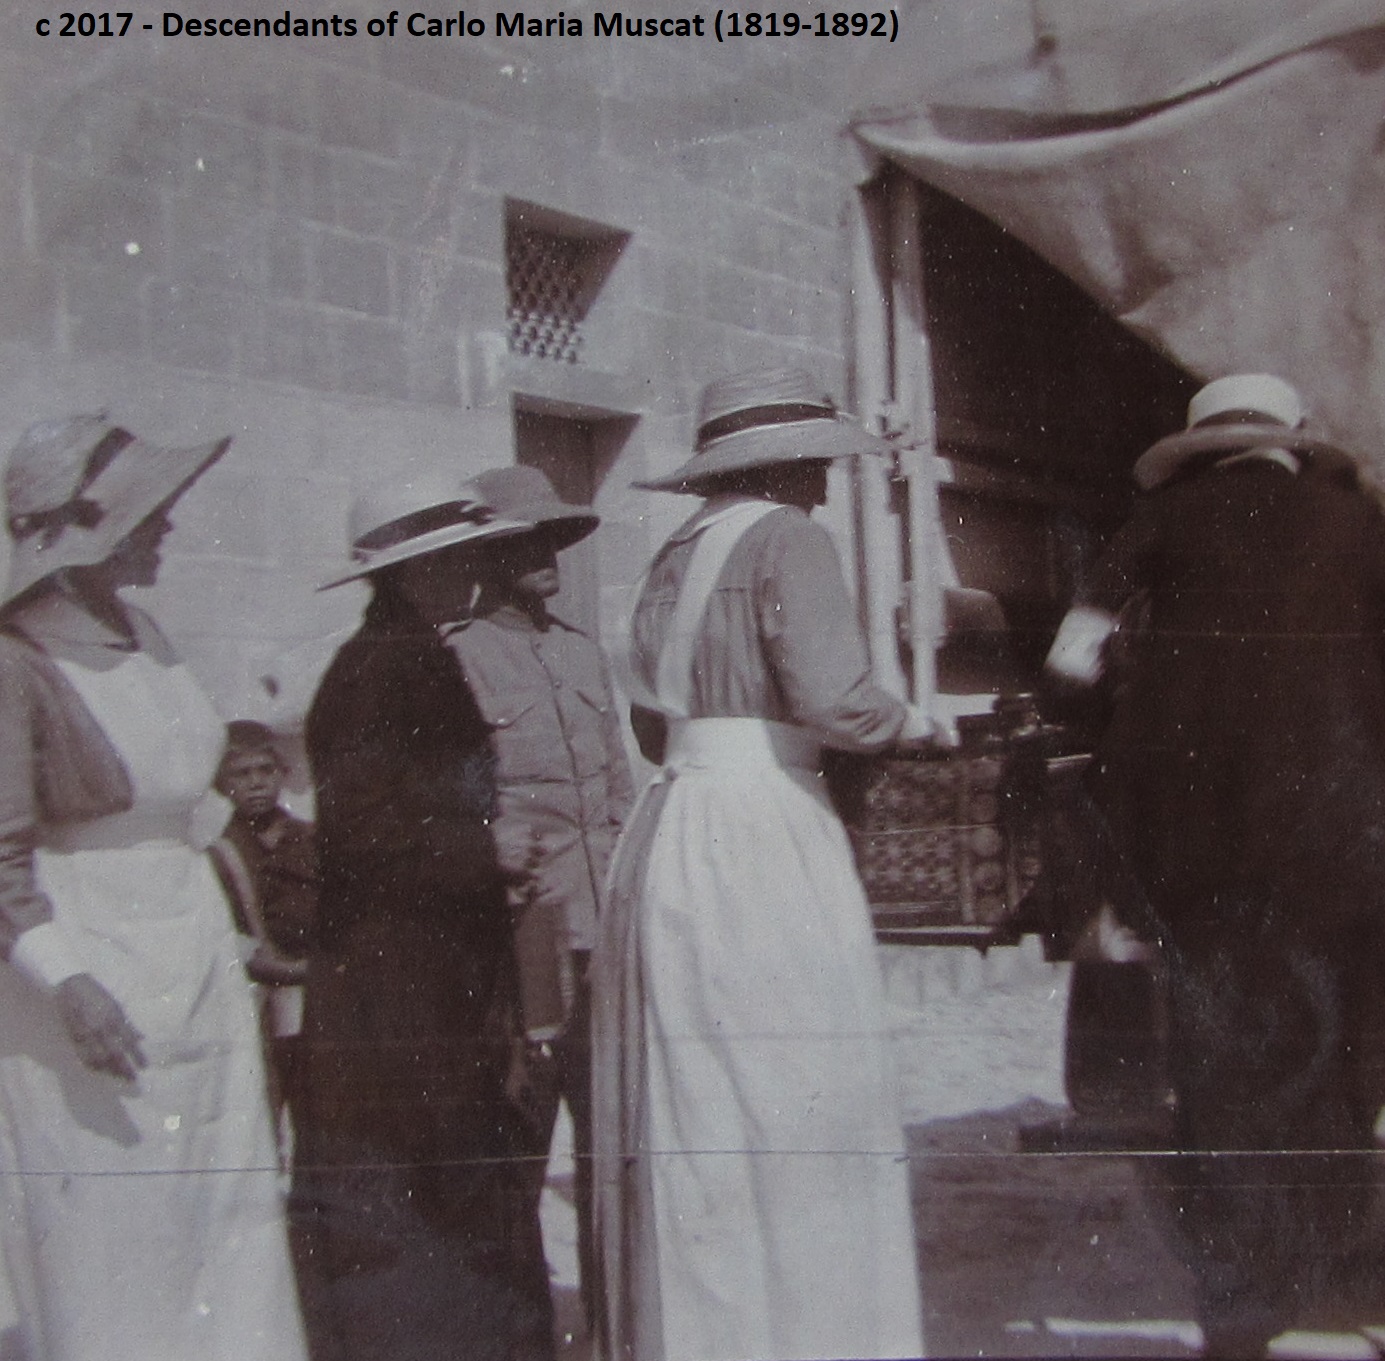
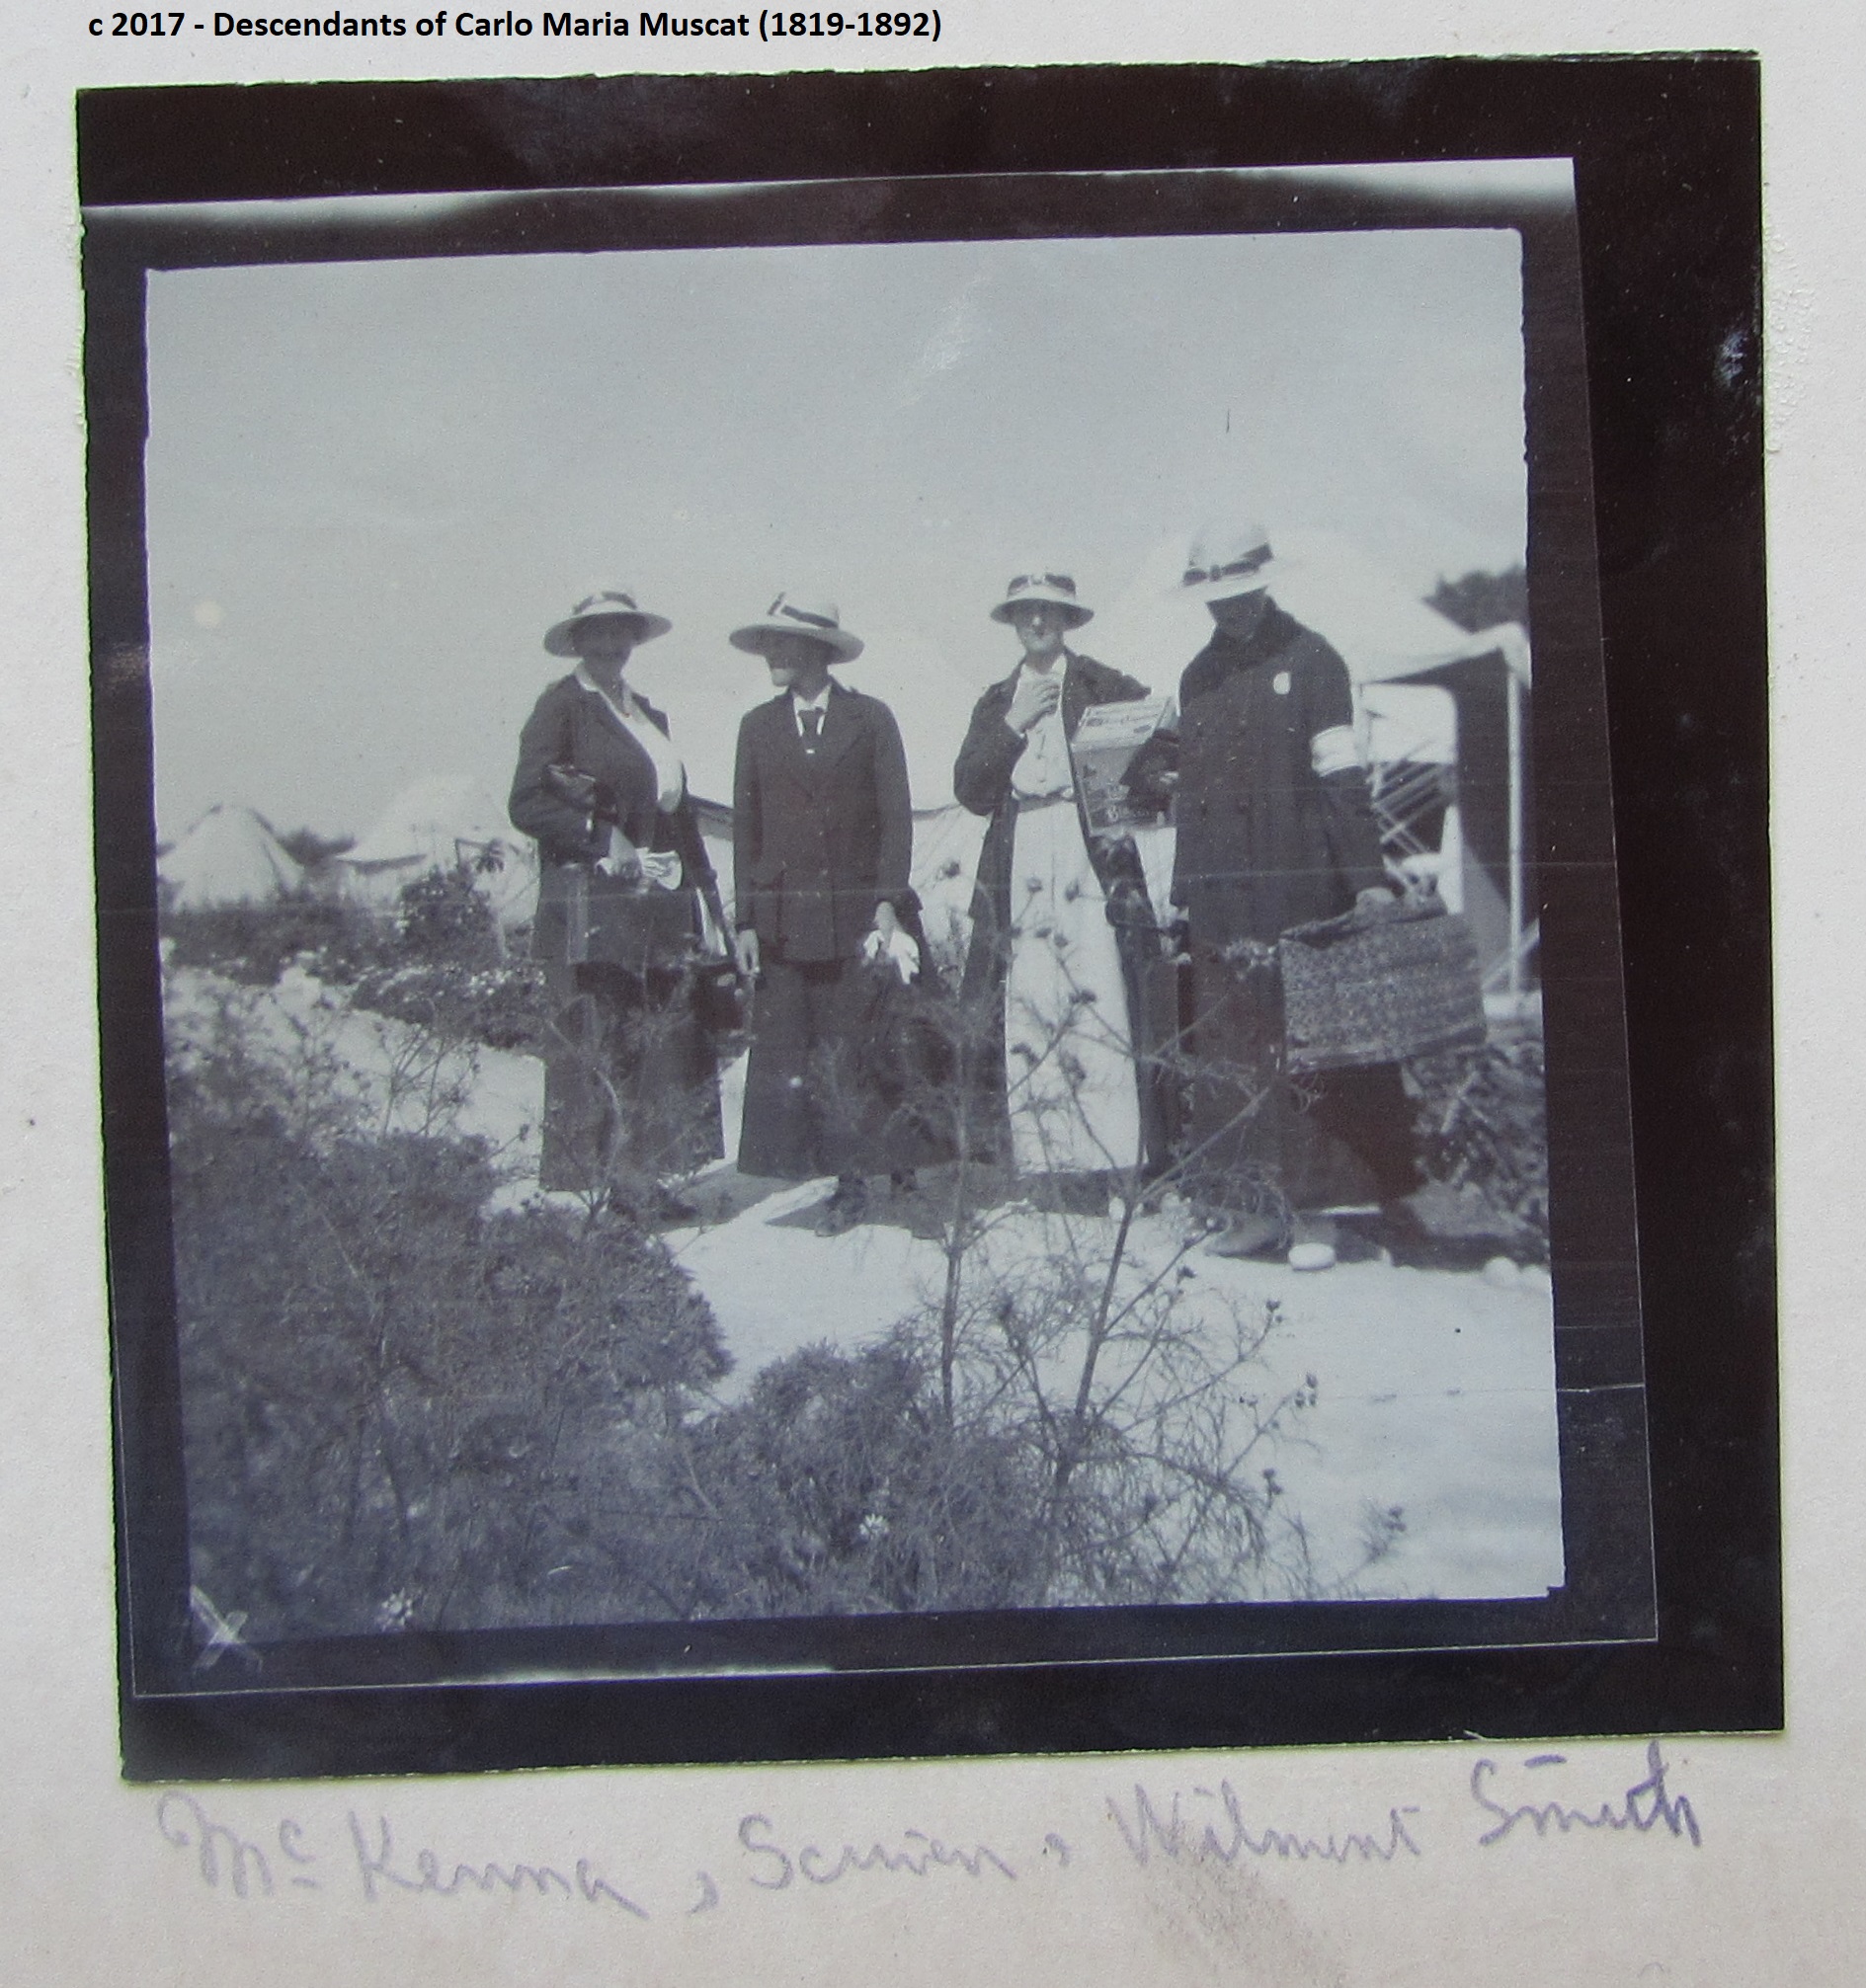
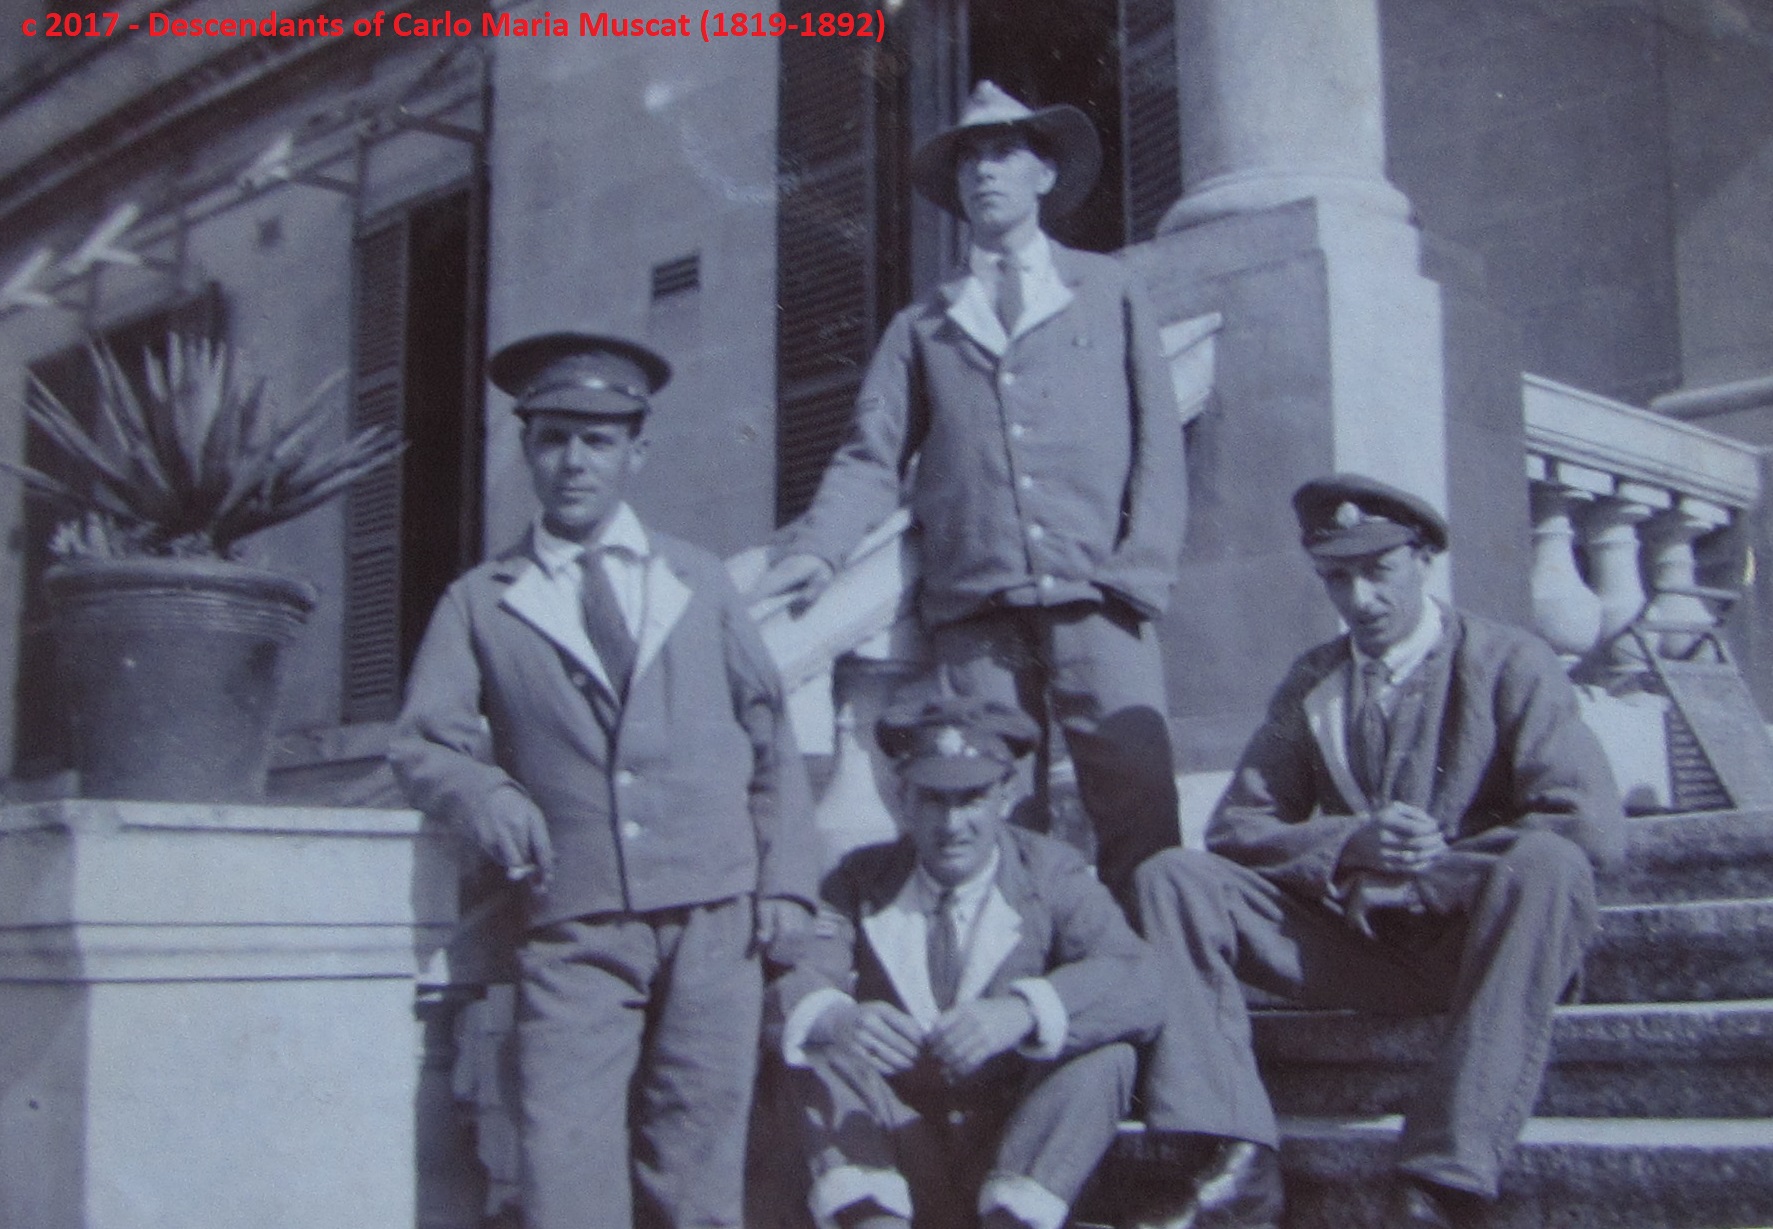
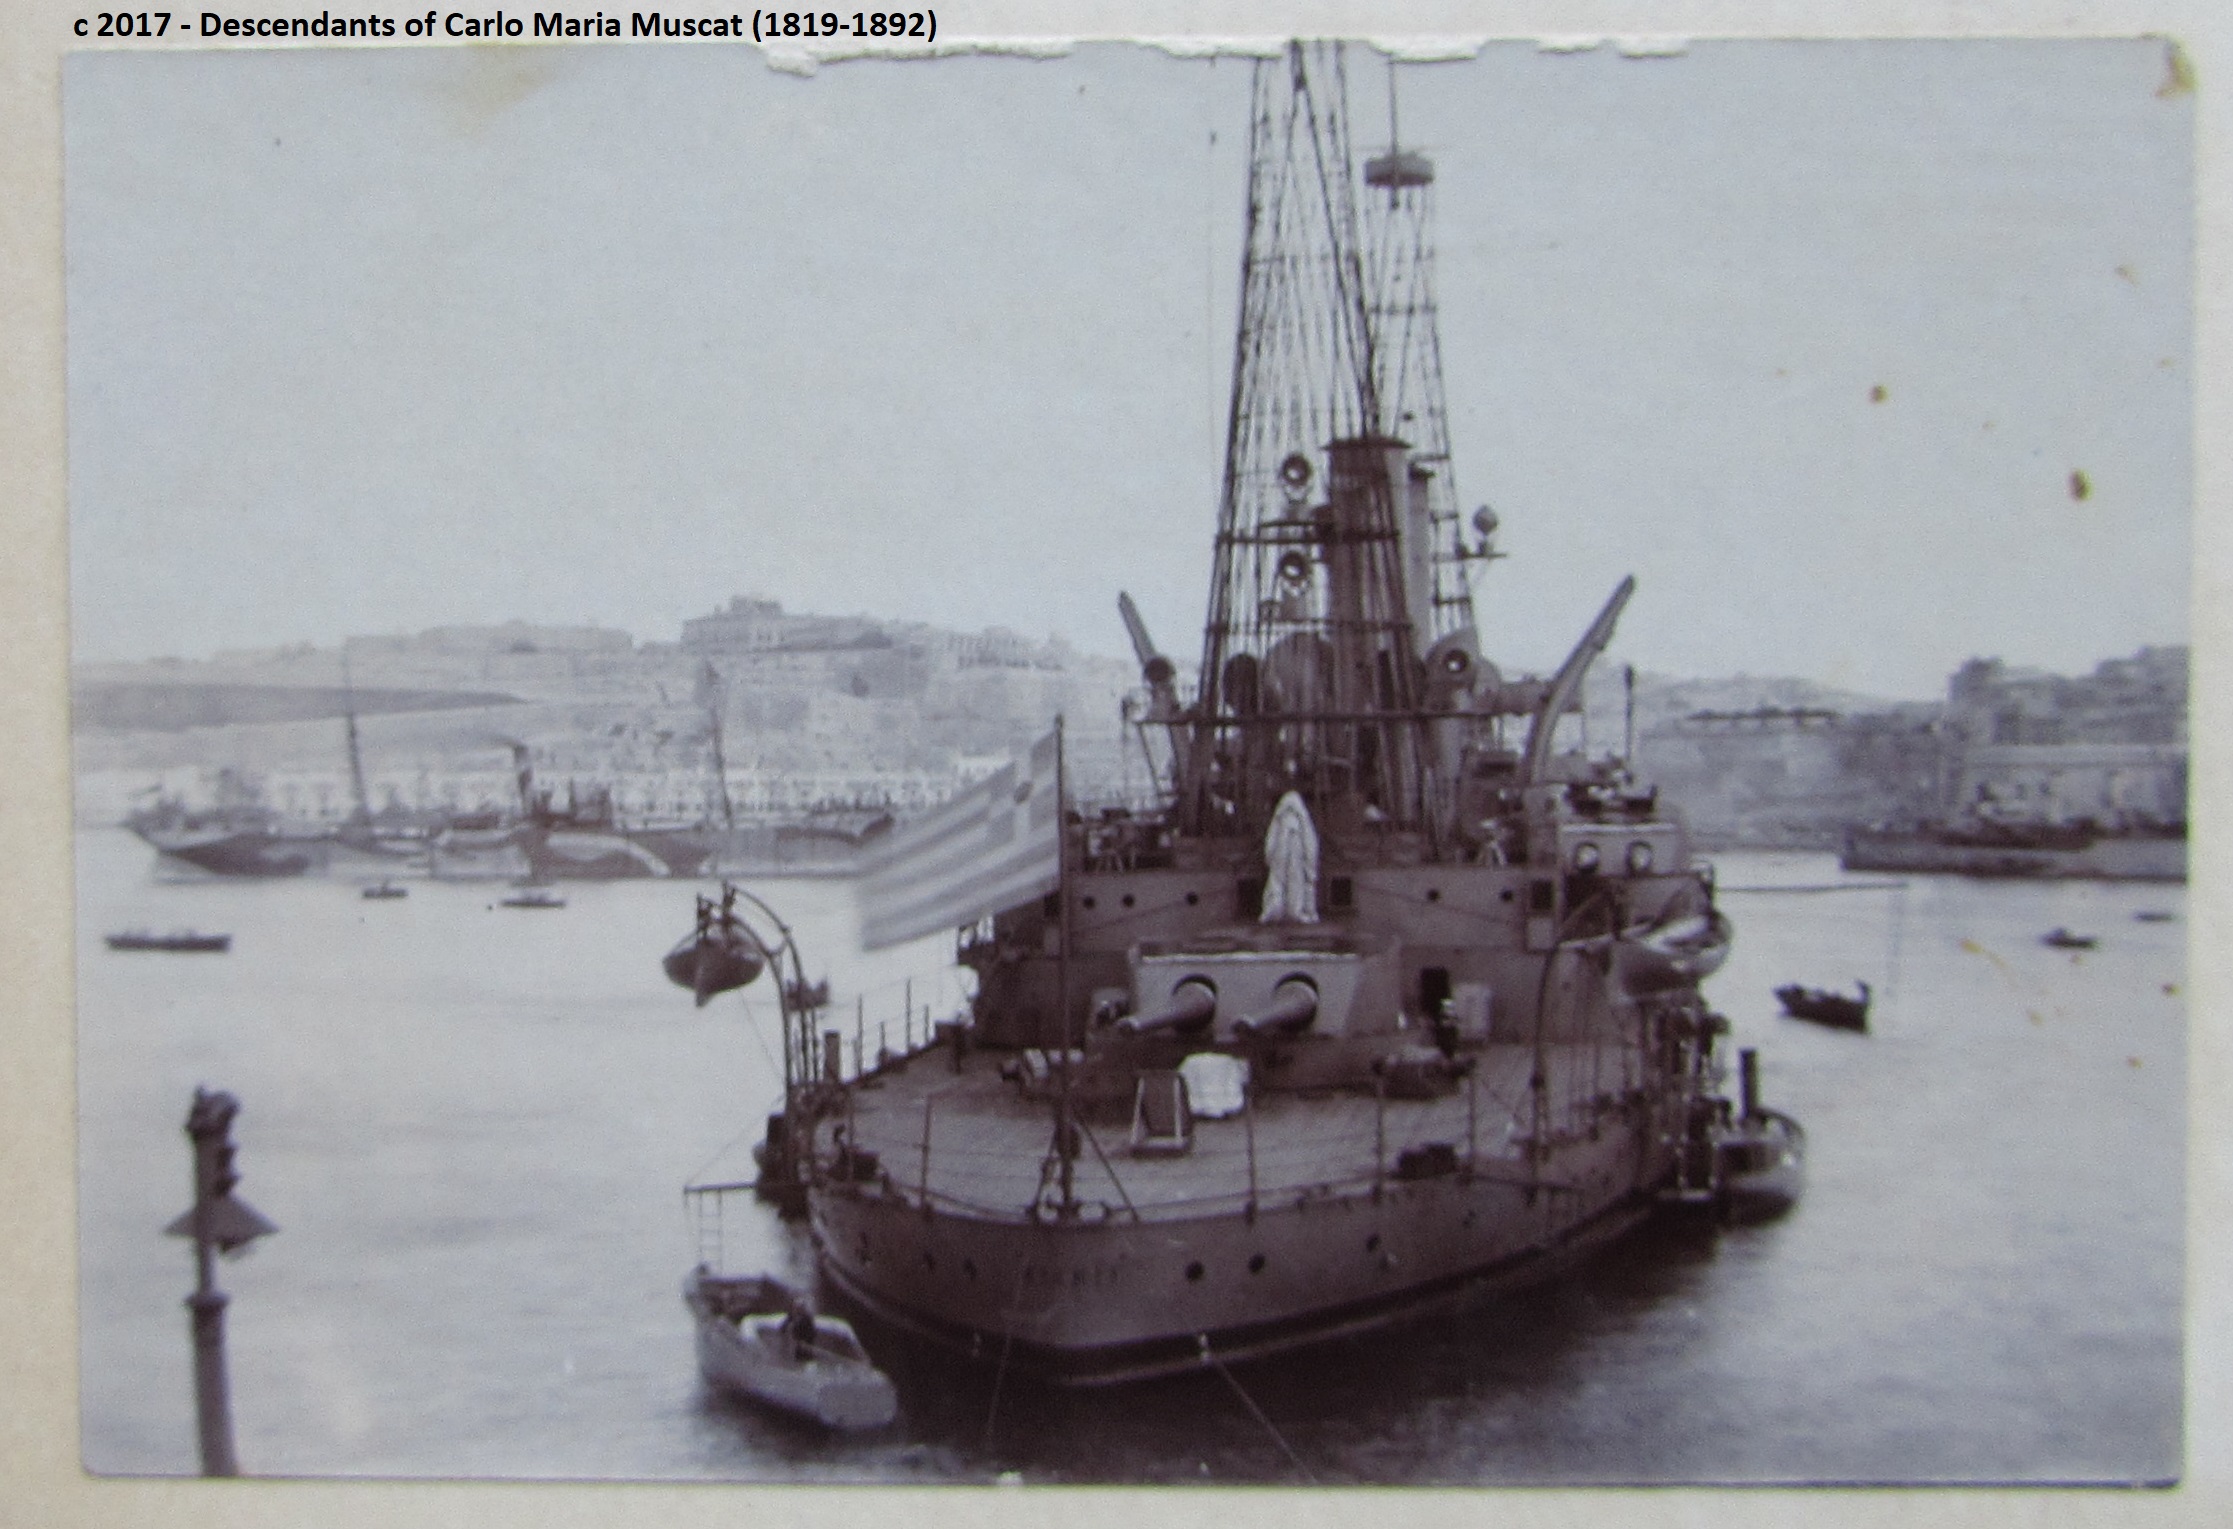
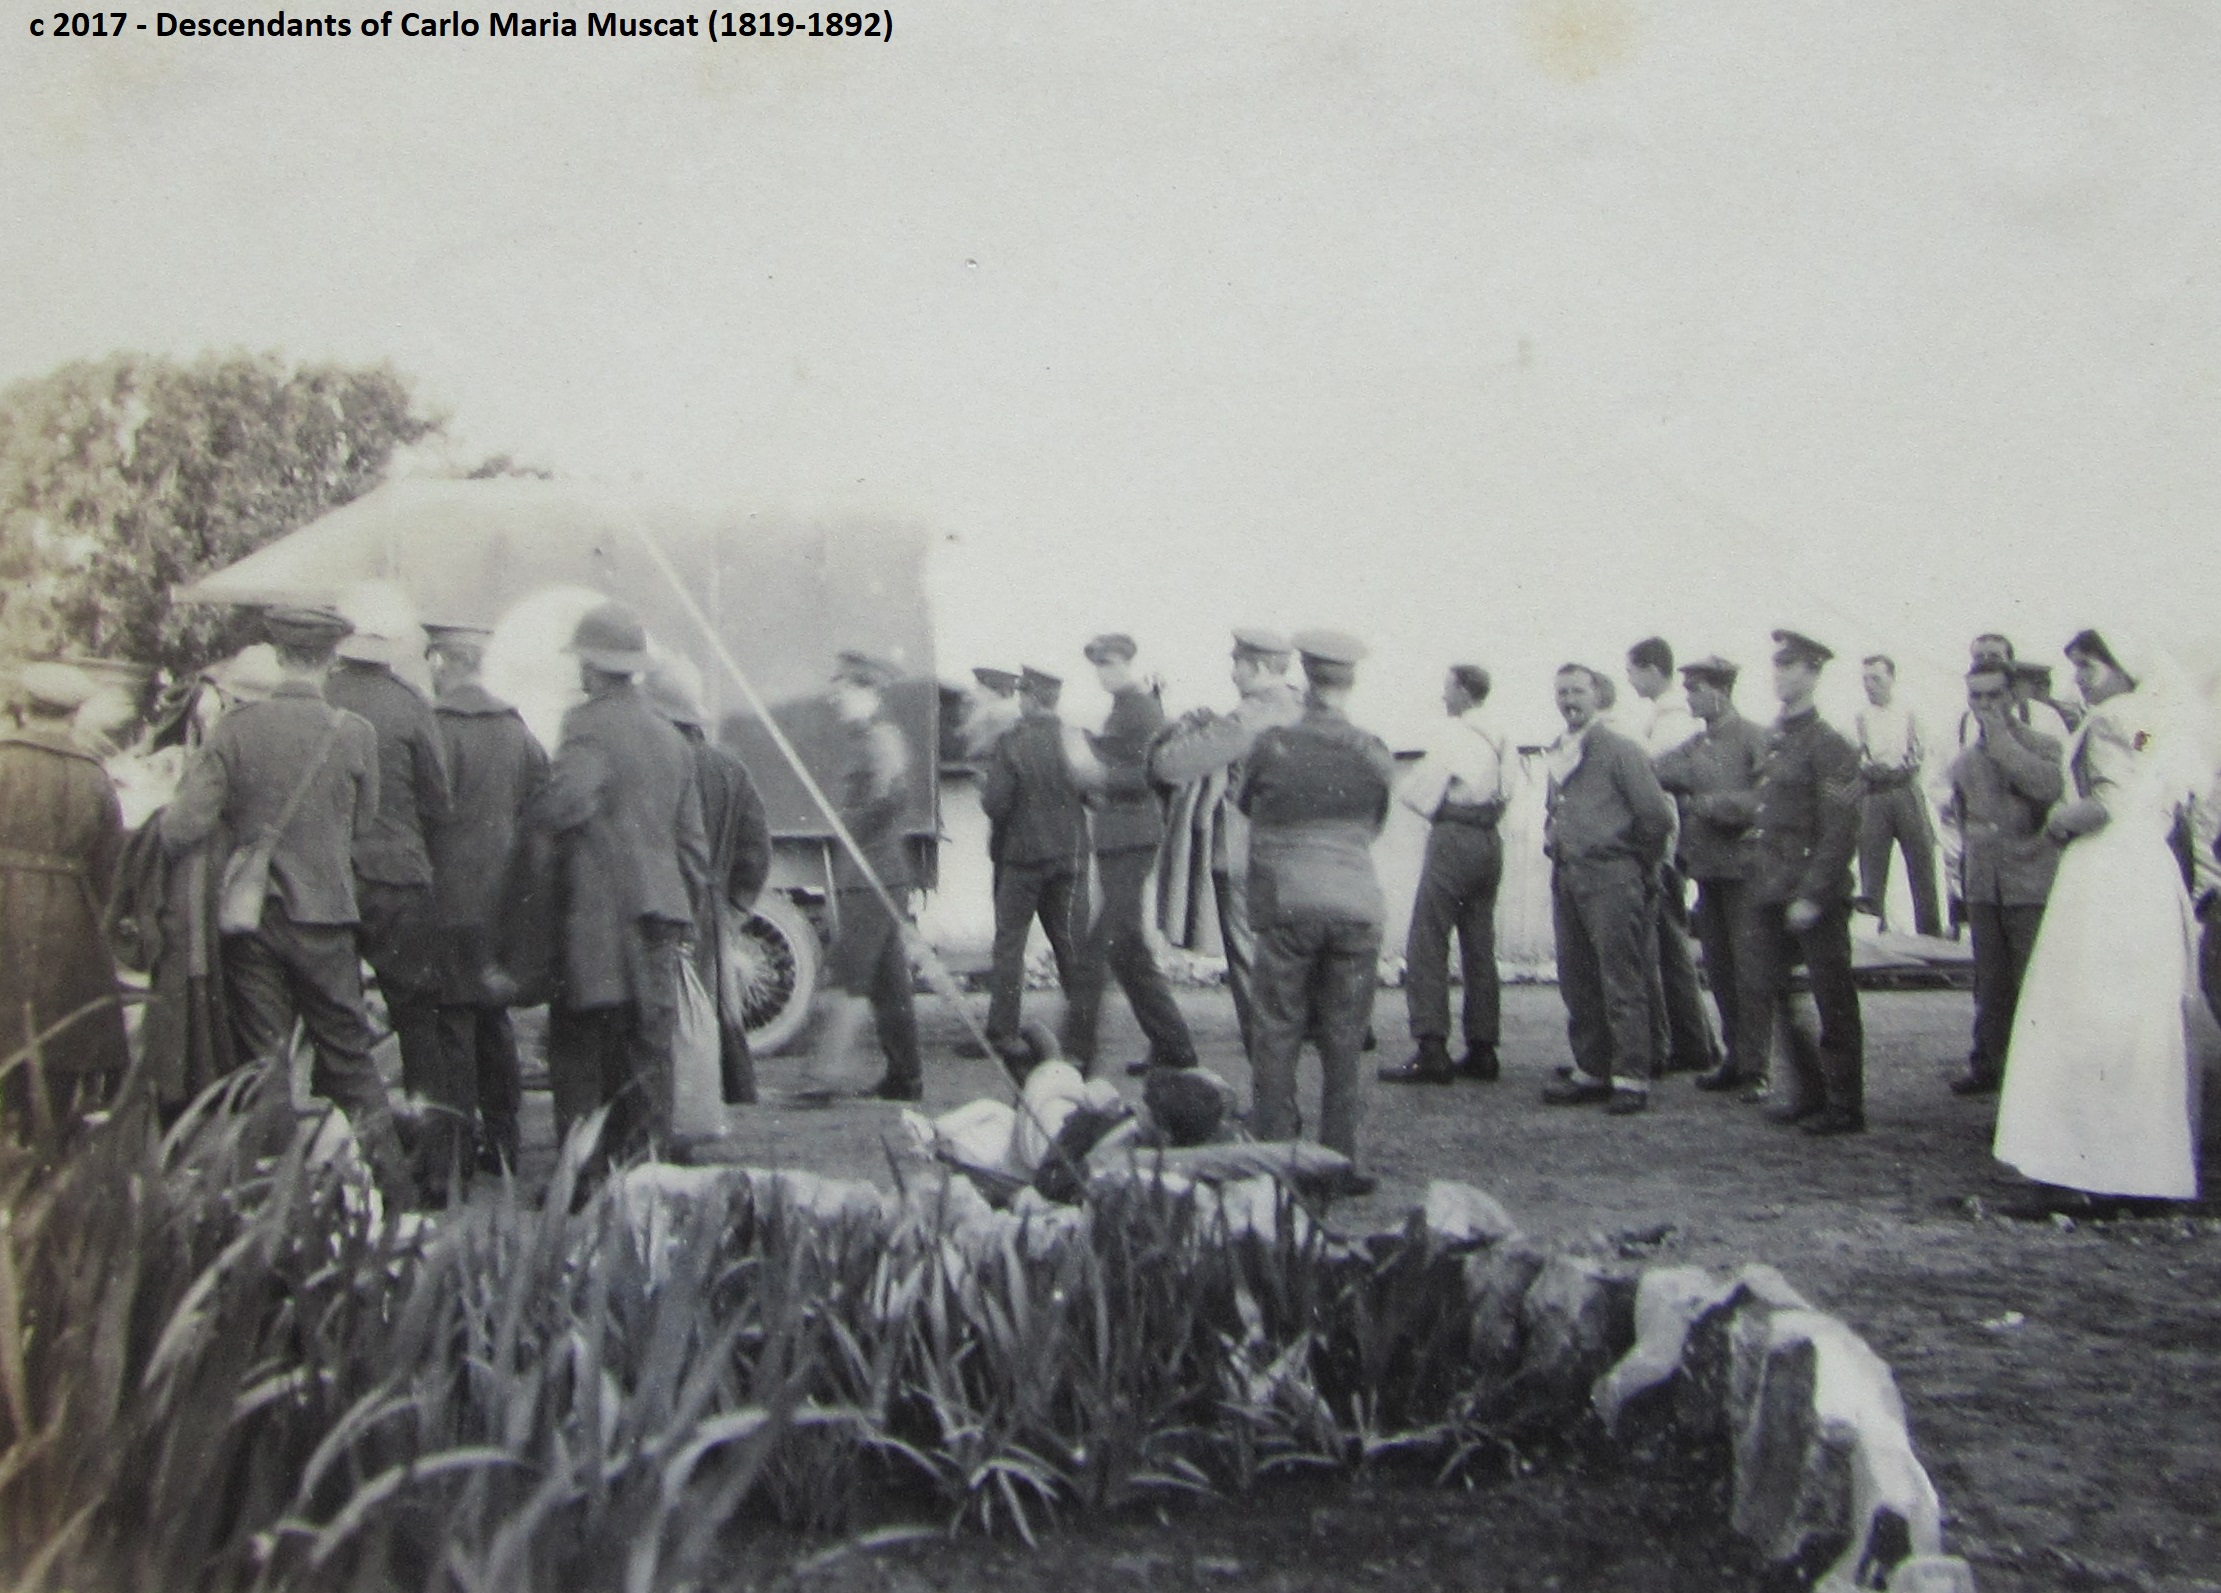
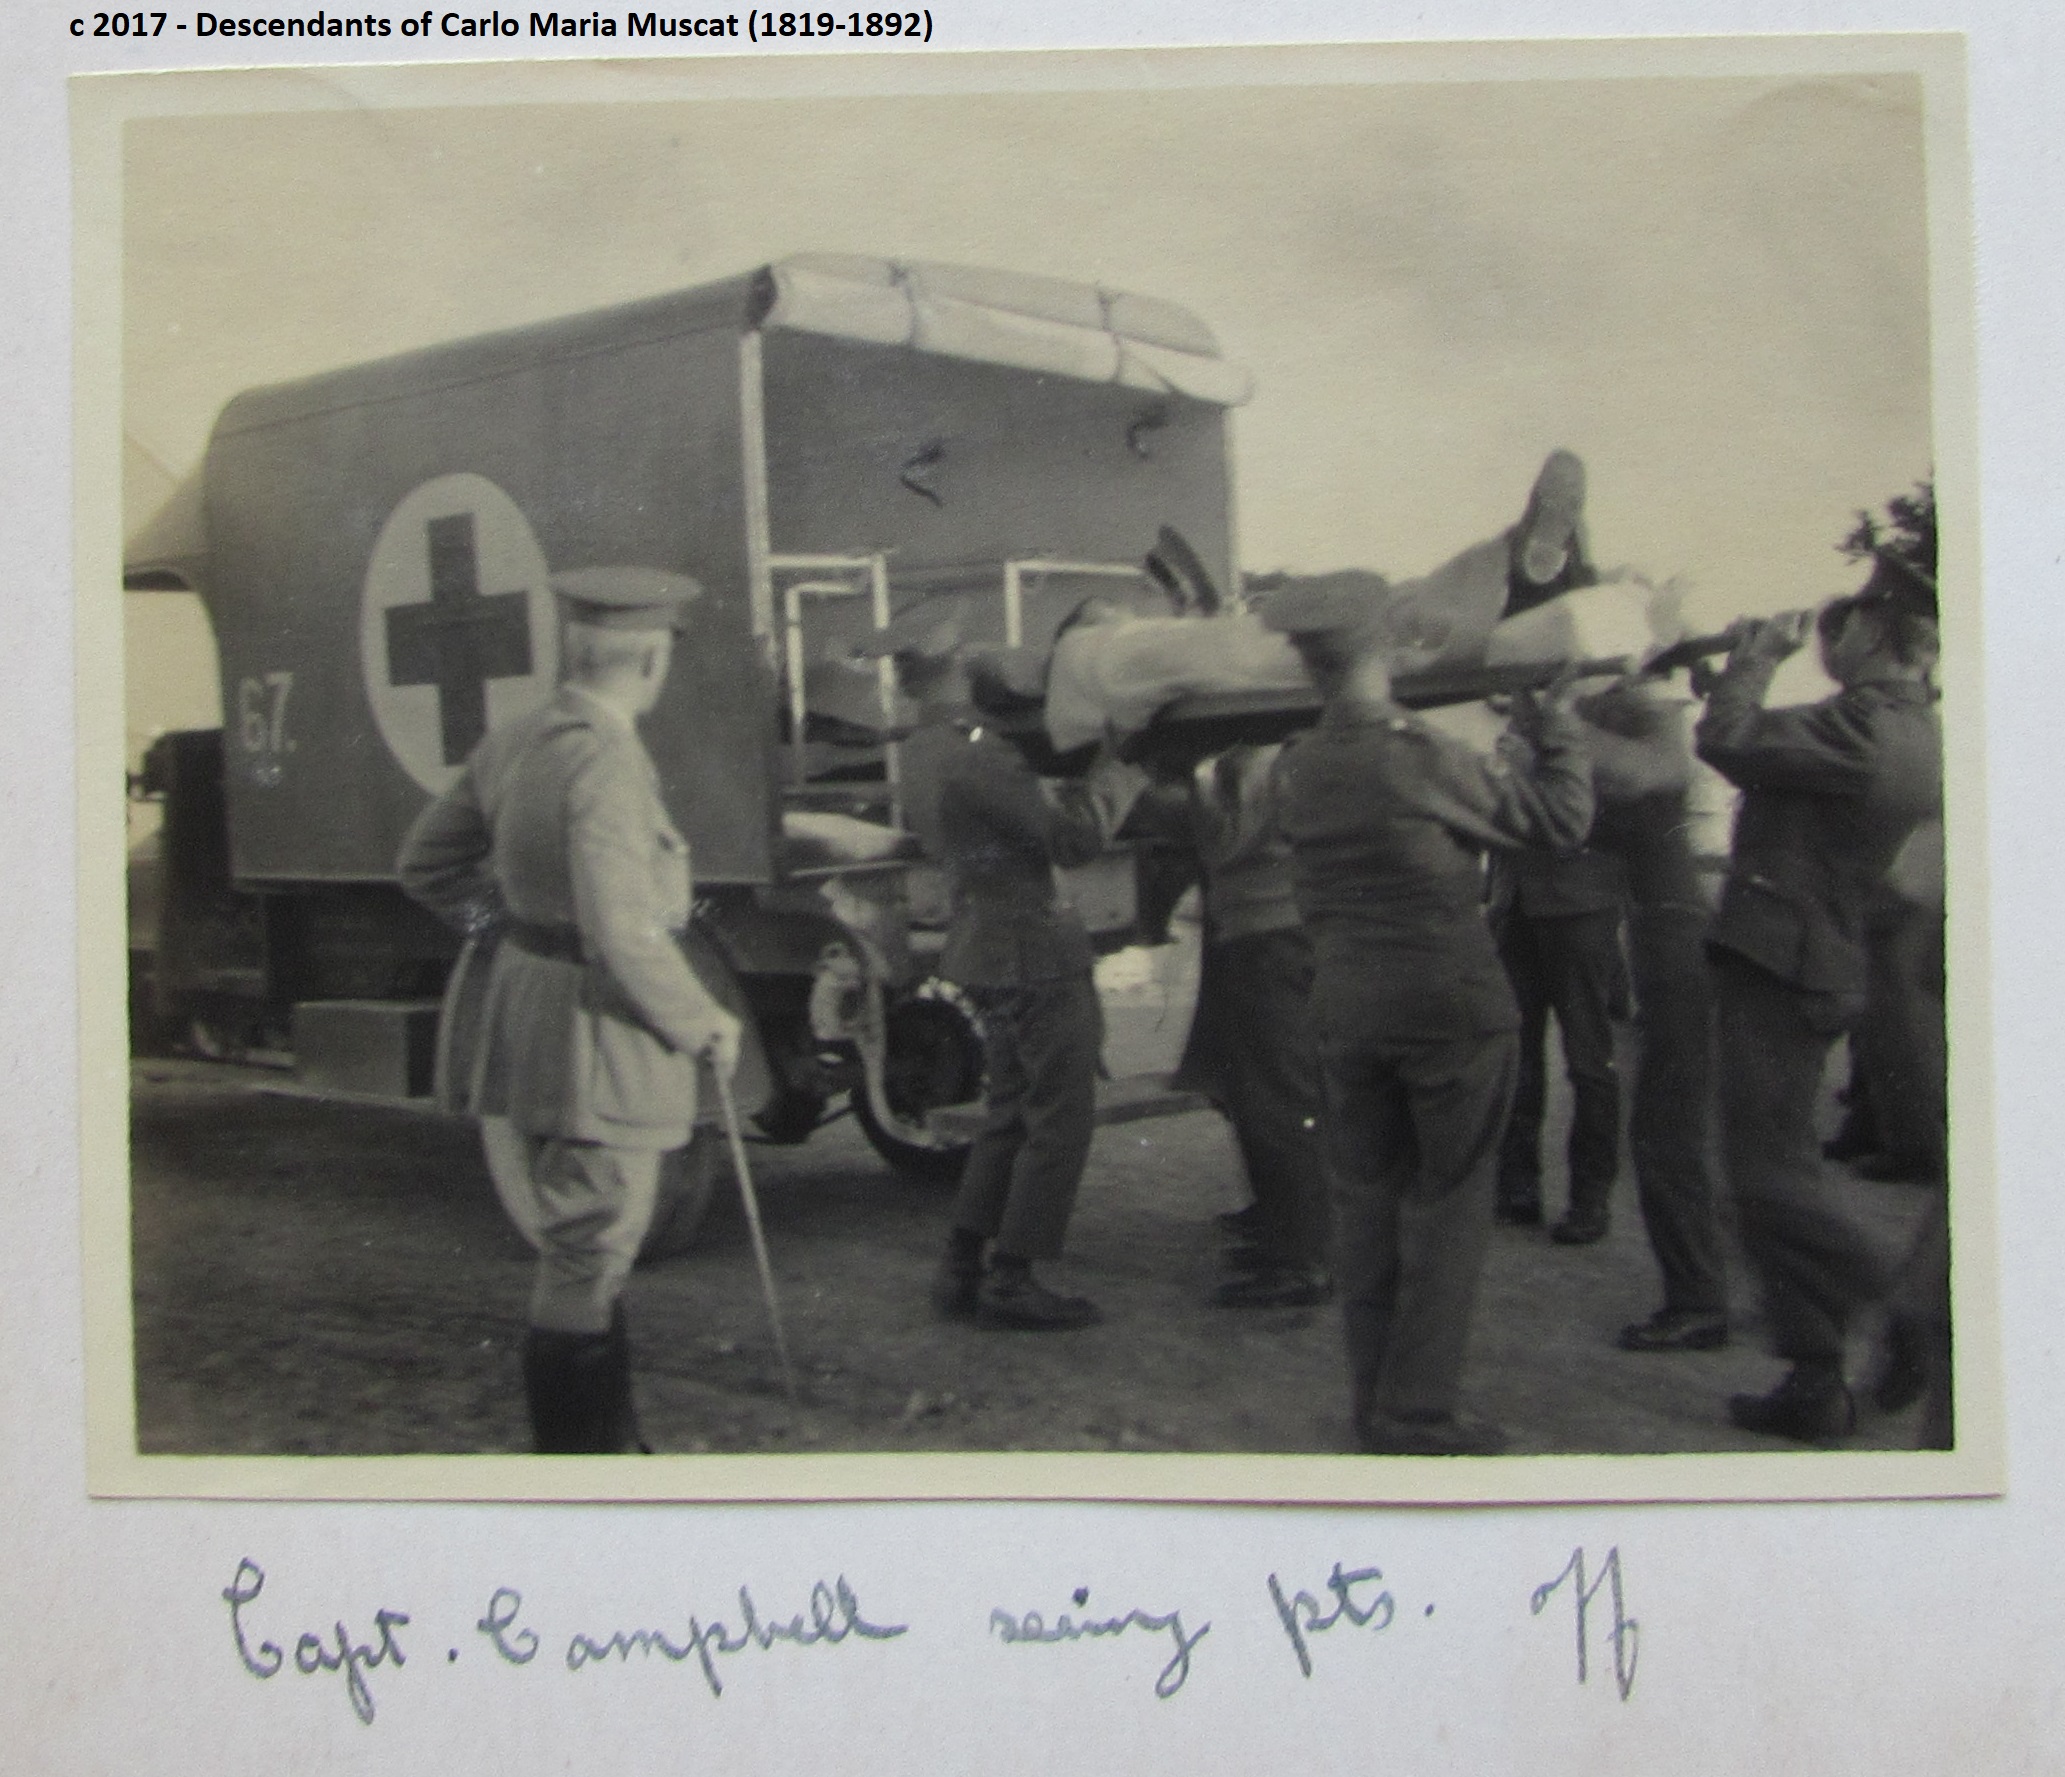
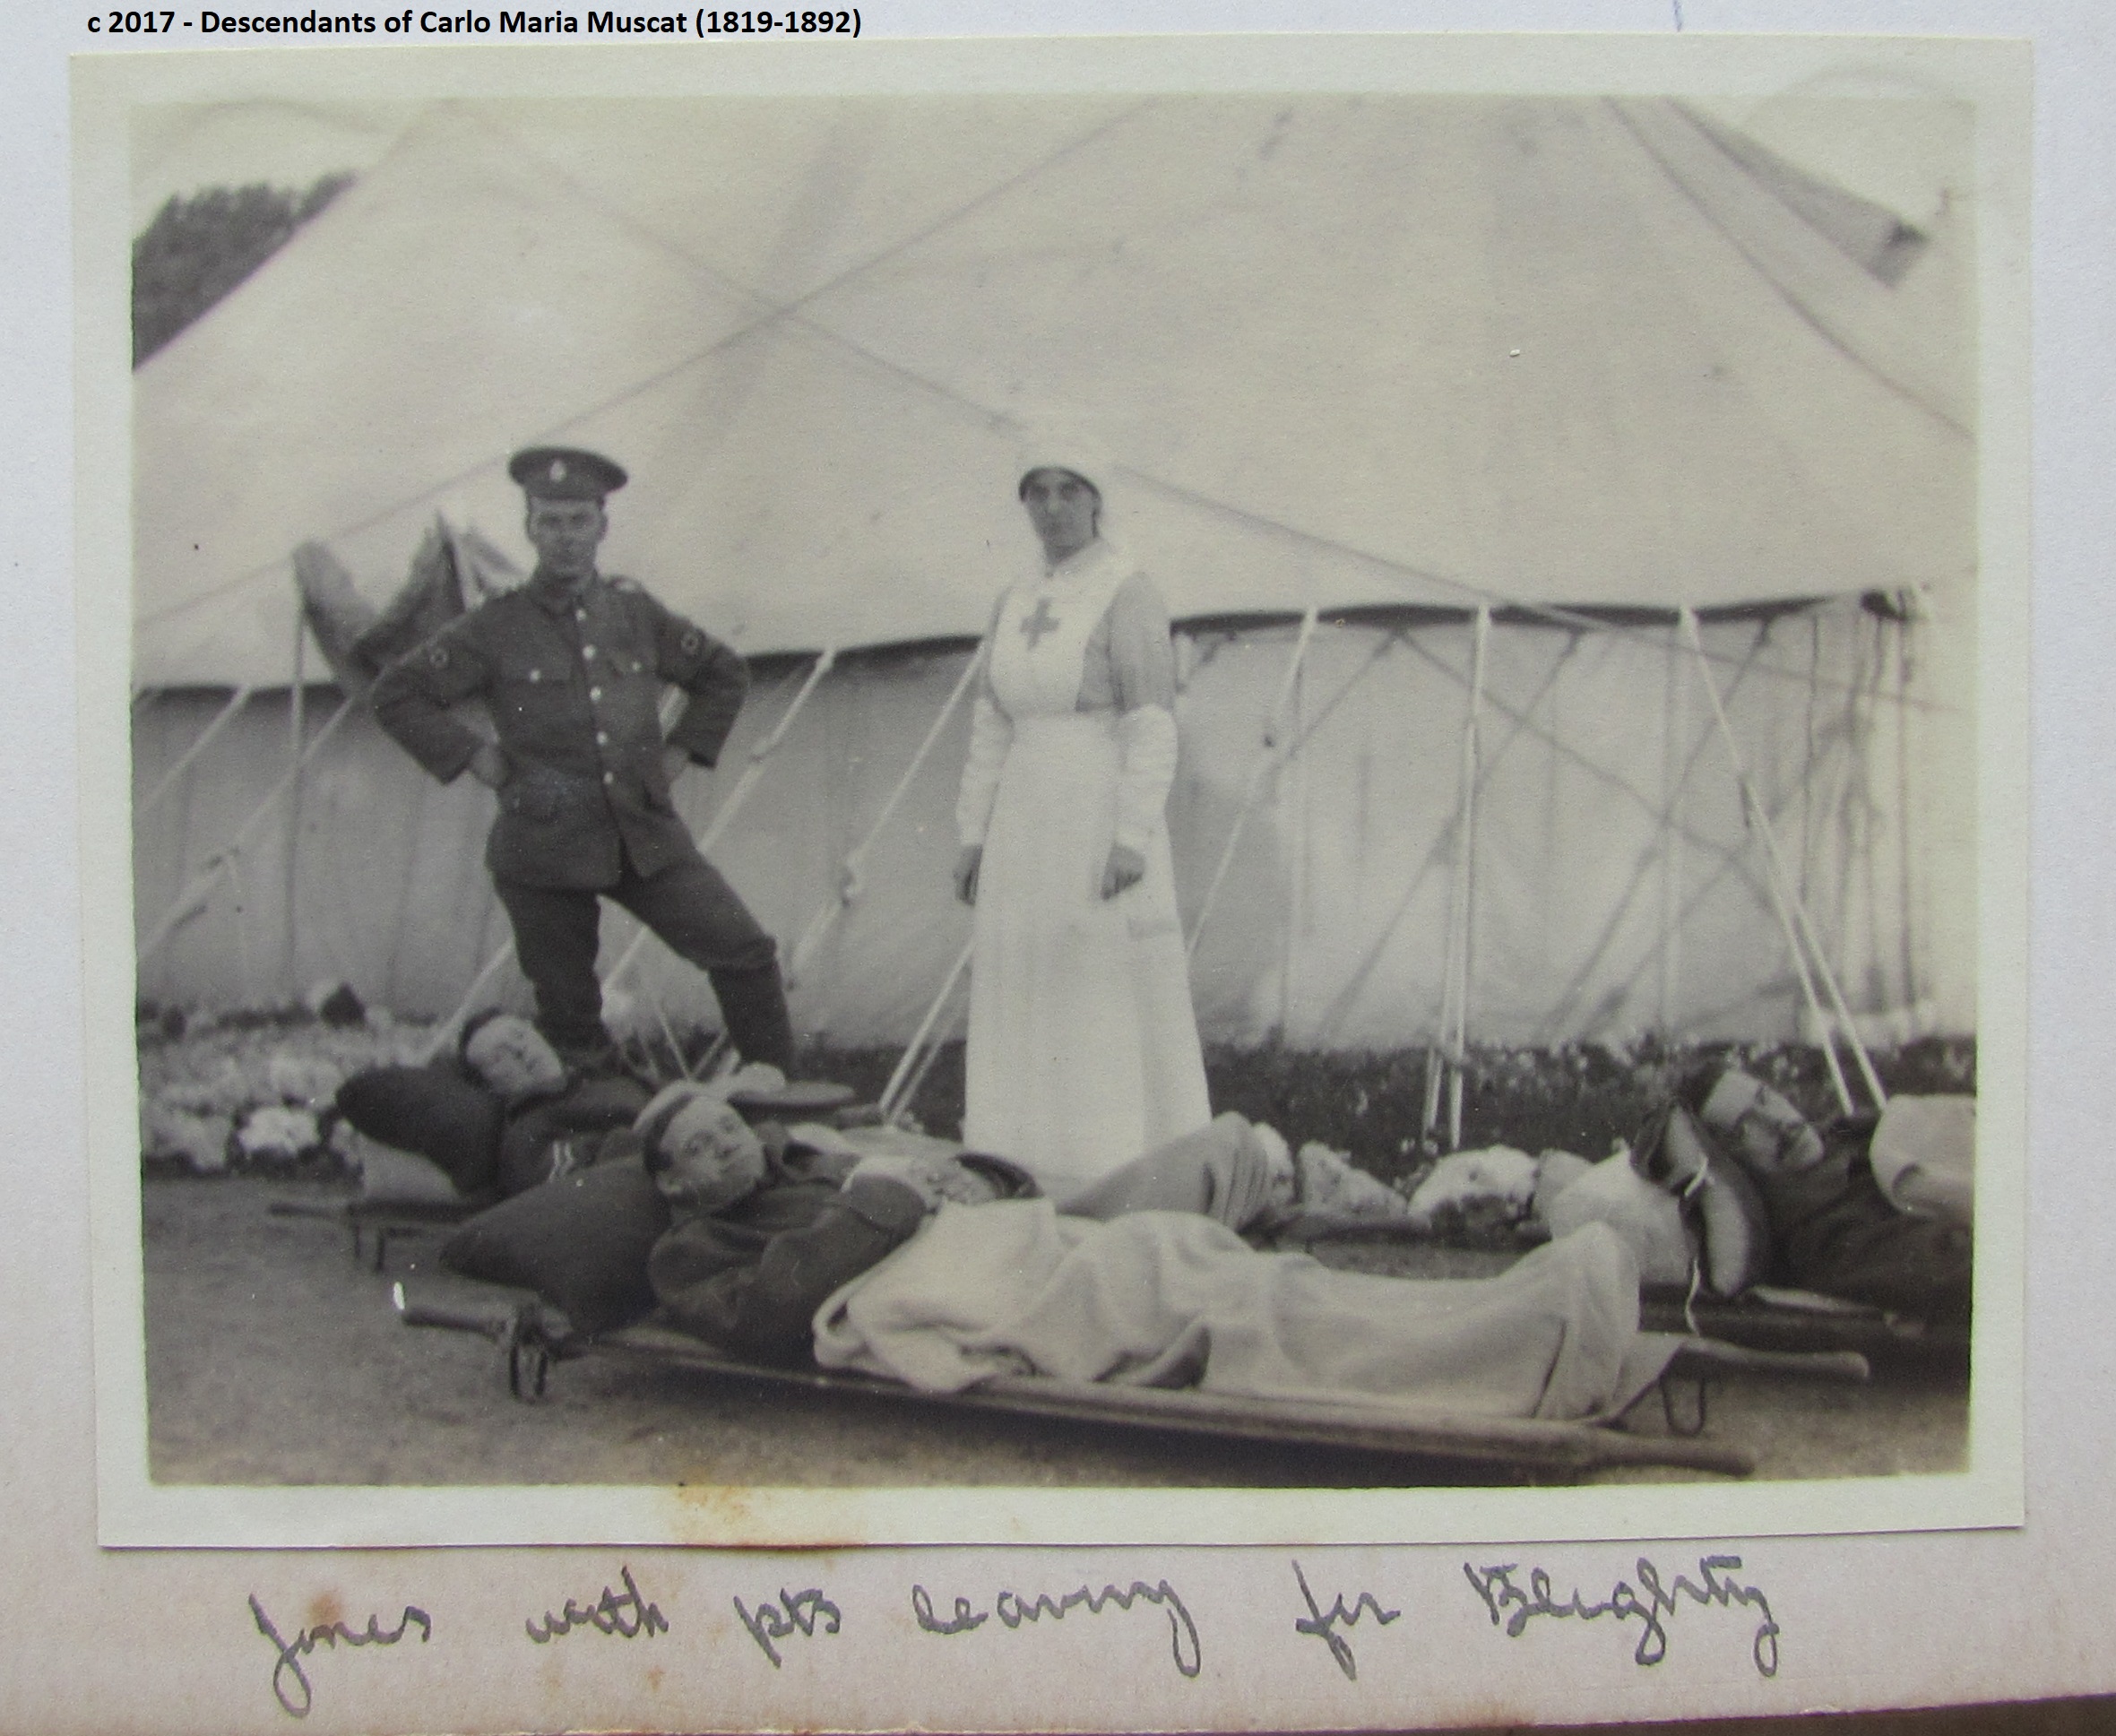
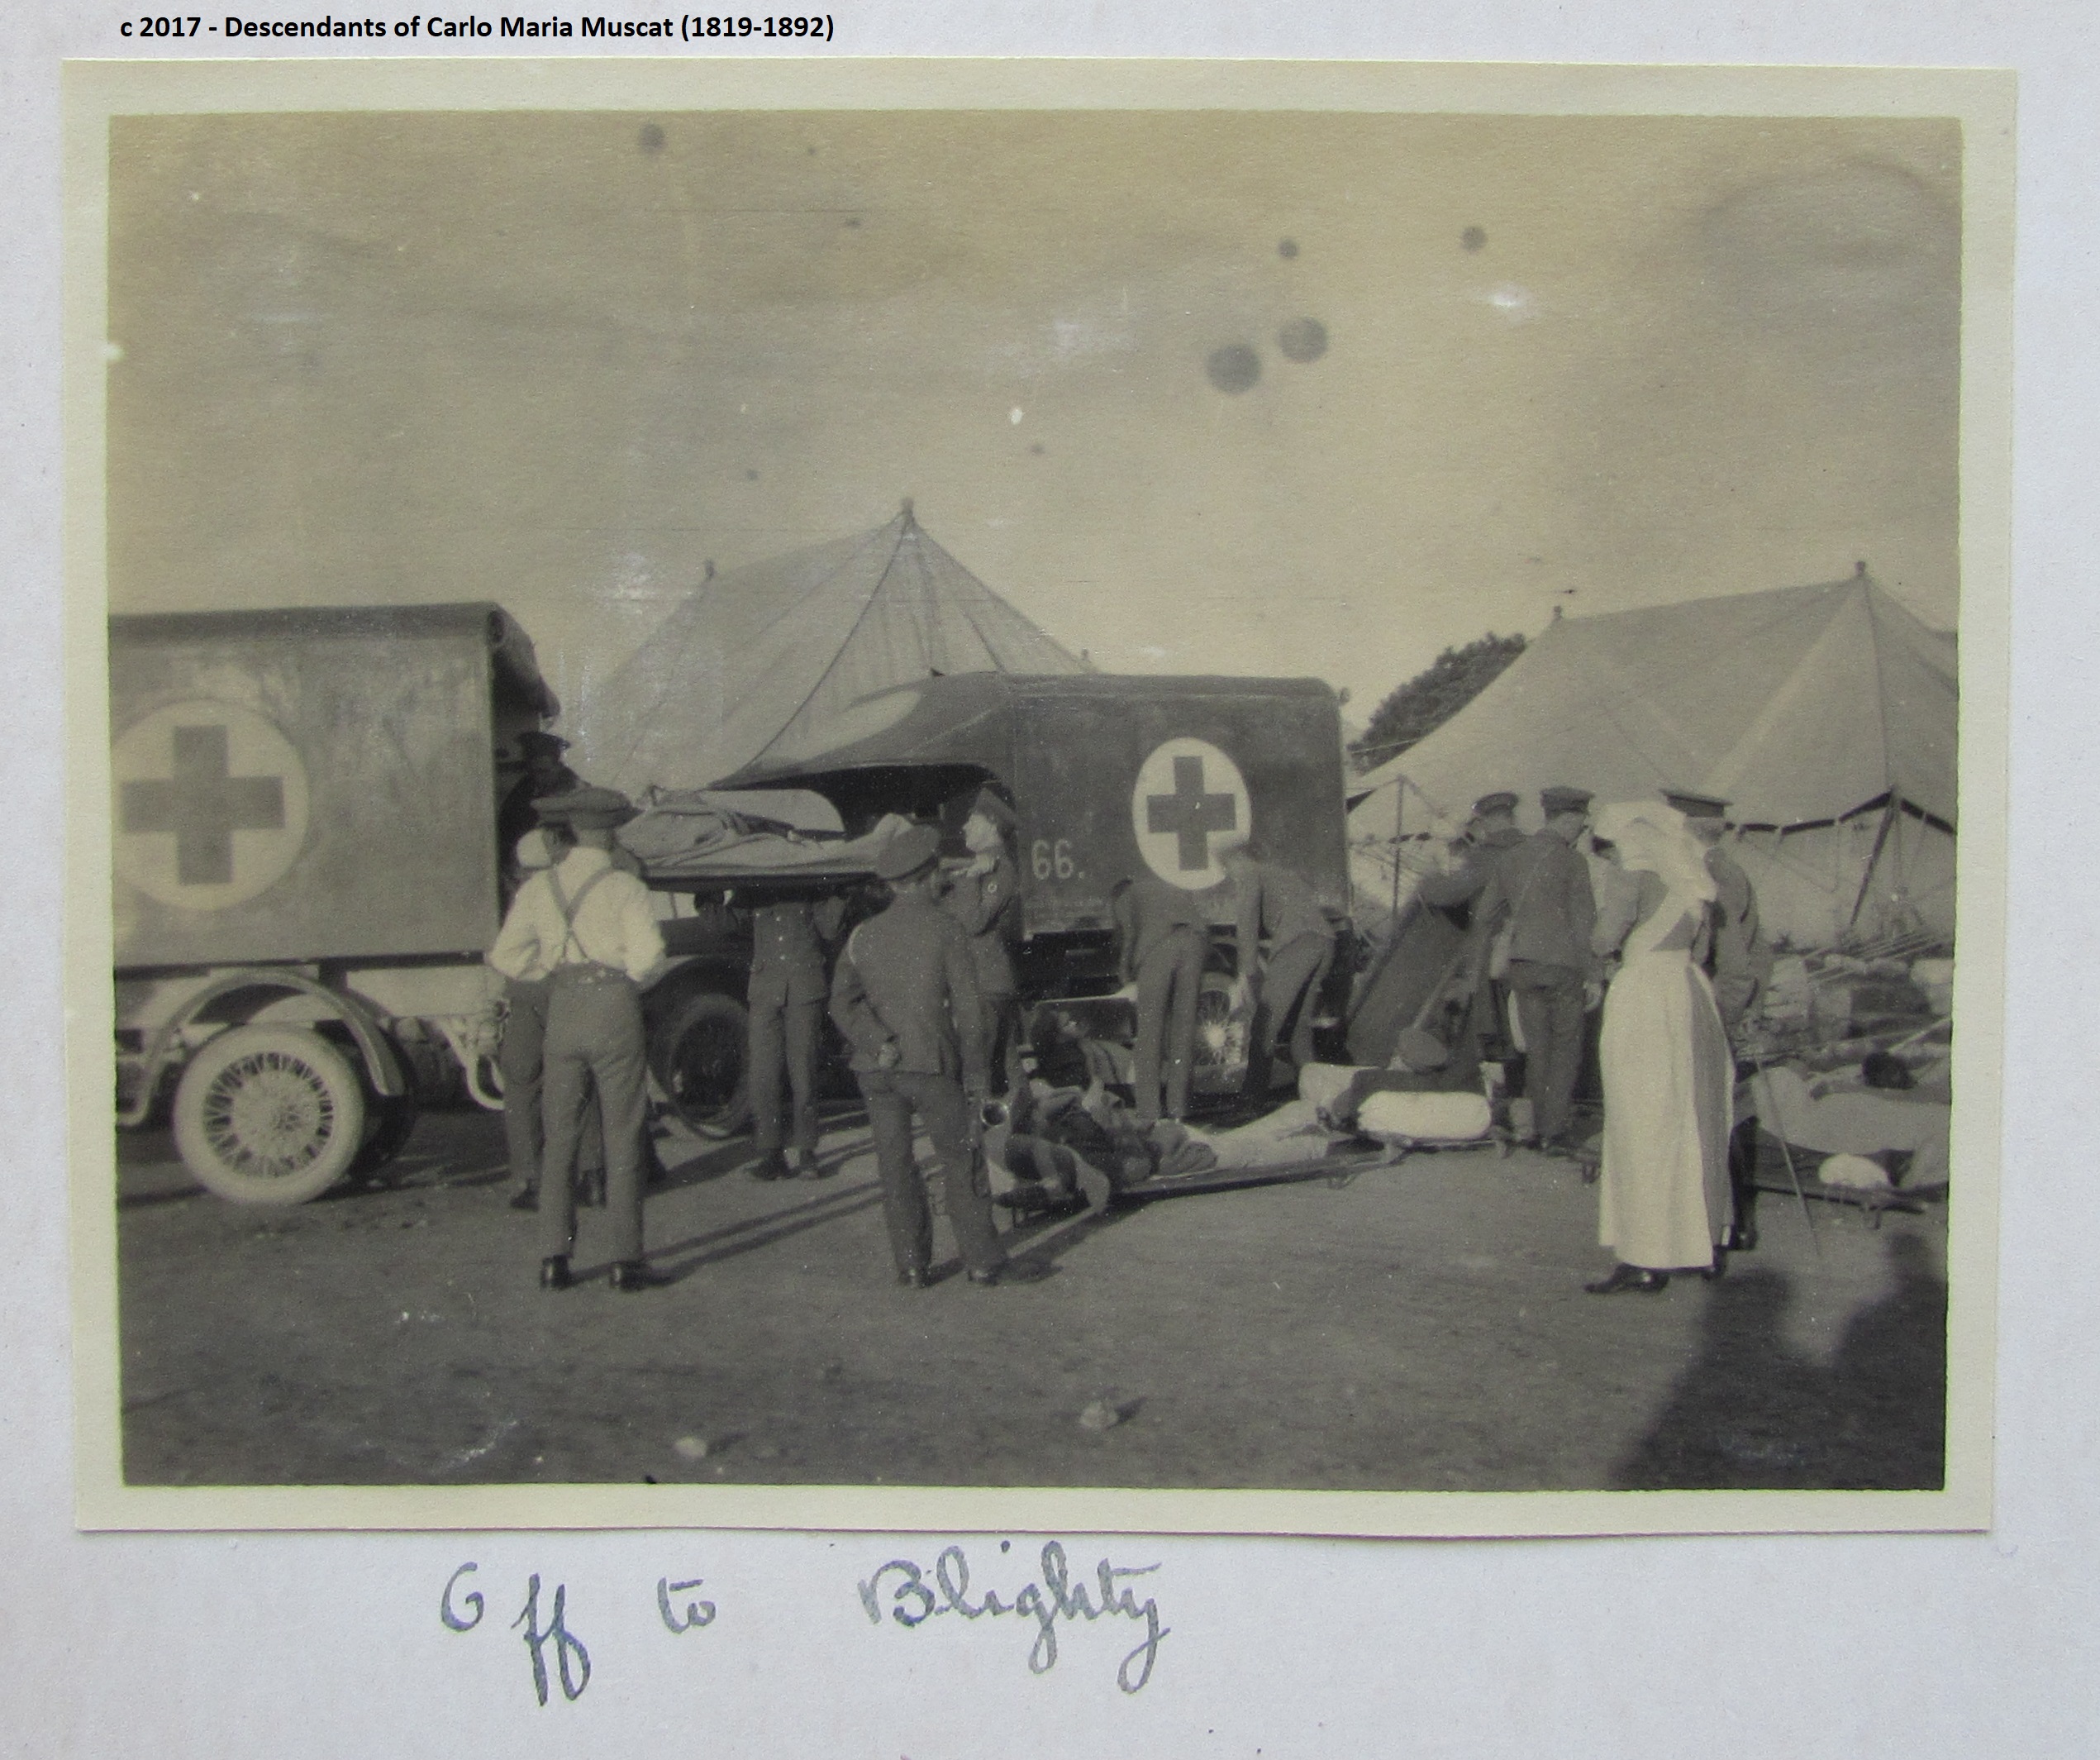
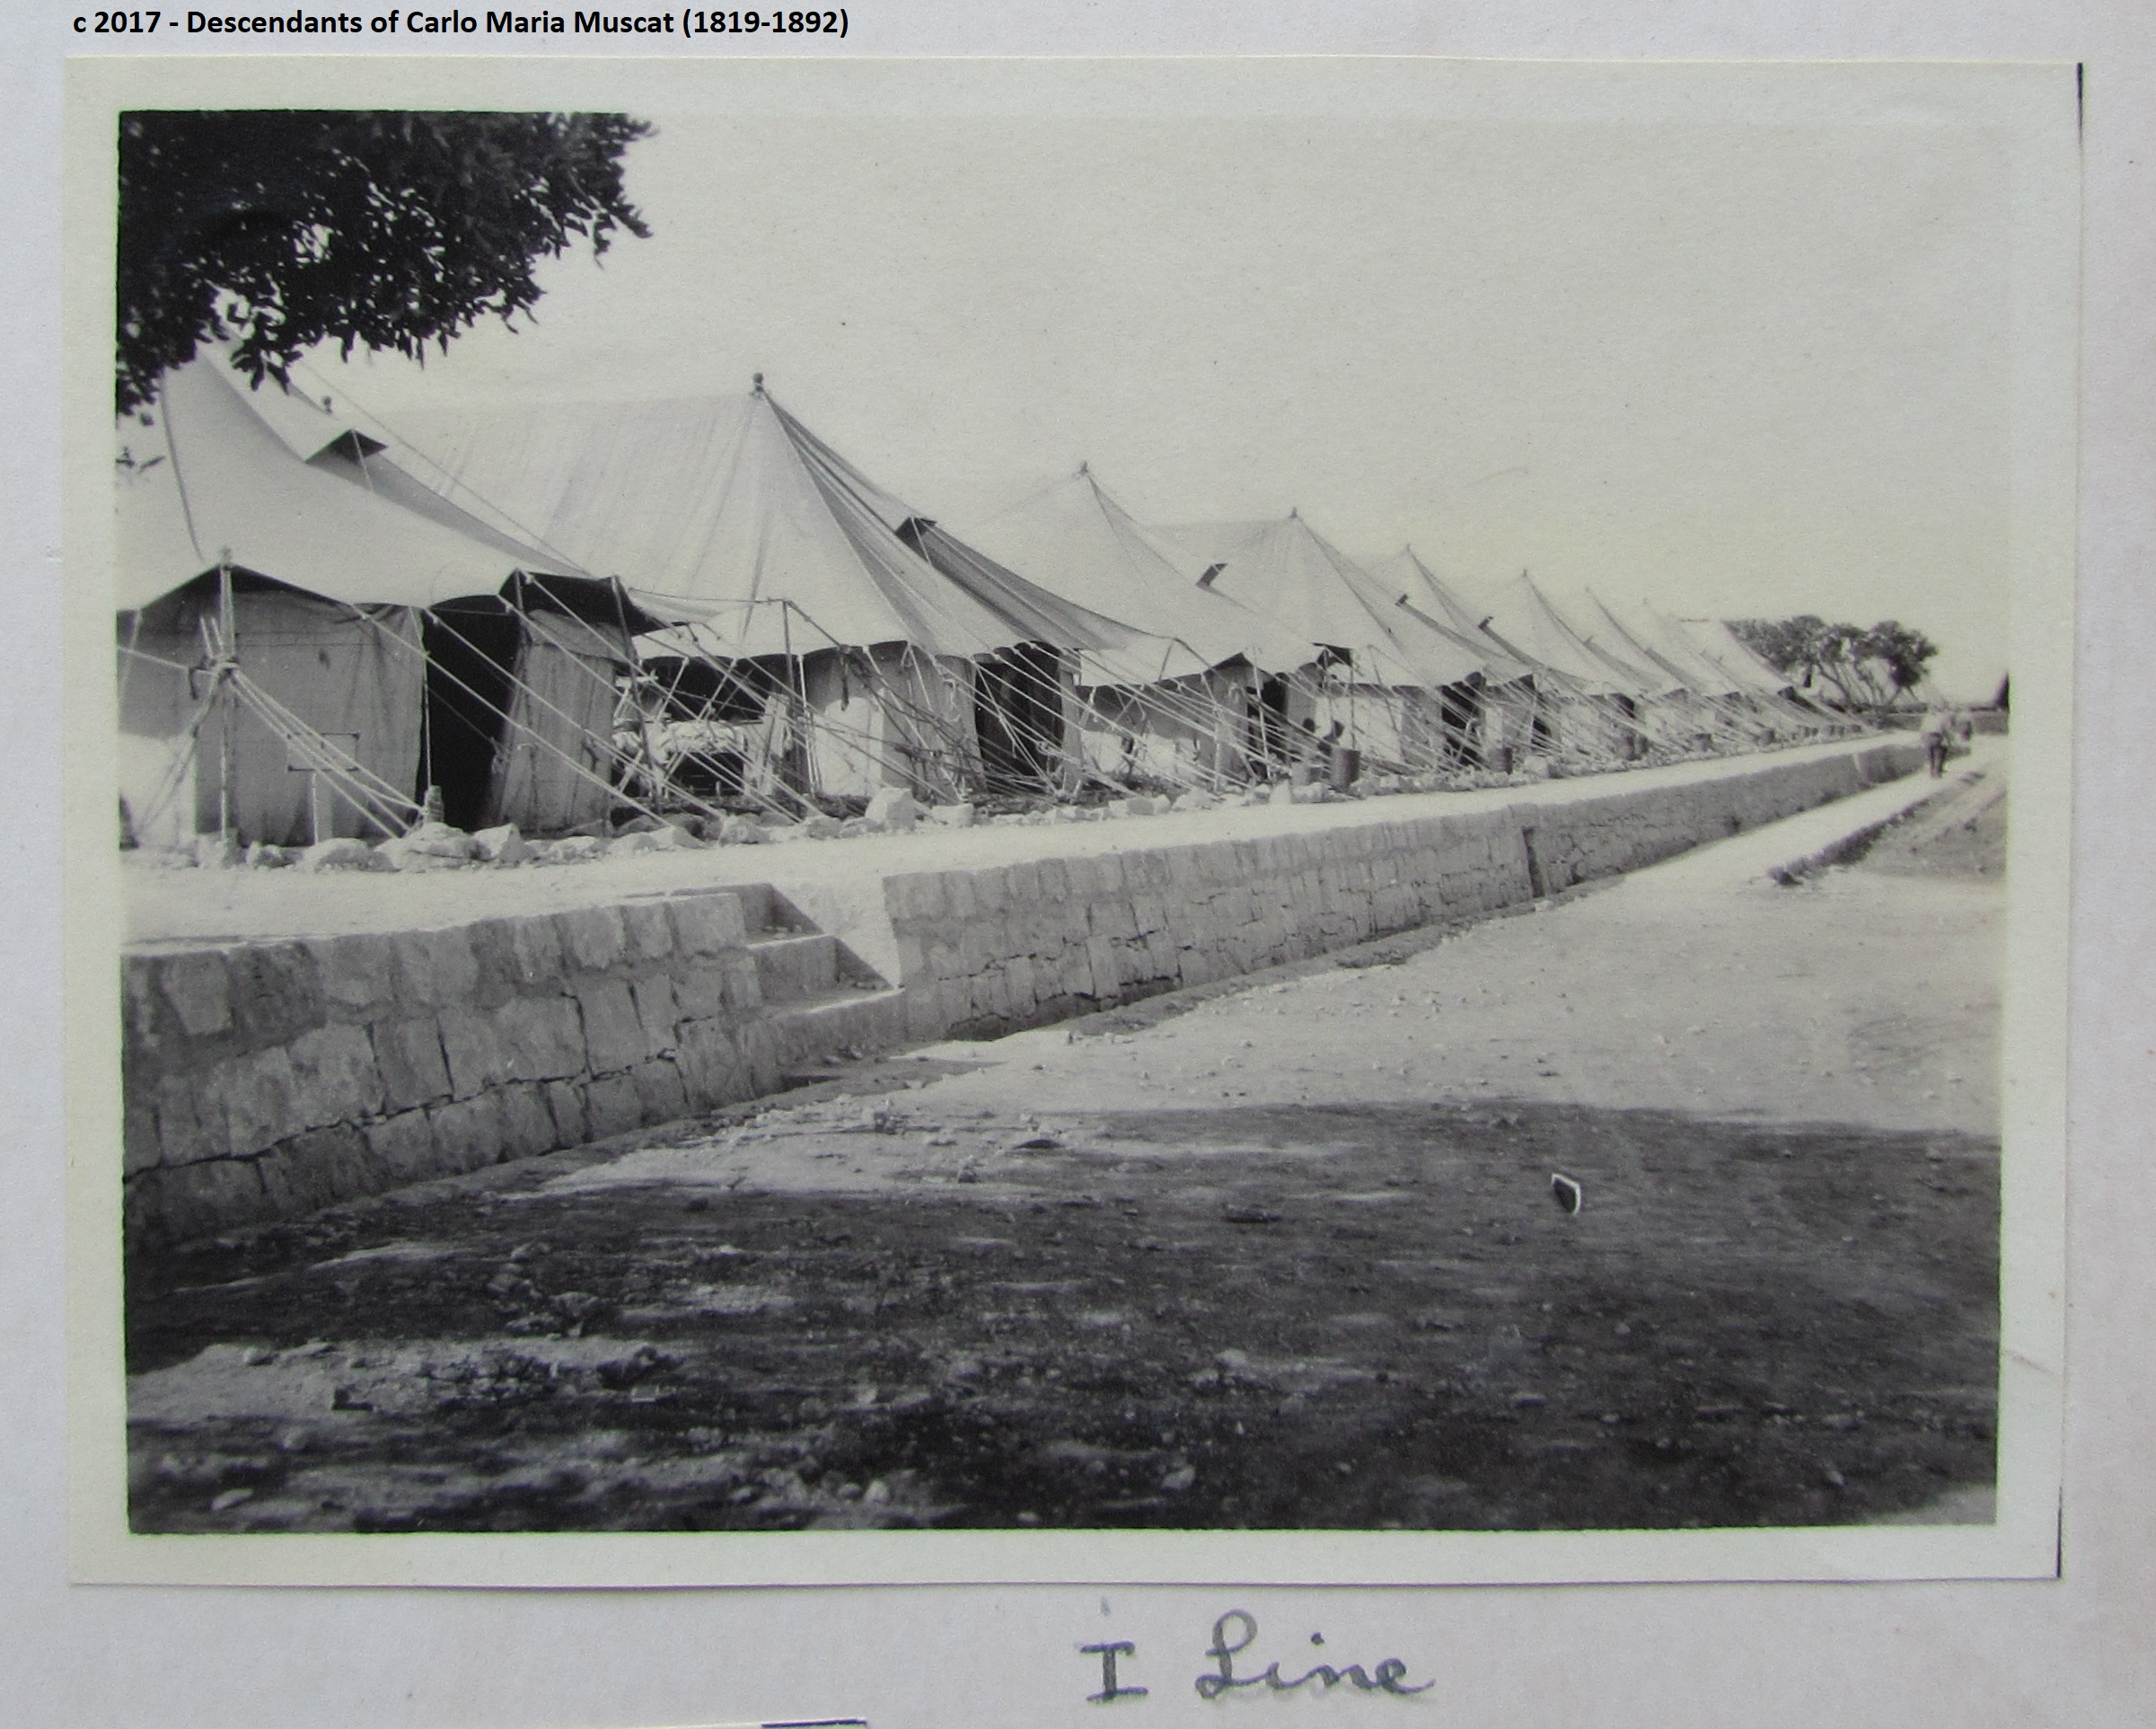
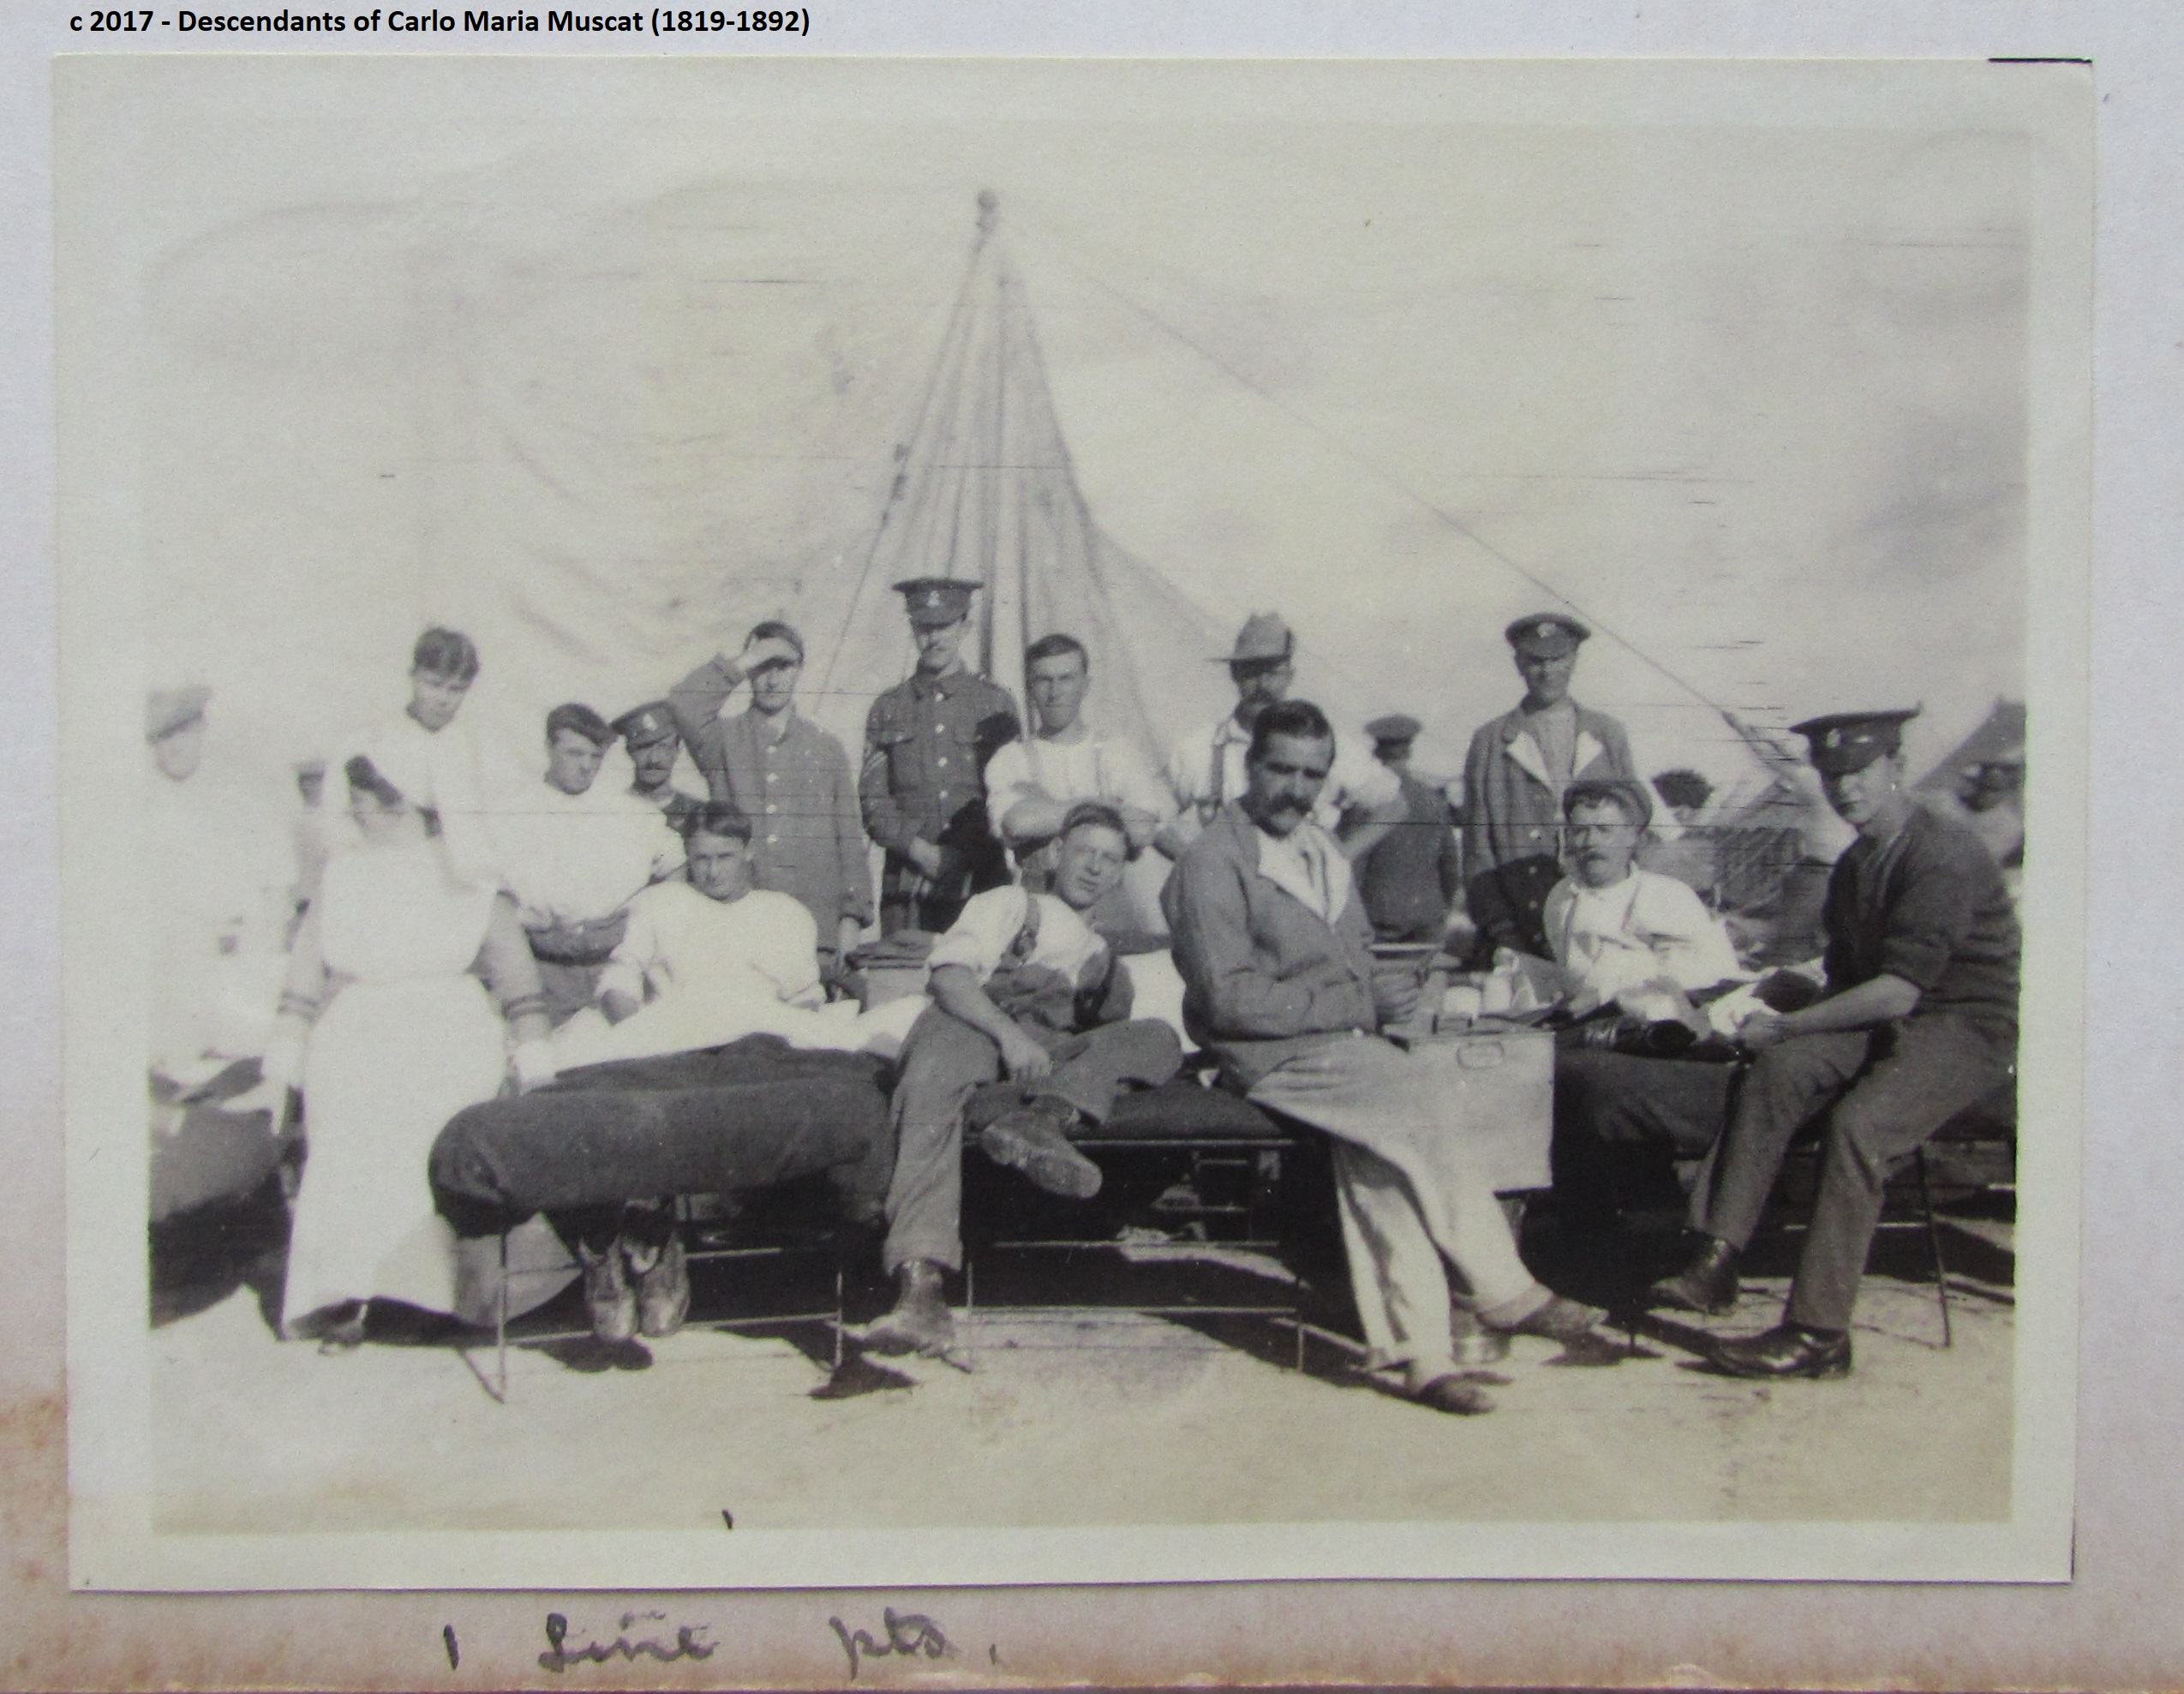
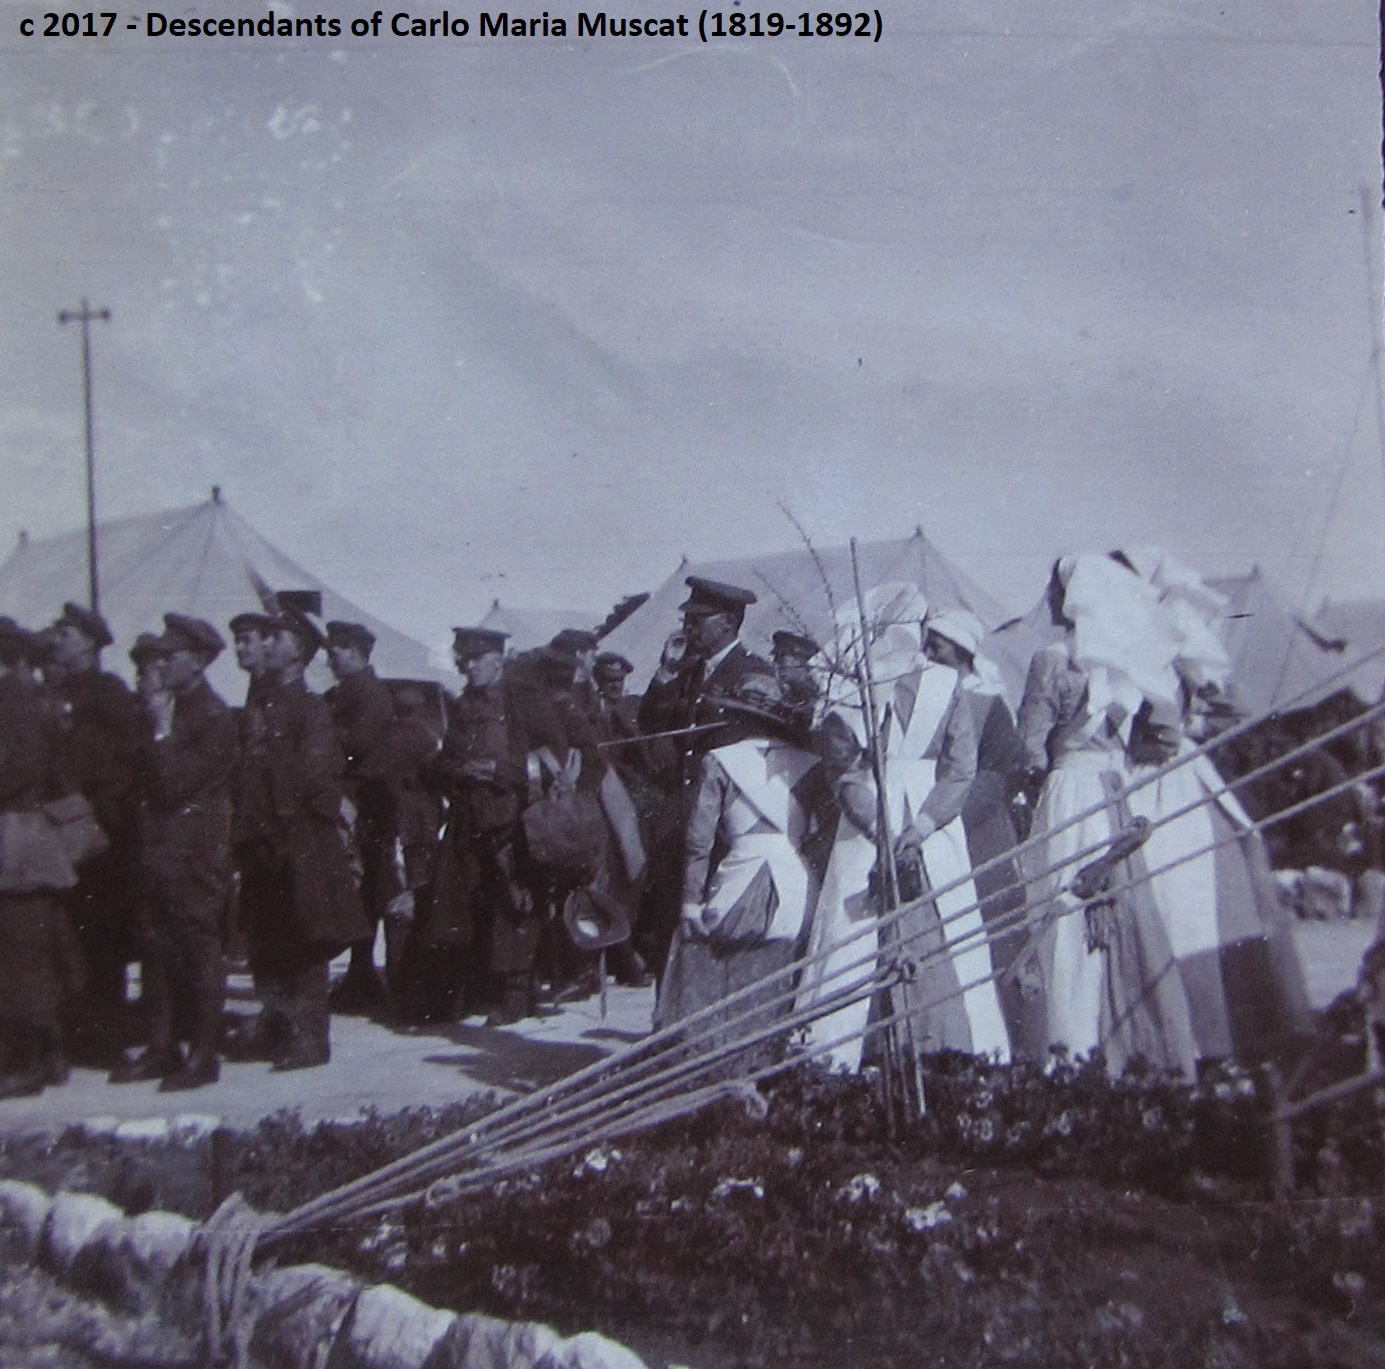
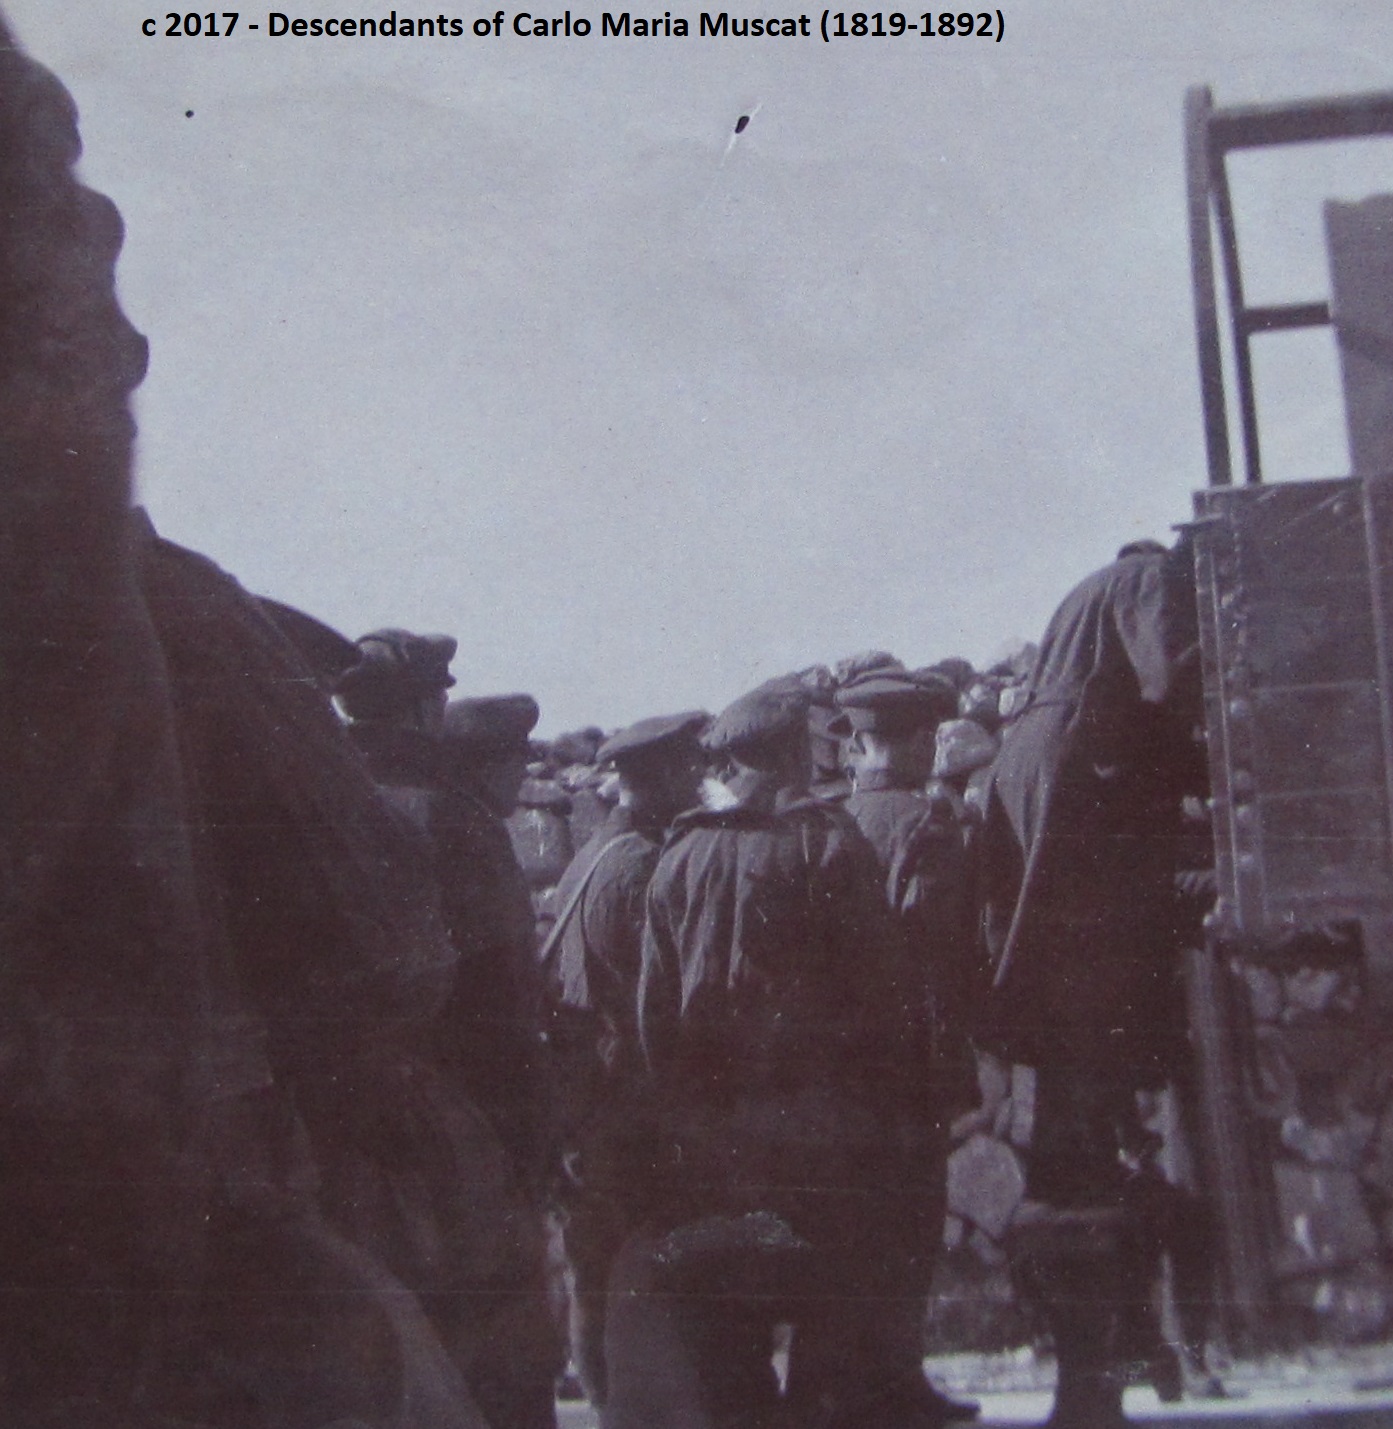
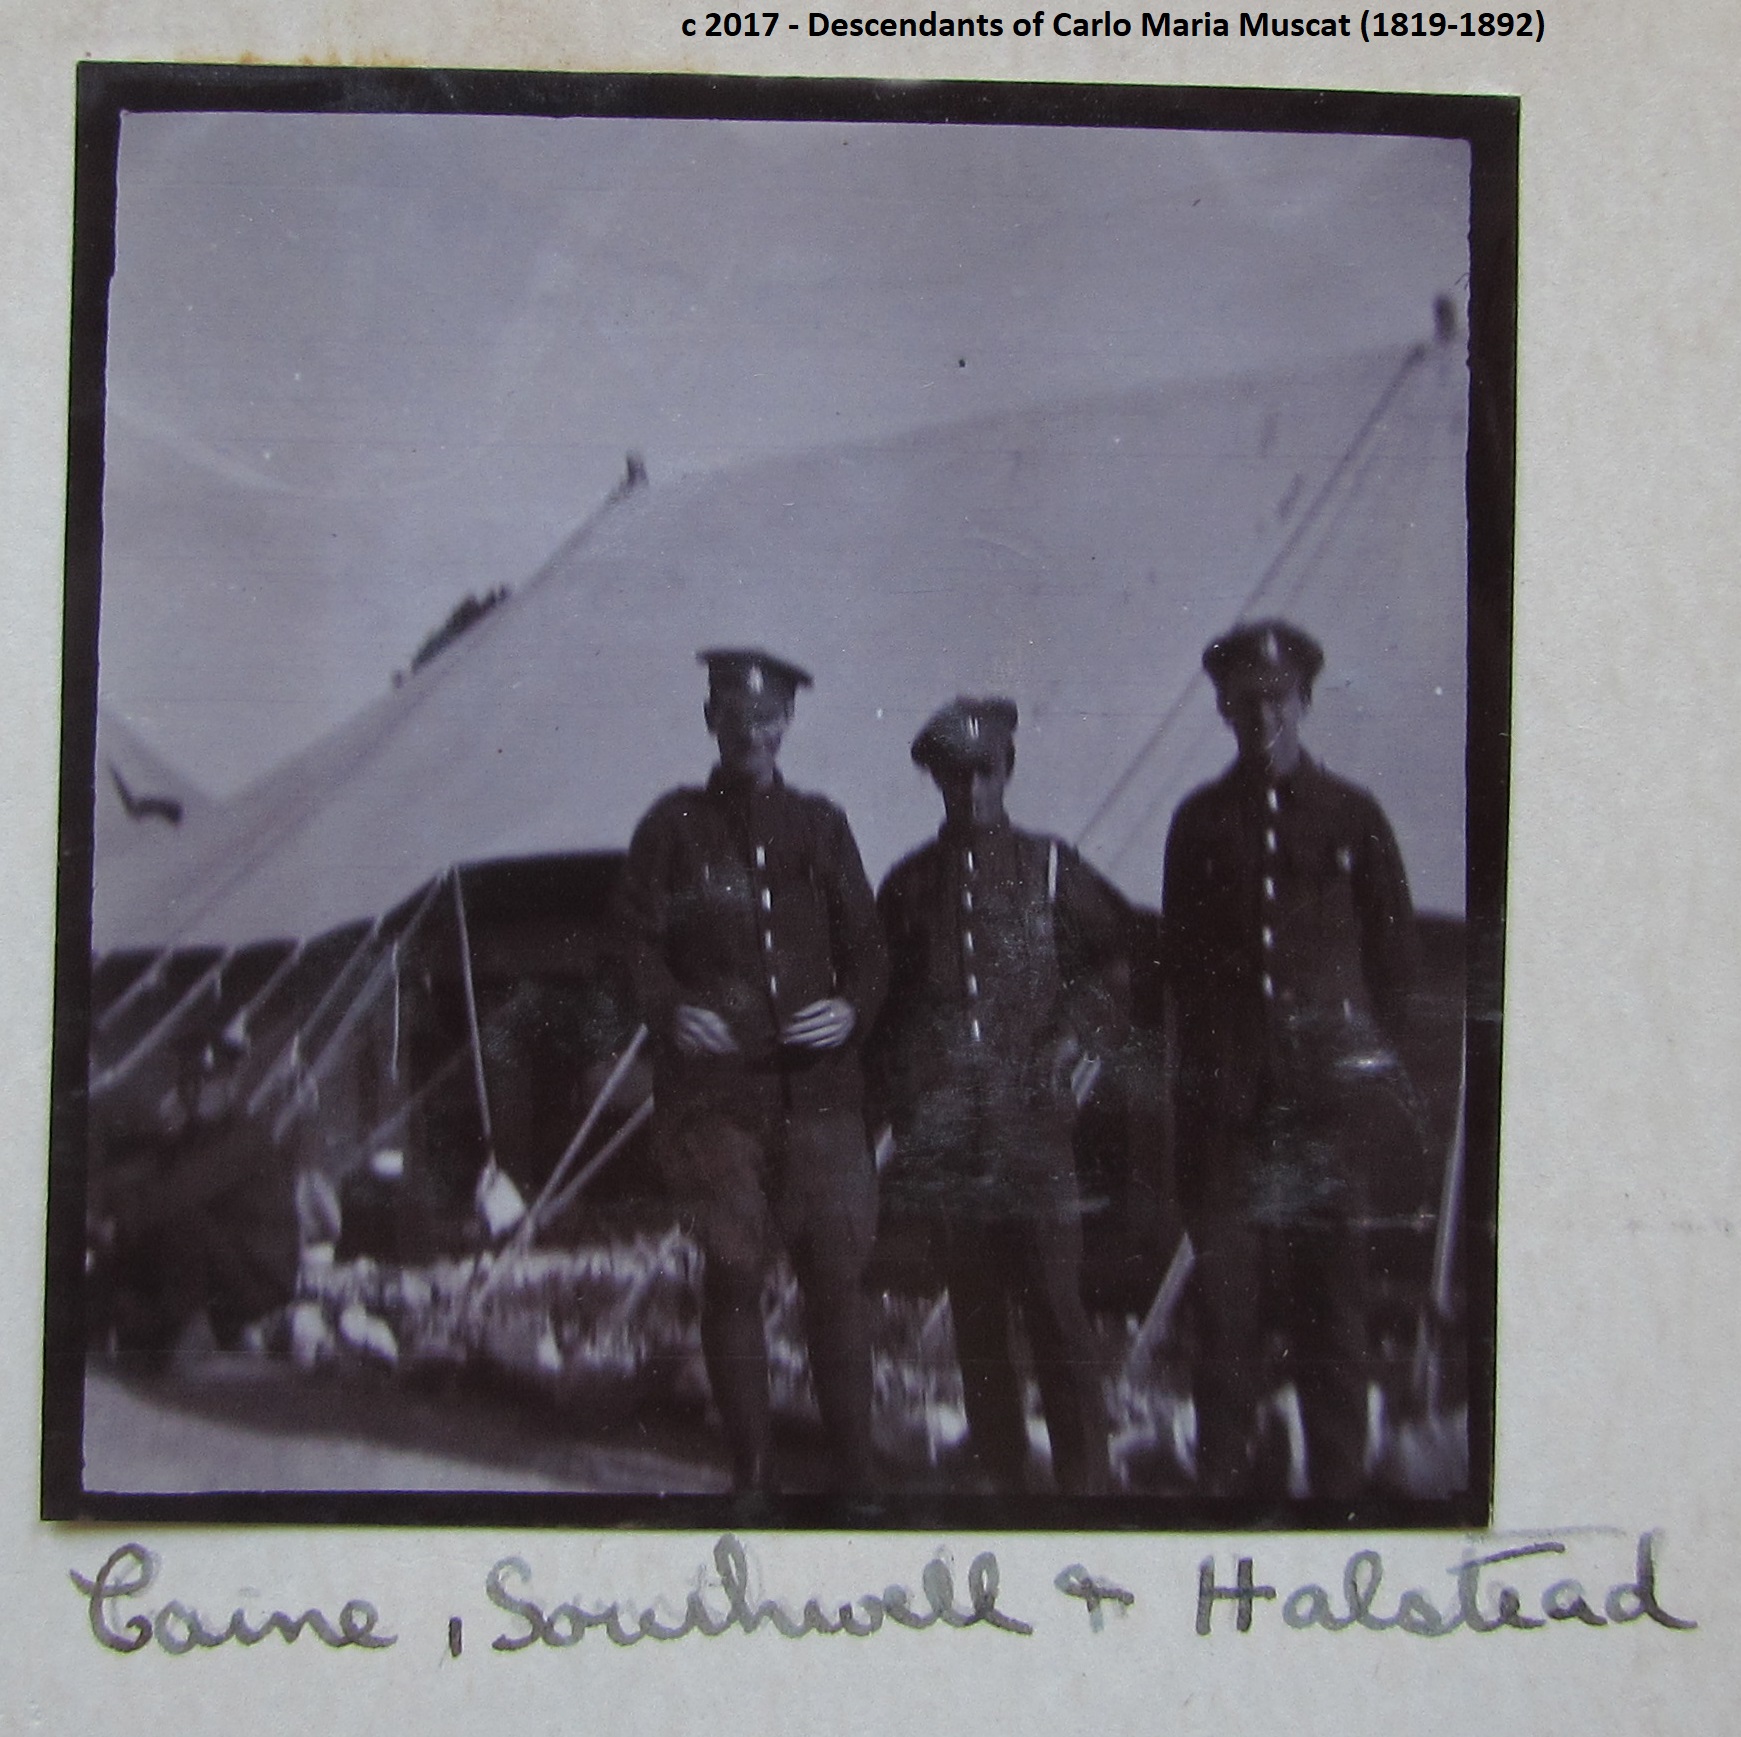
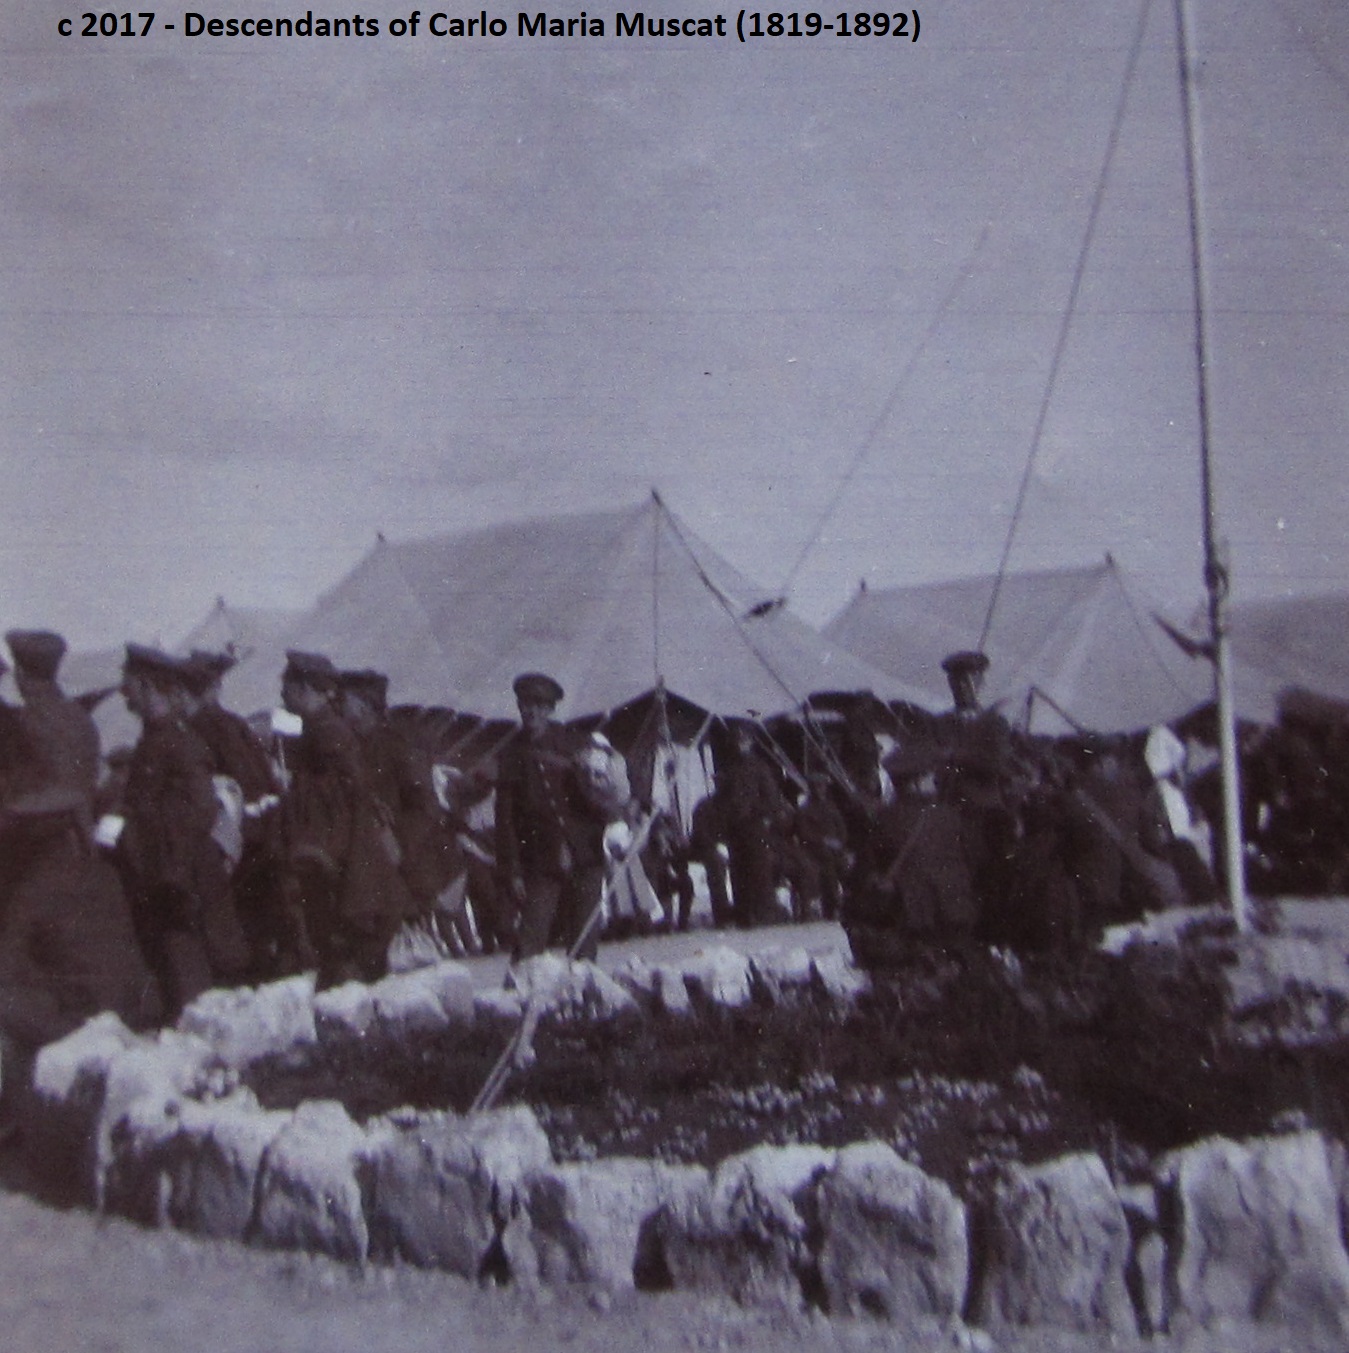
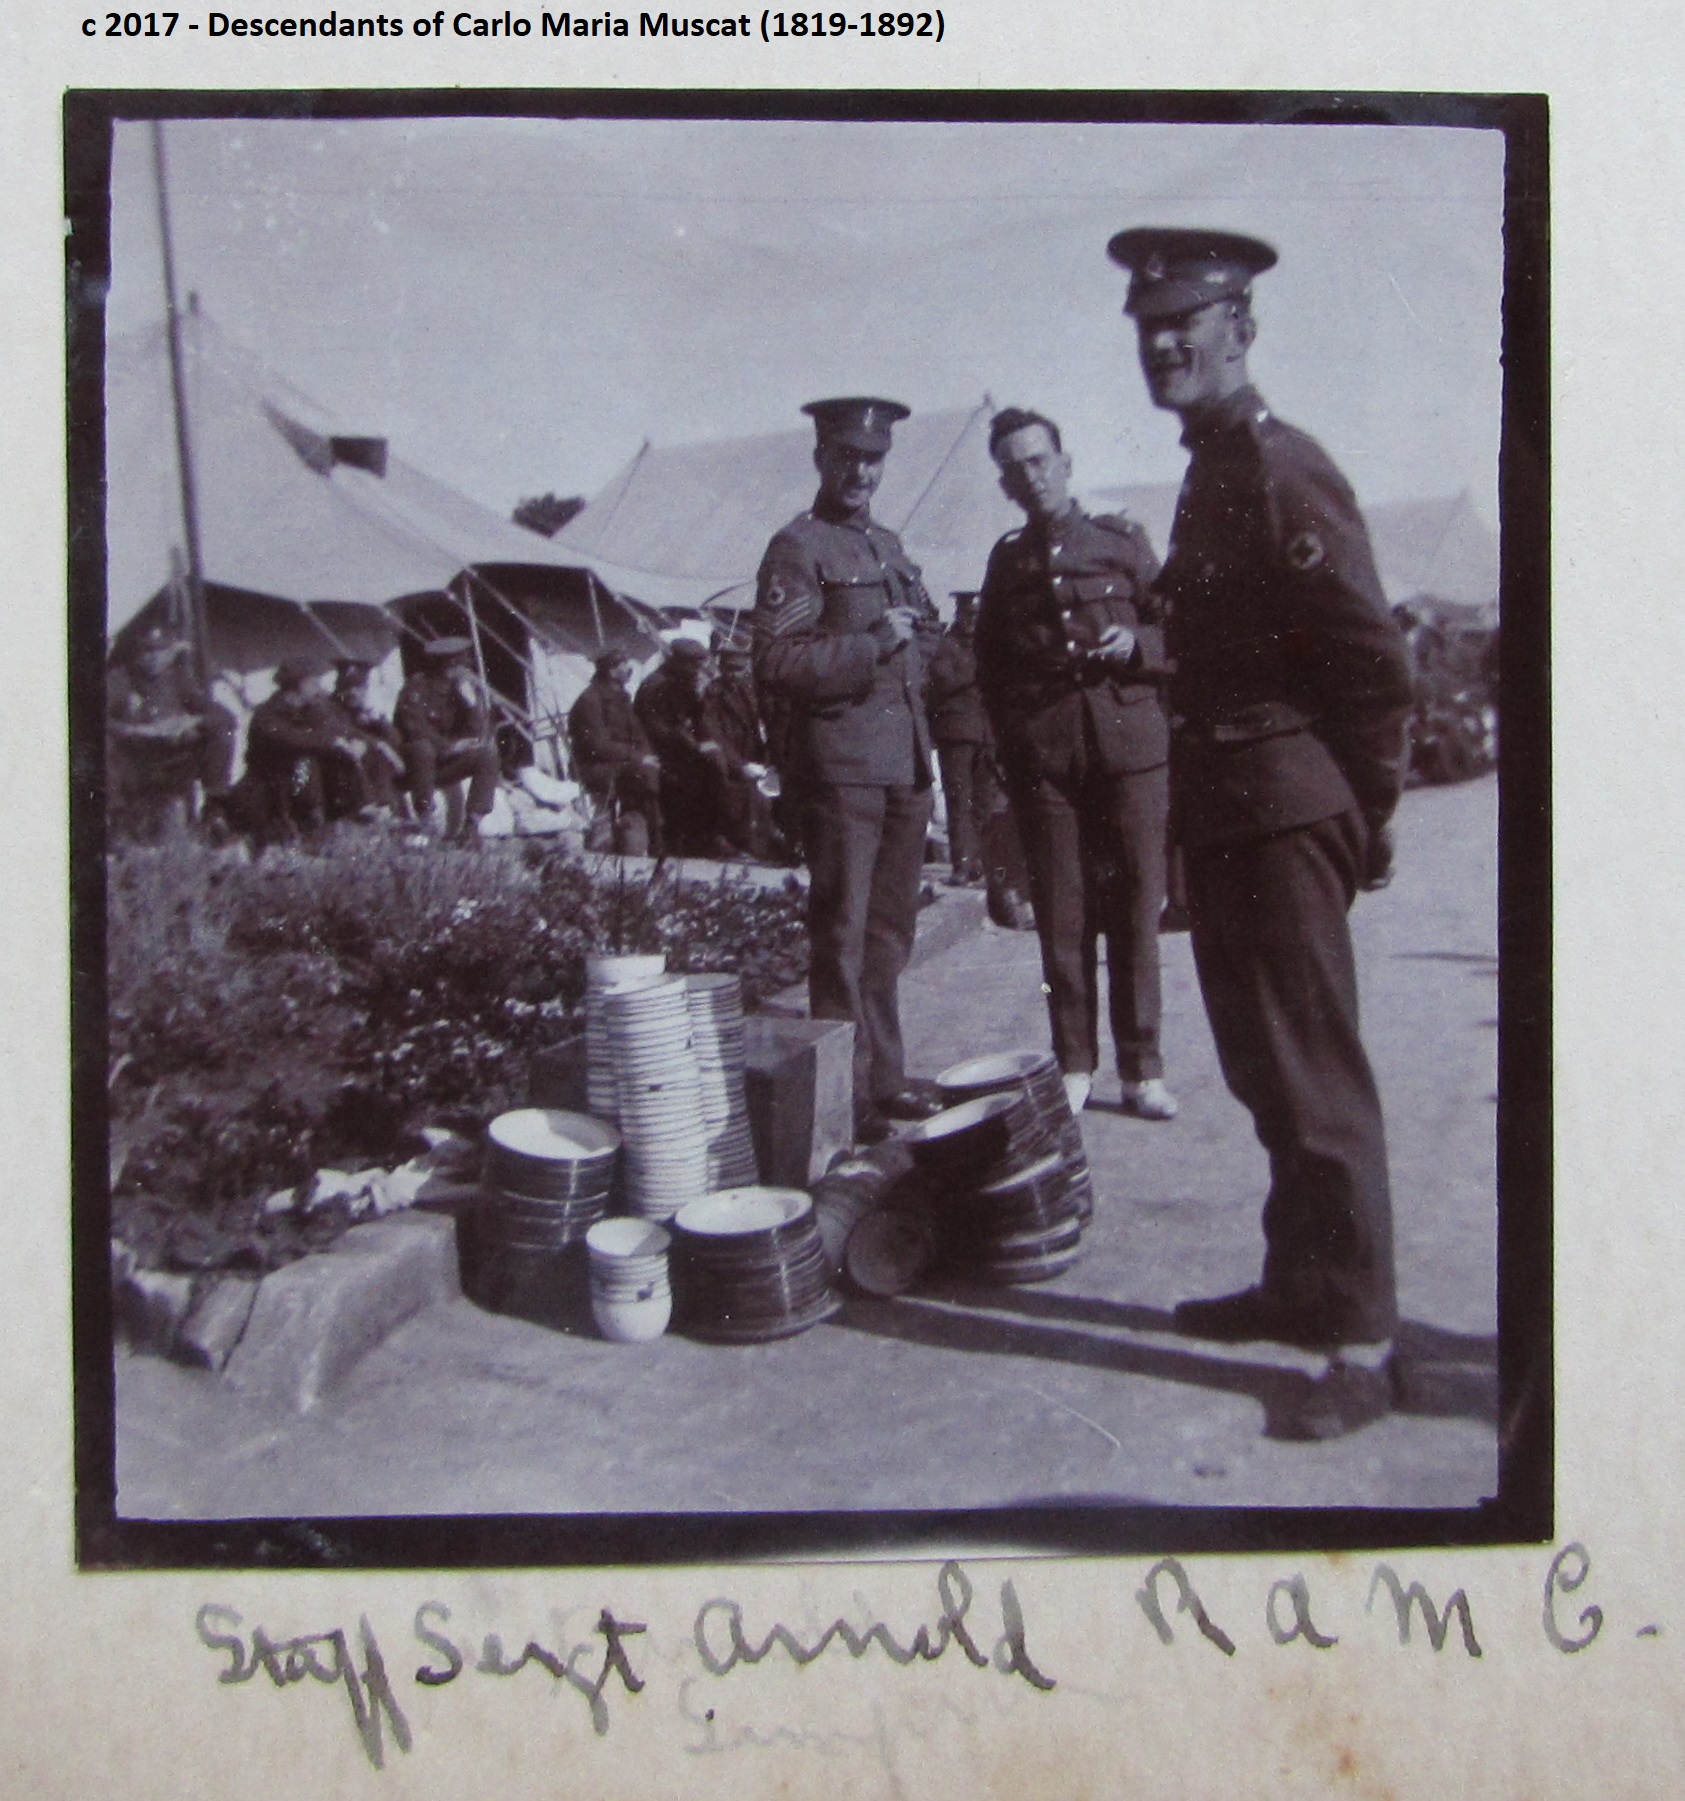
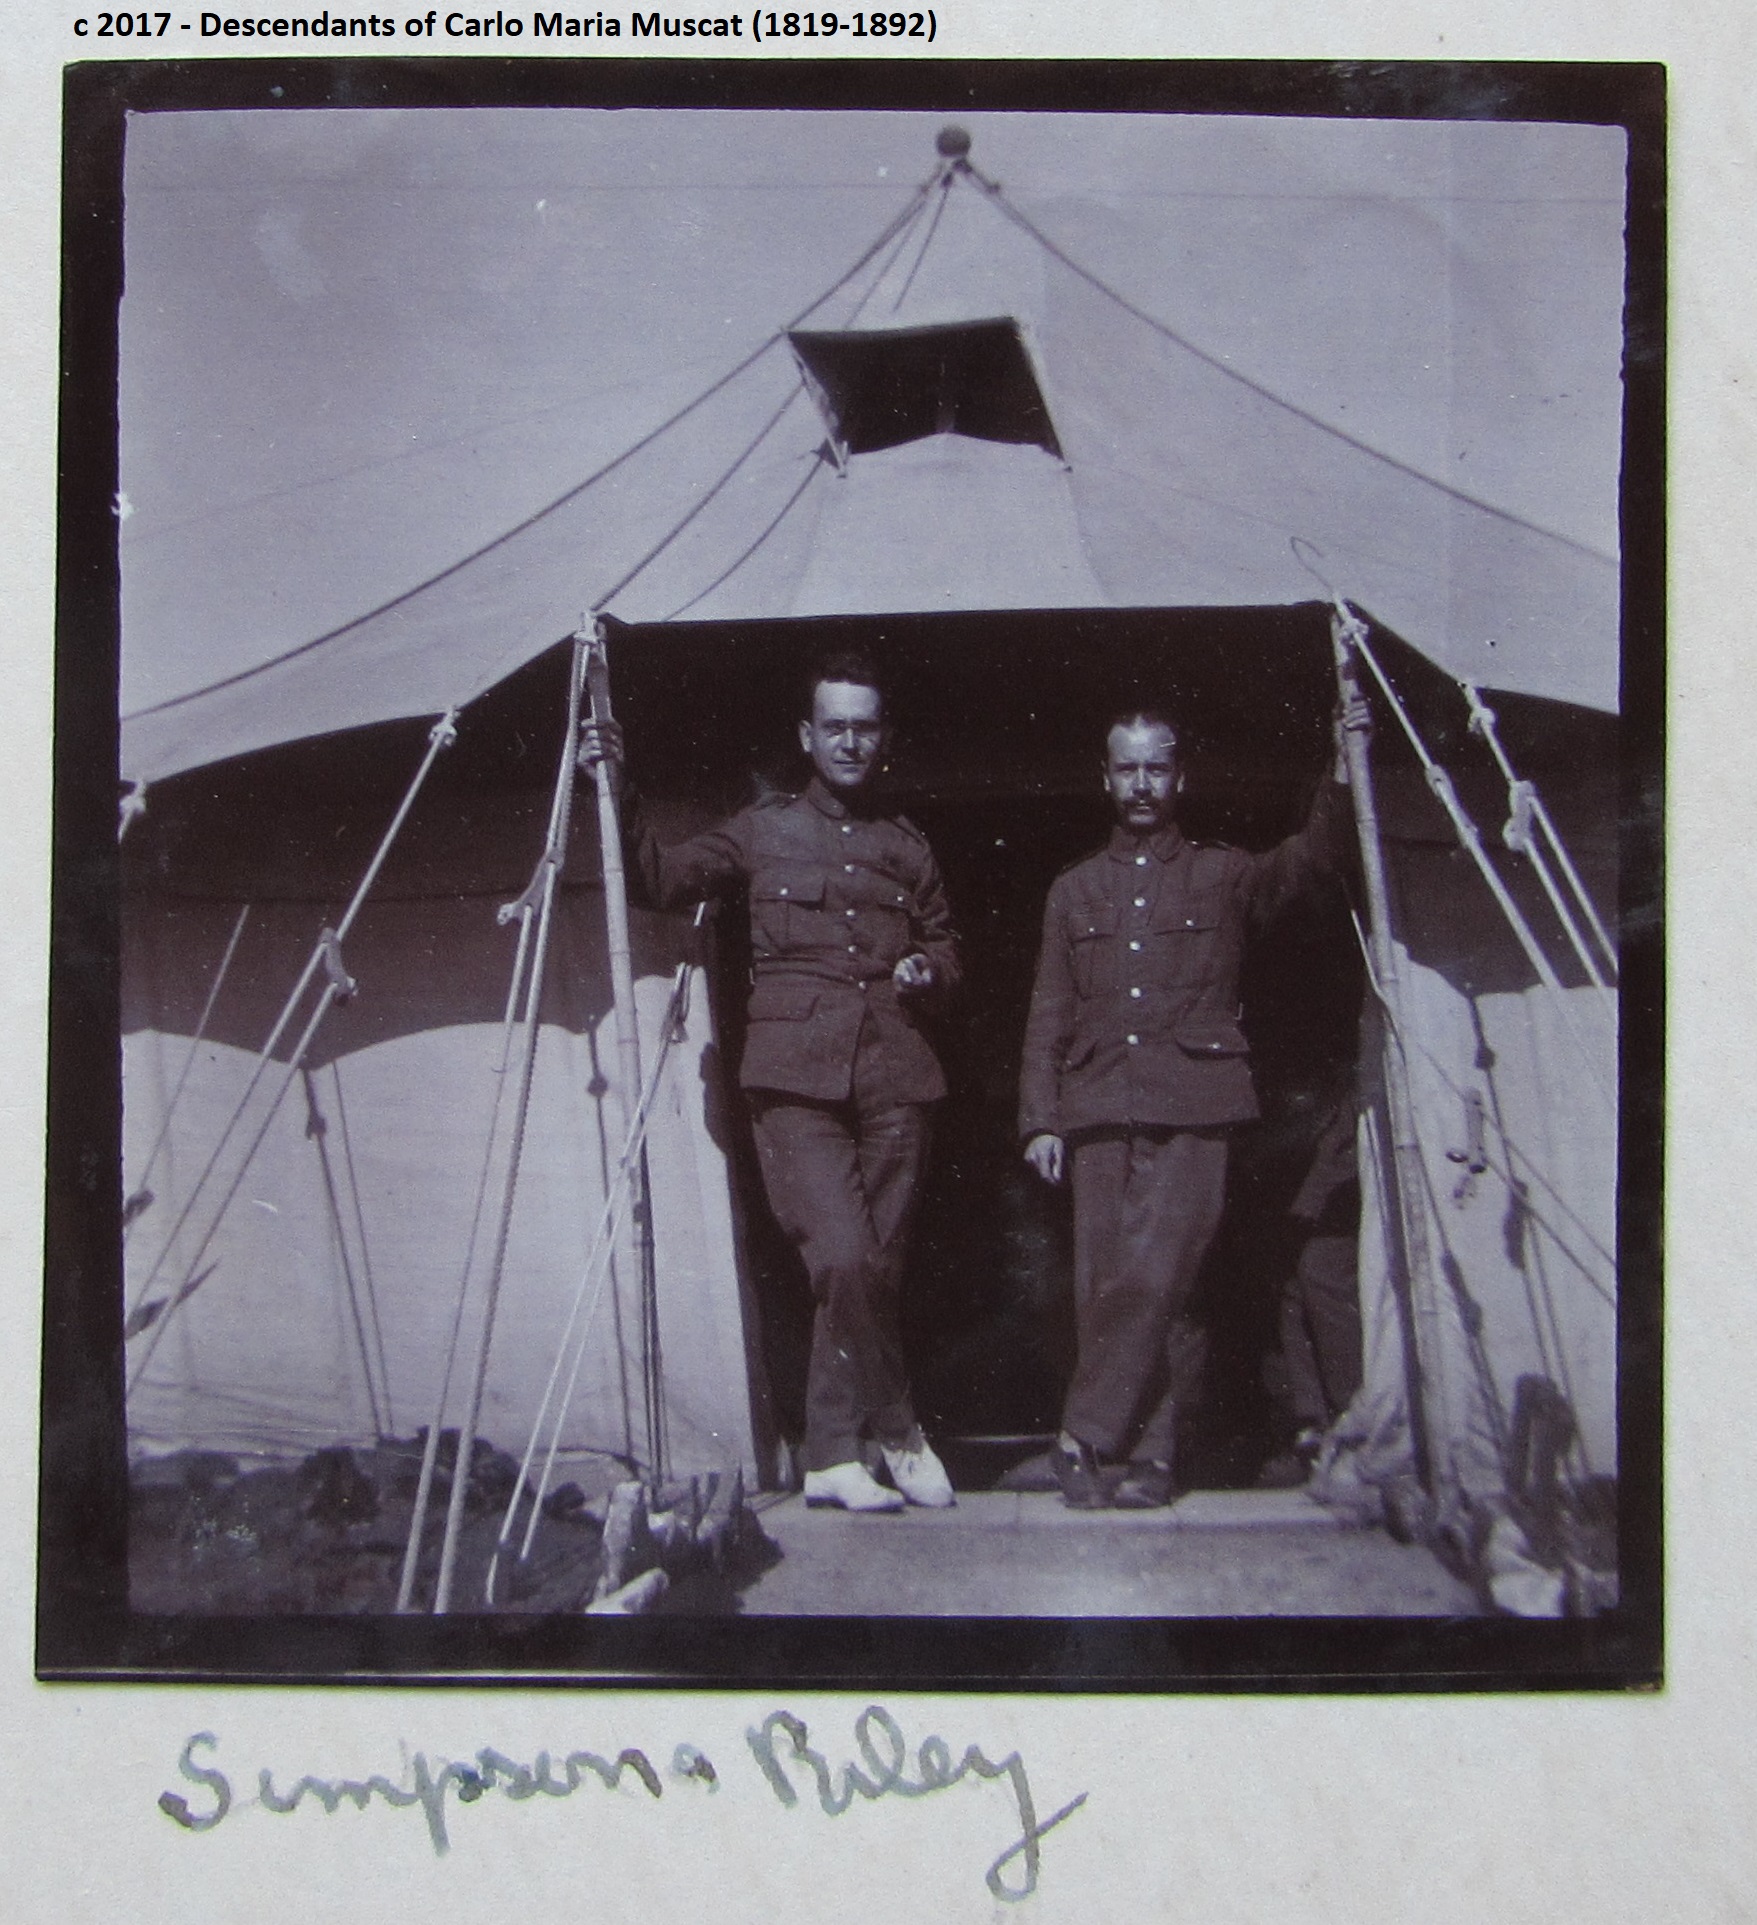
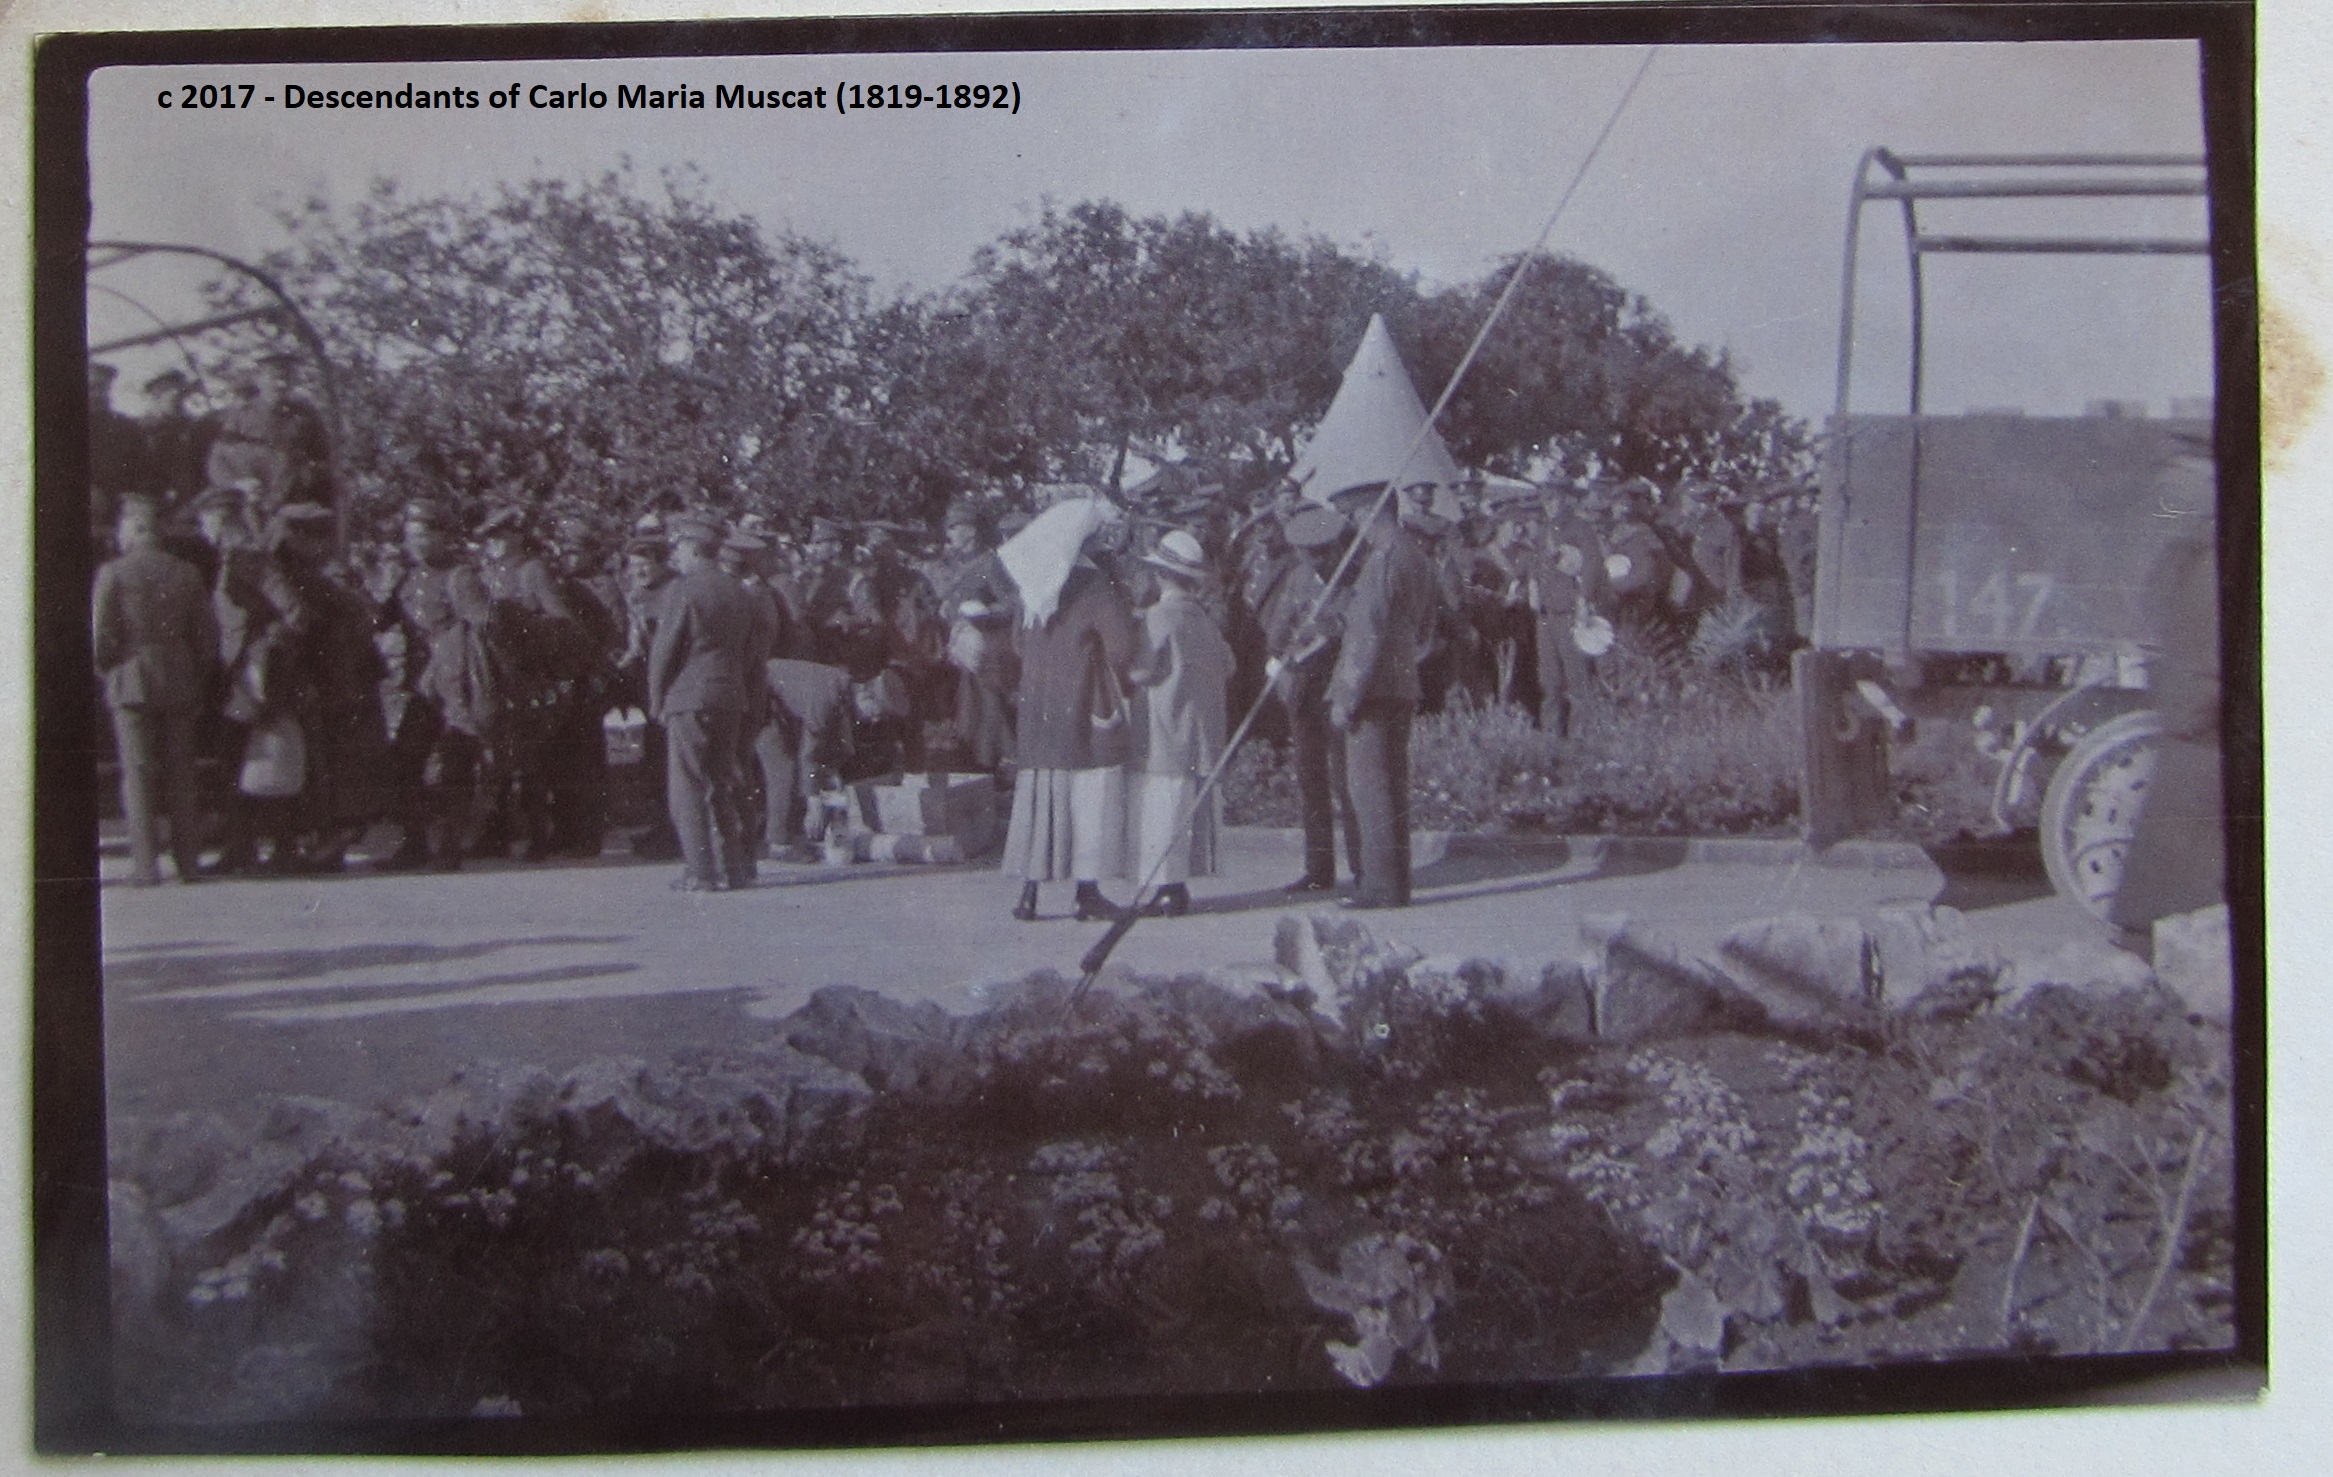
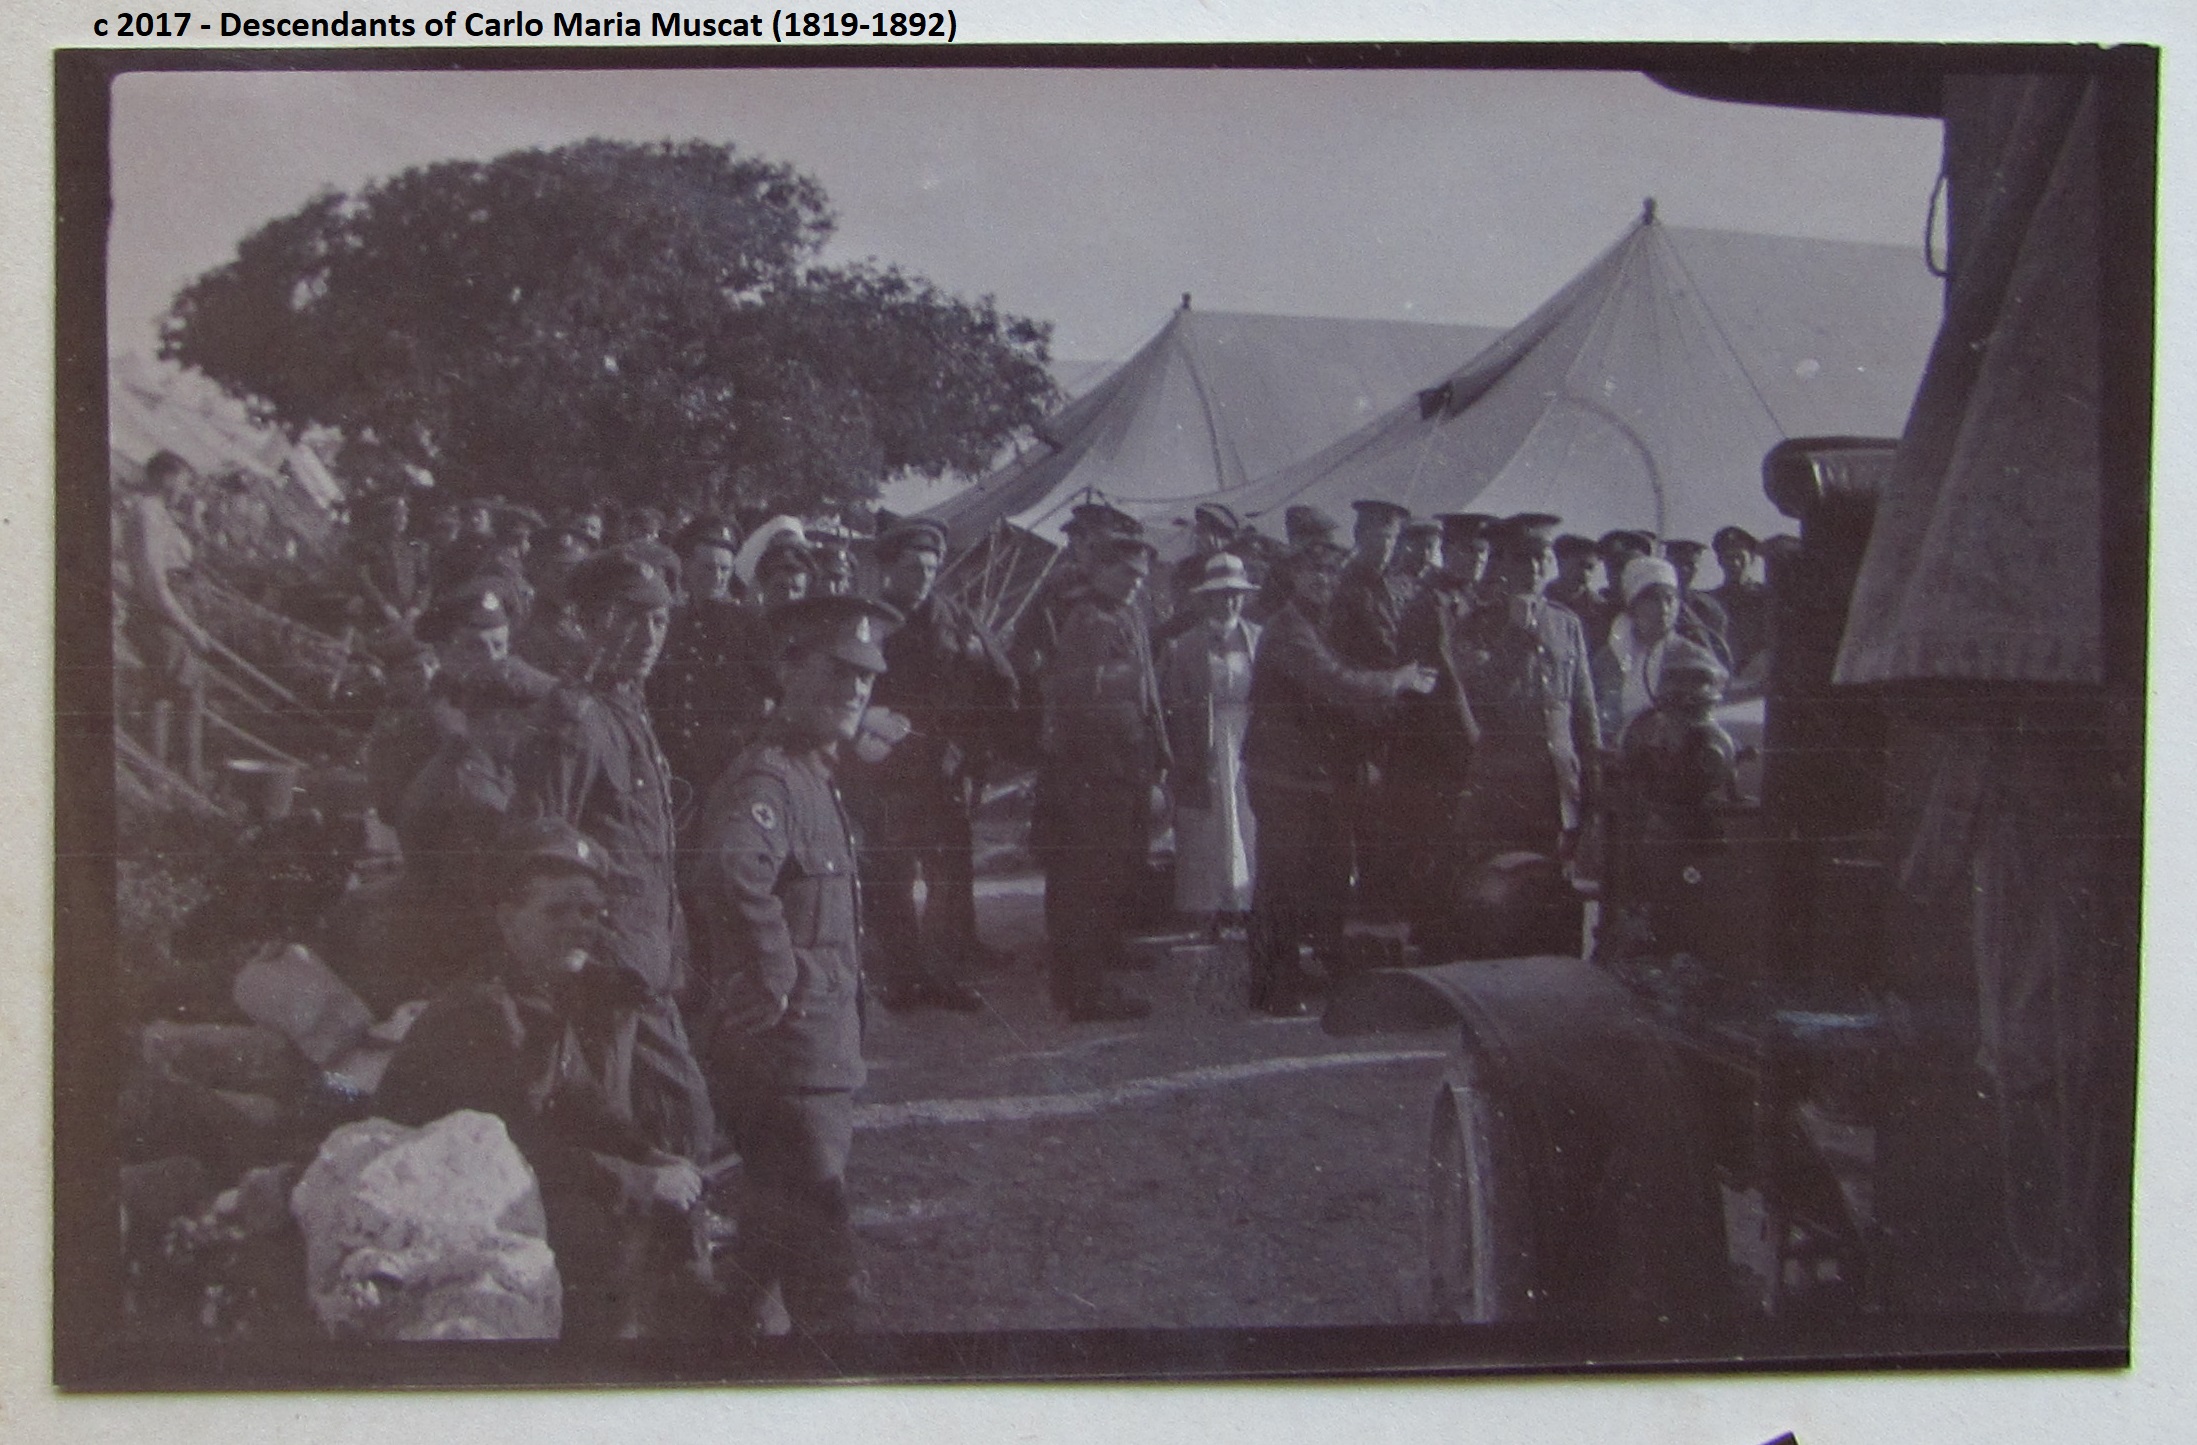
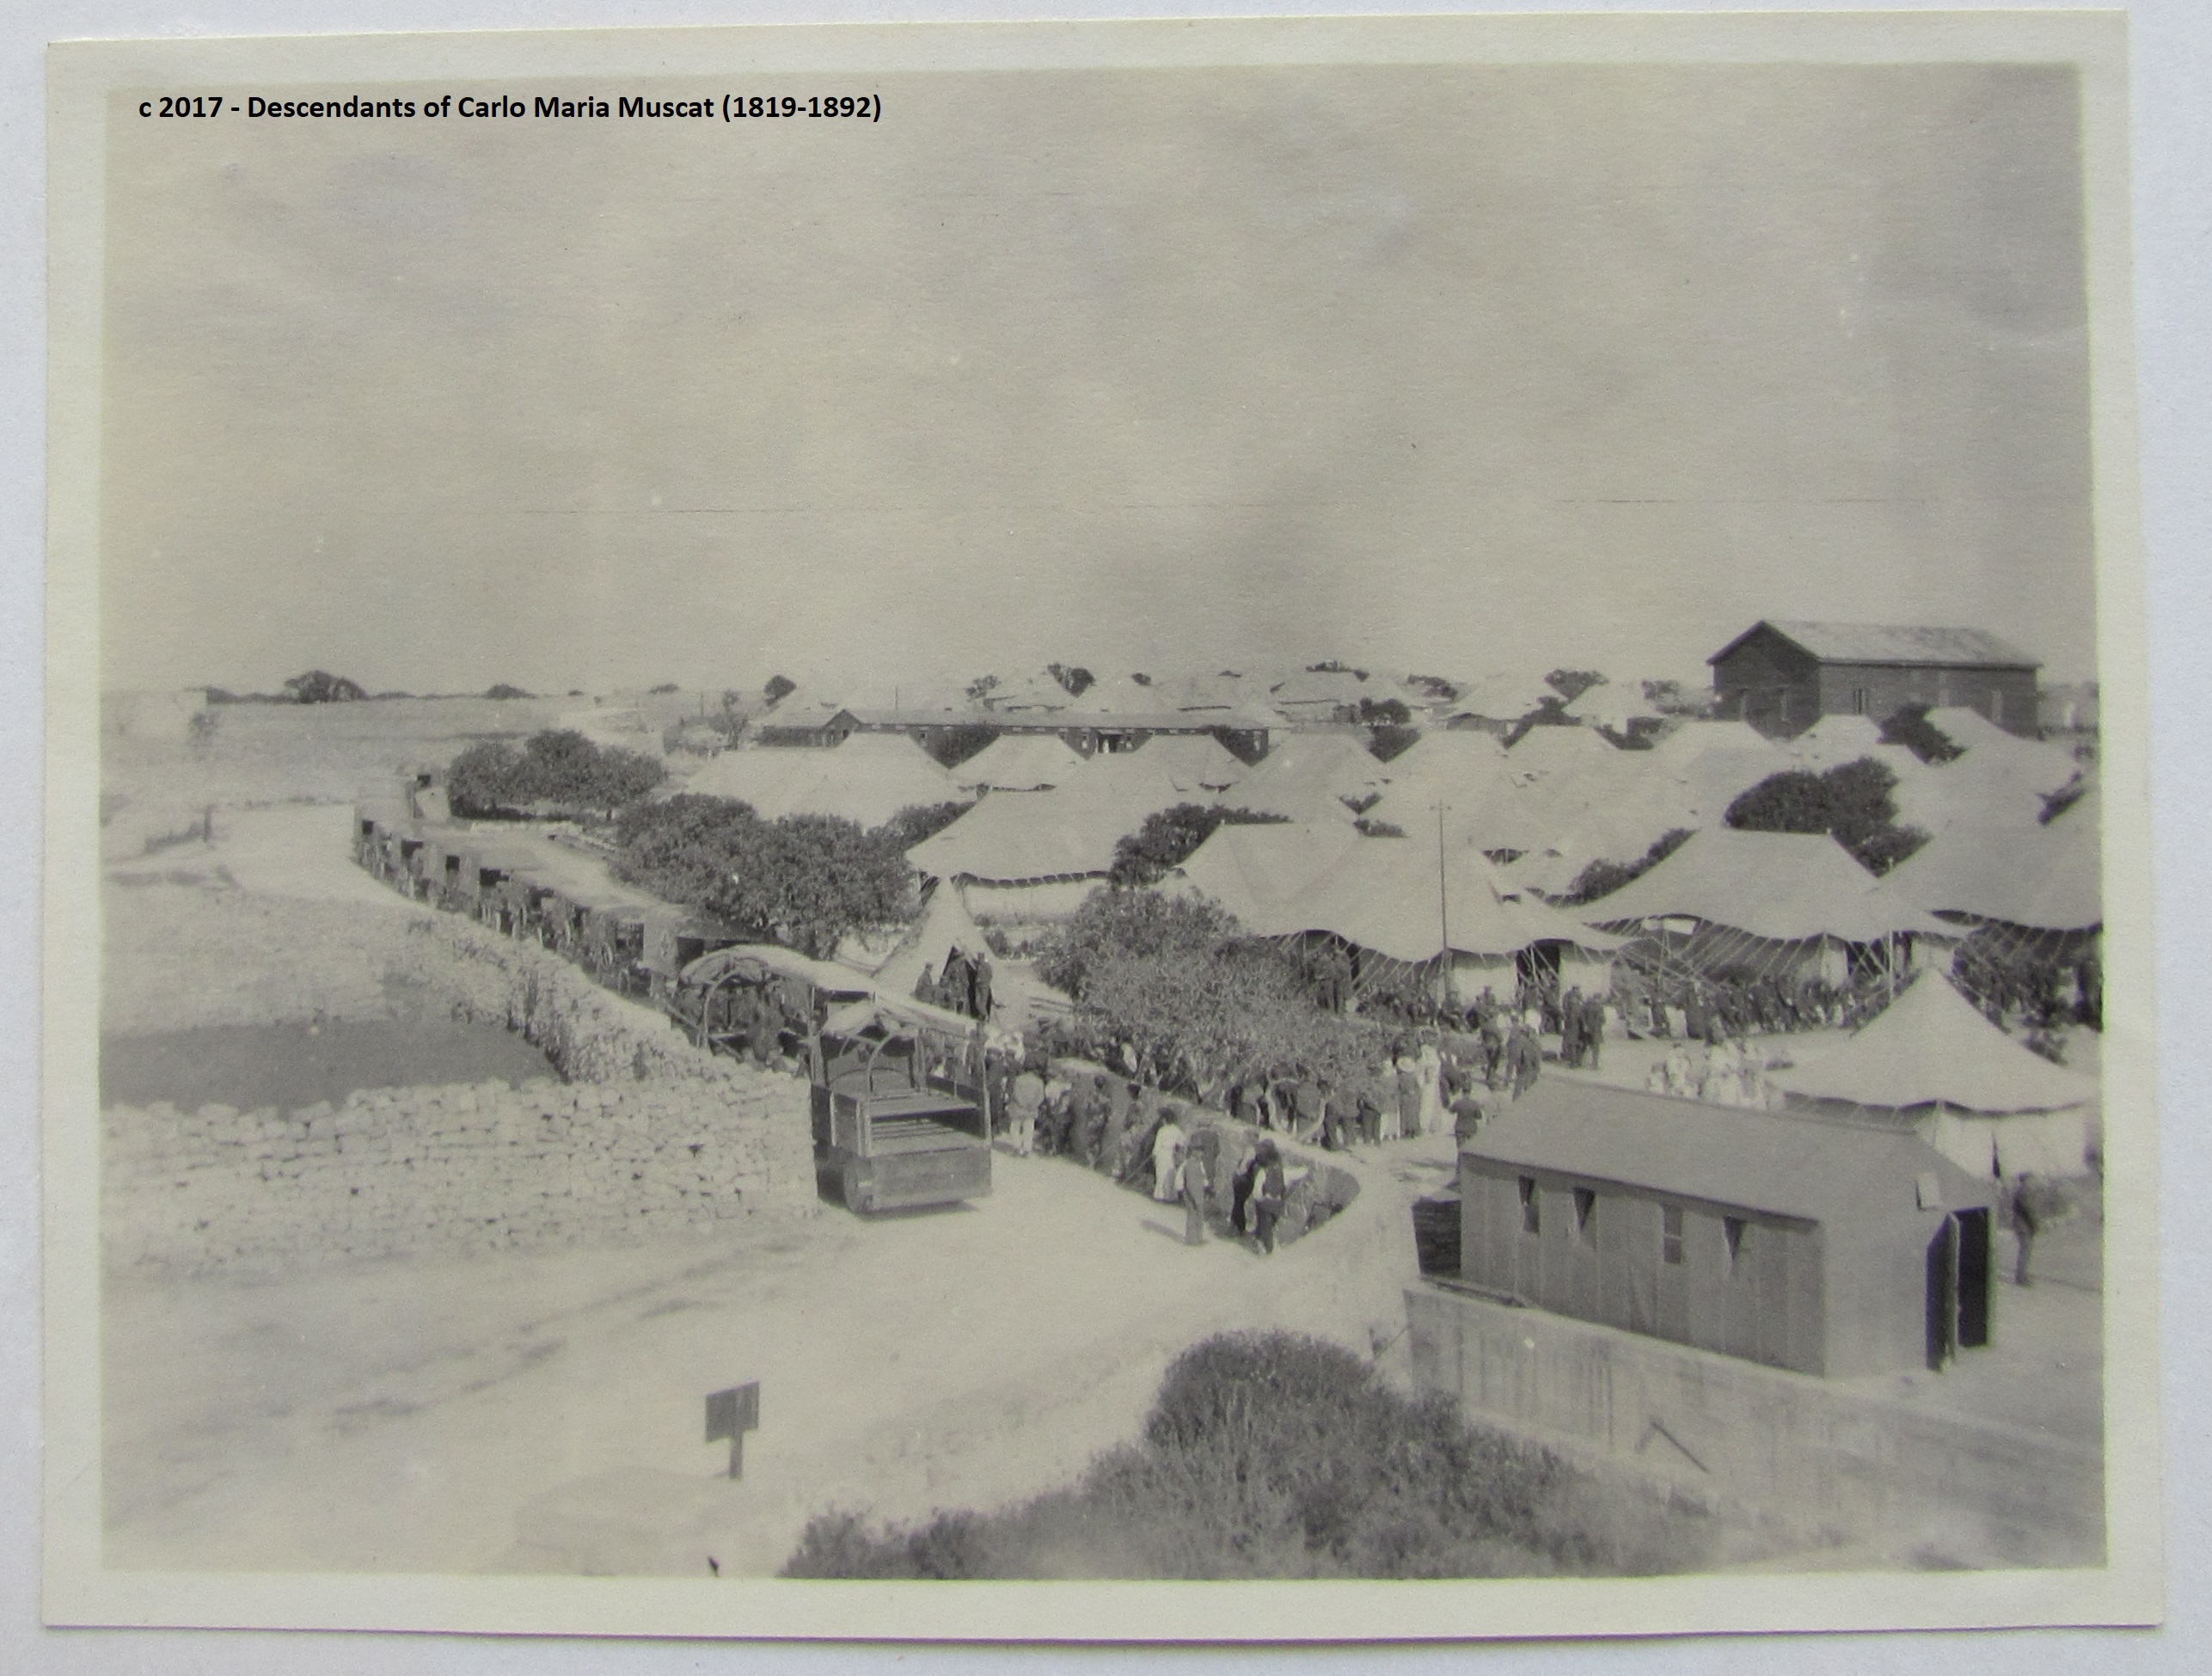
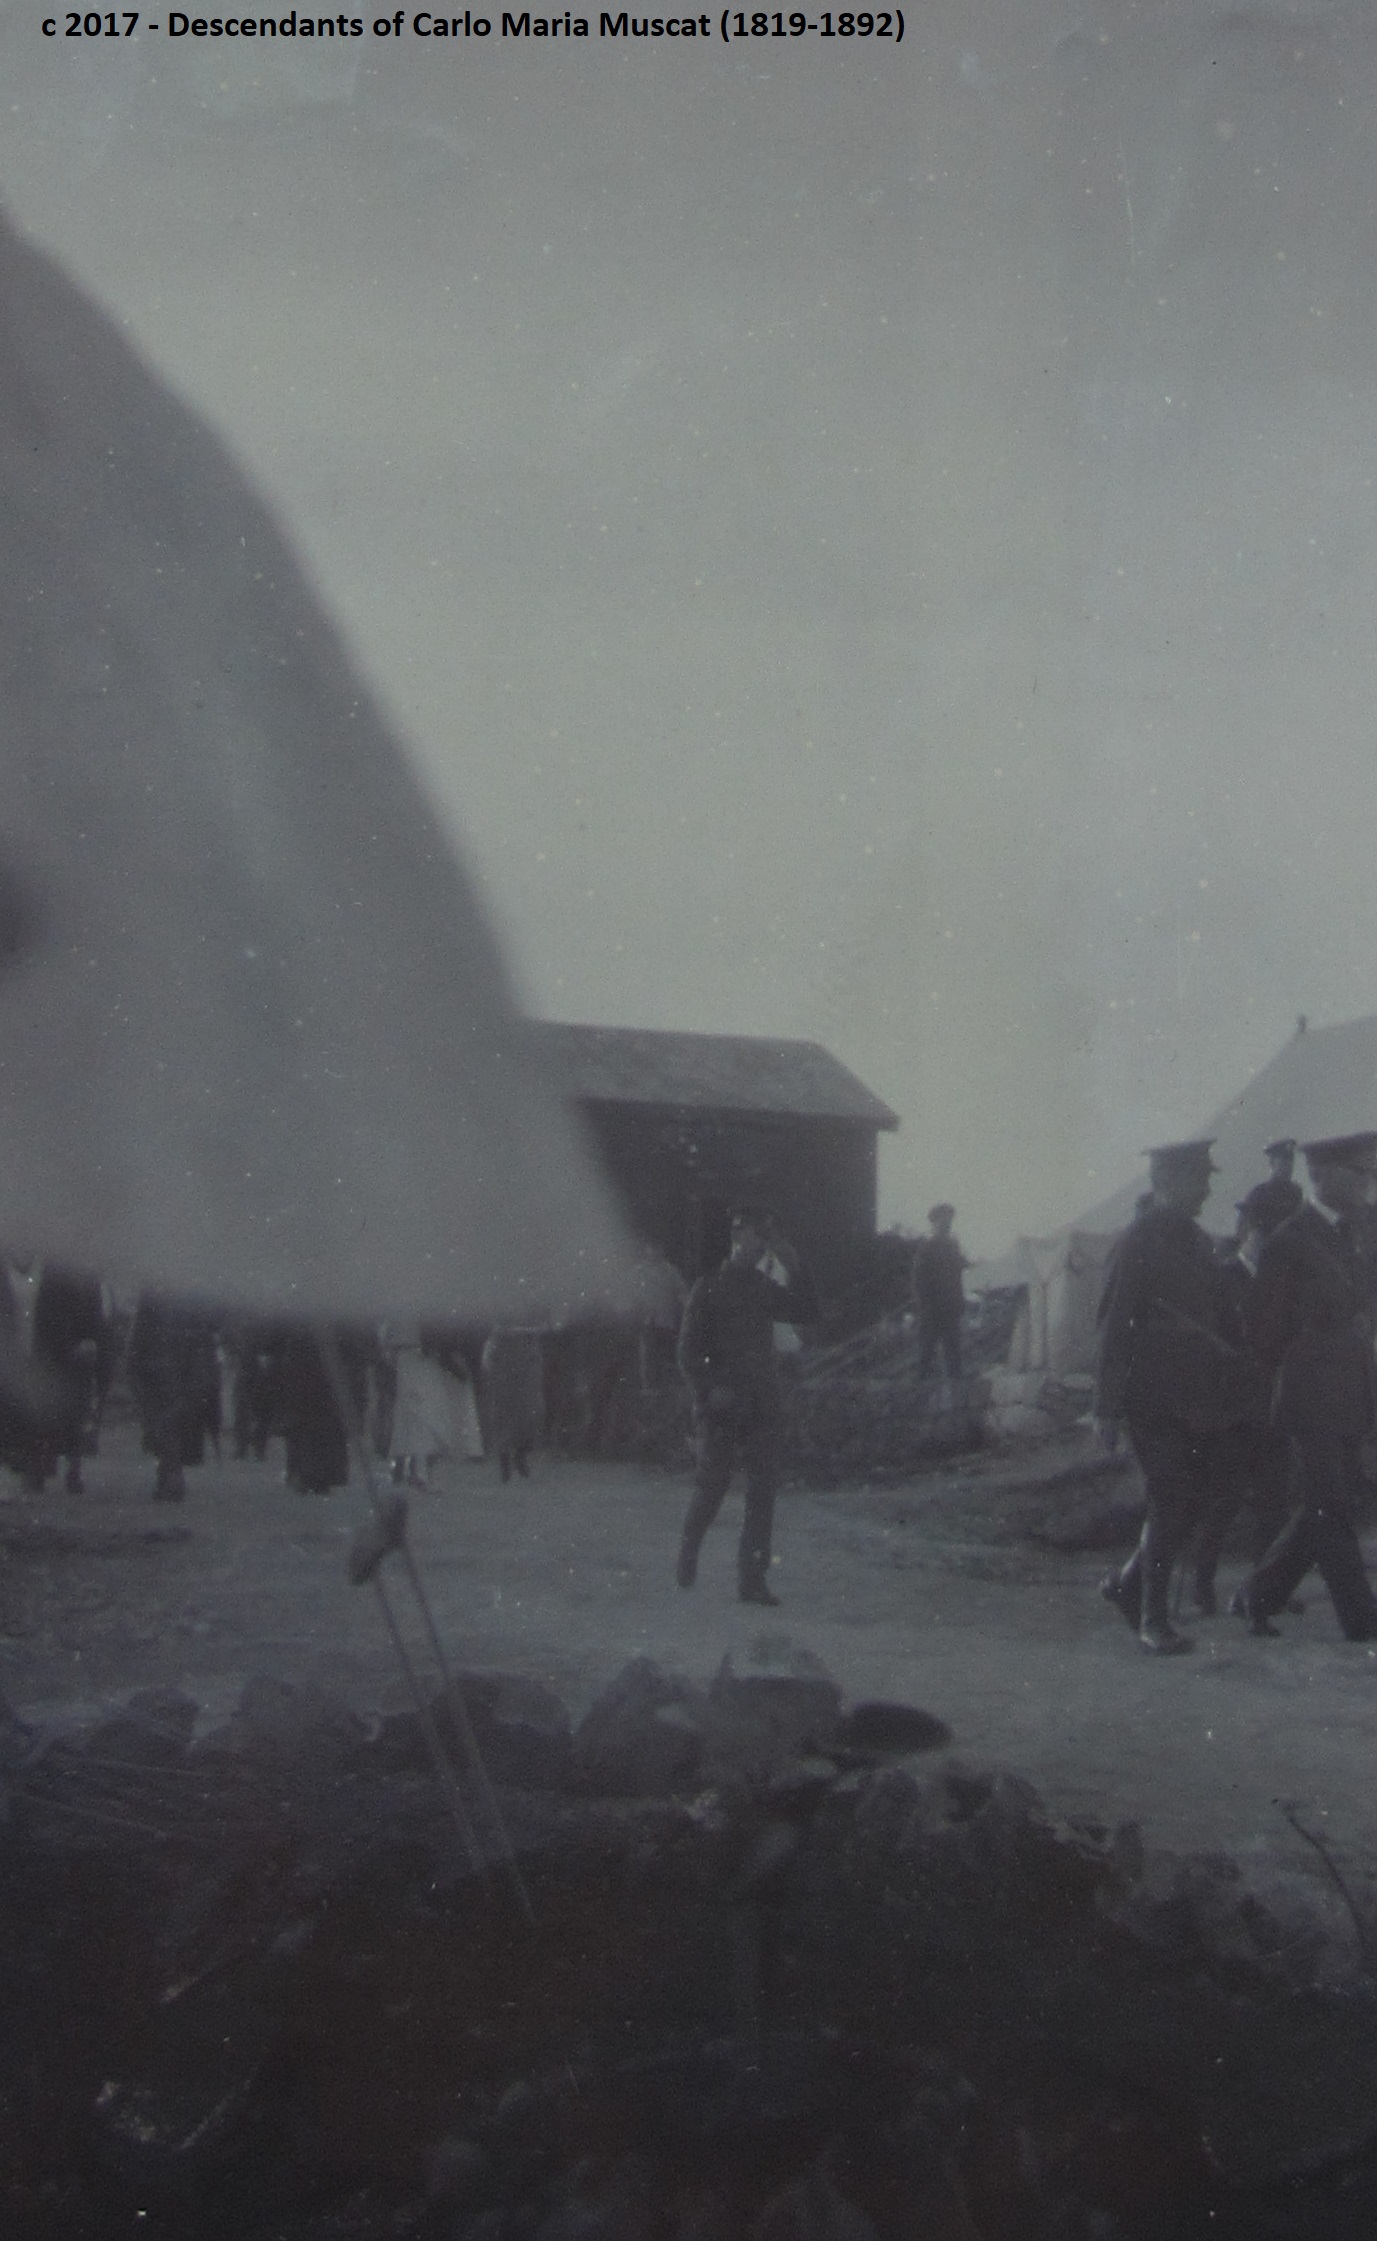
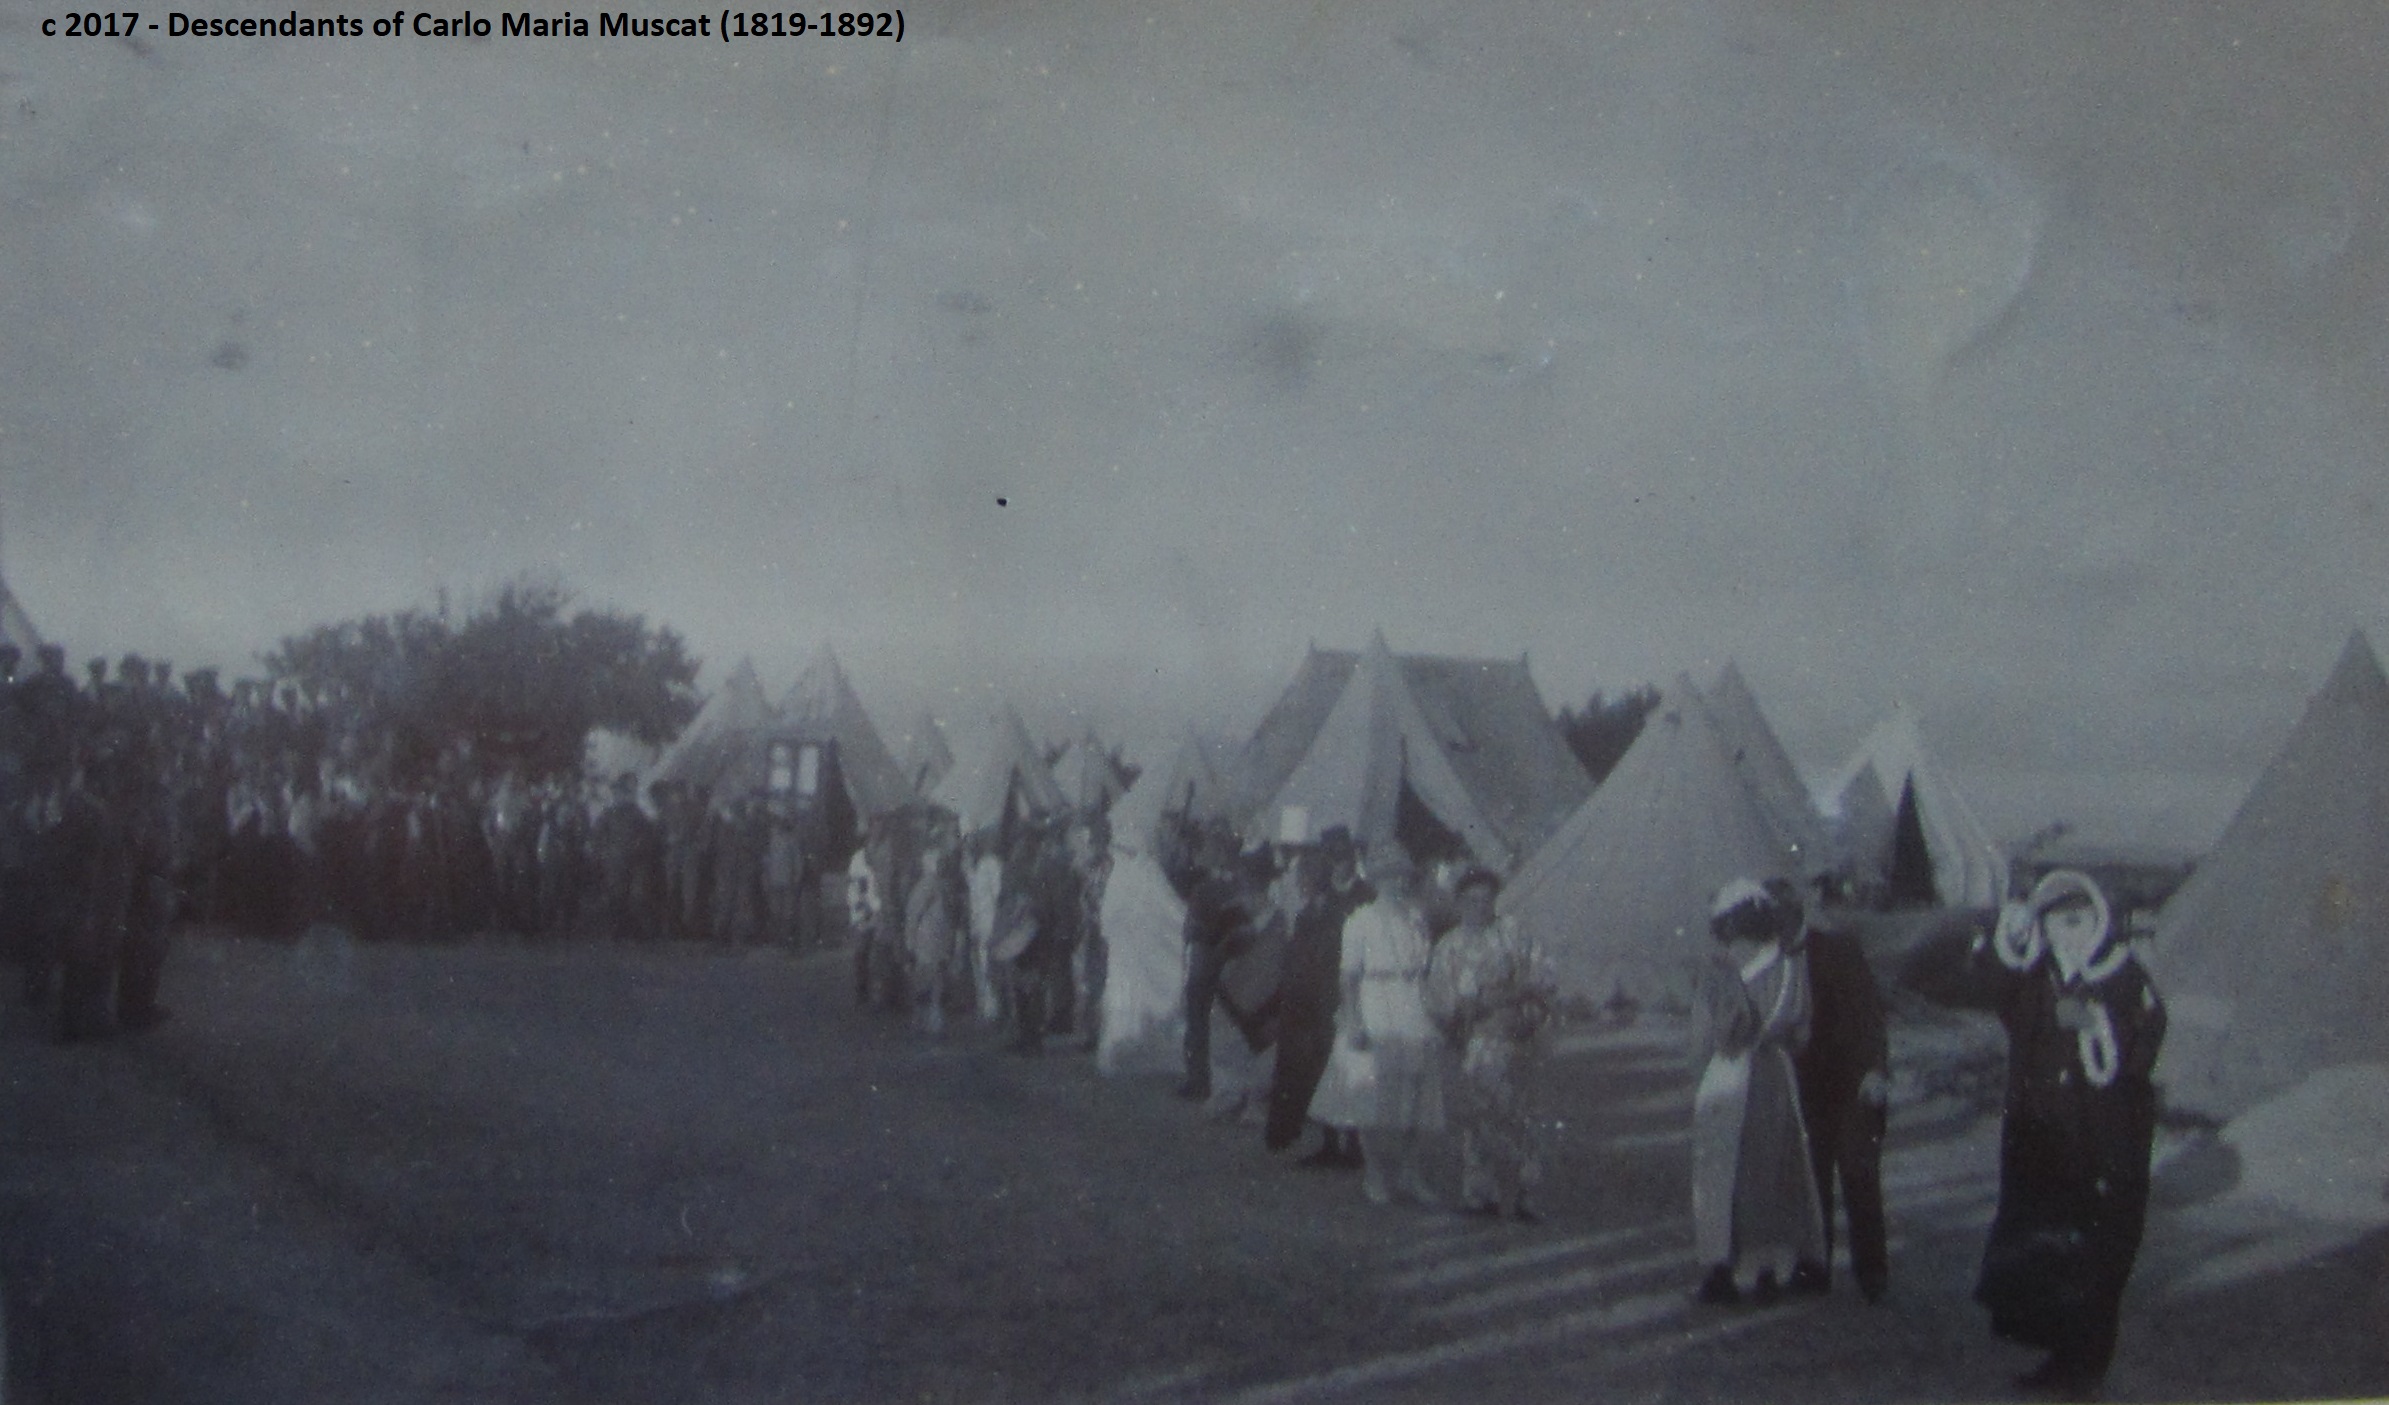
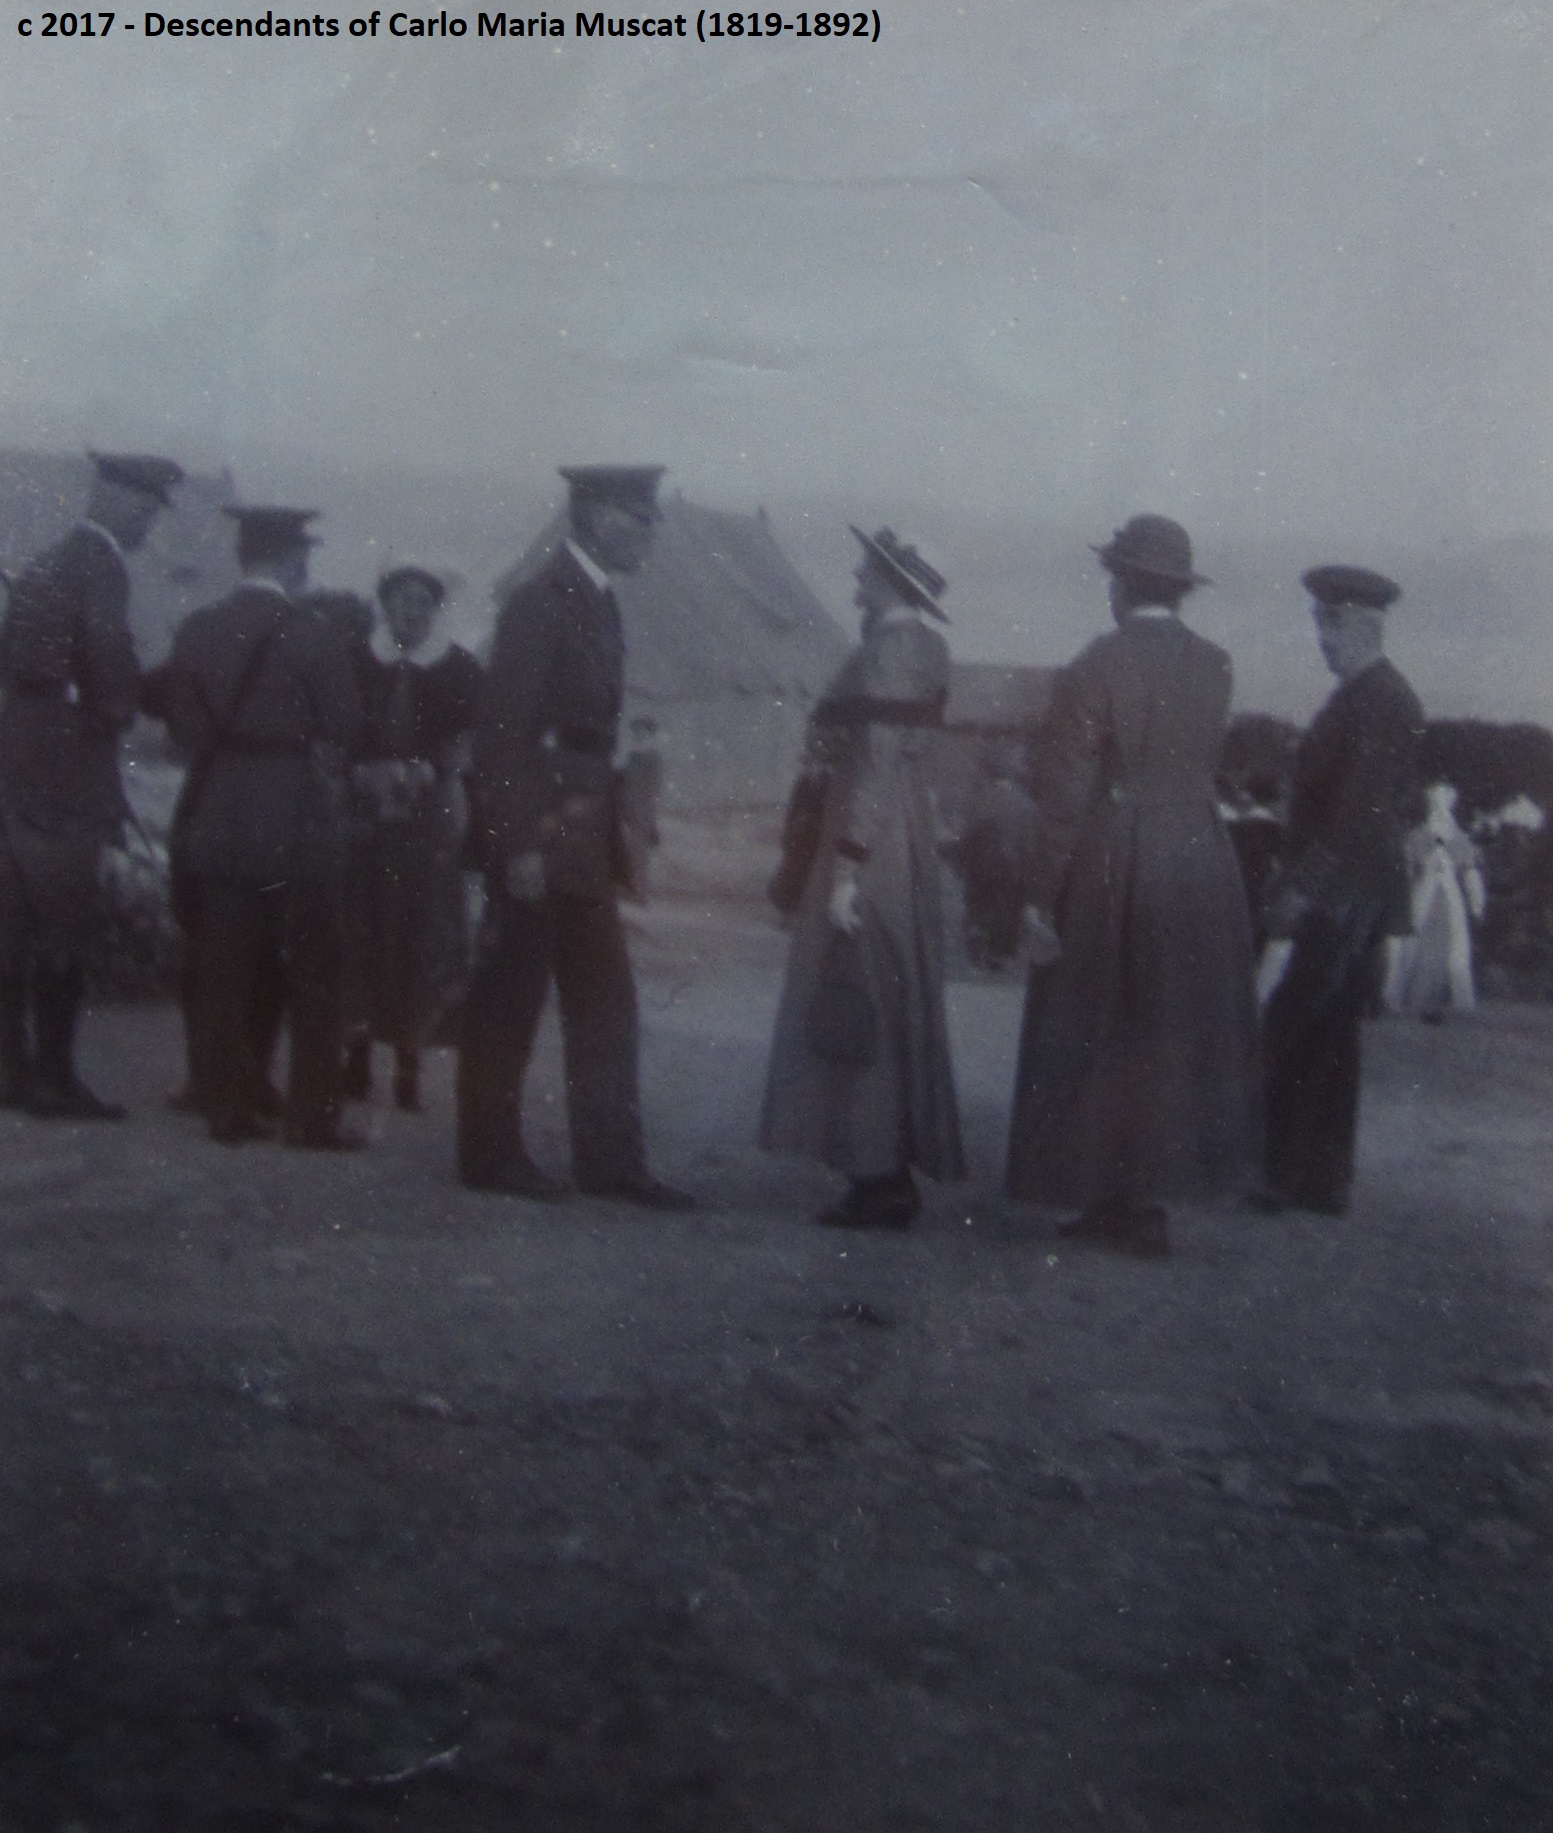
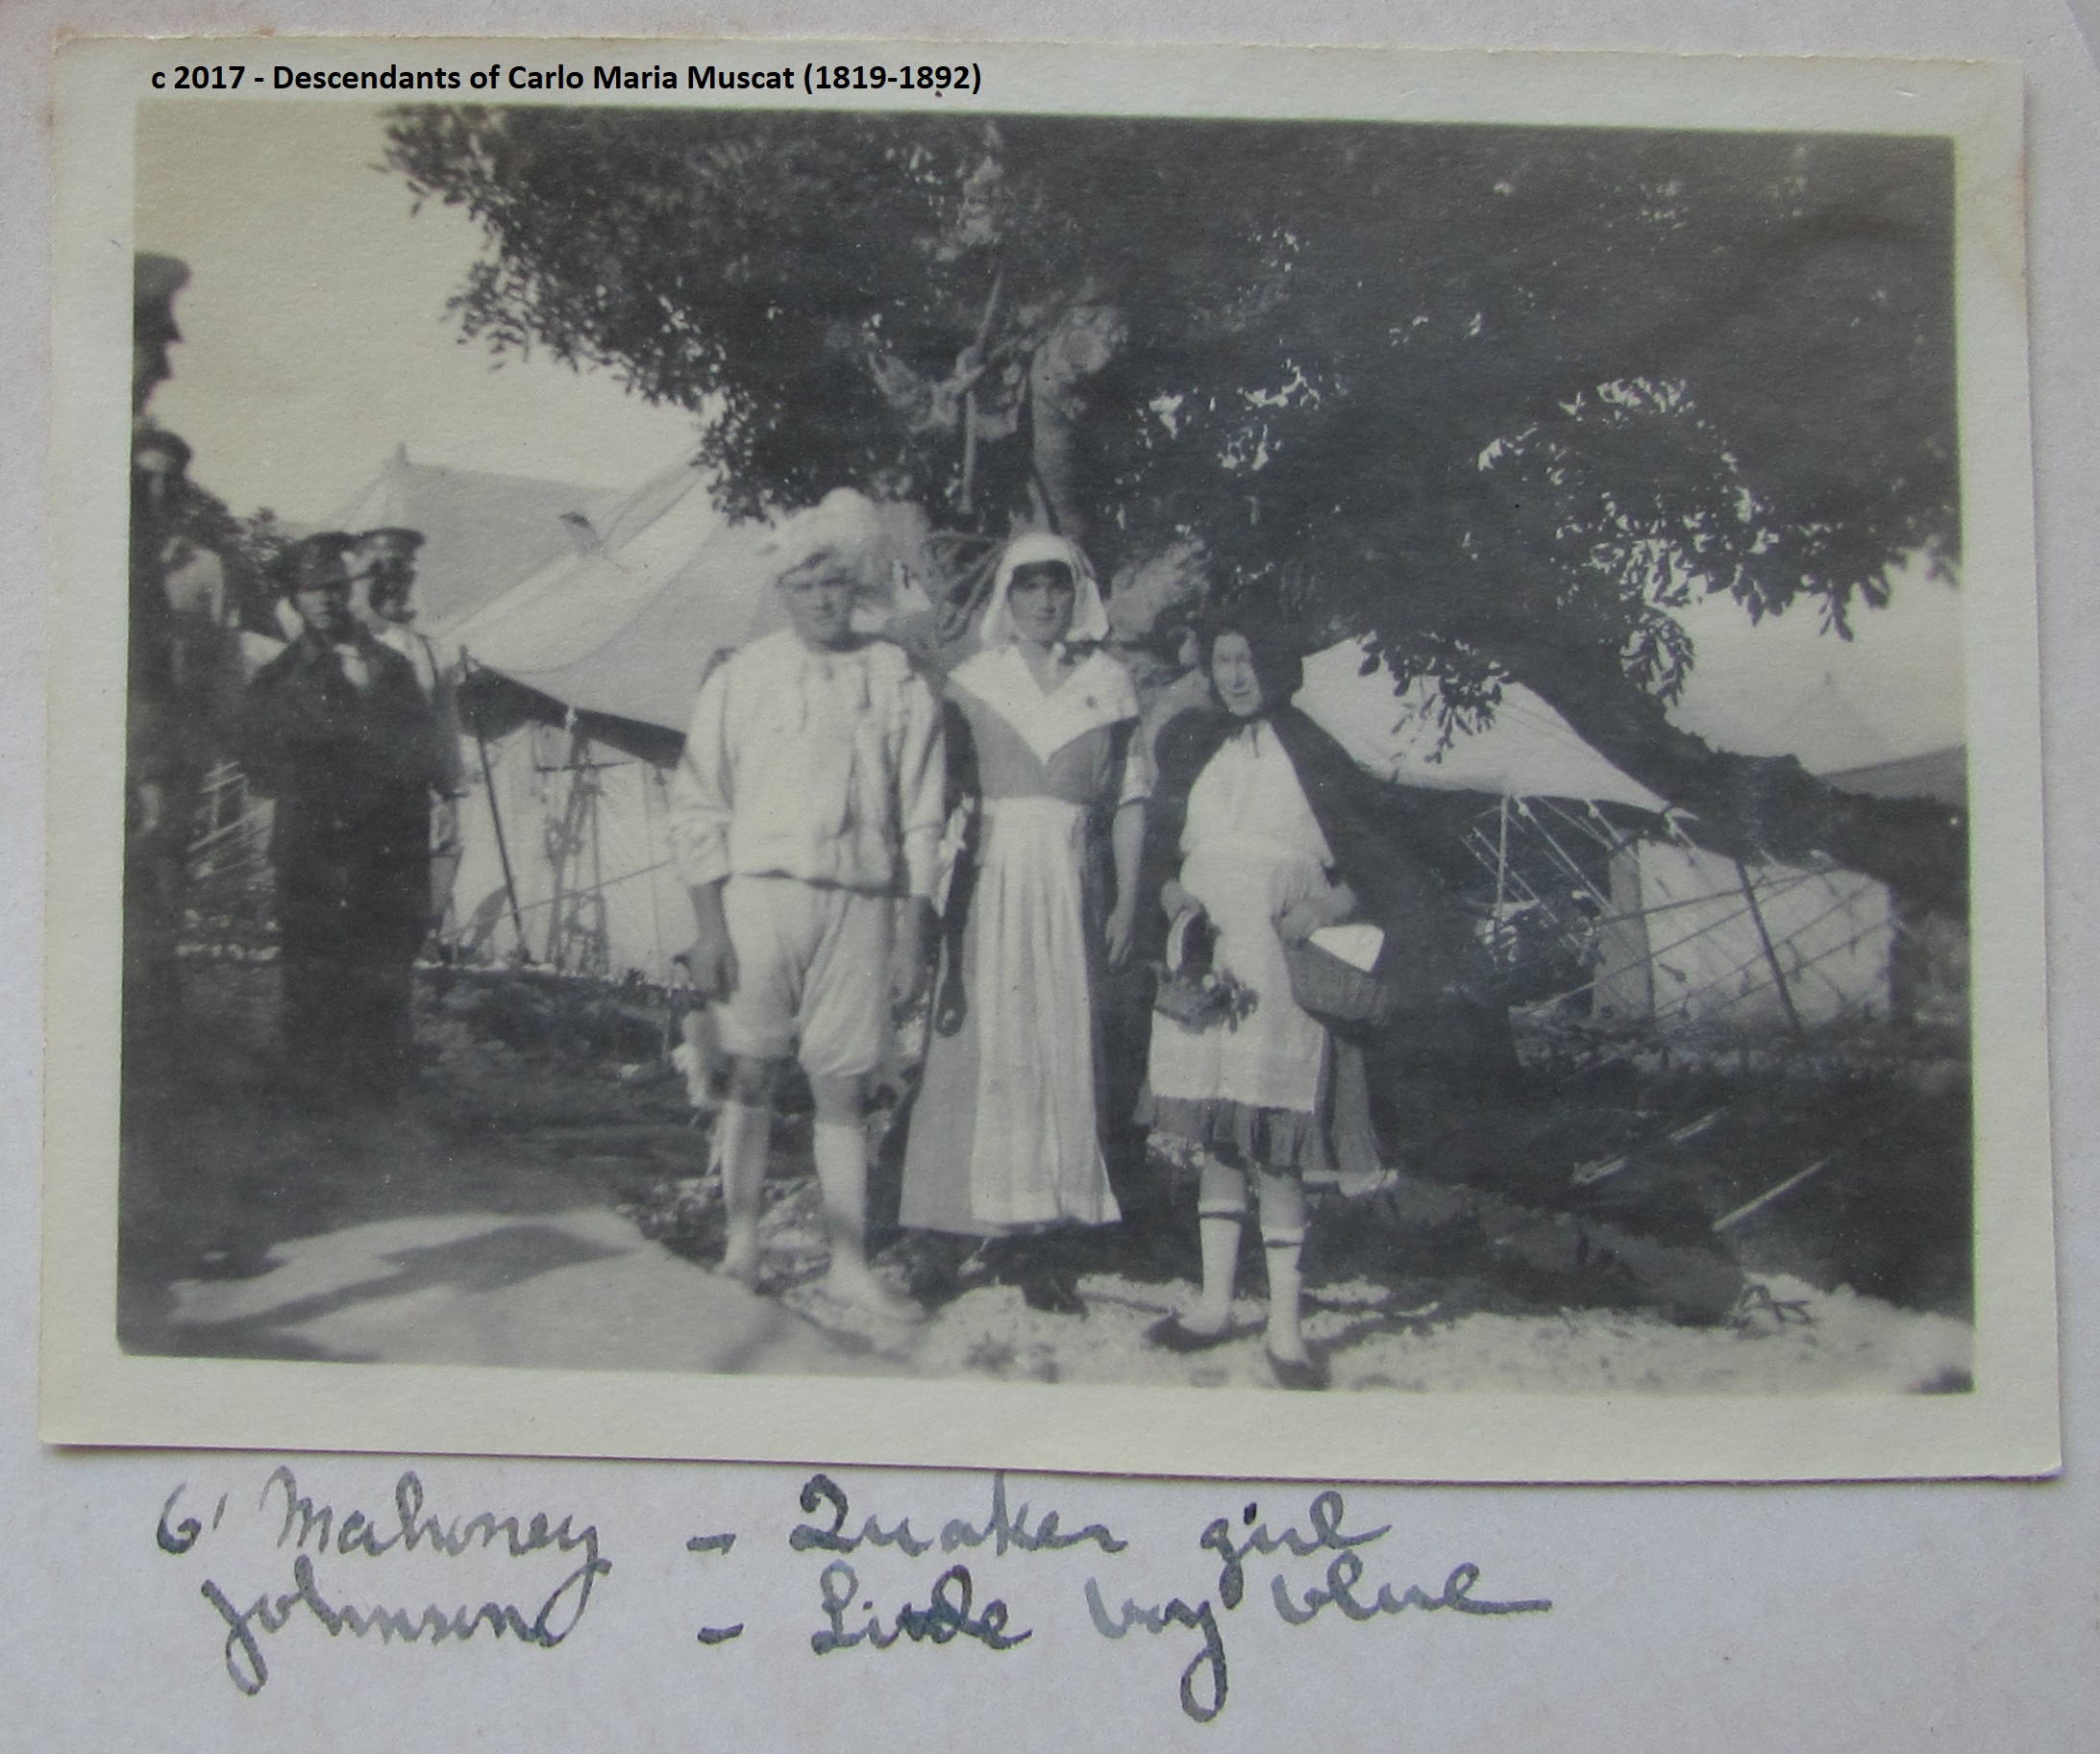
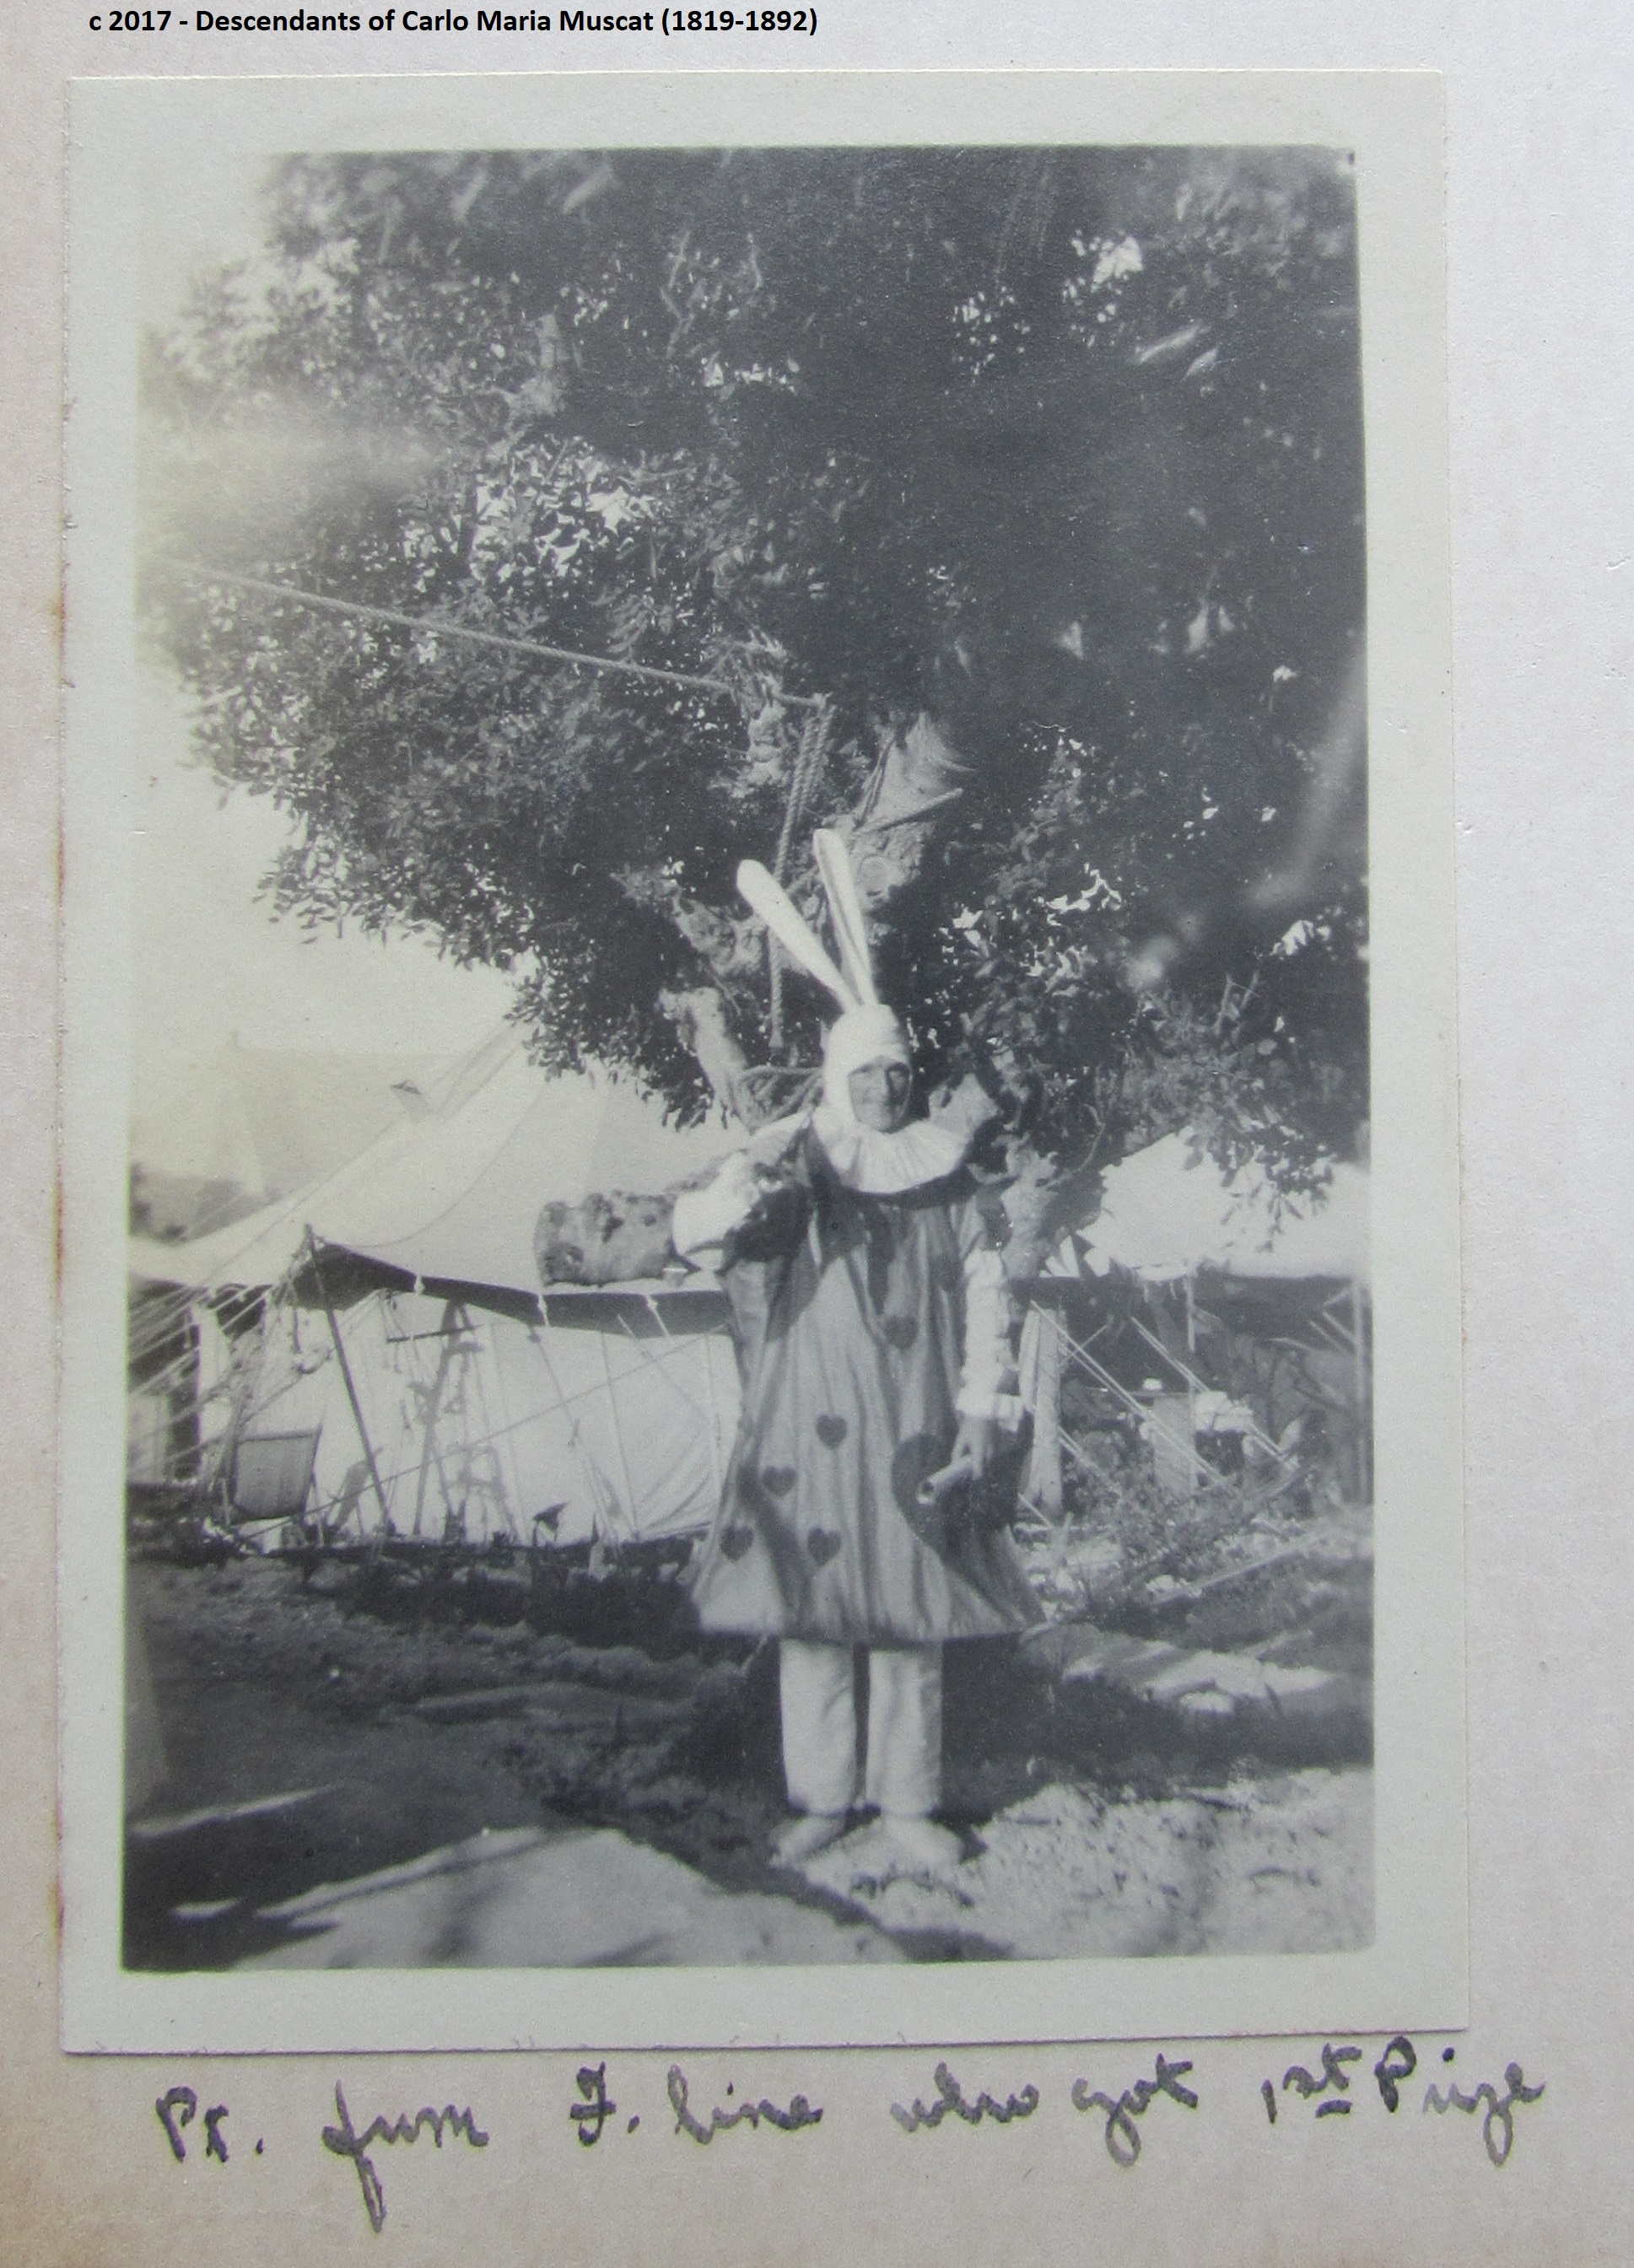
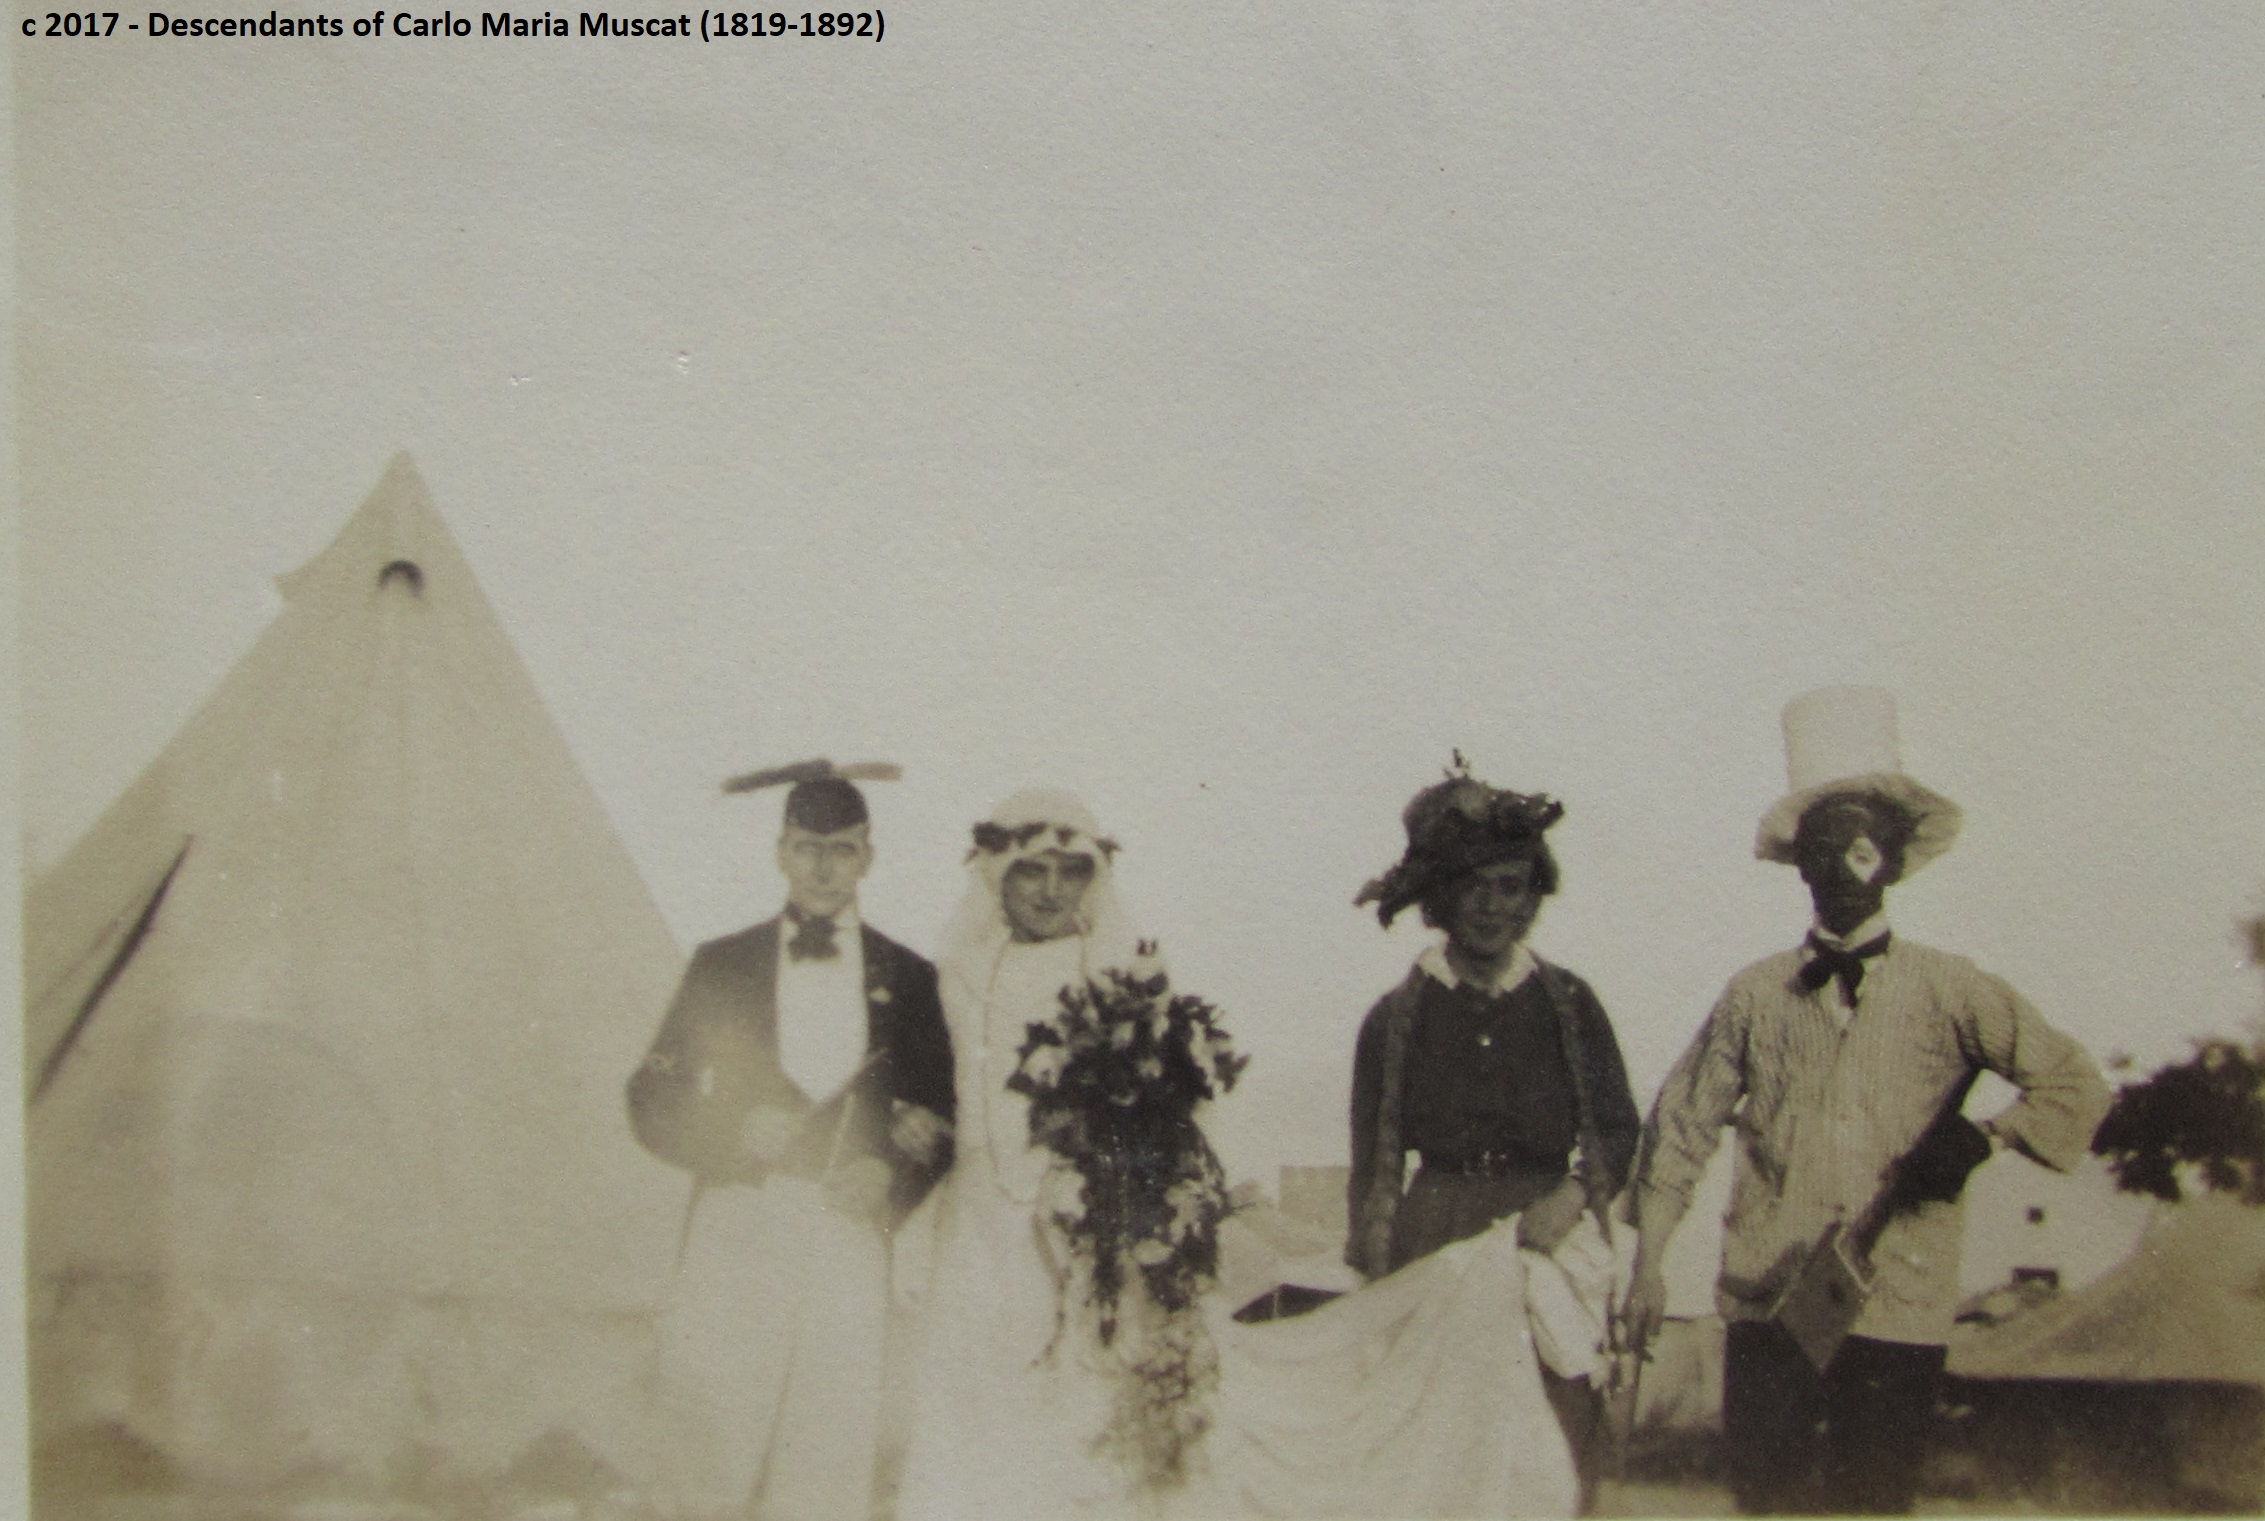
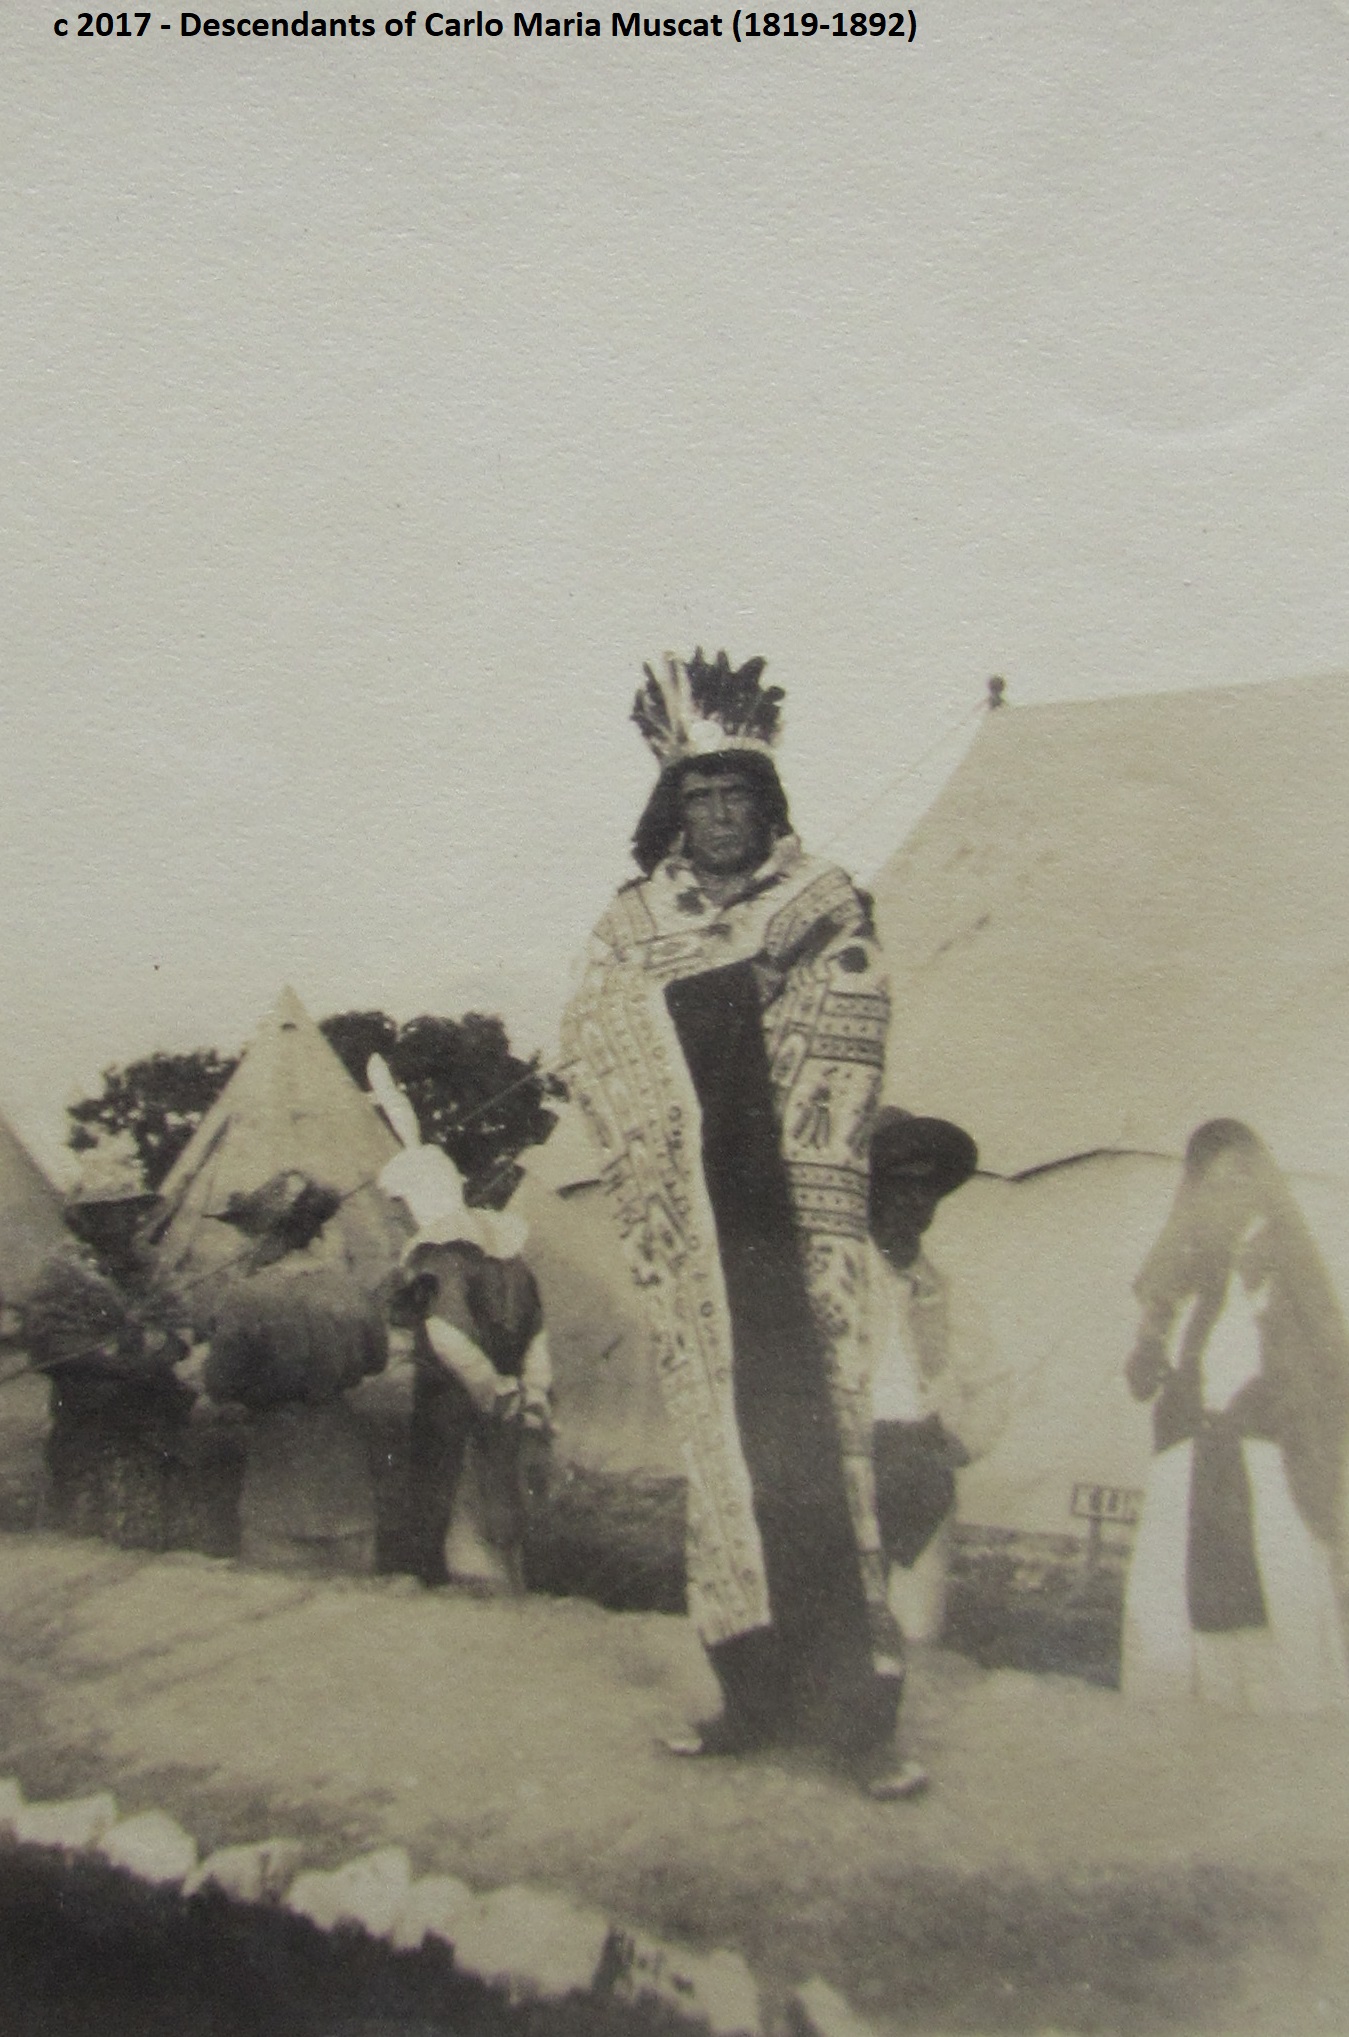
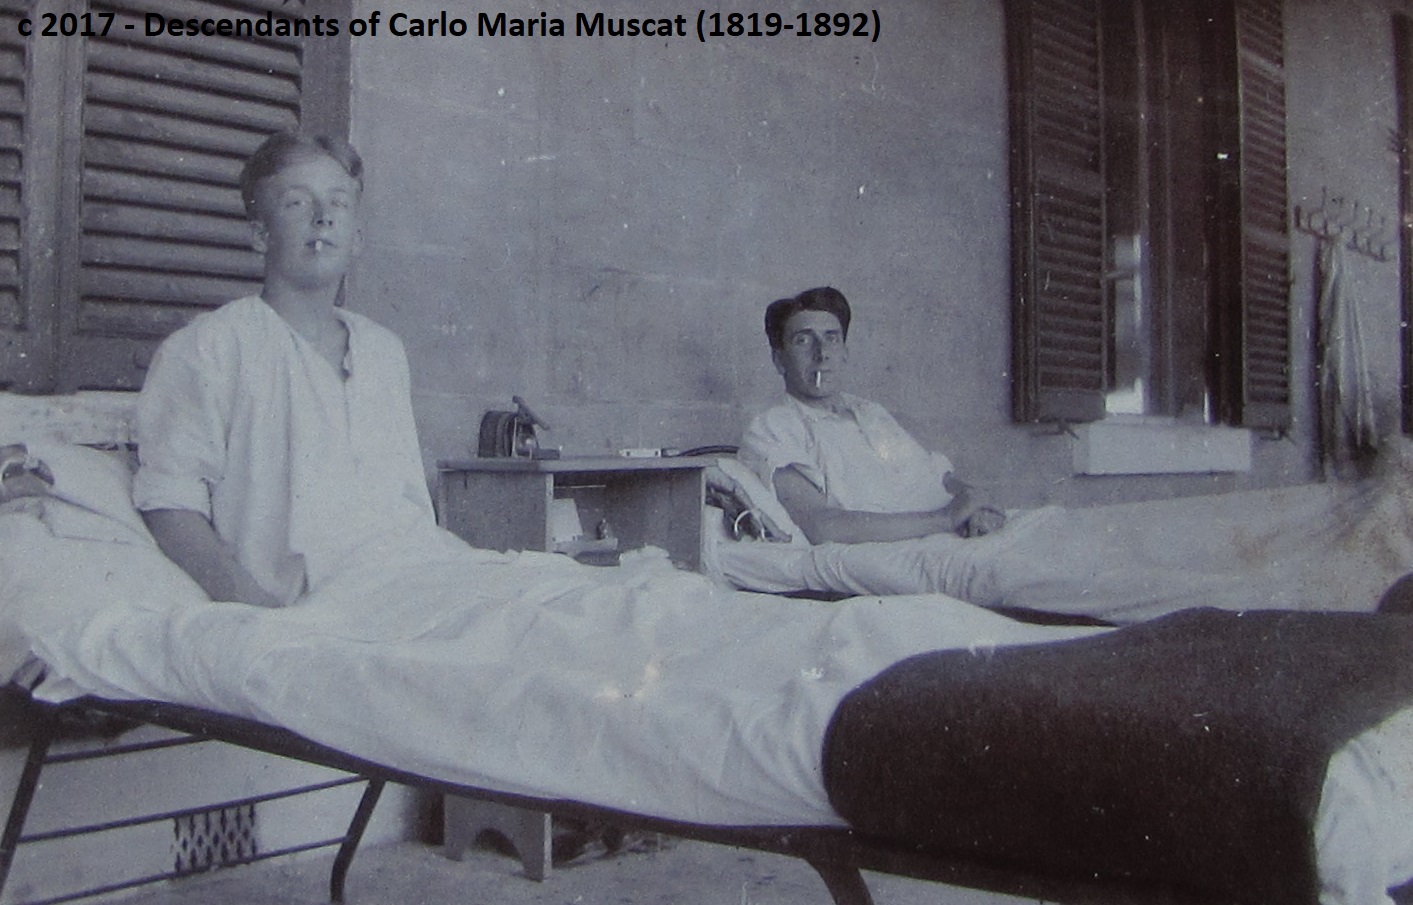
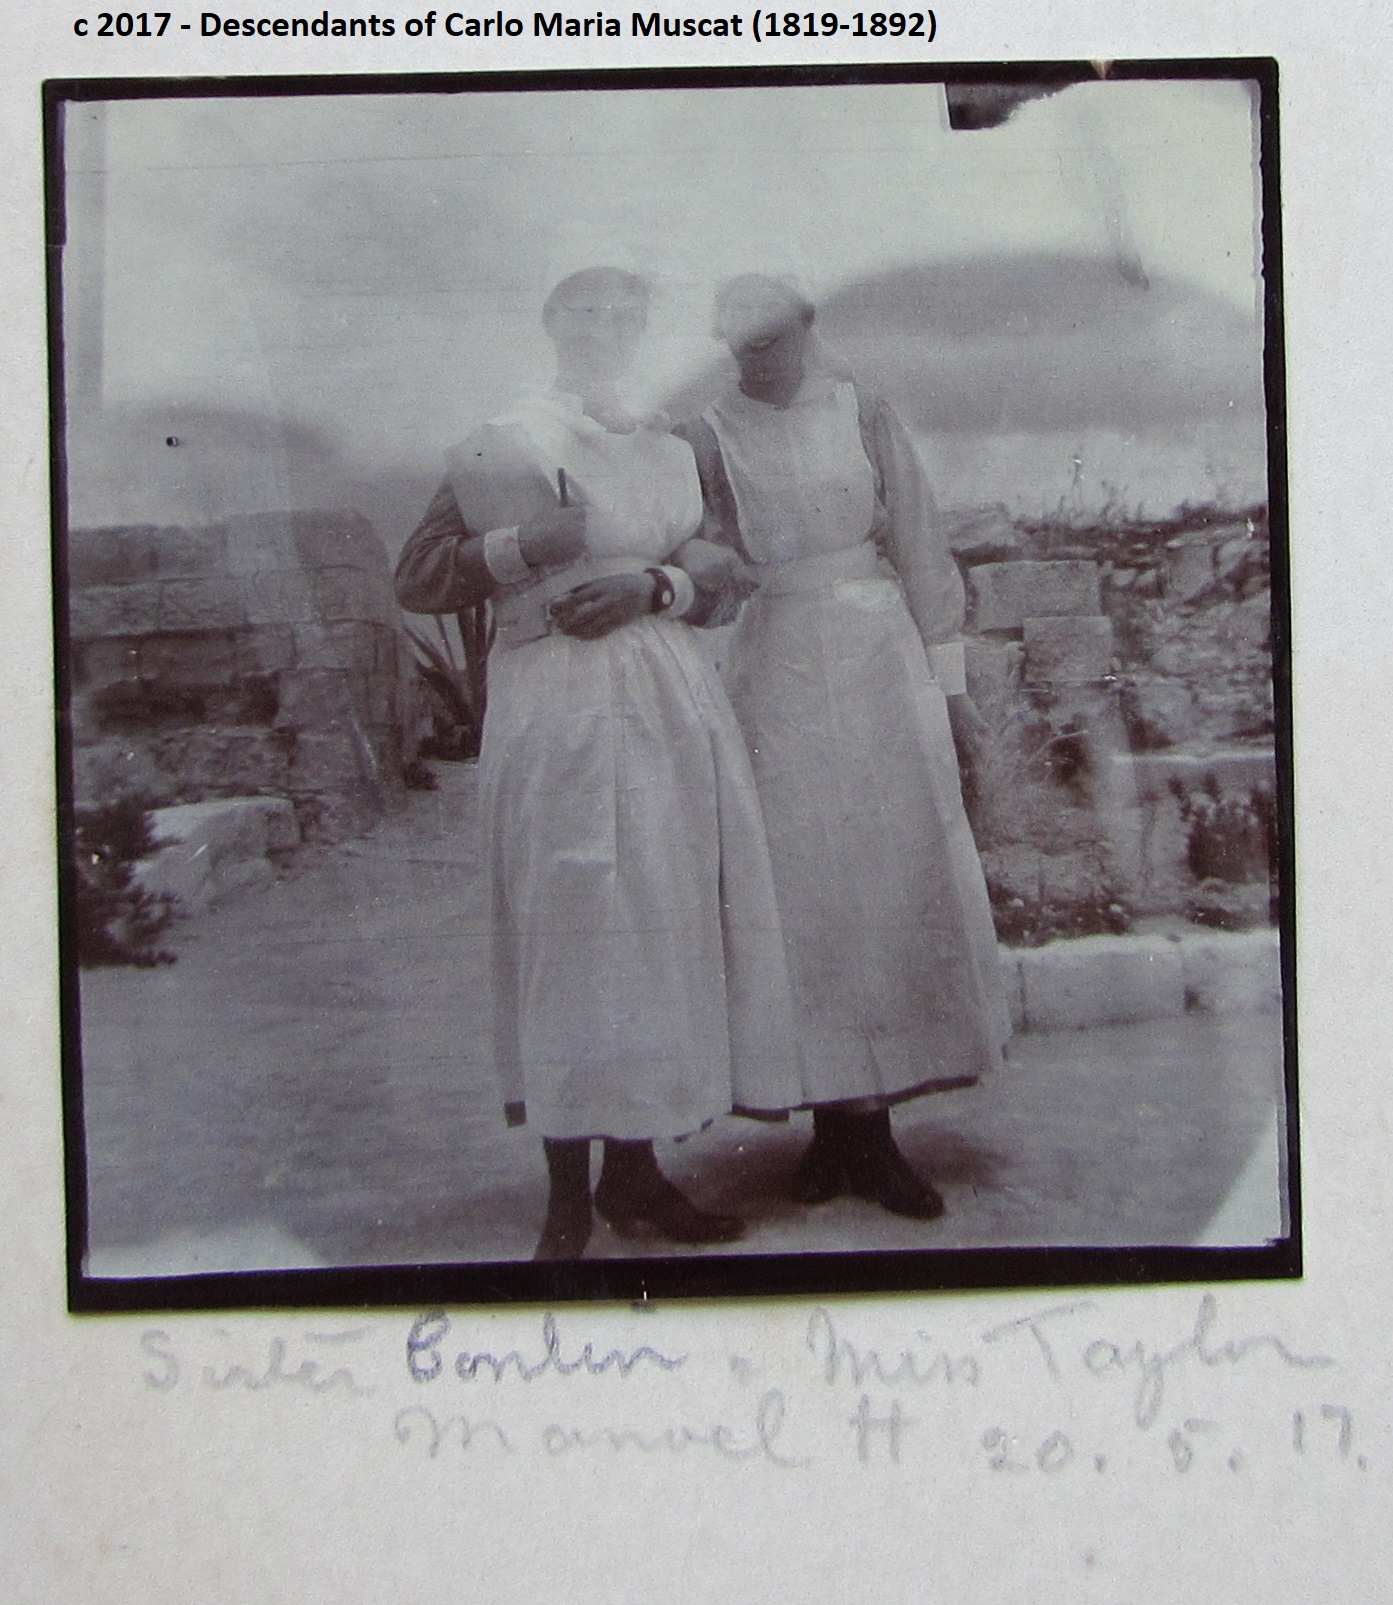
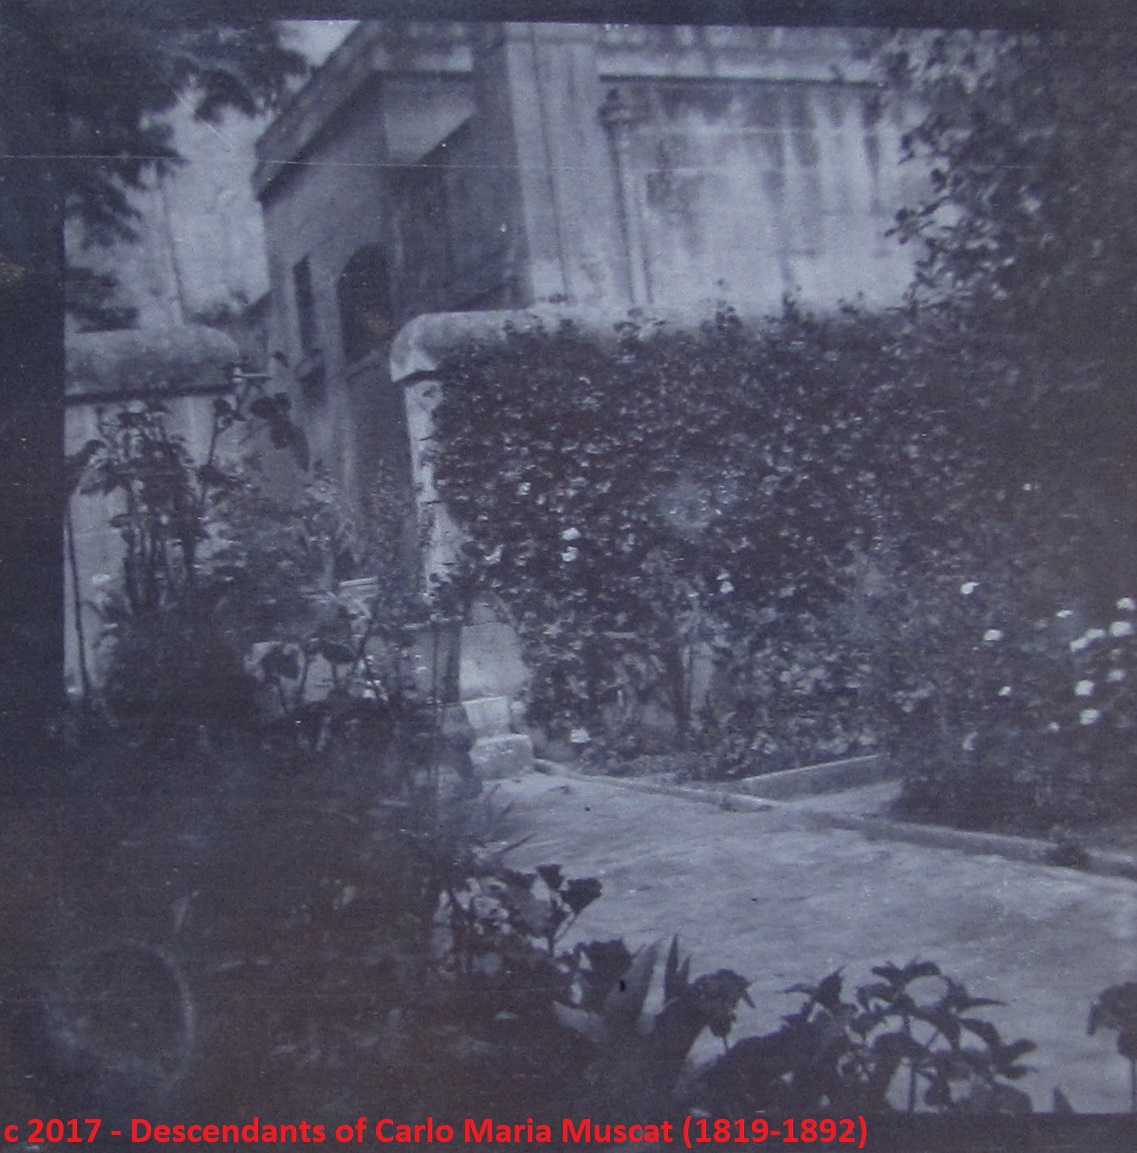
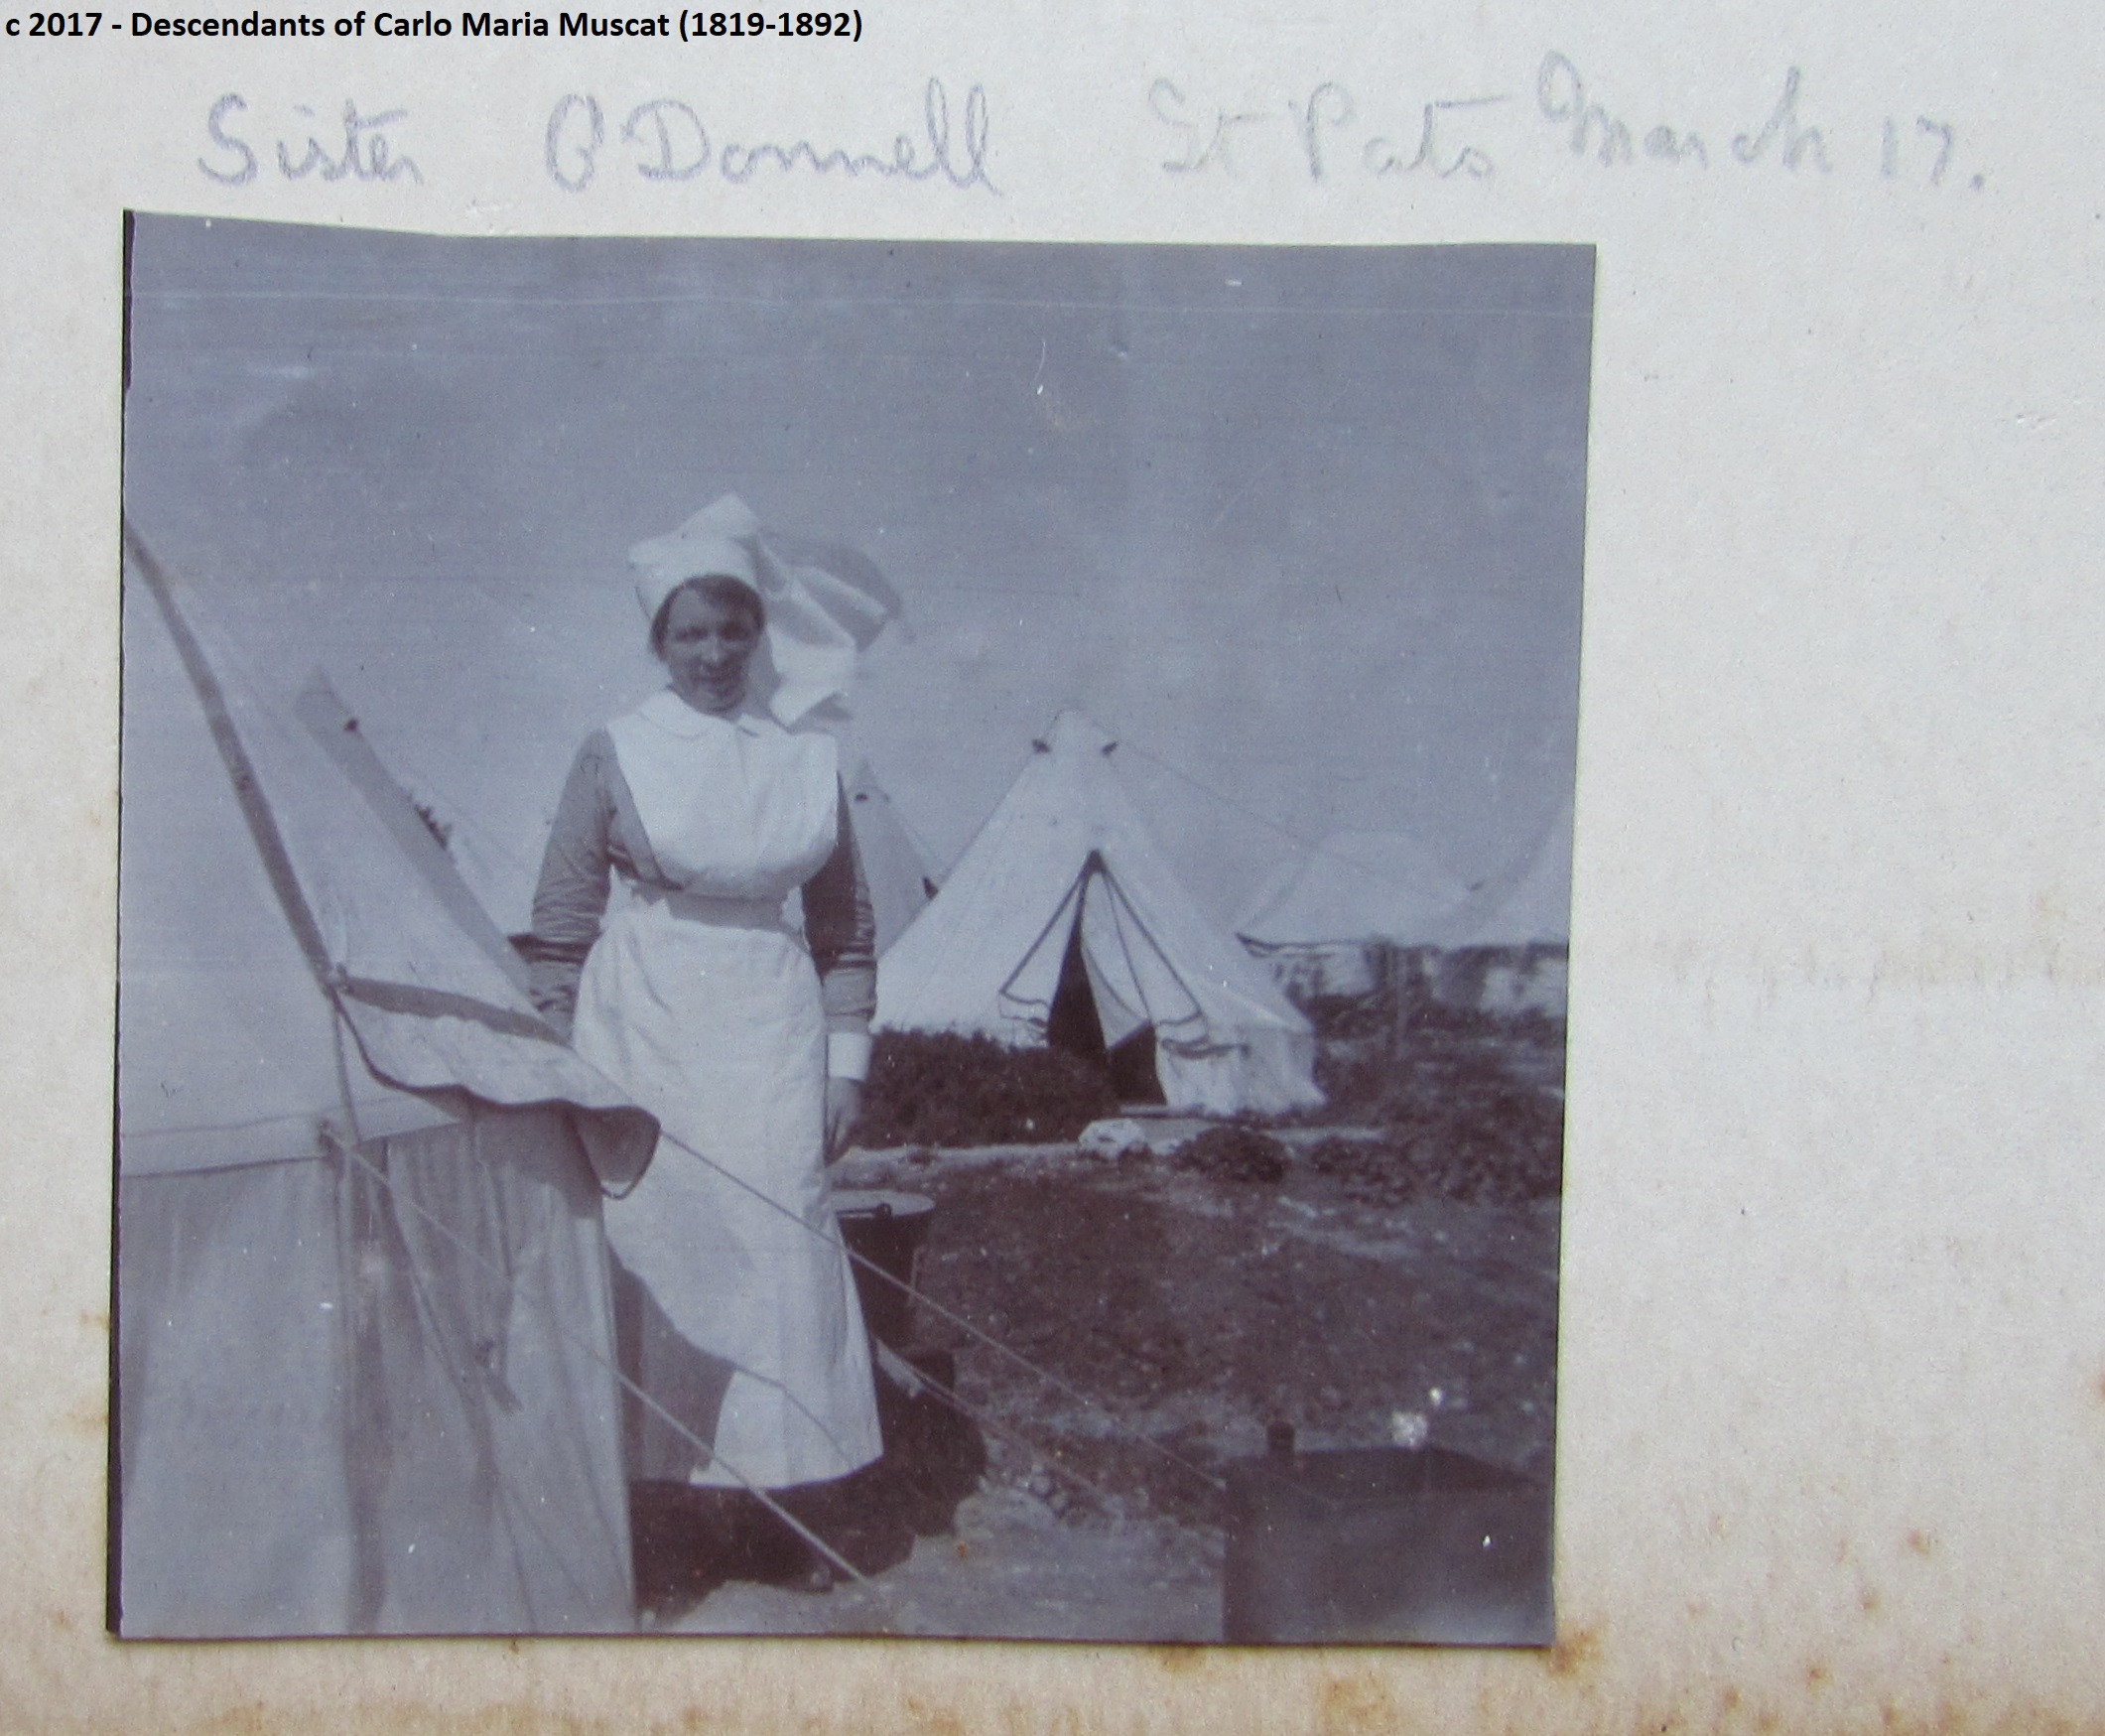
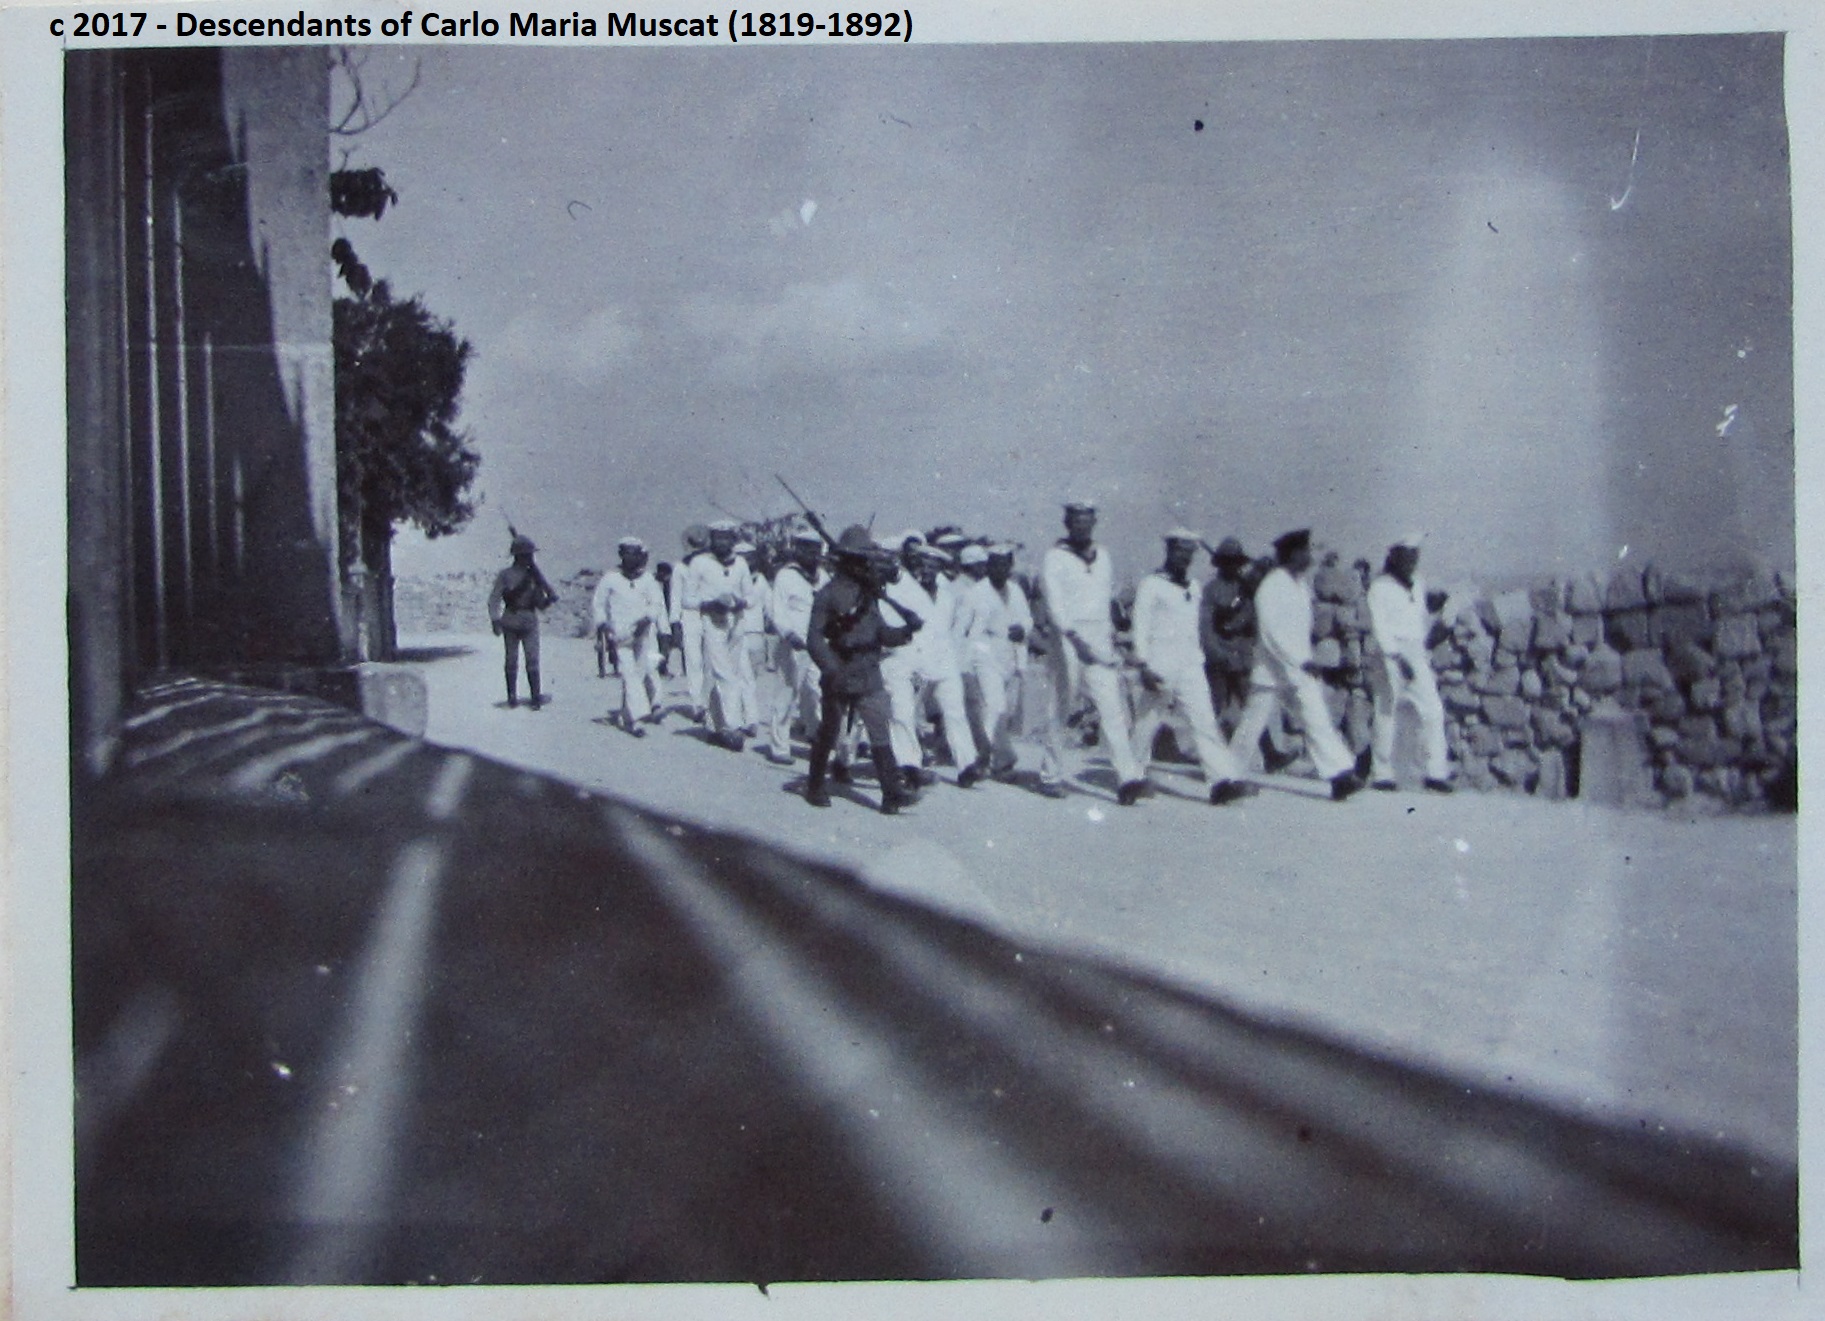
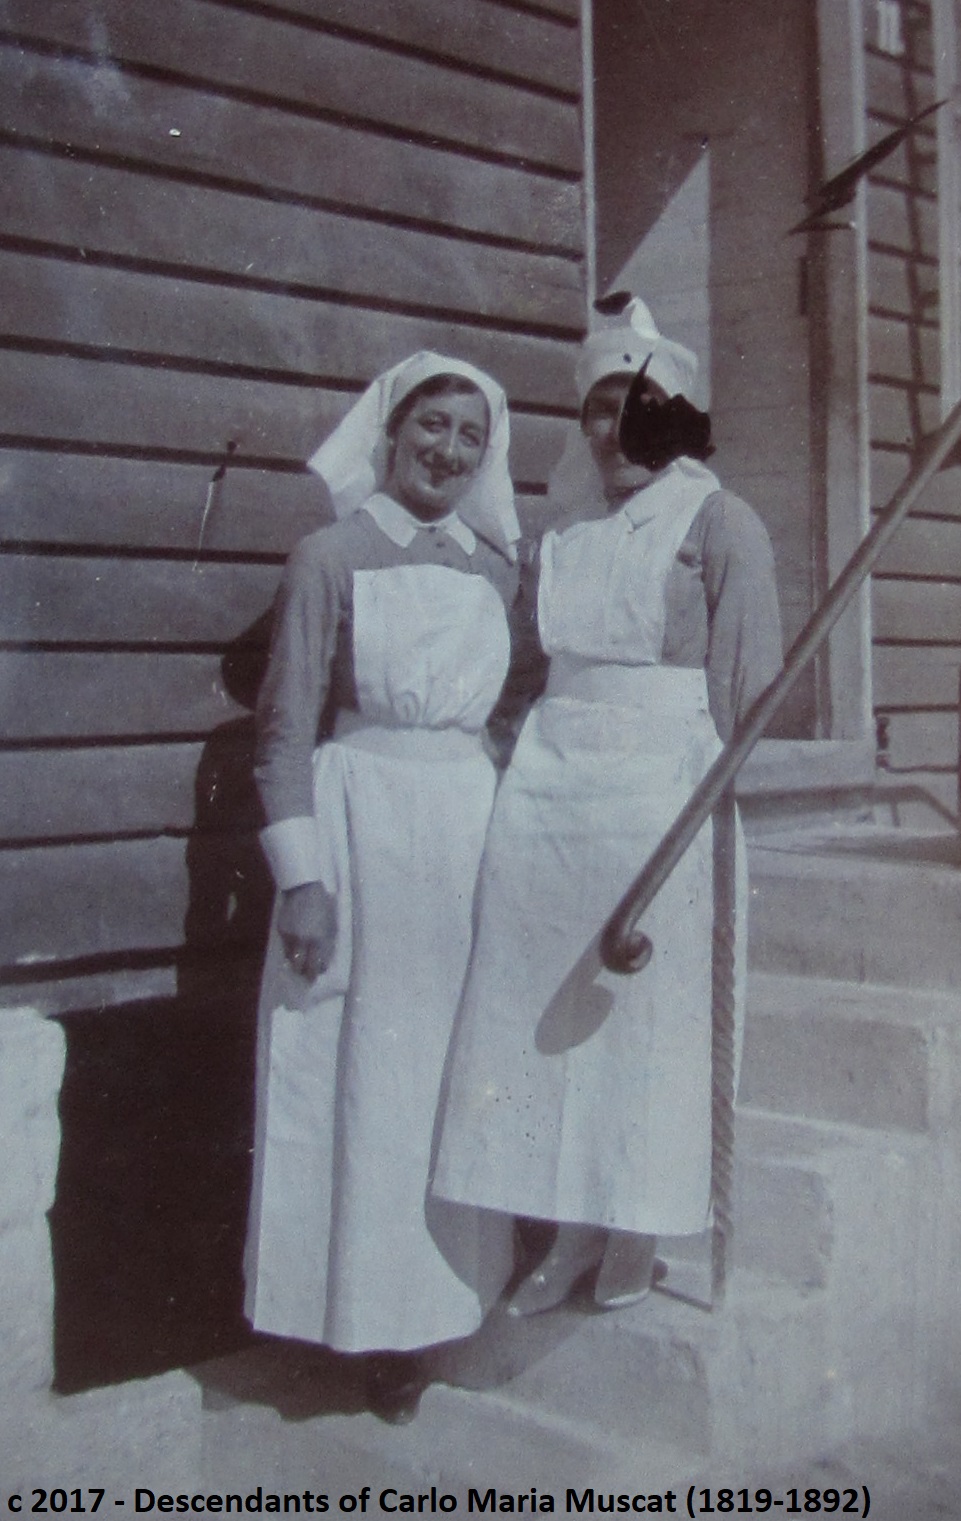
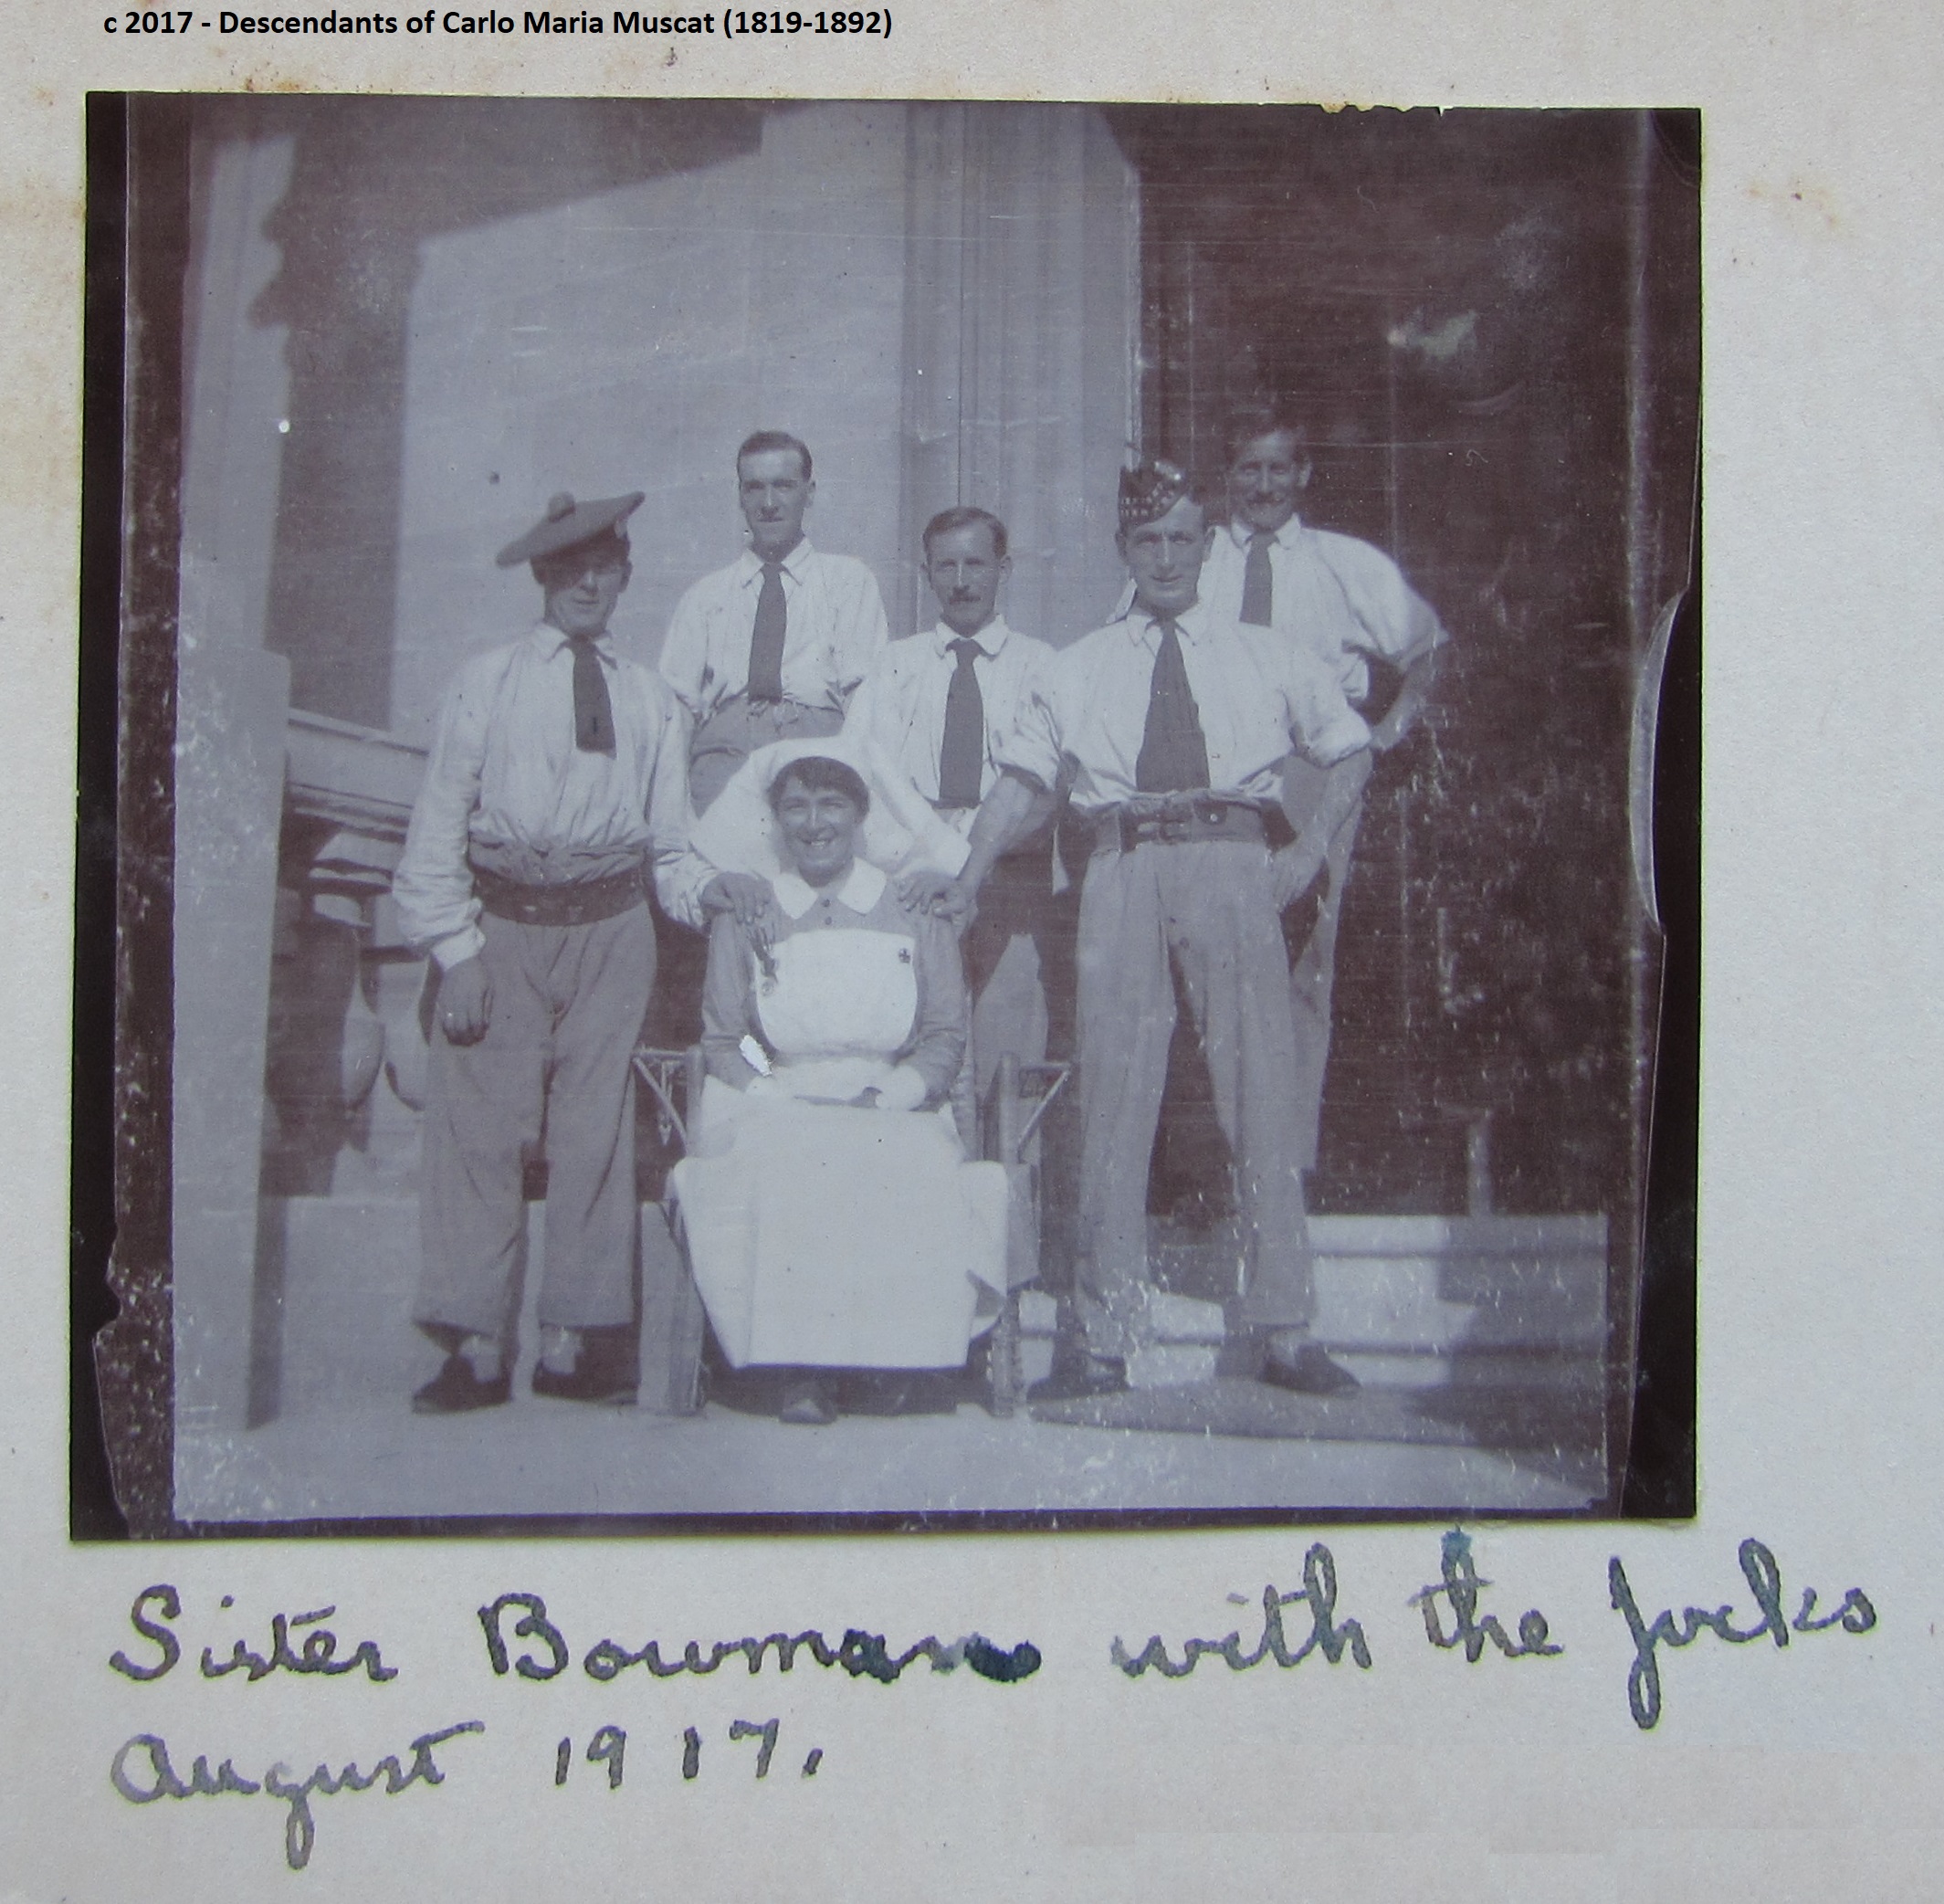
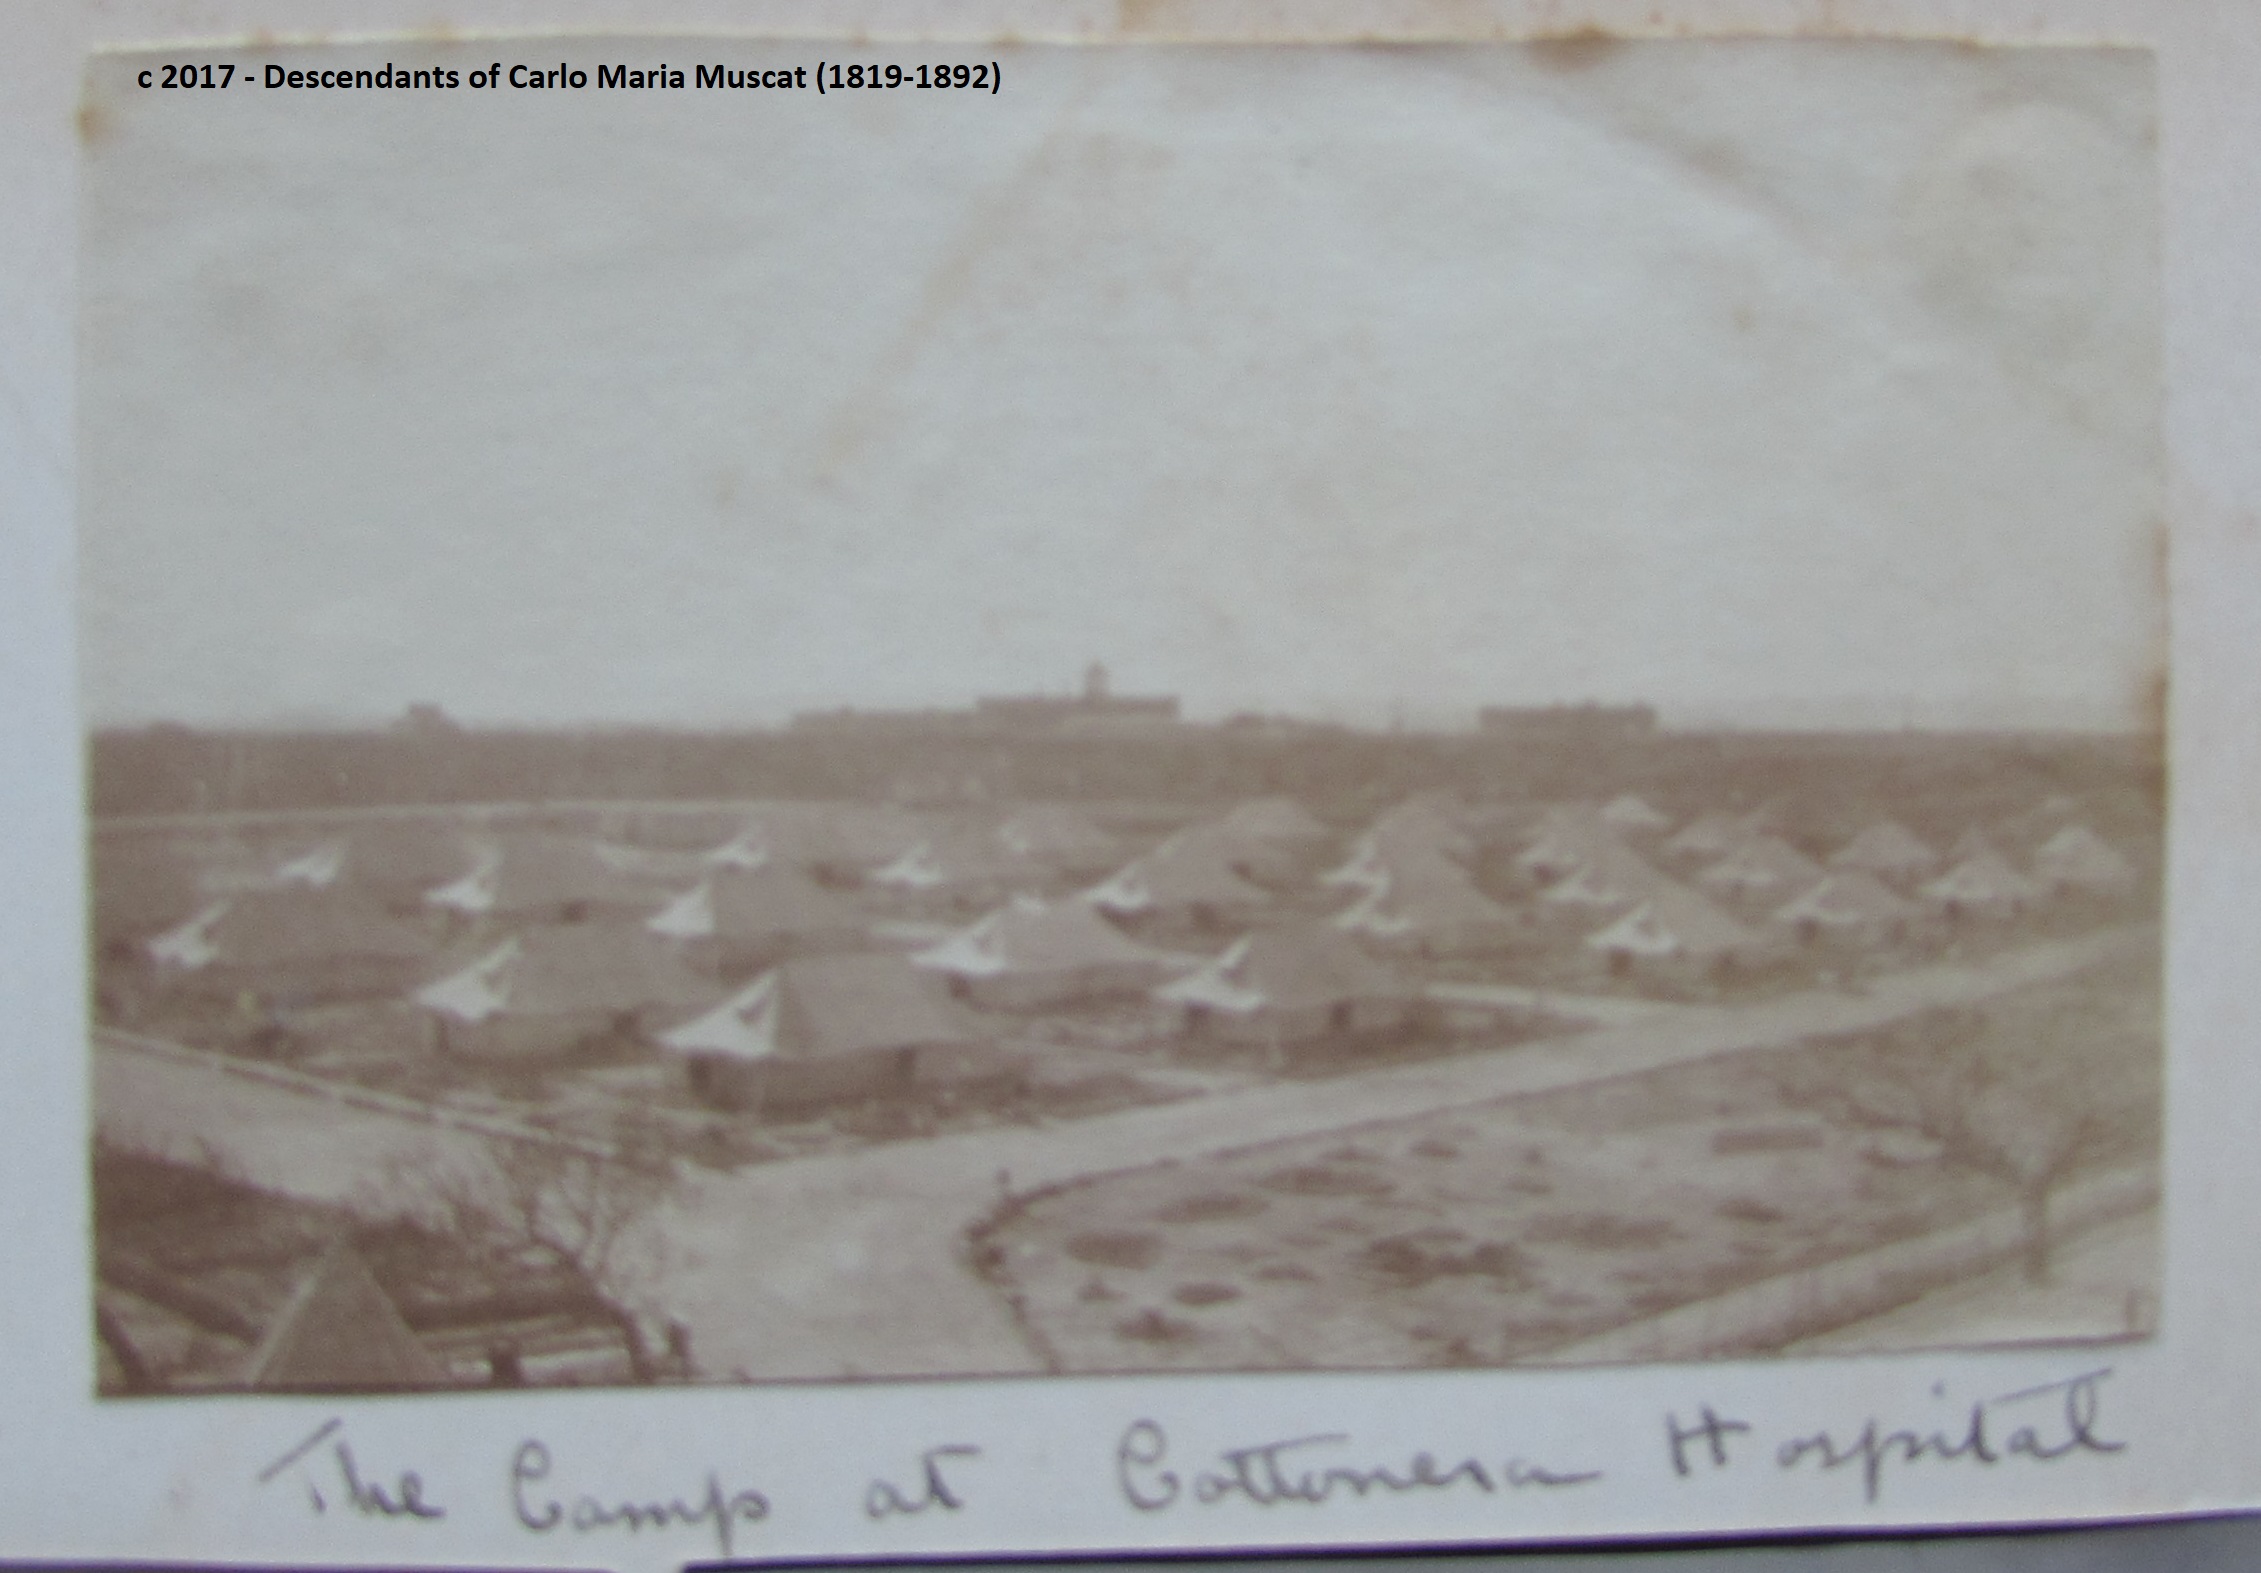
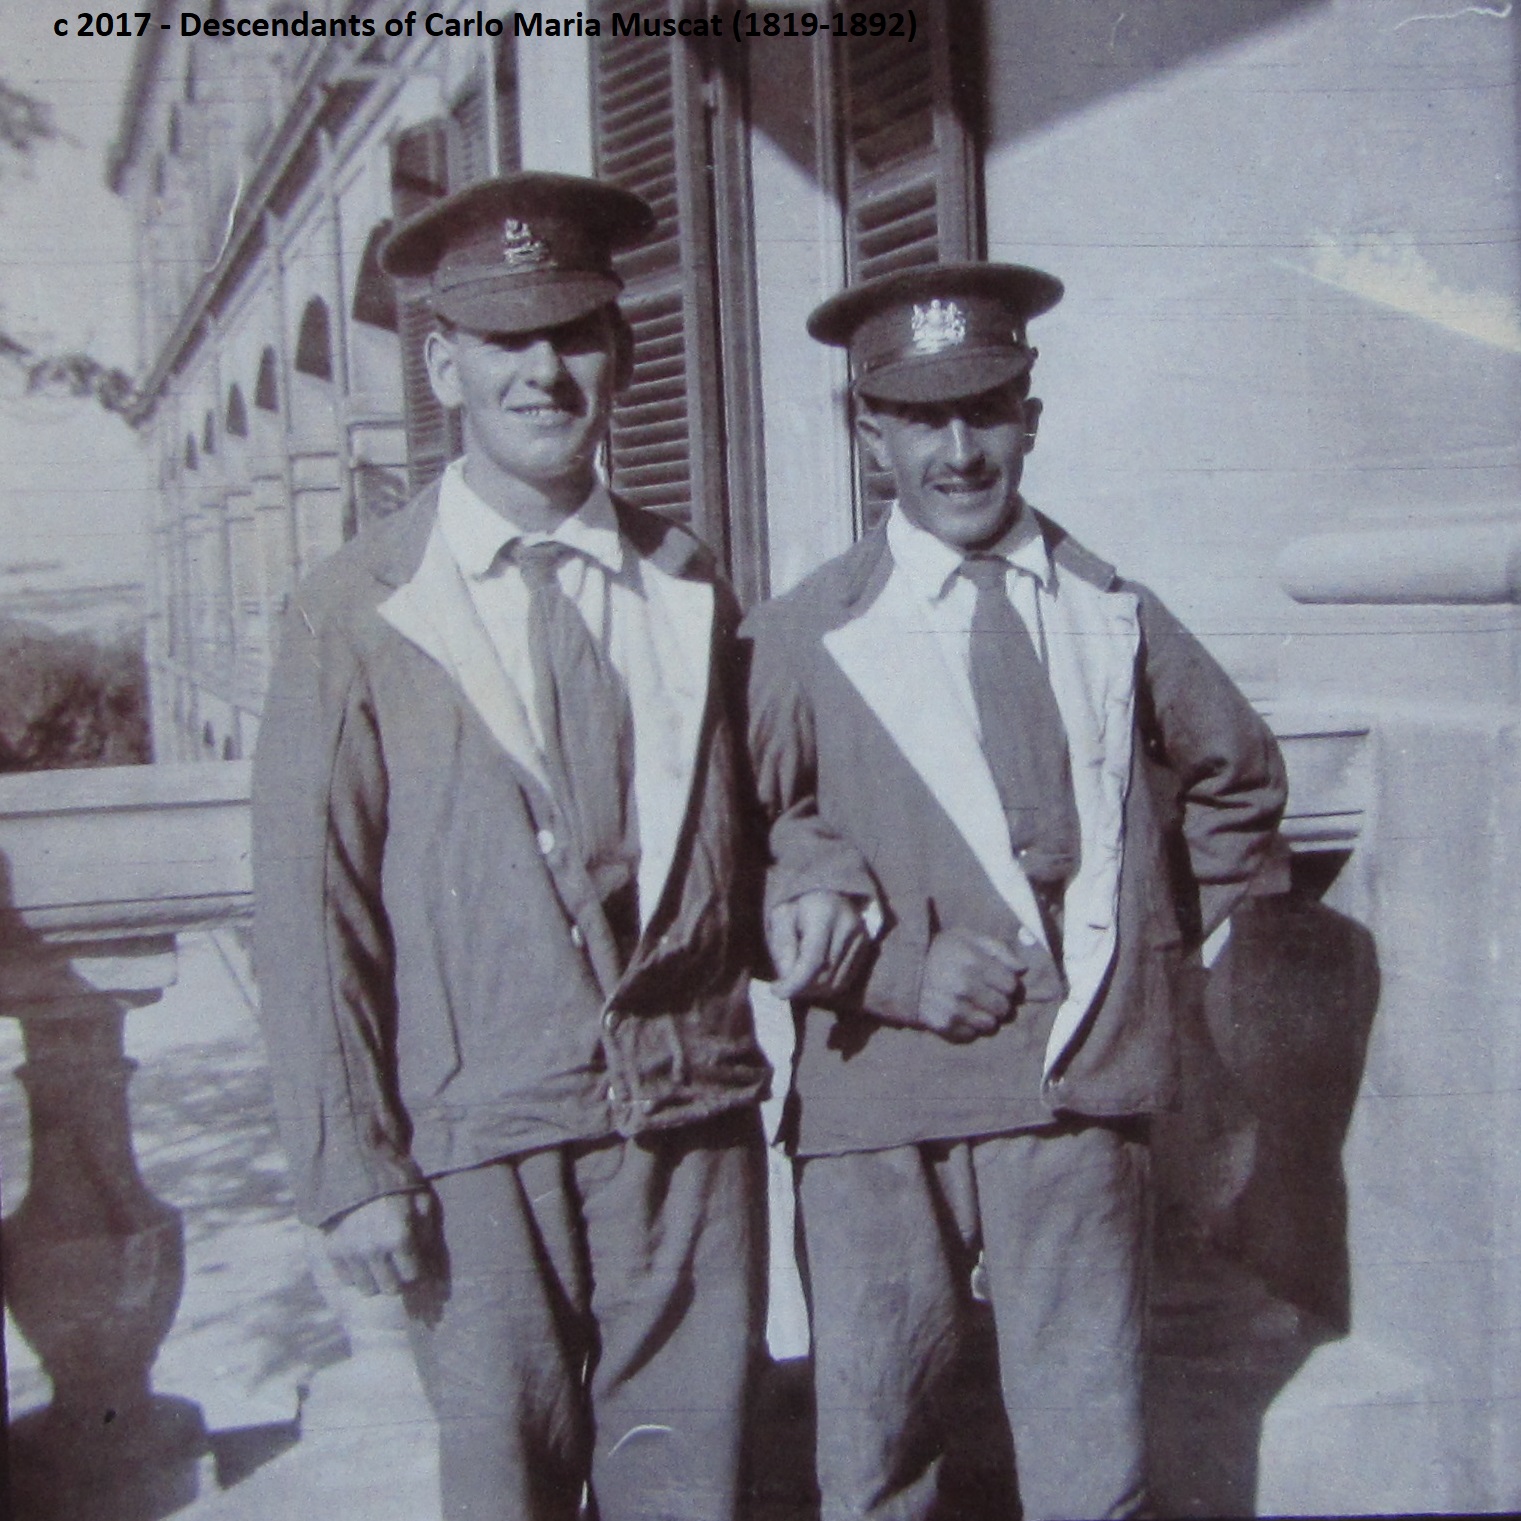
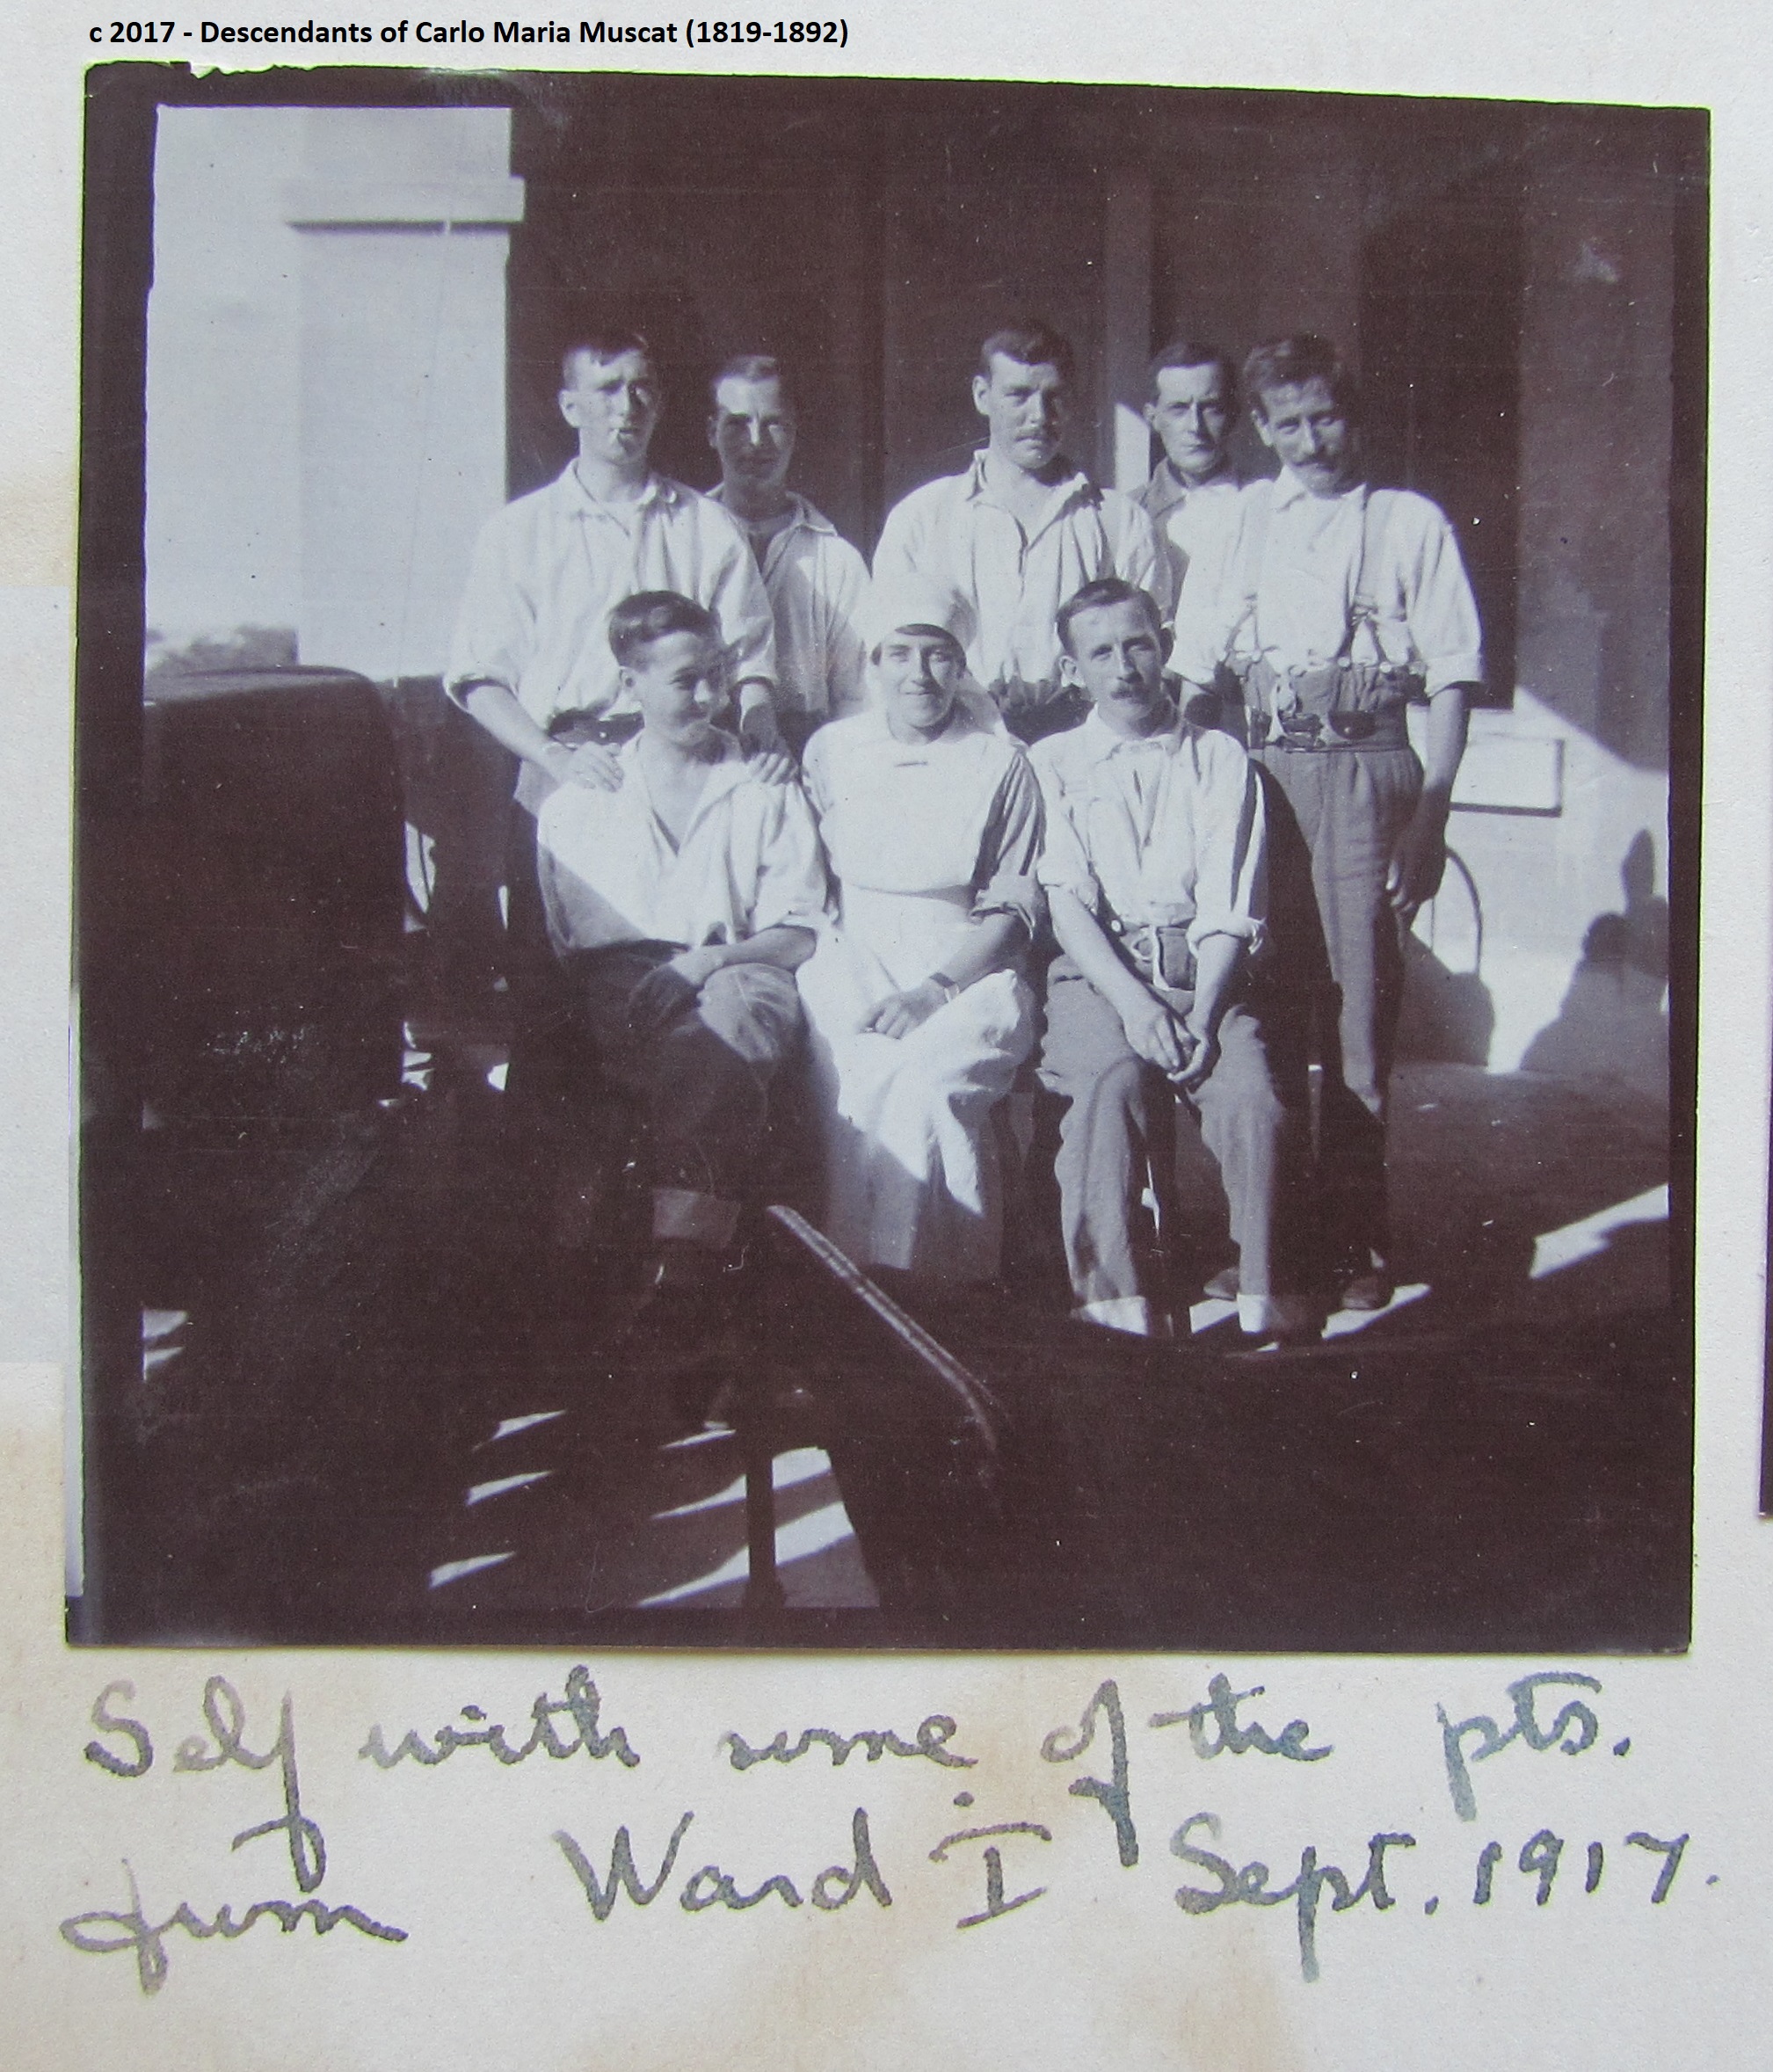
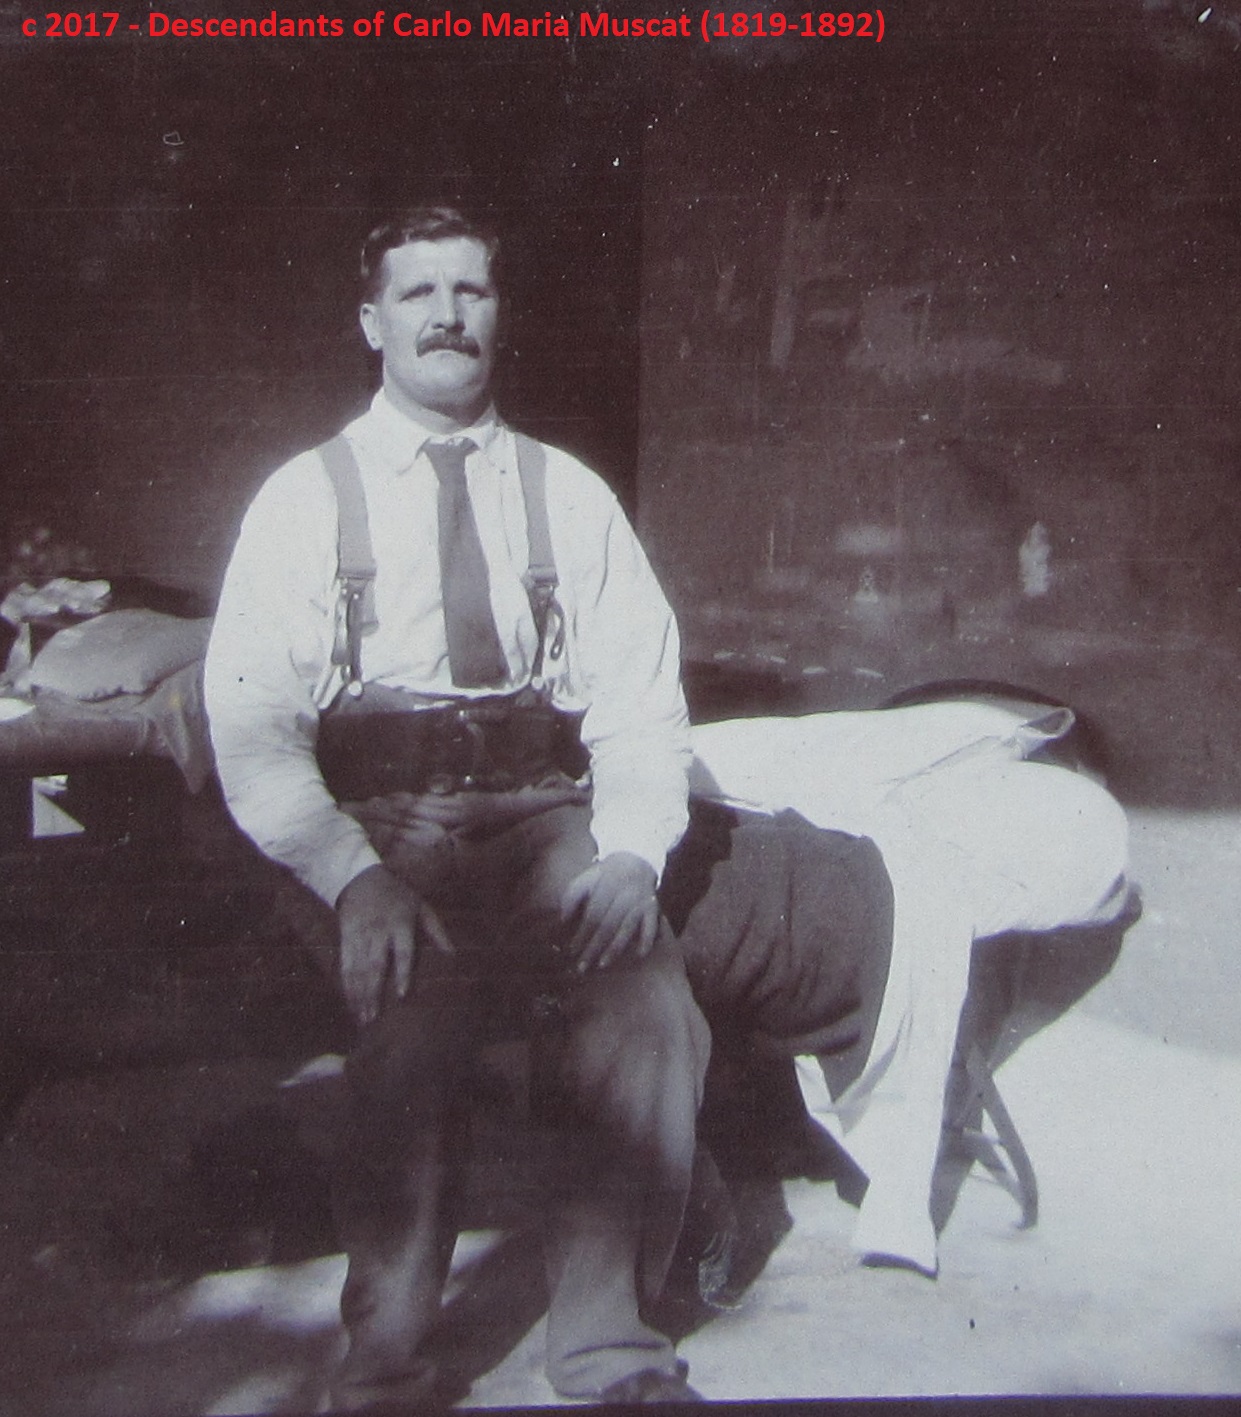
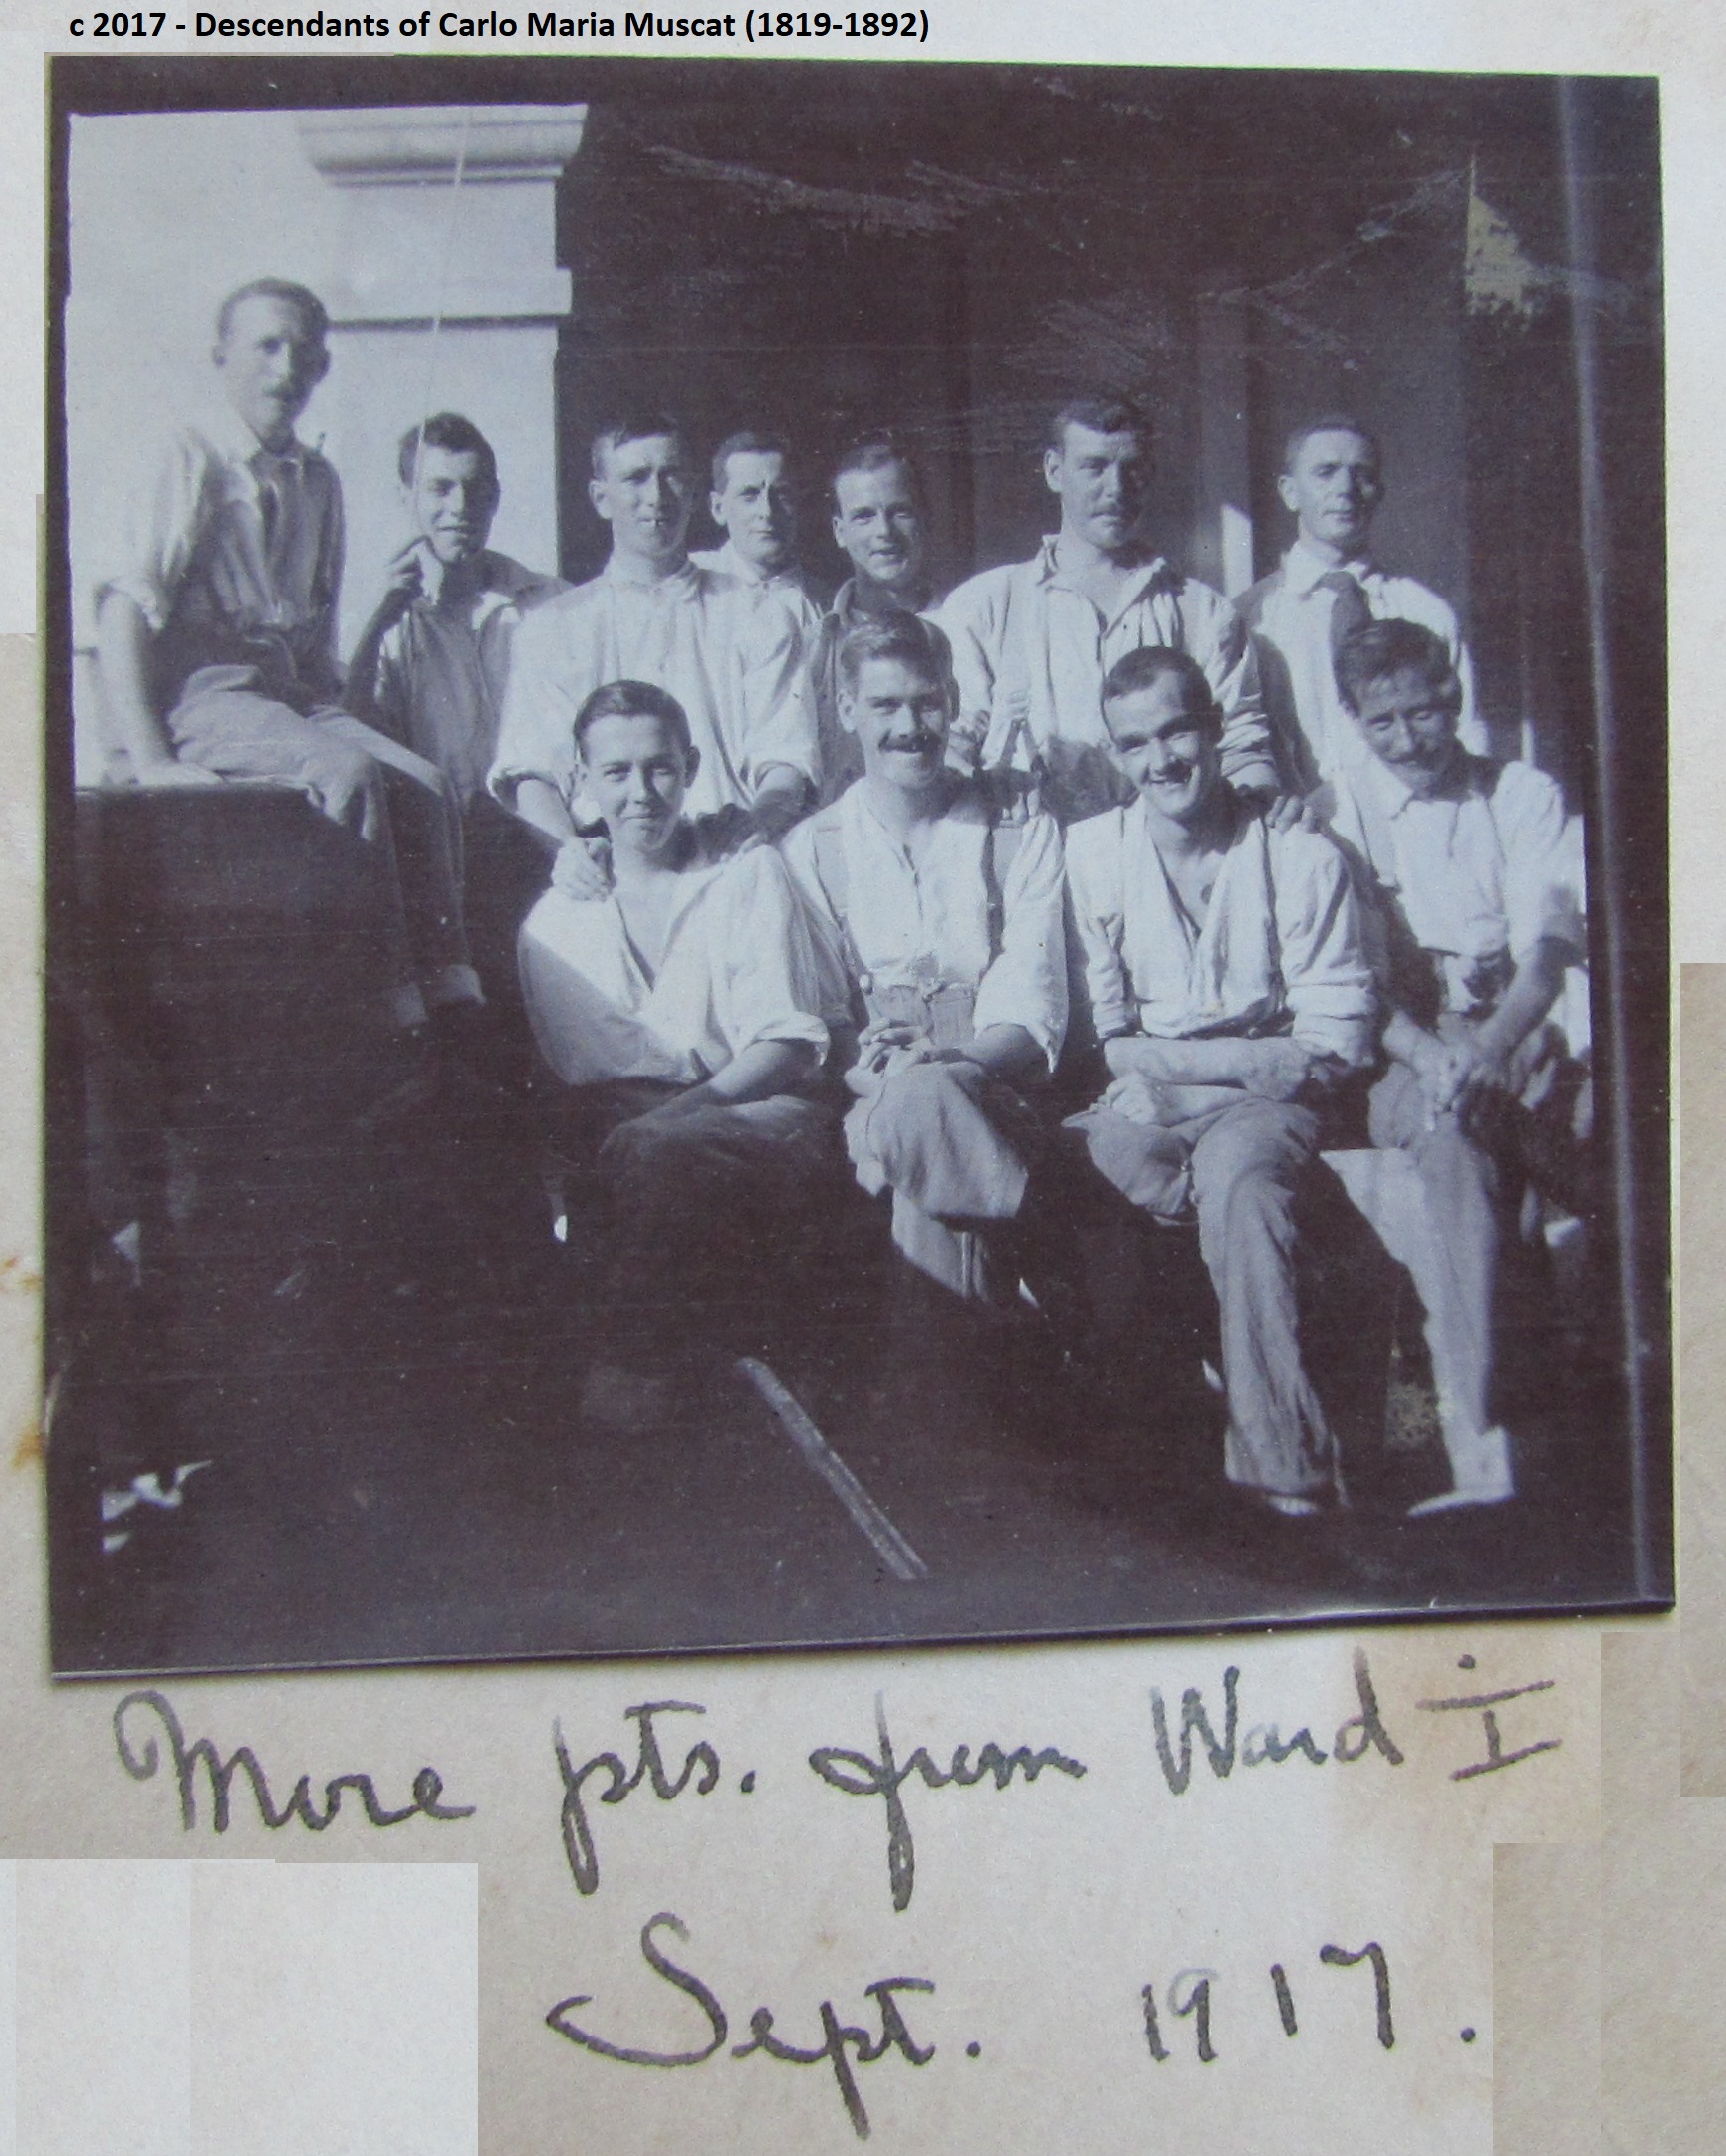
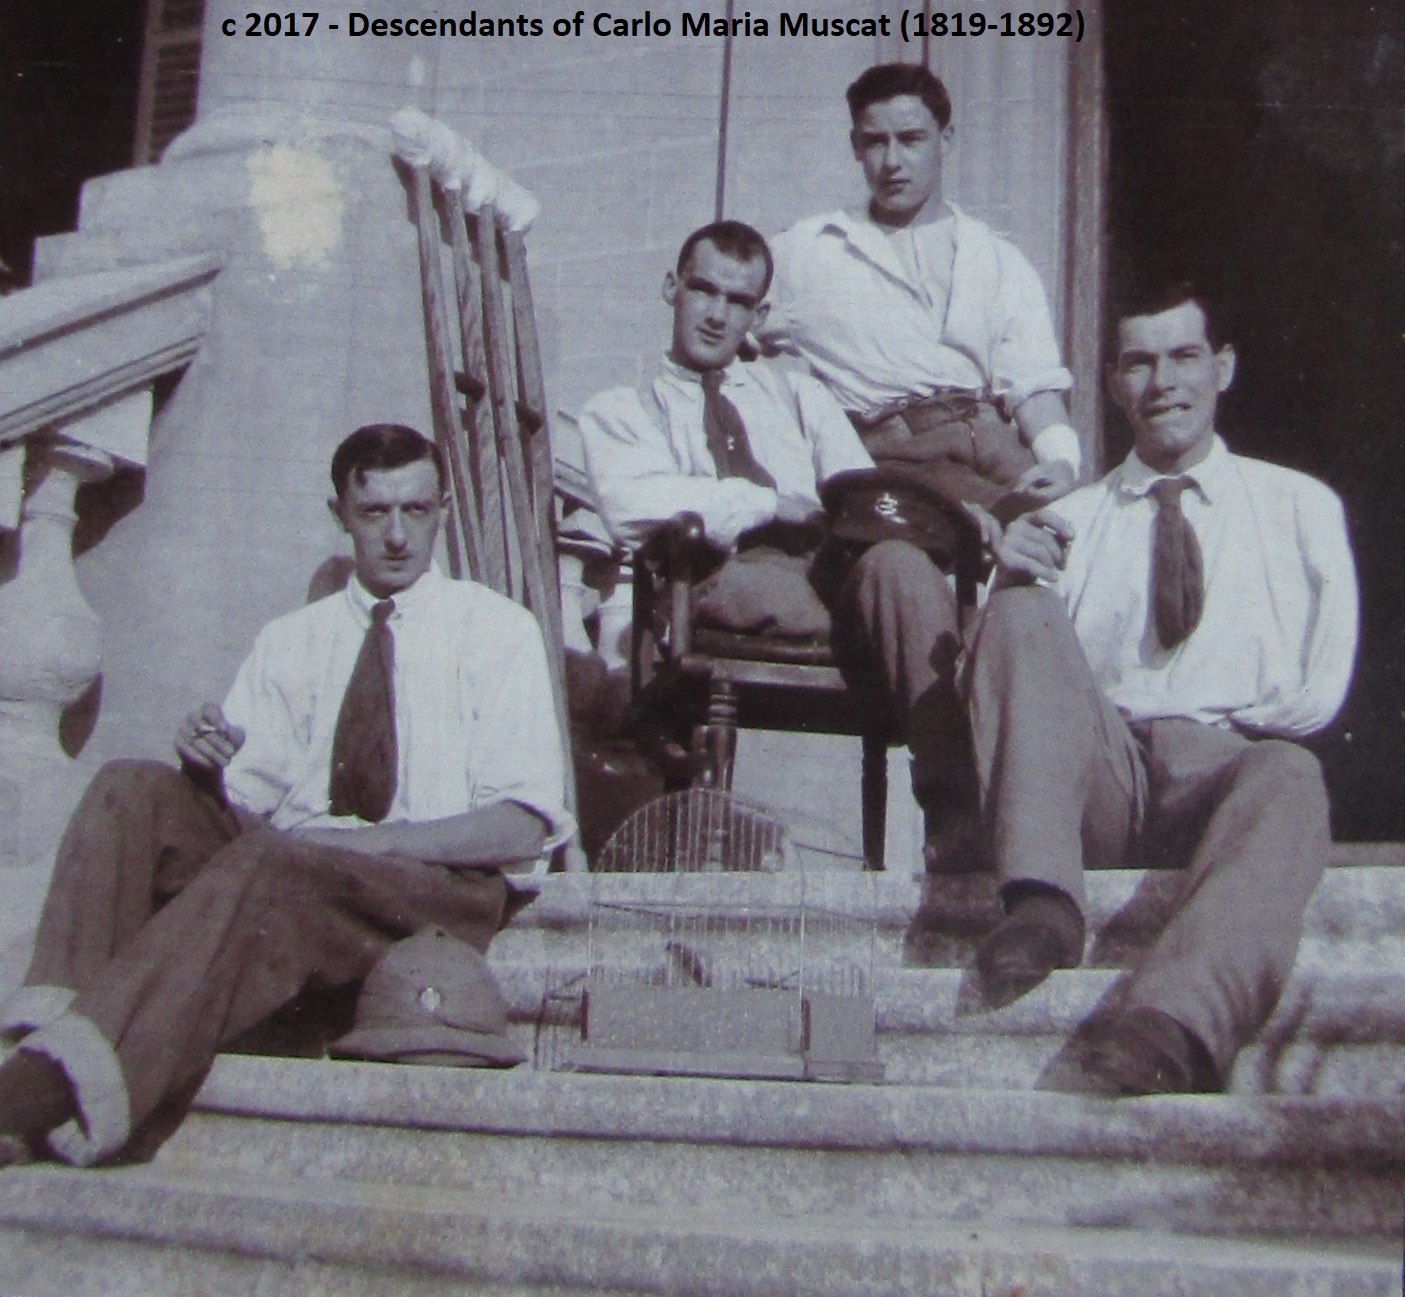
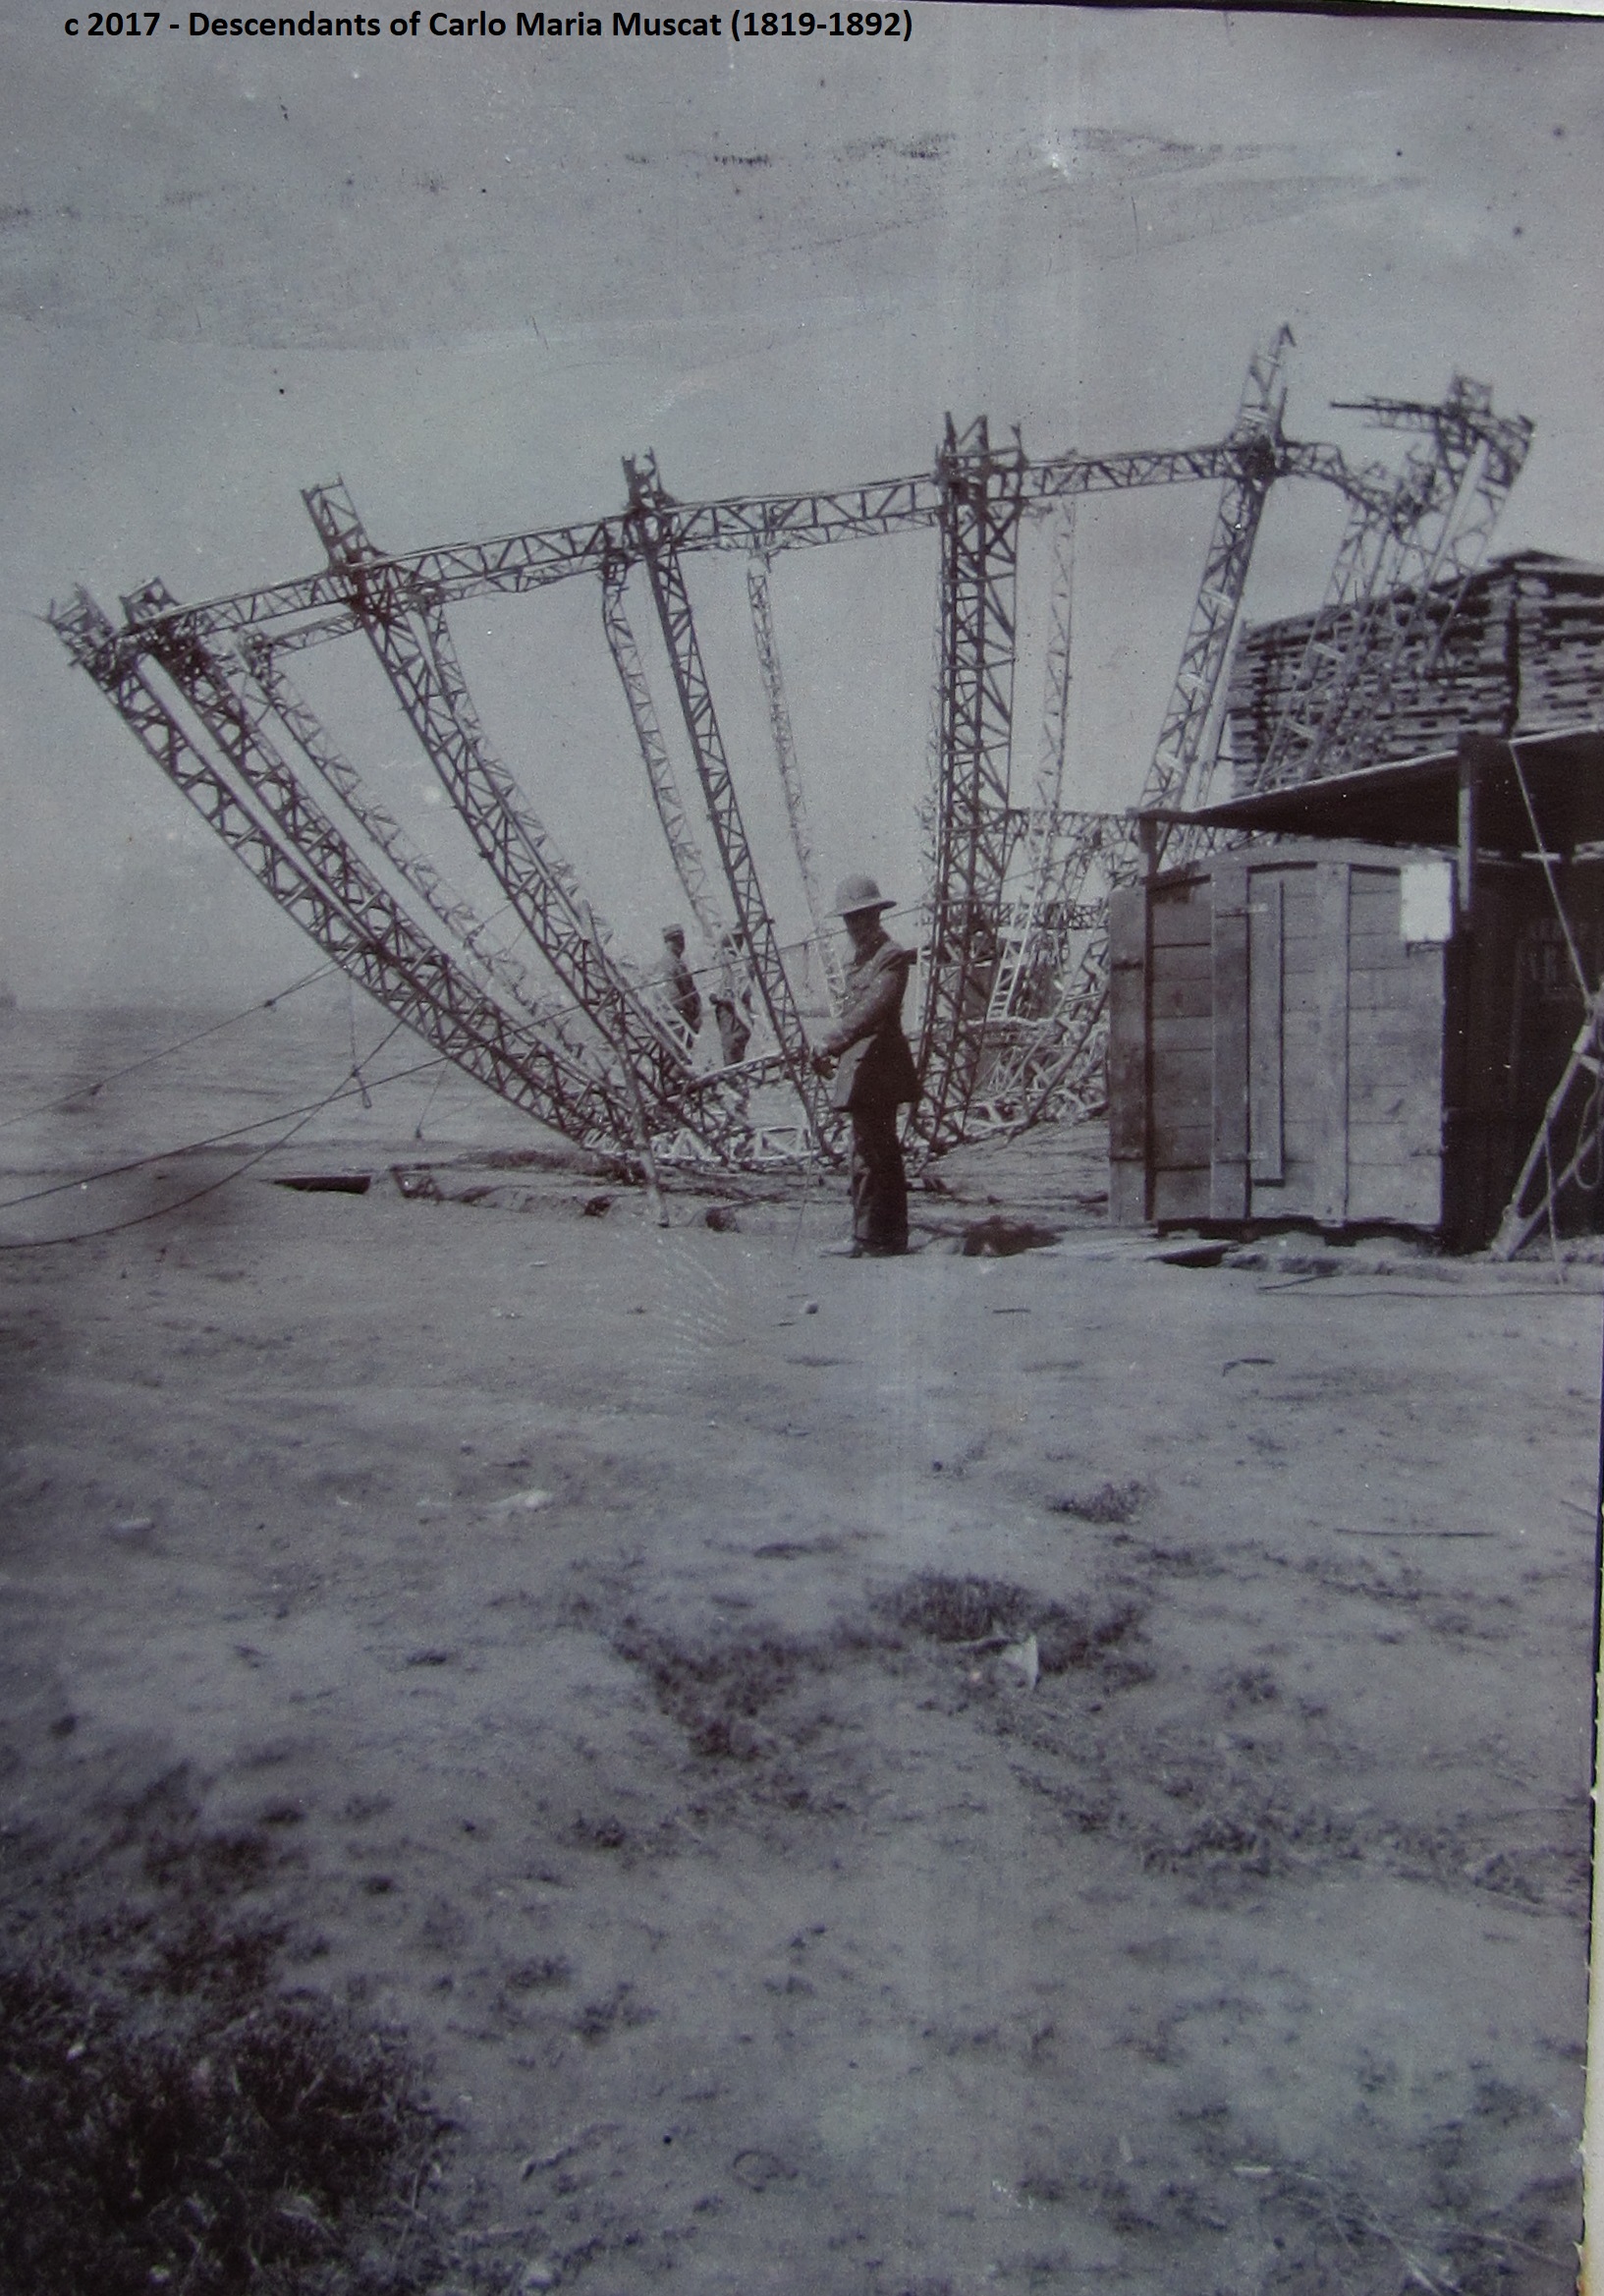
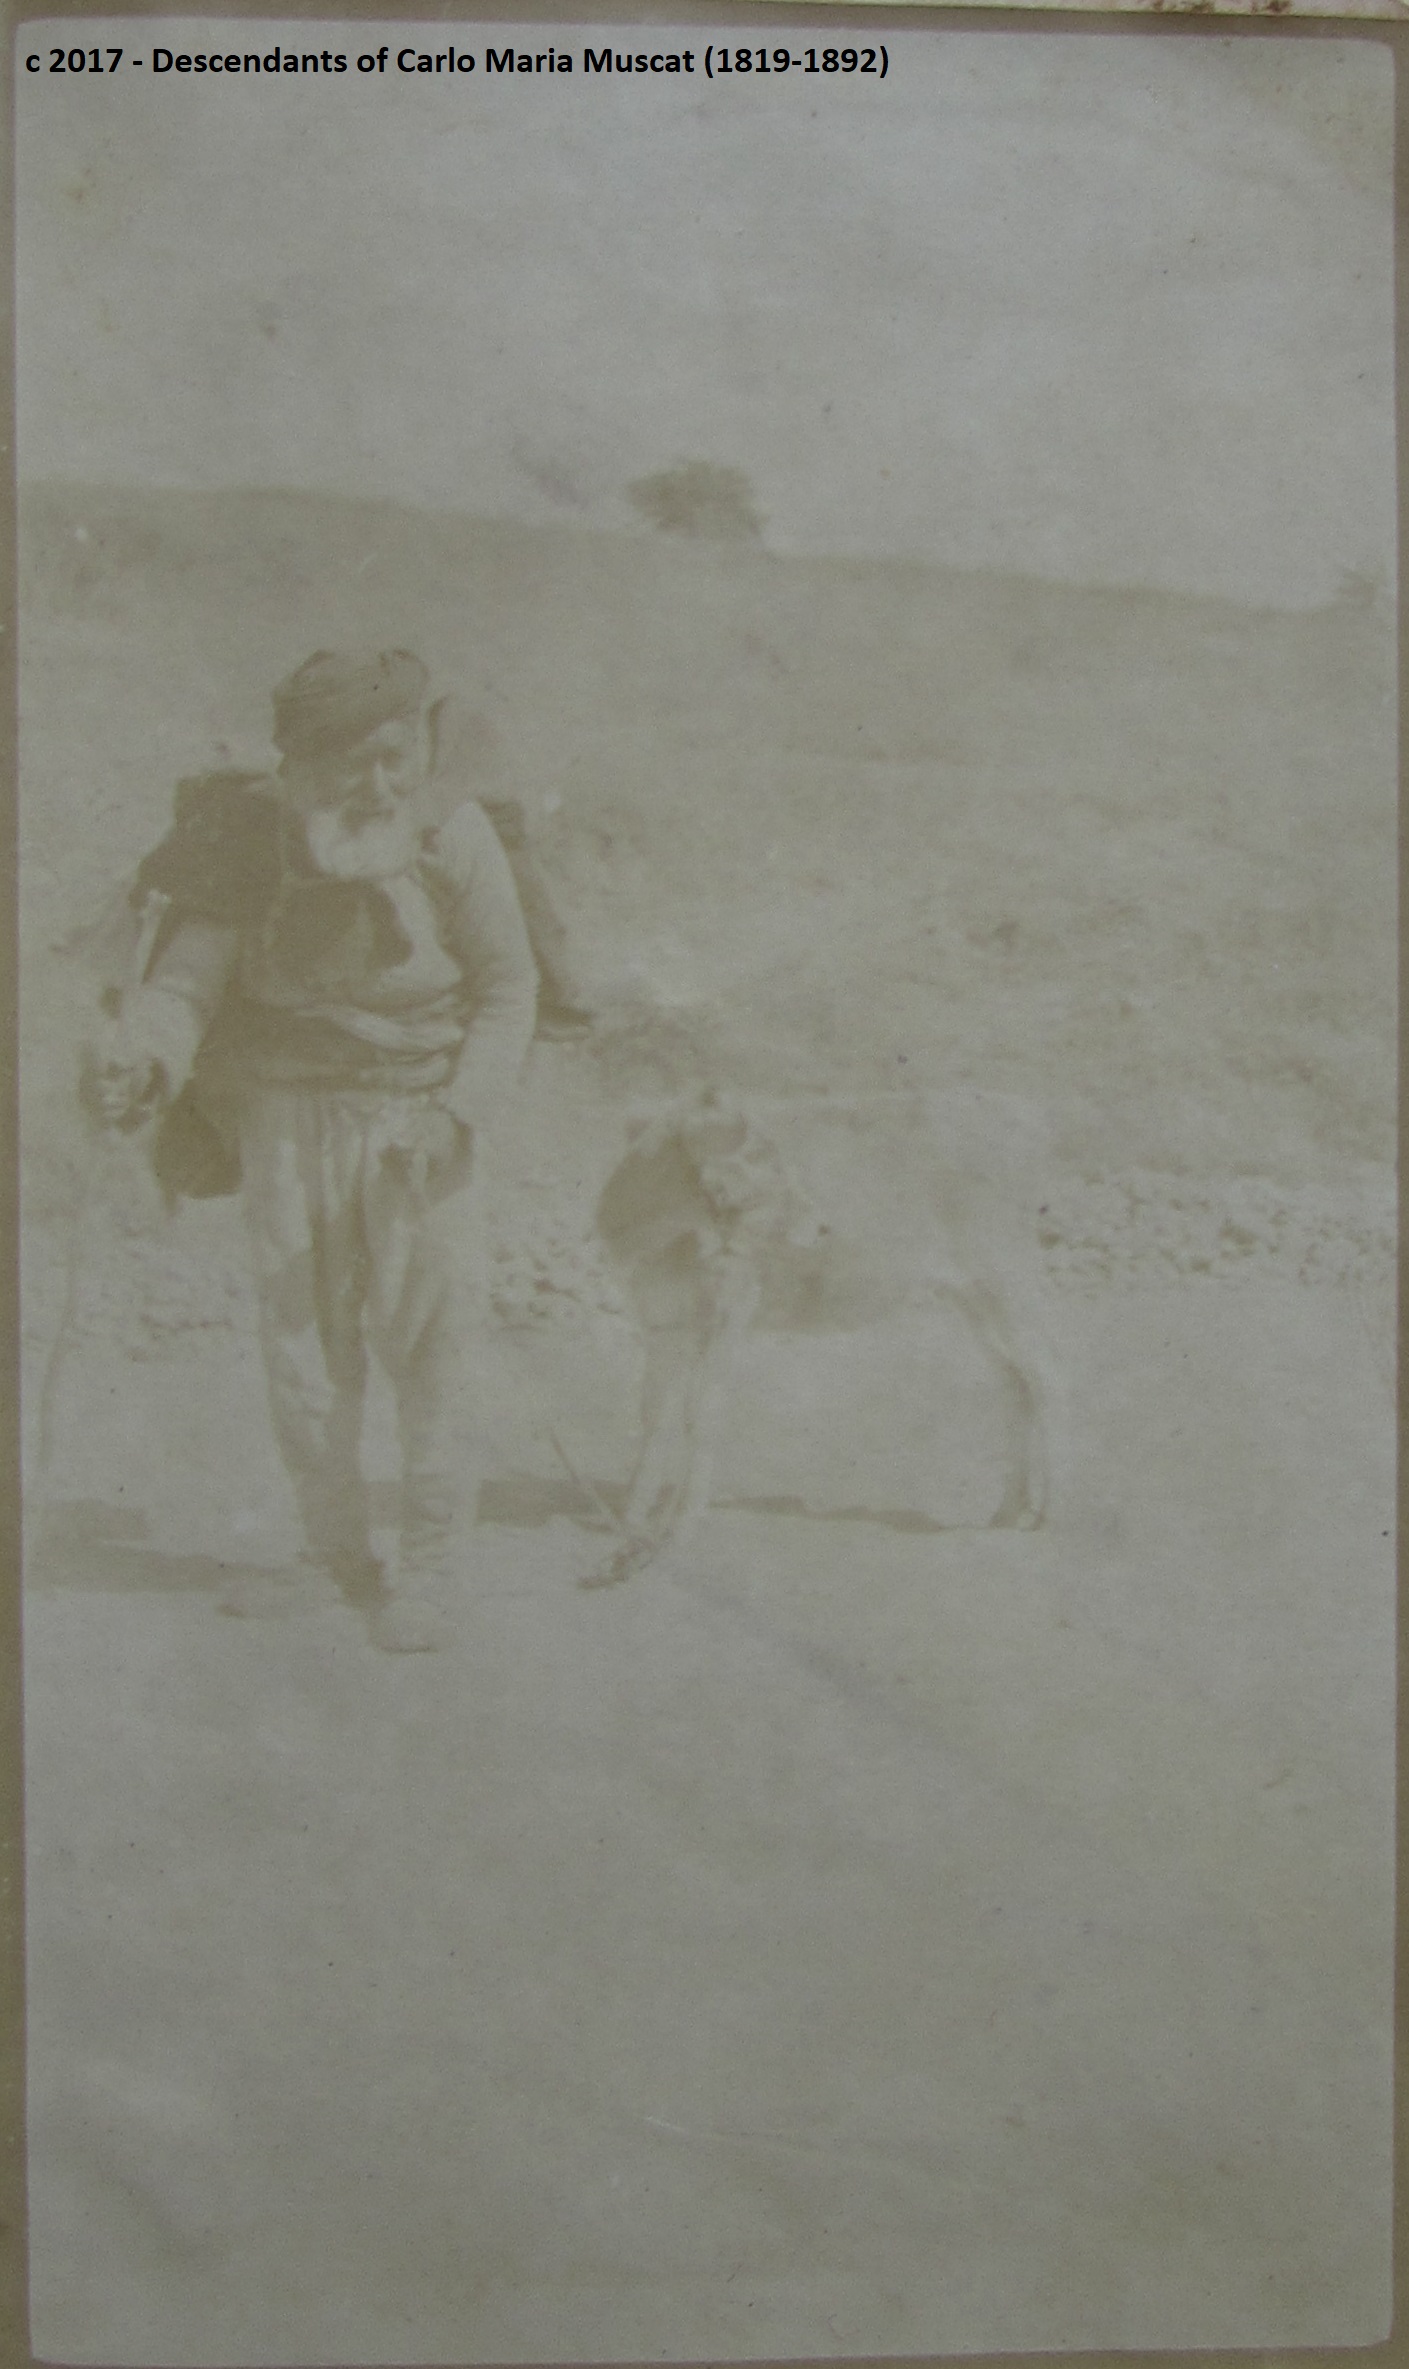
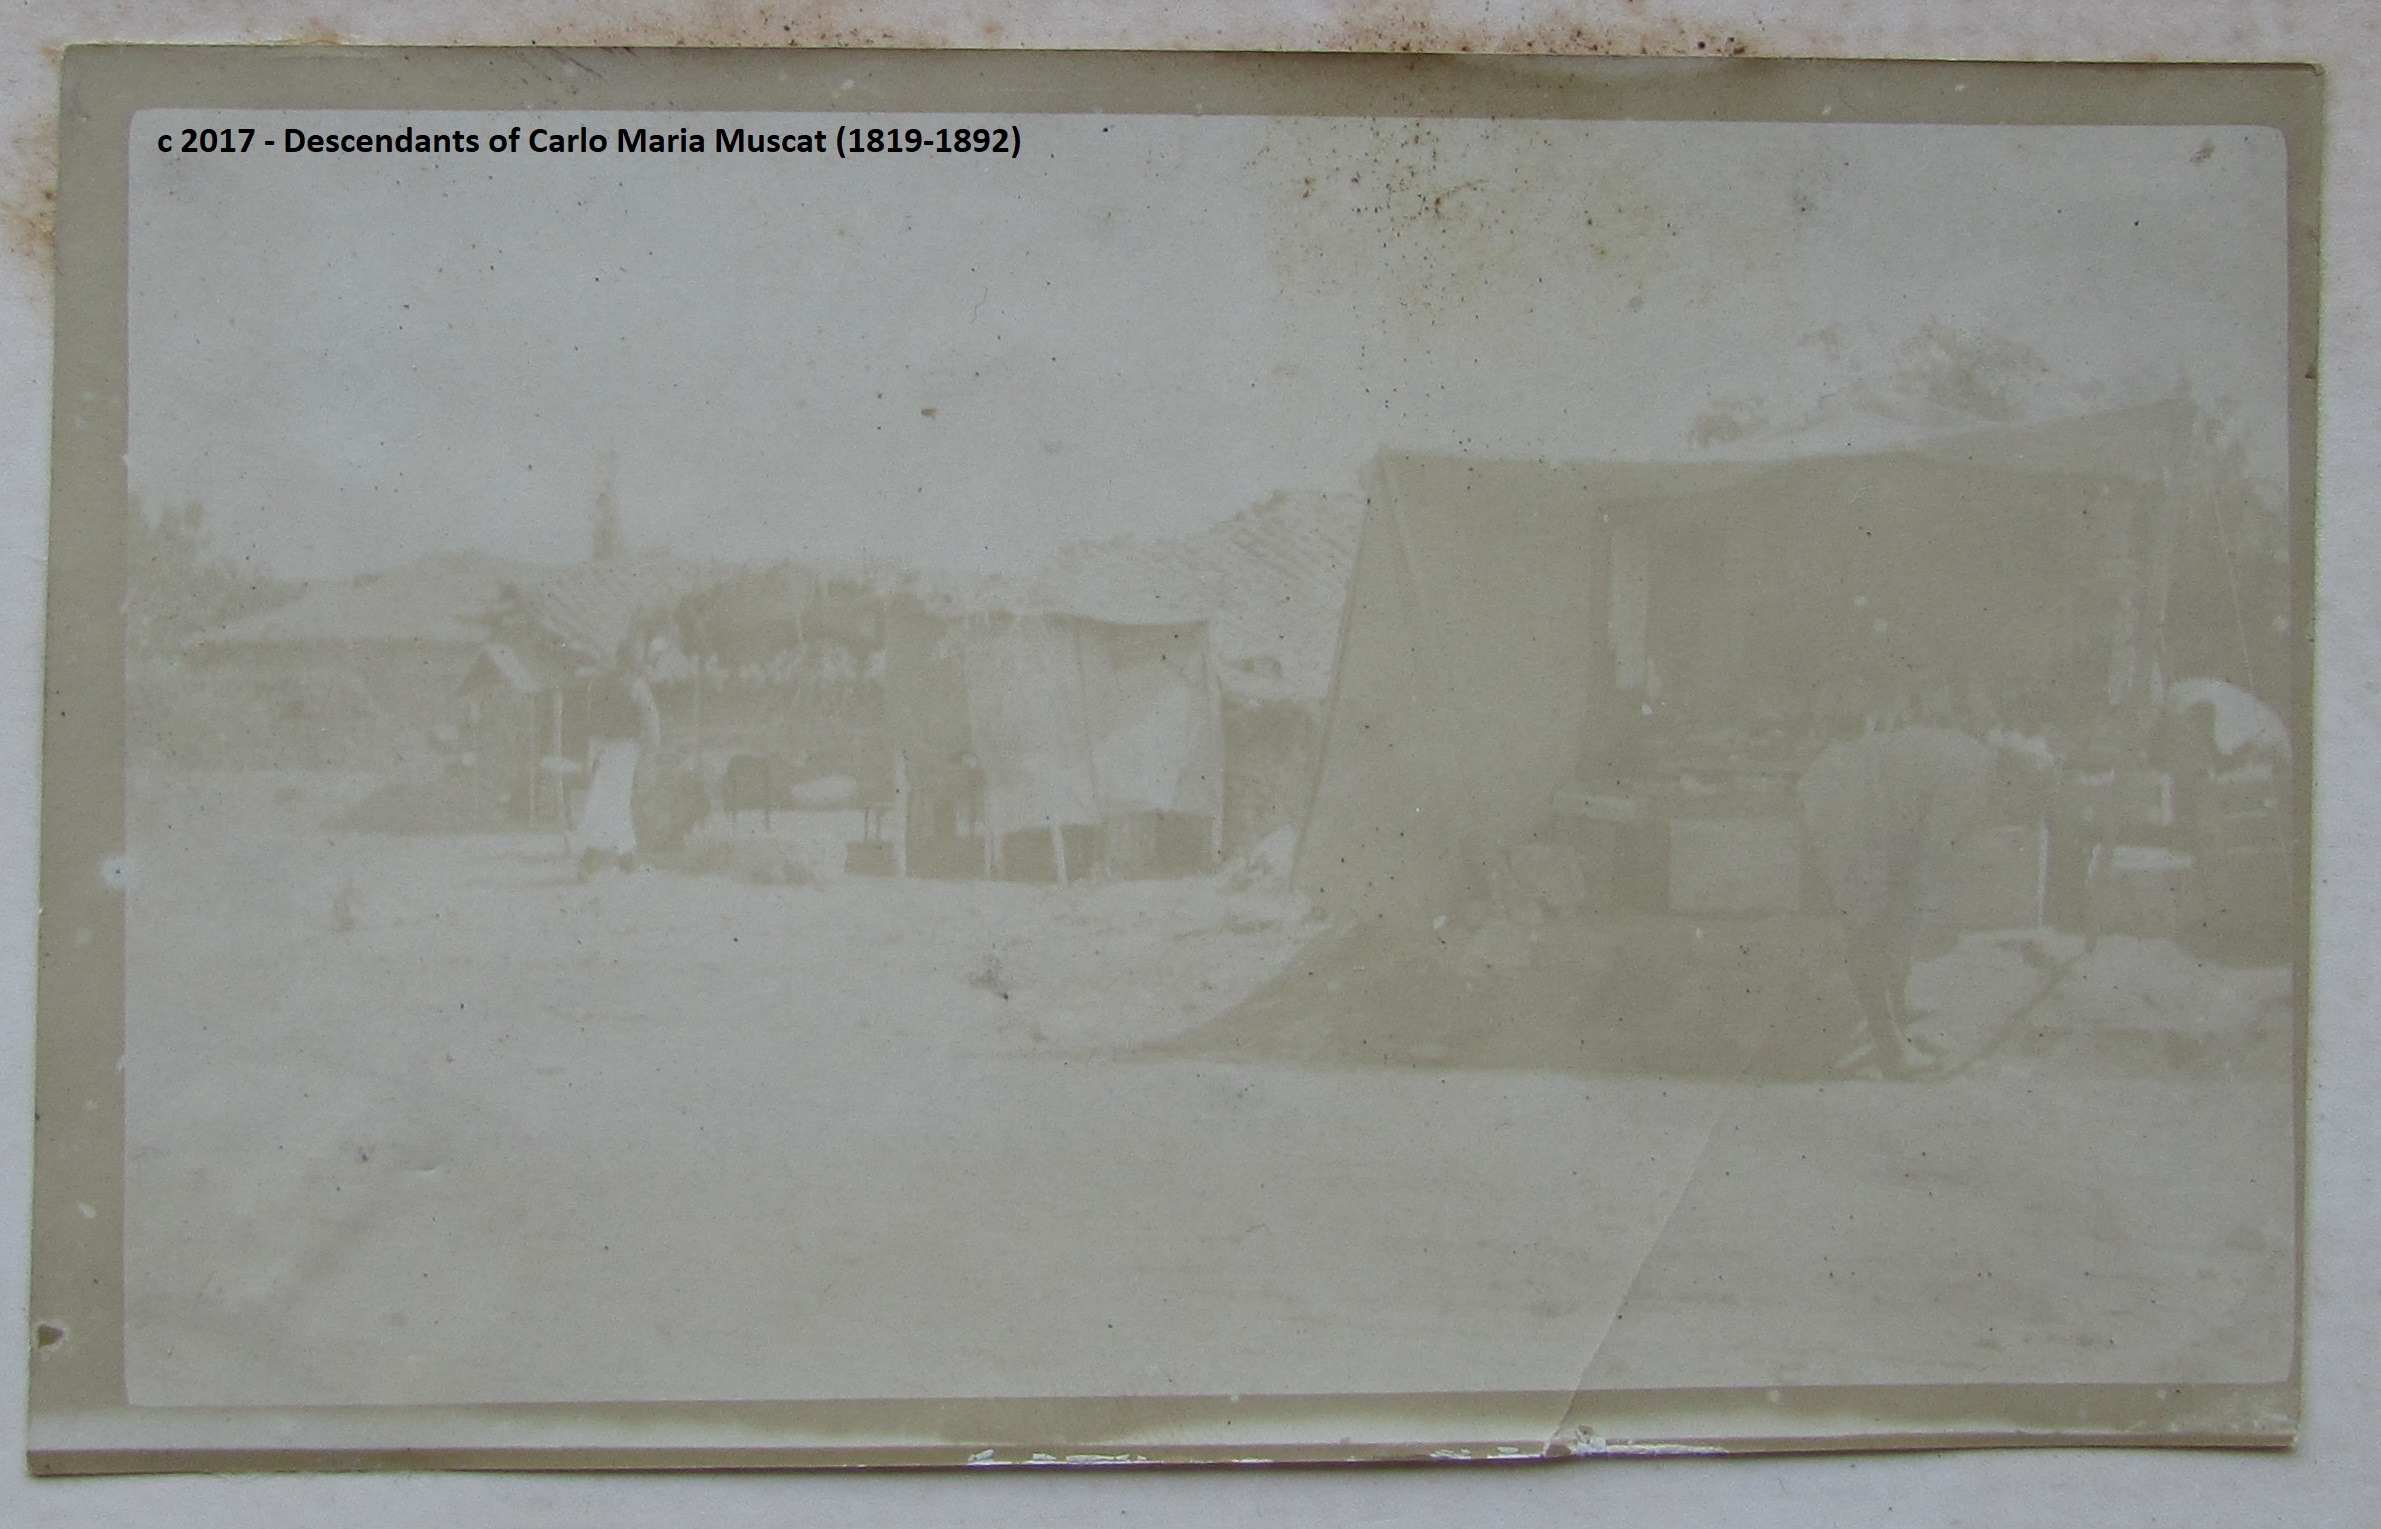
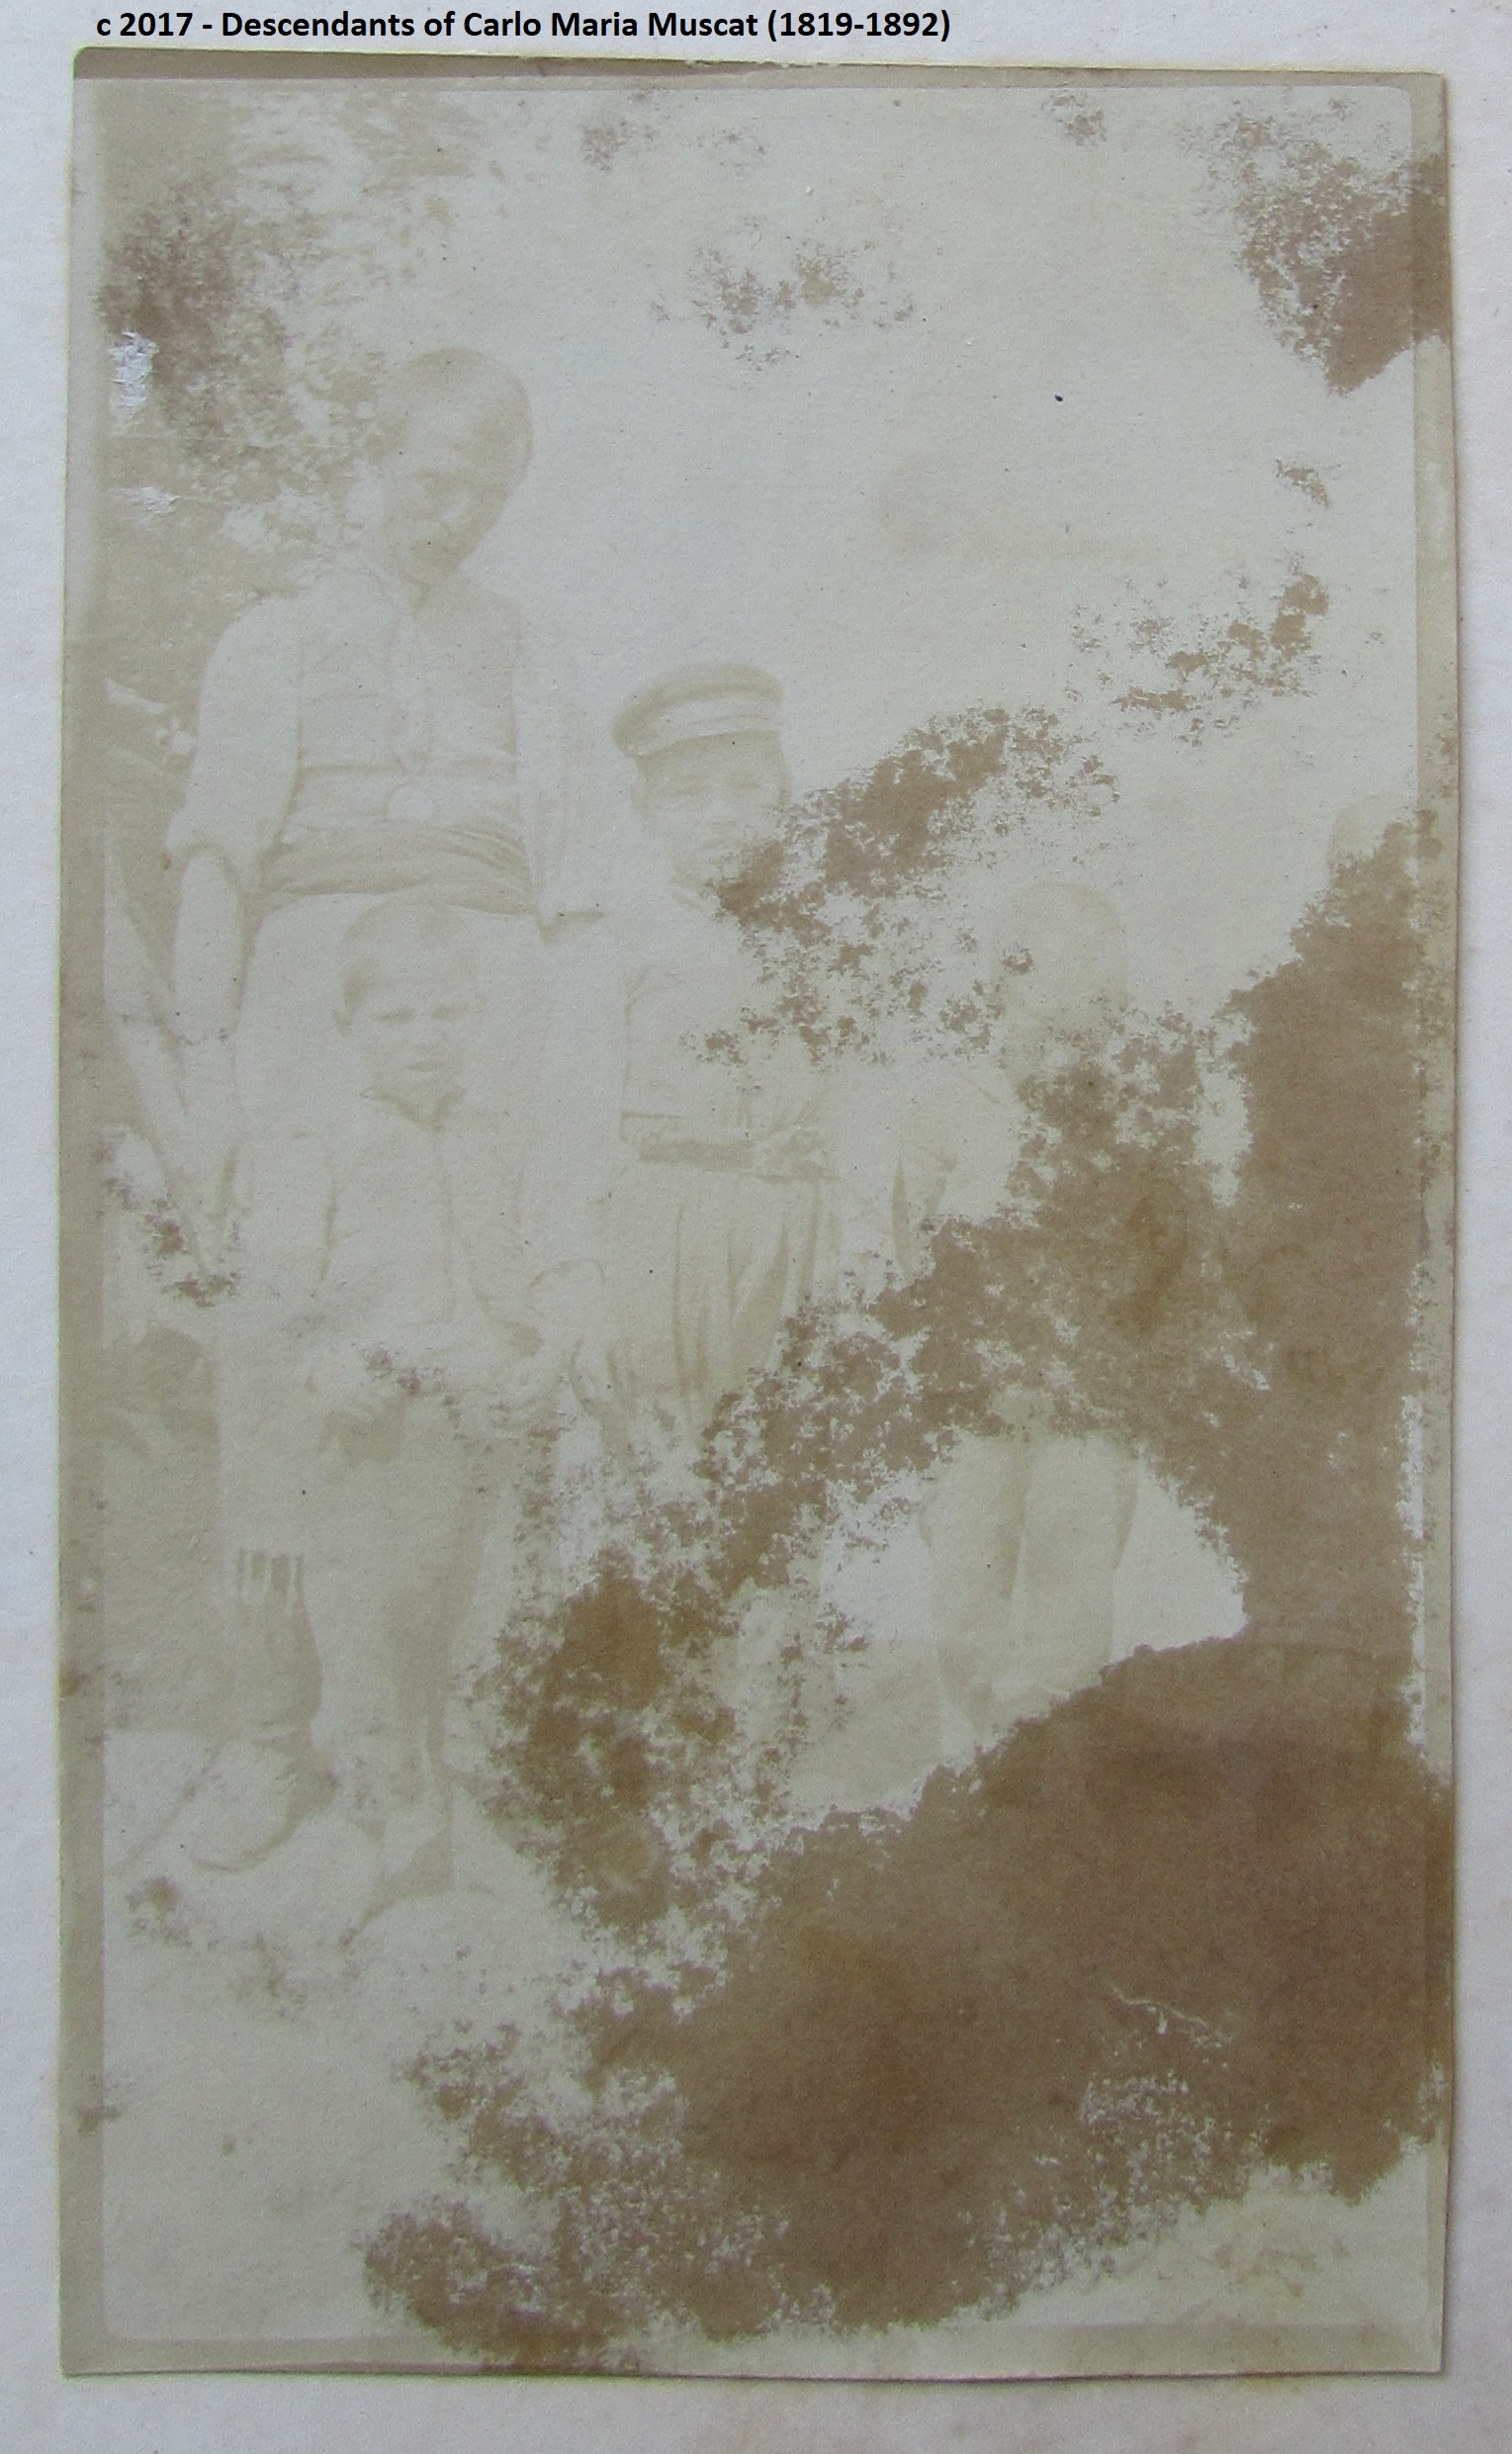
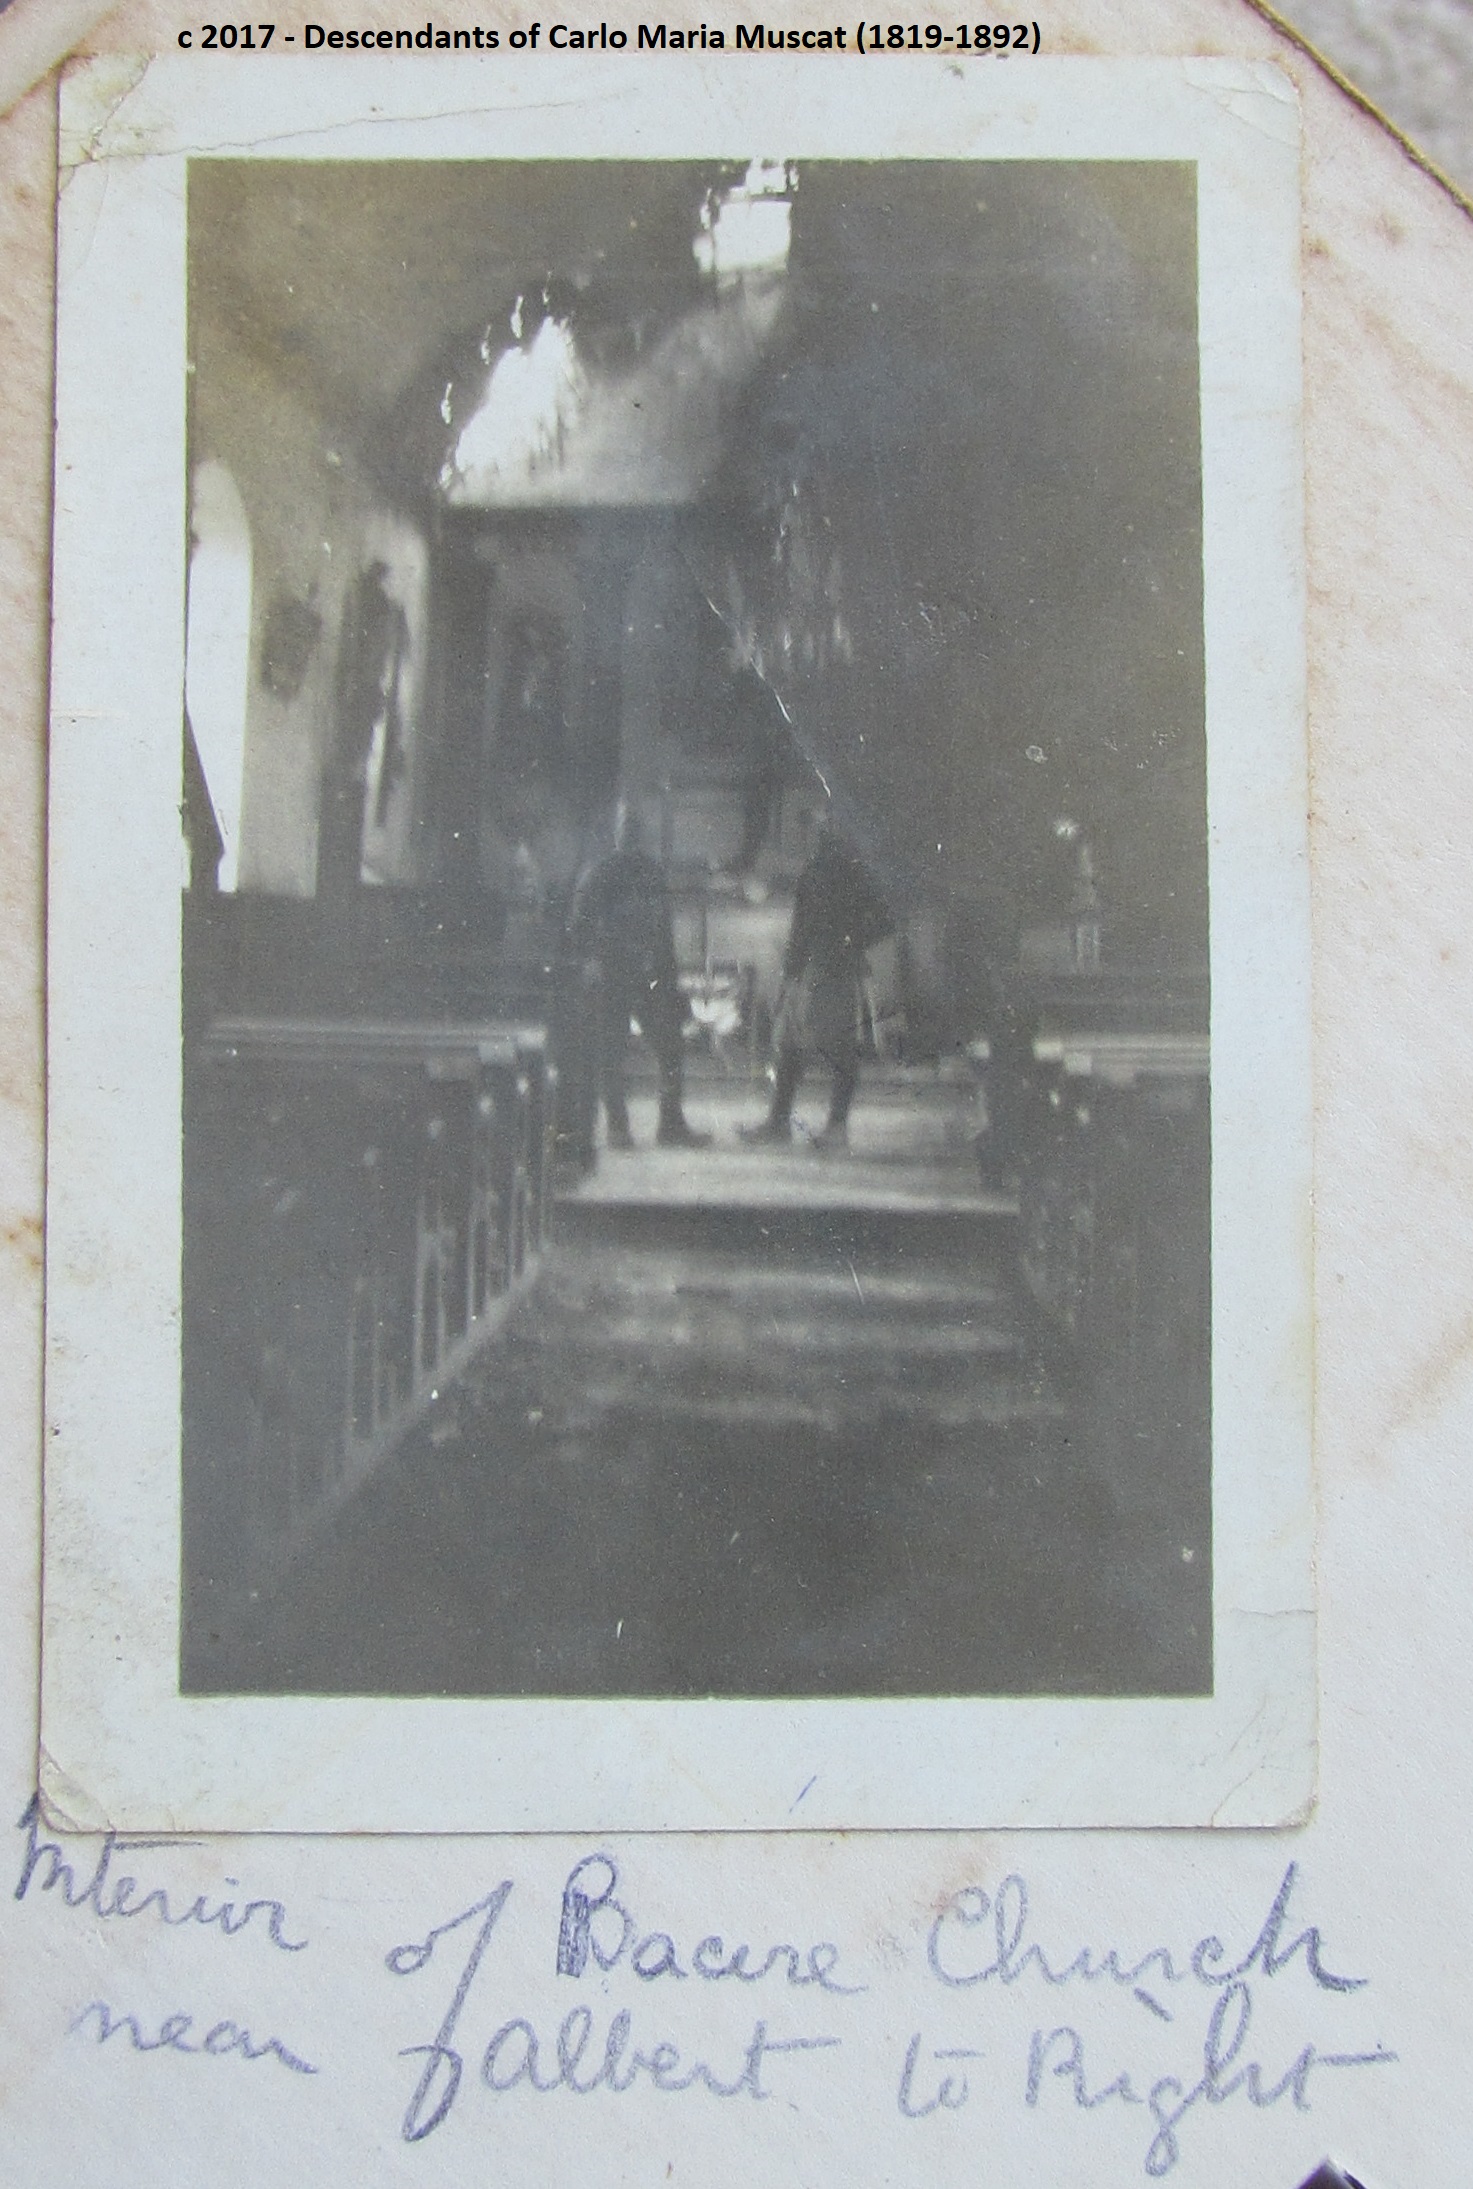
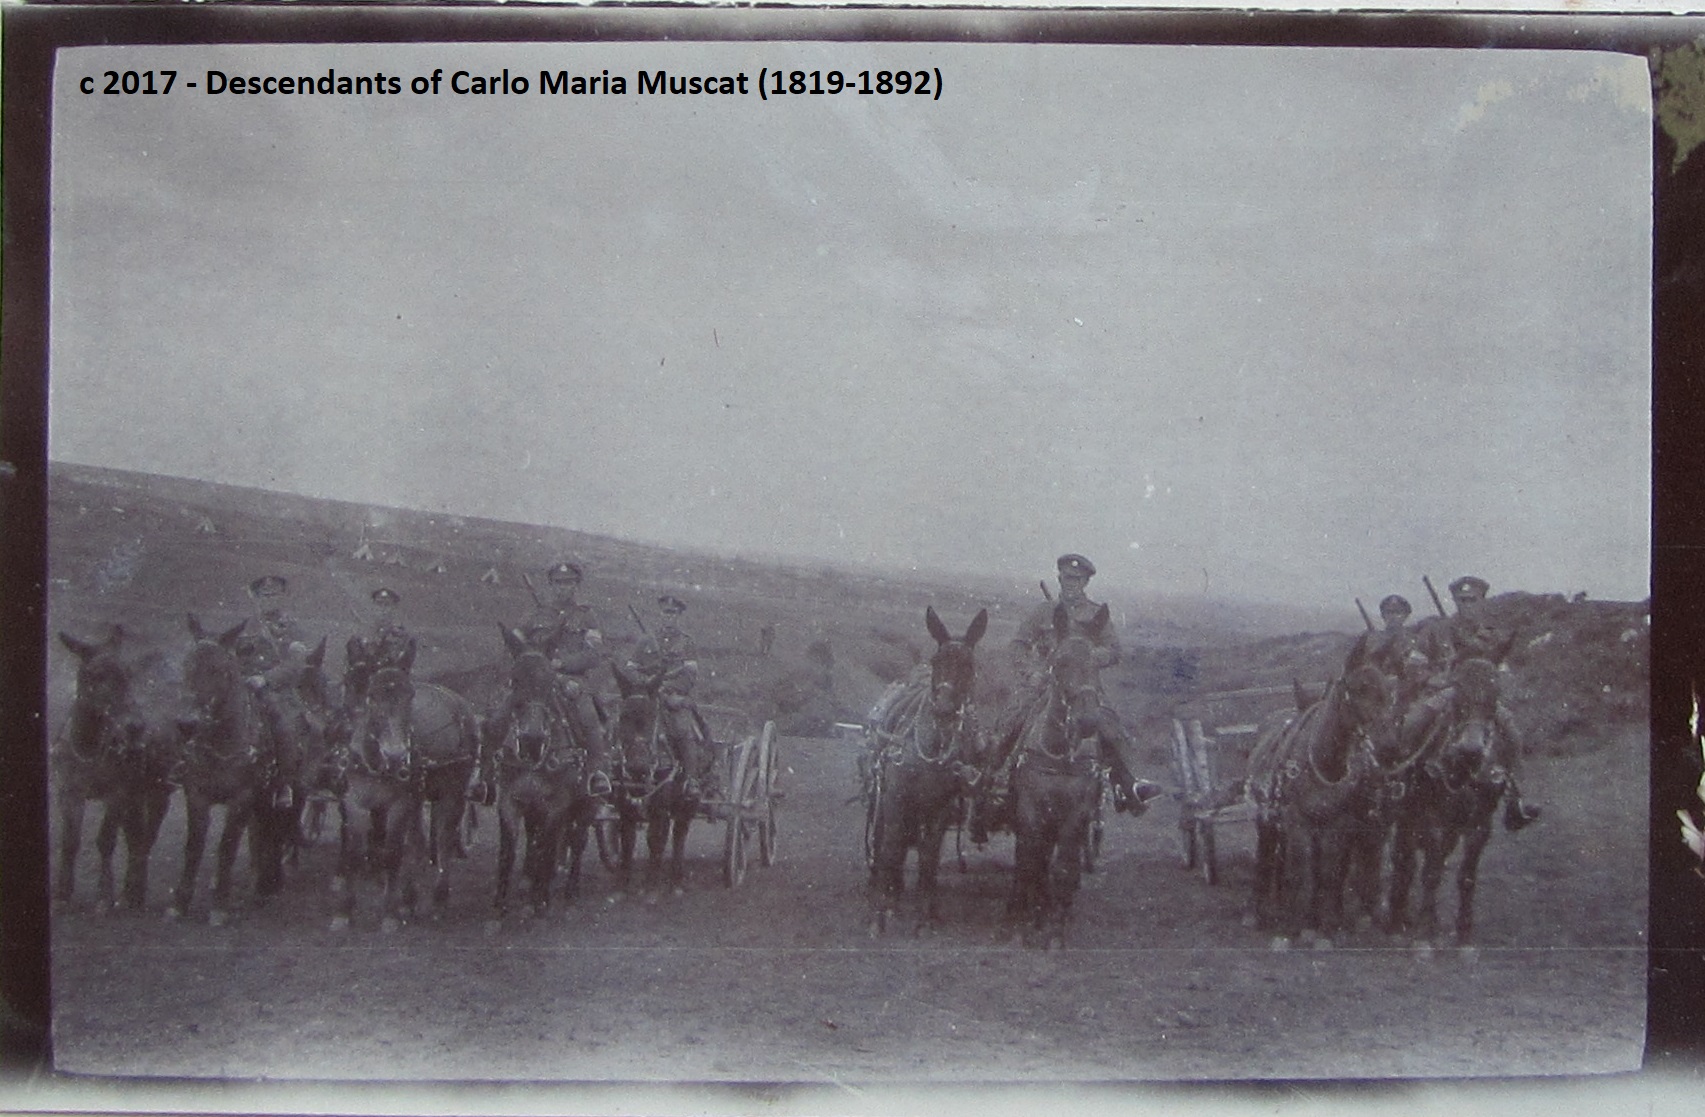
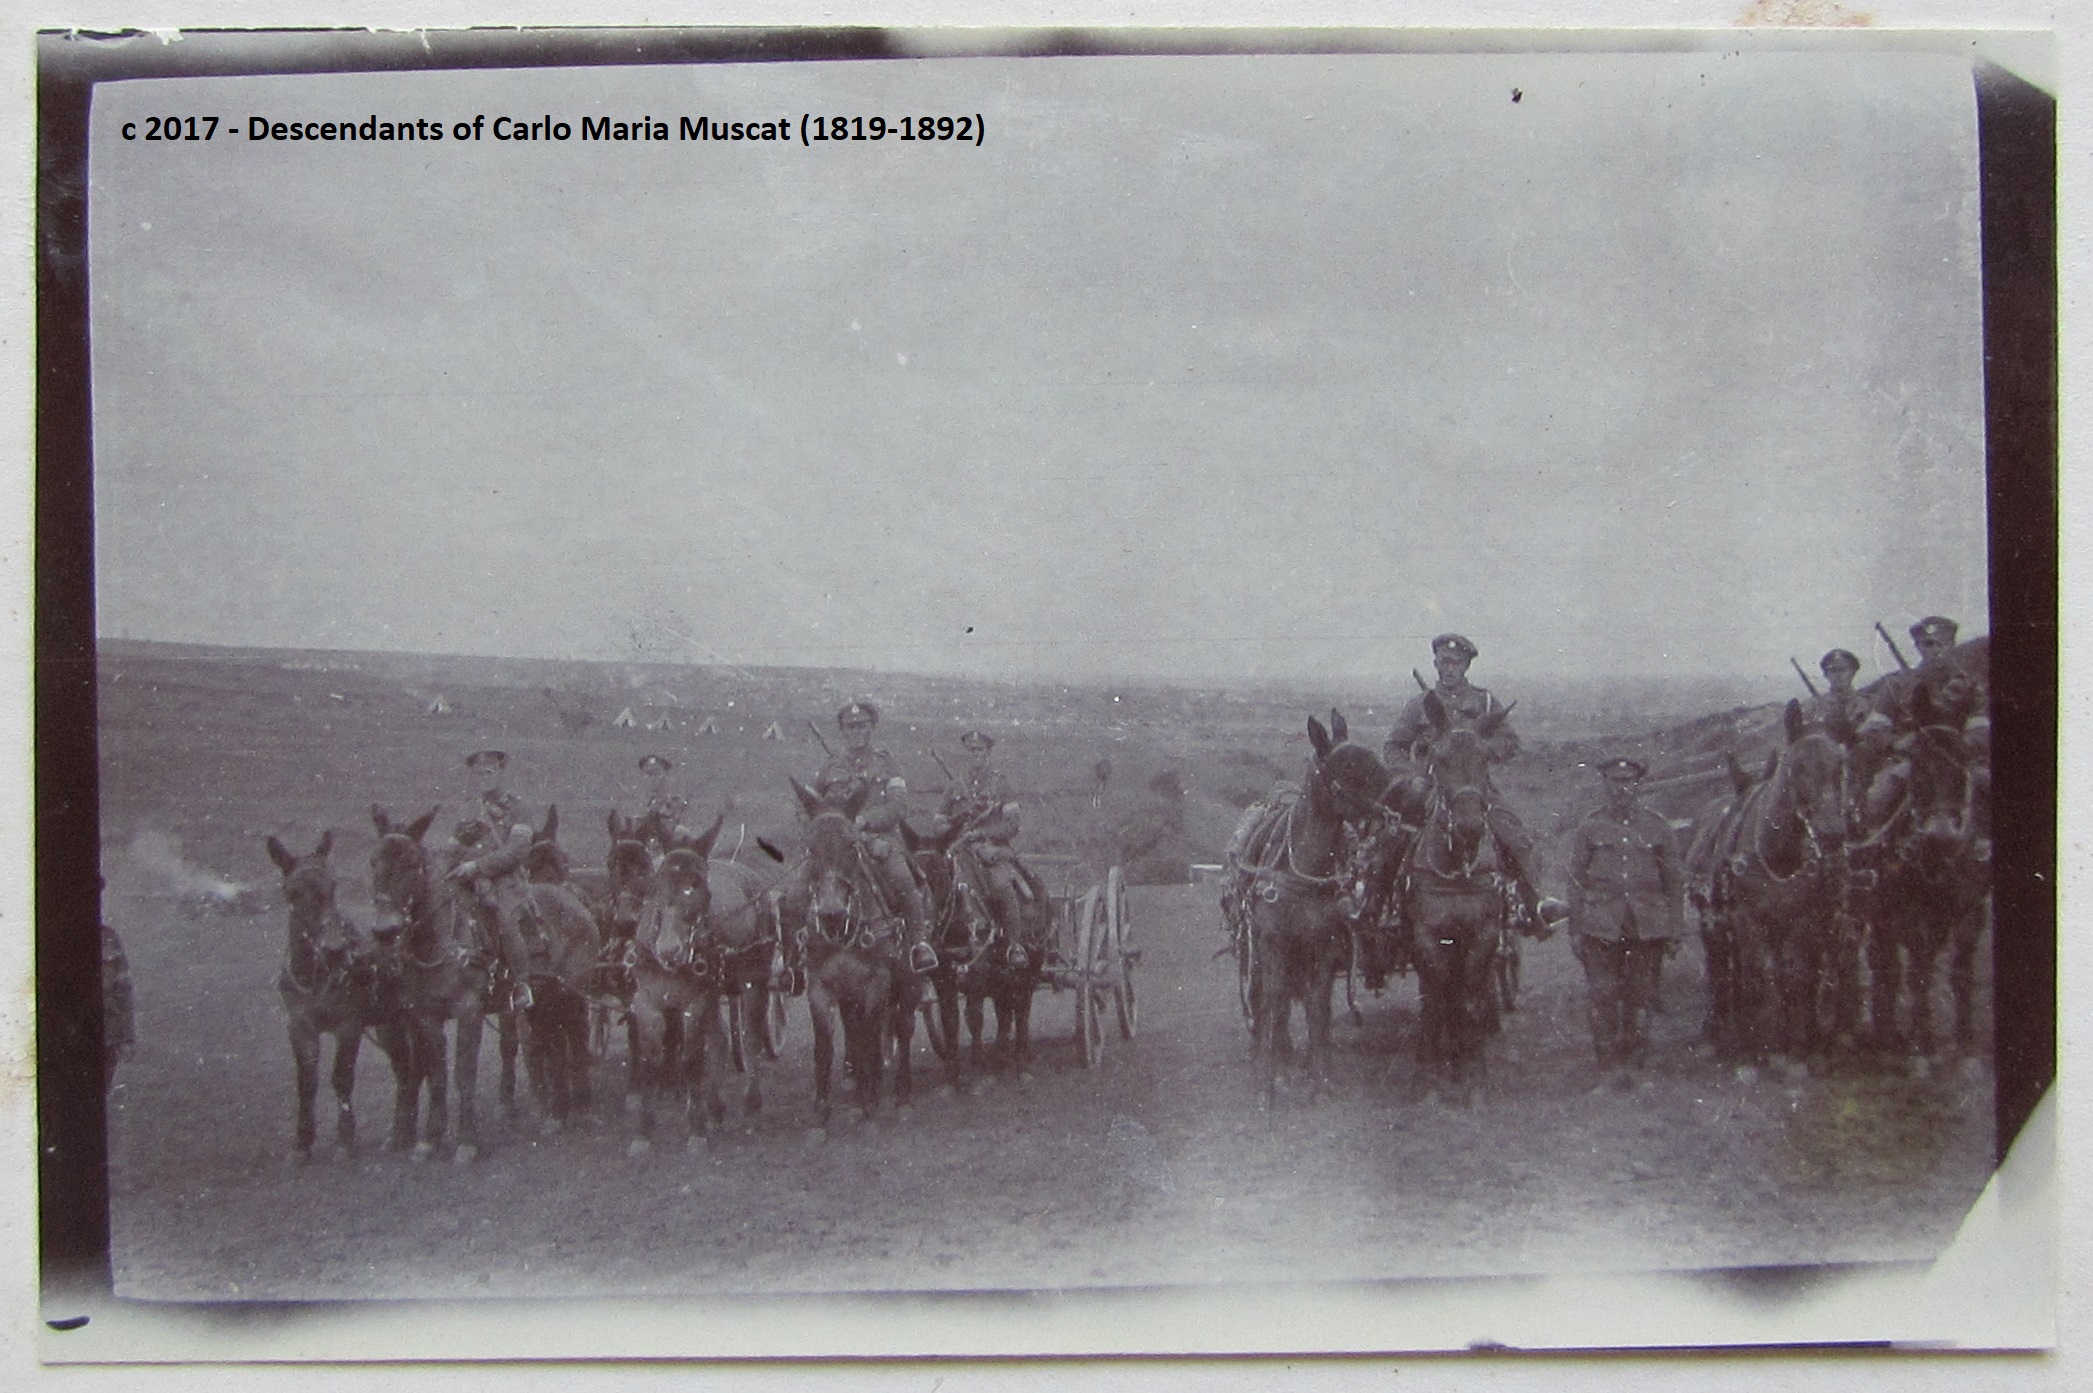
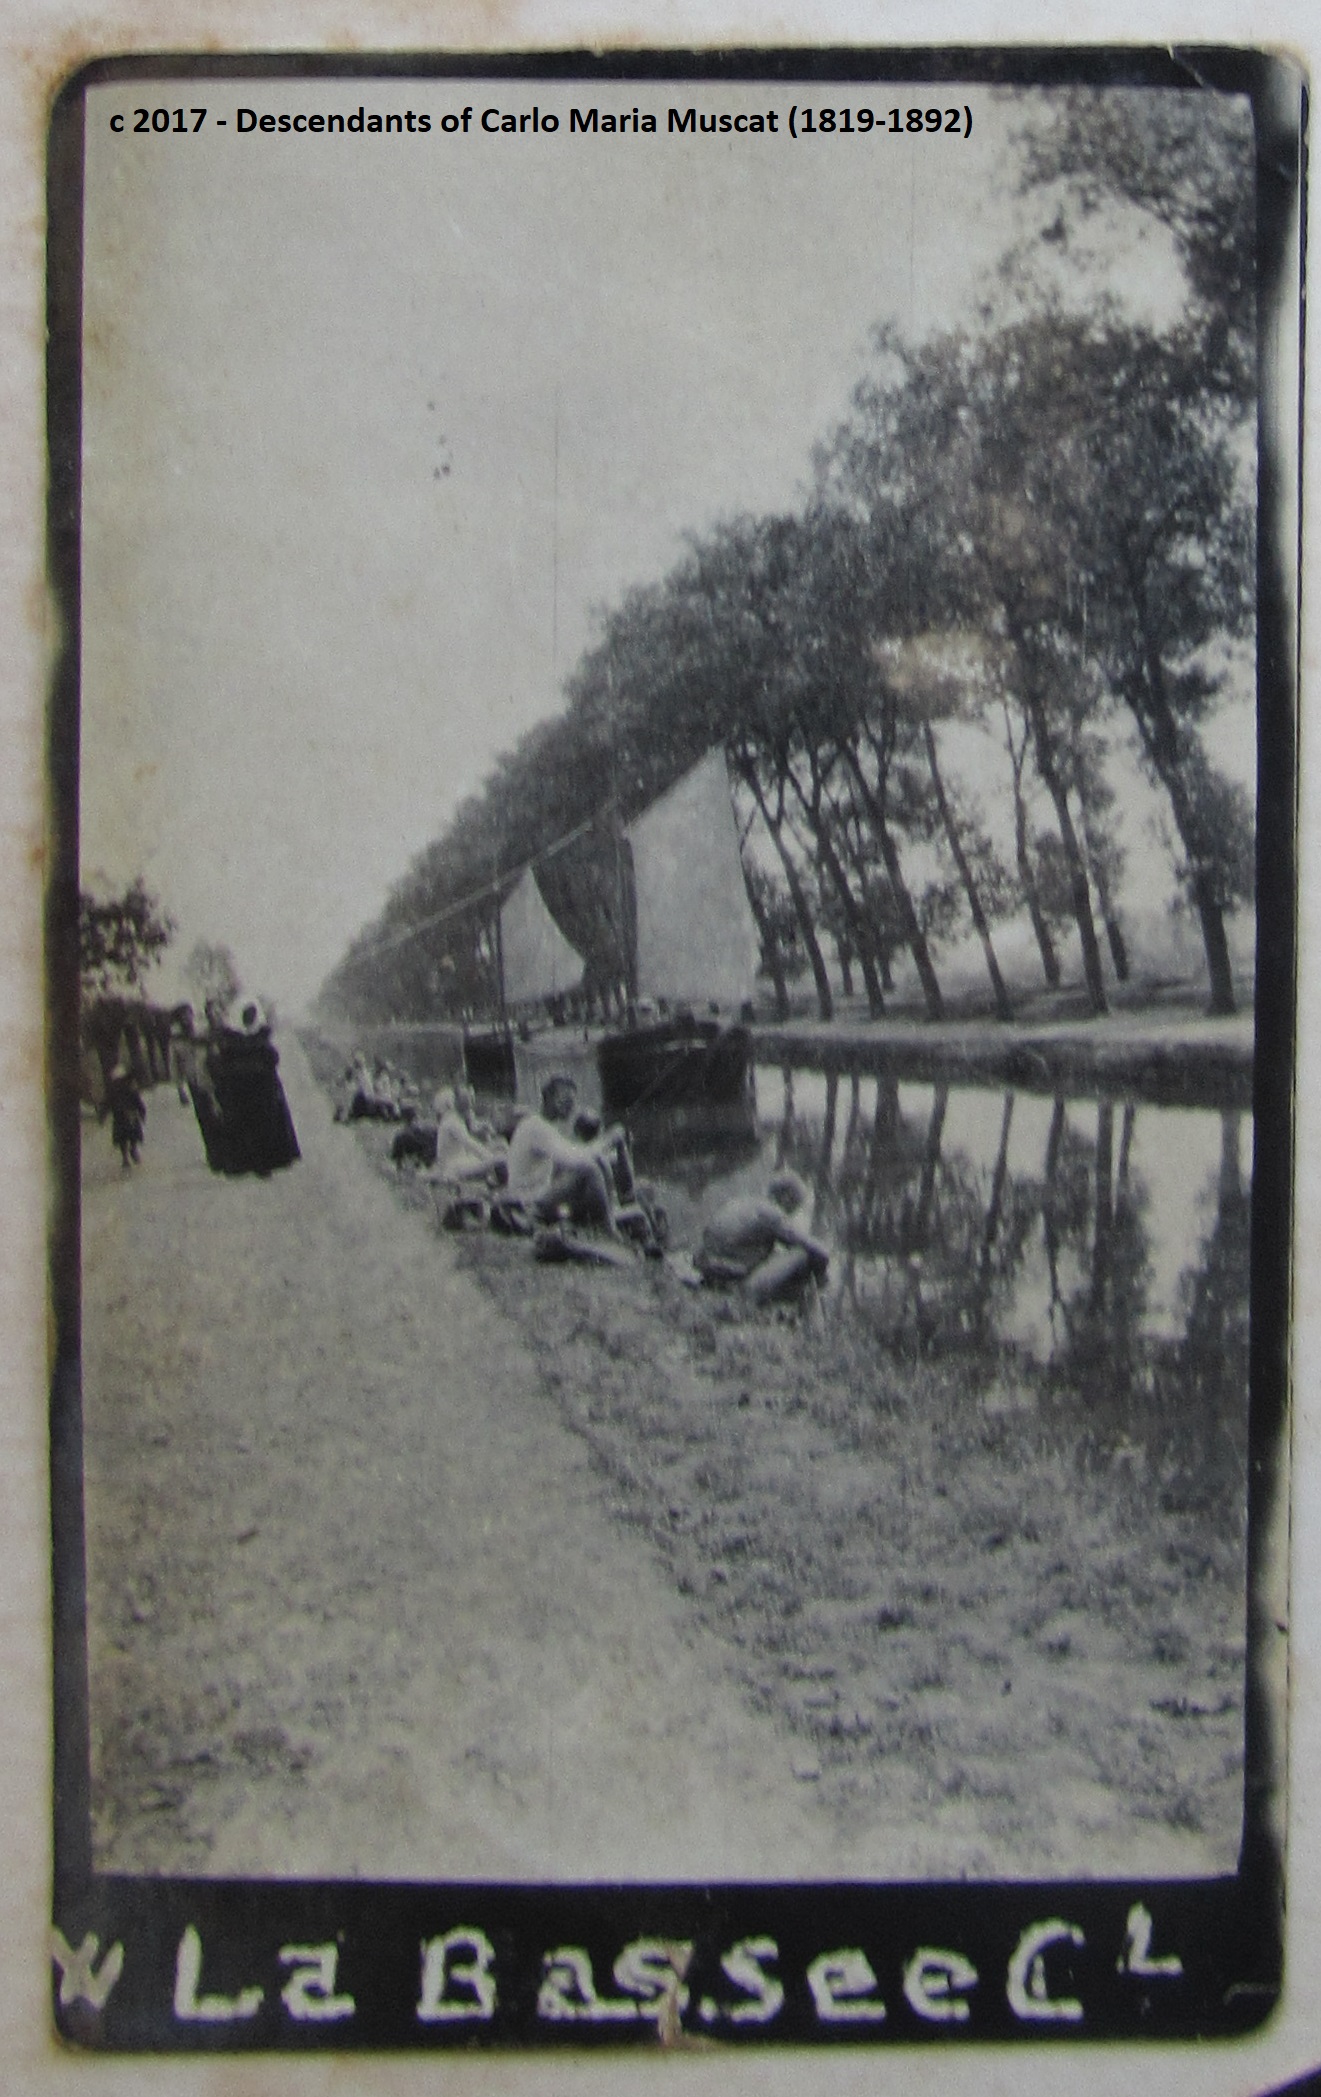
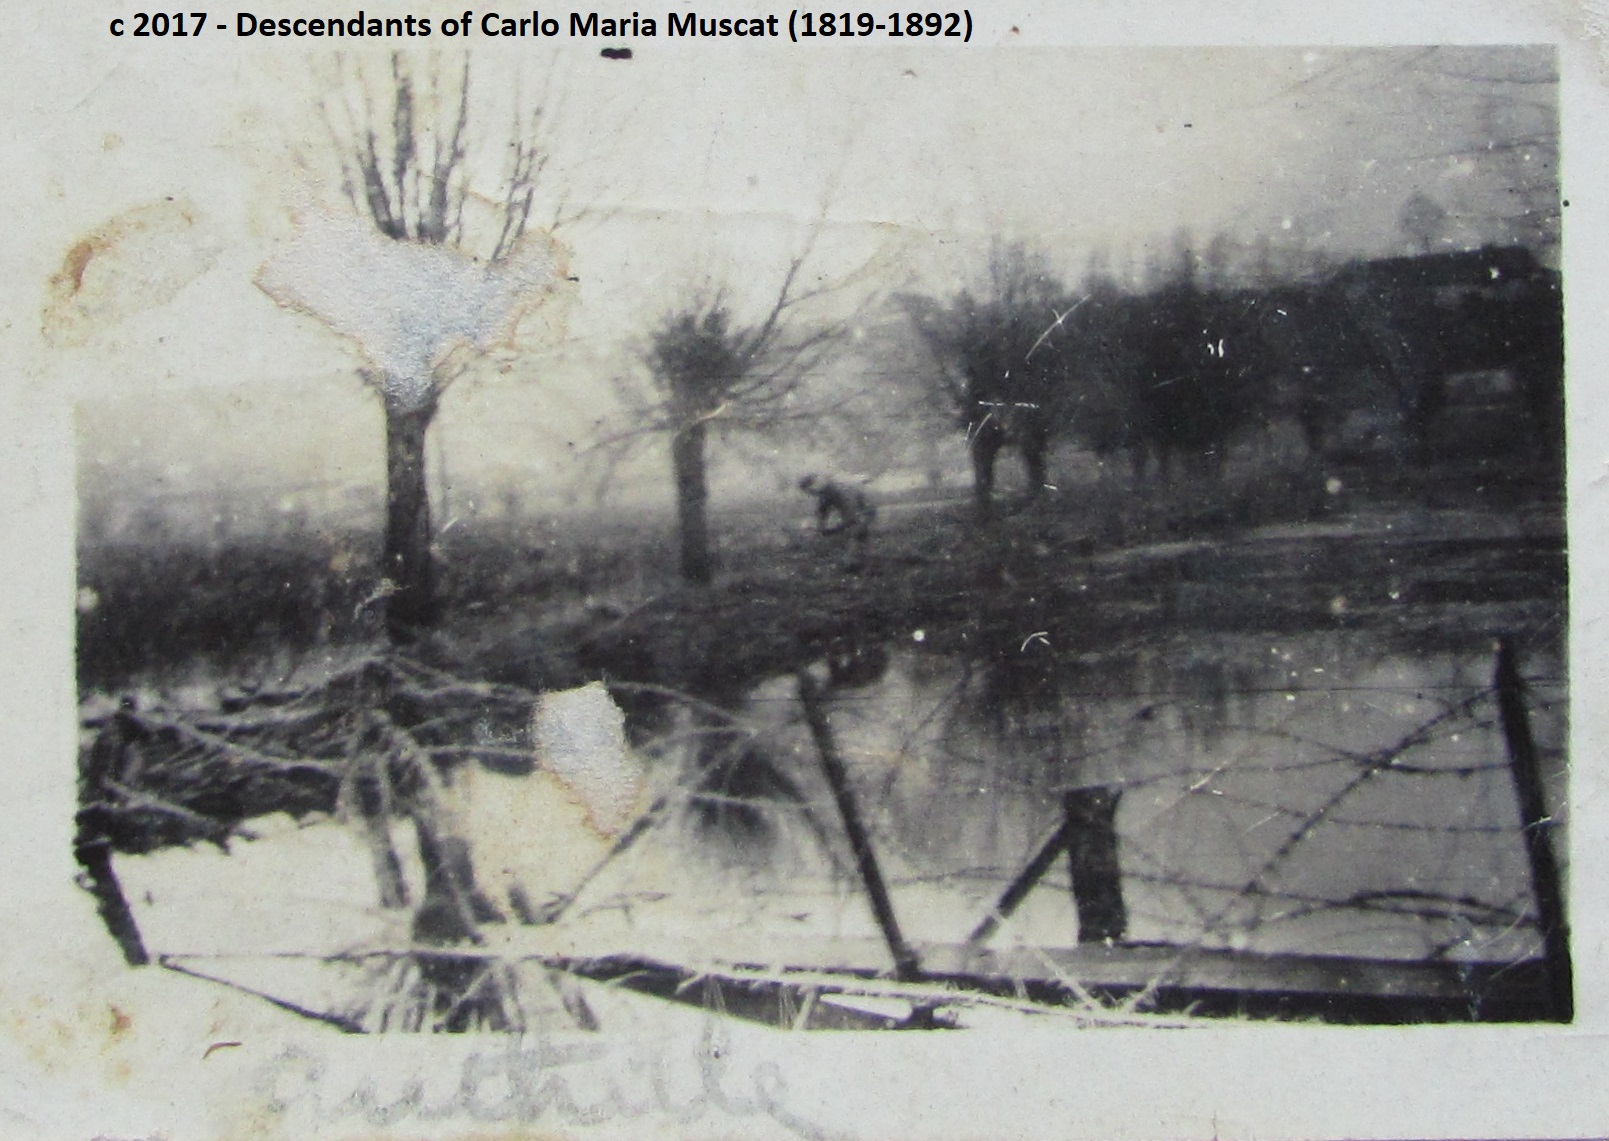
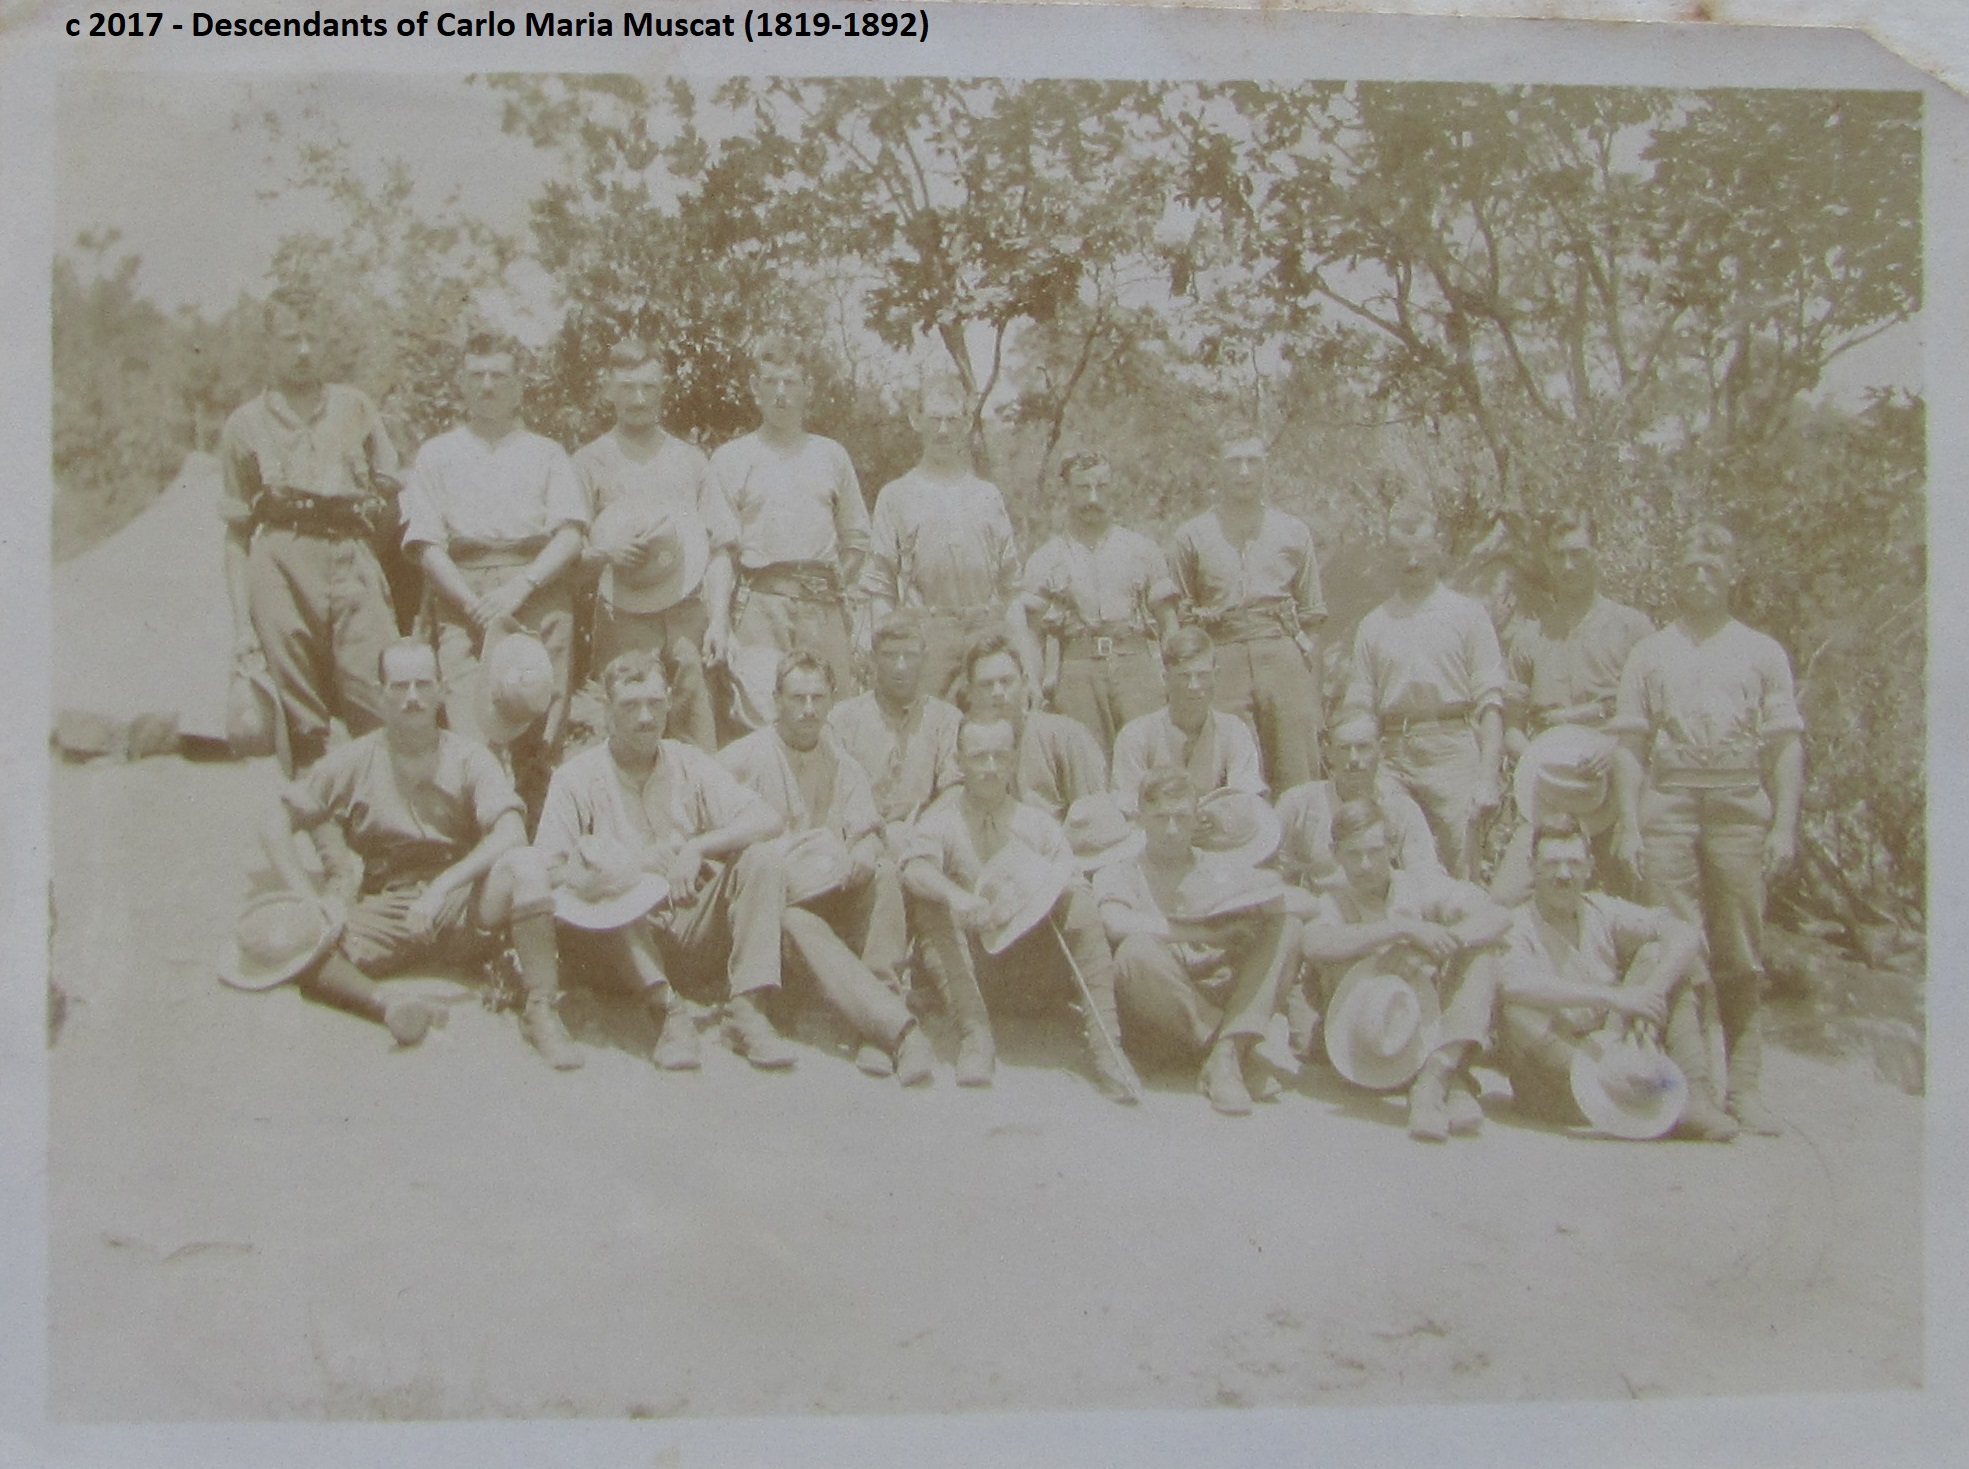
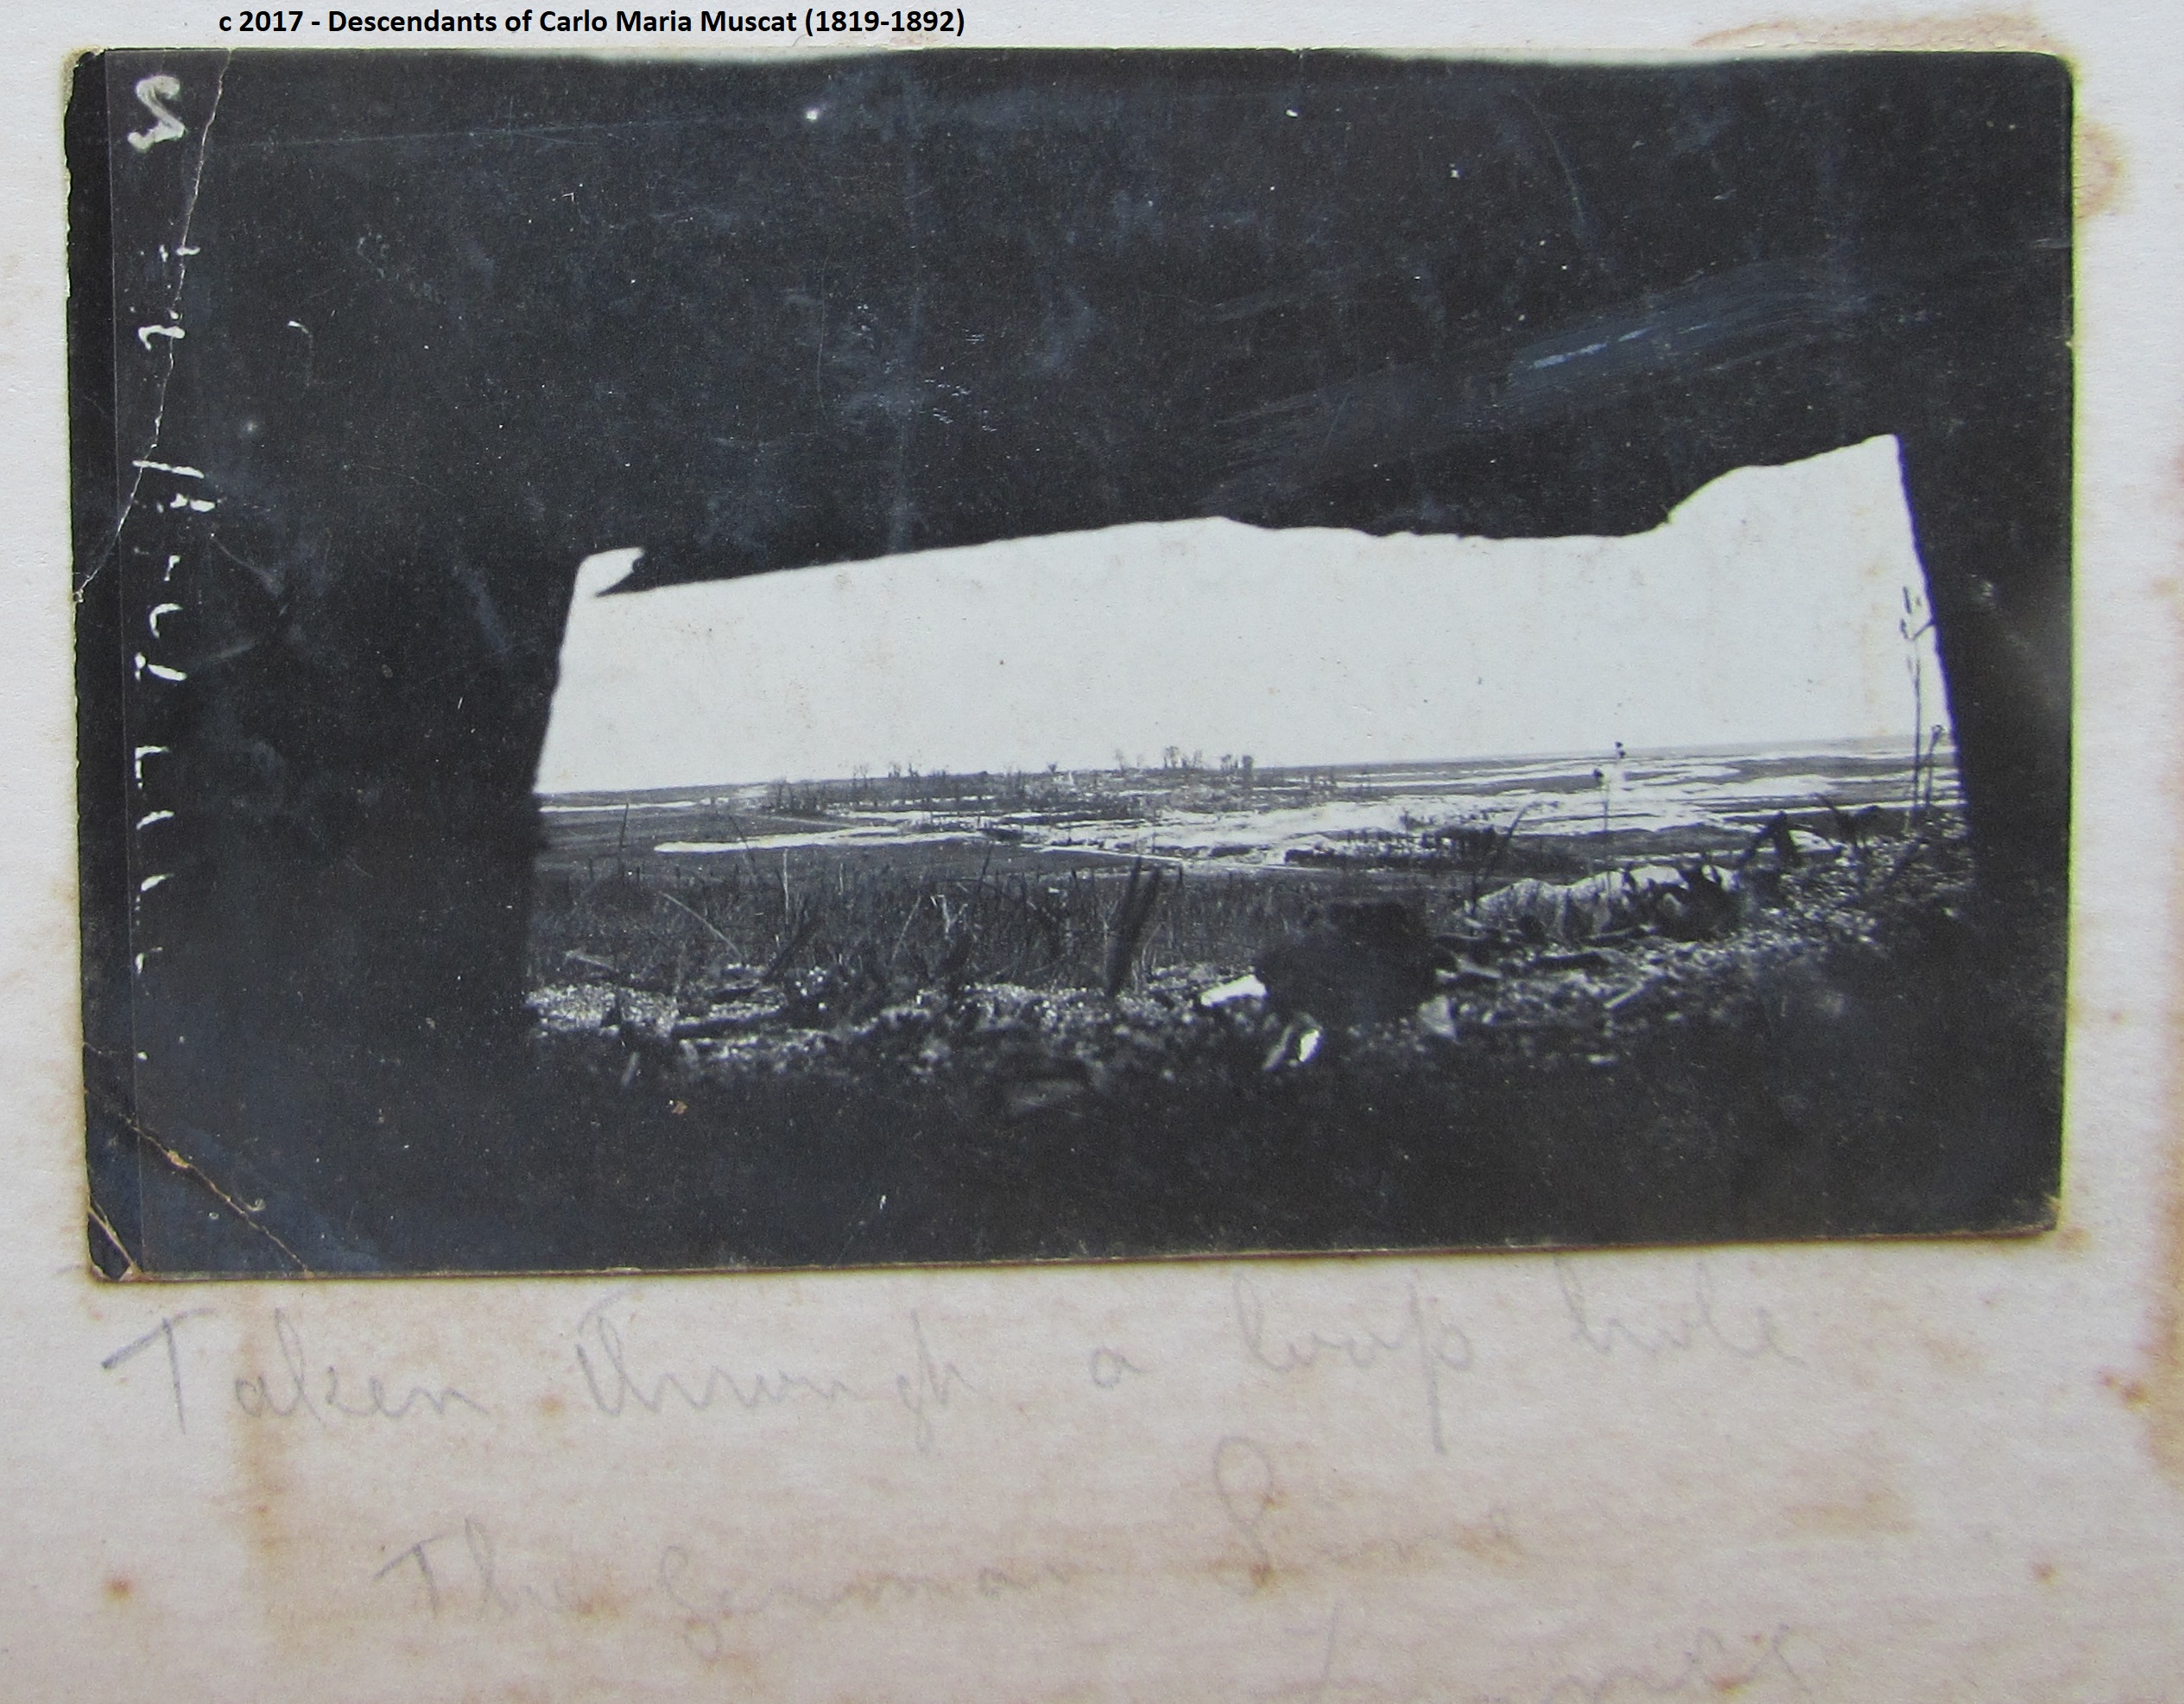
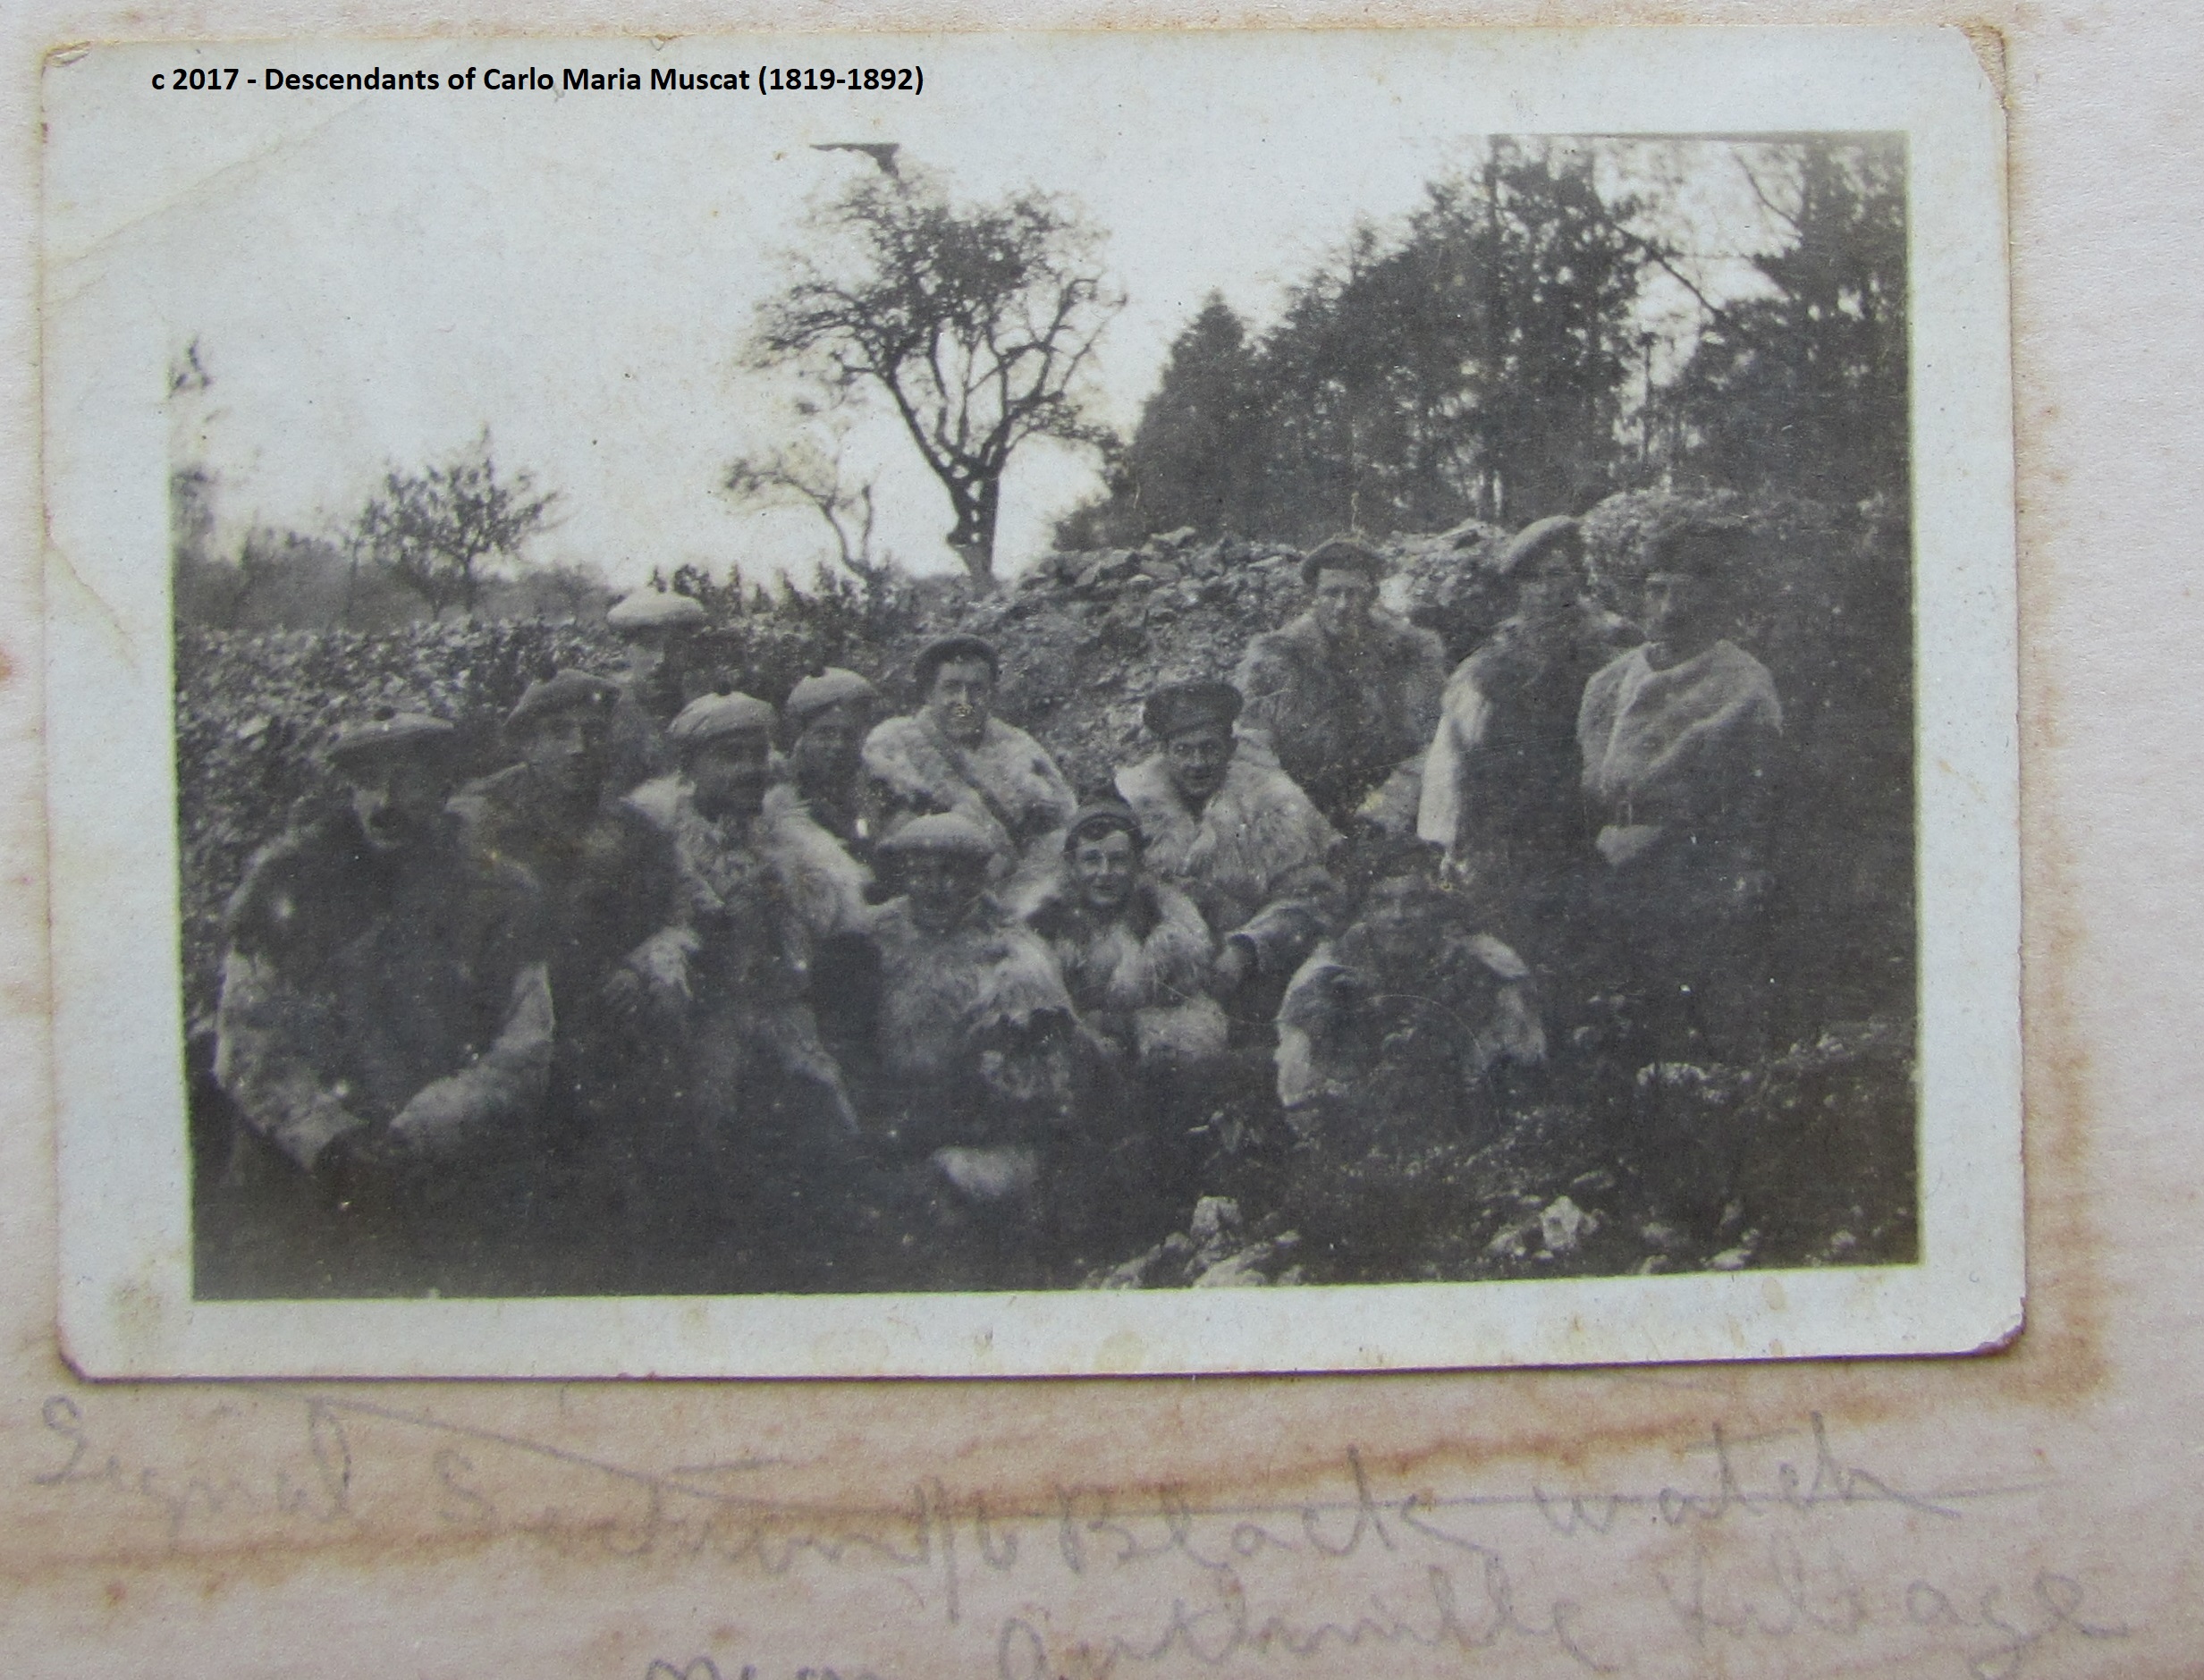
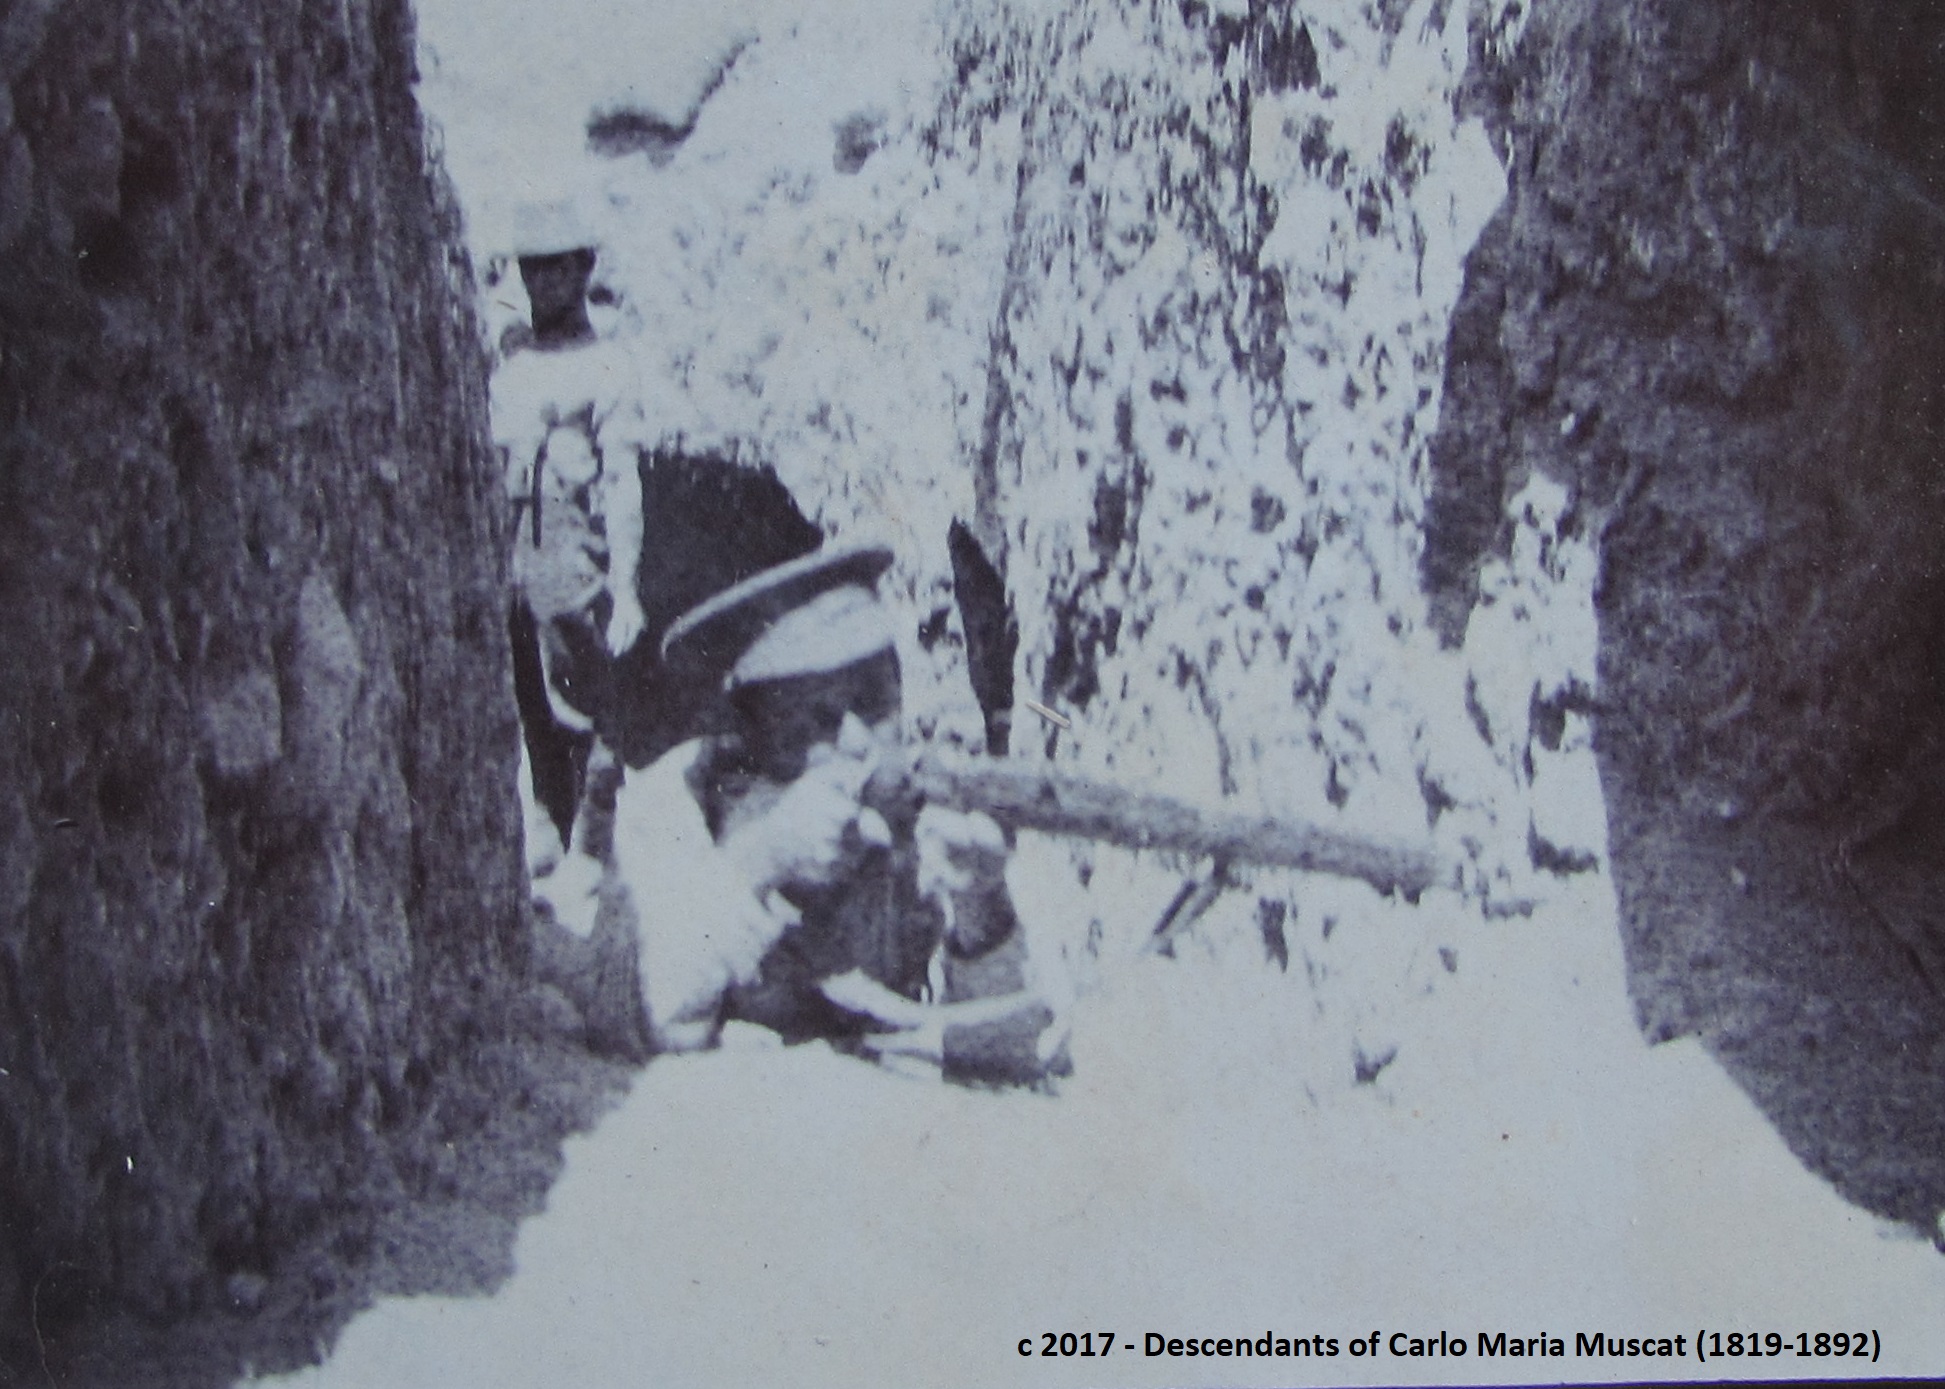
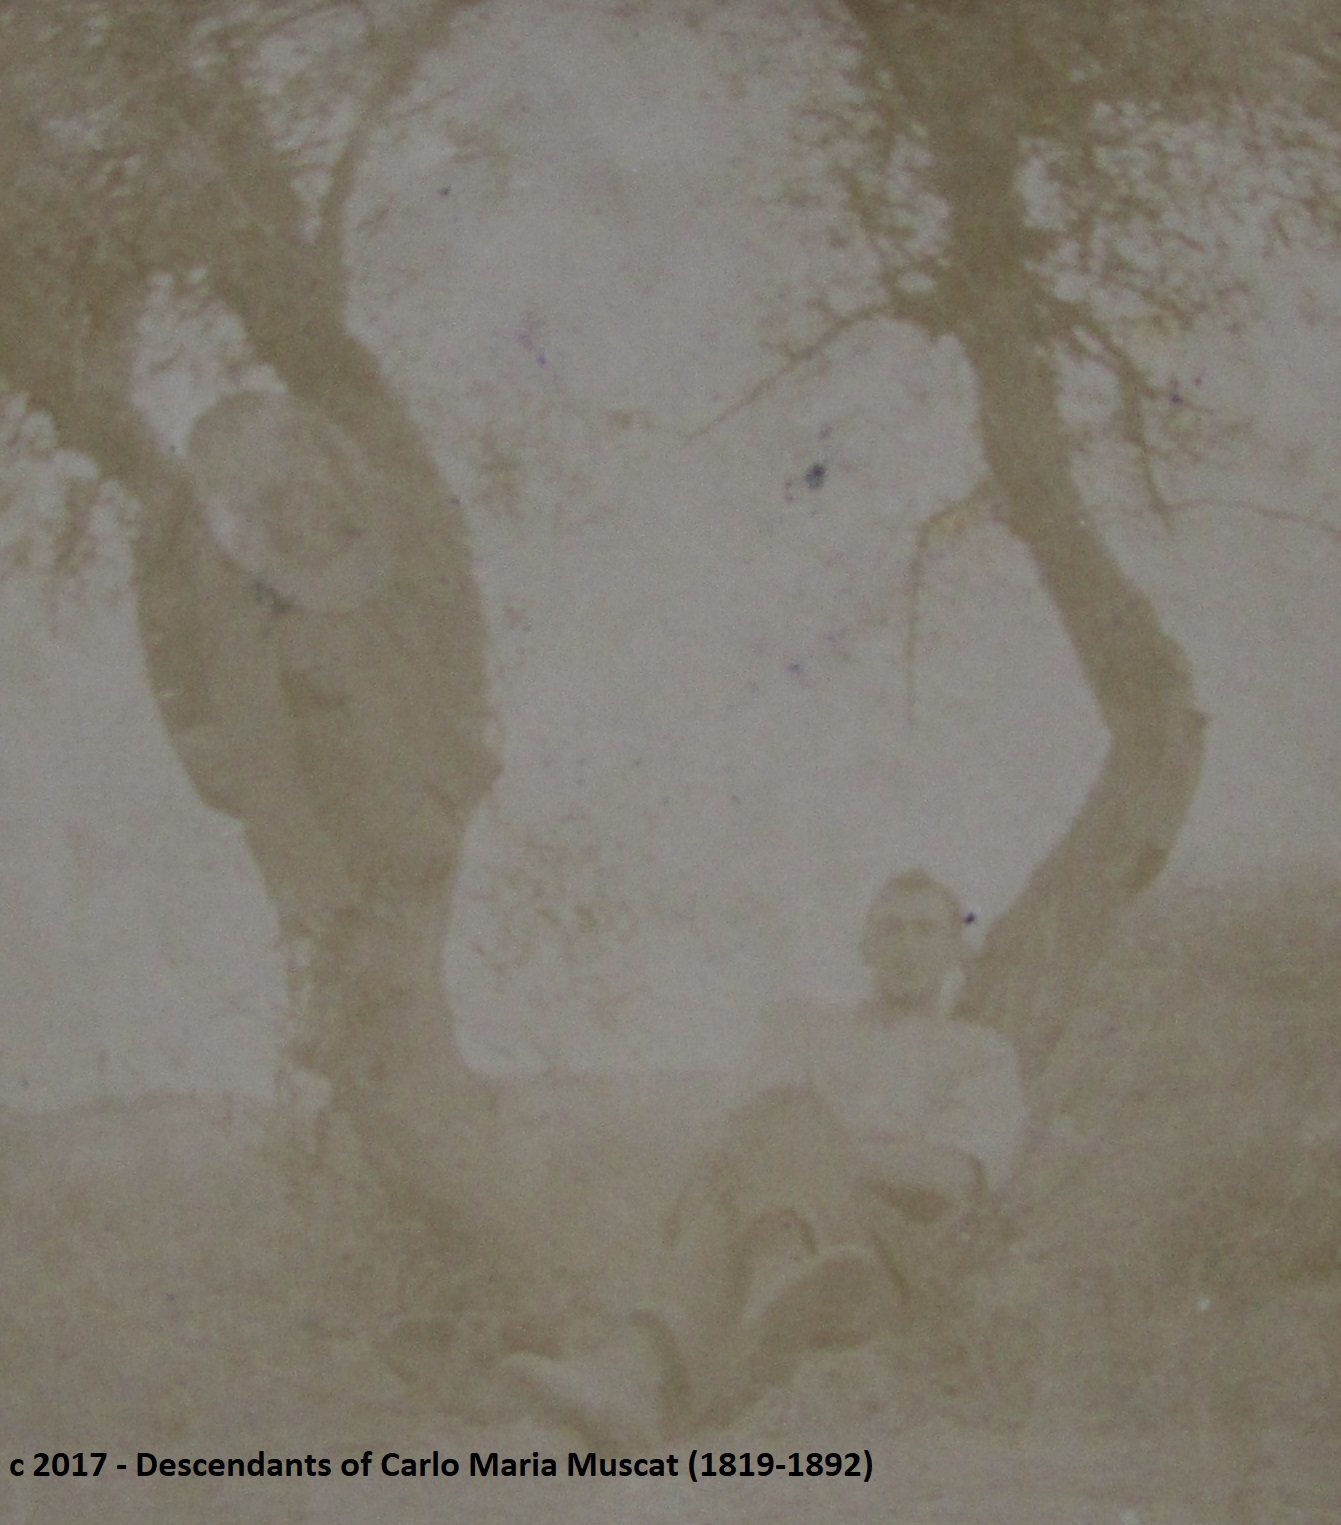
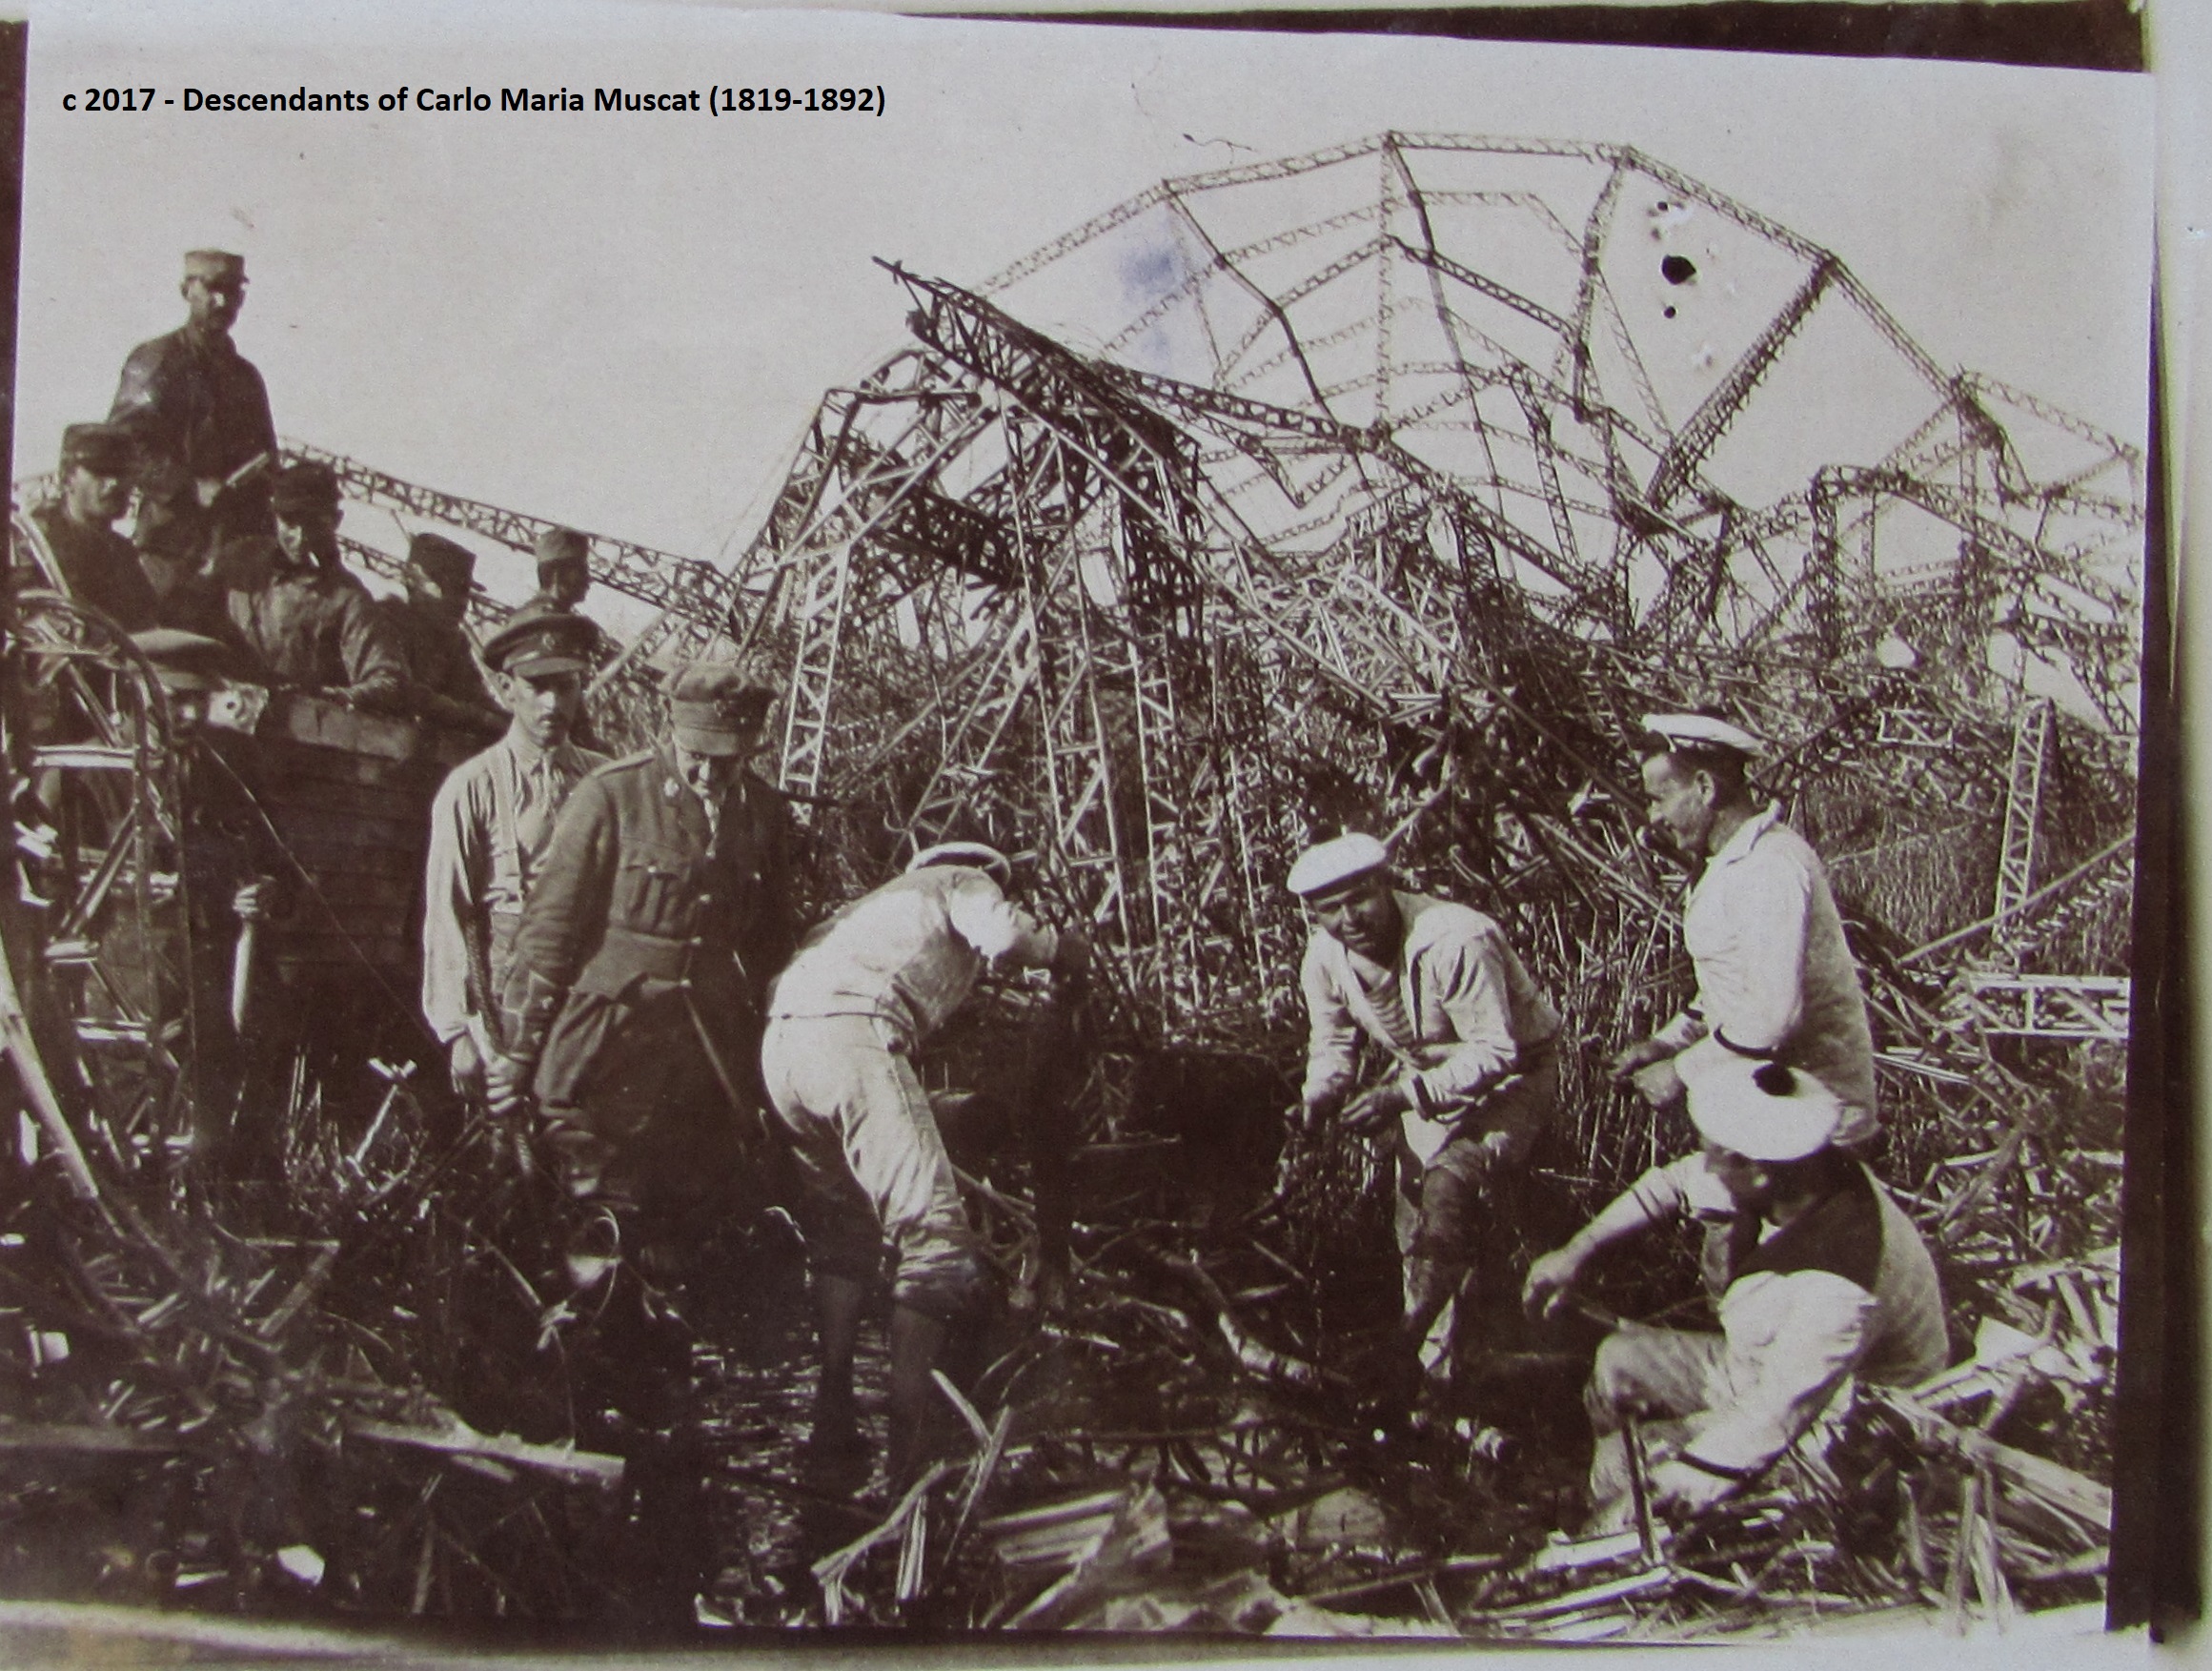
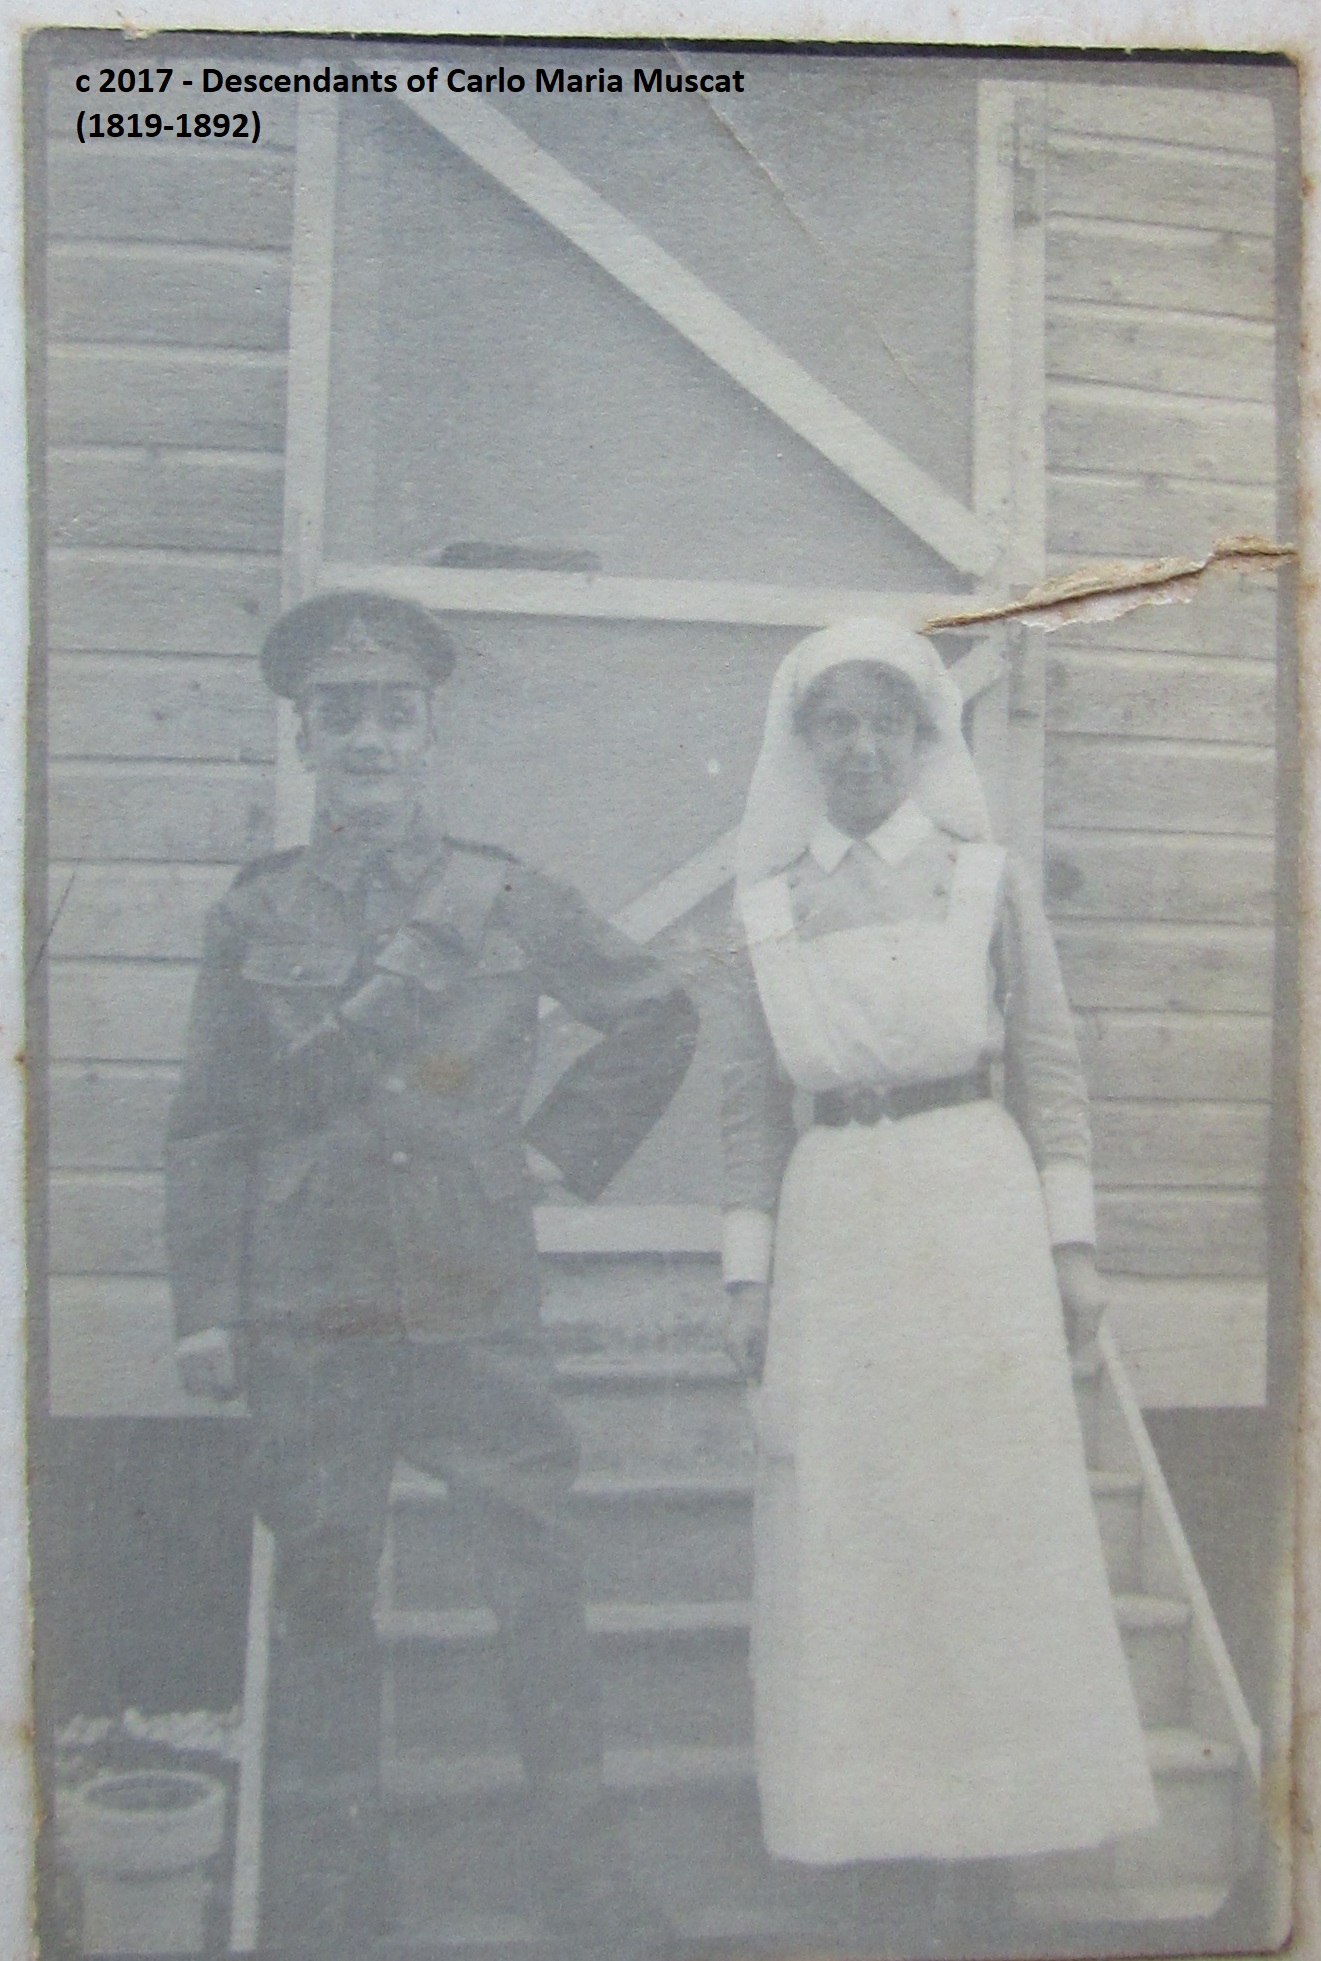
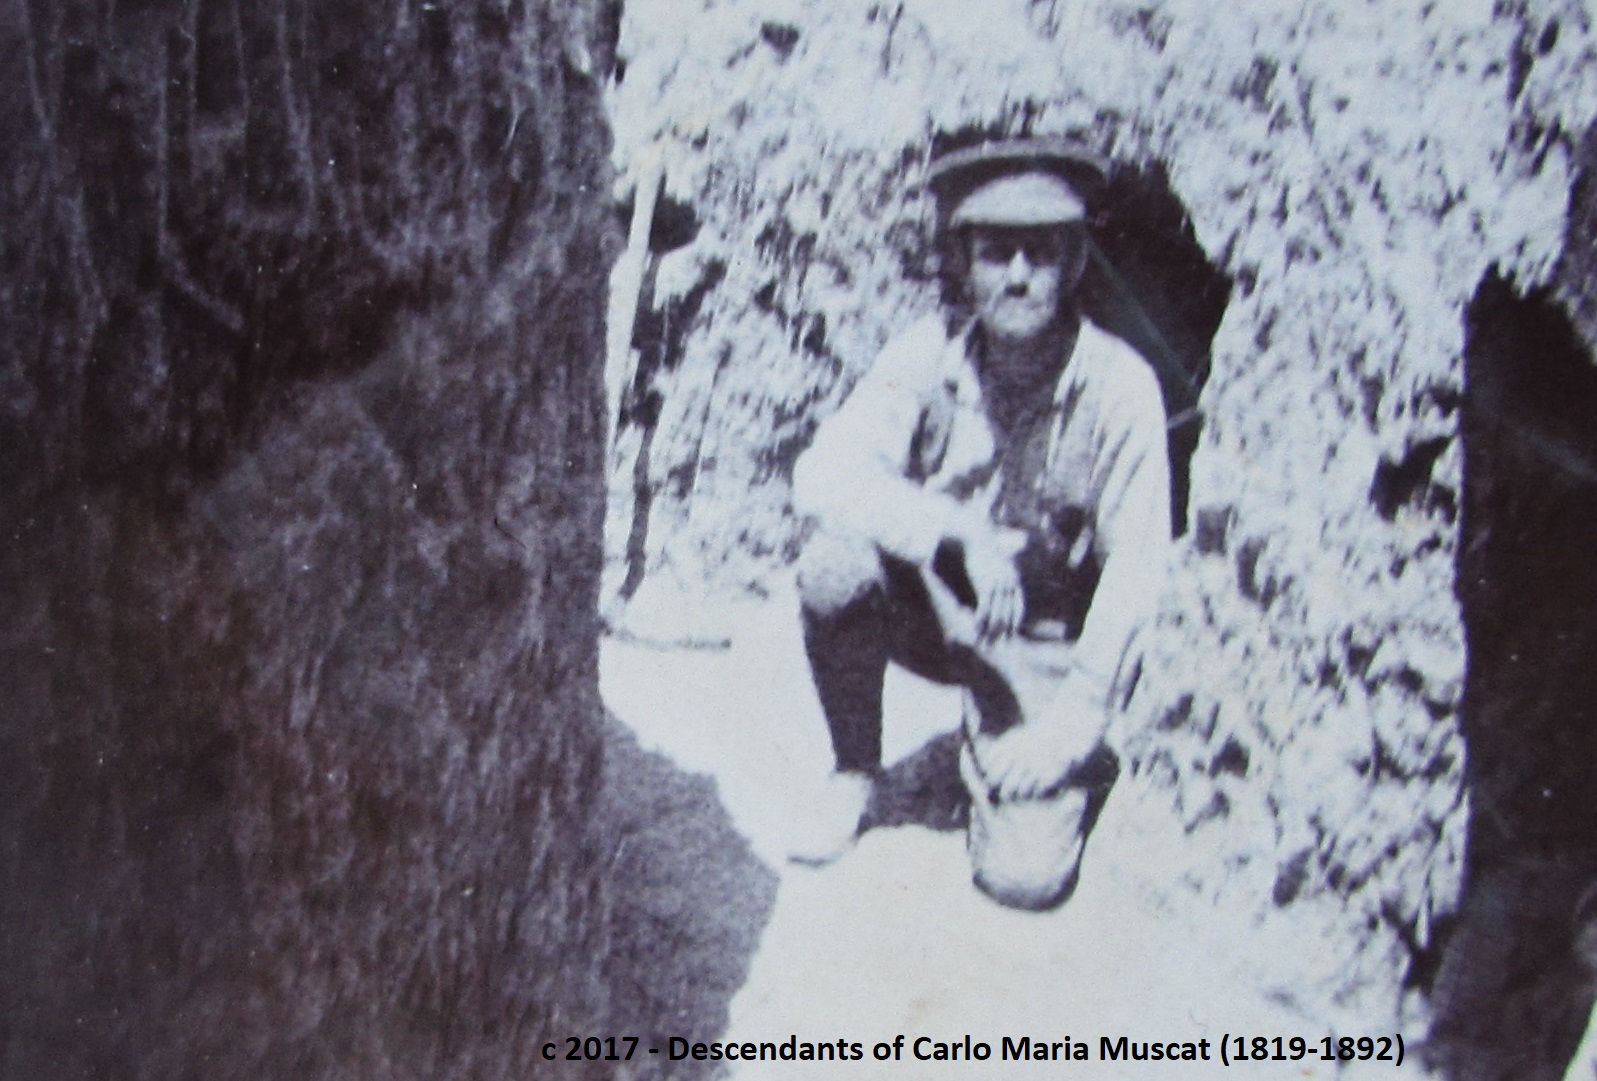
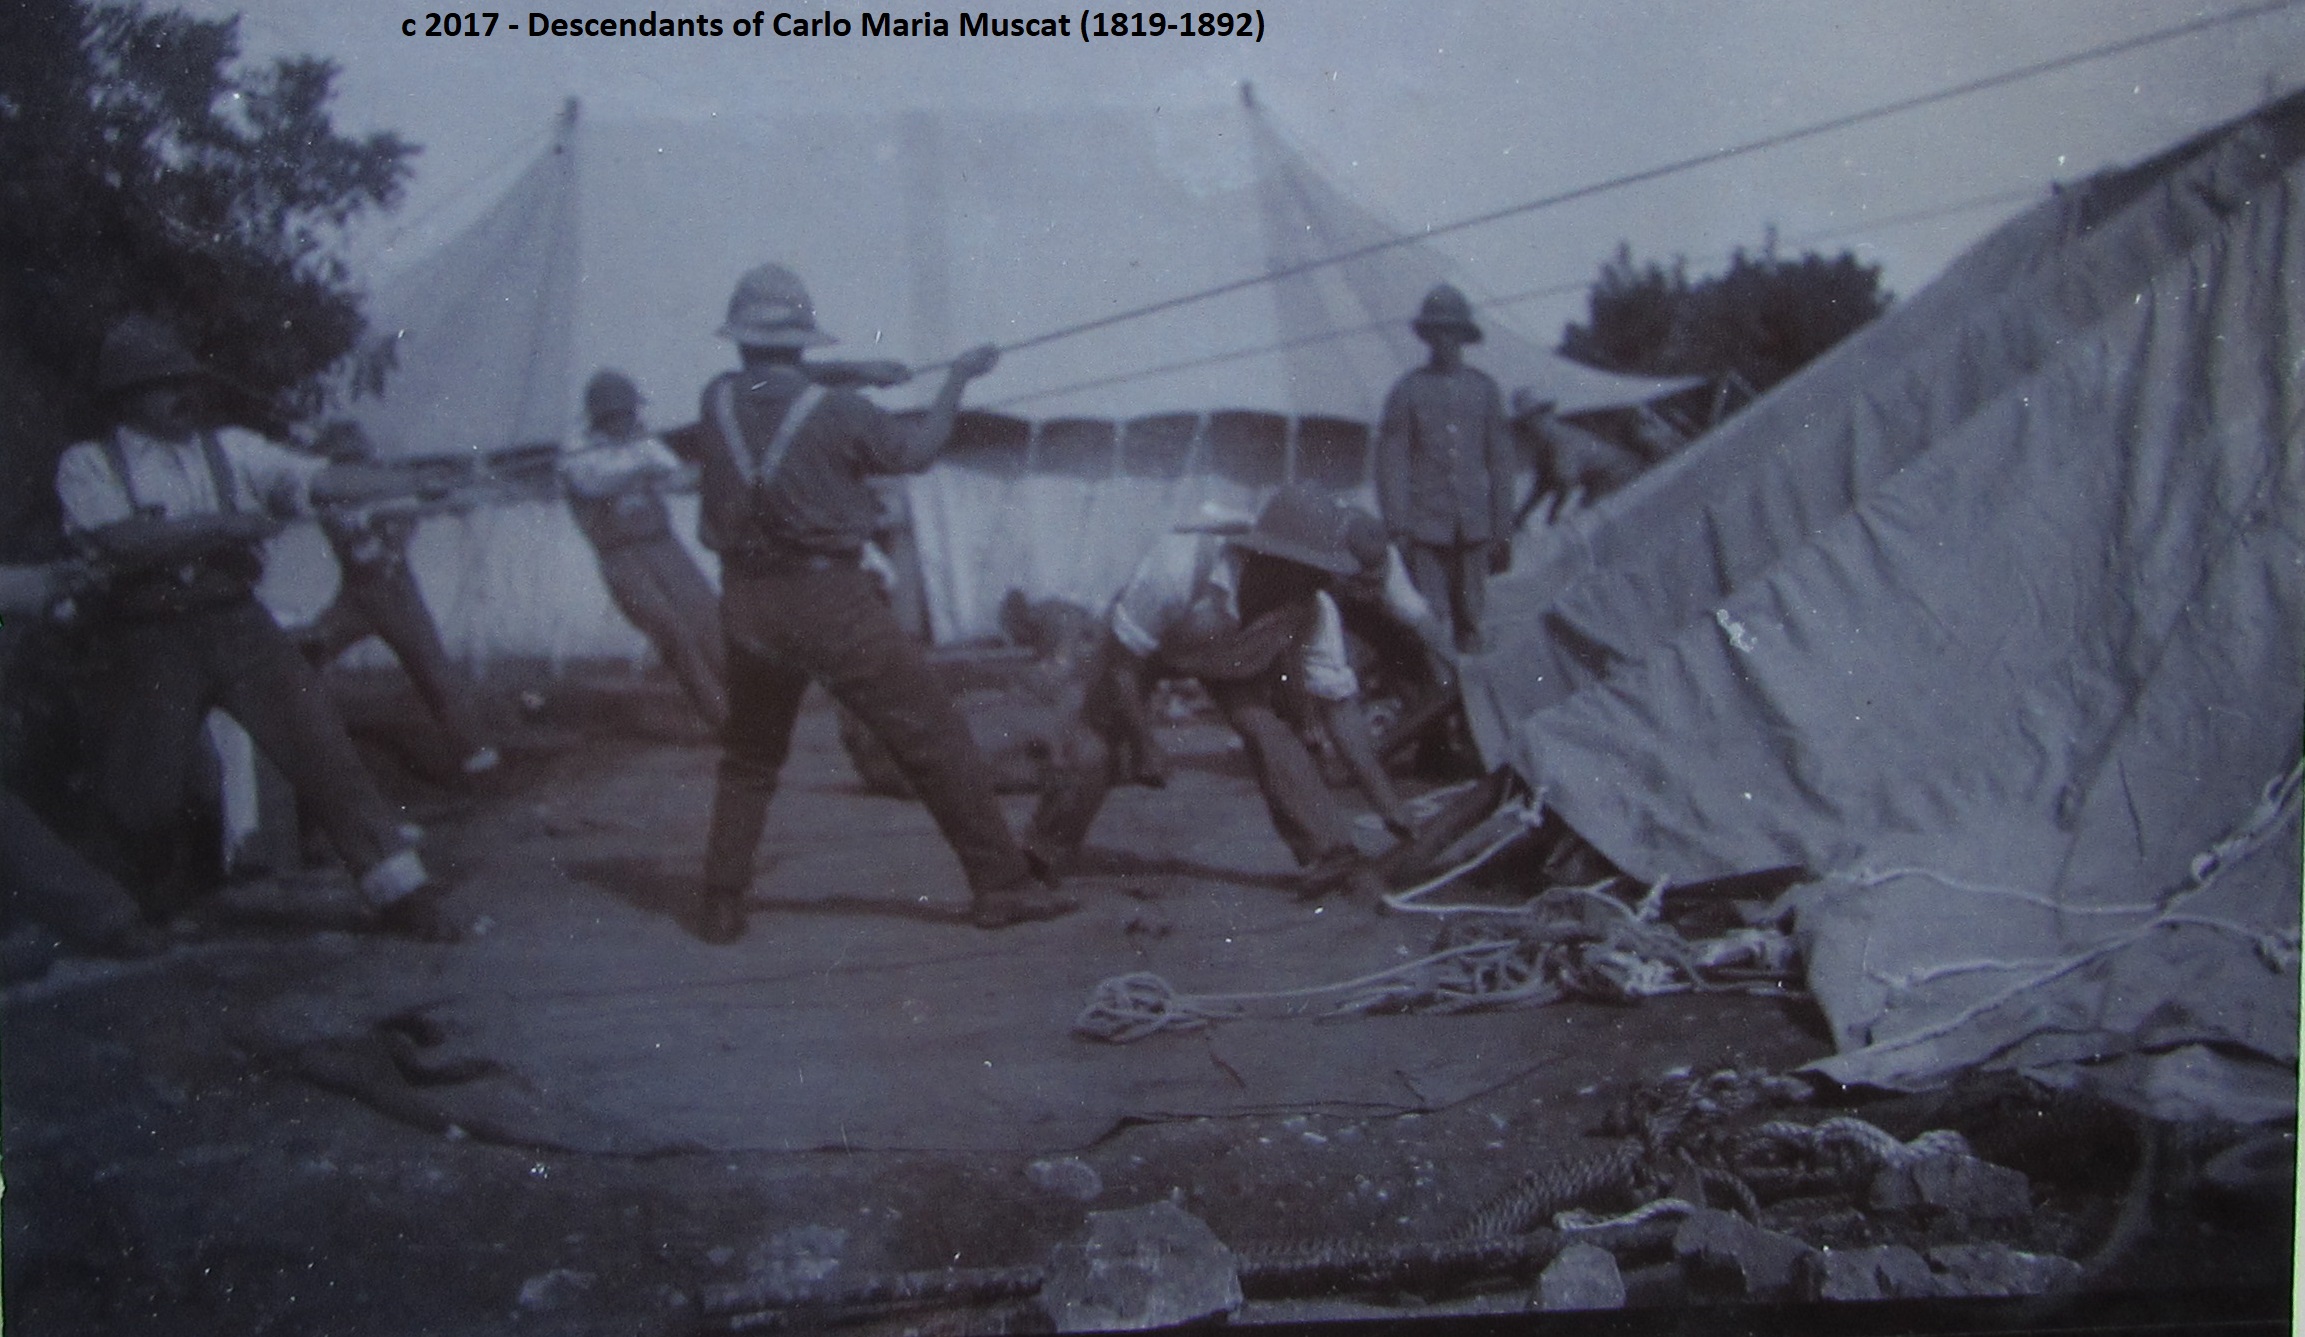
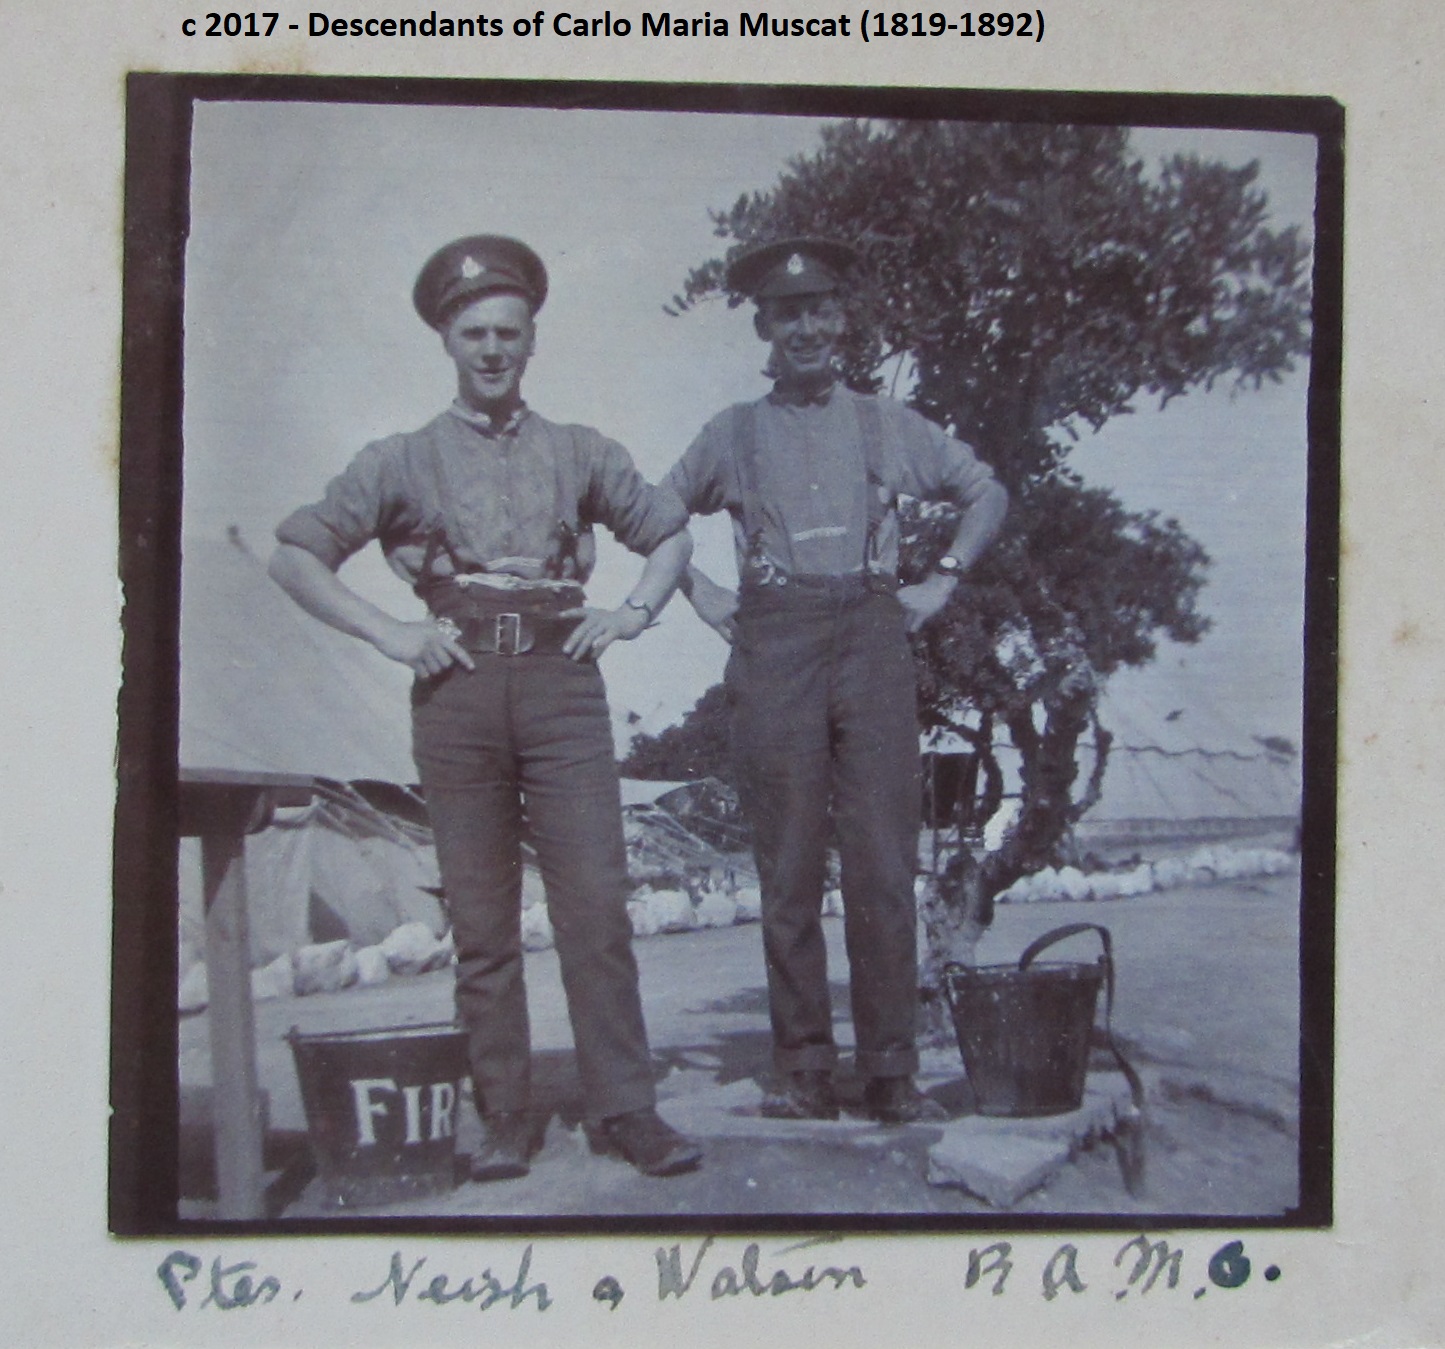
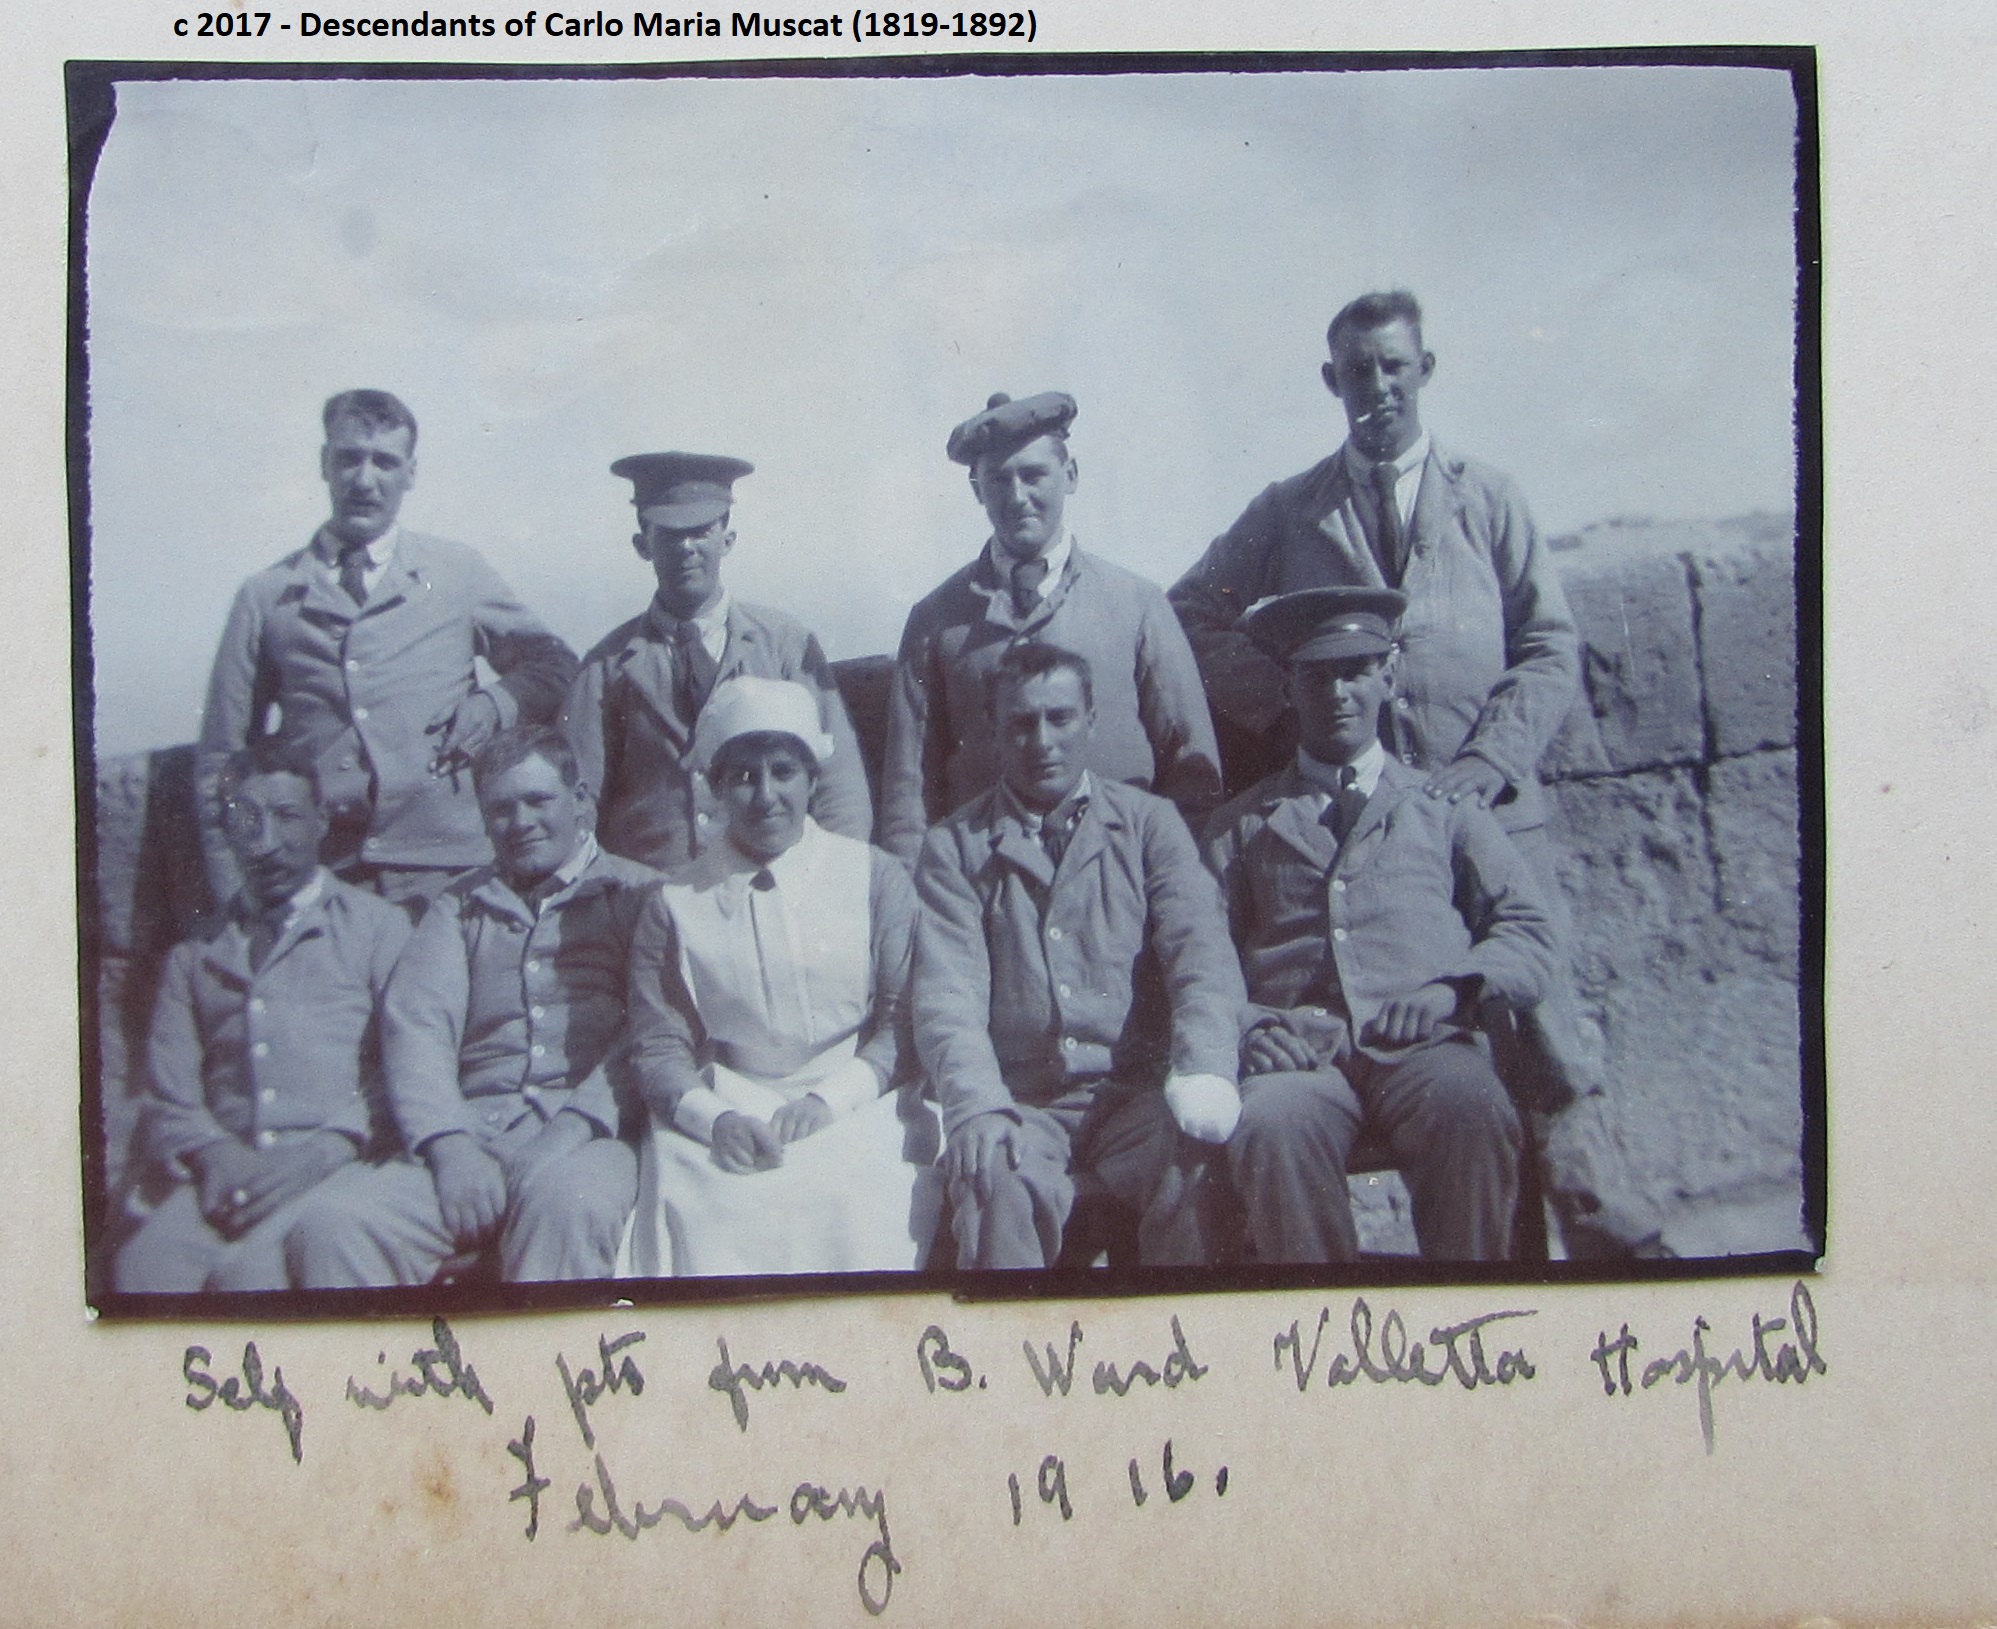
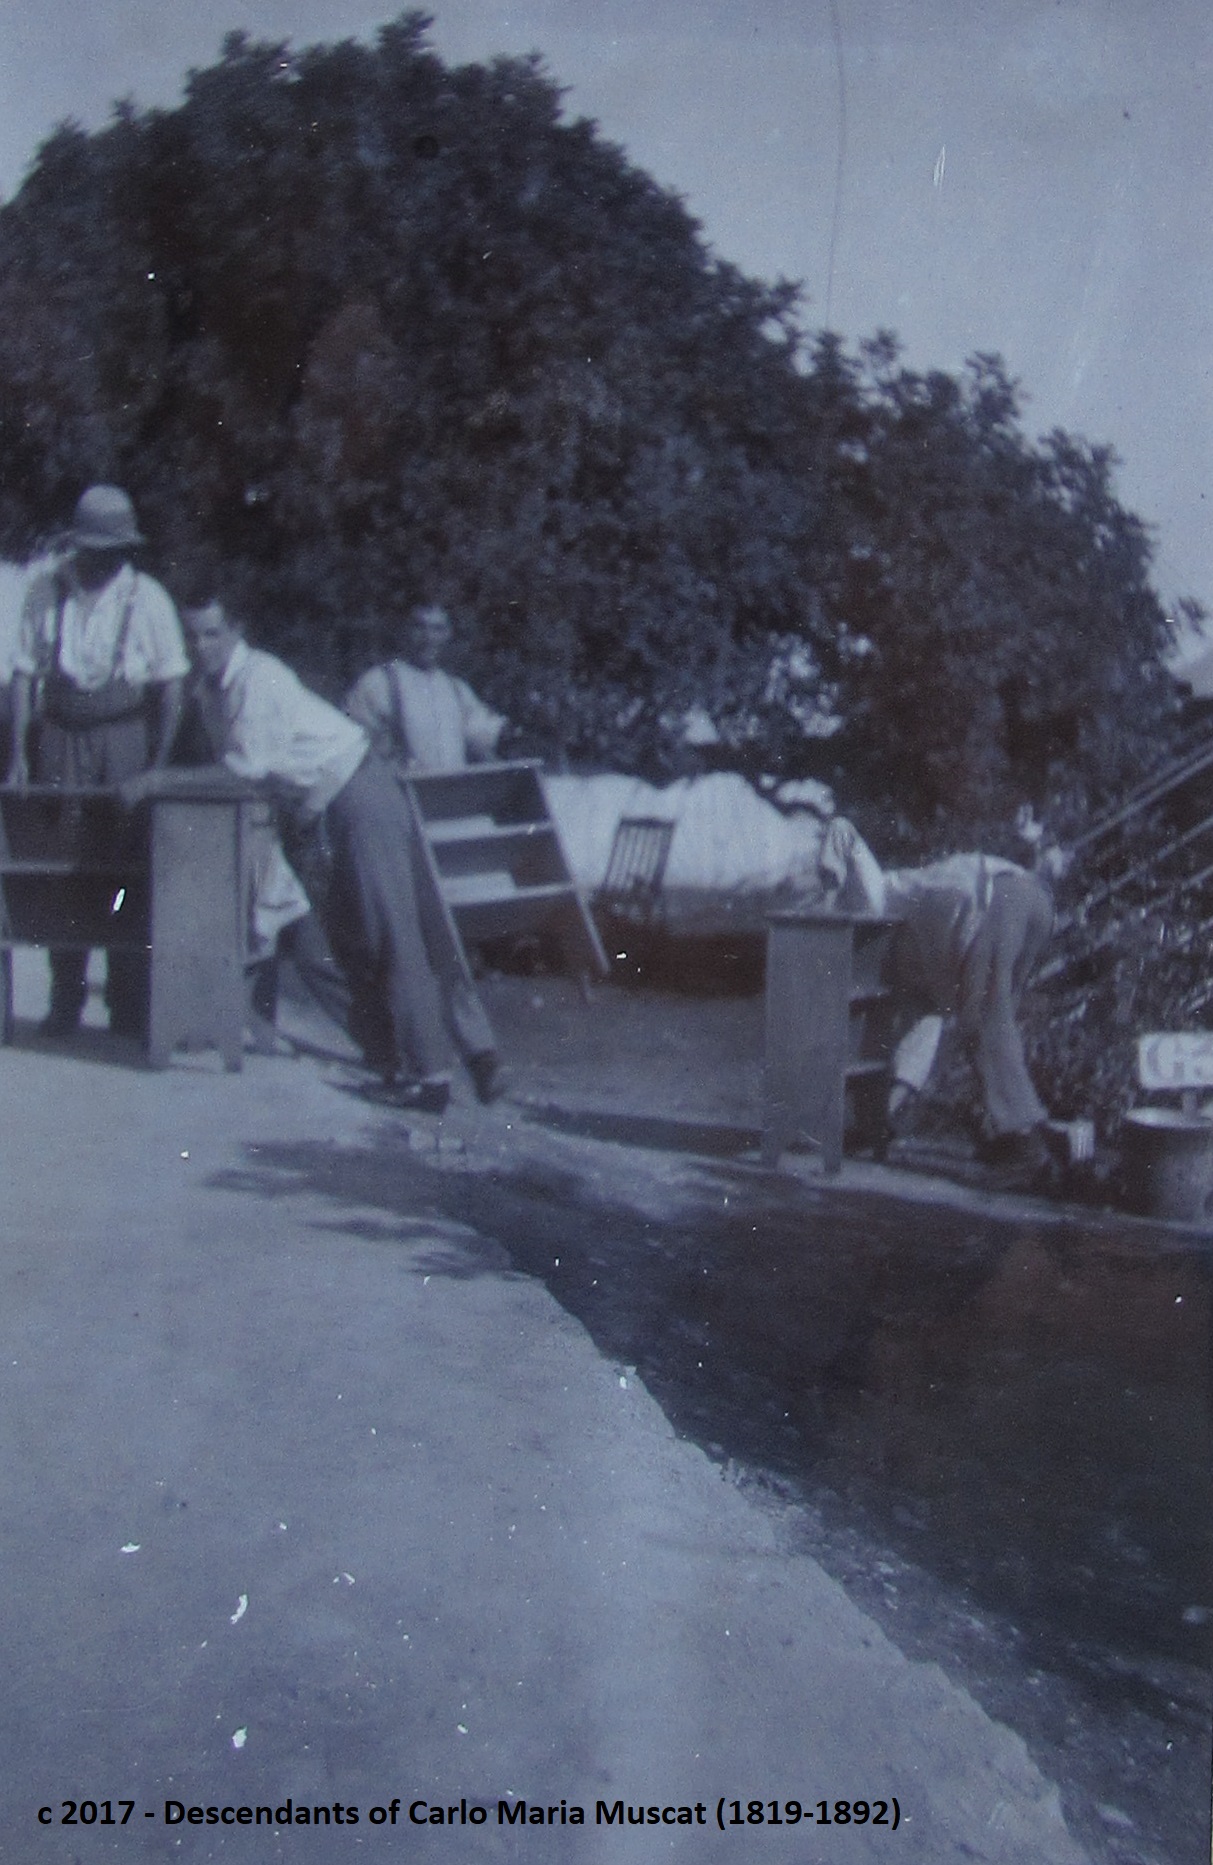
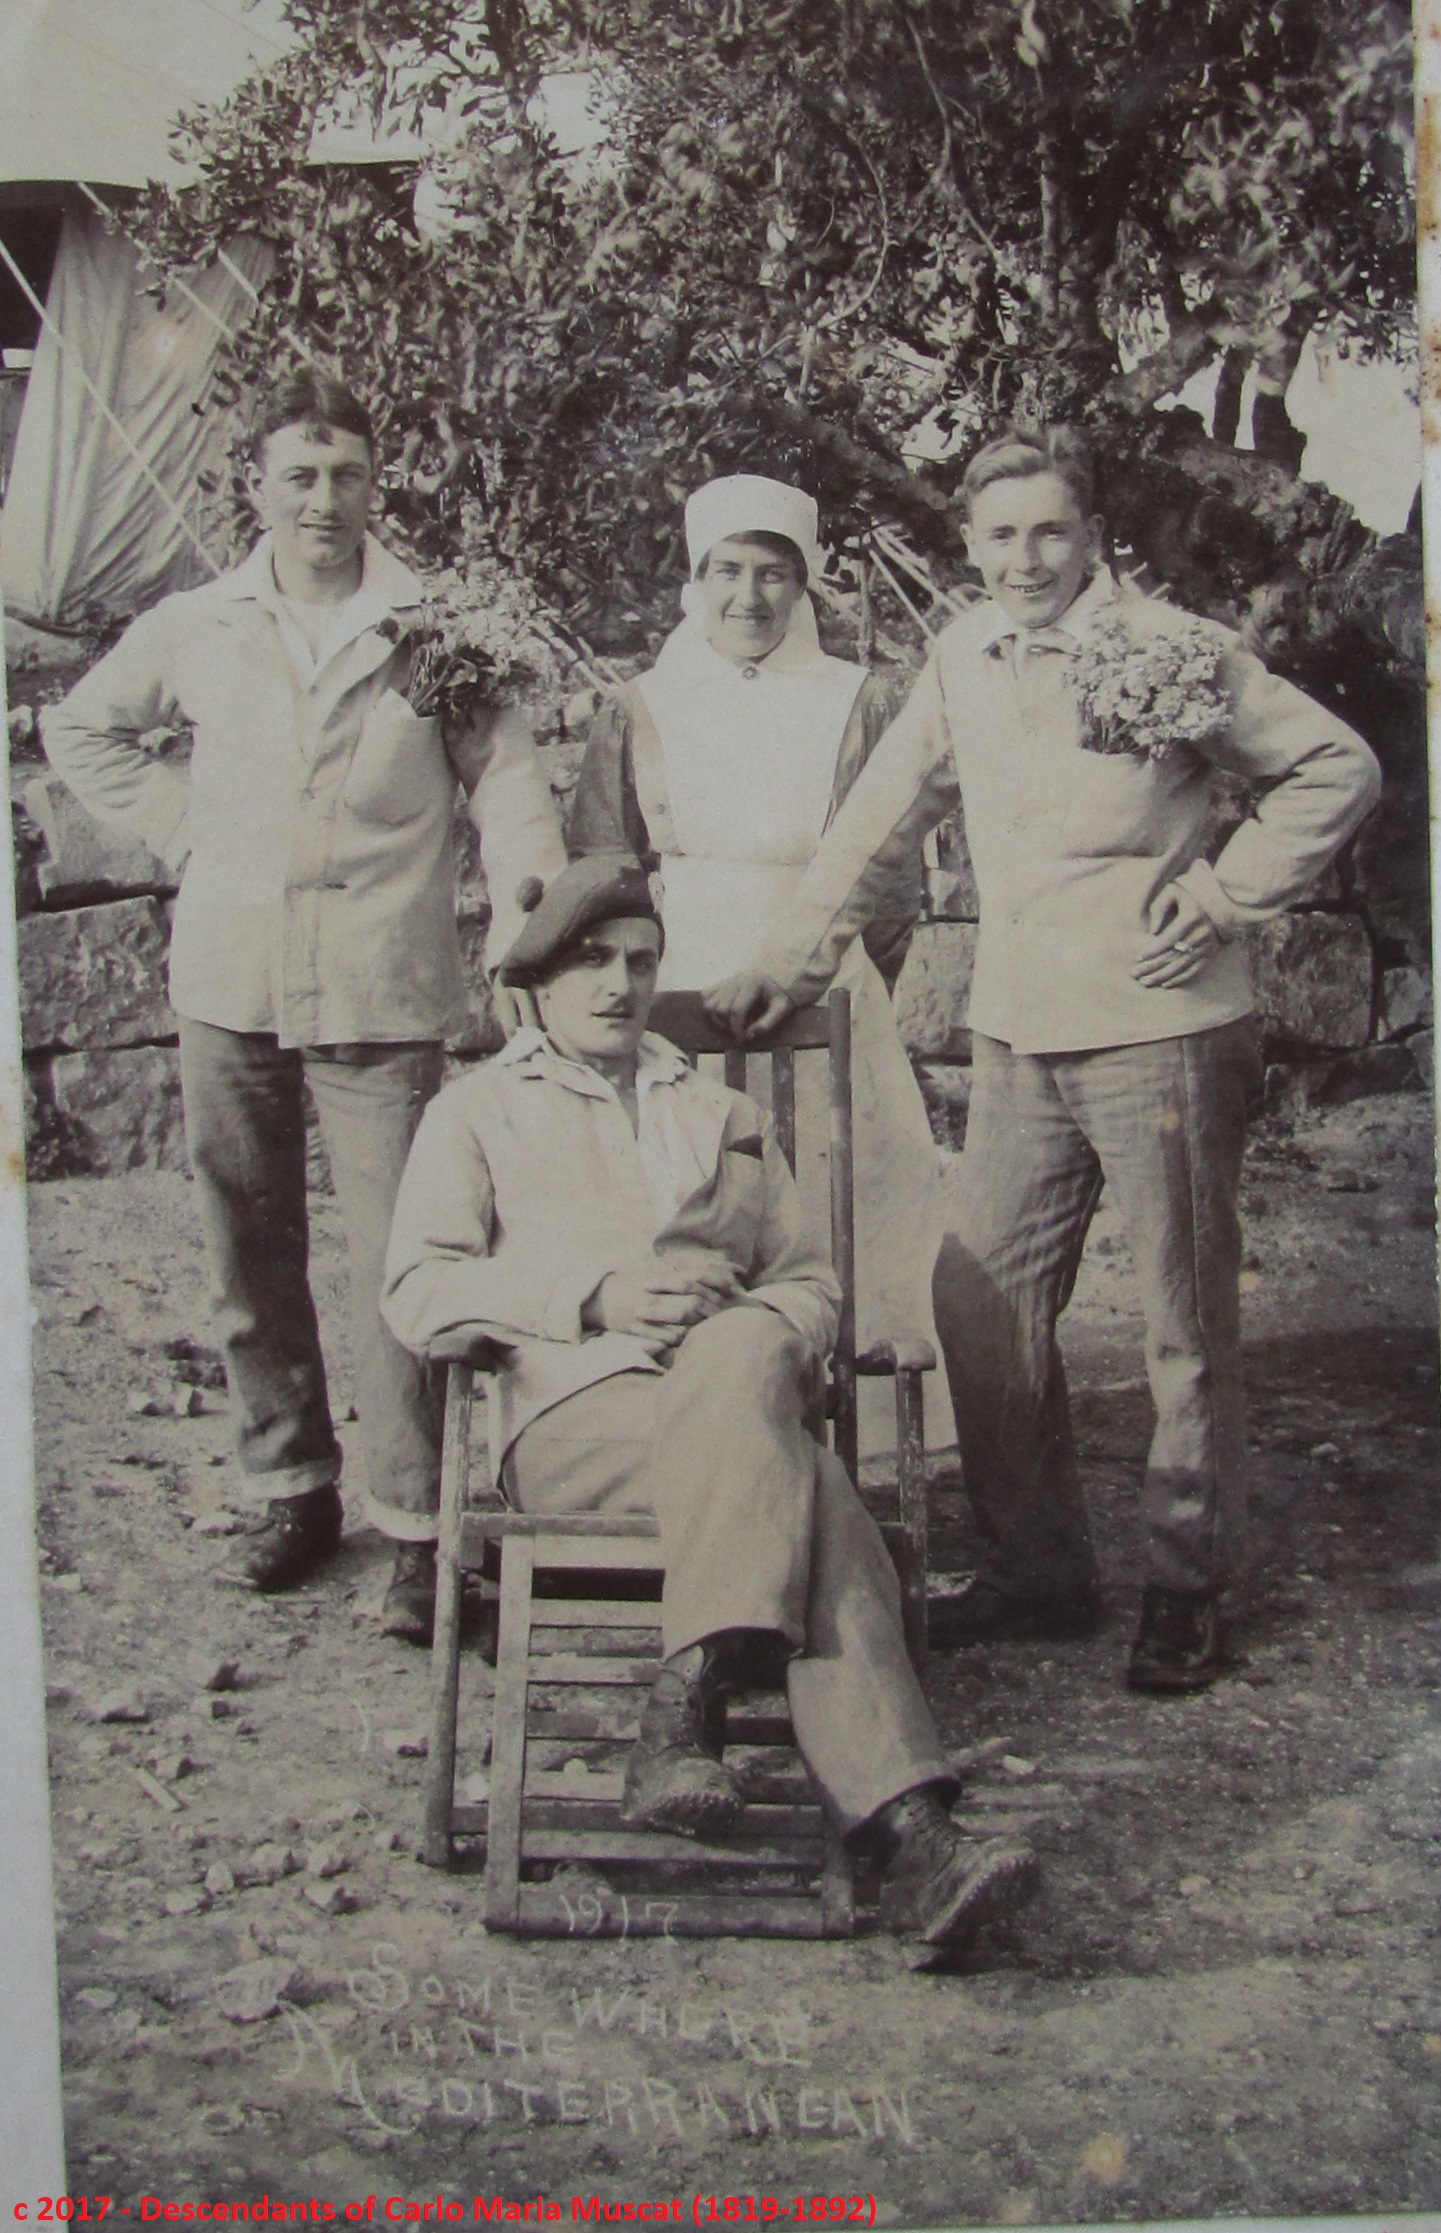
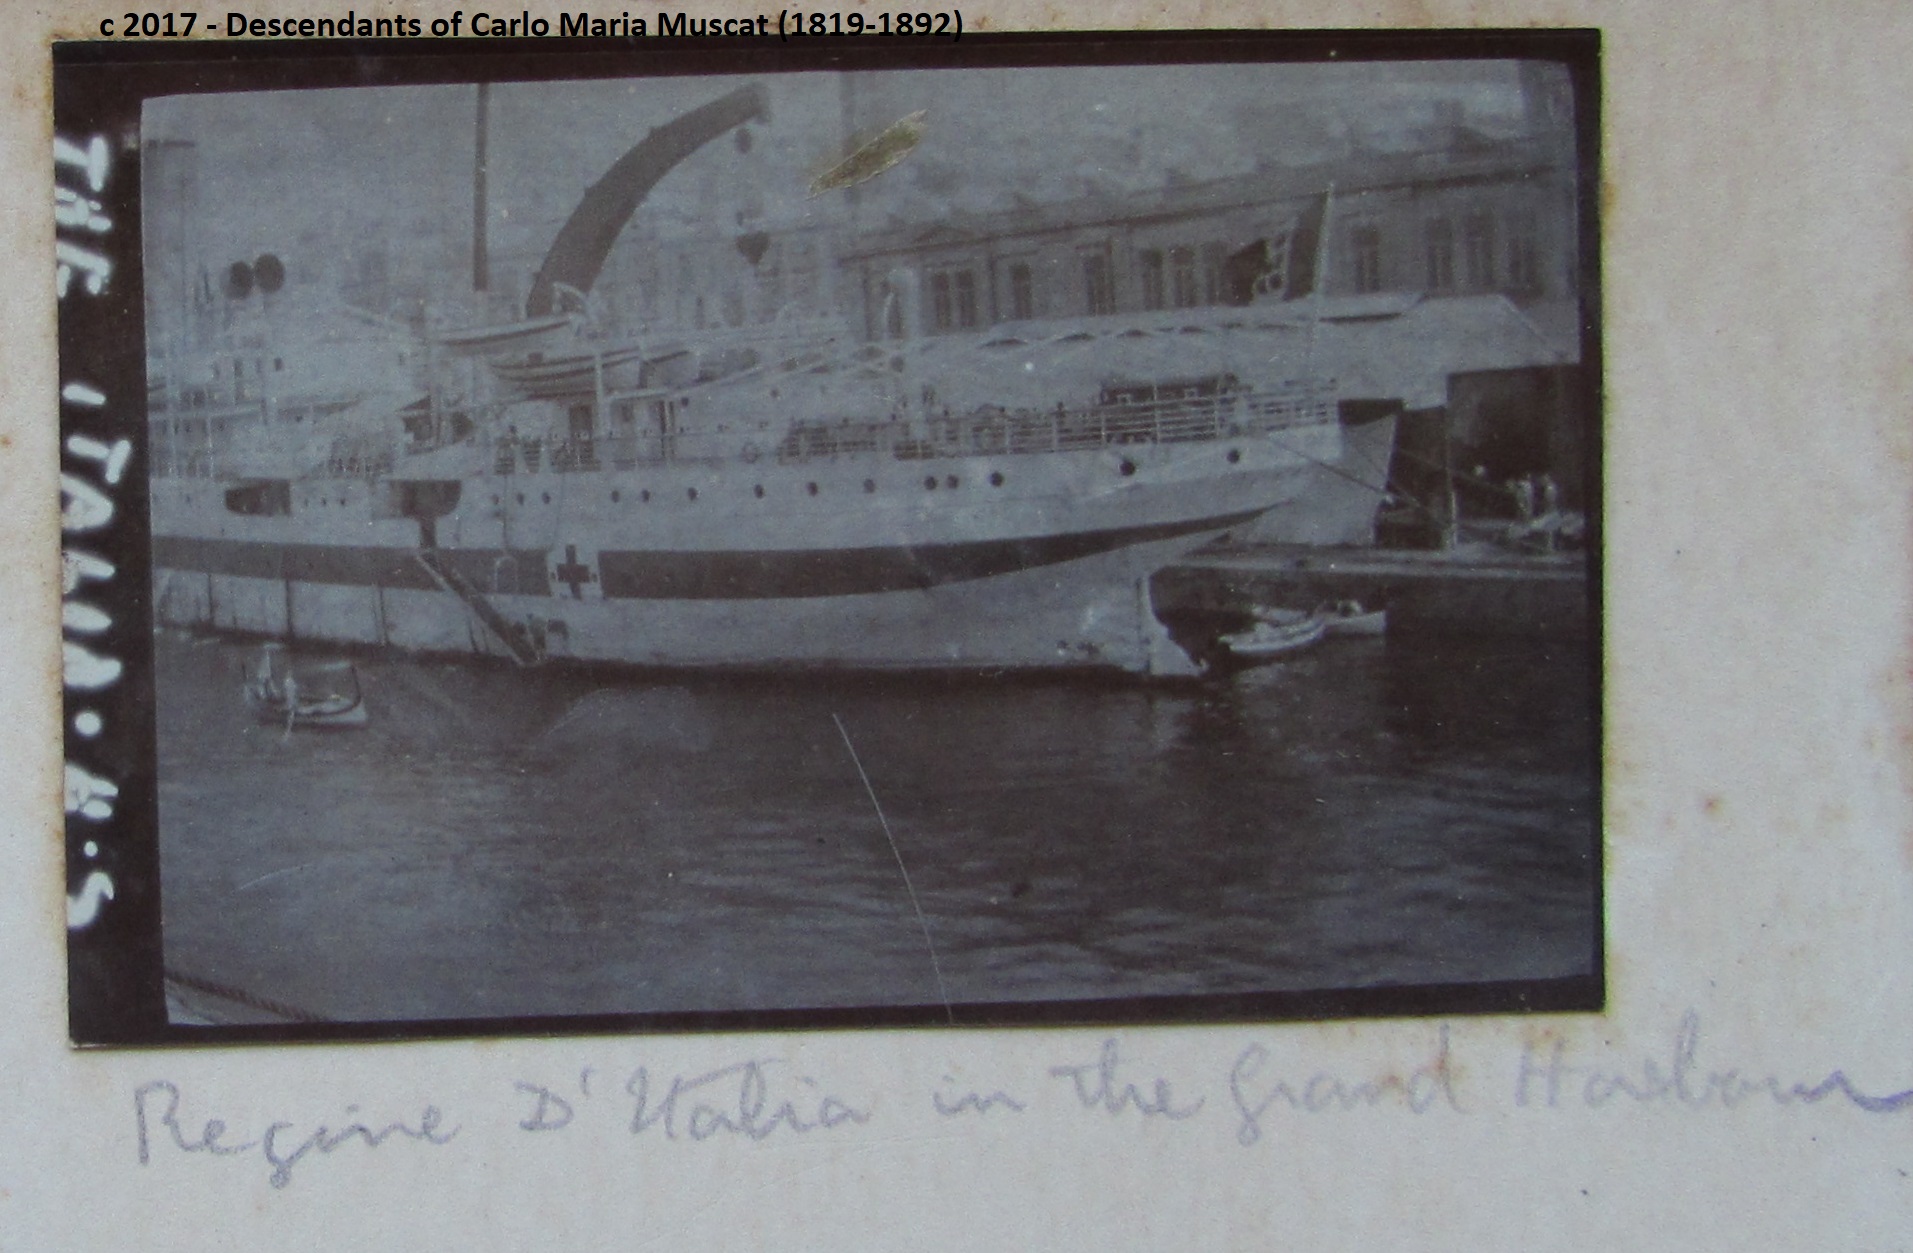
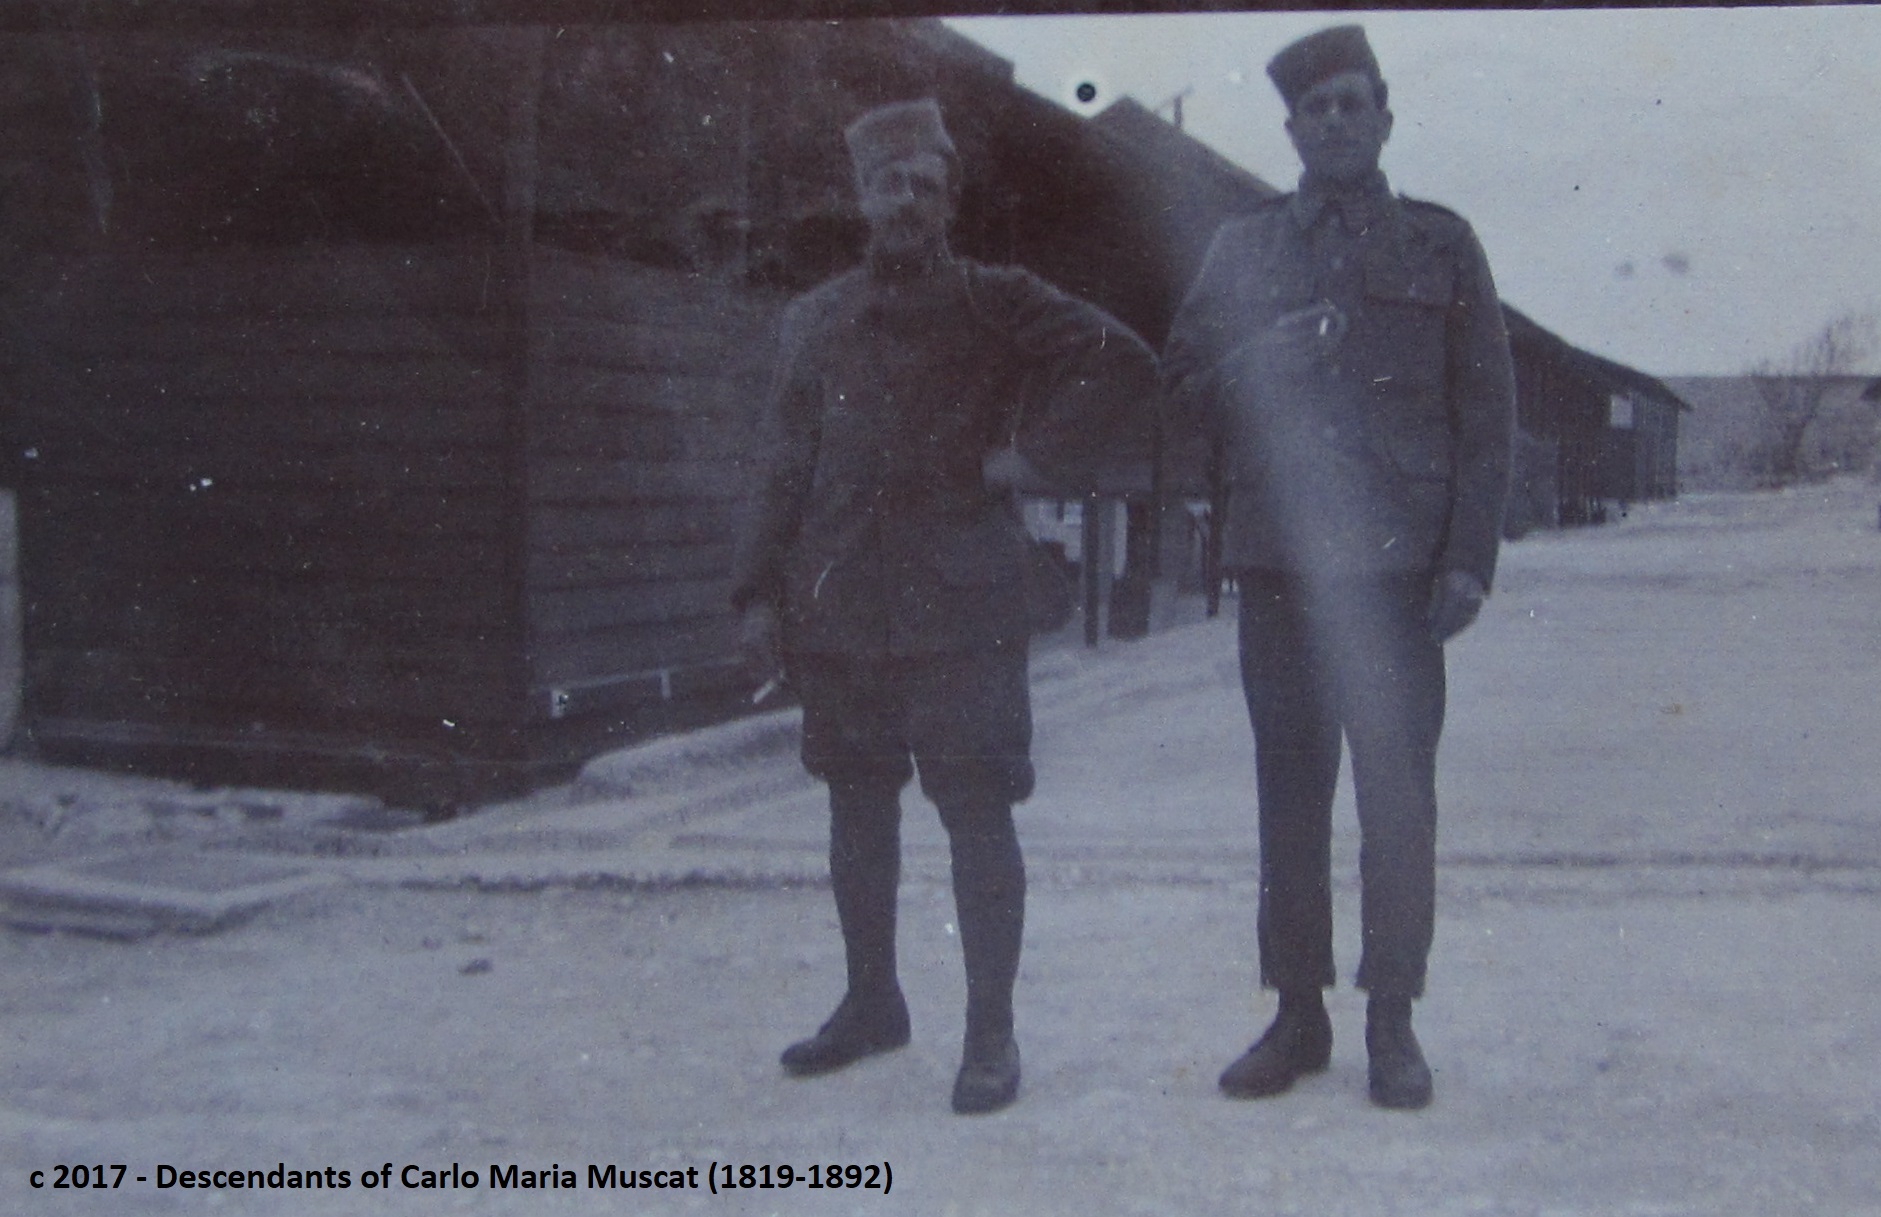
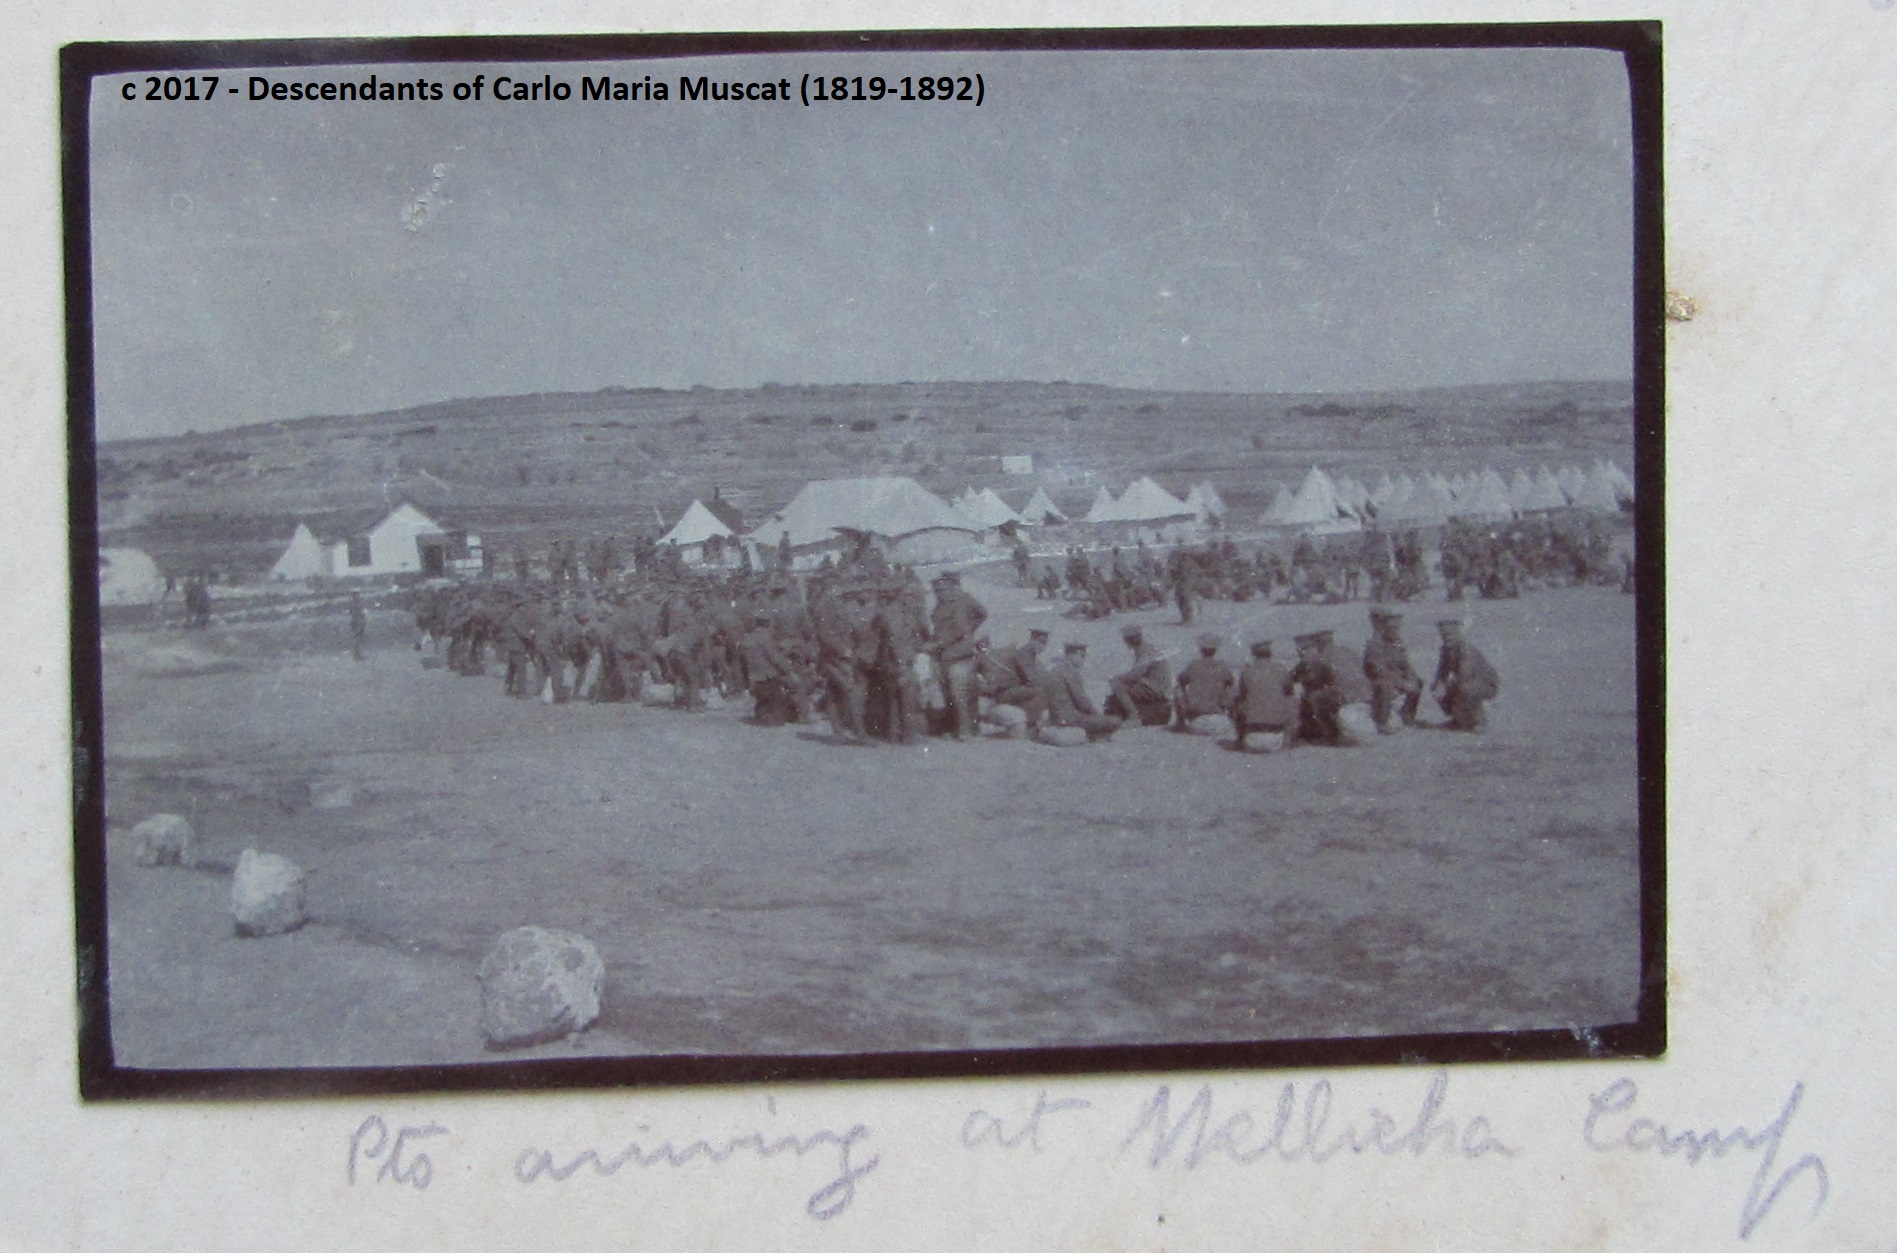
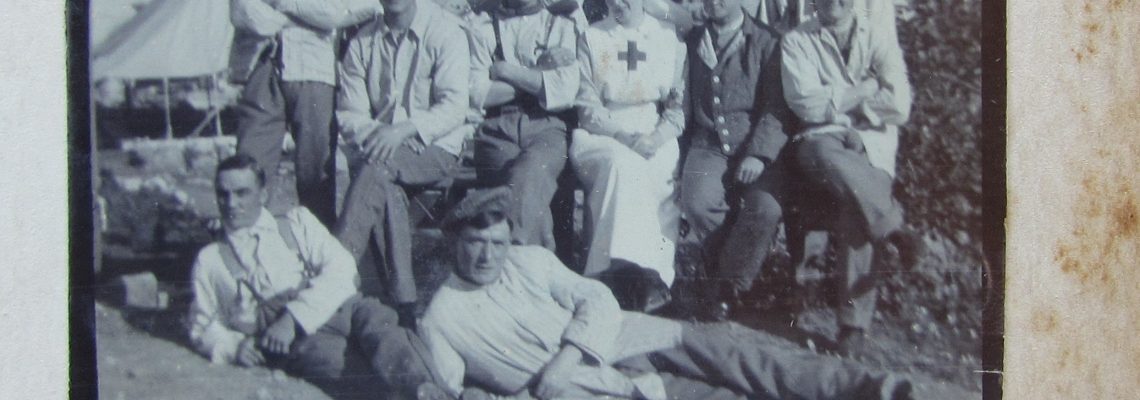
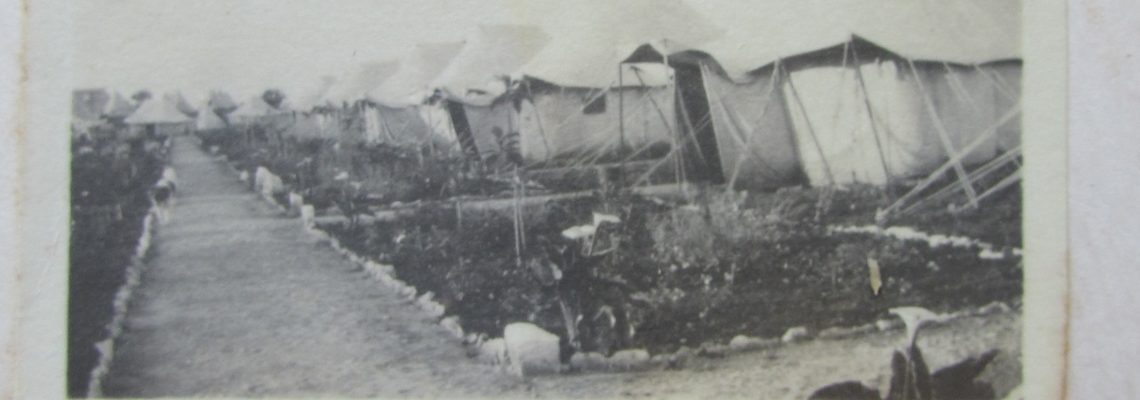
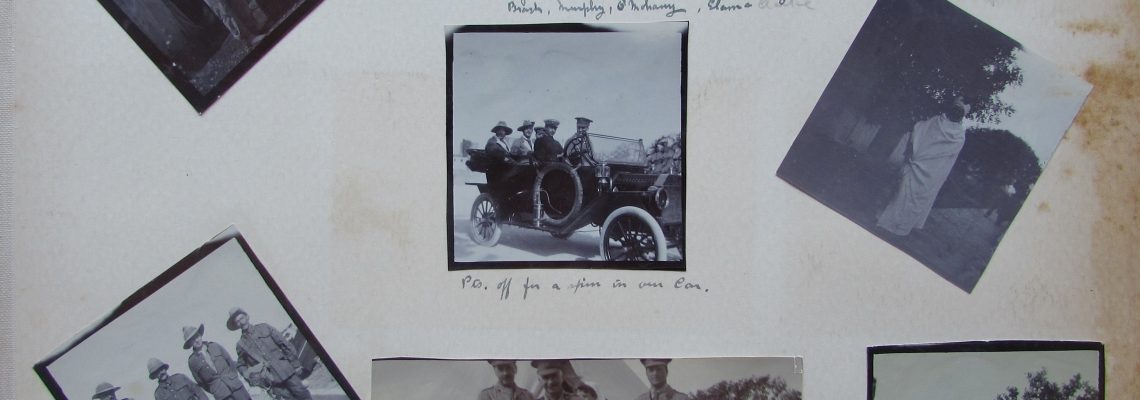
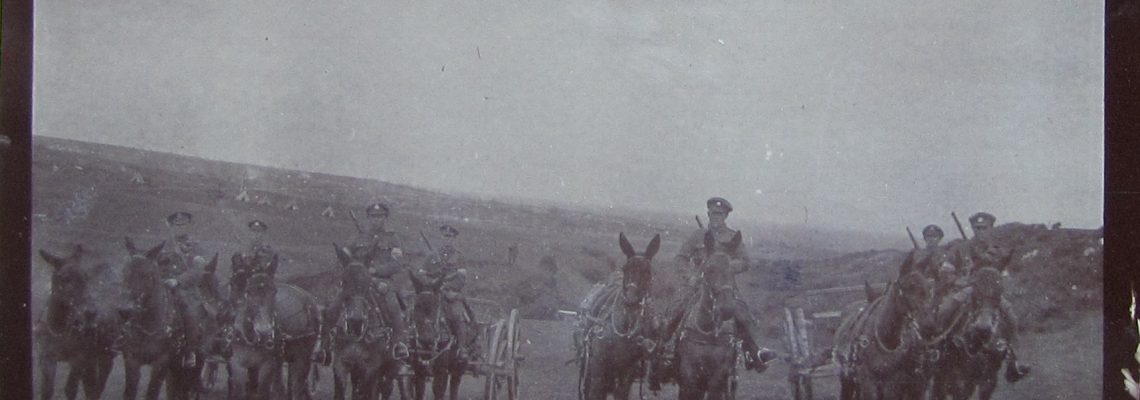
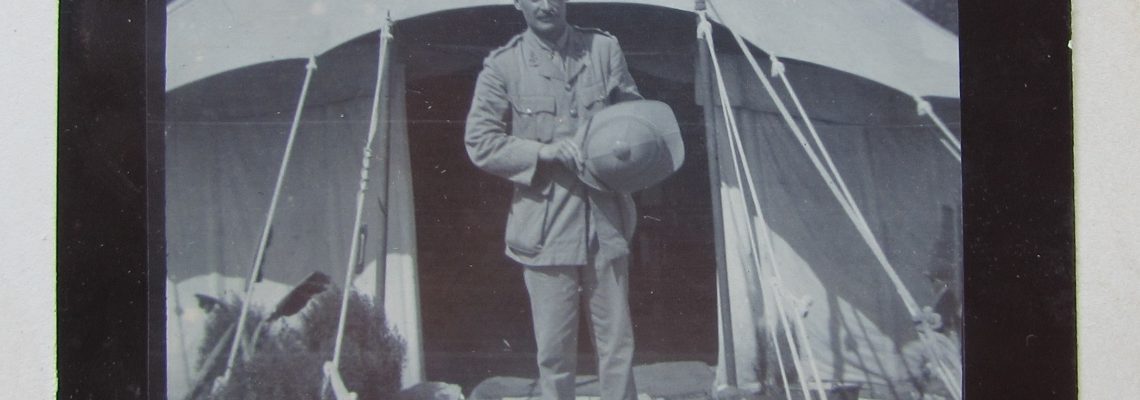
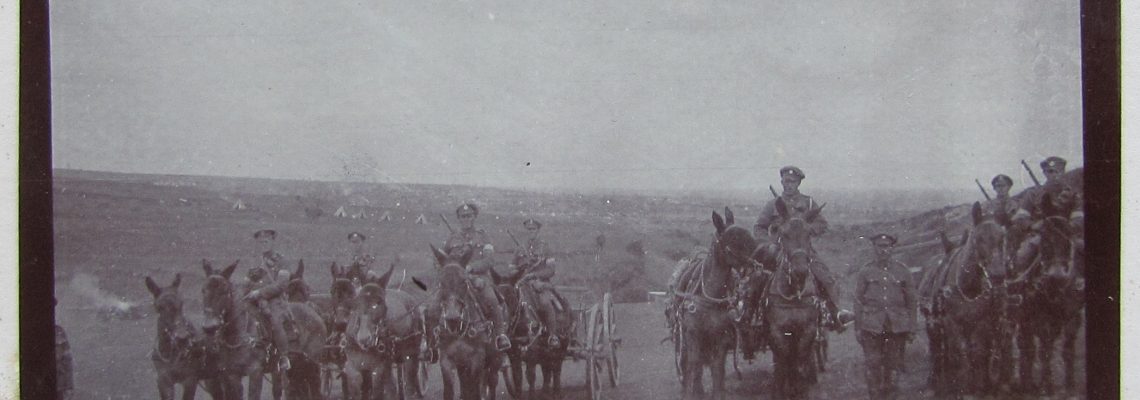
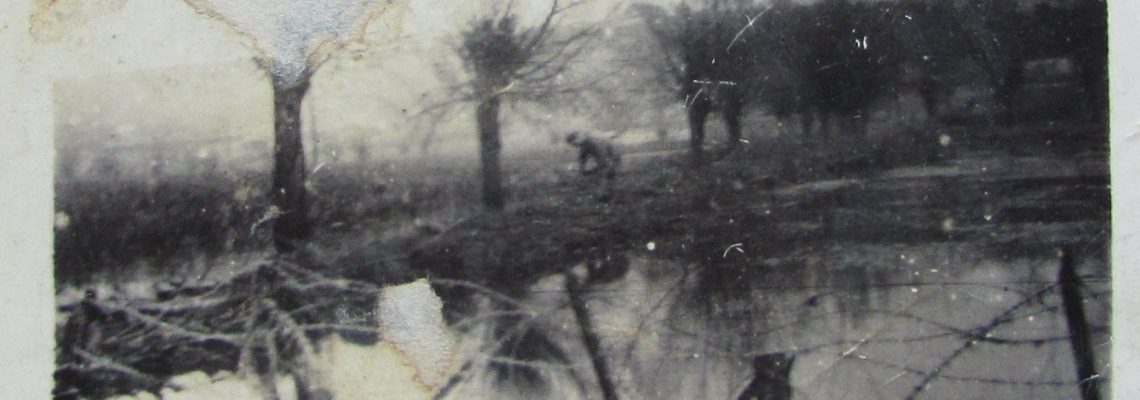
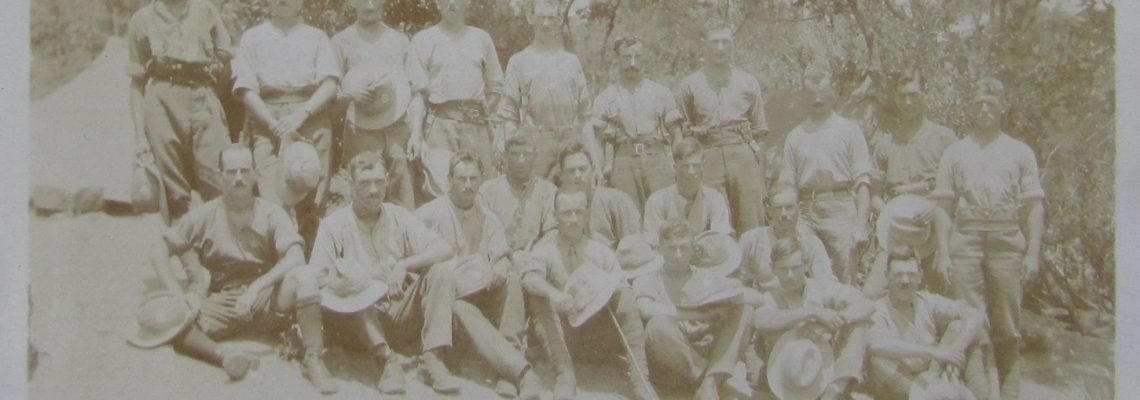
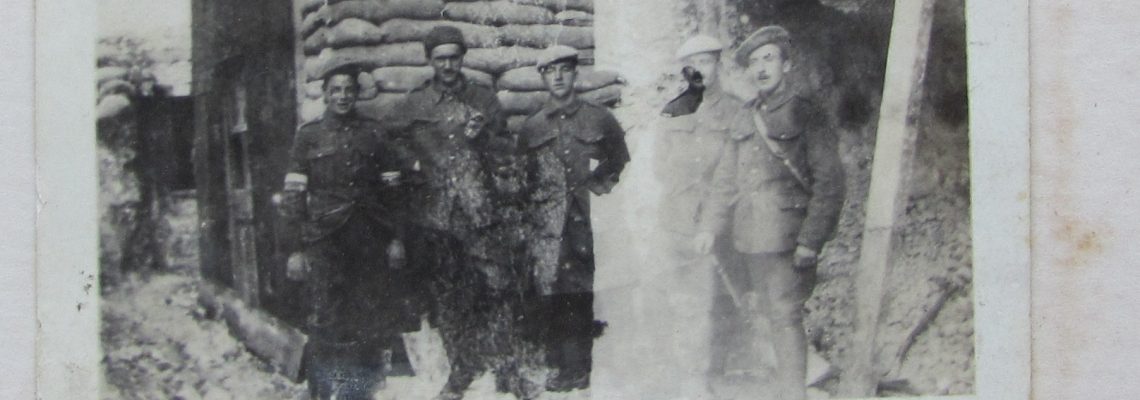
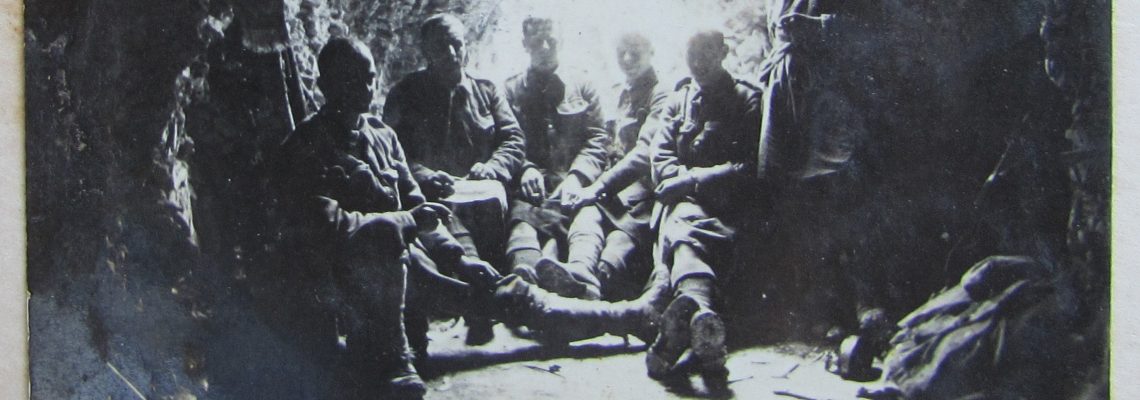
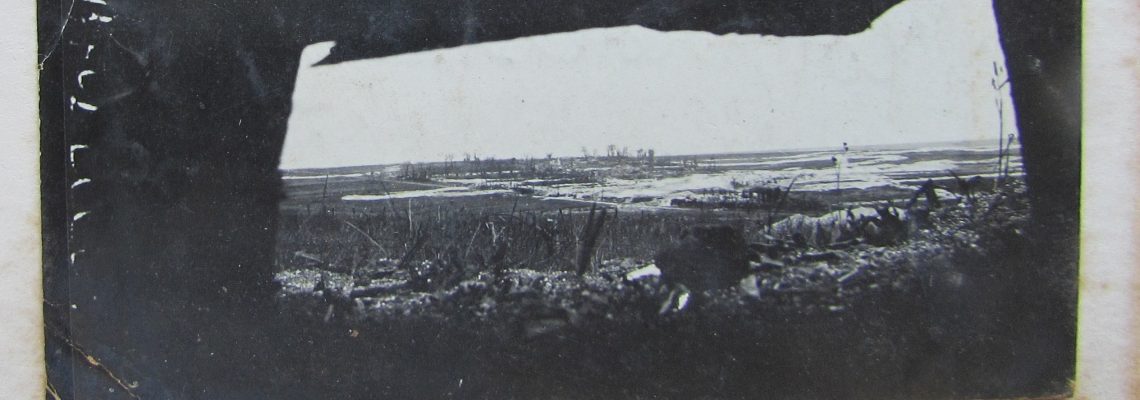
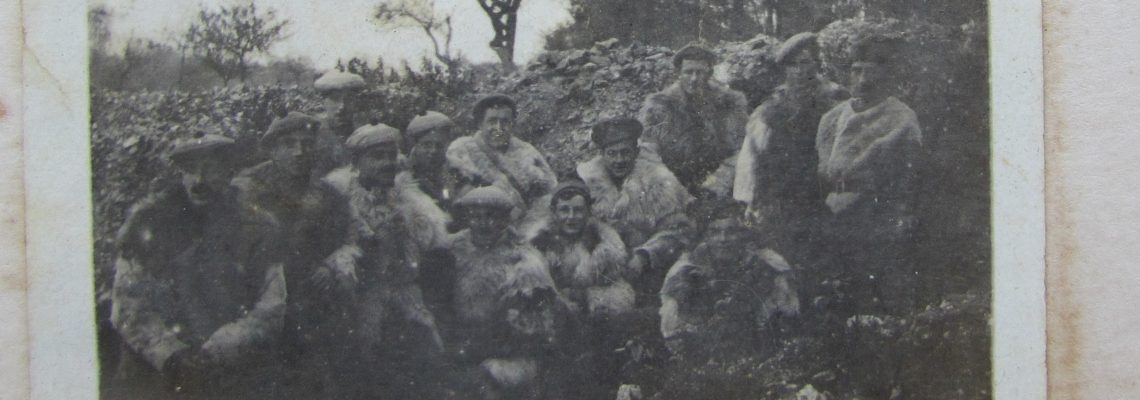
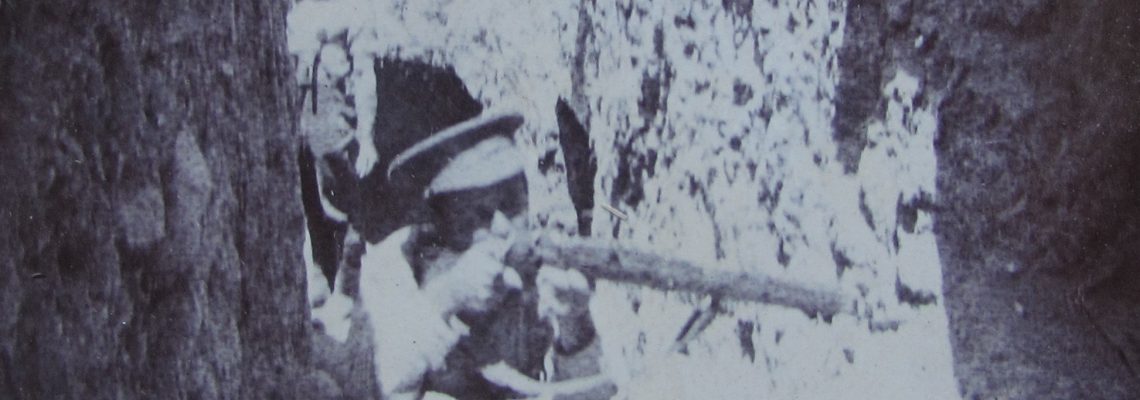
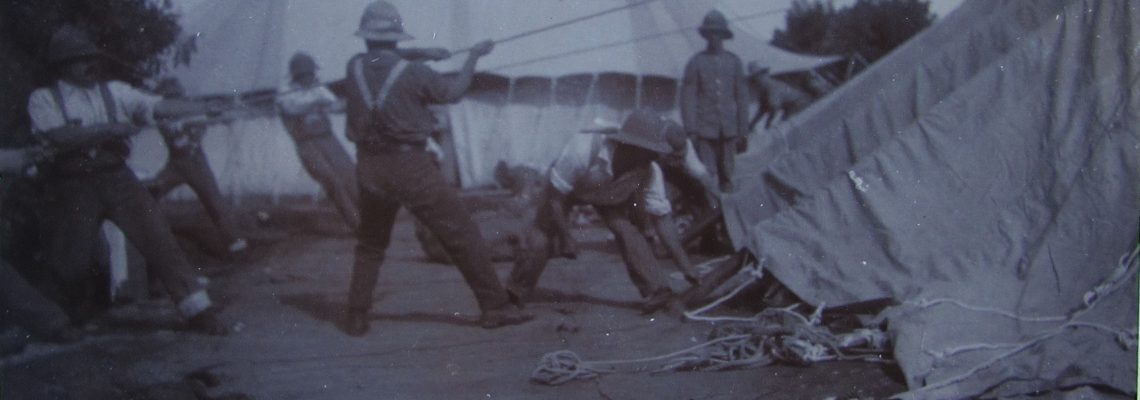
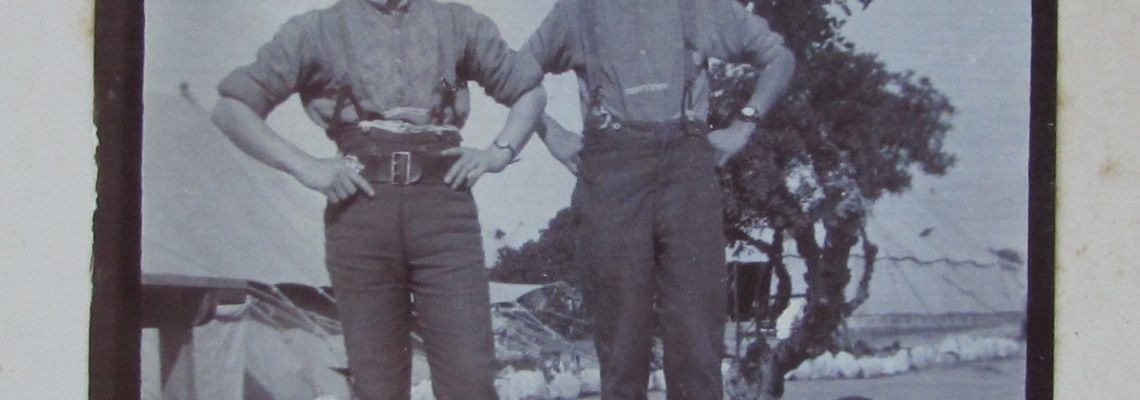
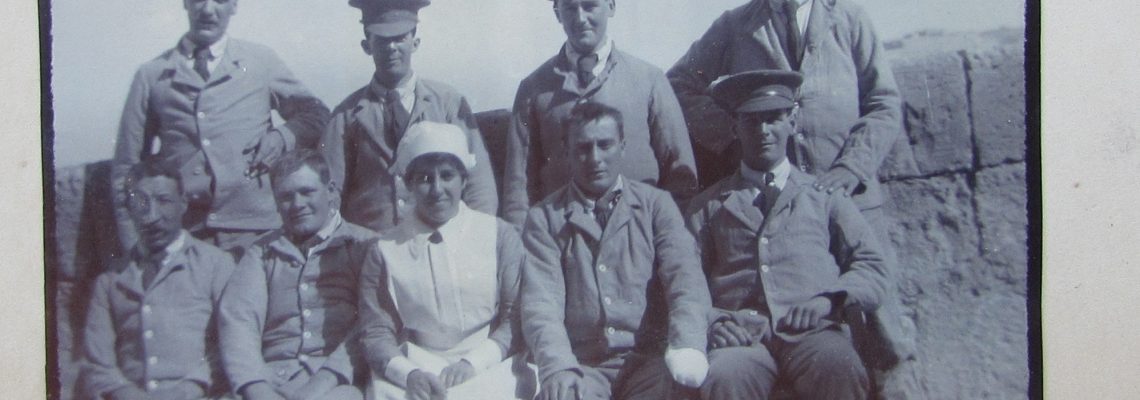
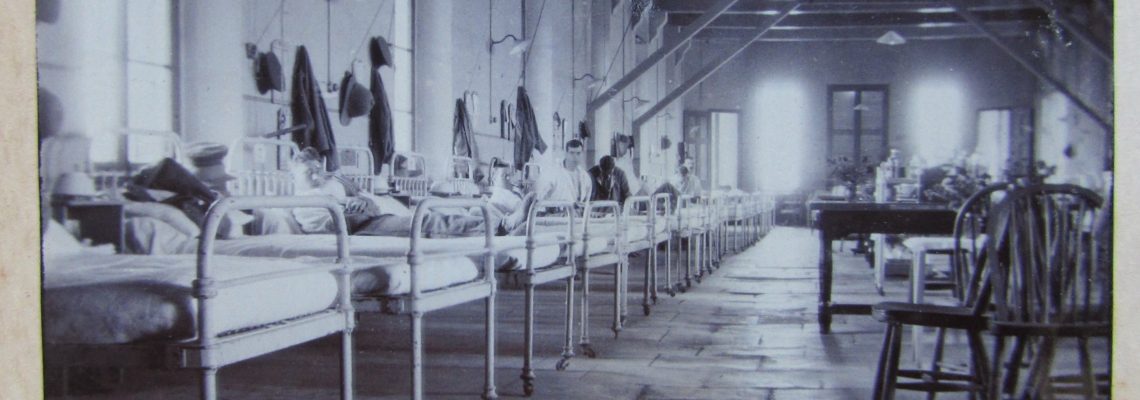
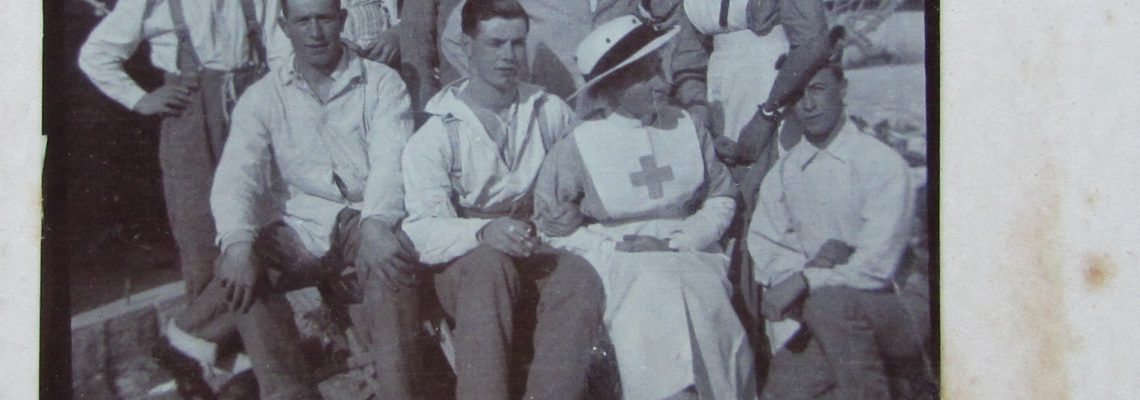
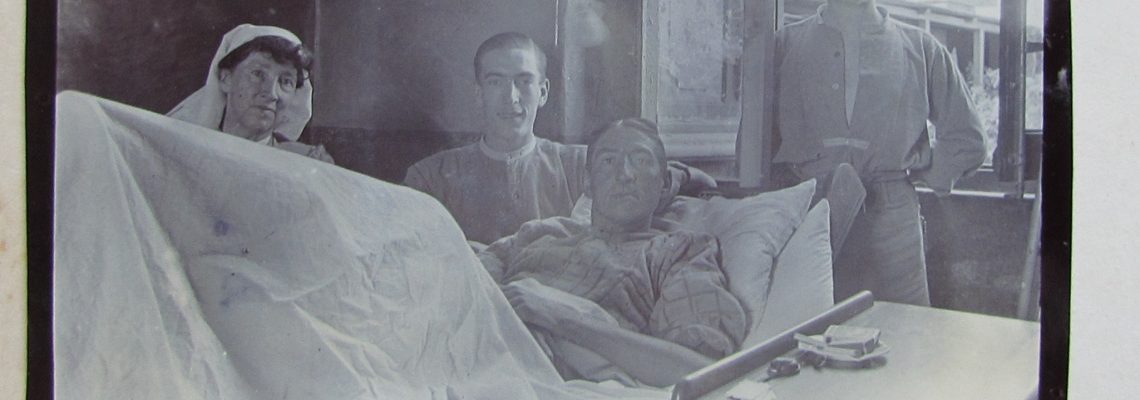
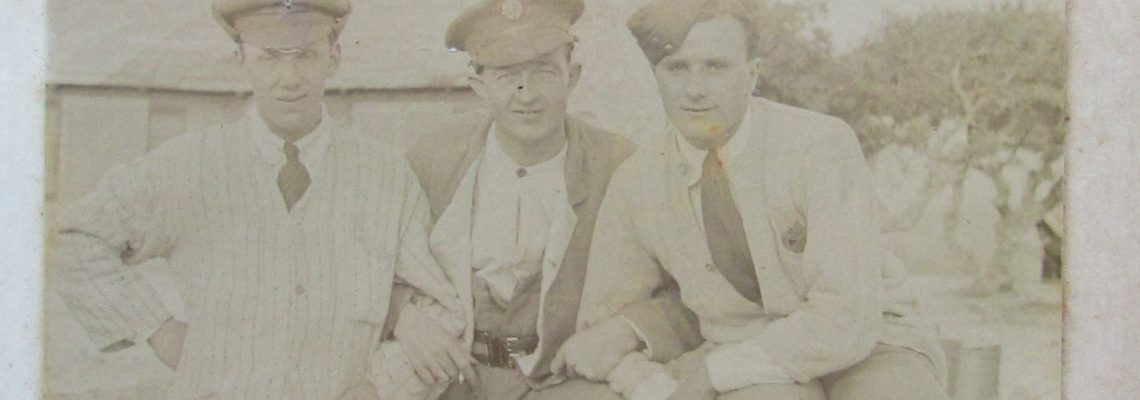
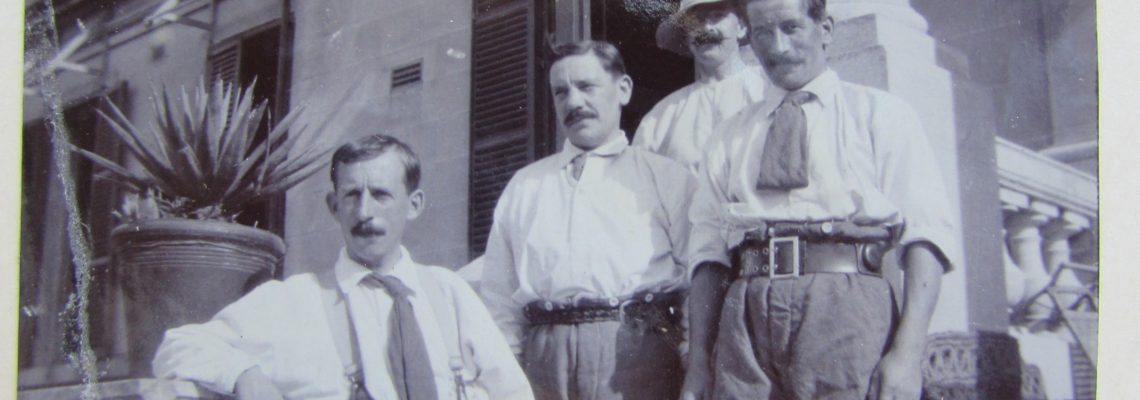
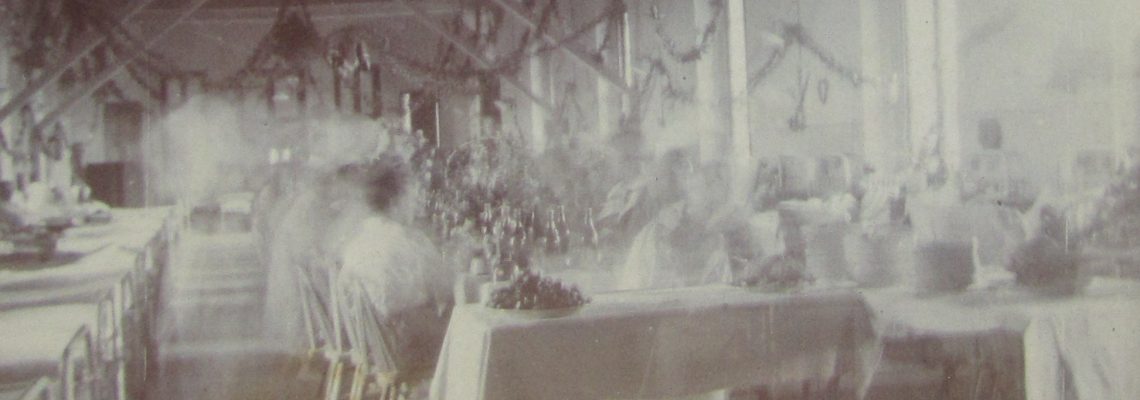
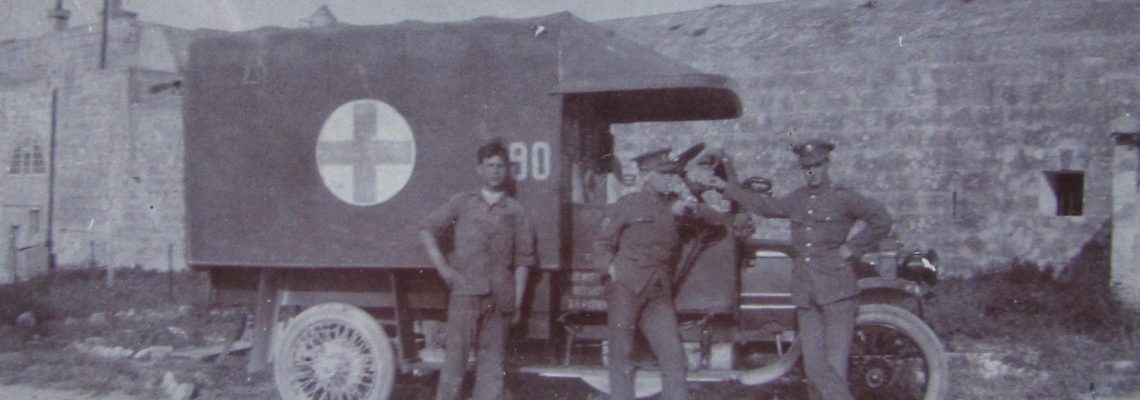
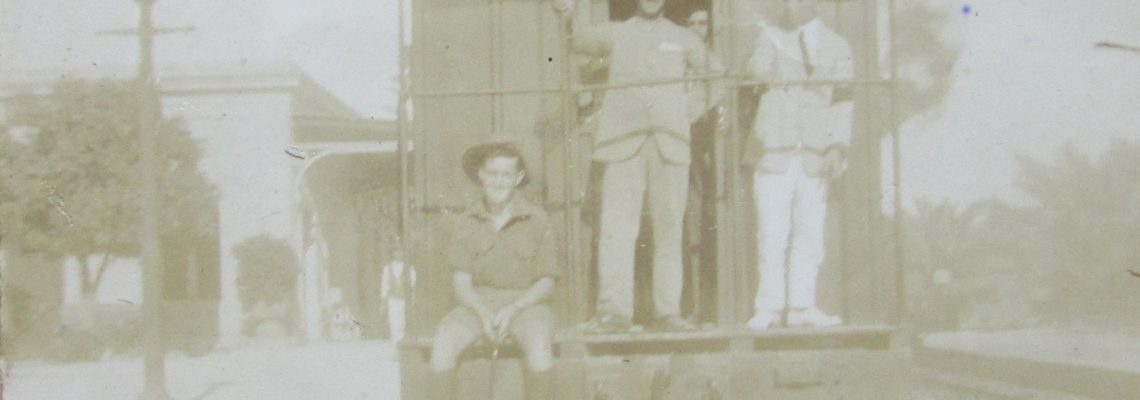
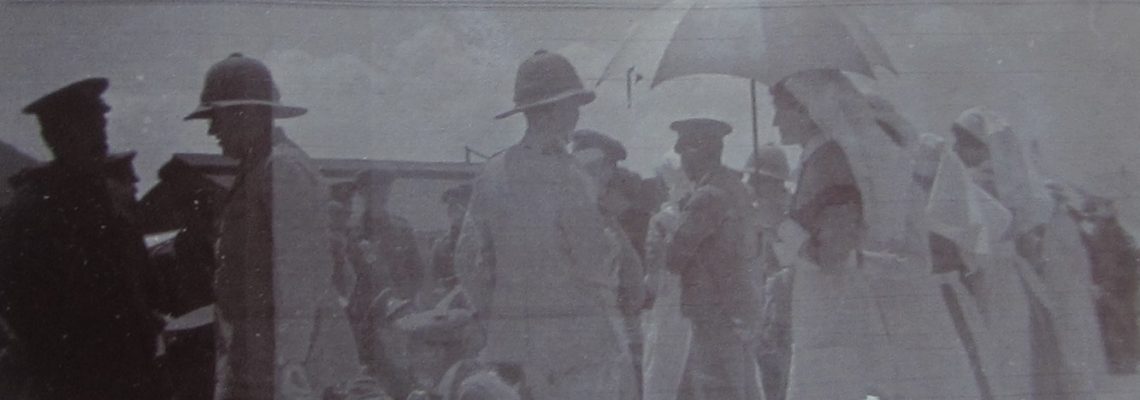
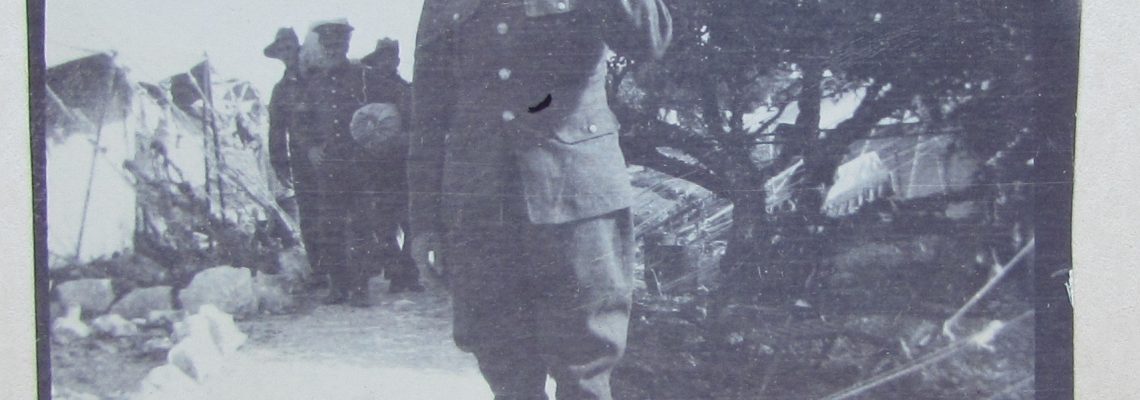
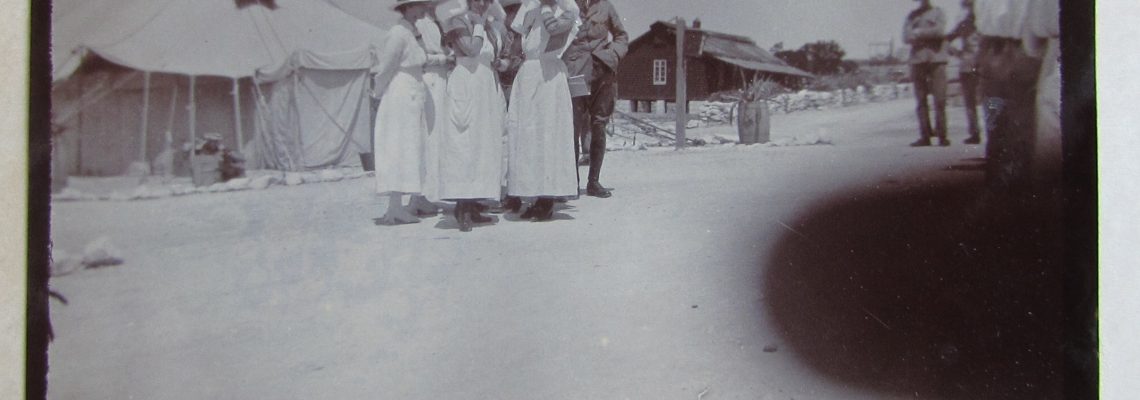
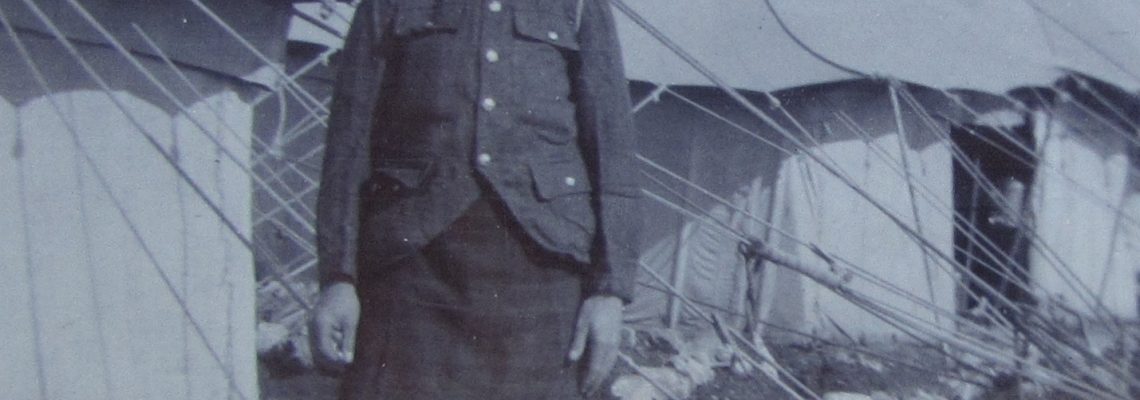
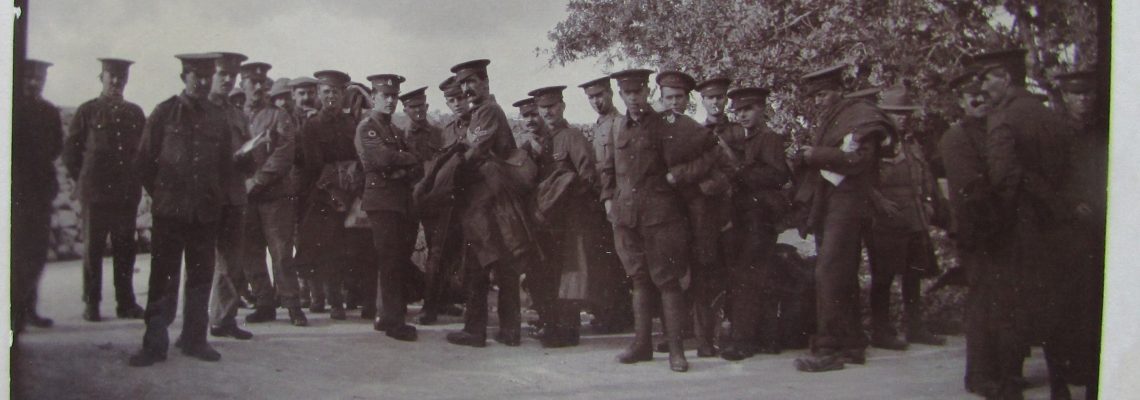
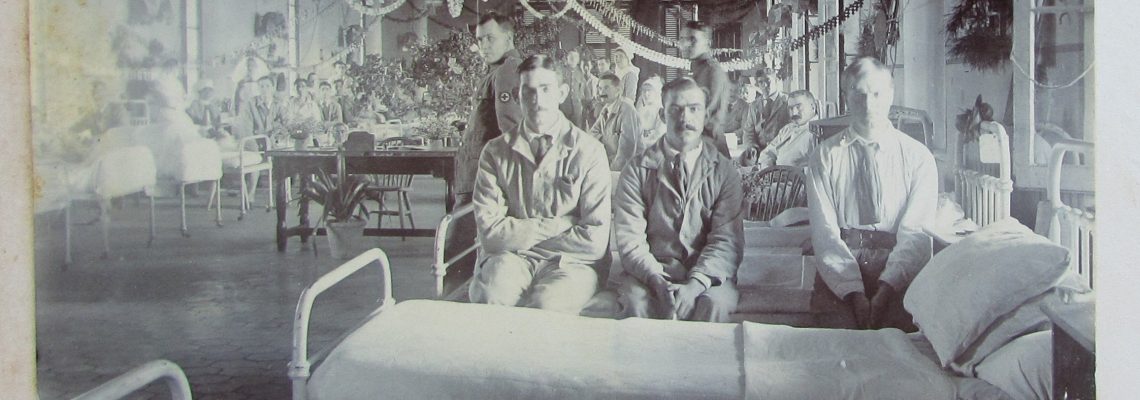
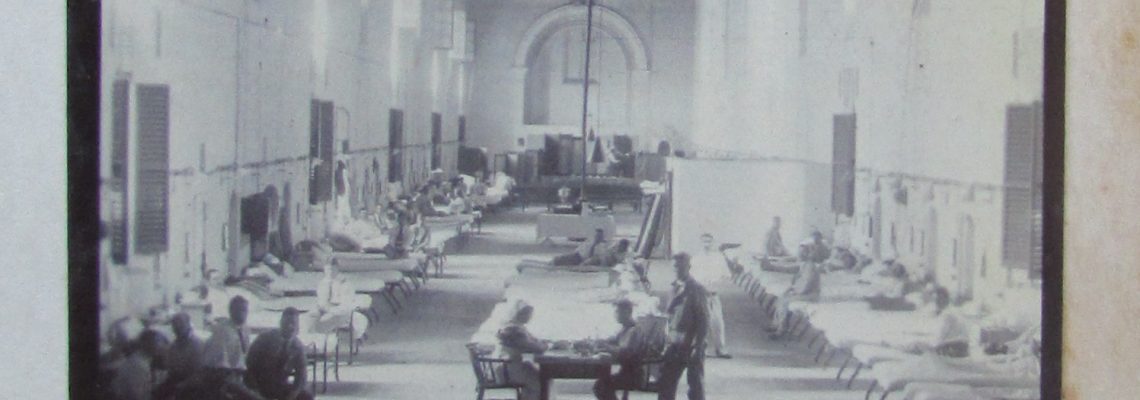
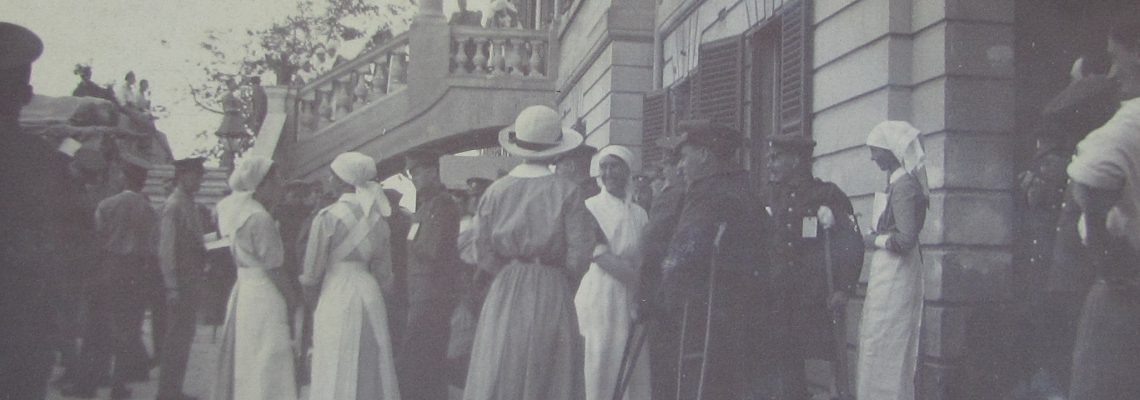
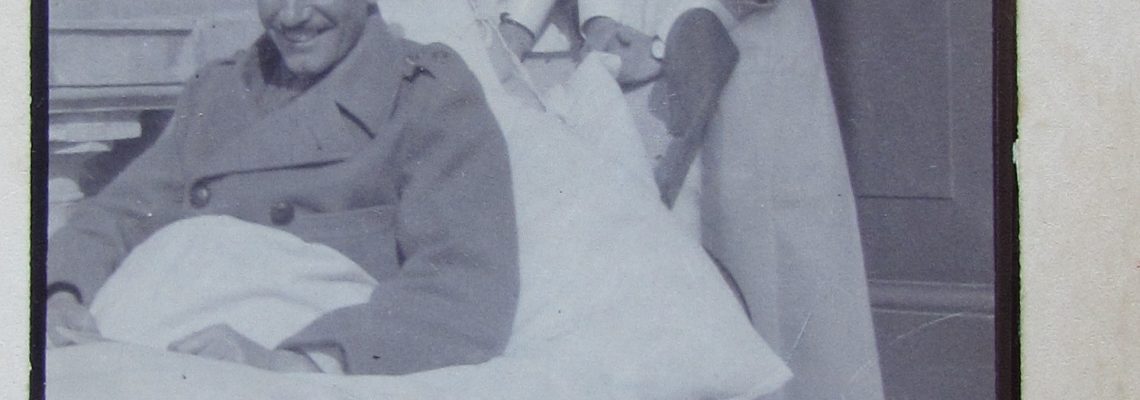
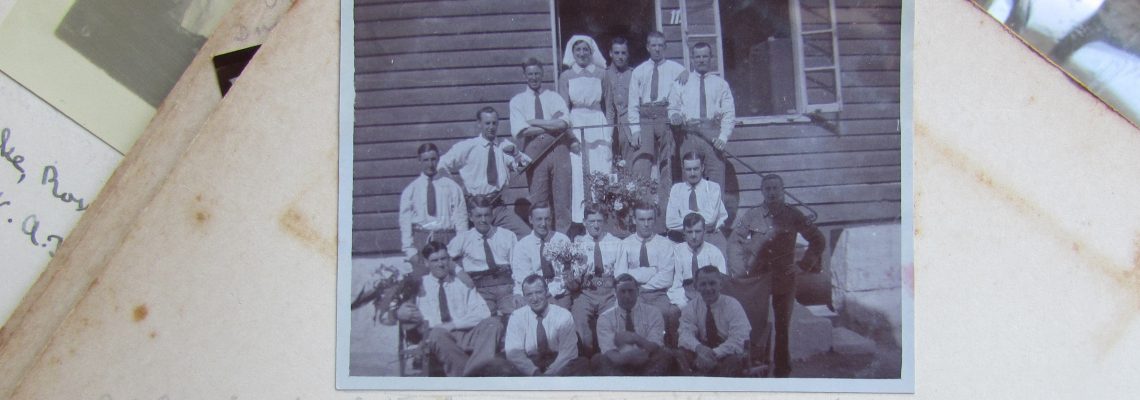
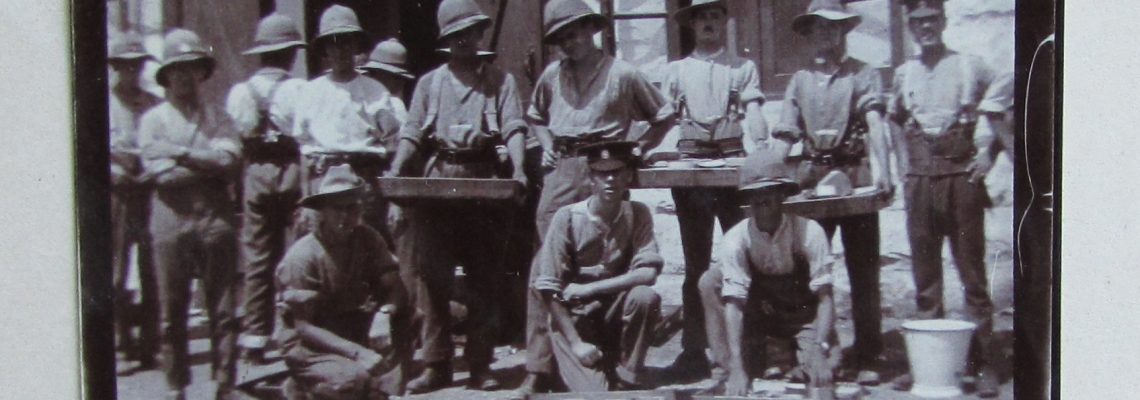
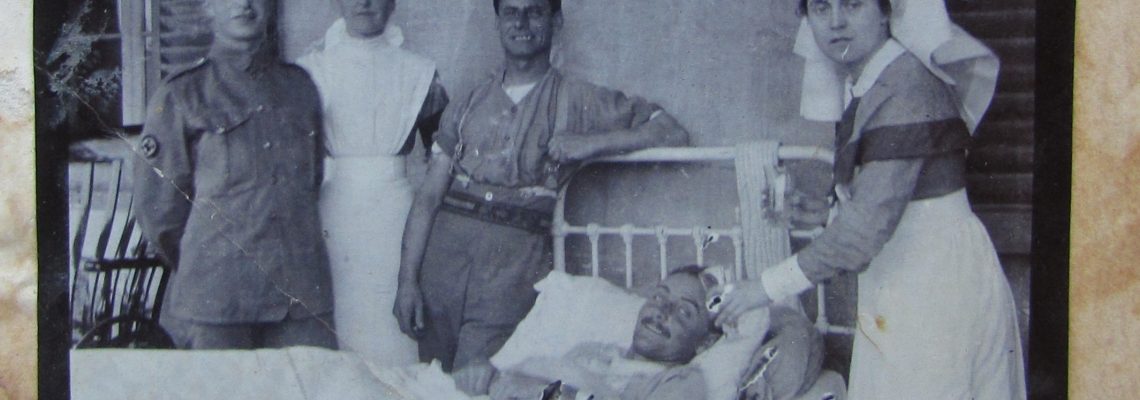
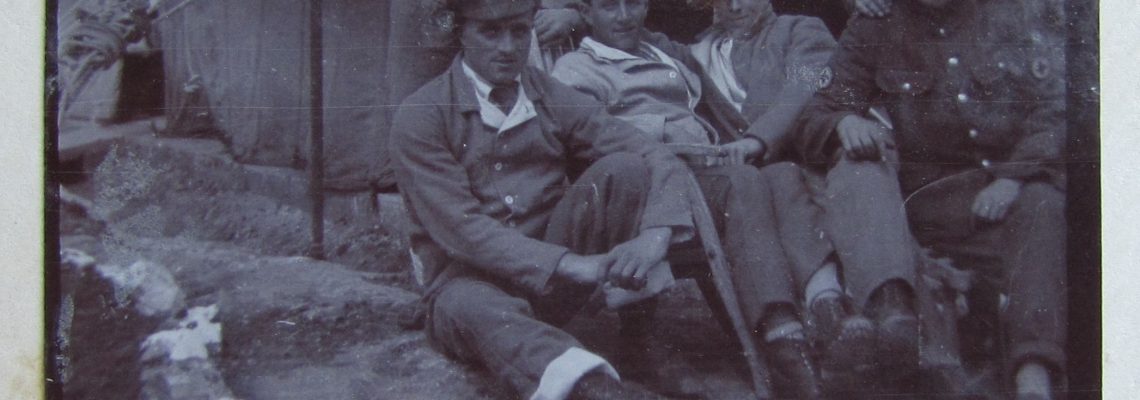
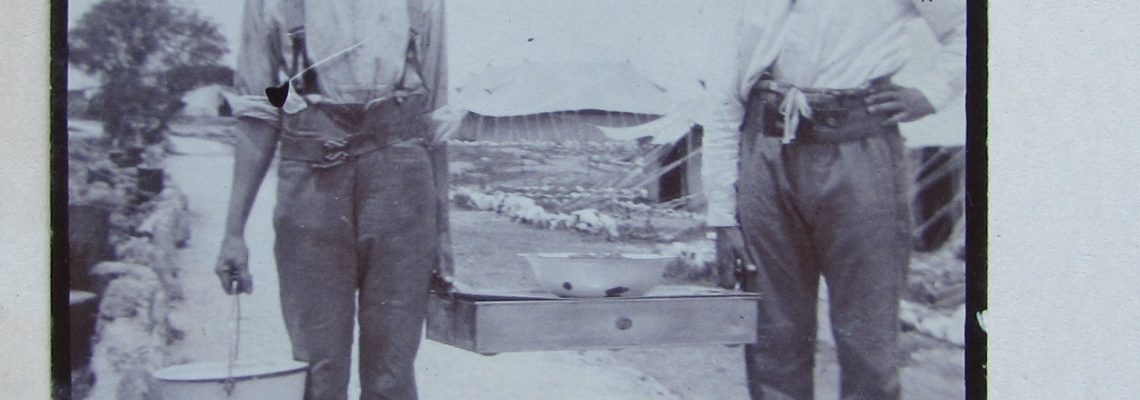
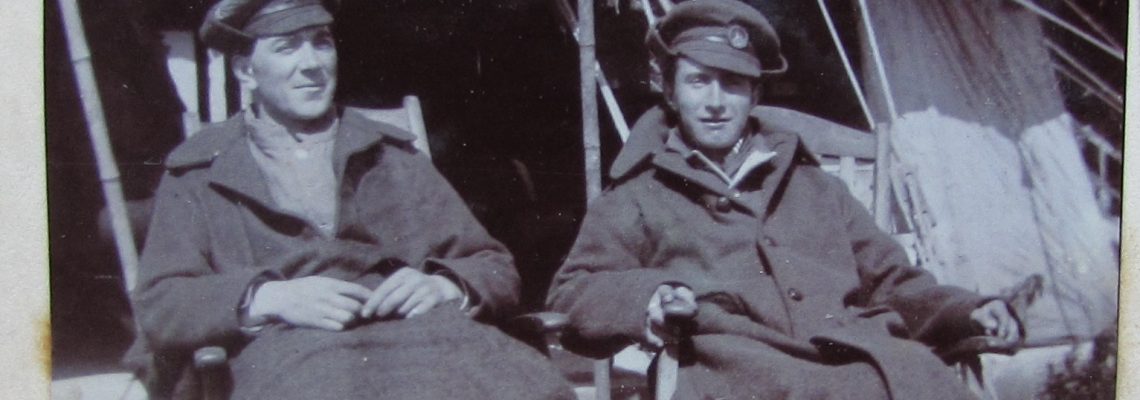
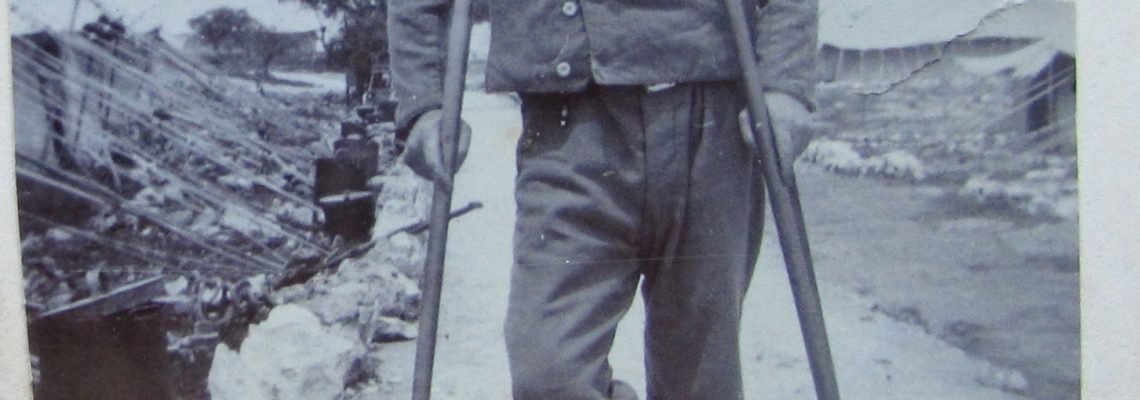
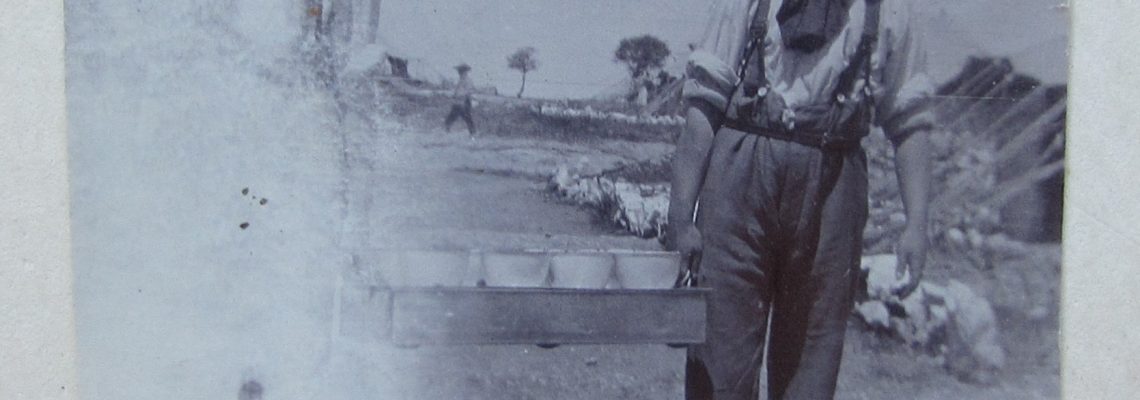
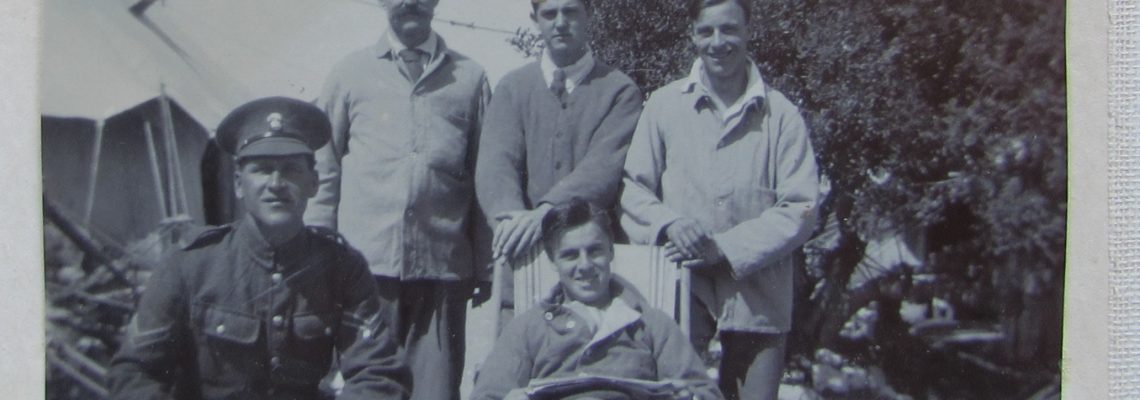
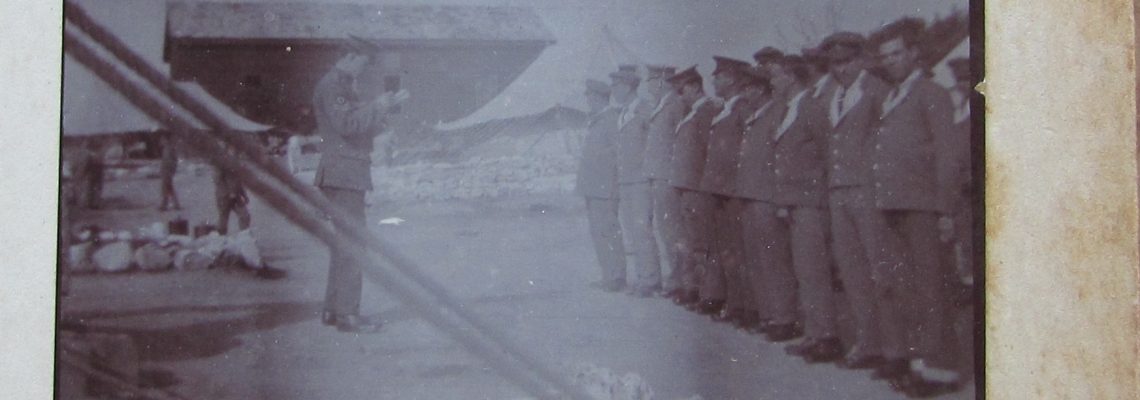
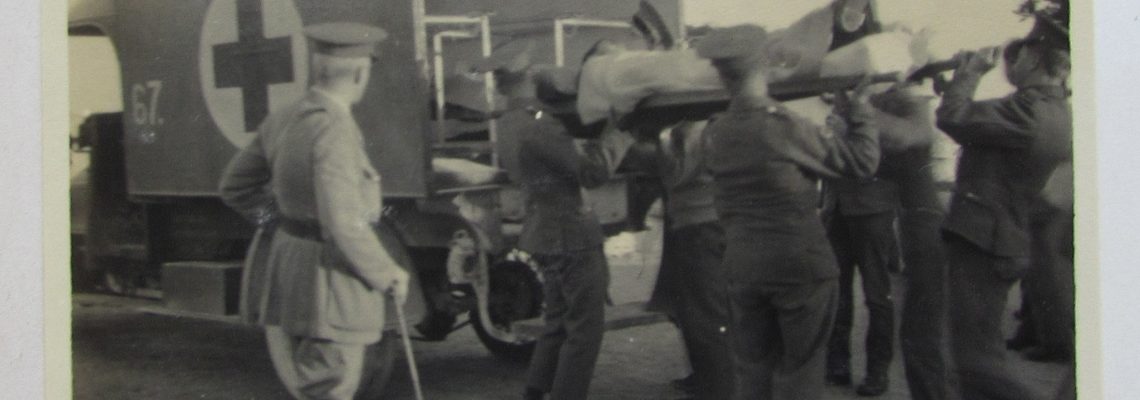
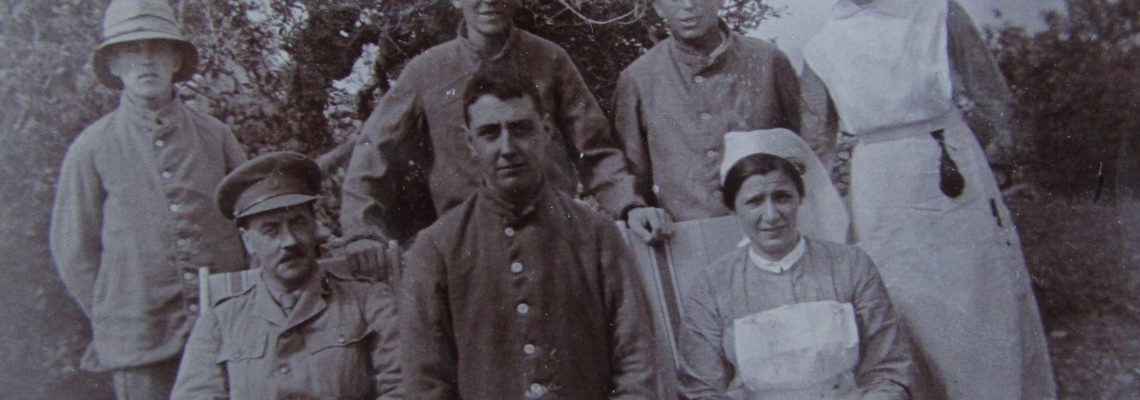
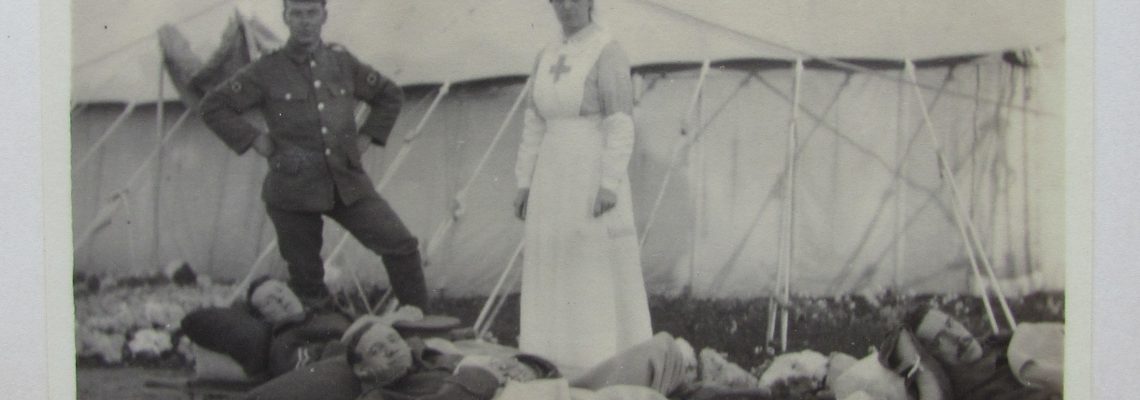
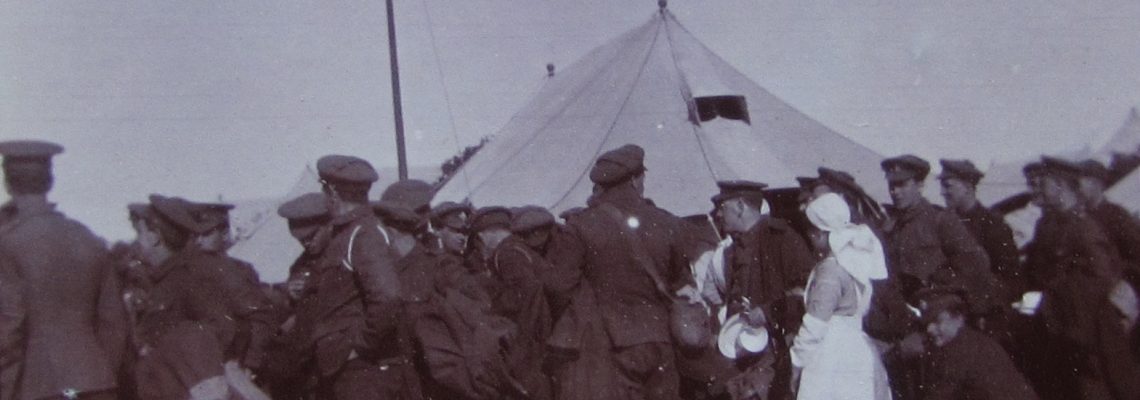
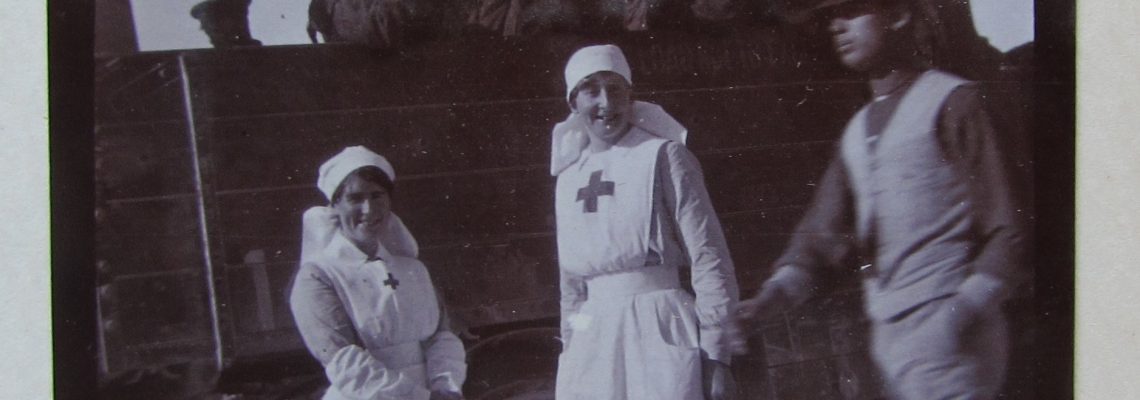
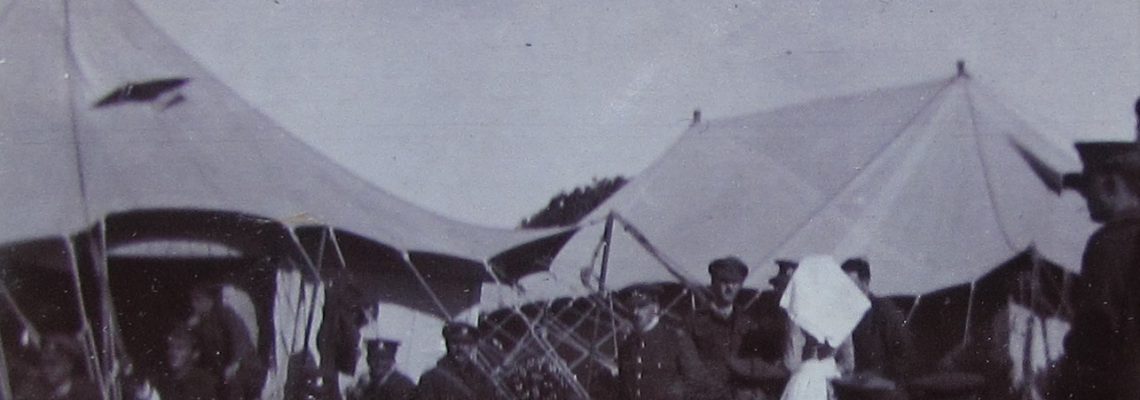
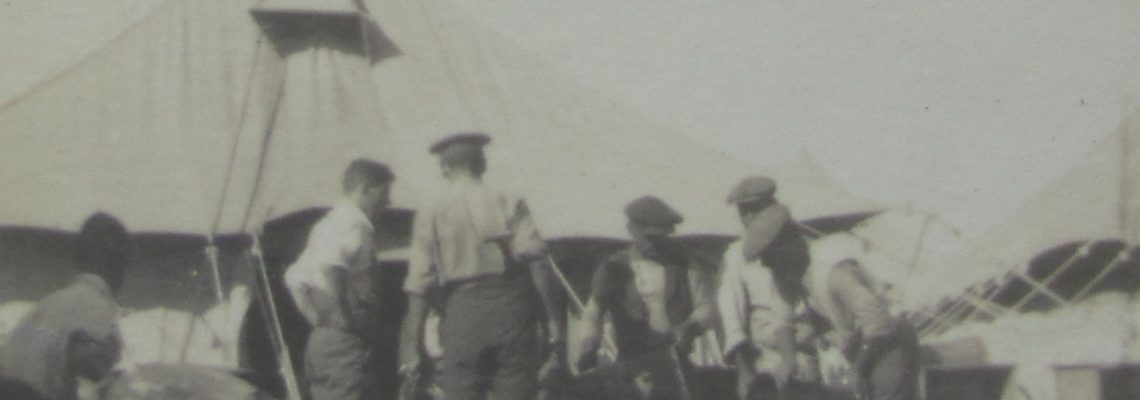
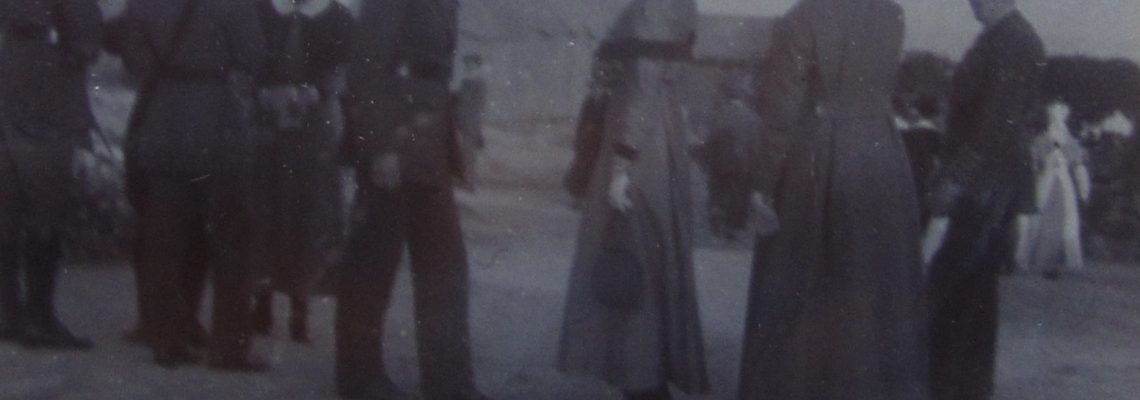
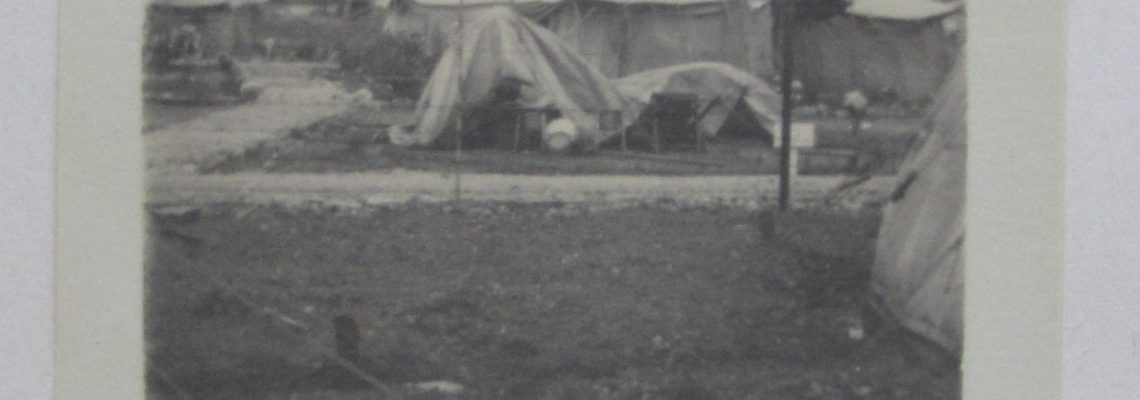
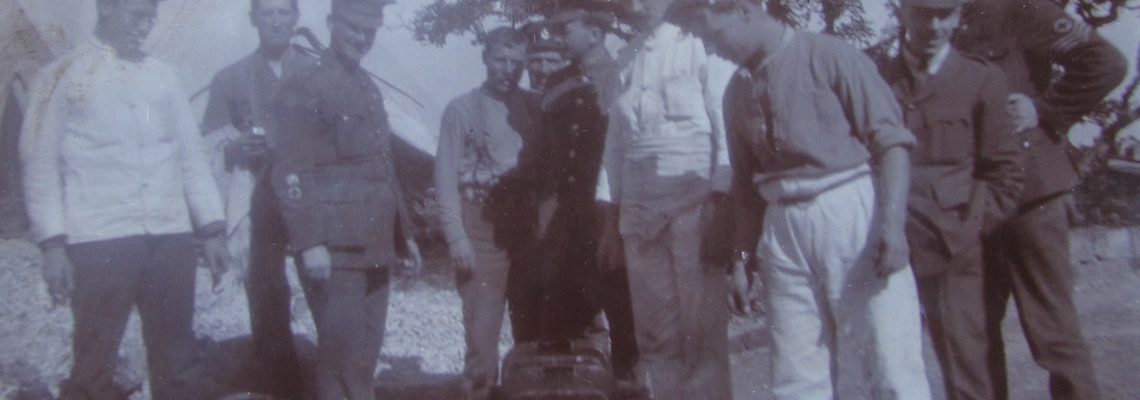
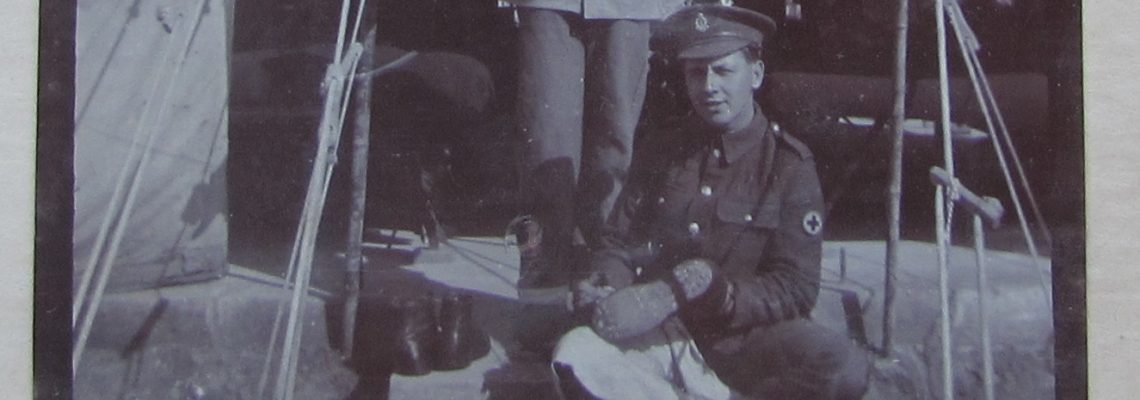
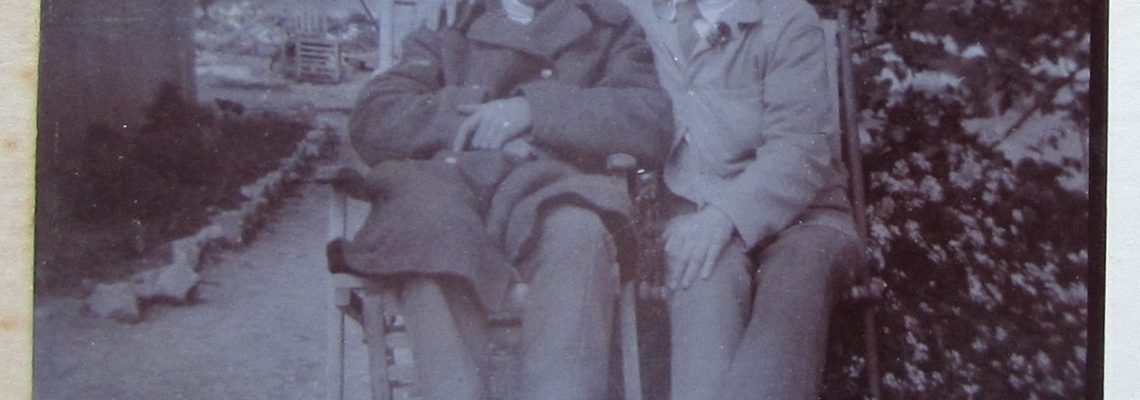
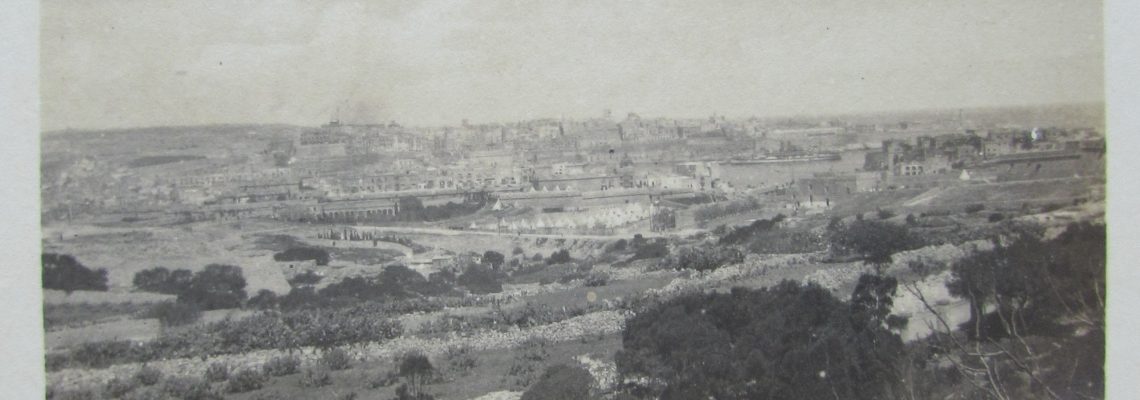
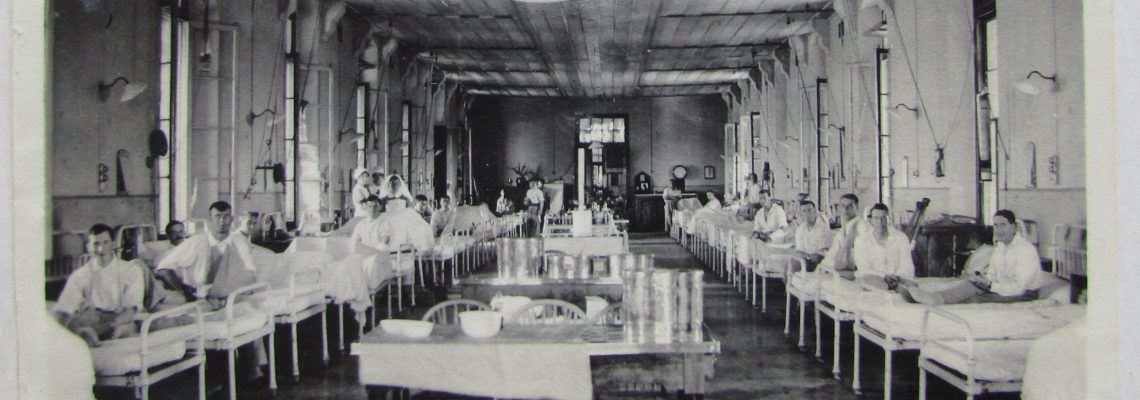
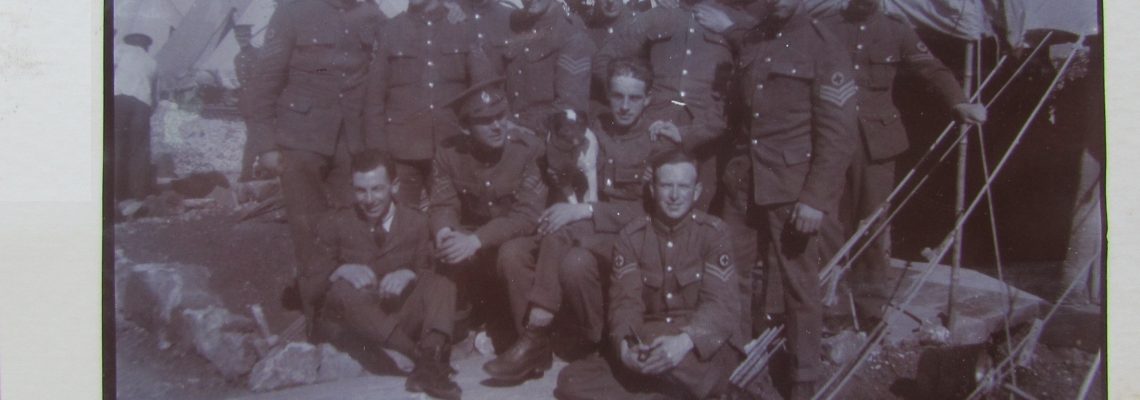
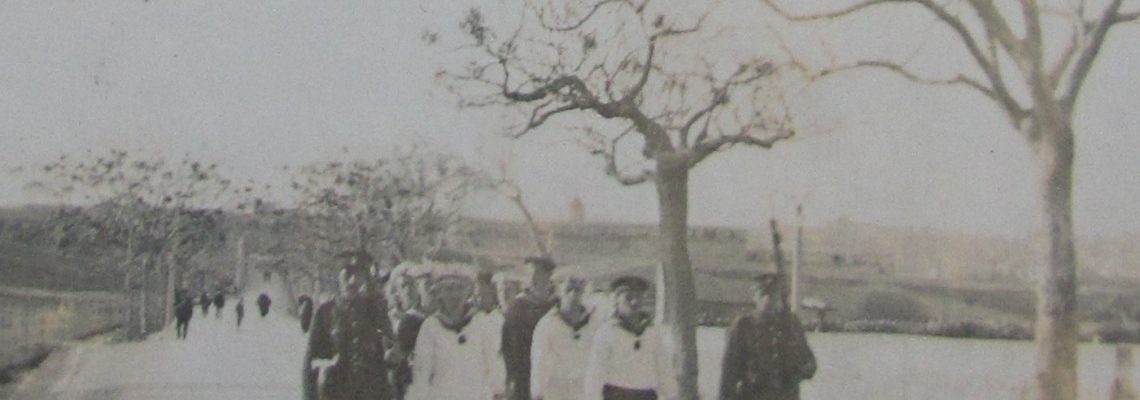
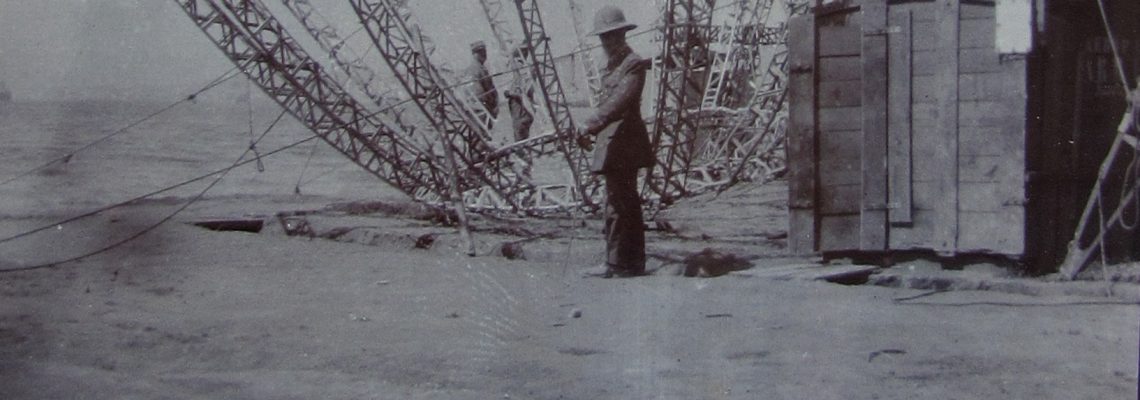
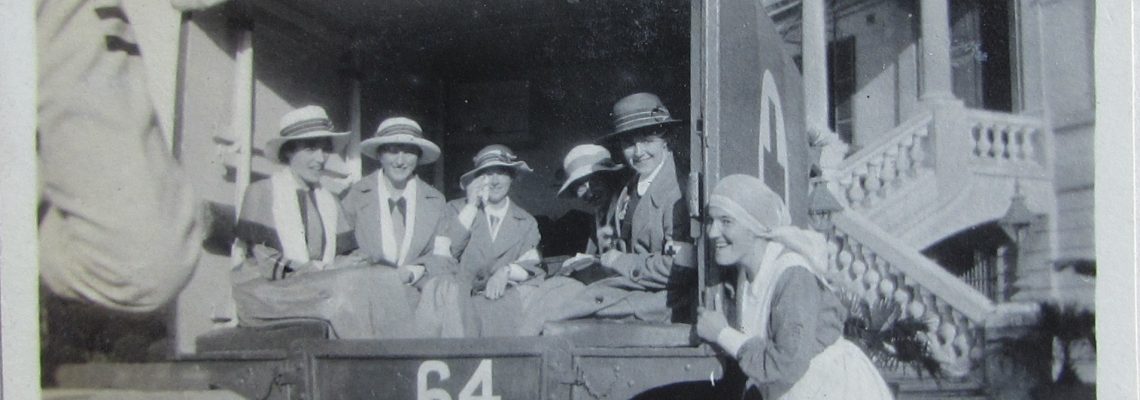
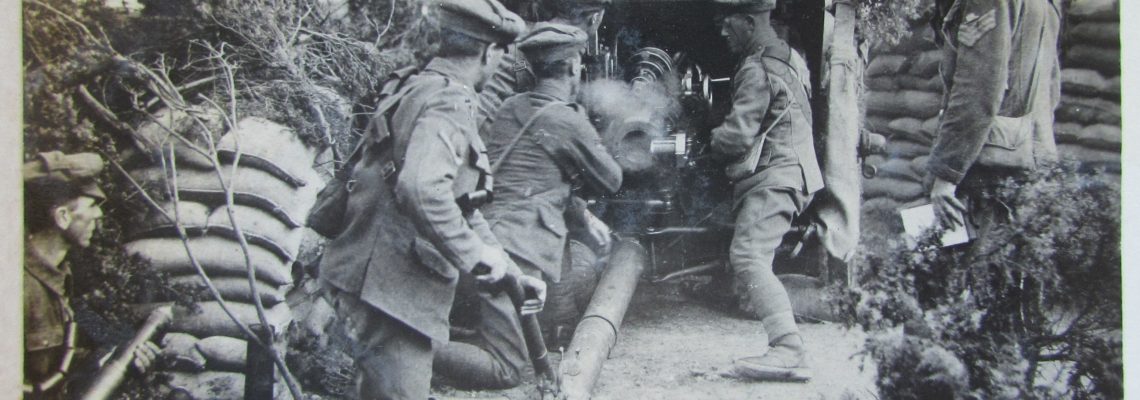
Most of the photos were taken by Mary  (or using her camera when she is in shot).   There are some photos towards the end which are of scenes on the Western Front and elsewhere and these may have been given to Mary by those she nursed.

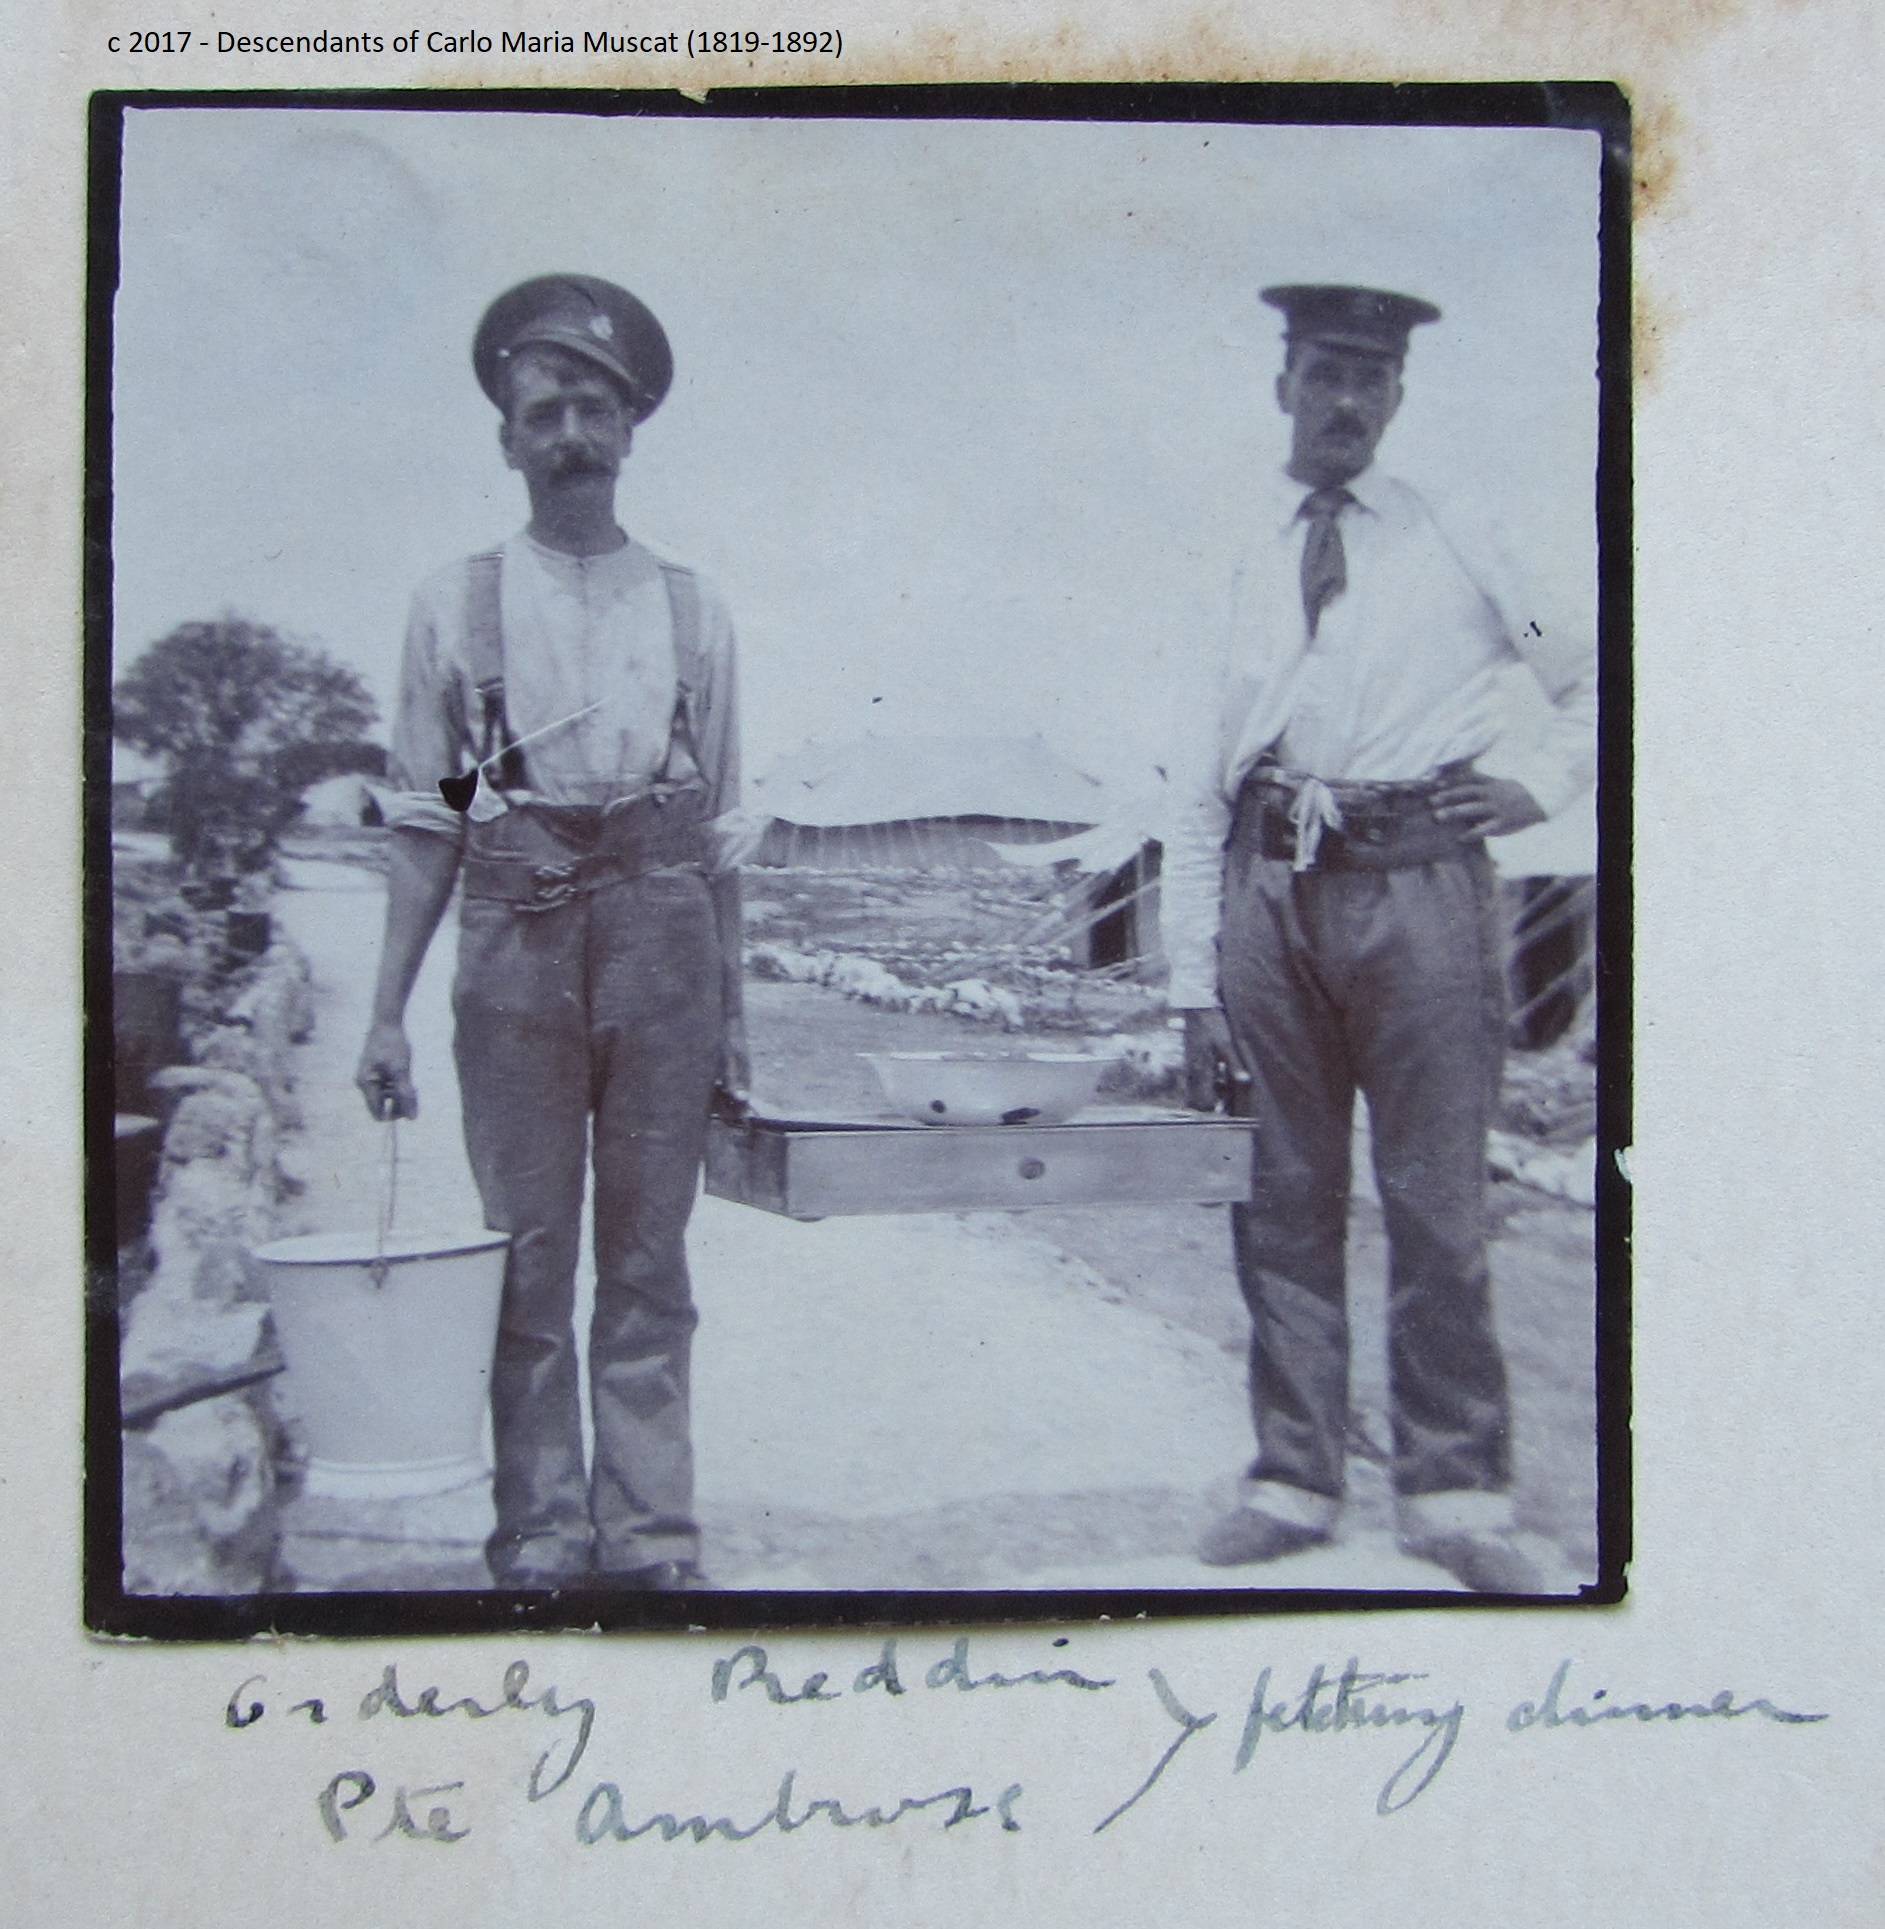
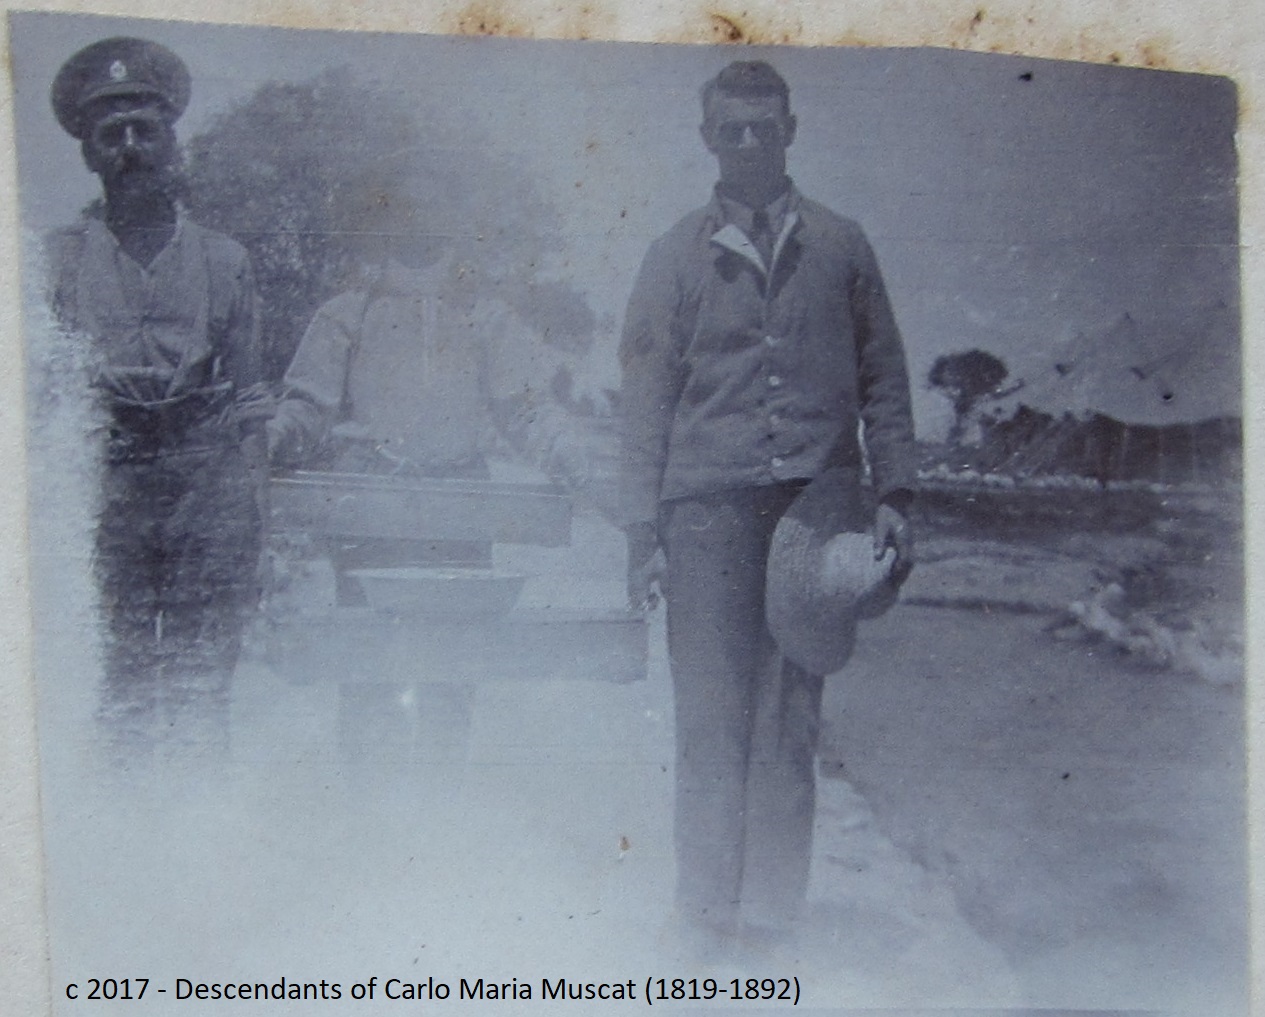
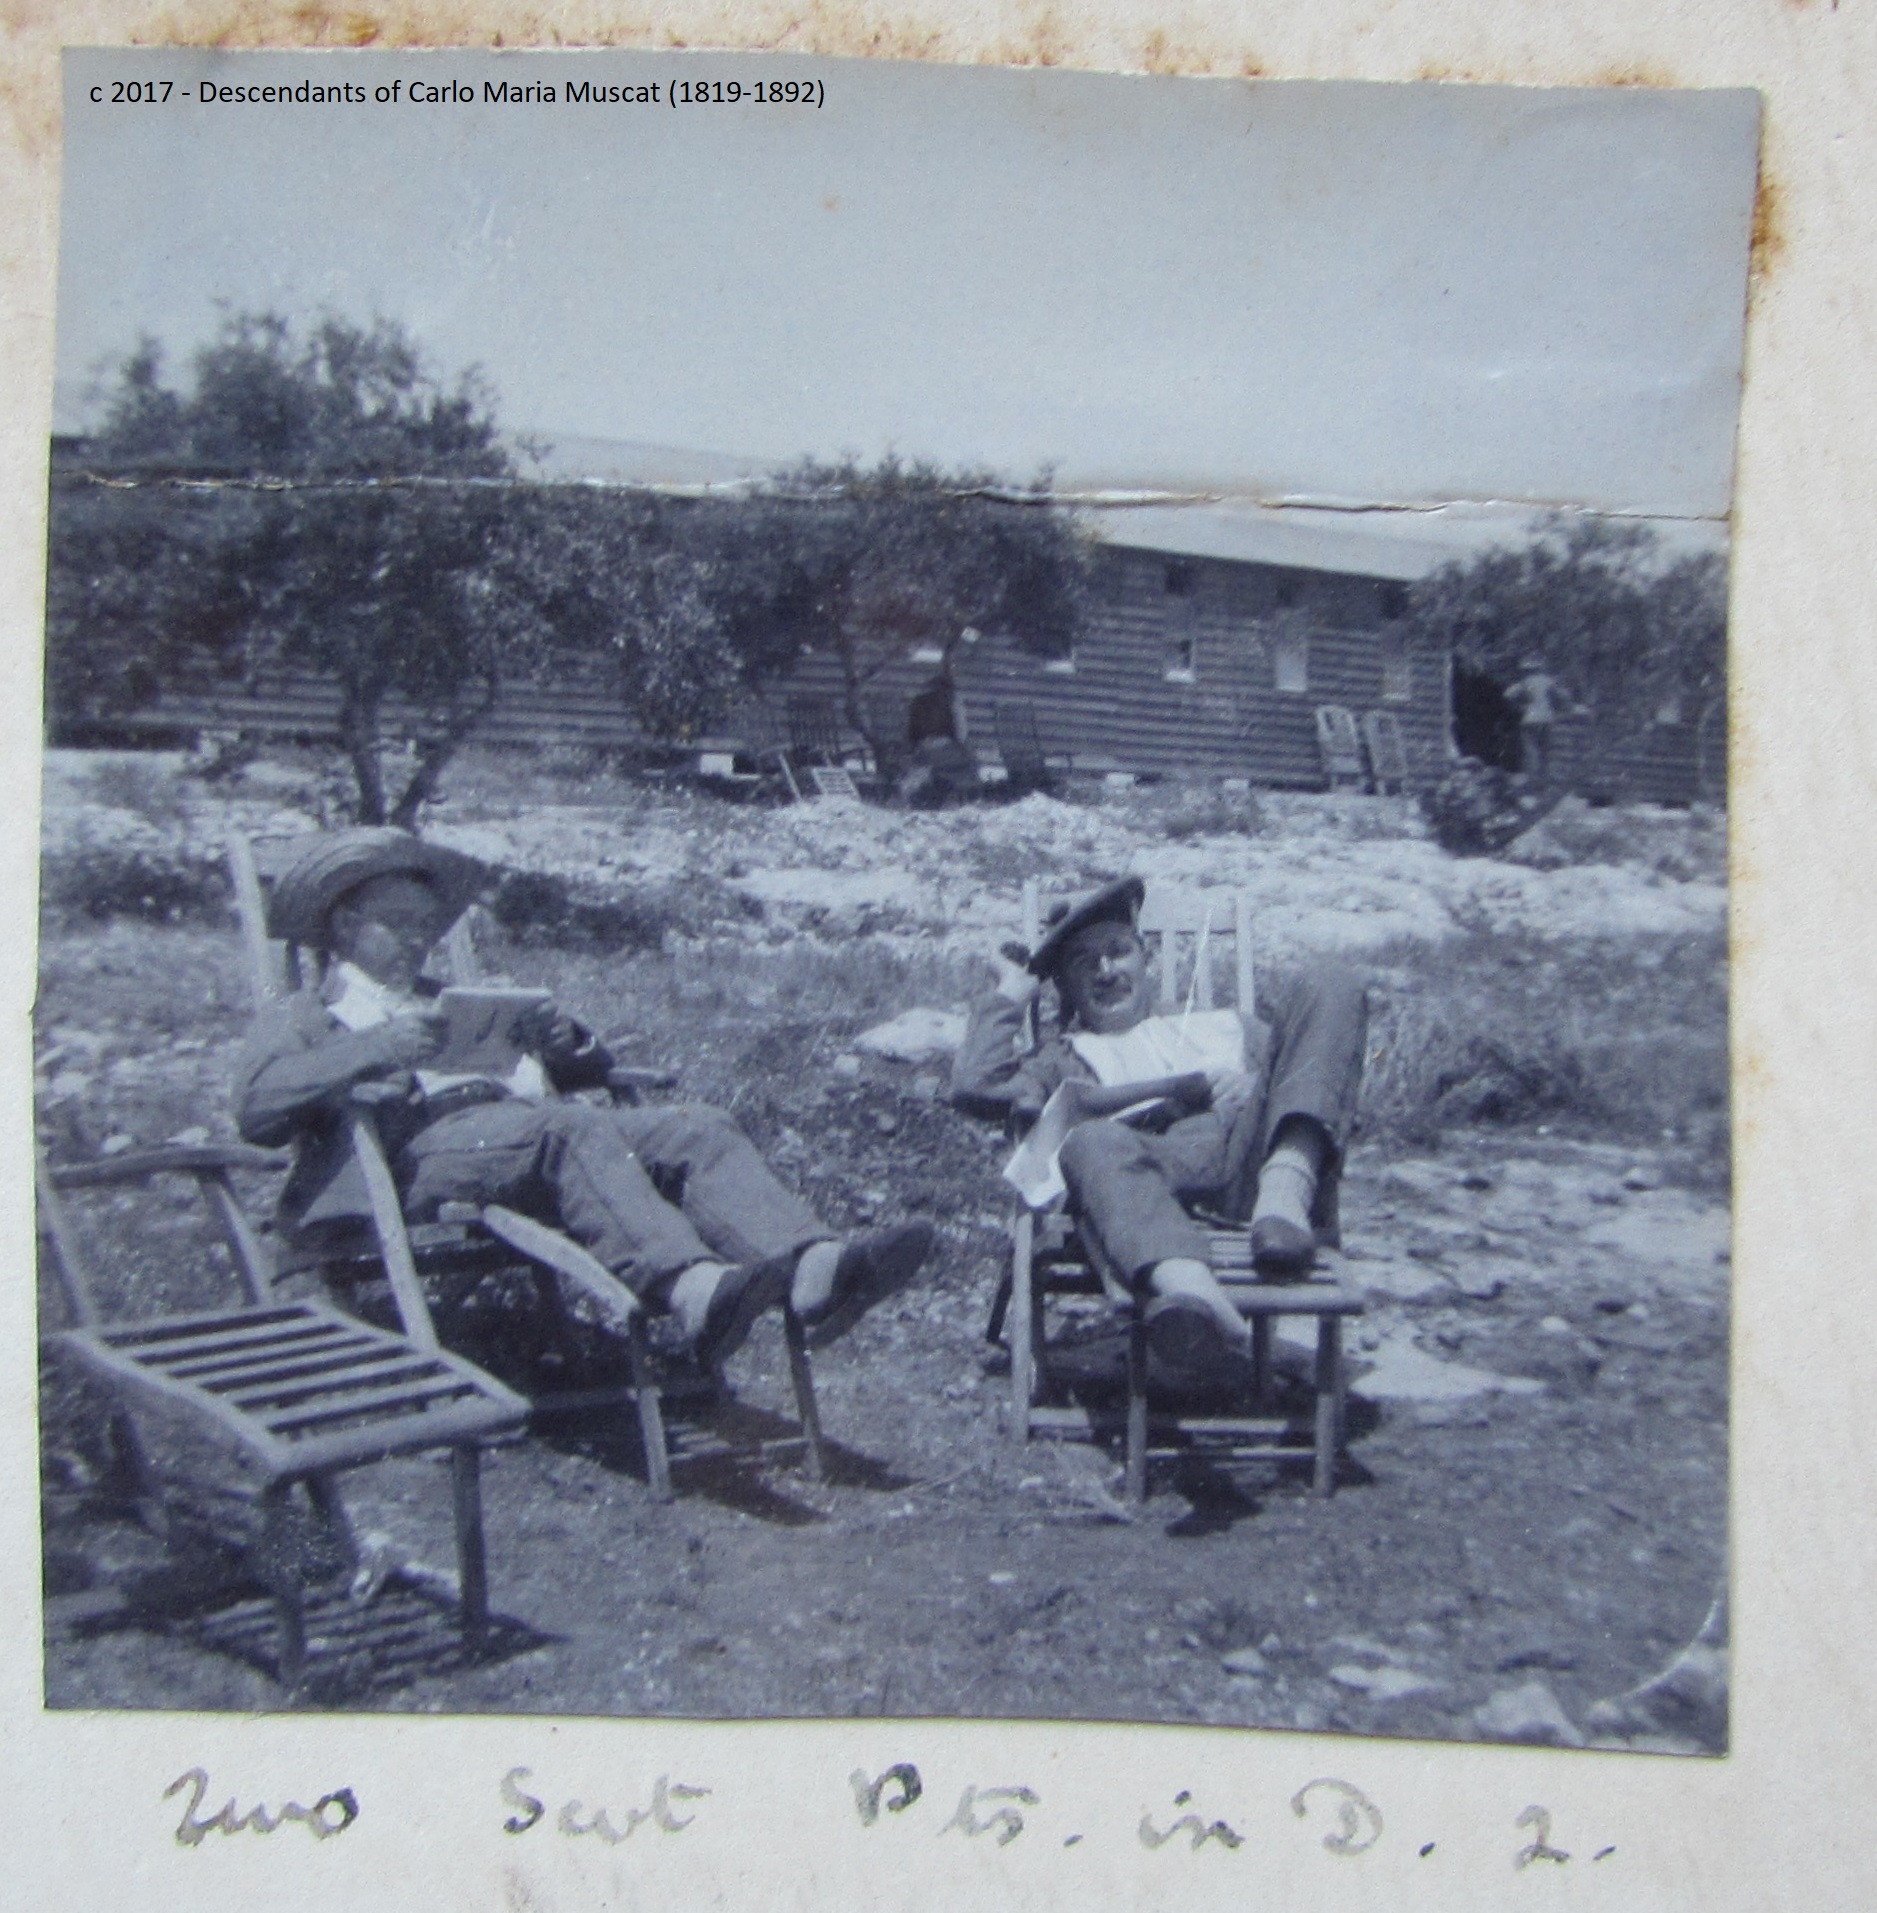
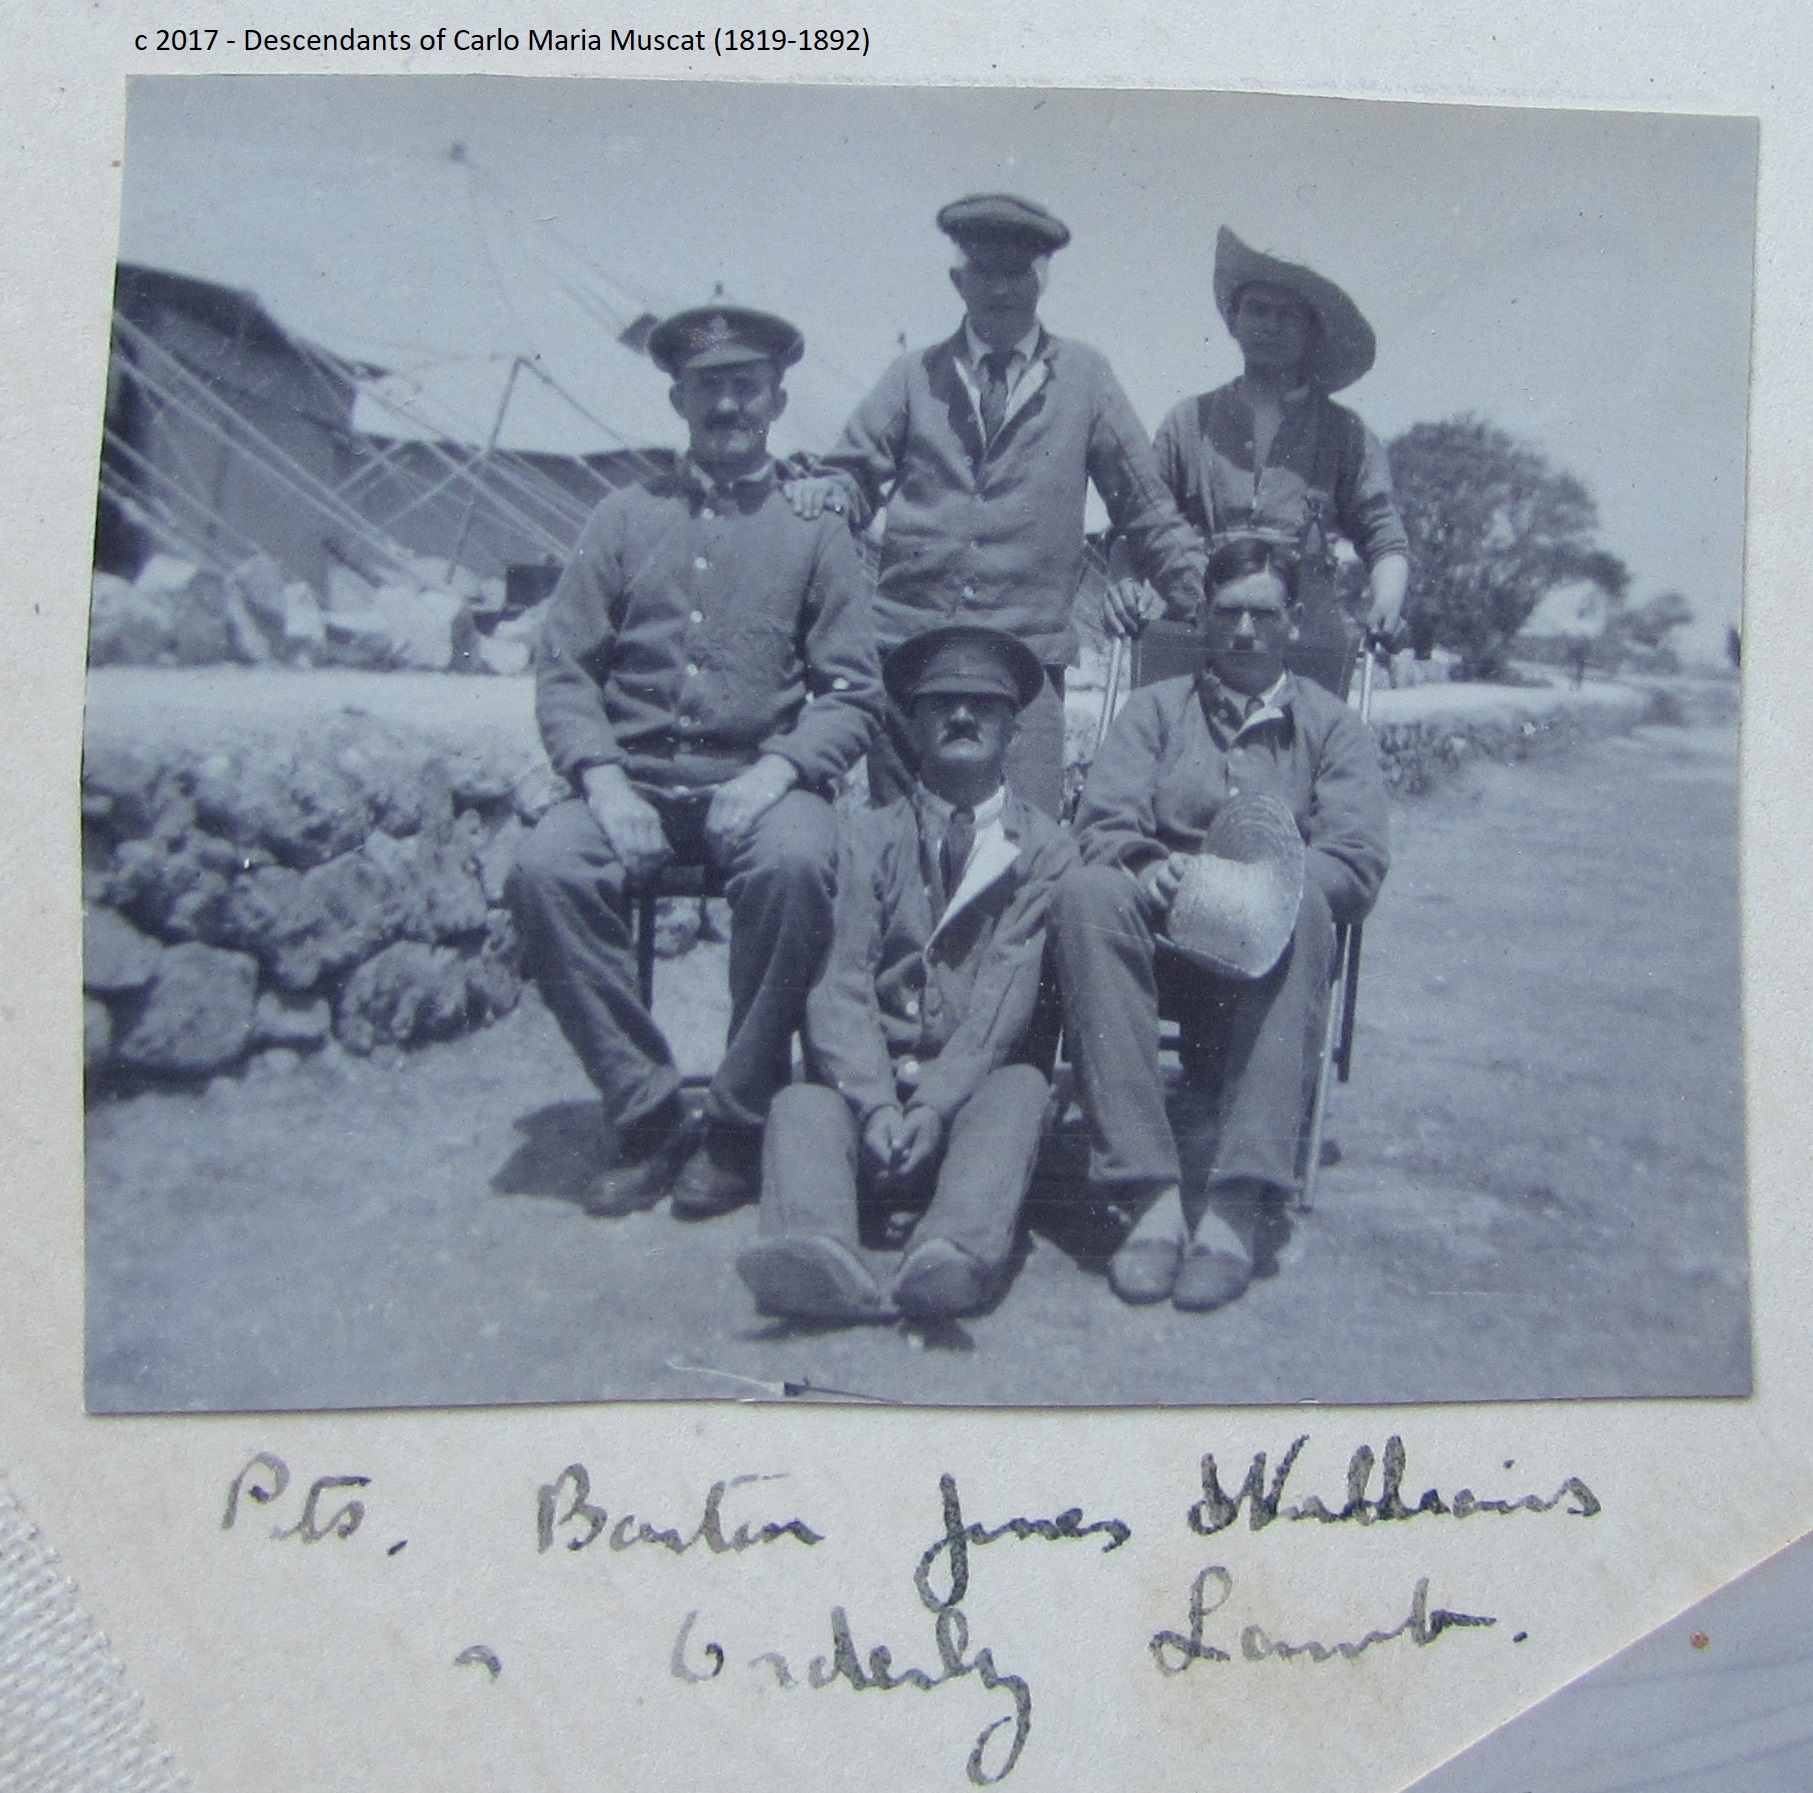
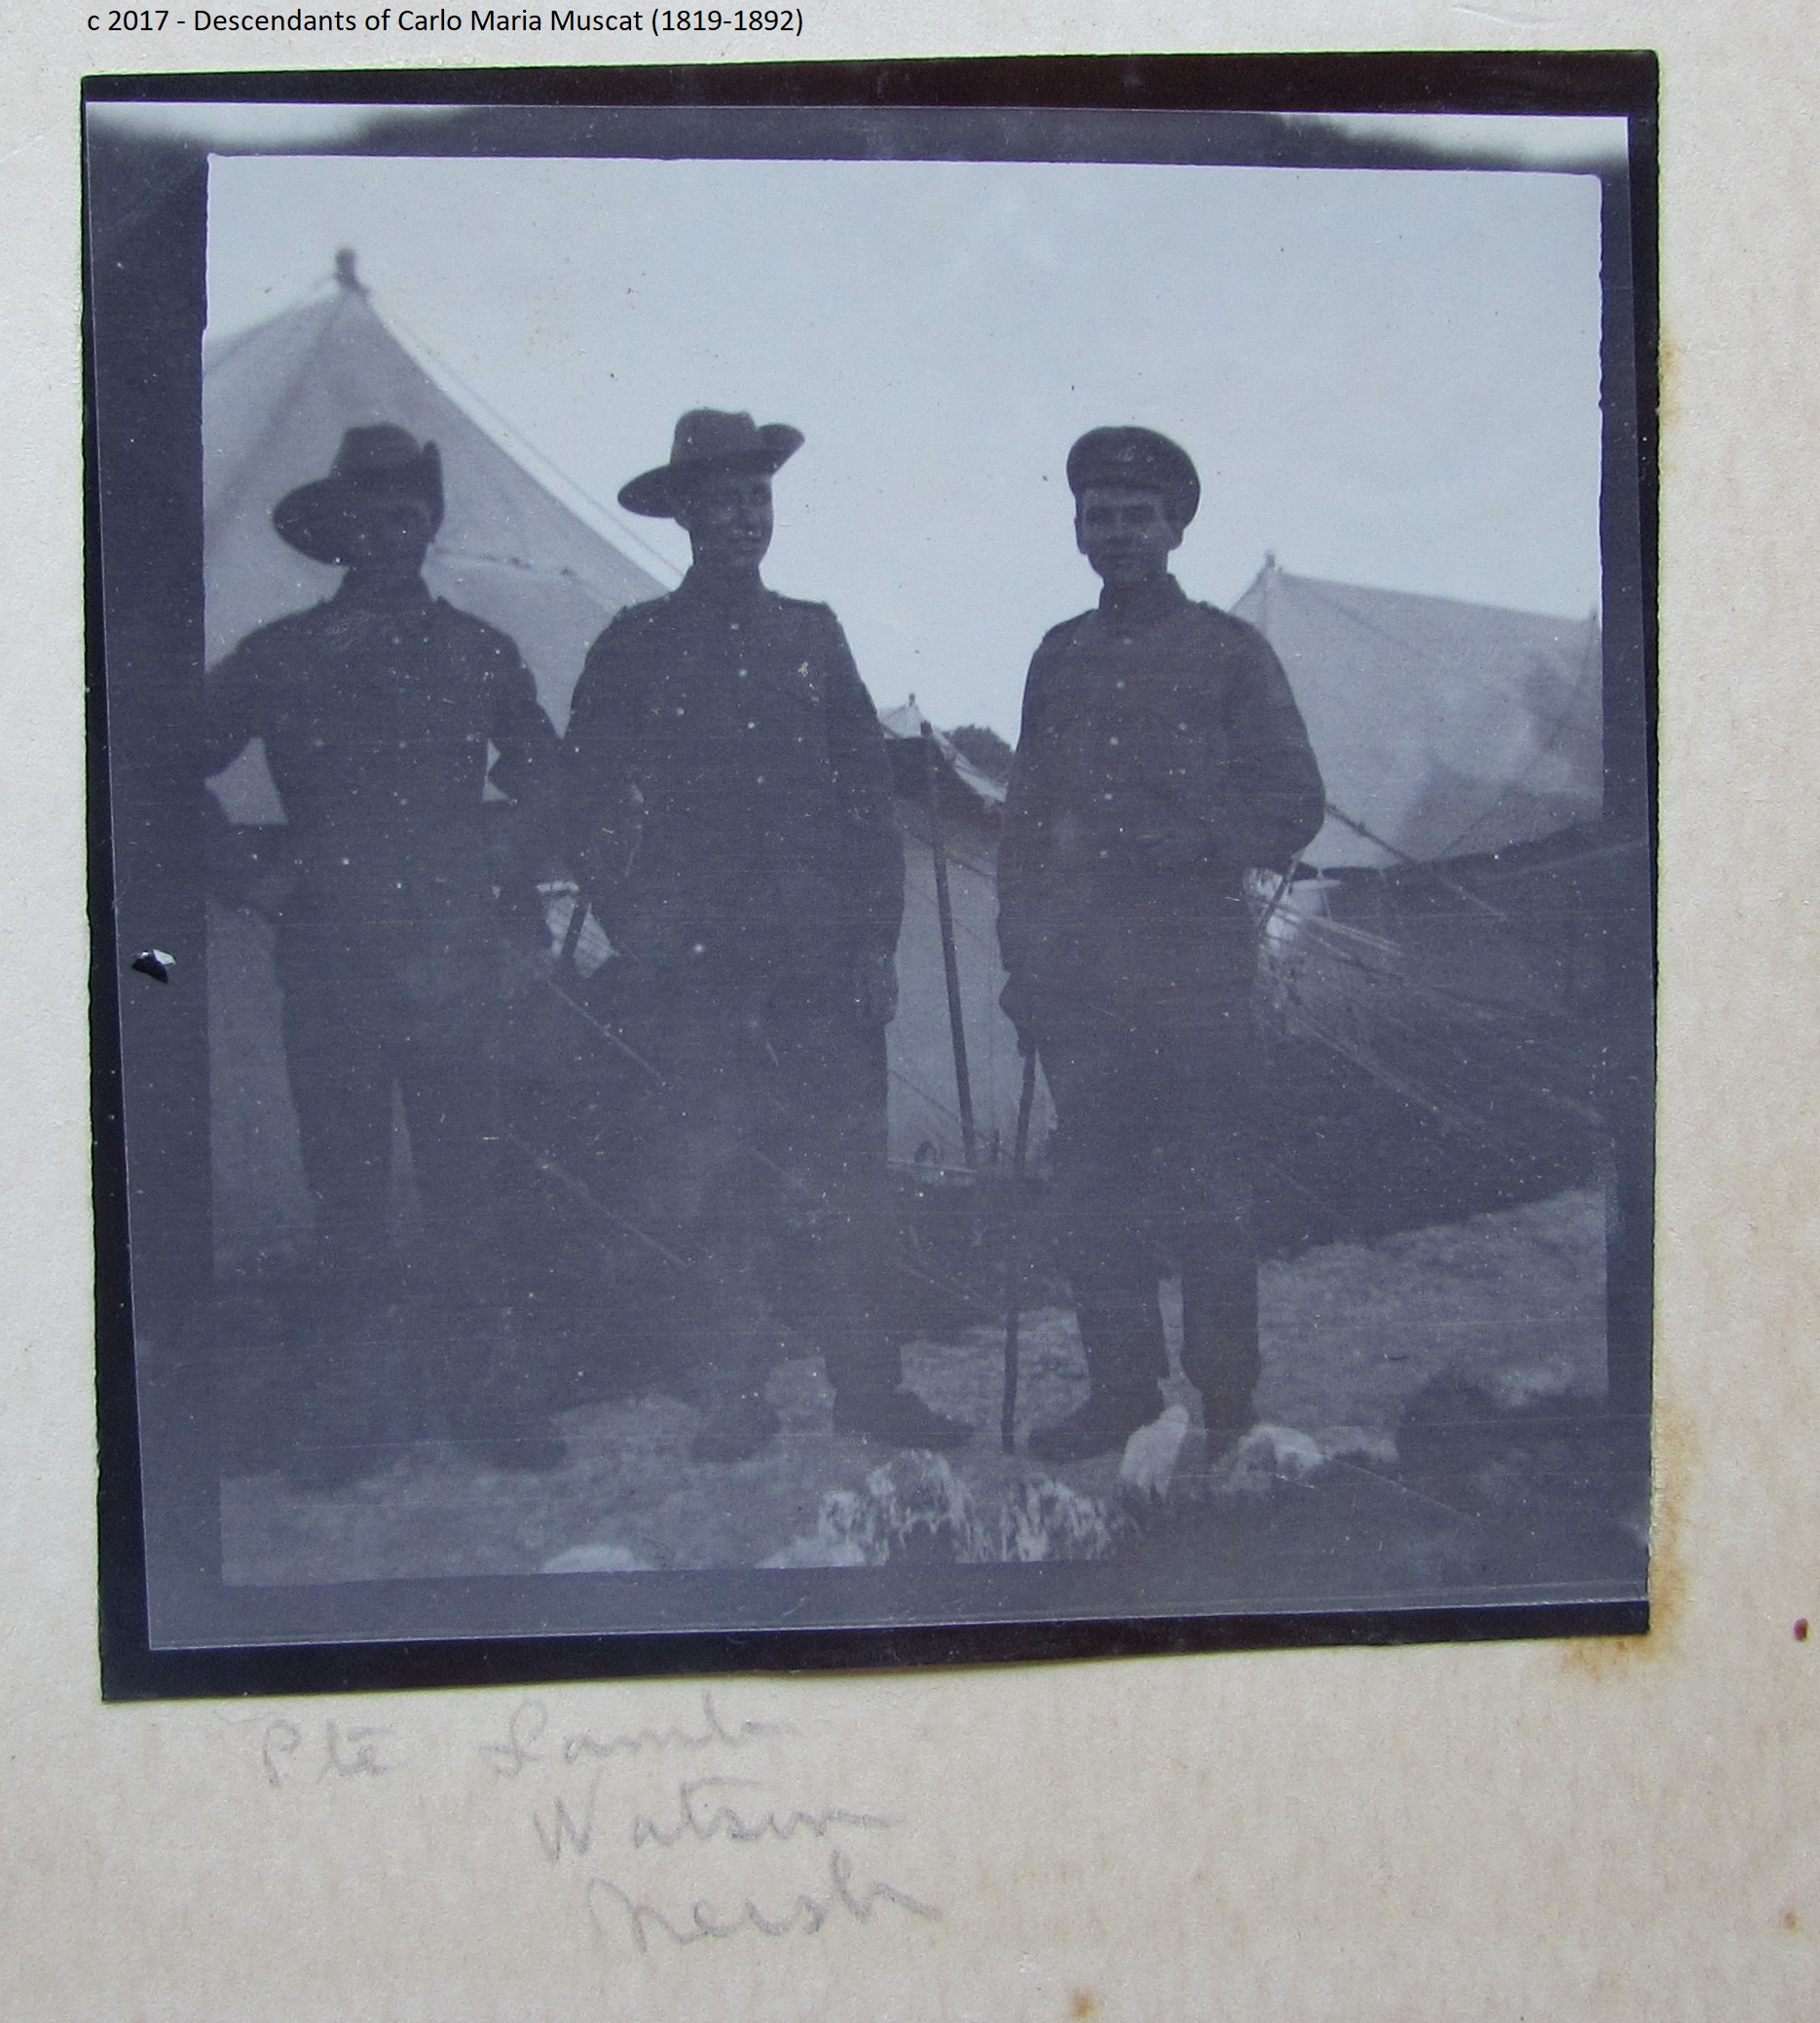
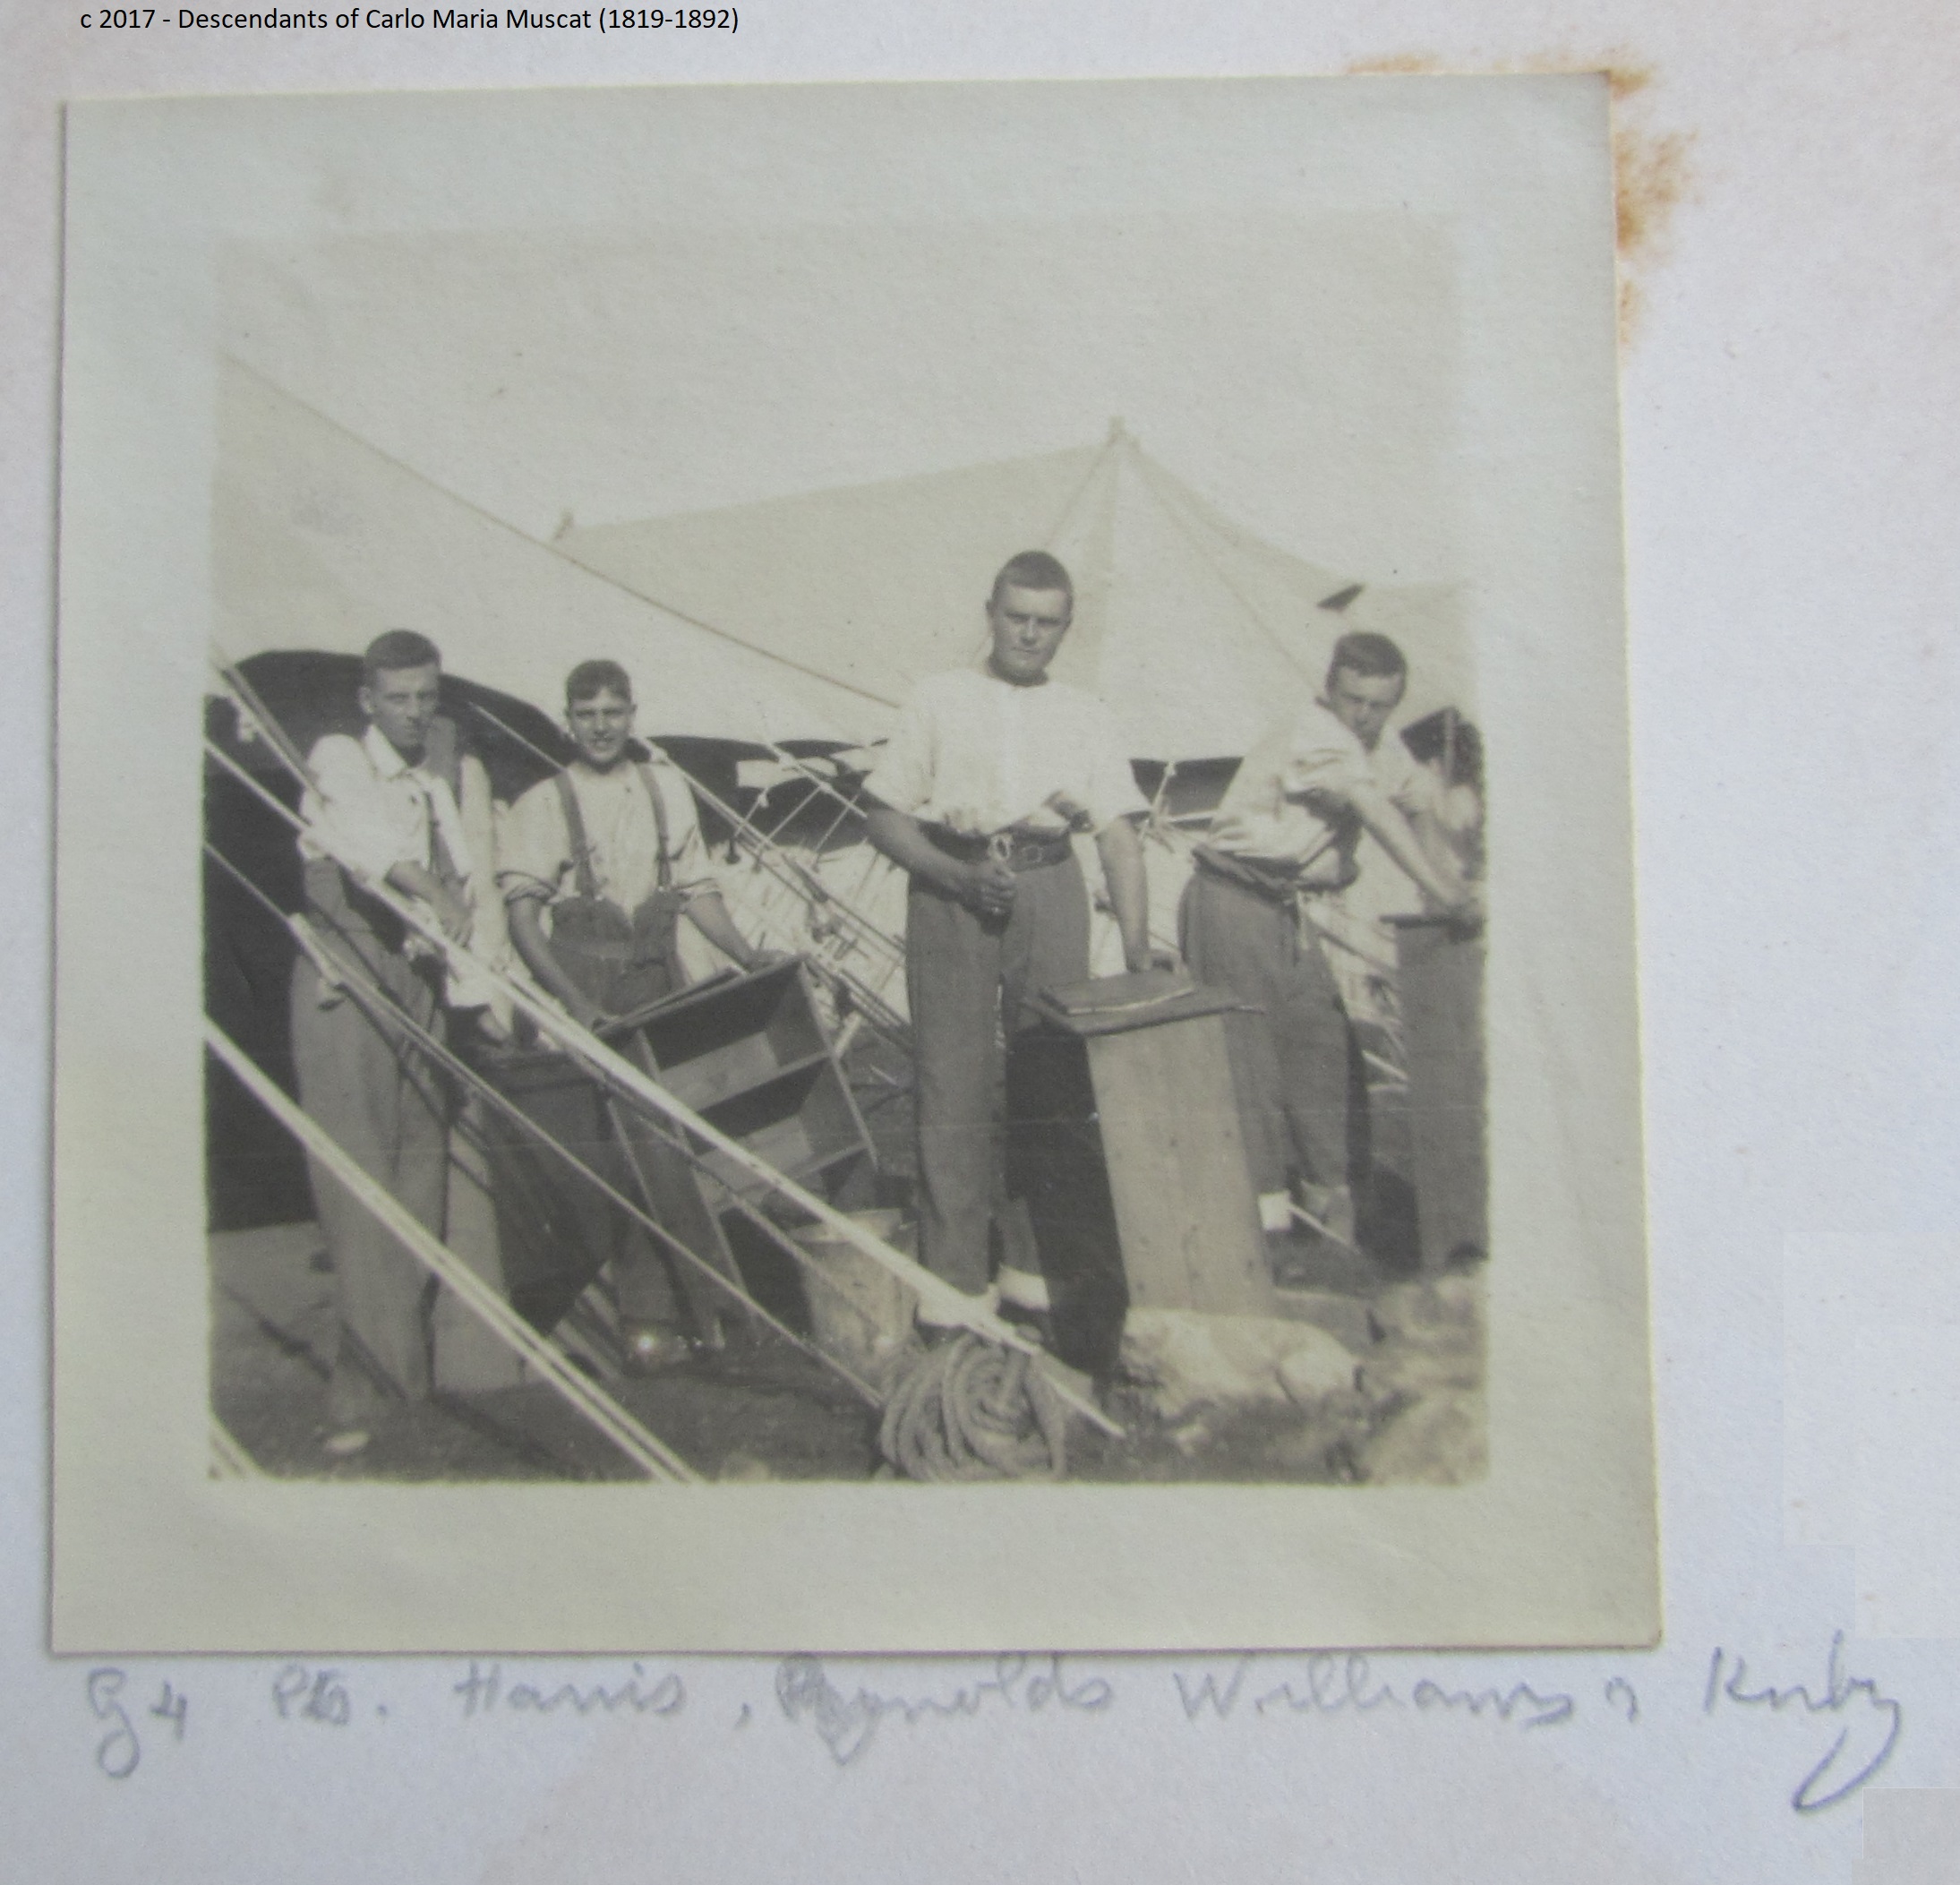
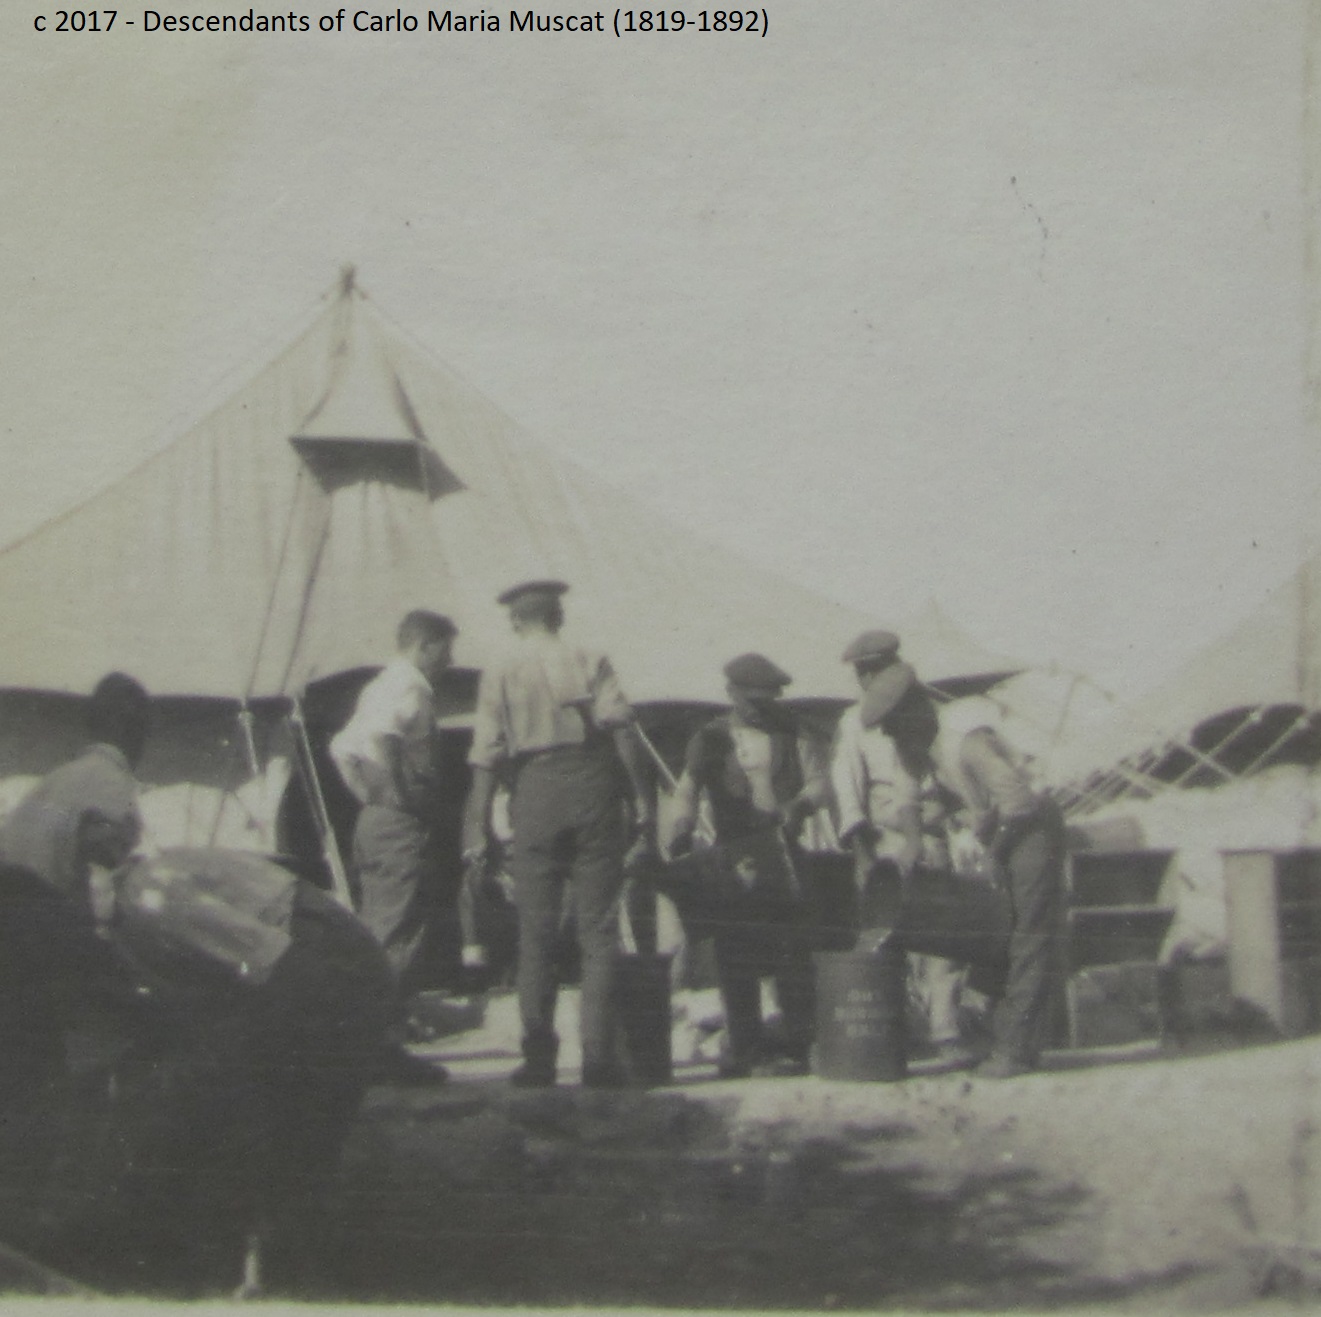
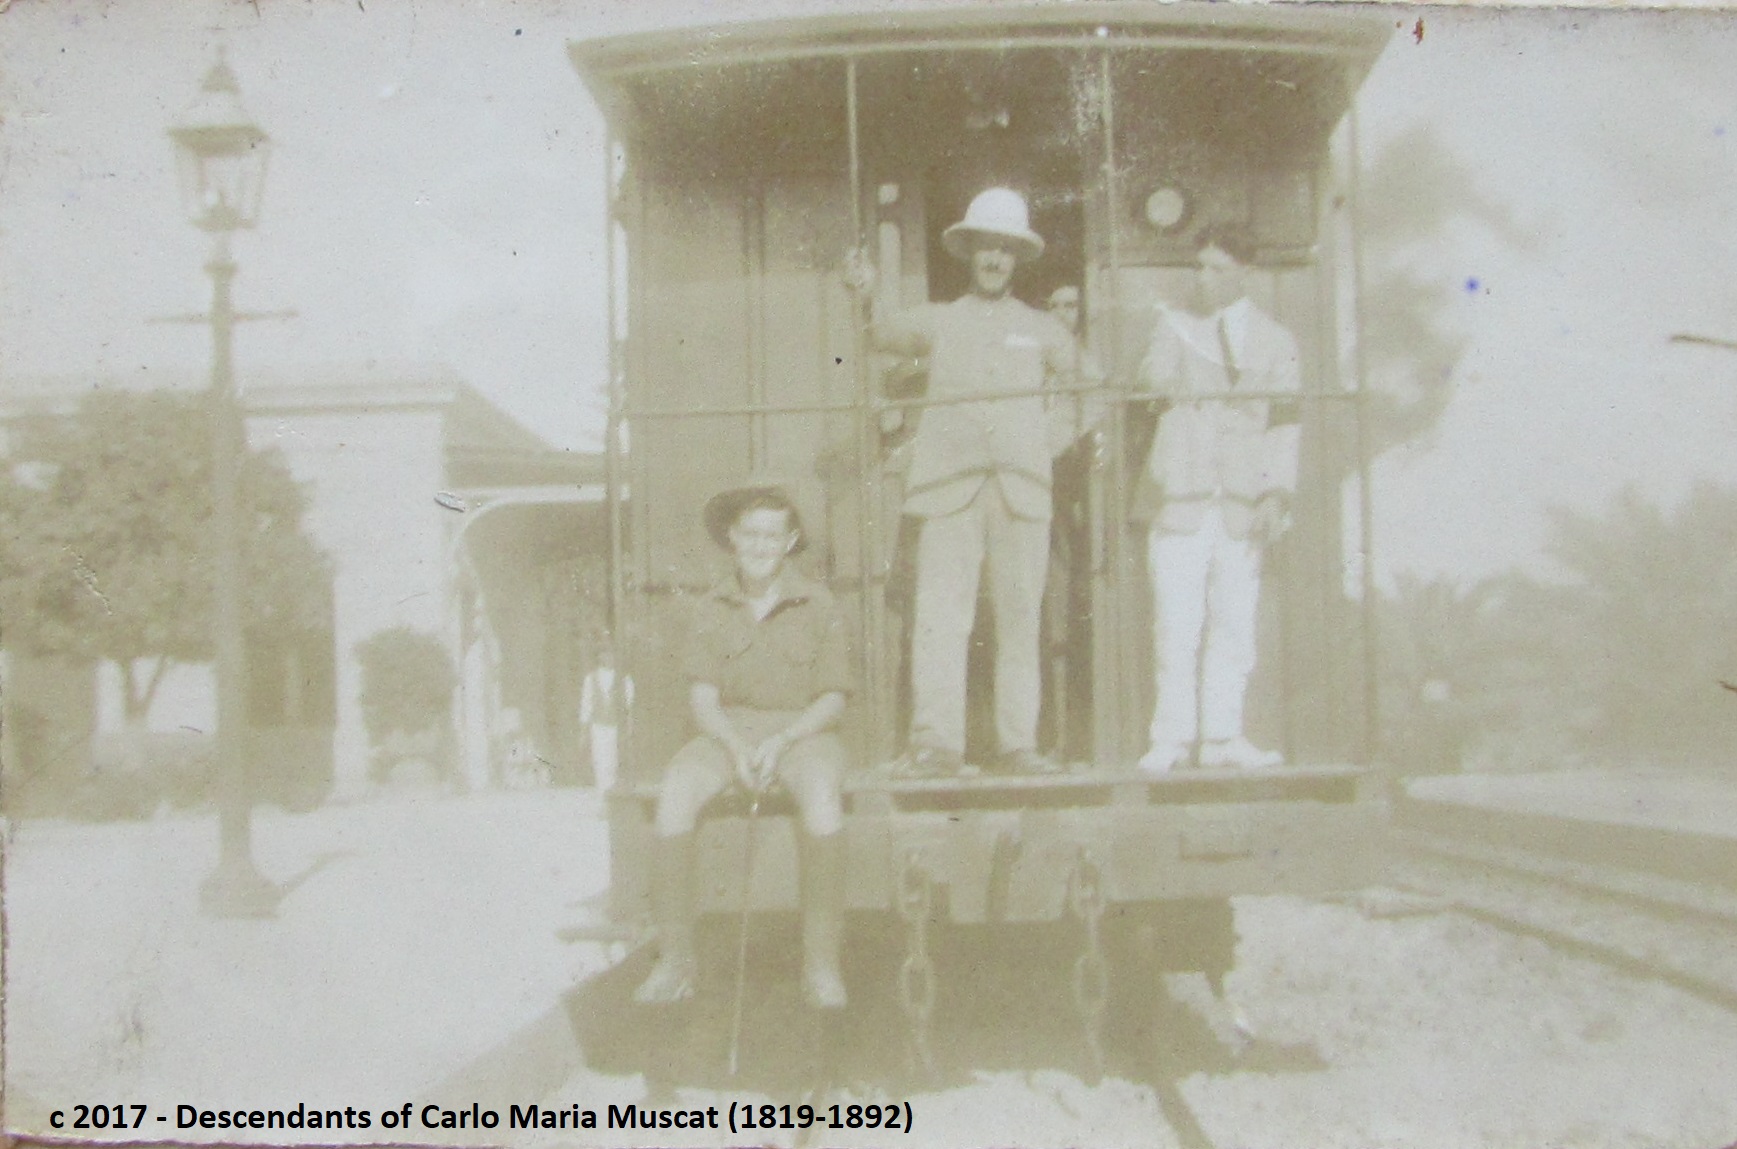
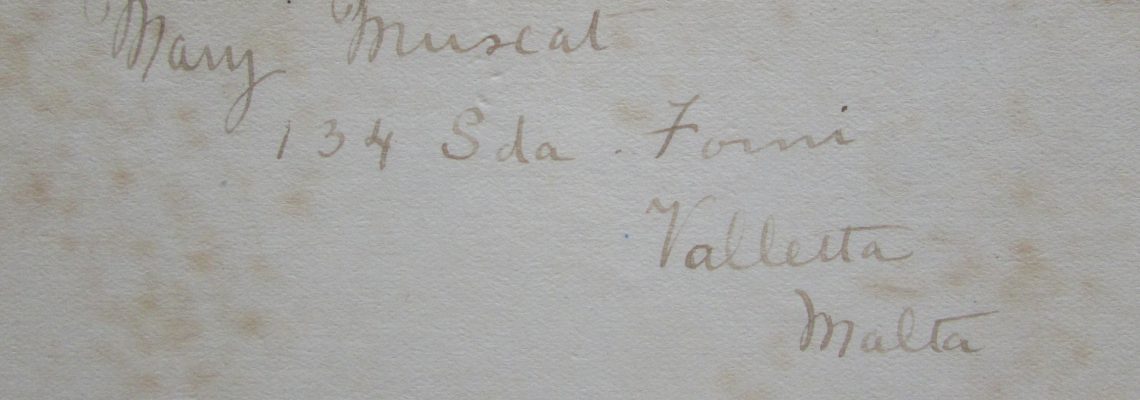
Copyright descendants of Carlo Maria Muscat , who was the Agius brothers and Mary’s grandfather.

These photos may be downloaded for private use but not used commercially.

(Return to Mary Muscat biography)


Click on any photo to enlarge and then step forwards or backwards by clicking.


The Album
Inner Cover - Mary Muscat
Page 1
1-1 Cottonera Hospital
1-2 Lord Methuen arrives at Cottonera
1-3 Cottonera Hospital
1-4 View across to Valetta from Cottonera
Page 2
2-1 Soldiers in Macedonia
2-2 Sisters' line at St Patrick's facing Sisters' Mess
2-3 Sisters' line at St Patrick's
2-4 Soldiers in Macedonia
Page 3
3-1 St Patrick's Camp with the YMCA Hut
3-2 Front View of Cottonera Hospital
3-3 Sisters' Quarters at St Patrick's
3-4 M6's Quarters at St Patrick's
3-5 My tent at St Pat's
3-6 Sisters' Tents at St Patrick's April 1916
3-7 Back View of Cottonera Hospital
3-8 Violet and Antoinetta outside our tent
Page 4
4-1 St John's Linen Store
4-2
4-3
4-4
4-5
Page 5
5-1
5-2
5-5
5-6
Page 6
6-1
6-2
6-3
6-4
6-5
6-6
6-7
6-8
Page 7
7-1
7-2
7-3
7-4
7-5
7-6
7-7
7-8
7-9
7-10
Page 8
8-1
8-2
8-3
8-4
8-5
8-6
Page 9
9-1
9-2
9-3
9-4
9-5
Page 10
10-1
10-2
10-3
10-4
10-5
10-6
10-7
10-8
10-9
Page 11
11-1
11-2
11-3
11-4
11-5
11-6
11-7
11-8
11-9
11-10
Page 12
12-1
12-2
12-3
12-4
12-5
12-6
12-7
Page 13
13-1
13-2
13-3
13-4
13-5
13-6
13-7
Page 14
14-1
14-2
14-3
14-4
14-5
14-6
14-7
14-8
14-9
14-10
14-11
14-12
Page 15
15-1
15-2
15-3
15-4
15-5
15-6
15-7
15-8
15-9
Page 16
16-1
16-2
16-3
16-4
16-5
16-6
Page 17
17-1
17-2
17-3
17-4
17-5
17-6
17-7
17-8
Page 18
18-1
18-2
18-3
18-4
18-5
Page 19
19-1
19-2
19-3
19-4
19-5
19-6
19-7
19-8
Page 20
20-1
20-2
20-3
20-4
20-5
20-6
20-7
Page 21
21-1
21-2
21-3
21-4
21-5
21-6
21-7
Page 22
22-1
22-2
22-3
22-4
22-5
22-6
22-7
Page 23
23-1
23-2
23-3
23-4
23-5
23-6
23-7
23-8
Page 24
24-1
24-2
24-3
24-4
24-5
24-6
24-7
Page 25
25-1
25-2
25-3
25-4
25-5
25-6
25-7
Page 26
26-1
26-2
26-3
26-4
26-5
26-6
26-7
26-8
26-9
Page 27
27-1
27-2
27-3
27-4
27-5
27-6
Page 28
28-1
28-2
28-3
28-4
28-5
28-6
28-7
Page 29
29-1
29-2
29-3
29-4
Page 30
30-1
30-2
30-3
30-4
30-5
30-6
30-7
Page 31
31-1
31-2
31-3
31-4
31-5
31-6
Page 32
32-1`
32-2
32-3
32-4
32-5
32-6
32-7
32-8
Page 33
33-1
33-2
33-3
33-4
33-5
33-6
Page 34
34-1
34-2
34-3
34-4
34-5
34-6
34-7
34-8
34-9
Page 35
35-1
35-2
35-3
35-4
35-5
35-6
35-7
35-8
35-9
Page 36
36-1
36-2
36-3
36-4
36-5
36-6
36-7
36-8
Page 37
37-1
37-2
37-3
37-4
37-5
37-6
Page 38
38-1
38-2
38-3
38-4
38-5
38-6
38-7
Page 39
39-1
39-2
39-3
39-4
Page 40
40-1
40-2
40-3
40-4
Page 41
41-1
41-2
41-3
Page 42
42-1
42-2
42-3
42-4
42-5
42-6
Page 43
43-1
43-2
43-3
43-4
43-5
43-6
Page 44
44-1
44-2
44-3
44-4
44-5
Page 45
45-1
45-2
45-3
Page 46
46-1
46-2
46-3
46-4
Page 47
47-1
47-2
47-3
47-4
47-5
47-6
Page 48
48-1
48-2
48-3
48-4
48-5
48-6
Page 49
49-1
49-2
49-3
49-4
49-5
49-6
49-7
49-8
Page 50
50-1
50-2
50-3
50-4
50-5
50-6
50-7
Page 51
51-1
51-2
51-3
51-4
51-5
51-6
51-7
51-8
51-9
Page 52
52-1
52-2
52-3
52-4
52-5
52-6
52-7
52-8
52-9
Page 53
53-1
53-2
53-3
53-4
Page 54
54-1
54-2
54-3
54-4
54-5
54-6
54-7
54-8
54-9
54-10
54-11
Page 55
55-1
55-2
55-3
55-4
55-5
55-6
55-7
55-8
55-9
Page 56
56-1
56-2
56-3
56-4
56-5
56-6
Page 57
57-1
57-2
57-3
57-4
Page 58
58-1
58-2
58-3
58-4
58-5
58-6
58-7
58-8
58-9
Page 59
59-1
59-1
59-2
59-3
59-4
59-5
59-6
Page 60
60-1
60-2
60-3 - Birkikara Station on the Malta Railway
60-3a Enhanced and coloured by Edgar Vella.
Birkikara Station pre-WW1


© 2023 The Descendants of E T Agius d.1924. Website design by Eleanor Oliver